
Finally! Only a year late, but today I took the engine to the shop for a rebuild.
Yesterday, I asked the neighbor (Bob) if I could borrow his truck, and got the big "affirmative." Problem was, his truck wouldn't fit in my garage! (well, not all the way). So, I left work a bit early, and rolled the chassis all the way out, nearly to the street. Then I went about cleaning the junk out of the garage enough that I could roll Bob's truck in to get the engine.
Turns out, I had to pull out my two roll-around boxes out of the garage to make enough room. Even so, his mirrors still wouldn't clear the sides of the garage, so hoisting the engine became a little more interesting. (notice the engine hanging in the back, there?)
This sort of worked out, though, as the come-along was too low to get the engine high enough for the stand to clear his tail gate. So, got the engine hoisted as high as I could, and the truck backed in as far as I could (and still get out), and then I had to swing the engine over and up to the bed.
Well, swing is an exaggeration. I pushed it so the cabling was probably at about a 30 or 40 degree hang angle, and then had to let a little cable out with one hand while holding the engine over the bed with the other. Kids, don't try this at home!
Once I got the engine stowed up in the bed, It took another half hour or so to collect up all the pieces. The youngest girl and I brought everything to the shop, and the owner pulled the block out with his forklift (The little one called it a twoklift):
Forking the engine into the shop was not without incident, though... We stopped for a bit and talked about the engine, and while we were jacking our jaws, someone backed into the forklift!
Anyway, all is well on that front, the shop's gonna build me up a short block to start. They'll be doing most of the work, and I'll be supplying the parts.


When I got home, I decided it was a good time to sweep out and clean up the garage before I rolled the chassis back in... Hot work, but it looks a lot better - I hauled out about a bag and a half of trash.
It seems to me (famous last words) that I should get moving on the transmission tear-down. In an ideal world, the engine transmission would be ready for installation at the same time...
So, today I started the tear-down...


Today, I thought I'd do some major transmission down-tearing... I got a start, but it certainly didn't go the way I'd hoped. I followed the manual (here, take my man card):
Step 1, Remove the throwout bearing:

Step 2, Remove the bell housing:

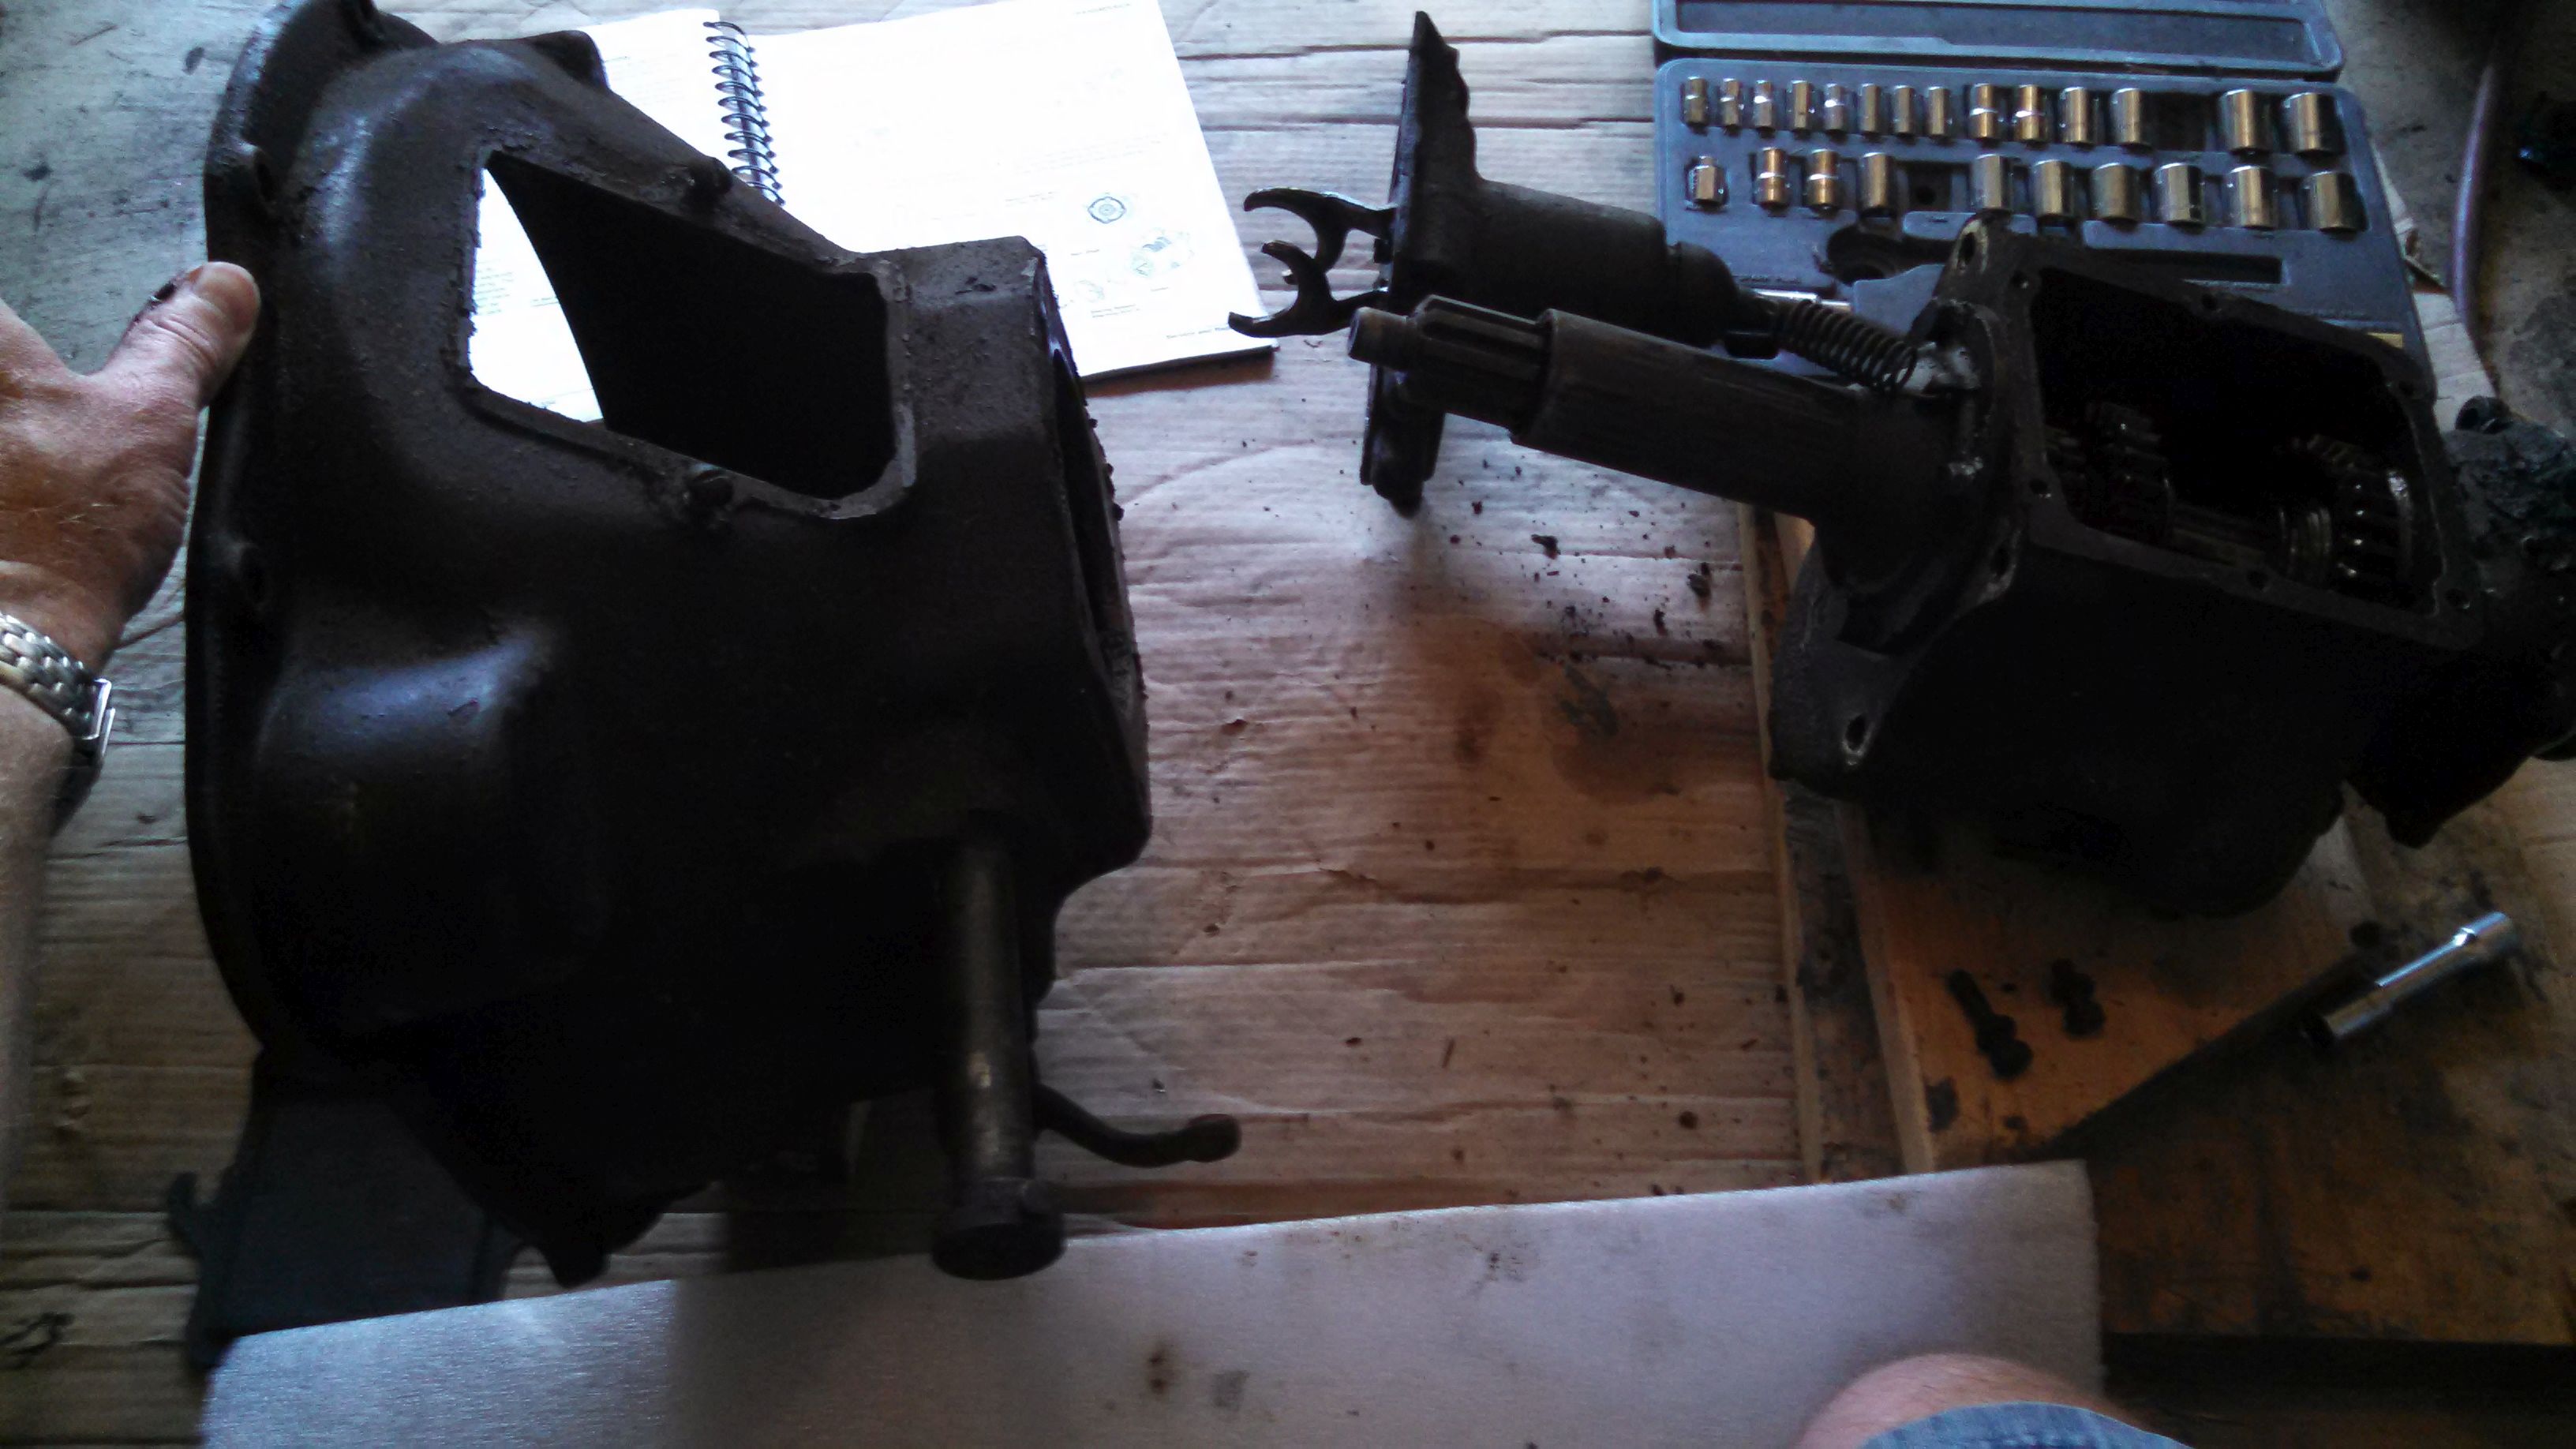
Step 3, Remove the front bearing cover:
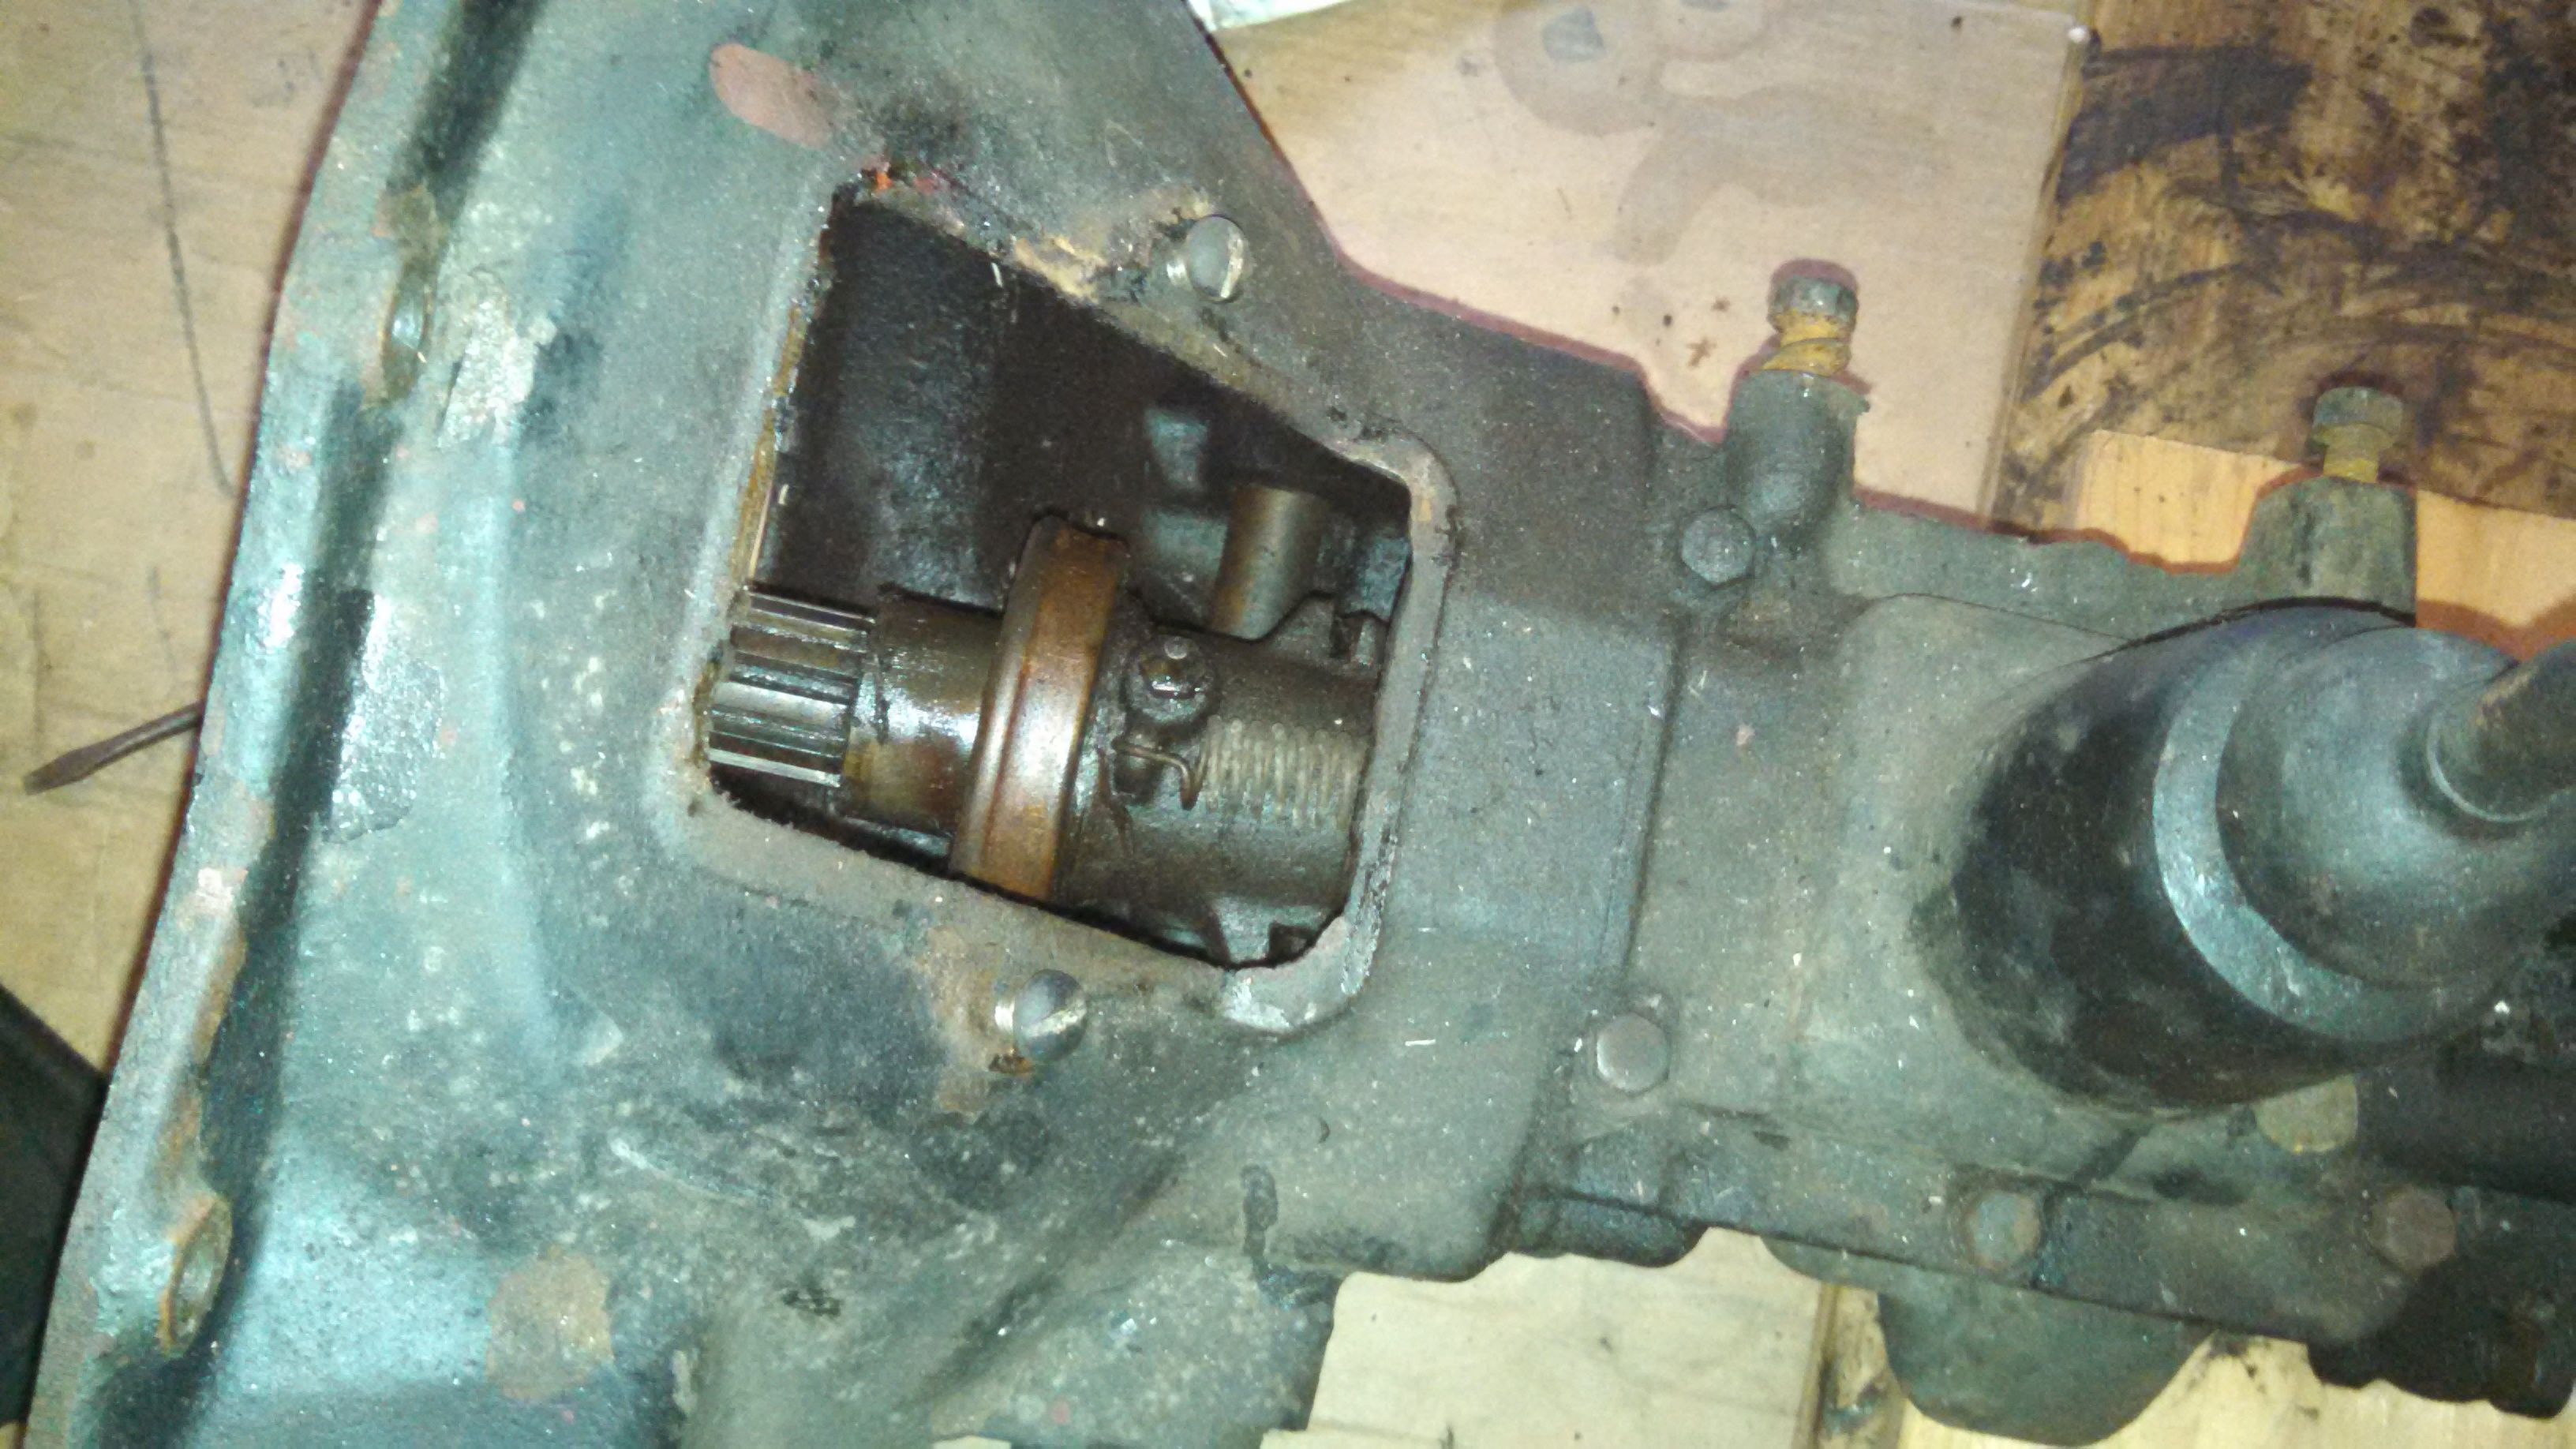
Step 4, Lift the pilot shaft (and bearing) out of the housing...
D'oh! Couldn't do it. It's stuck in there pretty good - I'm figuring I'll need to give it a couple of taps with a brass drift to get it out, but that means seeing what I can do to tear down the back end of the tranny... I will say, however, that the bearing seems a bit loose - looks like I'll need a new one.
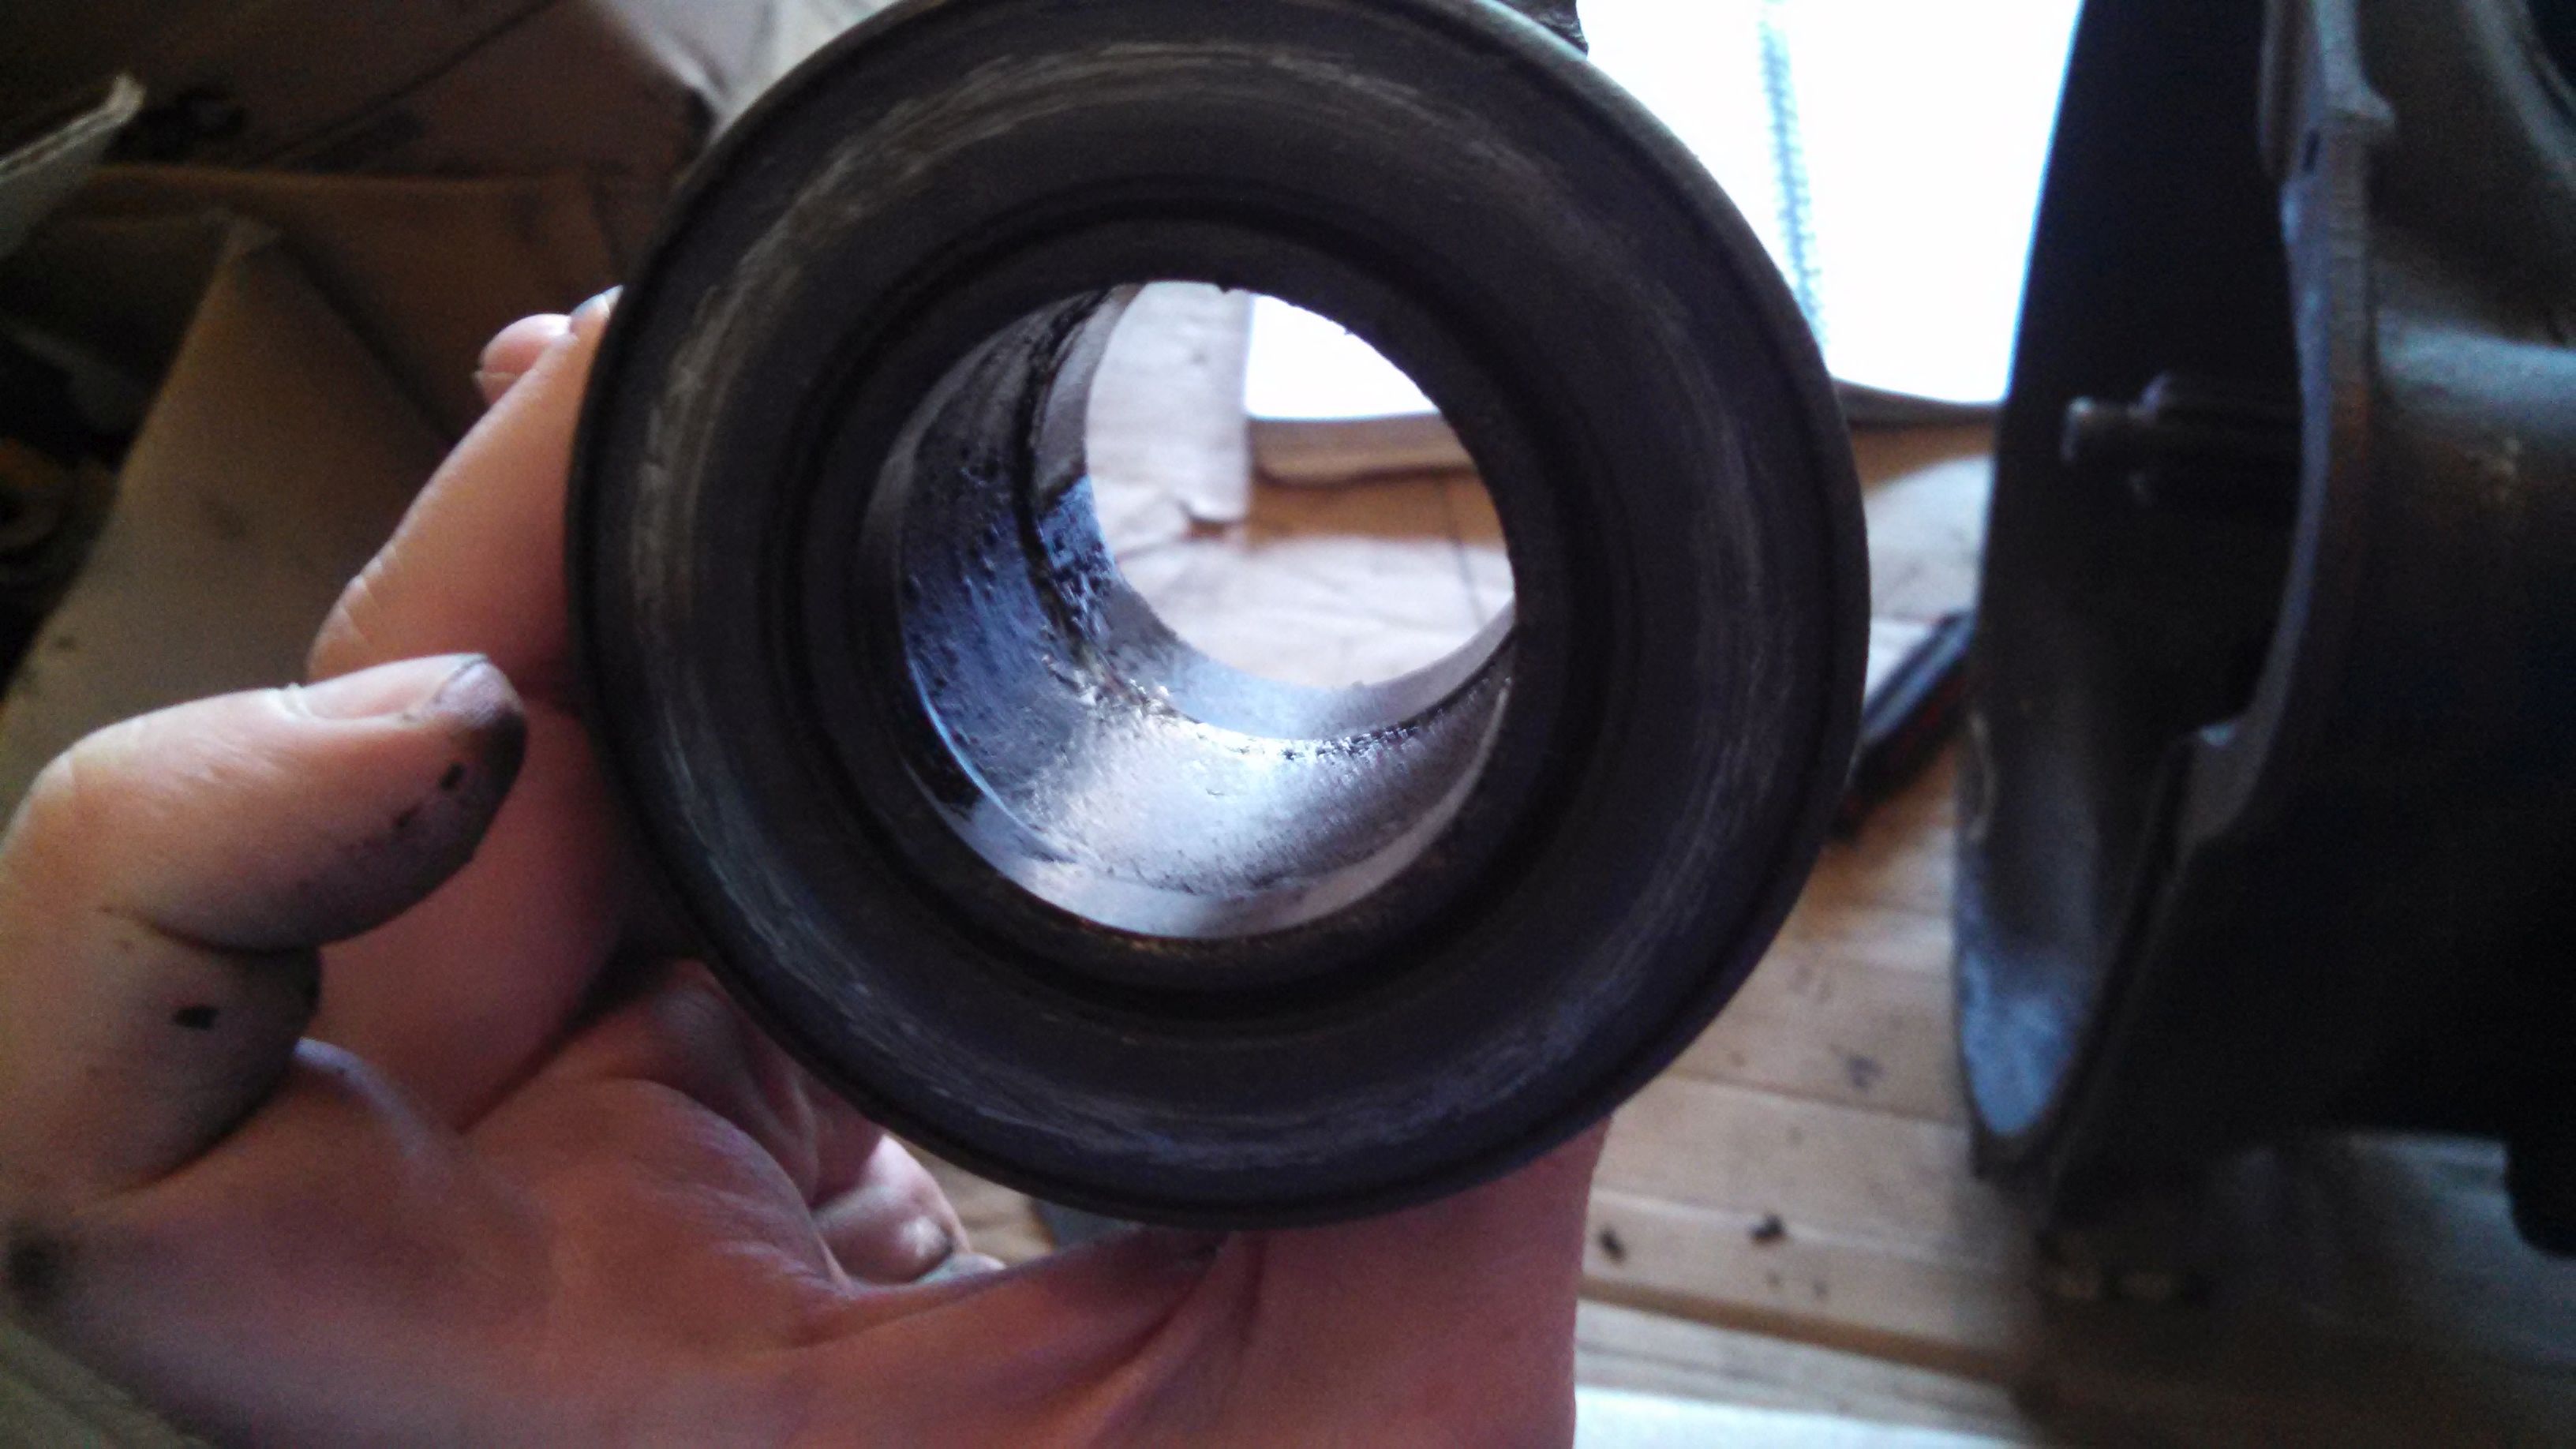
Step 5, Remove the U-Joint:

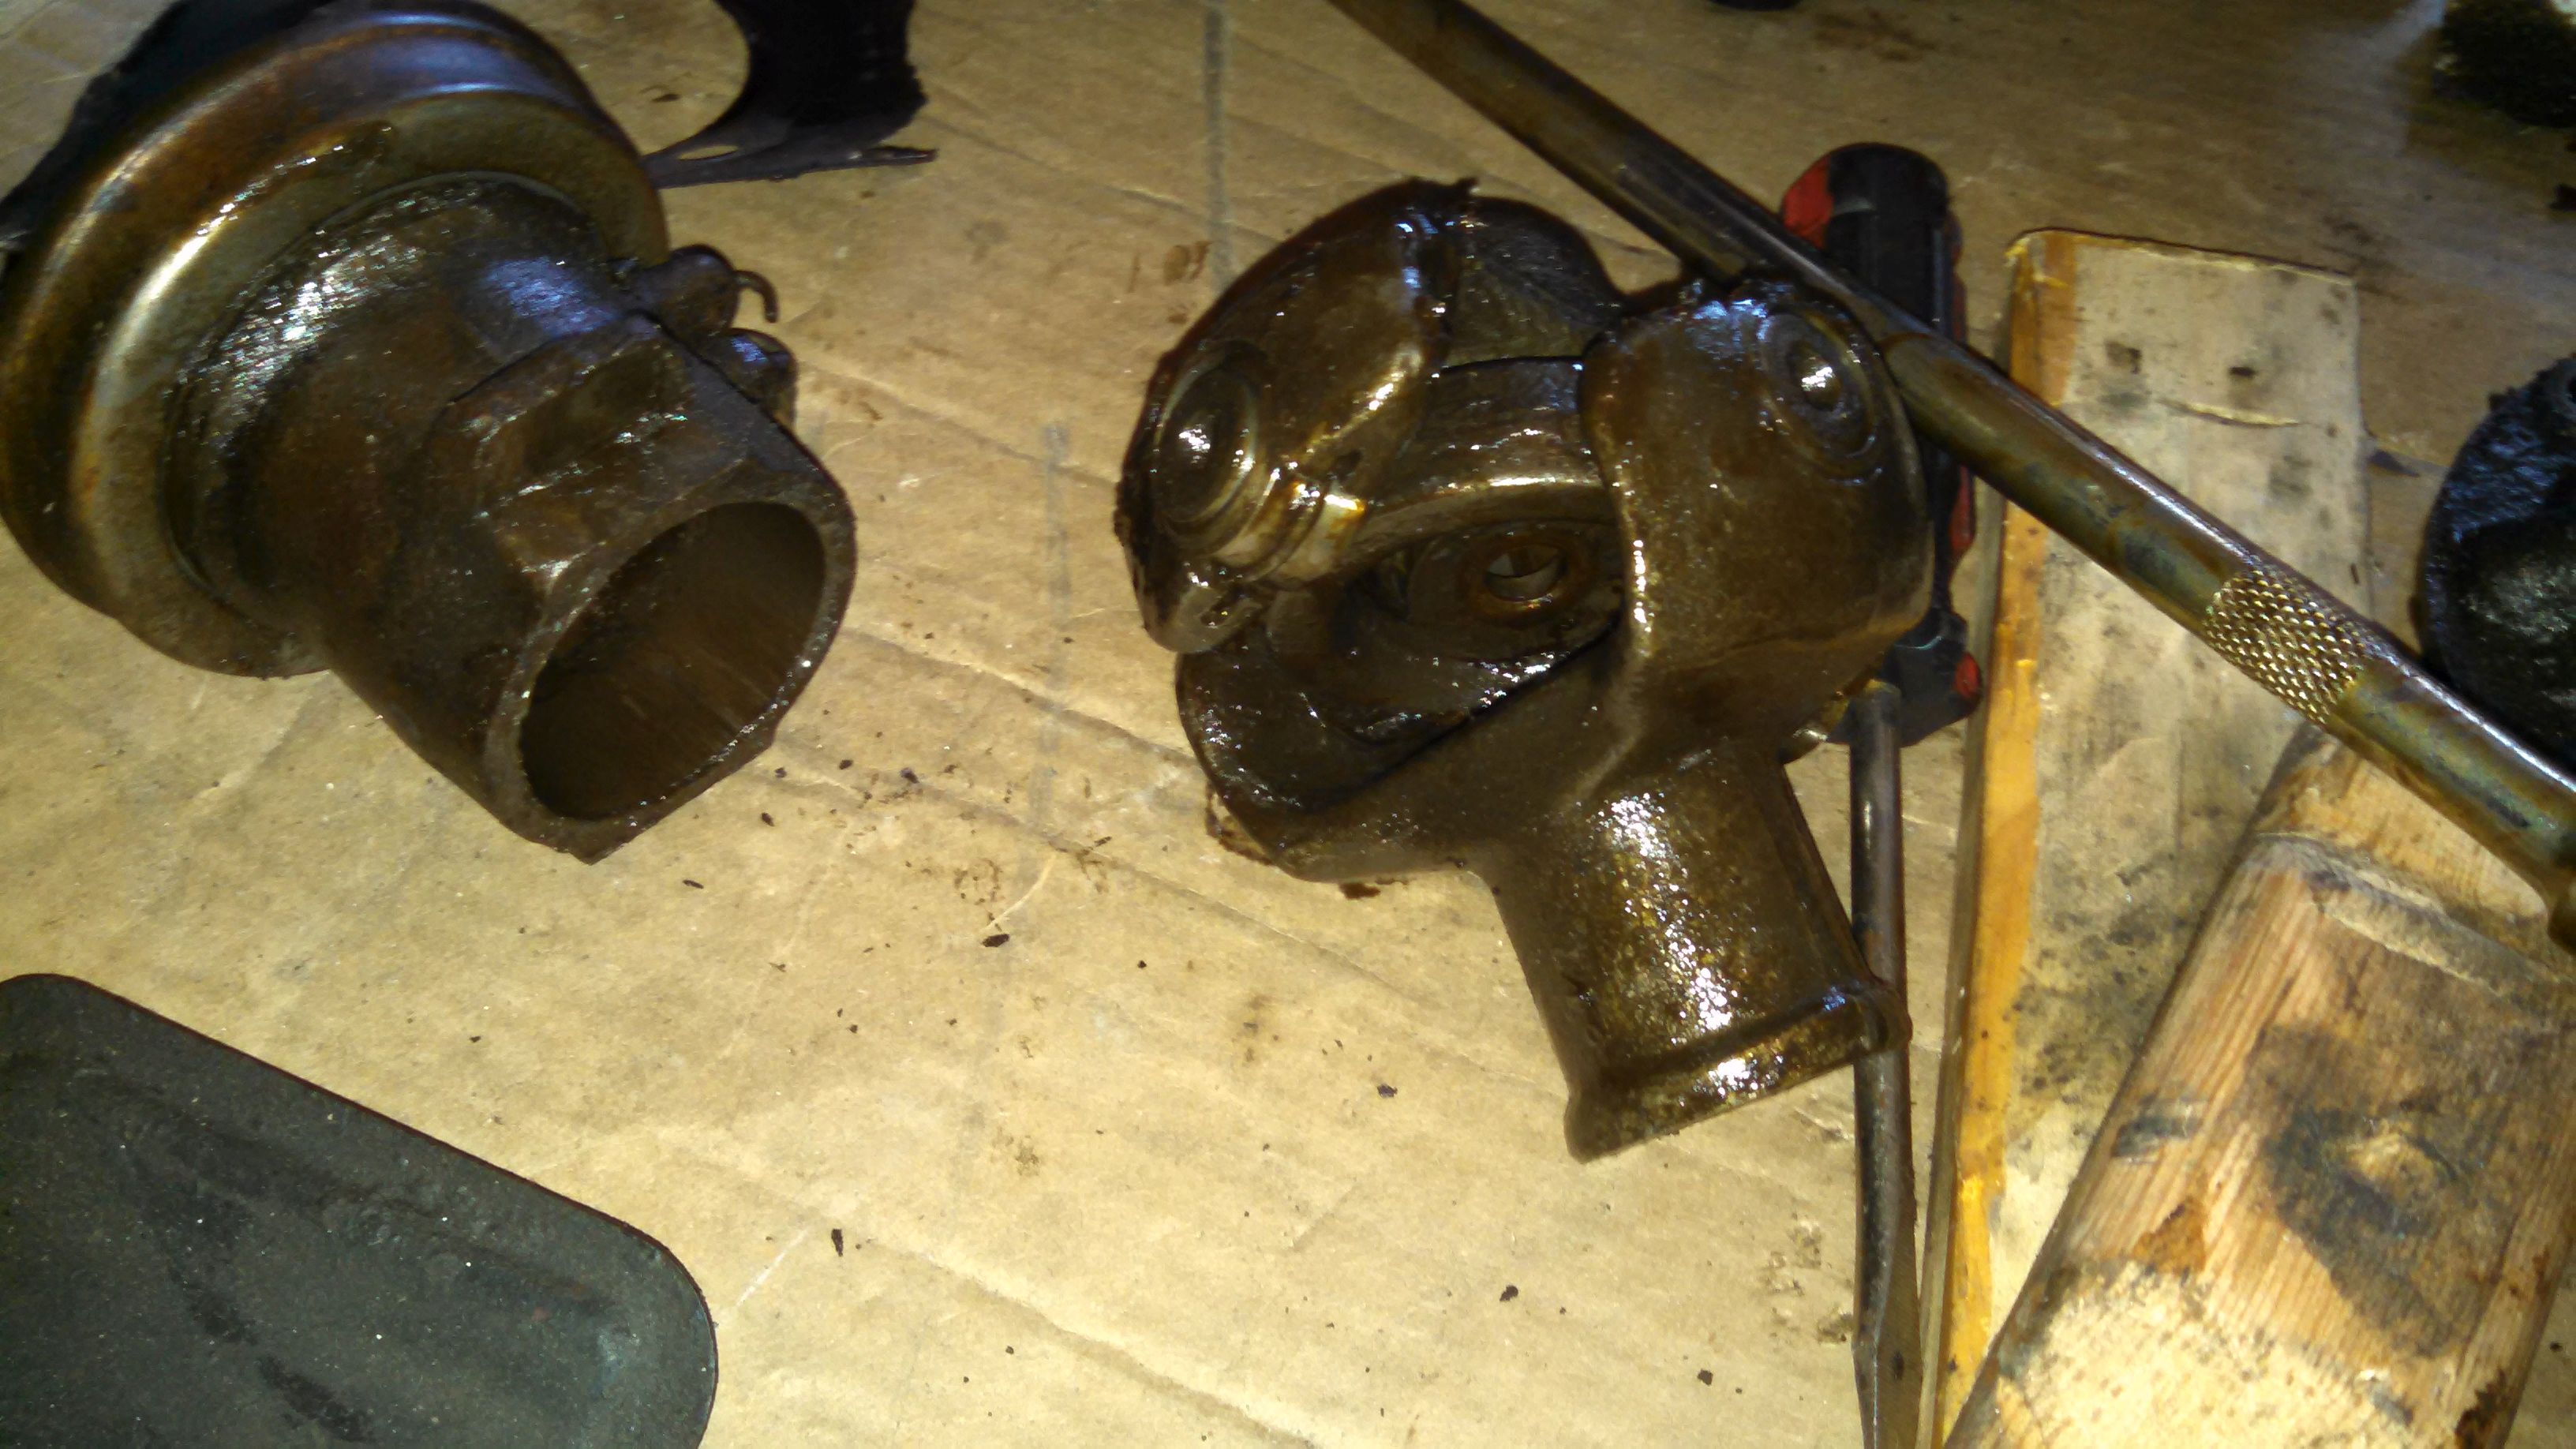
At first glance, the U-joint seems to be in pretty good shape. I can't feel any forward-to-back slop in it, but I notice the pins are a bit loose - I'll have to check on that...
Time to finish the tear down! But first, I sat down with my middle daughter to try to explain how a transmission works:
So, skipping to the rear end of the tranny...
Step 6, Remove the rear bearing cover. Done (no pics).
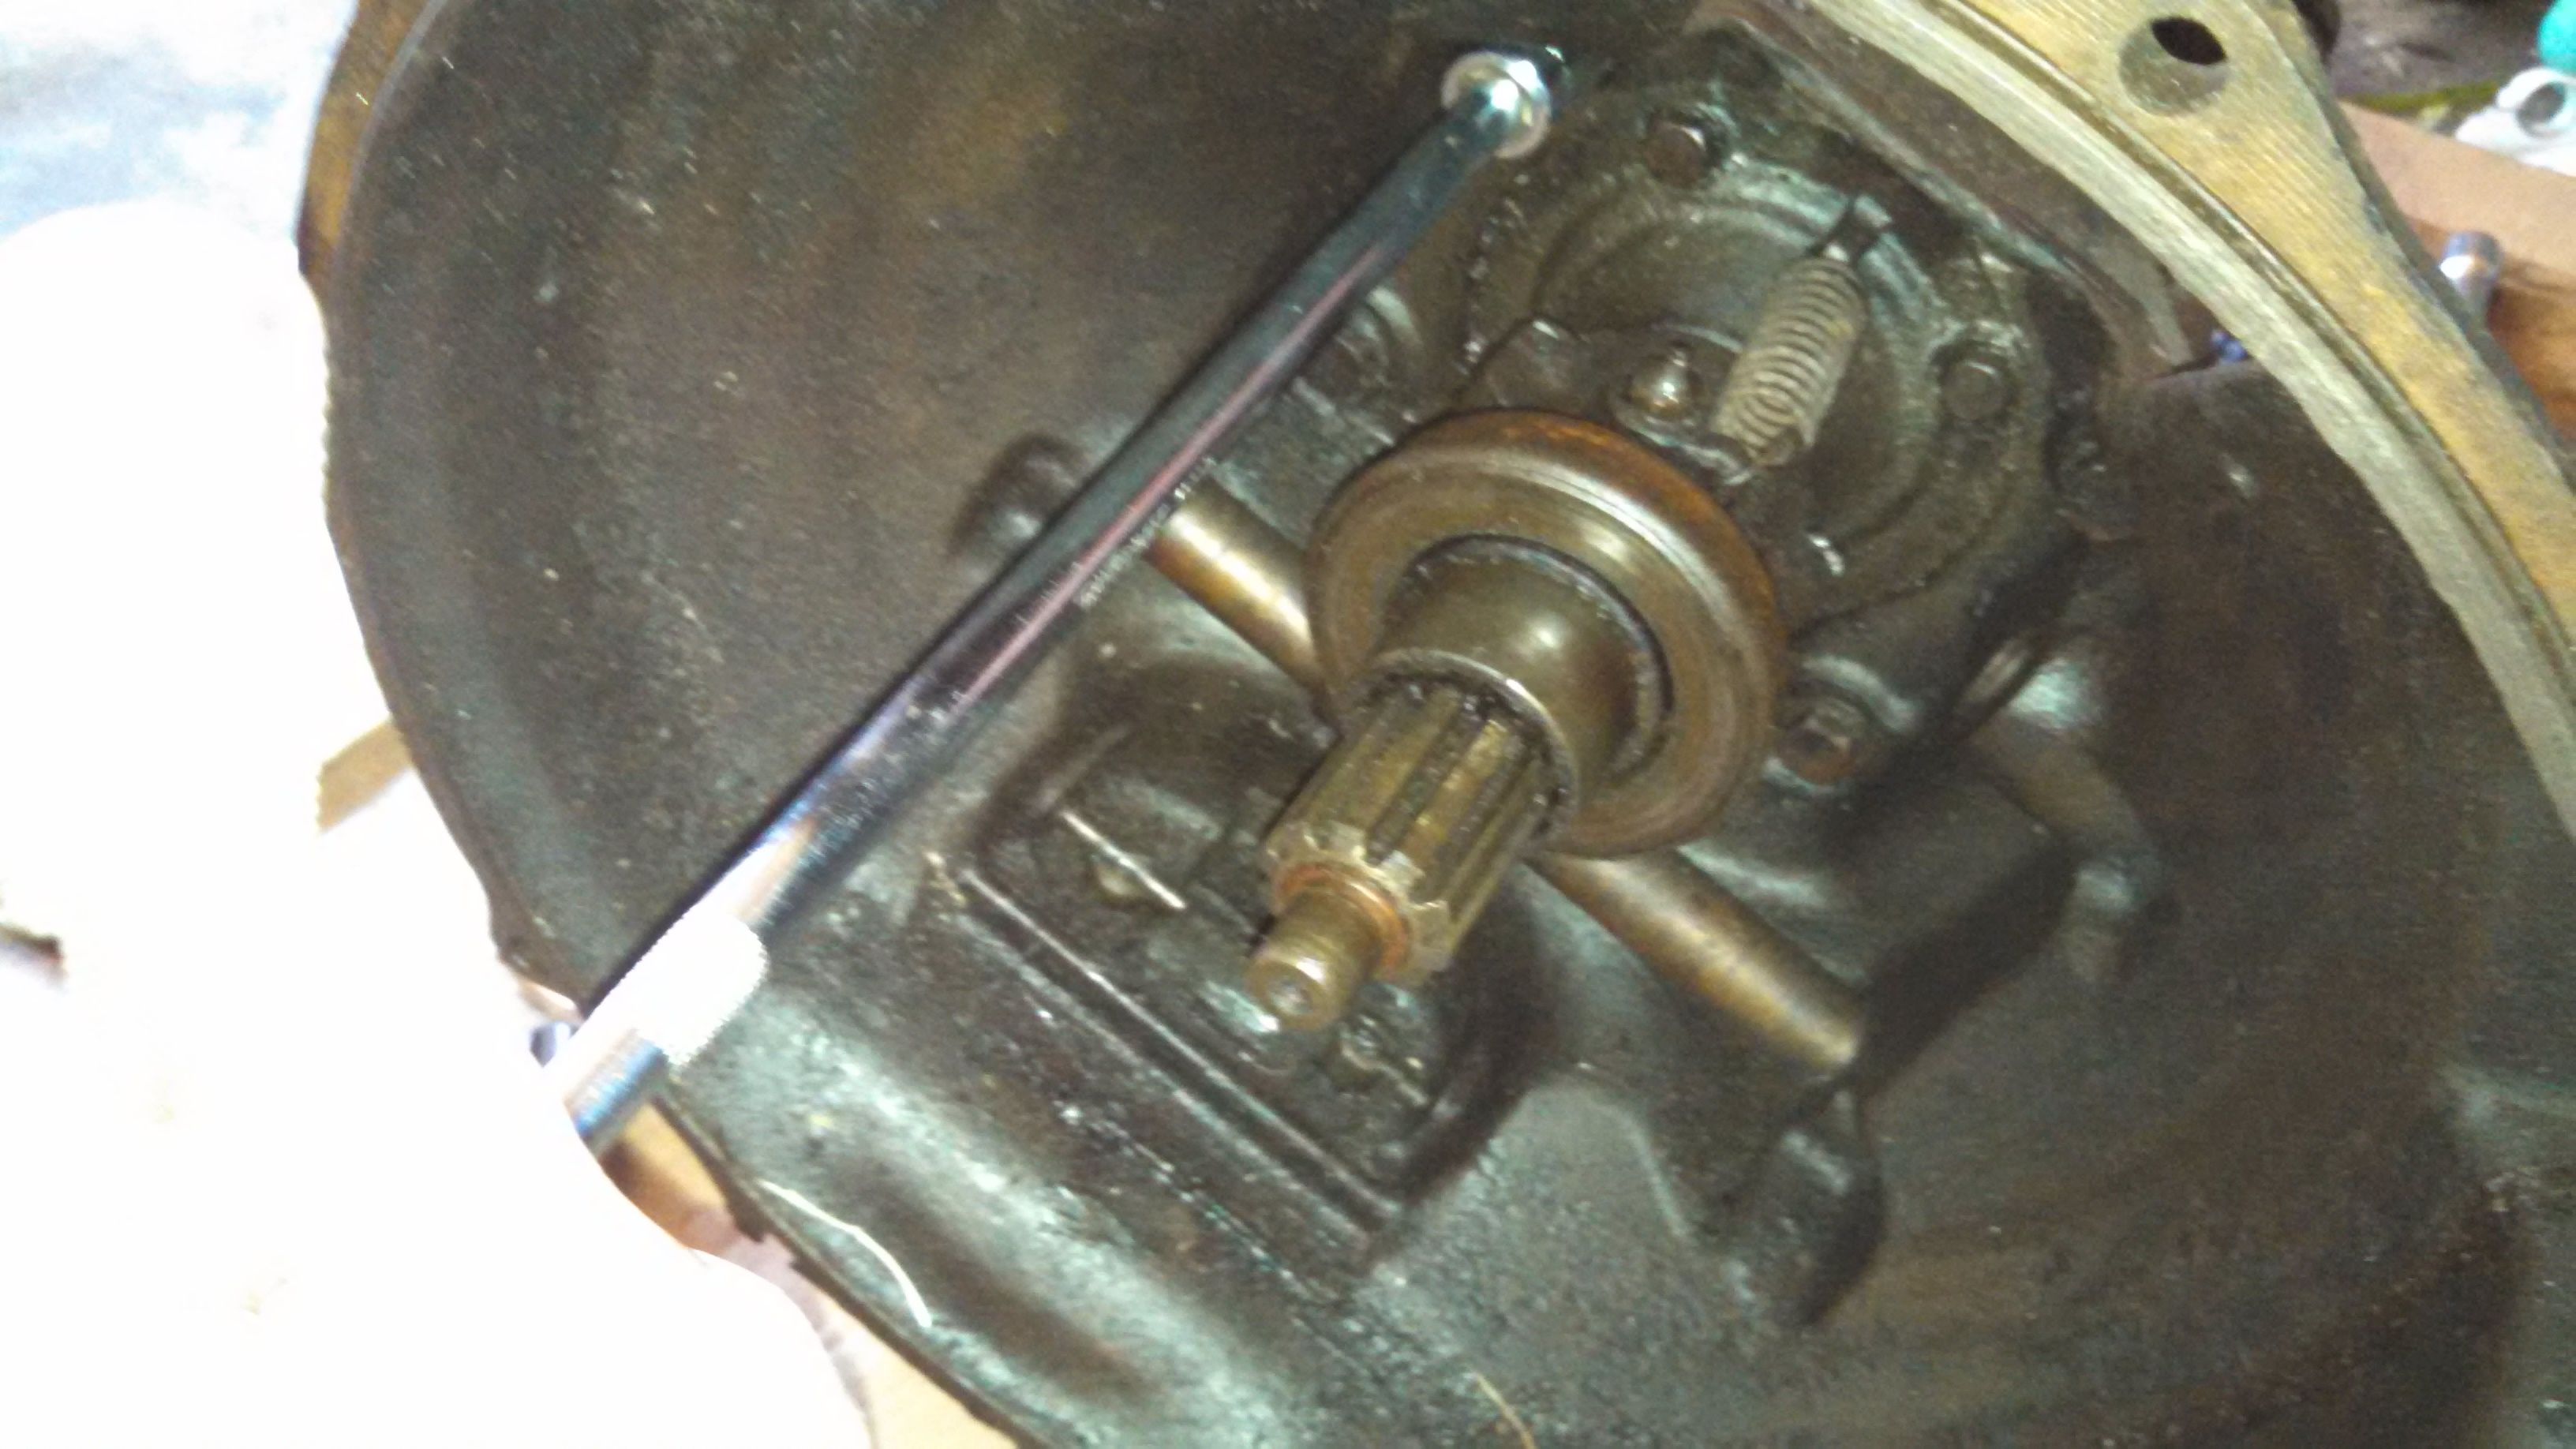
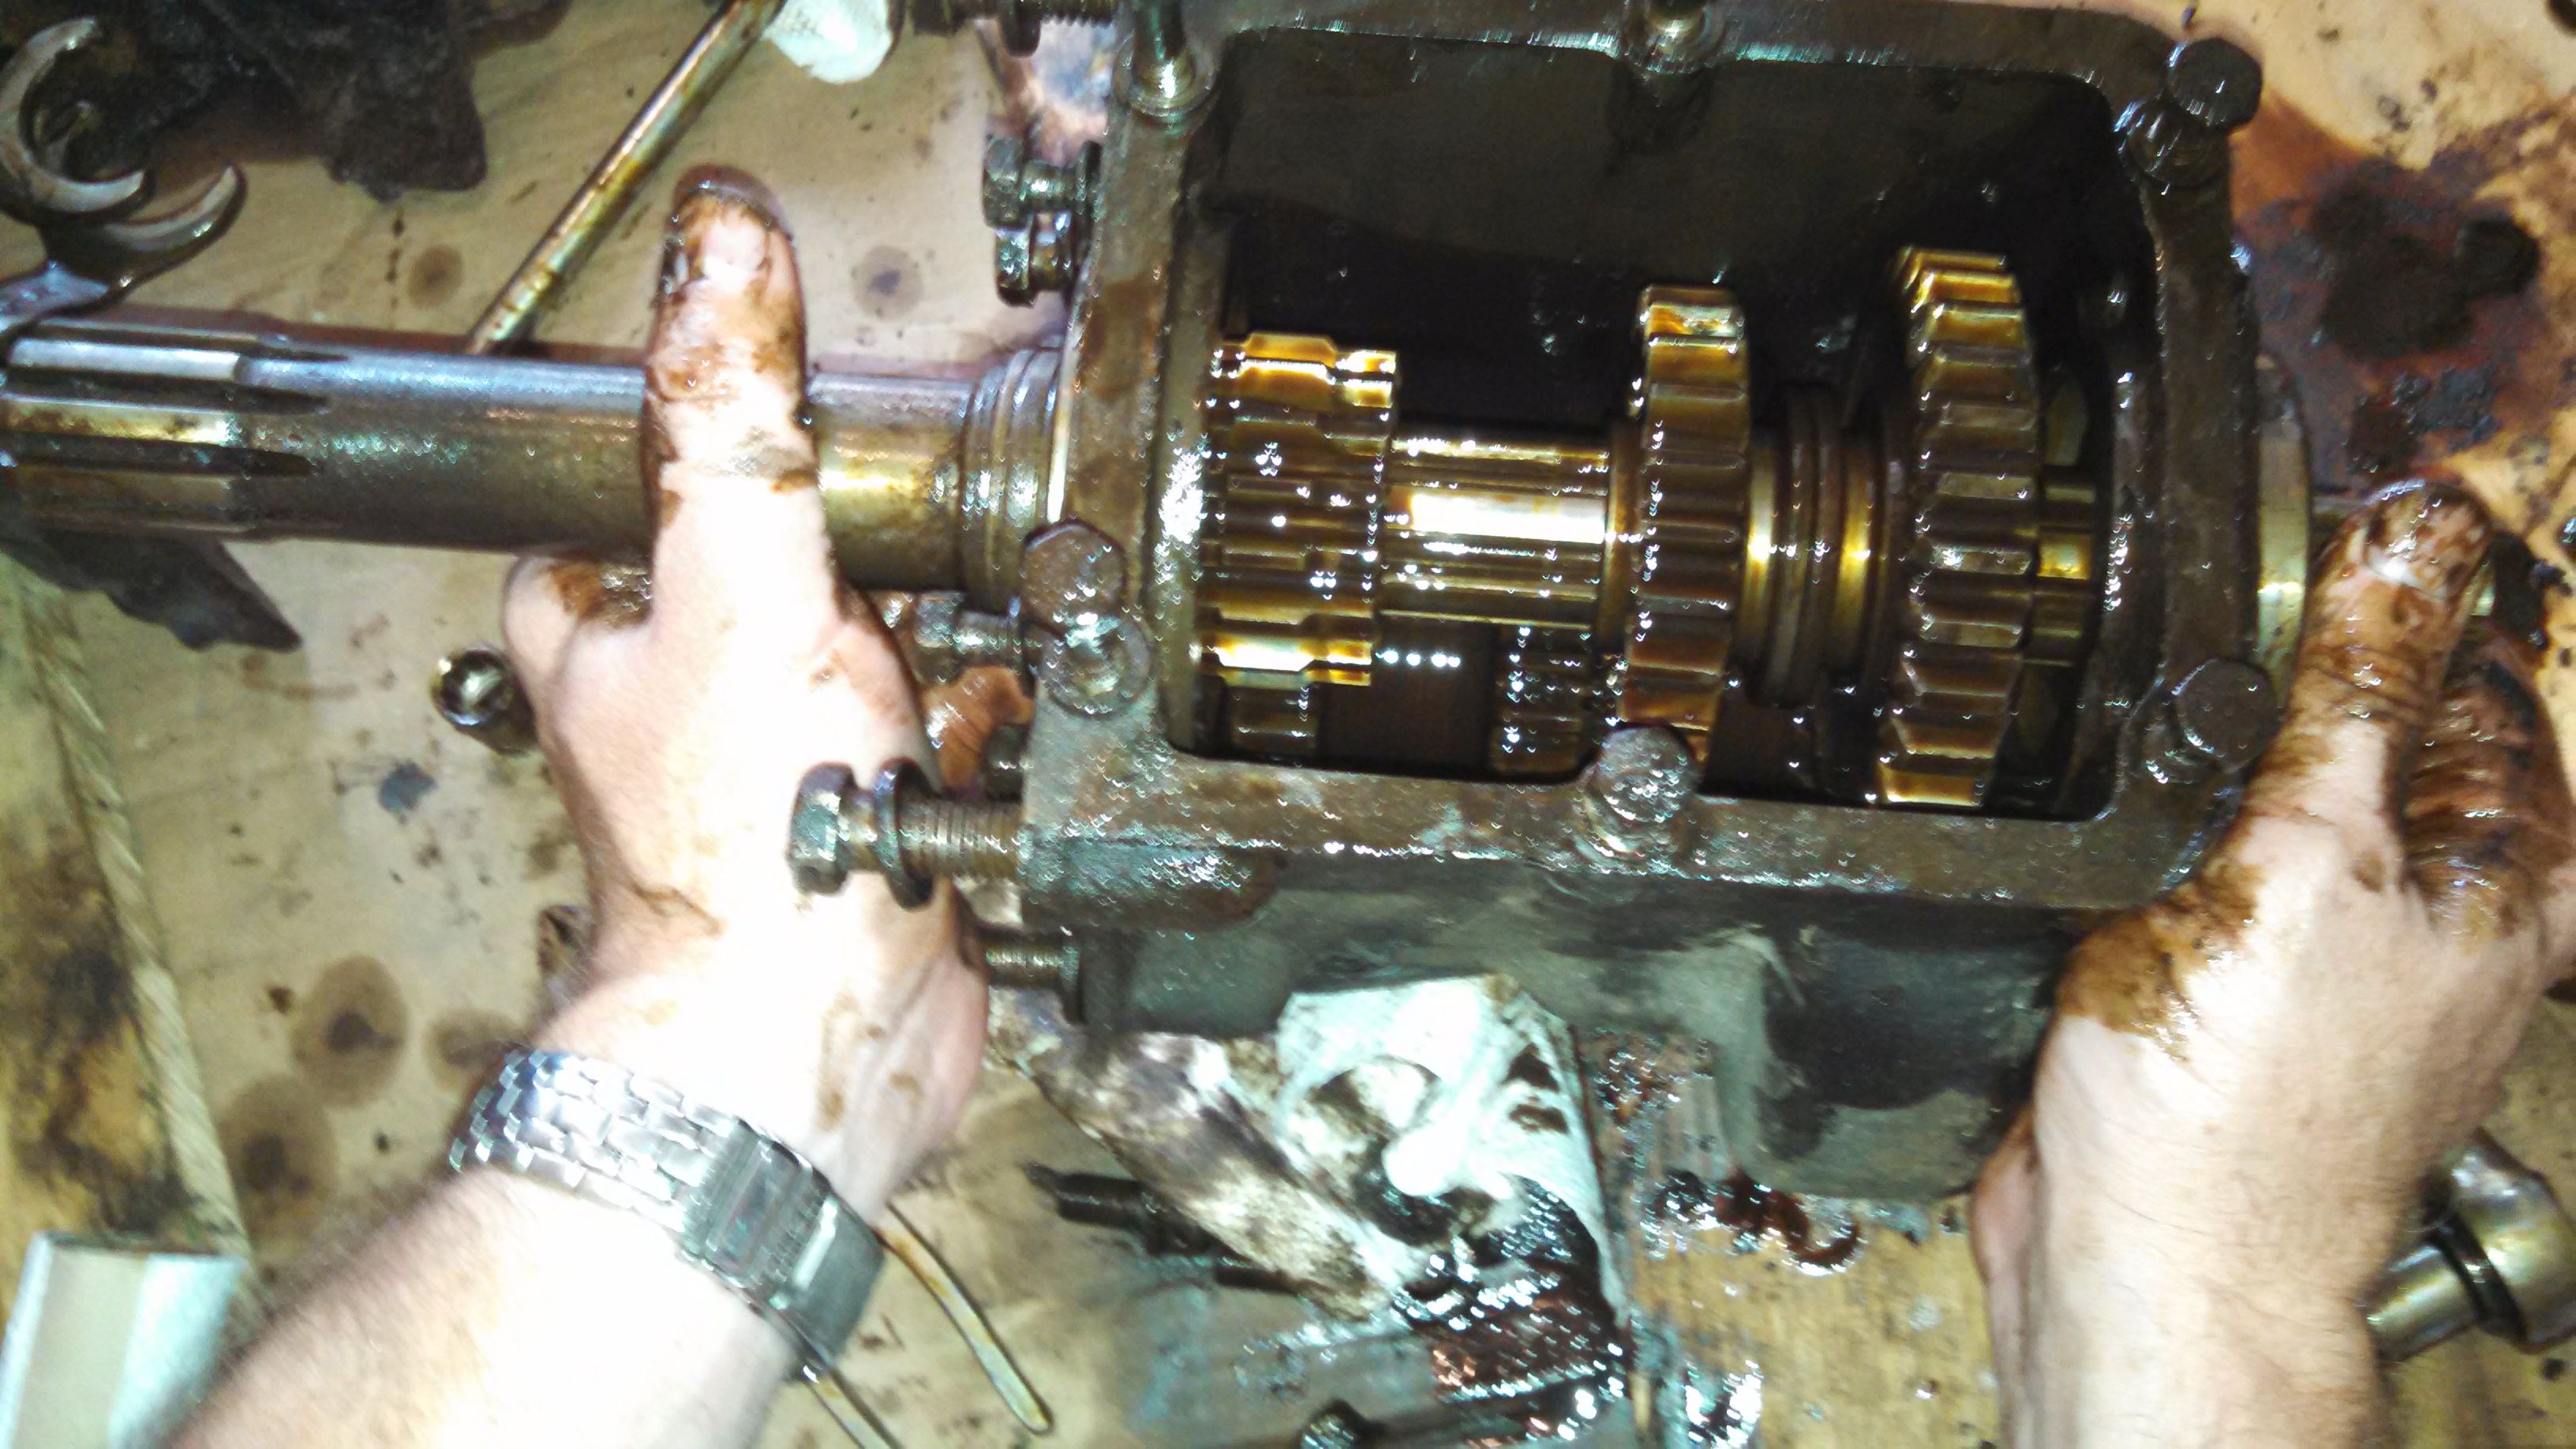
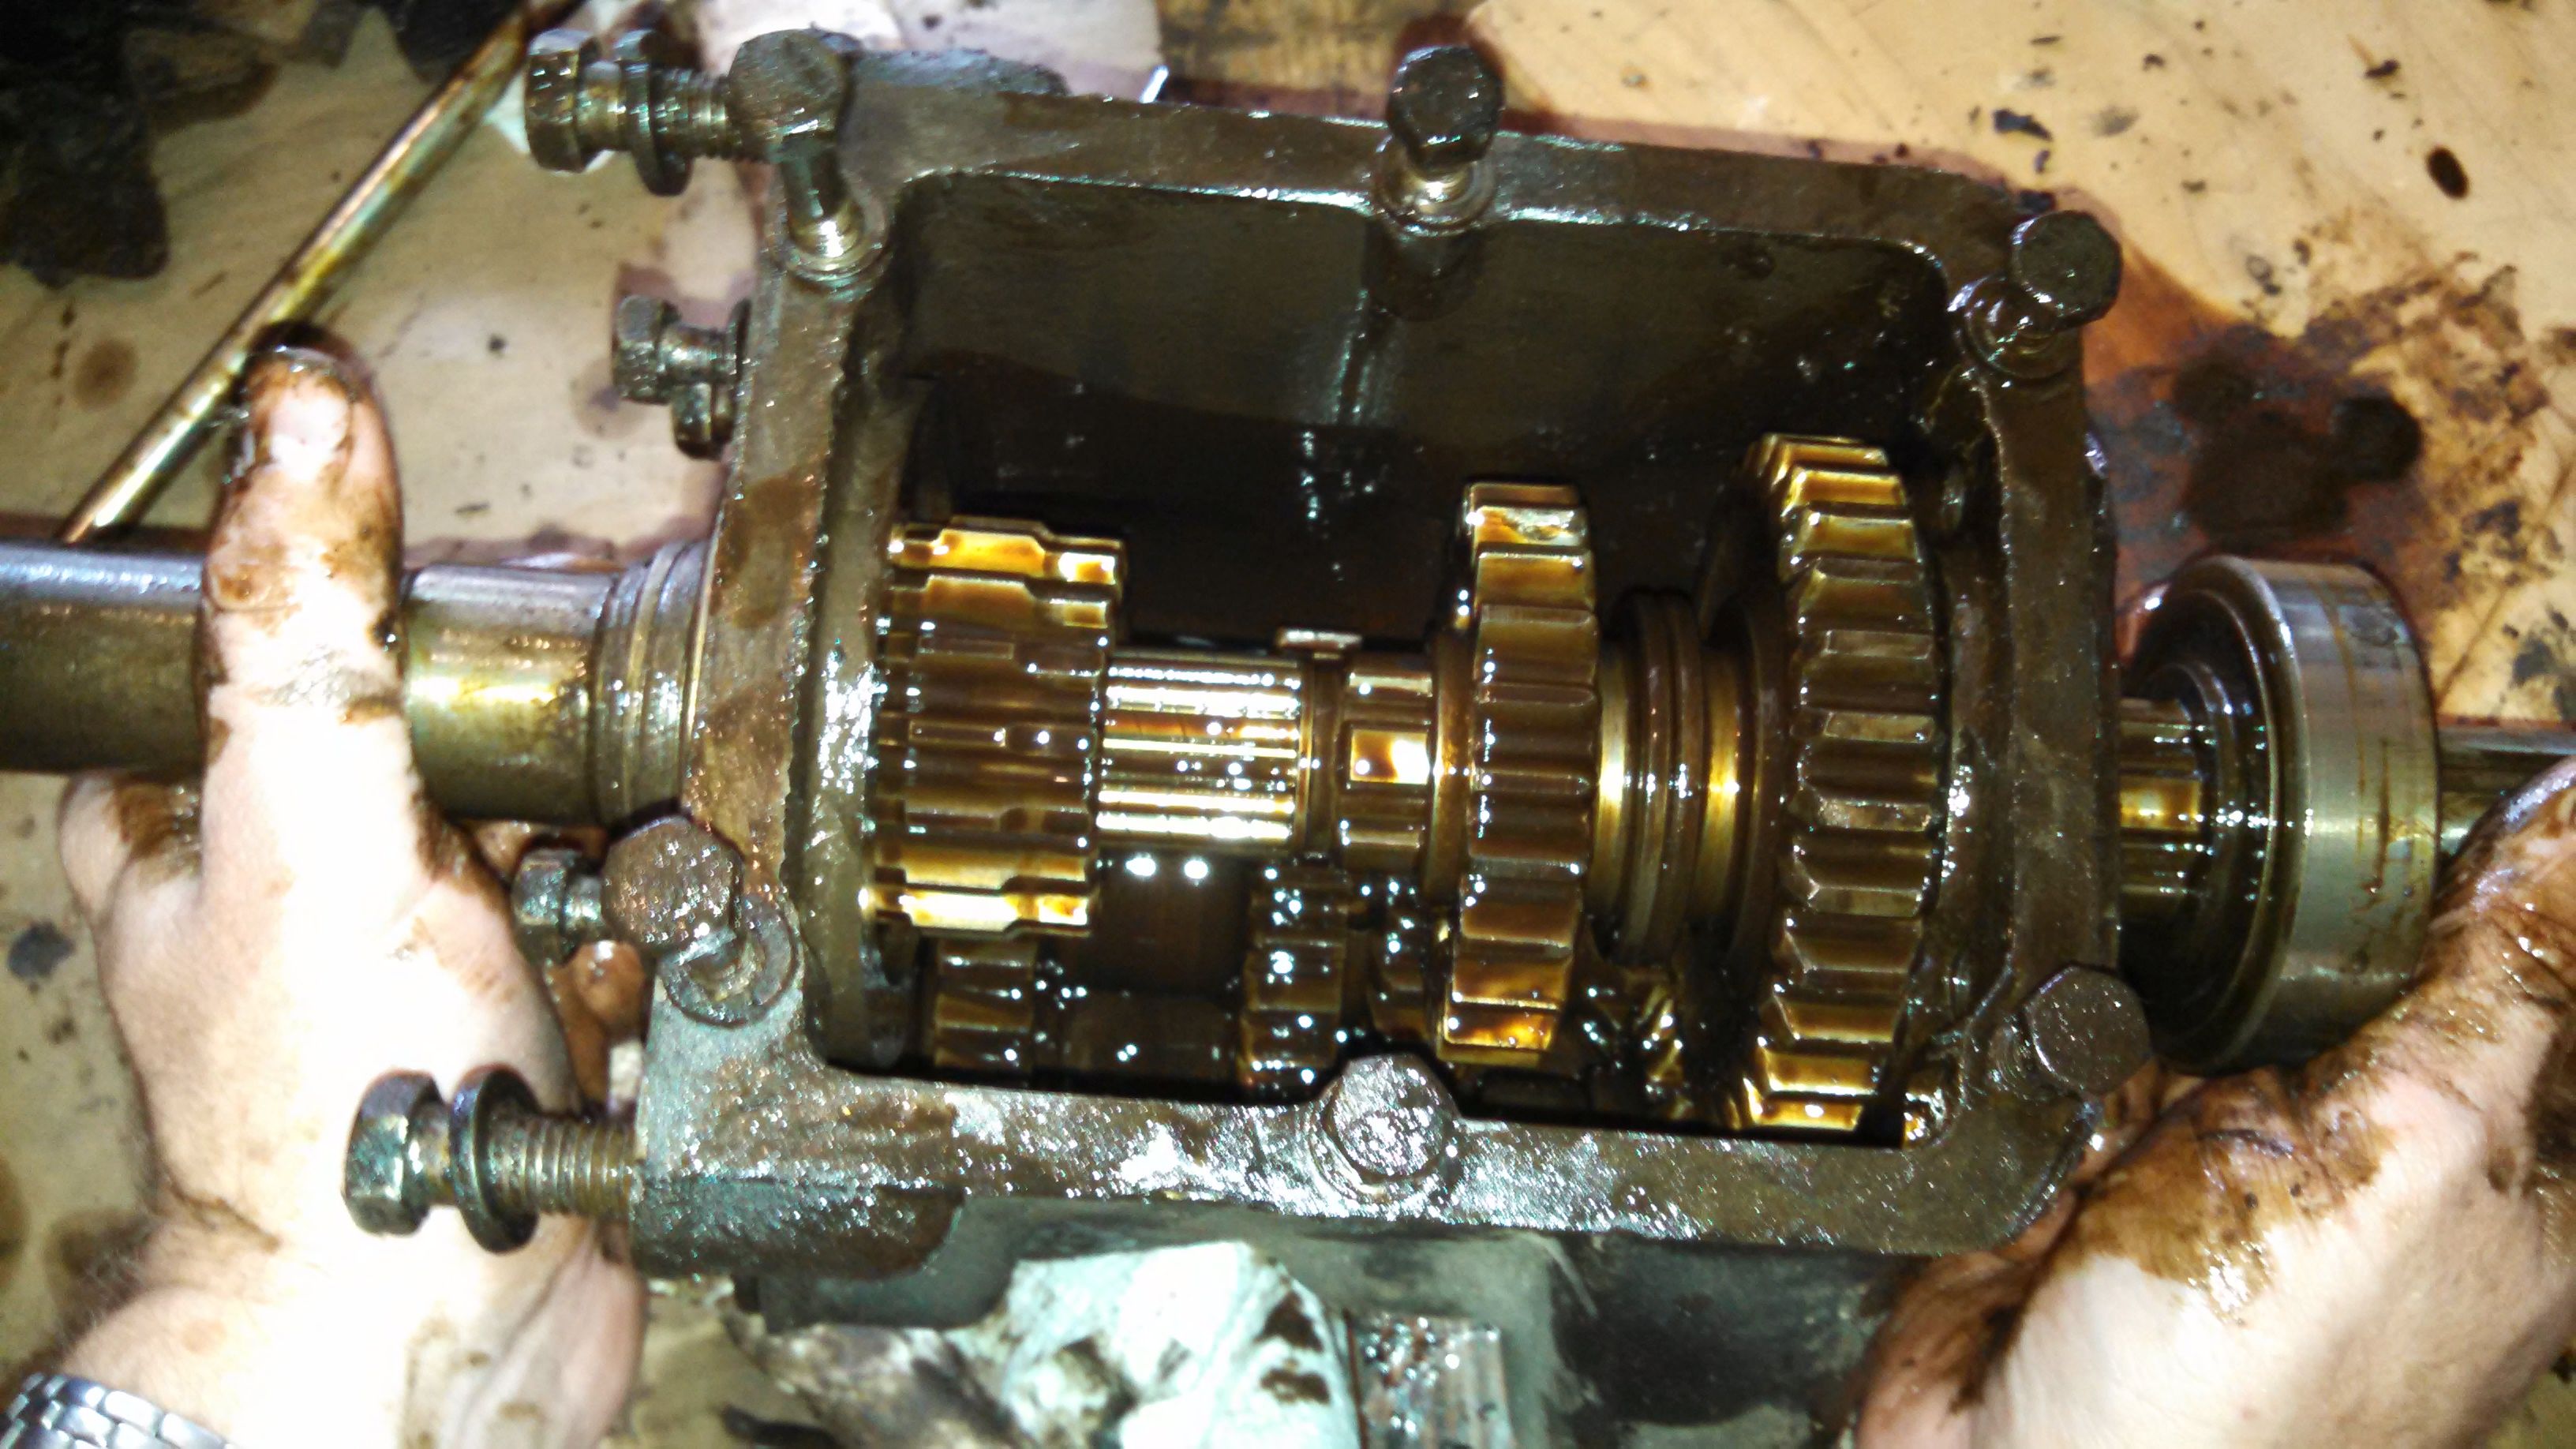
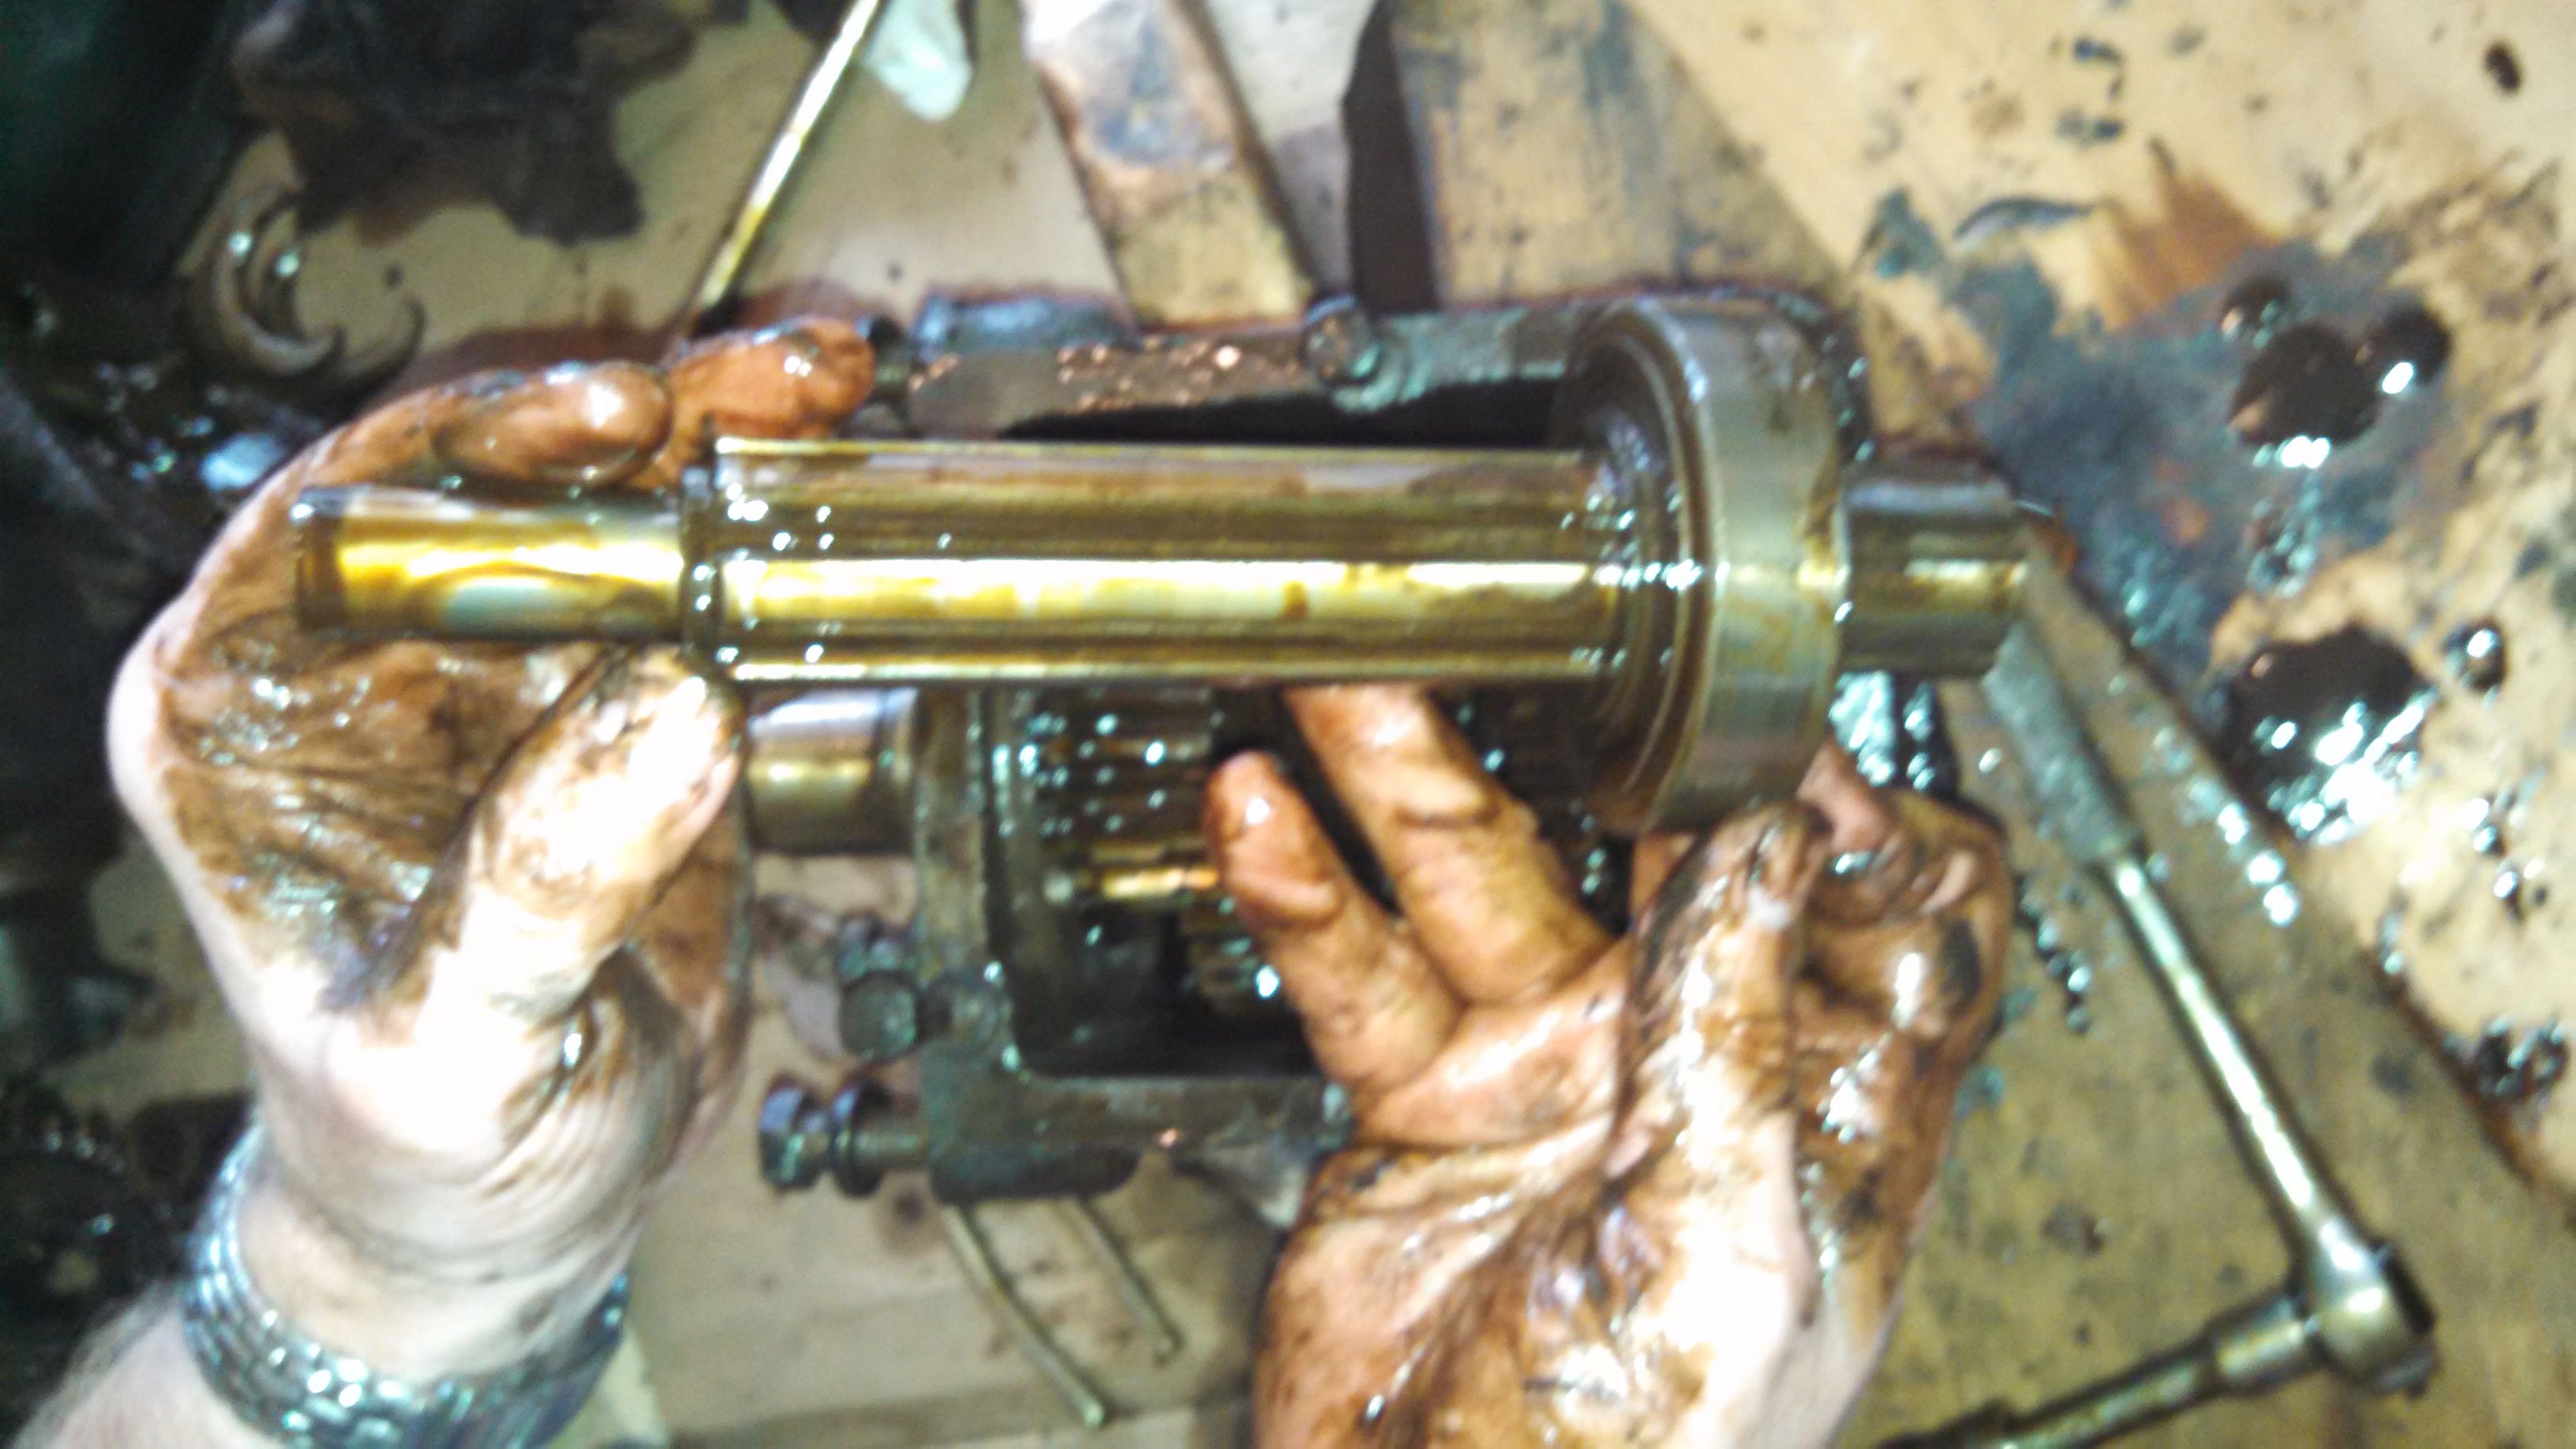
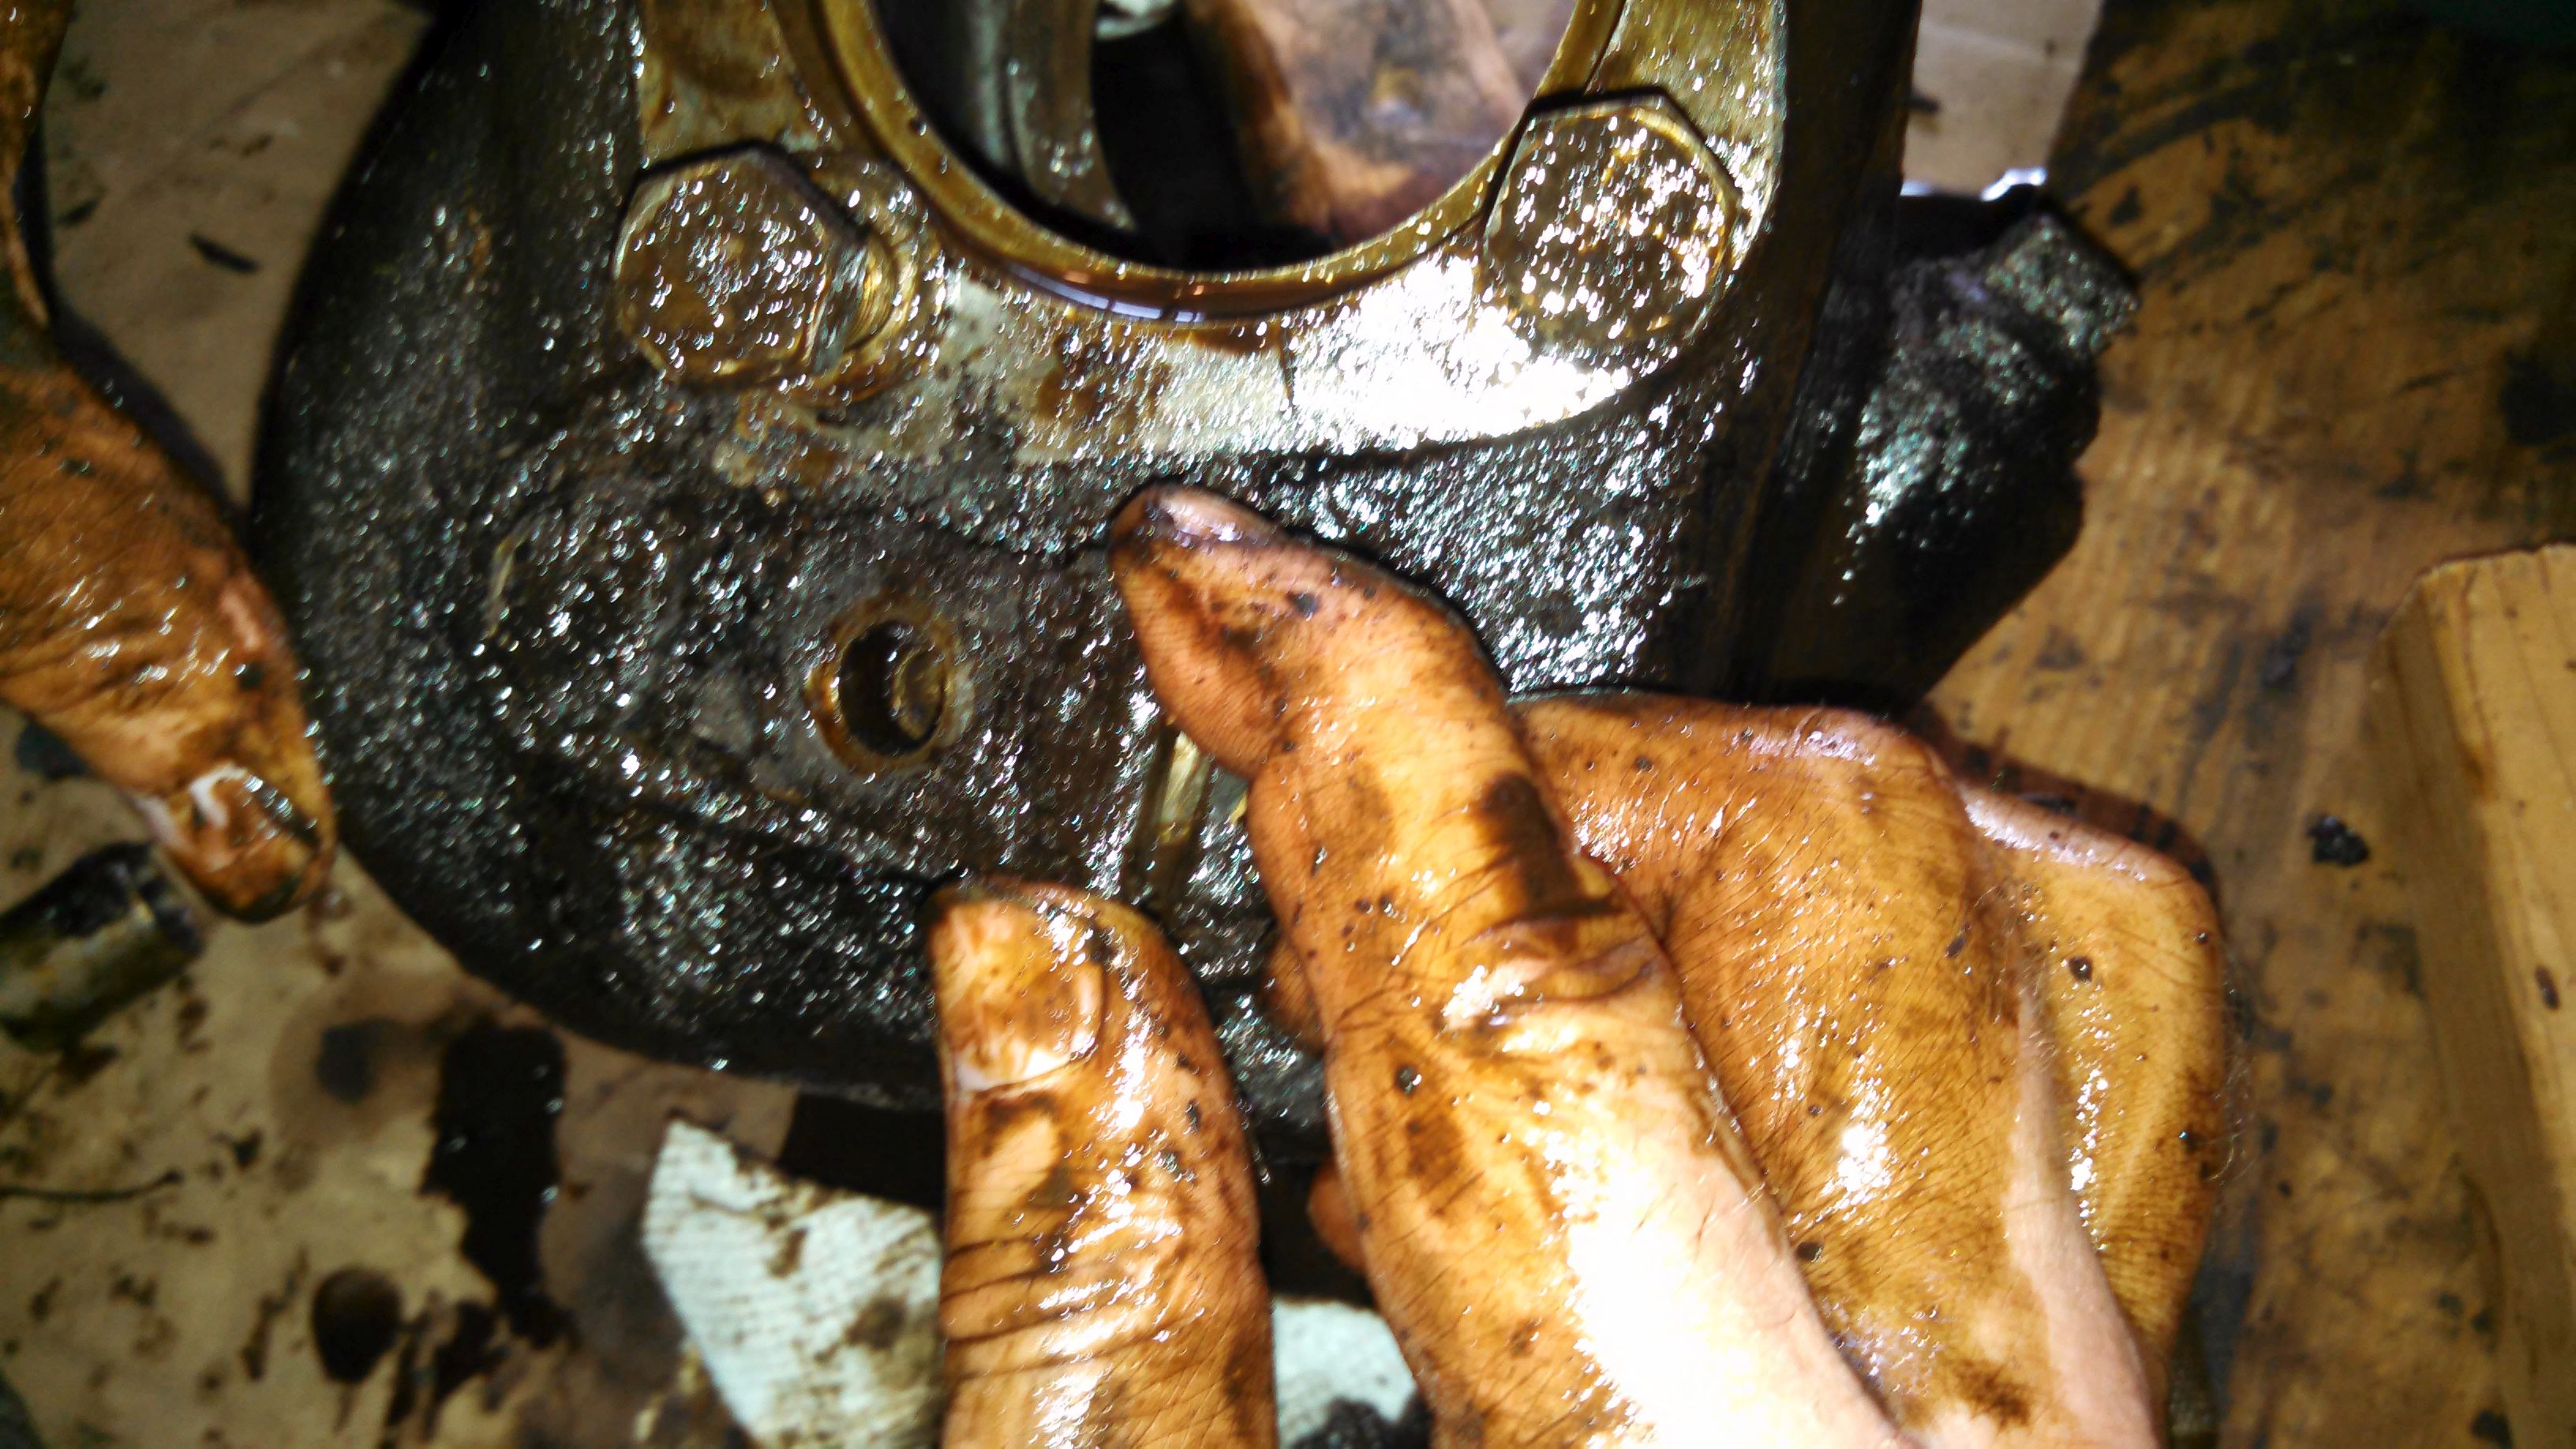
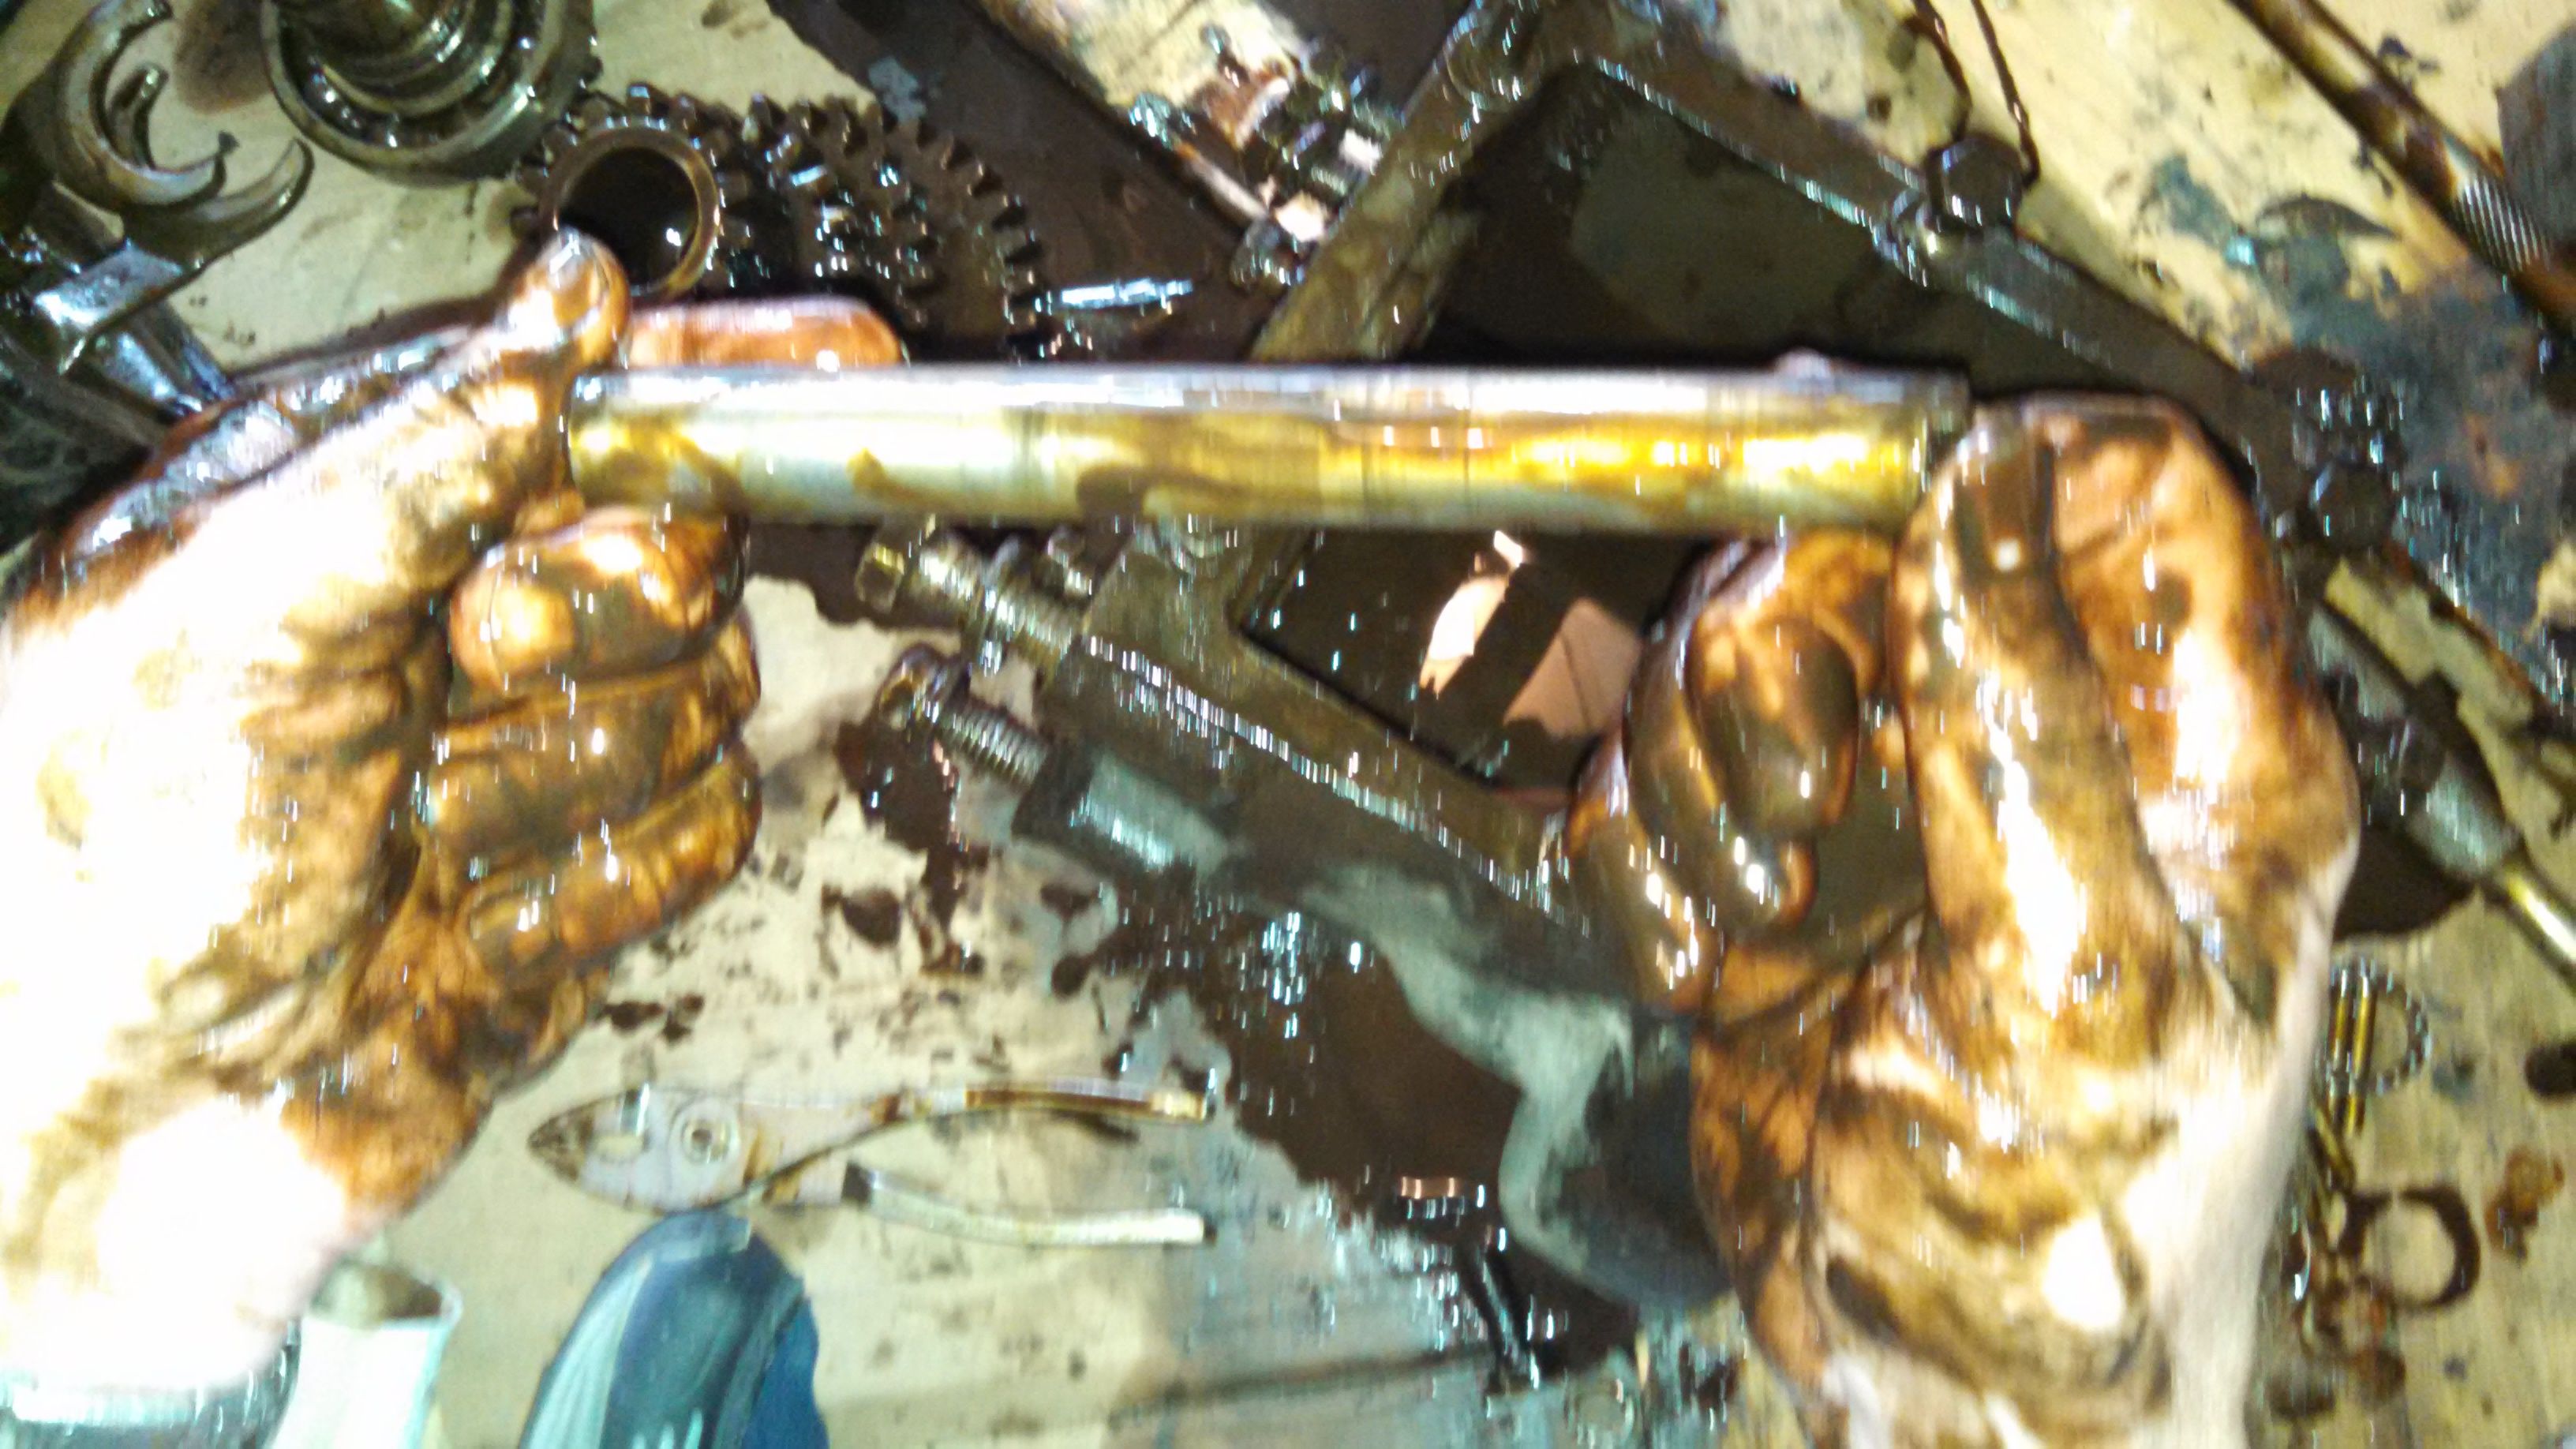
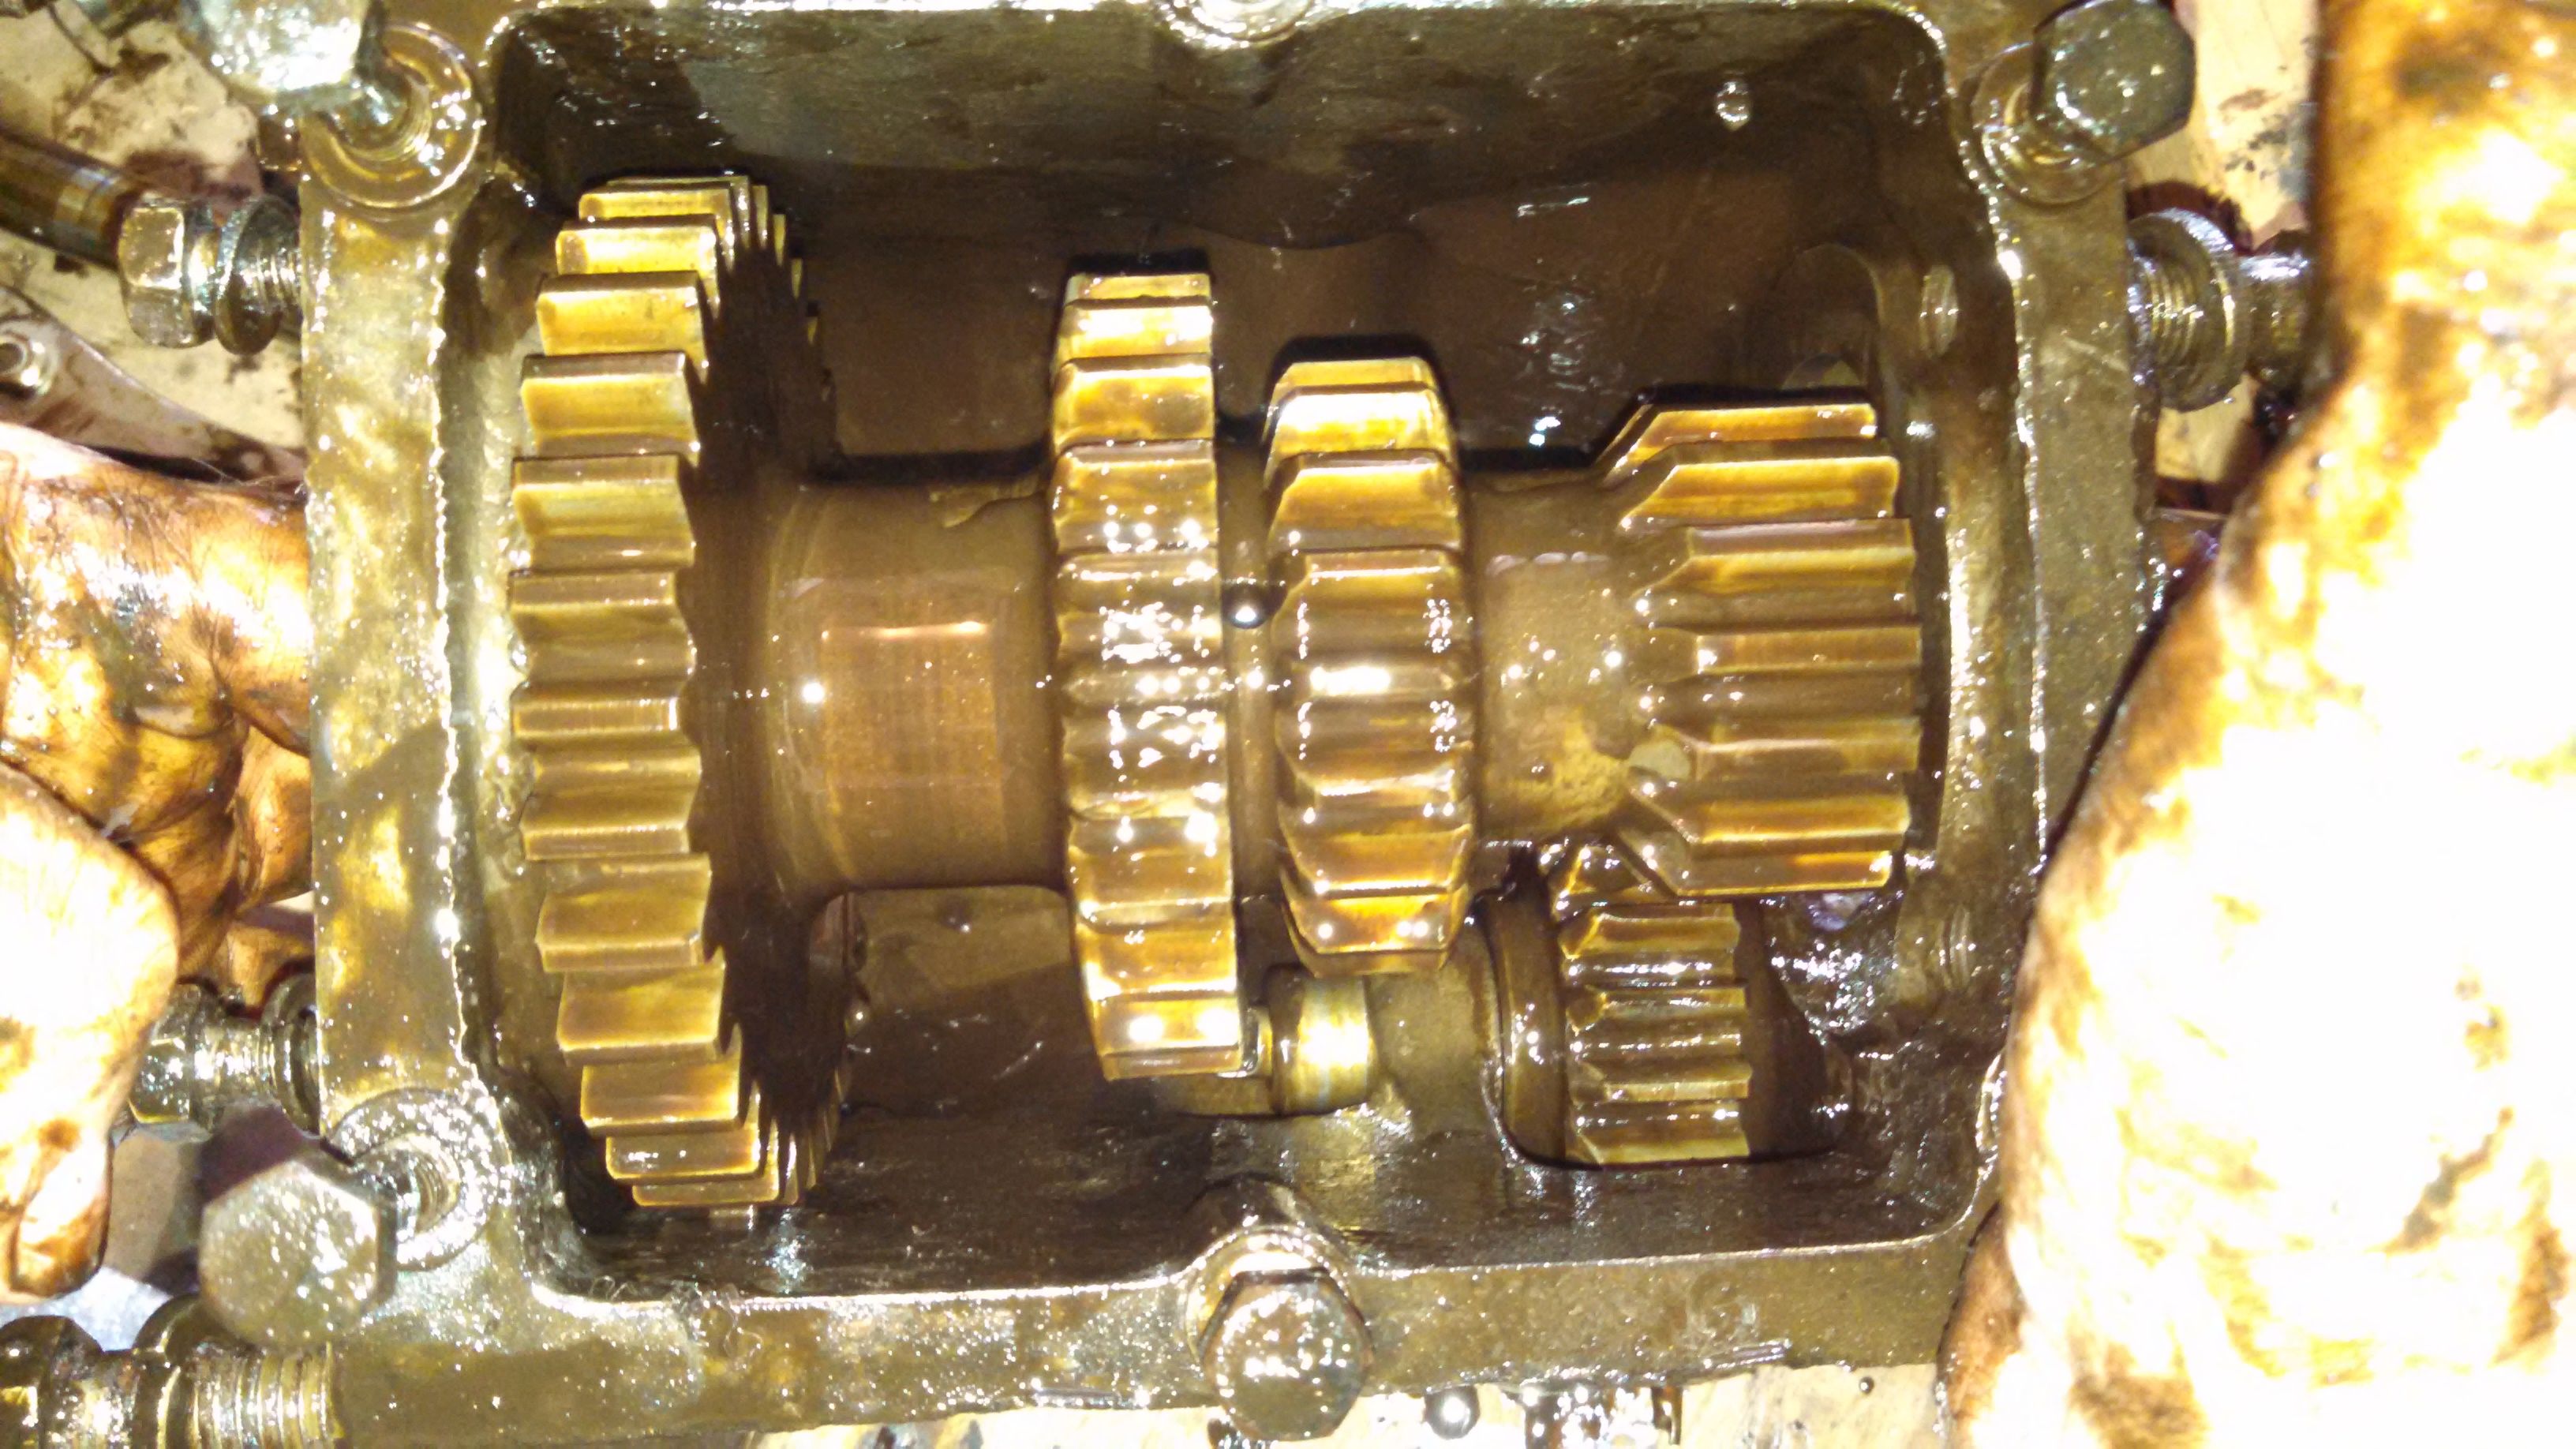
Step 7, Remove the main shaft (with bearing):
The main shaft was stuck similarly to the pilot shaft, but I was able to get a drift in on the retainer plate. A relatively gentle tap (I swear, ma, I barely touched it!) knocked it loose quite handily. As I carefully pulled it out, the gears and pilot shaft bearings came right off. Notice those bearings in the picture on the far right - they look to be in pretty good shape, but I think I'll be replacing them anyway..

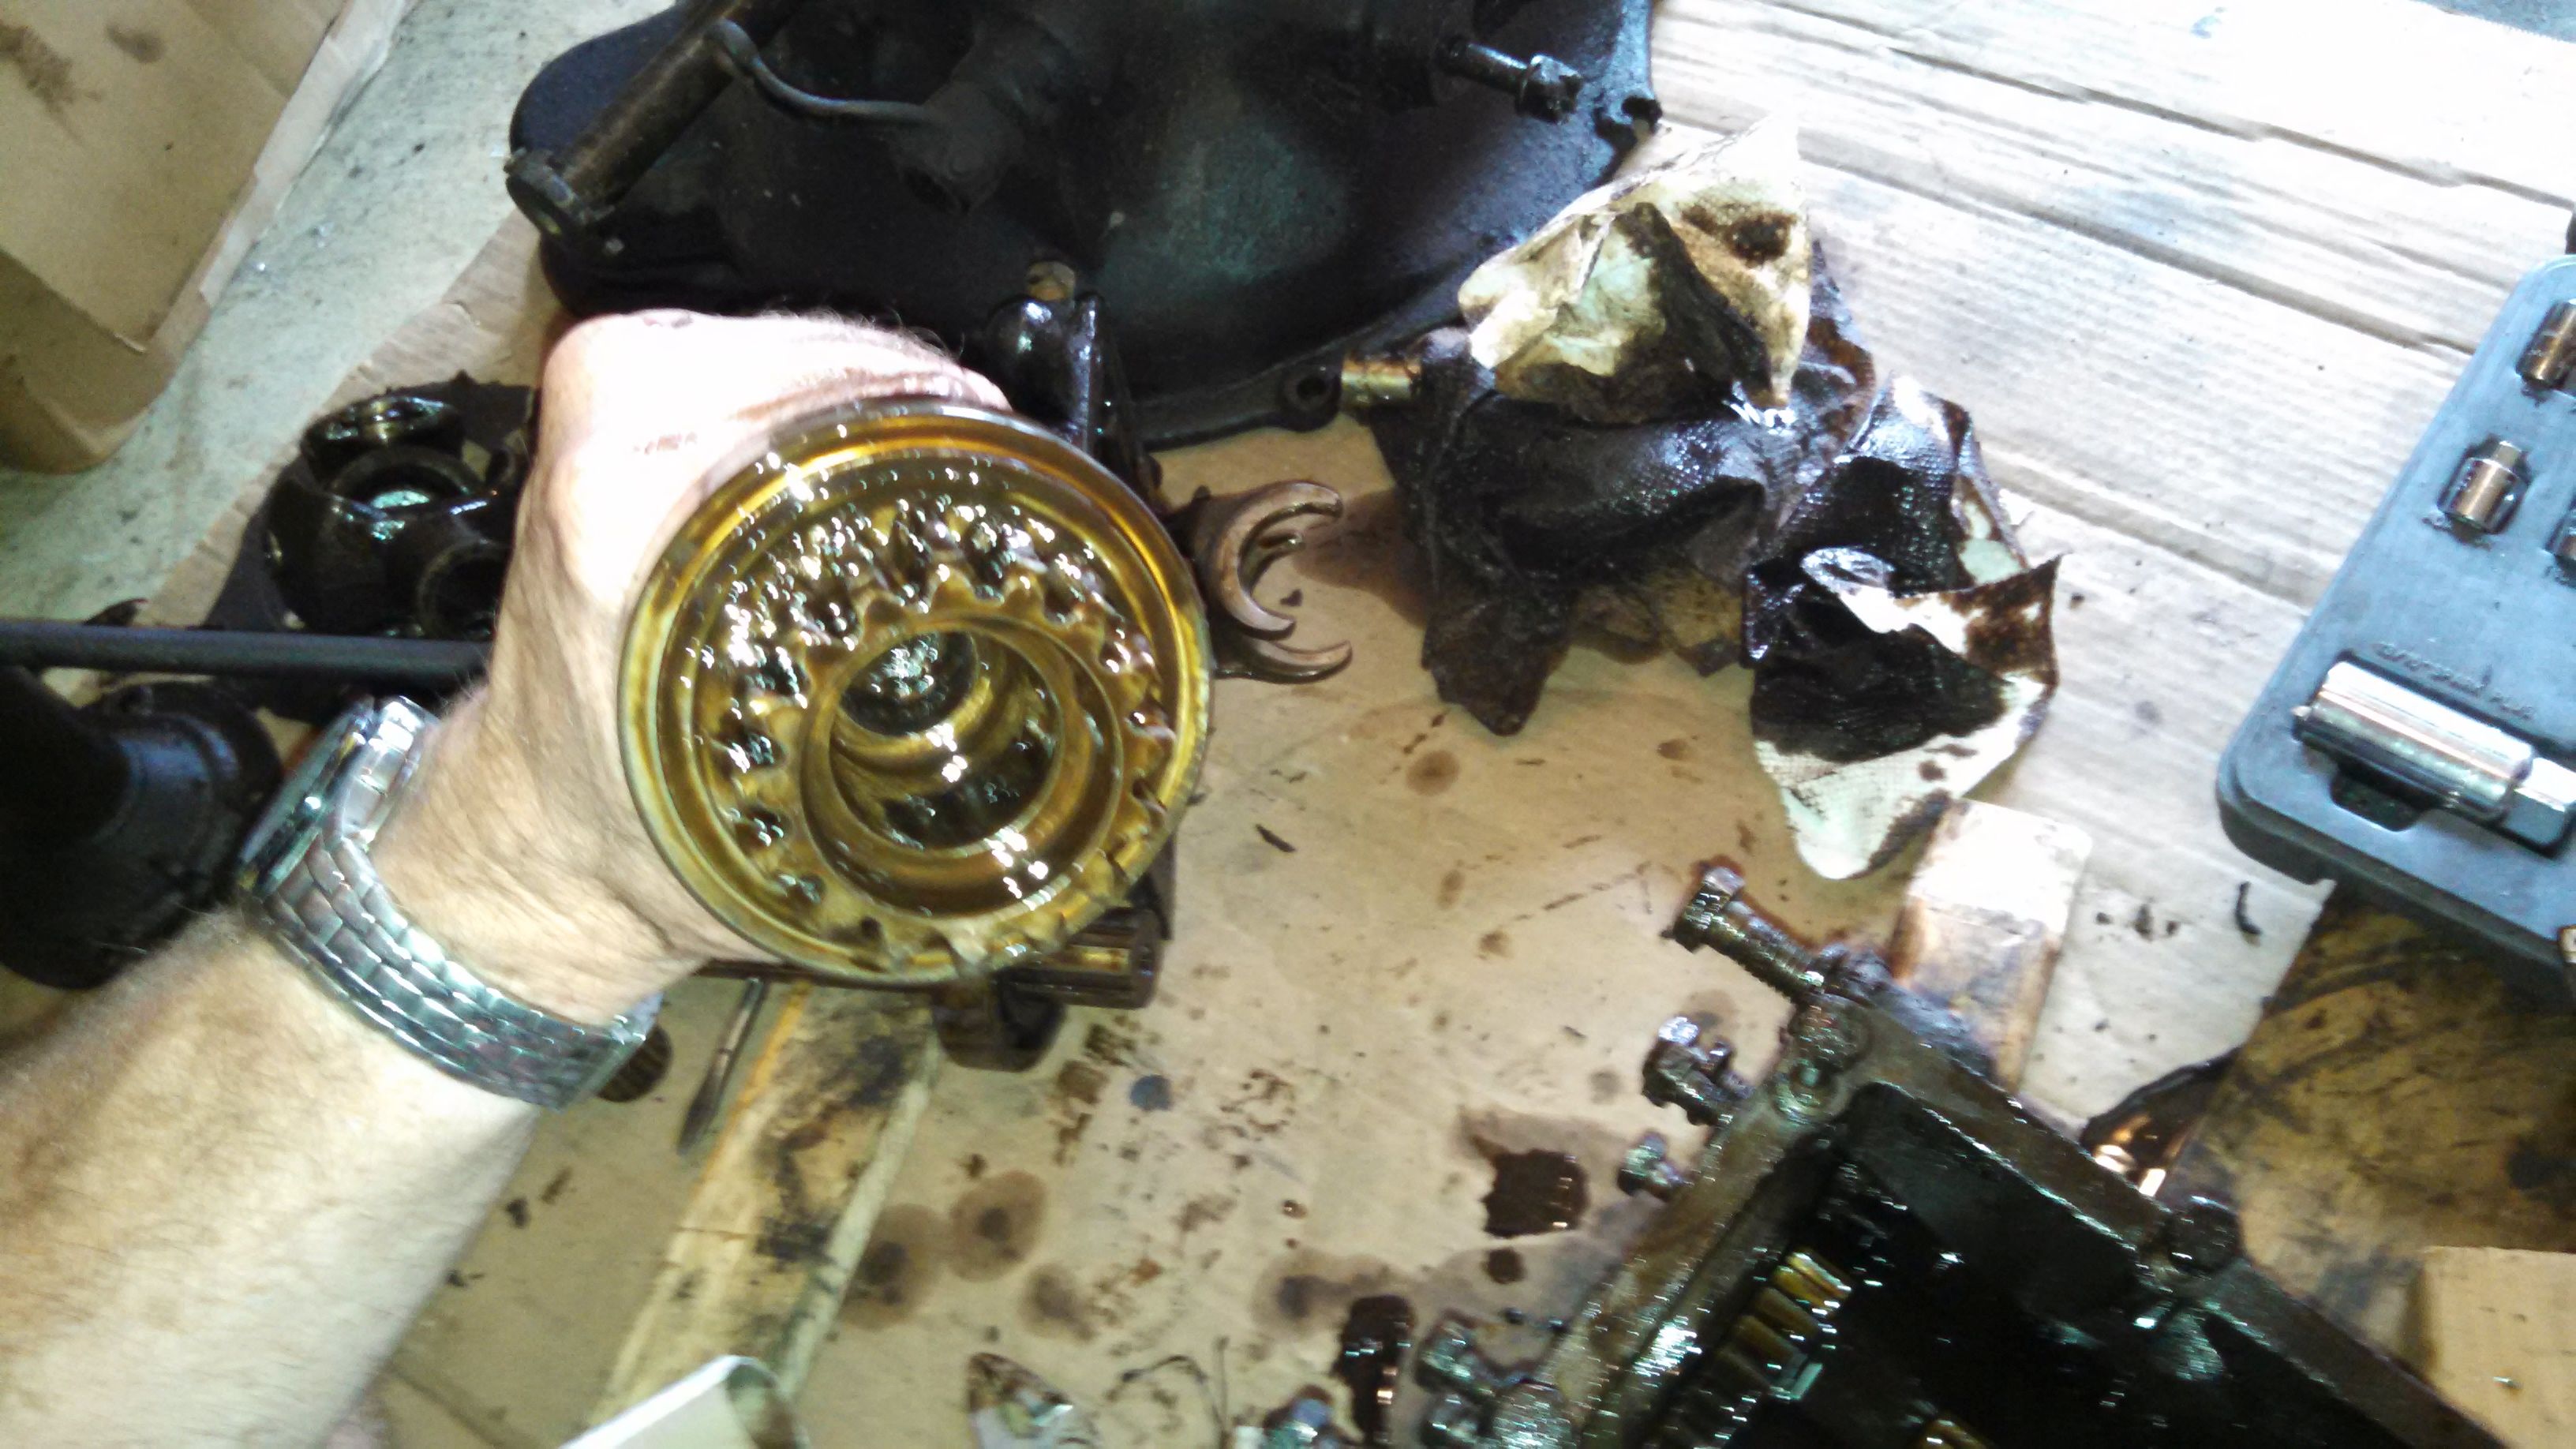
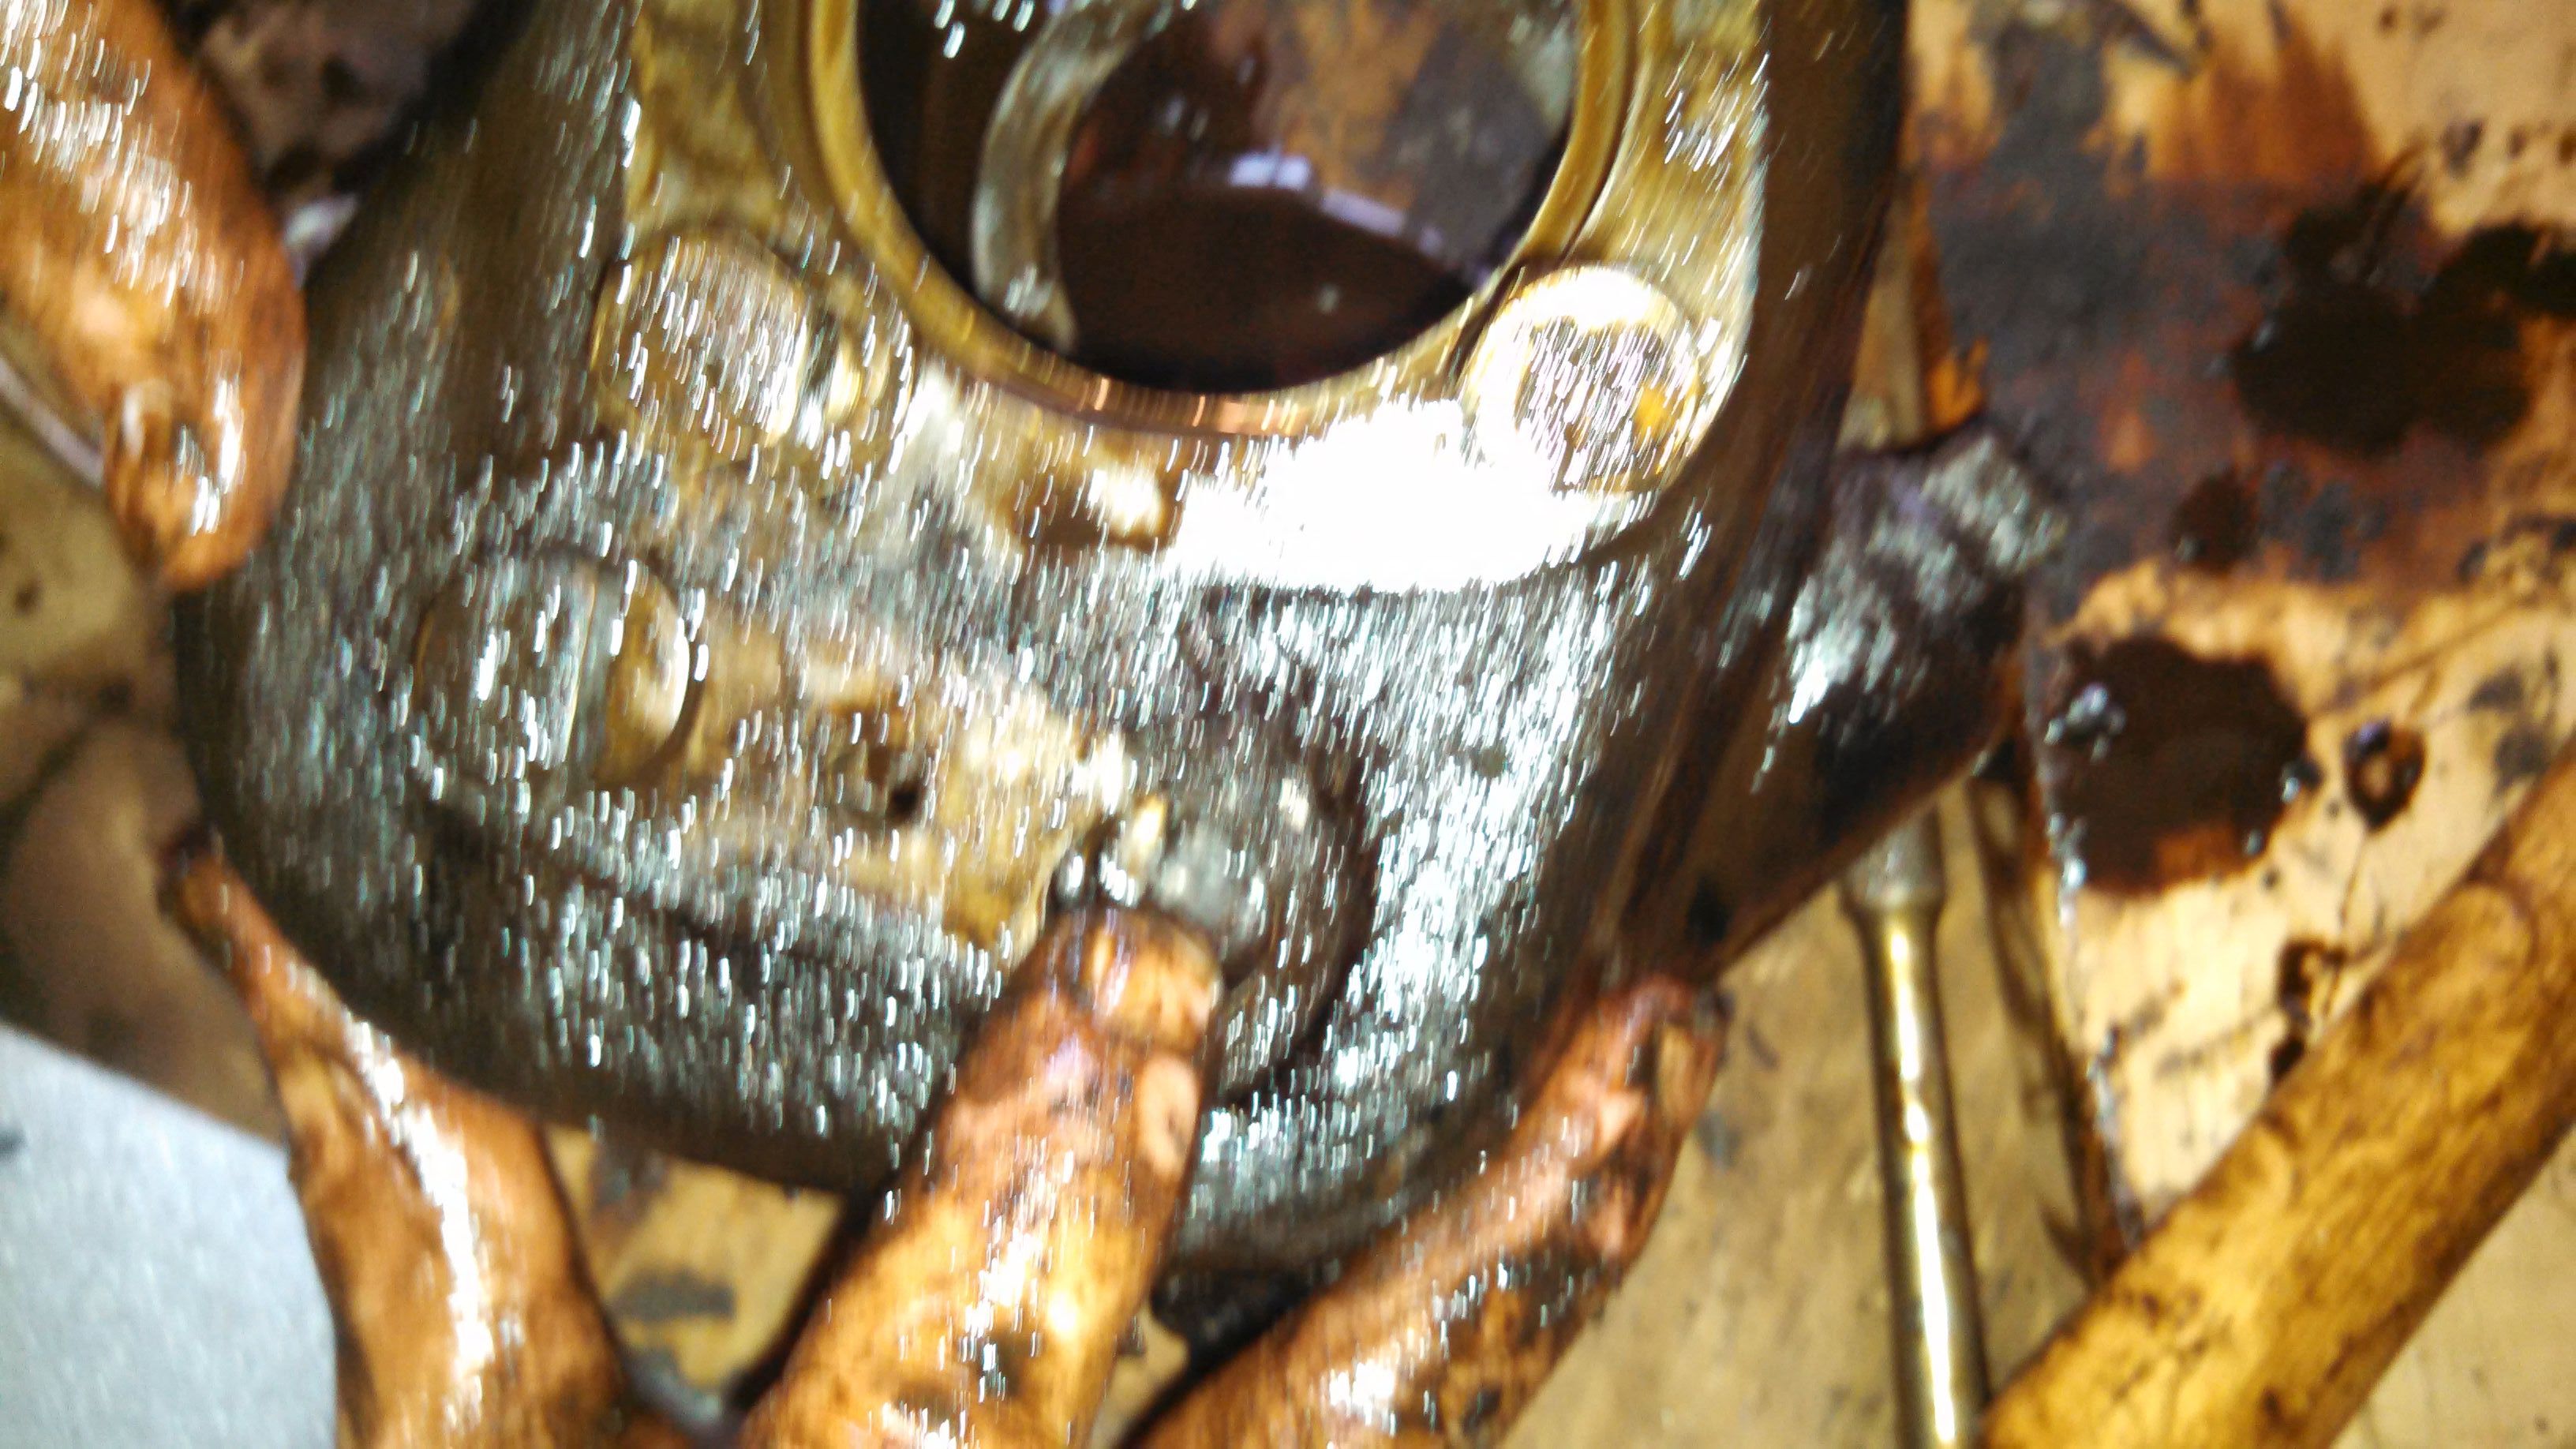
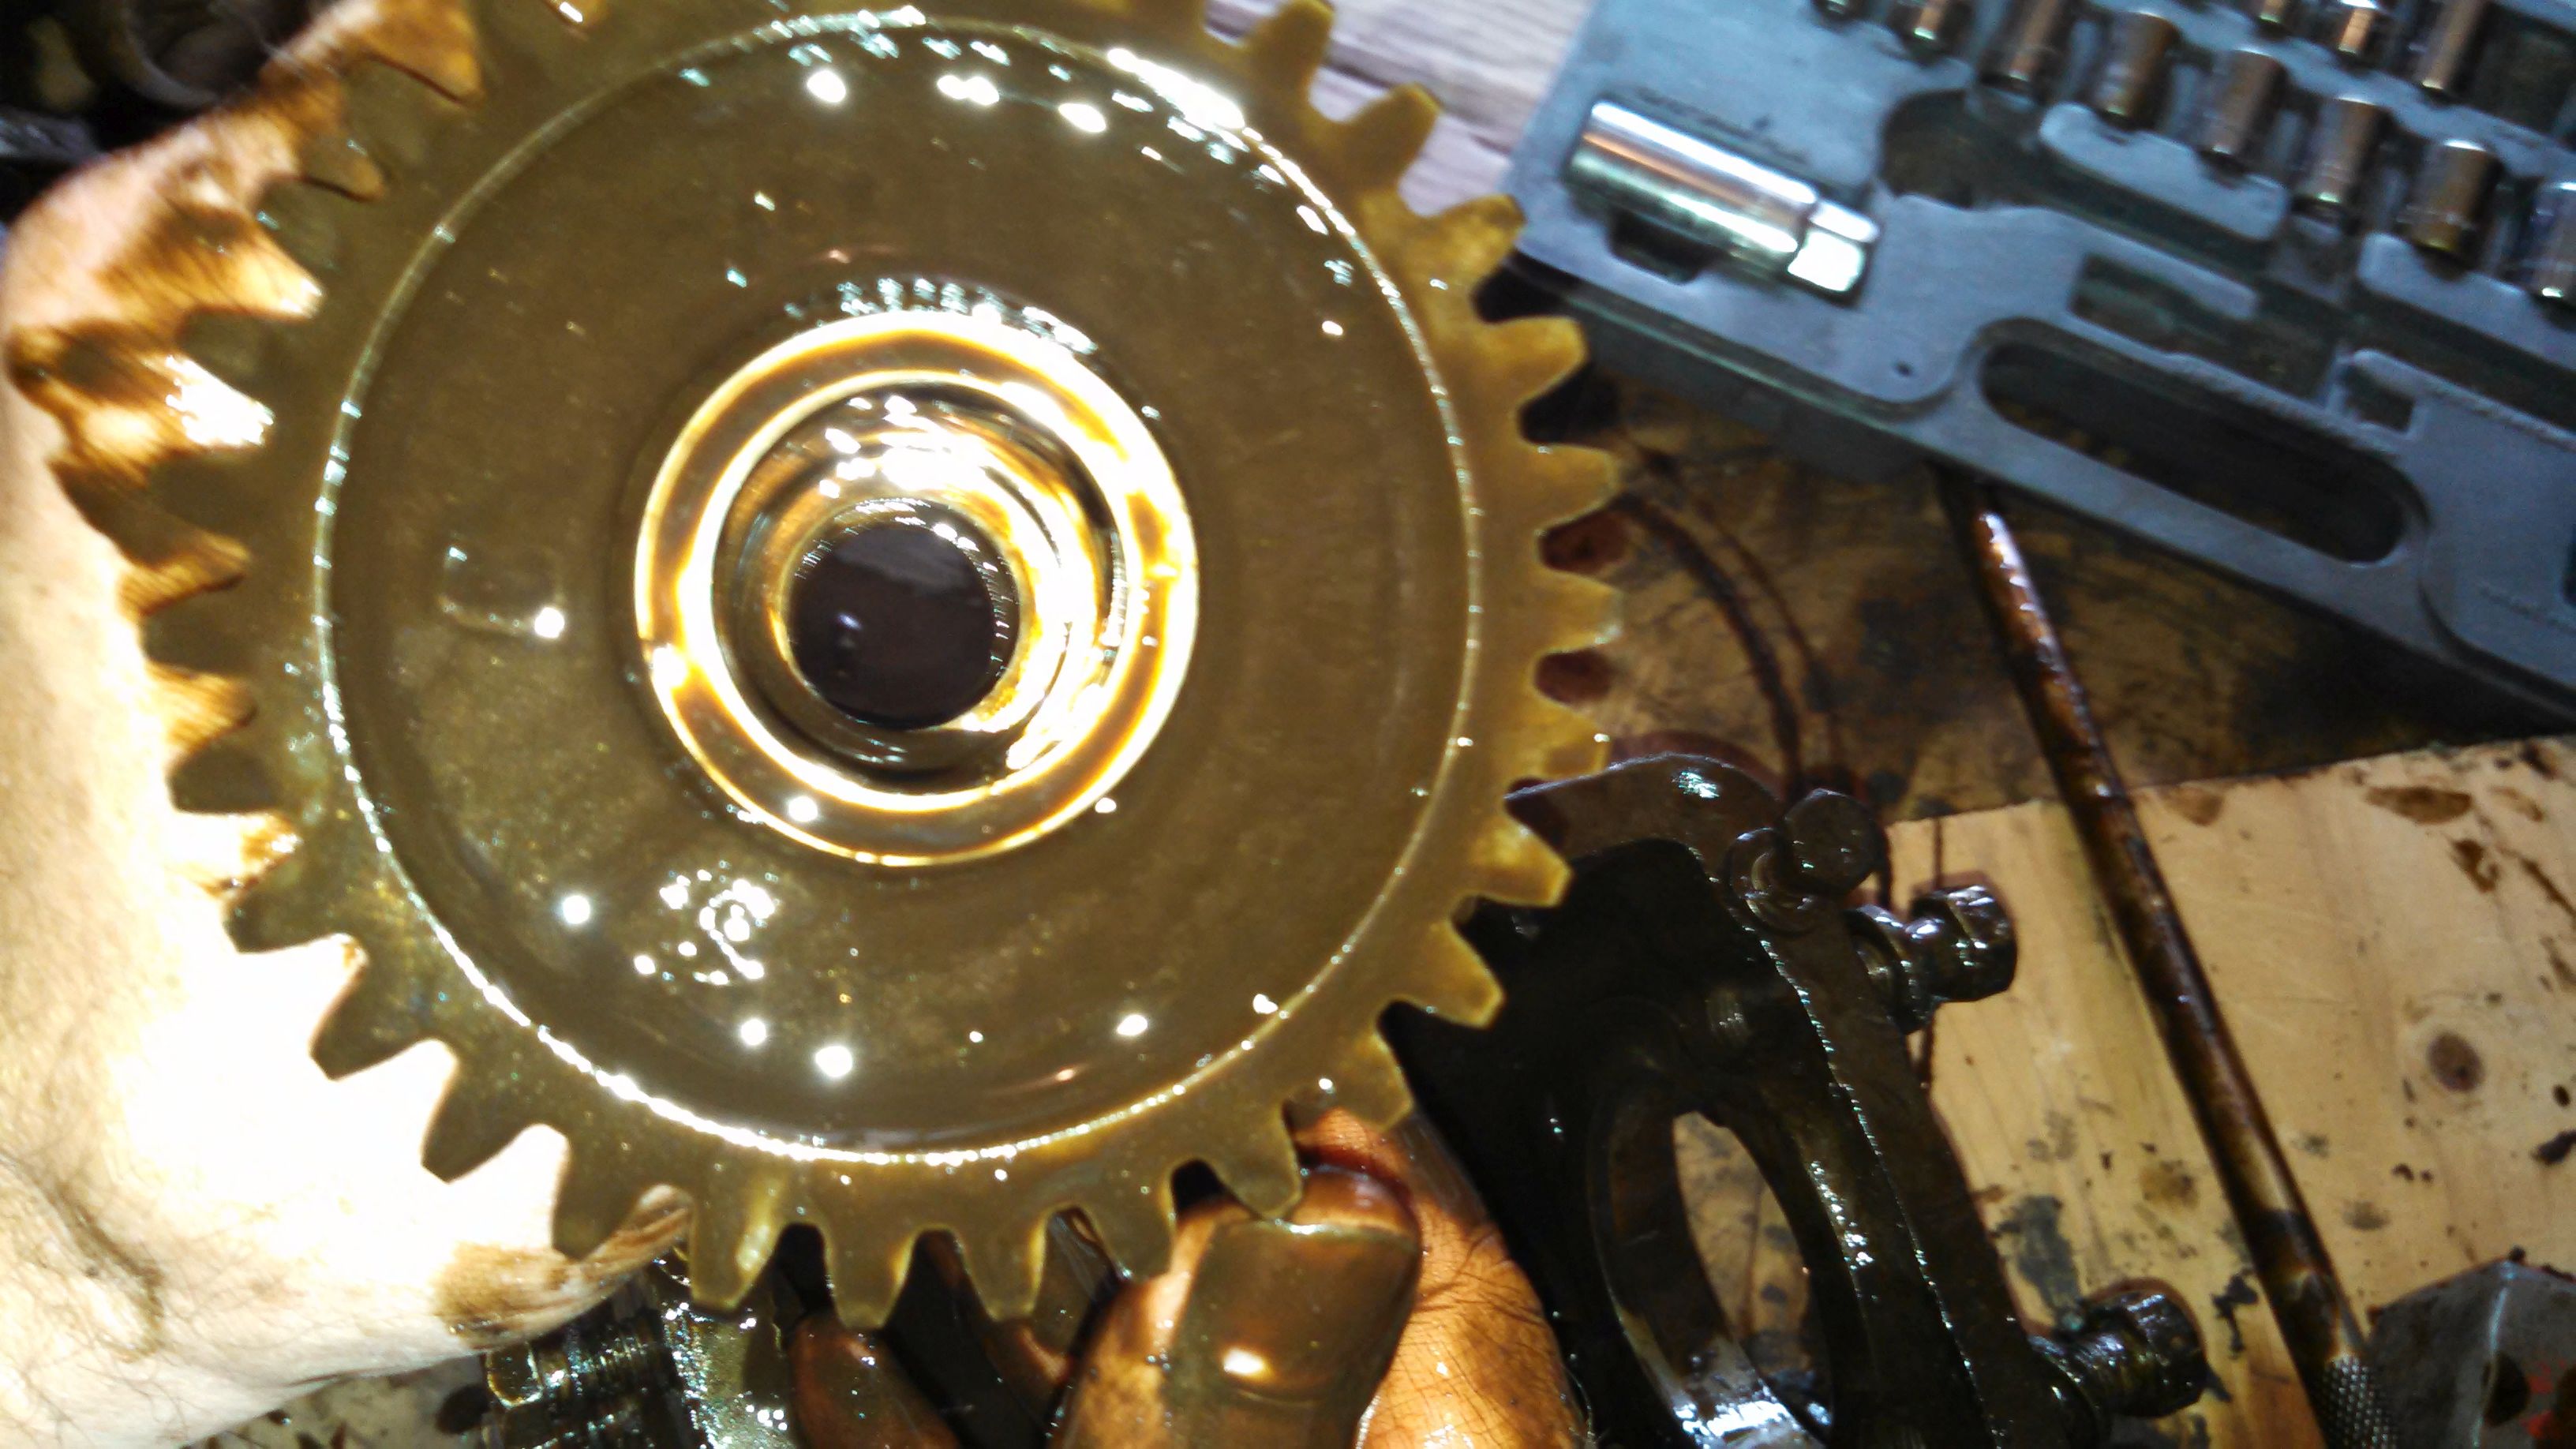
I carefully removed the forward bearing and drive gears...
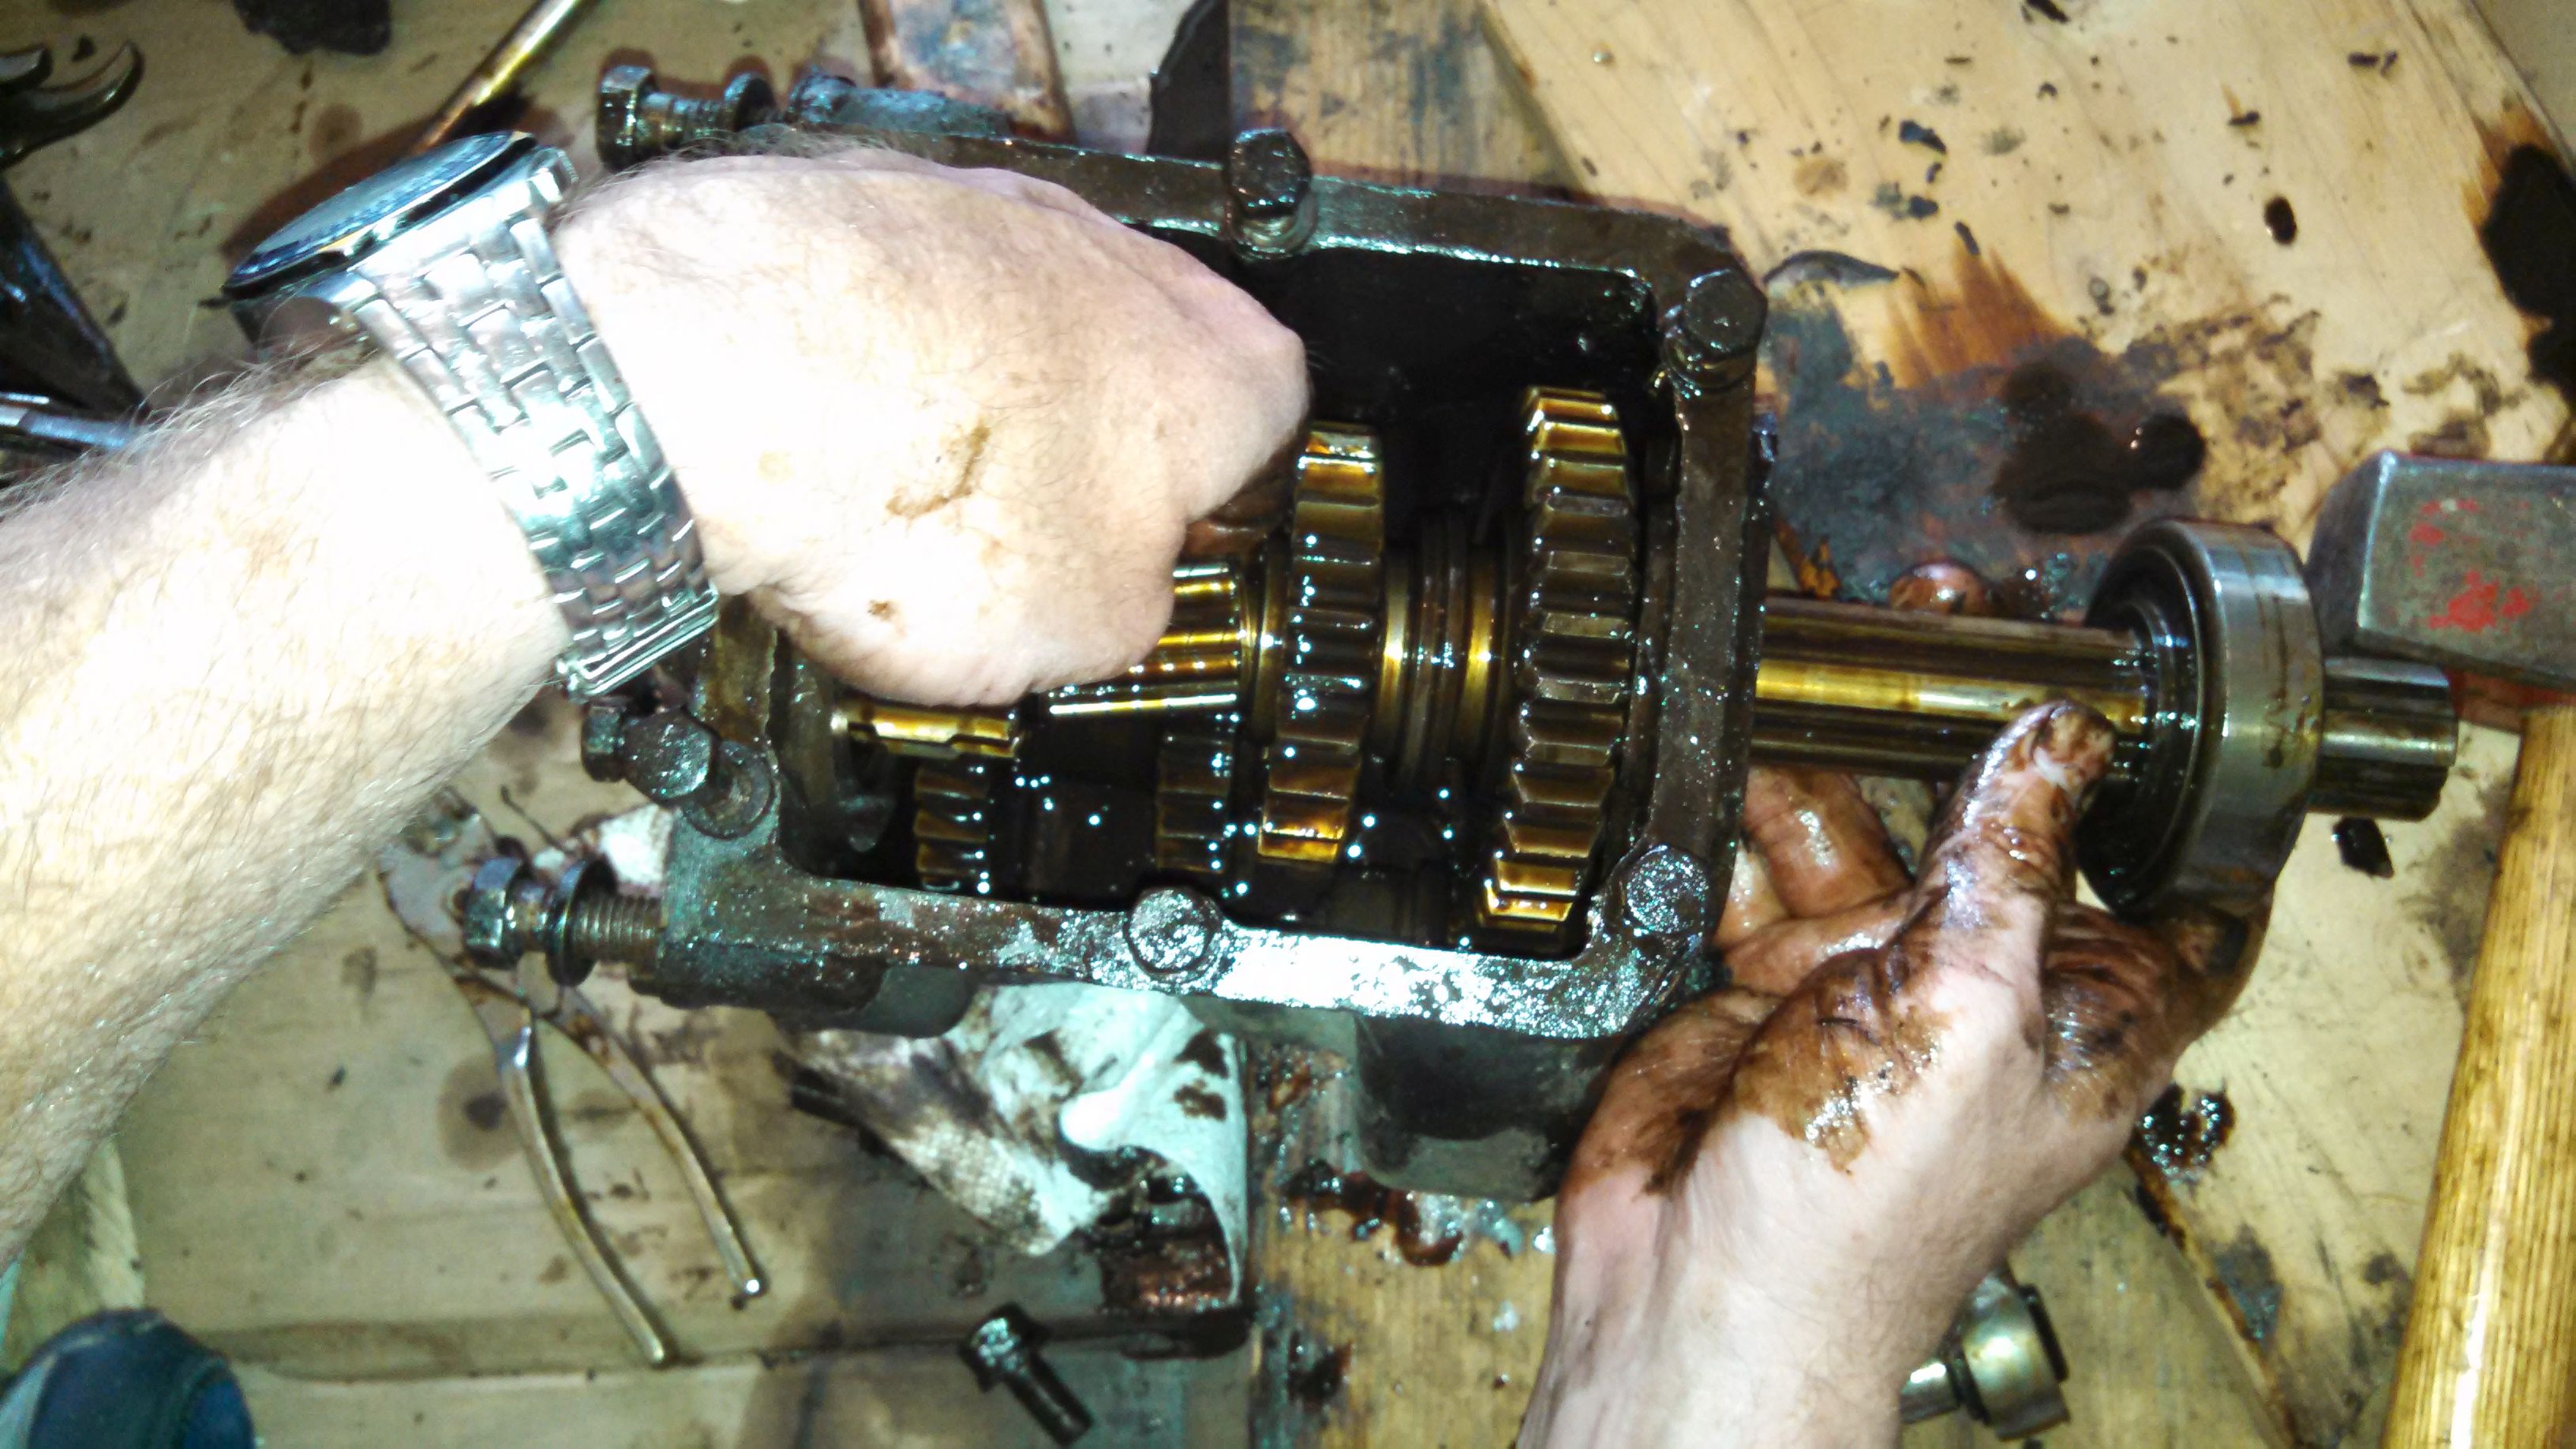

And then I had a hand full of the main shaft. The bearings seemed to be in pretty good shape, but I'll reserve judgement until I get everything cleaned...
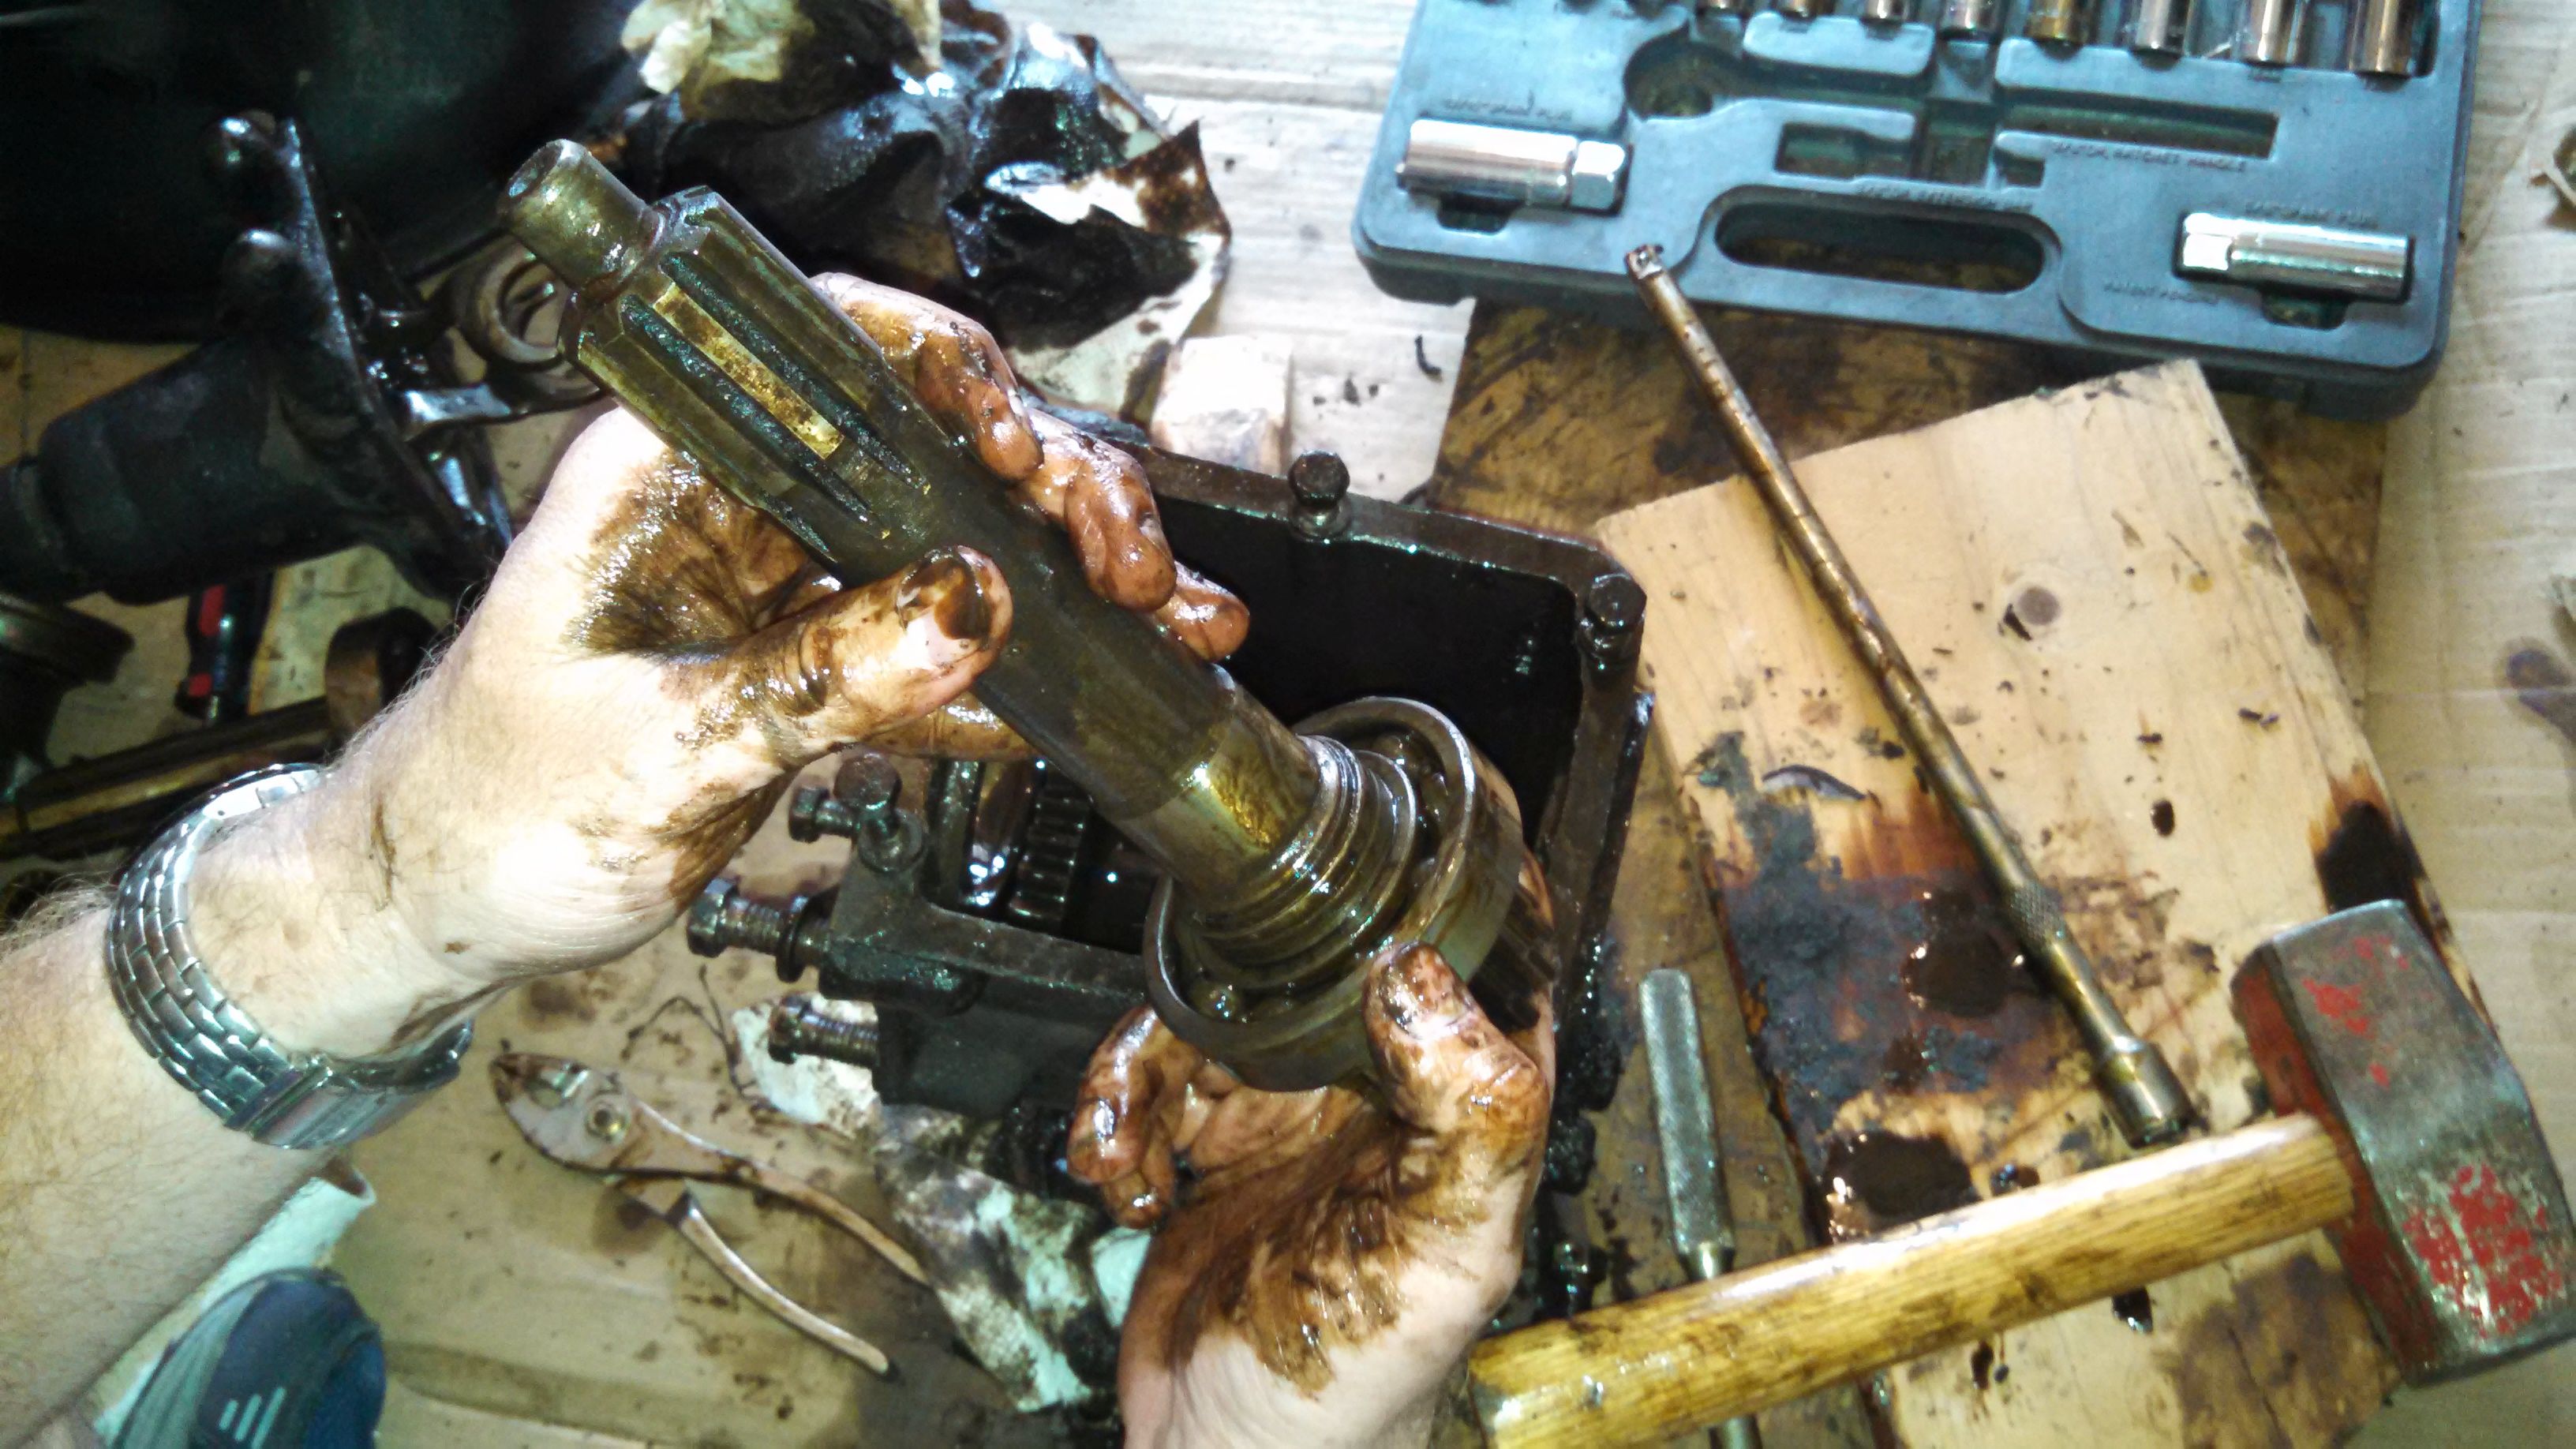
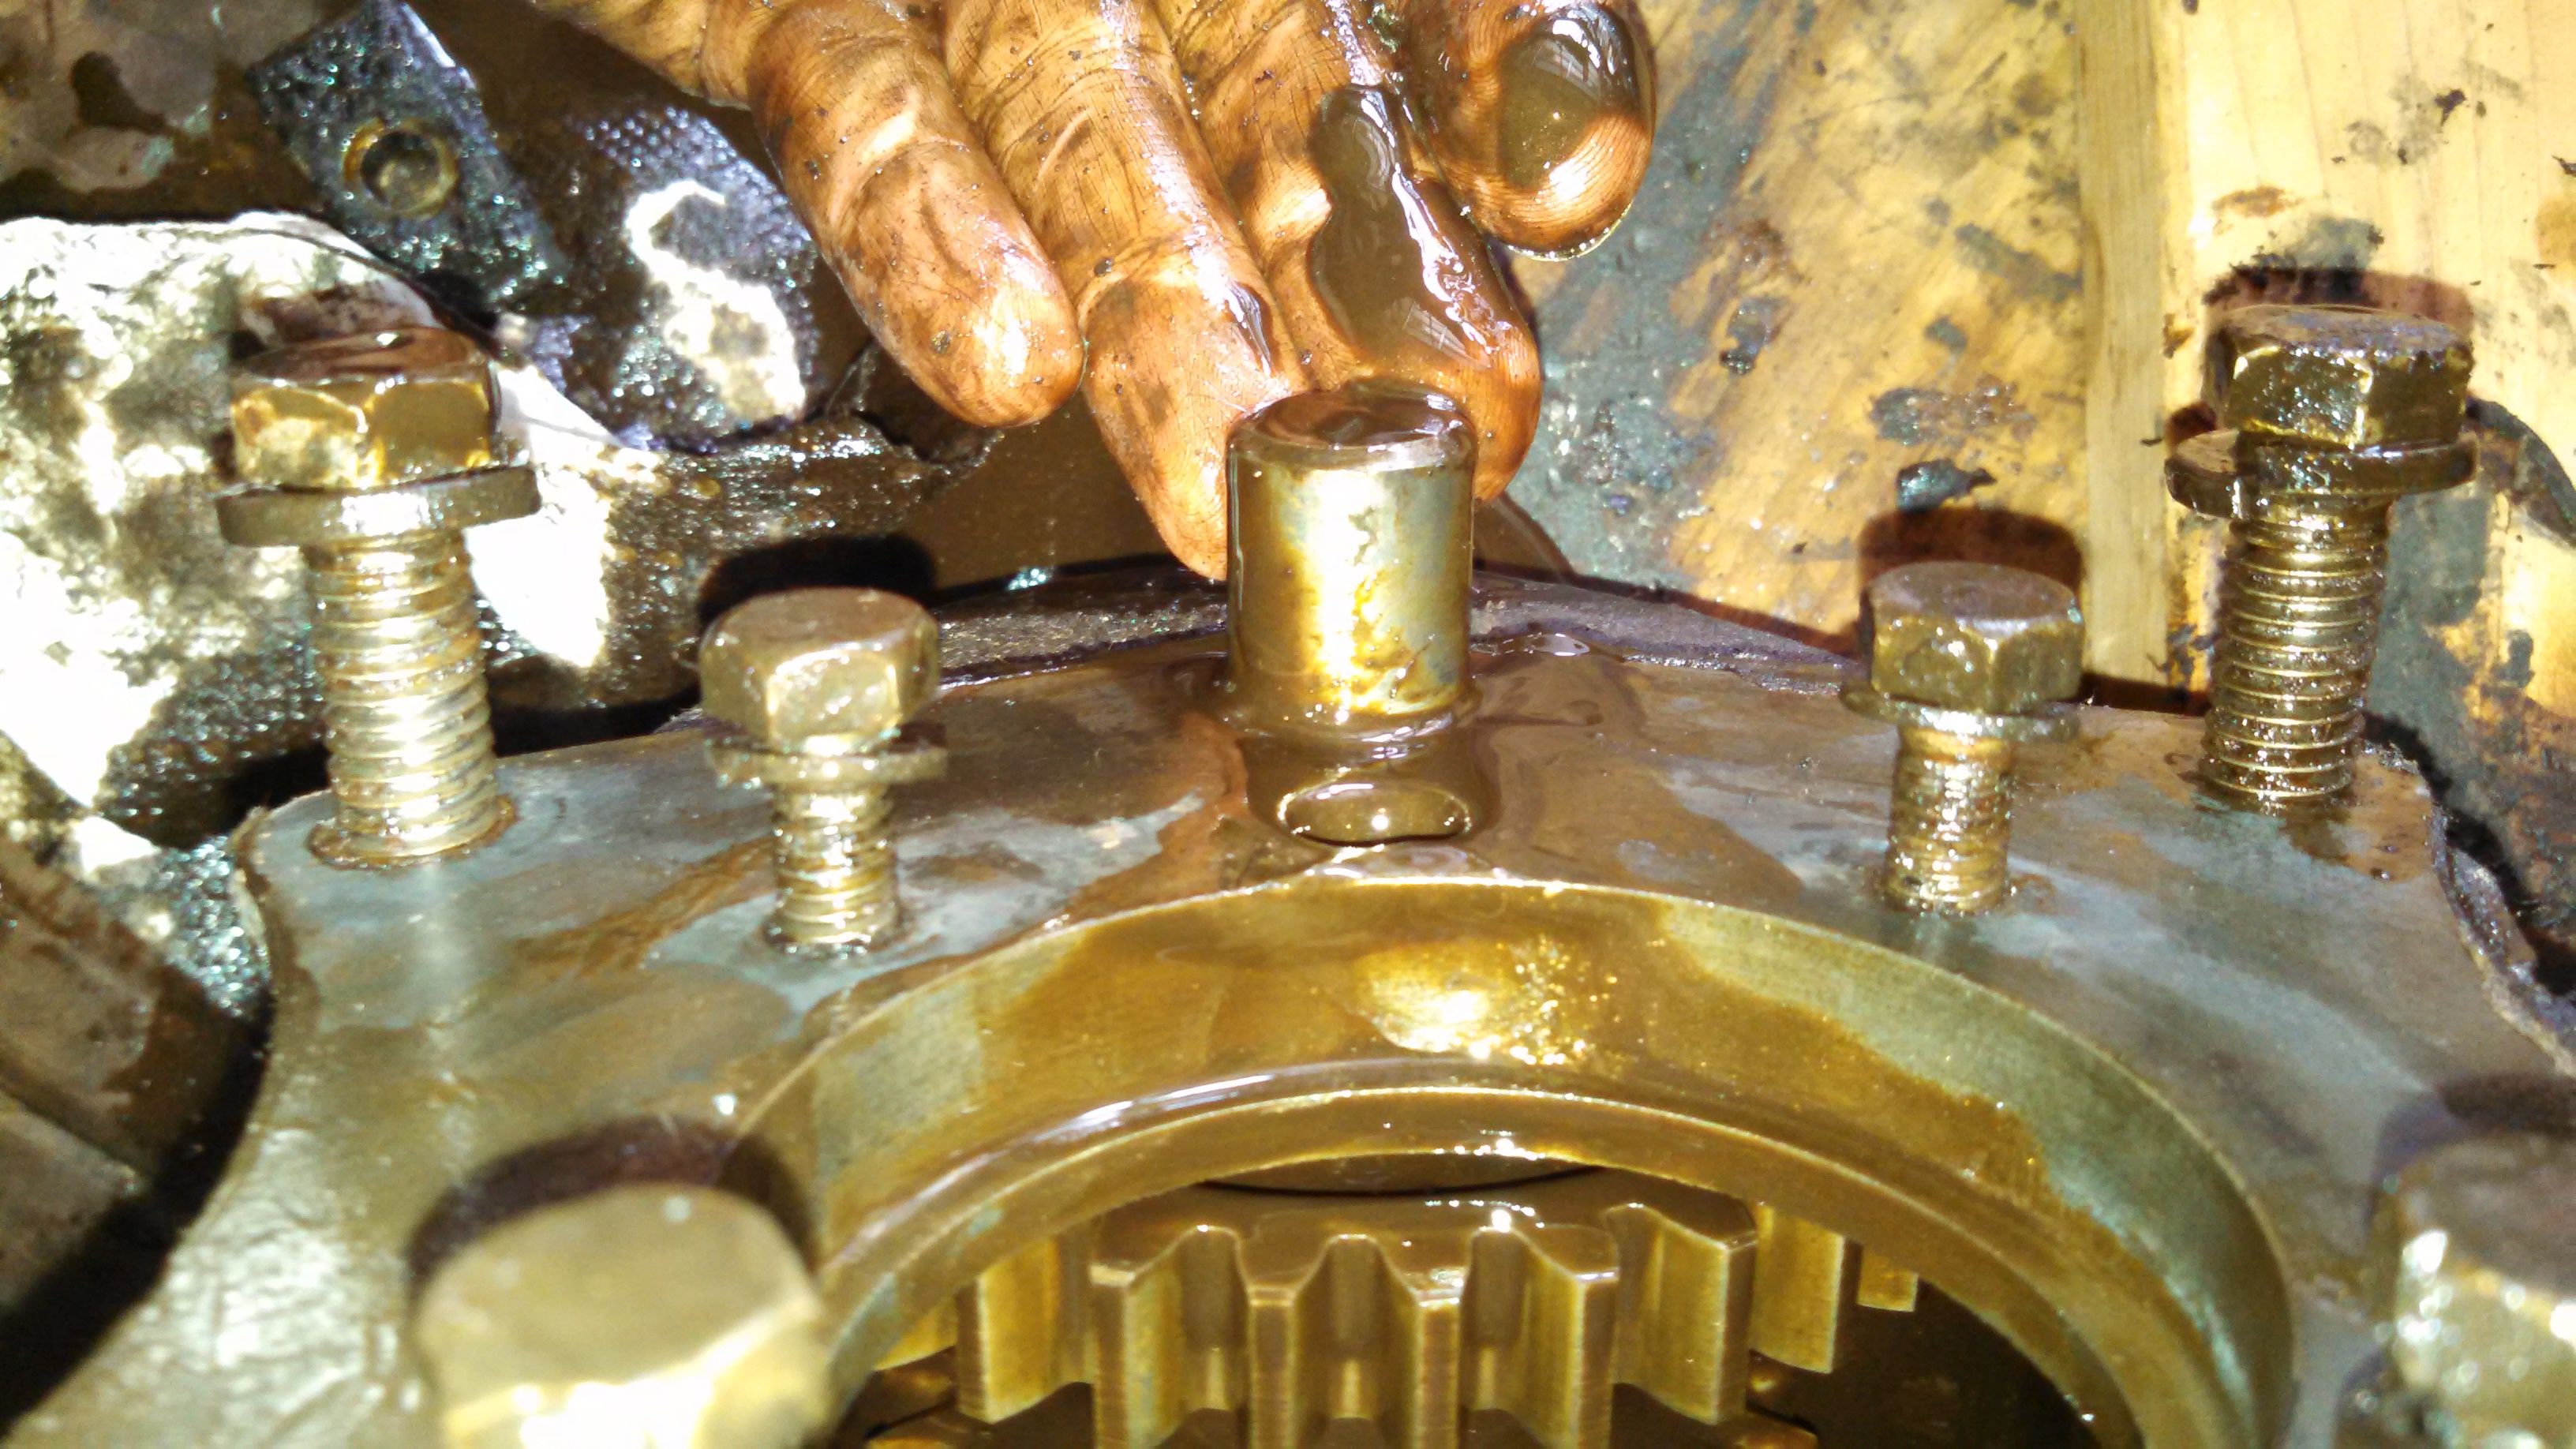
With the main shaft and gears out of the way, I was able to go back to the pilot shaft. It took a couple of taps with a hammer and drift to knock it out, but here it is:

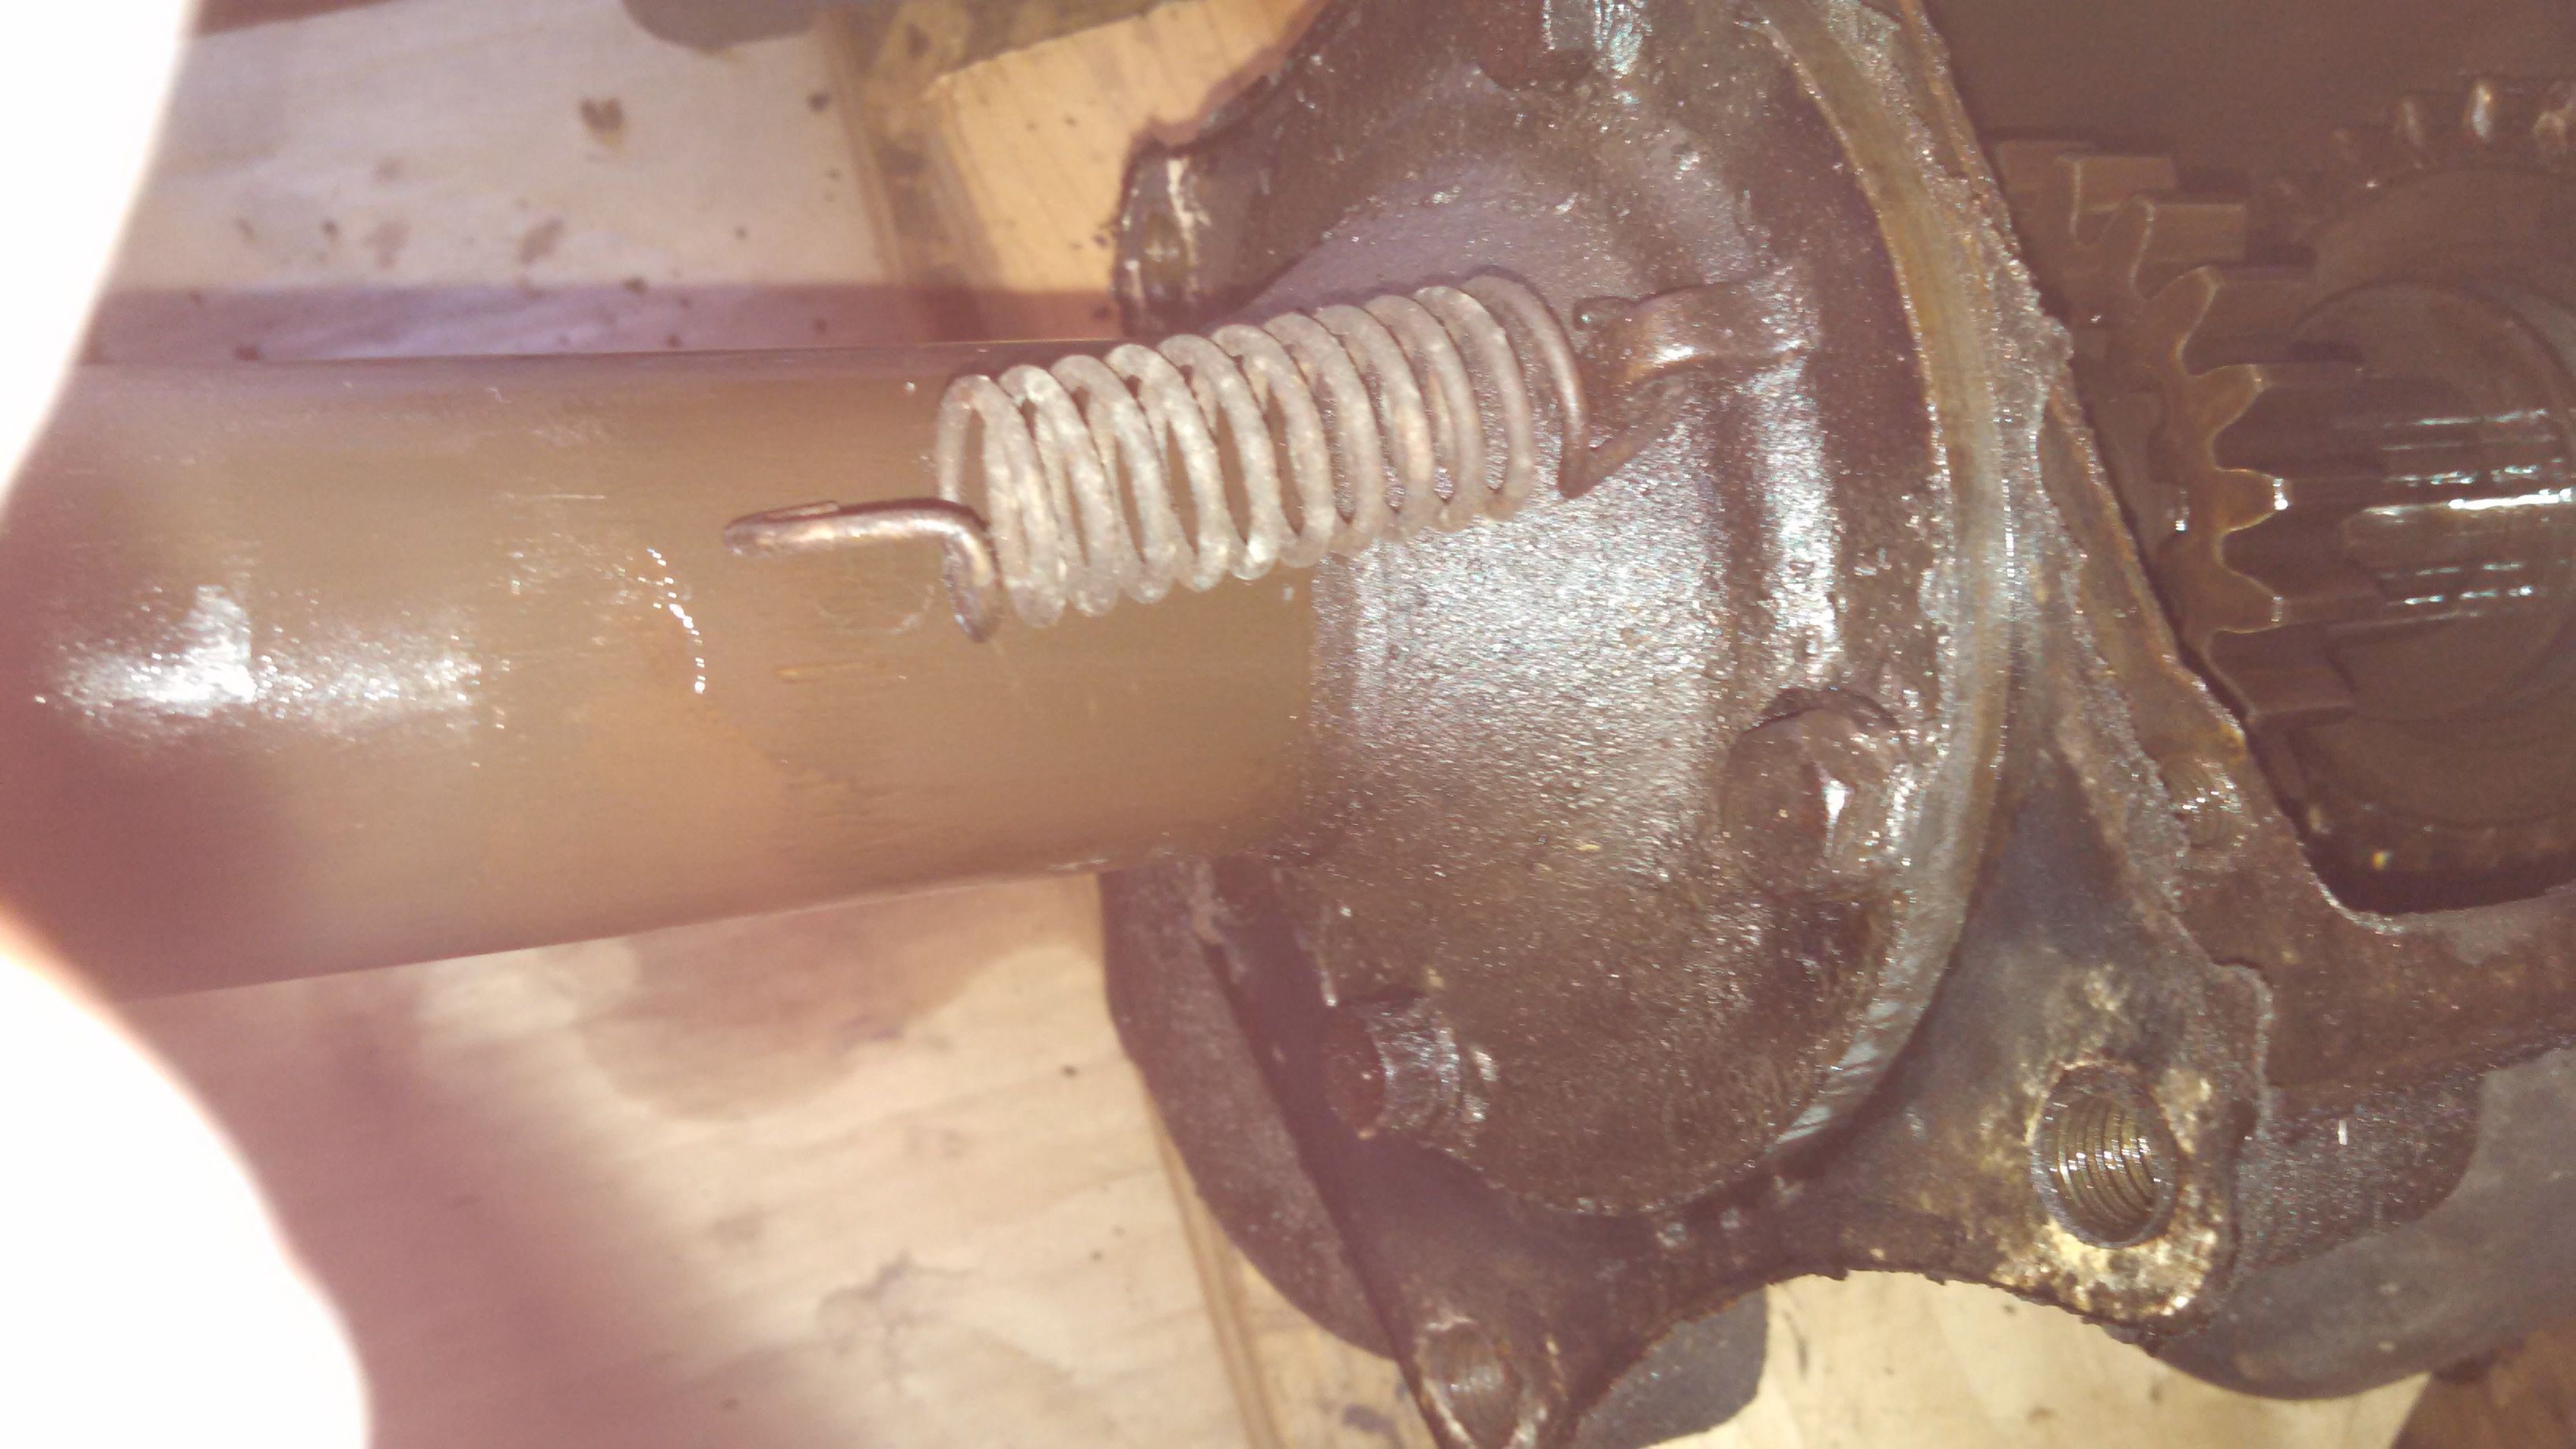
Next step is to remove the shaft retainer block. This thing keeps the lay gear and idler shafts in place. Basically, the shafts have grooves in their rear ends, and this plate keeps them from moving around:
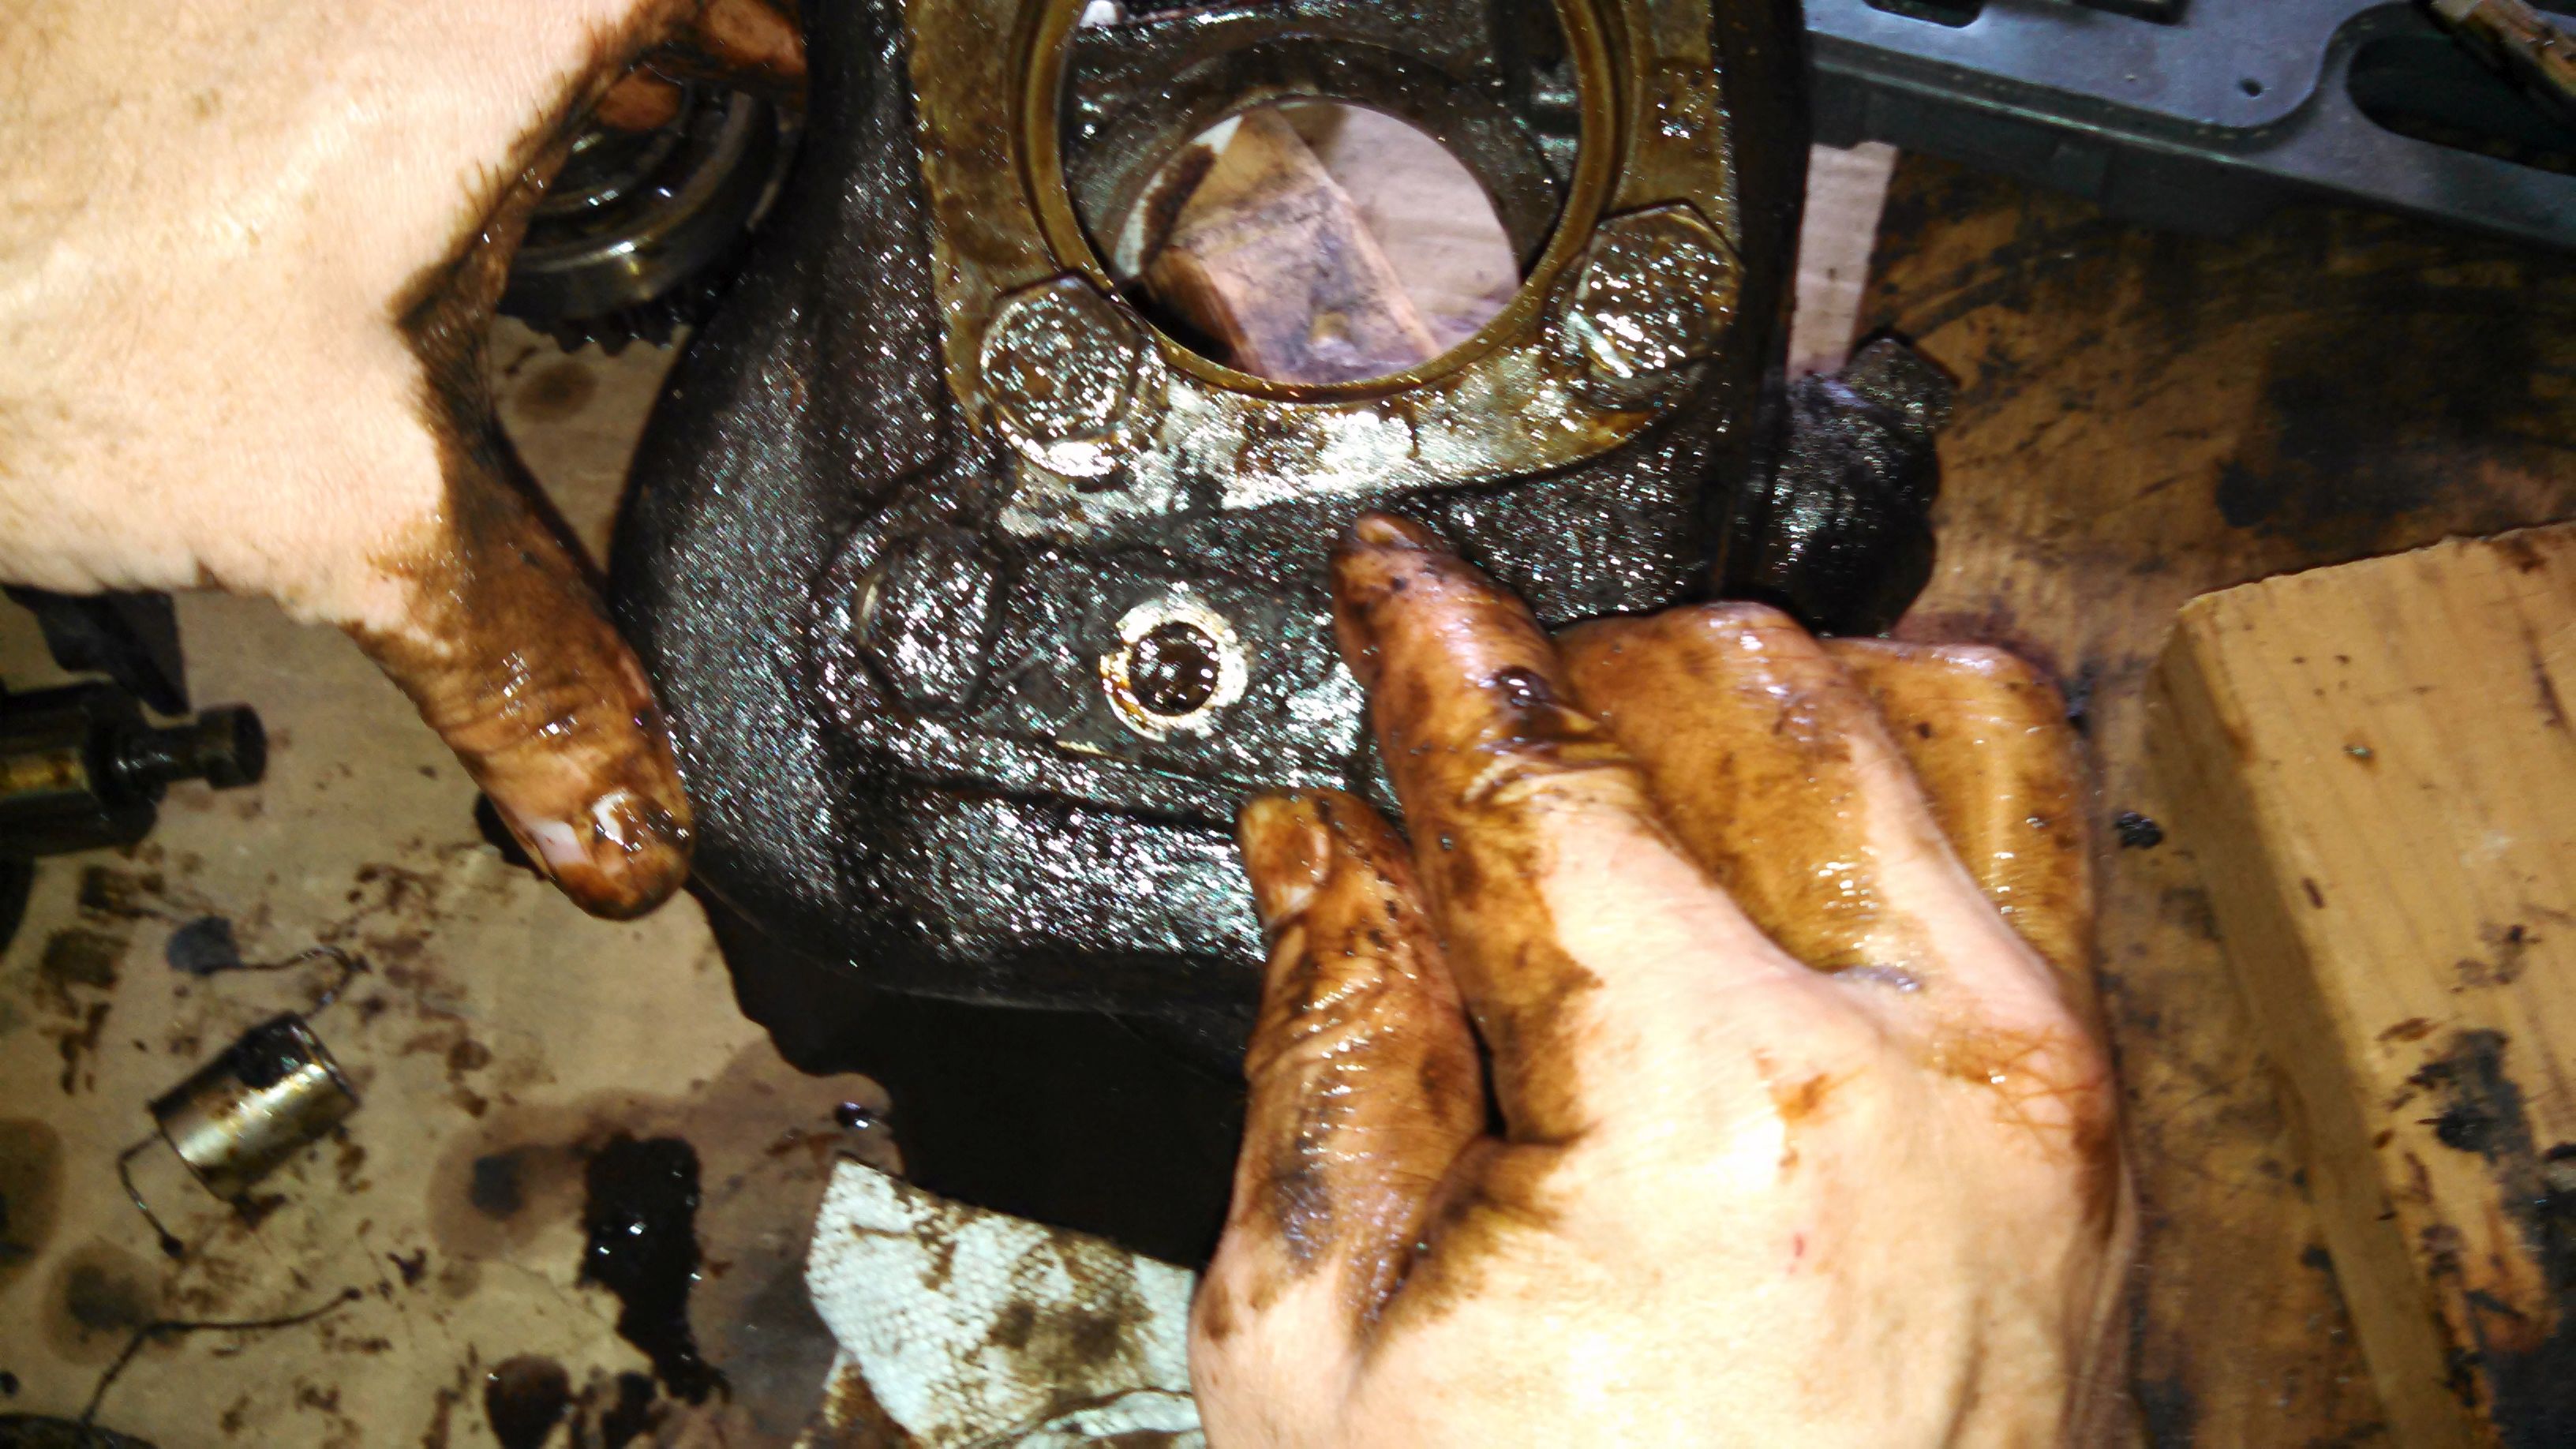

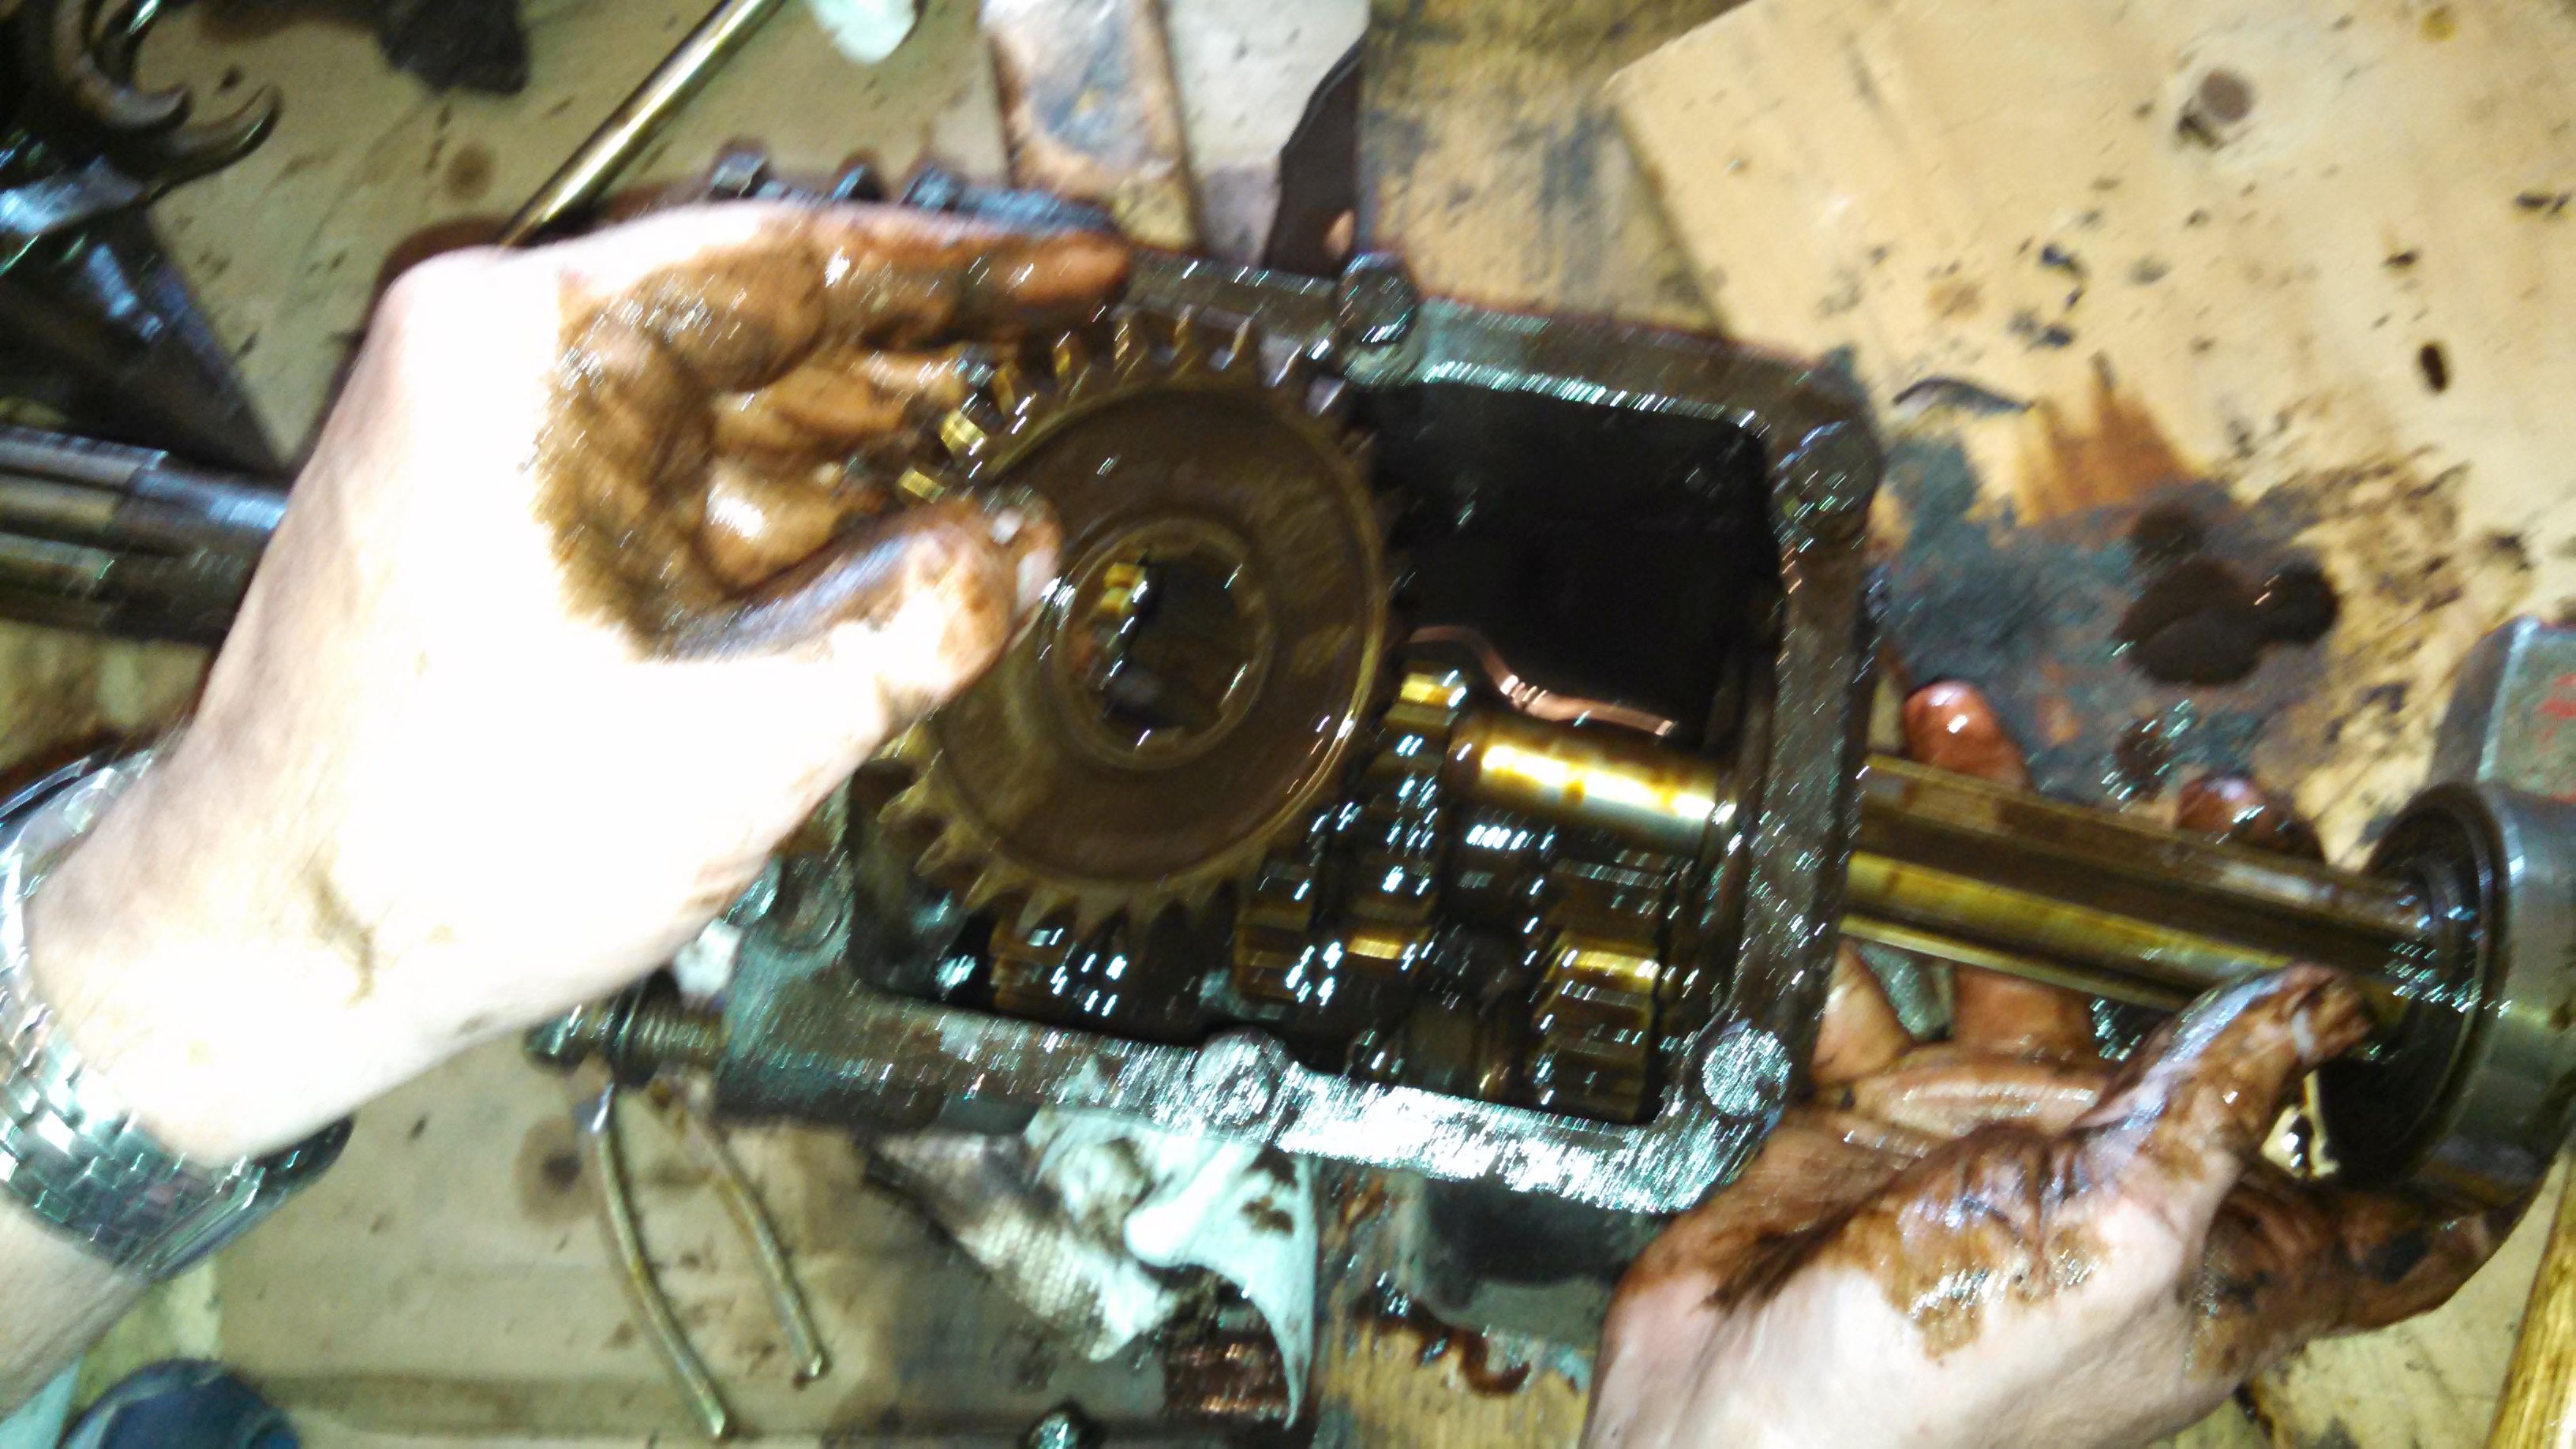
The lay gear assmebly rotates about its shaft. This shaft is slightly conical at the front end, and the manual warns that trying to remove it through the rear could crack the housing. I set a drift on the end of the shaft, and was able to tap it out pretty easily. Unfortunately, the rear bearing is completely shot - it came out in pieces! Hopefully it didn't damage the shaft...
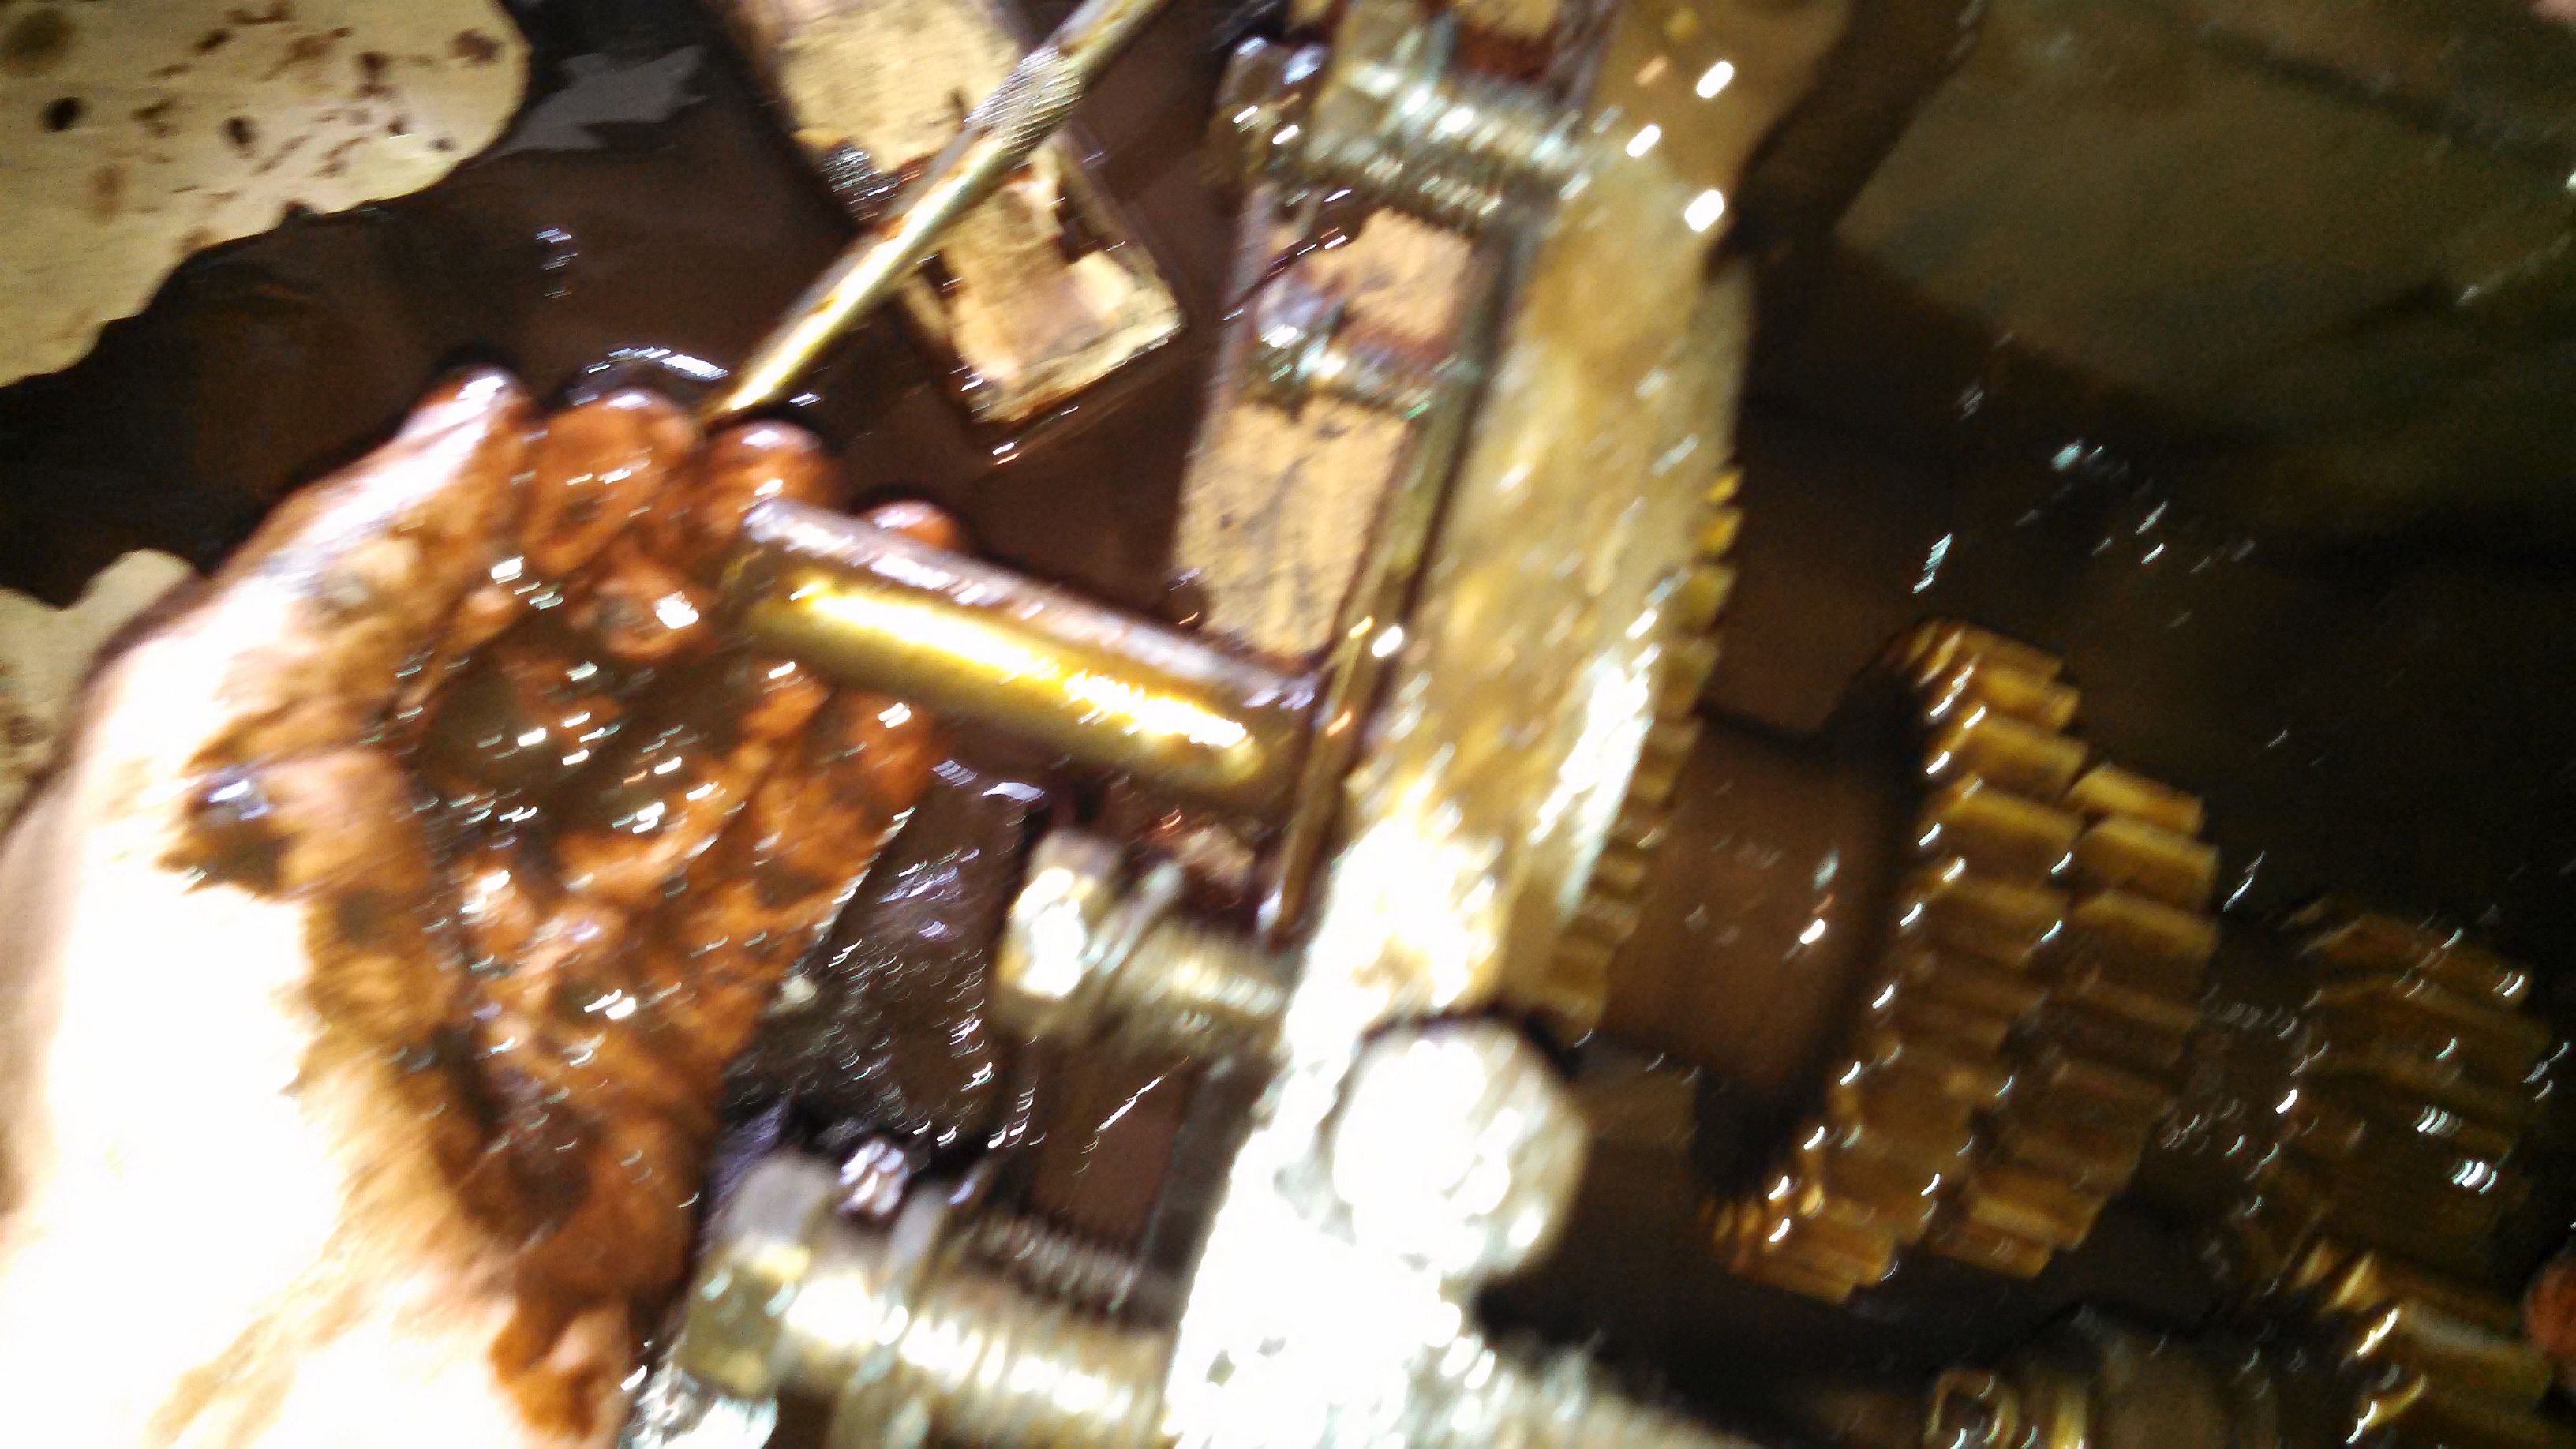
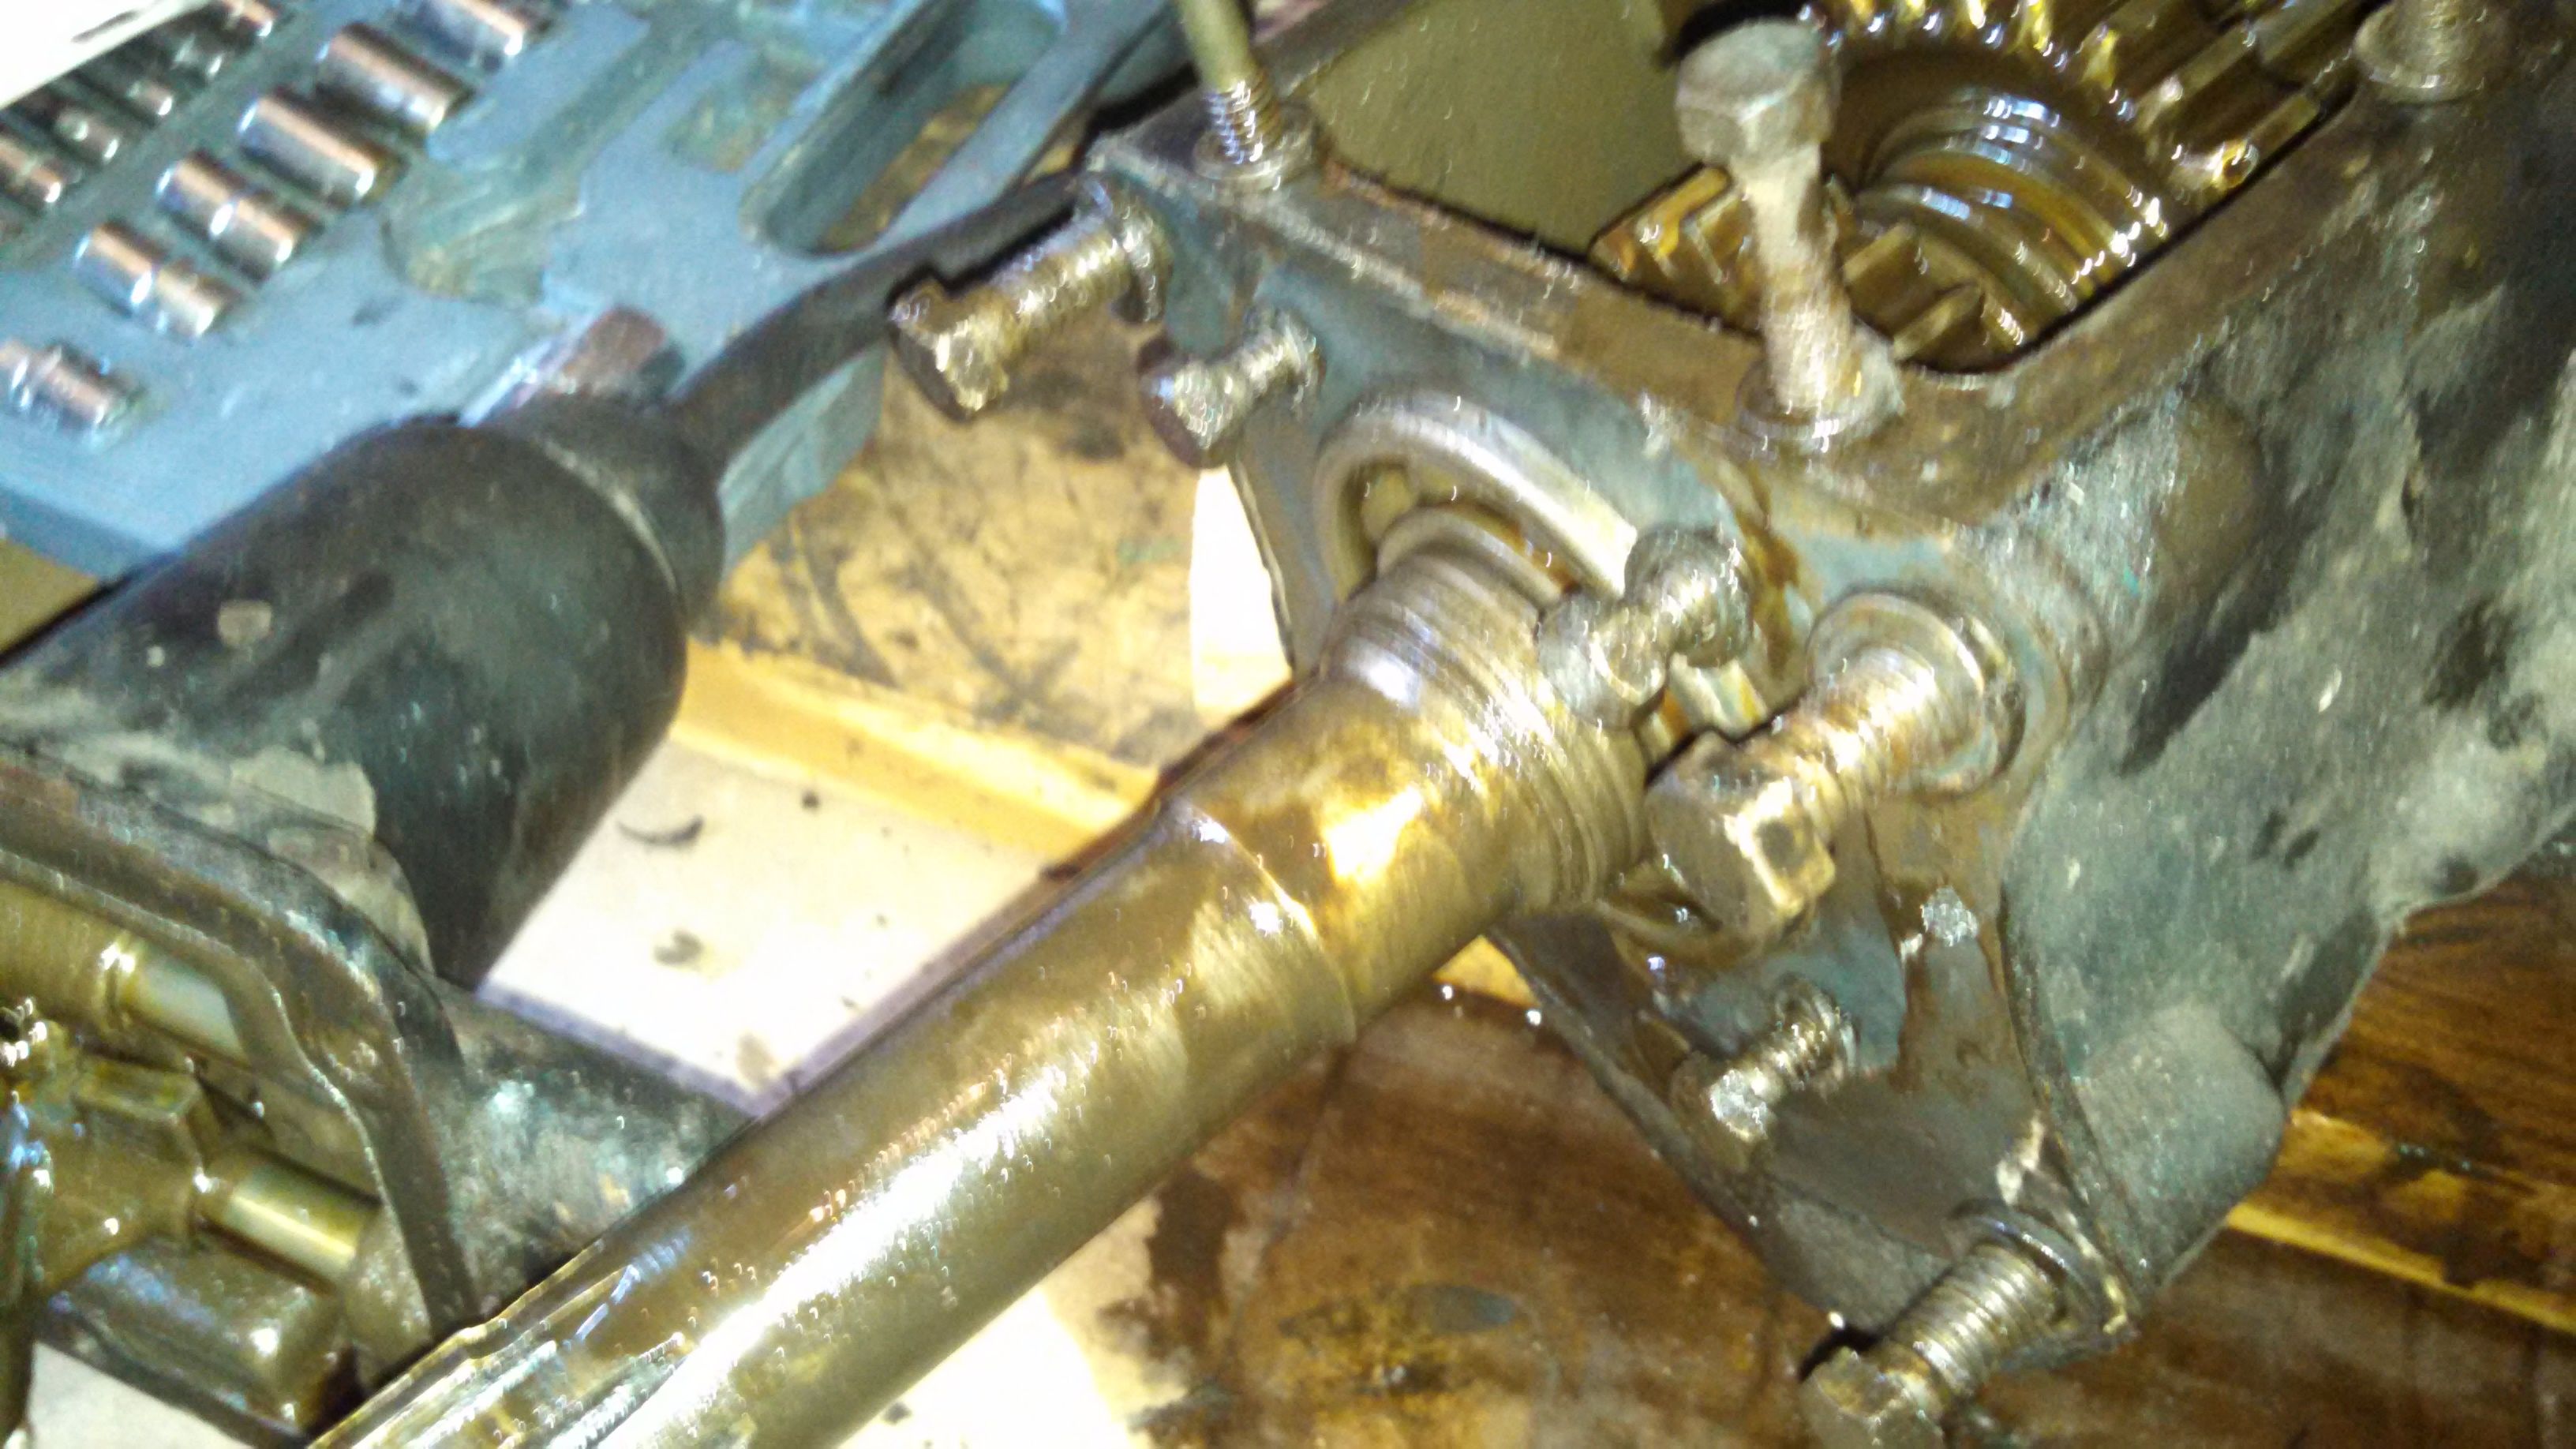
Once the lay gear assembly was out, it was pretty straight forward to remove the idler shaft and idler gear (the idler gear is what makes Reverse possible). I put a pair of pliers on the shaft and gave it a pull, and it slid right out:

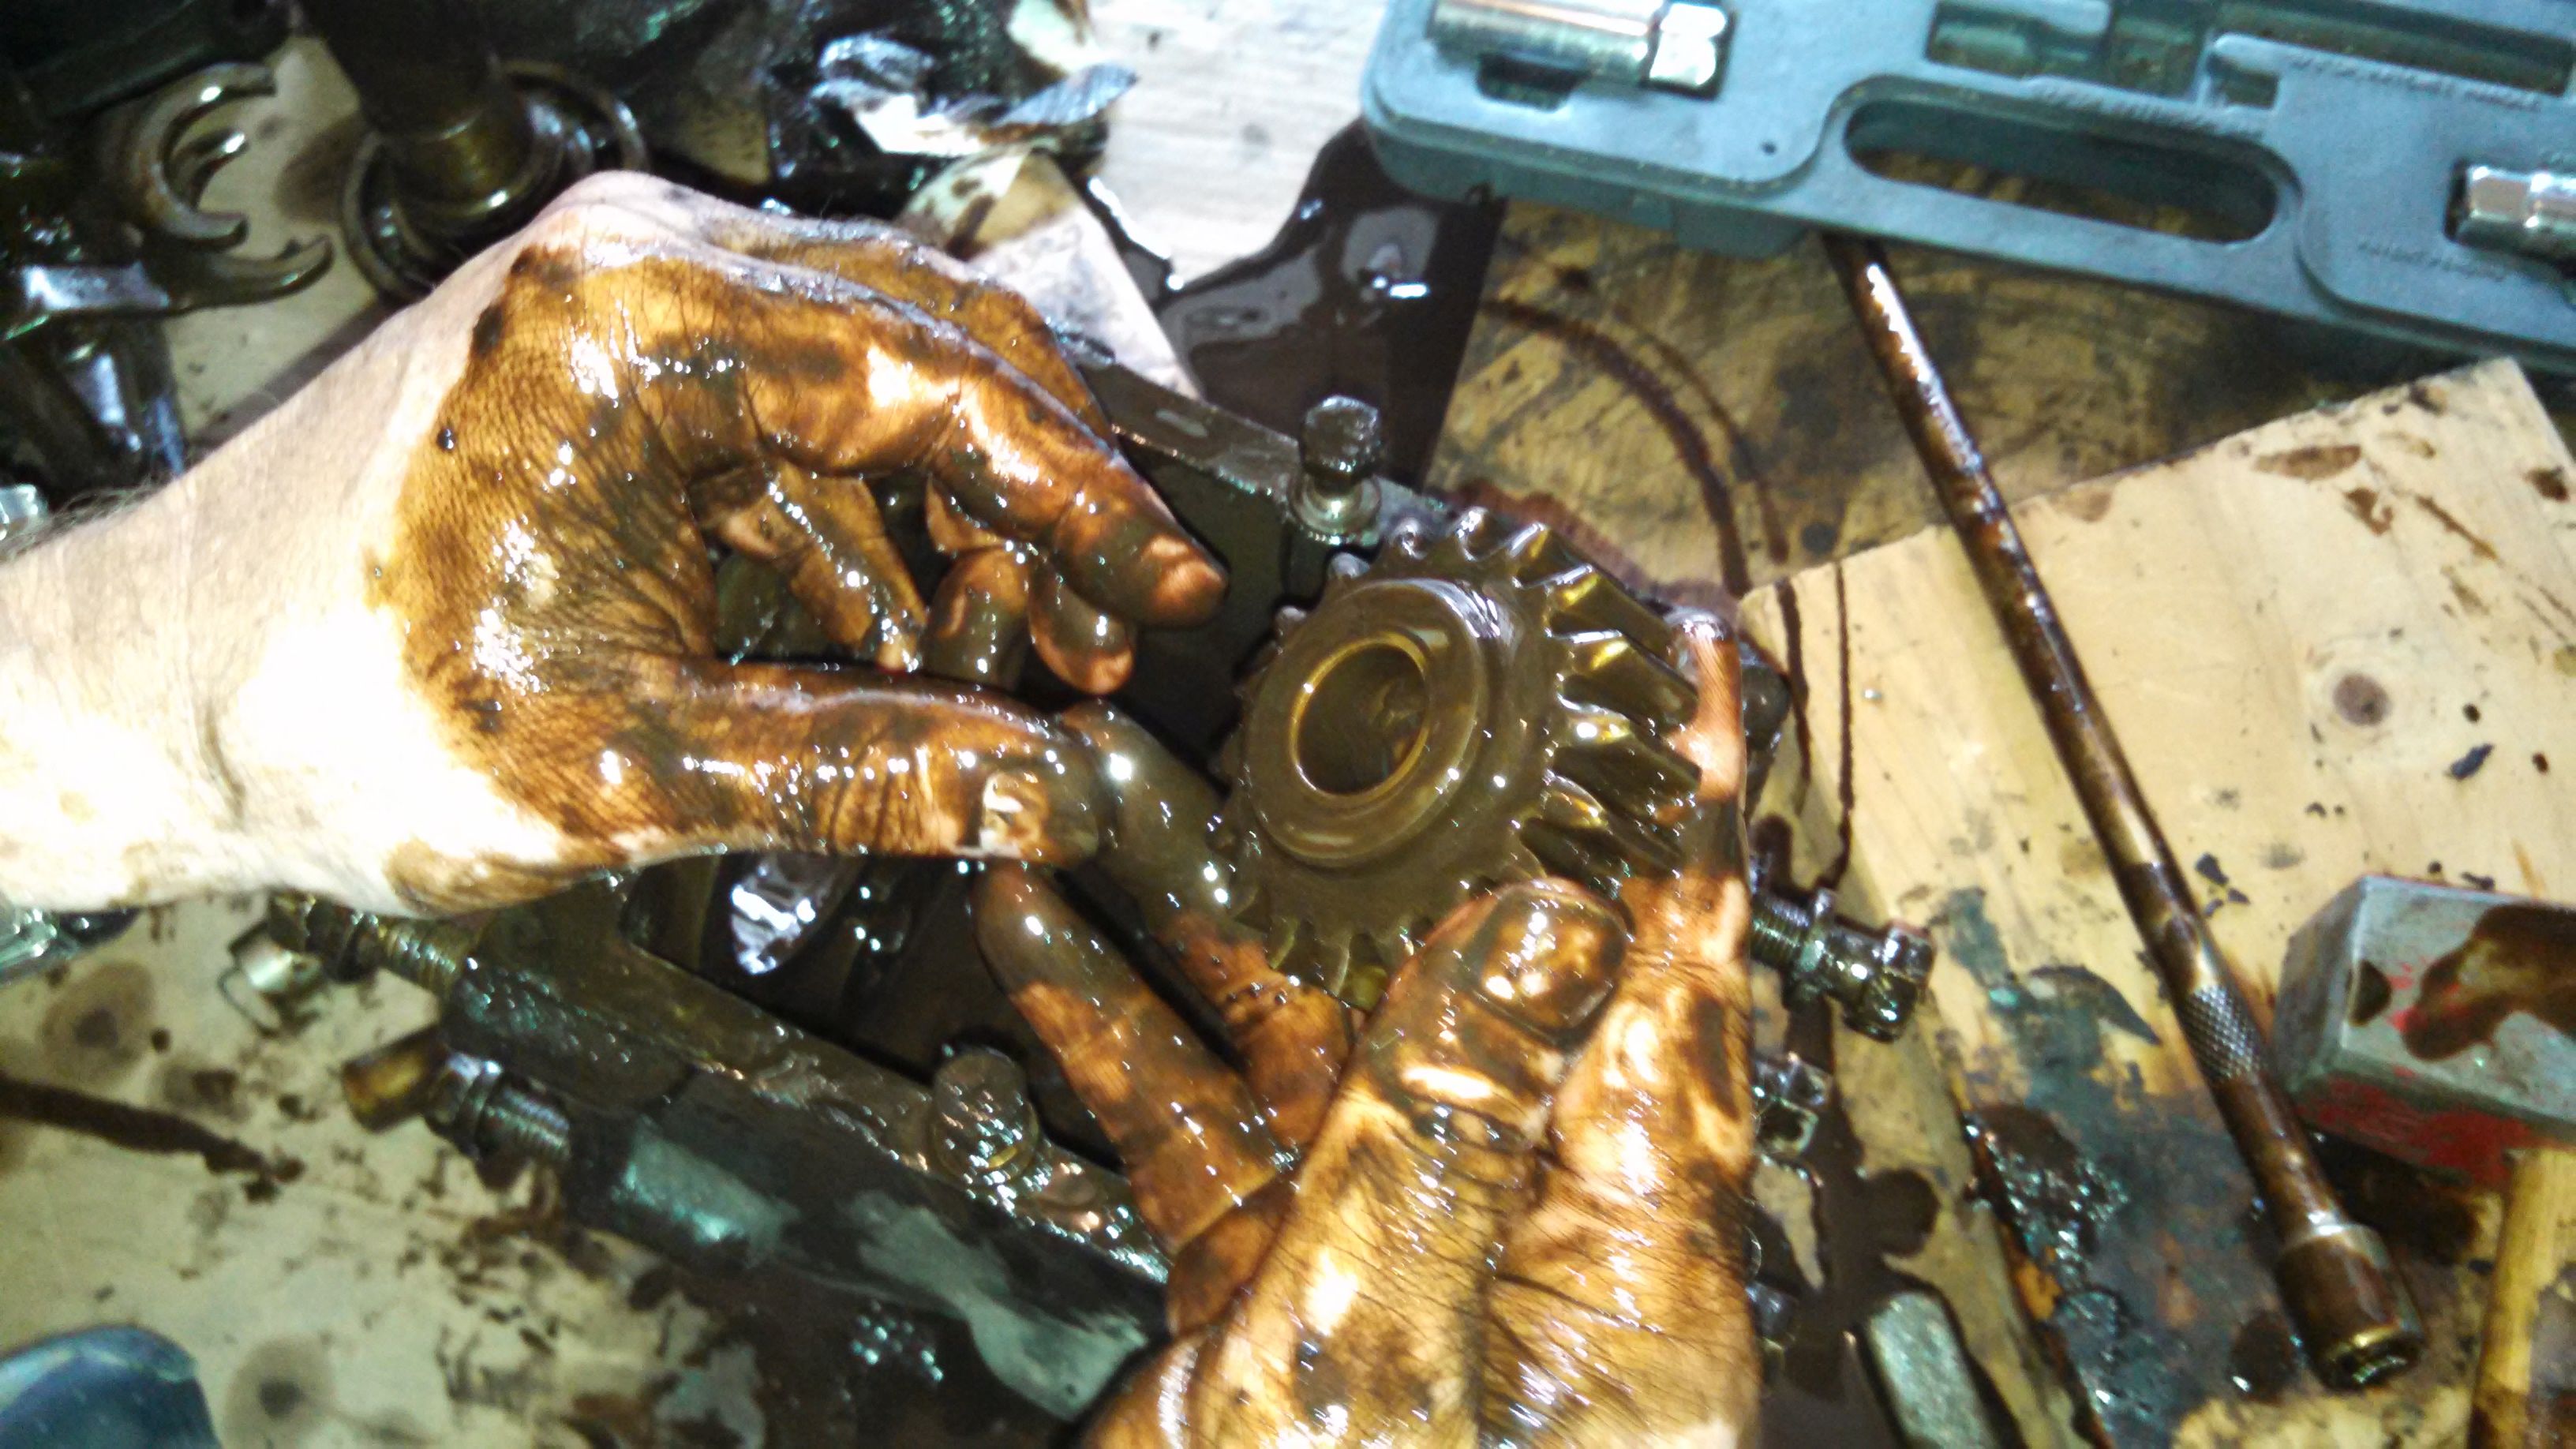
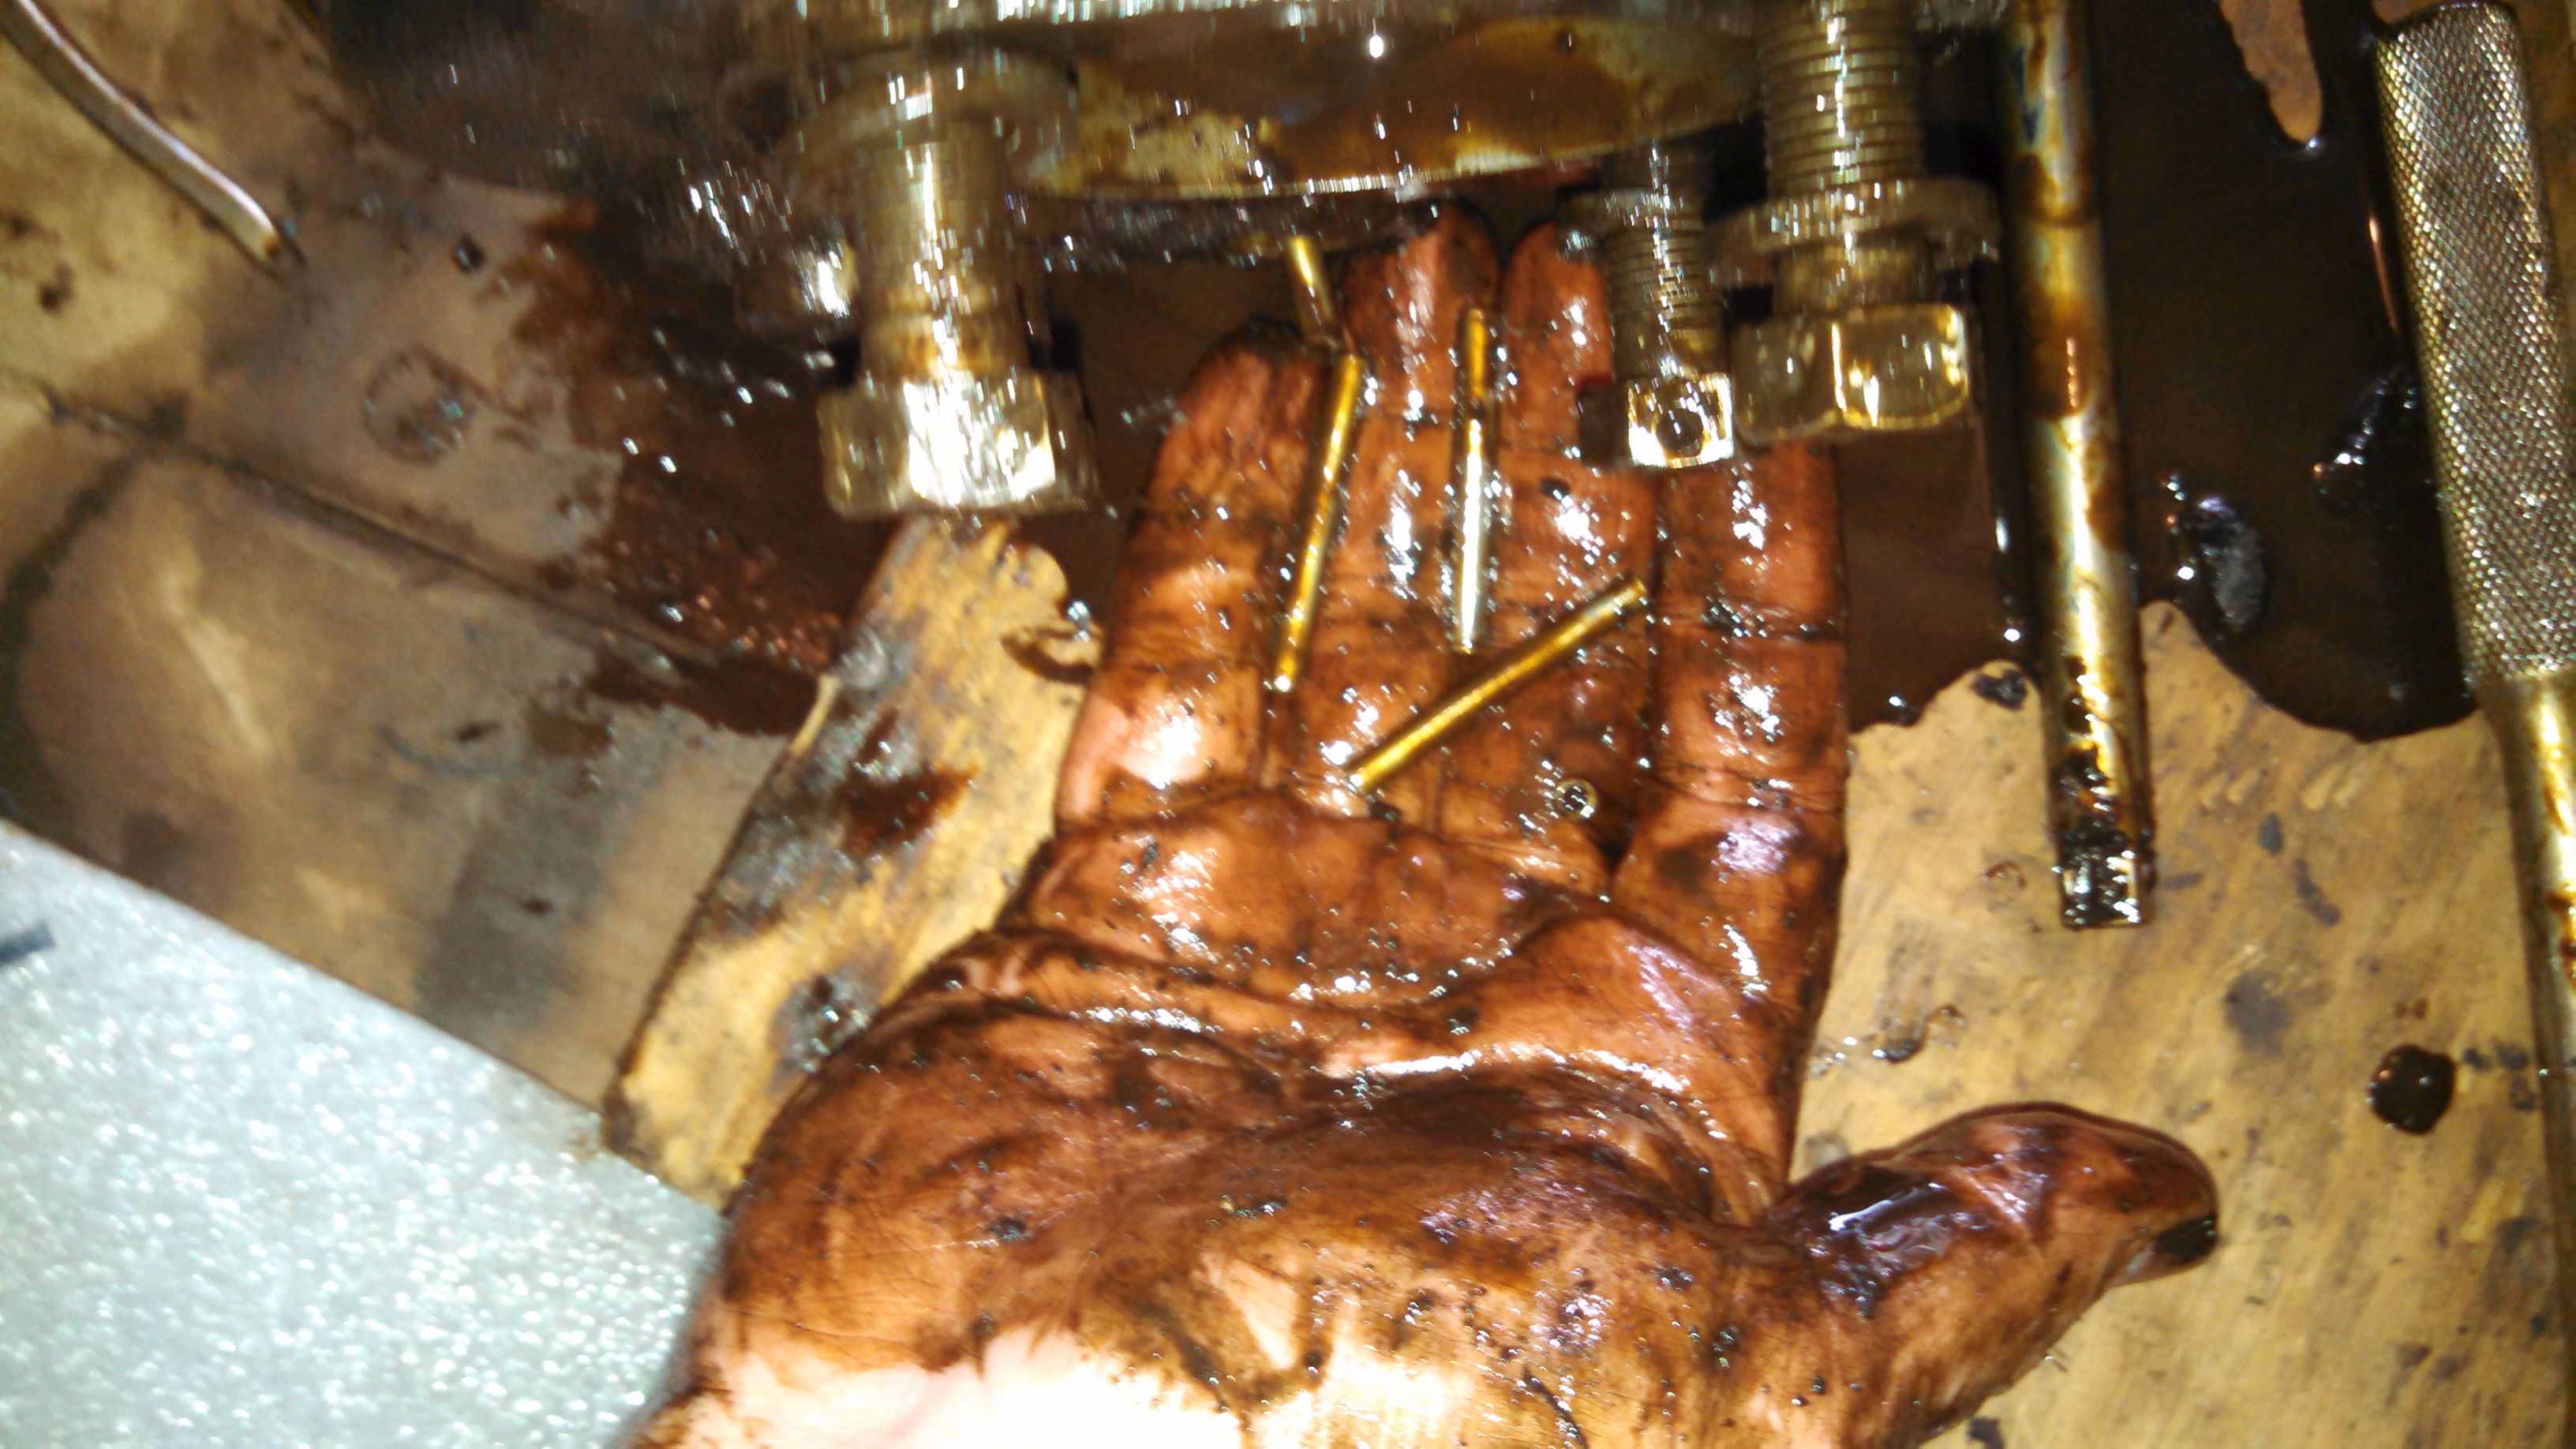
And now, I've got an empty transmission housing! (Did I mention that this was a dirty job?
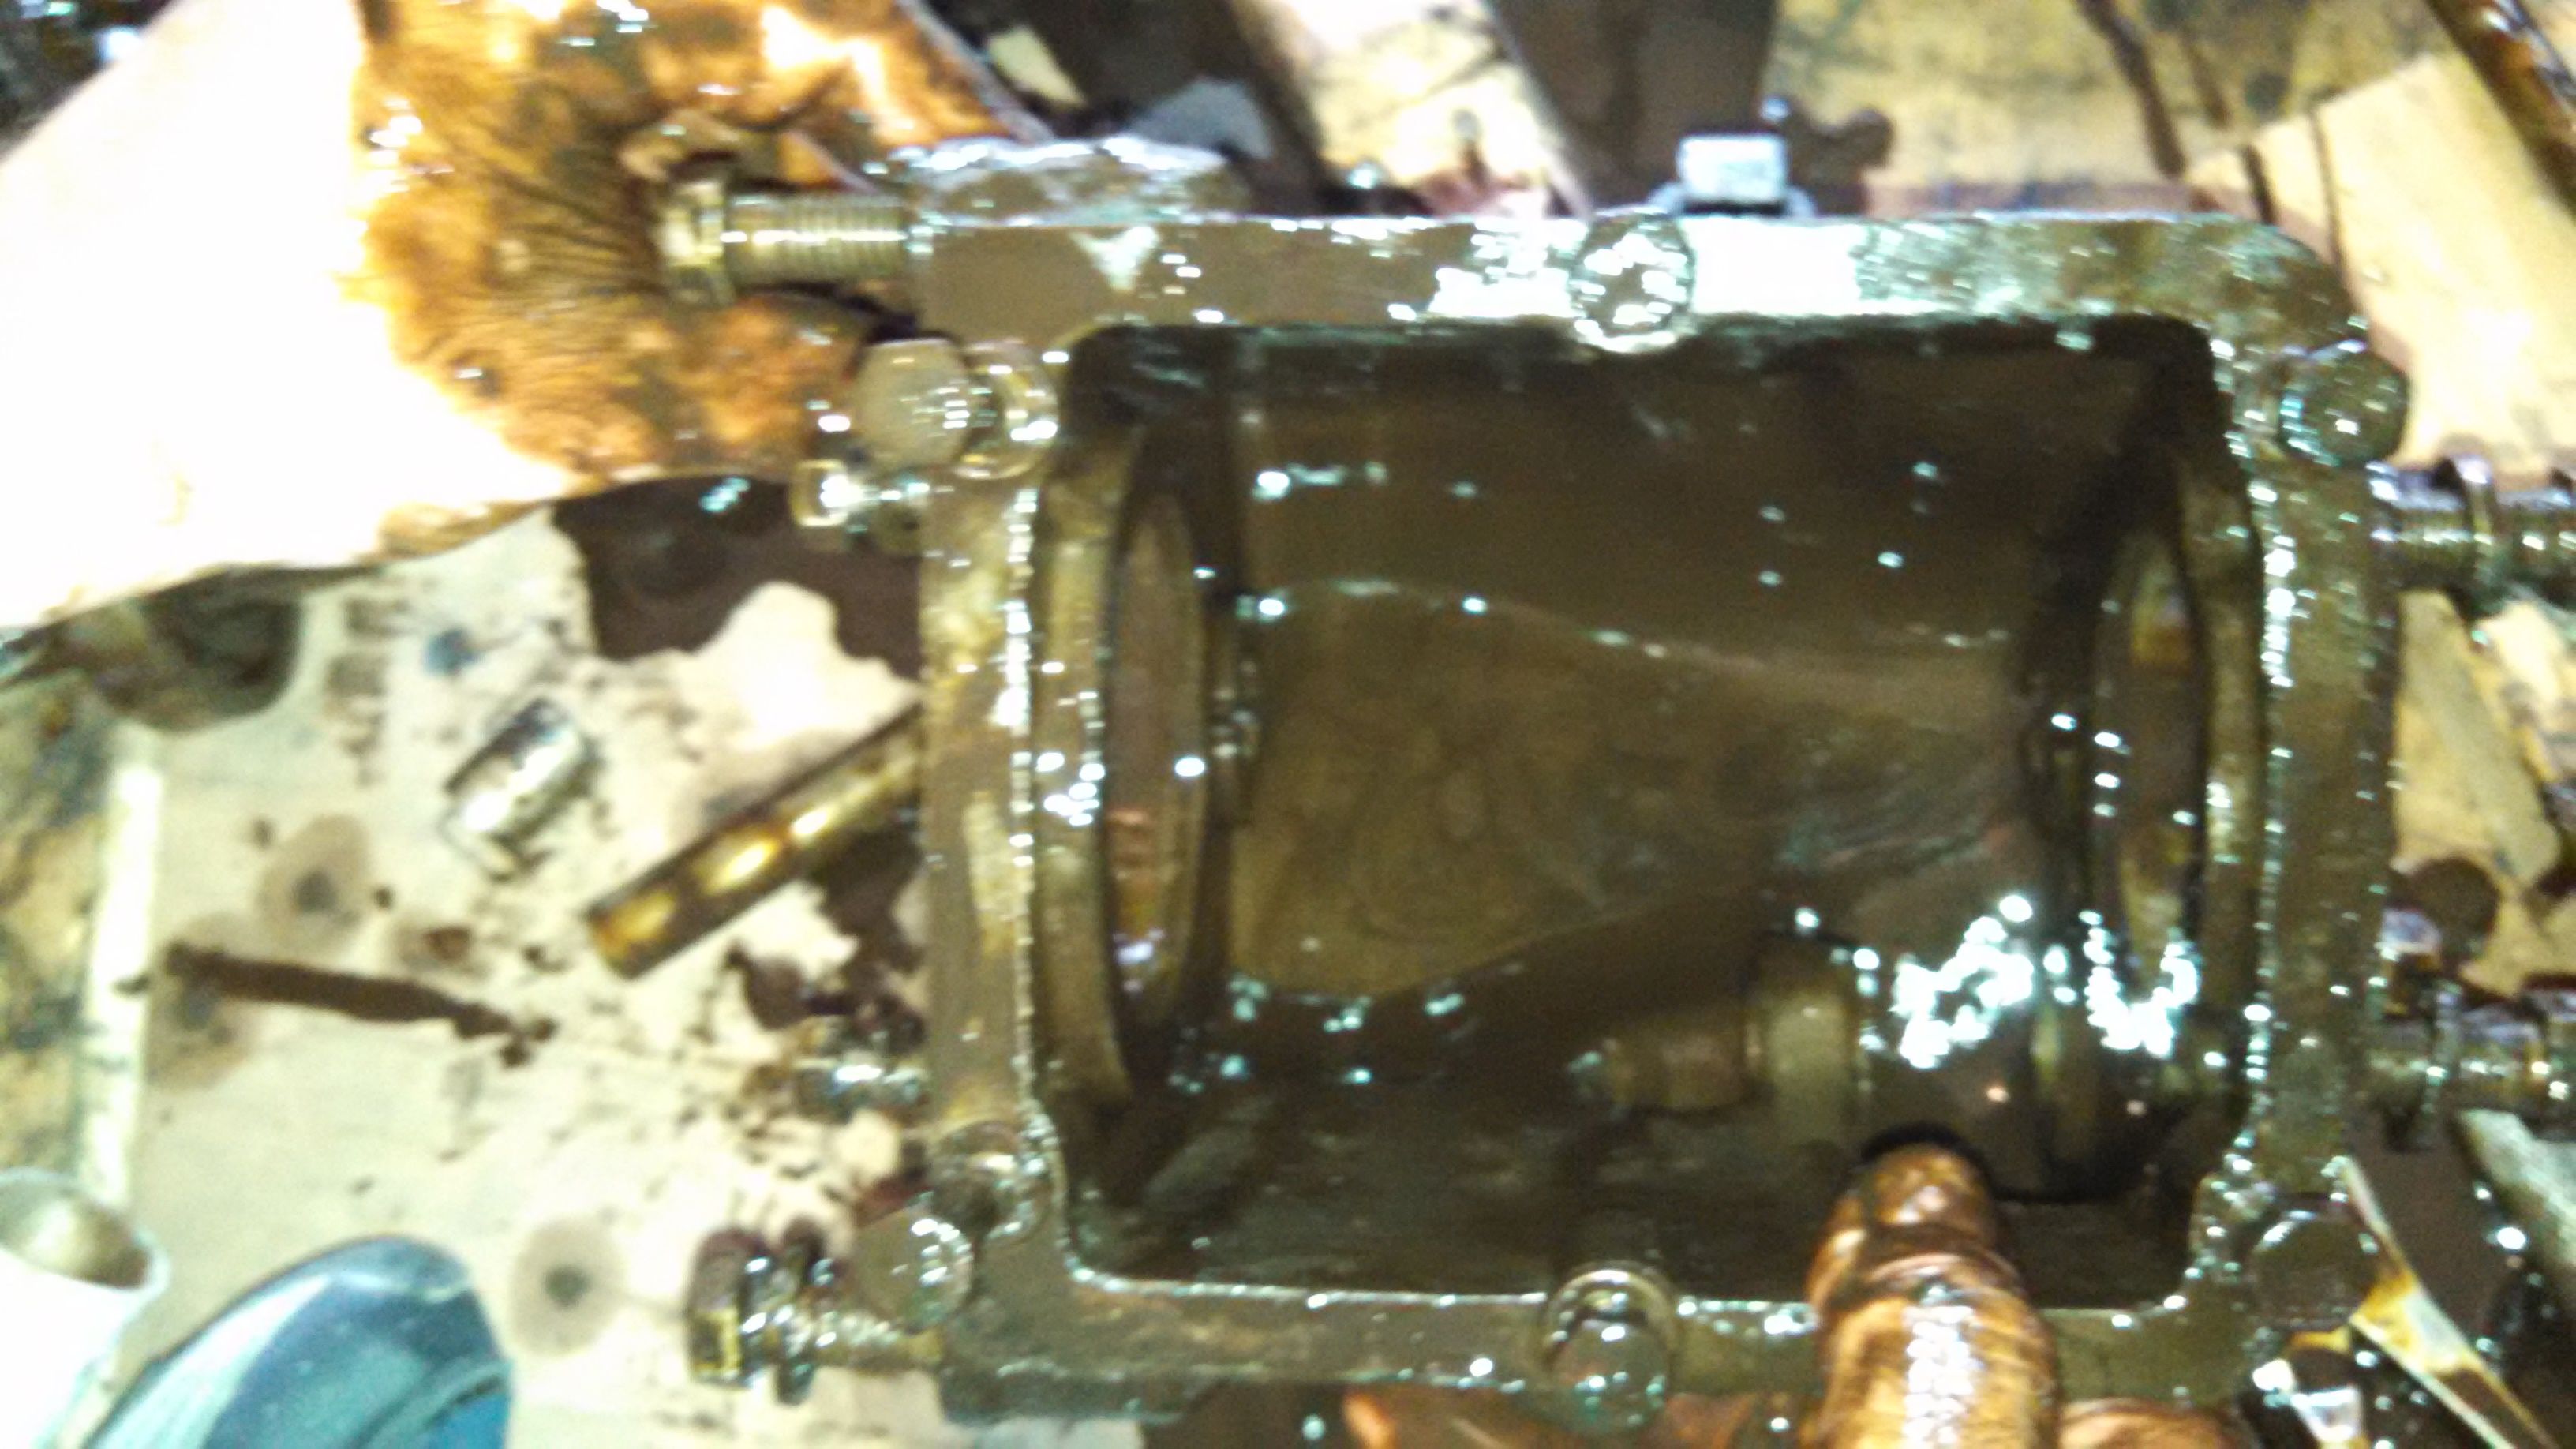
Next, I'll pull the bearings off the pilot- and main shafts, box everything up, and take it to the shop for a solvent bath..
Last modified on 07/20/14