
There was snow on the ground, but it warmed up enough this weekend to do a few things. First off, I went ahead and got the toggles pinned on the service brake shaft. After I got everything installed, though, I decided that maybe the bushings are too loose on one side. D'oh. Maybe I'll take it up to Bratton's for a rebuild this summer. Looks like they'll only charge $75 or so to do it.
For the emergency brake cross-shaft, it was no big deal - just mount it in the frame with the new parts I bought long ago. Problem is, the brackets aren't painted, and it's too stinking cold to do any painting. Fortunately, the parts are pretty small, so I just popped them in the oven at ~250F, and let them heat up for about 15 minutes. I took them out to the garage and shot them with some of the Eastwood's Rust Encapsulator. I let them set for about an hour, and by then the parts had cooled to jut a little below room temperature.
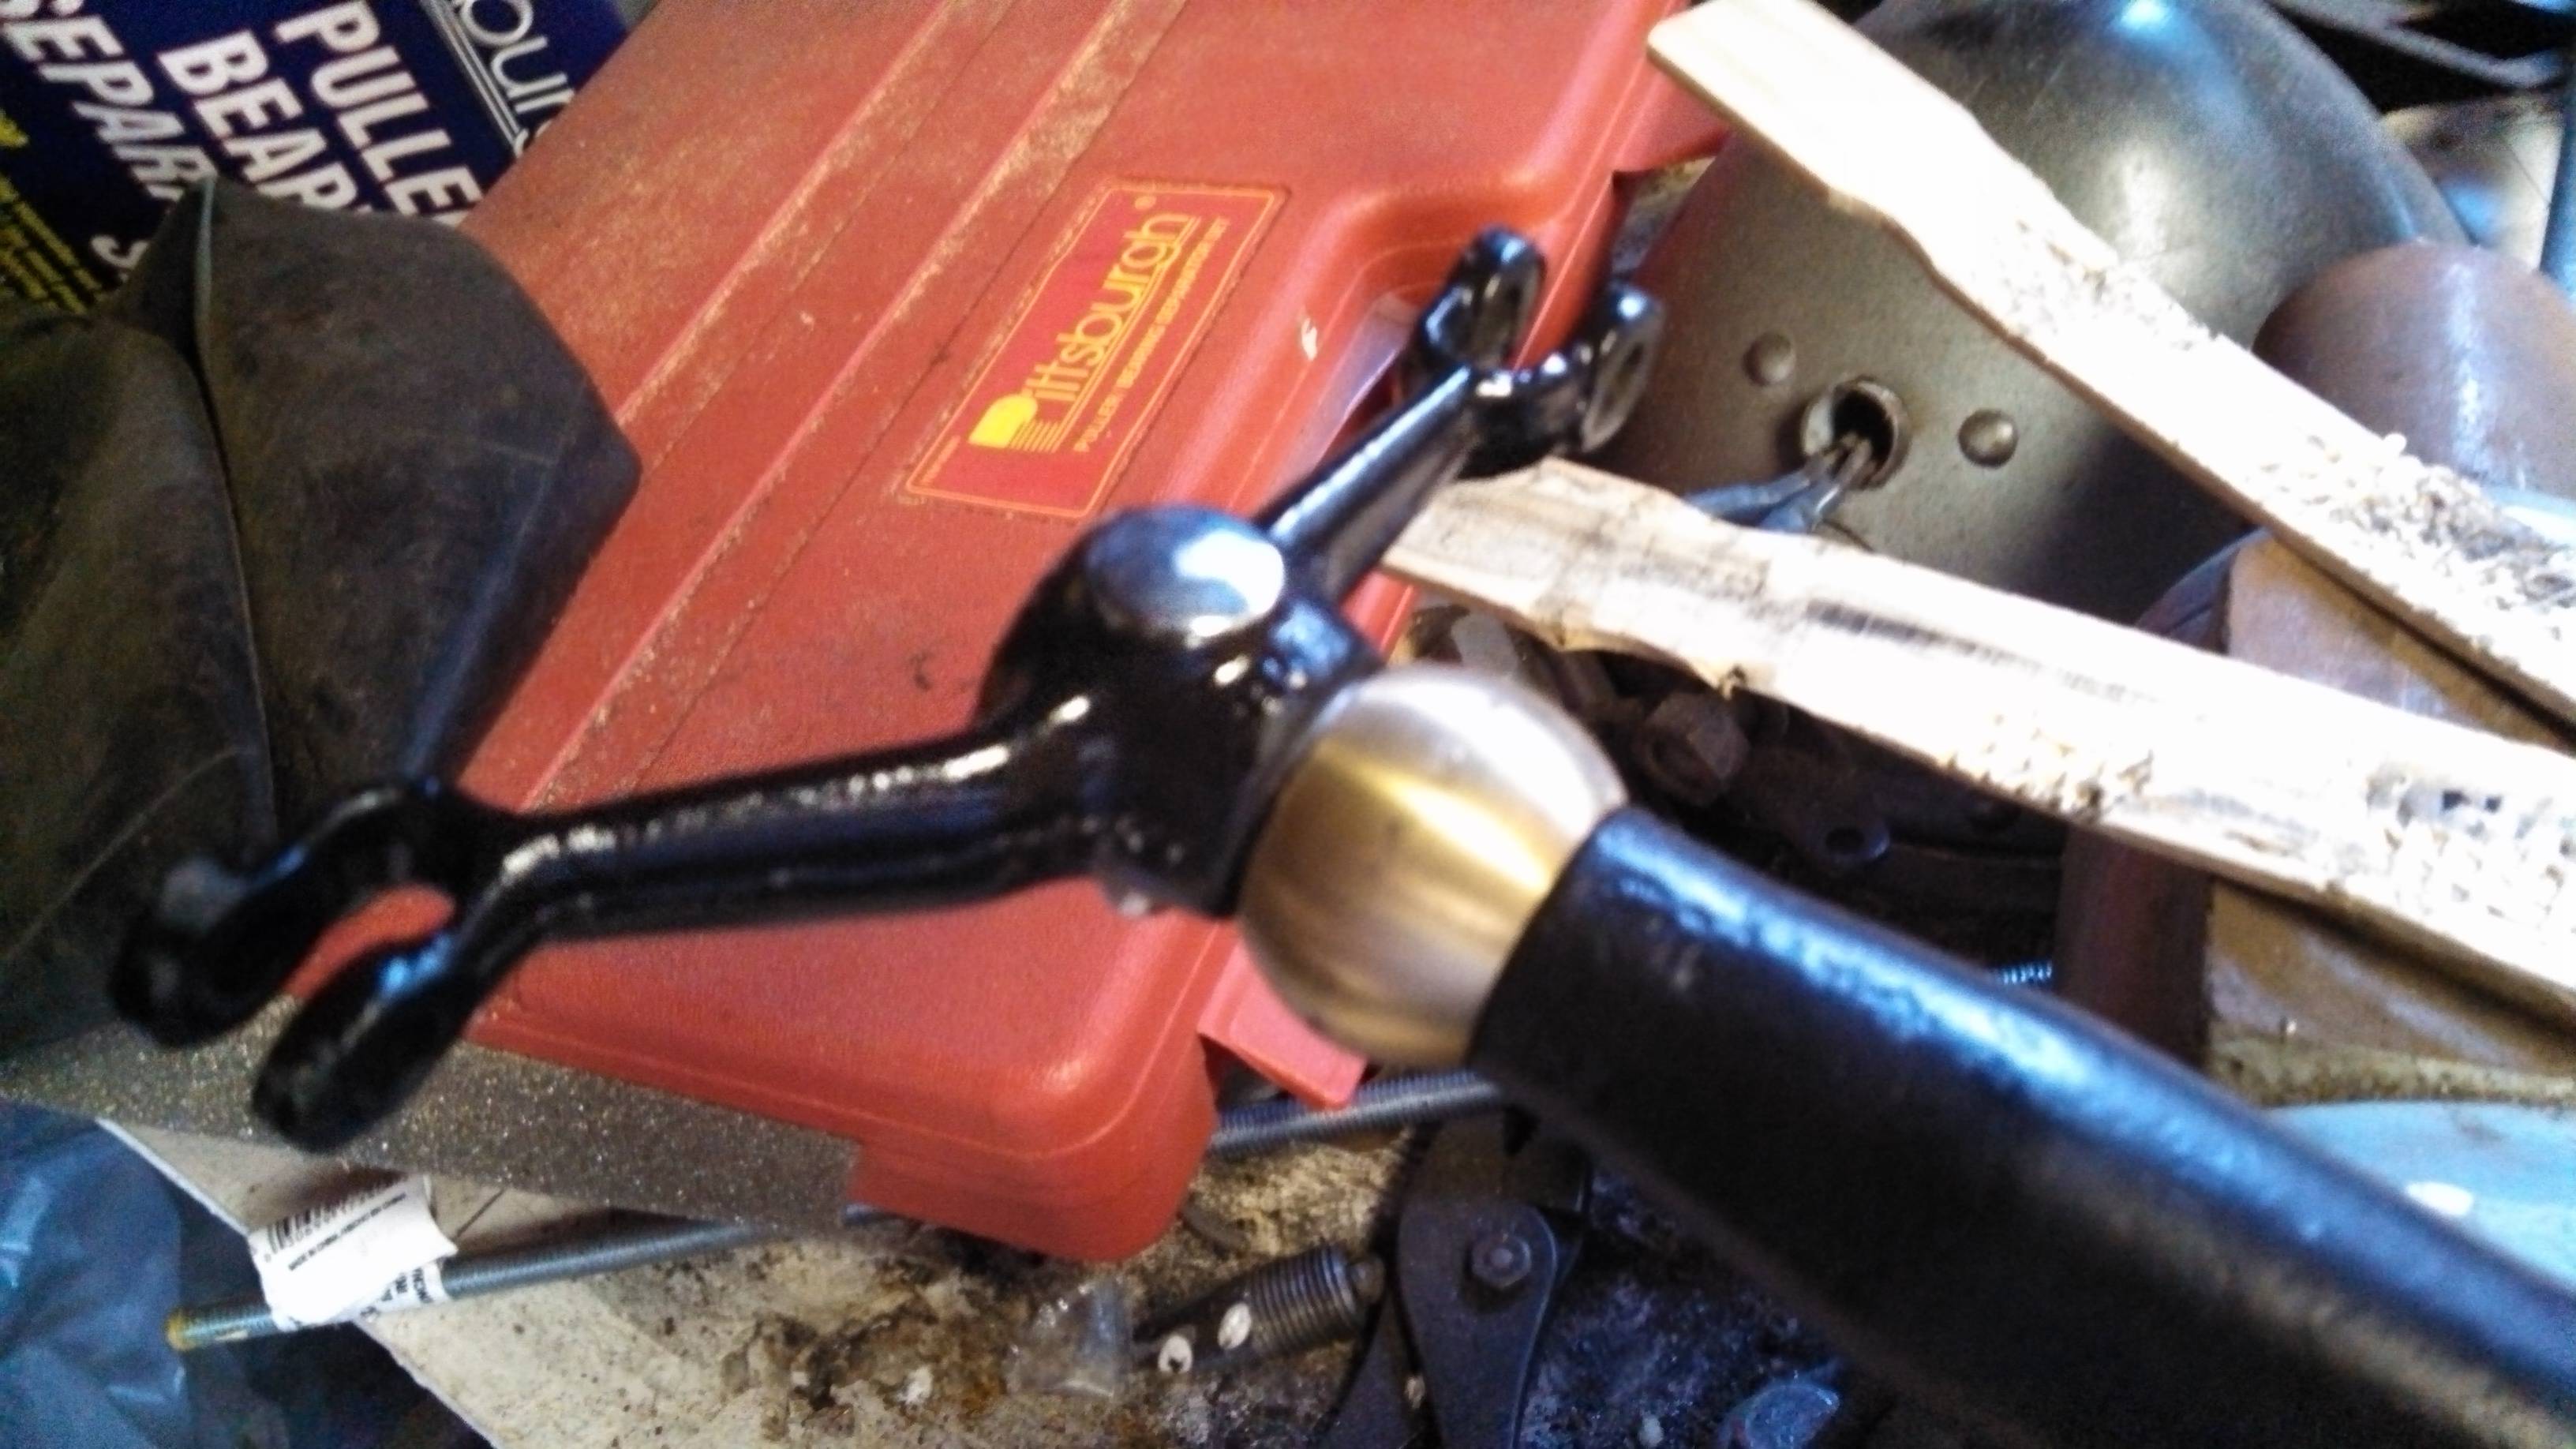
Today I went over to Ed's house to "tune" my steering box. Allegedly, he's got it down to a science. I thought I'd take a lot of pictures and maybe a video, too, but it never really got that far.
First thing was to pull the steering column off, and we did that, and that's the only picture I got, as things started getting busy at that point.
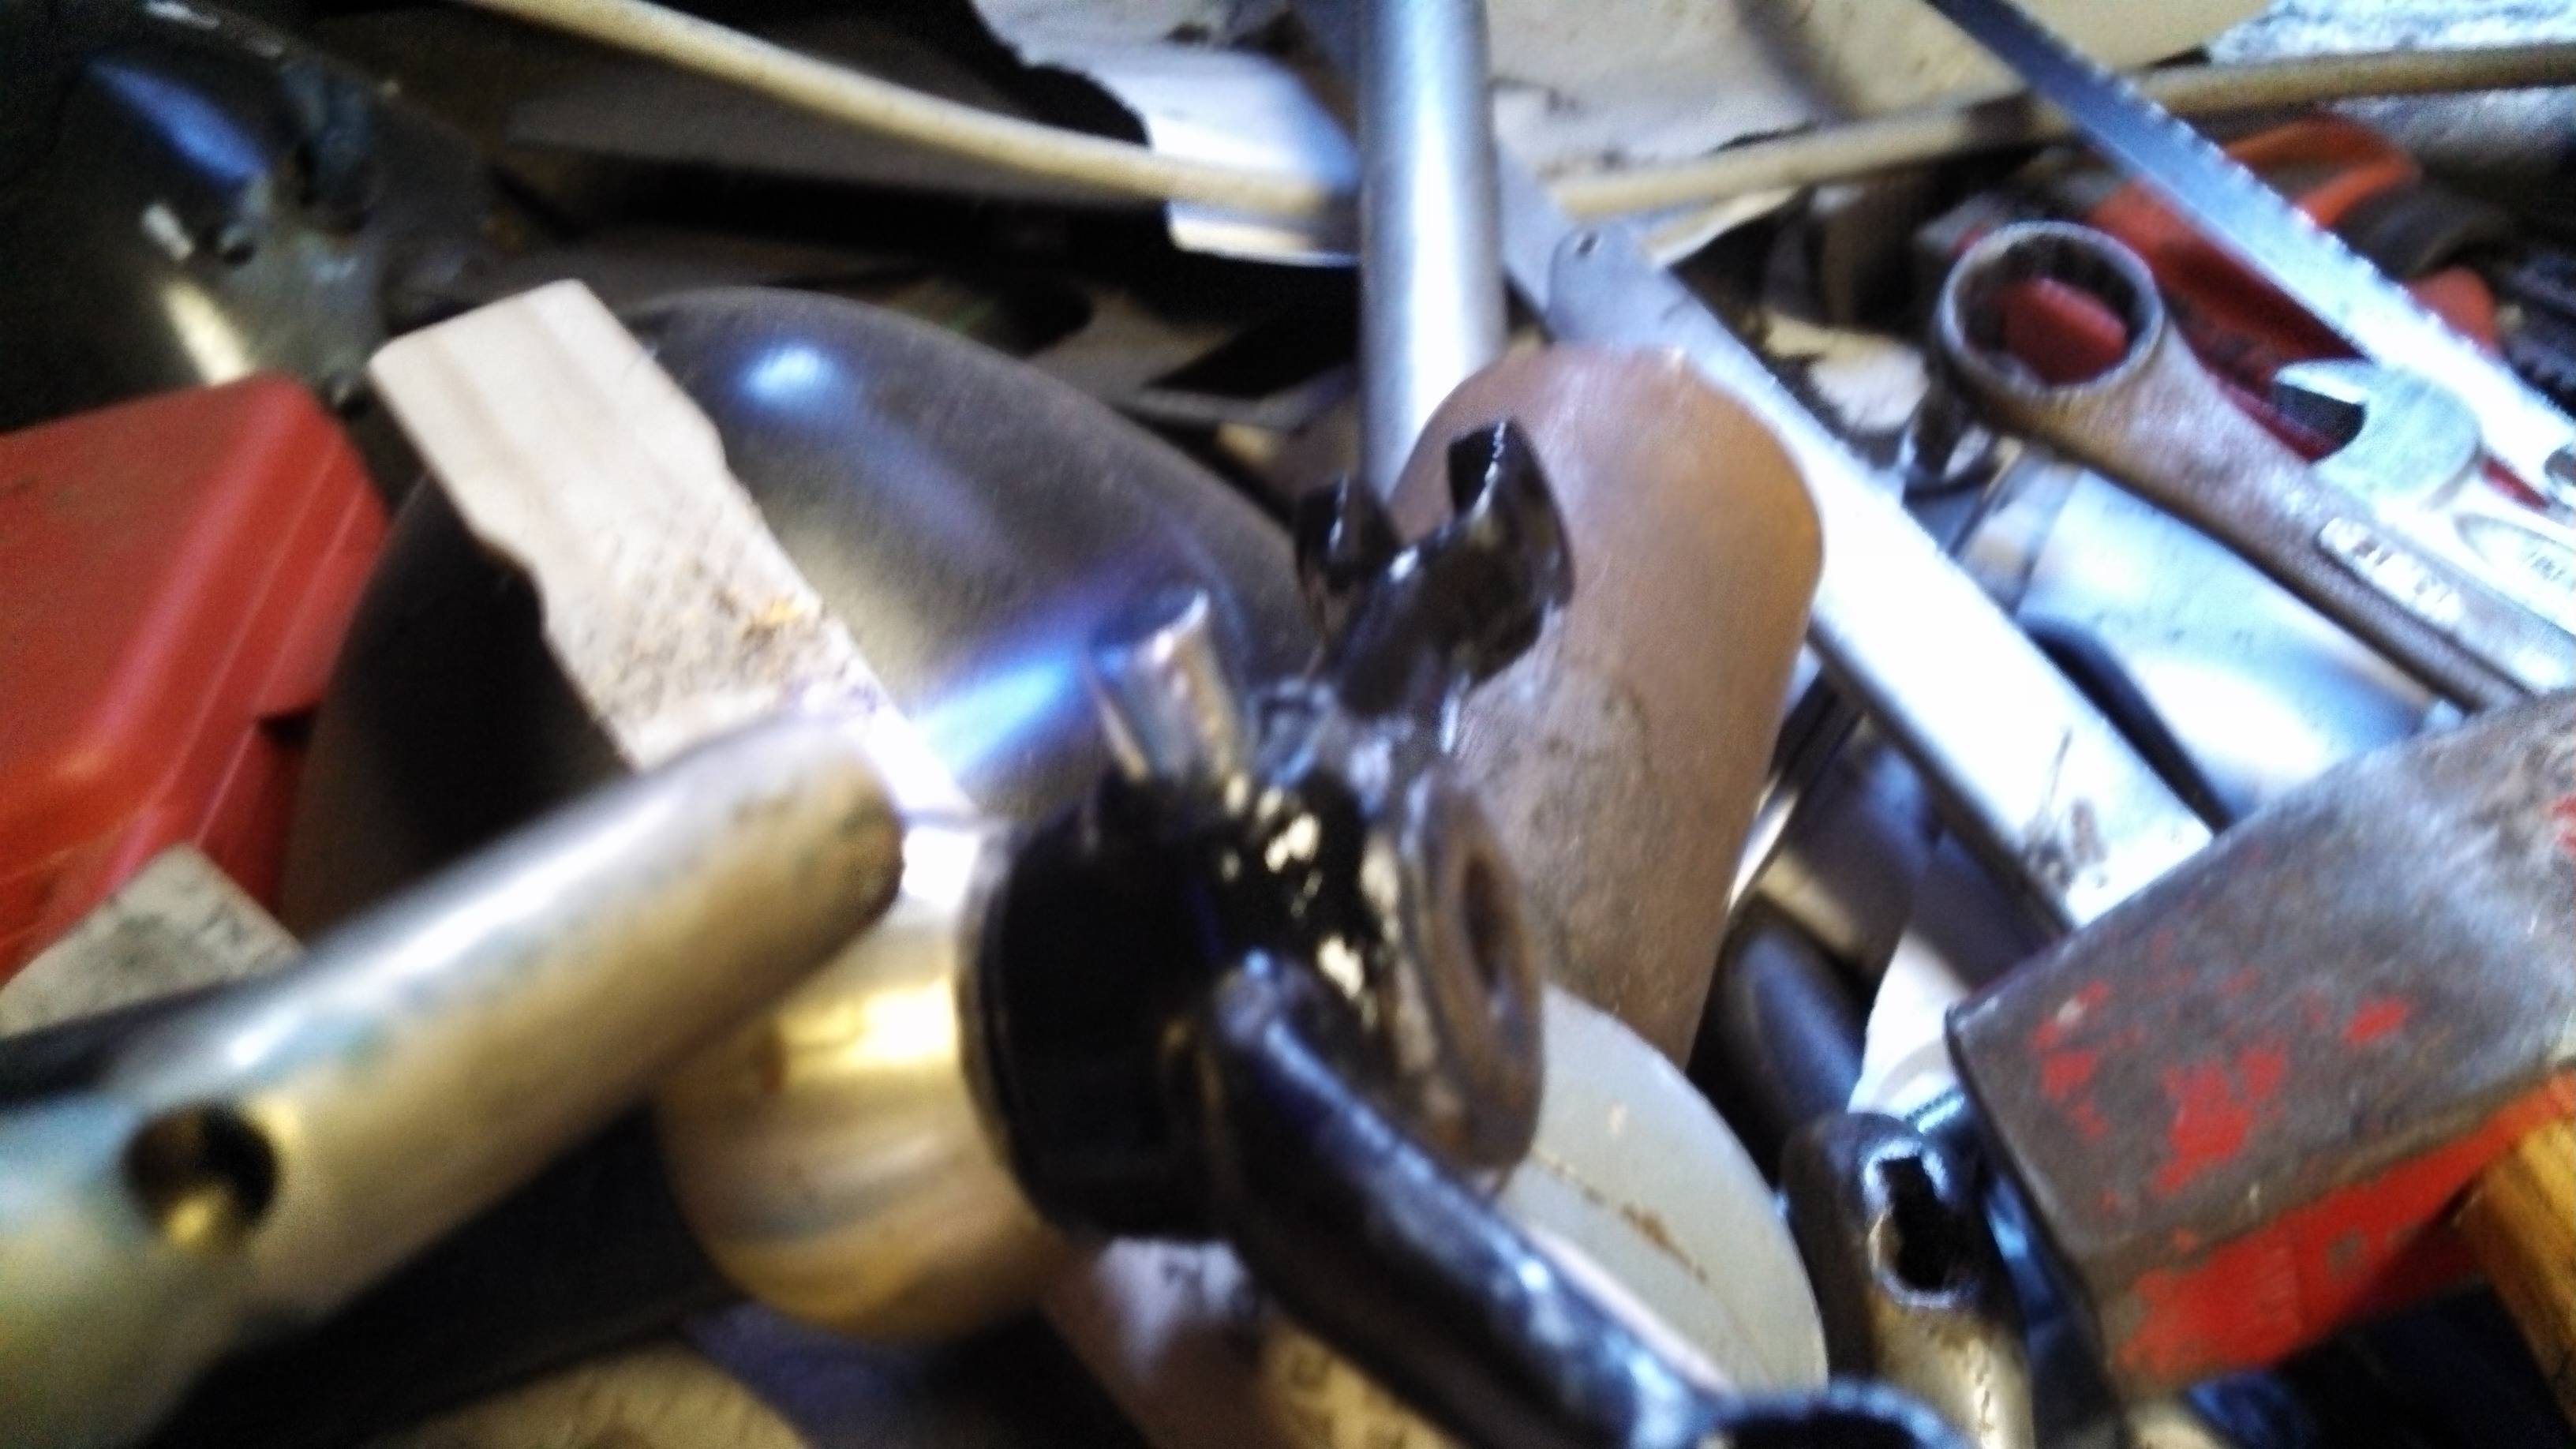
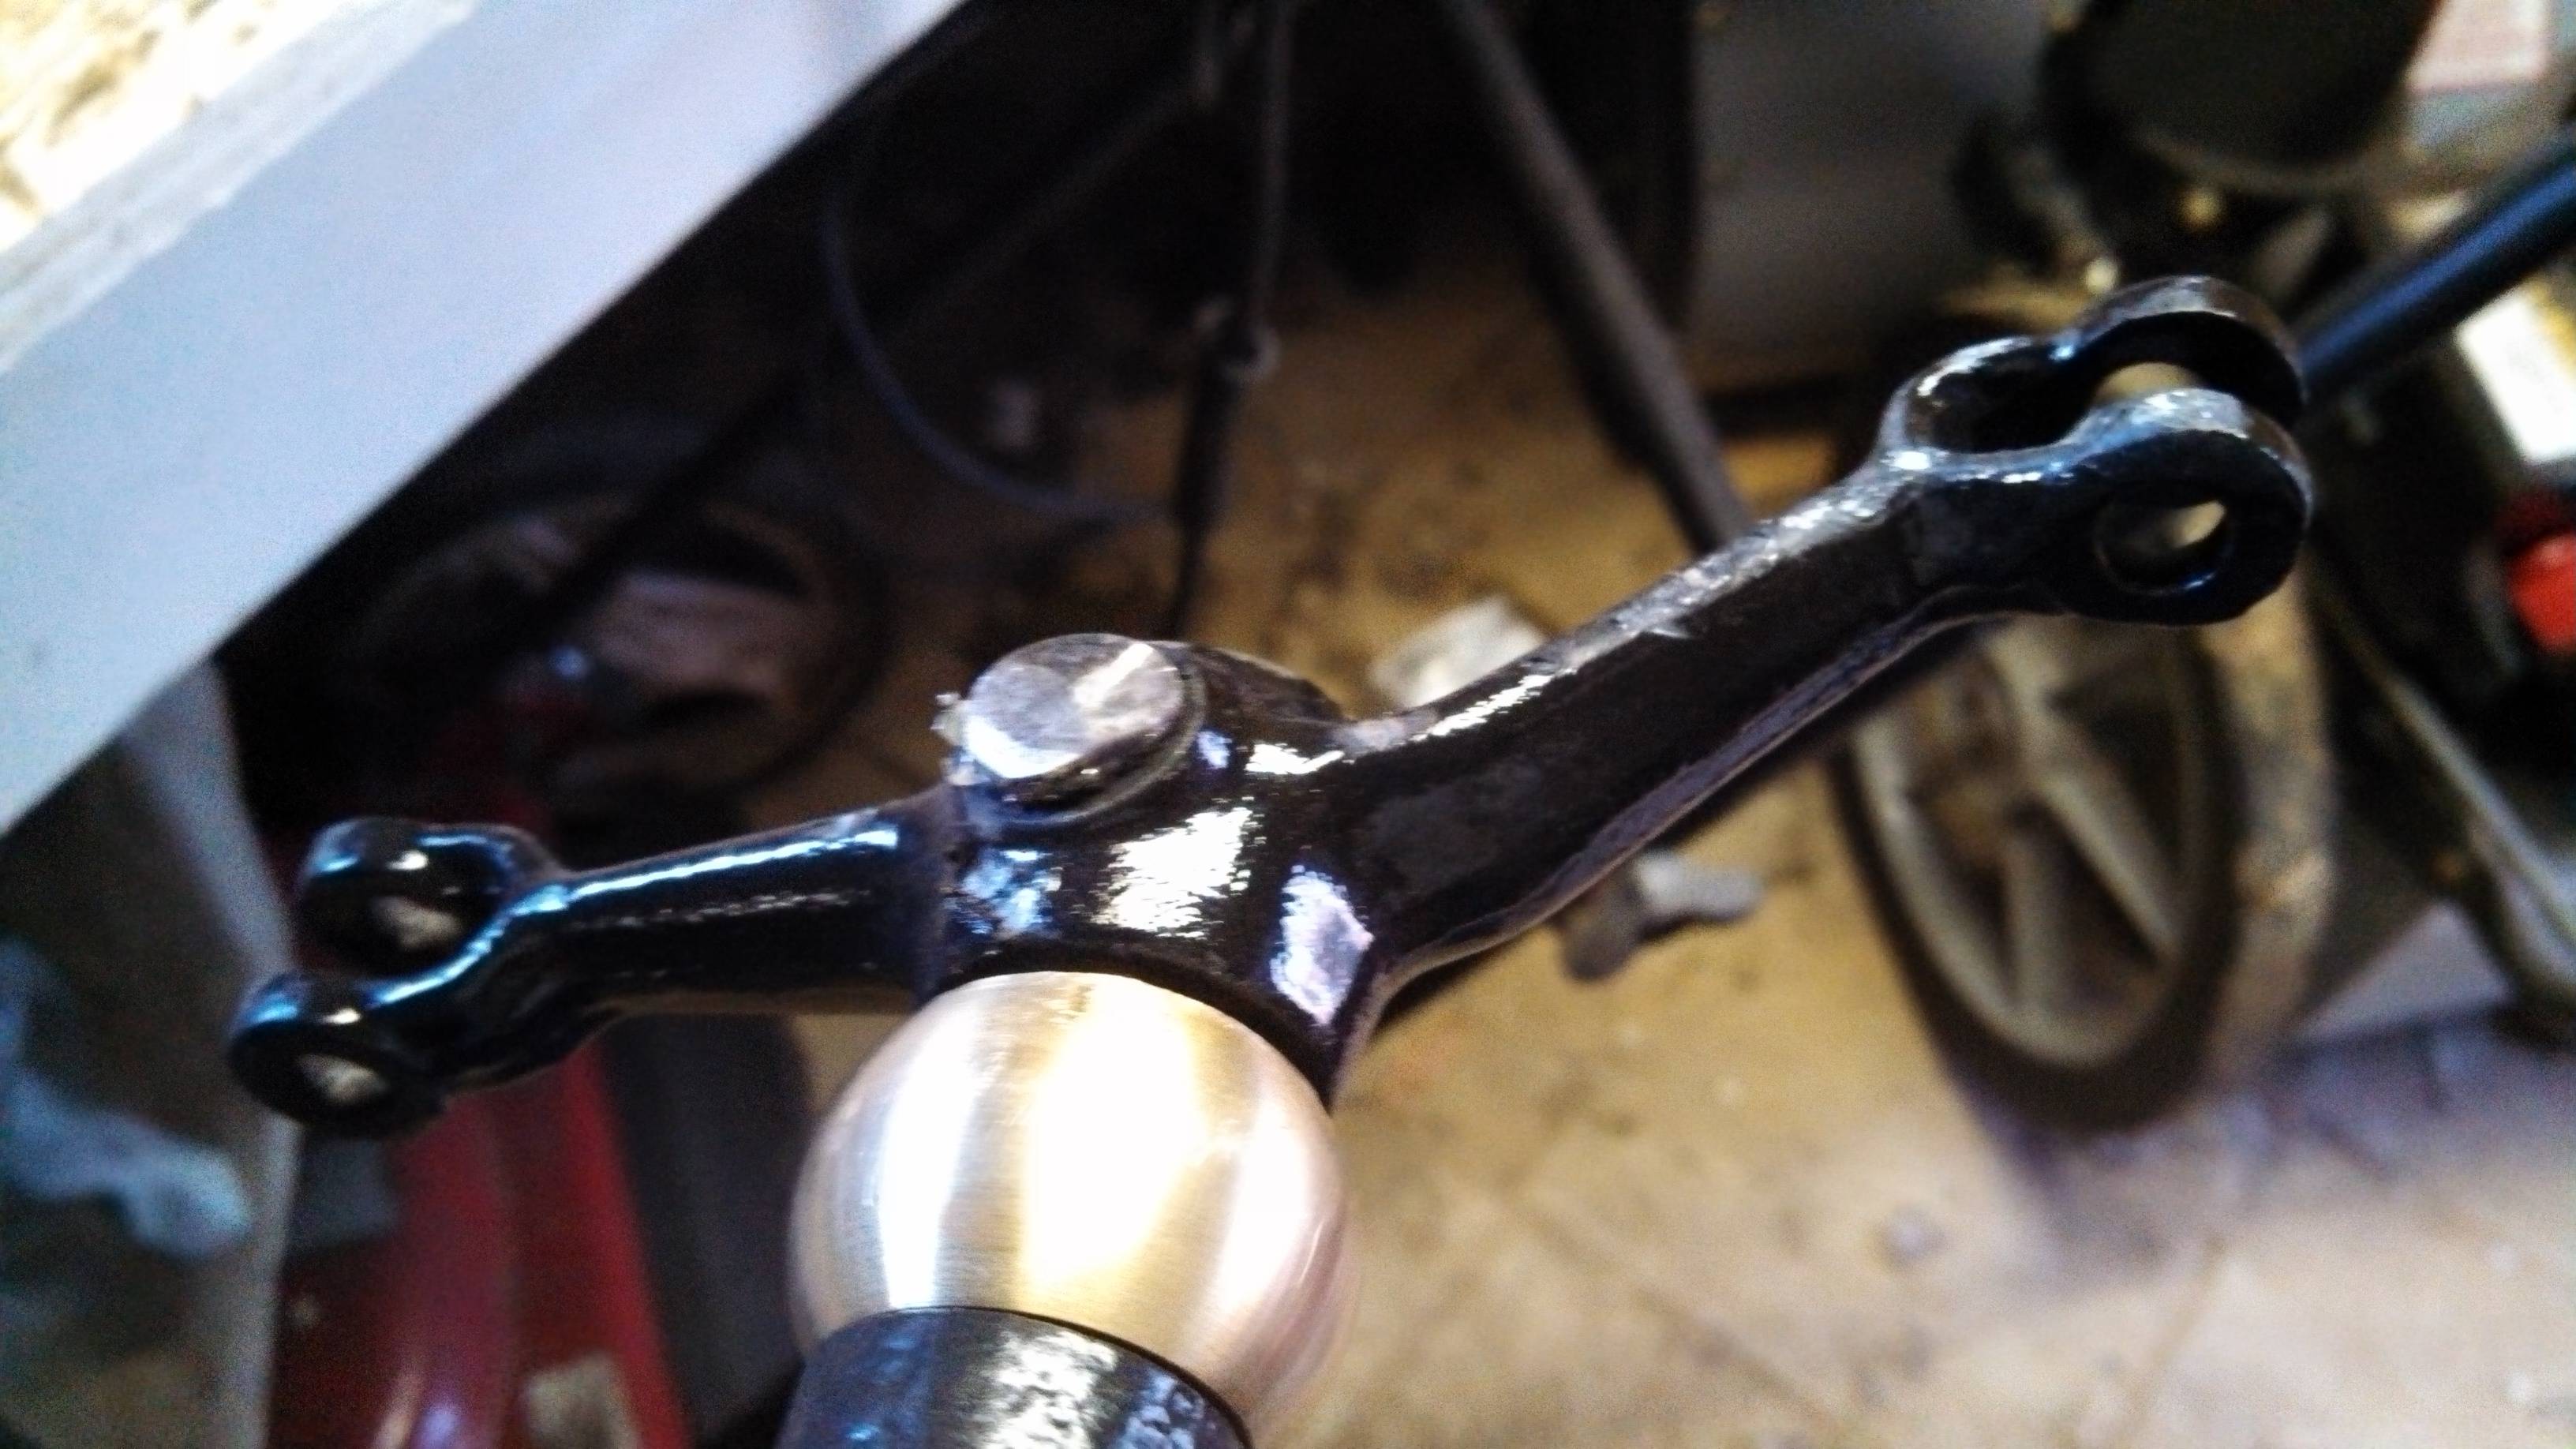
So, then things went a little sideways. Ed asked if I'd gotten all the grease out of there, and I told him that I got most of it, but wasn't worried, as the oil would fill in. He didn't like that answer and insisted that I clean it all the way. I'm not one to argue with someone who's helping me, so we tore down the steering box and I spent the next hour or so with my hands in gasoline. I'm happy to report that none of the primer or paint came off of the box, so I guess the Eastwood stuff stands up to gasoline (I've already proven it won't stand up to brake cleaner, though)
After we got it all cleaned out, we brought it back in for reassembly. After a quick look, Ed figured out I was wrong about the sector bushings being good enough. Fortunately, he had several presses and I had some new bushings, so I ran home and picked up the new ones, and we installed them that afternoon. He's headed up to someone else's house to ream them later this week.
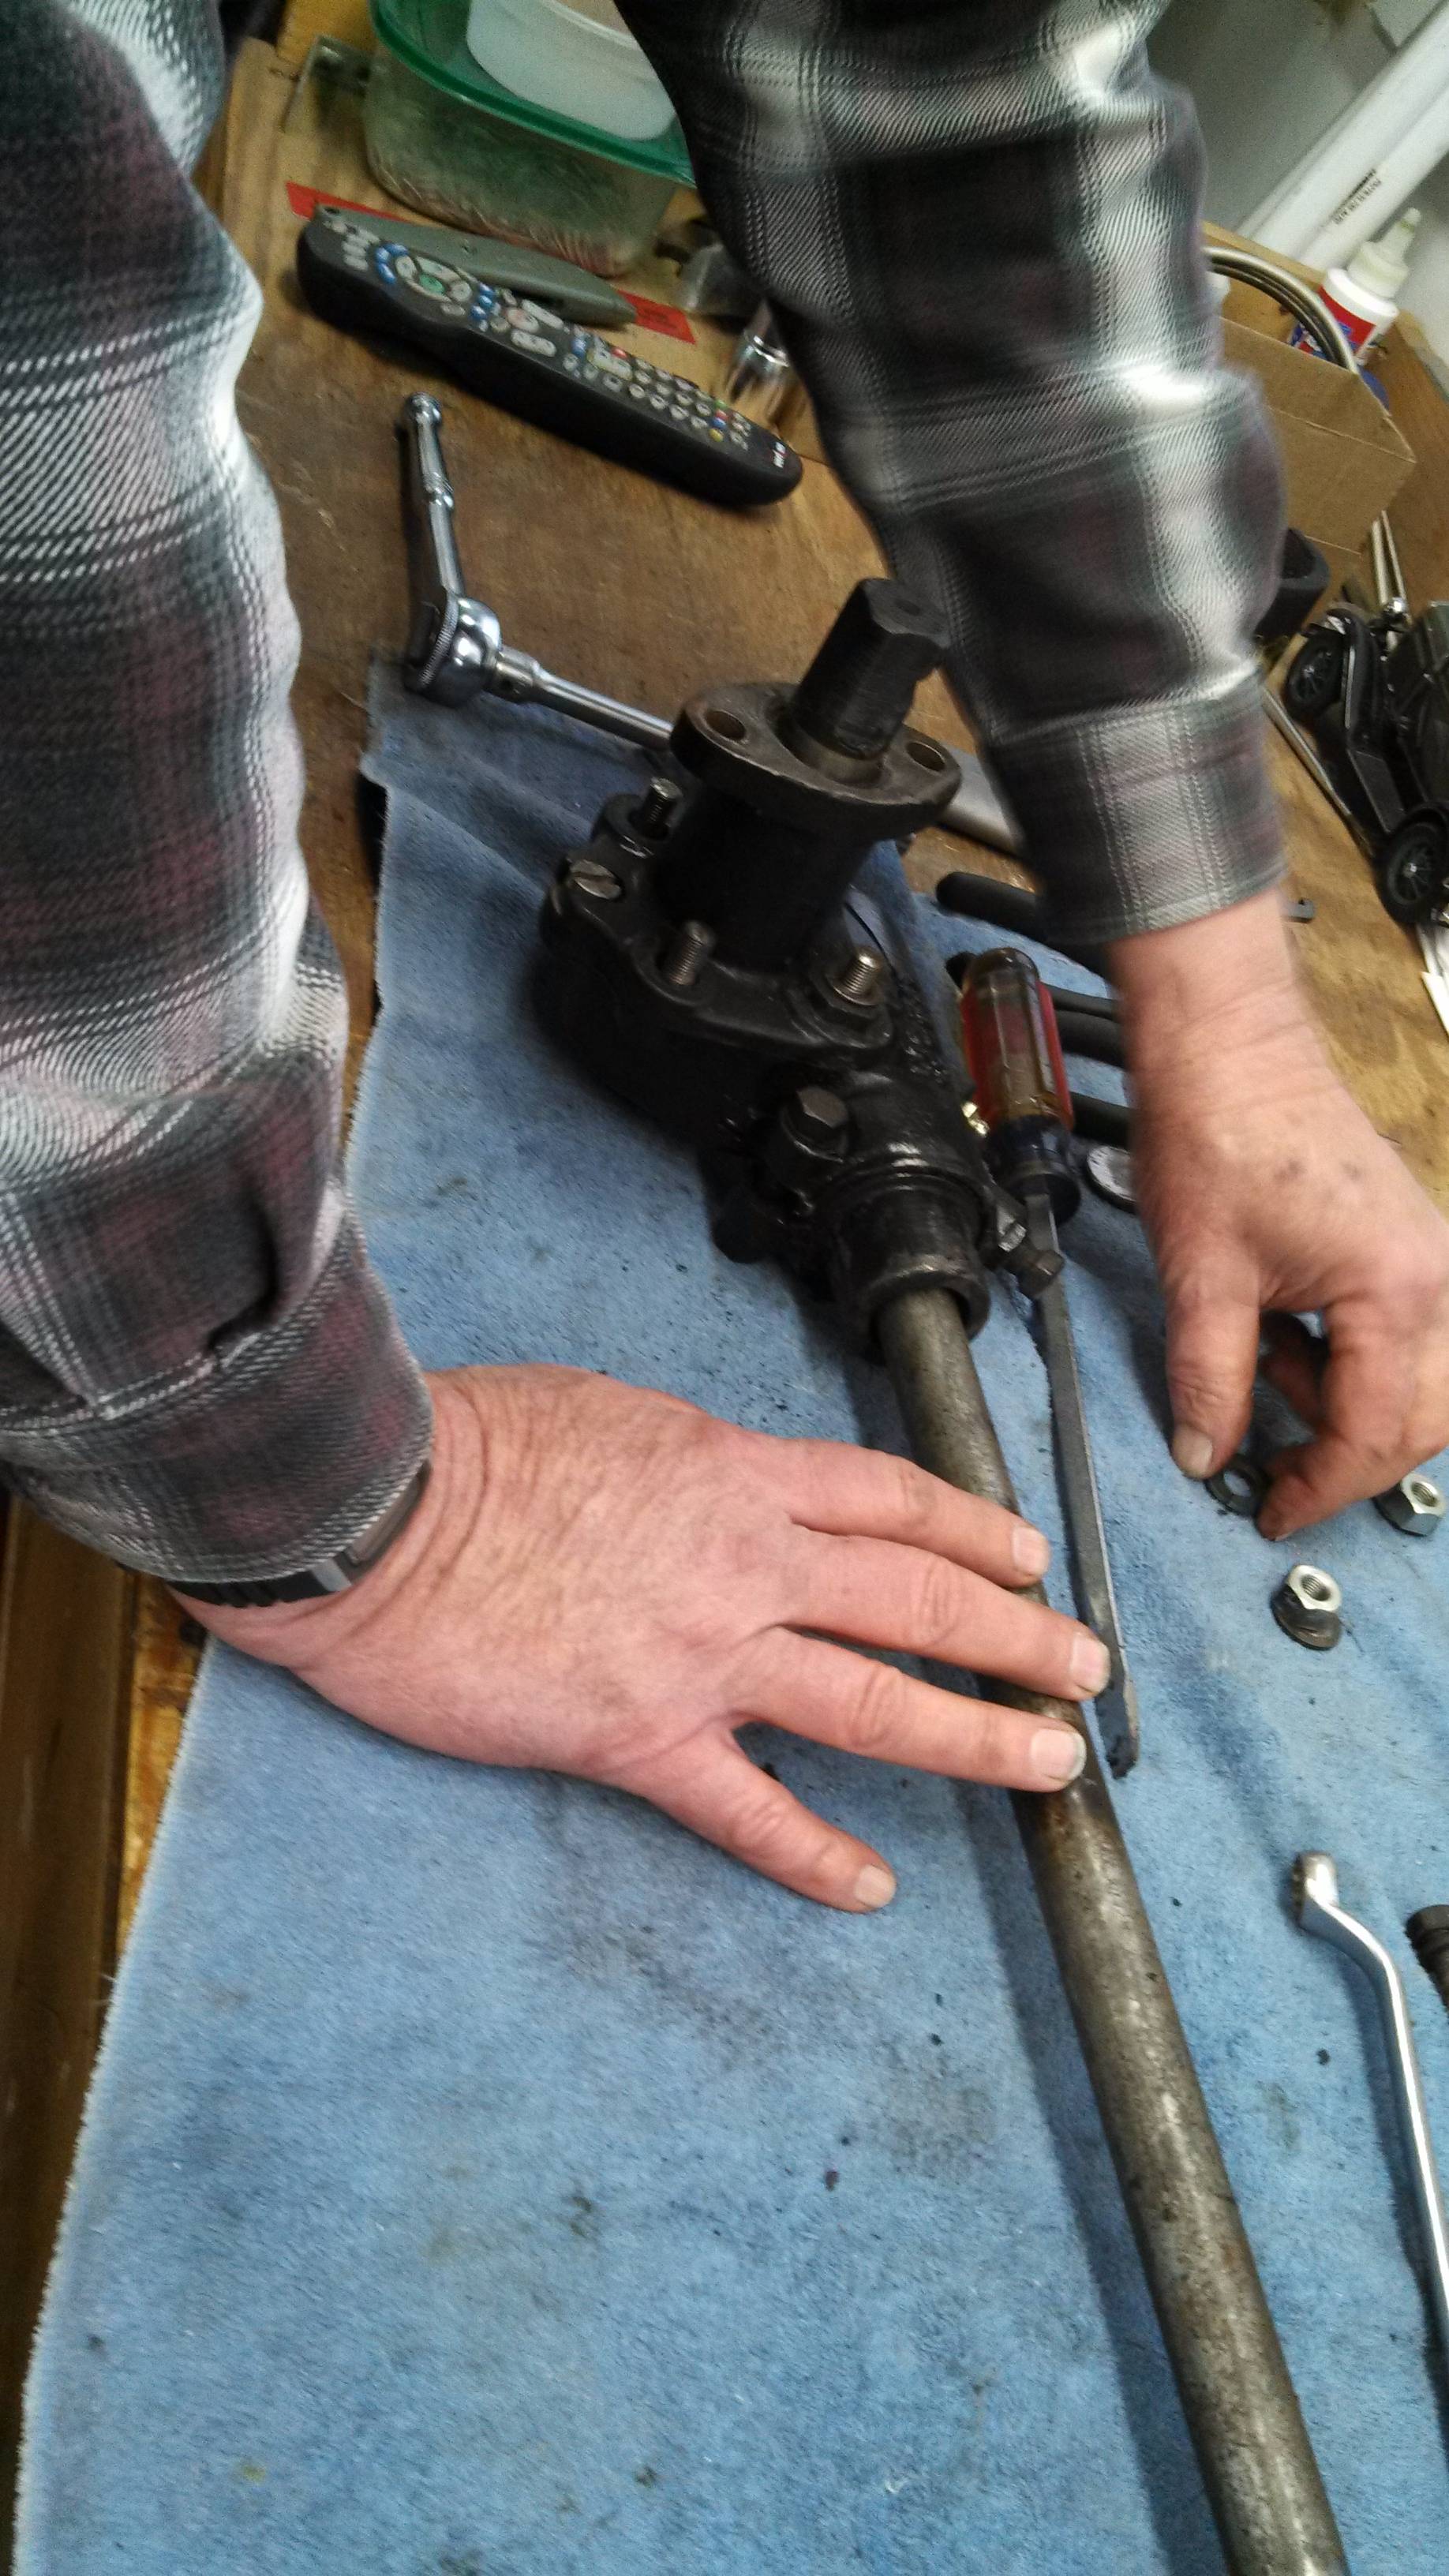
So, we started building up a list of what I needed - which was mainly just a set of seals. Then he pointed out that one of my bearings had a piece missing out of one of the rollers. I couldn't remember at the time why I had decided not to replace those, but I reiterated that it's a slow turn and not very often, and I had had a good reason, but couldn't remember it. Of course that wasn't good enough, so we looked up the part numbers for bearings, too.
In the course of all this, I showed him my broken shackle U-bolts, and it turned out he had a set of originals that were in pretty good shape, had been blasted & painted, and were ready to go. He sold them to me for $15 (which is a pretty good deal).
After I got home, he called me - he had figured out why I didn't replace the bearings - they're the originals, and they aren't available anymore. I would have to replace all the races, the bearings, and the worm to fix it all, so the whole job would set me back about $400 just to replace a chipped roller. He looked around to see if he had any laying around, but had no joy with that effort.
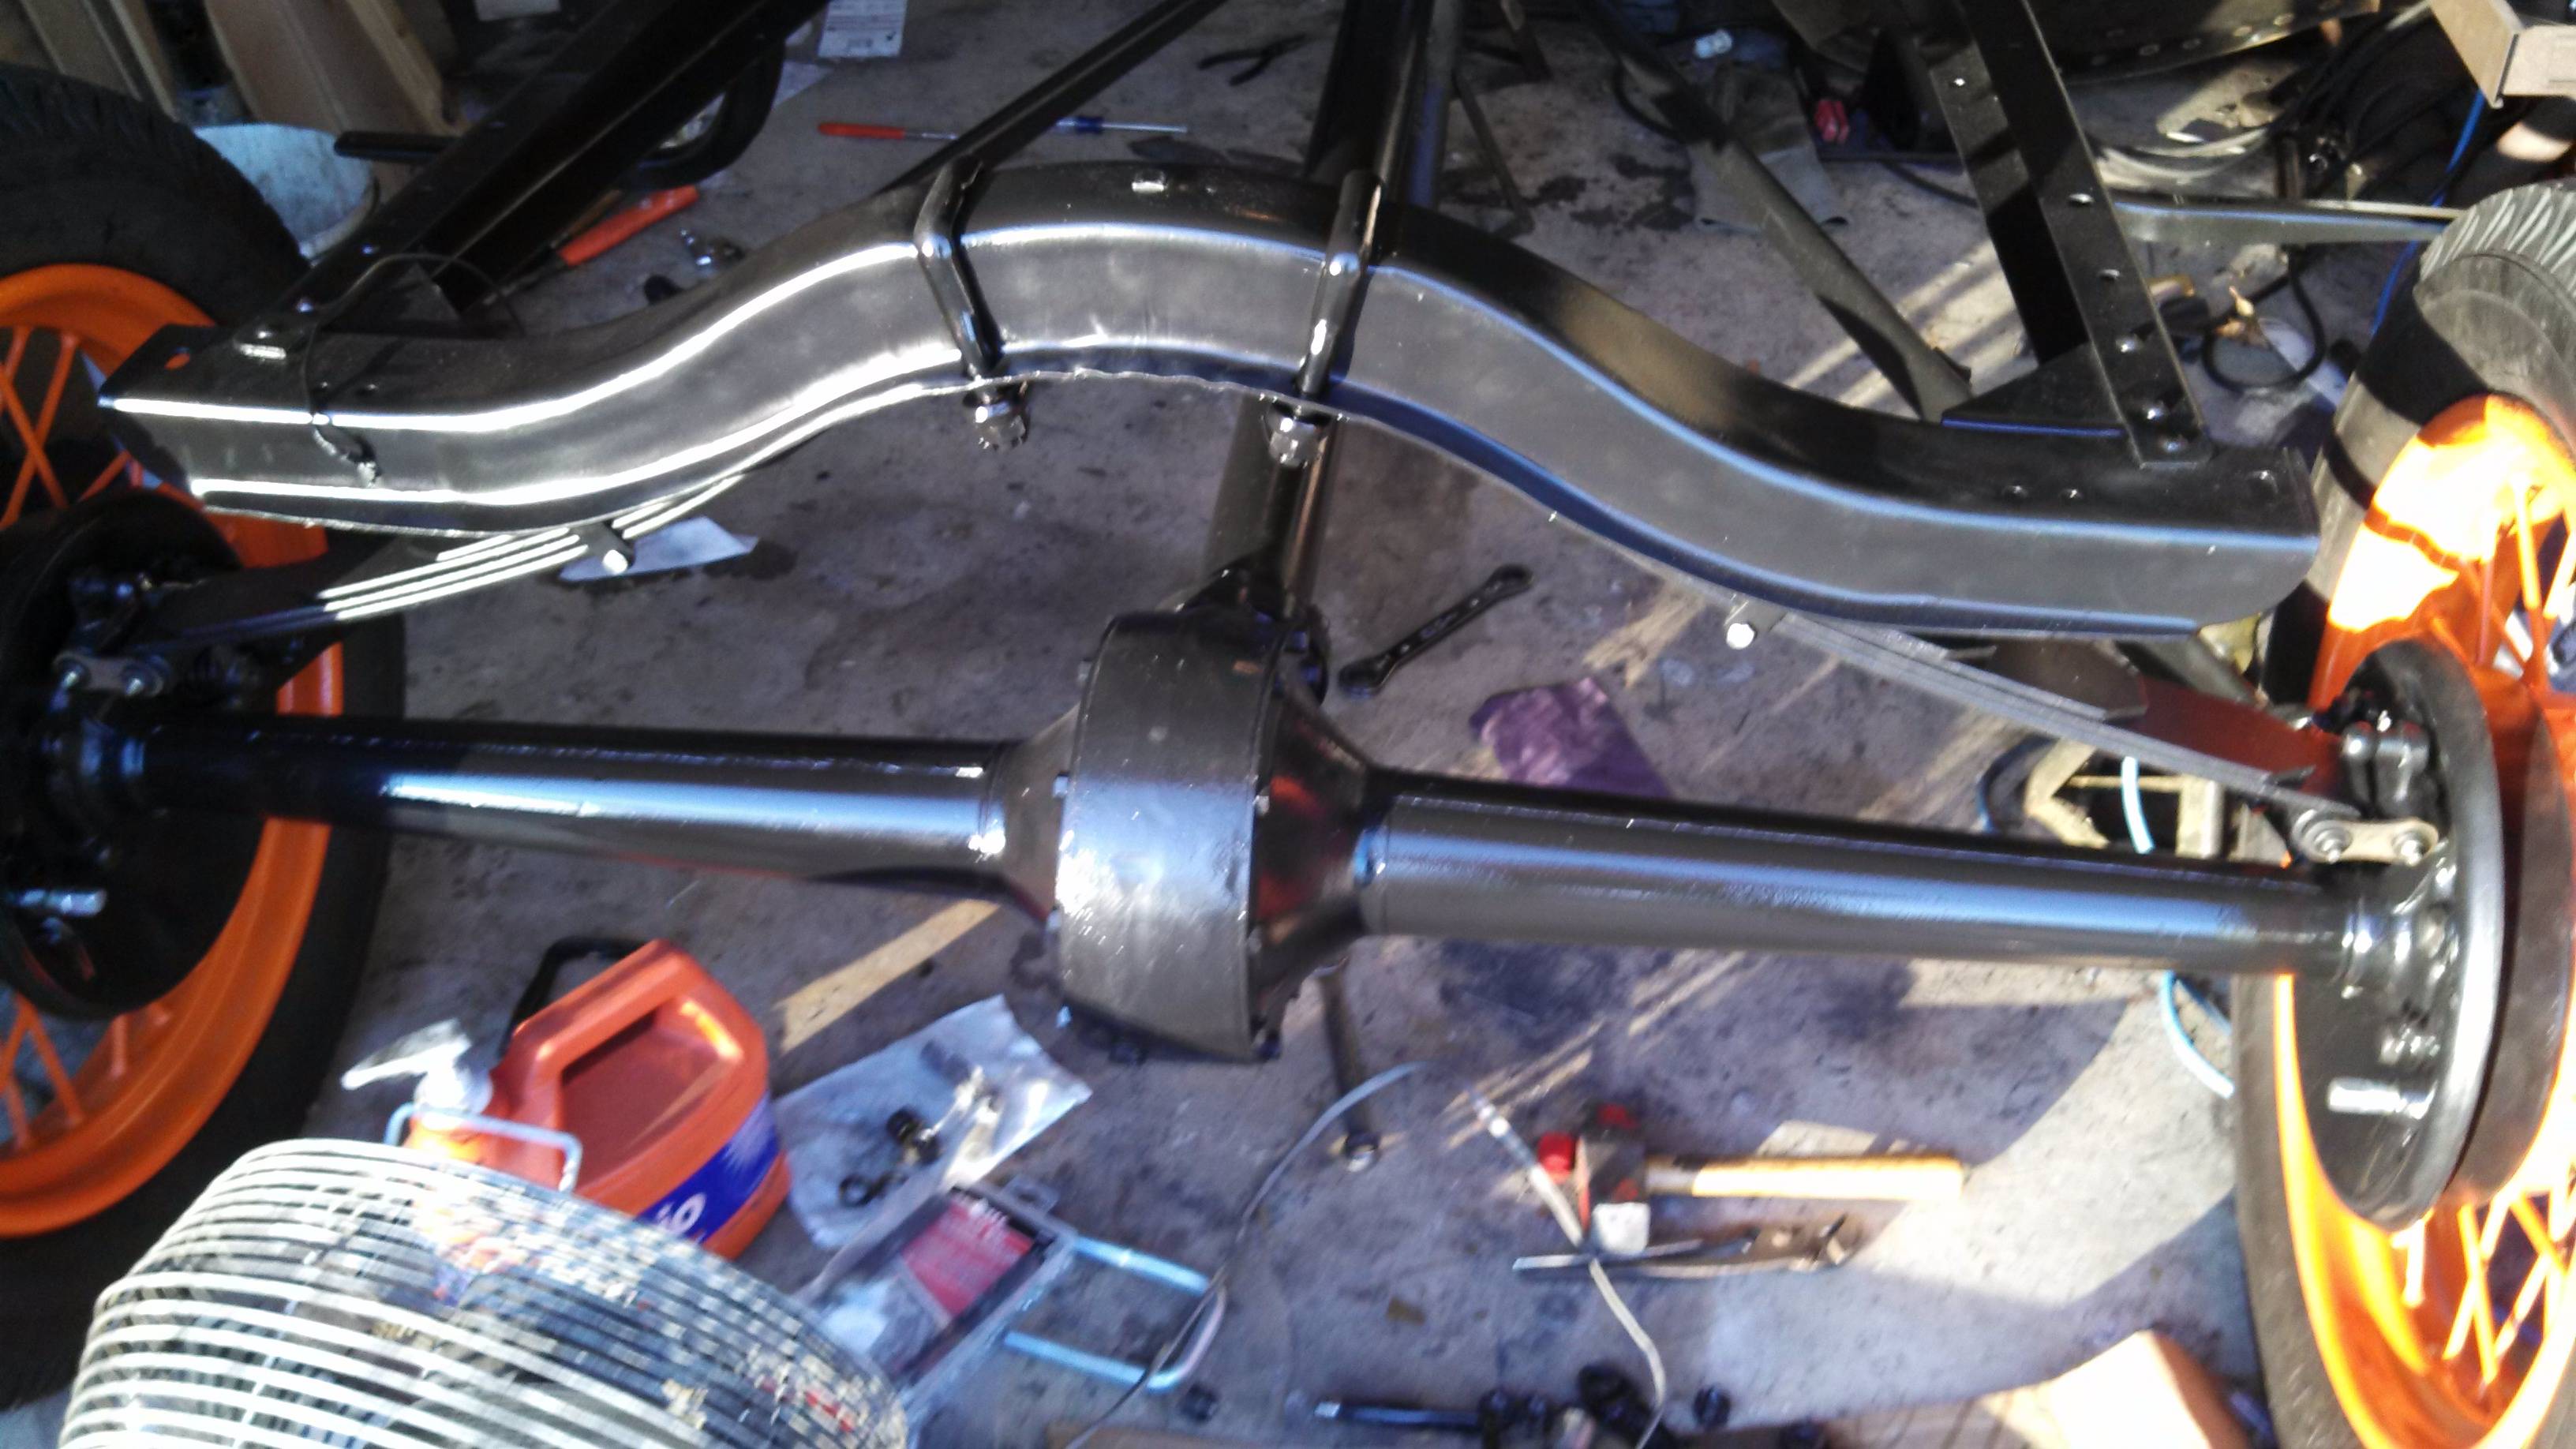
Tiny amounts of progress today. First off, I got the U-Bolts installed on the back springs. They went in pretty well, and look to be pretty solid. I also tightened down the U-Bolts for the front springs.
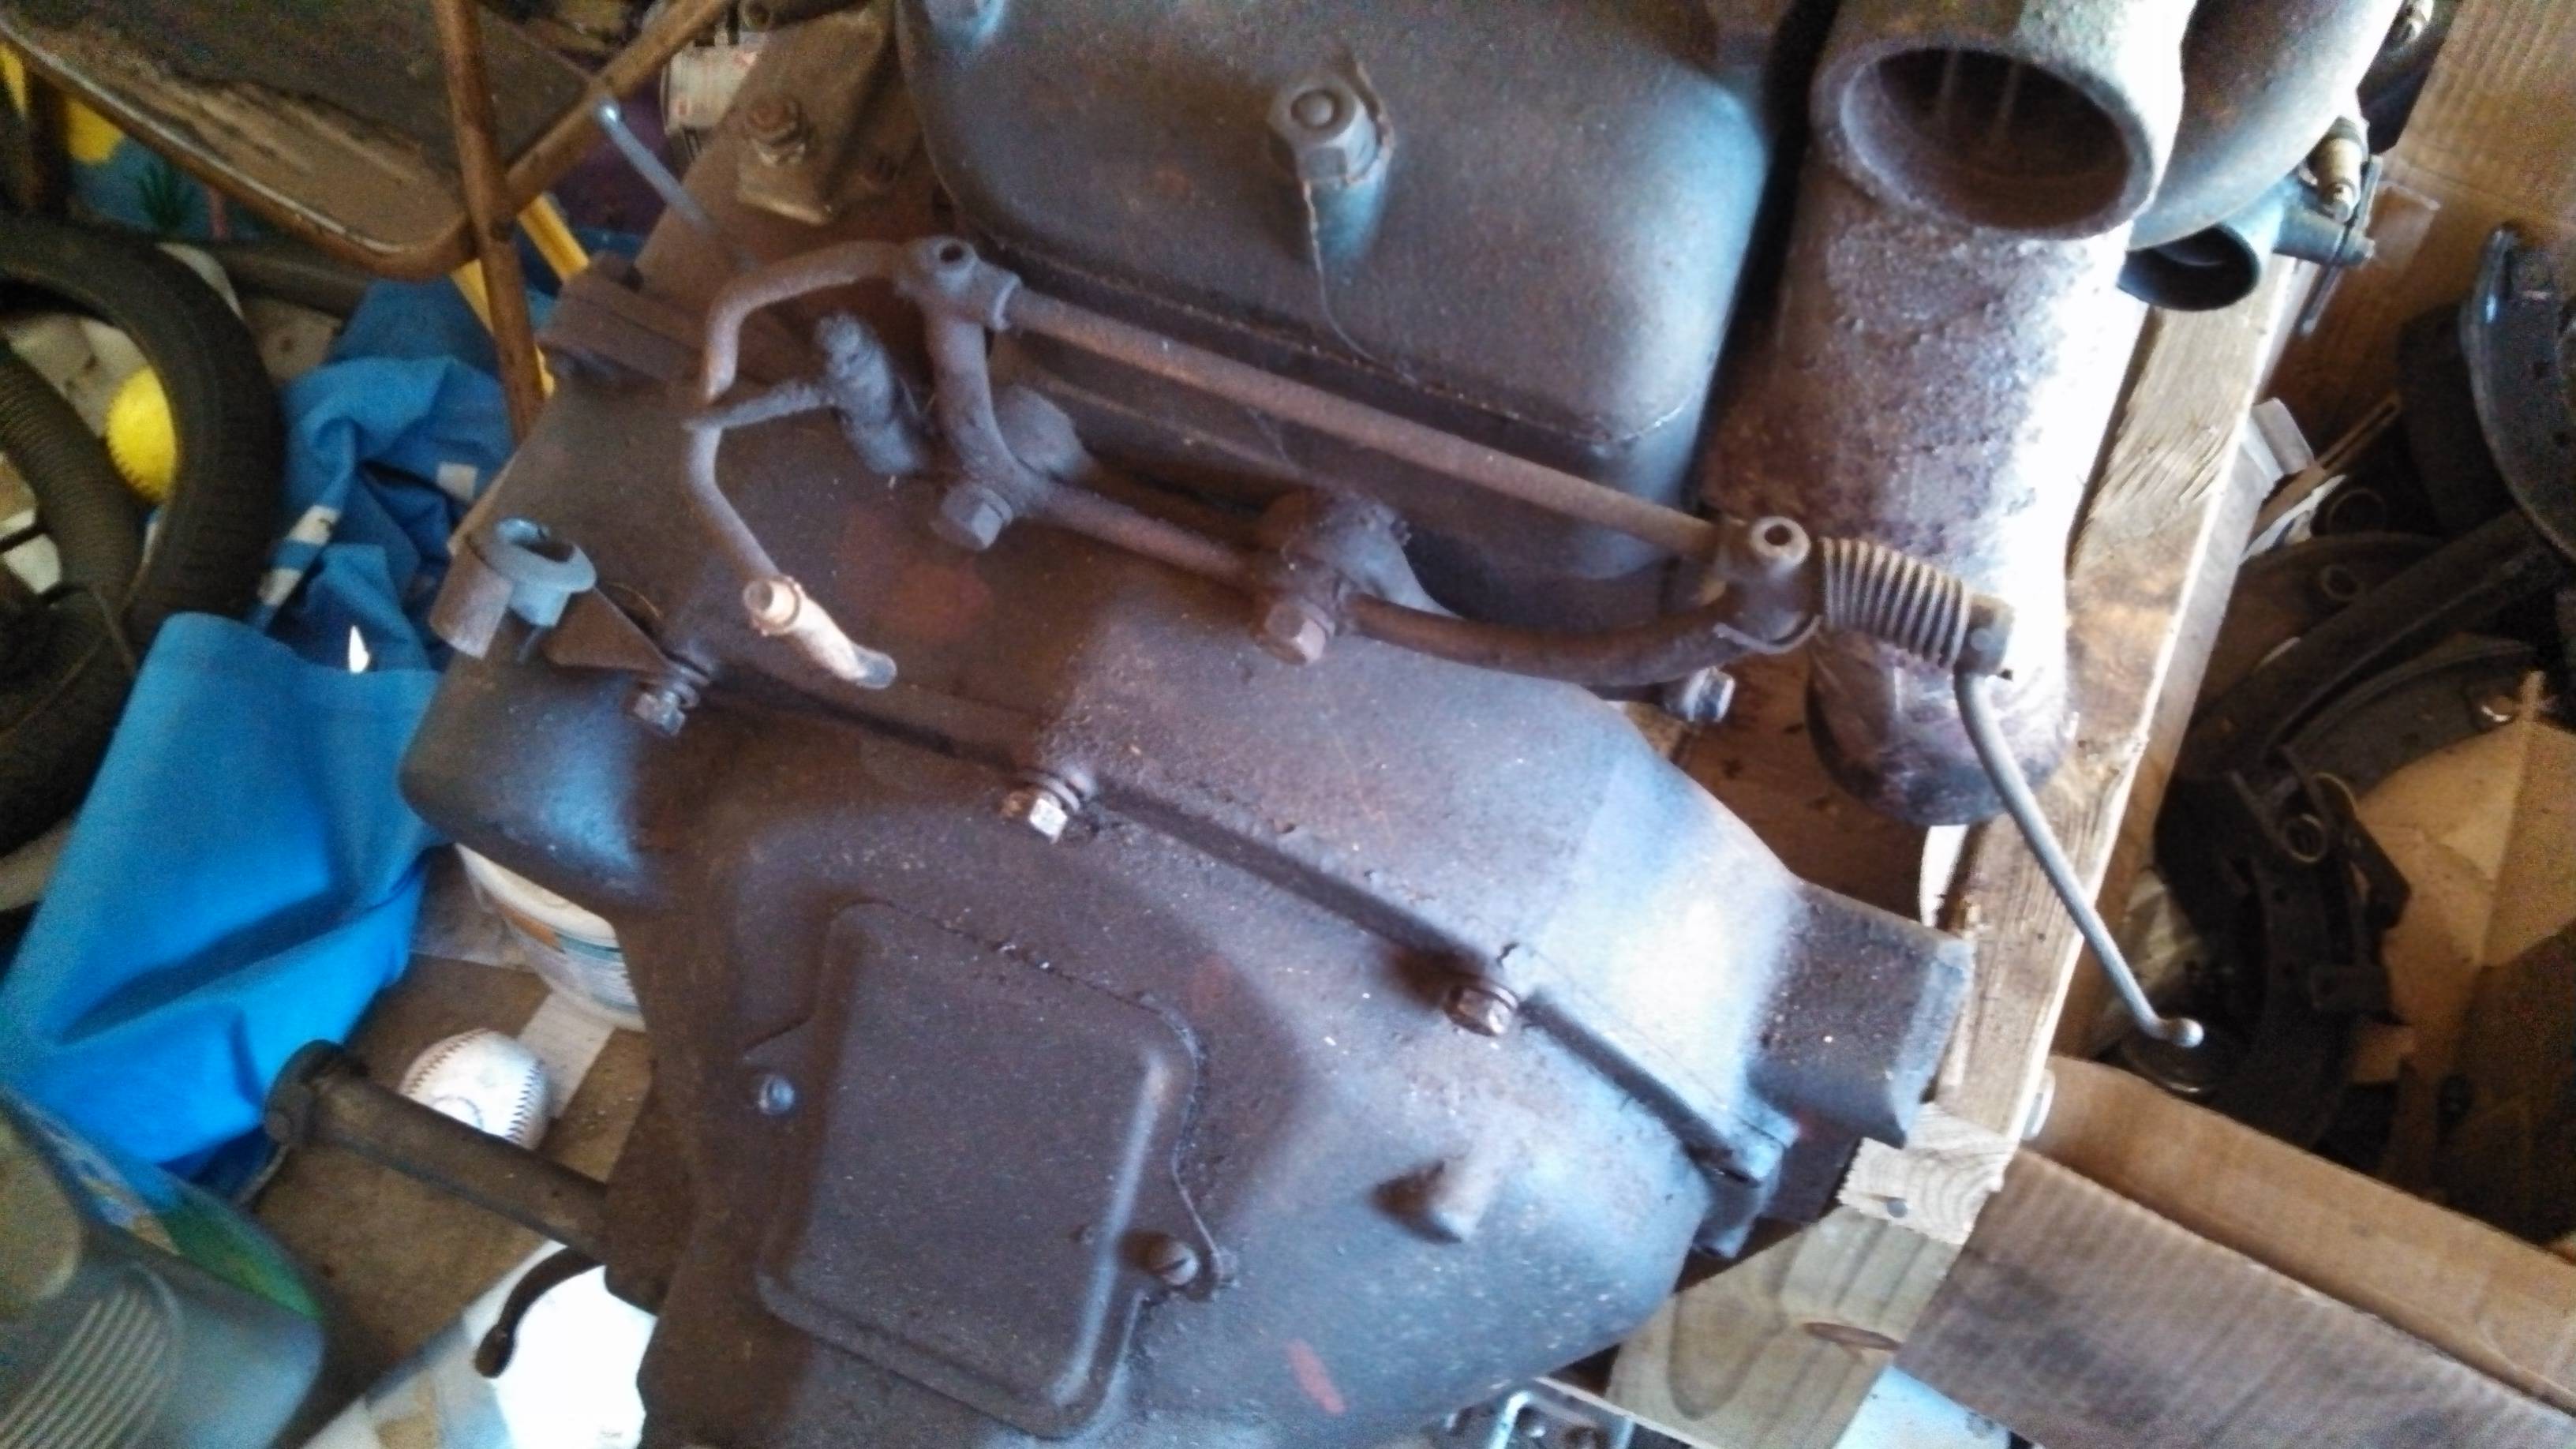
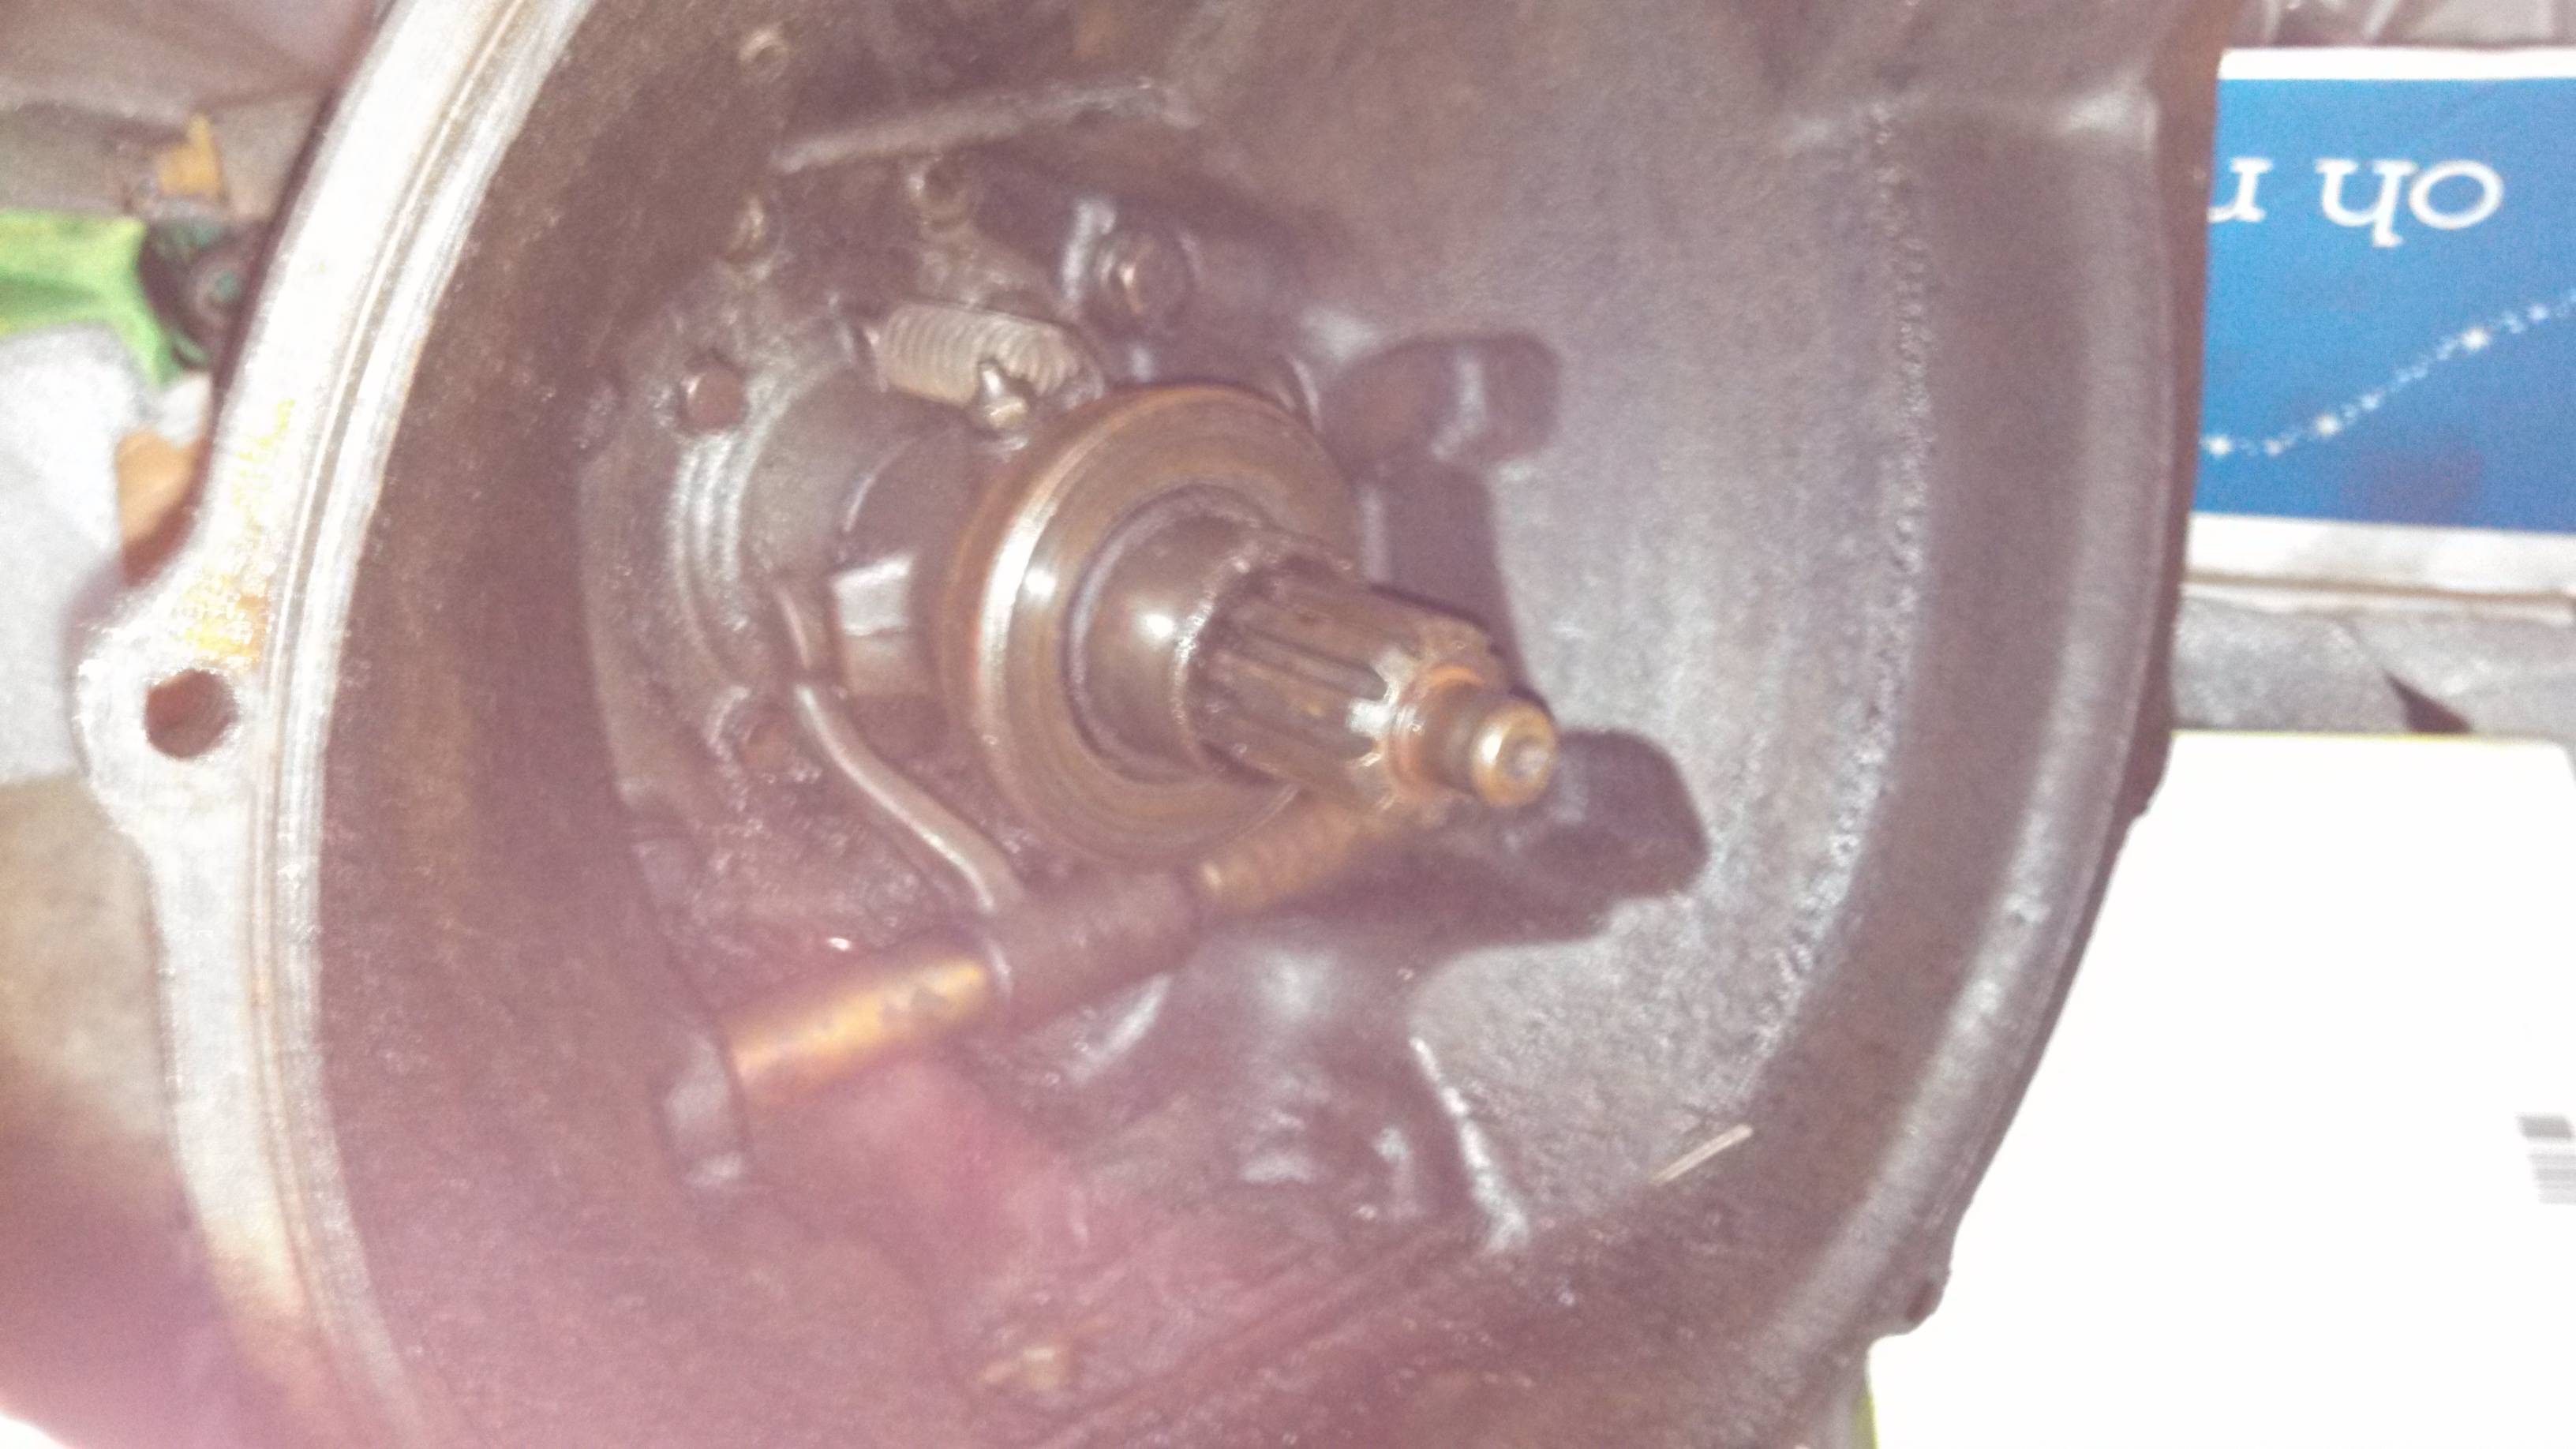
Next, I took the transmission loose from the engine, so we can begin the teardown sometime soon (I hope).
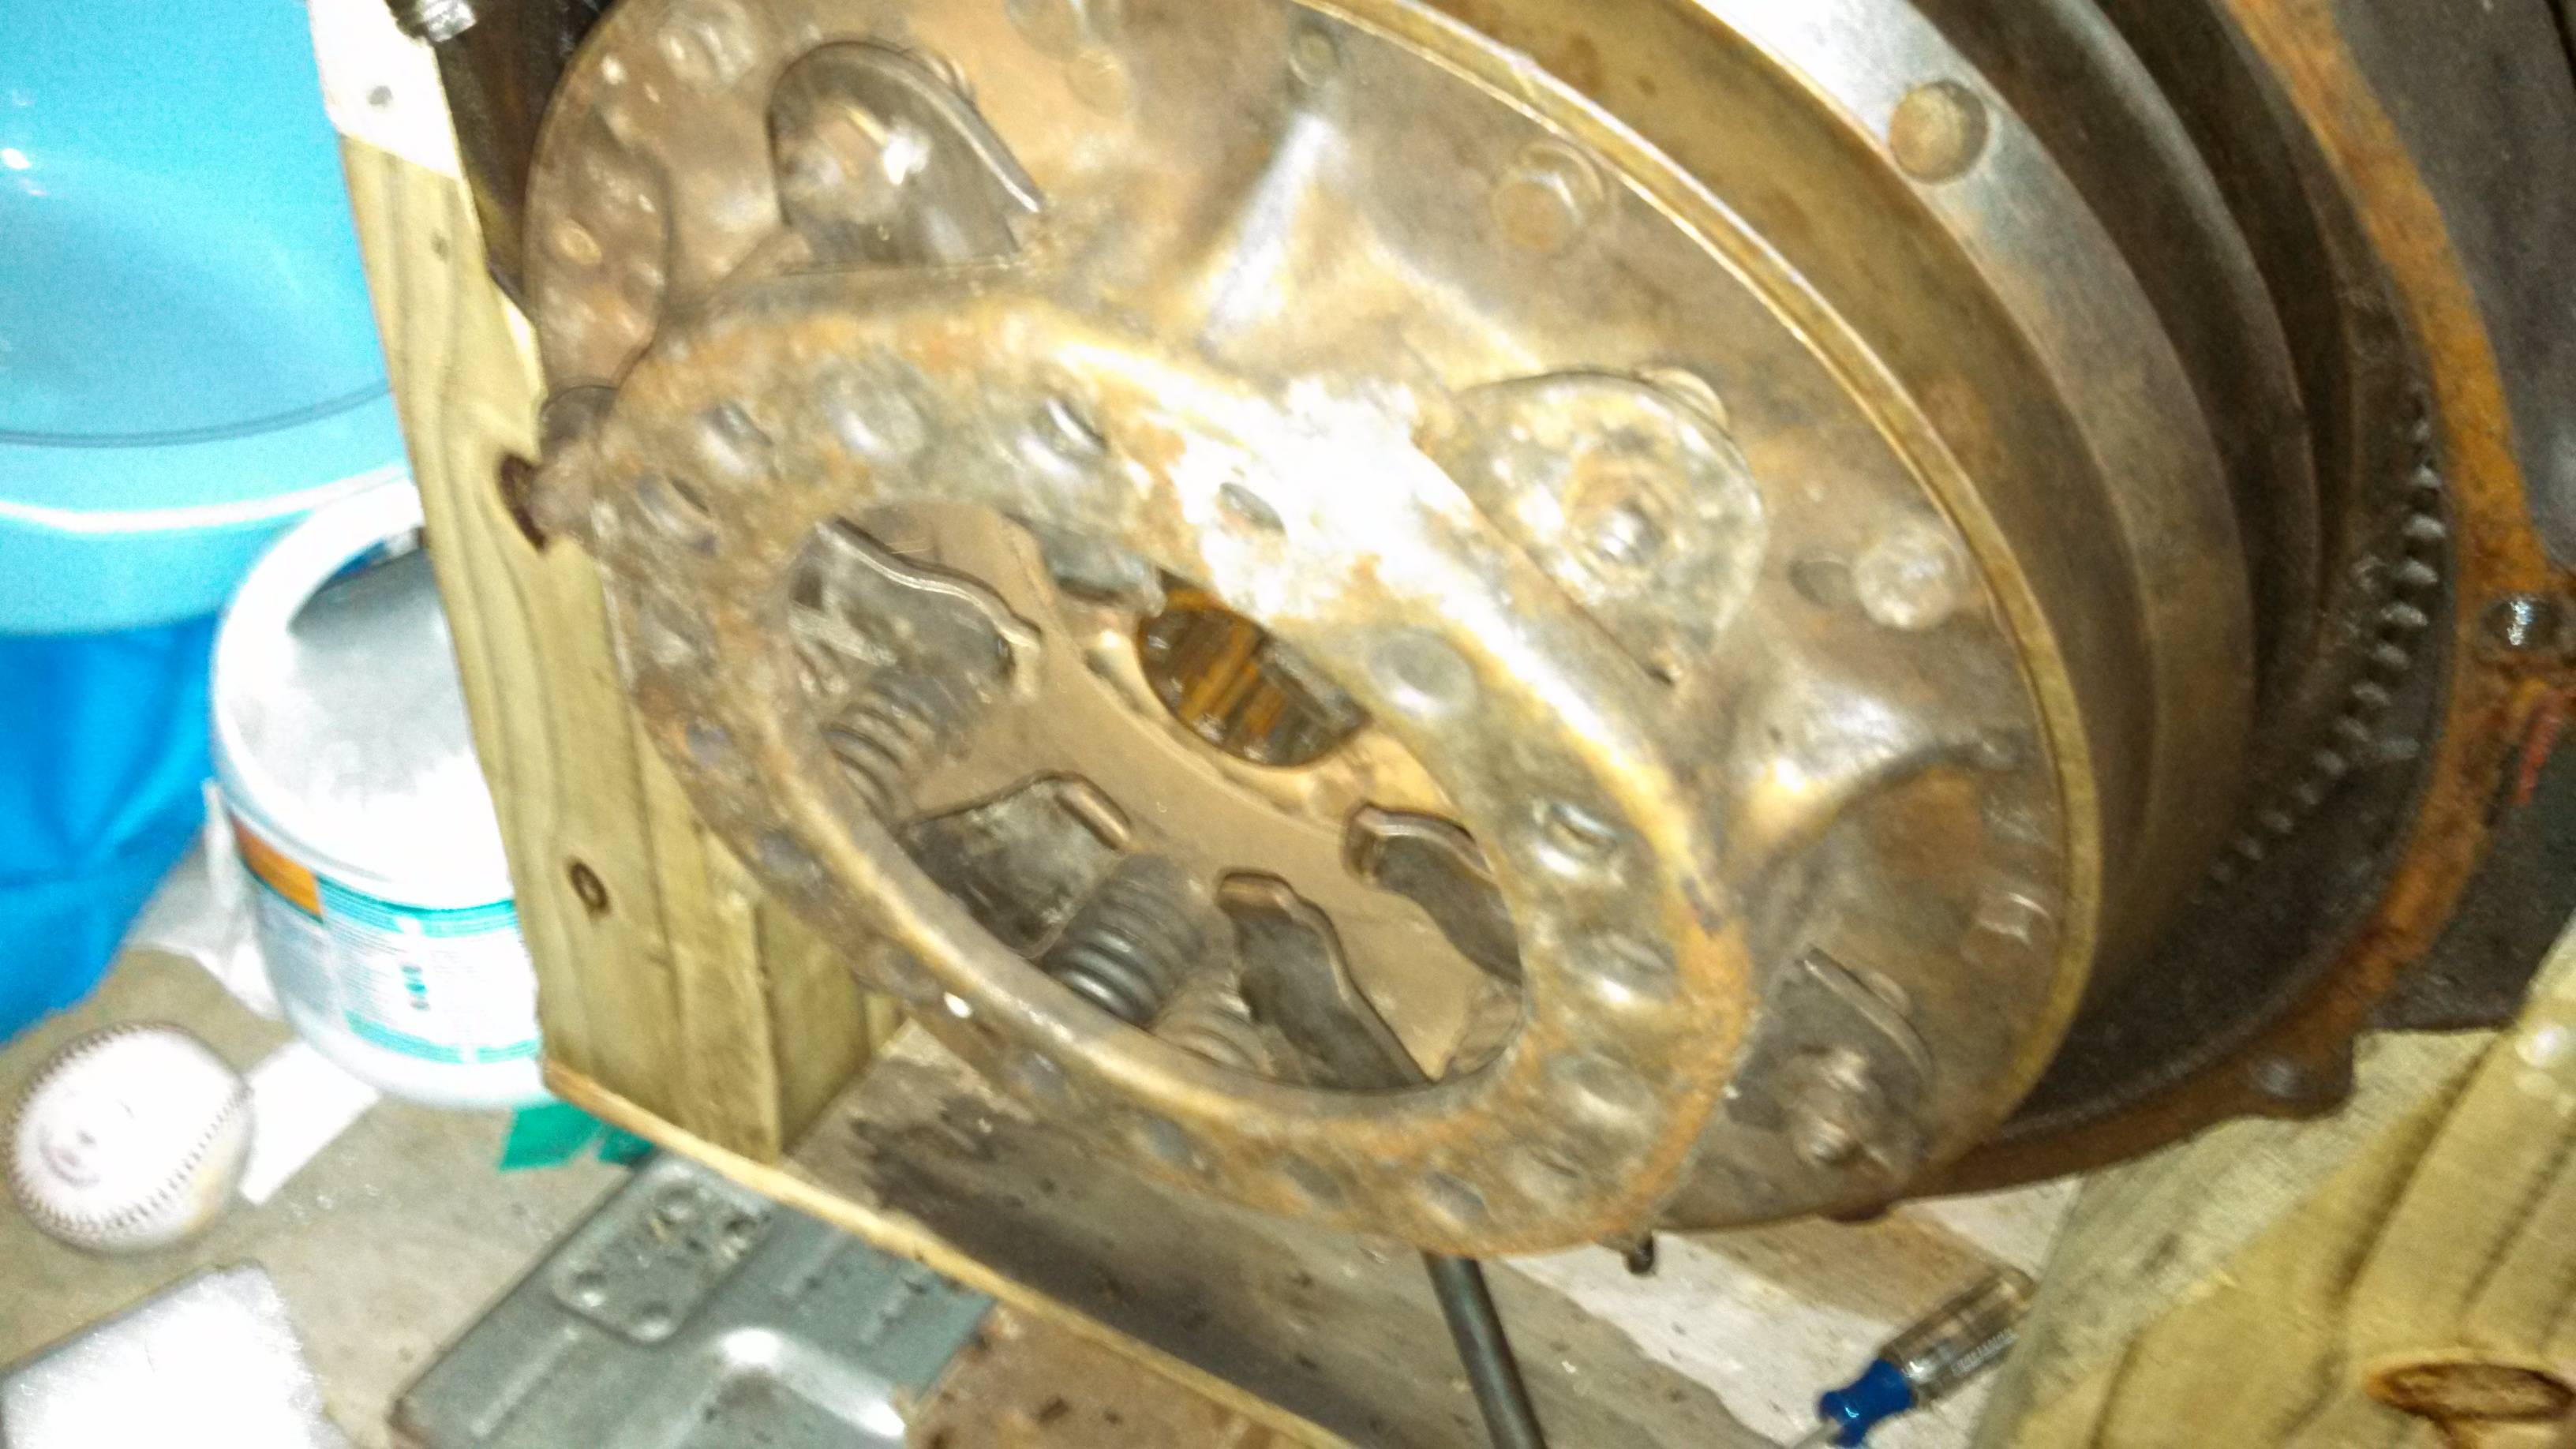
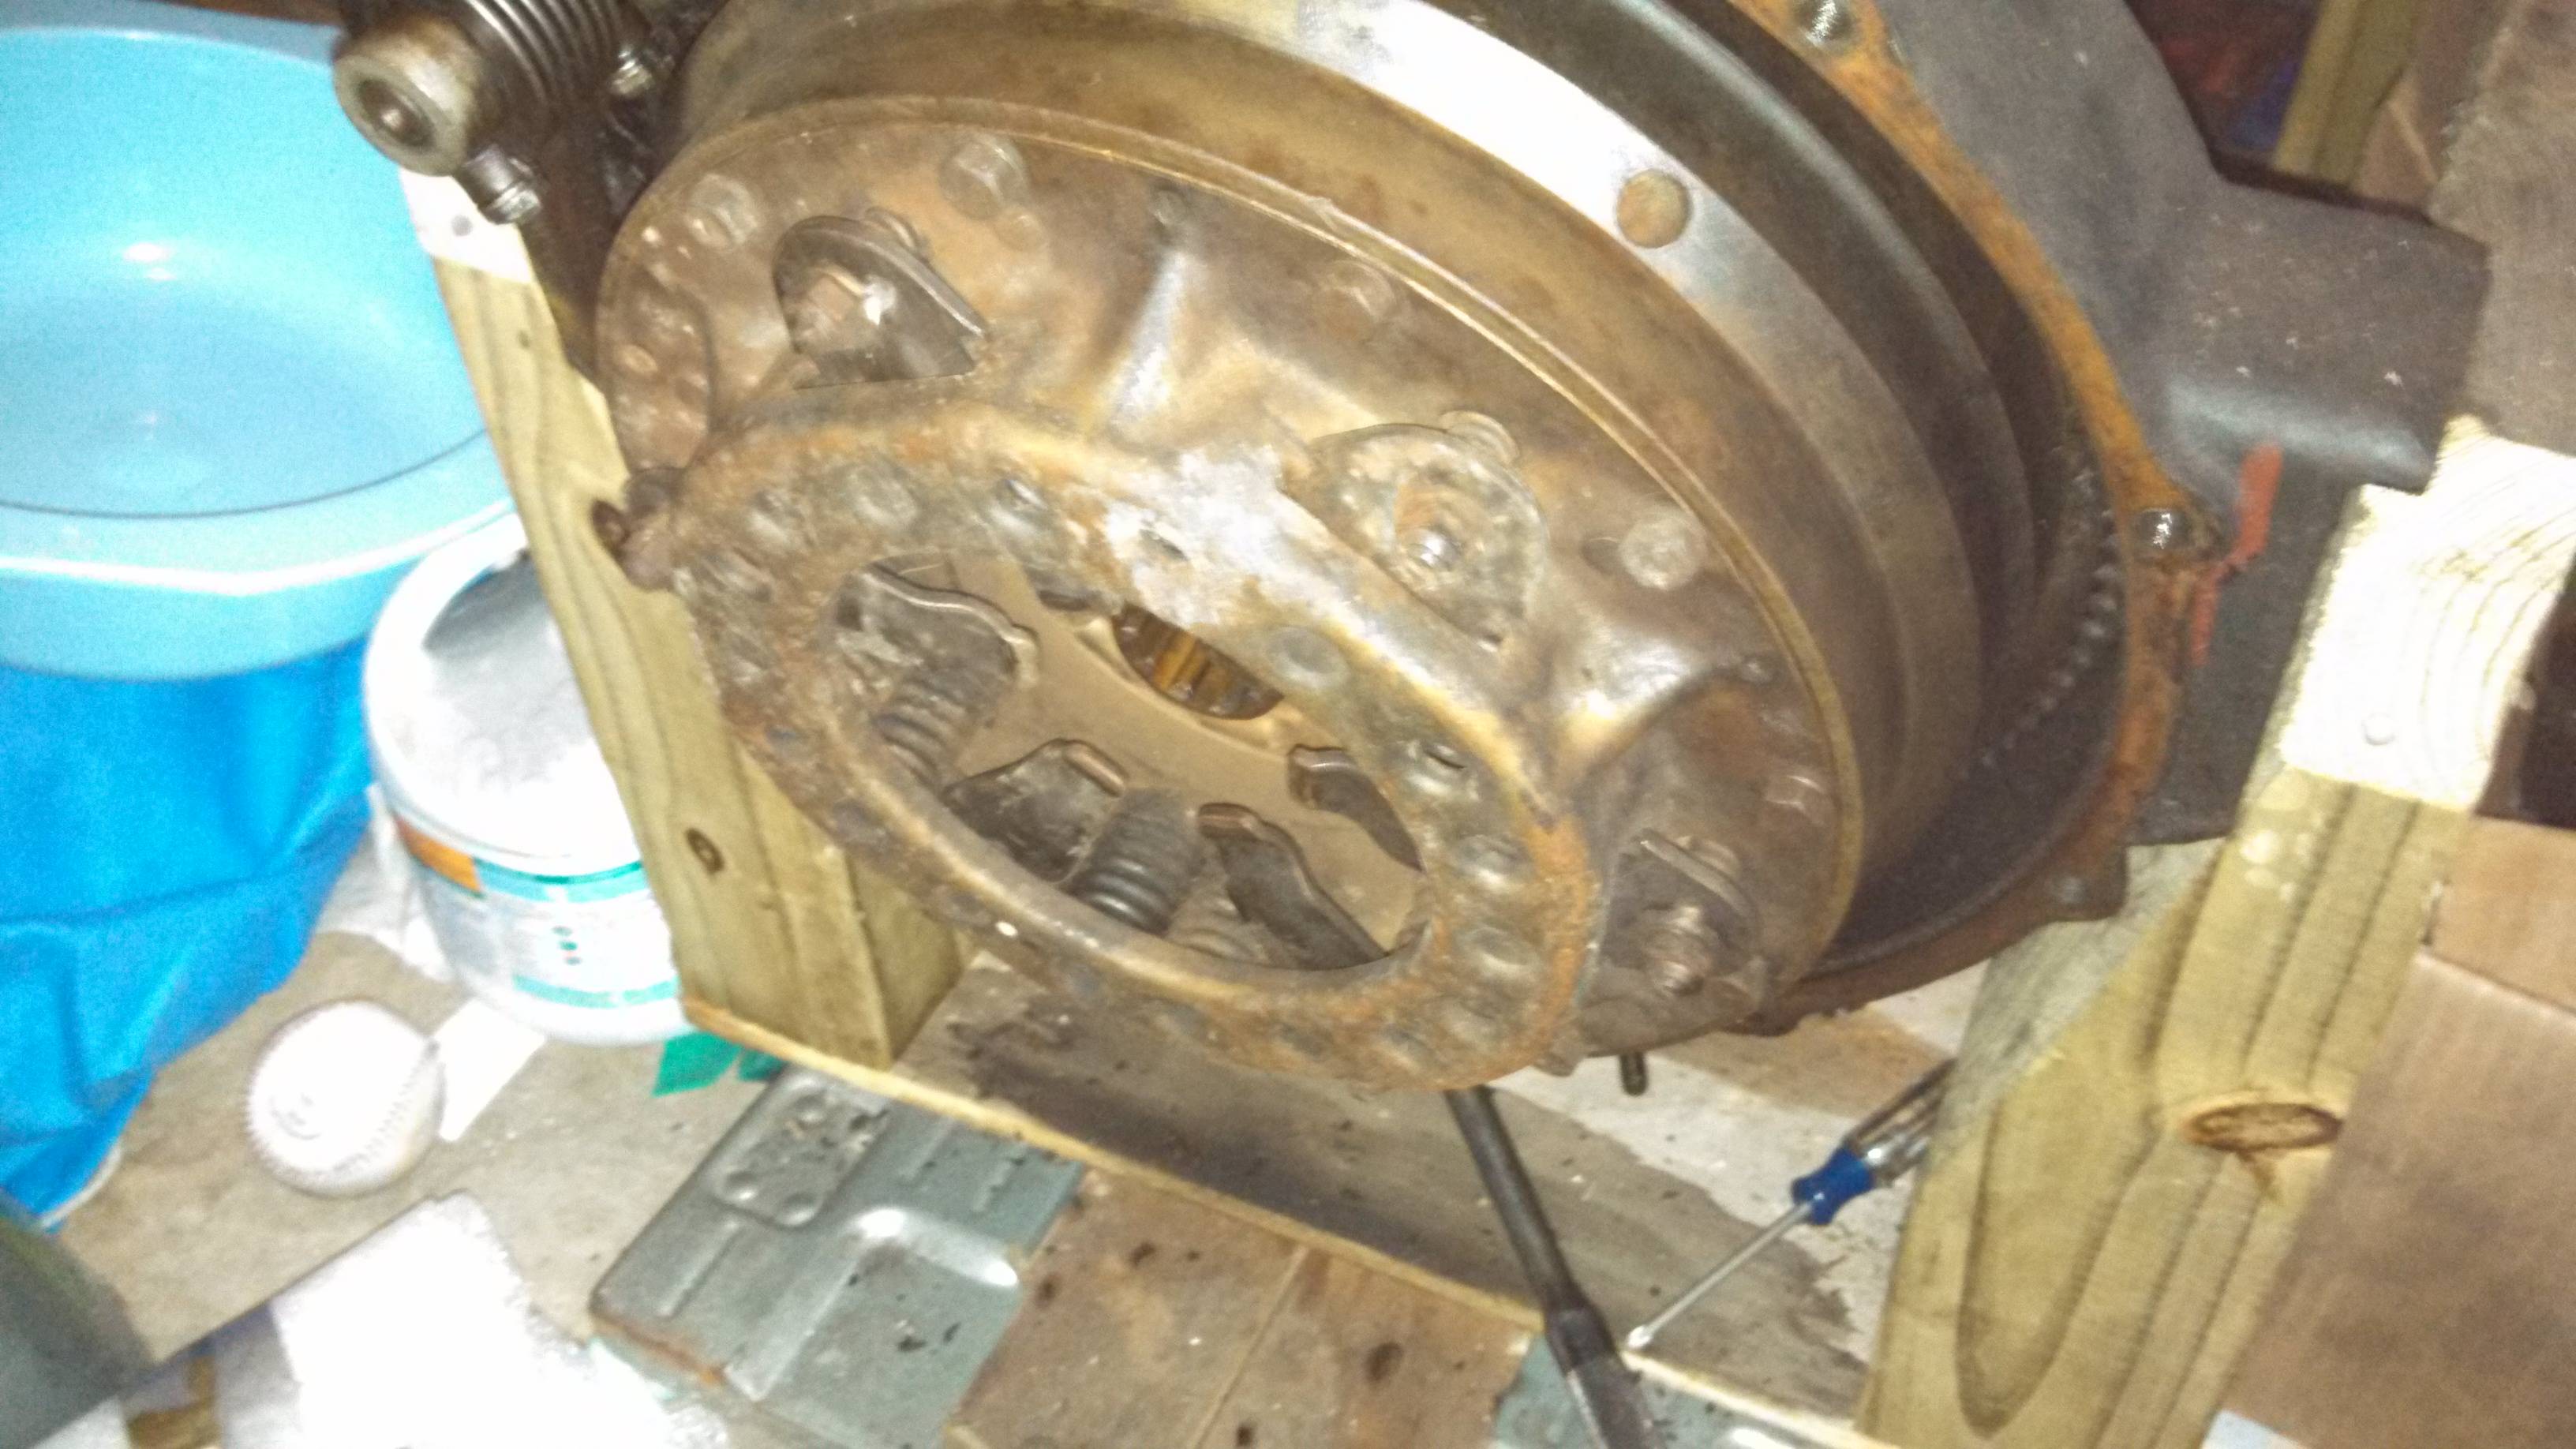
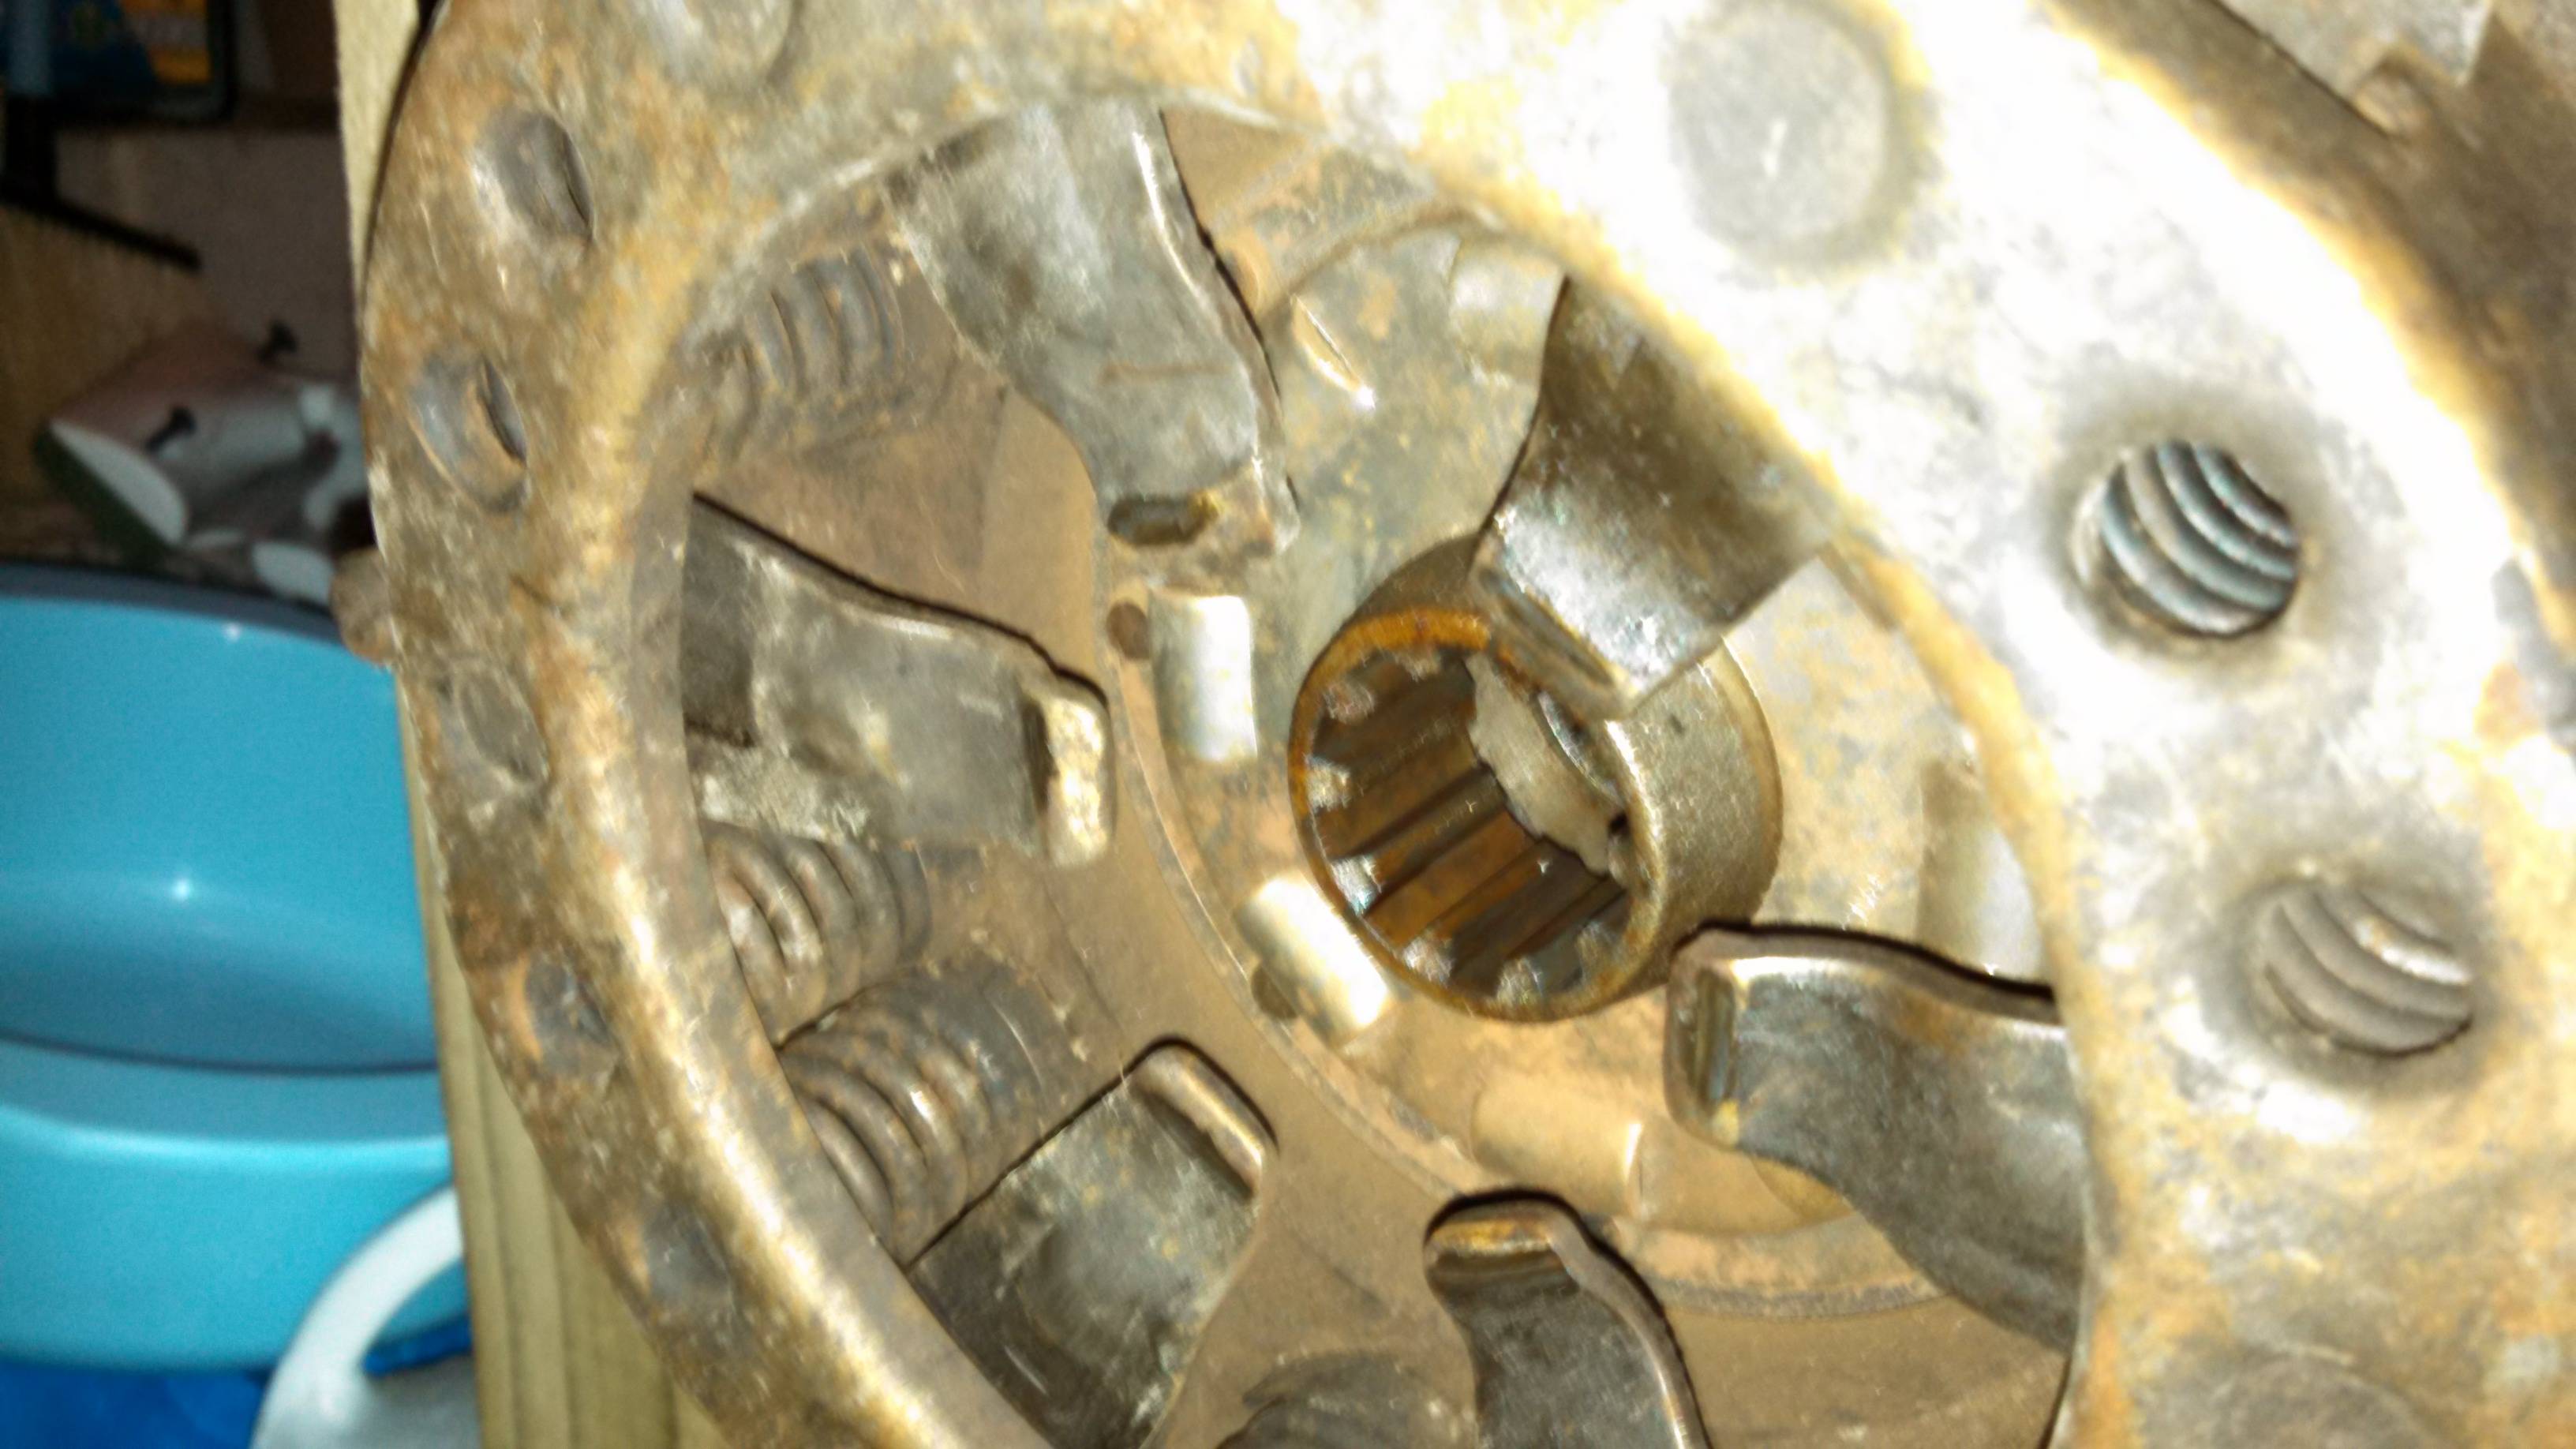
I took a video with my daughter, trying to explain how the clutch works (on the off chance you don't already know):
Last modified on 07/20/14