
So, it's been a while since I've posted an update. This is due to a variety of things, including beautiful weather, kids, and lots of things do see and places to do...
It's also been a time of some progress, some consternation, and some backwards progress...
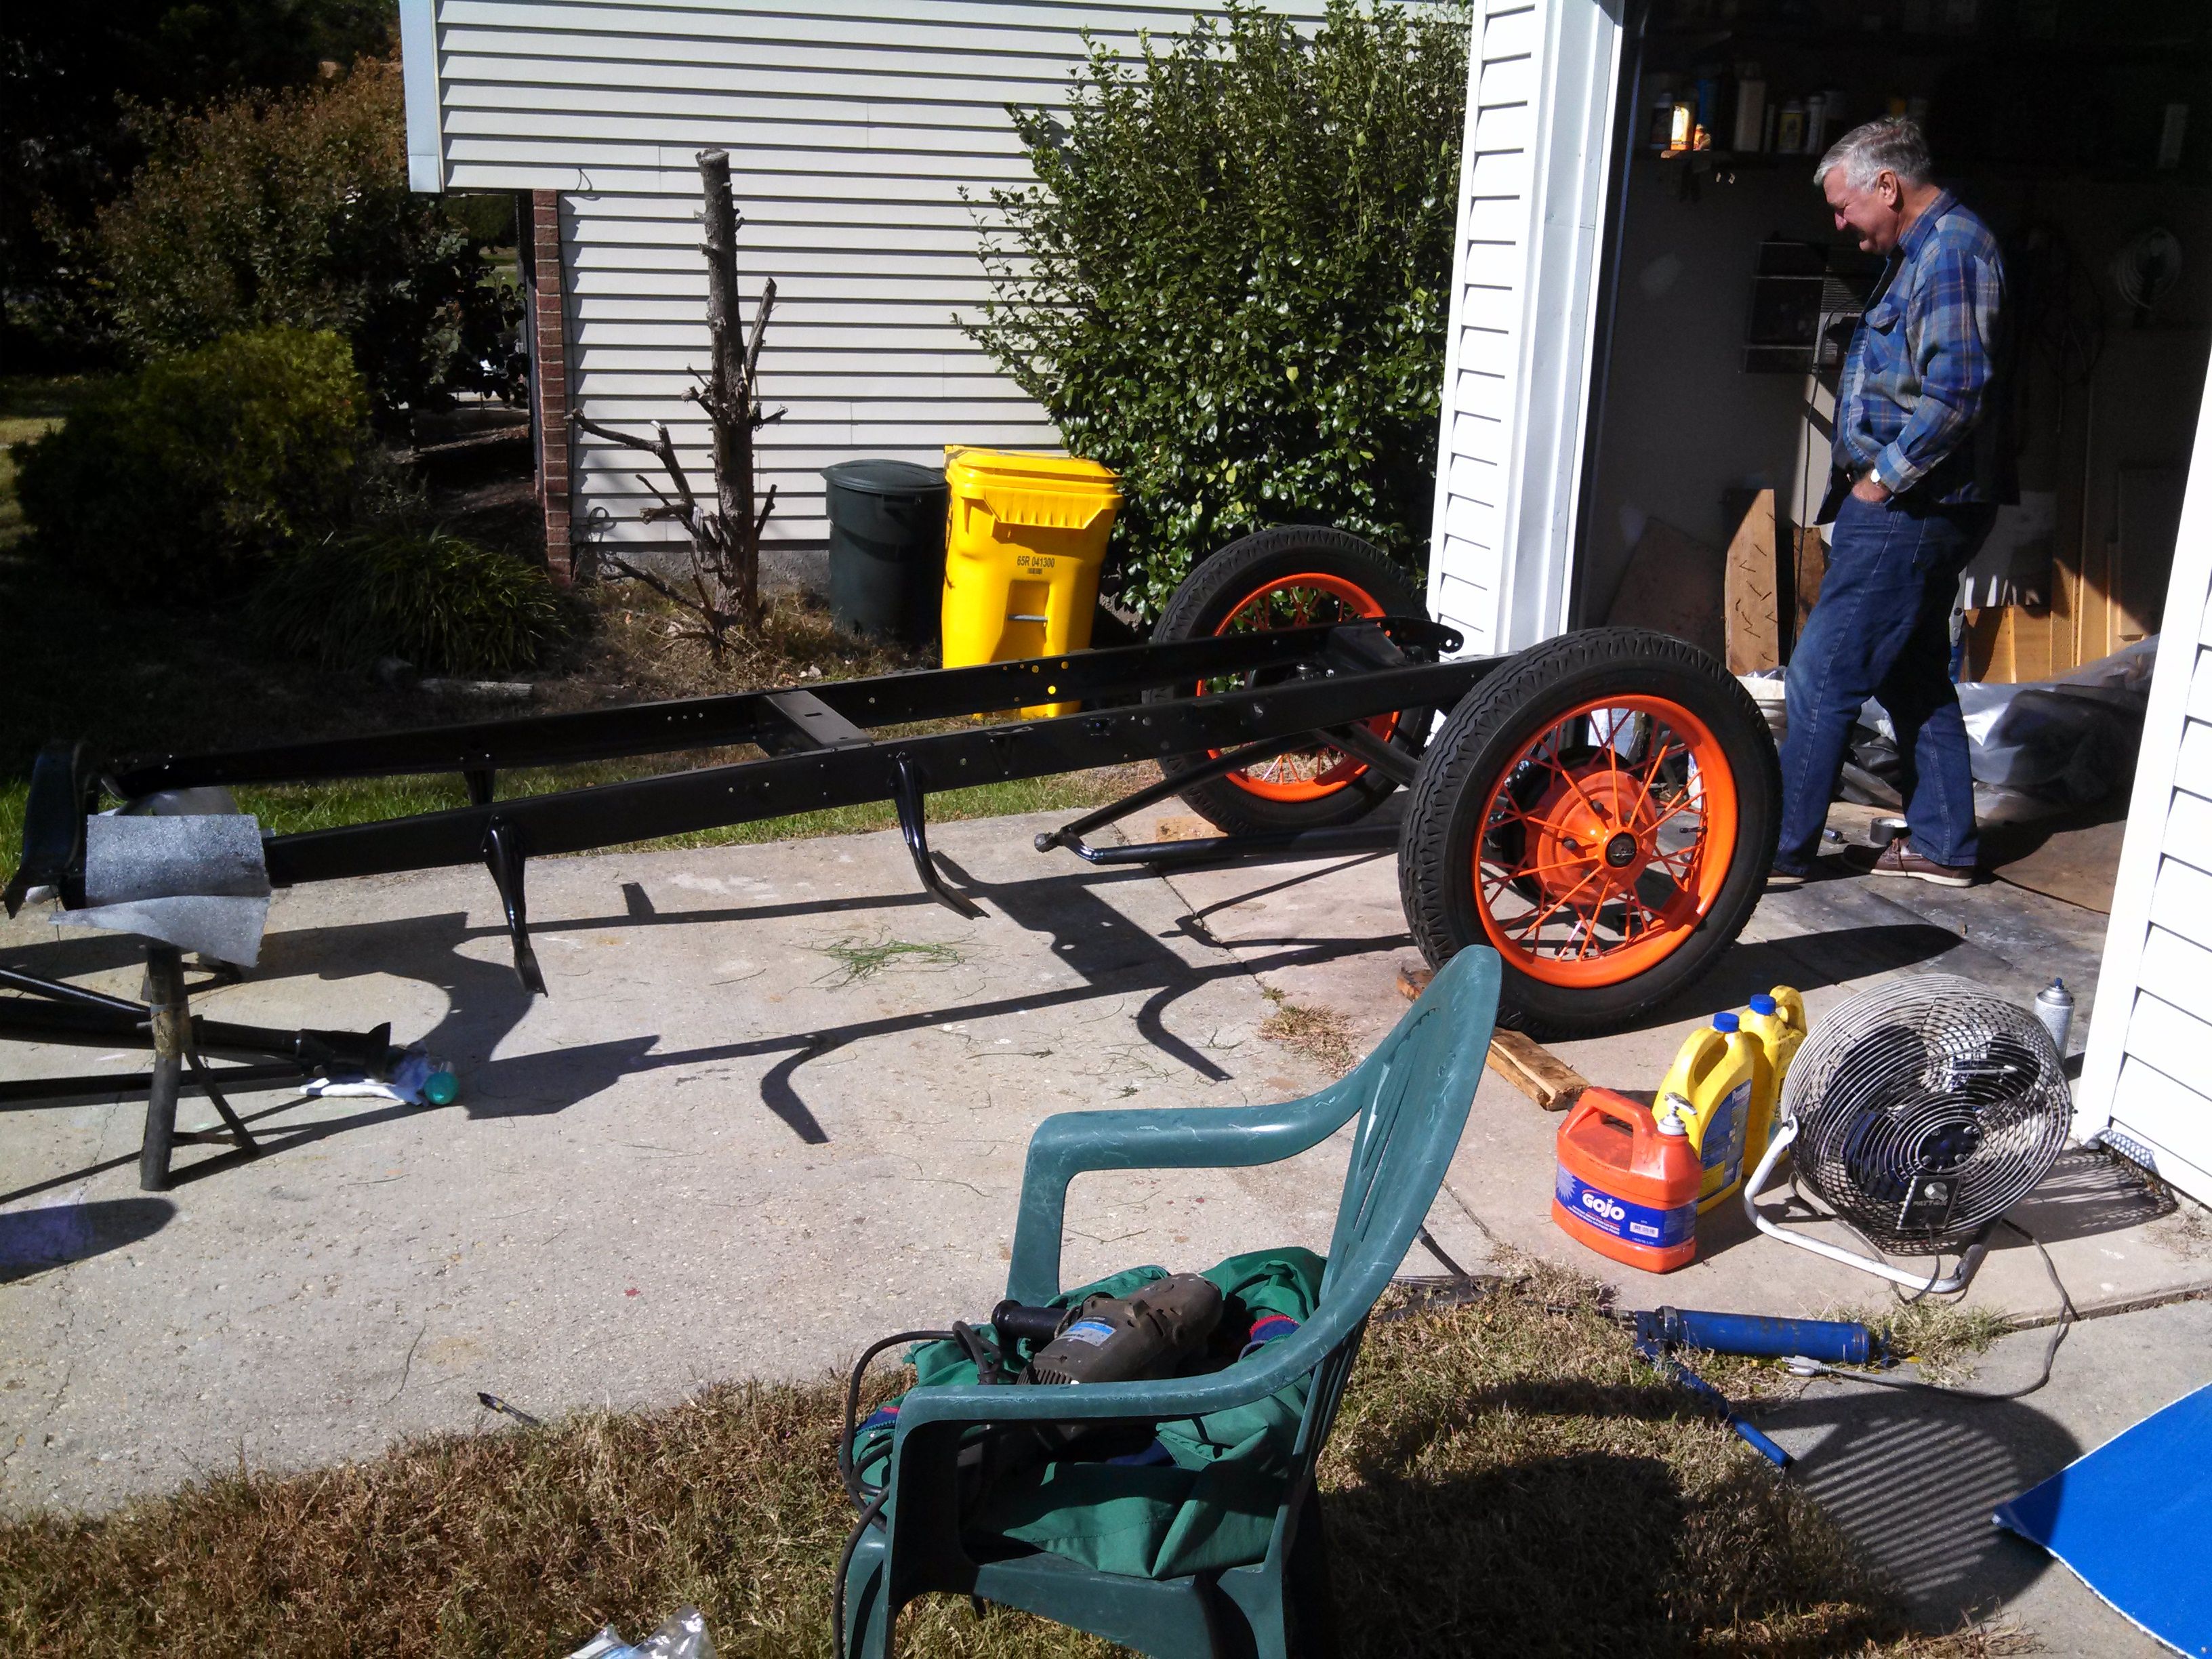
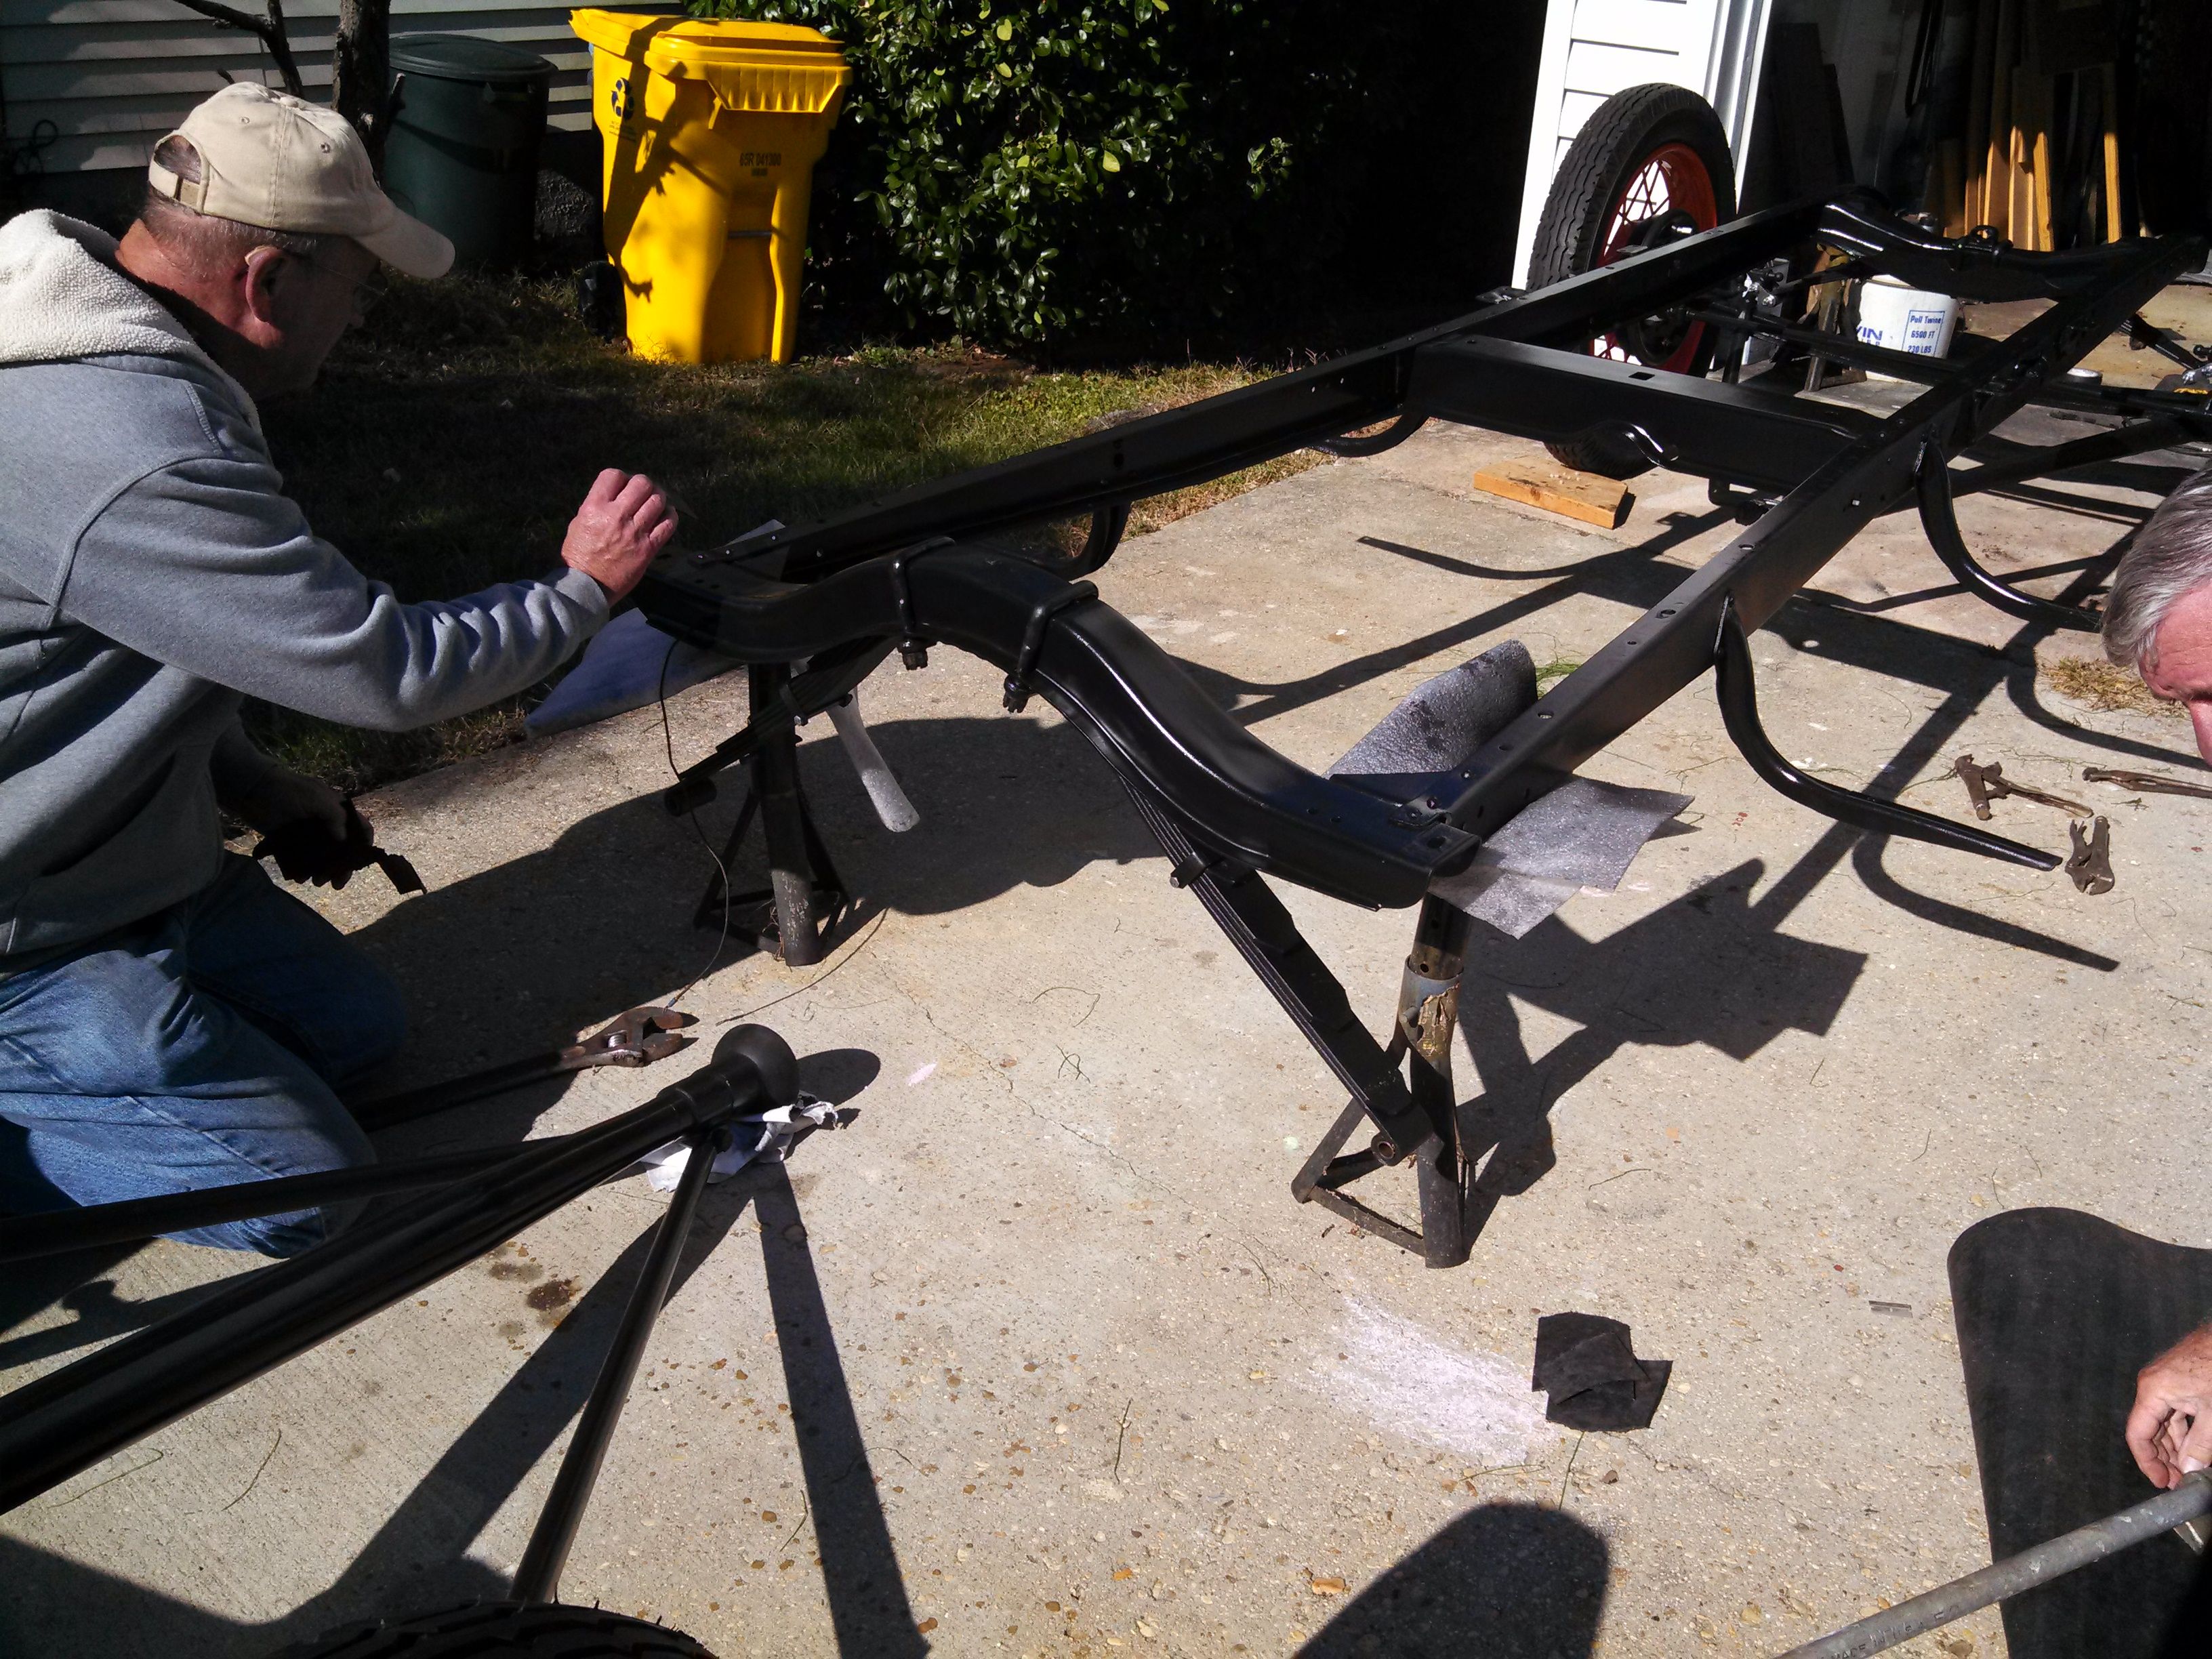
First on the list is the frame painting. Got it done. Here's a video of the first coat of paint going on:
The really fun part of this happened shortly after. So, I got the underside painted (the video). Let it sit for a week. Flipped it around. Painted the underside. Let it cure for a couple of hours until it was no longer tacky. Started tearing down the Visqueen. Frame fell. I tried to catch it. Damned near broke my leg.
Yeah, the frame fell right down the front of my shin. Scraped it up pretty bad. it took about 2 weeks for the bruise to quit growing - in the end, it went all the way down under my heel, and my ankle was swollen pretty badly for about a week.
Yeah, ow. I was kinda worried that it would keep me from going on my dive, but it didn't.
"Dive," you say? Yep. The whole fambly went on a cruise to the Bahamas. Yes, kids and all. We had a reasonably good time, and I got a really good SCUBA dive out of the trip. Here's some links to some videos. Awesome to watch, here, right before Halloween!
We got back from the dive, and it was time to start messing around with getting the rear springs installed. Rather than buy a new spring spreader, I actually built one of my own. I mostly used left-over parts from other things, and combined that with about $40 worth of parts from the hardware store and my stick welder... I took a bunch of pics of the build process, but I can't find them. So, words only until you see it in action (sort of), later.
First thing, I got it all built up. I was pretty happy with myself and how clever I thought I was. Then I tried to use it. One of my welds was no good, and it cracked, causing the thing to break. D'oh.
So, I ground out the weld, and laid down a new one. This one was much better. And I thought to myself how much better my welding was getting. Or not. And then I tried to use it again. And I got the springs spread all but about the last 6 inches or so, and part of the "A Frame" started to bend. D'oh.
I had actually worried that this might be a problem, so I put the spreader in my vice, heaved on it with a fair amount (but not all) of my might, and got it straightened back out (mostly). Then I welded in some gussets. I wasn't so happy with the weld results this time, but I figured they were good enough.
And then I tried using it a third time. I got the springs spread all but about 2 or so inches short of where they needed to be. I ran the all-thread out another 2 inches or so... I still needed 2 more inches! Something was bending, and I couldn't tell where. At this point I decided that this was bordering on "Here, hold my beer" stupid, so I pulled the spreader out and went to plan "B"
By this time, it was mid-September. I joined the Greater Baltimore Model A Club, and went to my 1st meeting (beginning of October). There, I met a bunch of friendly people, and one of them offered to come help me out, as he had just bought a spring spreader for himself.
As for the bigger spring spreader, if you take a close look at the above pictures, you'll see that it's a brake cross-shaft that's been modified. My new friend bought it from the estate sale of a guy who did nothing but work on Model A's, apparently. I suggested that maybe he made this up for something else, but I was told "no way." Hopefully the club's tool works a little better, or I'll have to make a new tool (that's much stronger), or get "hold my beer stupid" (about which I have some ideas).
This brings us, then, to the weekend of 25 October...
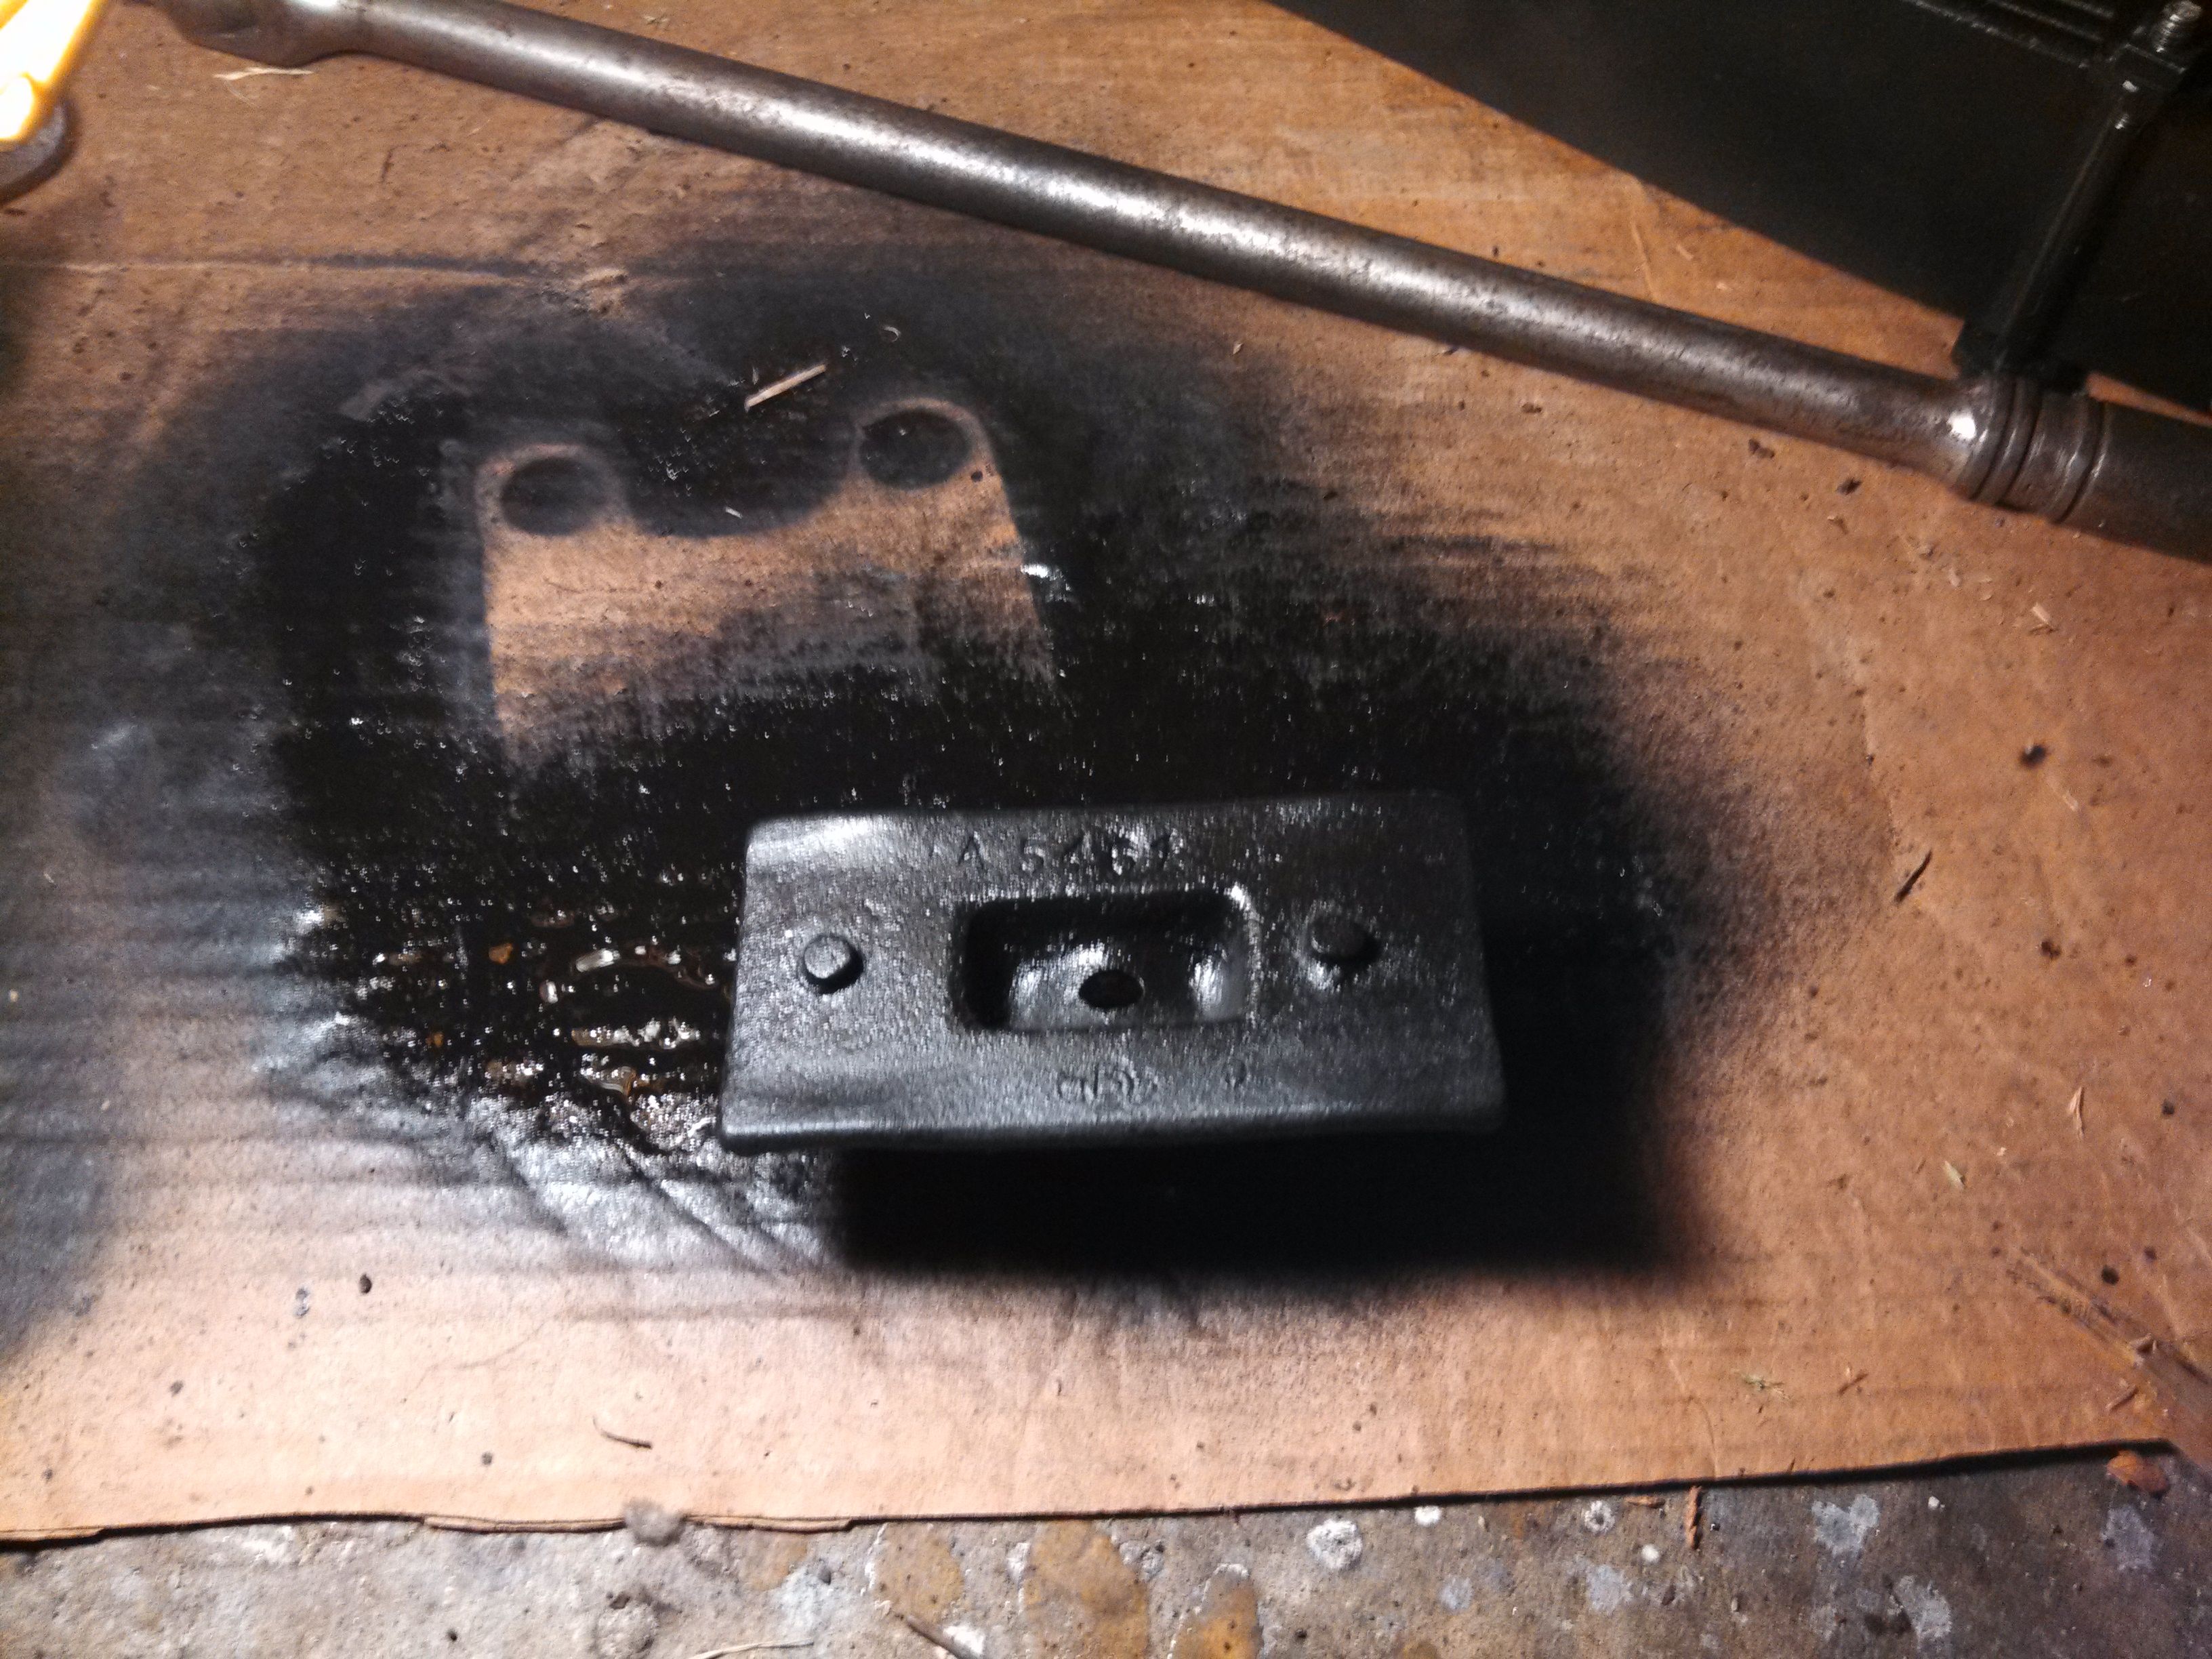
Thursday evening I realized that I had not cleaned any of the fram shackles (U-bolts, etc). So Friday, when I got off work, I ran them to a nearby body shop and asked about having them blasted. The guy told me "yeah, they'd do it." I asked how much, he told me $10, I asked how long, he said about an hour. I asked if he preferred cash, he said yes, so I left him the parts and ran off to the ATM...
When I got back, I found out they ran out of blasting media (glass beads) after they had finished just one part. I offered the guy $5 for his trouble, but he said no, and suggested I go get some Muriatic Acid. I'd considered similar stuff before, but had decided against it. But, since I was in kind of a hurry (needed to get this stuff ready before the guys came over tomorrow), I went with it.
First, I didn't realize that Muriatic Acid is just really strong Hydrochloric Acid. Nor did I know you could buy it at the hardware store for about $5 per quart (brick cleaner). I'll keep that in mind the next time I want to do some crazy sciency stuff.
So, following the advice I was given, I just plopped the parts in the acid (in a well ventilated space), and let them start to fizz...
Unfortunately, I had two things going against me... The first was that it was getting late in the day, and cooling off rapidly (slowing down the reaction). Second is that the paint and primer on those parts was tough!
I ended up rinsing them off and hitting them with my stripping wheel as best I could, and then dropping them back in the bath to get most of the rest... When they seemed clean enough, I took them out, washed them with dish soap (to deactivate the acid), rinsed & dried as best I could, and then I baked them at 350F in my oven.
I really didn't like this process, as it left just the slightest beginnings of surface rust on the parts (and I'm all out of Fast-Etch). Regardless, I carried the ~400F parts out to the garage and "shot" them with some Rust encapsulator. Because the parts were so hot, the stuff cured nearly instantly. I had to be careful, though, because if I sprayed it too thick, it would boil. In the end, they came out looking okay, but I'm considering replacing them all with new parts (that don't have any rust under the paint)...
Come Saturday morning, I dropped the primed parts back in the oven to heat them up, and then "shot" them all with a coat of Chassis Black. Same drill as before. The parts didn't dry quite as quickly this time, so they went back in the oven for 15 minutes or so to speed the cure. By the time my new friends made it over, everything was dry and ready to be installed.
Saturday afternoon, a couple of the guys from the club came over. Their plan was a little different from mine. I had planned on mounting the spring to the axle, and then setting the frame on the springs. I wanted to do it this way because (especially working by myself) it gives all 6 degrees of freedom...
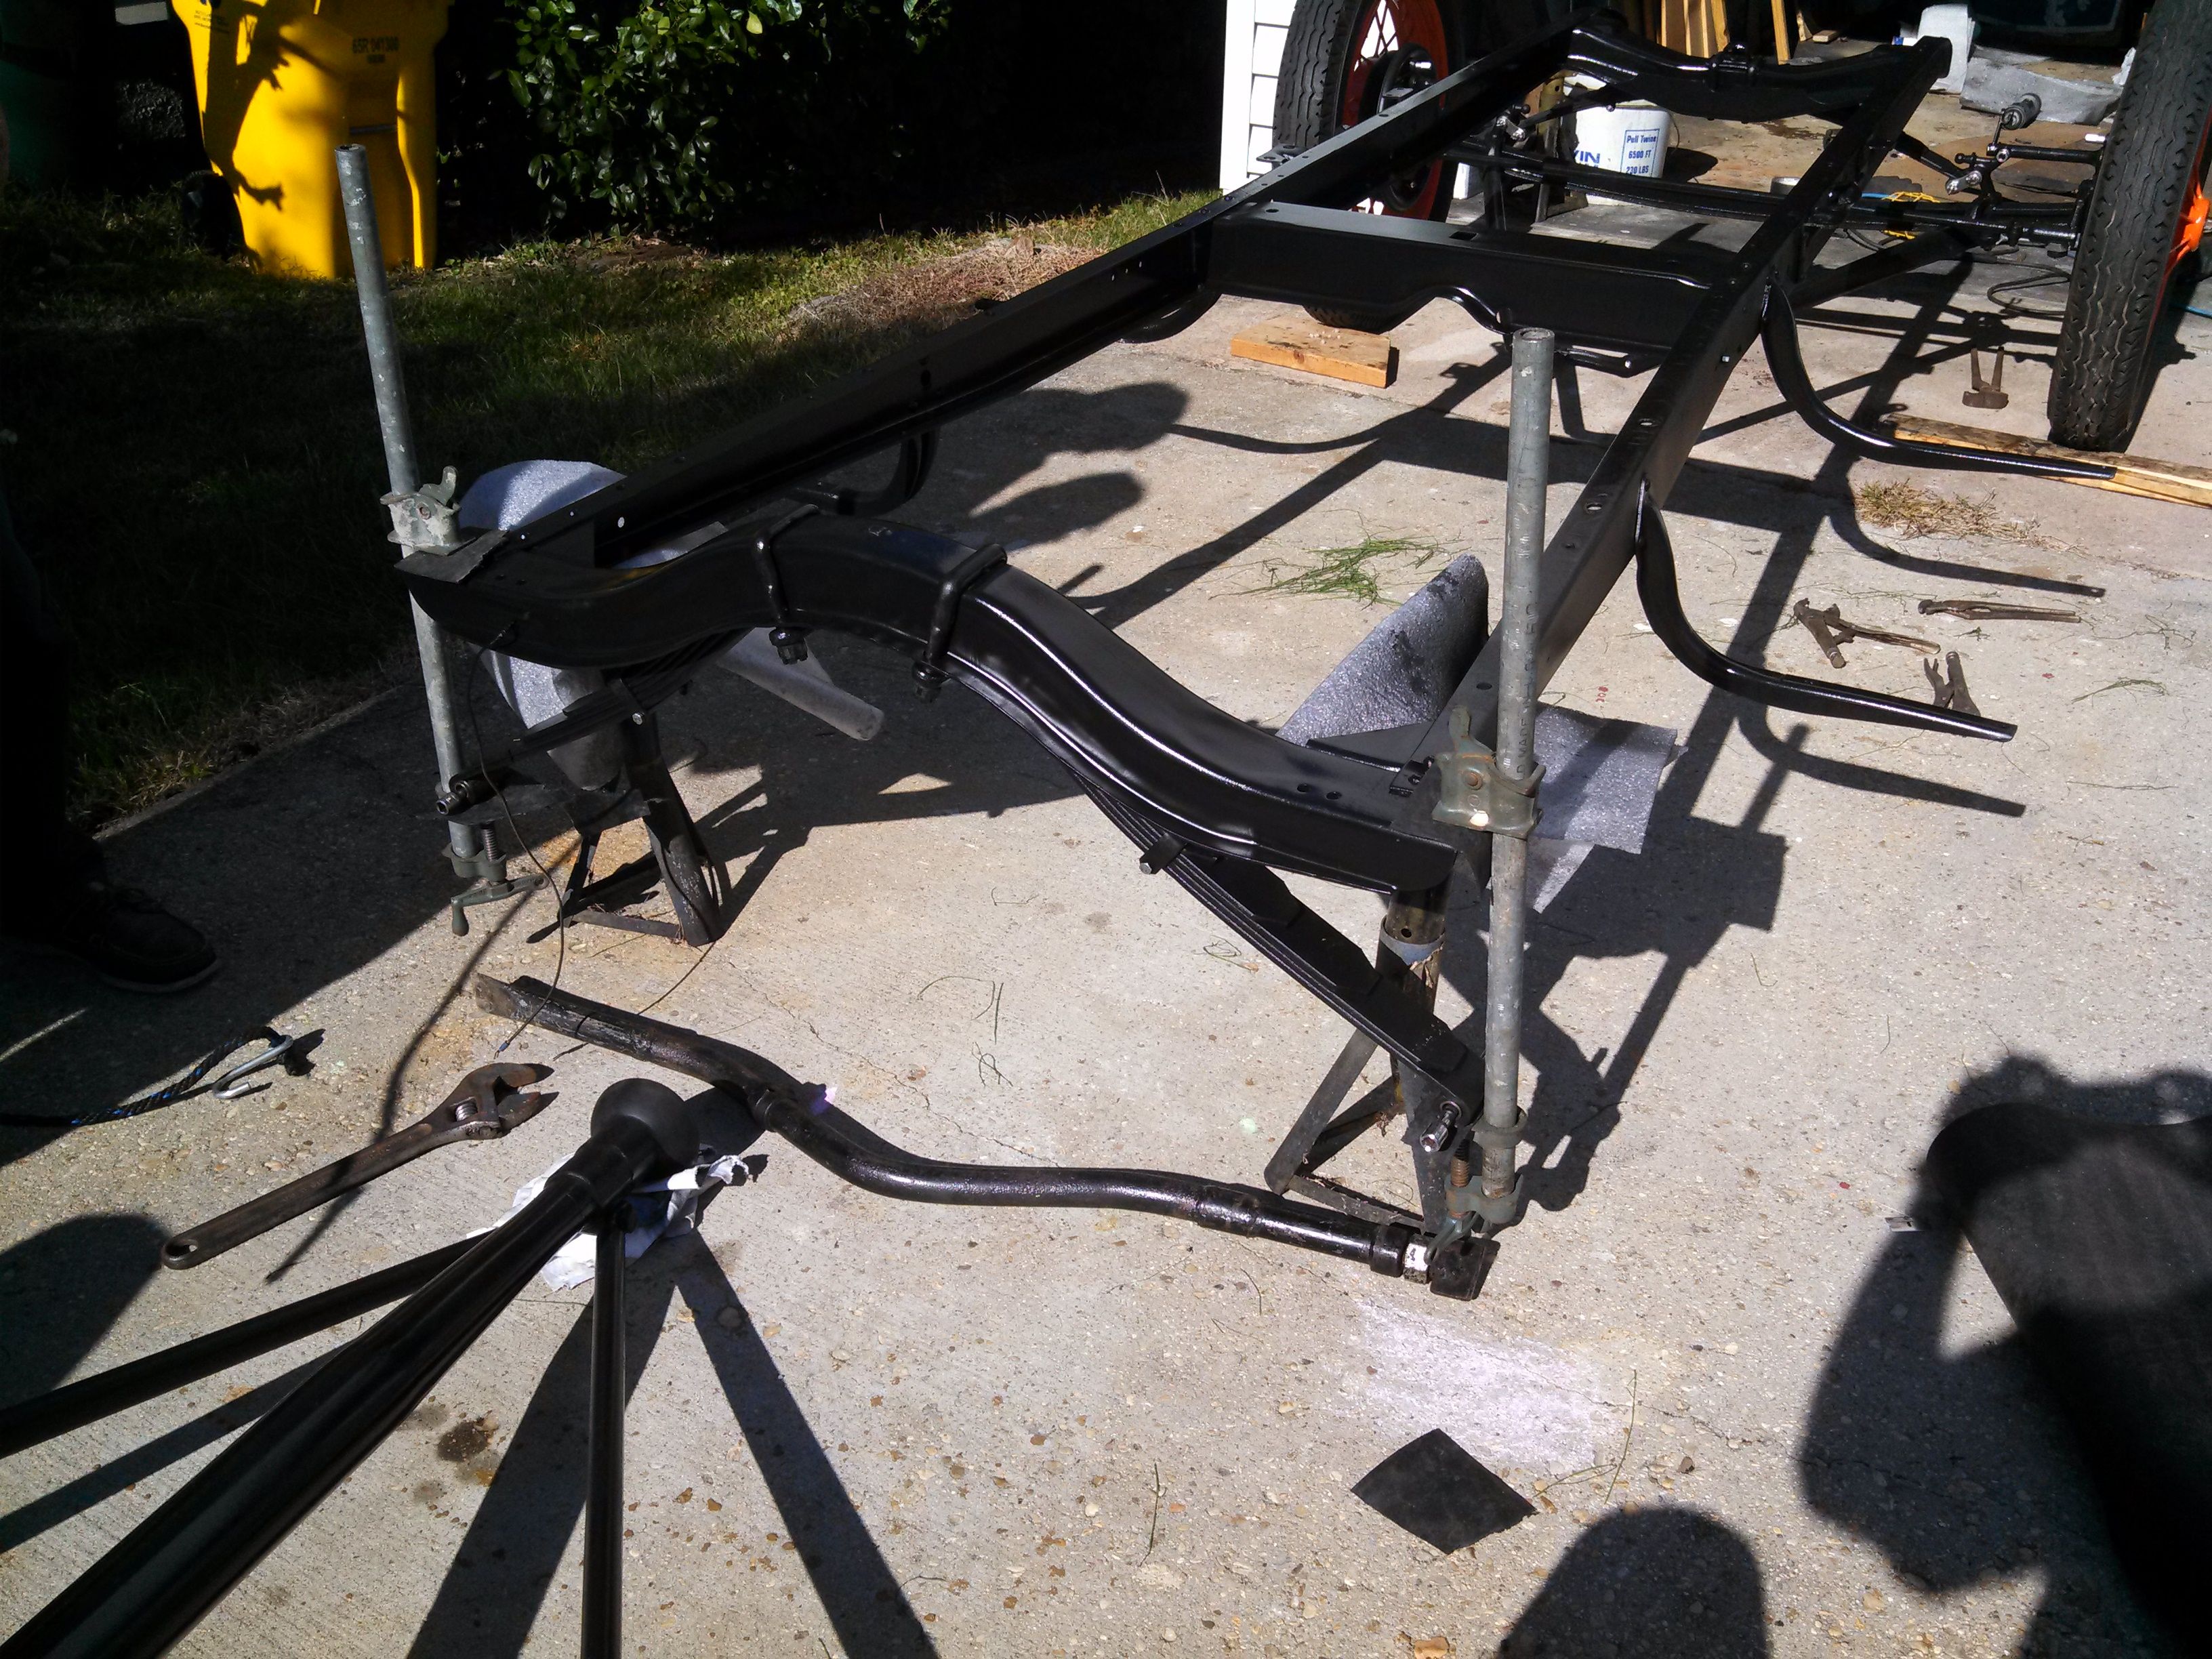
Their plan was to go ahead and hang the spring on the frame, and then roll the axle underneath for attachment. I am certainly not one to knock free help, so we went forward with this plan. First thing we did was drop the frame onto the front suspension (I put a canvas welt in there), and shackled it down:
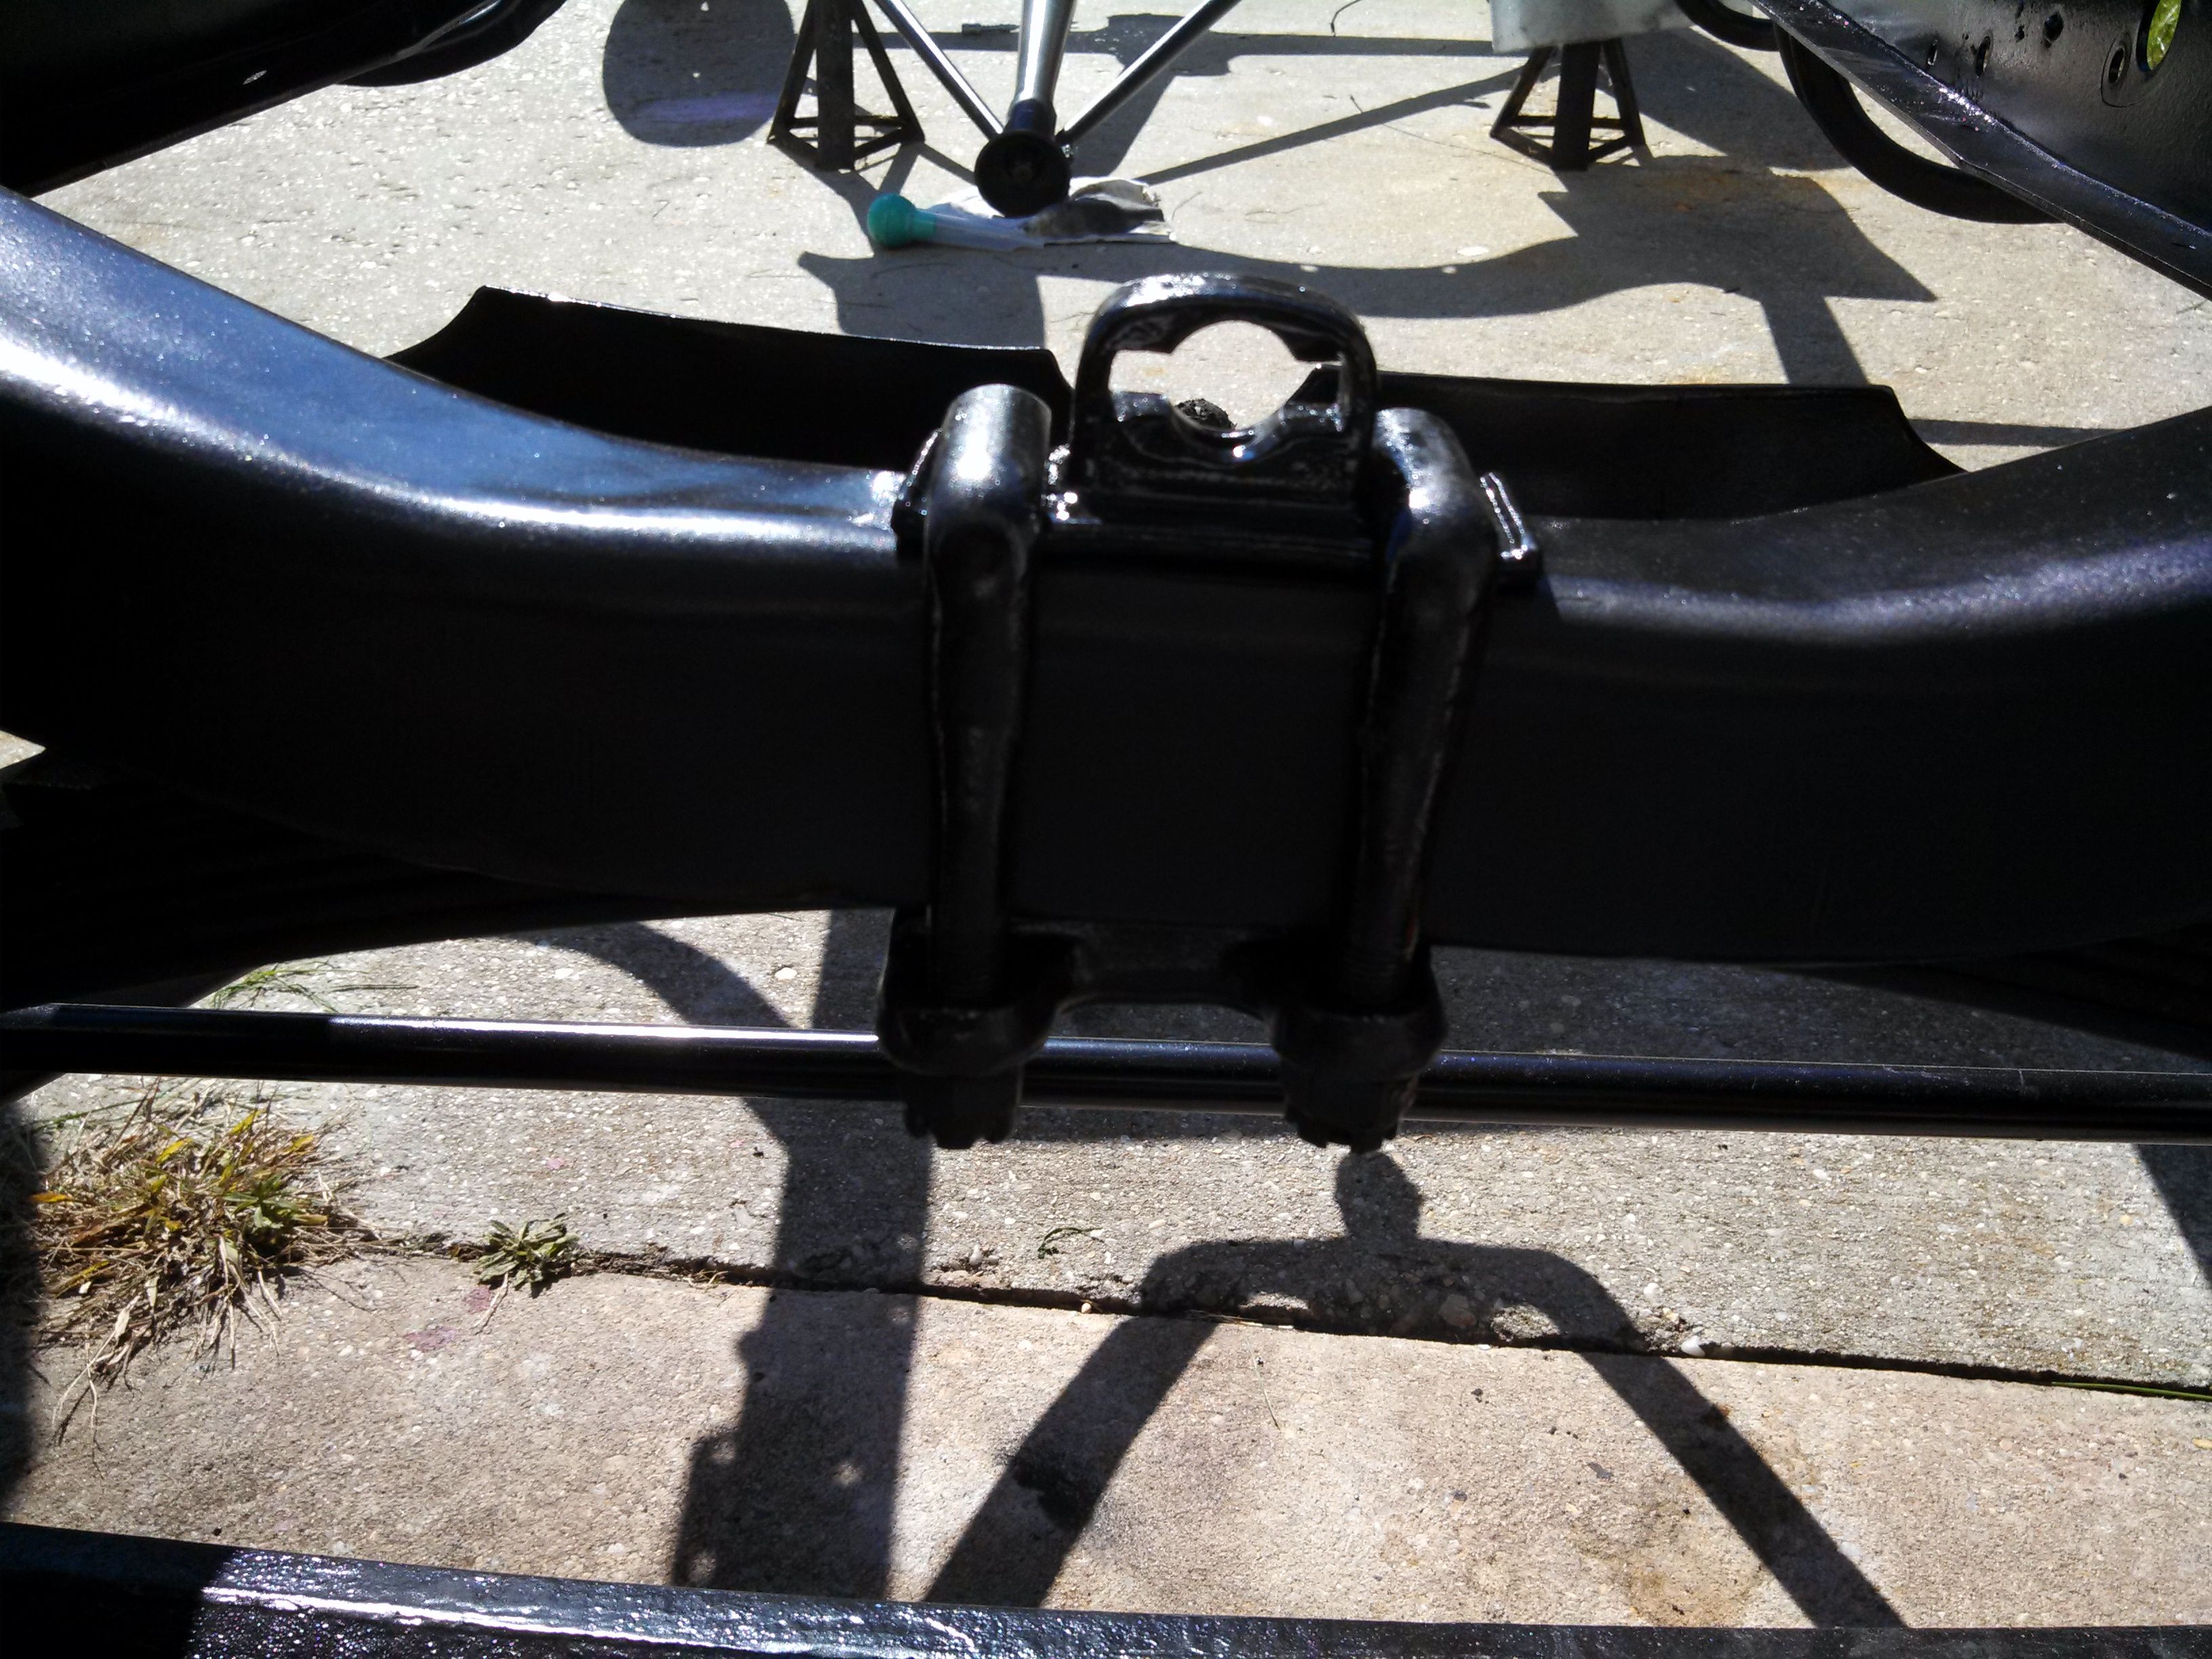
Next, we installed the rear spring, again with a cloth welt. (I got the welts from Gene Renniger's up in Bird In Hand, PA (Yes, that's really the name of the town, not far from Blue Ball, intercourse, and Paradise, PA... No, I'm not kidding, really!)
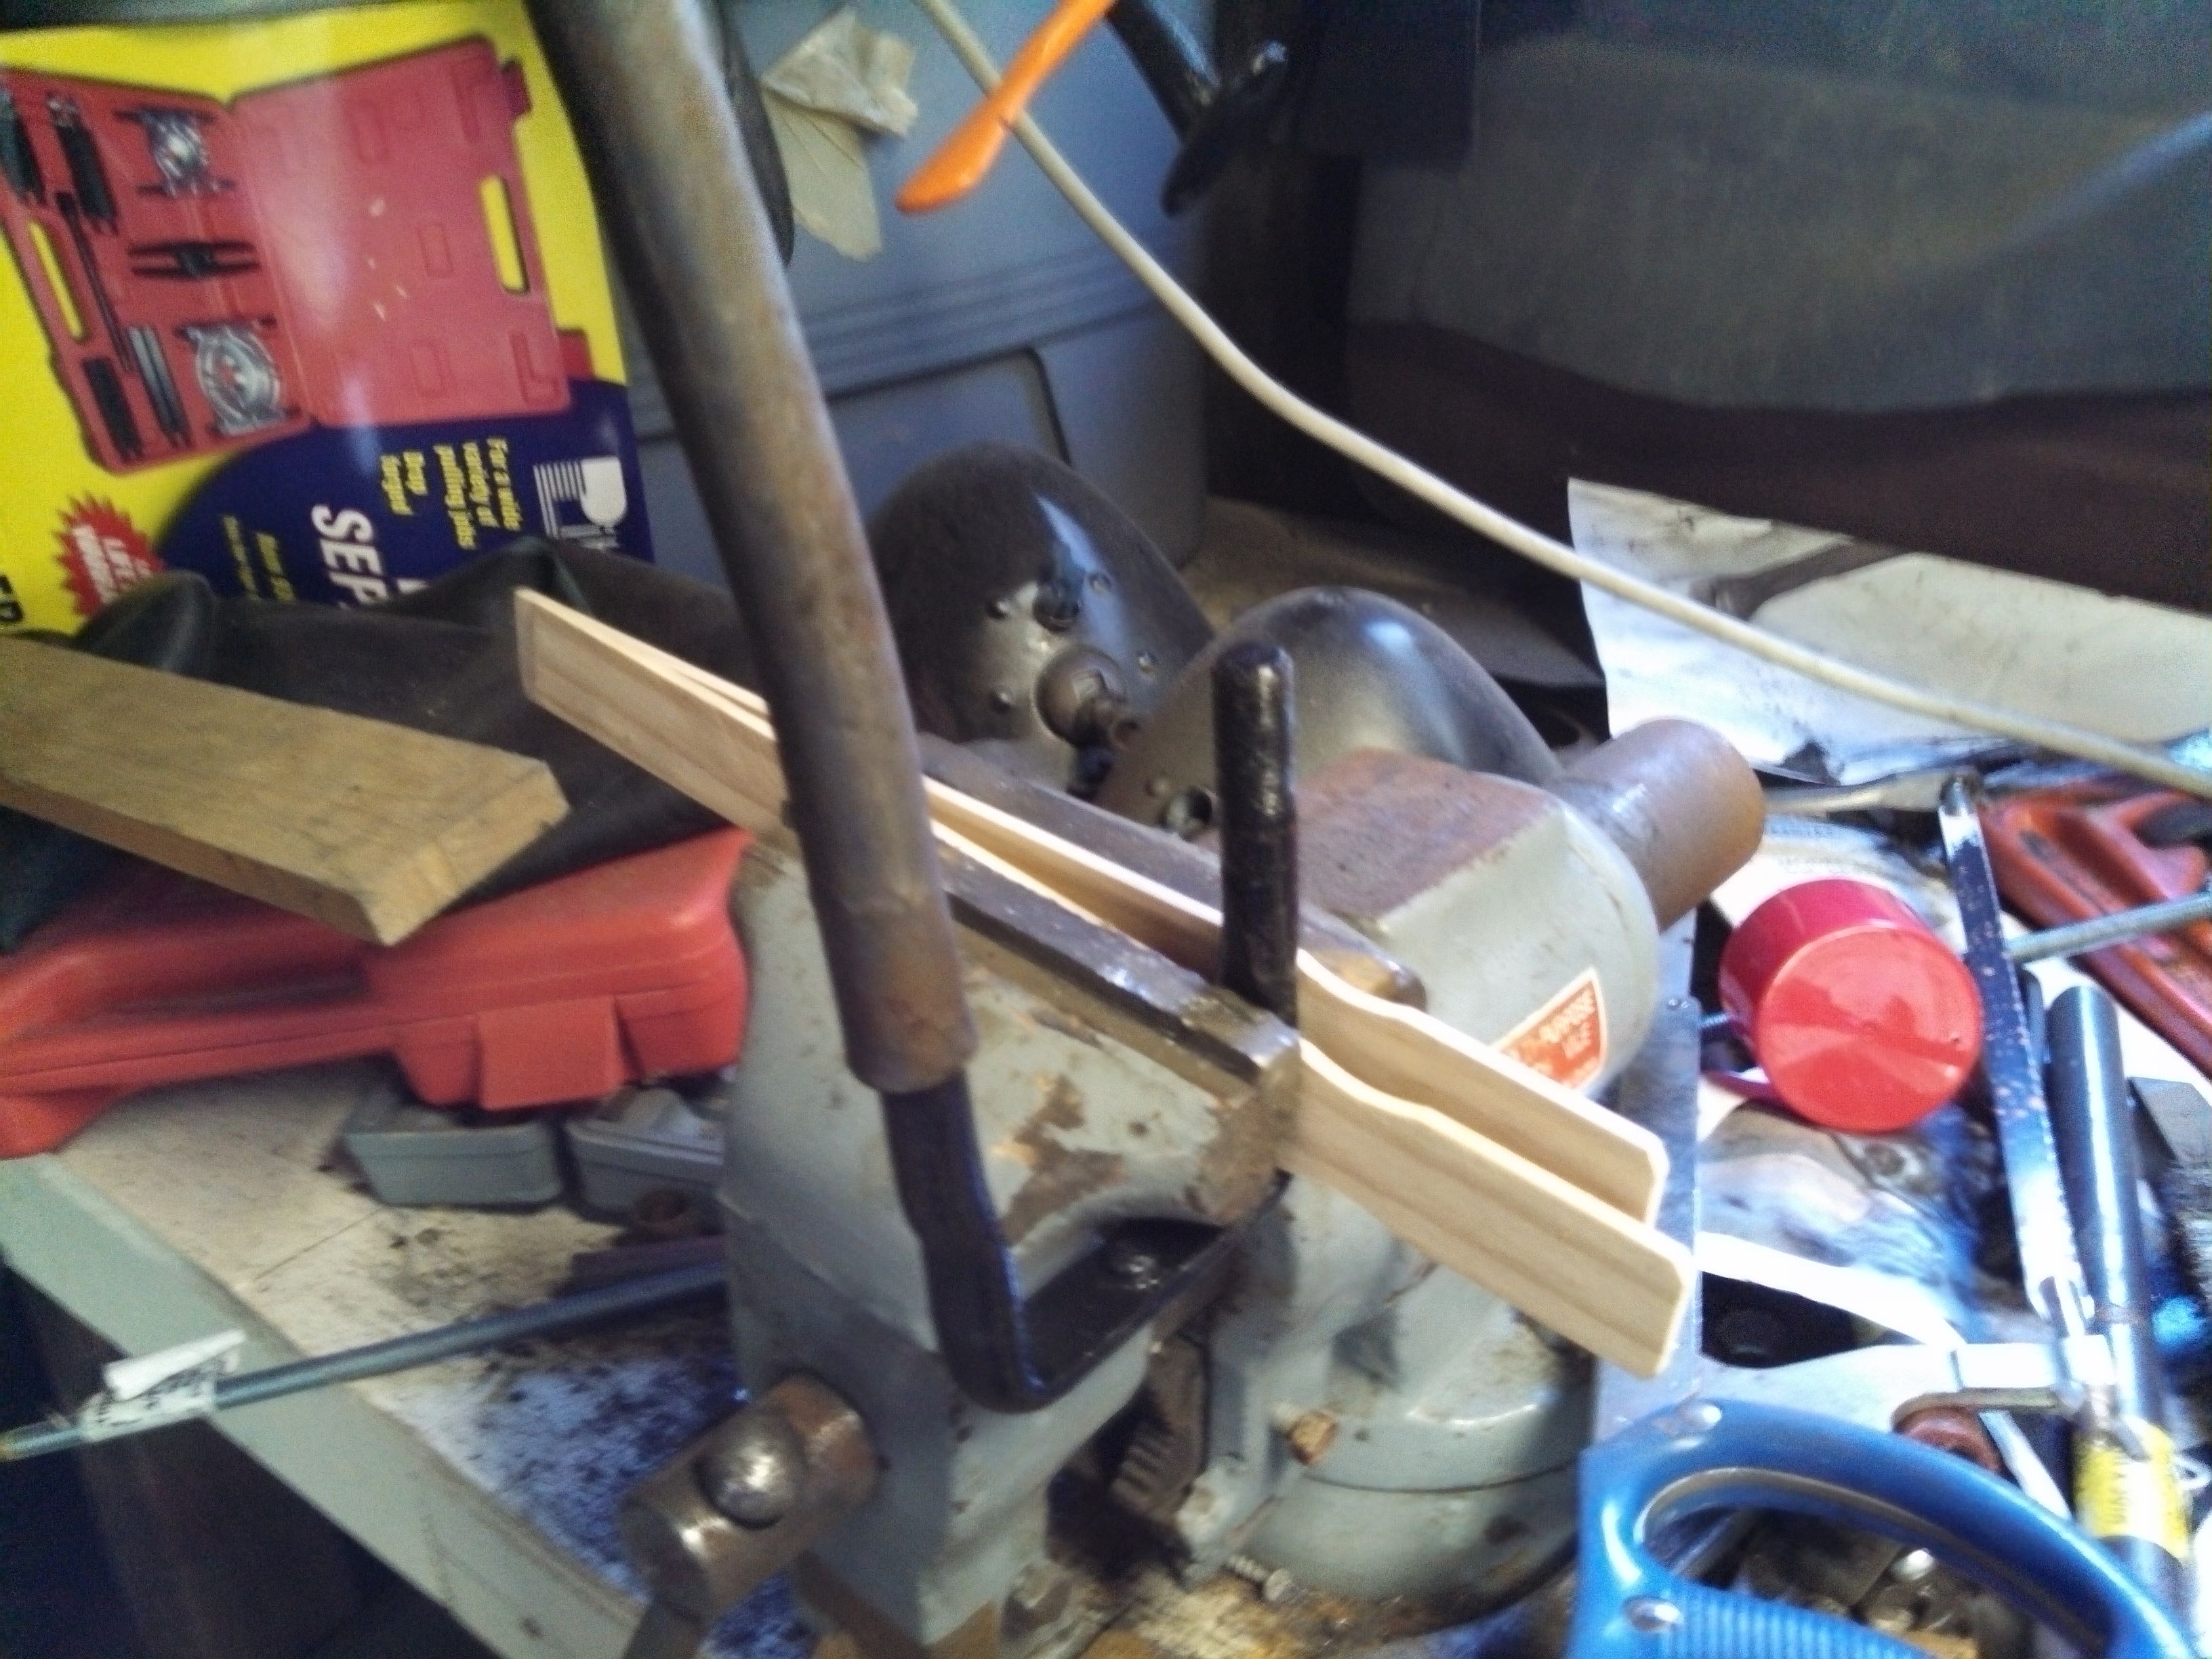
Installing the rear spring into the frame was just slightly problematic - the welts take up some of the free clearance, making the nuts a little harder to get on. The bigger problem, though, was that the U-bolts were just far enough "out of true" to make them tough to install. I carried them back to the shed, mounted them in a vice, and used a piece of soft pipe to straighten them out. Note the paint-stirrers I put in there to help protect the paint...
After we got the spring installed into the frame, "Benny Hill" music began to play somewhere in the background...
Yeah, that good... So, here's what happened... First, we figured out that the "new" spring spreader wouldn't work - it was way to wide to install into the unloaded spring. So, one of the guys ran home to get some pipe clamps, with the idea that maybe we could compress the spring enough to install the spreader. First things first, I made everyone get some eyepro on - this was looking potentially dangerous. In fact, when I first started turning the handle on the clamps (see below), I realized this was likely a really good way to break a hand...
So, we tried the pipe clamps, and they didn't have enough travel to compress the spring enough. So we tied the spring up, shortened the clamps, and tried again. We were able to get some more load on the spring, but not enough...

This was starting to get "hold-my-beer" stupid, so we backed off on this plan. One last try, and that was to use my homemade spring spreader to spread the spring wide enough to insert the big one, and then use the pipe clamps to hold the spring in place while we removed the one spreader and inserted the other...
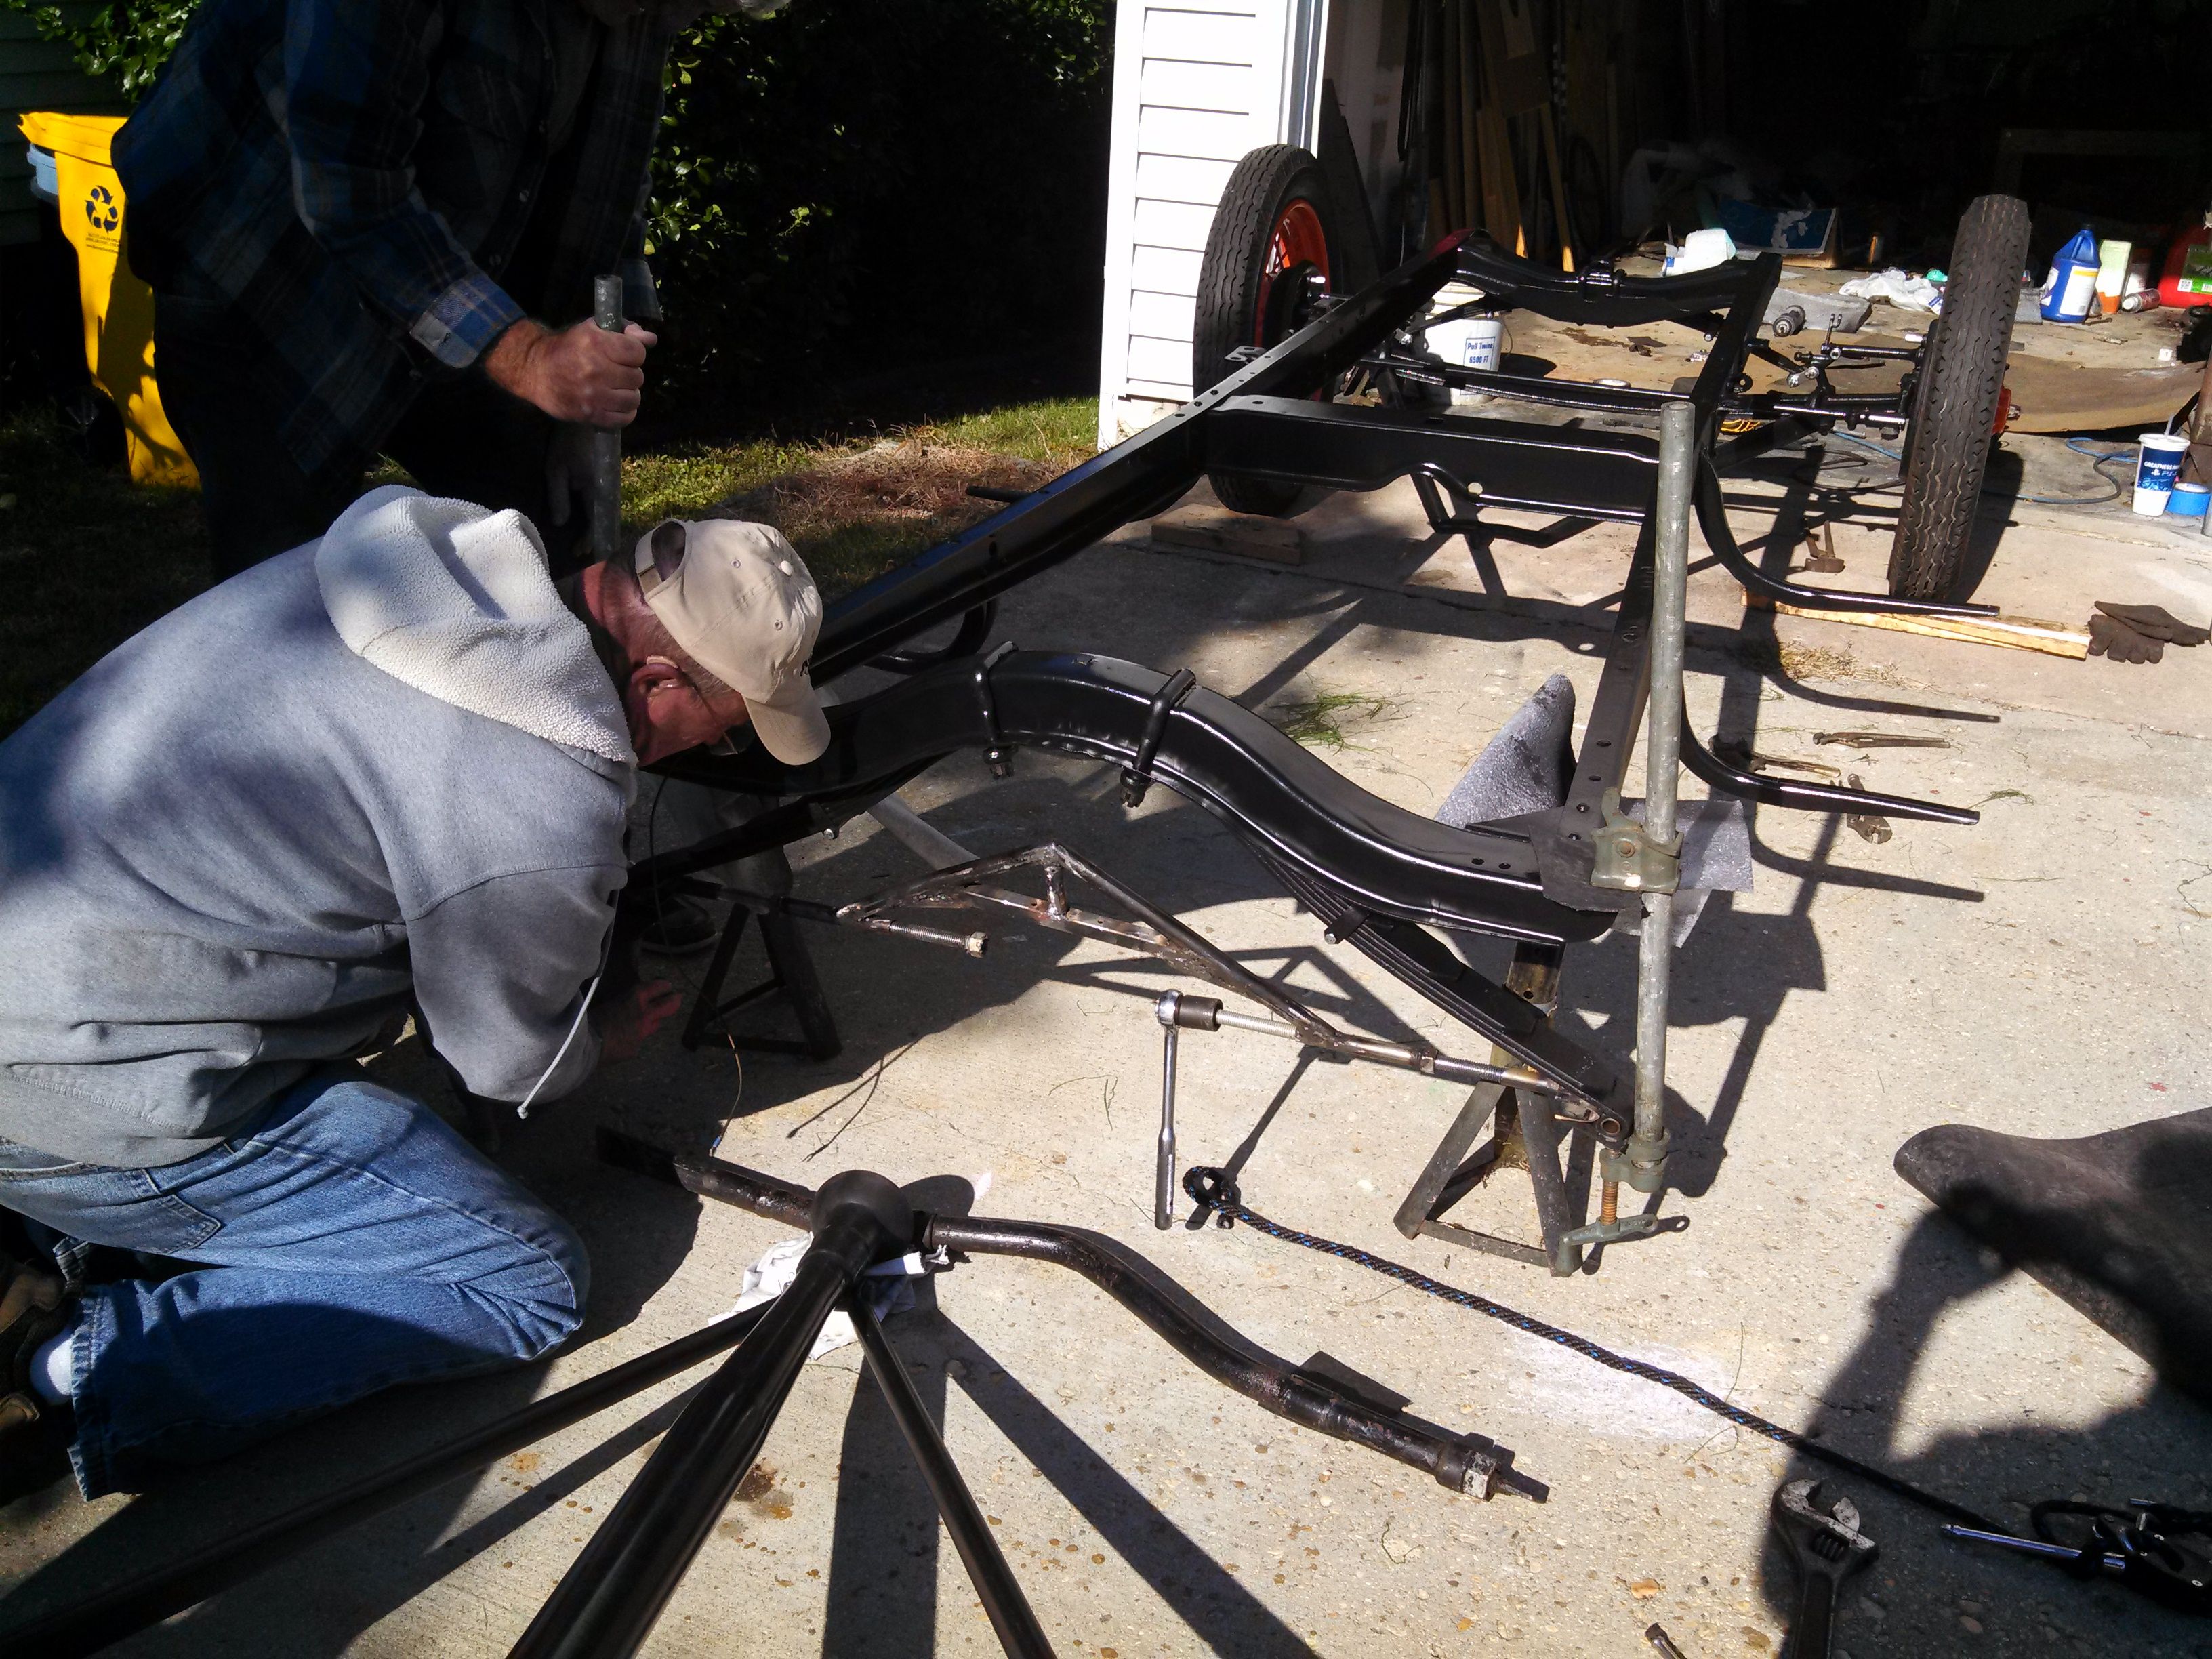
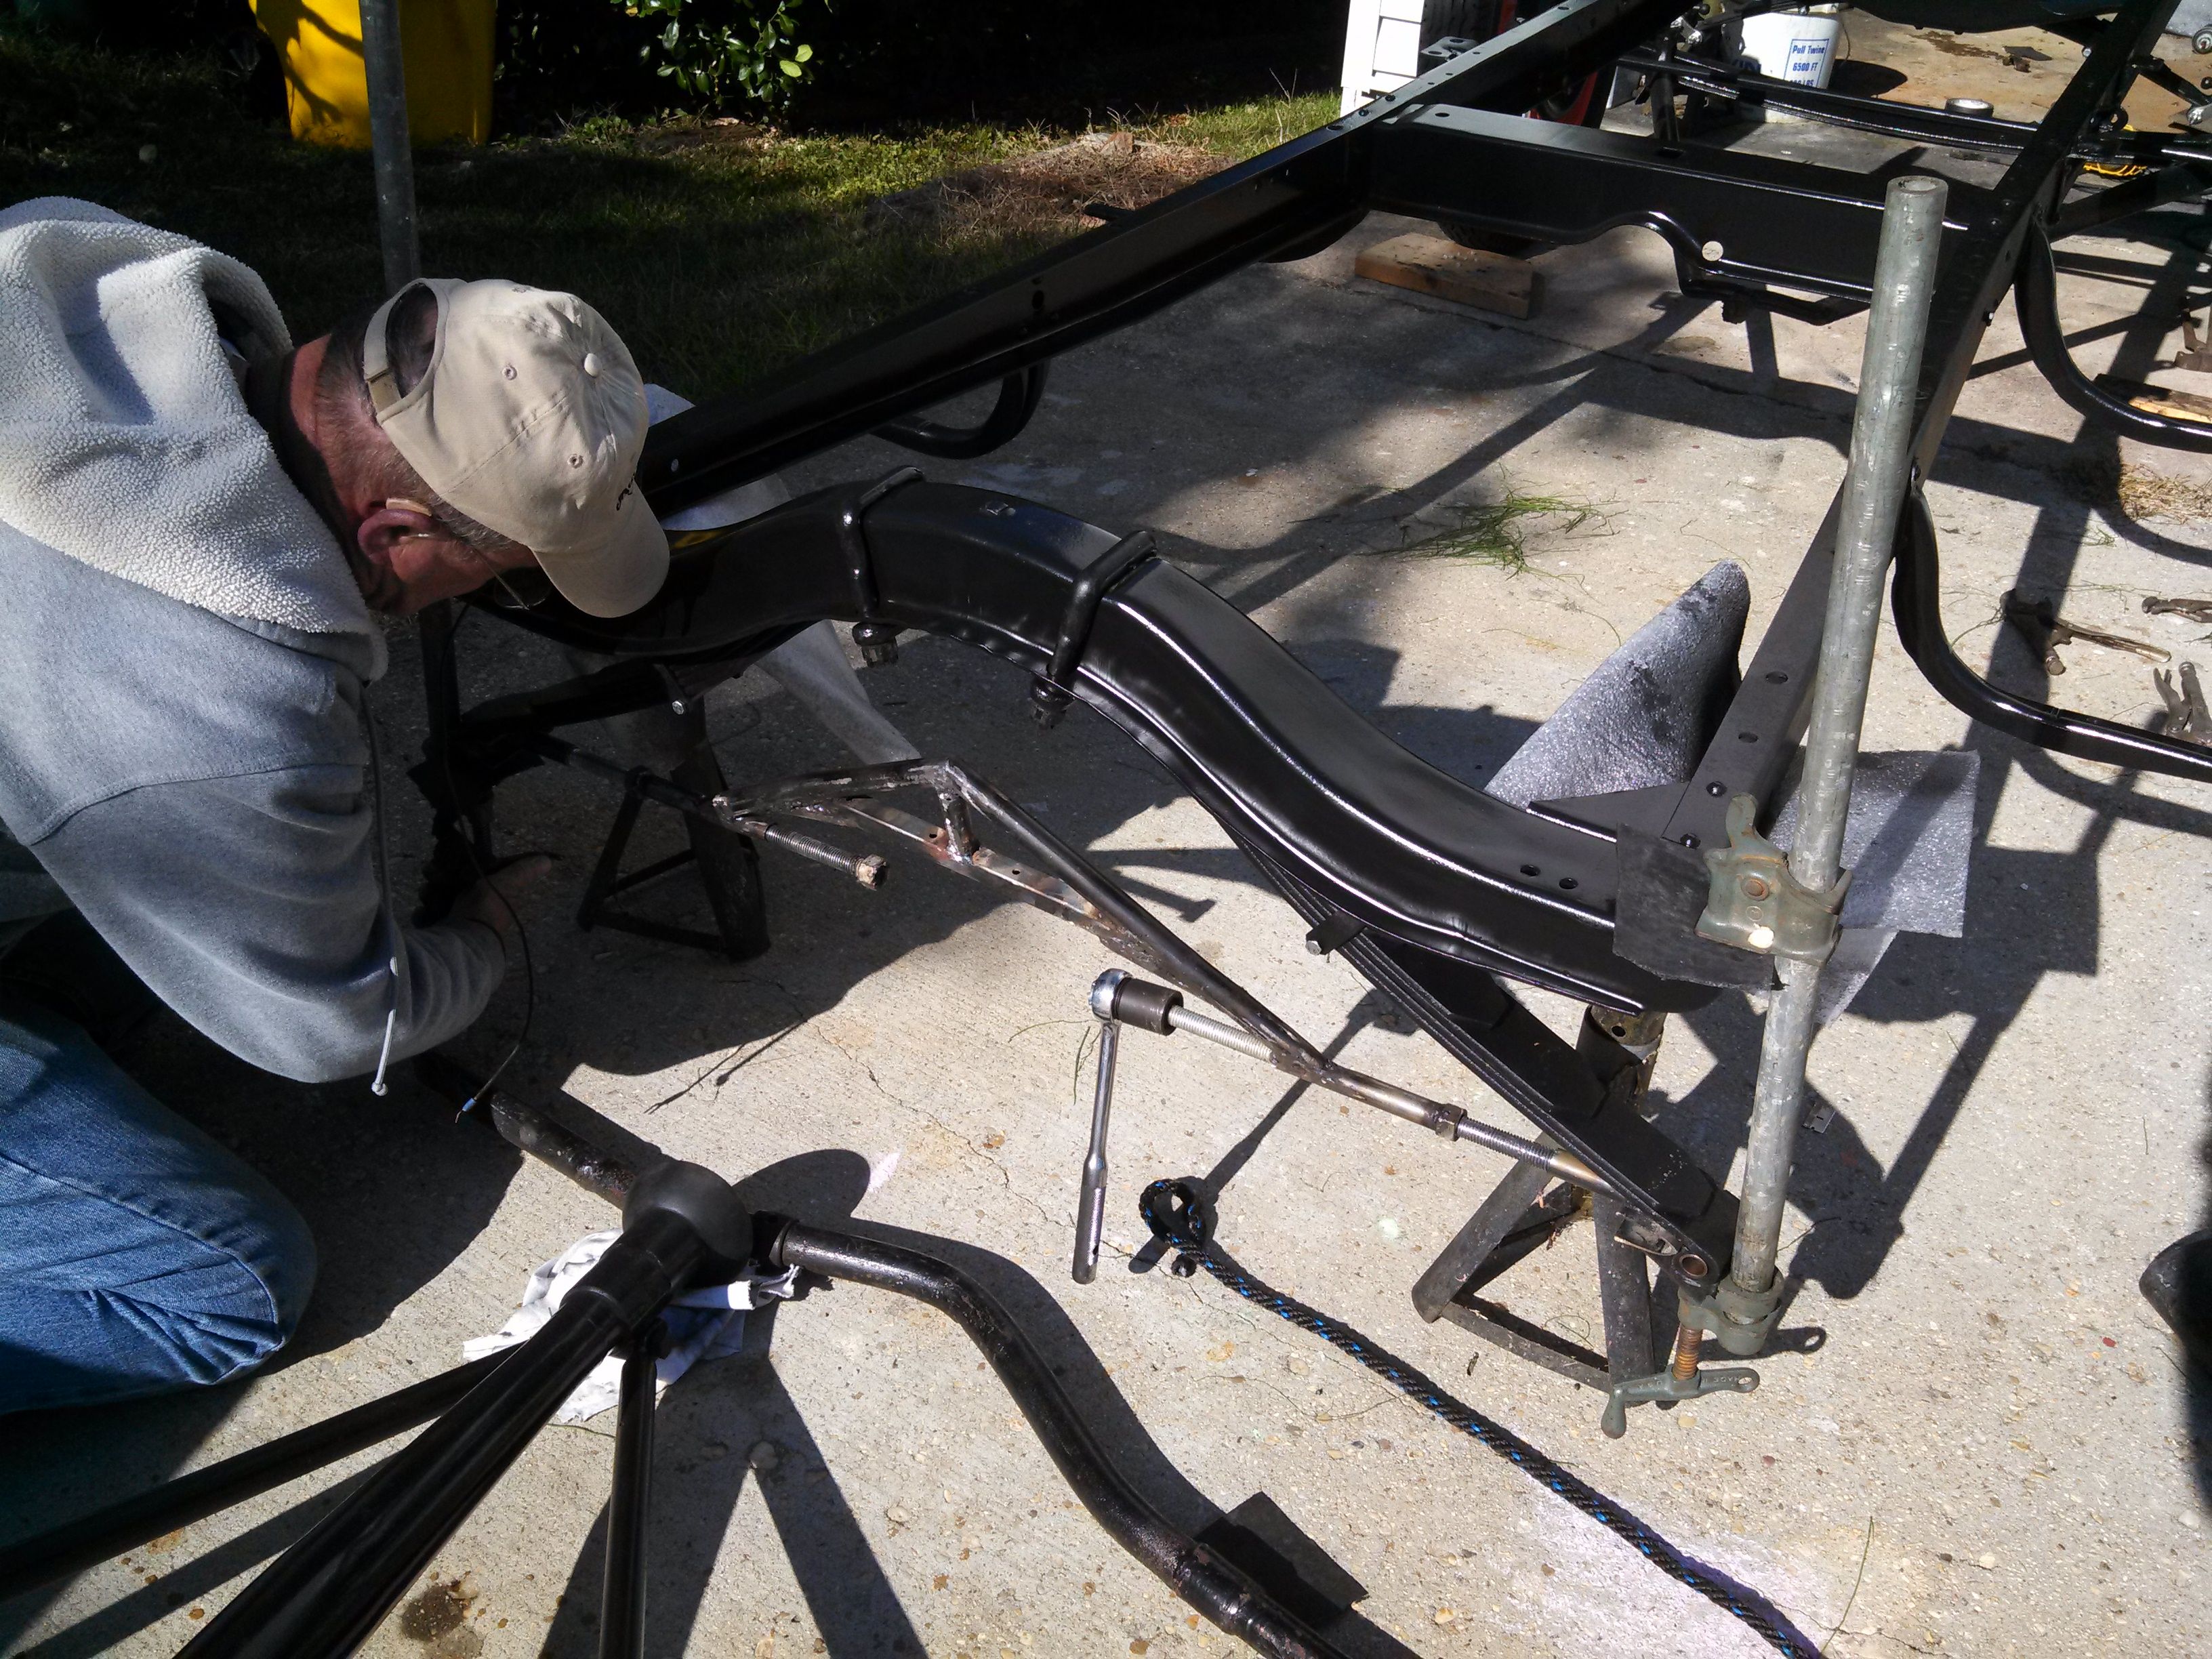
Fortunately, my spreader had the "umph" to get the springs opened that wide. unfortunately, when we got the bigger spreader in, we found that there was an interference between the springs and that big-honkin' nut that runs the spreader out... So, we backed it all off and ended the day on that down note.
And, there were a couple of other "down" notes. We hung out and talked a bit, and I tried to put some gear oil in the banjo. I didn't have much luck with that - I need to see if I still have some Tygon tubing laying around - that'll make life much easier.
So, other down notes... They agreed with my assessment - it looks like maybe I need to swap the backing plates to get that grease fitting to be accessible. I have one last thing to try, but otherwise, it looks like I'm in for a fair amount of work knocking the rivets out & putting new ones in when I swap the levers around.
d'oh.
And then there's the last down note - it went something like this:
Them: So, where'd you get that gear oil?
Me: Snyder's - I think it's the same stuff I'm supposed to put in the transmission.
Them: Yeah, and the steering box, too.
Me: ... Wait, what?
Them: Yeah... You put grease in there, didn't you?
Me: ummm... Yeah? But if it's supposed to have oil, why's it got a Zerk on it?
Them: For filling it. If you use grease, you can ruin the box. You need to clean it out and put in the gear oil.
Me: D'oh!
So, I guess I've got a fair amount of work cut out for me there, too. Fortunately, one of the guys know how to adjust the steering box correctly. I'm supposed to let him know when I'm ready to put it back together, and he'll help me out. So that's good news...
Anyways, that's it for the Summer. I'm running behind where I wanted to be, but I'm hoping I can make it up some over the winter, since I don't have a lot of painting to do right now...
Last modified on 10/30/13