Happy Independence day, USA!
And even better, this is a 4-day weekend for me! Wooo! Truck work!
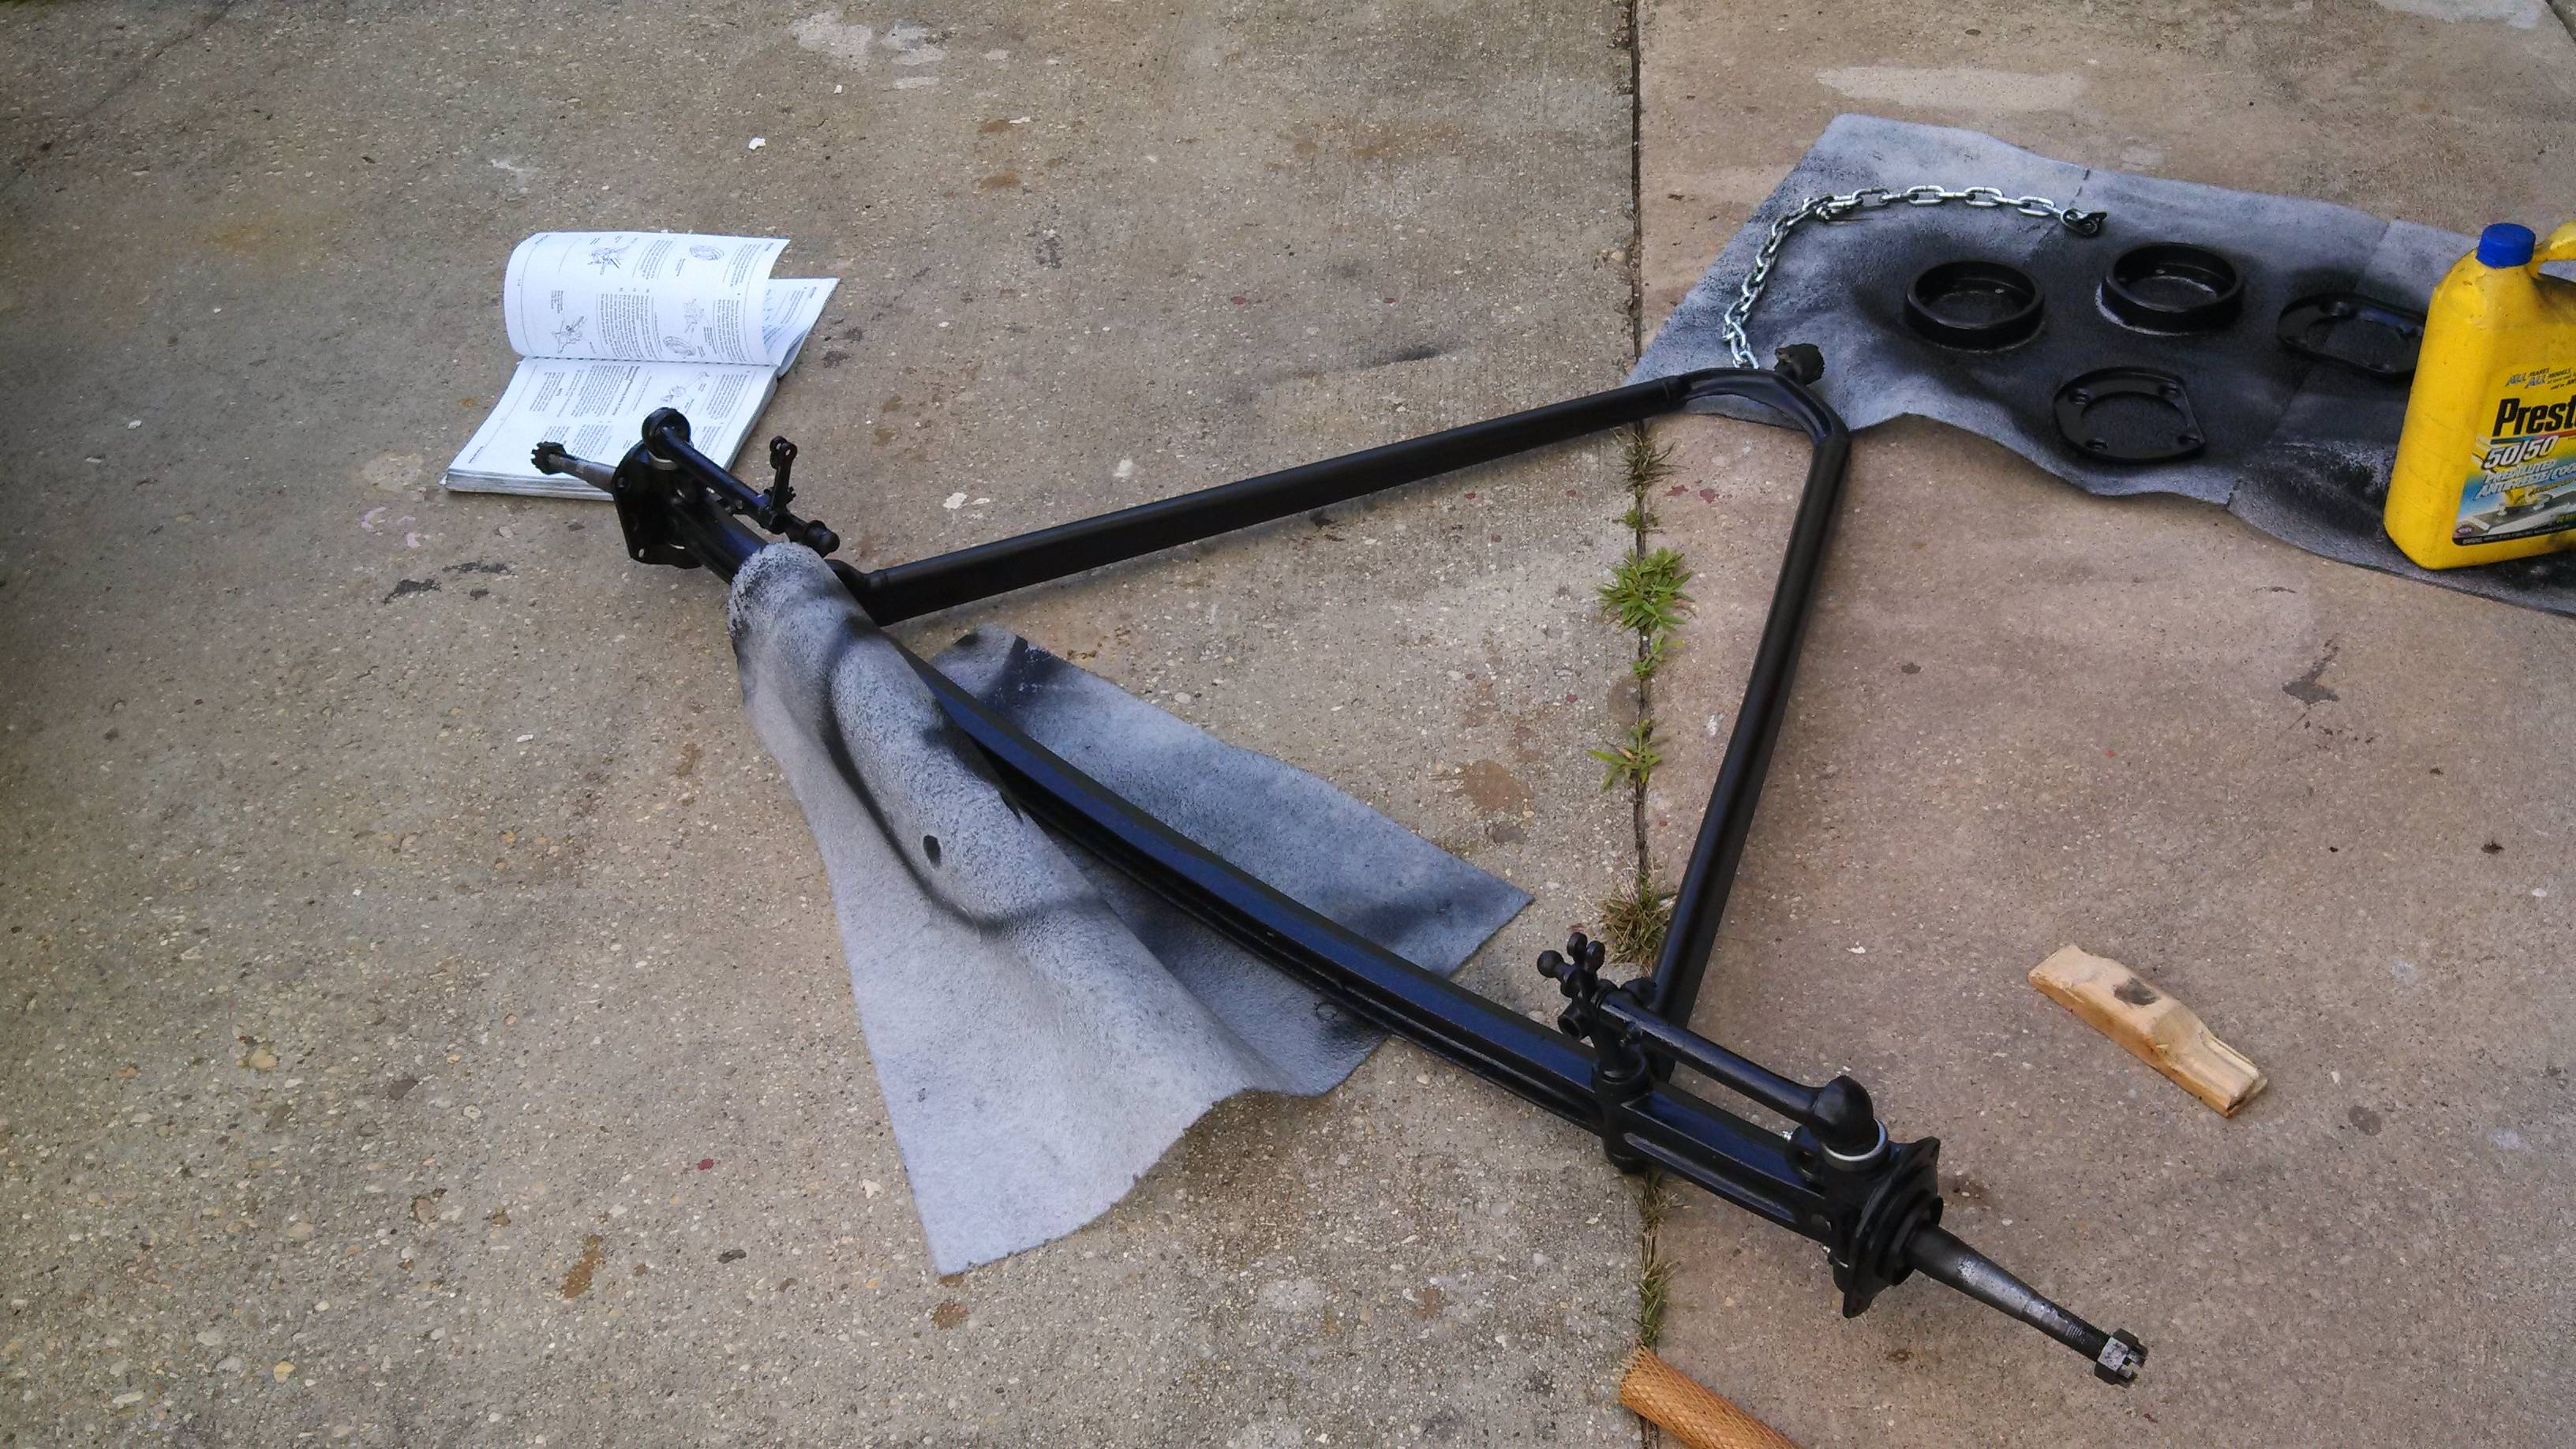
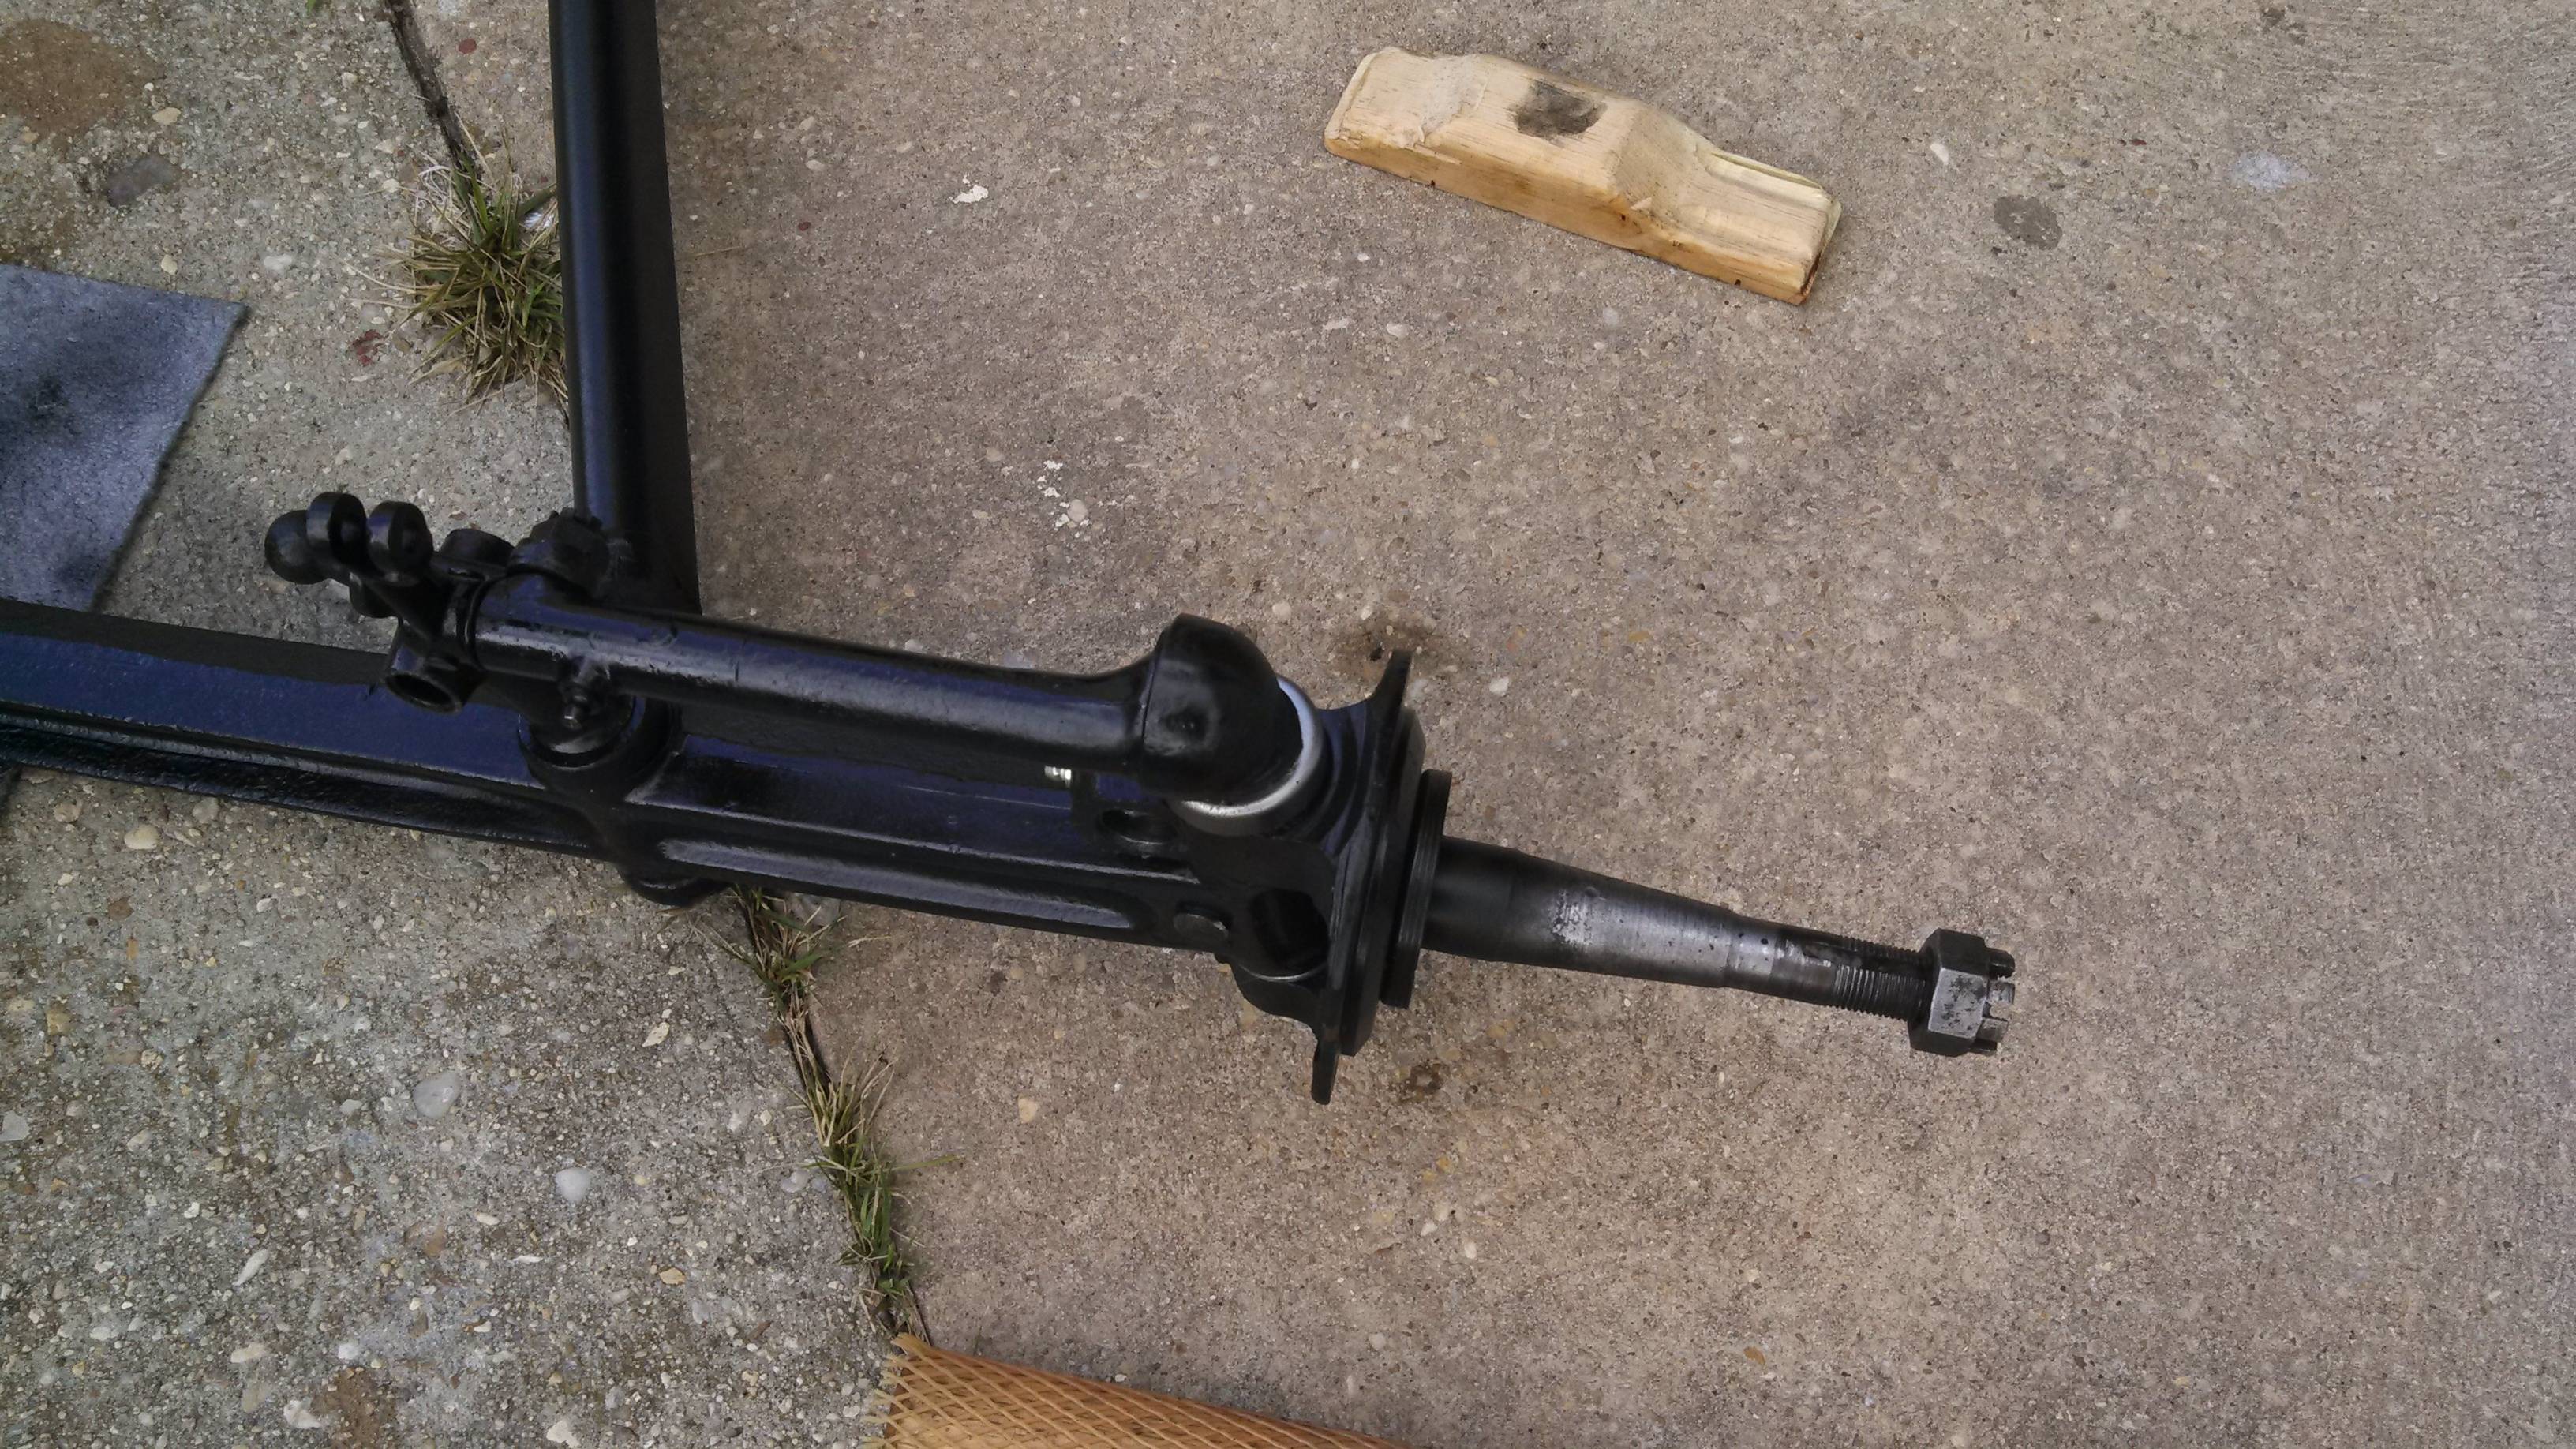
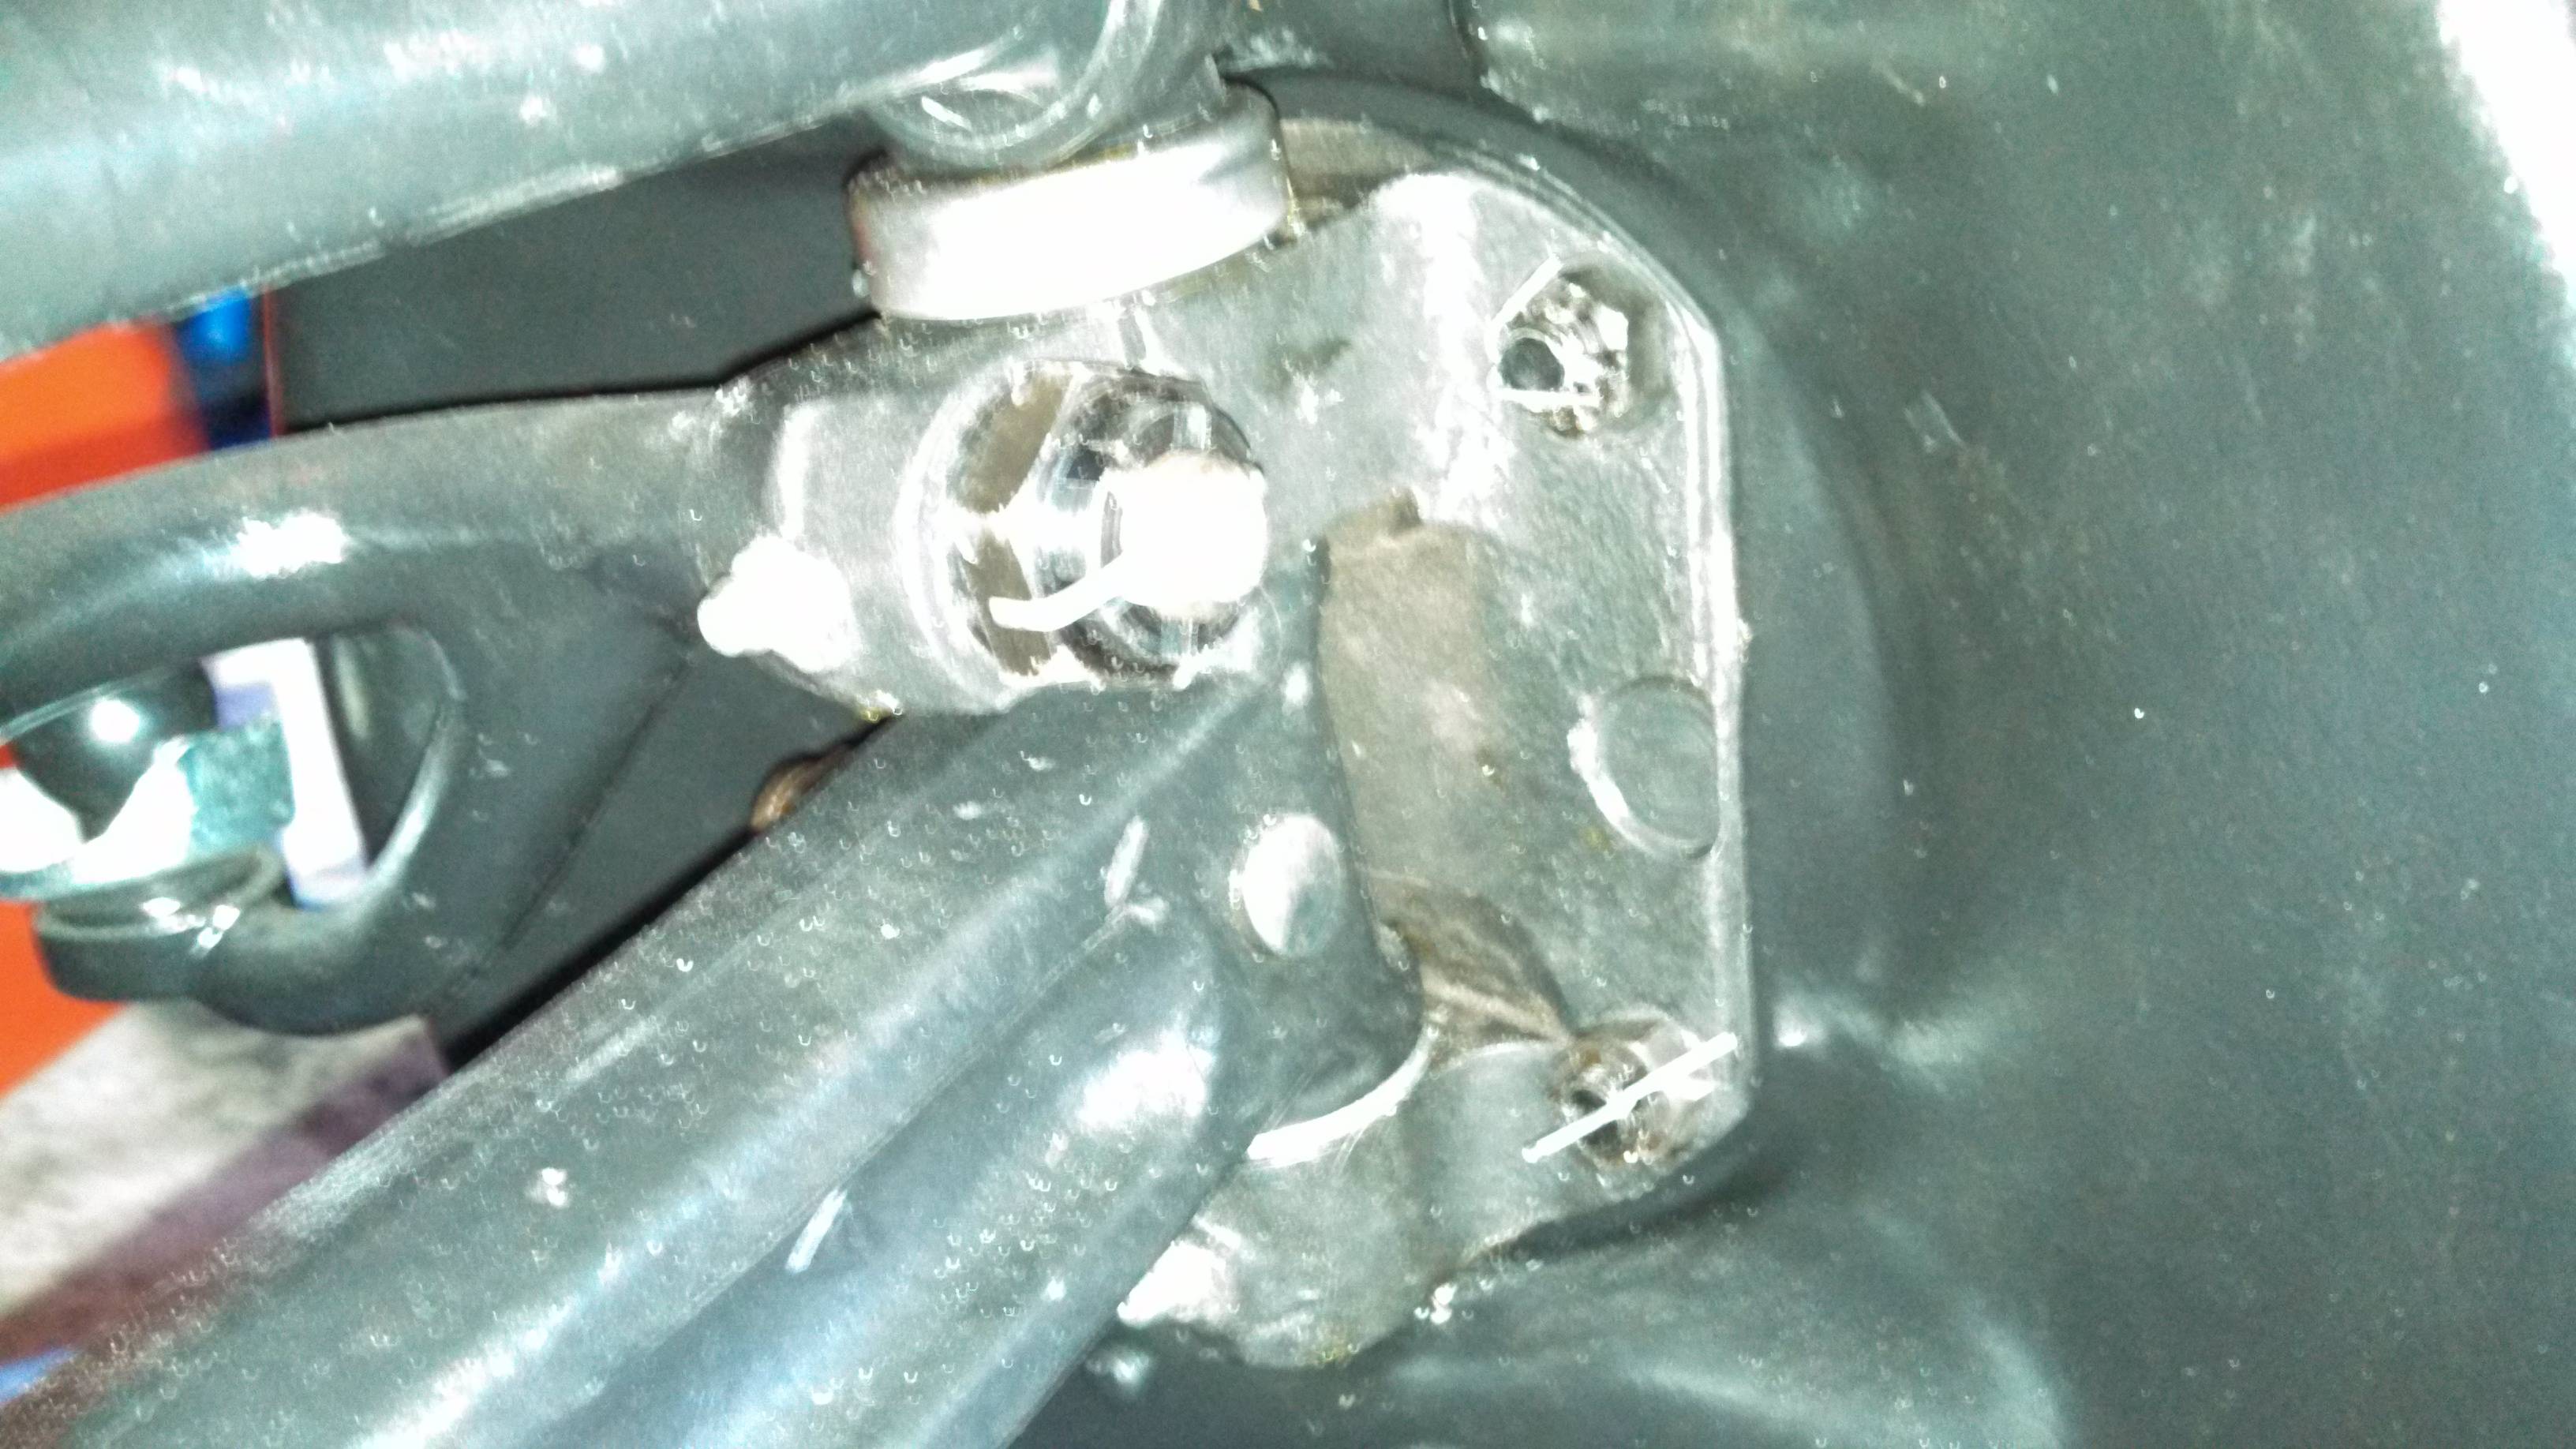
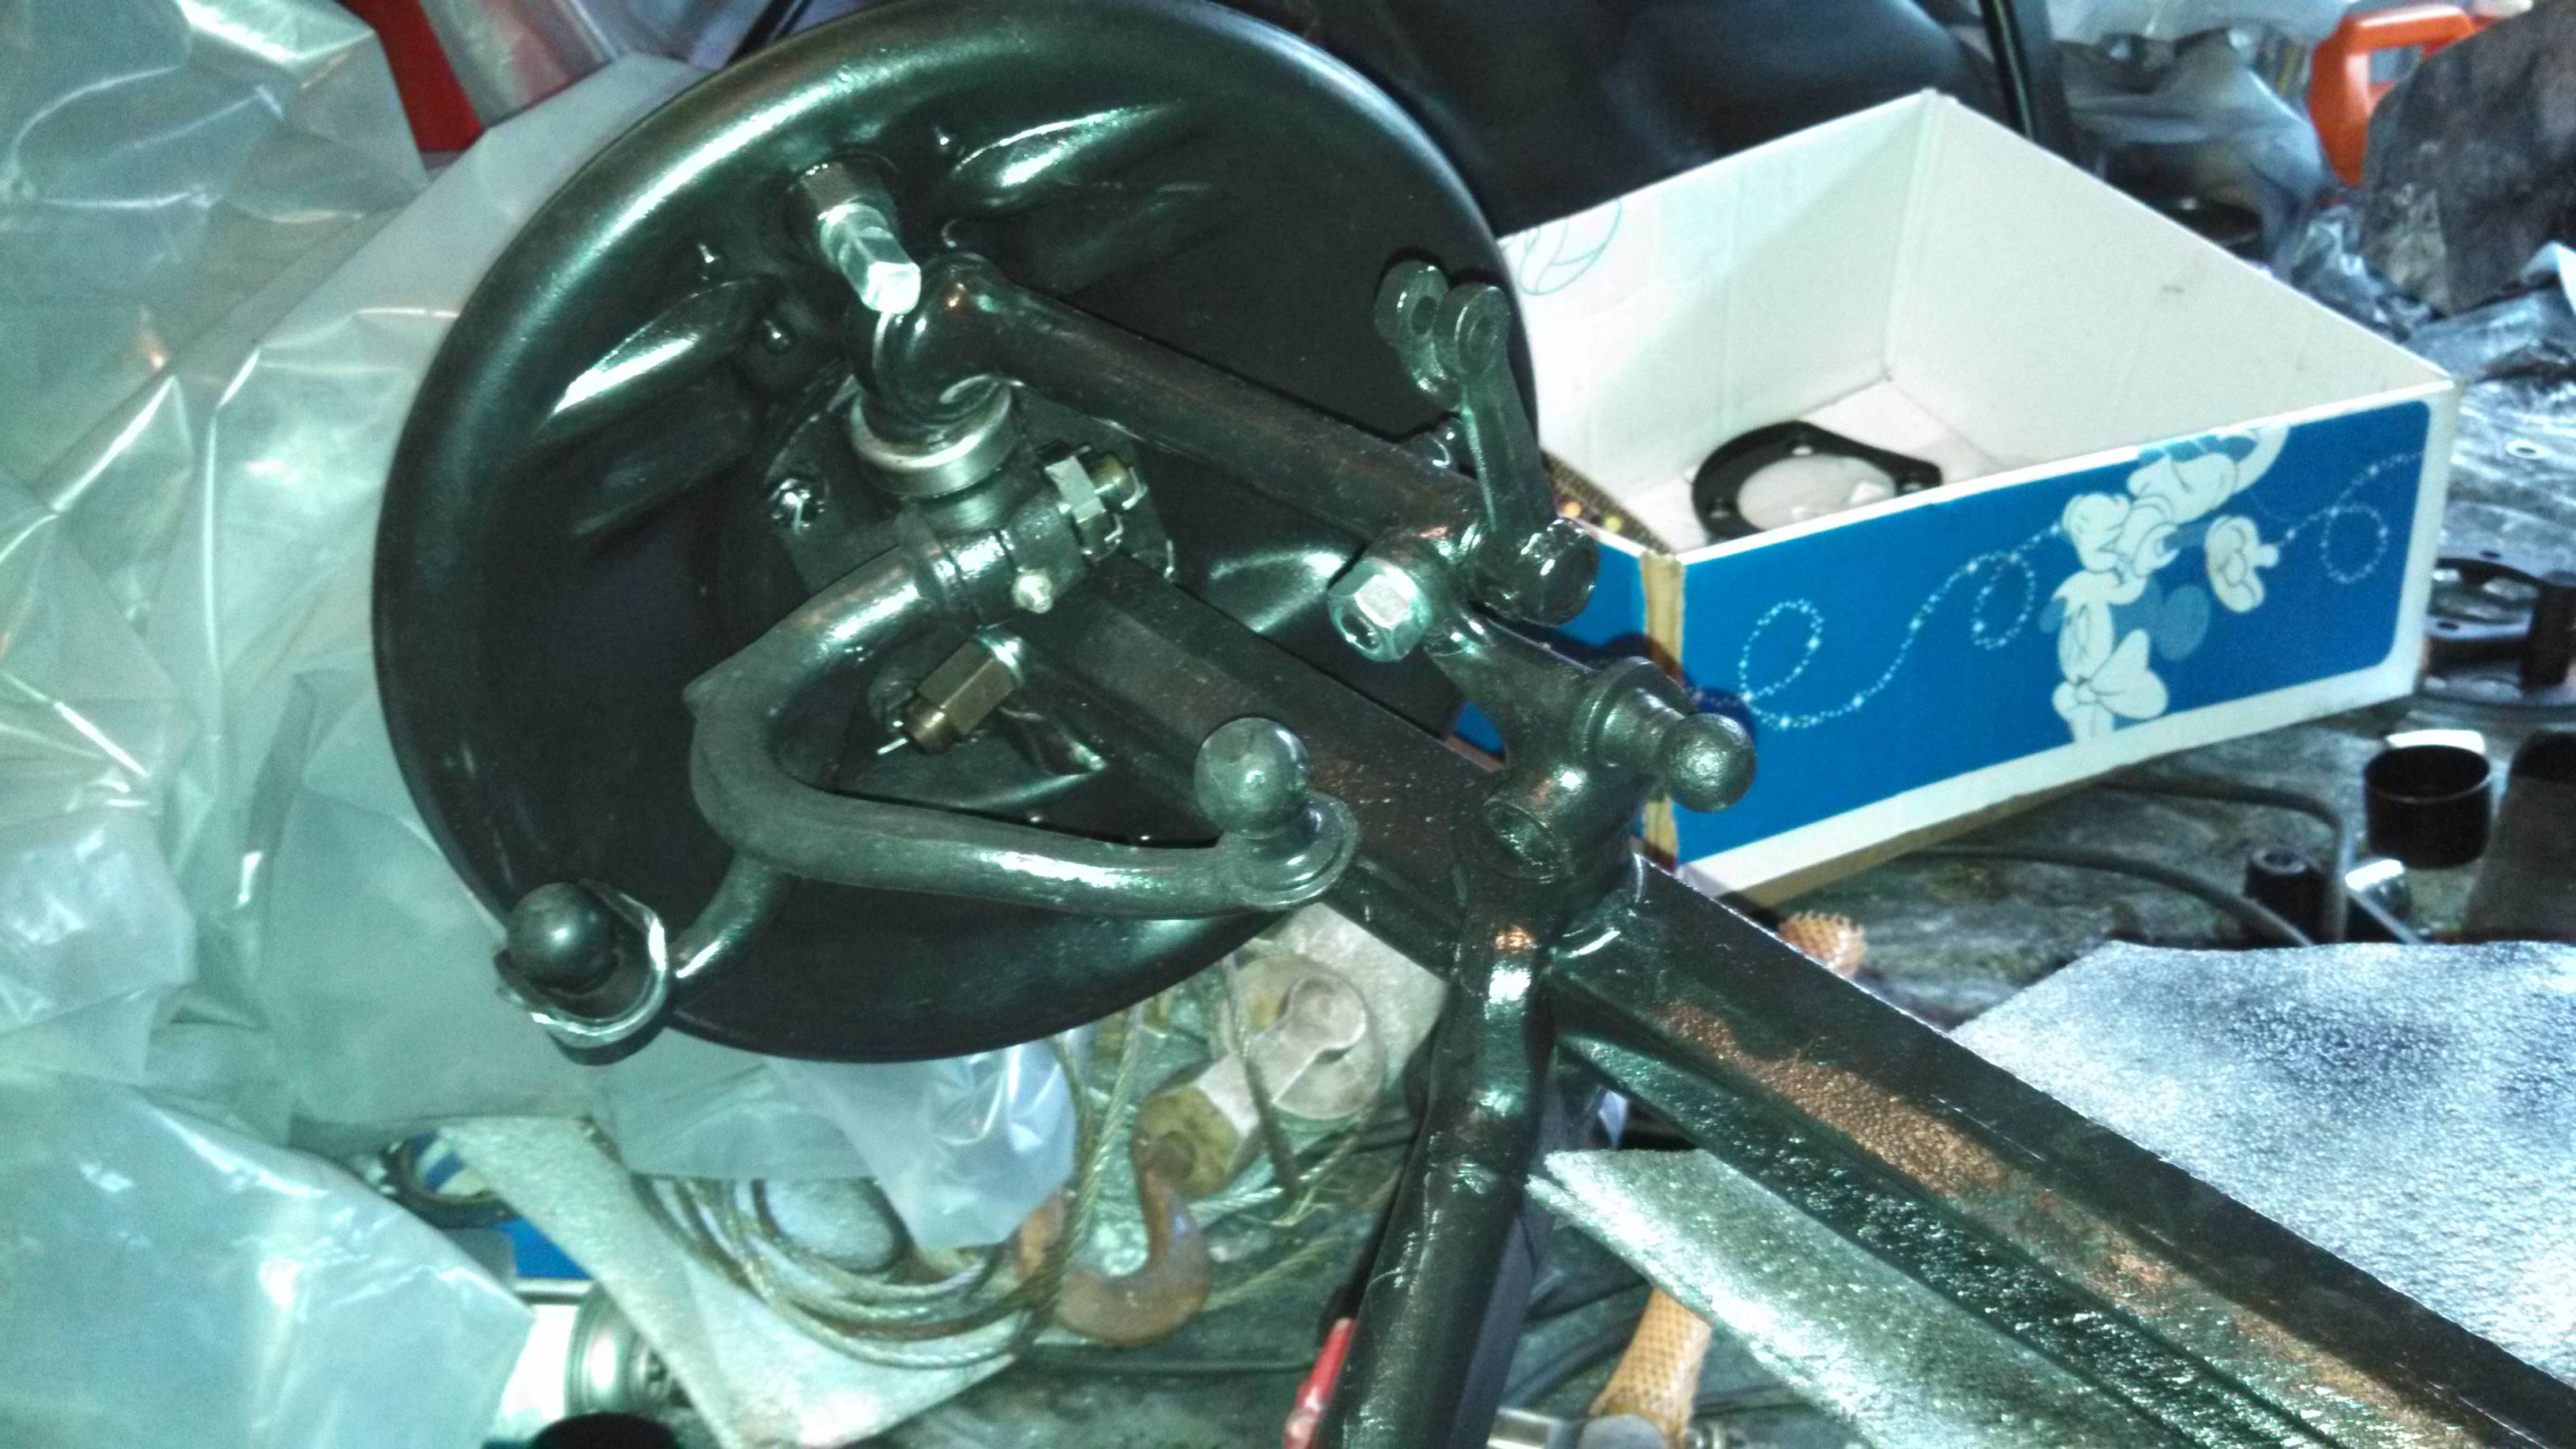
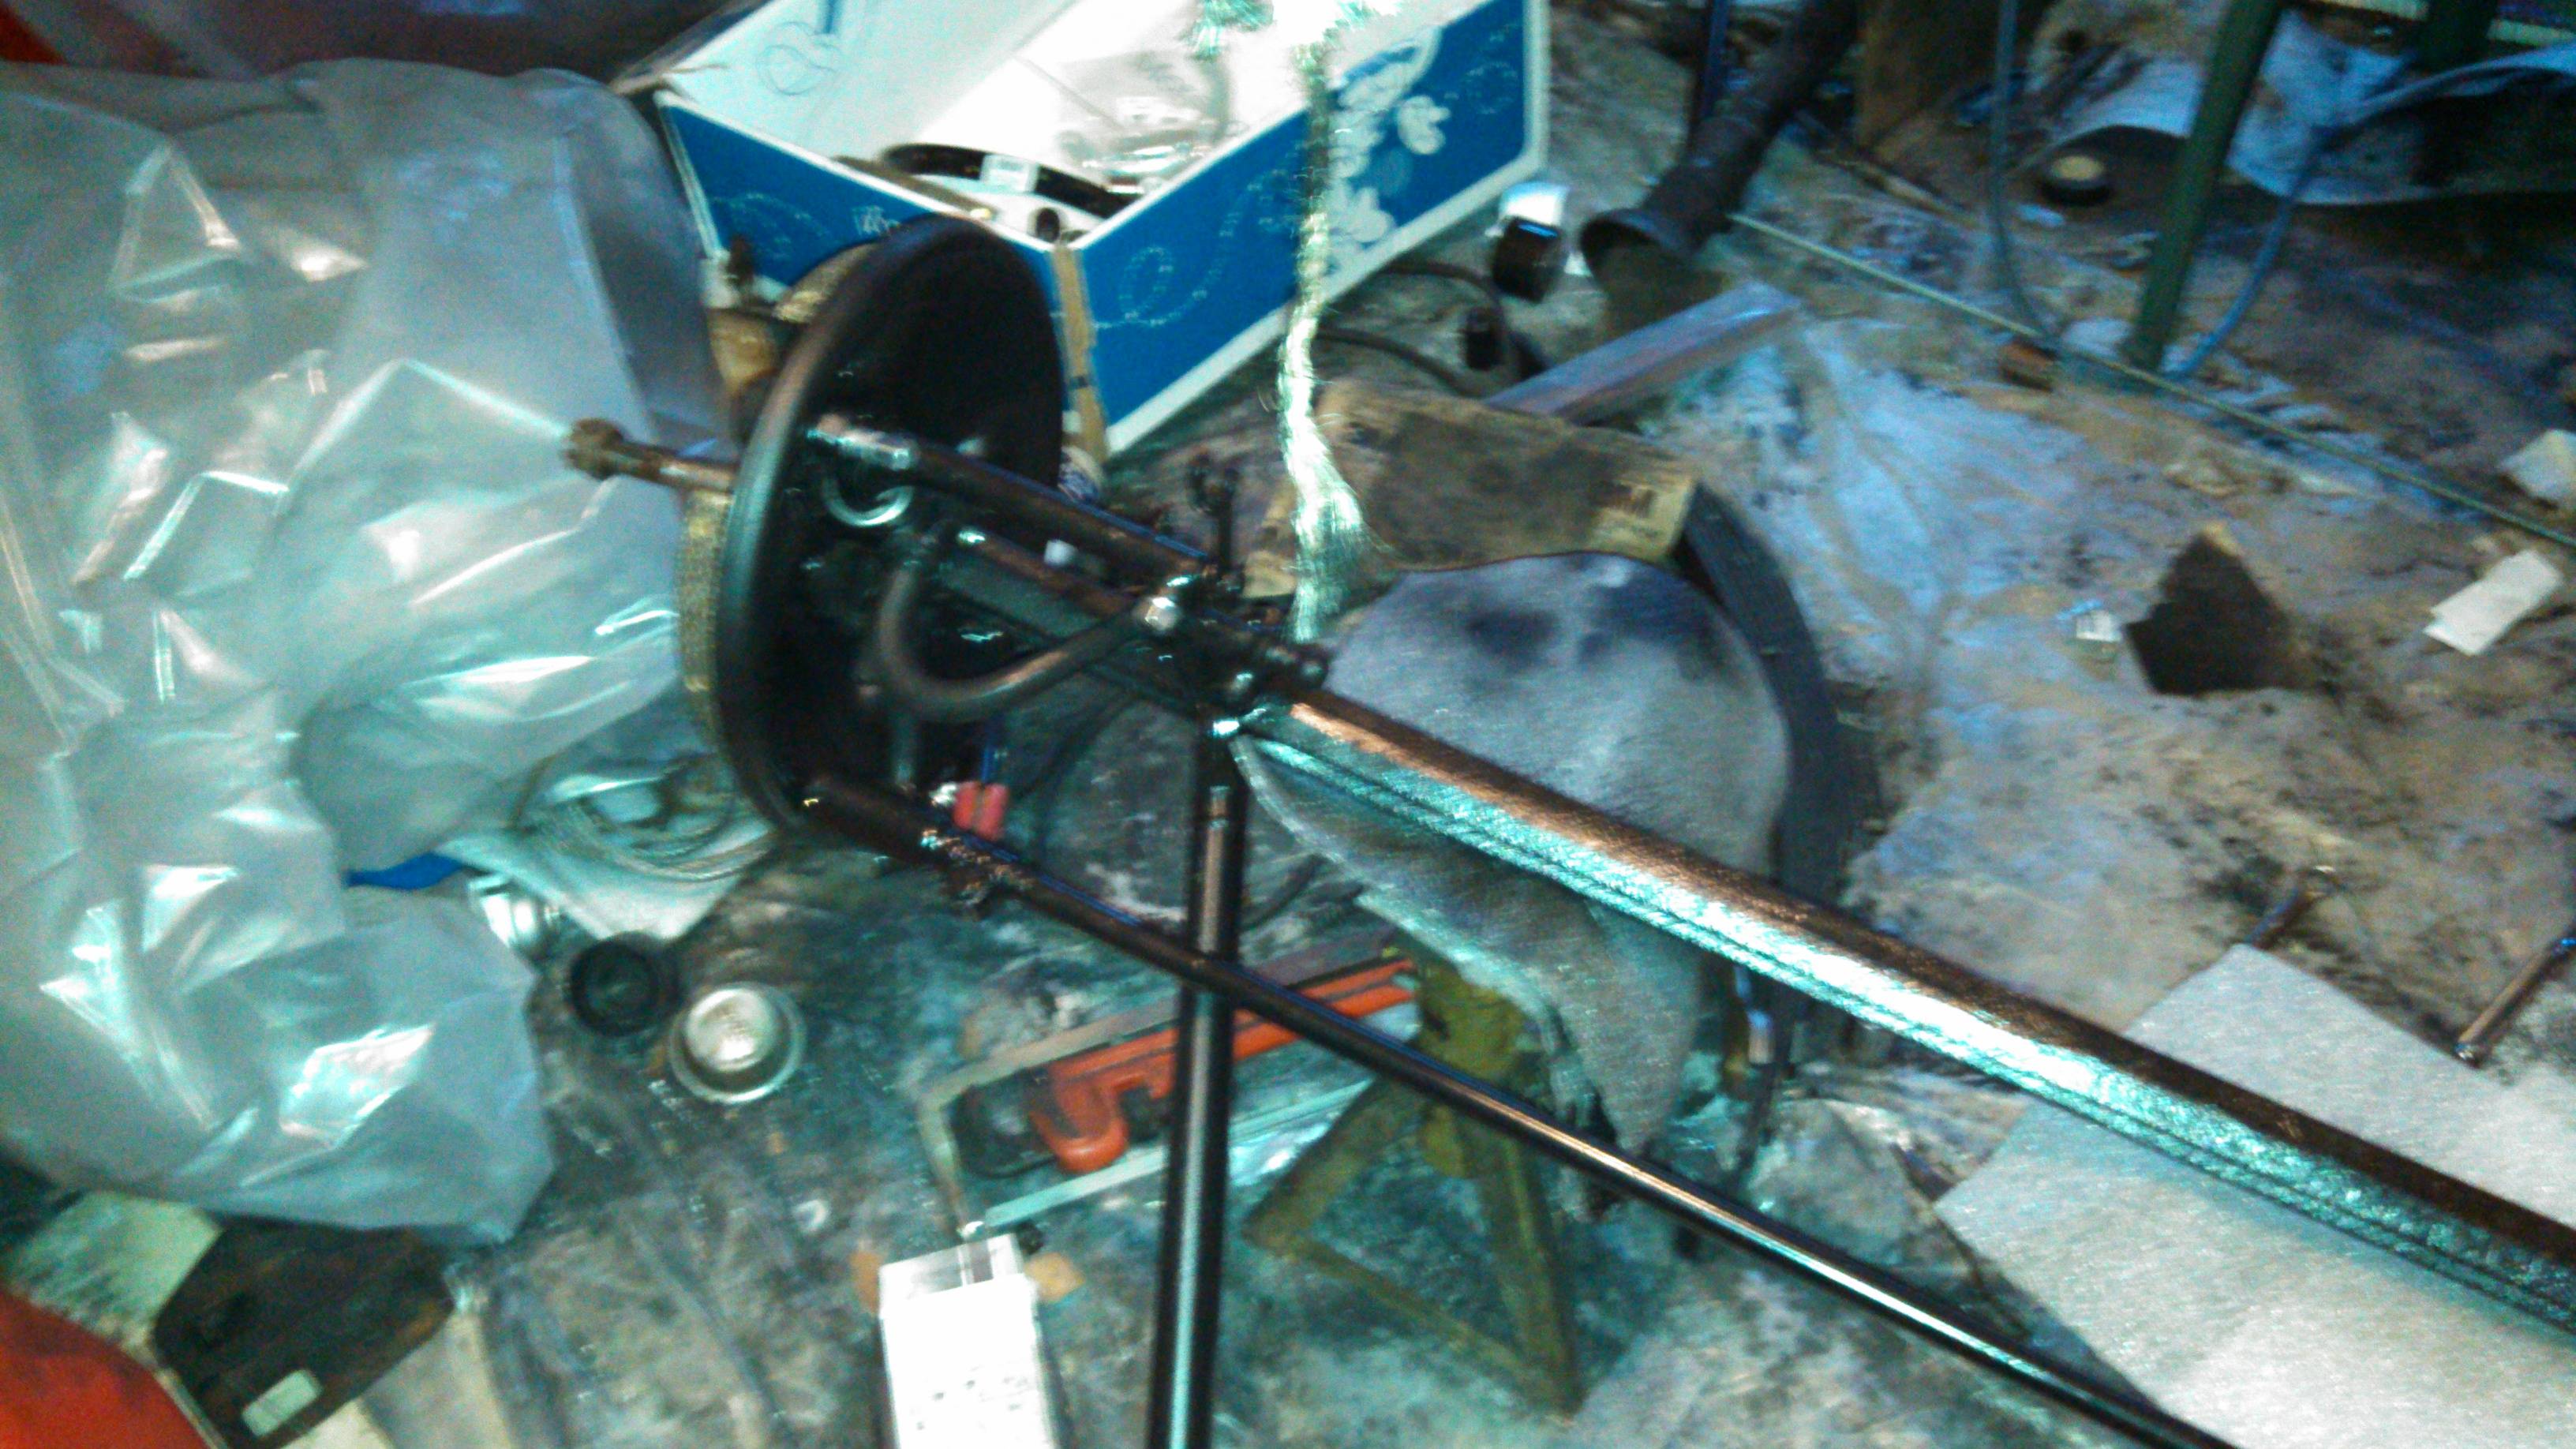
So, last weekend I got the structural members of the front axle put together... This seemed like a good time to put the front spindles on (especially since I put new grease fittings on them, too!)...
This went pretty smoothly, except for one nit. I followed the manual, and everything tried to go together except that I had shot some paint on the spindles and king pins to keep them from rusting. The spindle bushings had just a touch of paint in them, and this is a pretty tight fit as it is, right?
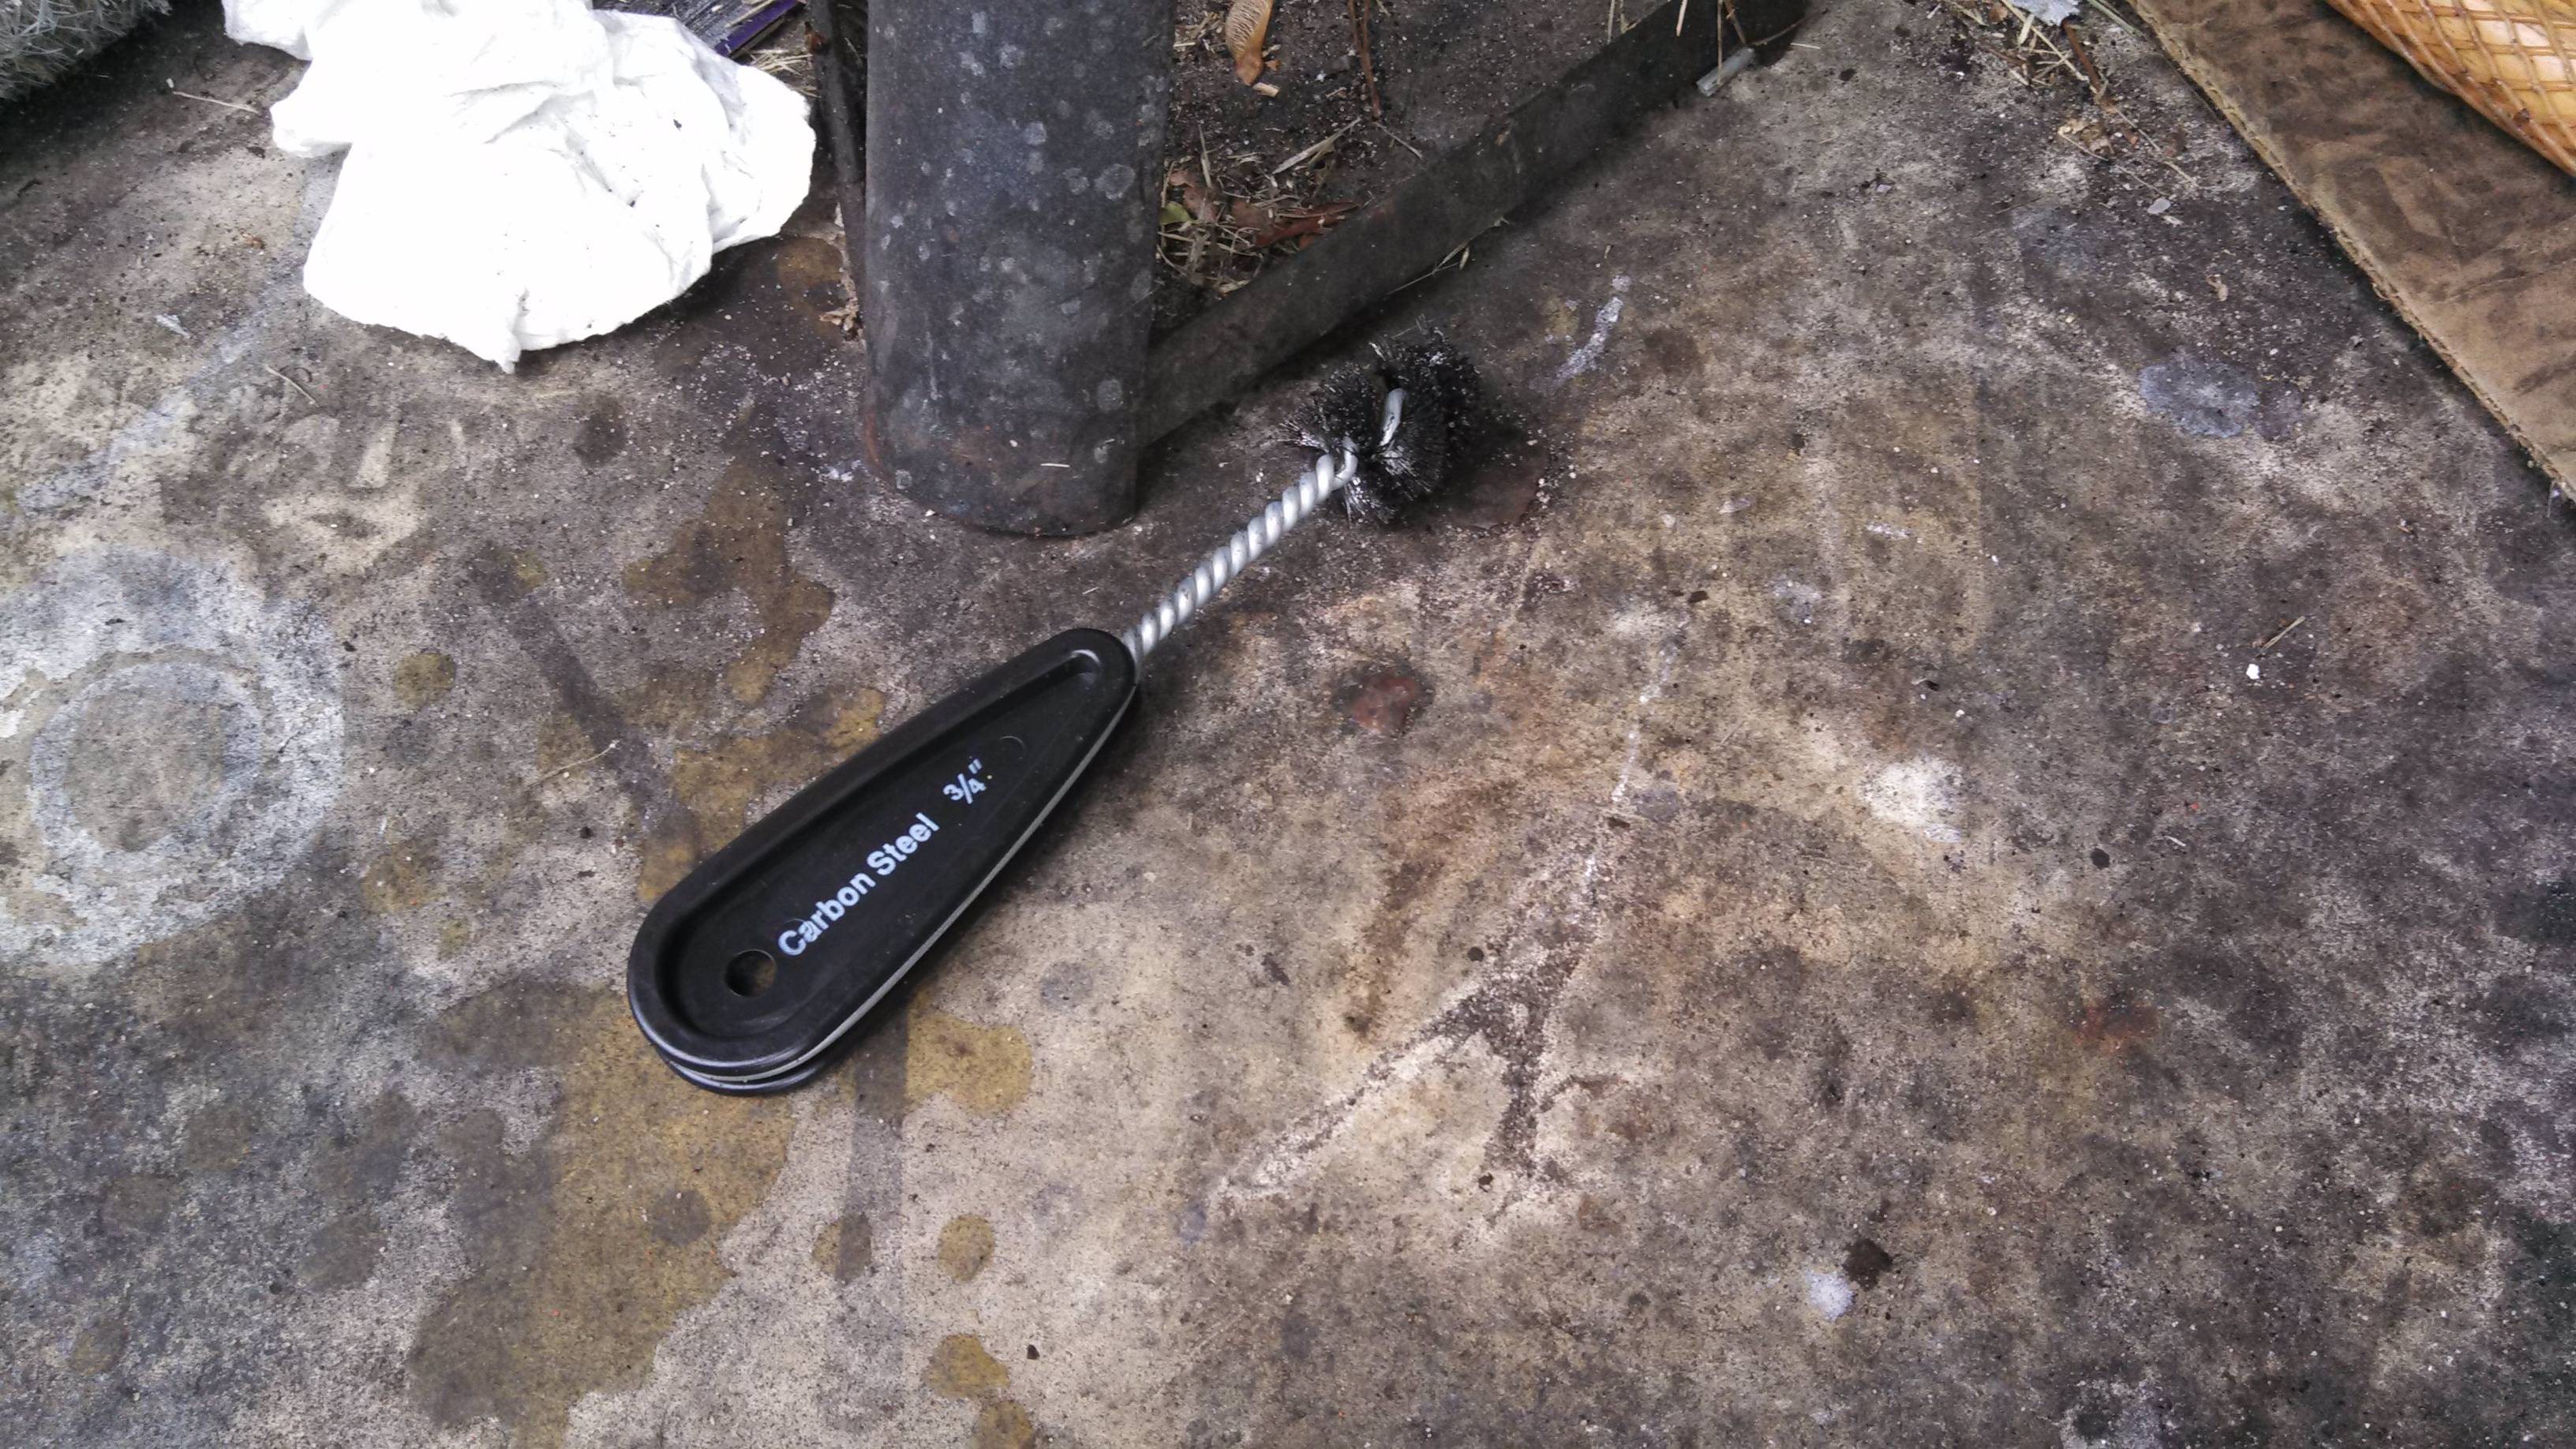
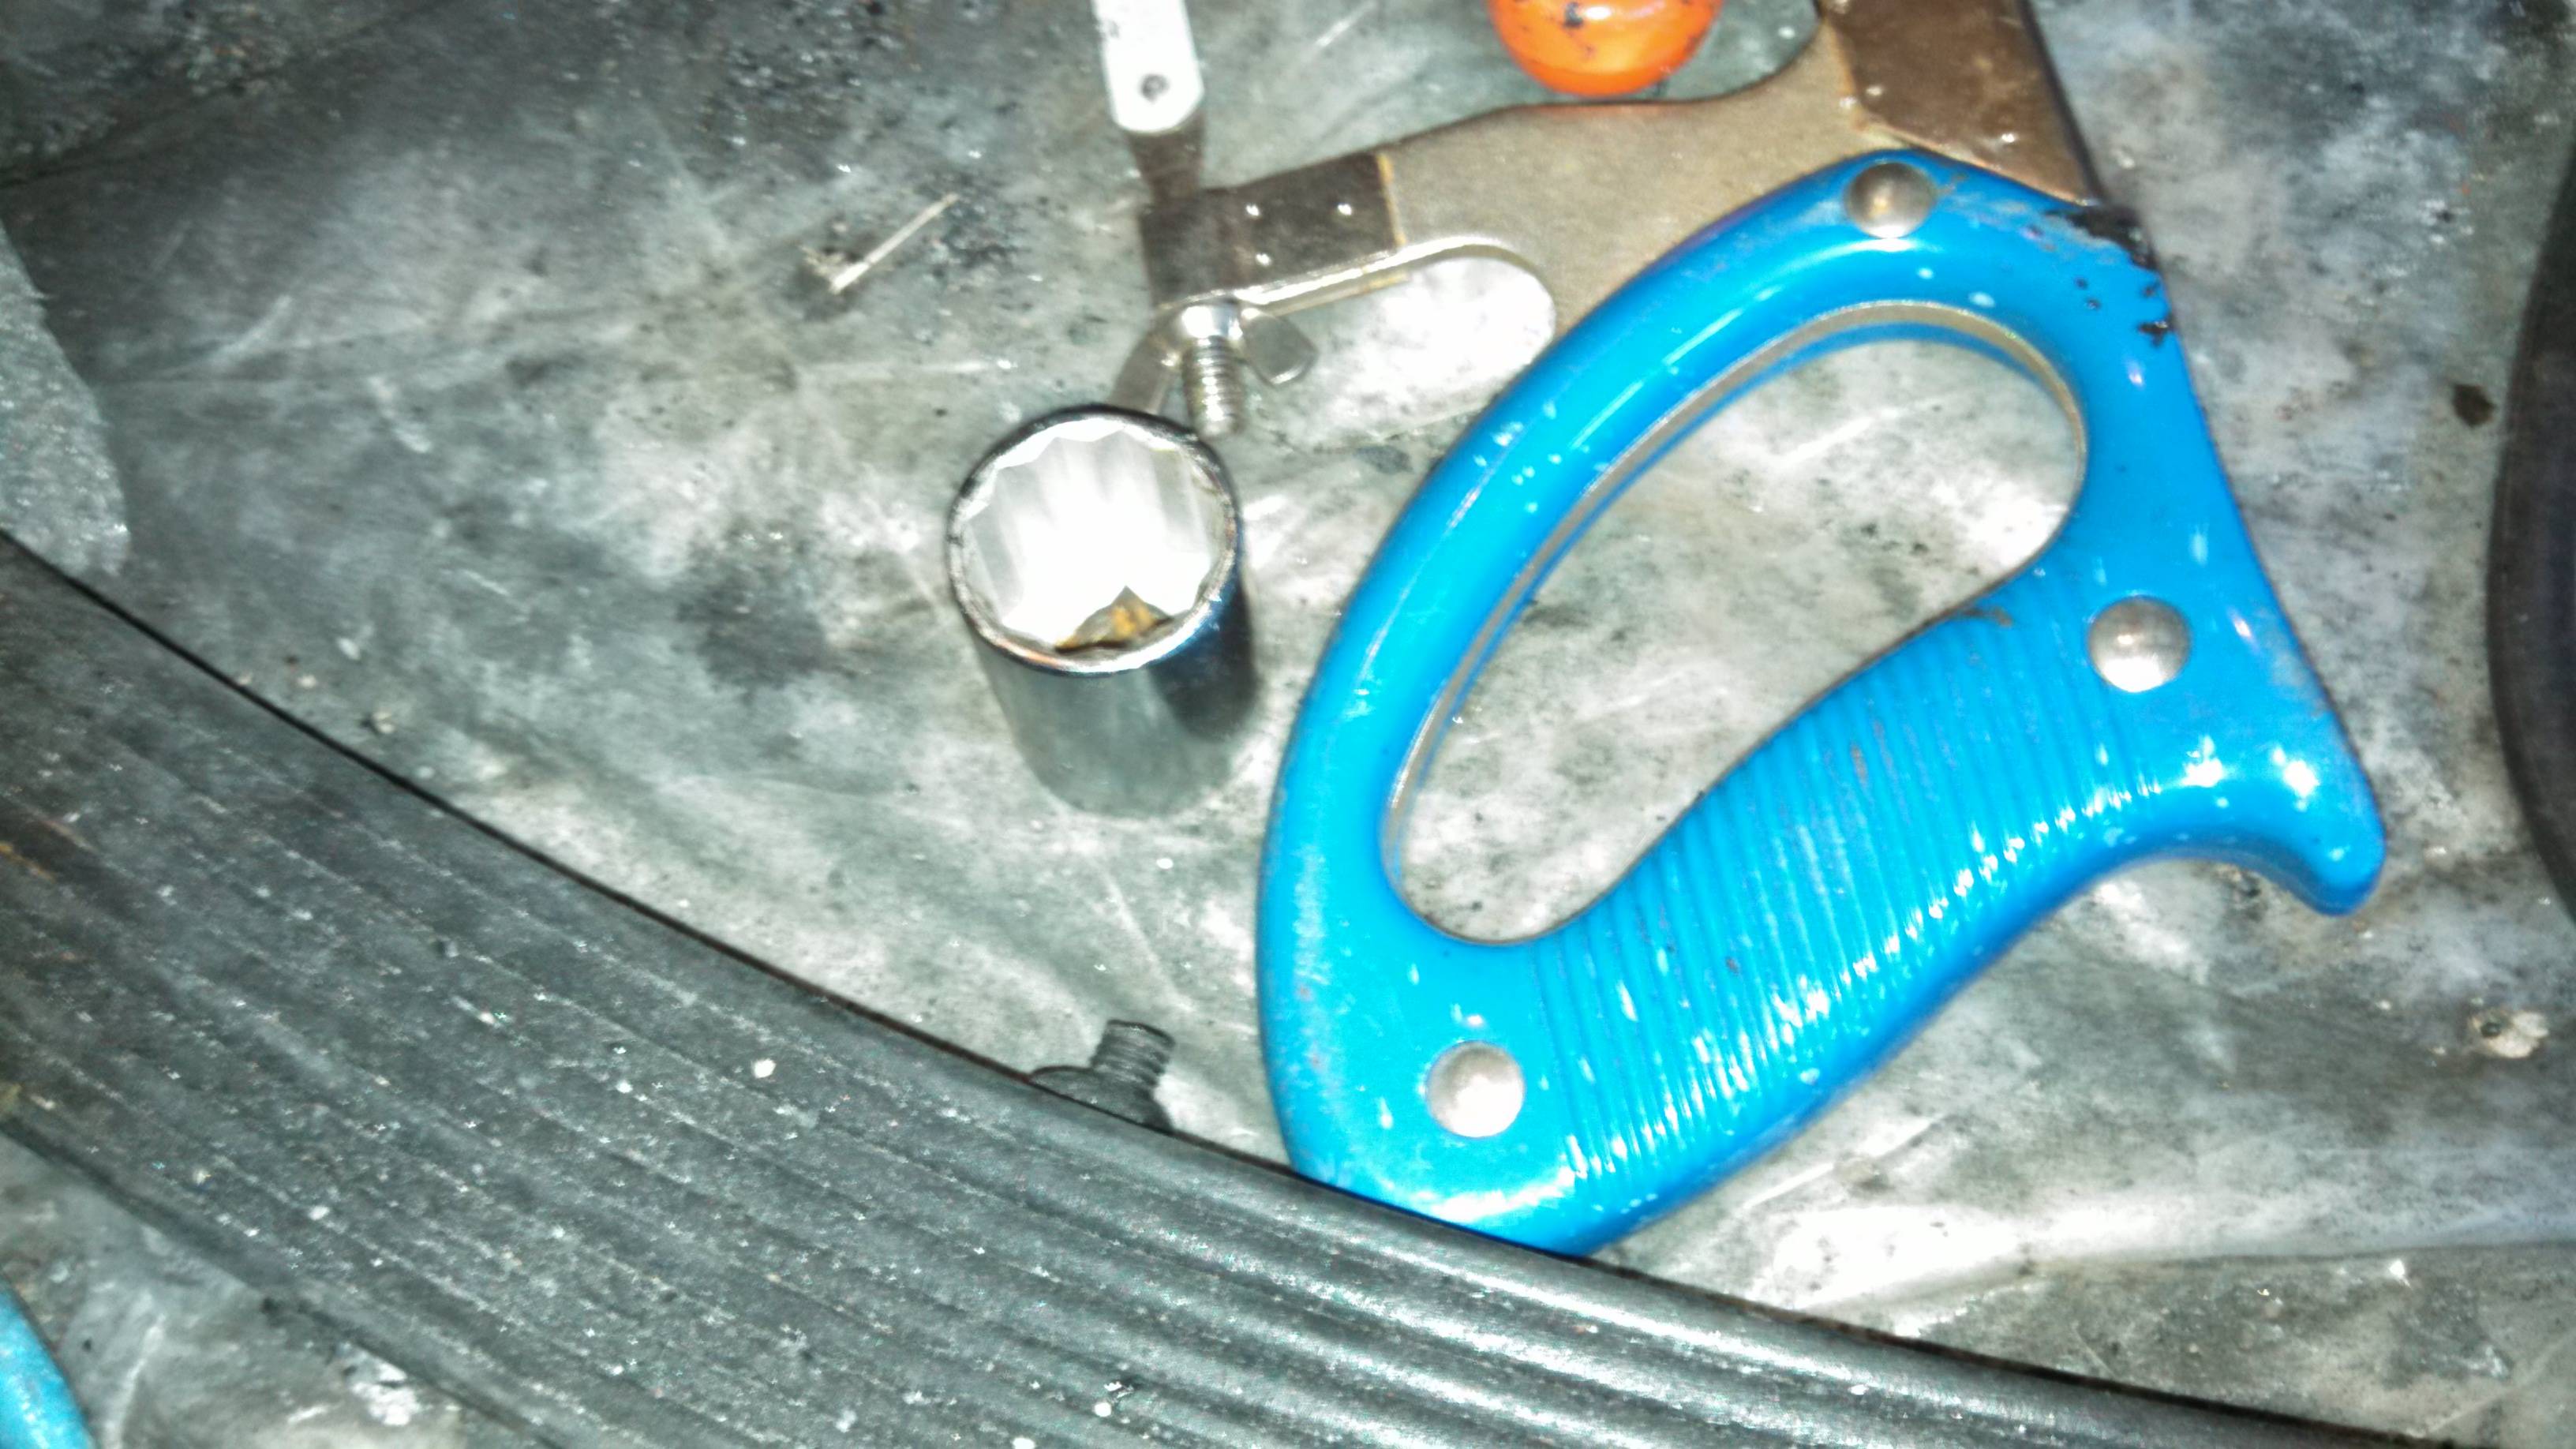
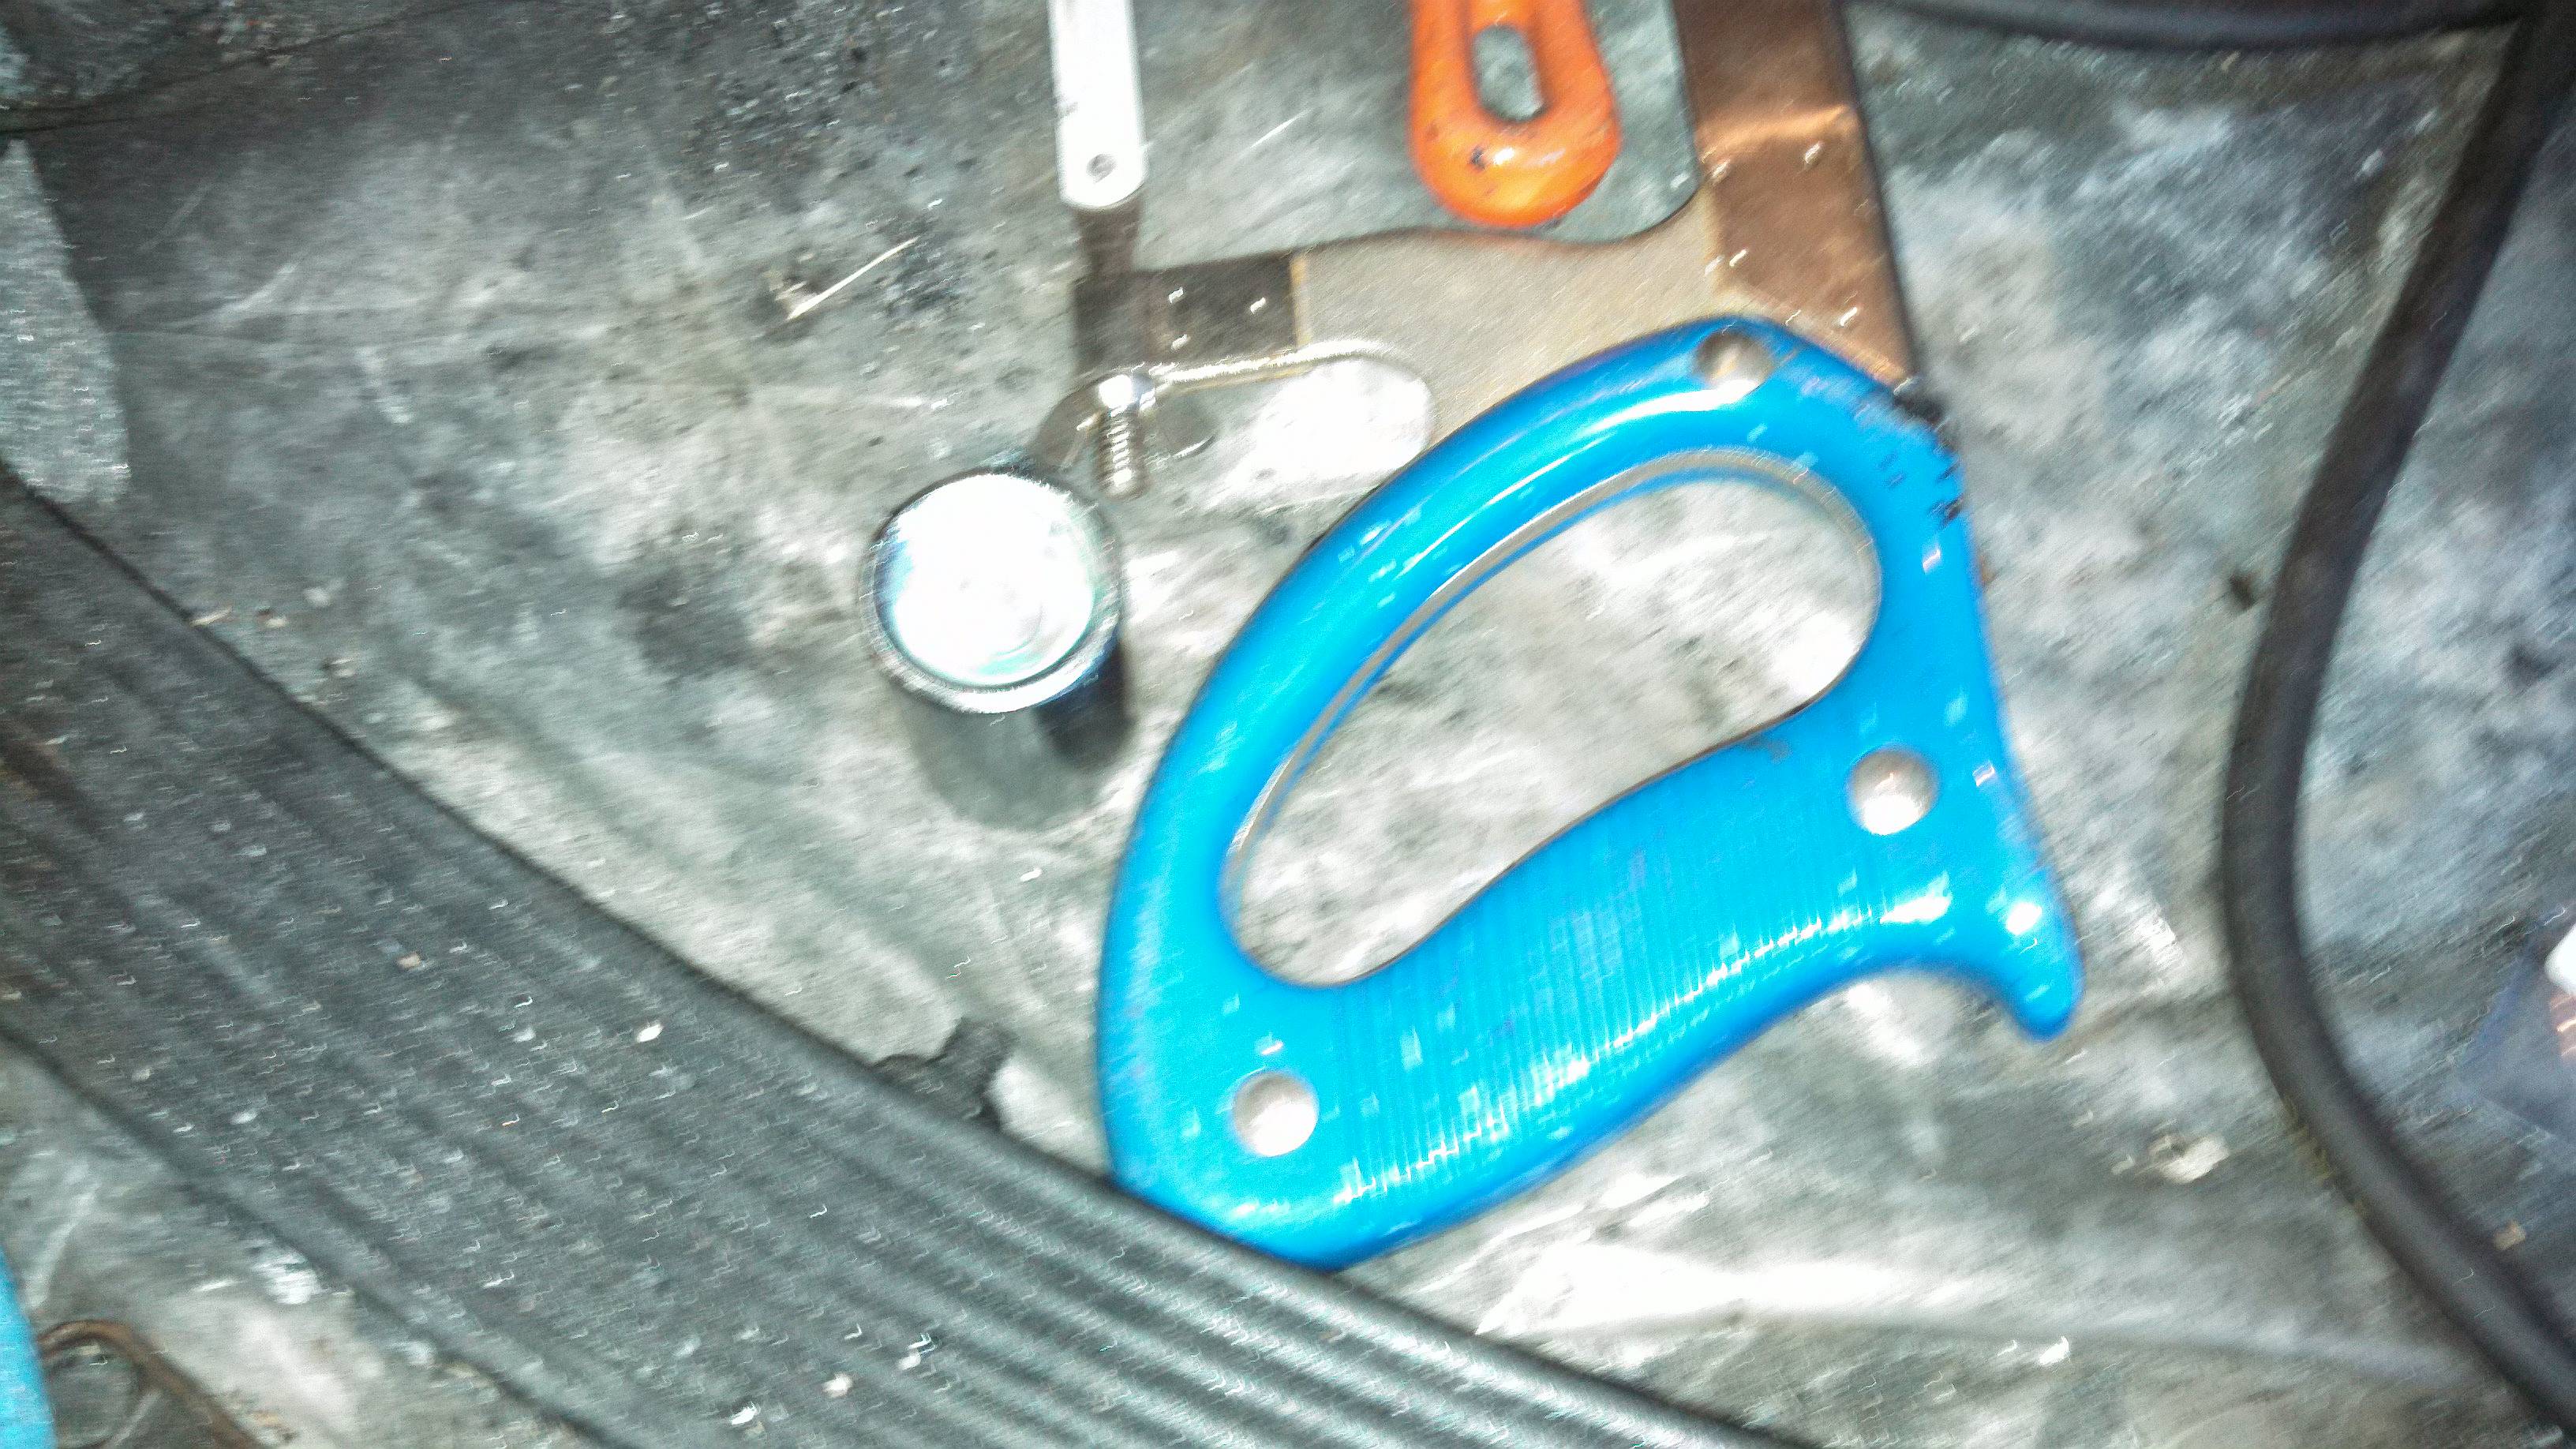
What I'm sayin' is that I couldn't get the kingpins through the spindles or axle because of all the paint (1 layer of paint is up to 3 mils or so)... So, I ran down the road to Ace Hardware, and bought a plumber's pipe-cleaning brush:
I ran the wire brush through the various holes and gave it a bunch
of twists... It acted basically like a reamer, and took off all
the paint. After that, the parts went together easily:
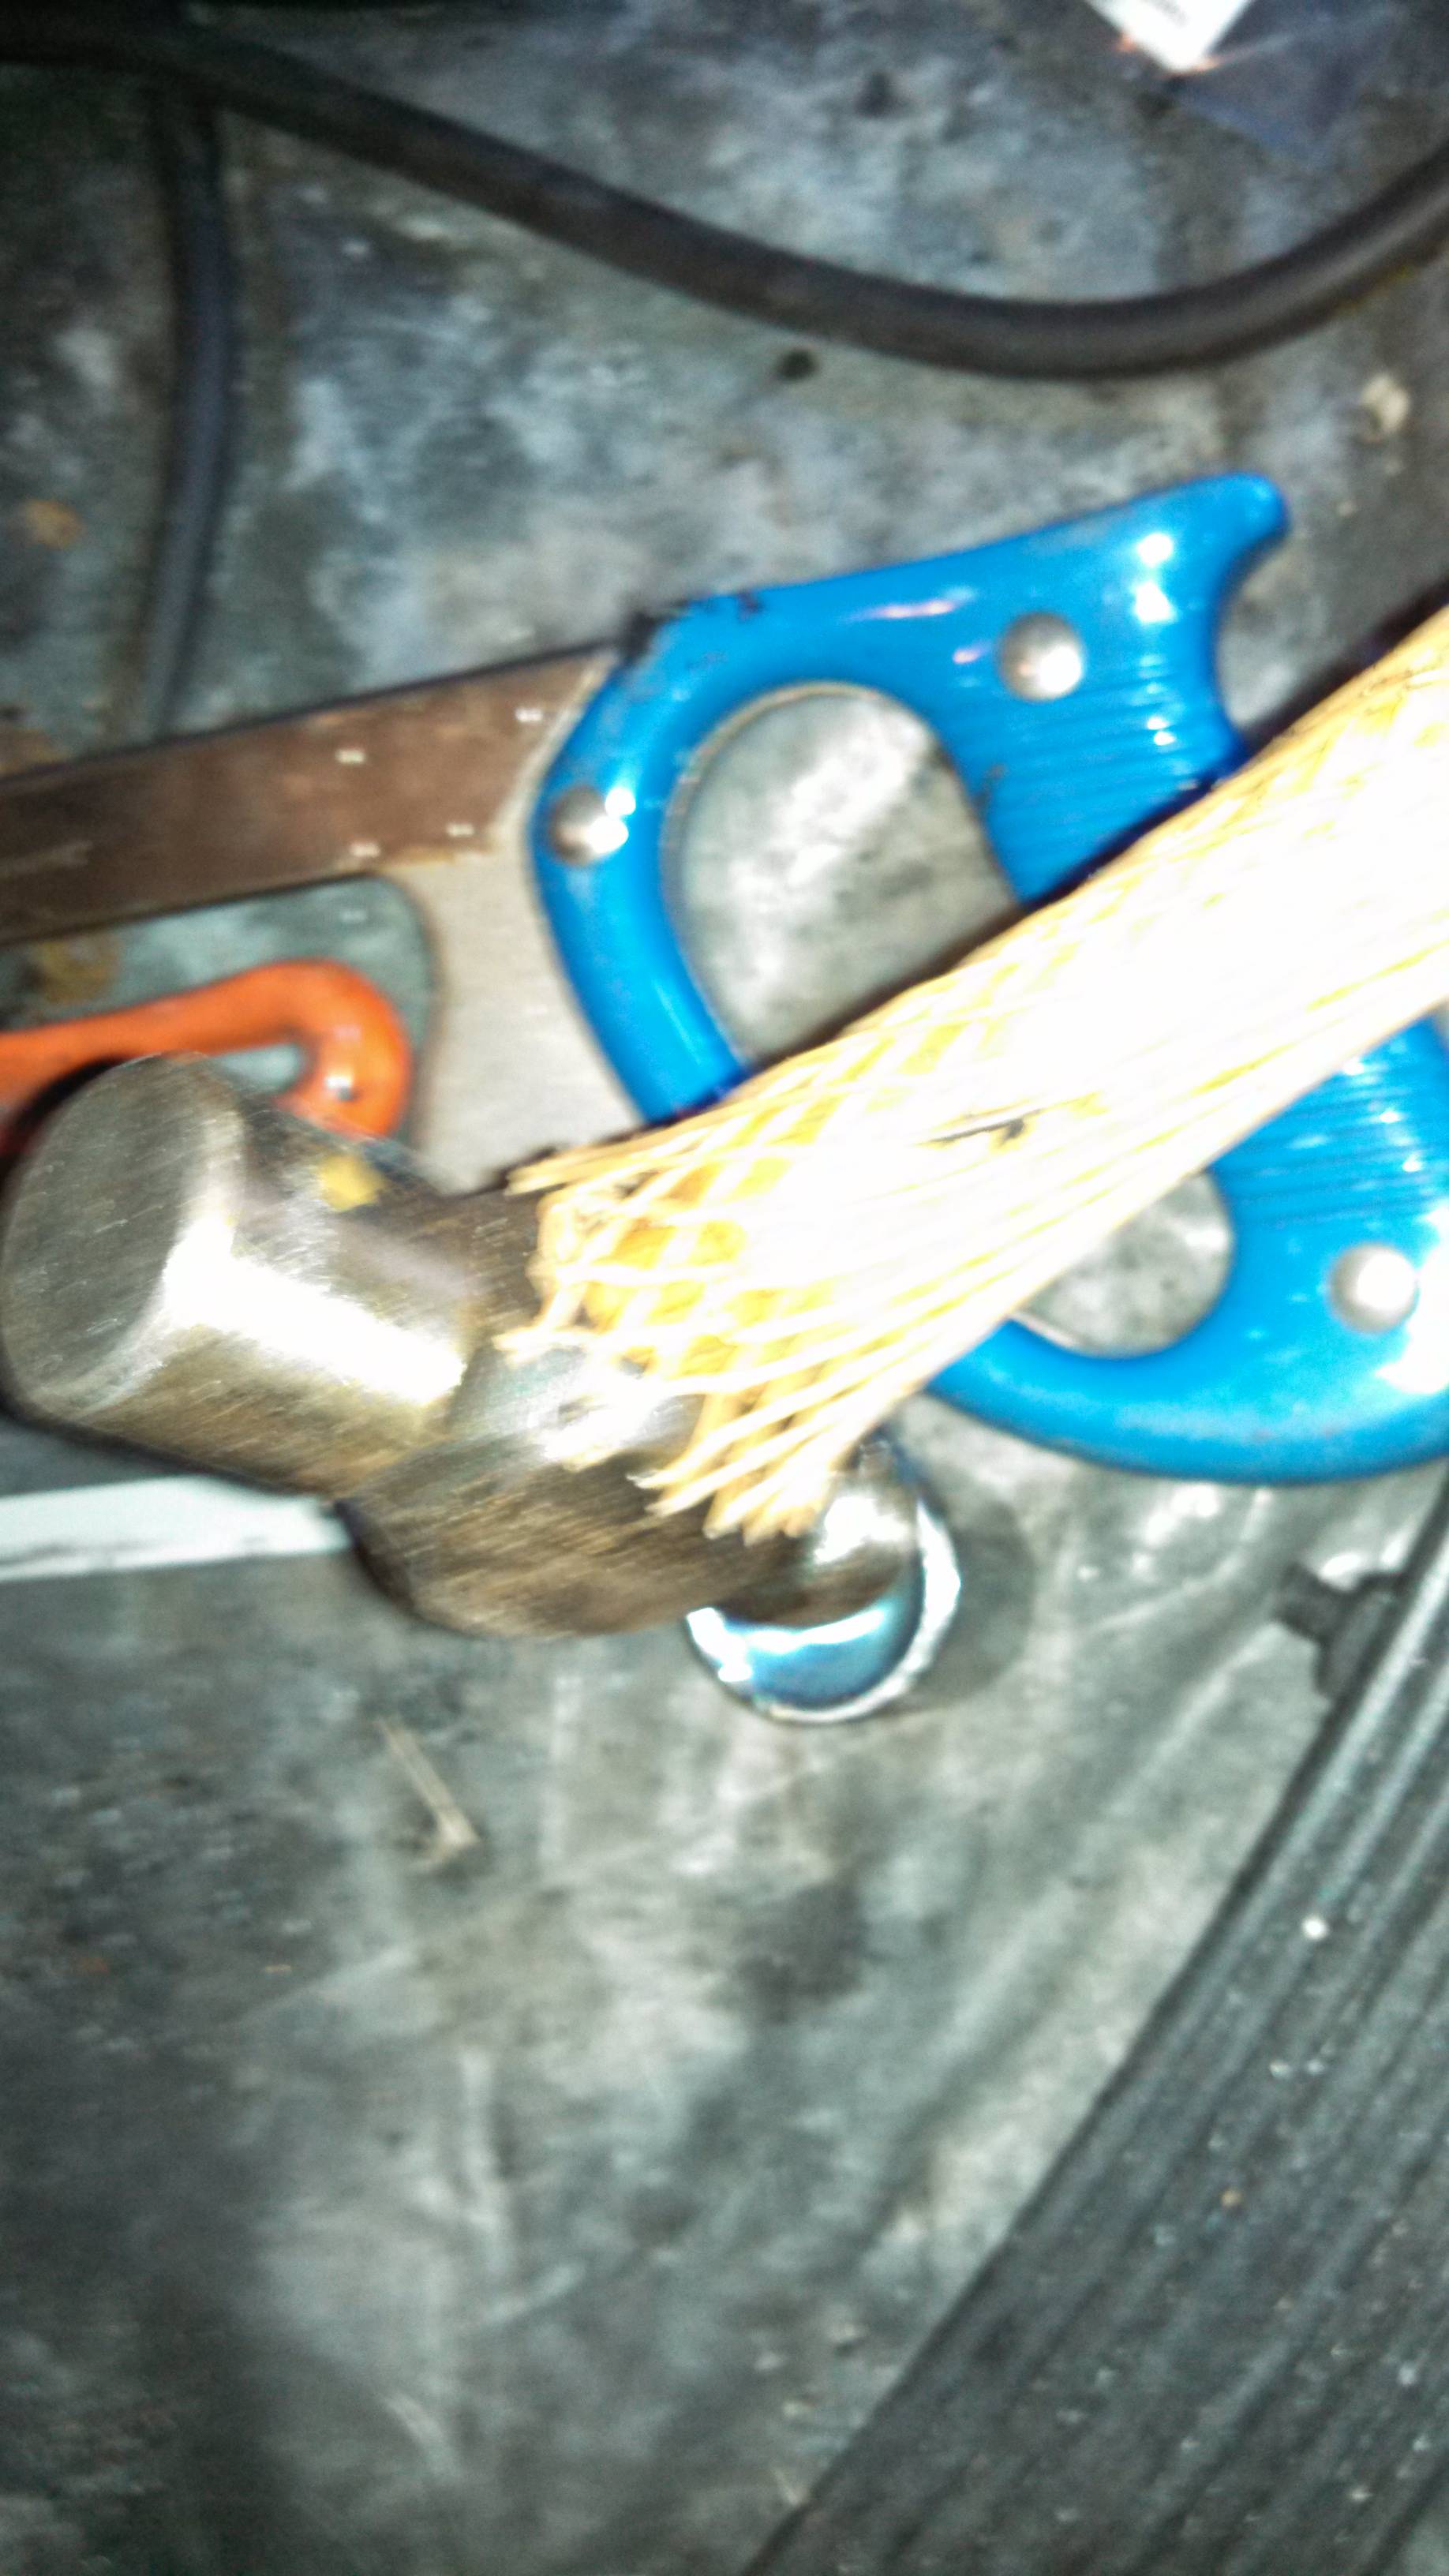
(That wooden block is a messed up "
pinewood derby" car that I'm using in leiu of a mallet...)
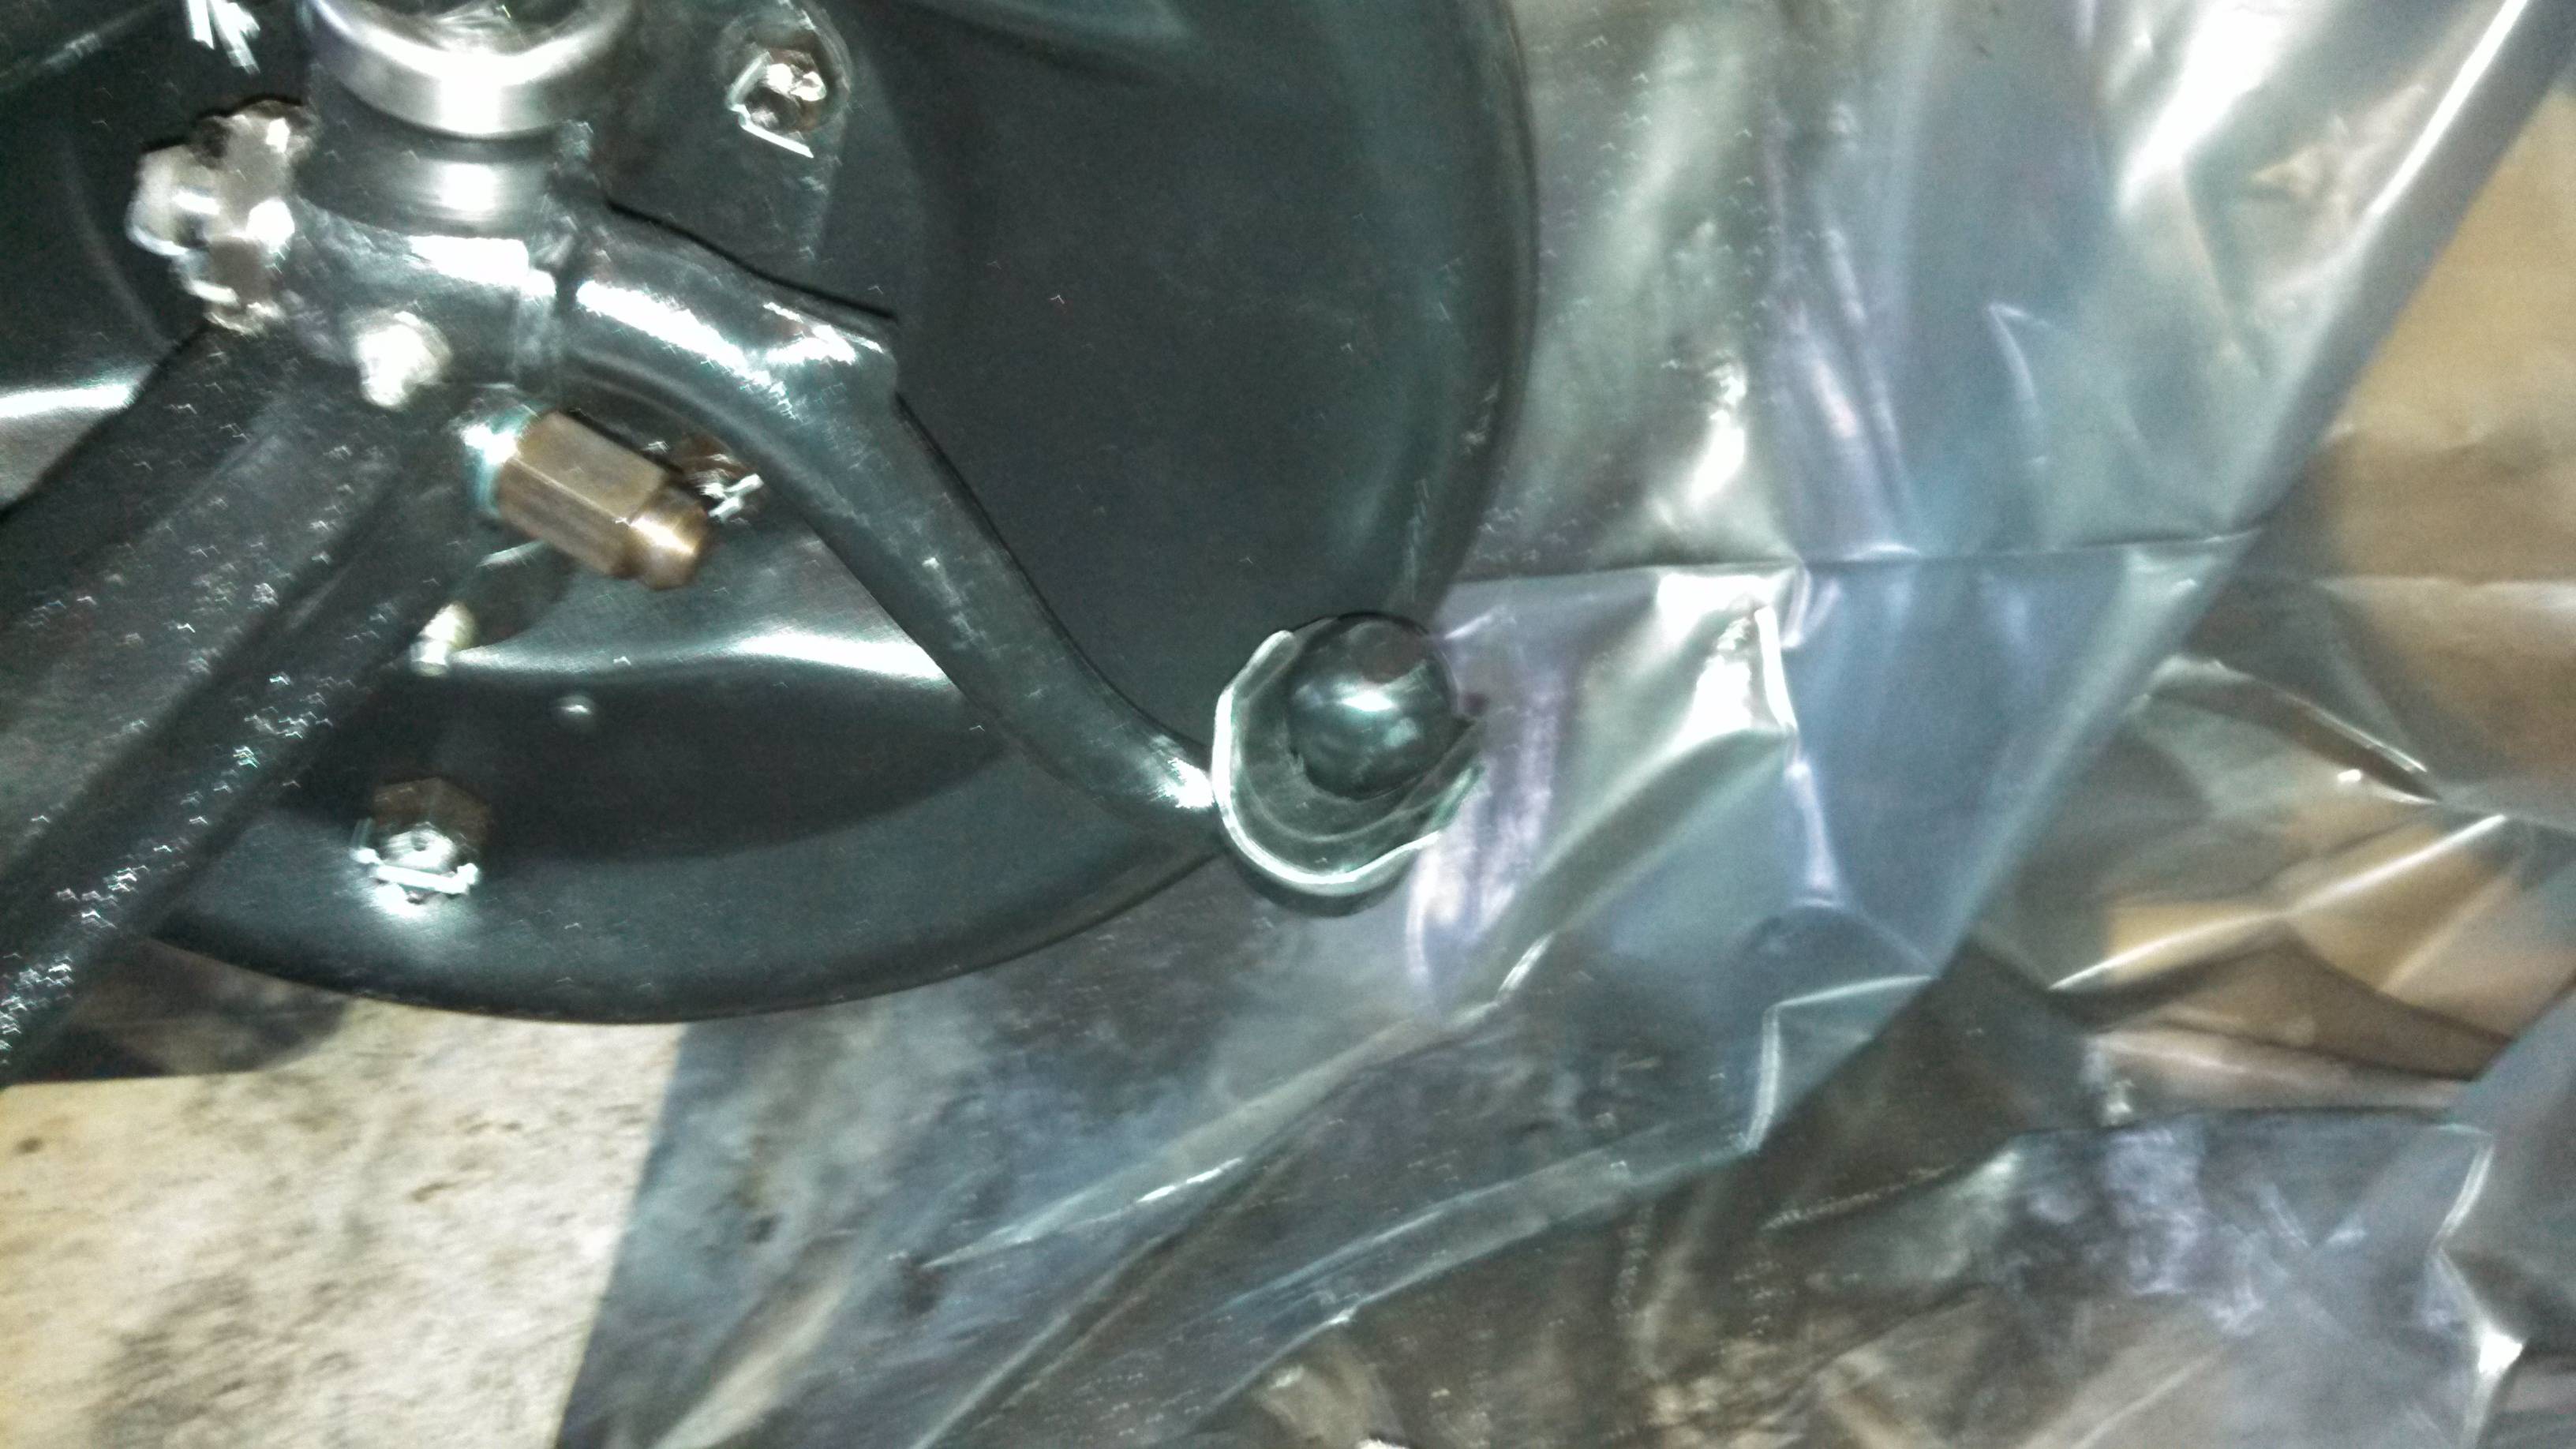
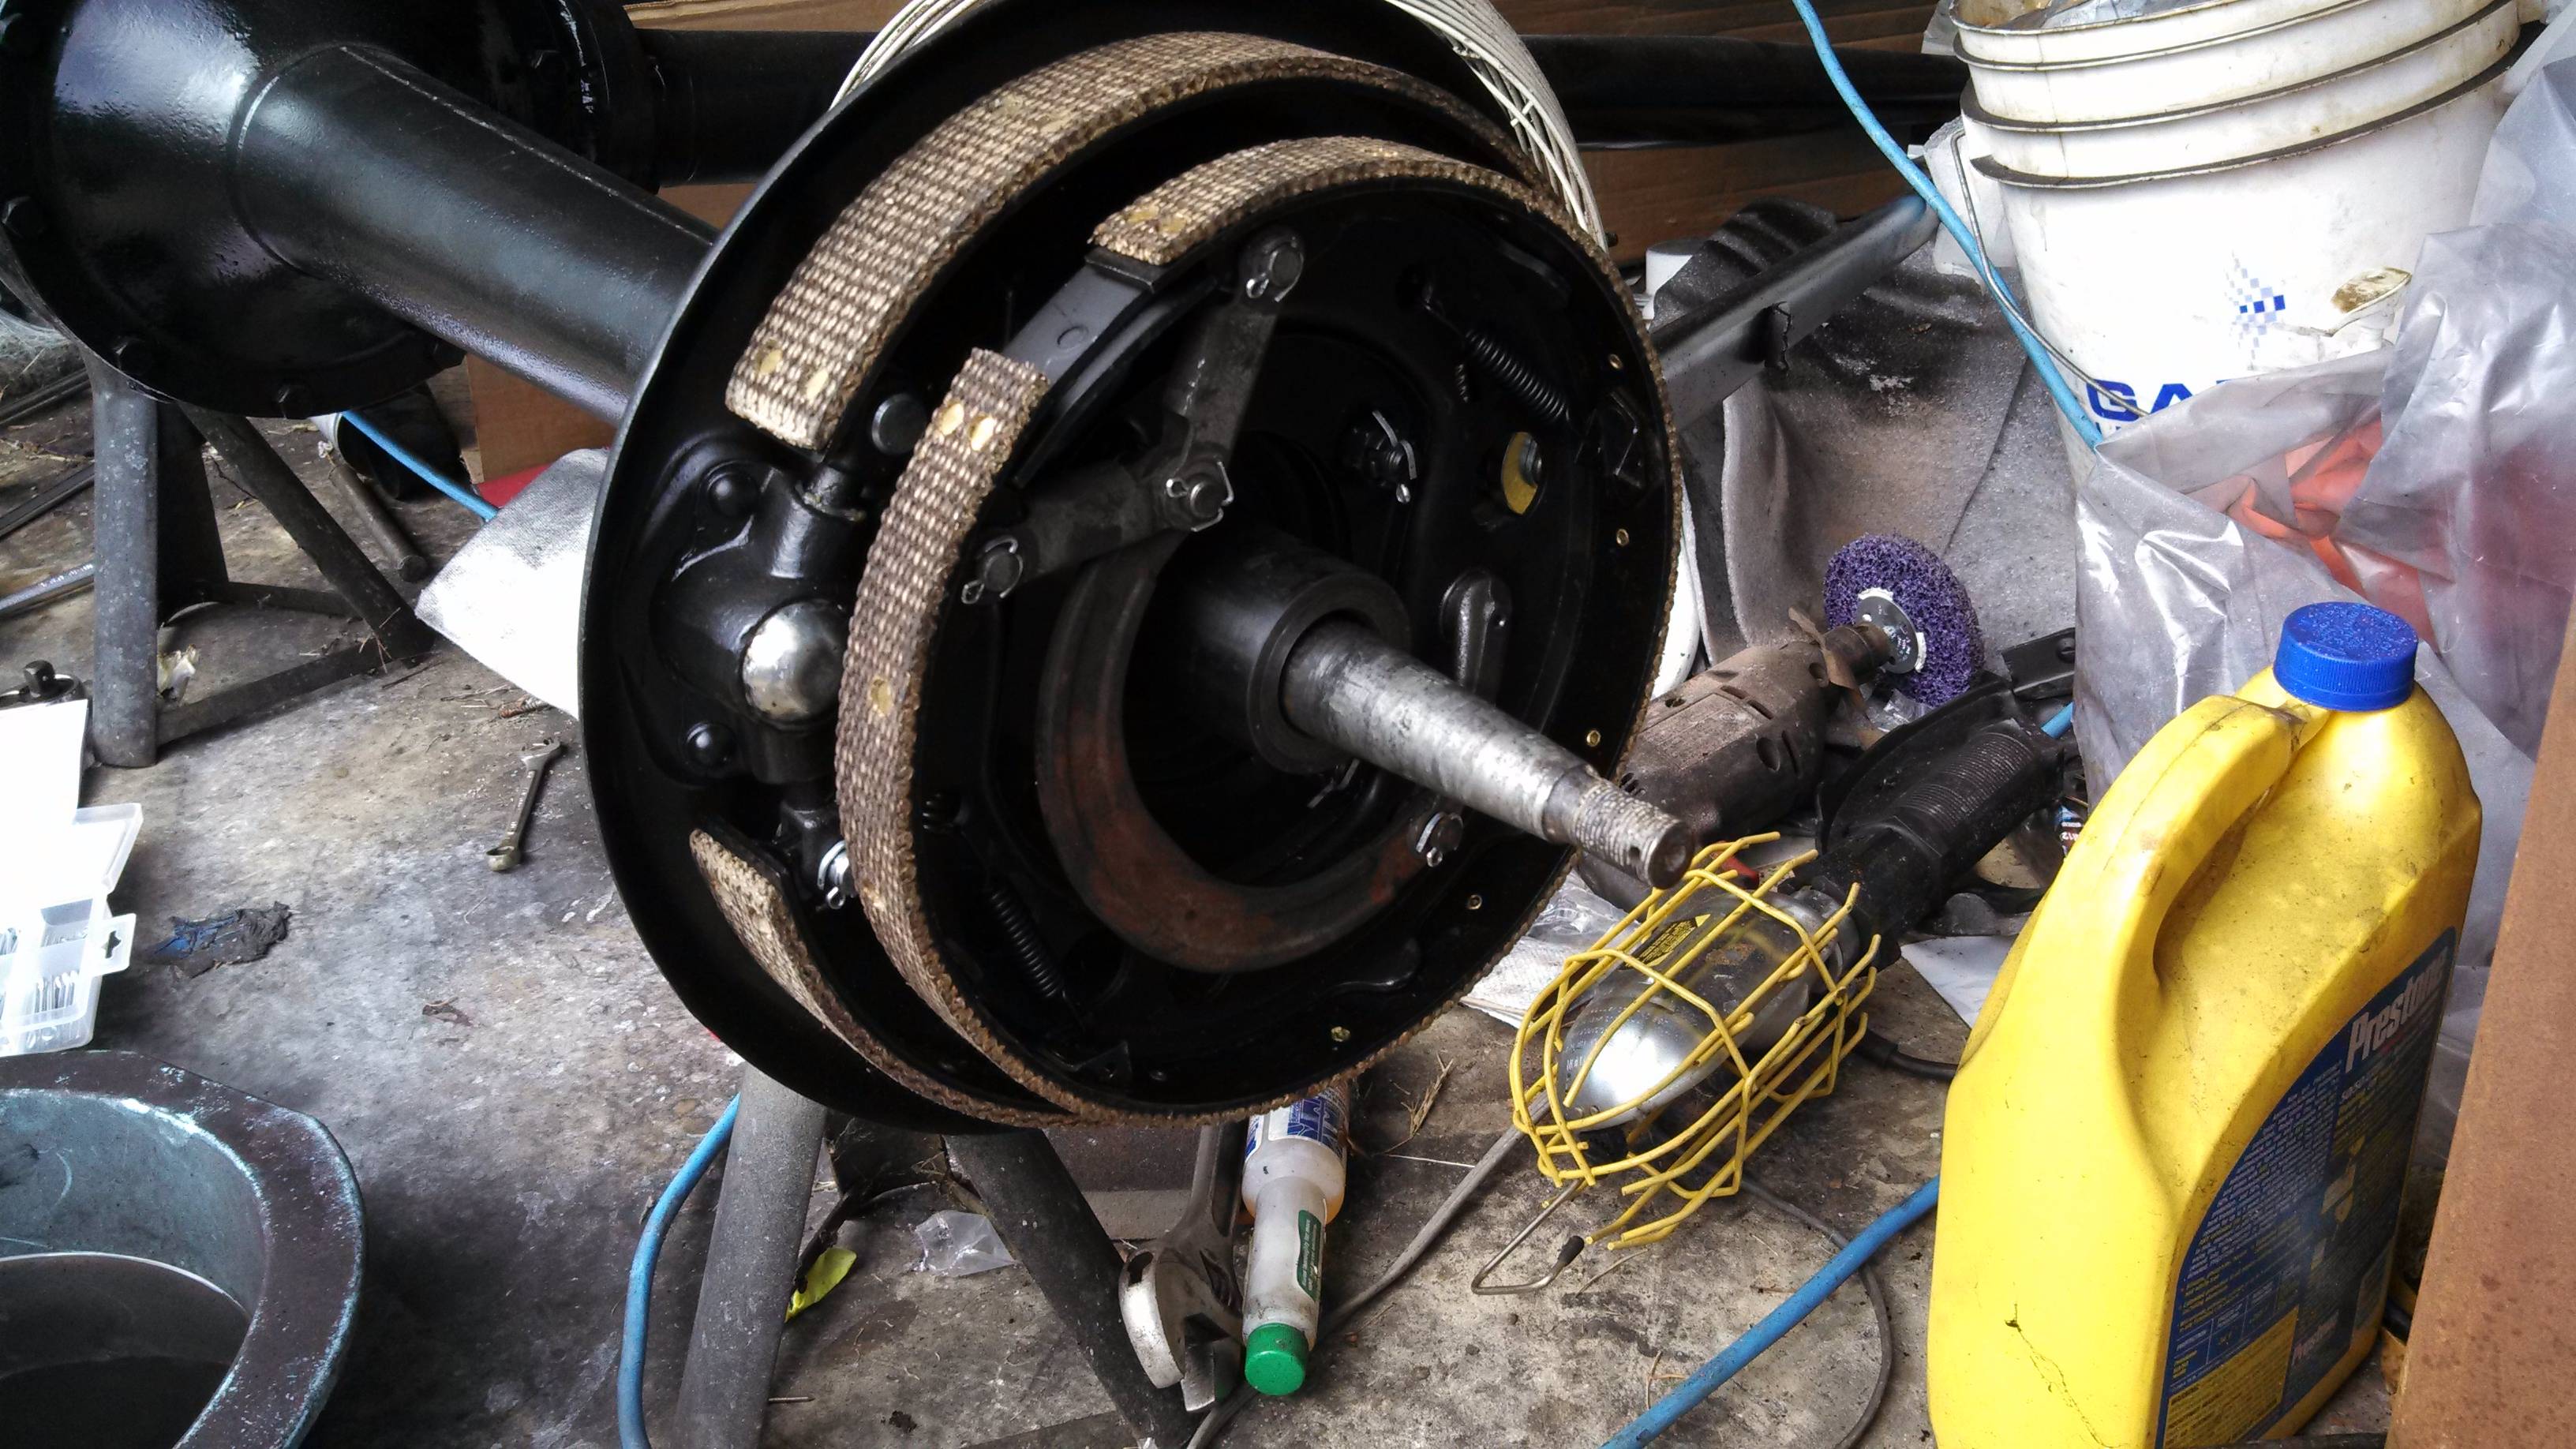
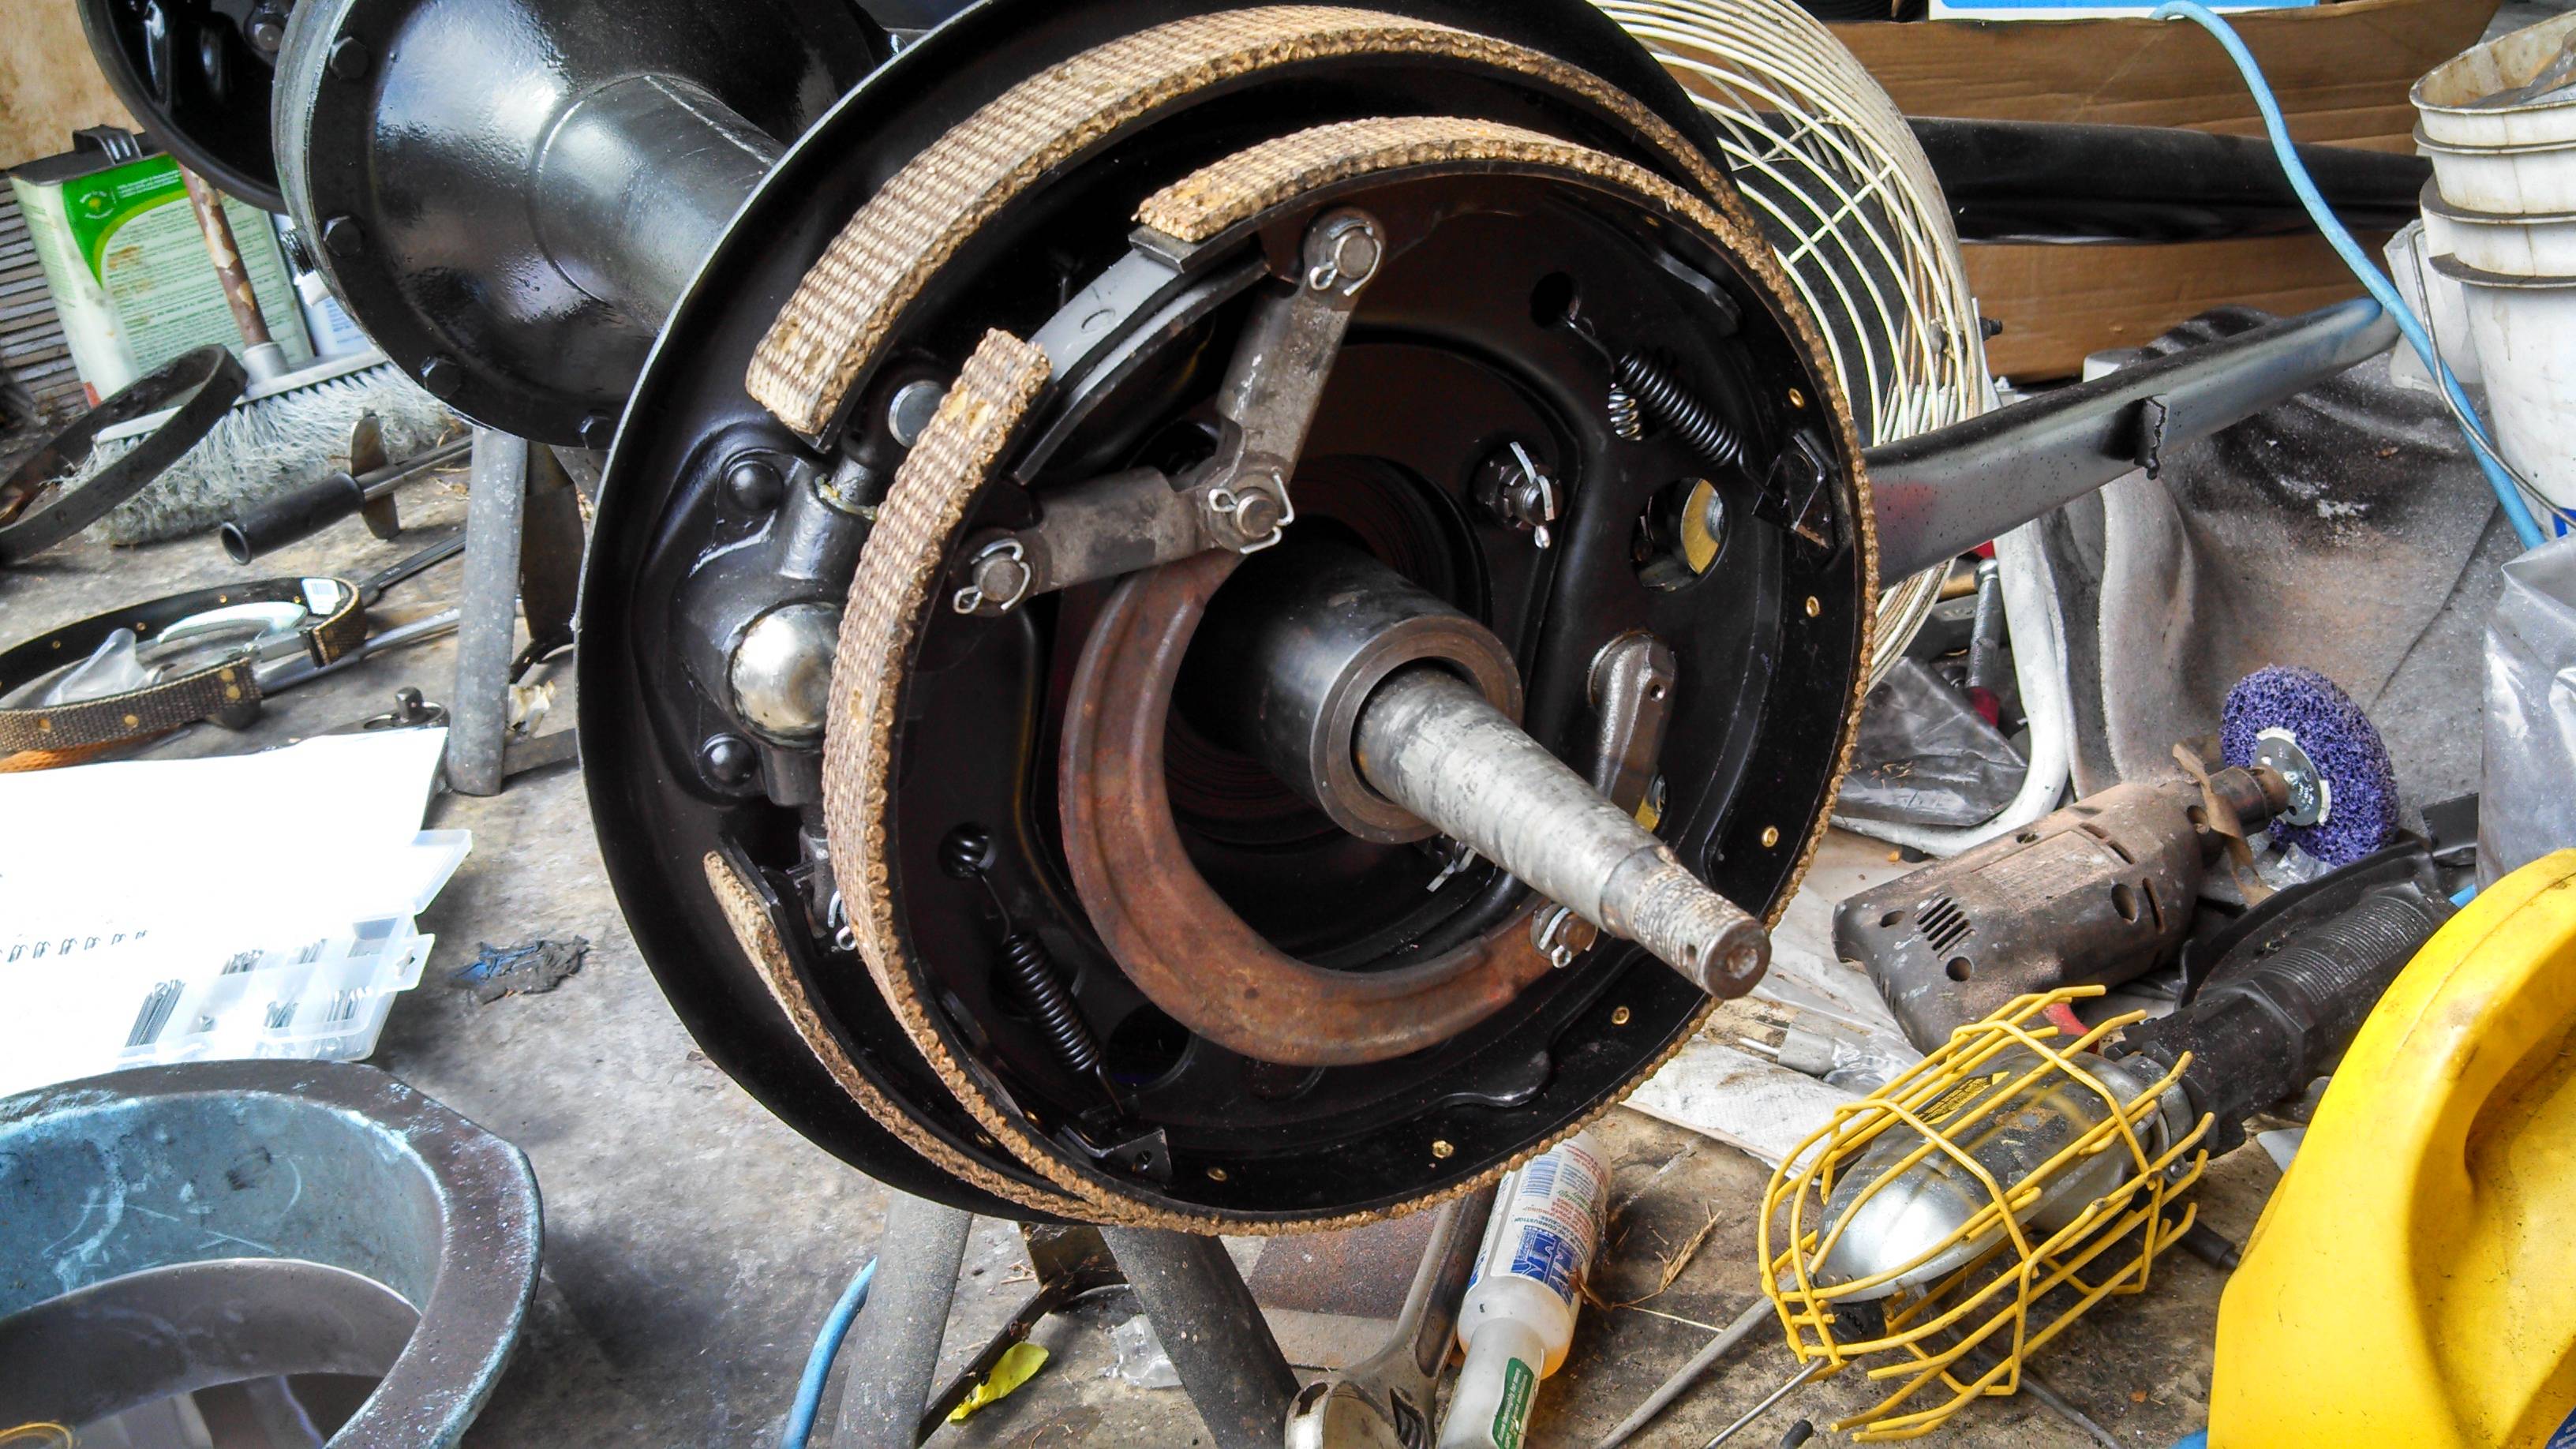
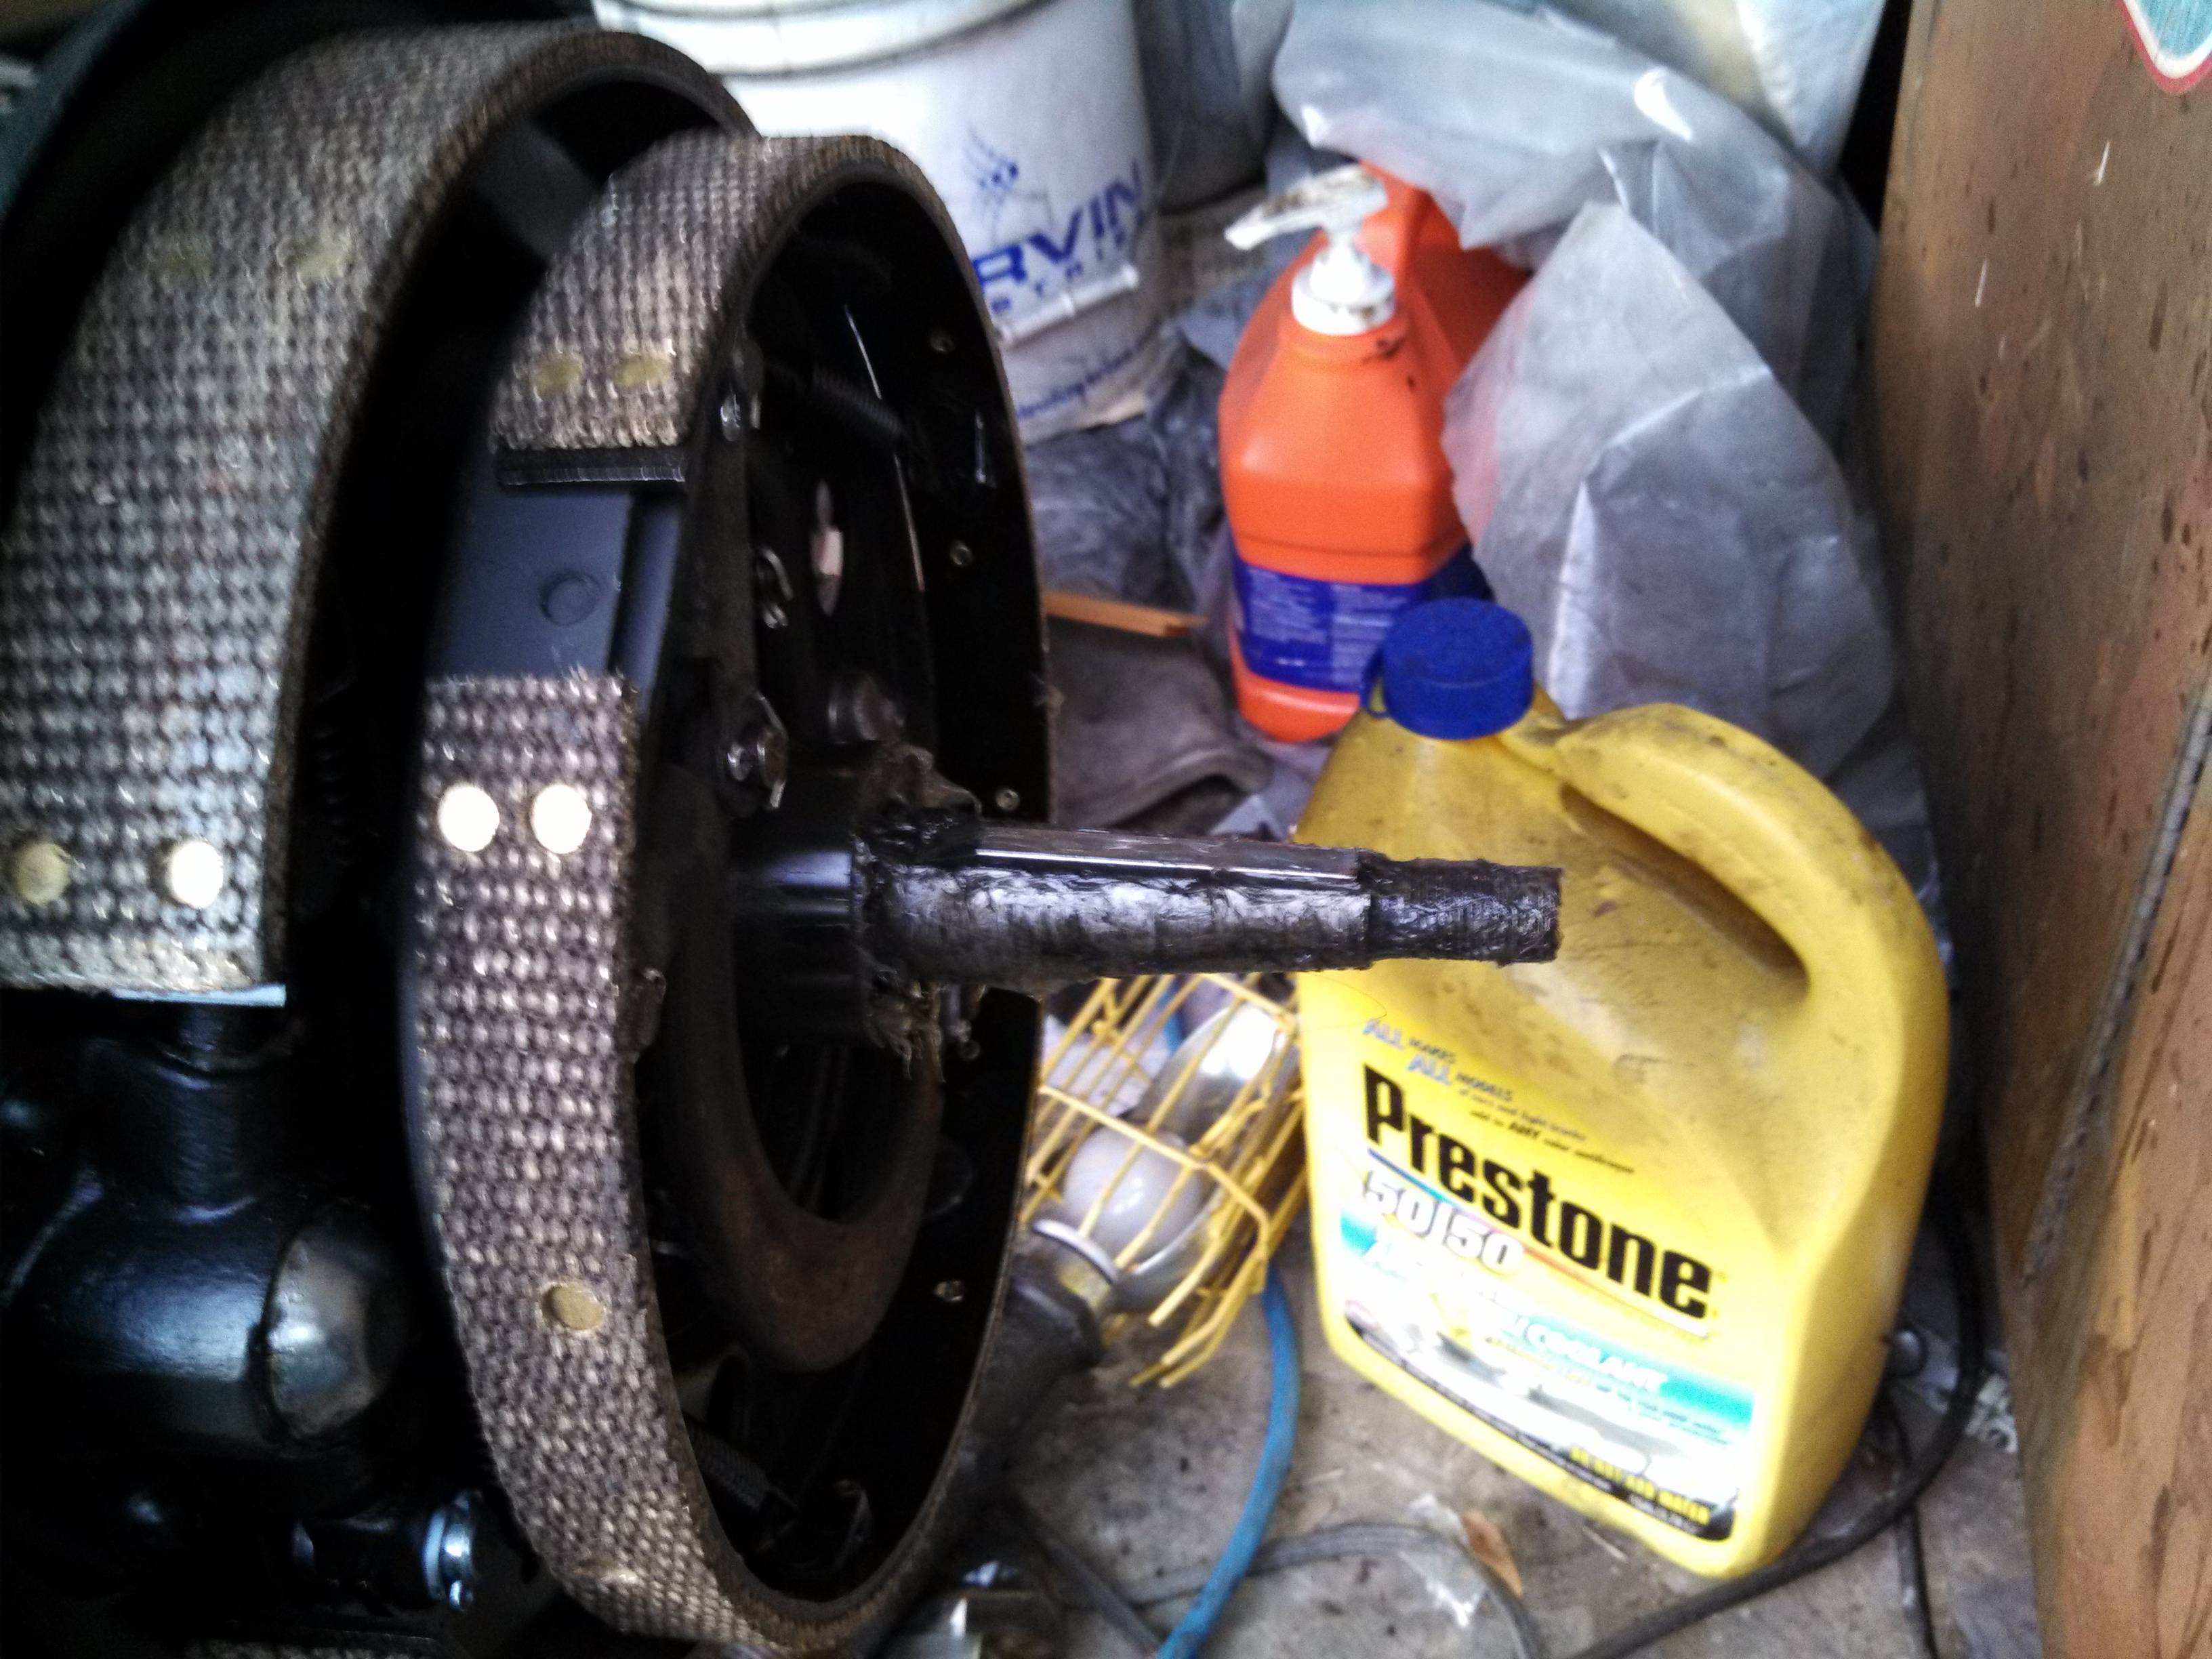
Today I put the backing plates (and brakes) on the front axle... I also put the steering arms into the spindles. Like yesterday, I needed to use my pipe brush to clean the paint out of the holes:
Did I mention the days have been over 95F? Holee cow, it doesn't take much, for long, to work up a good sweat!
Let me mention that at least one of these nuts is not up to... Well, let me just say I don't like it. The spacing is tight, and the faces of the nut drag on the face of the spindle, making it tighten up and then loosen. Ick. I double checked to make sure I'm not missing a washer, and I am apparently not.
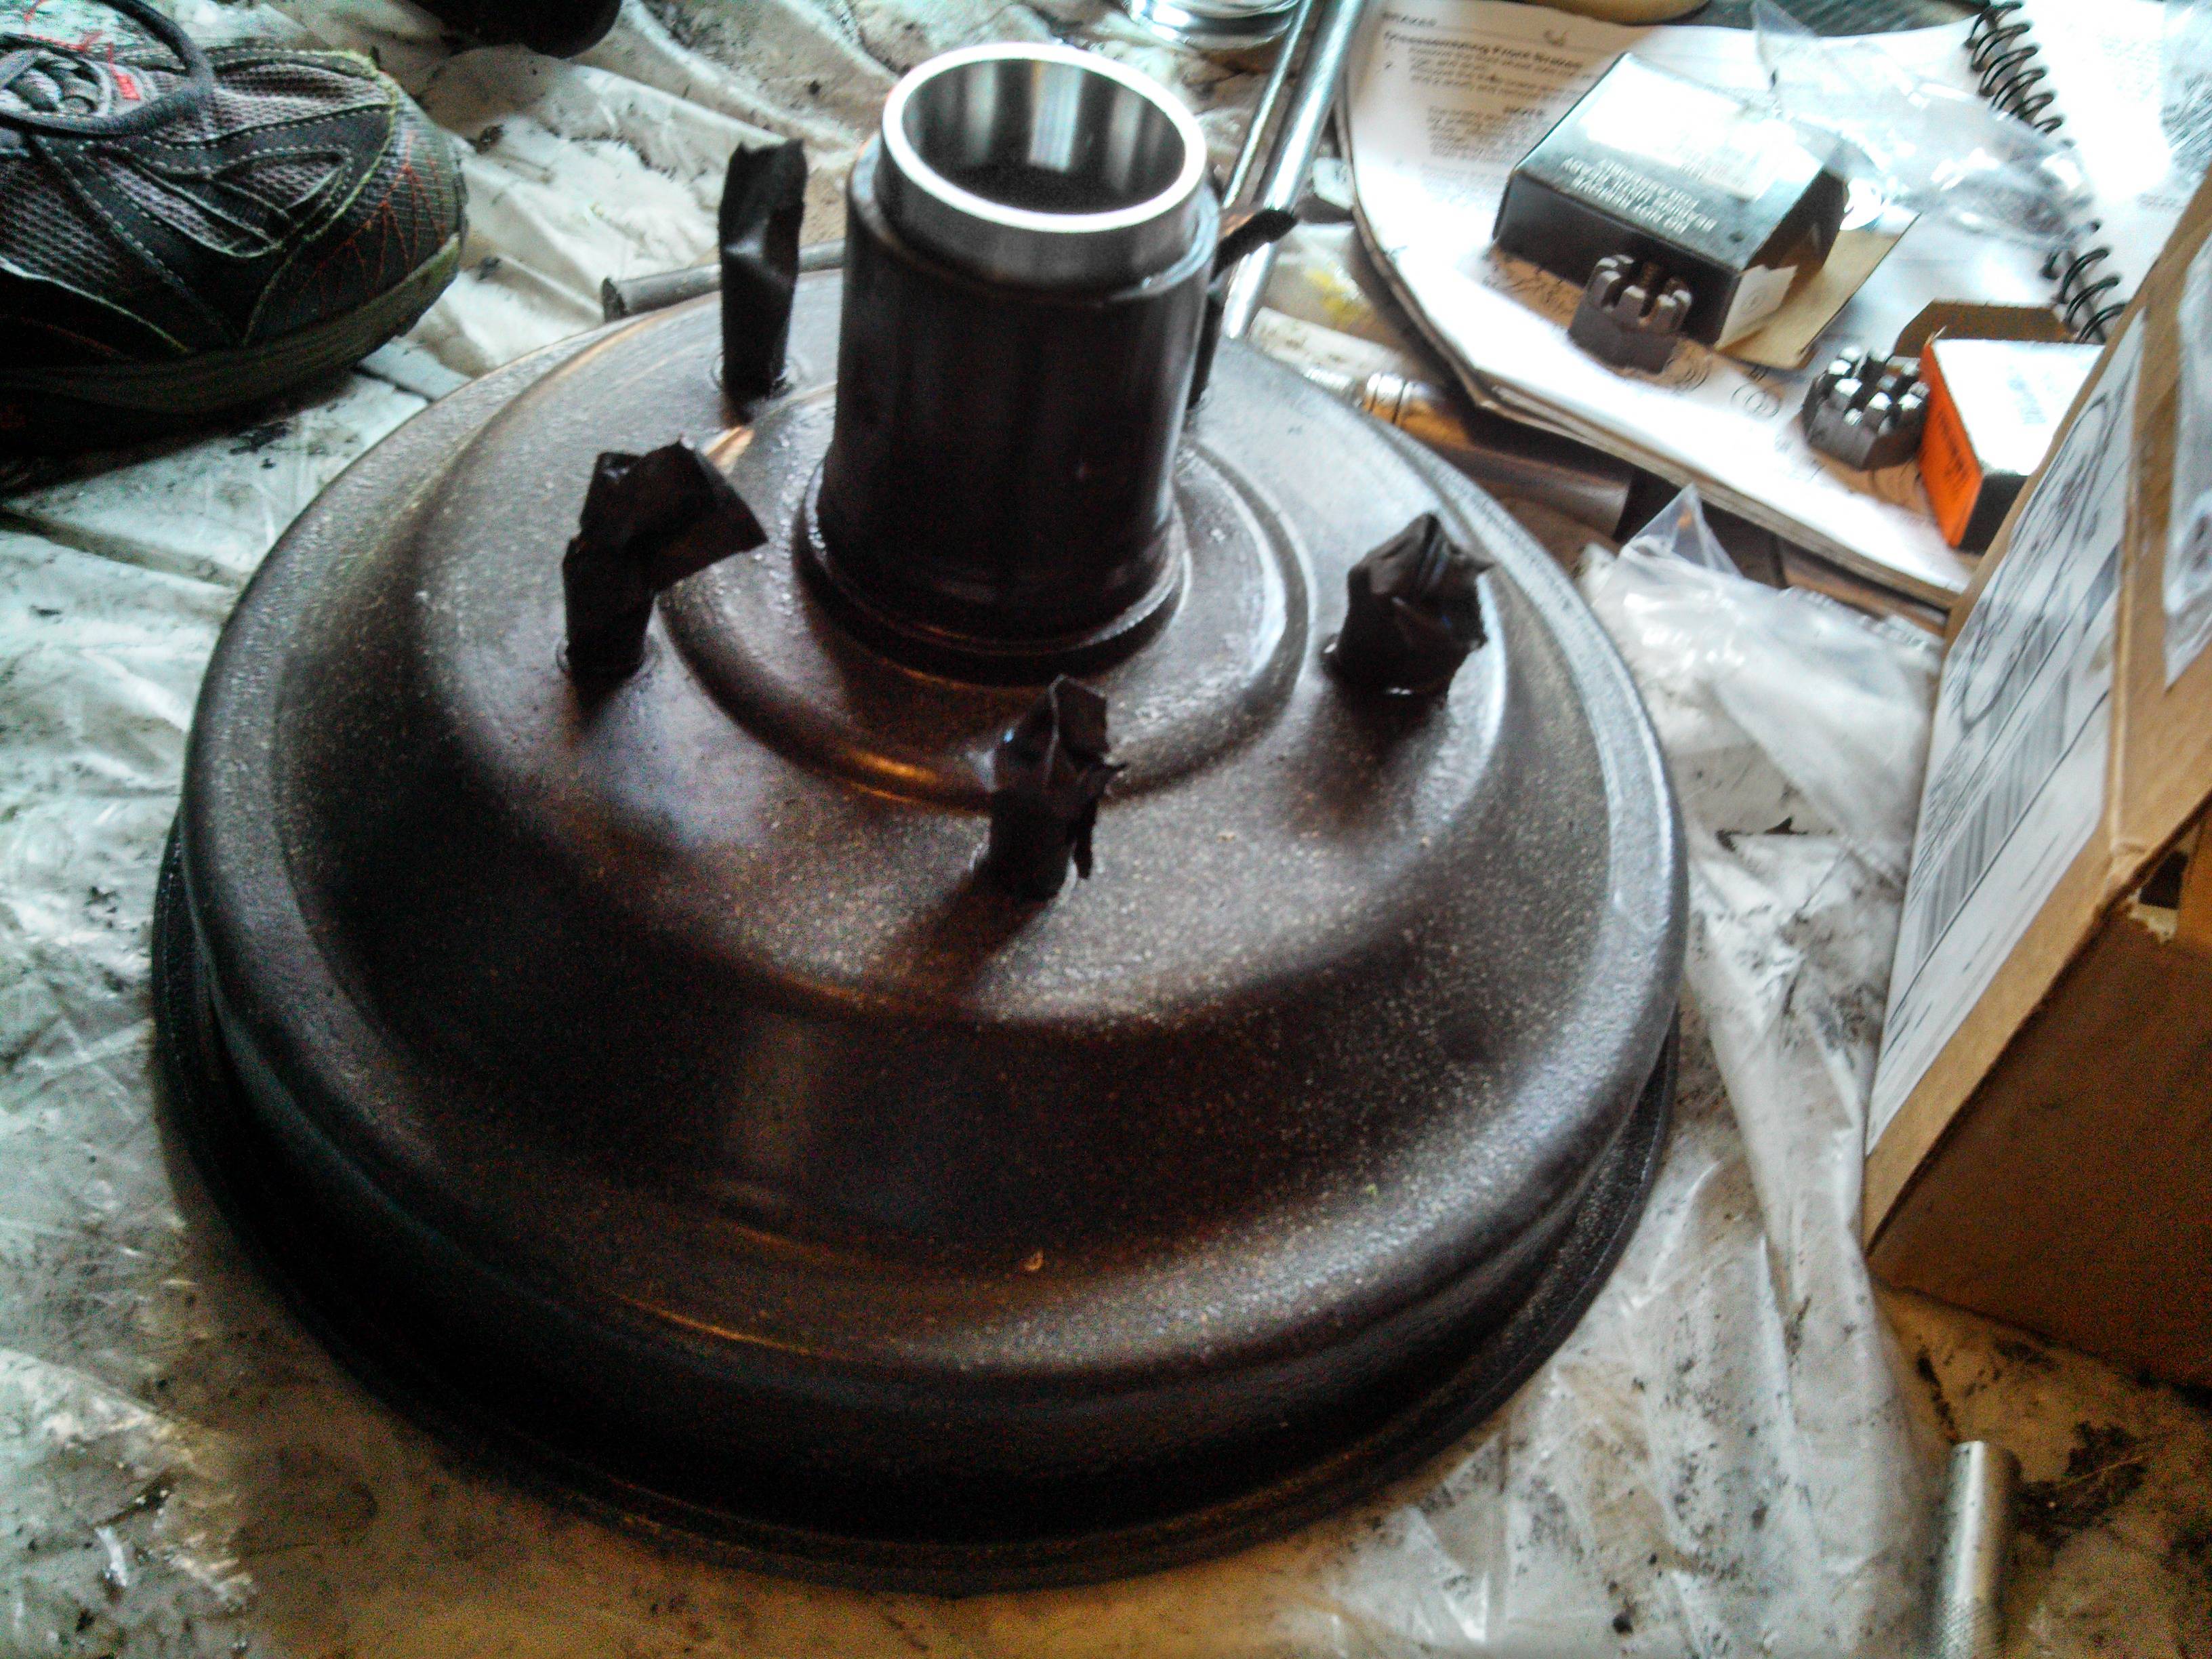
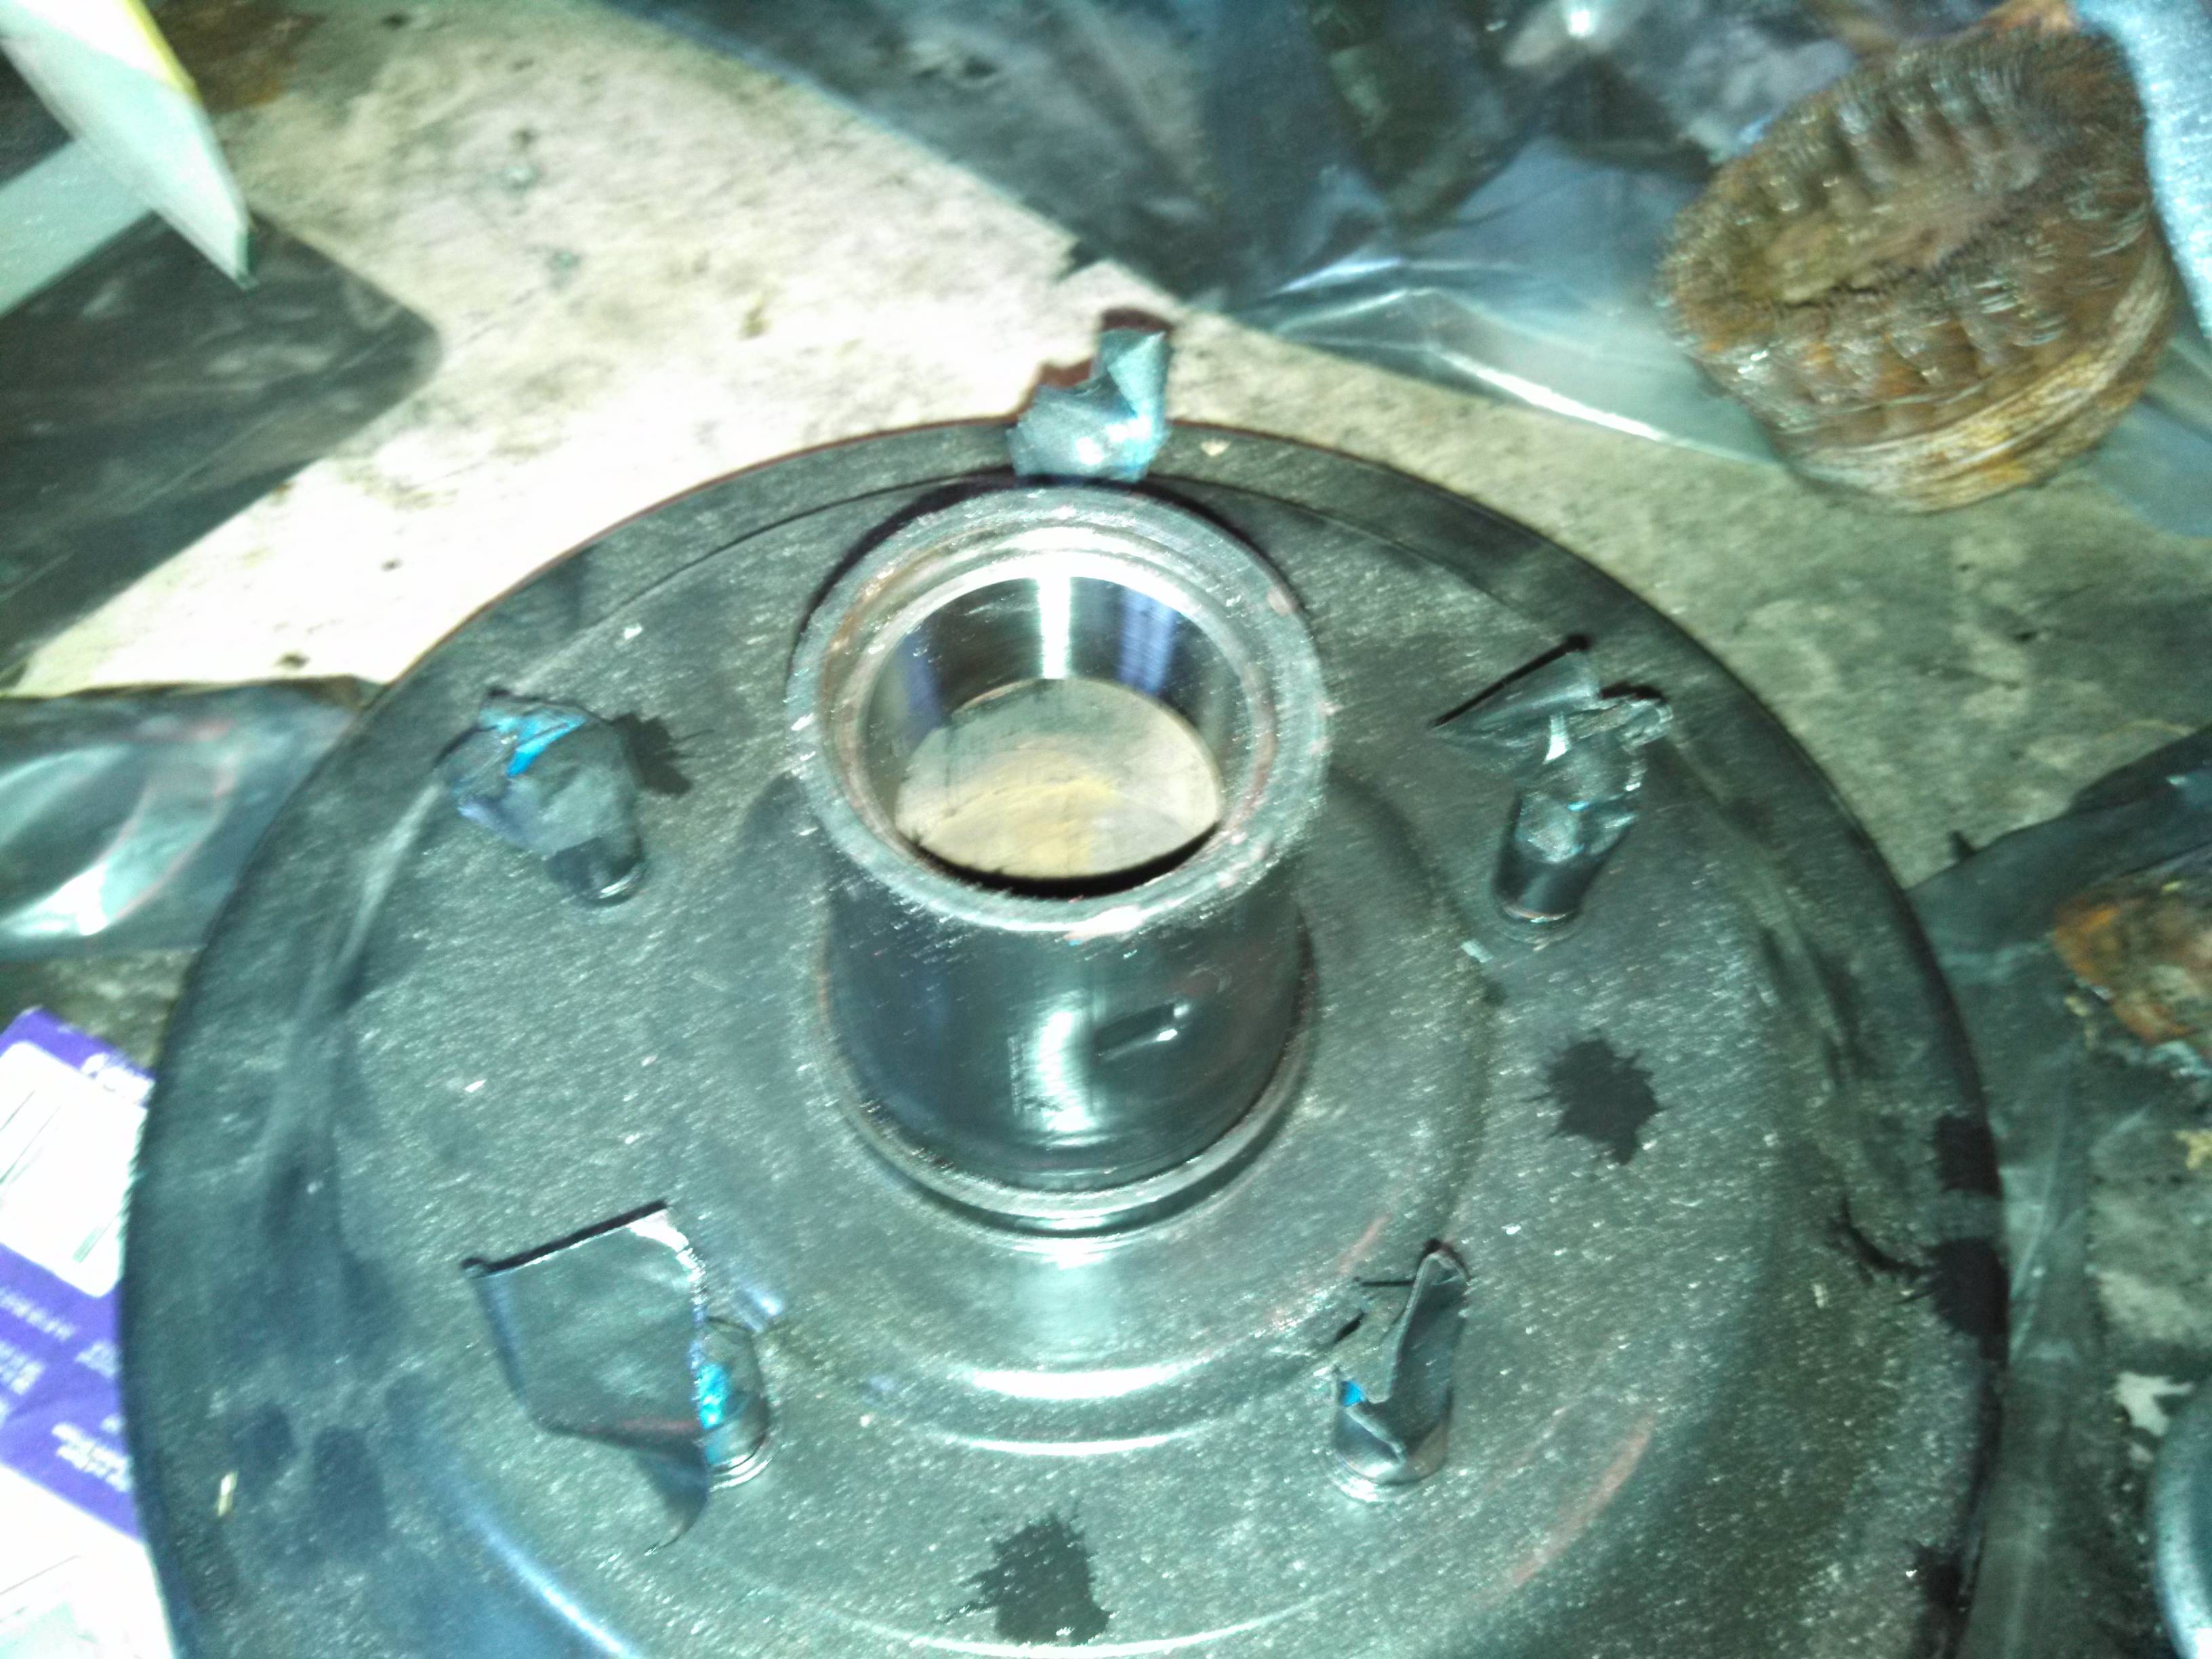
Today... Ugh, today... Yeah, so today I decided to install the adjuster covers on the brakes. This weren't so easy...
The adjuster covers are intended to be interference fits, kind of like freeze plugs. In fact, in retrospect, maybe I shoulda put them in the freezer... I'm curious how that might have worked out, now that I think of it...
Instead, I figured out they wouldn't fit into the holes, and went to the Ford Barn for a look around...
I found similar questions in the forums, and so I followed the advice...
The advice amounts to this:
So, that's what I started to do, and those pictures are below... Unfortunately, it dodn't work real well for me - I suppose I should've used the next-sized bigger socket, as the peen on my hammer was too big to do much to the cap. In the end, I ended up droping my brass drift in, and whacking on that.
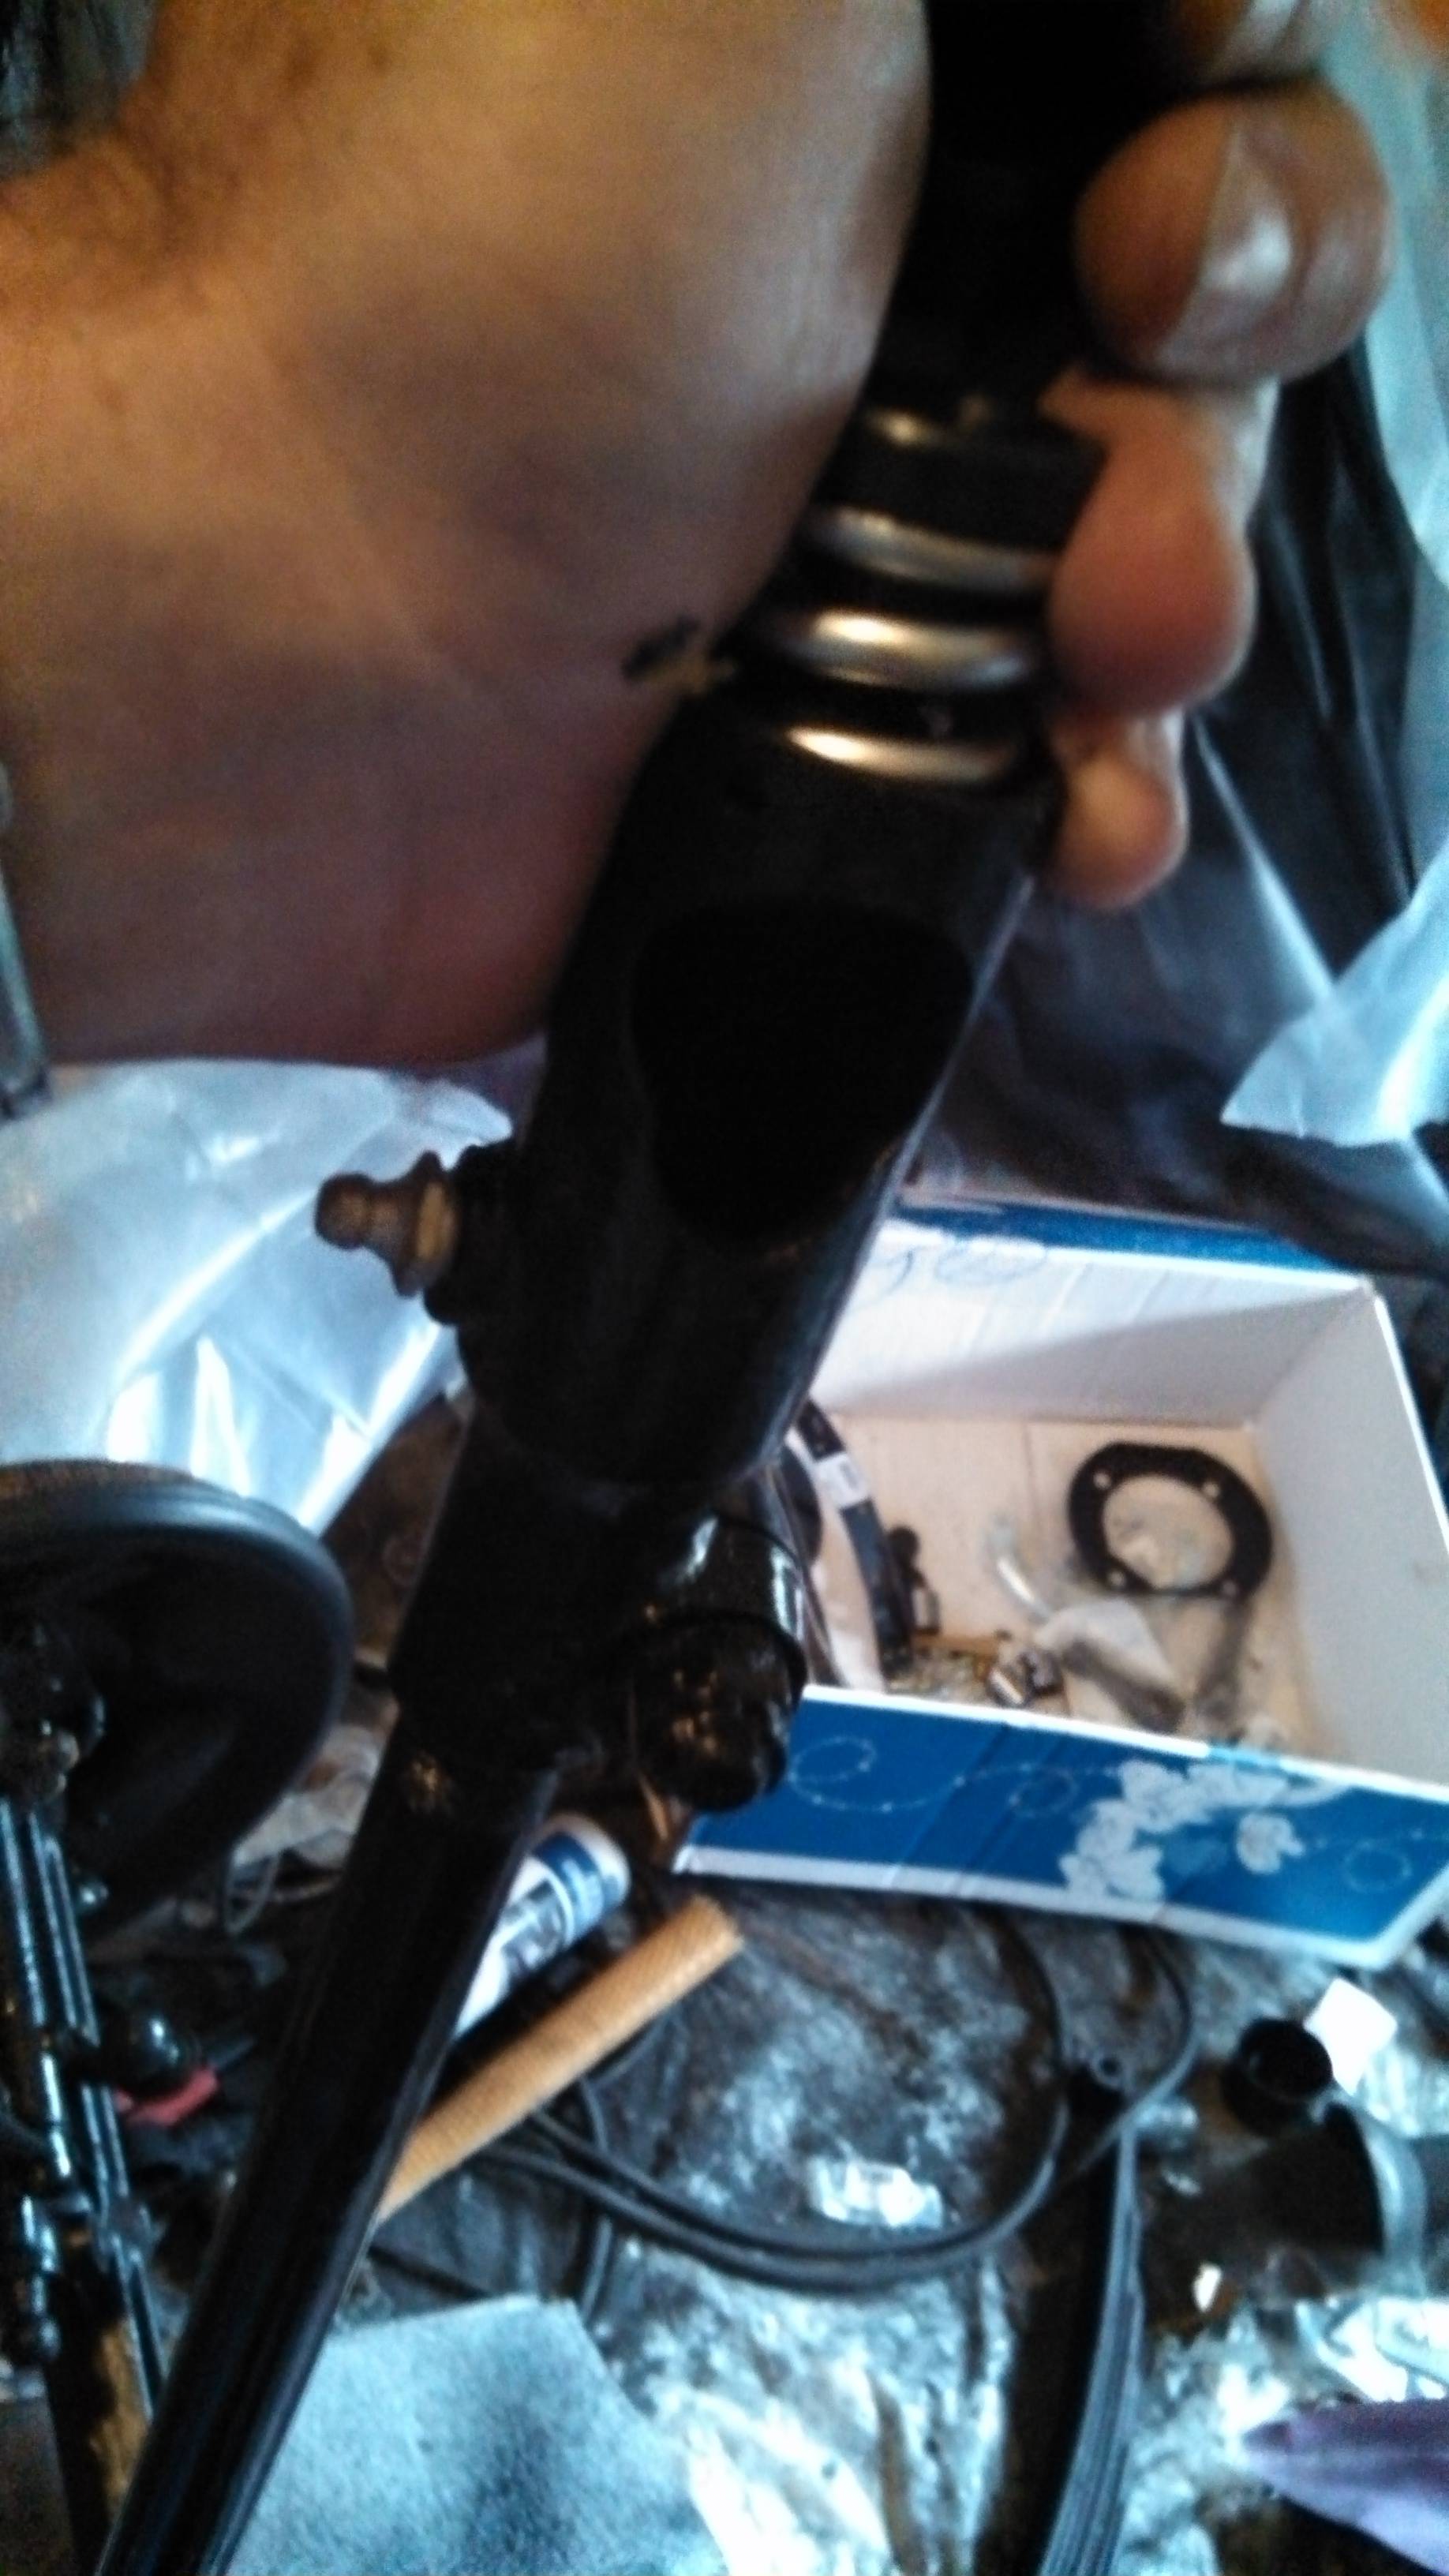
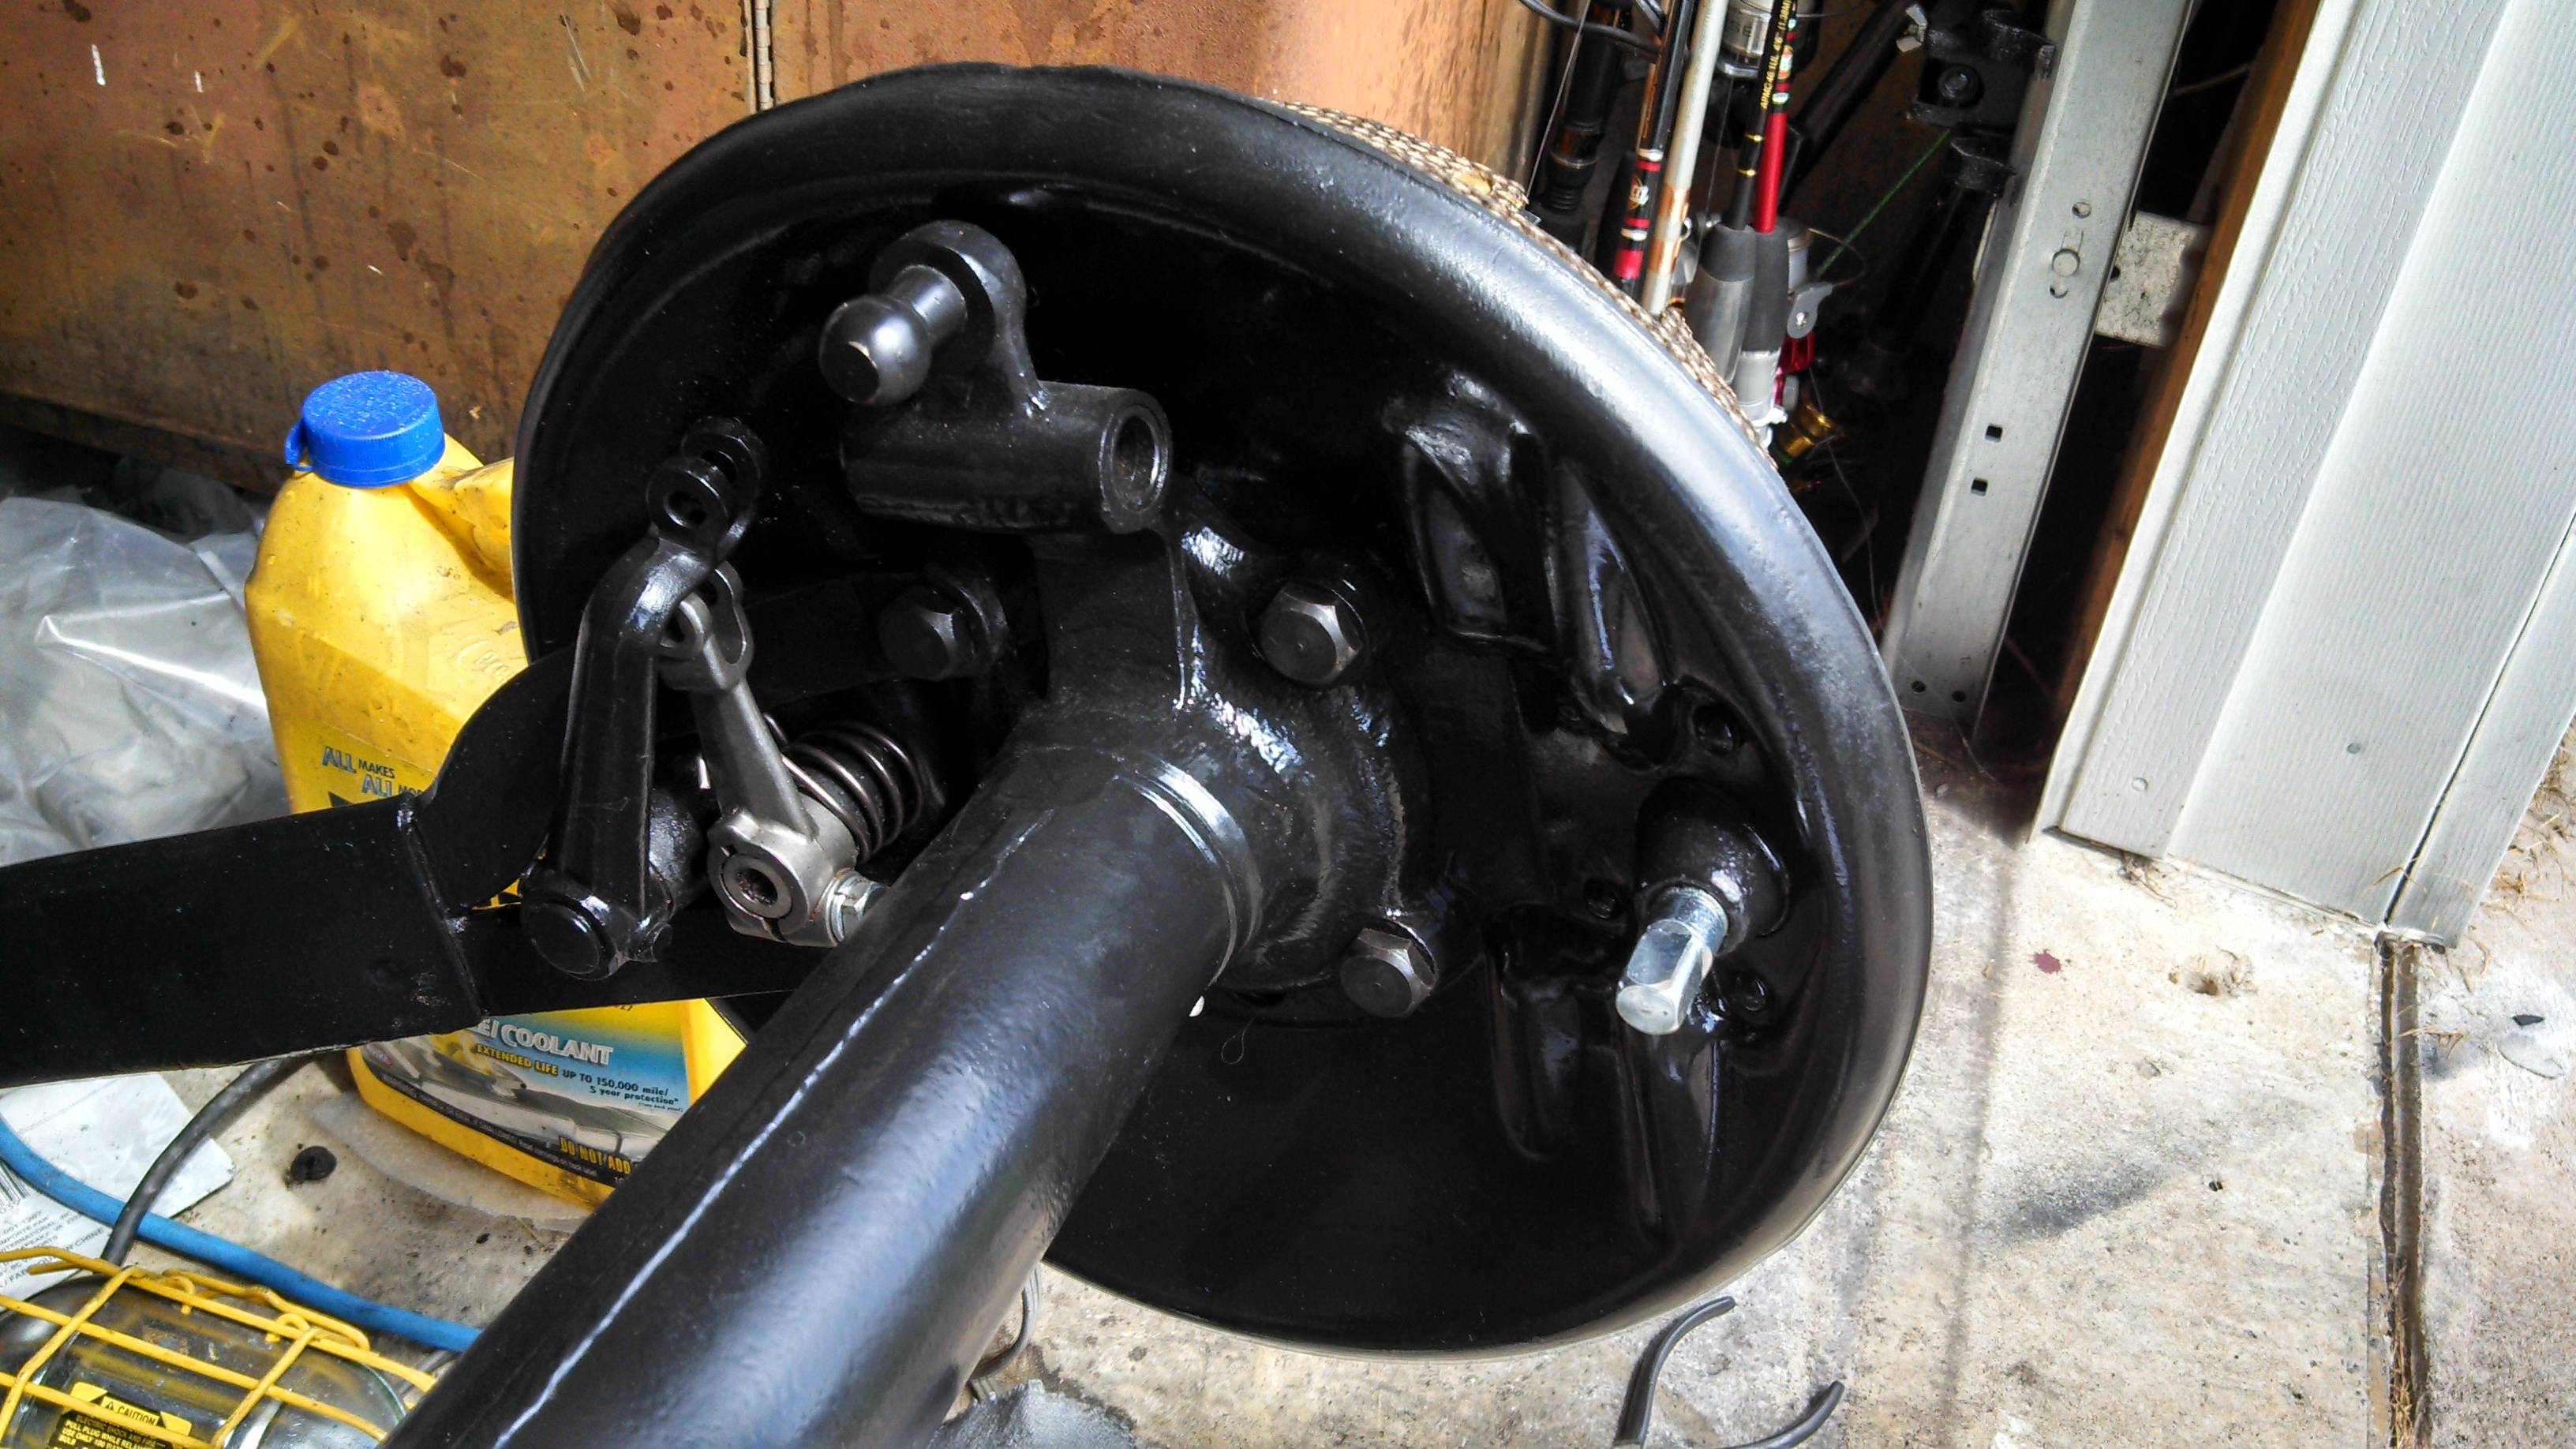
Today seemed like a good day to go ahead and install the tie rod... There is a lesson learned, here, and I guess I'll share it with you.
Install the tie rod before you install the steering arms into the spindles!!!
Basically, what happened is that my middle daughter and I set the tie rod onto the steering arms, and then couldn't get the plugs in, as there was not enough clearance. Then, of course, I had to yank the steering arms so we could get the plugs installed properly... A note on getting the Tie Rod to set on the steering arms - it required several hard whacks to overcome the springs...


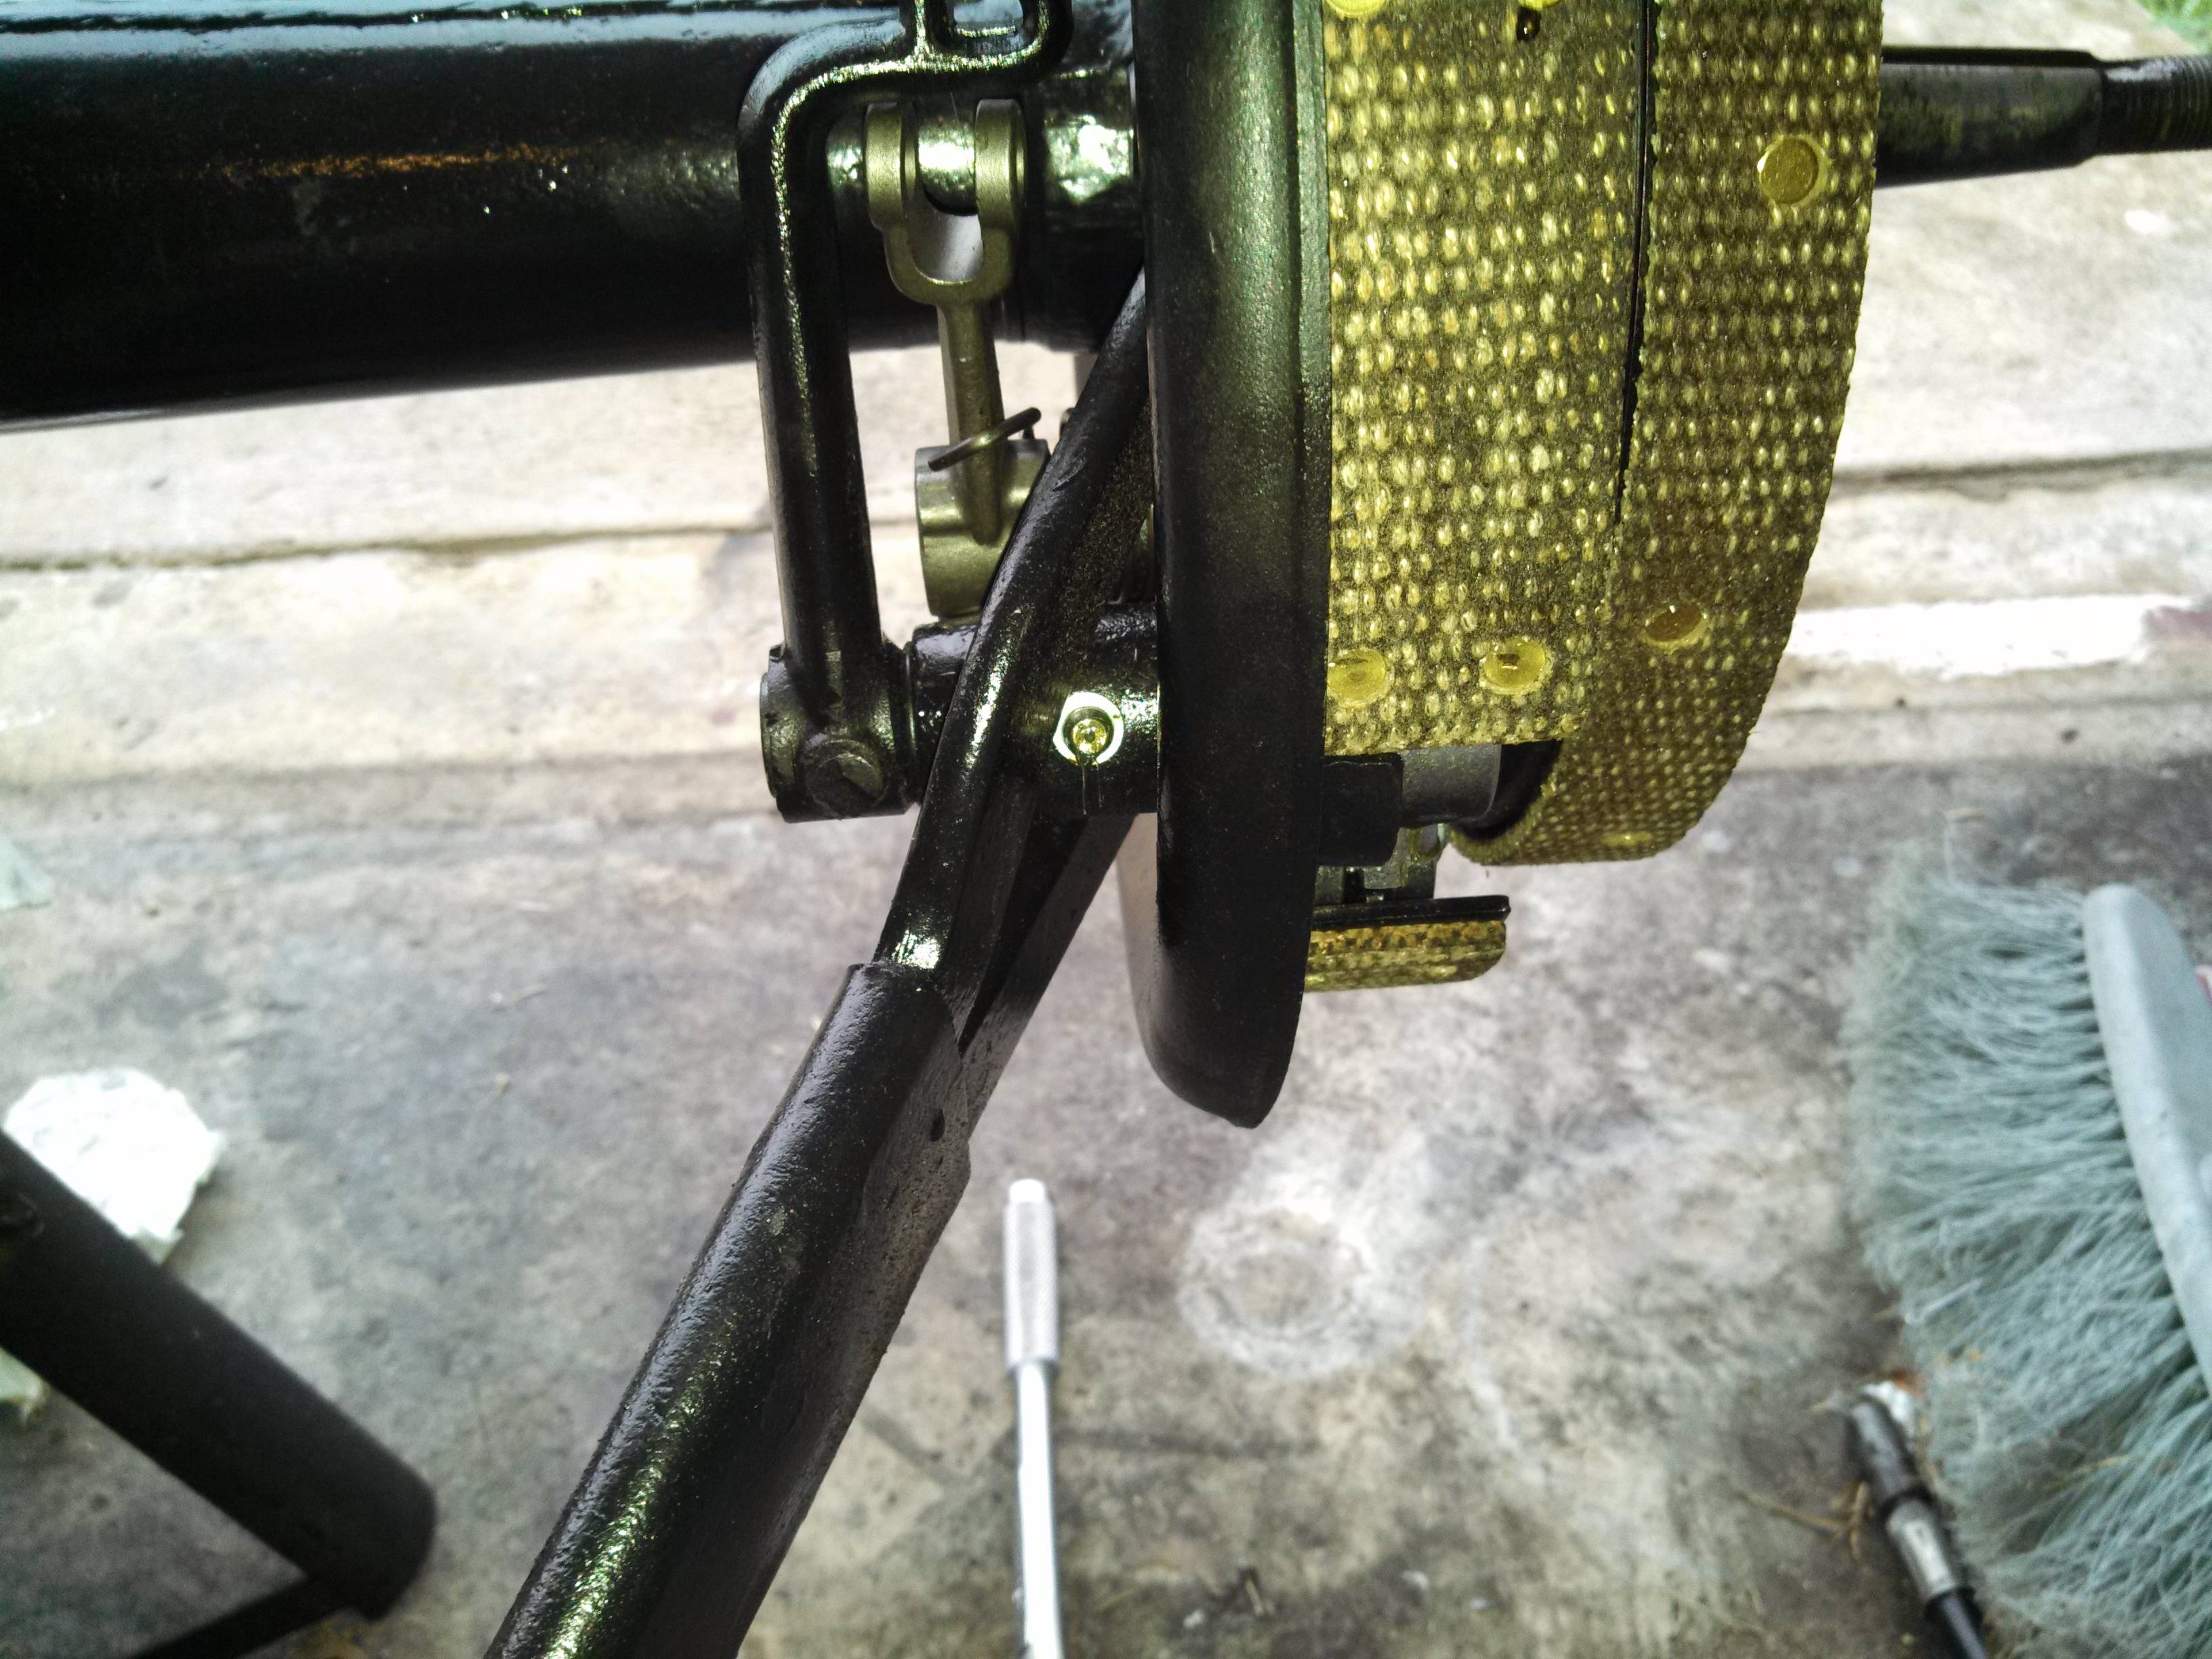
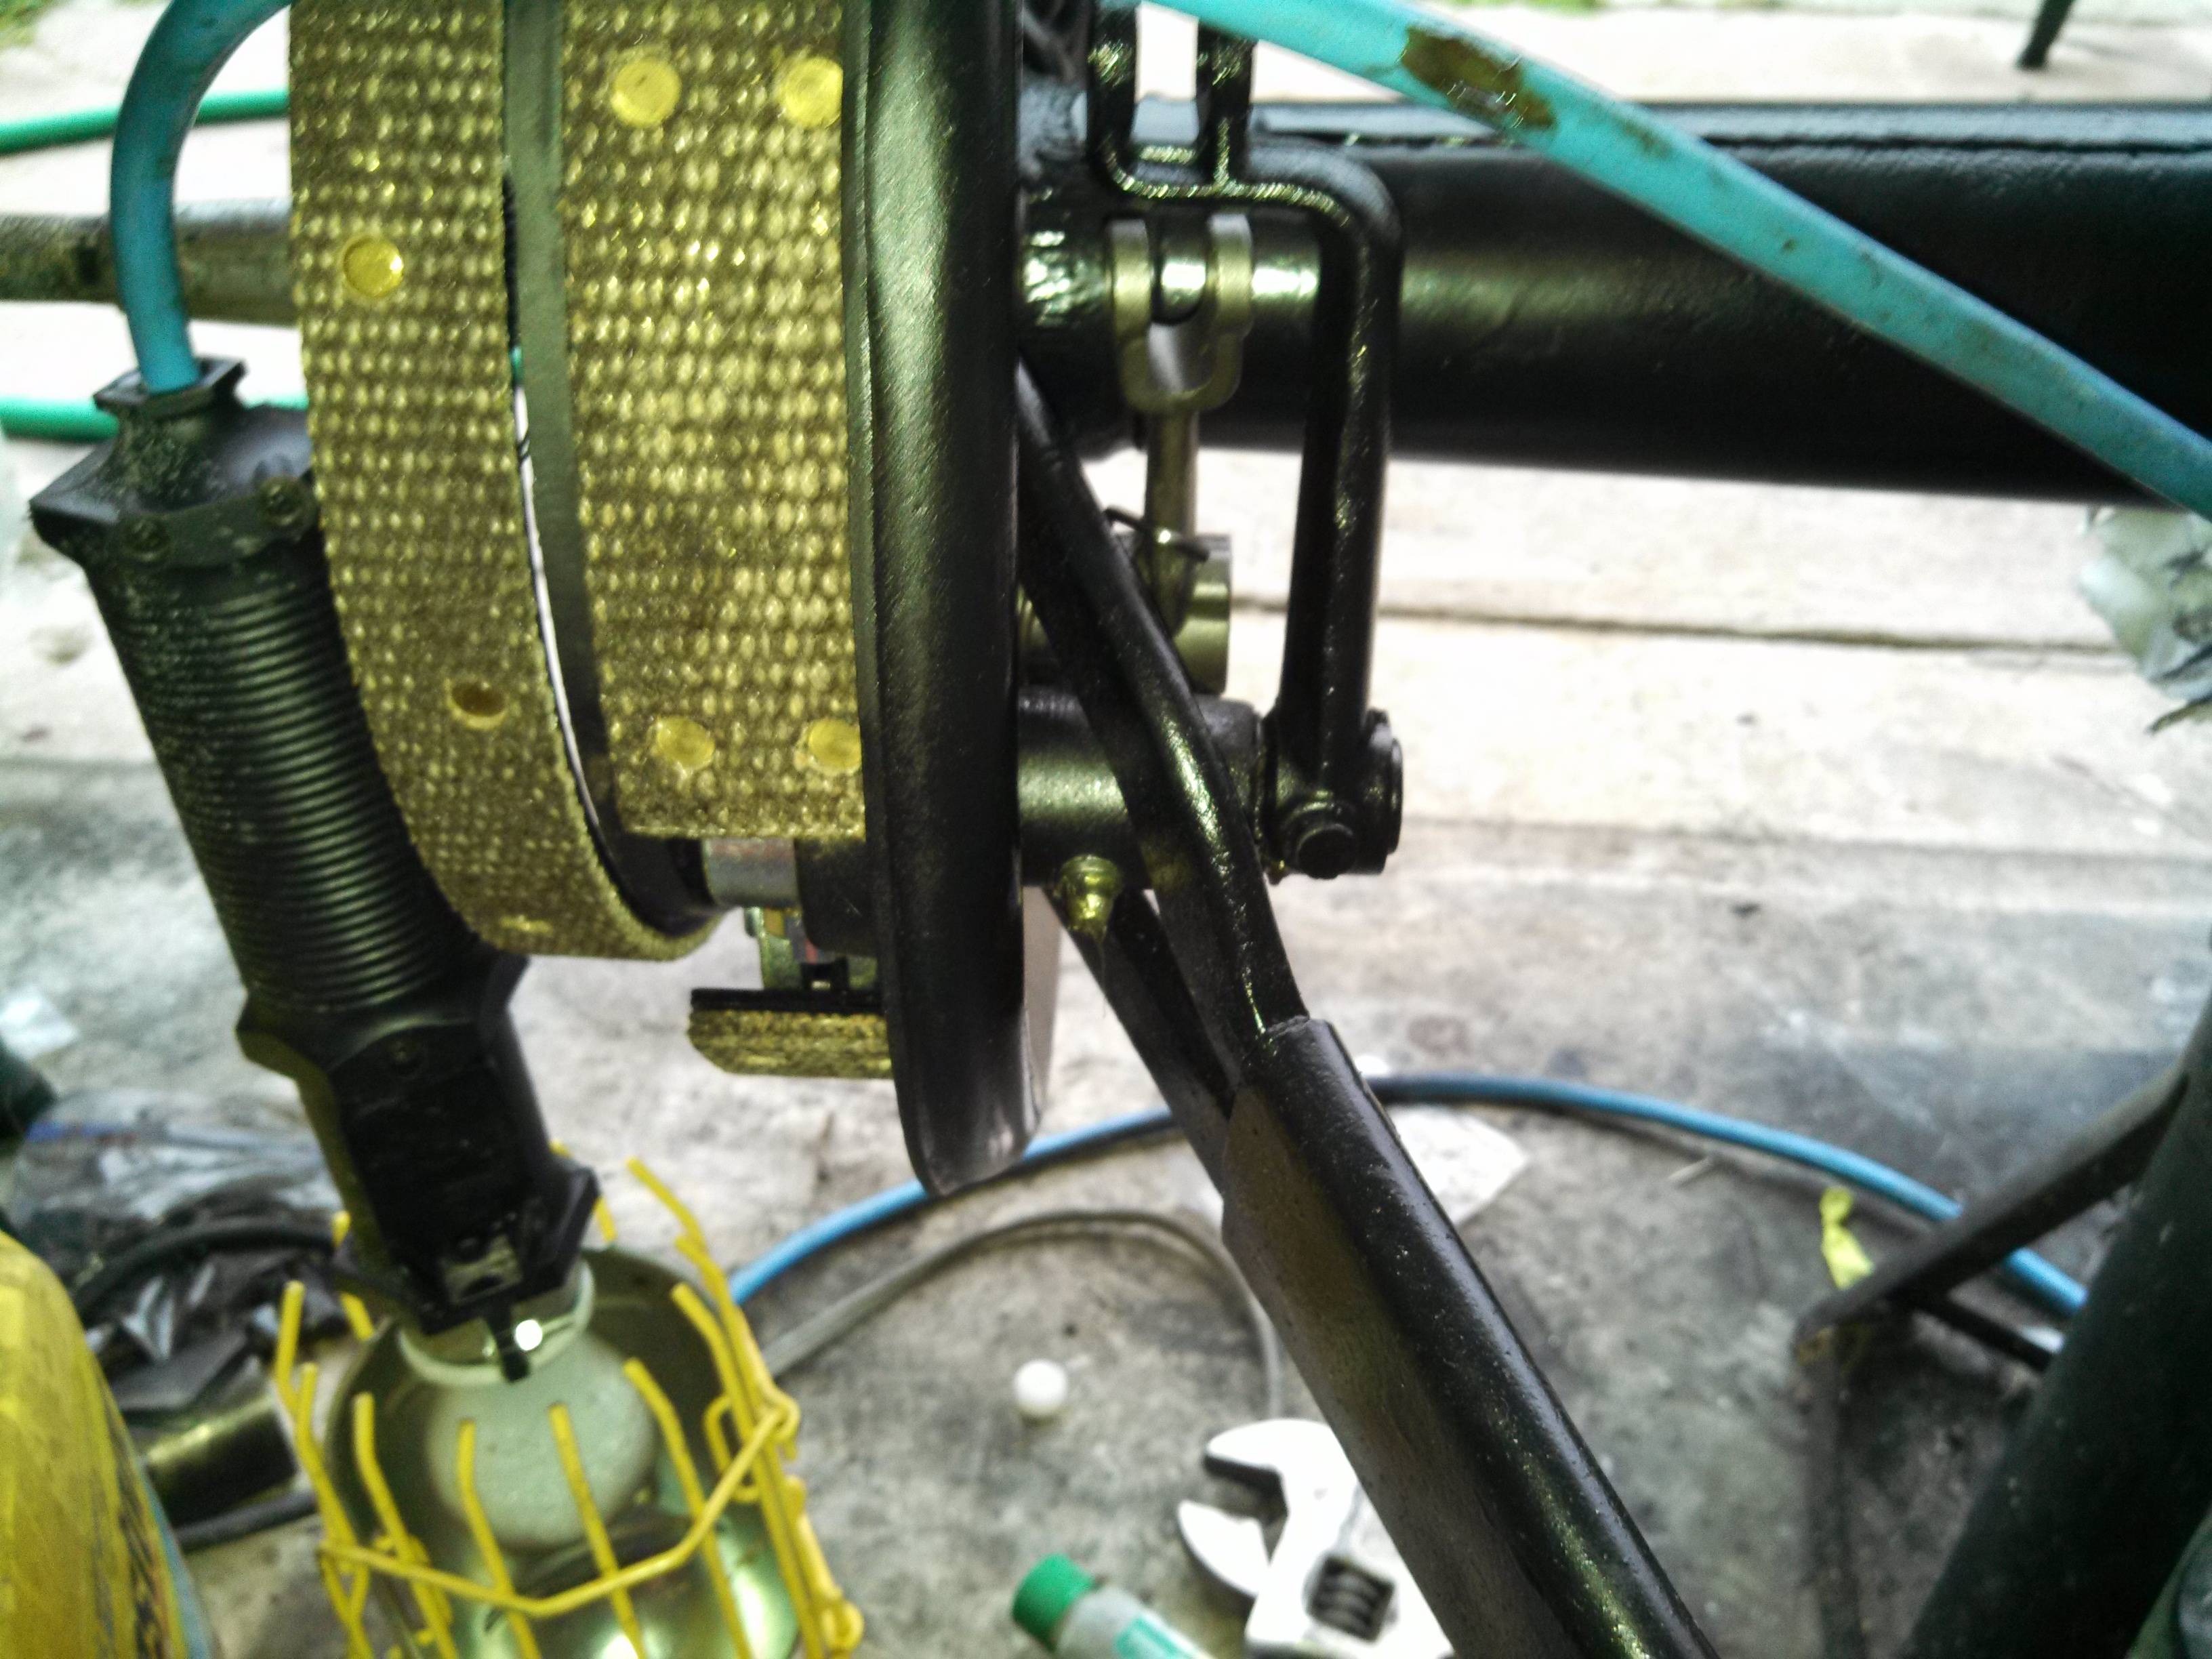
Apparently, this wasn't enouigh work for the night, so I went ahead and installed the rear backing plates (and service brakes)... Of course, this included installation of the radius rods and the radius rod bolt (at the front of the torque tube).
What I didn't like is that the backing plate bolts are too long... That is, when I properly torqued the nuts (to 95 ft-lbs, IIRC), the cotter pin holes were outside the top of the castle nuts. Ick.
I didn't tal about it the other day, but I went ahaead and installed the emergency brake into the driver's side backing plate. I was getting ready to install the passenger side, when I realized that I was missing the linkage pins... If you recall that when I first took the passenger side apart, there was no emergency brake hardware in there. I ordered all the linkages, but forgot the pins. The new linkages got installed on the driver's side. These pics are of the passenger side, with the original links.
You'll notice, from that last pic, that I haven't painted the emergency brake actuating lever... I hummed & hawed about it a bit, but it appears to be anodized, so for now I'll leave it. I kind of like the contrast in color...
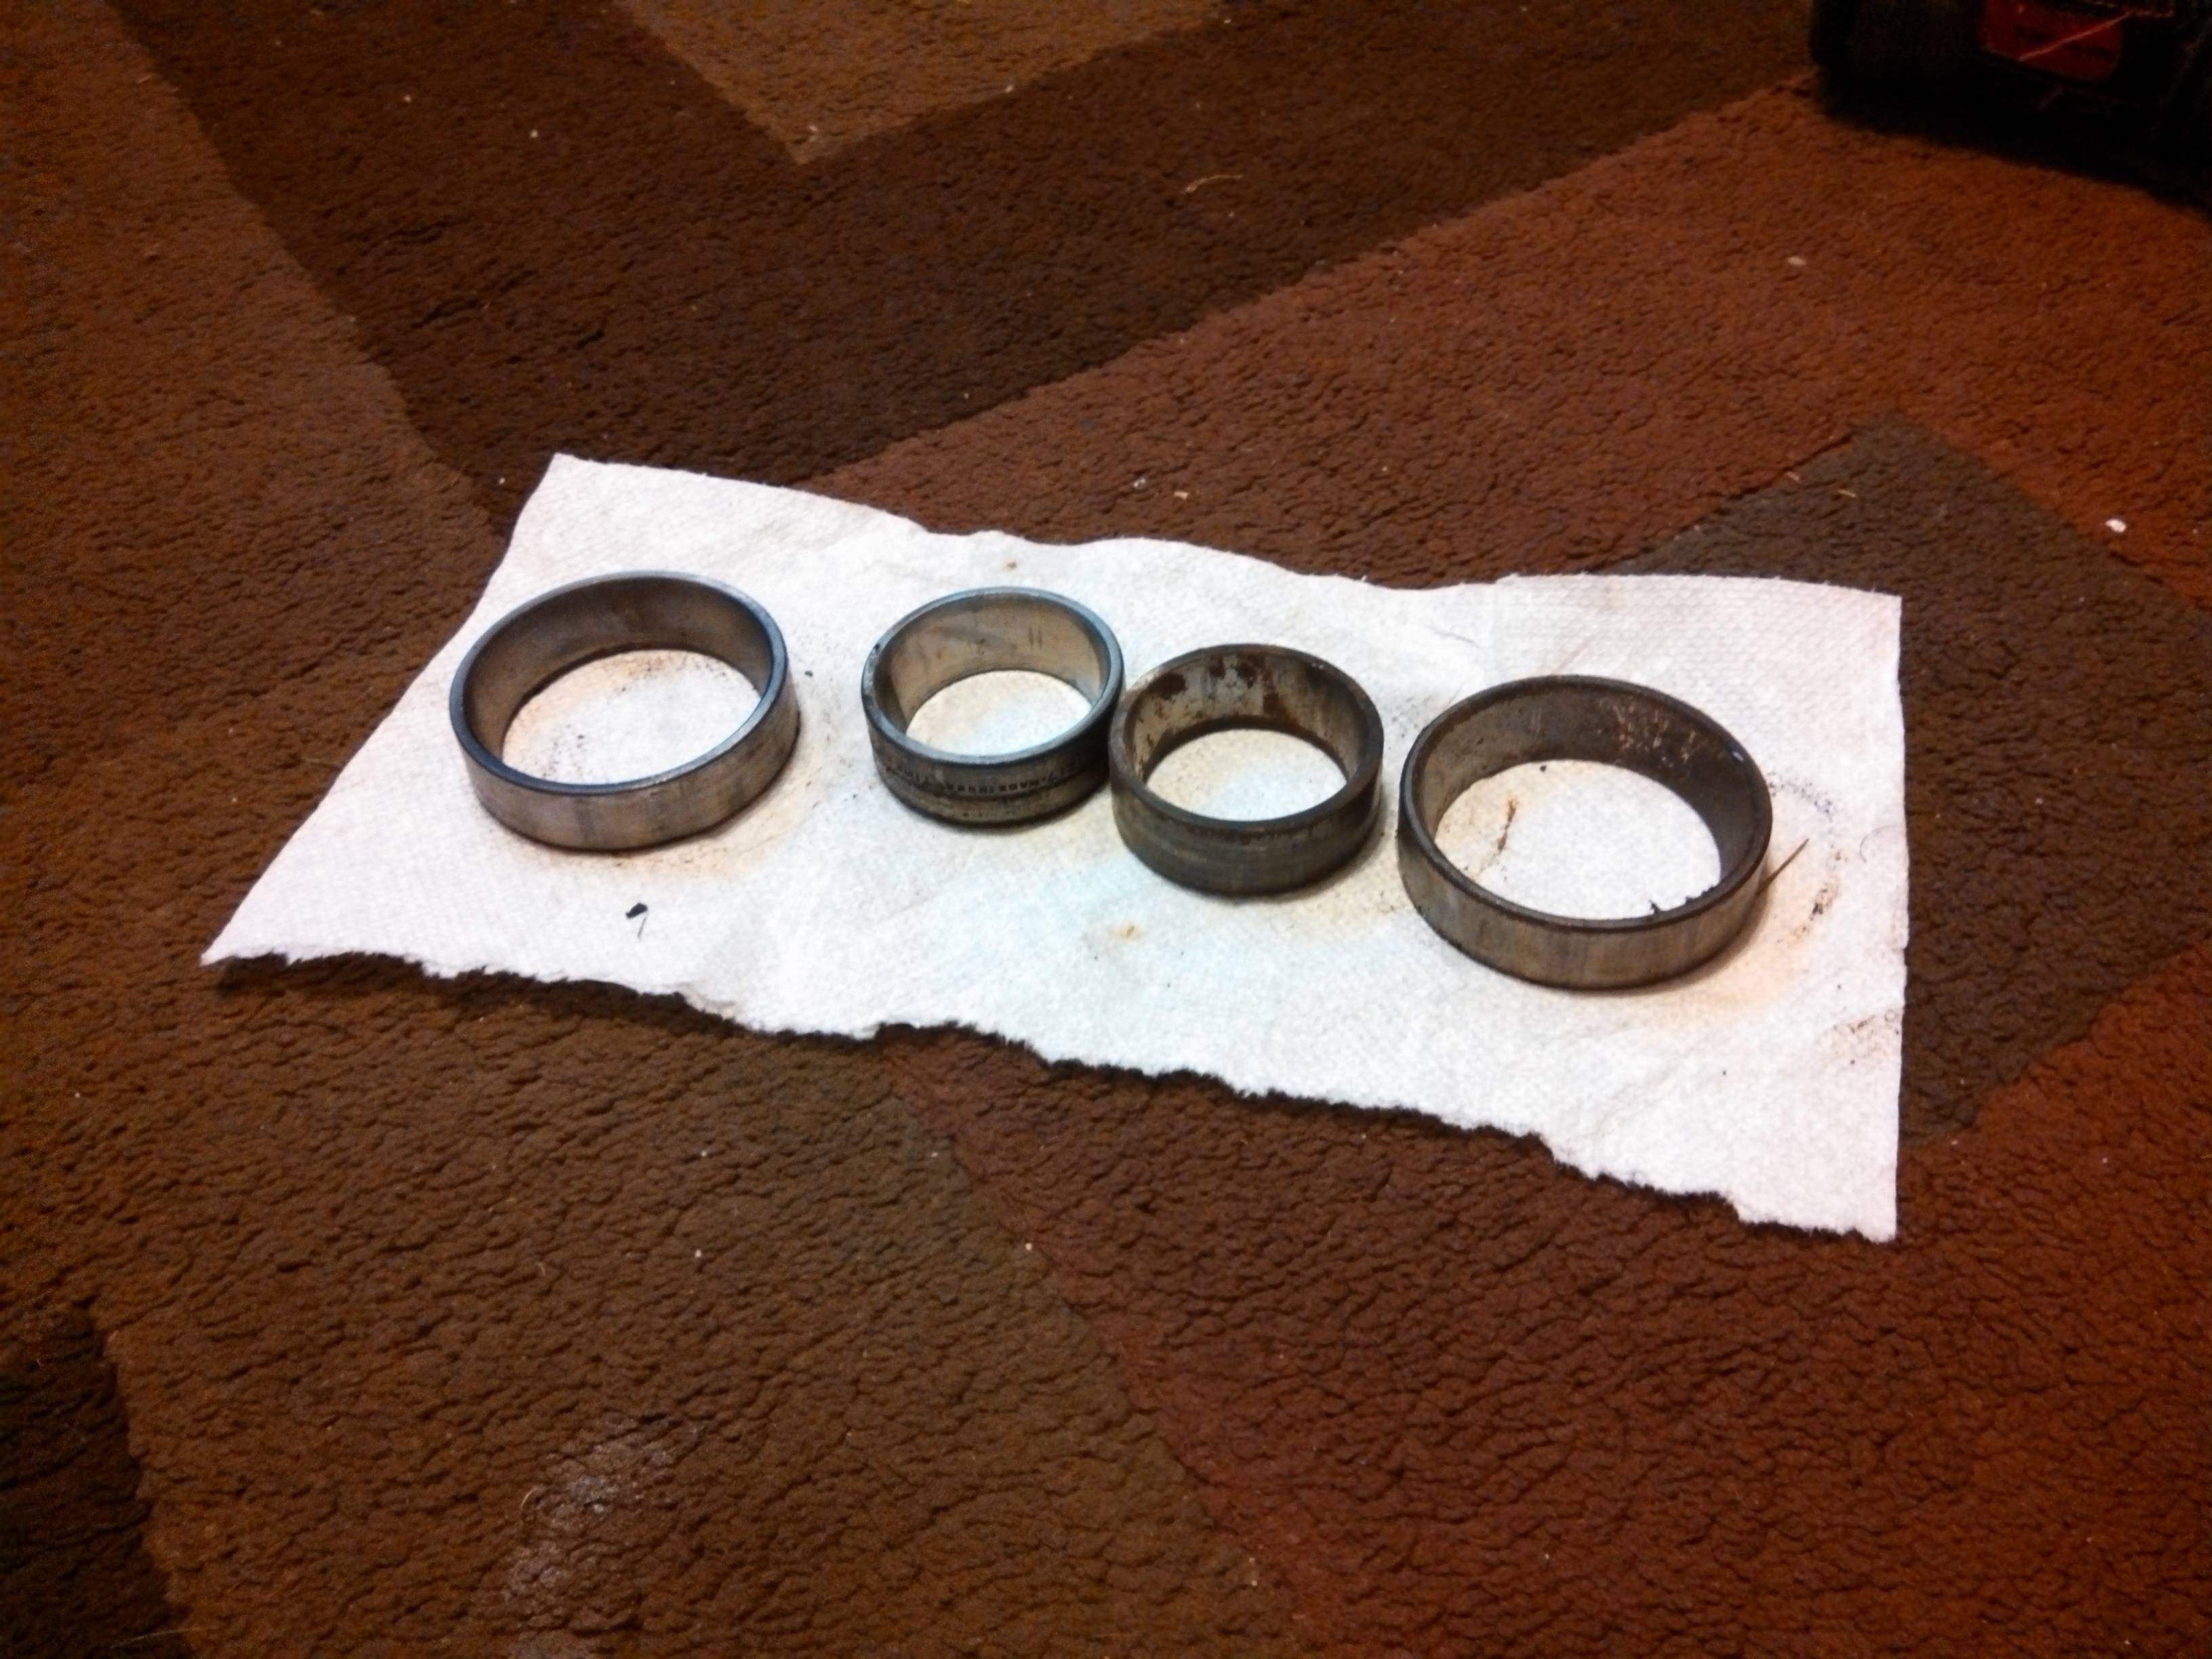
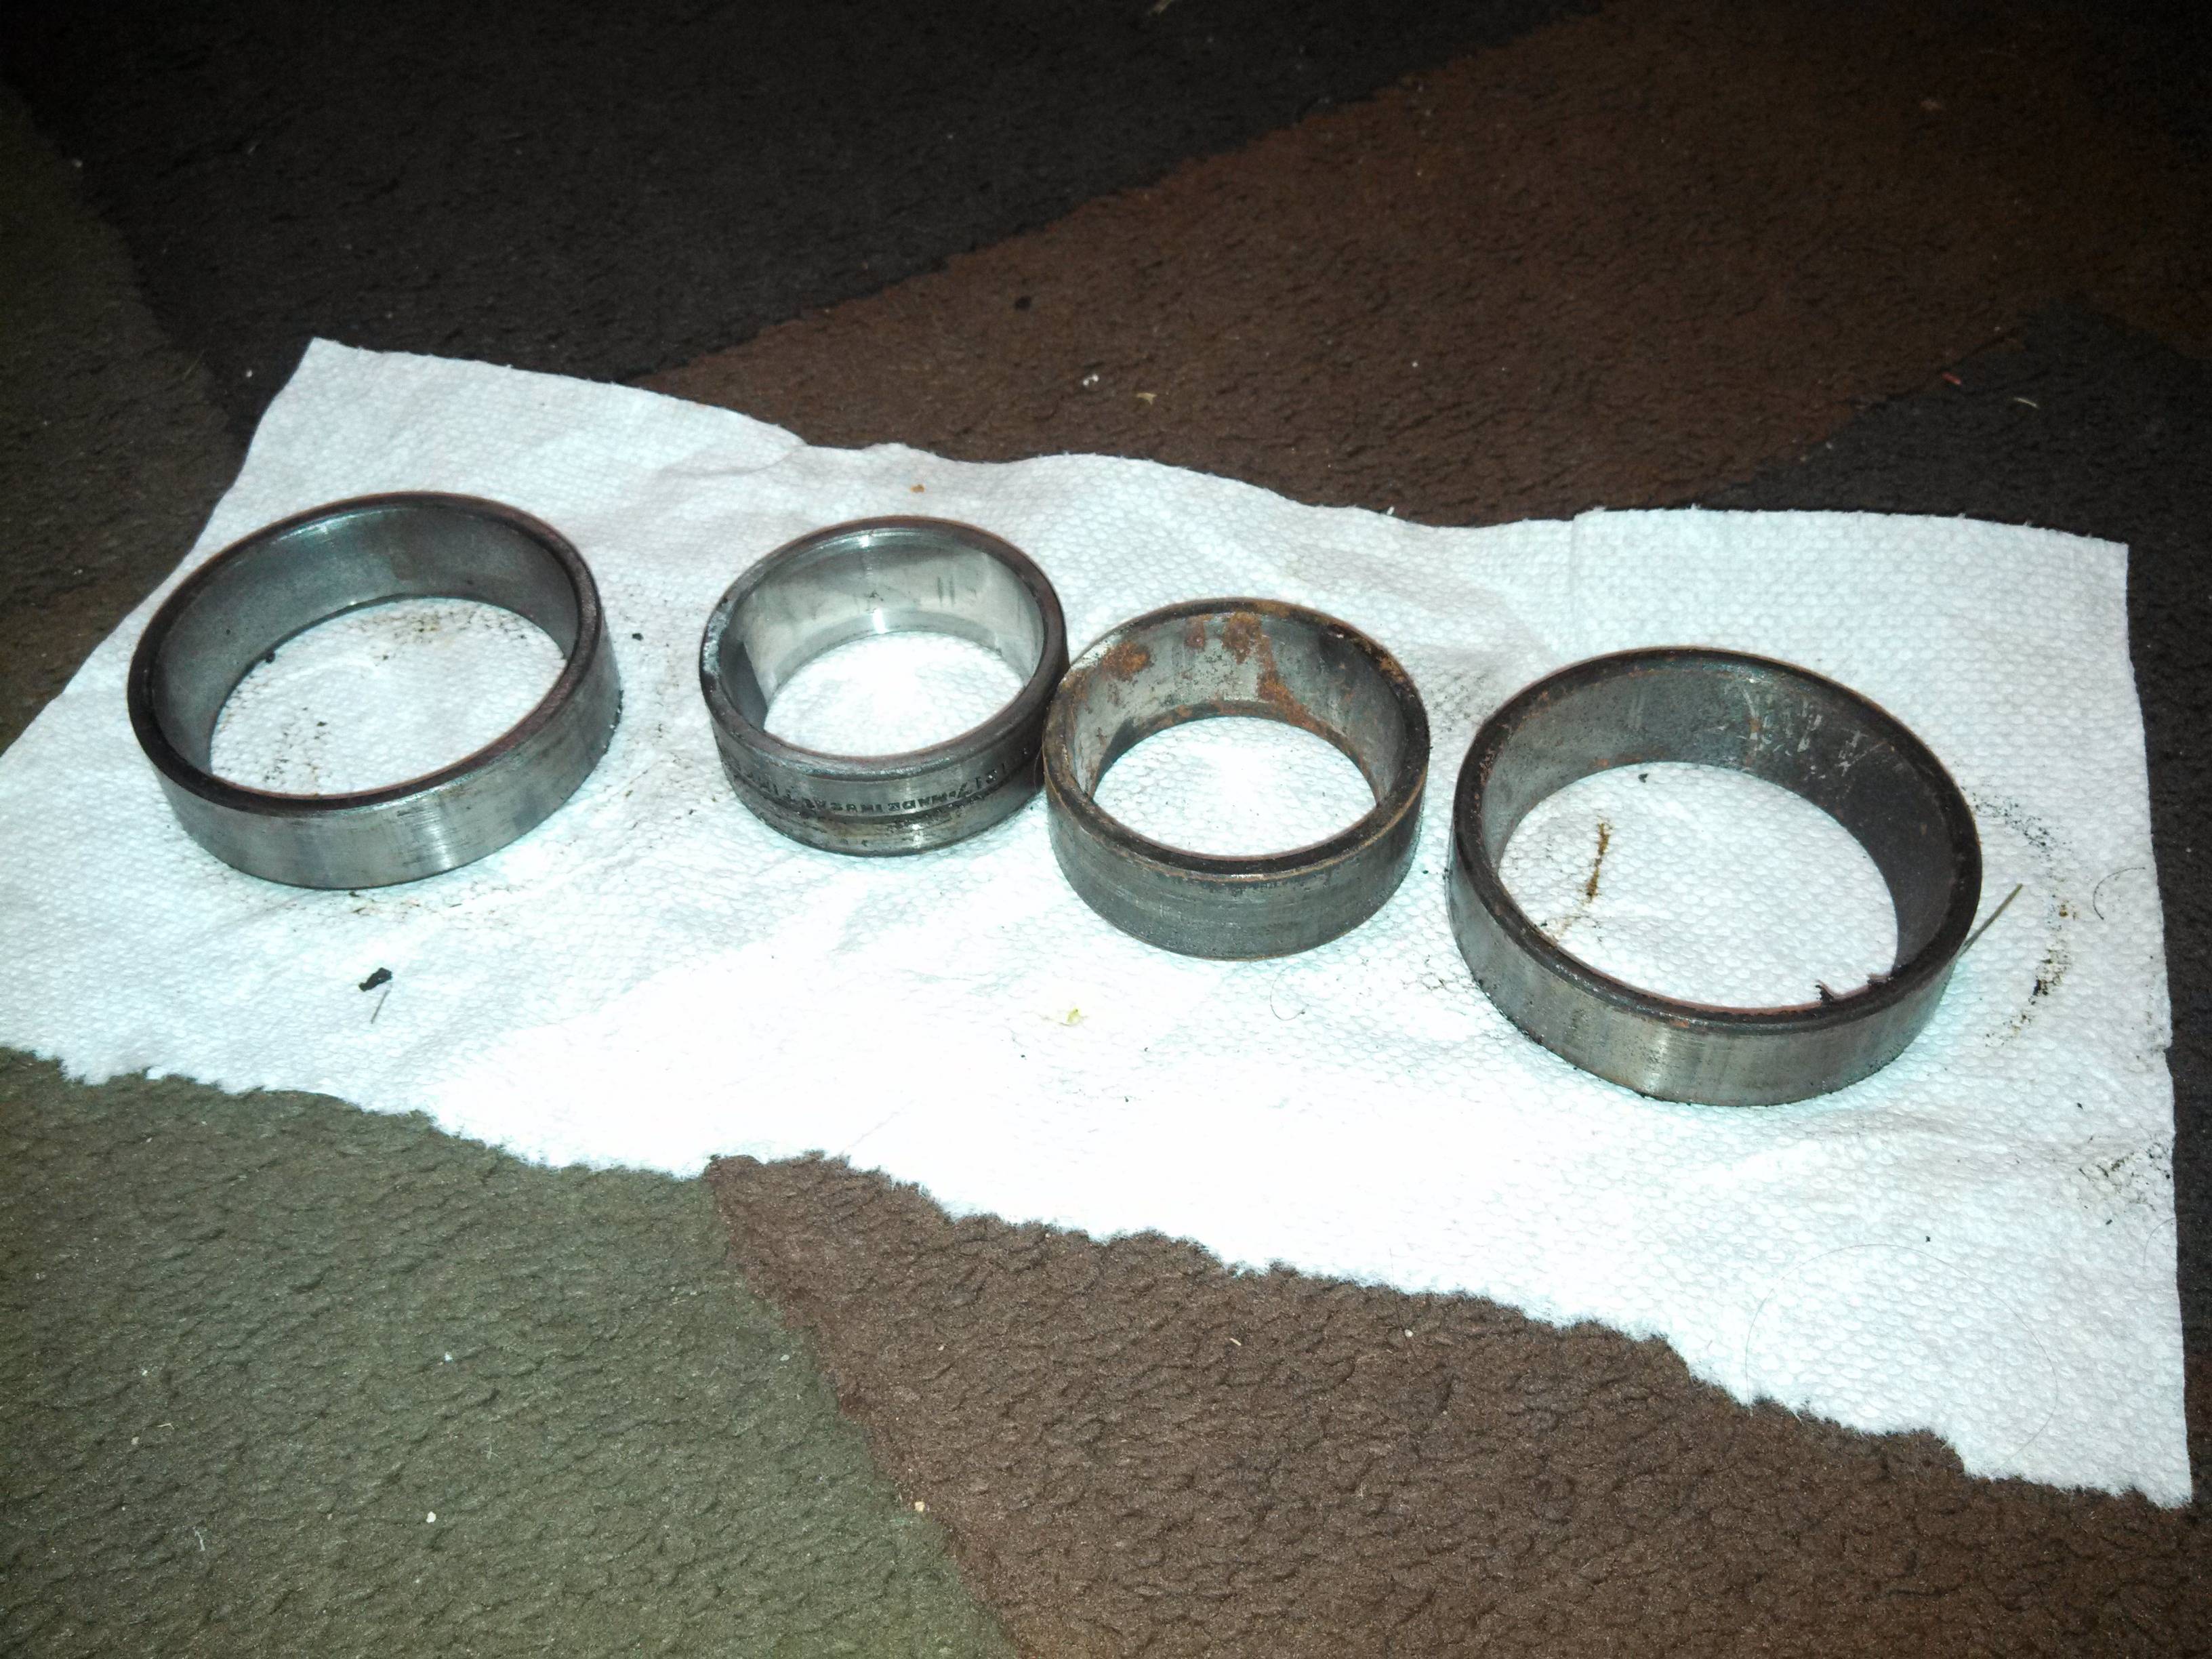
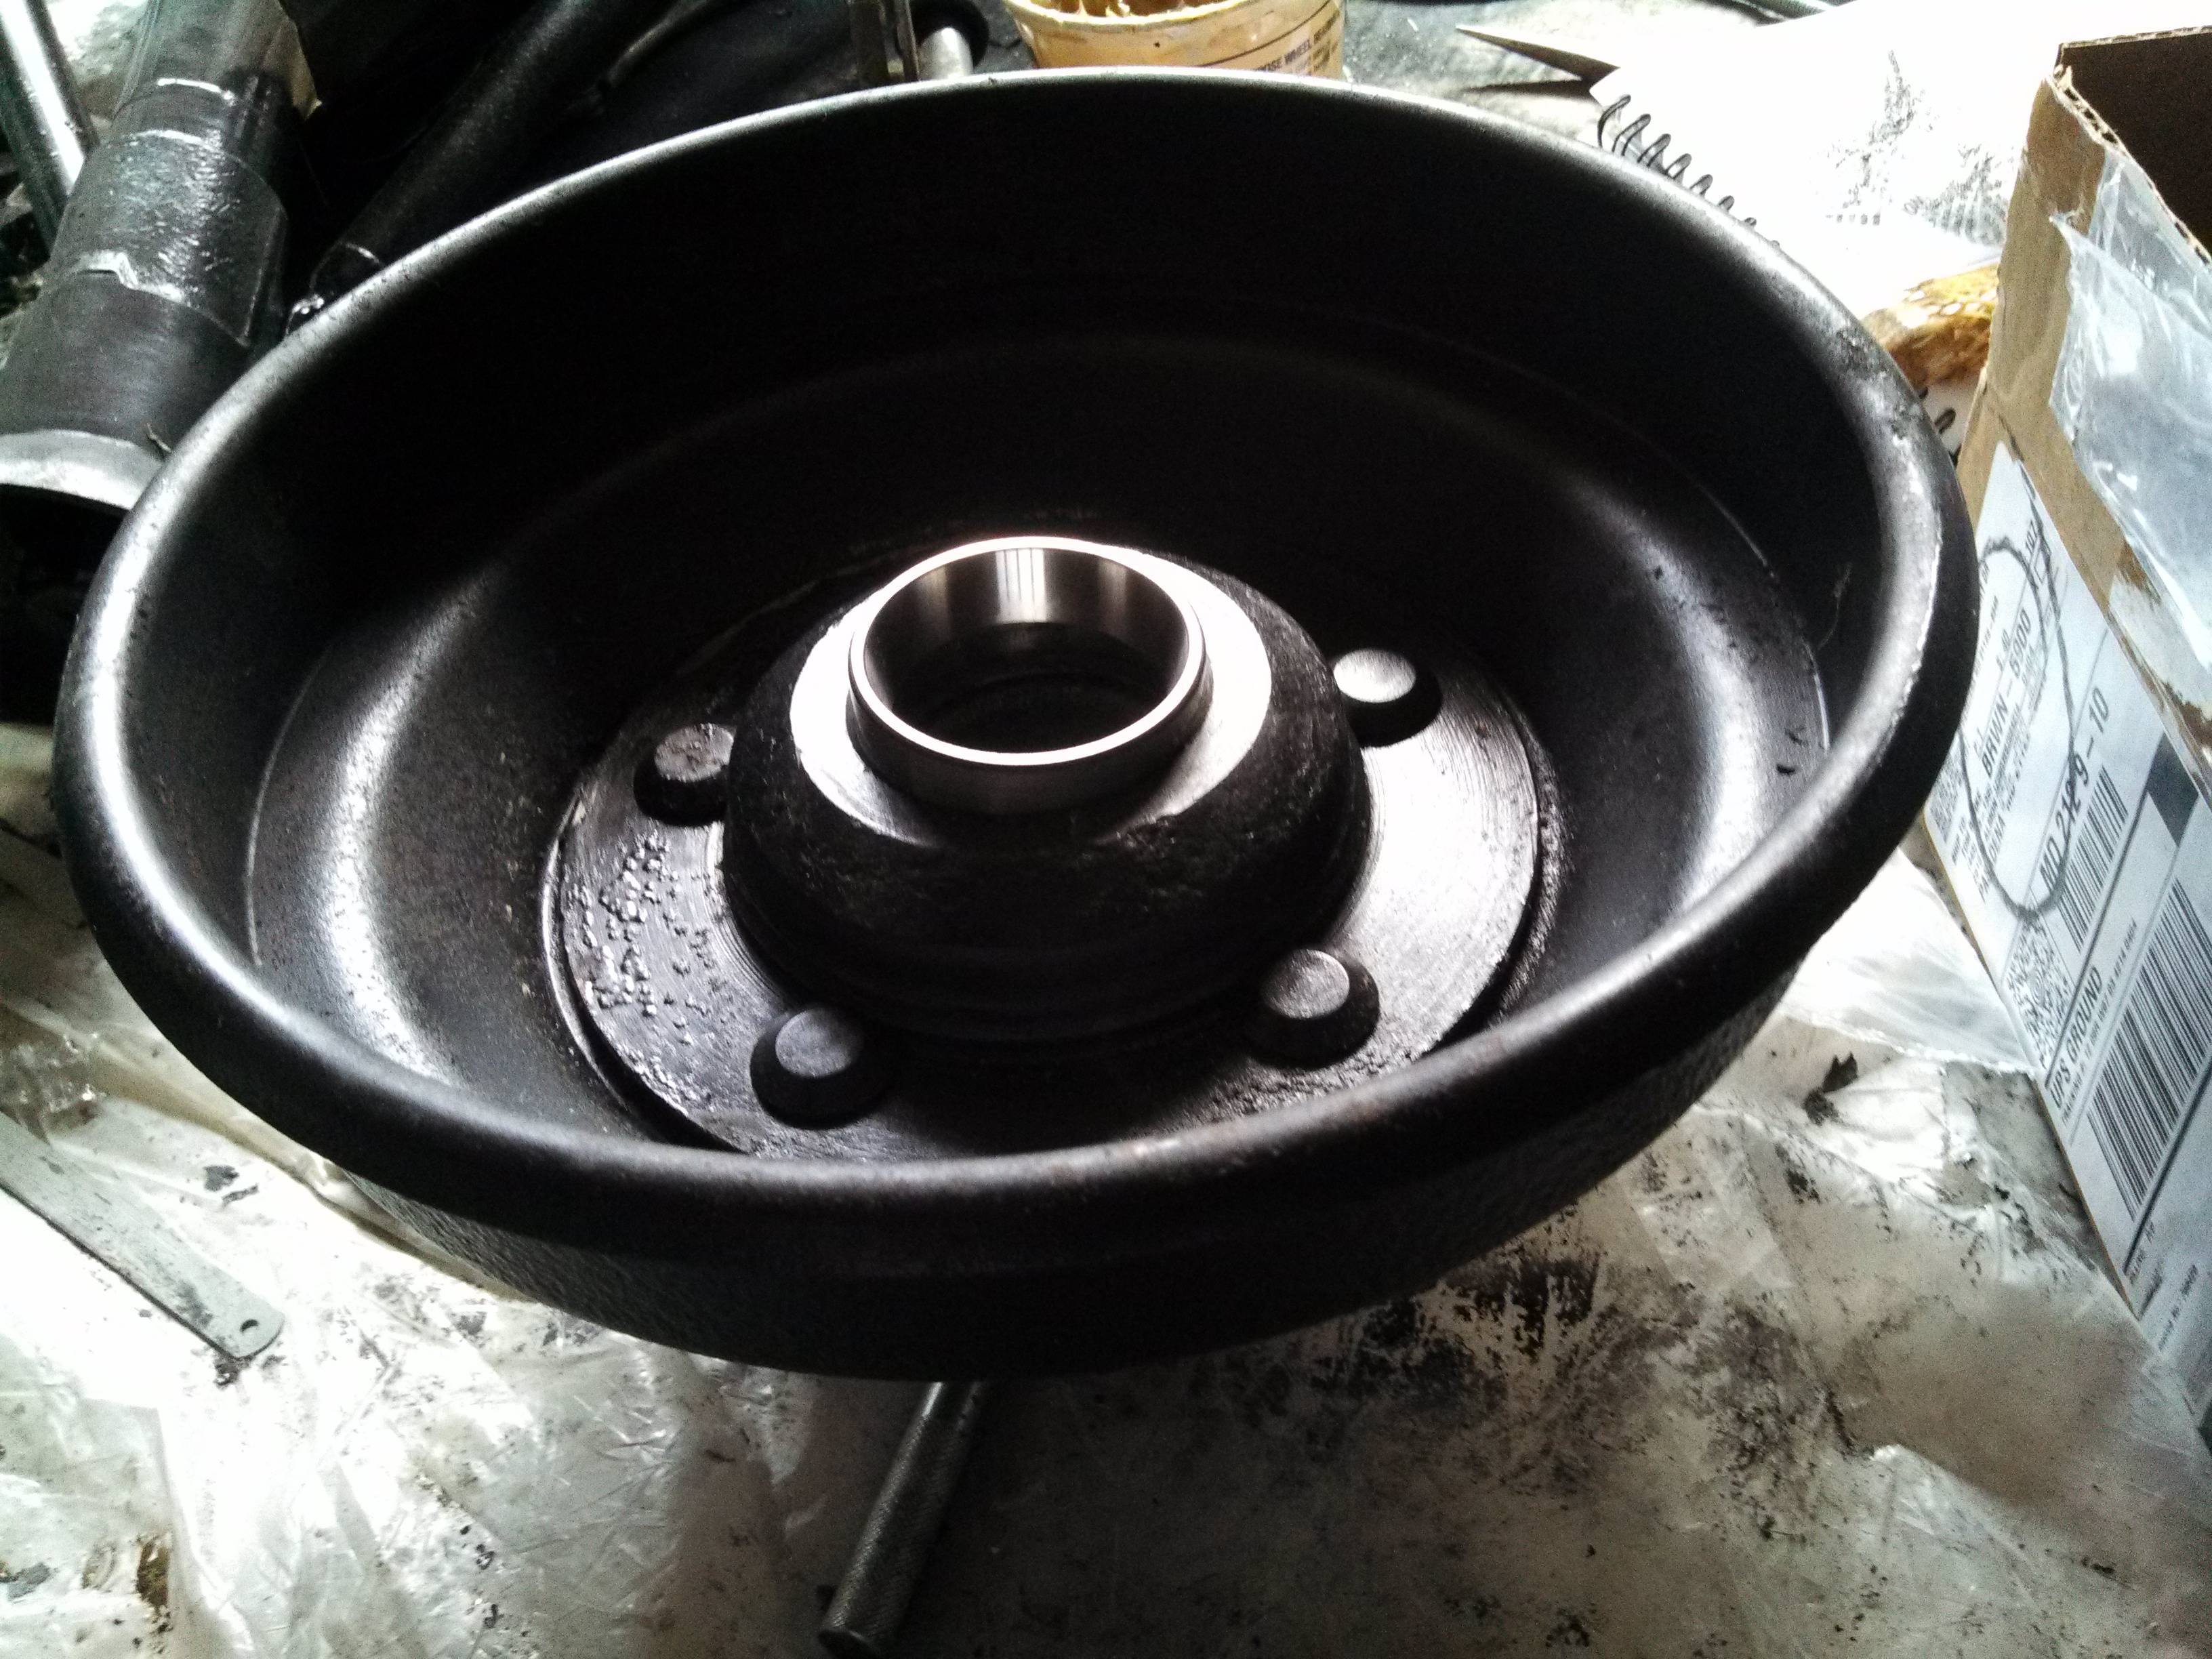
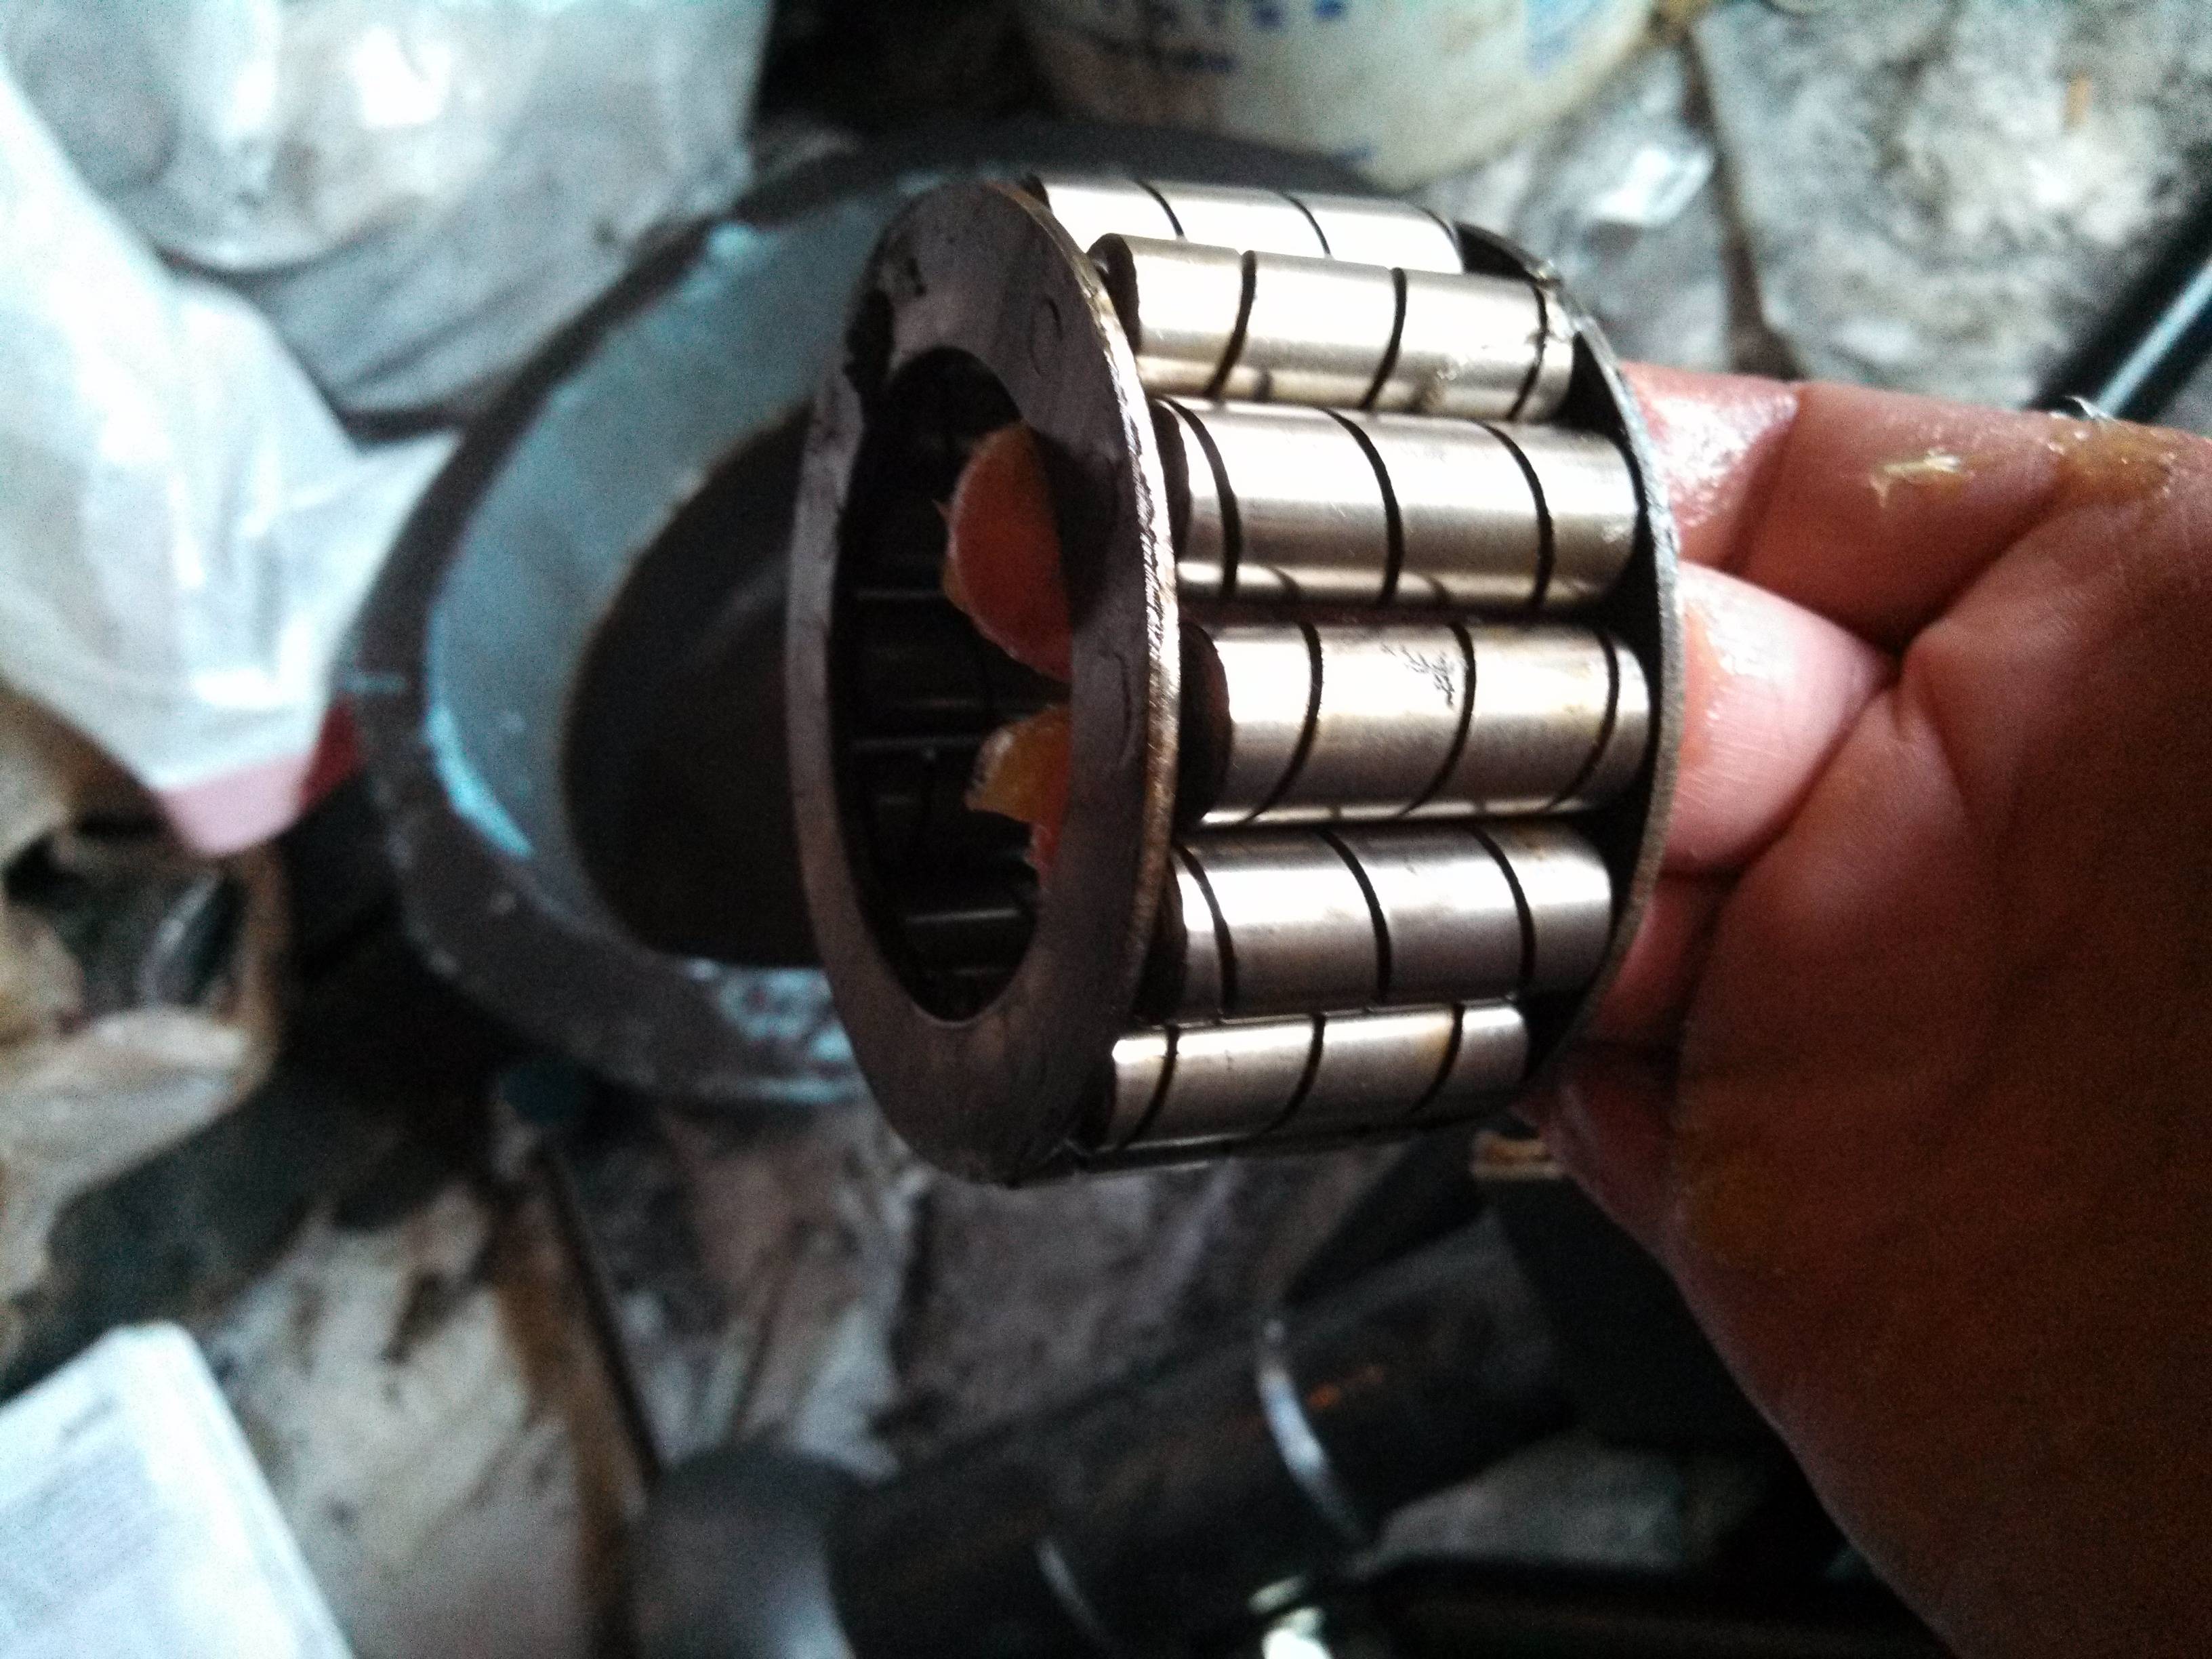
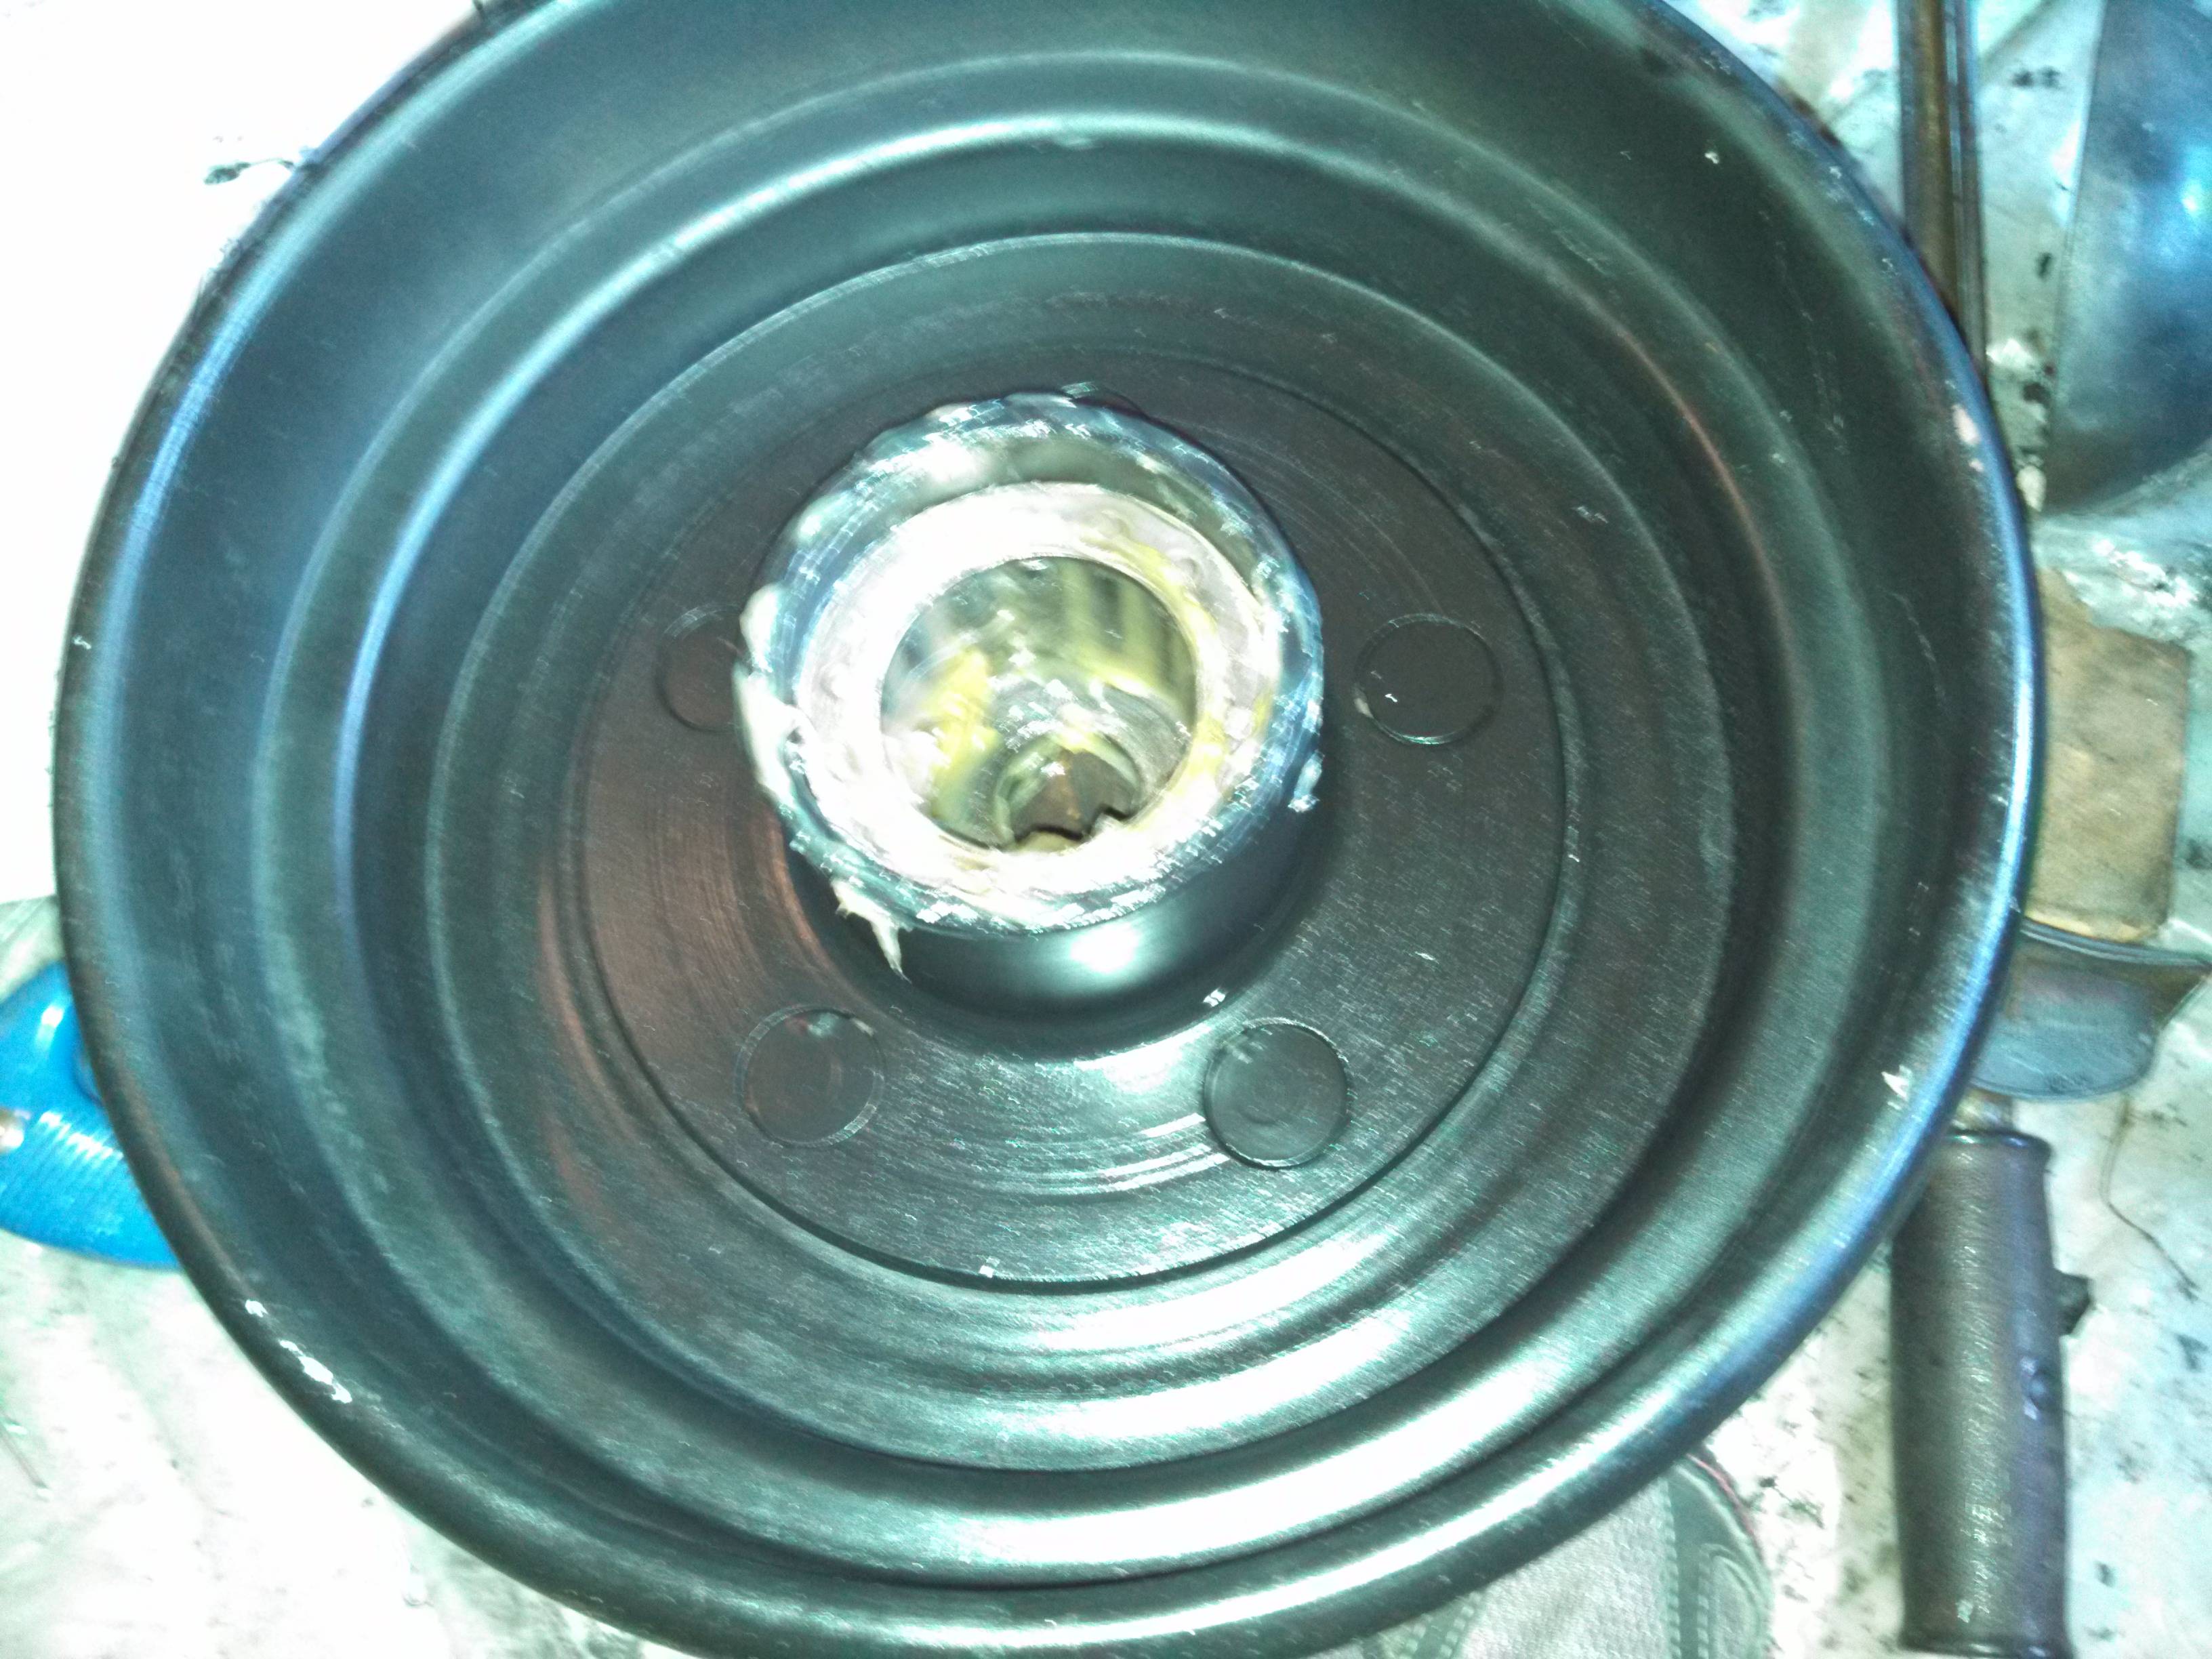
The other day, I cleaned out the front wheel bearings (which were still packed in ancient grease), and I went to install the fron drums. Of course, it didn't take me very long to realize that the races were ruined (mostly my fault)... I ordered new races, and the UPS truck dropped them off yesterday...
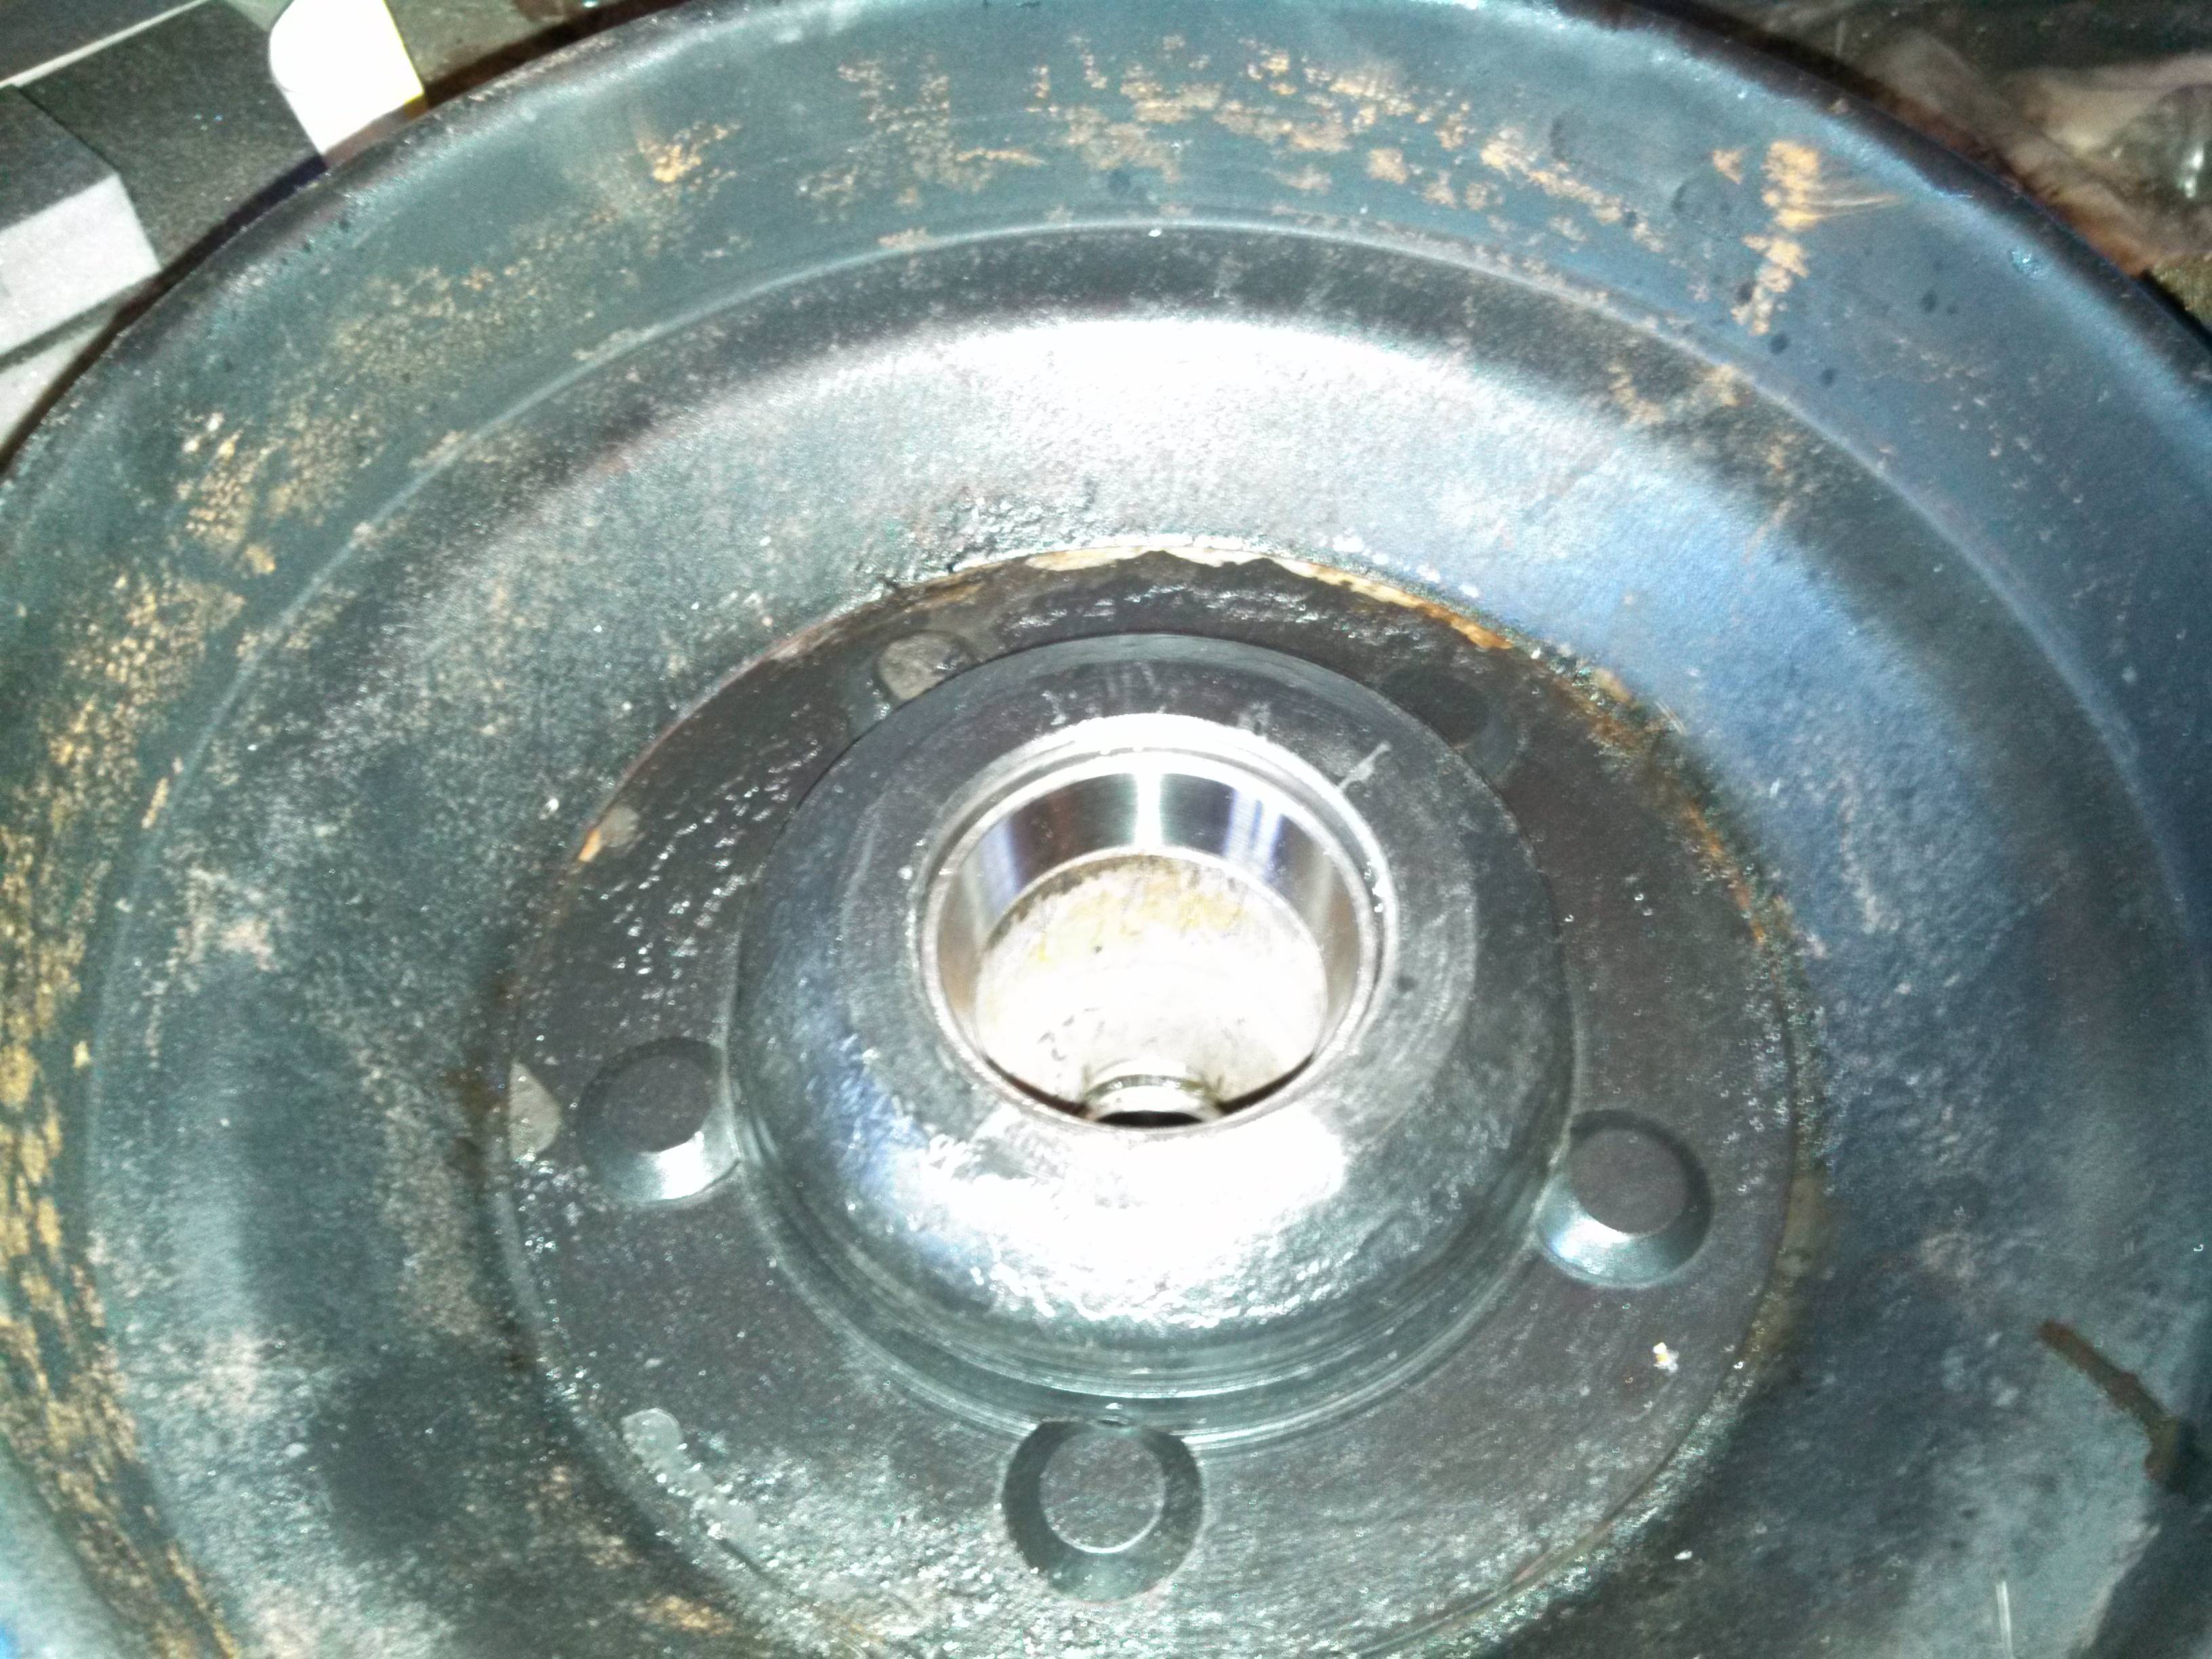
Today, I drove out the old races (using a hammer and my big brass drift)... They were in pretty crappy shape ( I think a couple of them were originals):

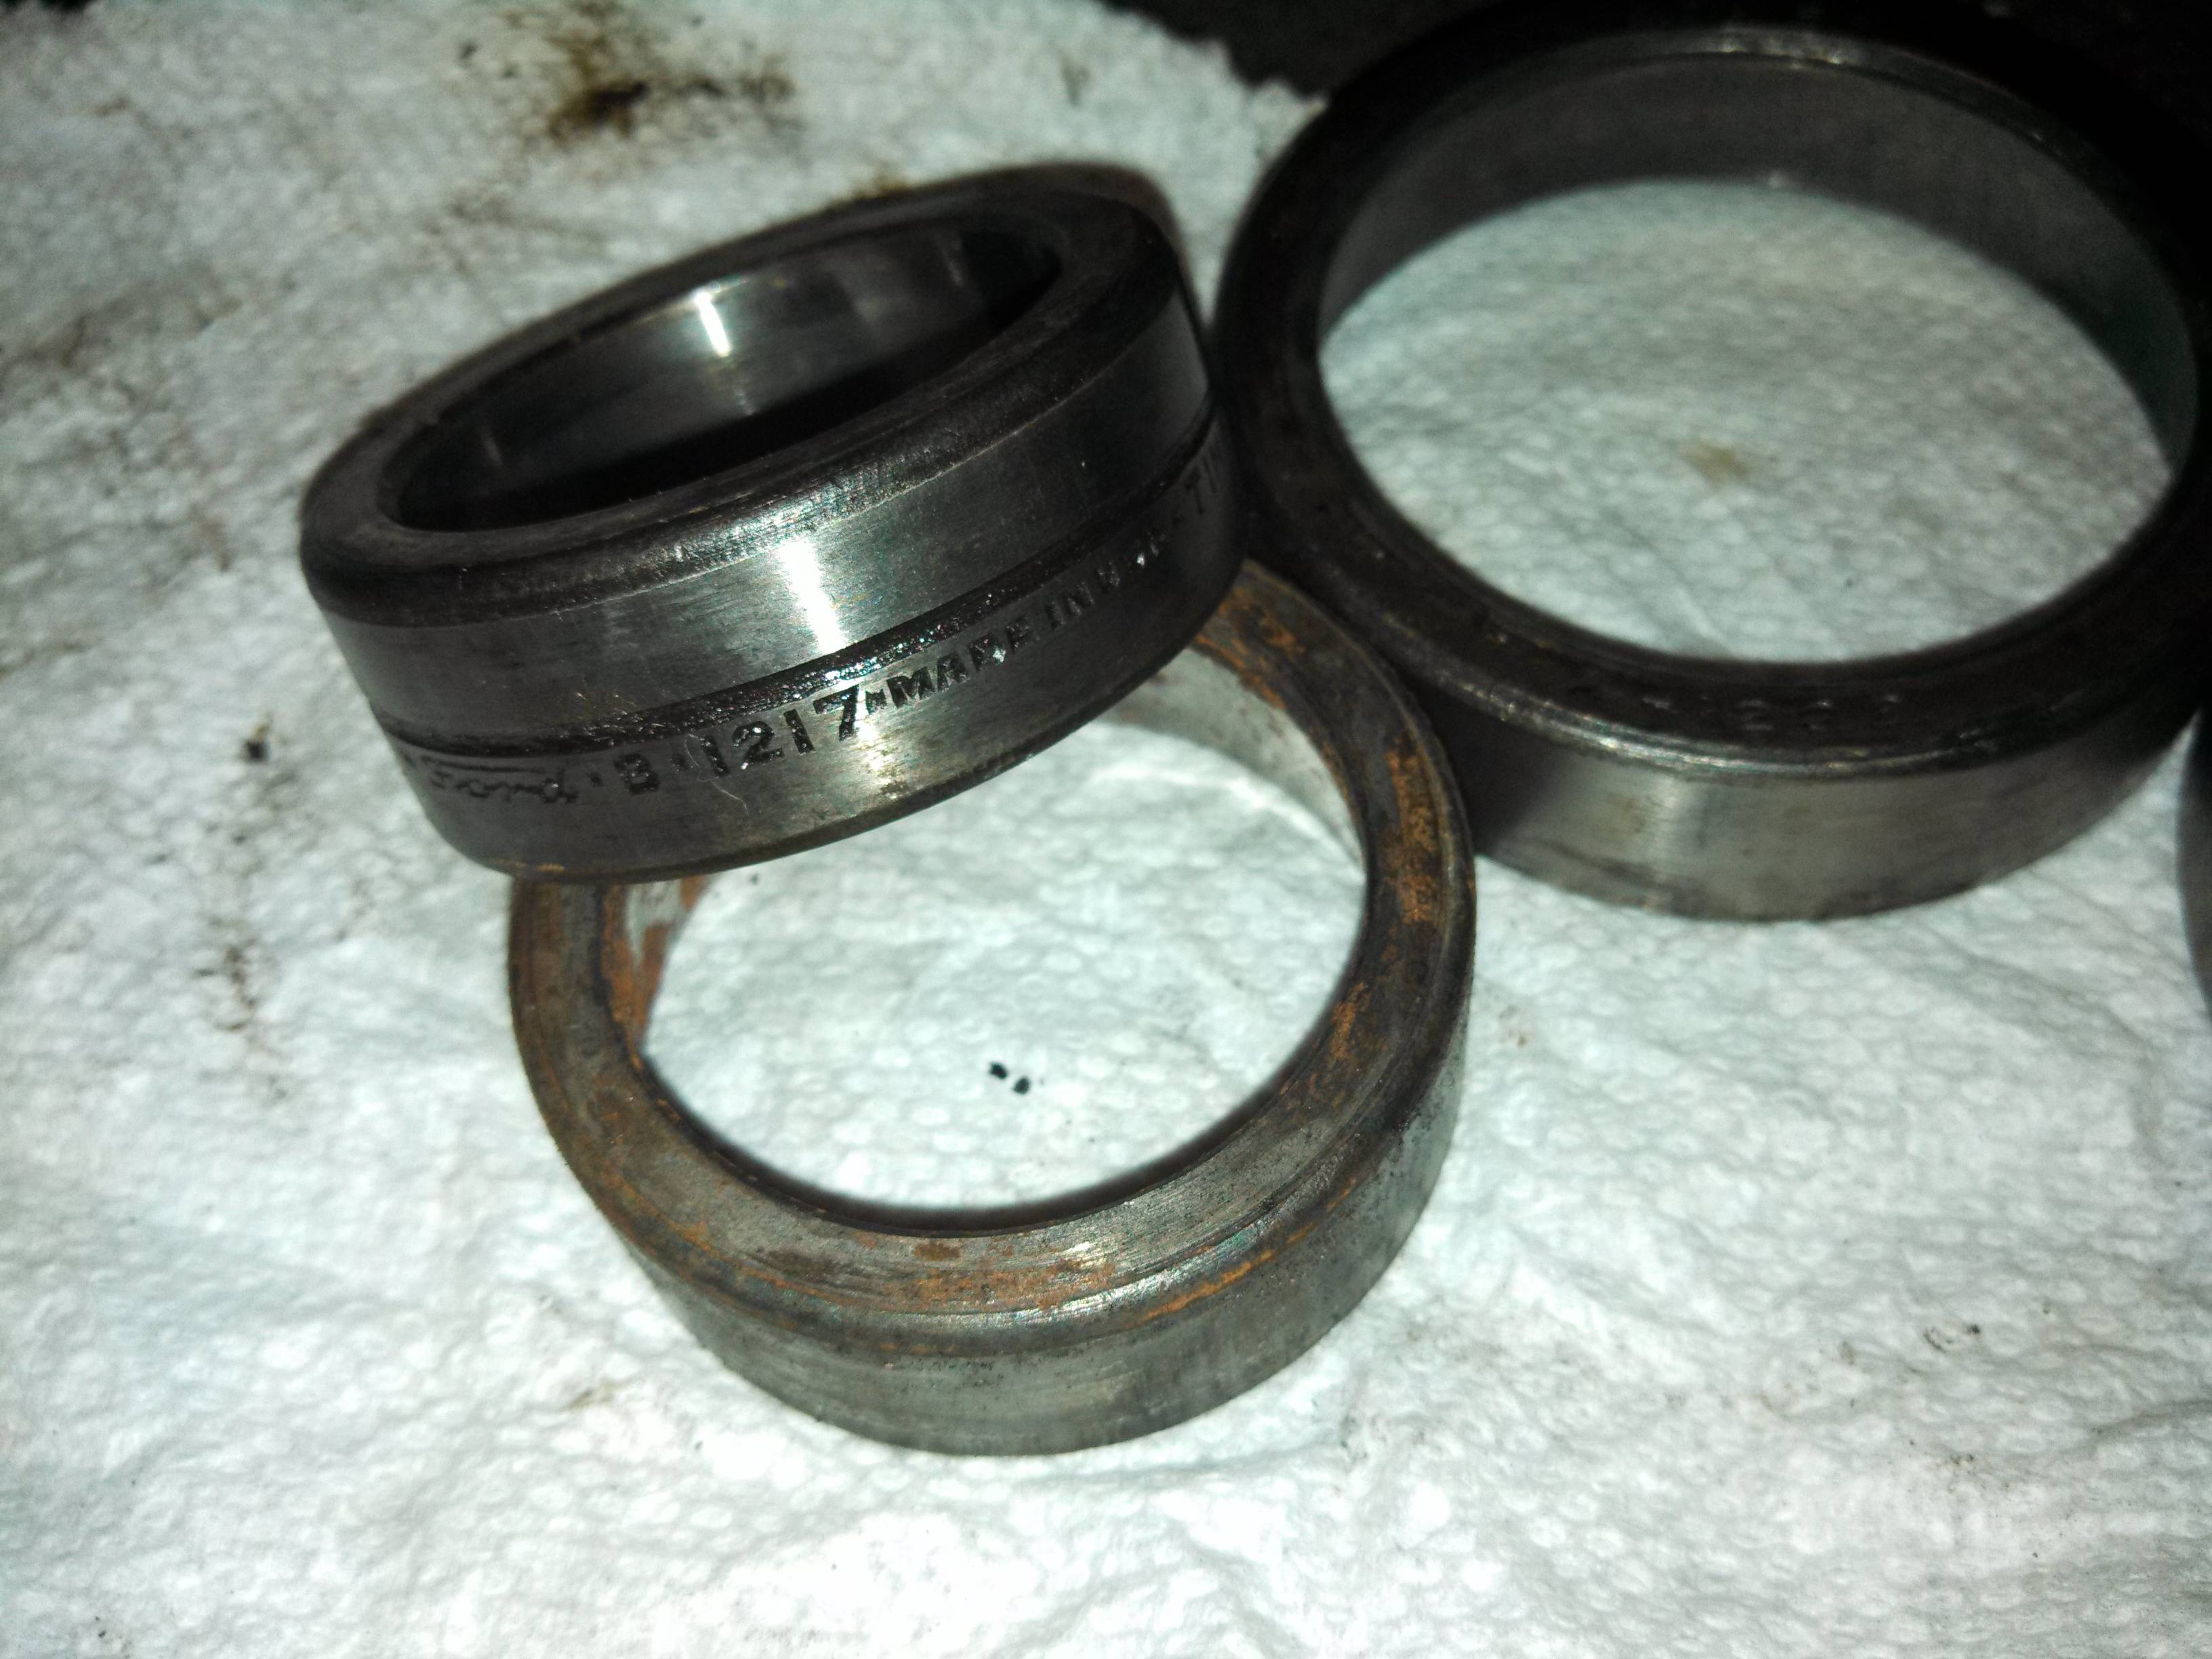
Yesterday I knocked the races out of the front wheel hubs... Today seemed like a good day to pound in the new ones.
Yes, pound. Just like with the differential bearings, I still haven't broke doen to buy a shop press. Very careful use of a hammer and a brass drift works fine for me. At the end, I used a 3/16" pin punch to make sure they were properly seated:

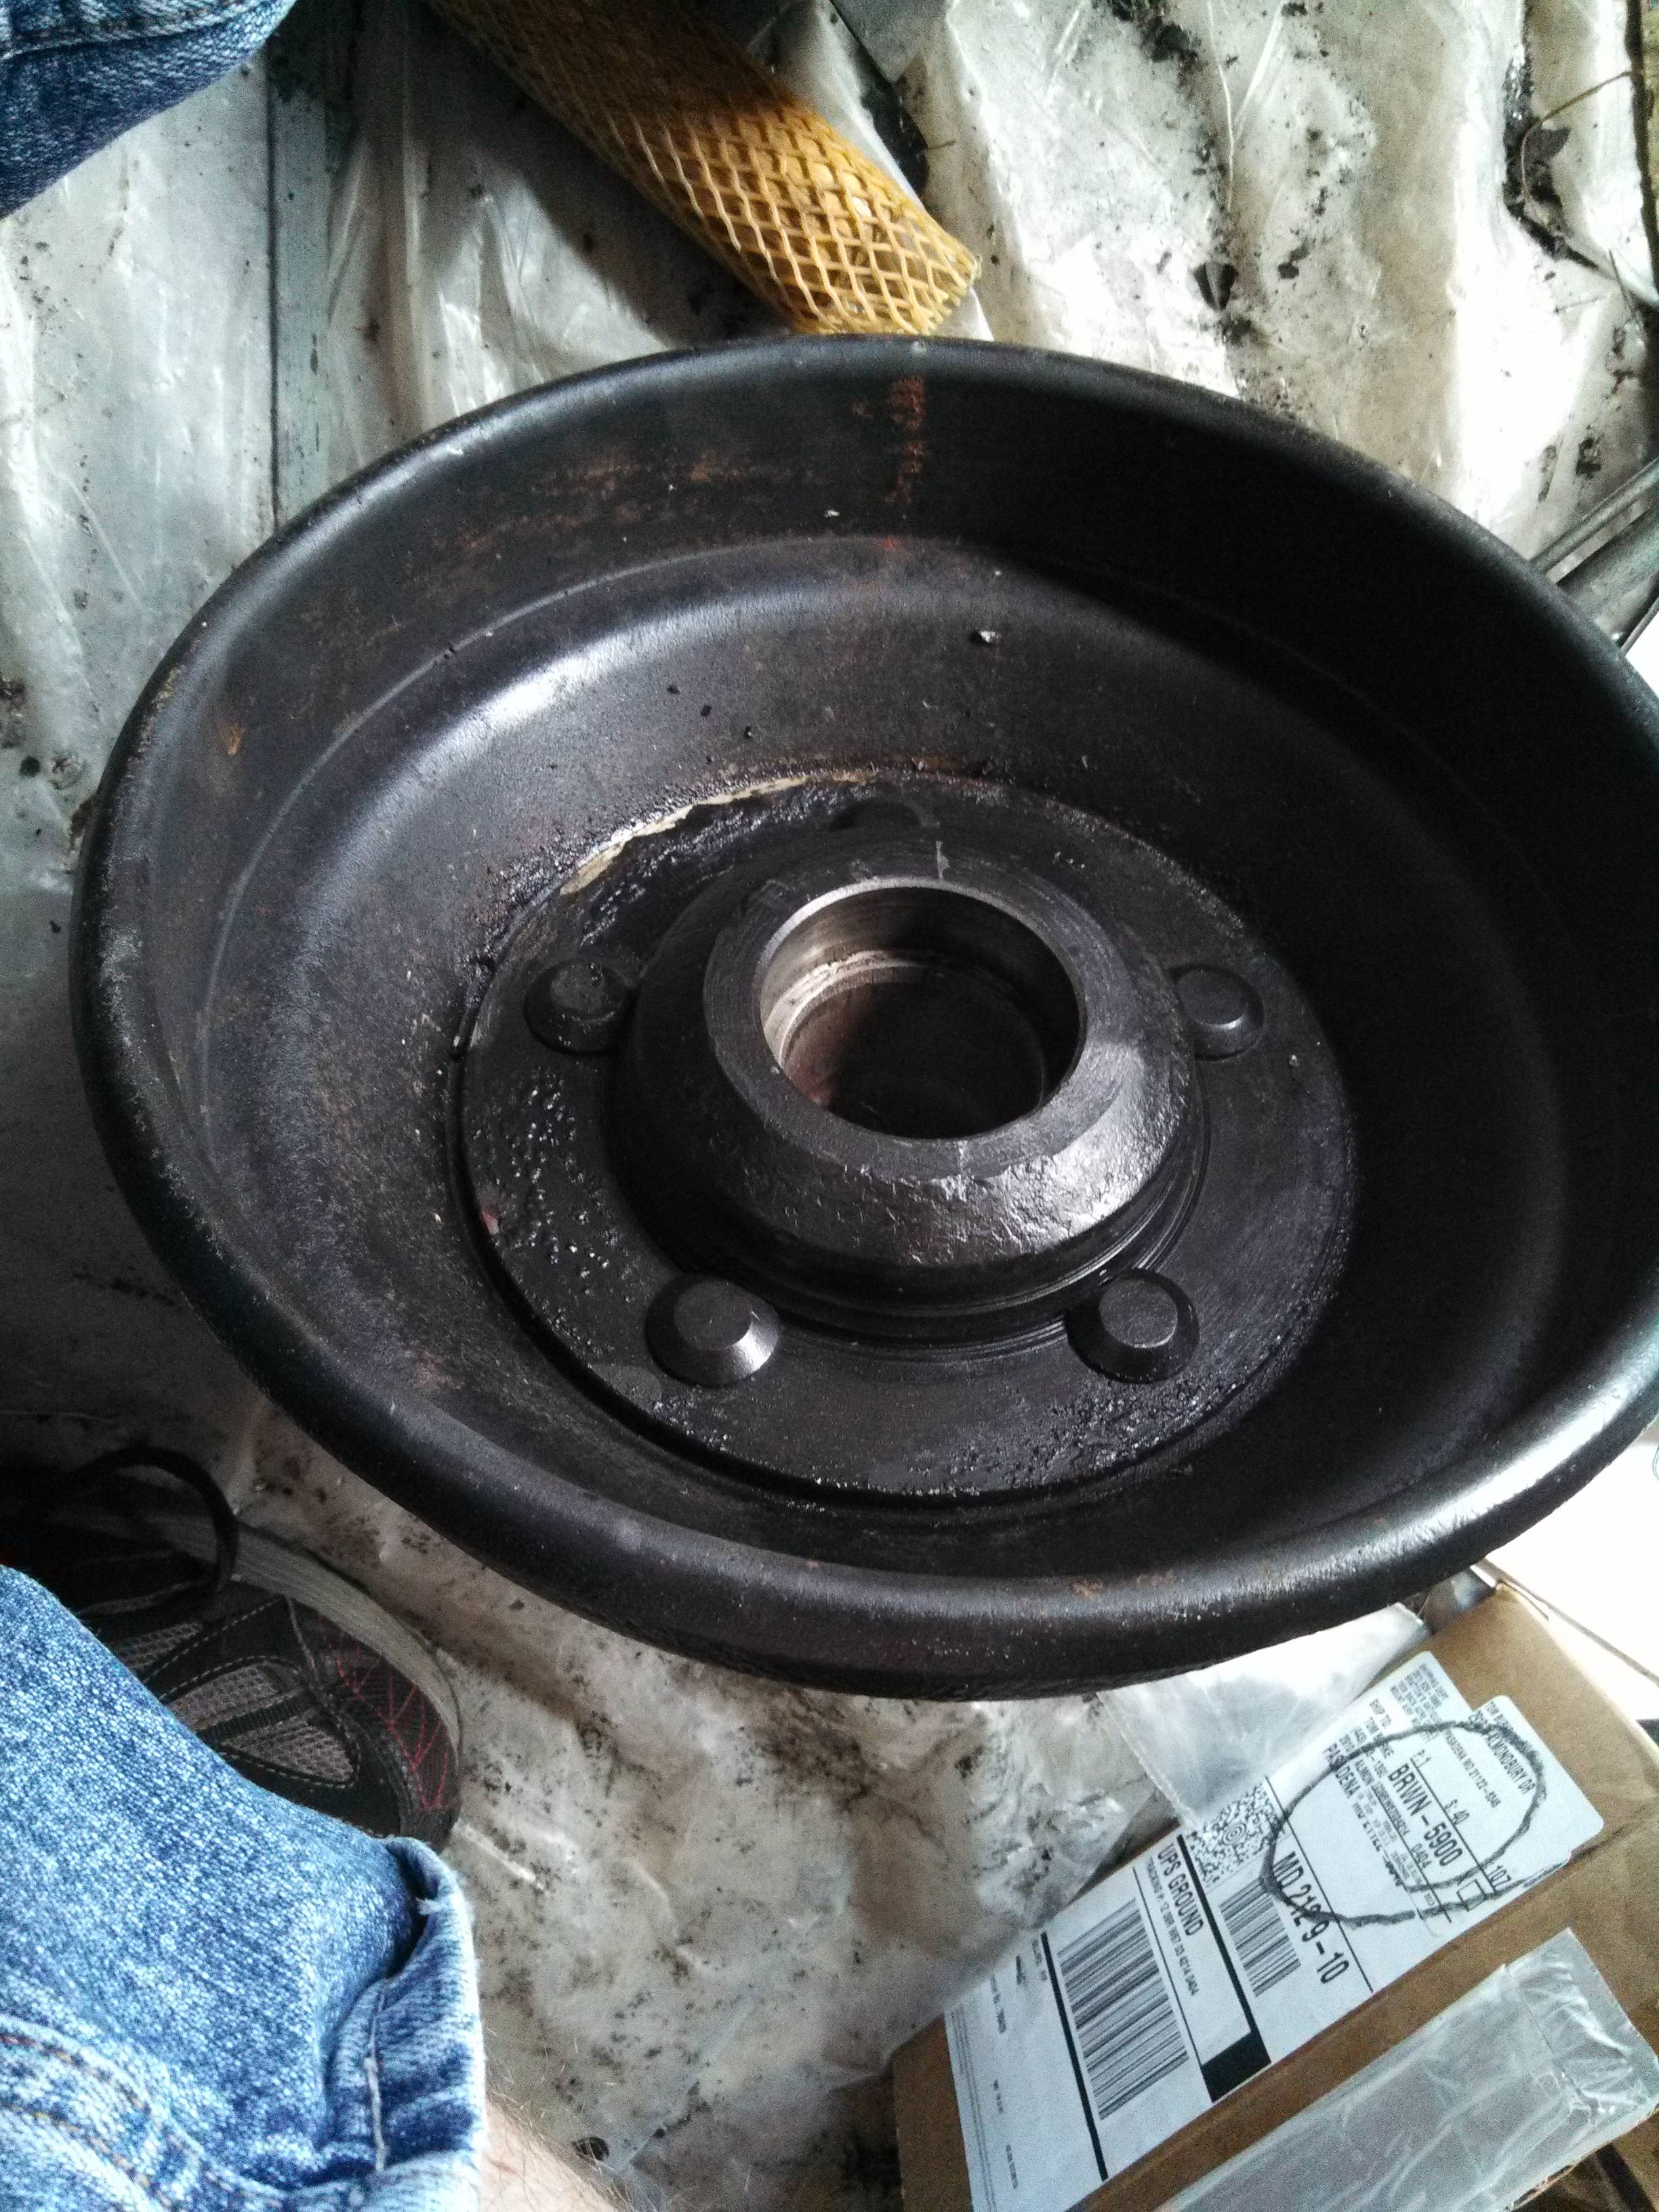

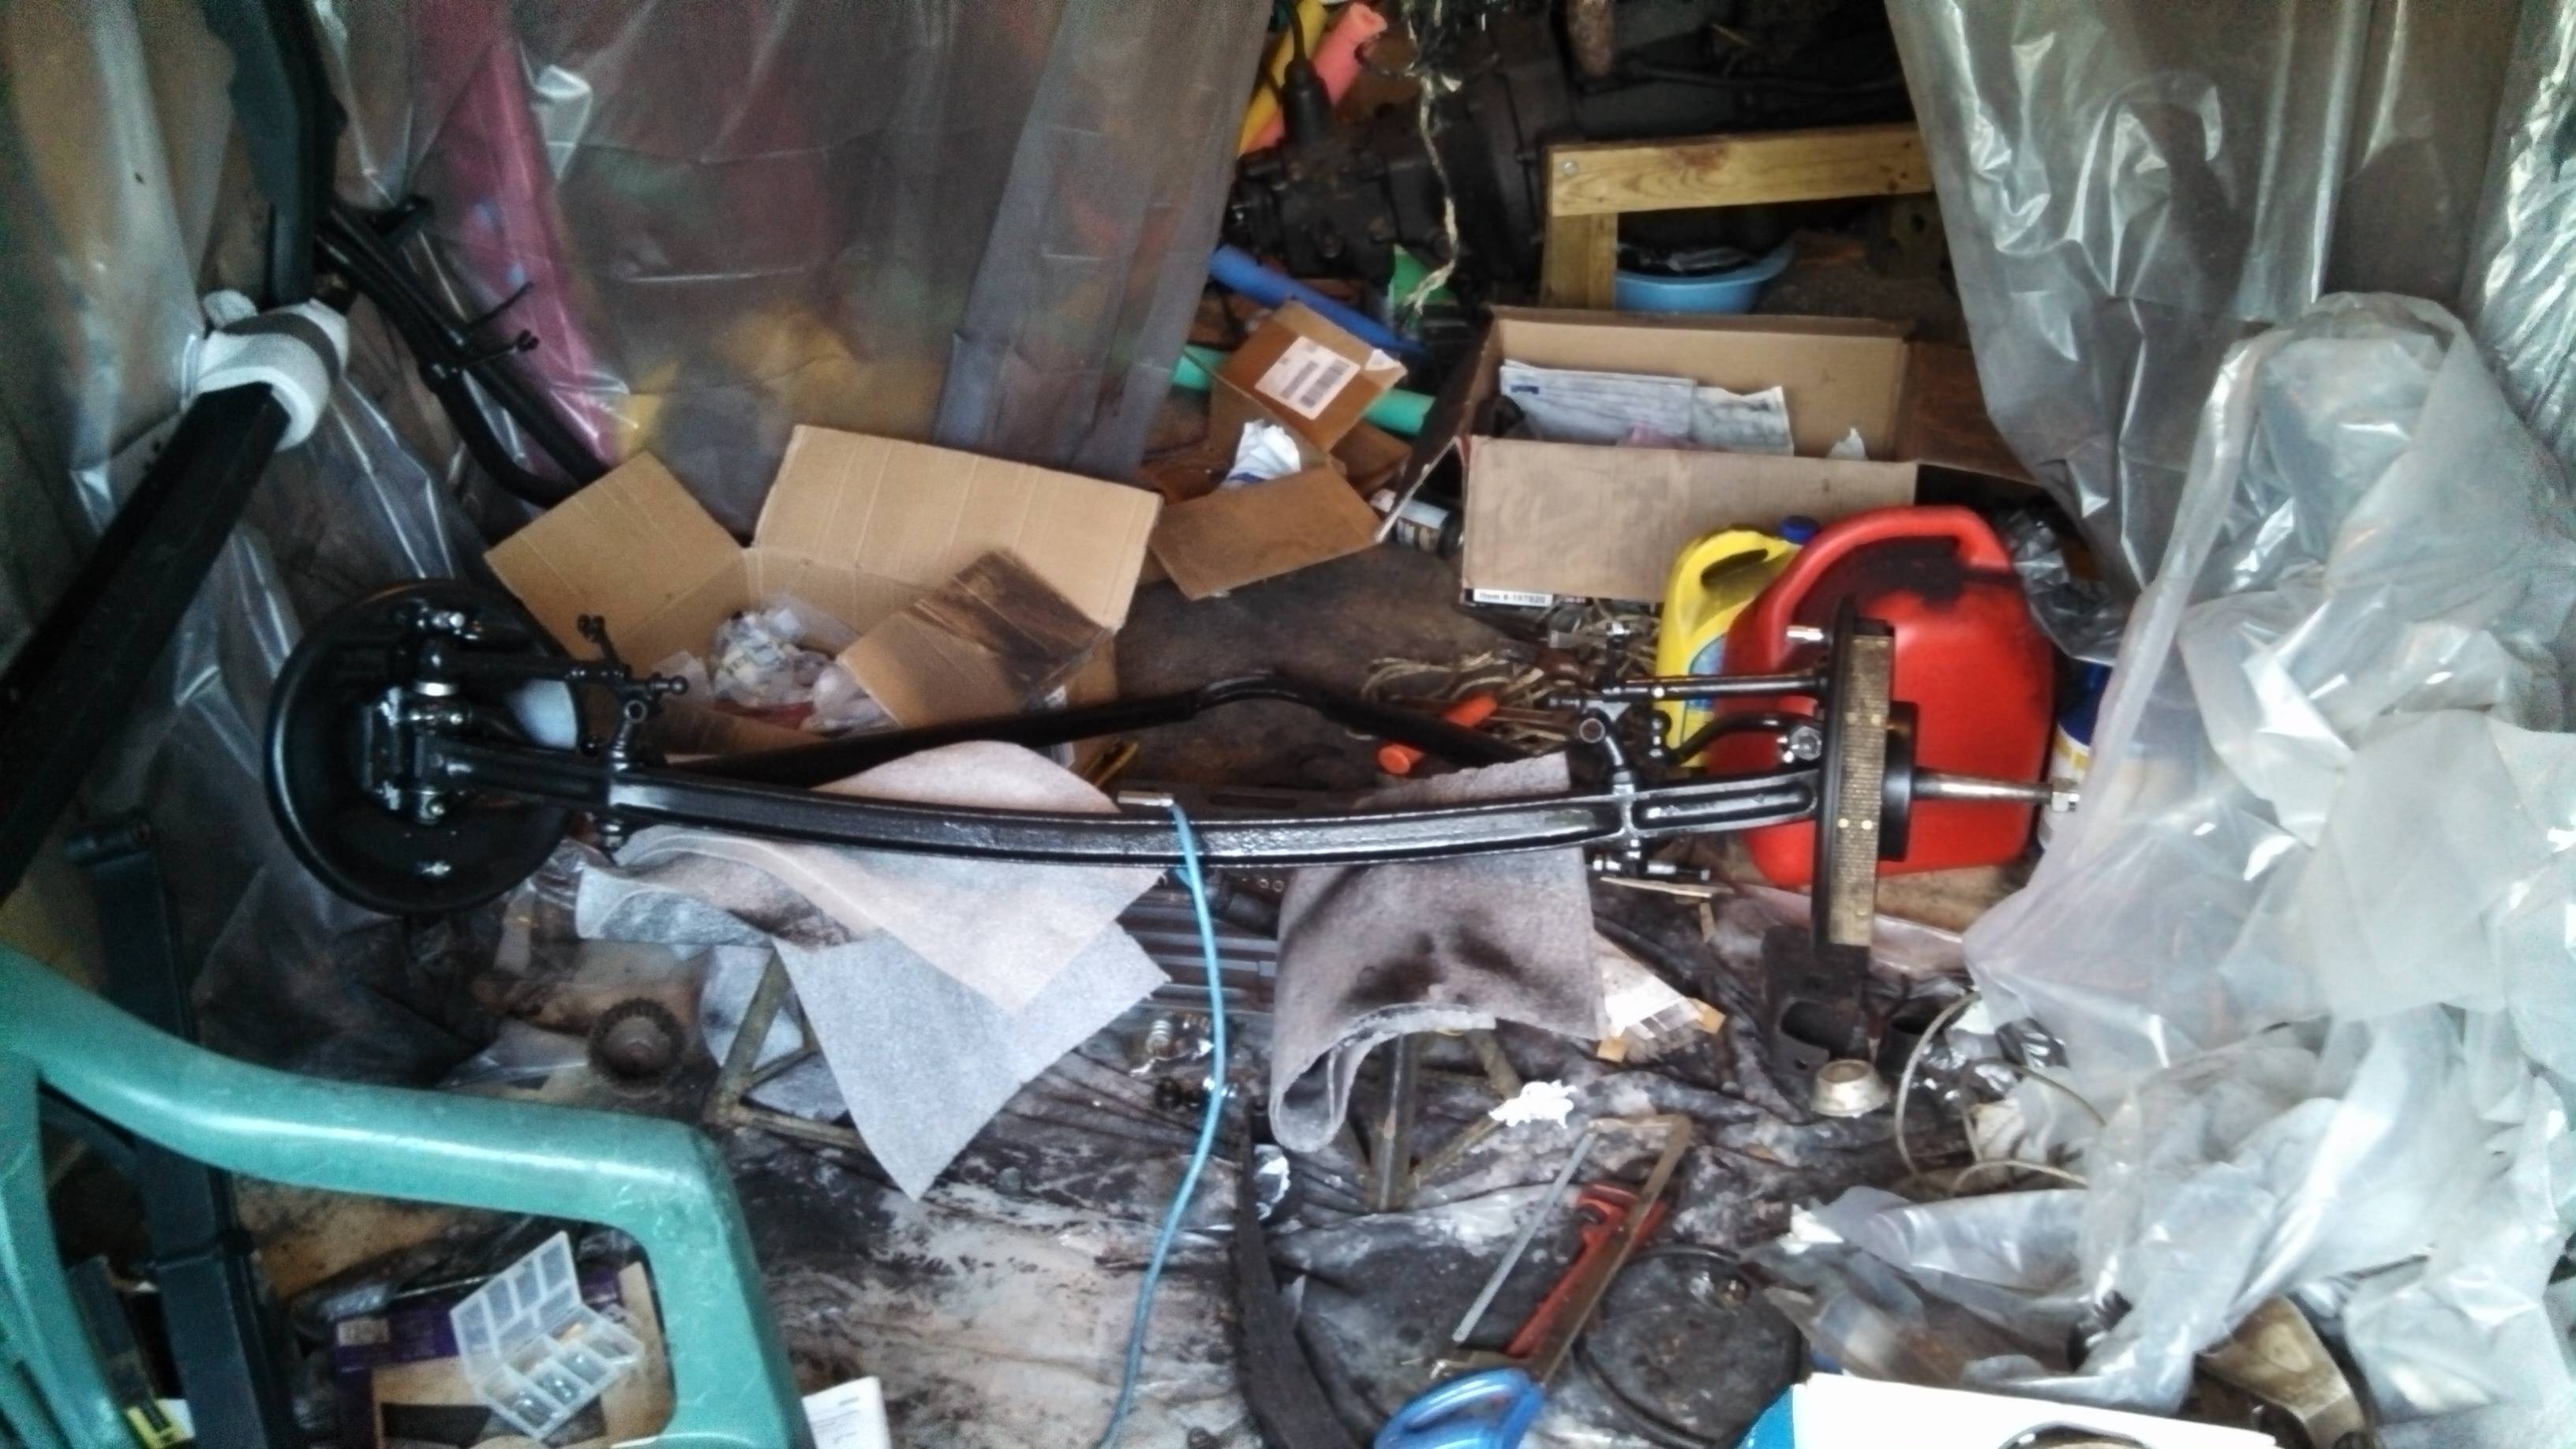
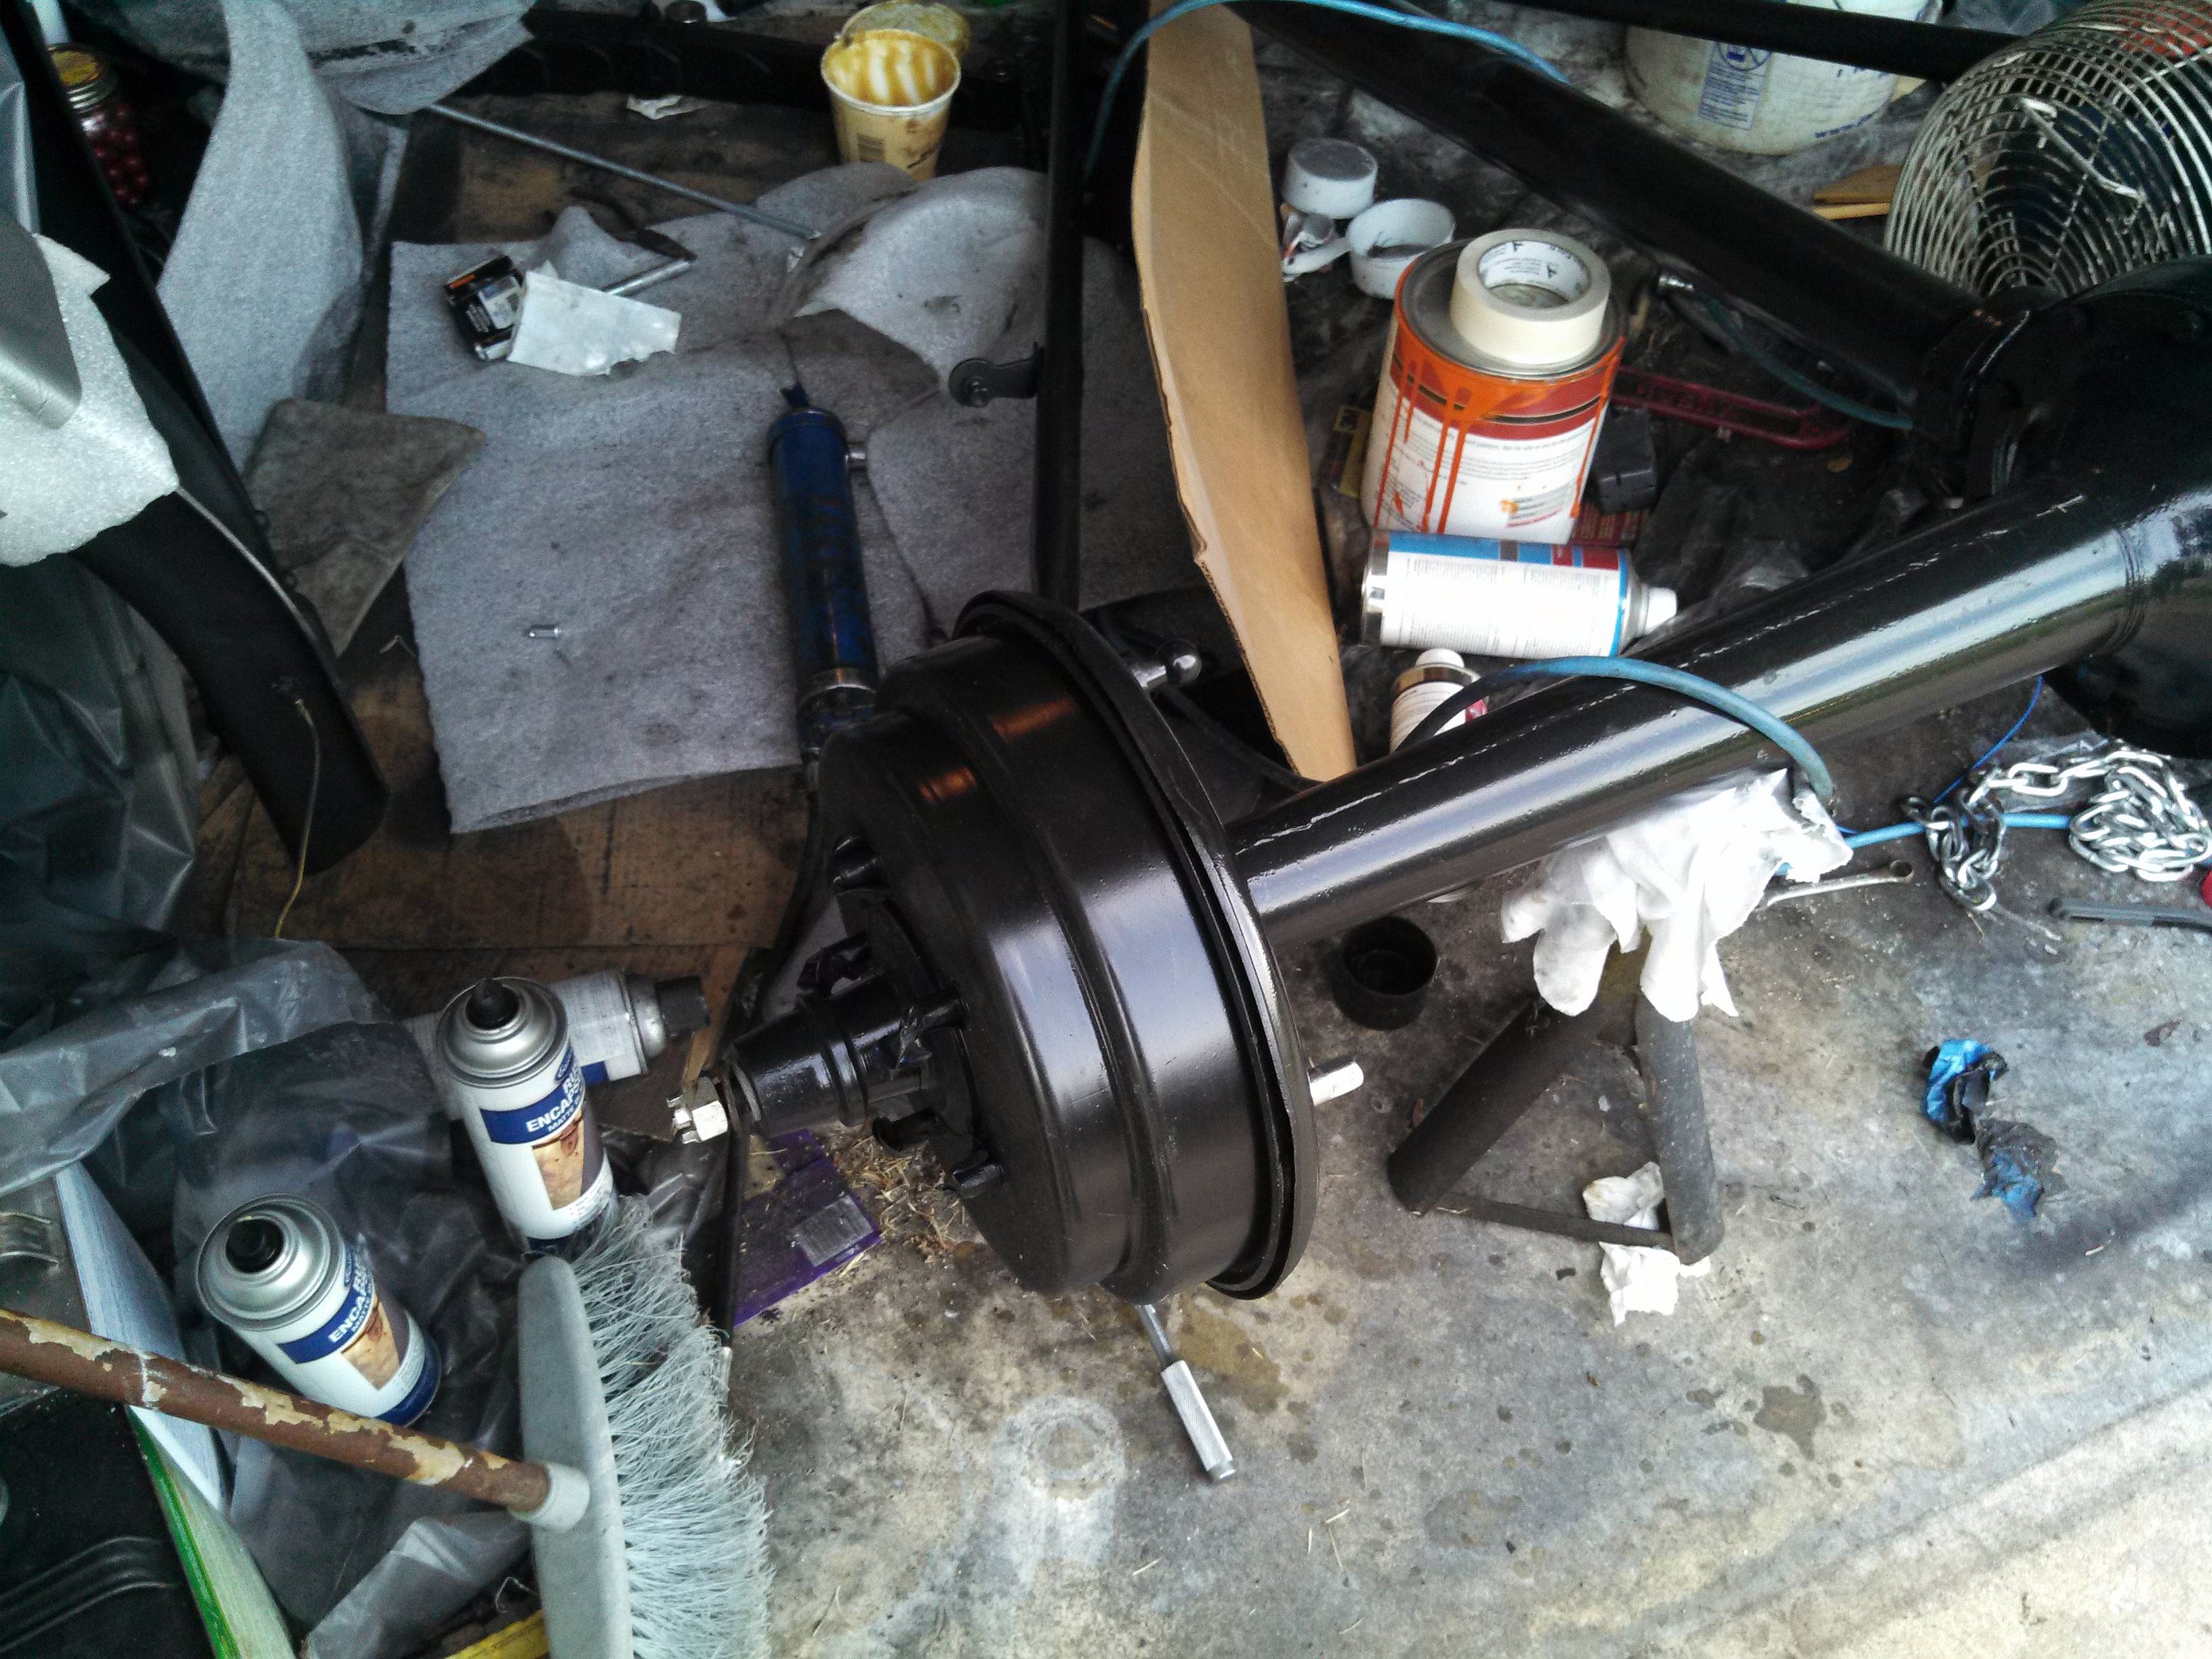
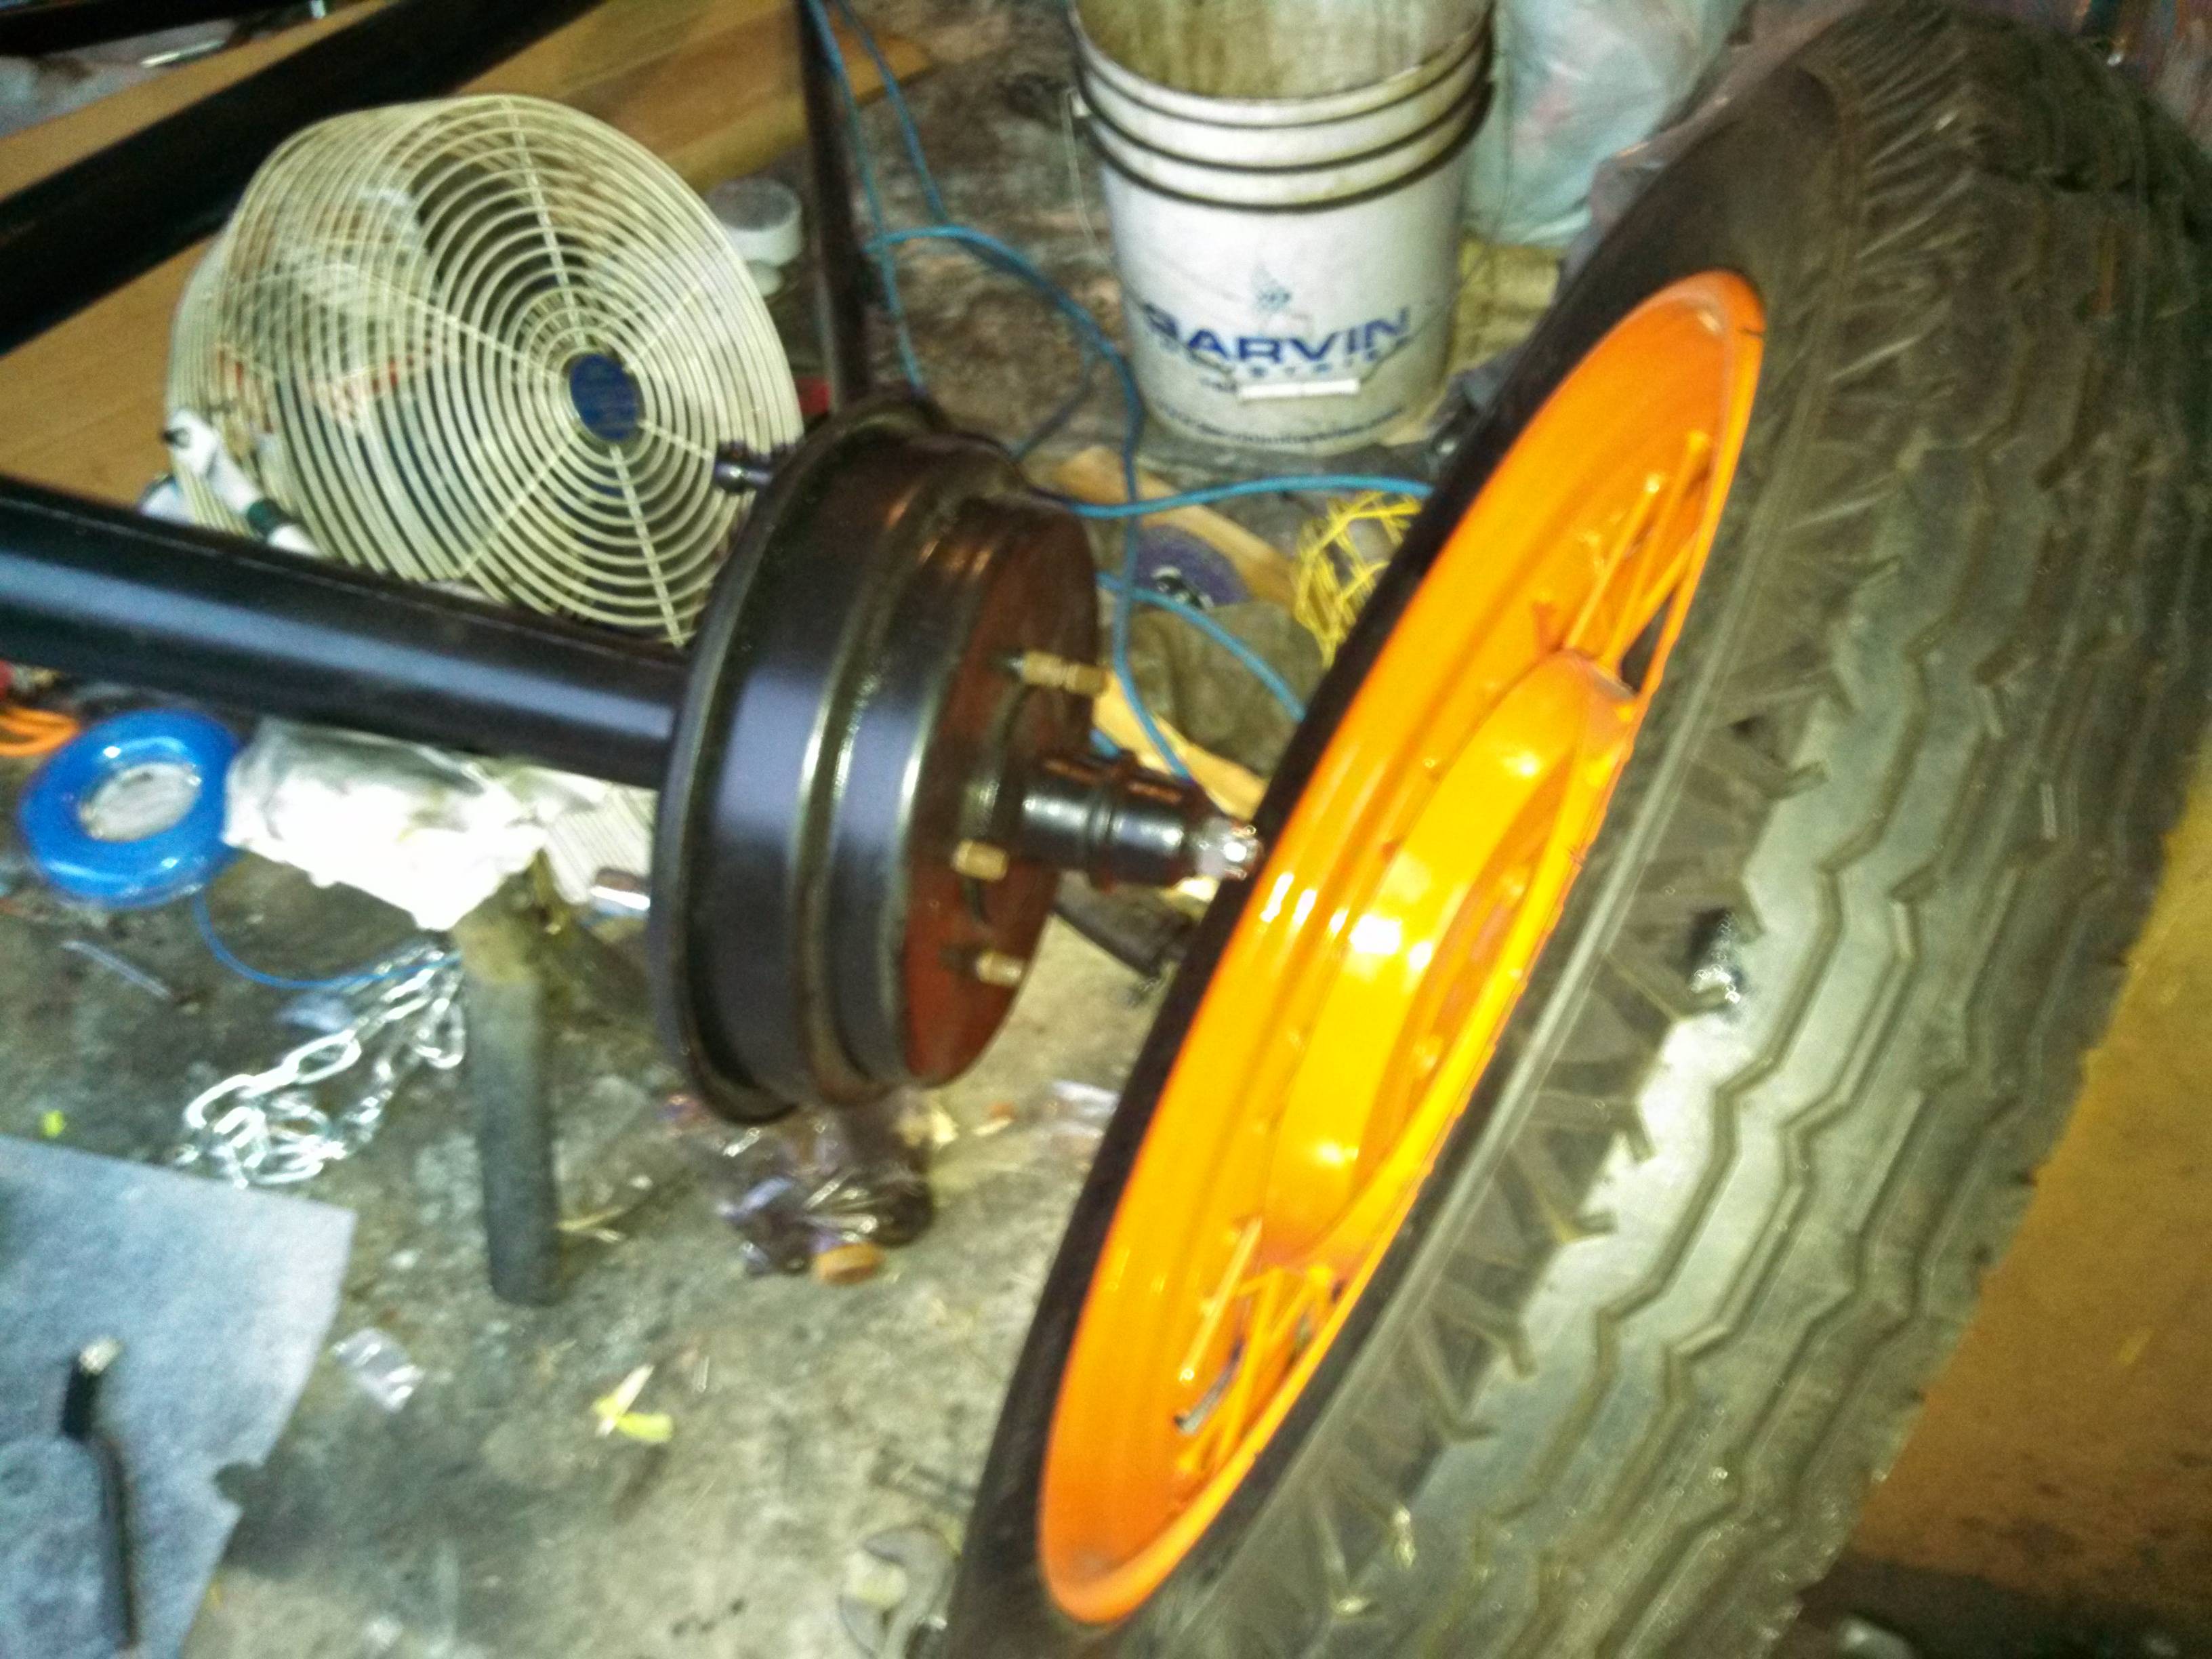
Today, I went ahead and finished up the front suspension... This involved two major things, installing the drums, installing the wheels, and installing the front (duh) springs.
I followed Timken's advice for the drum install, which is to torque the wheel nut to 50 ft-lbs to seat the barings, then to back off, and tighten them until they just start to drag. Then, back off to the first spot where you can install the Cotter pin.
Putting the wheels on was as easy as I expected, although, I think I'll spring for new wheel nuts. The old ones look like 100 years of bad road...
With the front suspension completely reassembled, I went ahead and greased all the fittings. And ran out of grease... Here's an instructional video on how to change the grease cartridge in your gun (if you don't already know how):
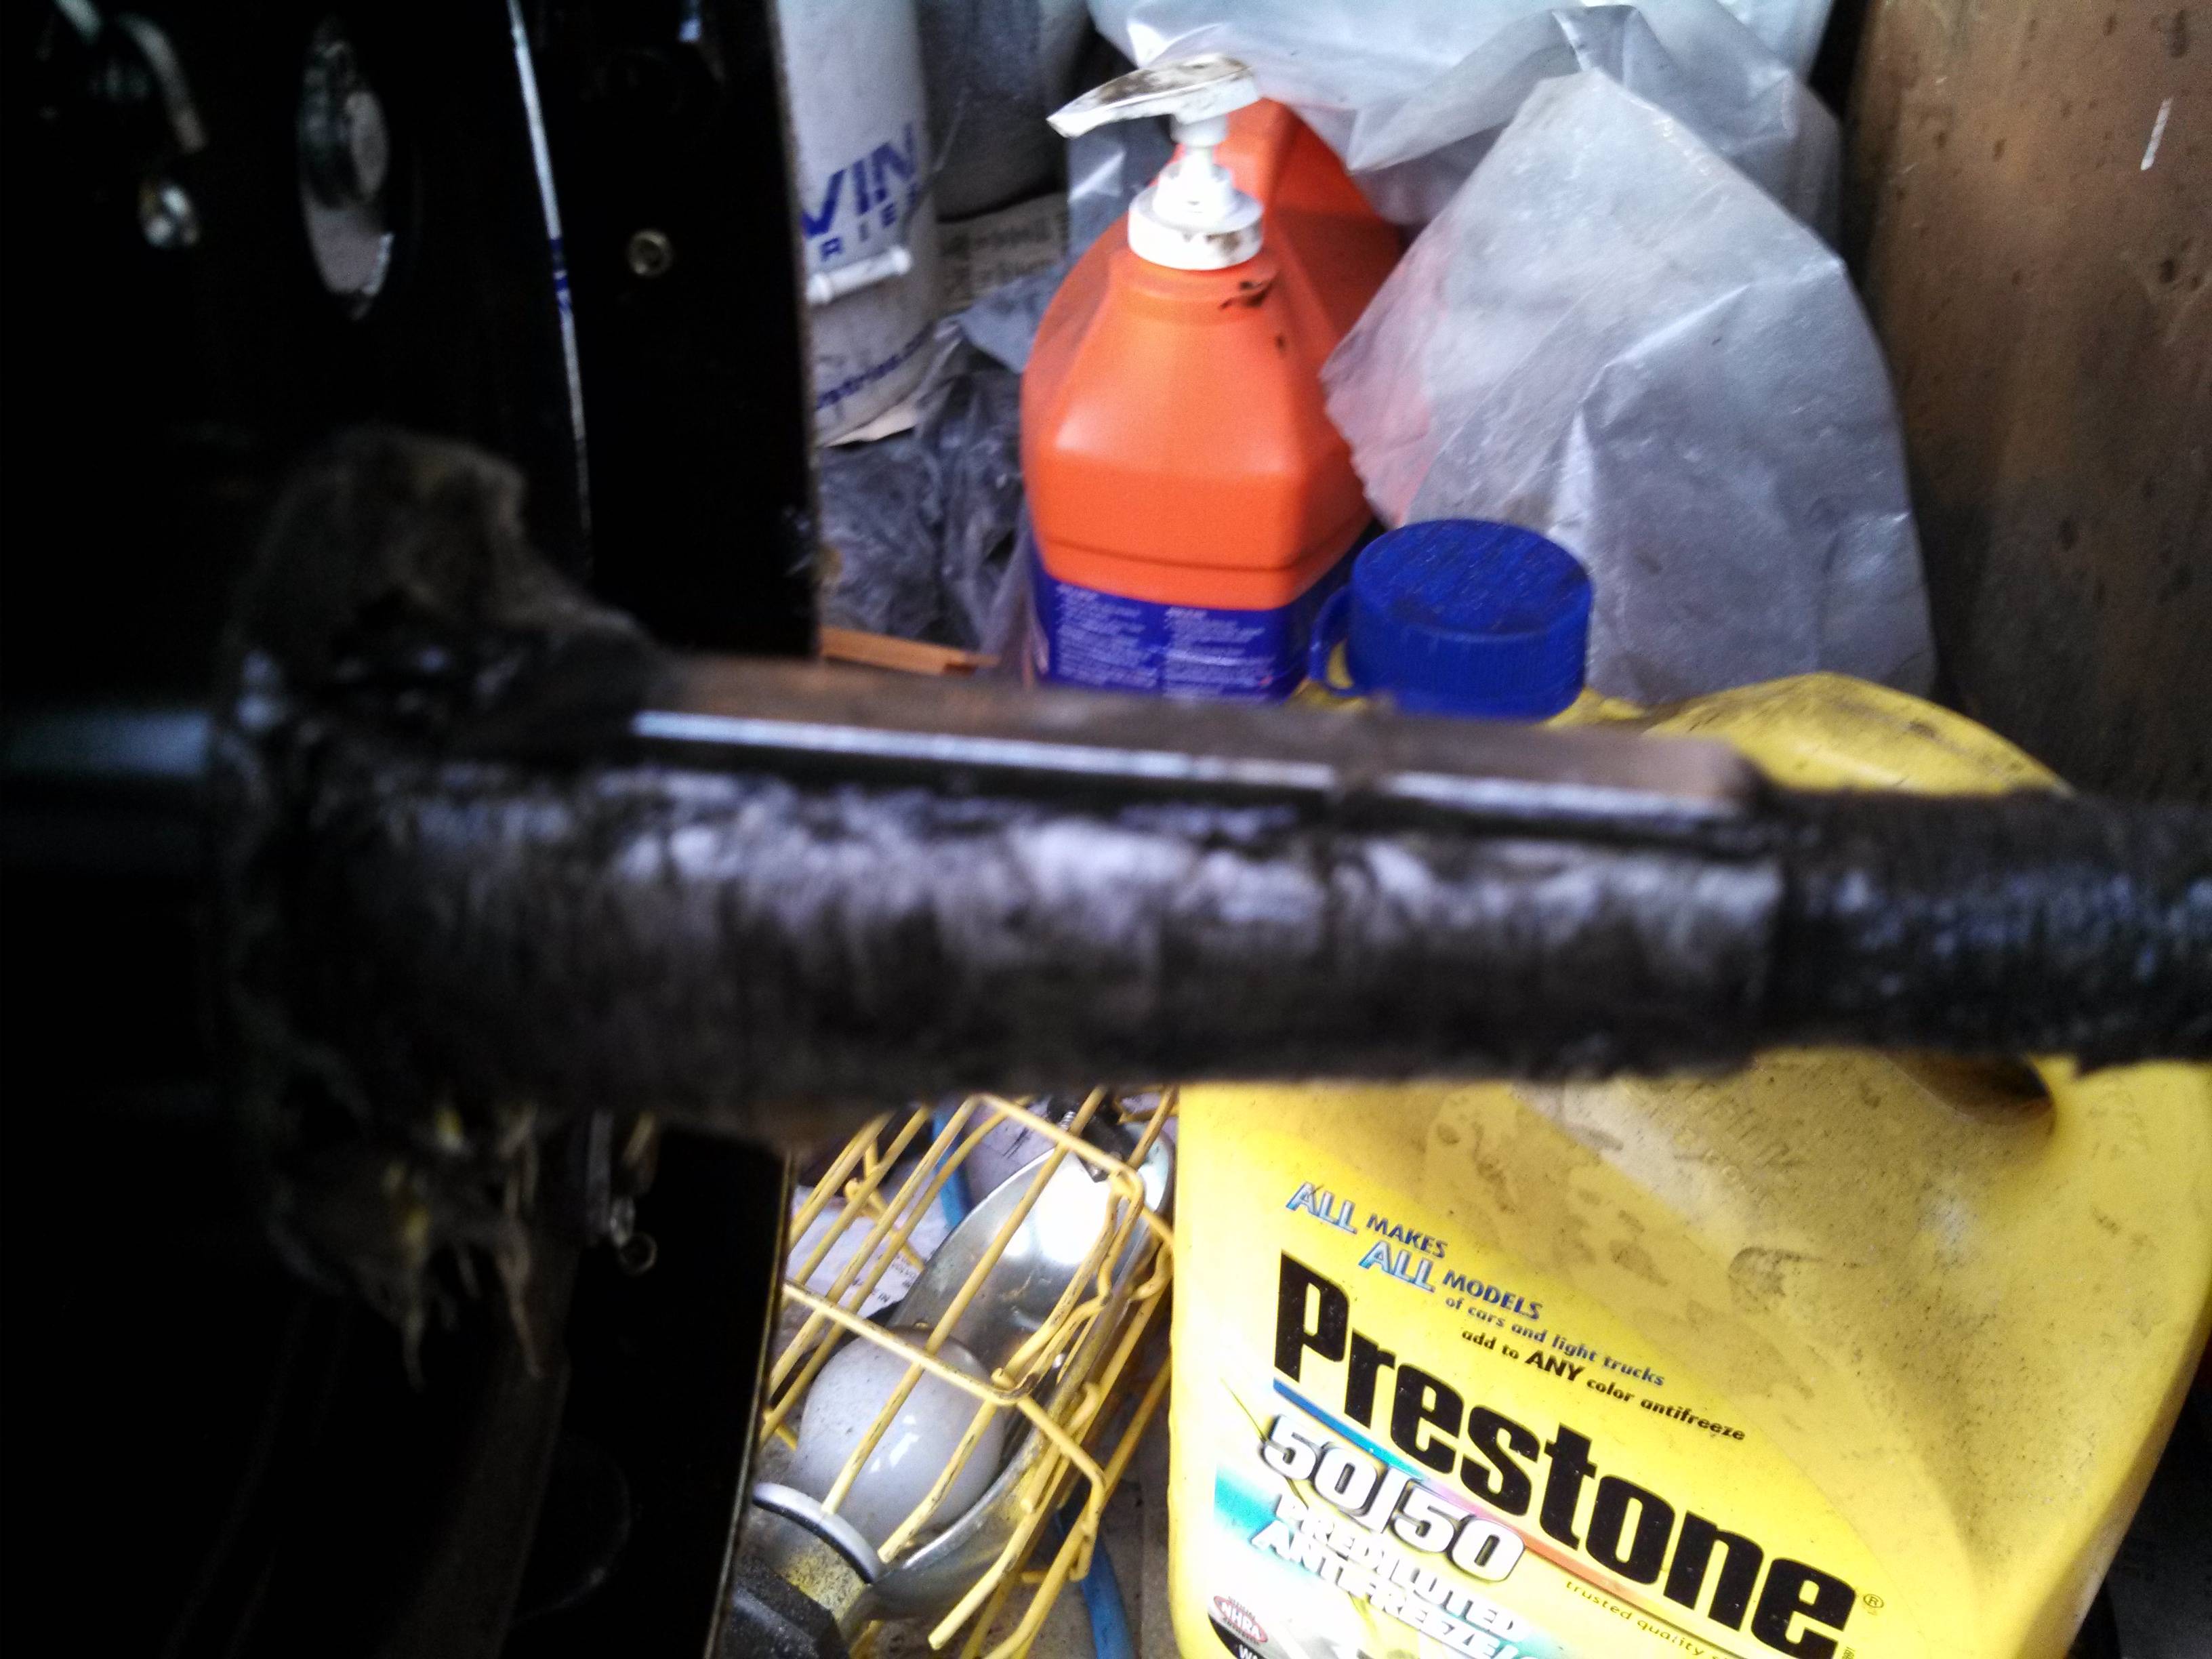
...Aaand then on to the rear end. I installed the Zerks for the wheel bearings, and then went around and hit all the fittings with the grease gun. This went well until I got to the driver's side brake cam... My grease gun won't fit!
It almost seems as if there should be a left- and right cam carrier for the rear brakes. The driver's side (above) points just a little "up," so the grase gun has to get in between the radius rod and backing plate (and it can't)..
On the passenger side, though, the fitting points downward, and the grease nozzle can get right in... I looked around for a right-angle grease fitting, and the only ones I can find are for button heads. No good. I stopped by the local auto parts stores to see if they had any right angle (or 60 degree) Zerks, and while they did, the bases don't match up... I'm still searching..
With the front suspension complete, this seemd like a good time to go ahead and finish up the rear suspension. A couple of days ago, I dropped the rear wheel bearings in a bucket of kerosine to soak out some really old grease. I also ordered some new grease seals...
Today, I finished cleaning those bearings, packed them in grease, and installed them in the rear drums... This included knocking in the new seals and installing the snap rings (which are originals, I think):
Yesterday, I got the rear wheel bearings installed and packed with grease. It seems like a good time to go ahead and put the drums on, huh?
I put just a touch of grease on the keyway of the axle, just to hold the shear key in place. The manual says to install with the beveled edge pointing inboard (I was stumped for a bit, as the pictures weren't very good, and I had to do a lot of reading to figure it out)
The driver's side went on with absolutely no problems, other than I couldn't find my wheel washers - so I ended up installing the originals...
The left side went so smoothly, in fact, that I forgot to take pictures of it going together. And then there was the passenger's side... Wow..
I went through the sme routine, a little bit of grease to hold the key, and then I tried putting the drum on... No joy, I couldn't get it over the brake shoes. I messed around, turning the left drum to rotate the key around, thinking maybe I was off kilter. (and I was, a couple of times)... I checked the brake adjuster to make sure it was backed all the way off. It was an interference fit, for sure.
Not to overly forse it, but I tried tapping it on with a hammer & wooden block - no joy, things were bound tight! I kept pulling the drum off and trying again - a couple of times, I had dislodged the key, and had to try over (there's supposed to be a small ledge to keep the key from moving inboard, but it's pretty worn down on the right axle). In the end, I had no joy, and had to call it a night...


Tonight I was determined to get the right drum installed, and maybe the wheels, too. First, there was a coat of primer on the inner brake surface - I had done this to keep them from rusting. I figure the brake shoes will pull this right off, but maybe it's just enough interference to cause my problms?
I used some Scotch-Brite to strip off the paint. Still no joy. I messed around a couple of times, trying to understand what was going on. Then, as a last-sitch attempt, I tried backing out the adjuster some more (even though I'd already done that - I was out of ideas)
And the adjuster backed out nearly a full turn! D'oh!! Dumb, dumb, dummy! After that, the drum went right on. D'oh. (although it is still a bit tight). Oh, the axle nuts torque to 125 ft-lbs... Not so easy to do by yourself on a bare rear end...
I went ahead and put on the rear wheels. No biggie there, except that when I was all done, I couldn't roll the rear end out of the garage...
That is, the driver's side rolls, but the passenger side is locked up. I have two thoughts on this - the first is that the brakes are just tight enough to lock up the wheel, and I believe this is a definite possibility, given the previous problems... The other is that the shear key slipped and is binding with the inner bearing race (and that thought is kinda scary)...
Right now, I can still get everything in and out of the garage, so I'm holding off on checking the key for a bit. I'm holding out hope that with some weight and drive force, the brakes will quickly wear down and be okay... Of course, if I start to loose sleep over it between now and engine installation, then I'll just yank the wheel and check it out...
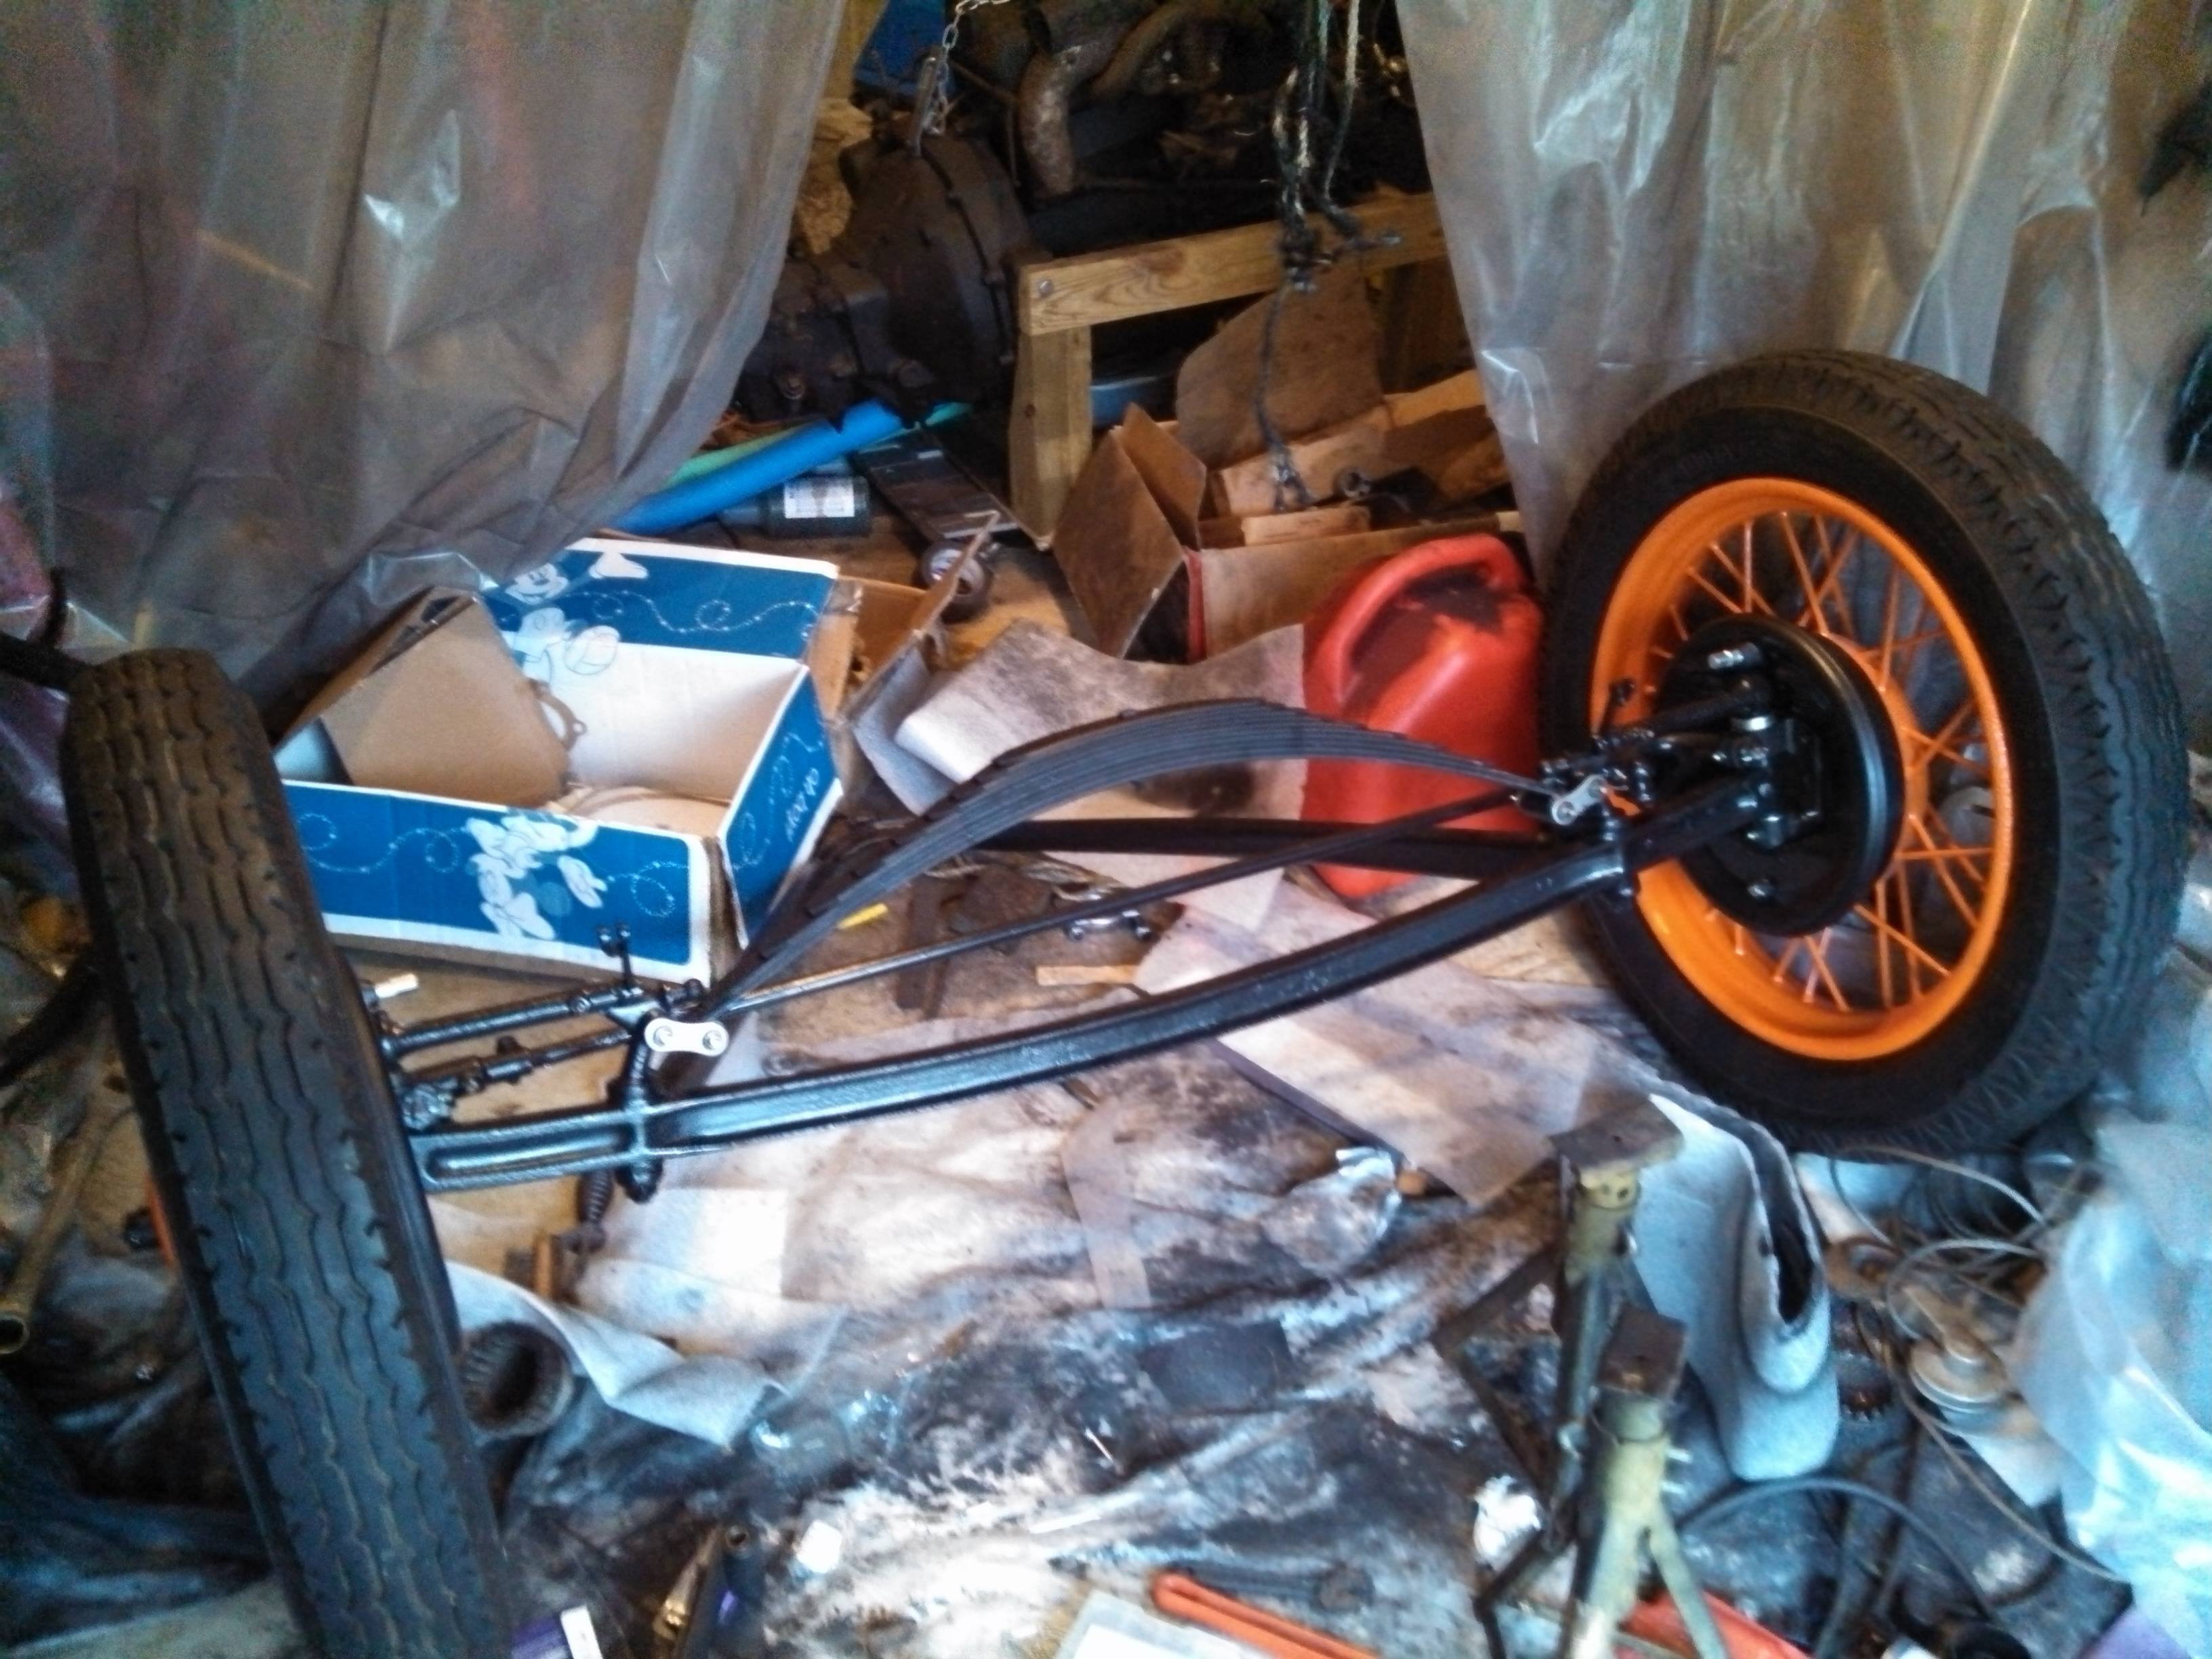
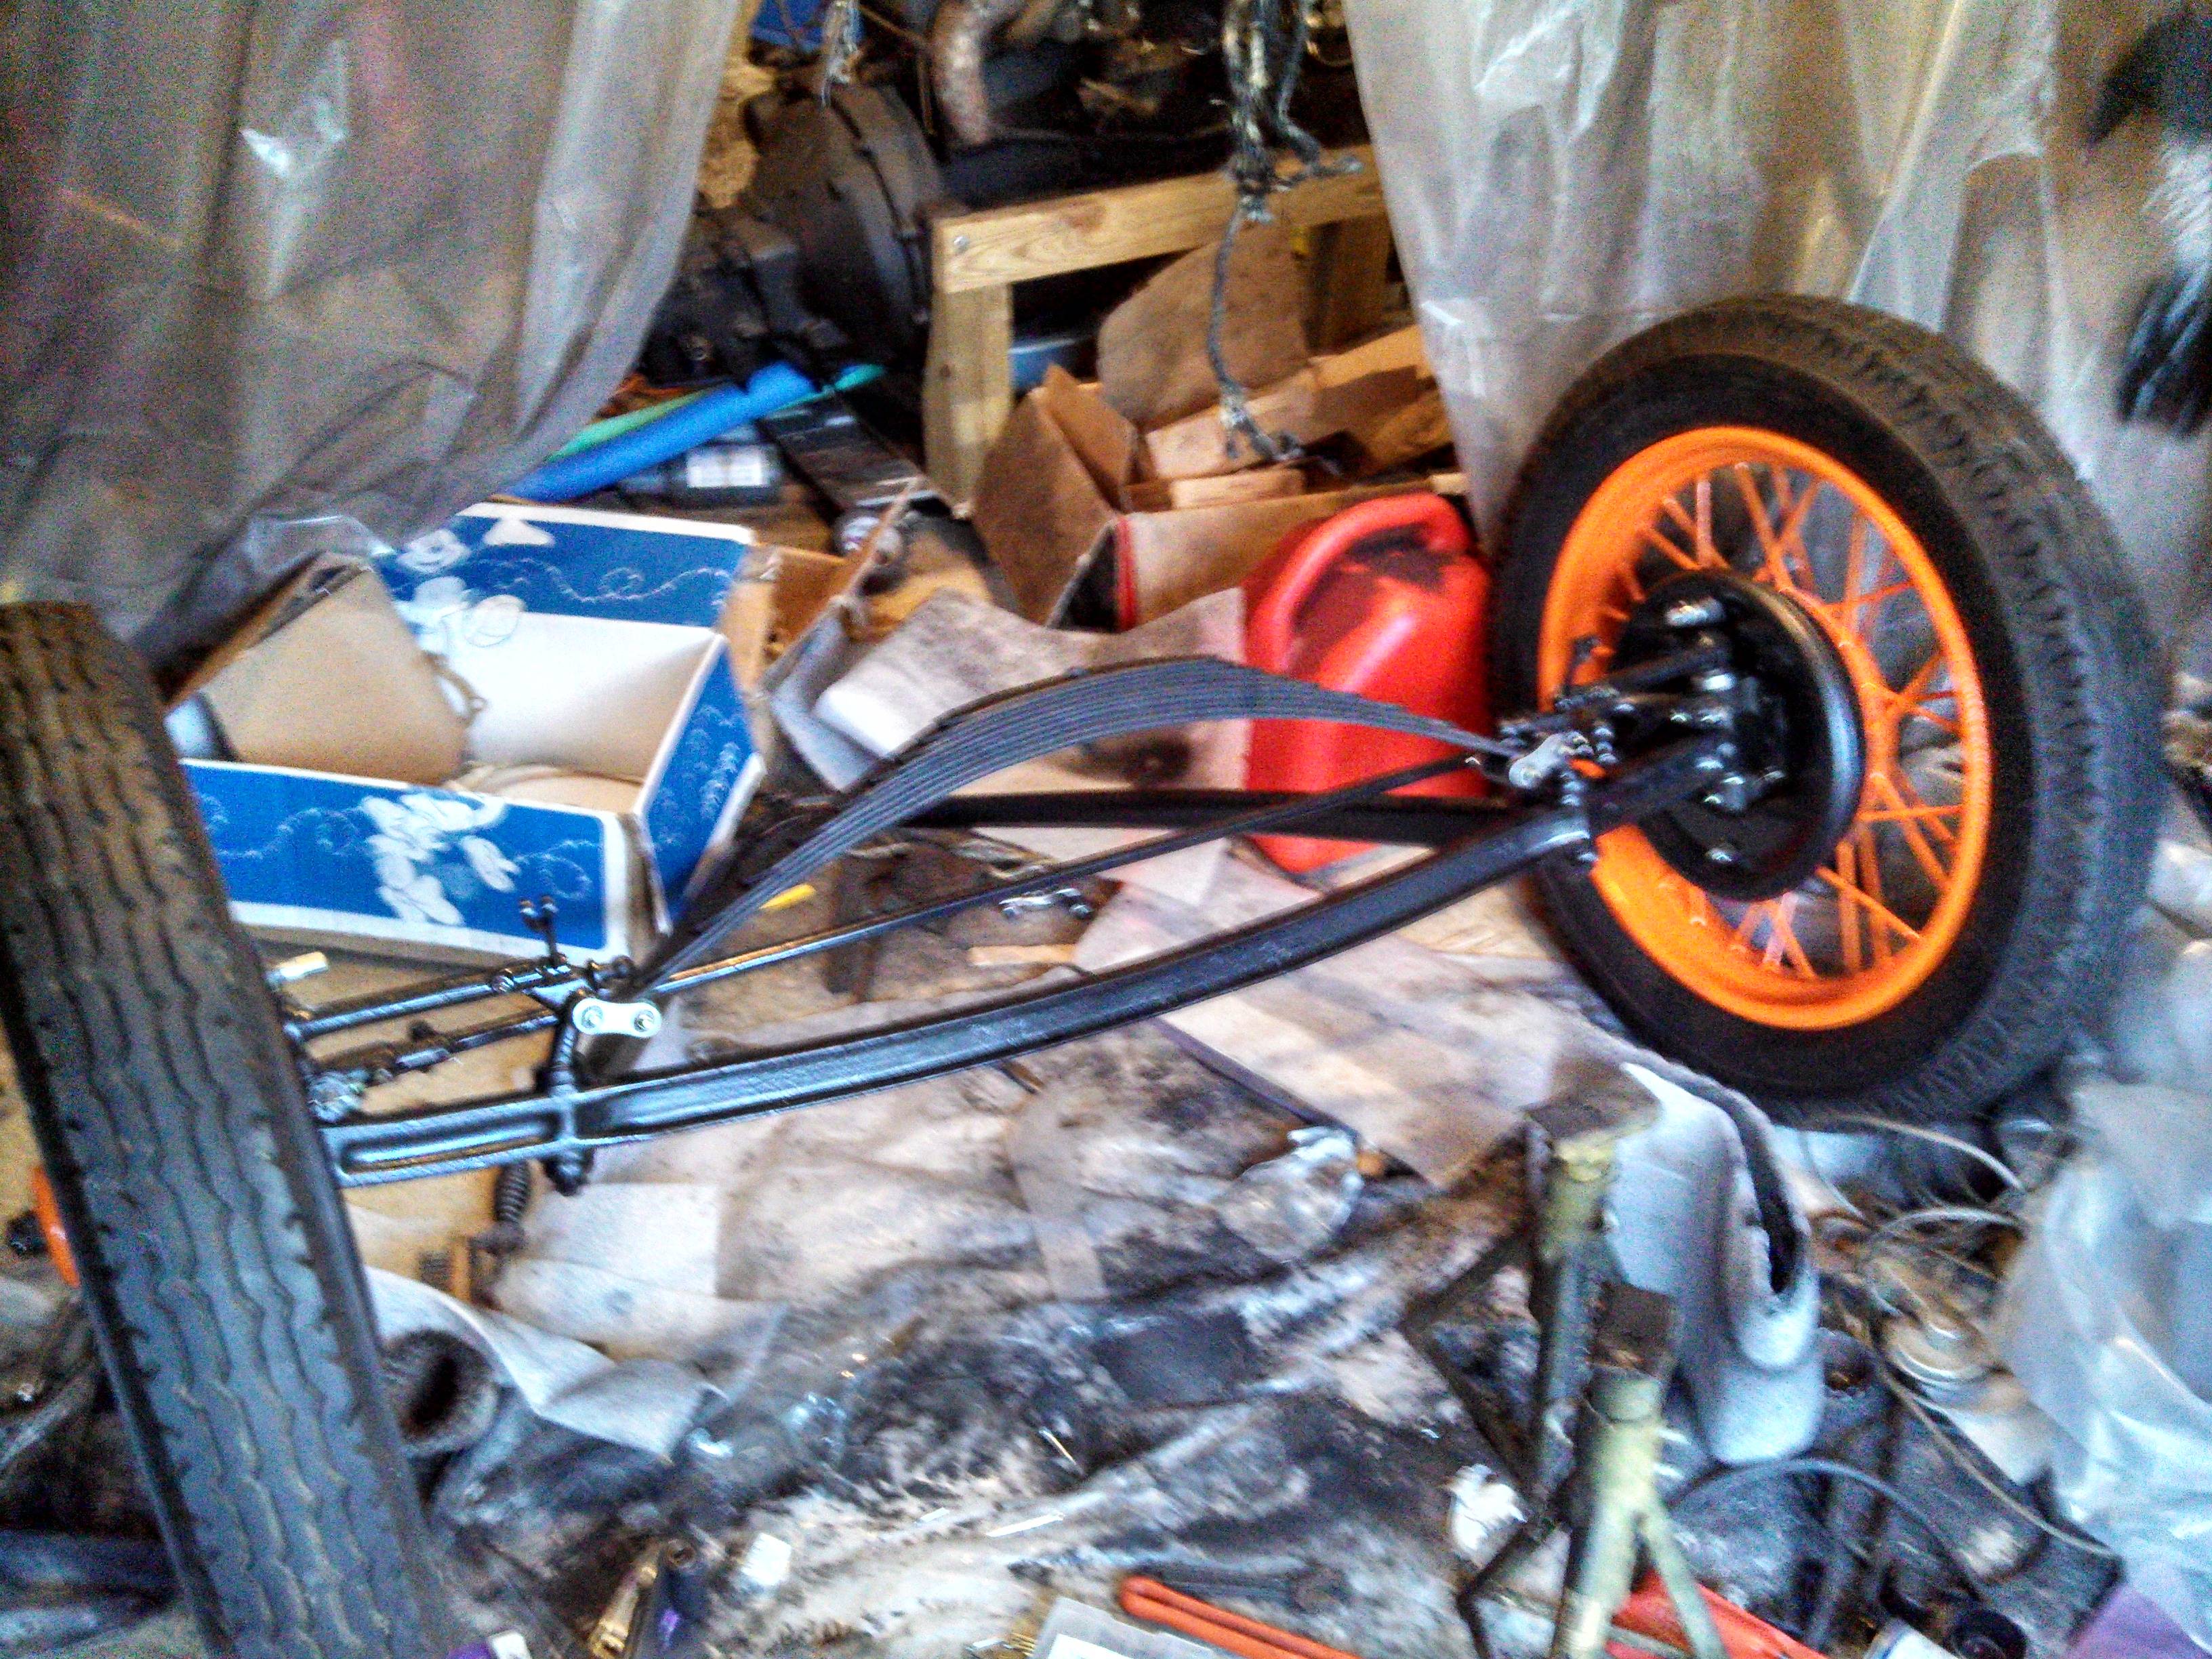
Time to get some stuff ready so I can paint the frame! Tonight I rolled the suspension out to the driveway, so I could clean up the garage a little bit. Seemed like a good time to take some pics, right?
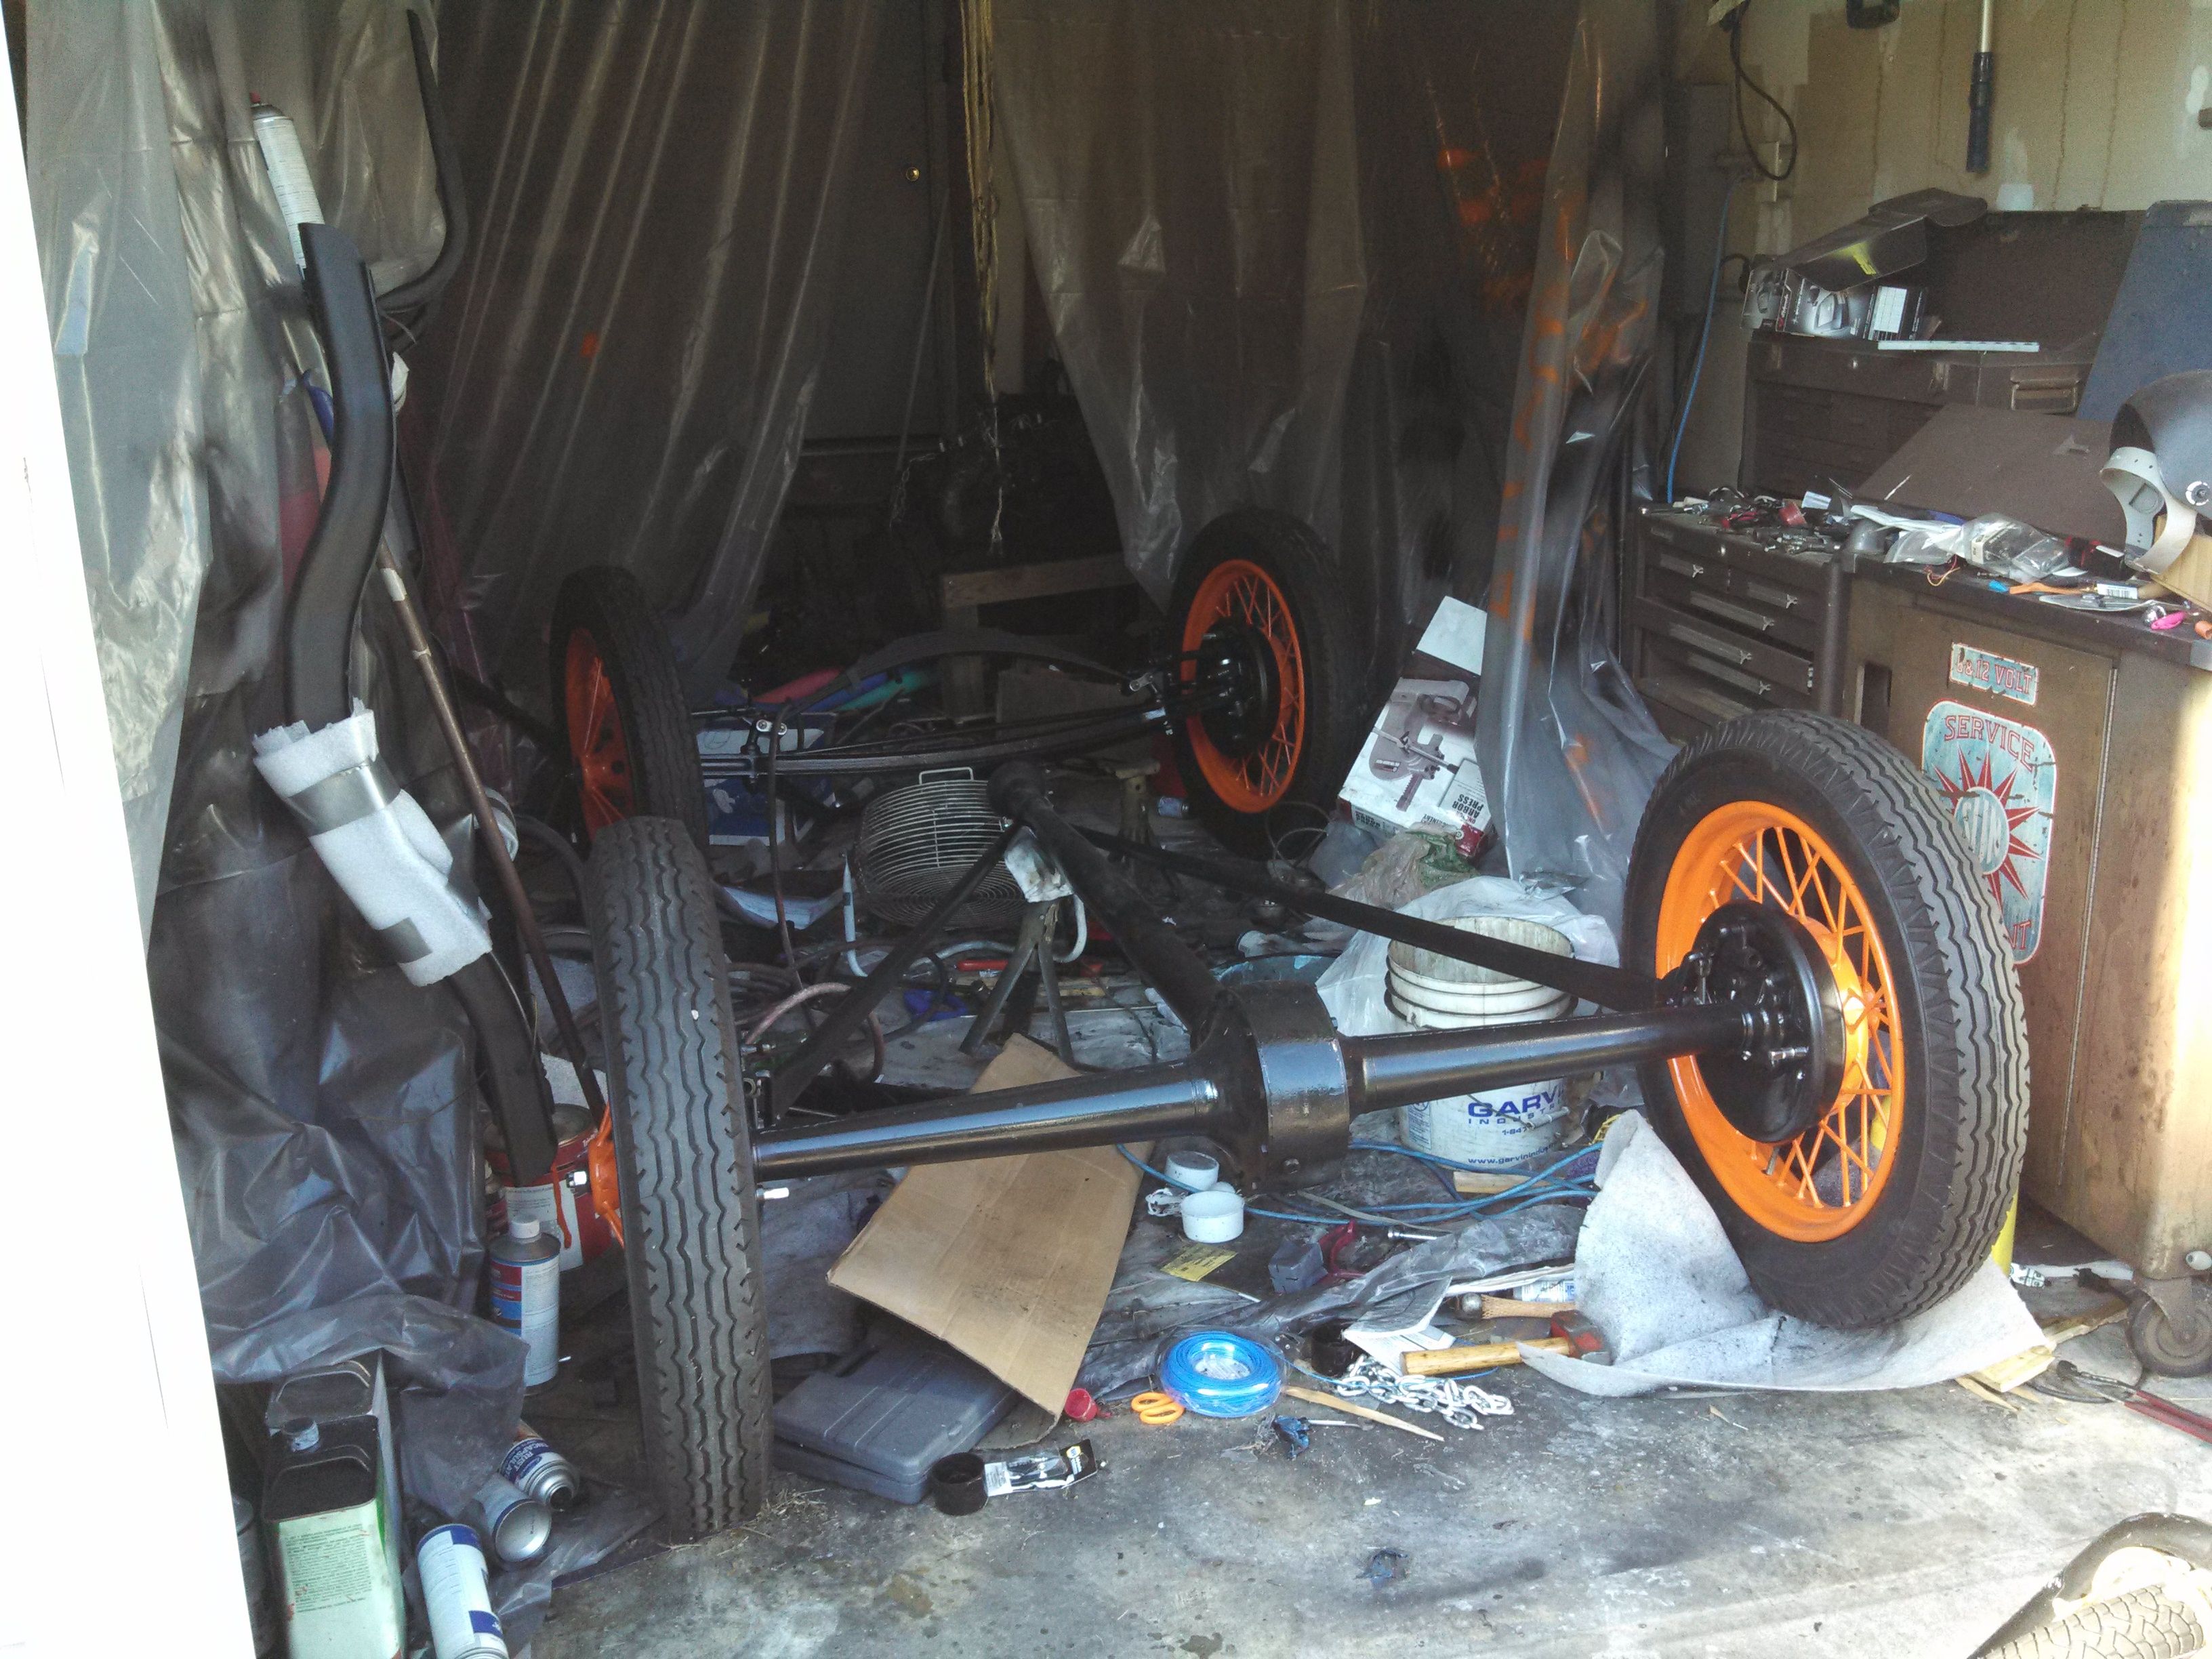
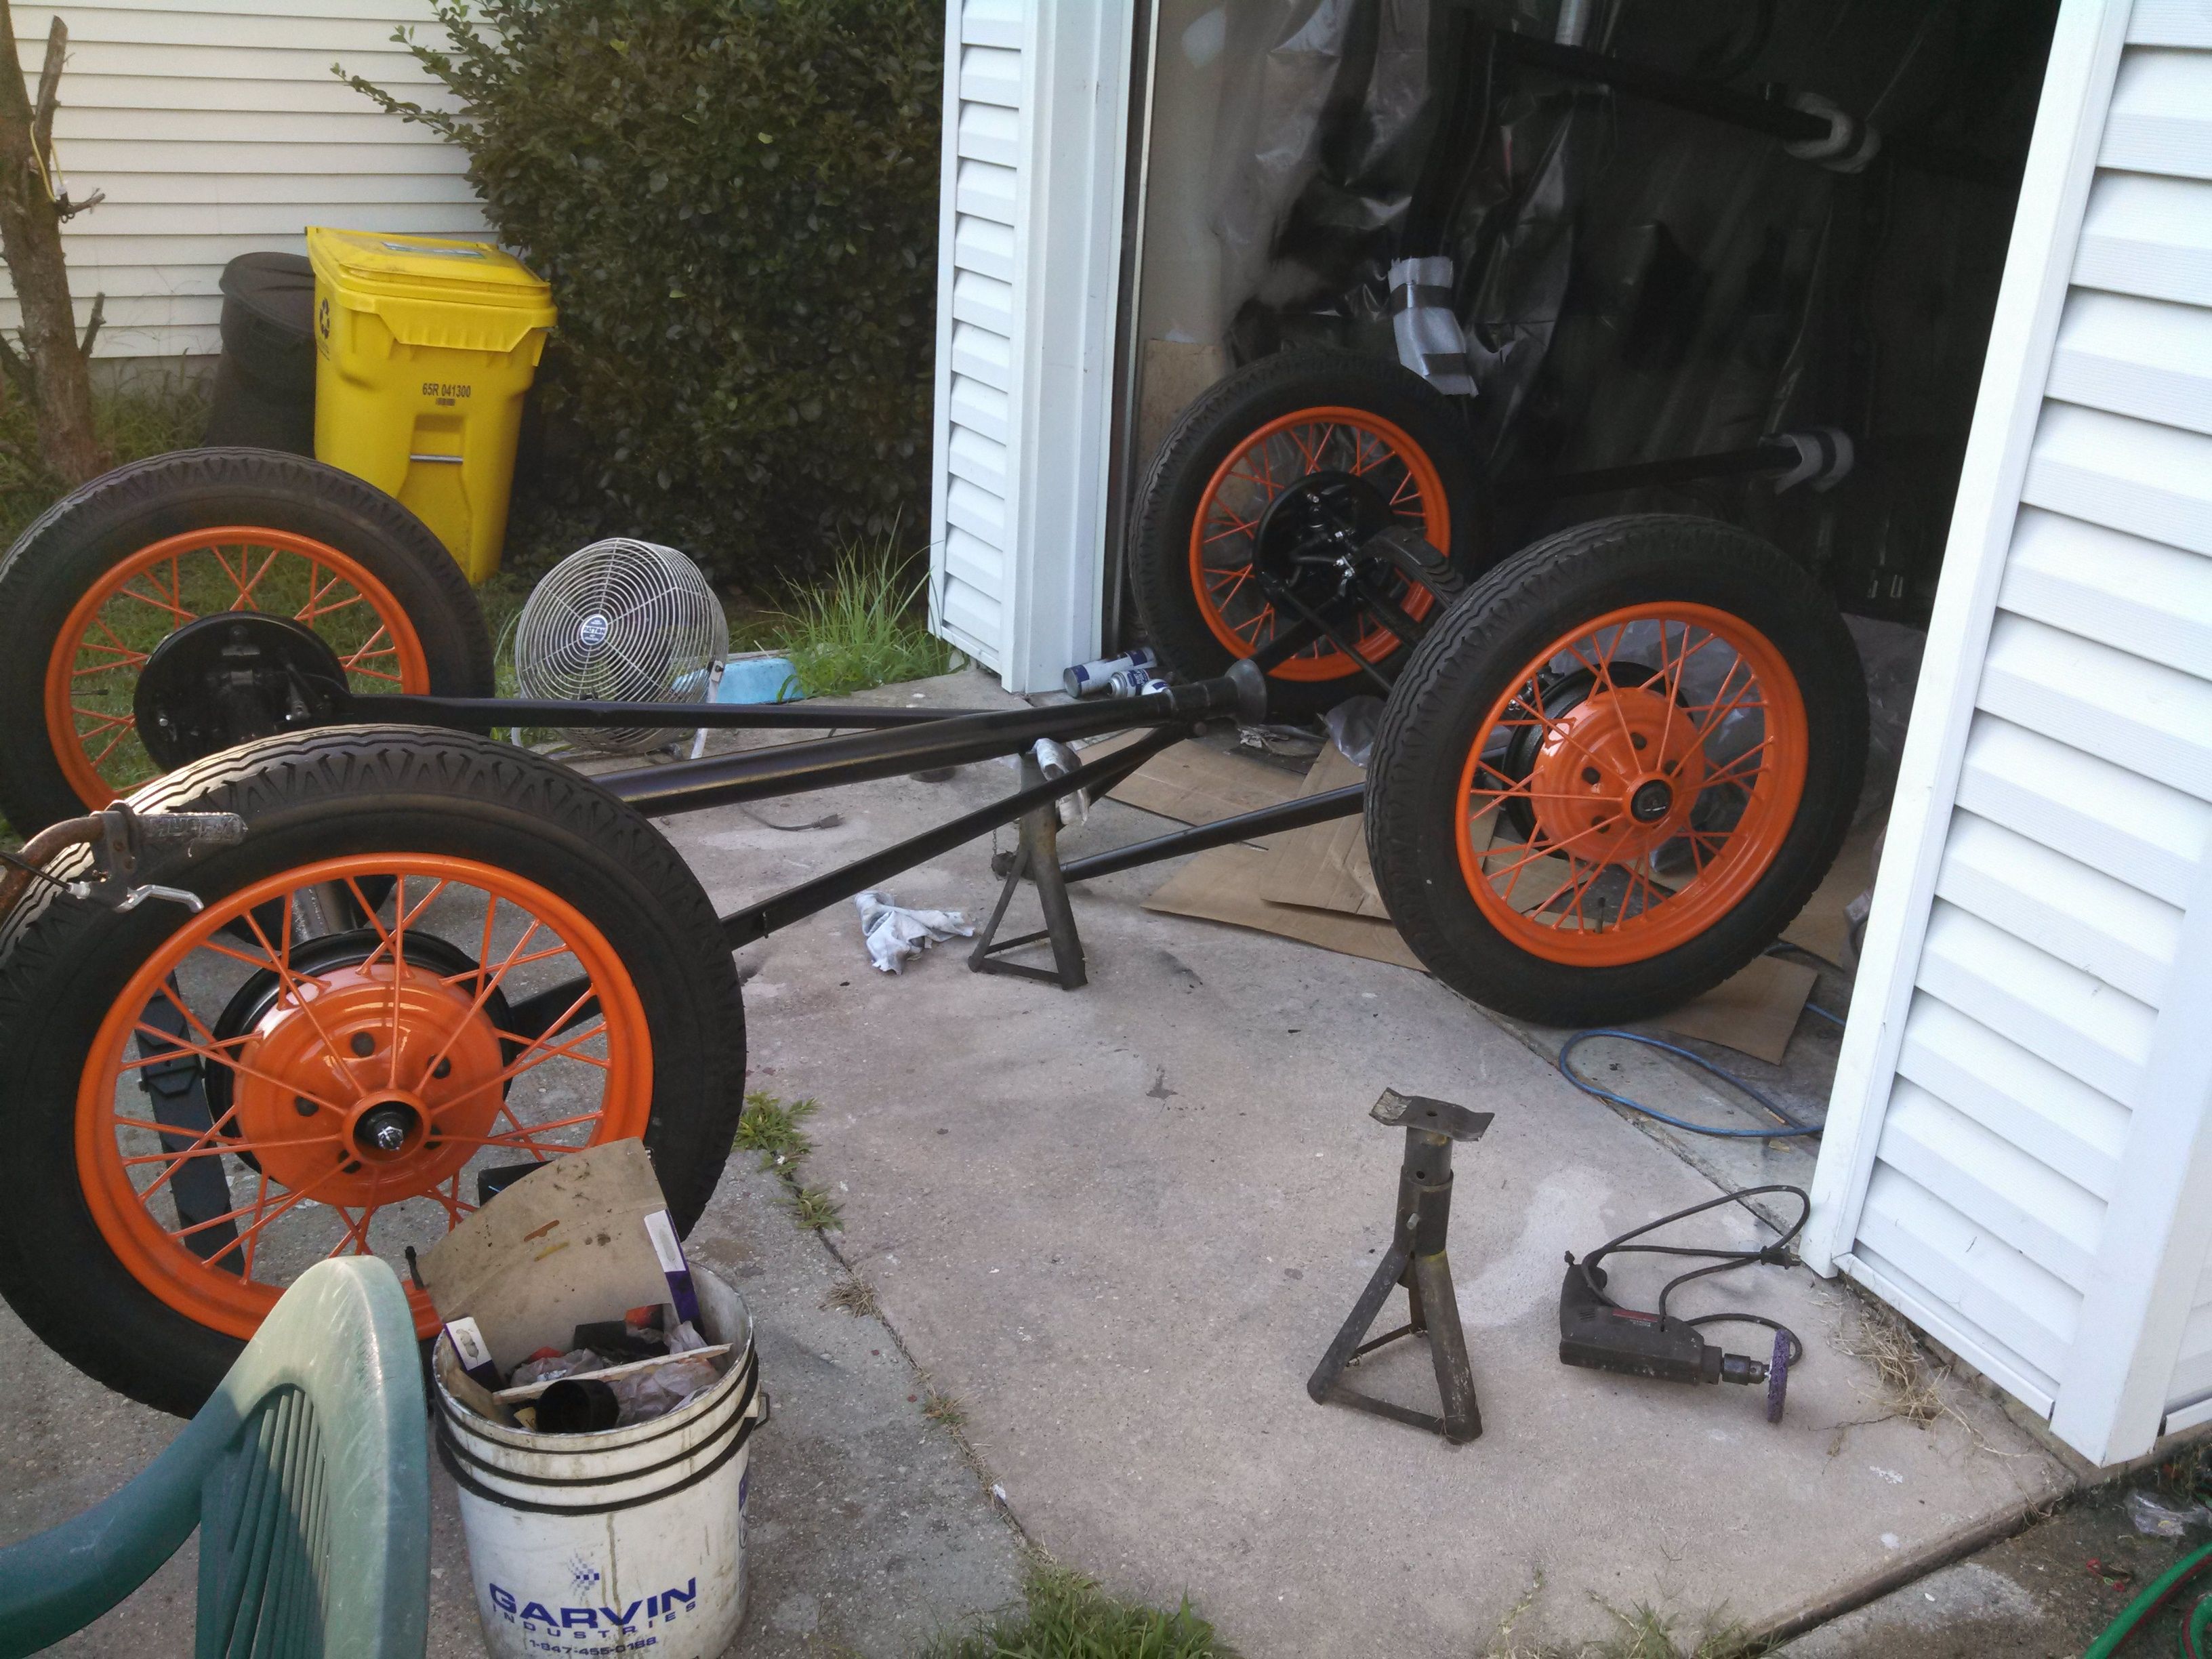
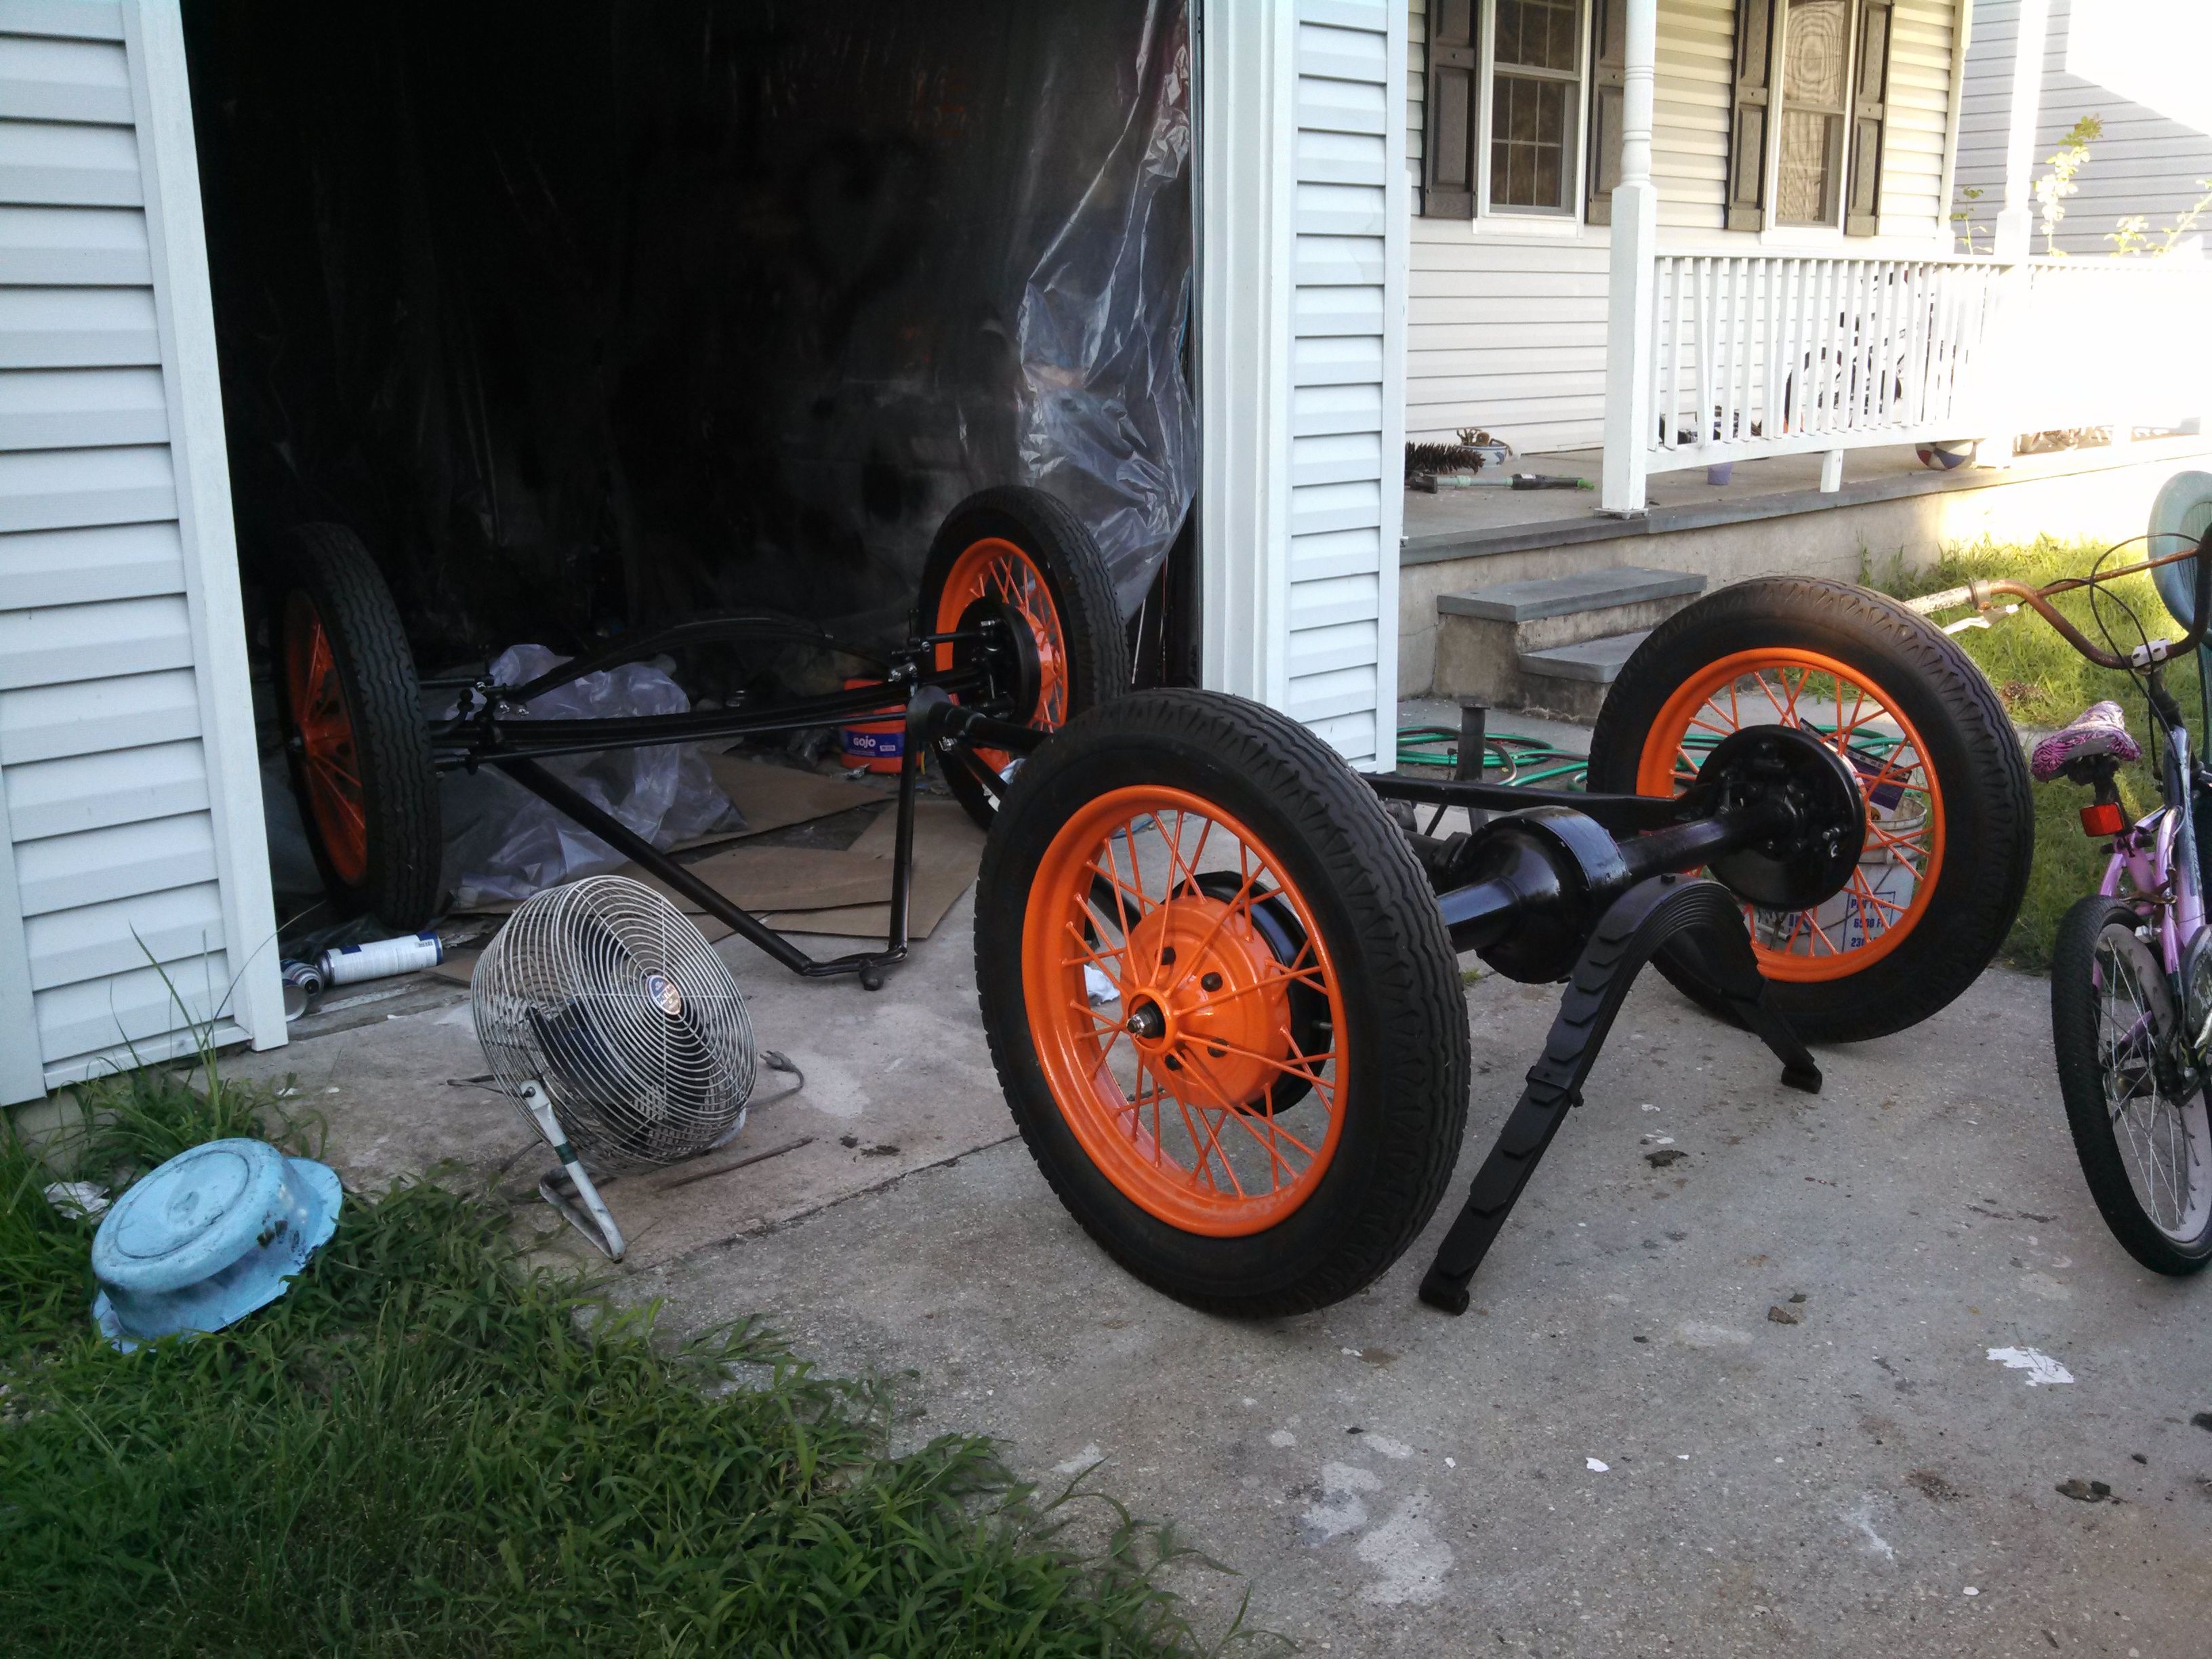
Part of getting ready for paint was to tape all the visqueen back up, since some of it got knocked down recently. I got most of the tools and parts gathered up (if not put away), and then I cleaned & painted the original clips for the front springs (no pics, sorry).
After that, I did a light sanding on the frame, just enough to "rough it up" for a coat of chassis black. I only did the underside, as that's what I could reach. My plan is to paint the bottom, and then when it's dry, I'll set it on my jack stands, scuff the top, and then shoot paint on that. I expect I'll do at least two coats.
Last modified on 10/30/13