On a side note, tangential to work on the truck, I thunk I'd share with you some "Hillbilly Hedge Trimming." See, one of our bushes got some sorta blight and just wasn't managing to stay well. Of course, this particular bush was right in the middle of the hedge; and the blight was starting to spread...
Time to remove the bushes, right? Right!
Call someone to do it? Me? No way, I'm too cheap!
First thing, I asked the neighbor if I could borry his truck. After he raised his eyebrows at me and I promised to fix anything (of his) that I broke, he said yes.
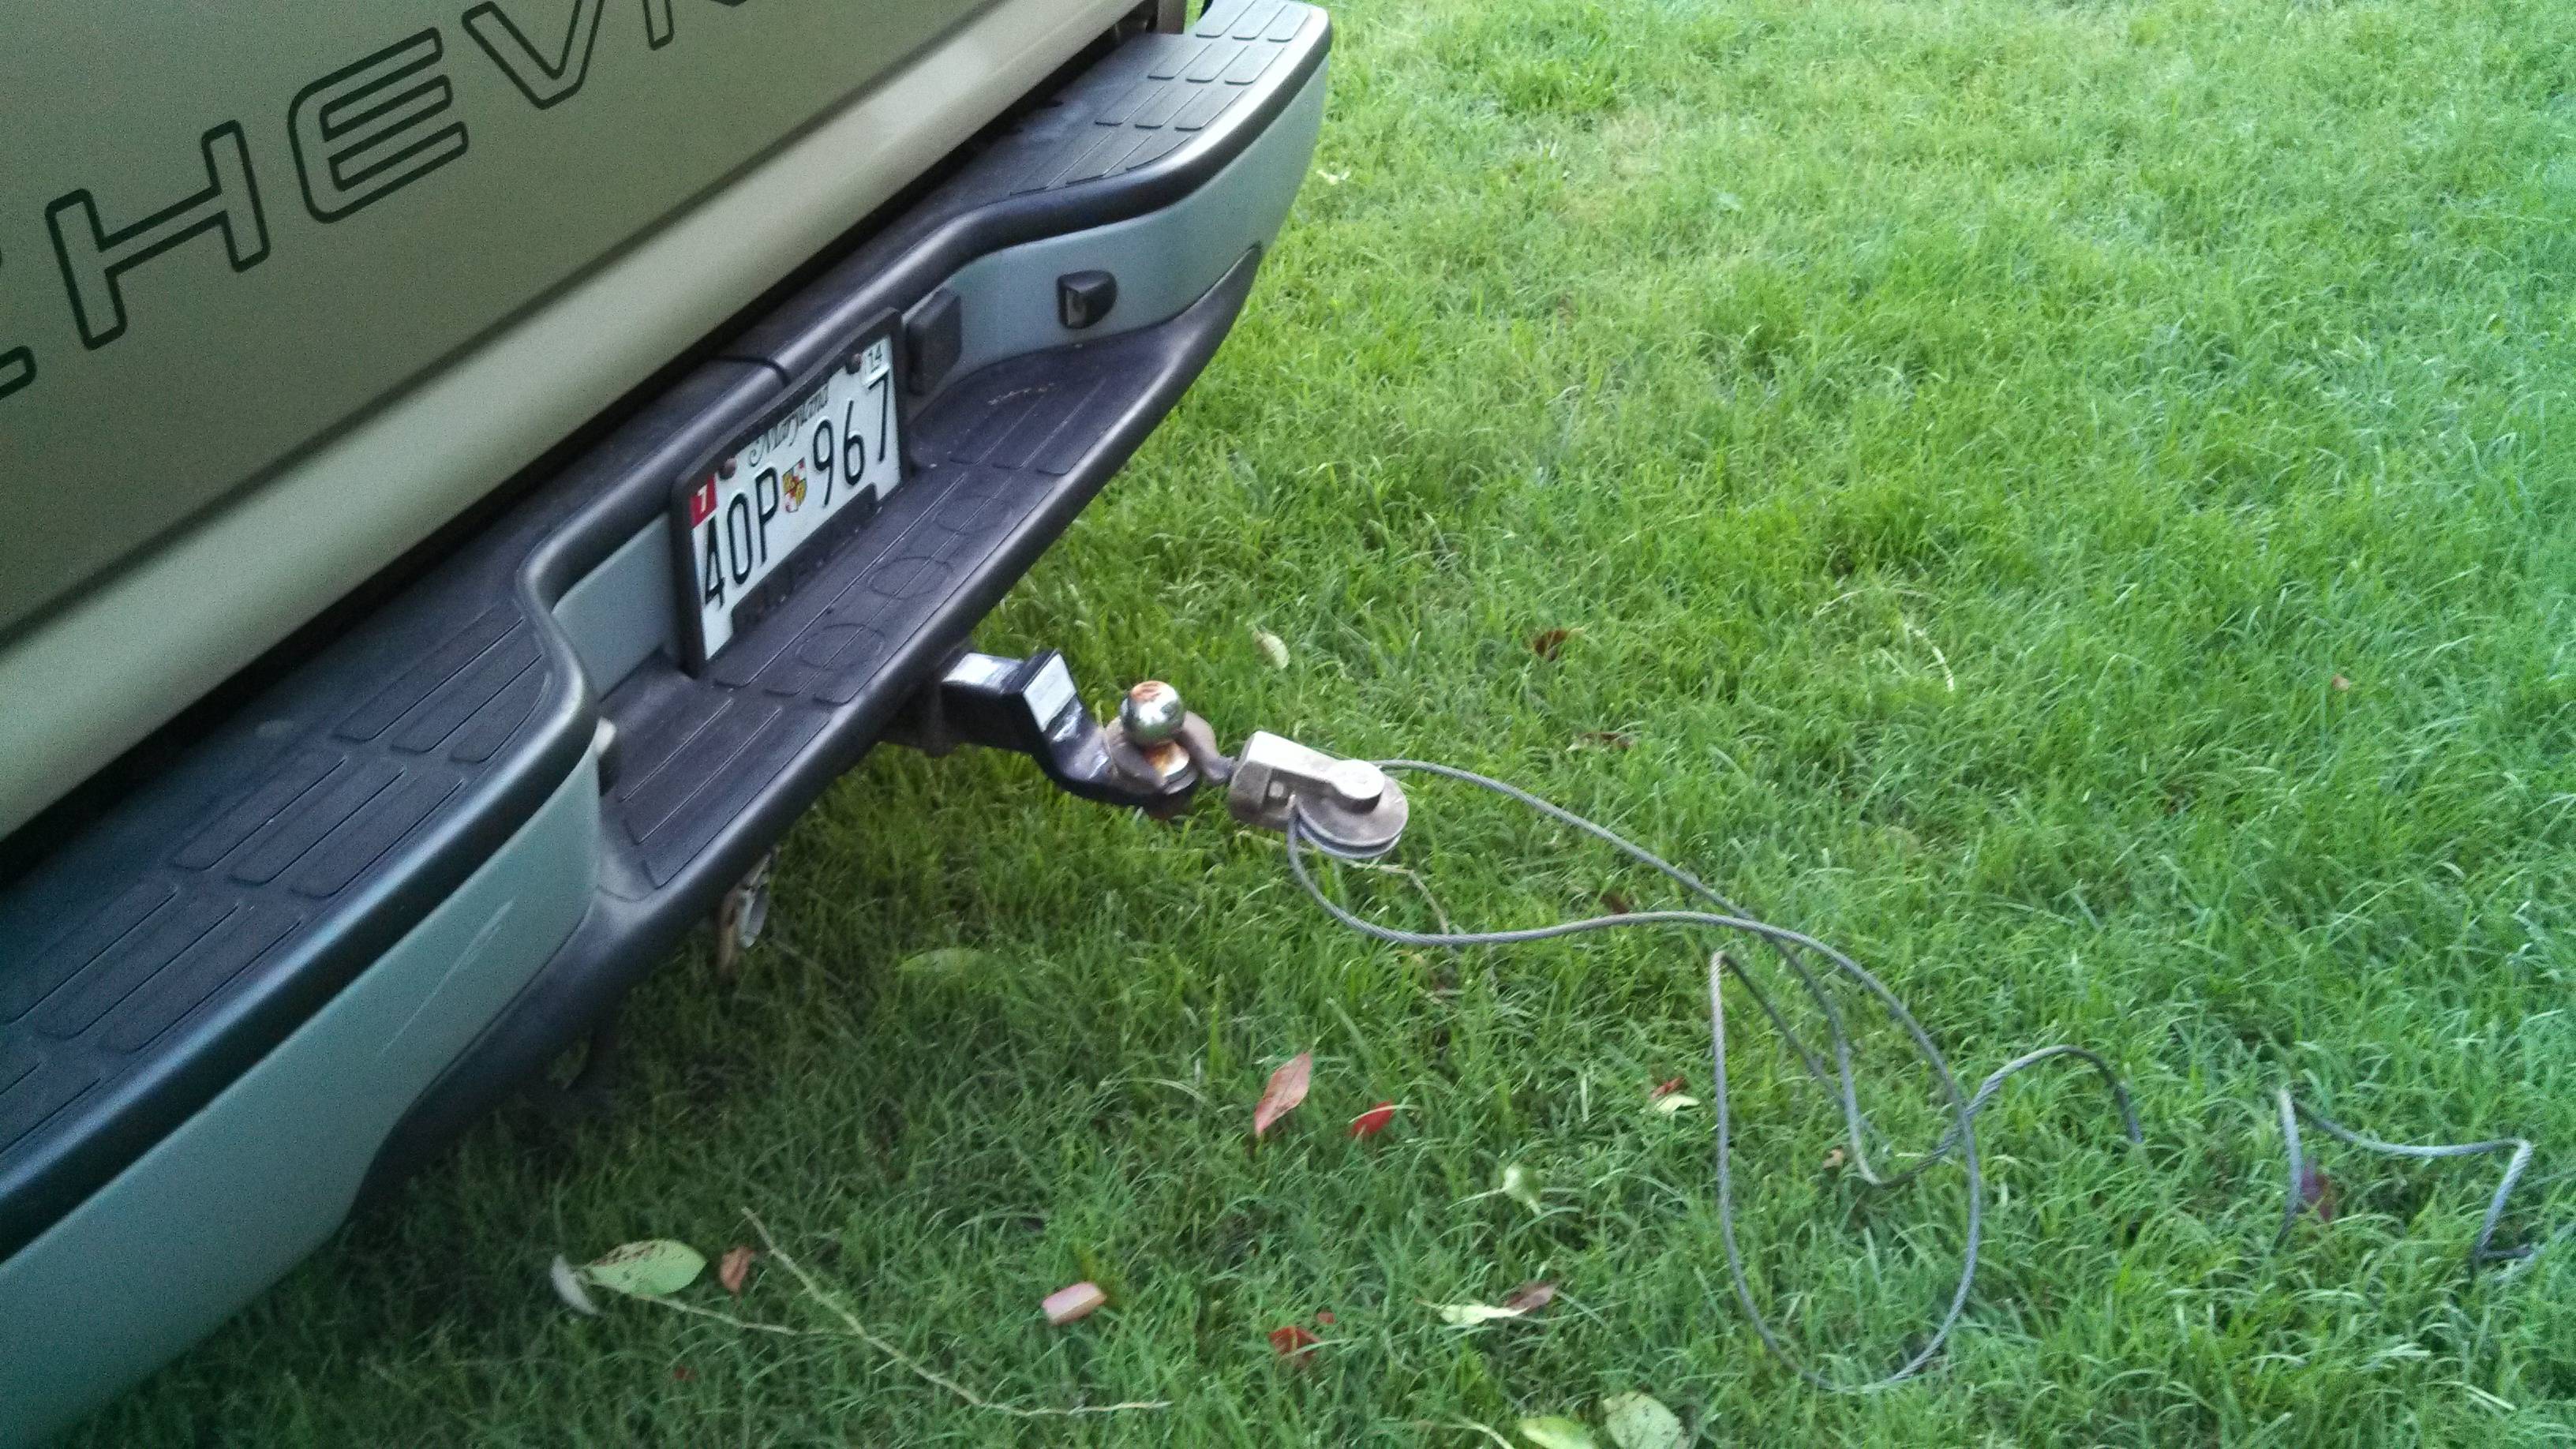
Unfortunately, I didn't have a good way to connect up, so I took down my come-along and hangar chain (that I used to pull my truck's engine), and hooked things together:
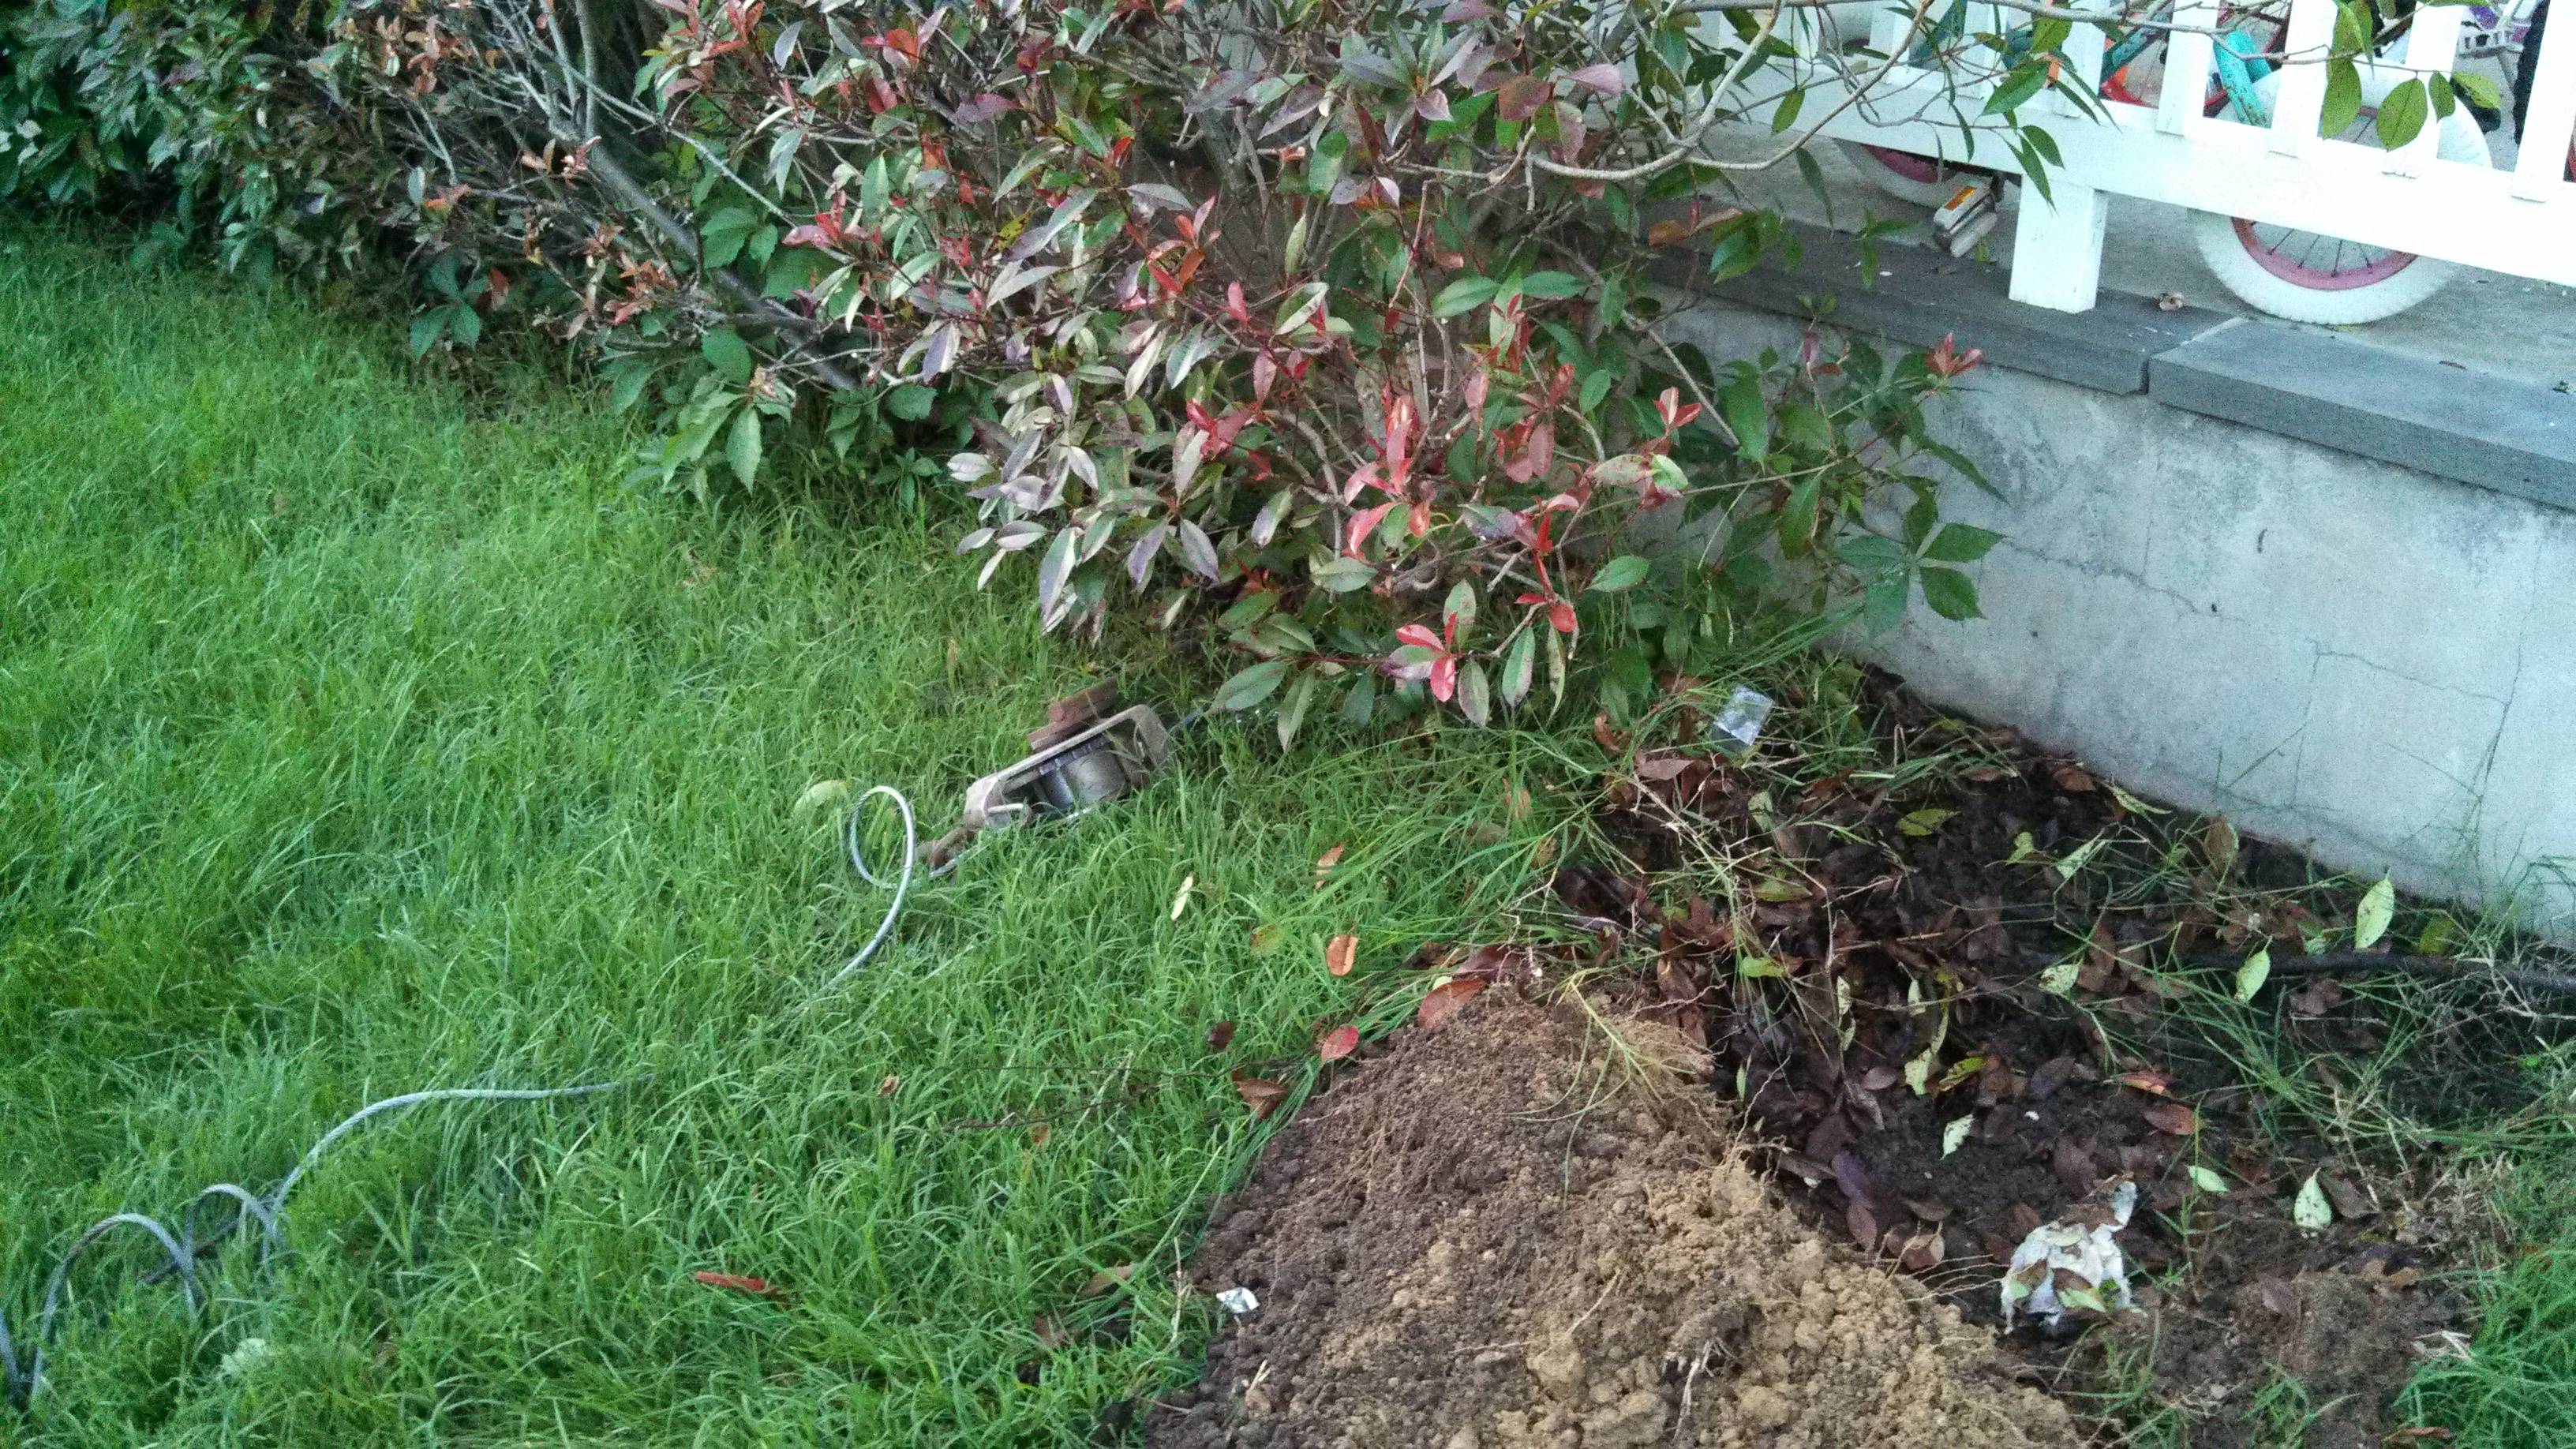
And then, a little tap on the gas, and no more bushes!
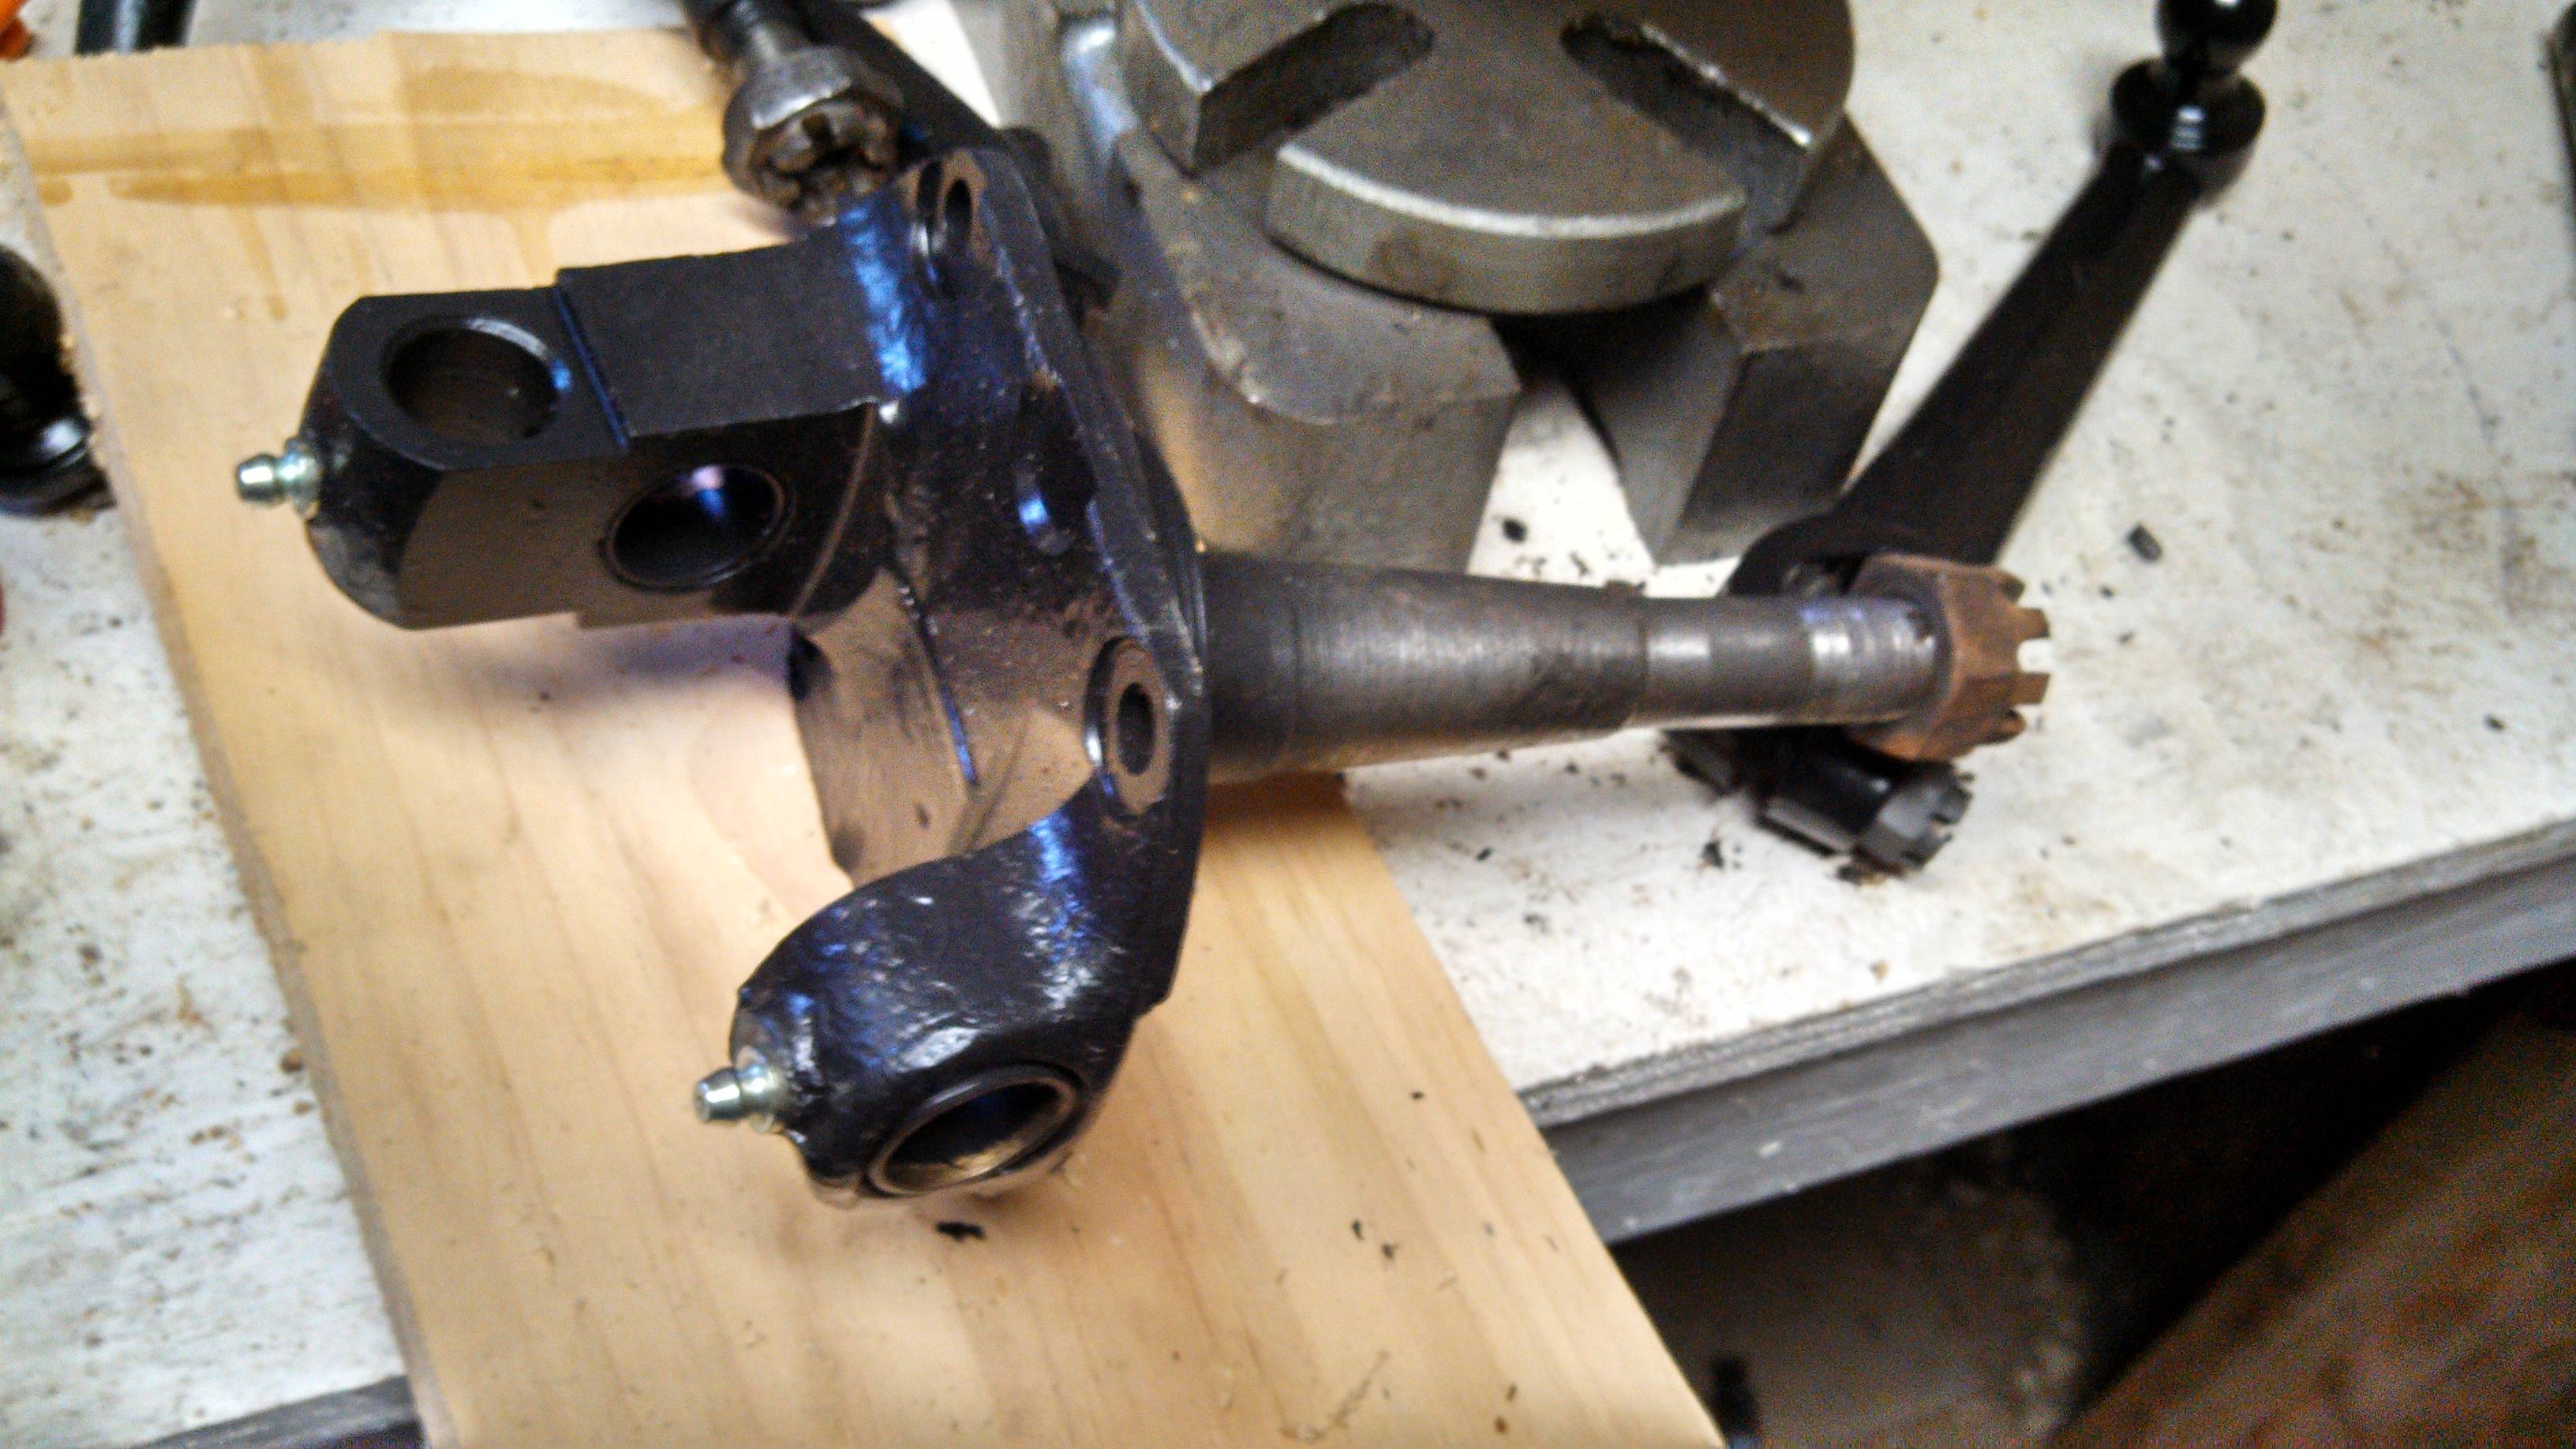
Today was a good day for putting the brake shaft bushings into the rear backing plates... I lucked out a bit with tools. If you remember, expensive reamer.
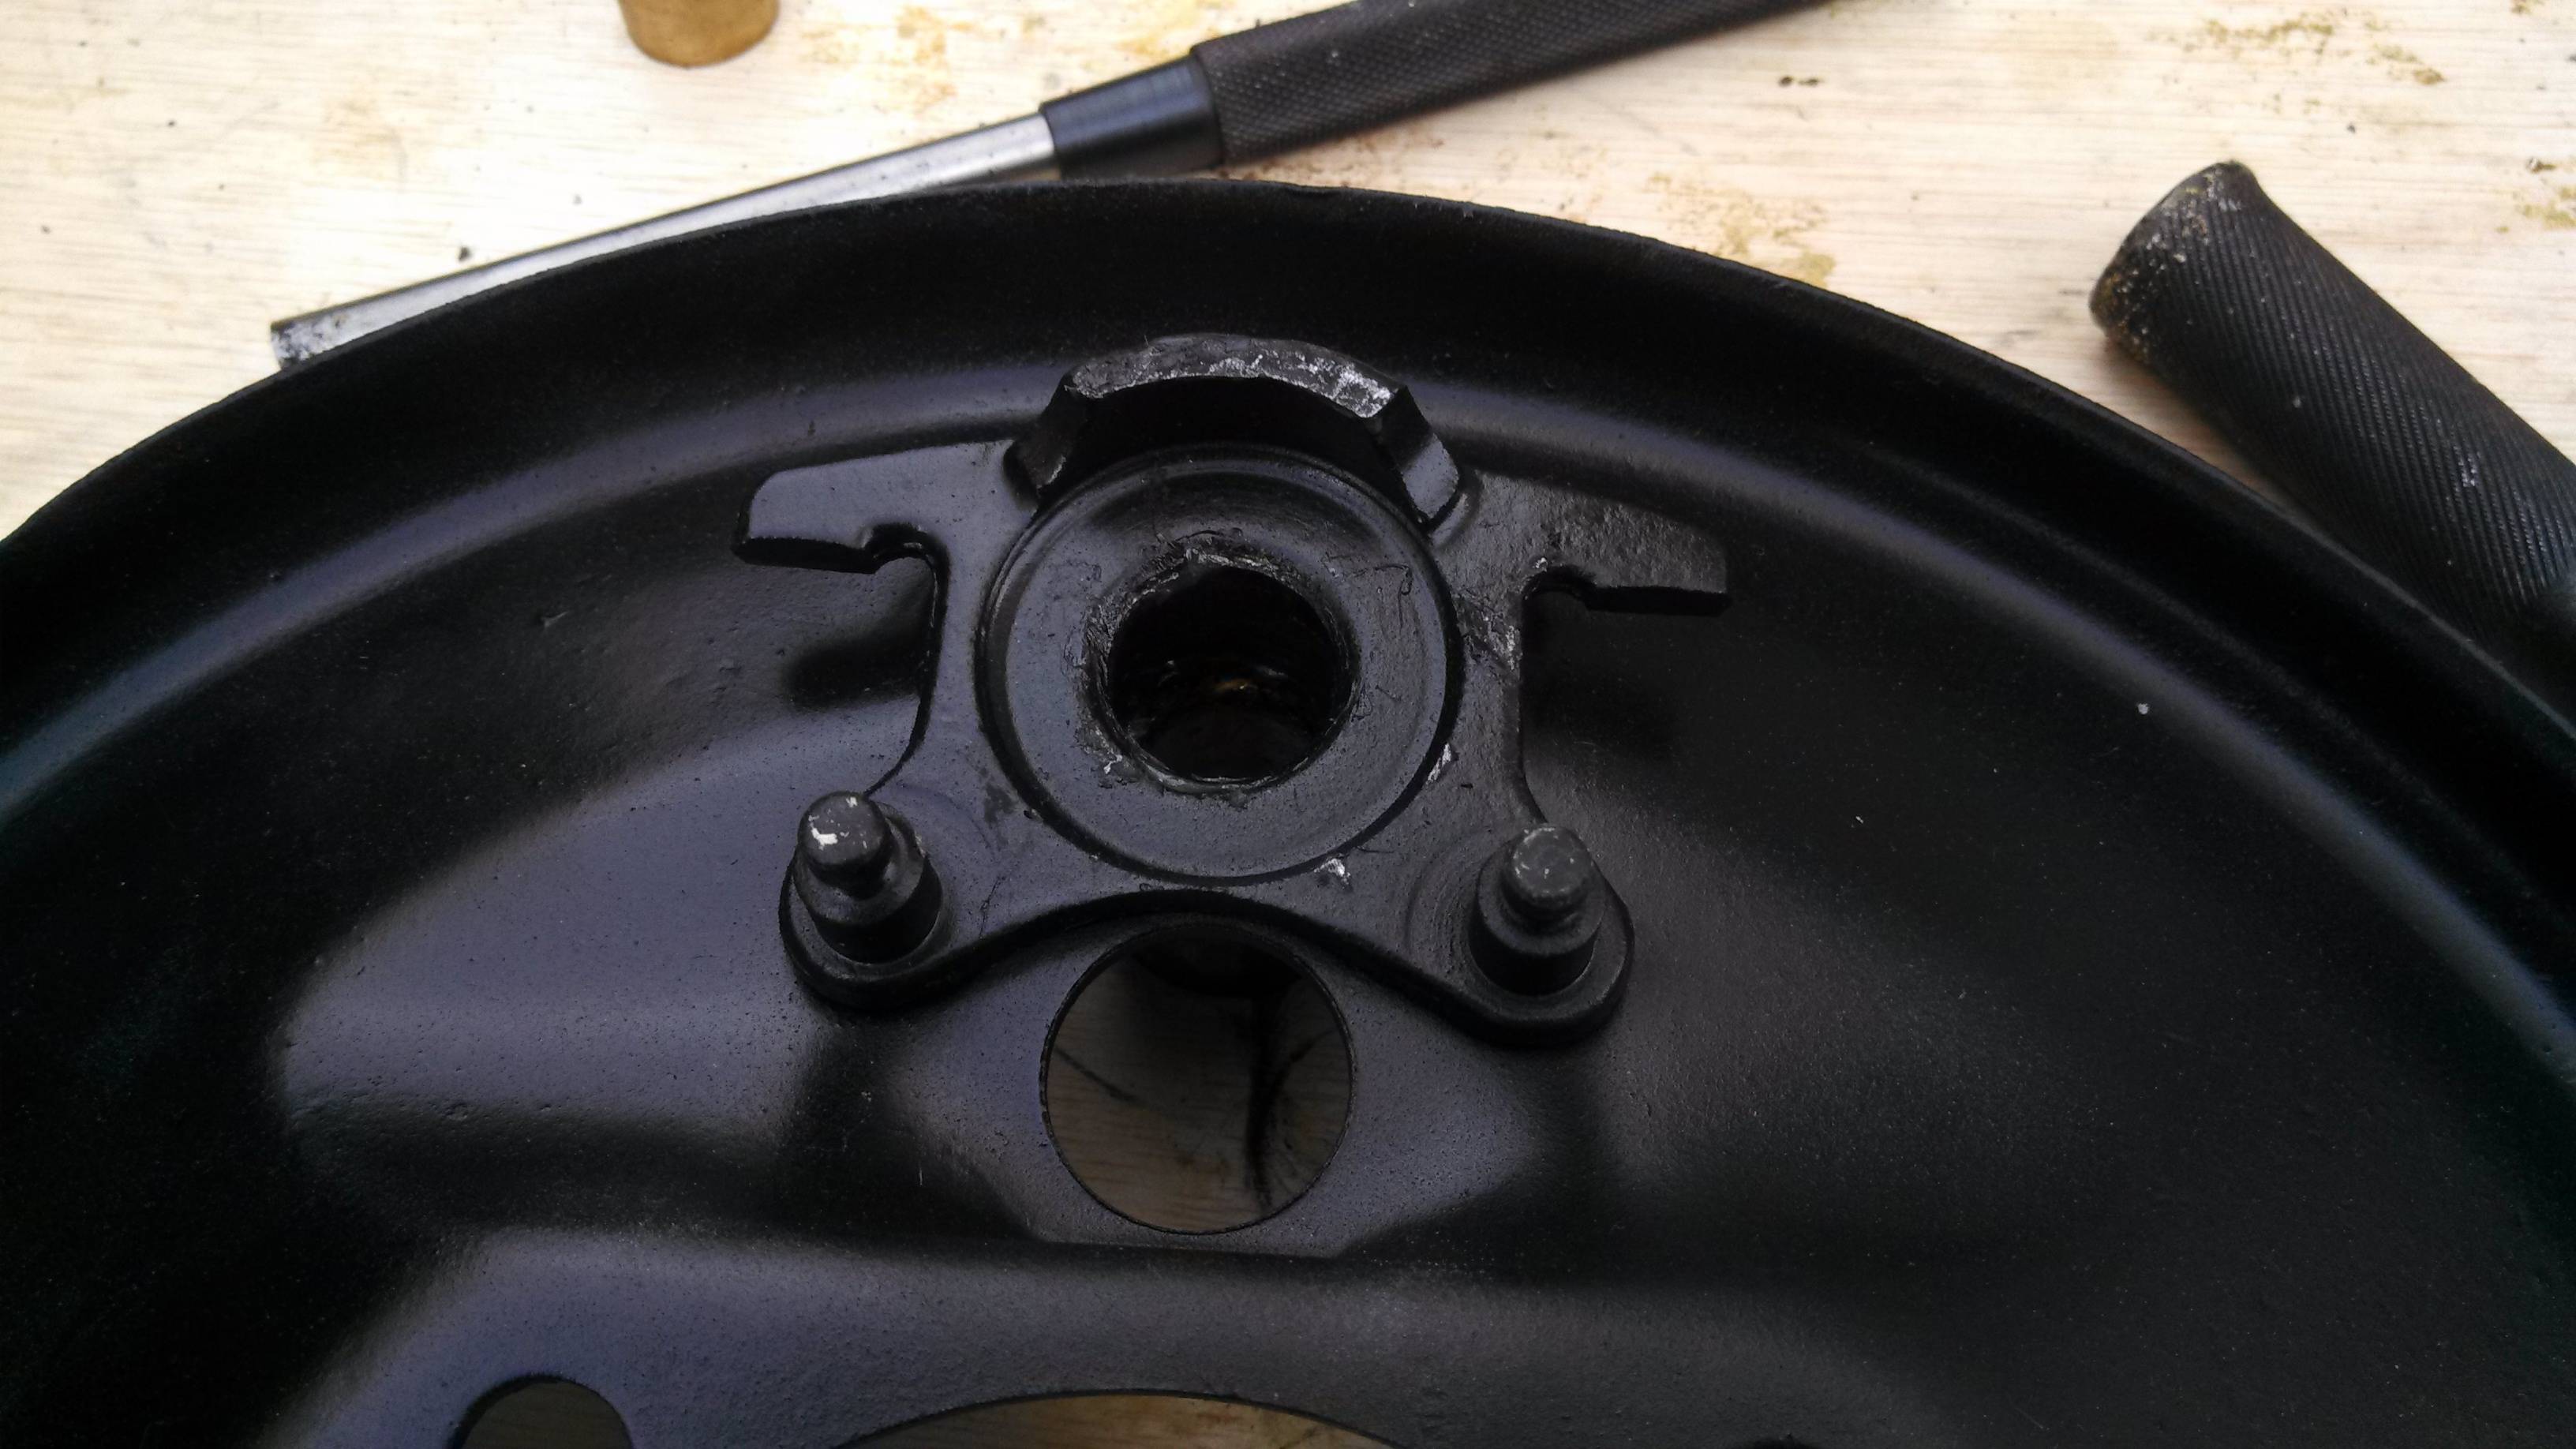
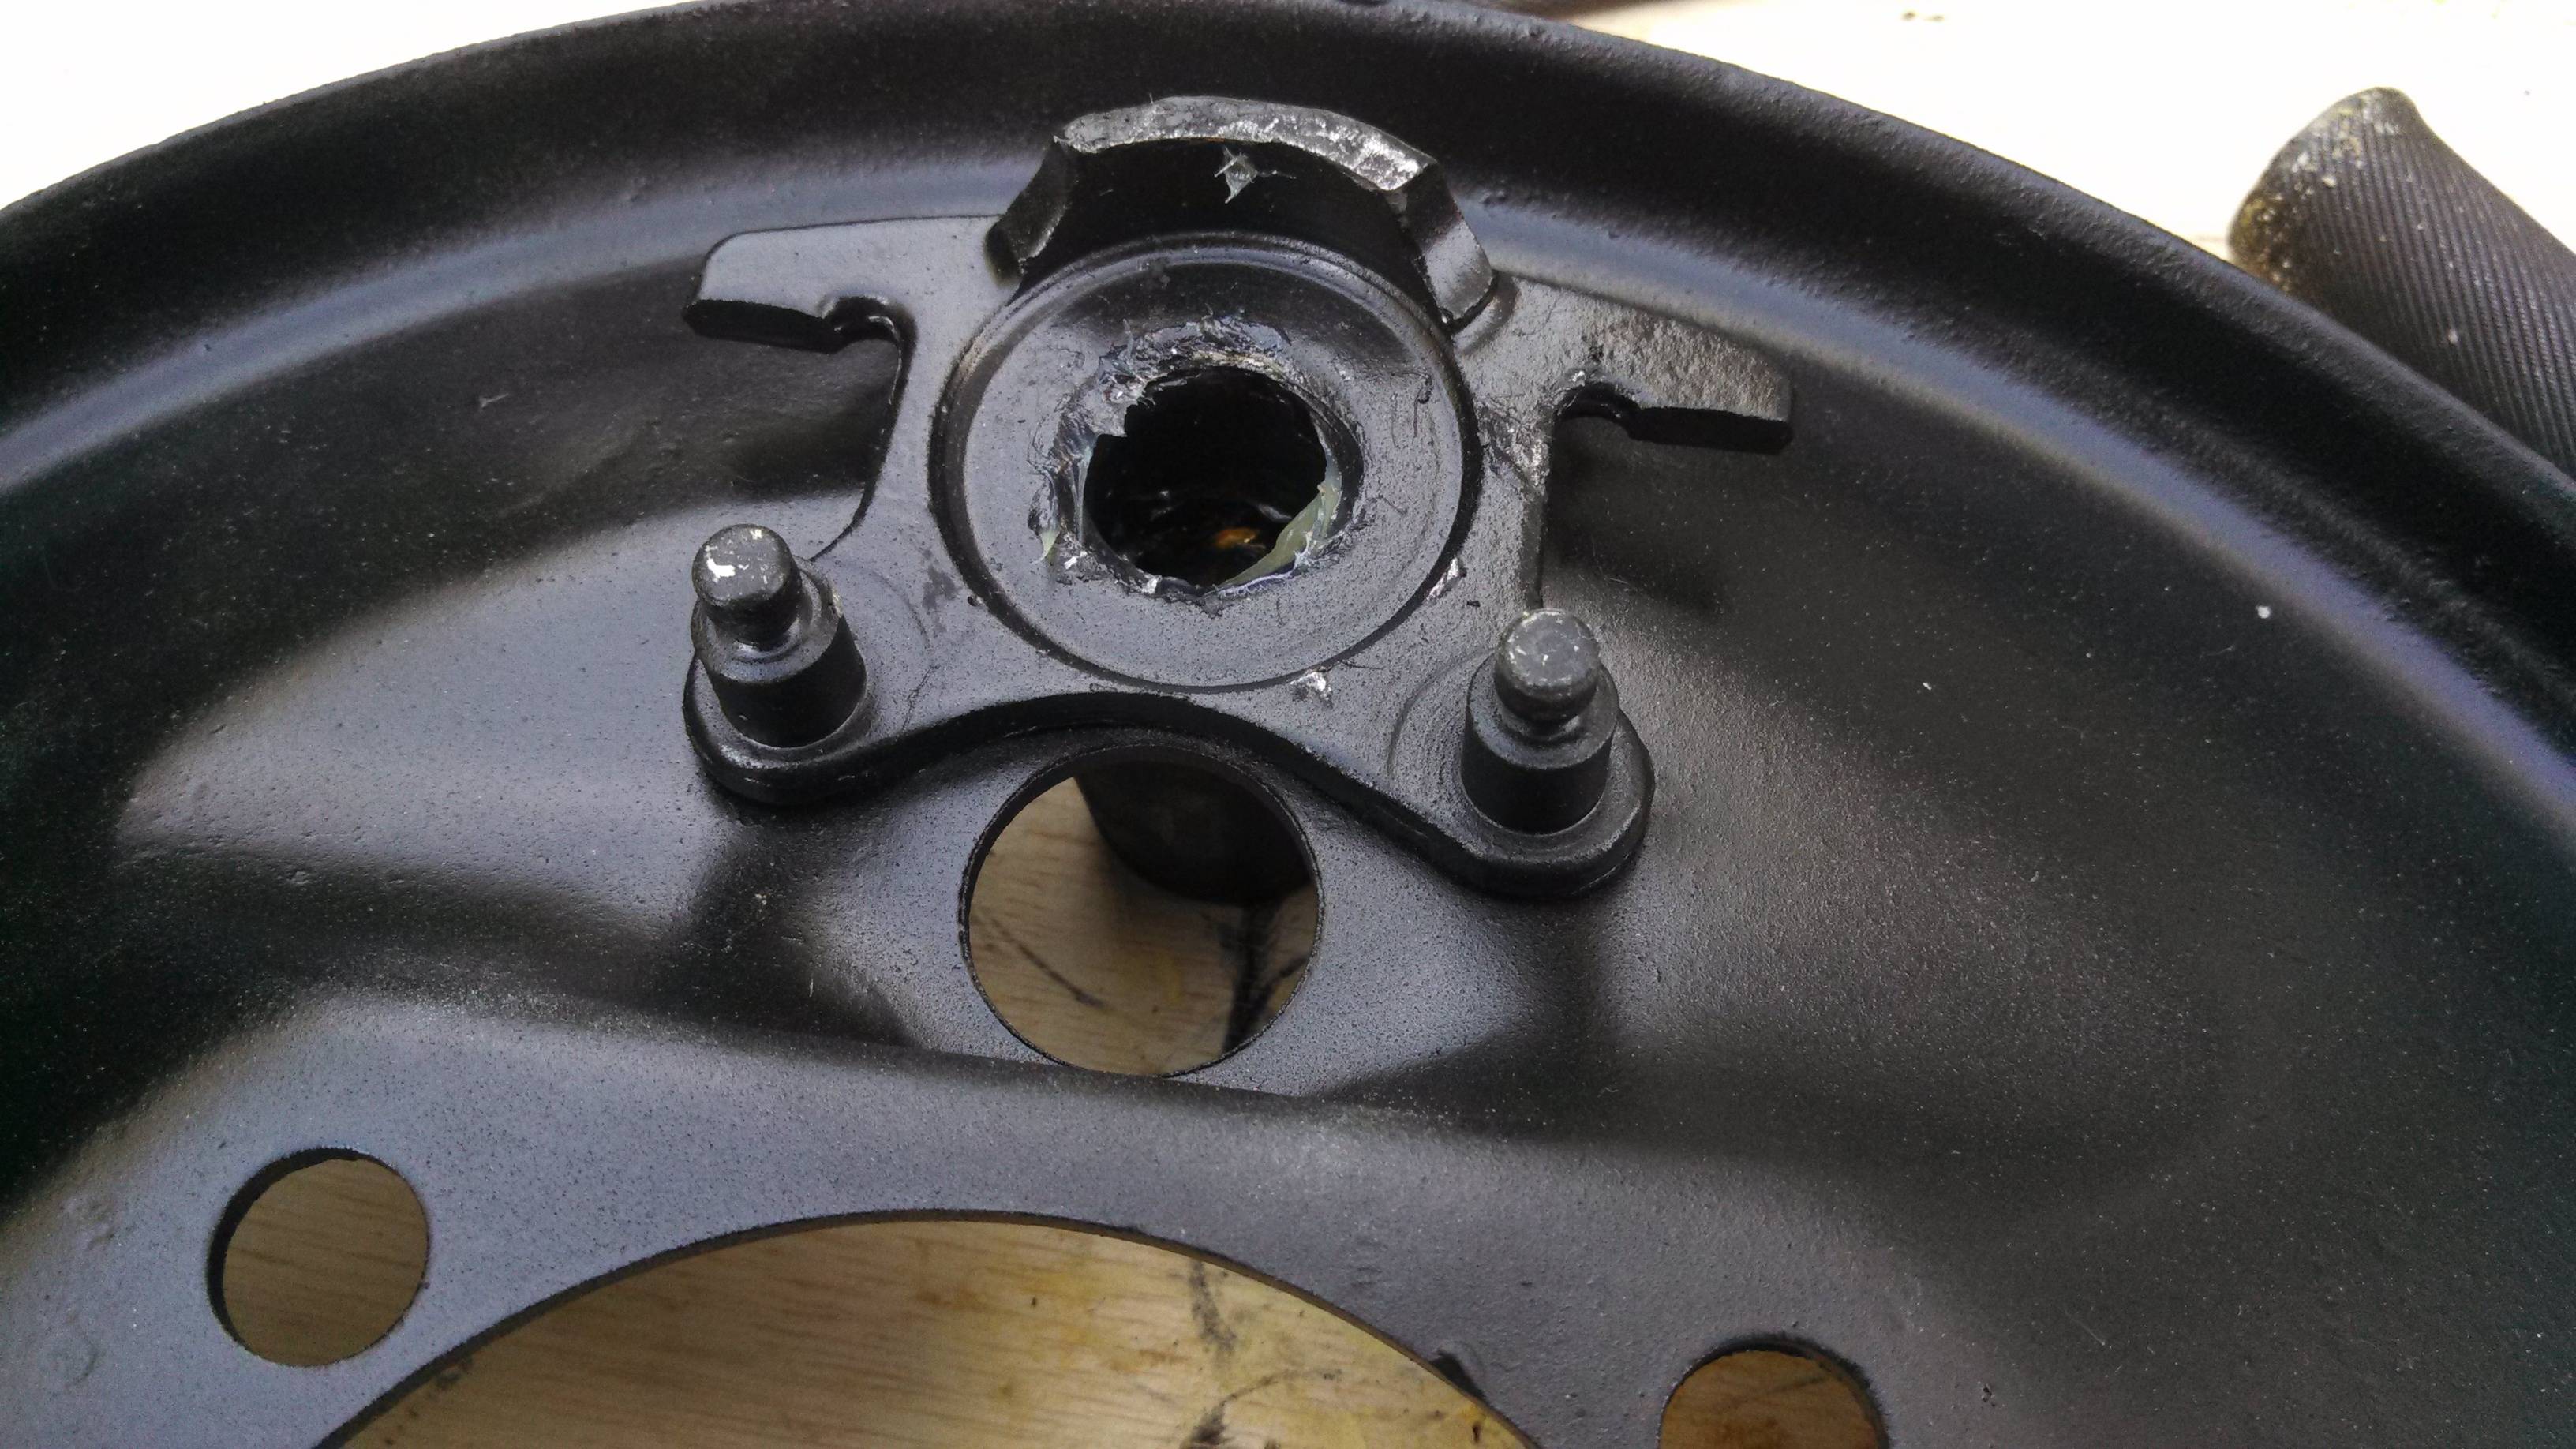
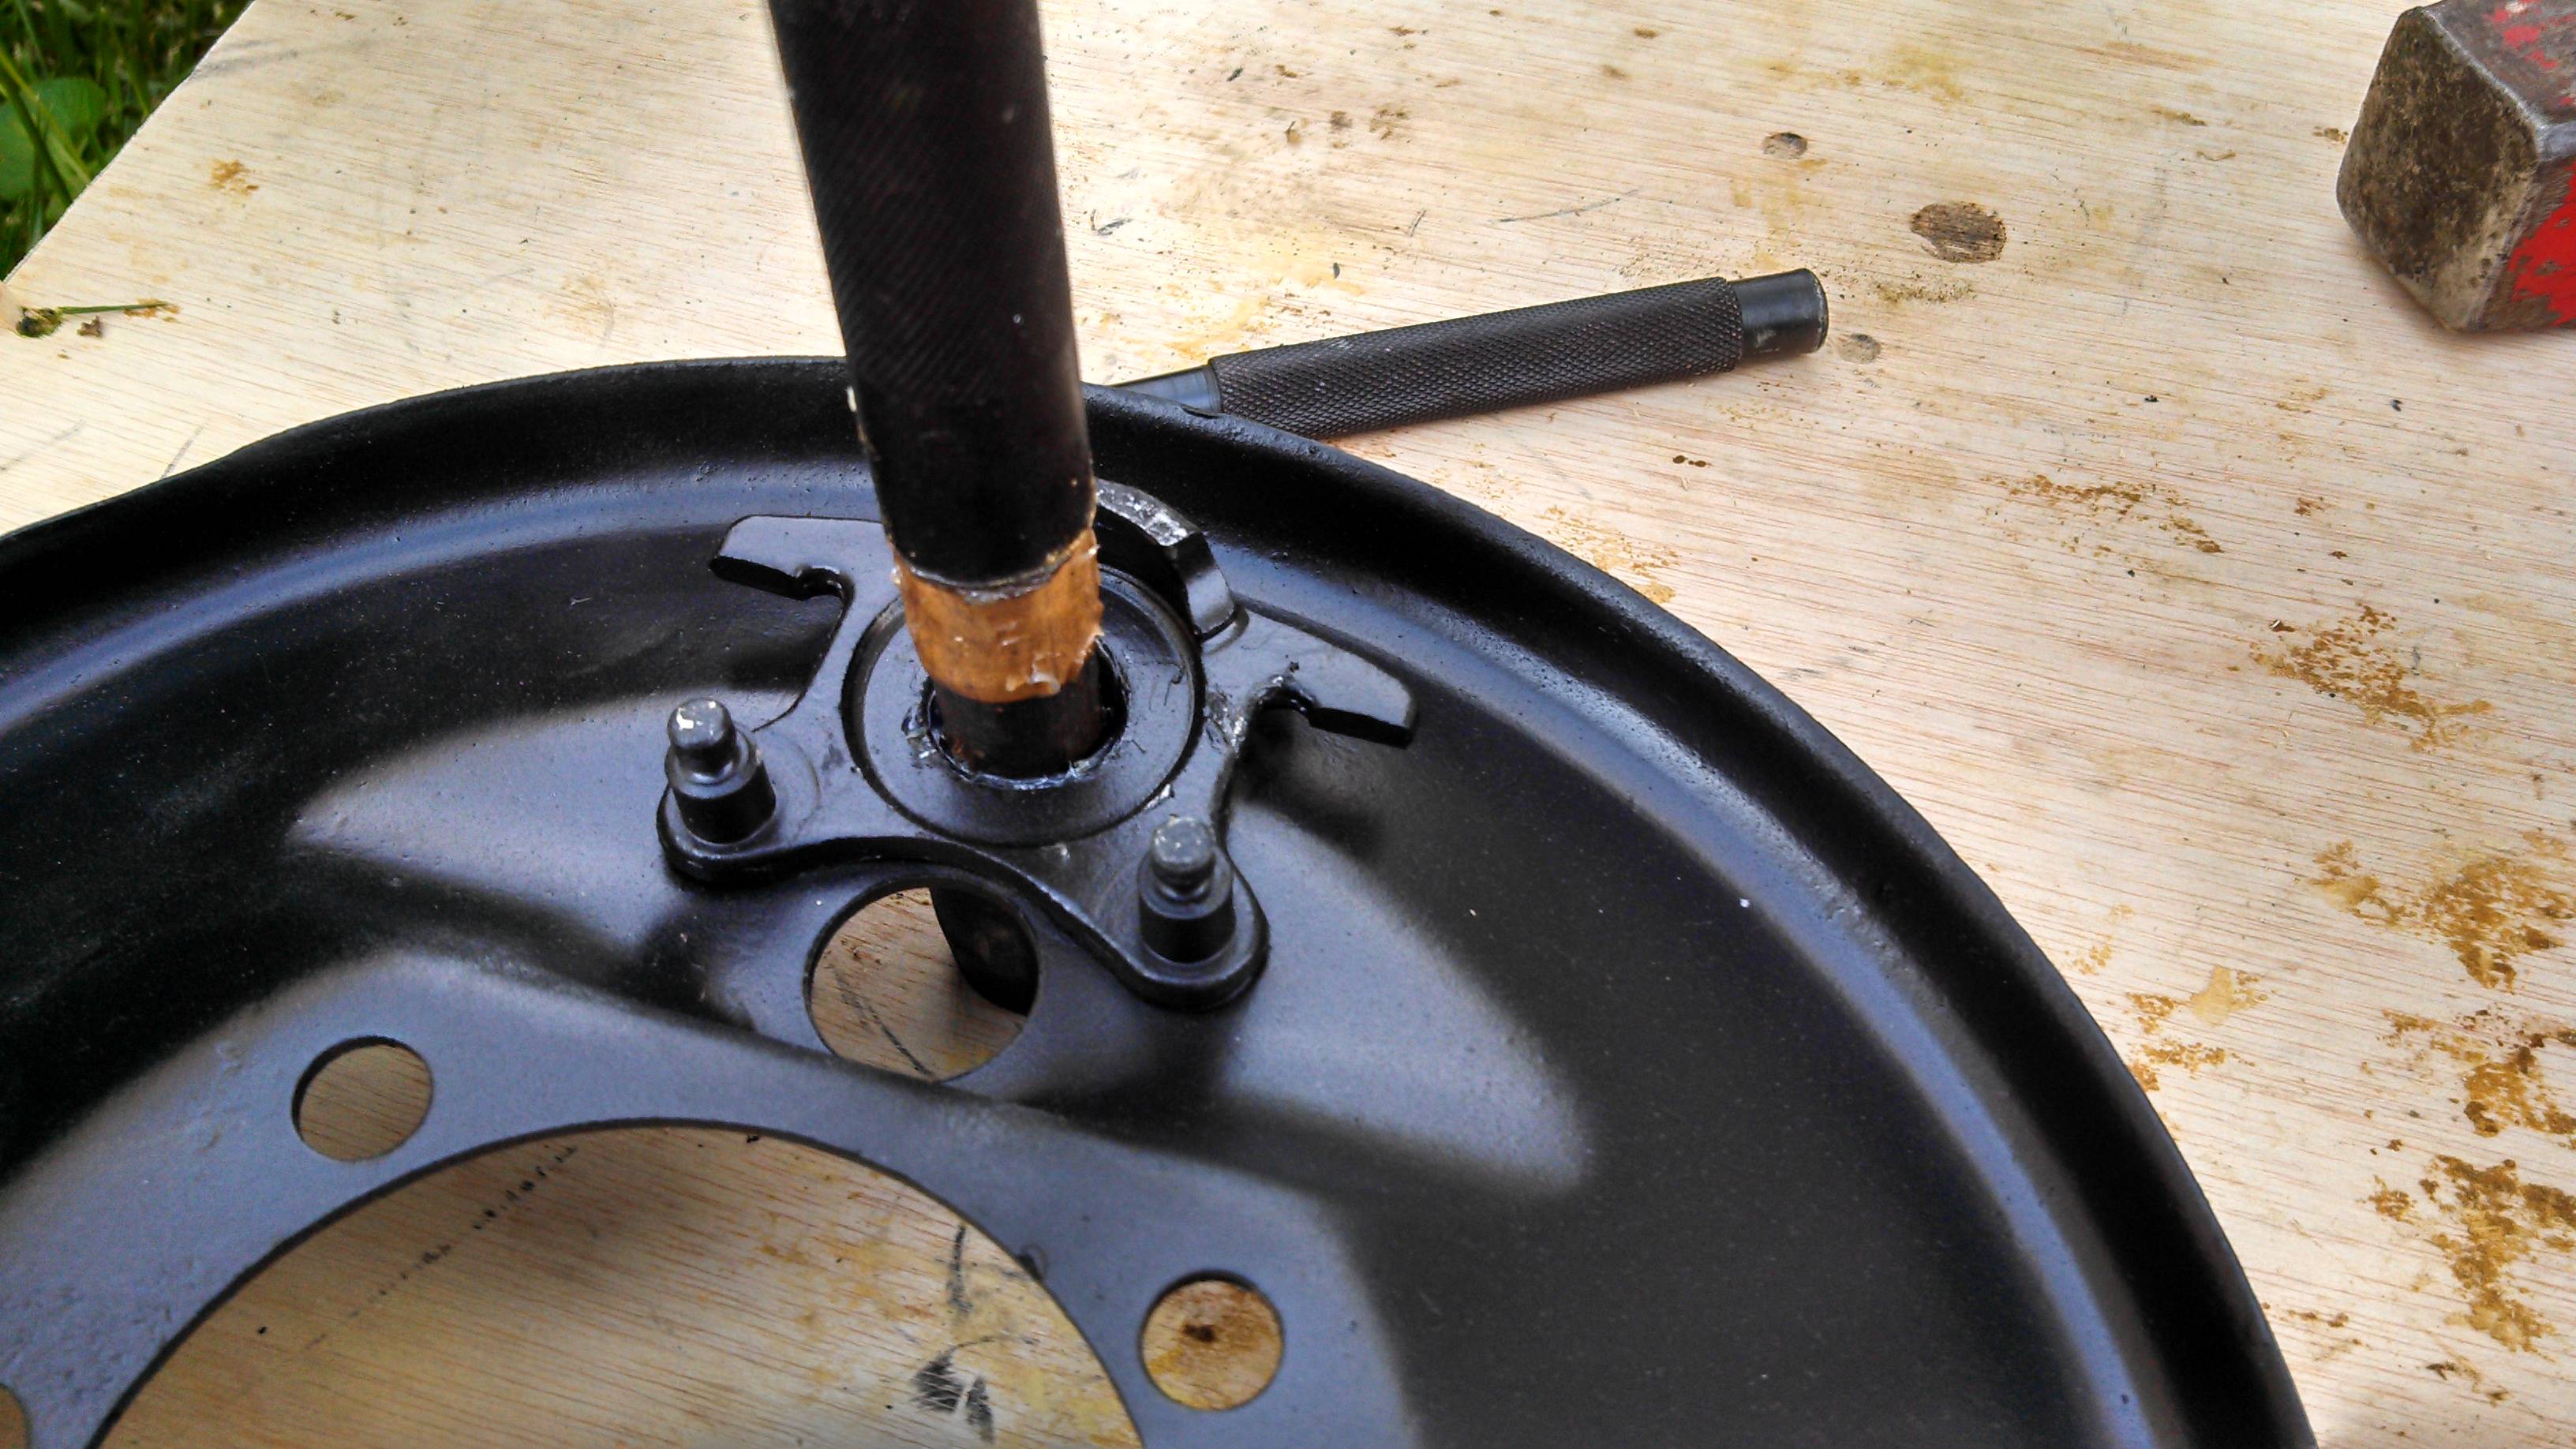
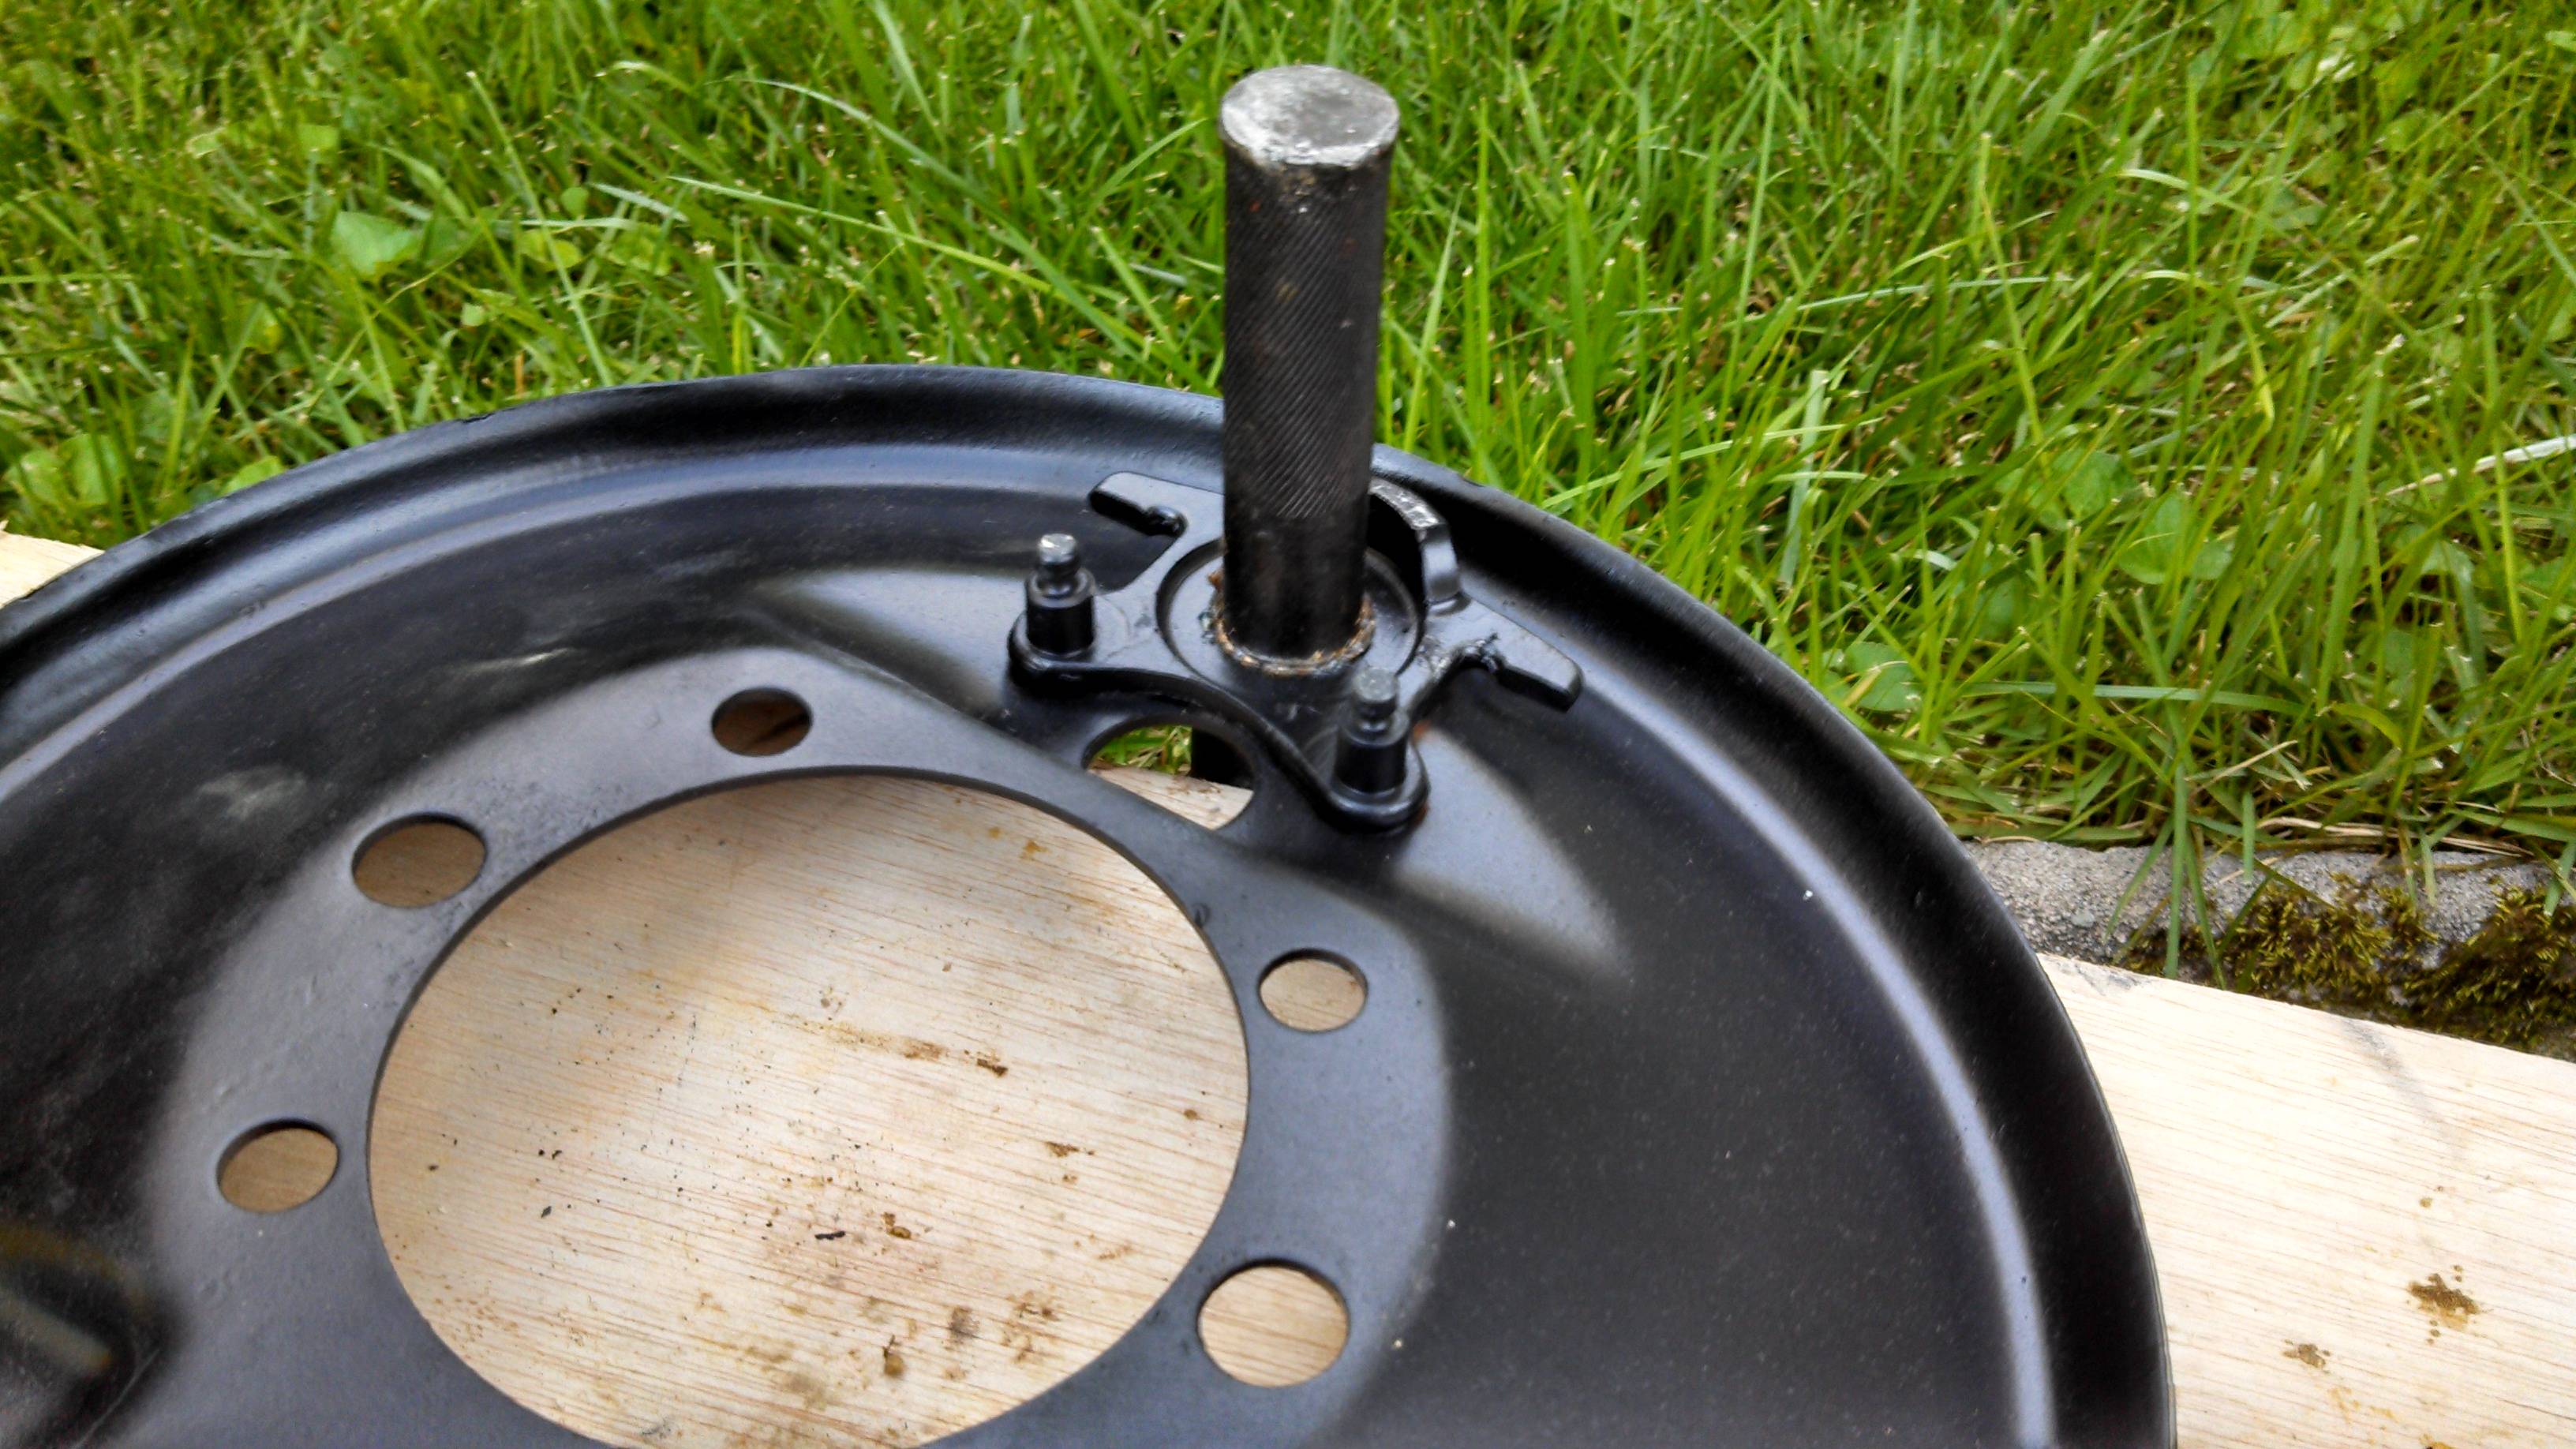
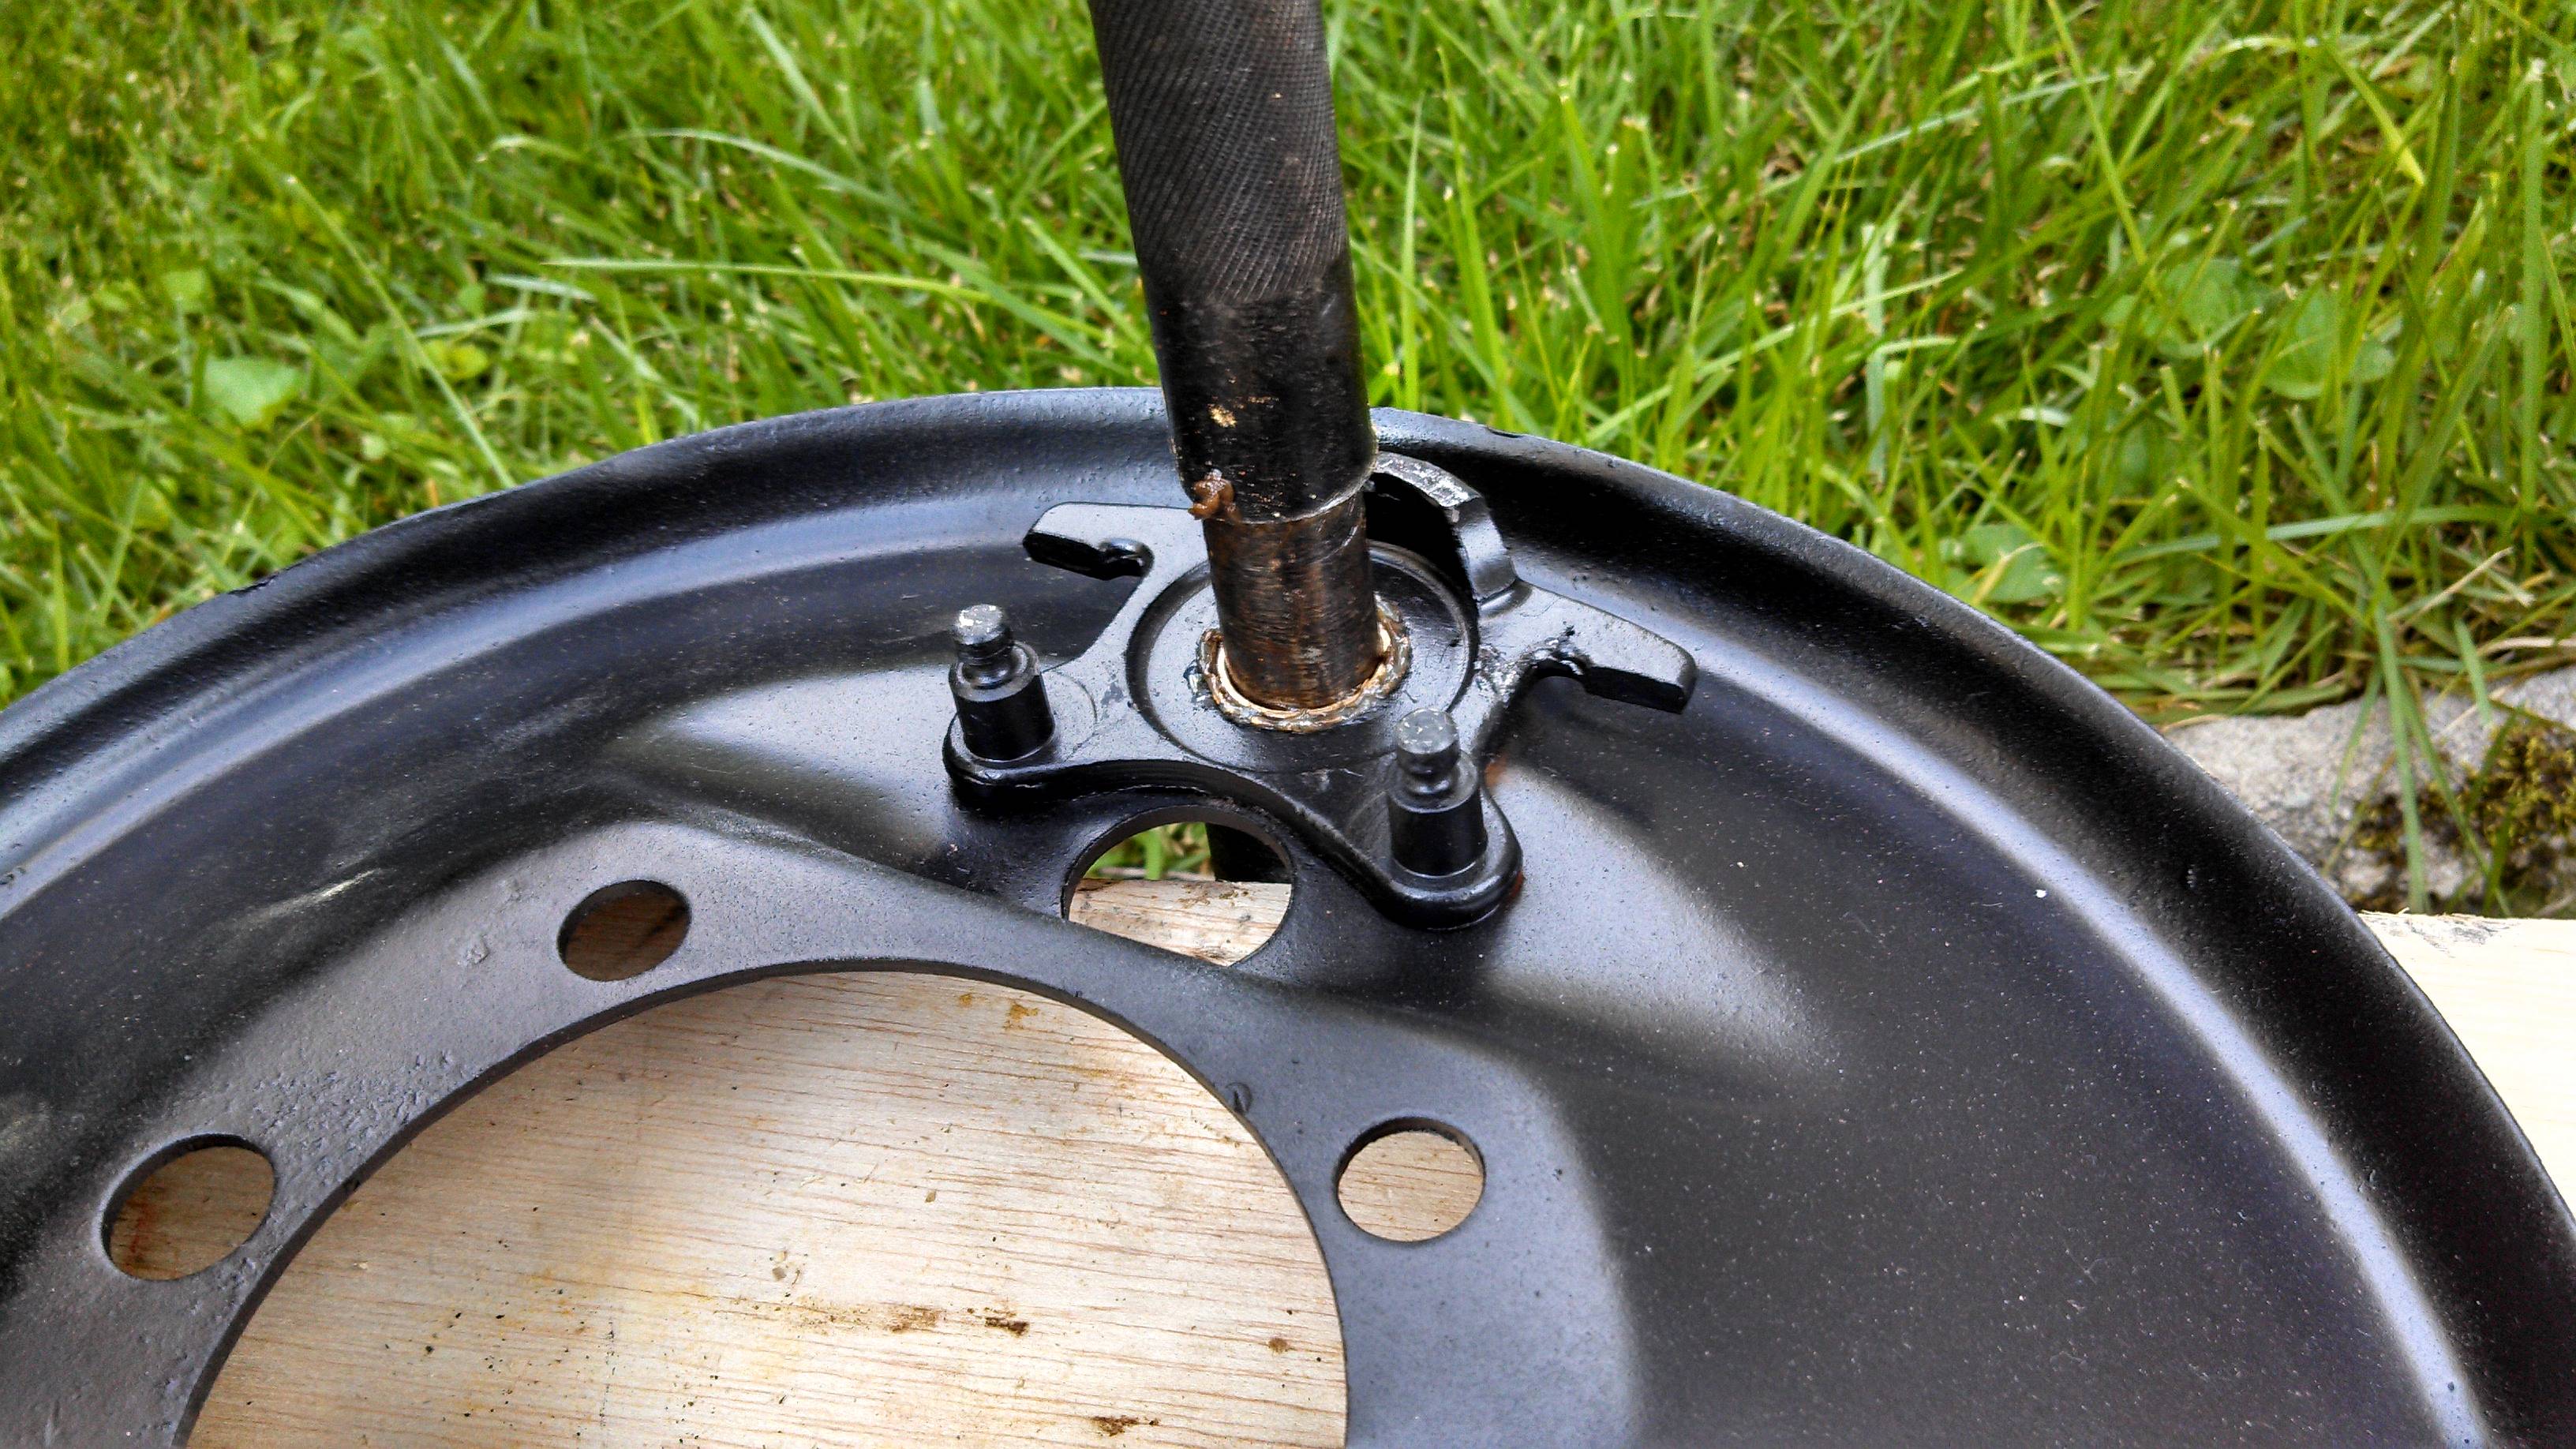
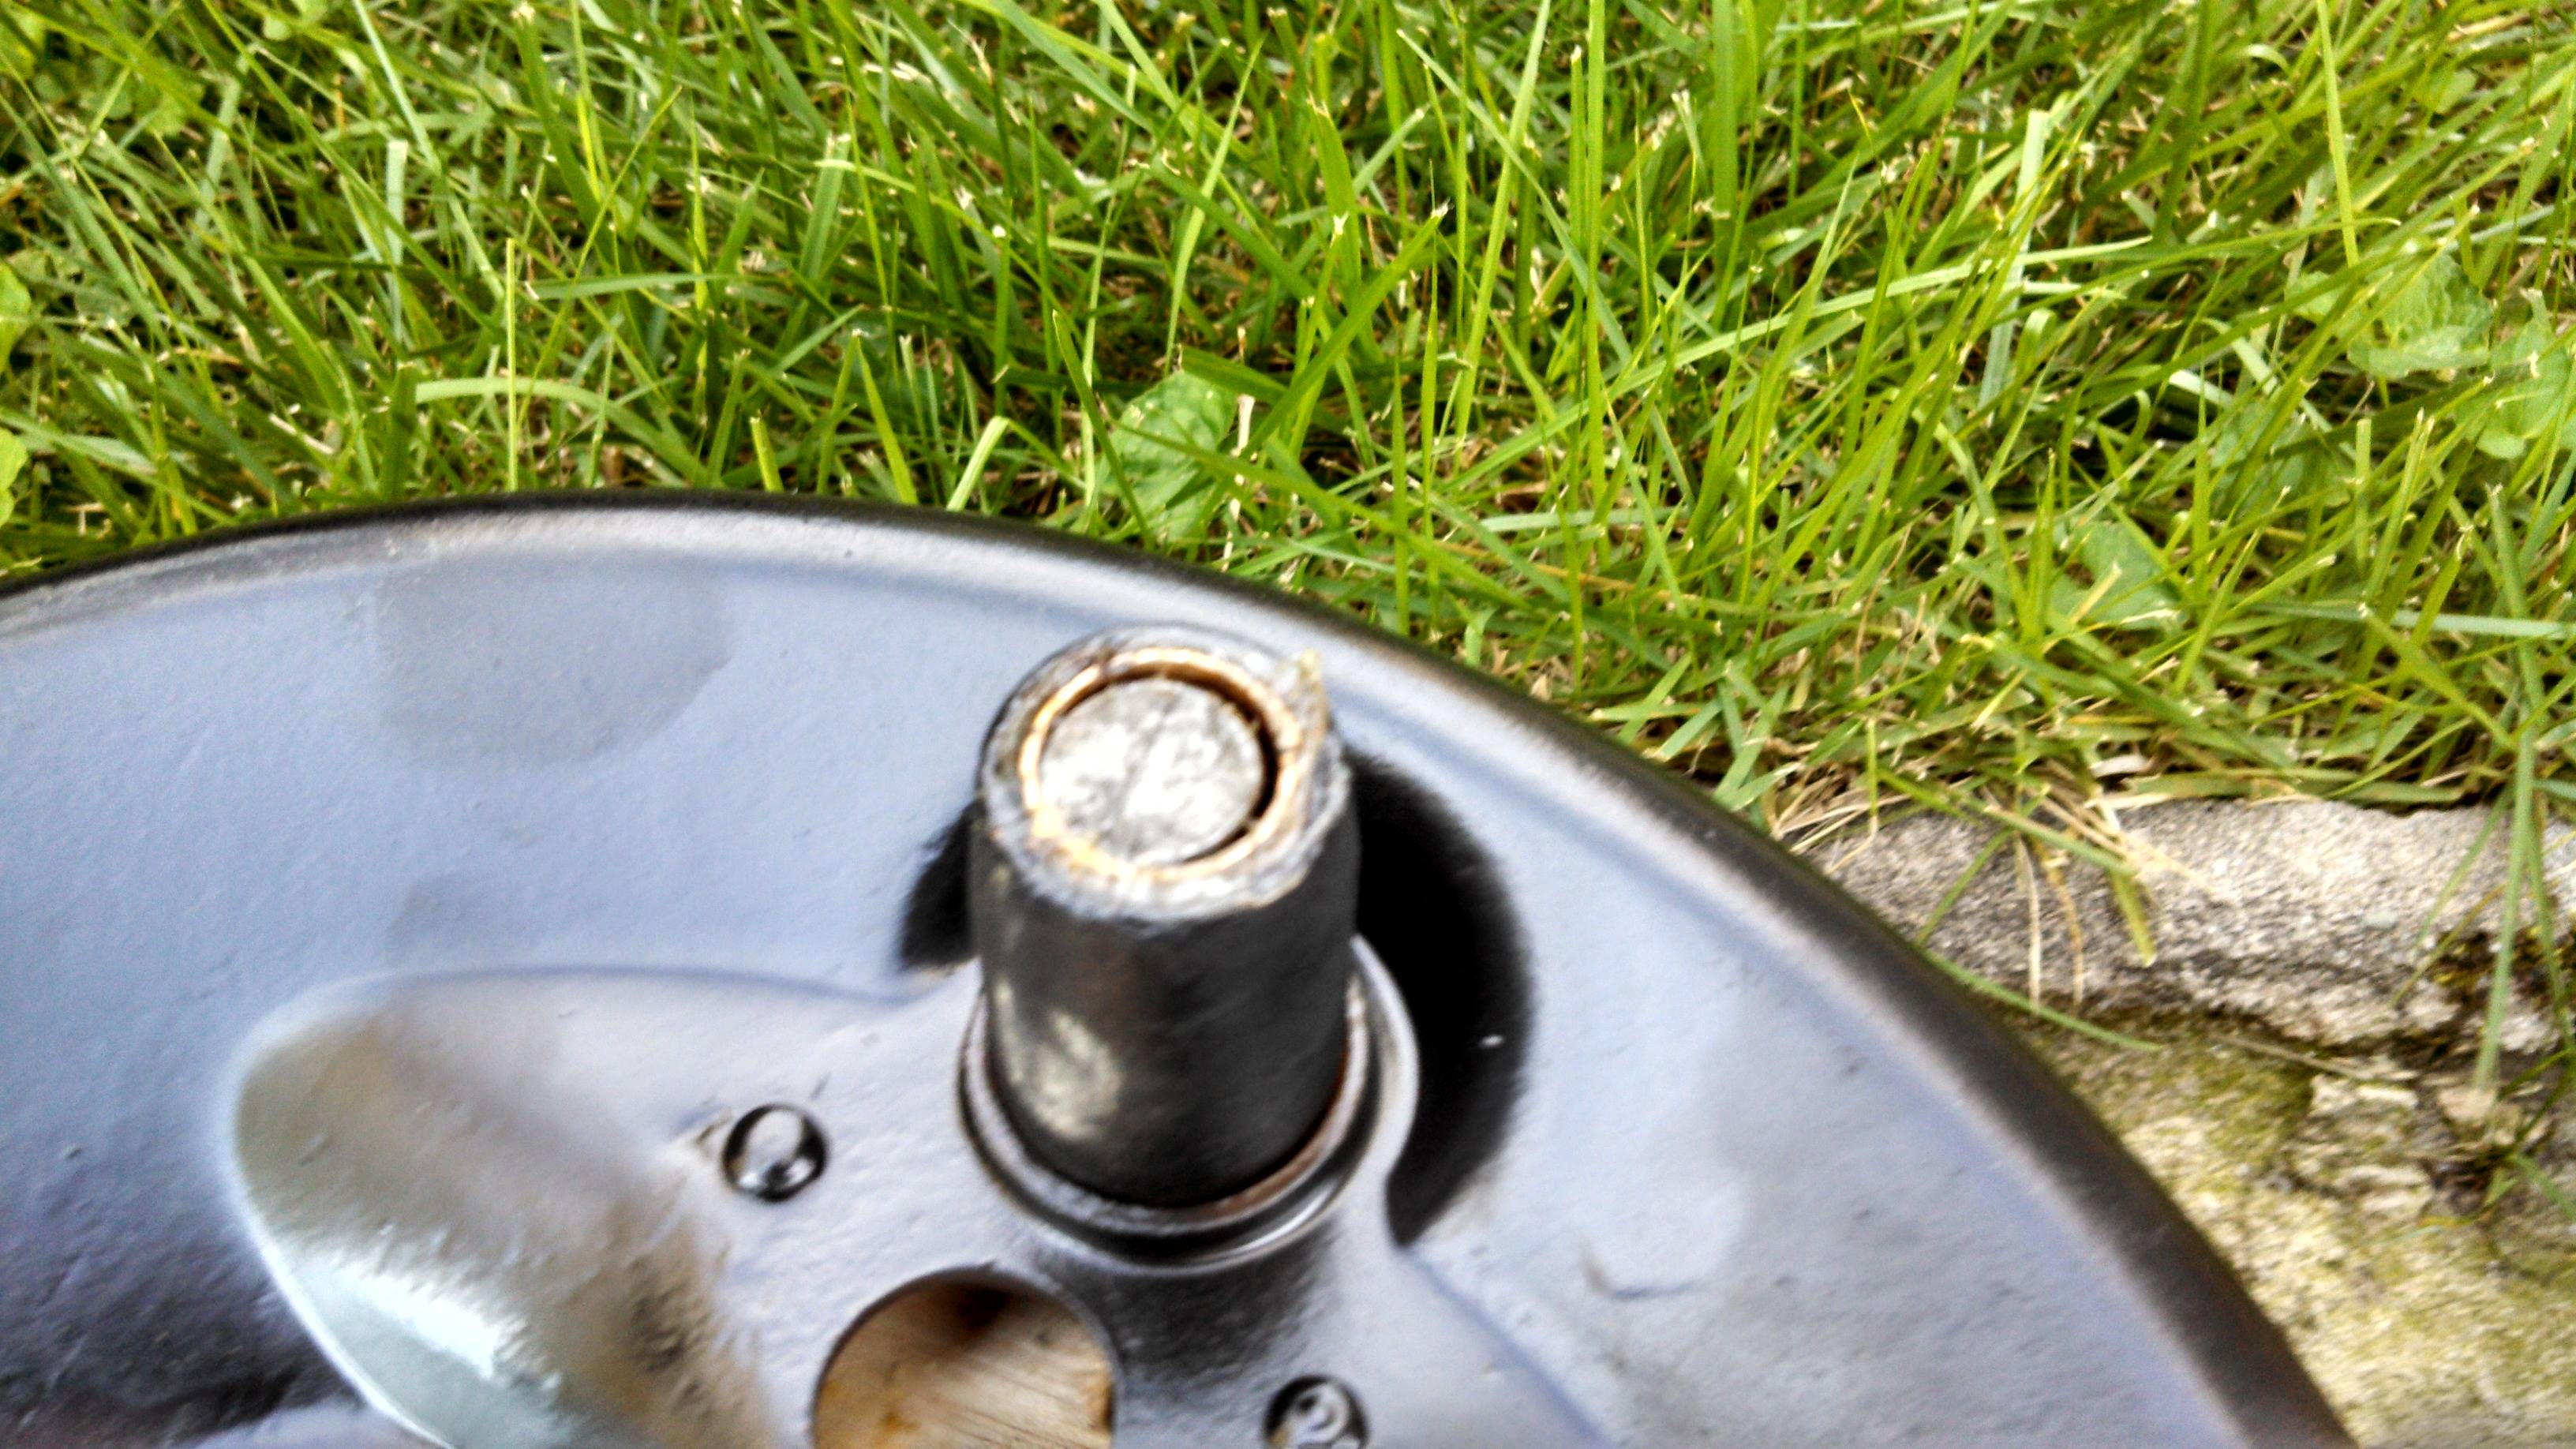
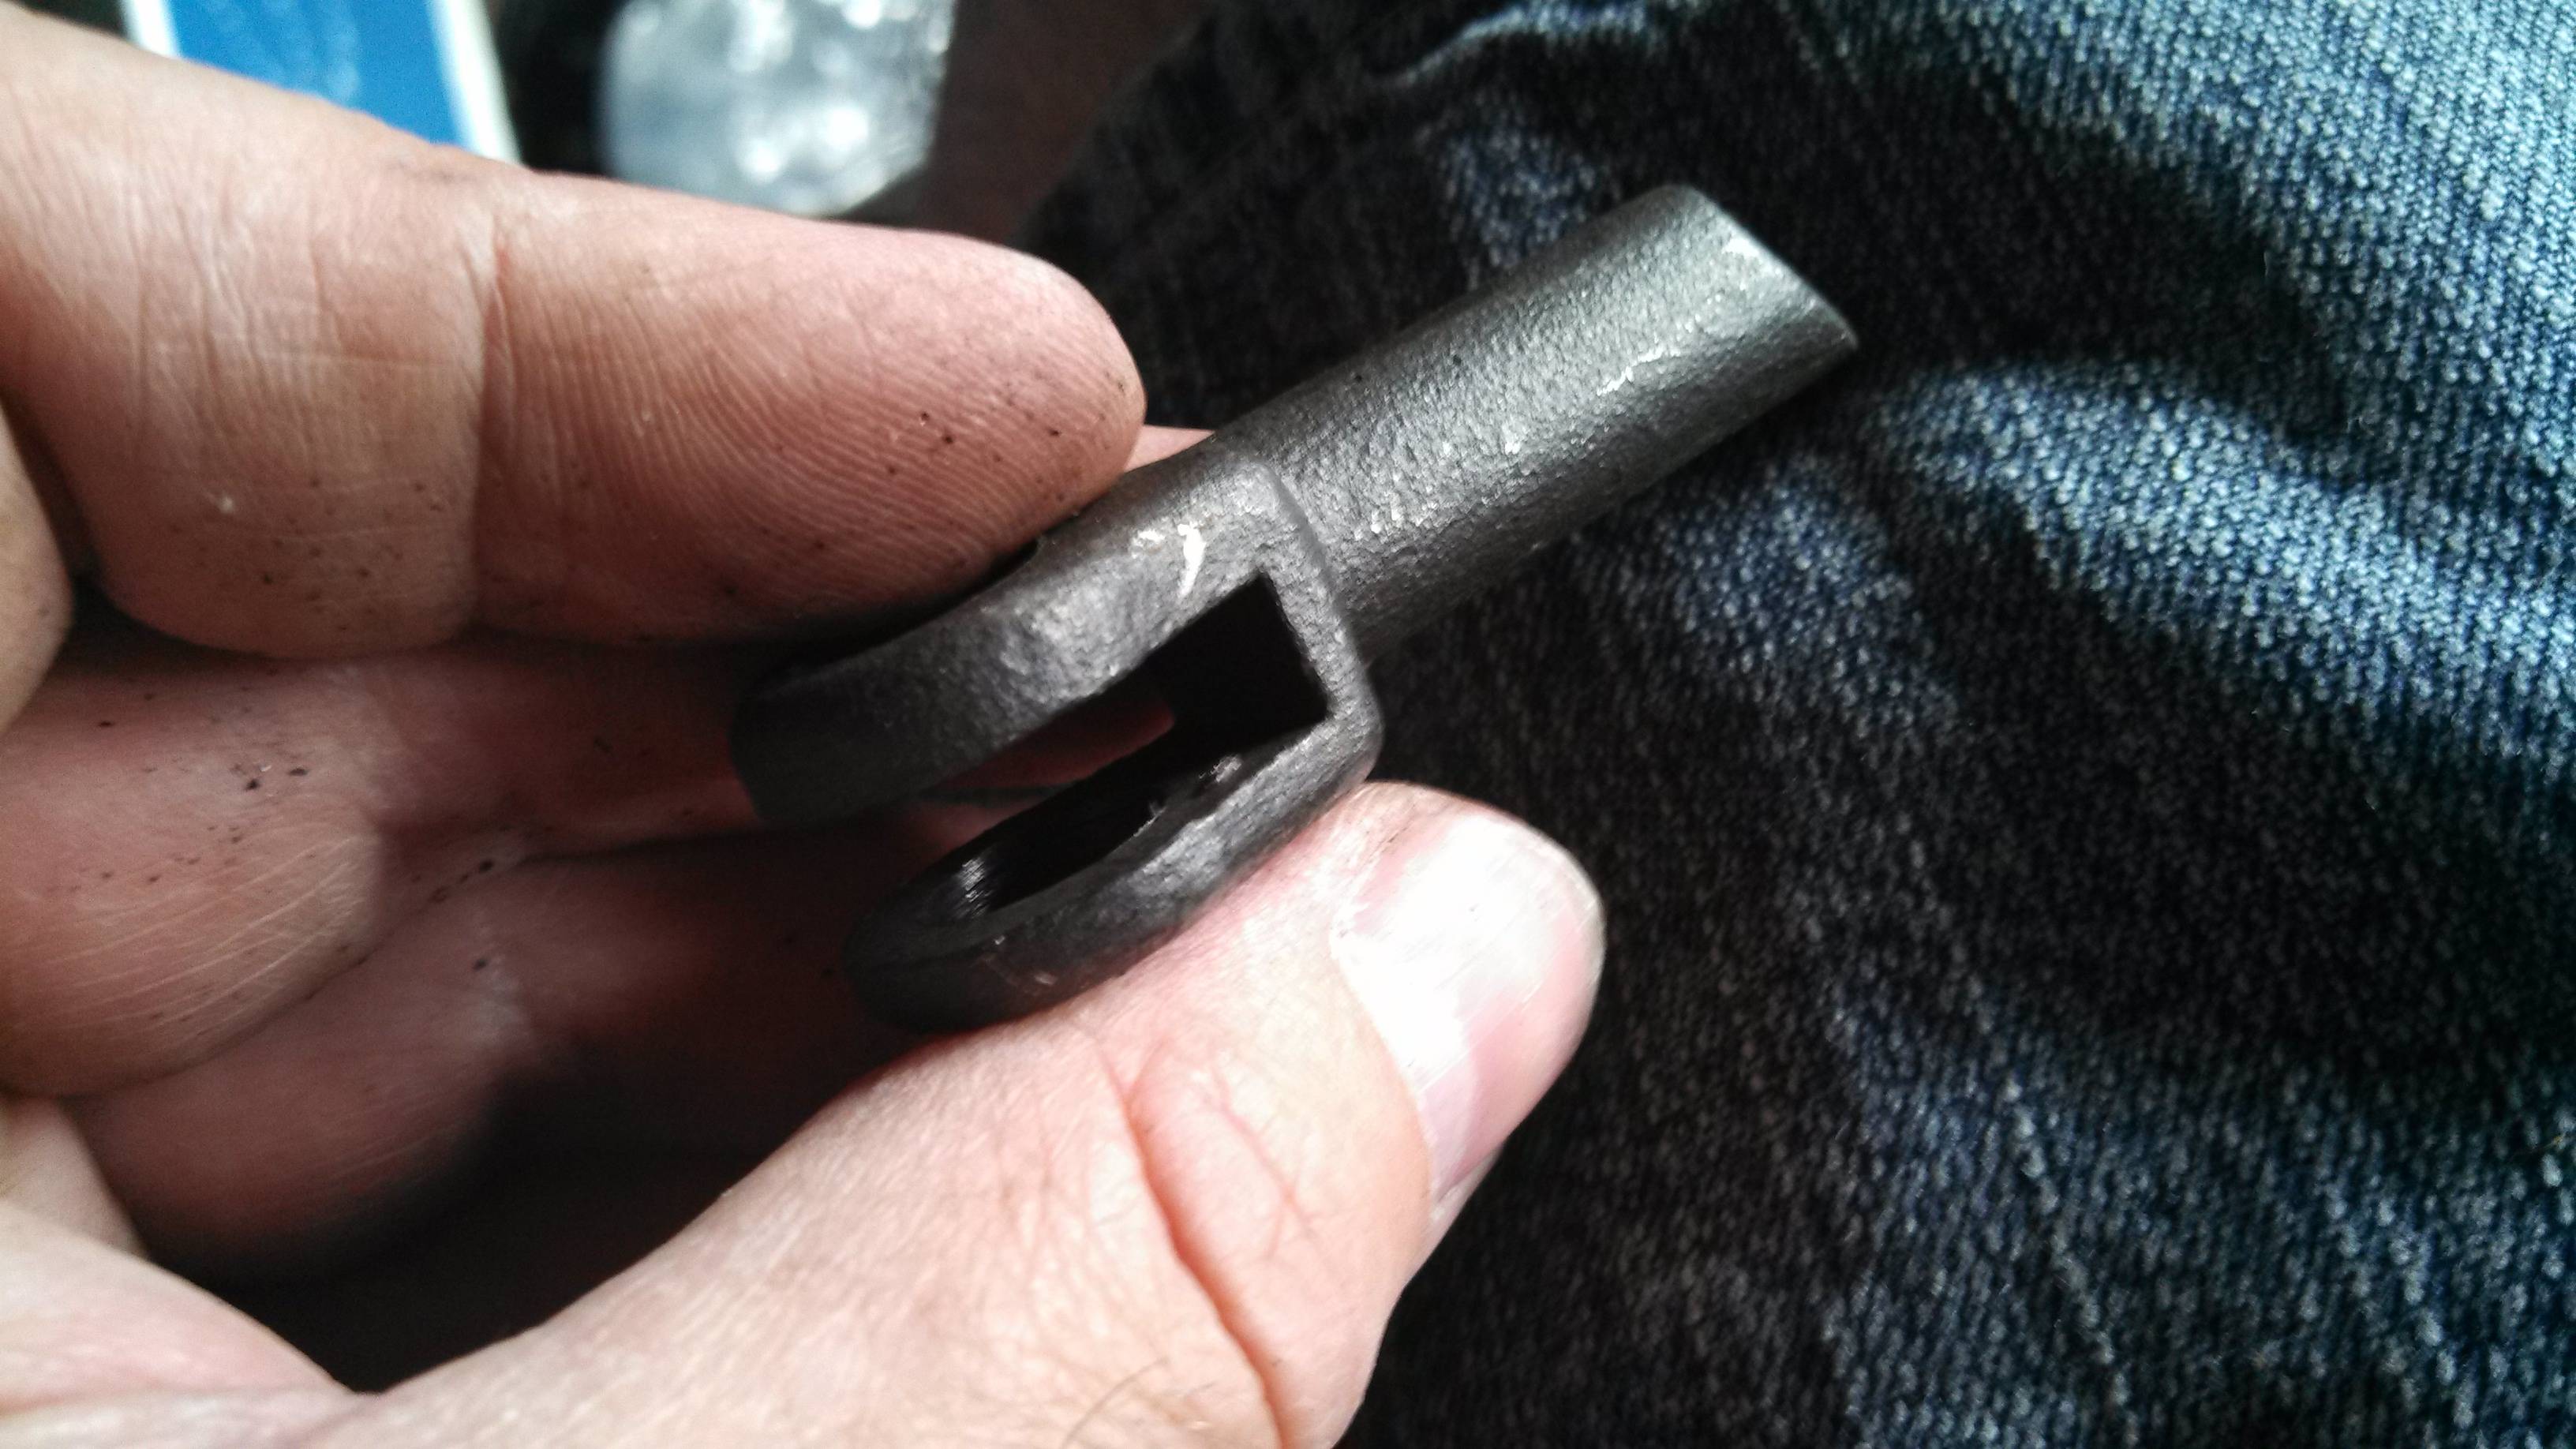
But I remembered the flared tool, and decided not to buy the reamer. So here's how it worked... First, I found that the flare was bad enough that the bushings wouldn't fit over the shaft the way they were intended.
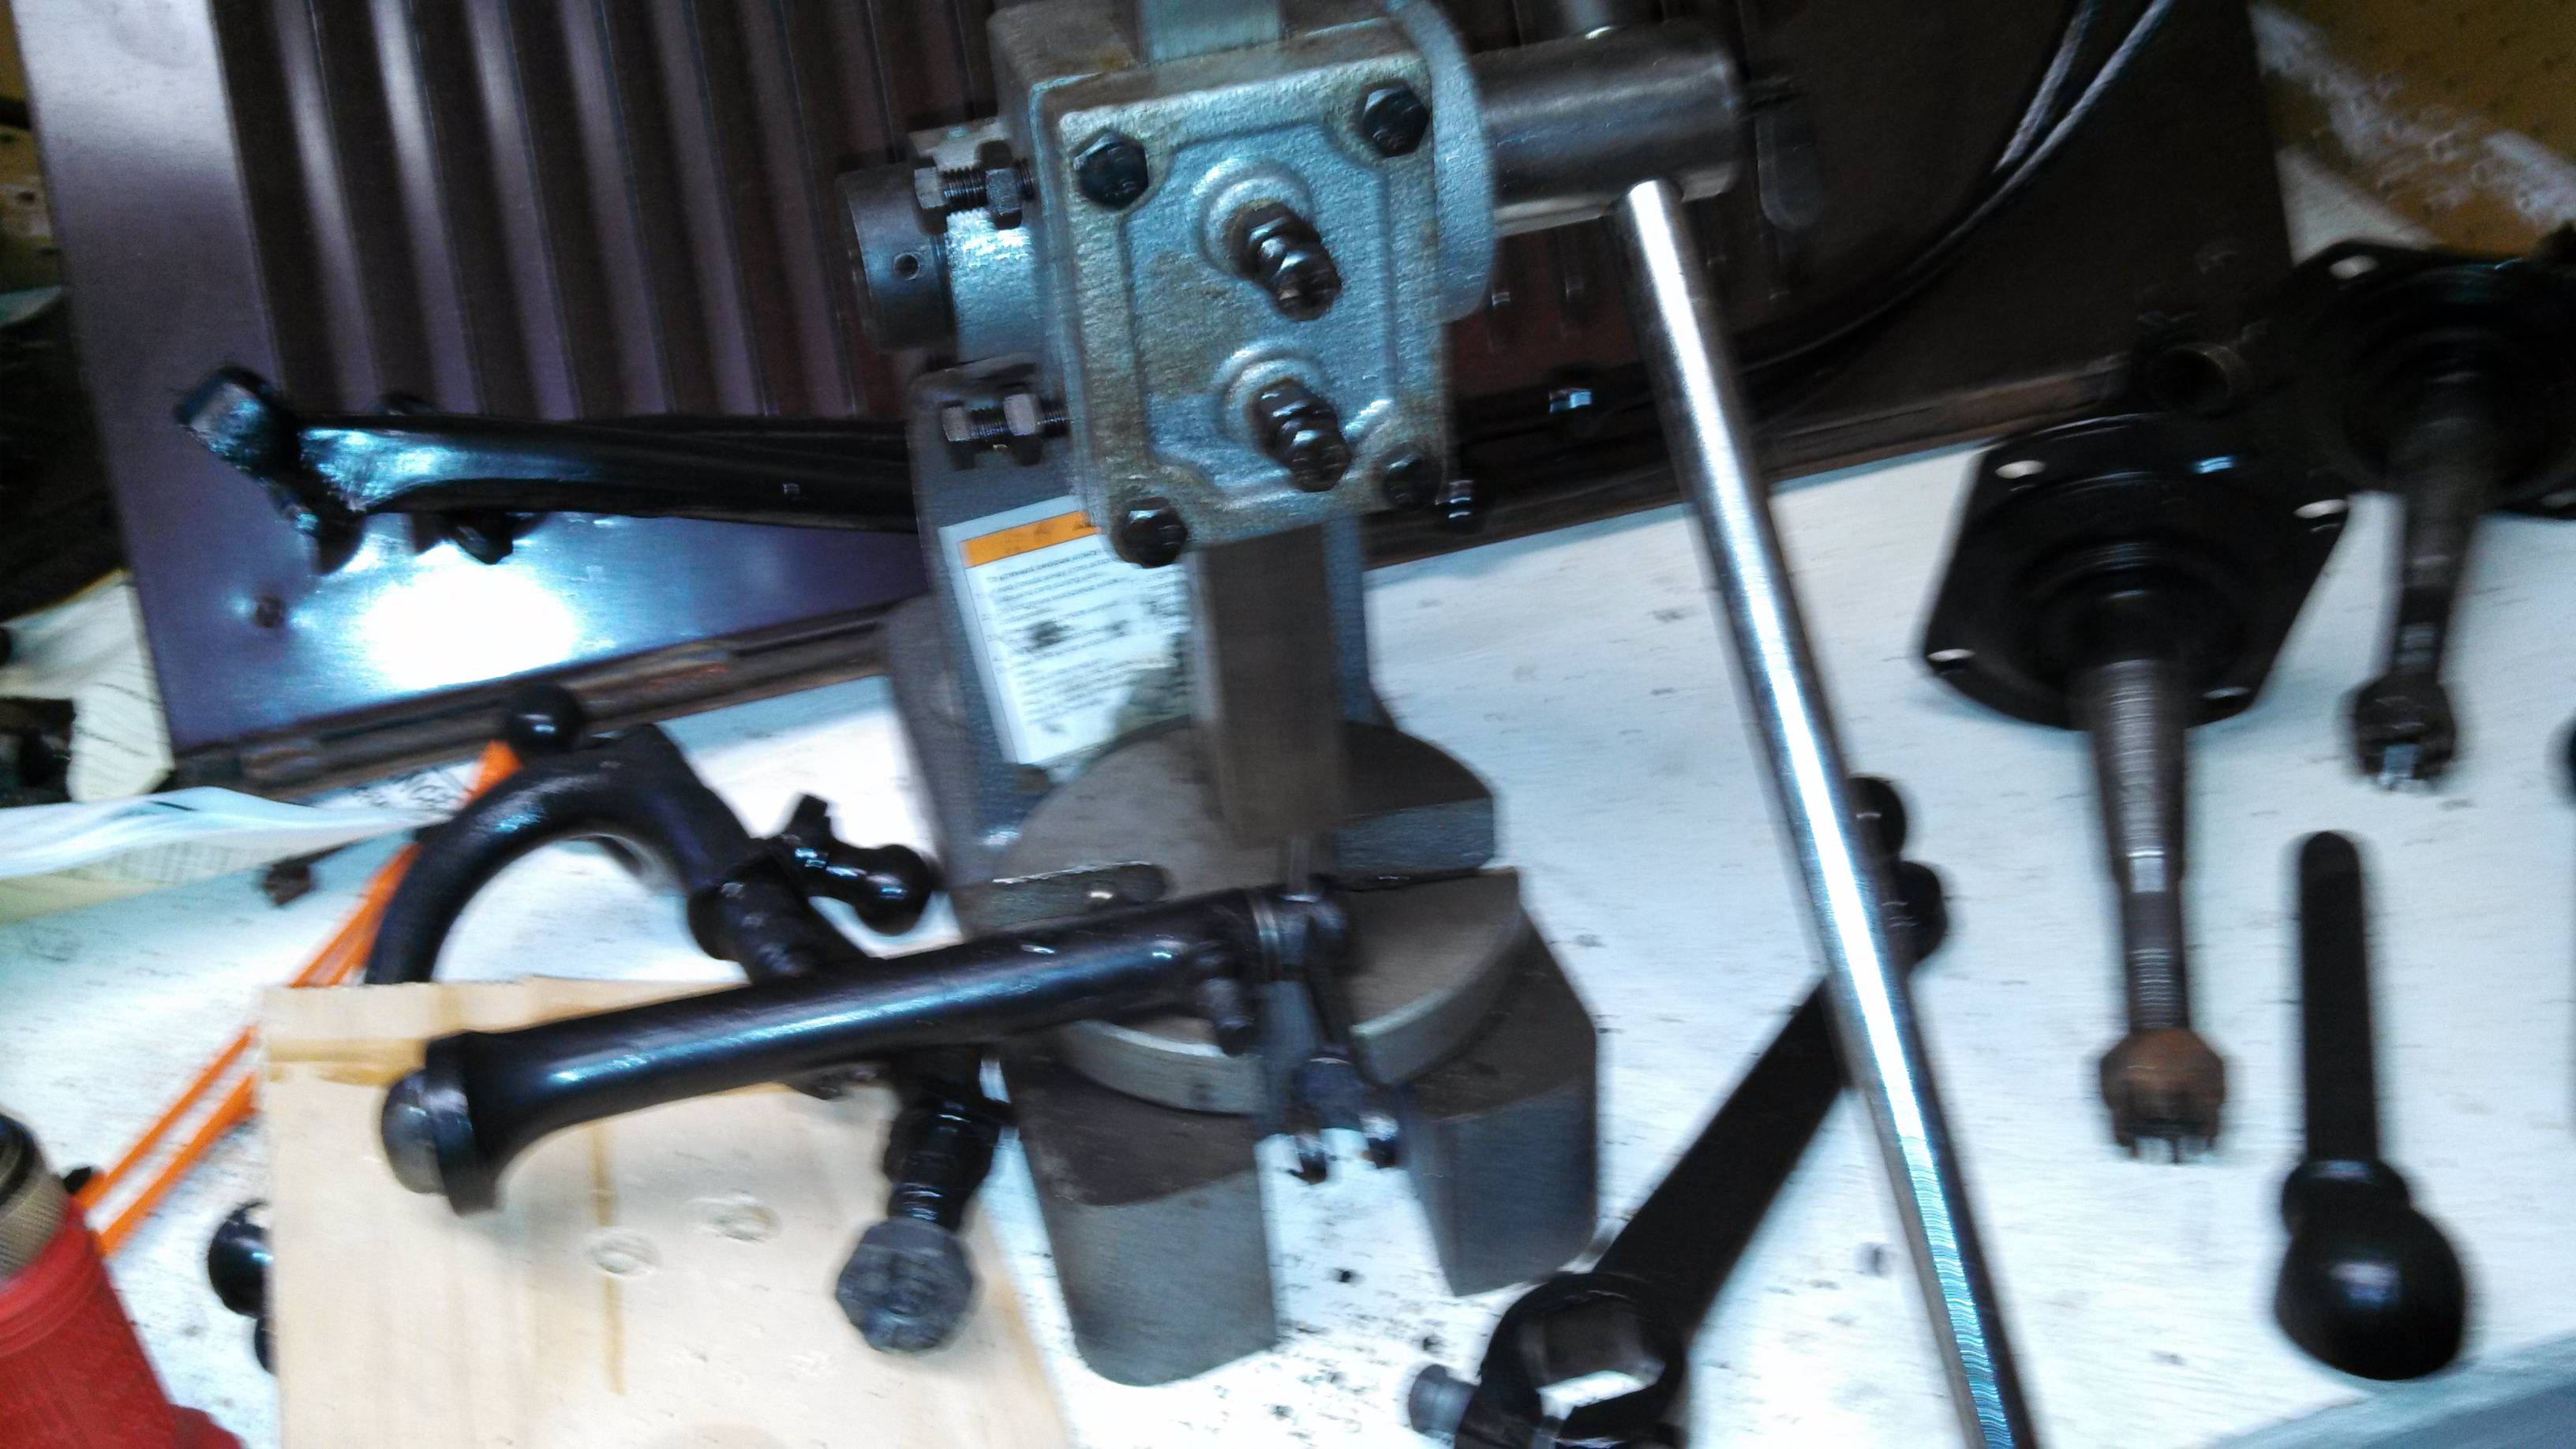
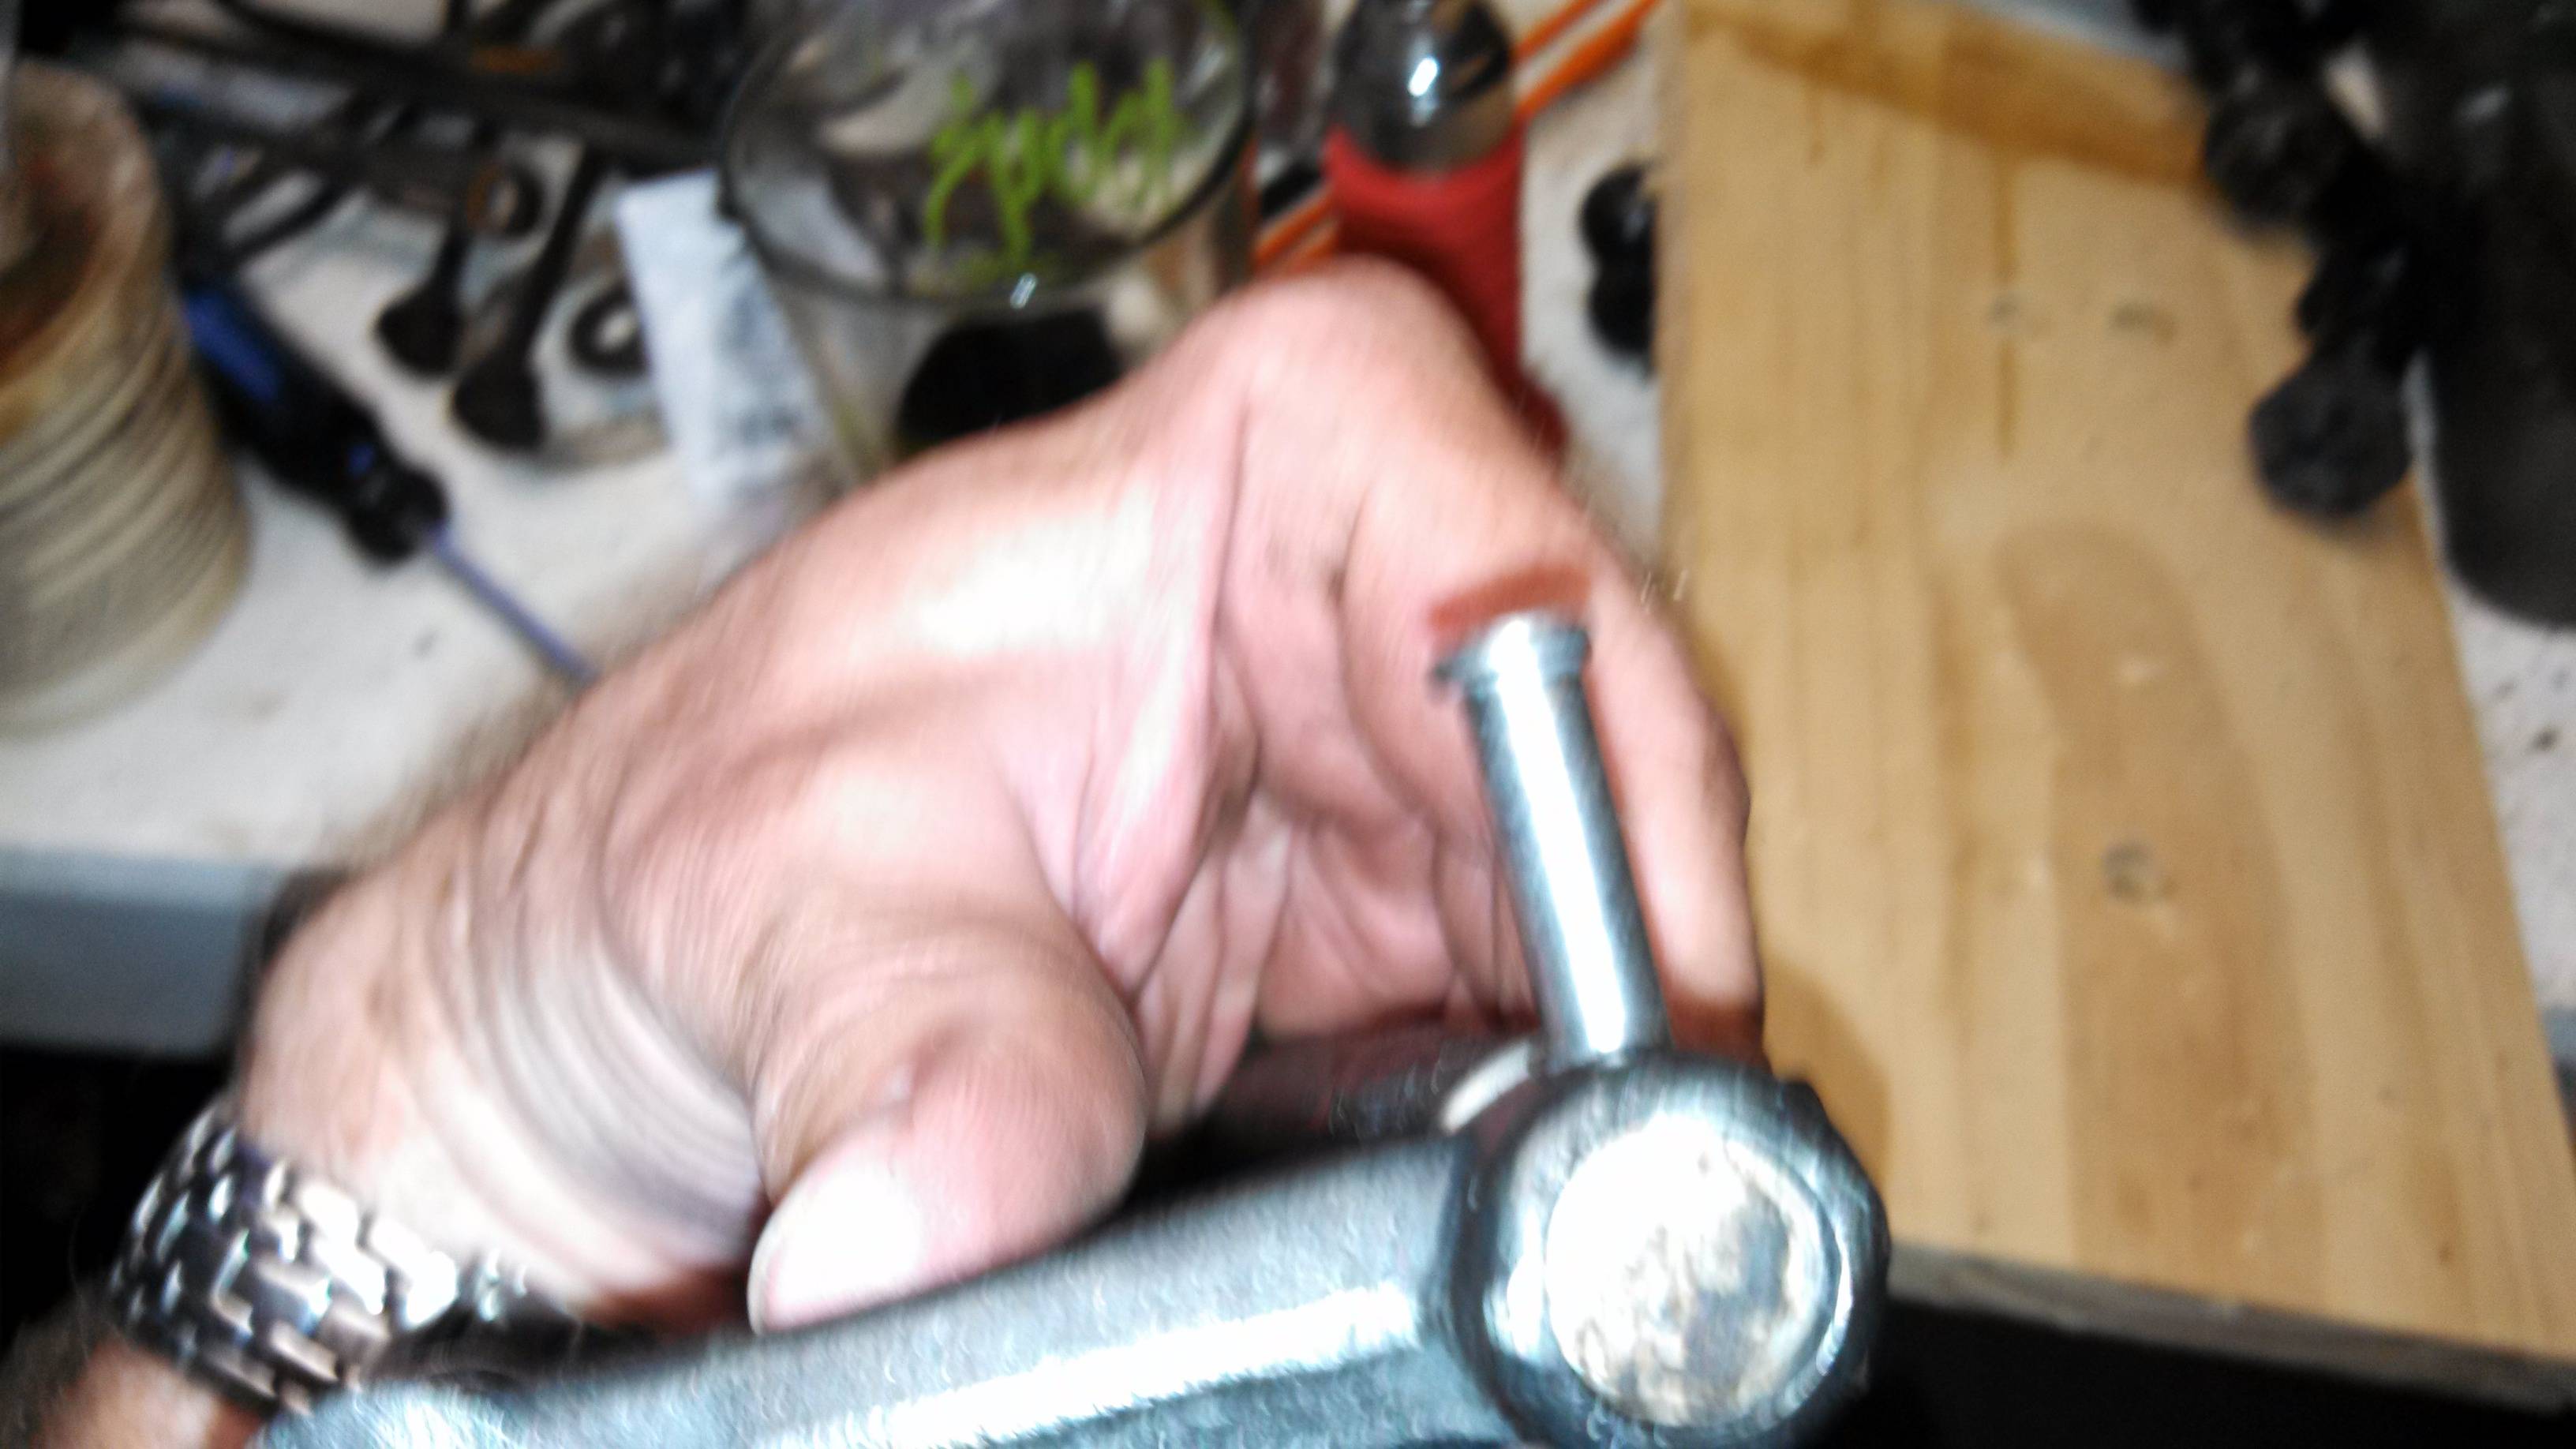
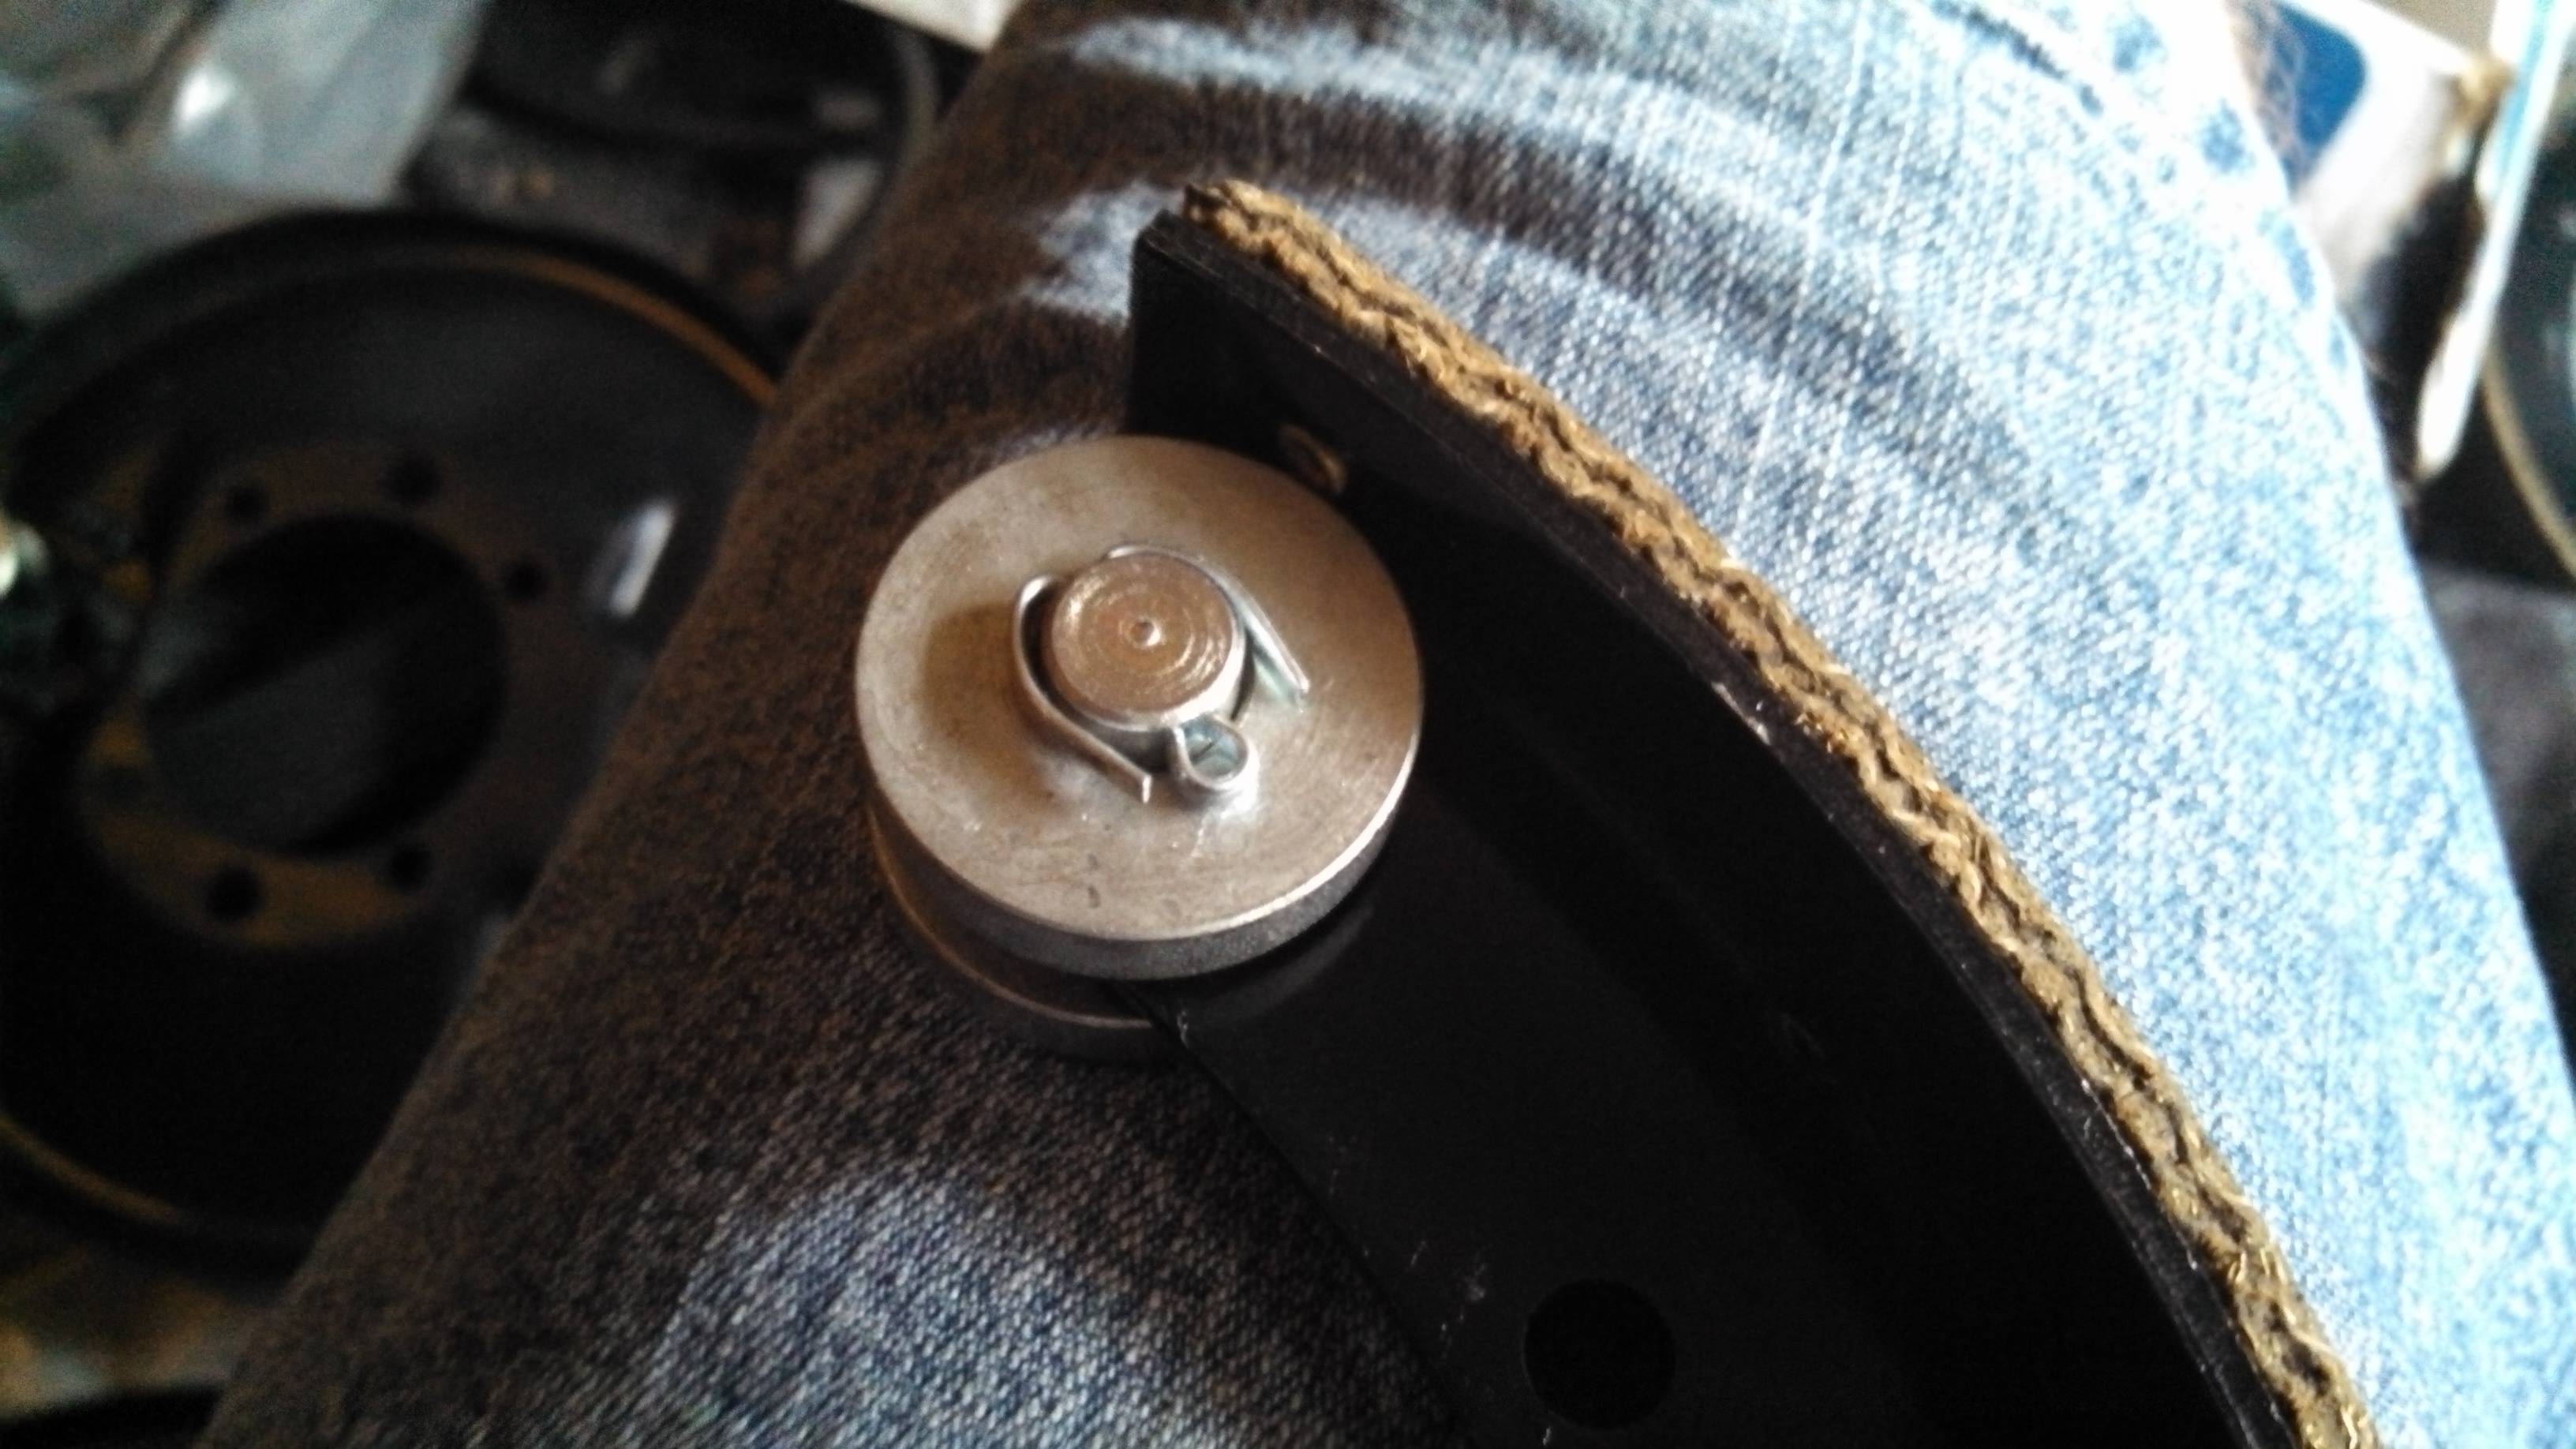
So, I stuck the tool in my vise and ground the flare down to the point where the bushings would just fit over the malformed metal. I greased the bushings up and tapped them into the cam barrels. Of course, the bushings flared, but I used my big brass drift to knock the tool back out, and the flare resized the bearings for me - it worked most awesomely! Here's some pics of the process:
Today I proved myself an idiot, wasted some (fortunately cheap) parts, and got some stuff done. It's past time that I rebuild the front brake levers, ain't it? So of course, I already painted the shaft carriers... They didn't need new bushings, thank goodness, but it still was a bigger pain than it ought, I think.
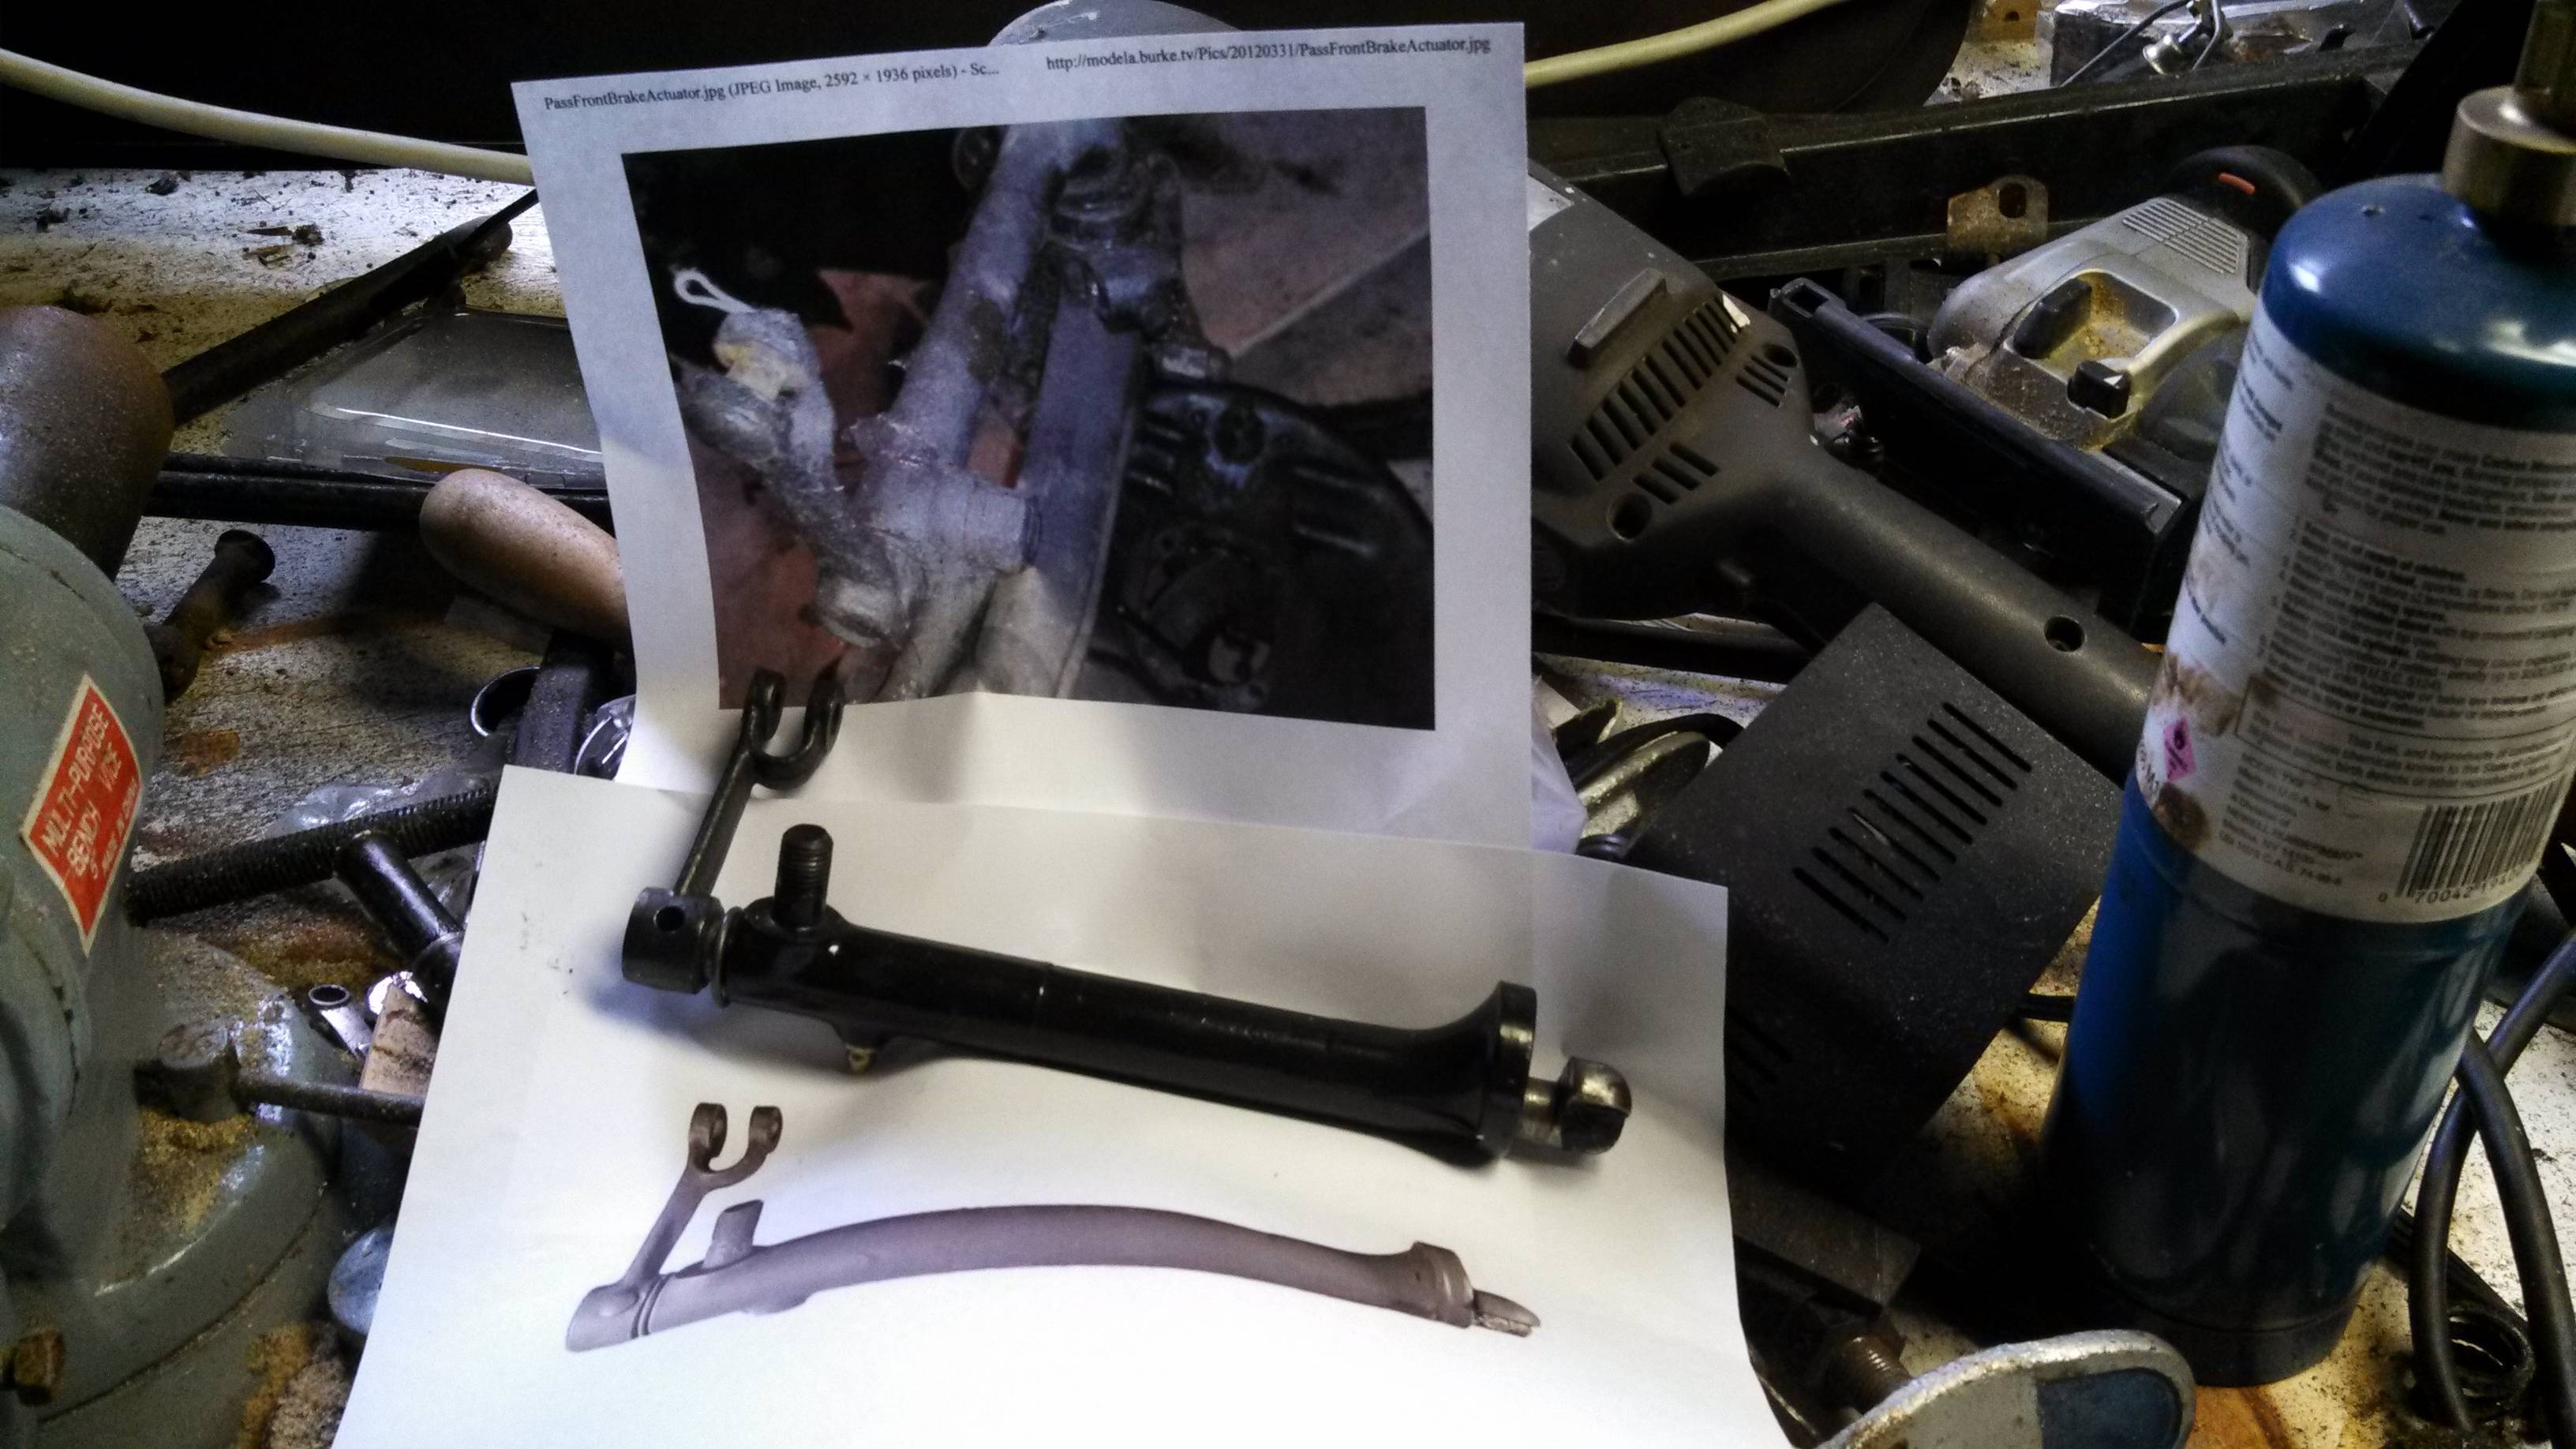
So first, it took me a while to figure out which way they went back together, and which should be the left and which the right... I printed some pictures so I could take a closer look, and compare everything to make sure I didn't put them together incorrectly:
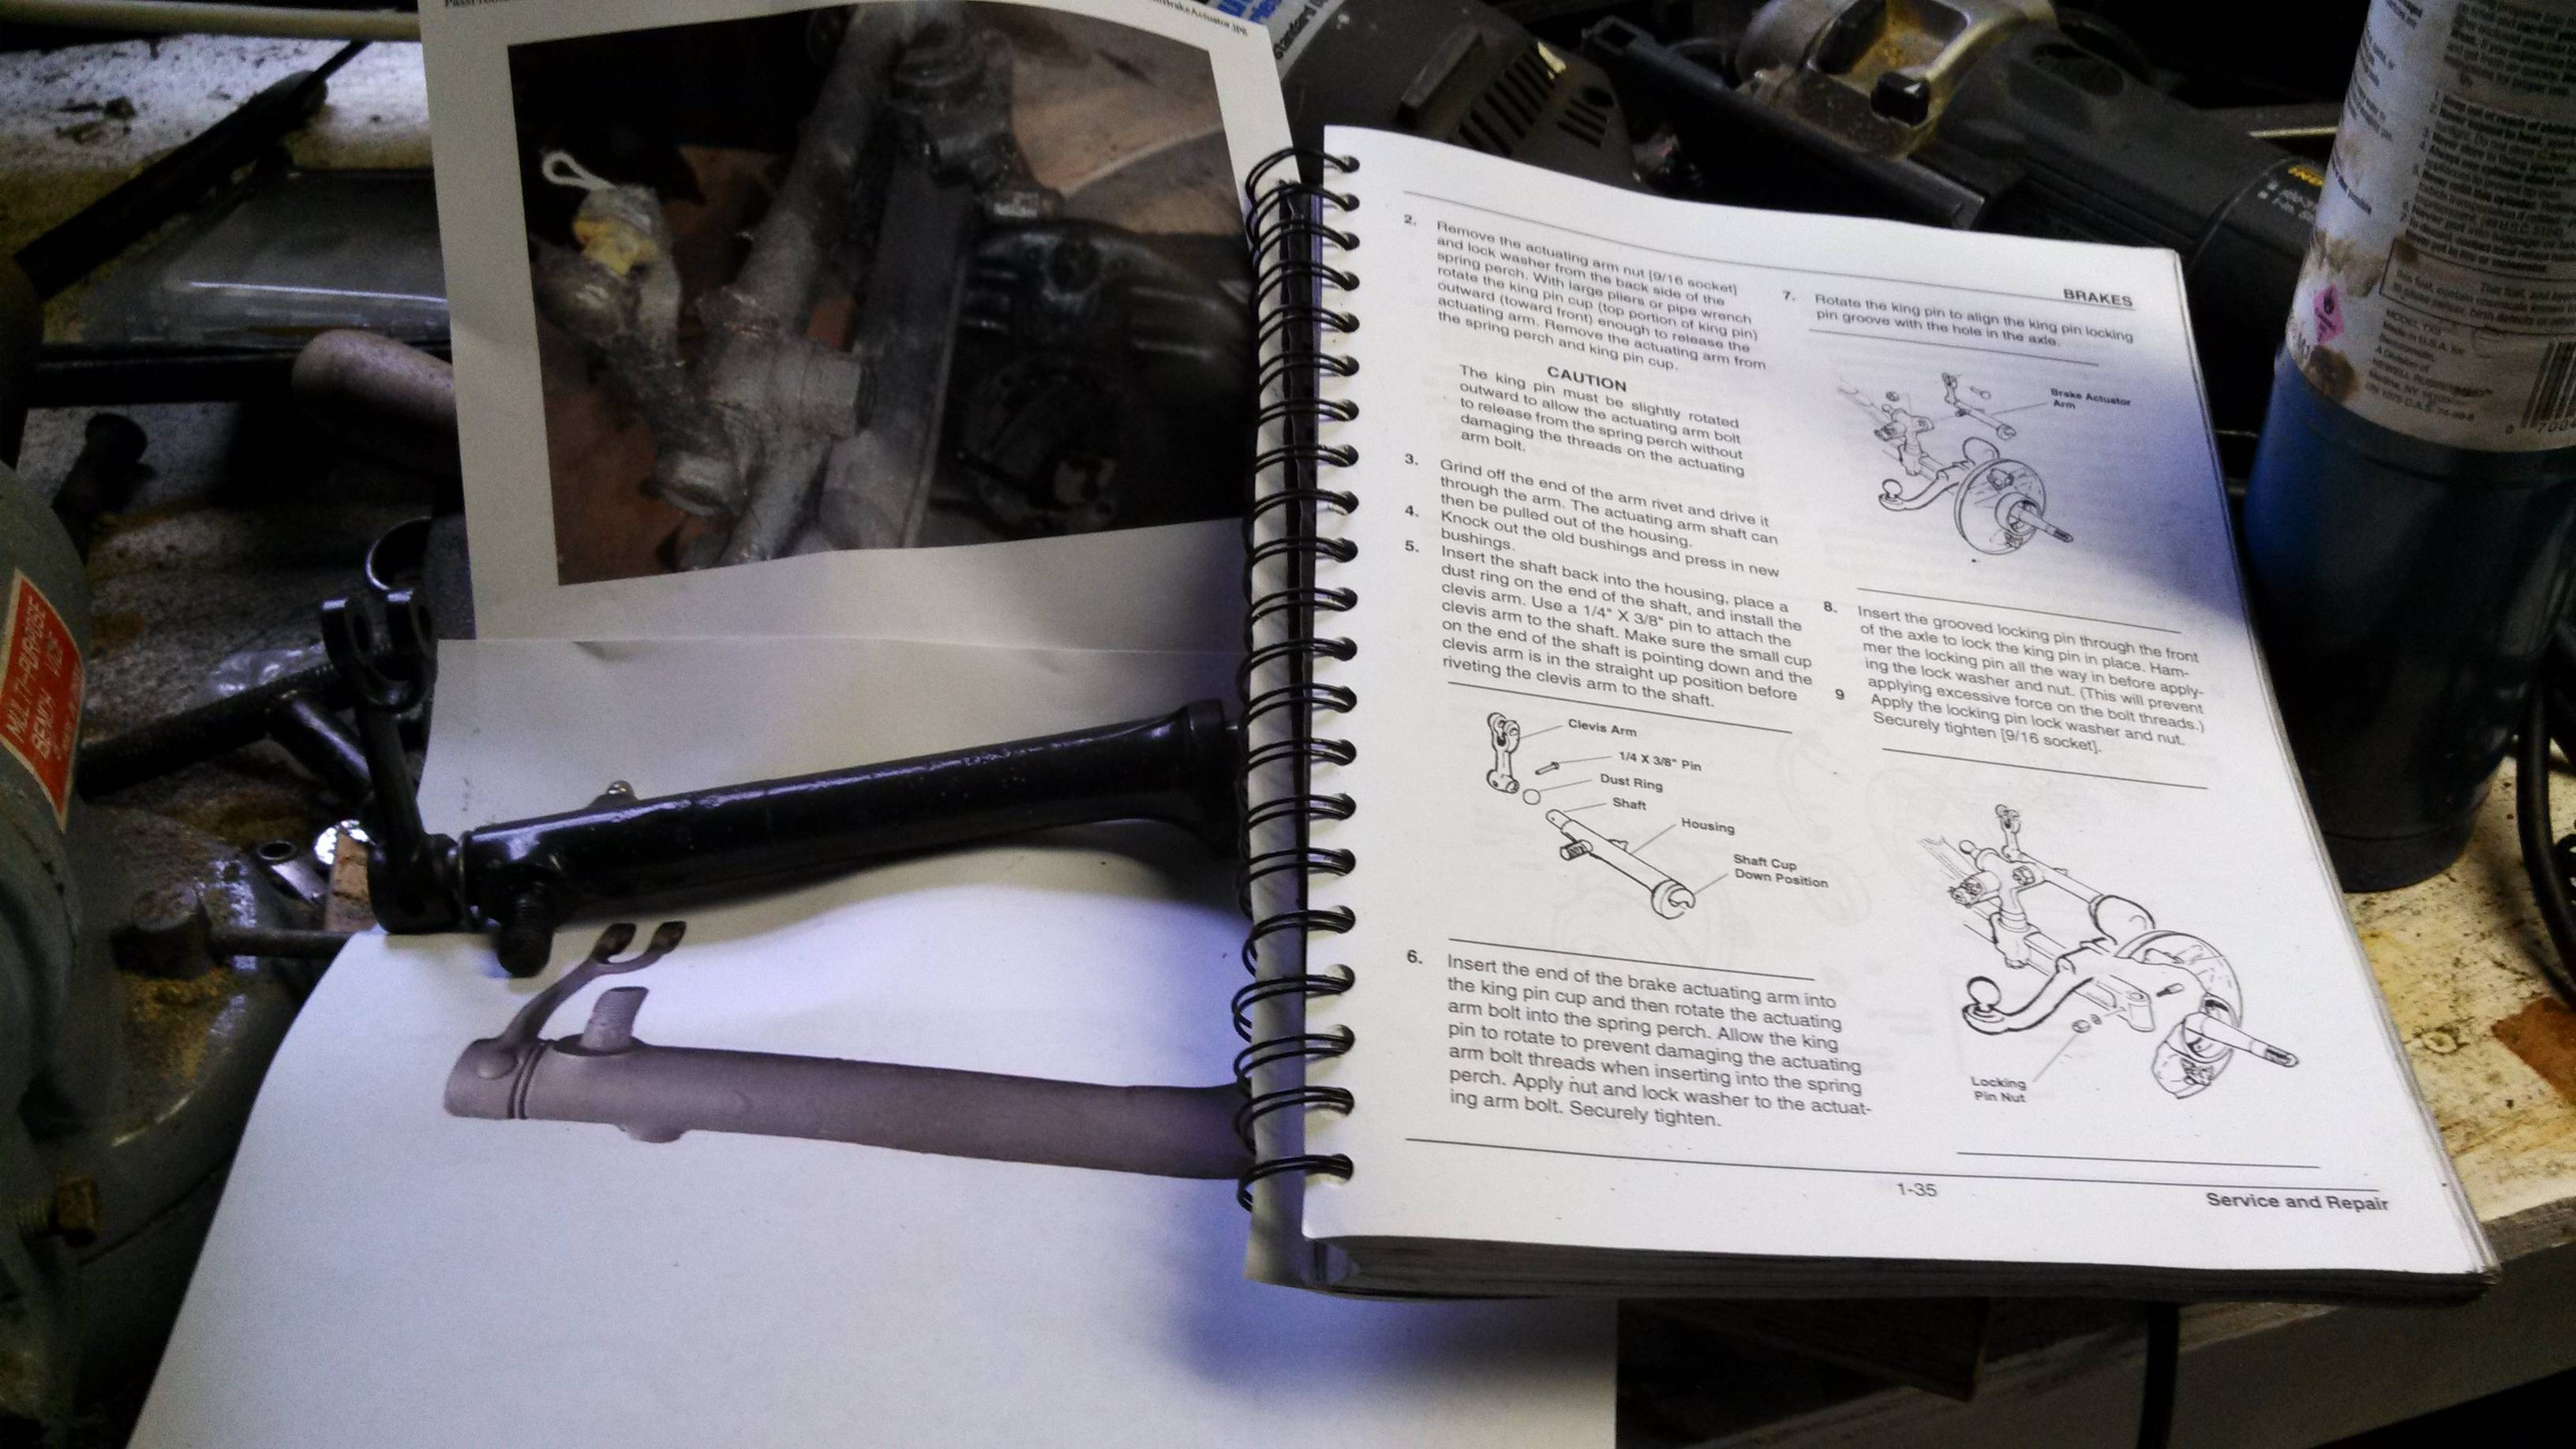
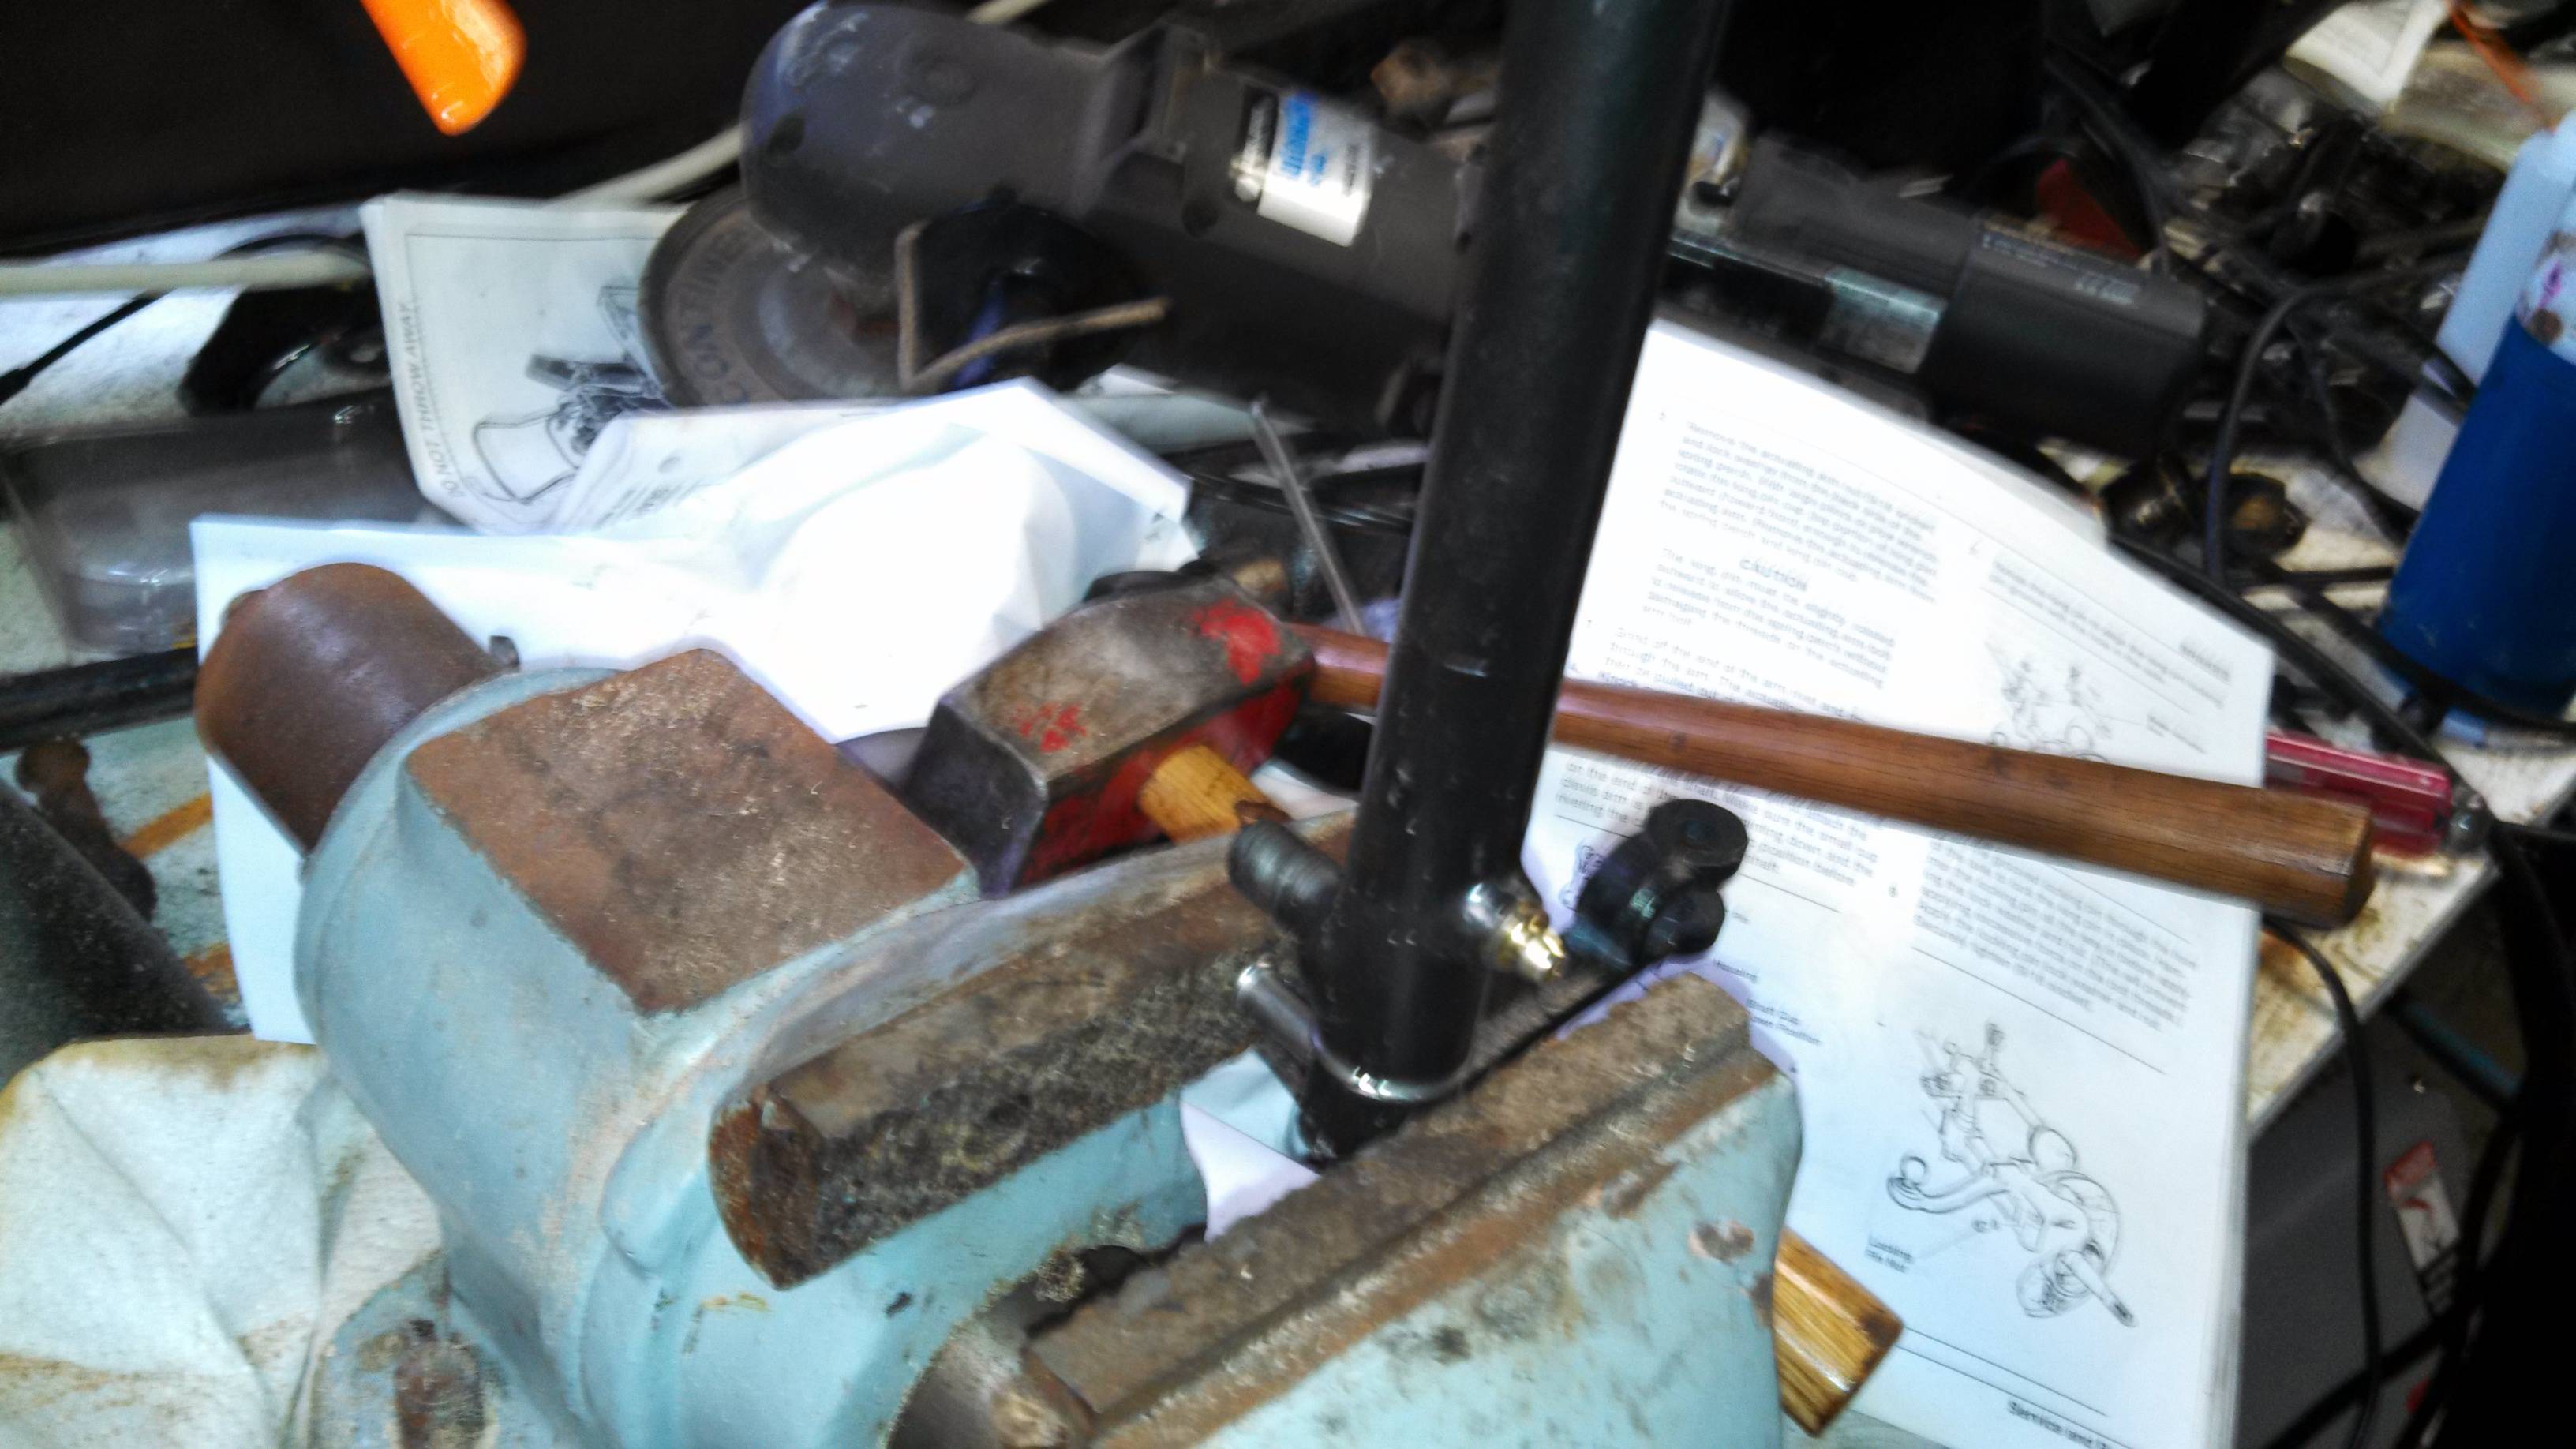
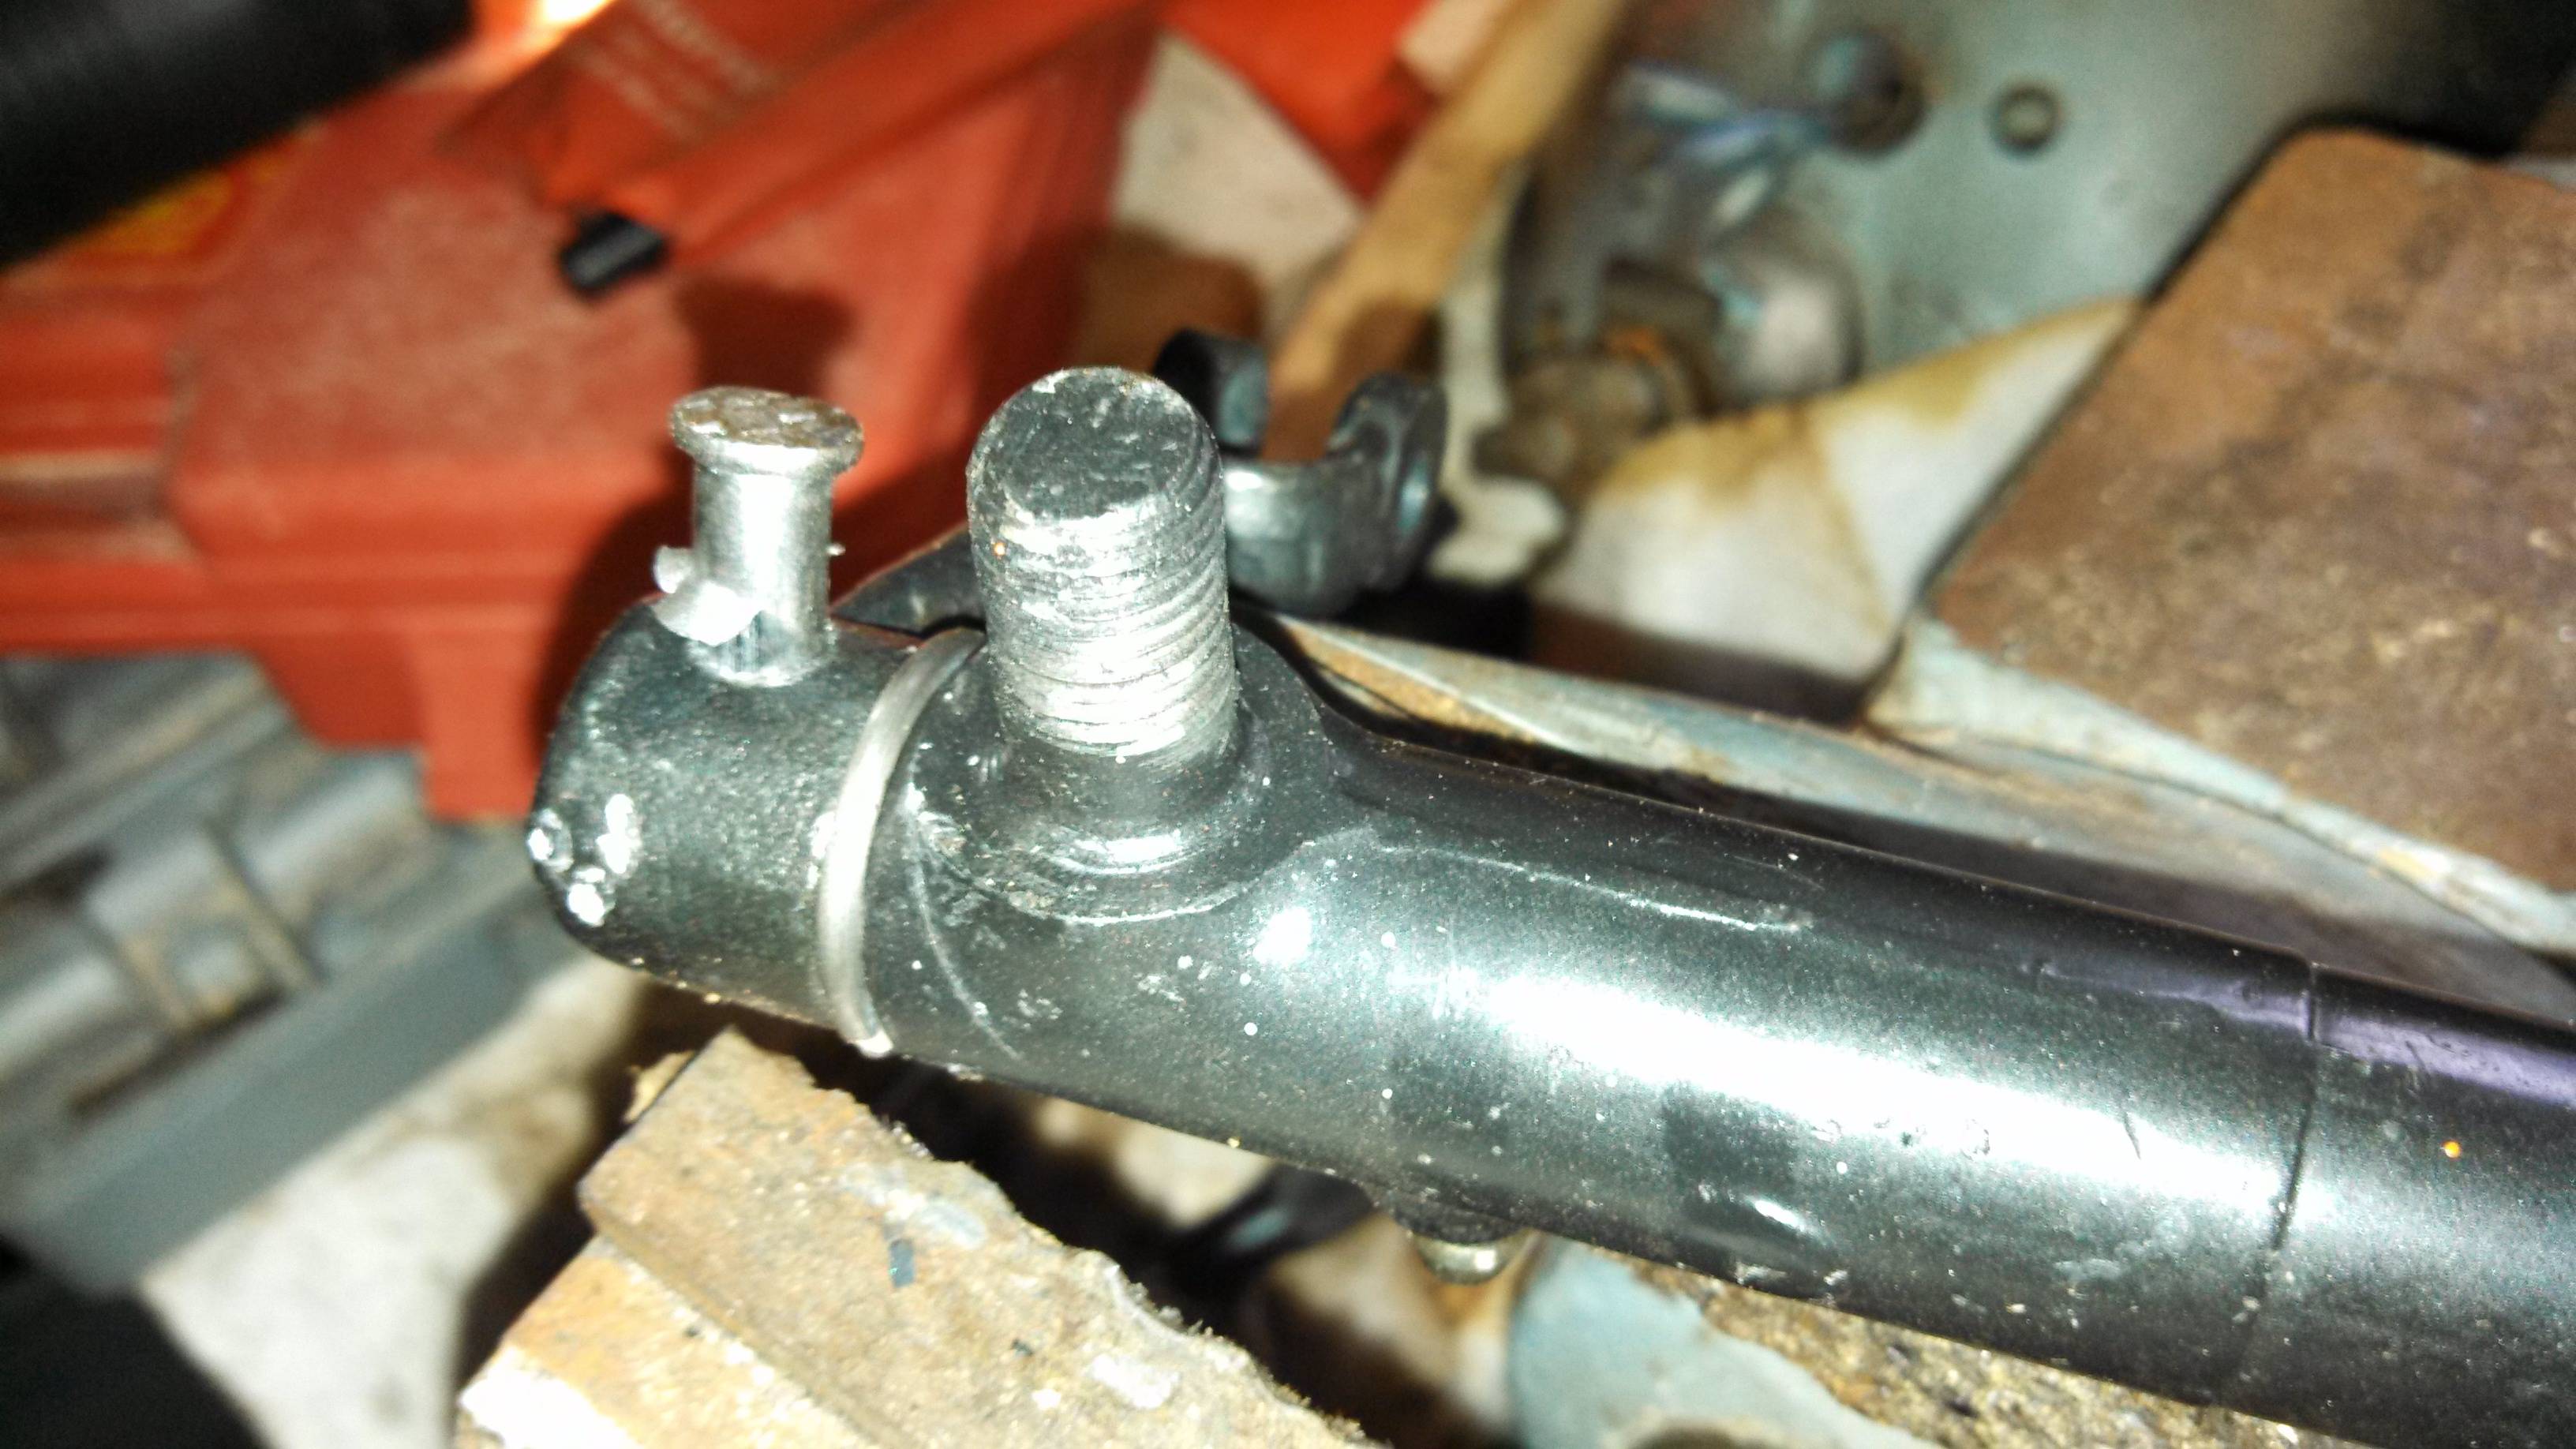
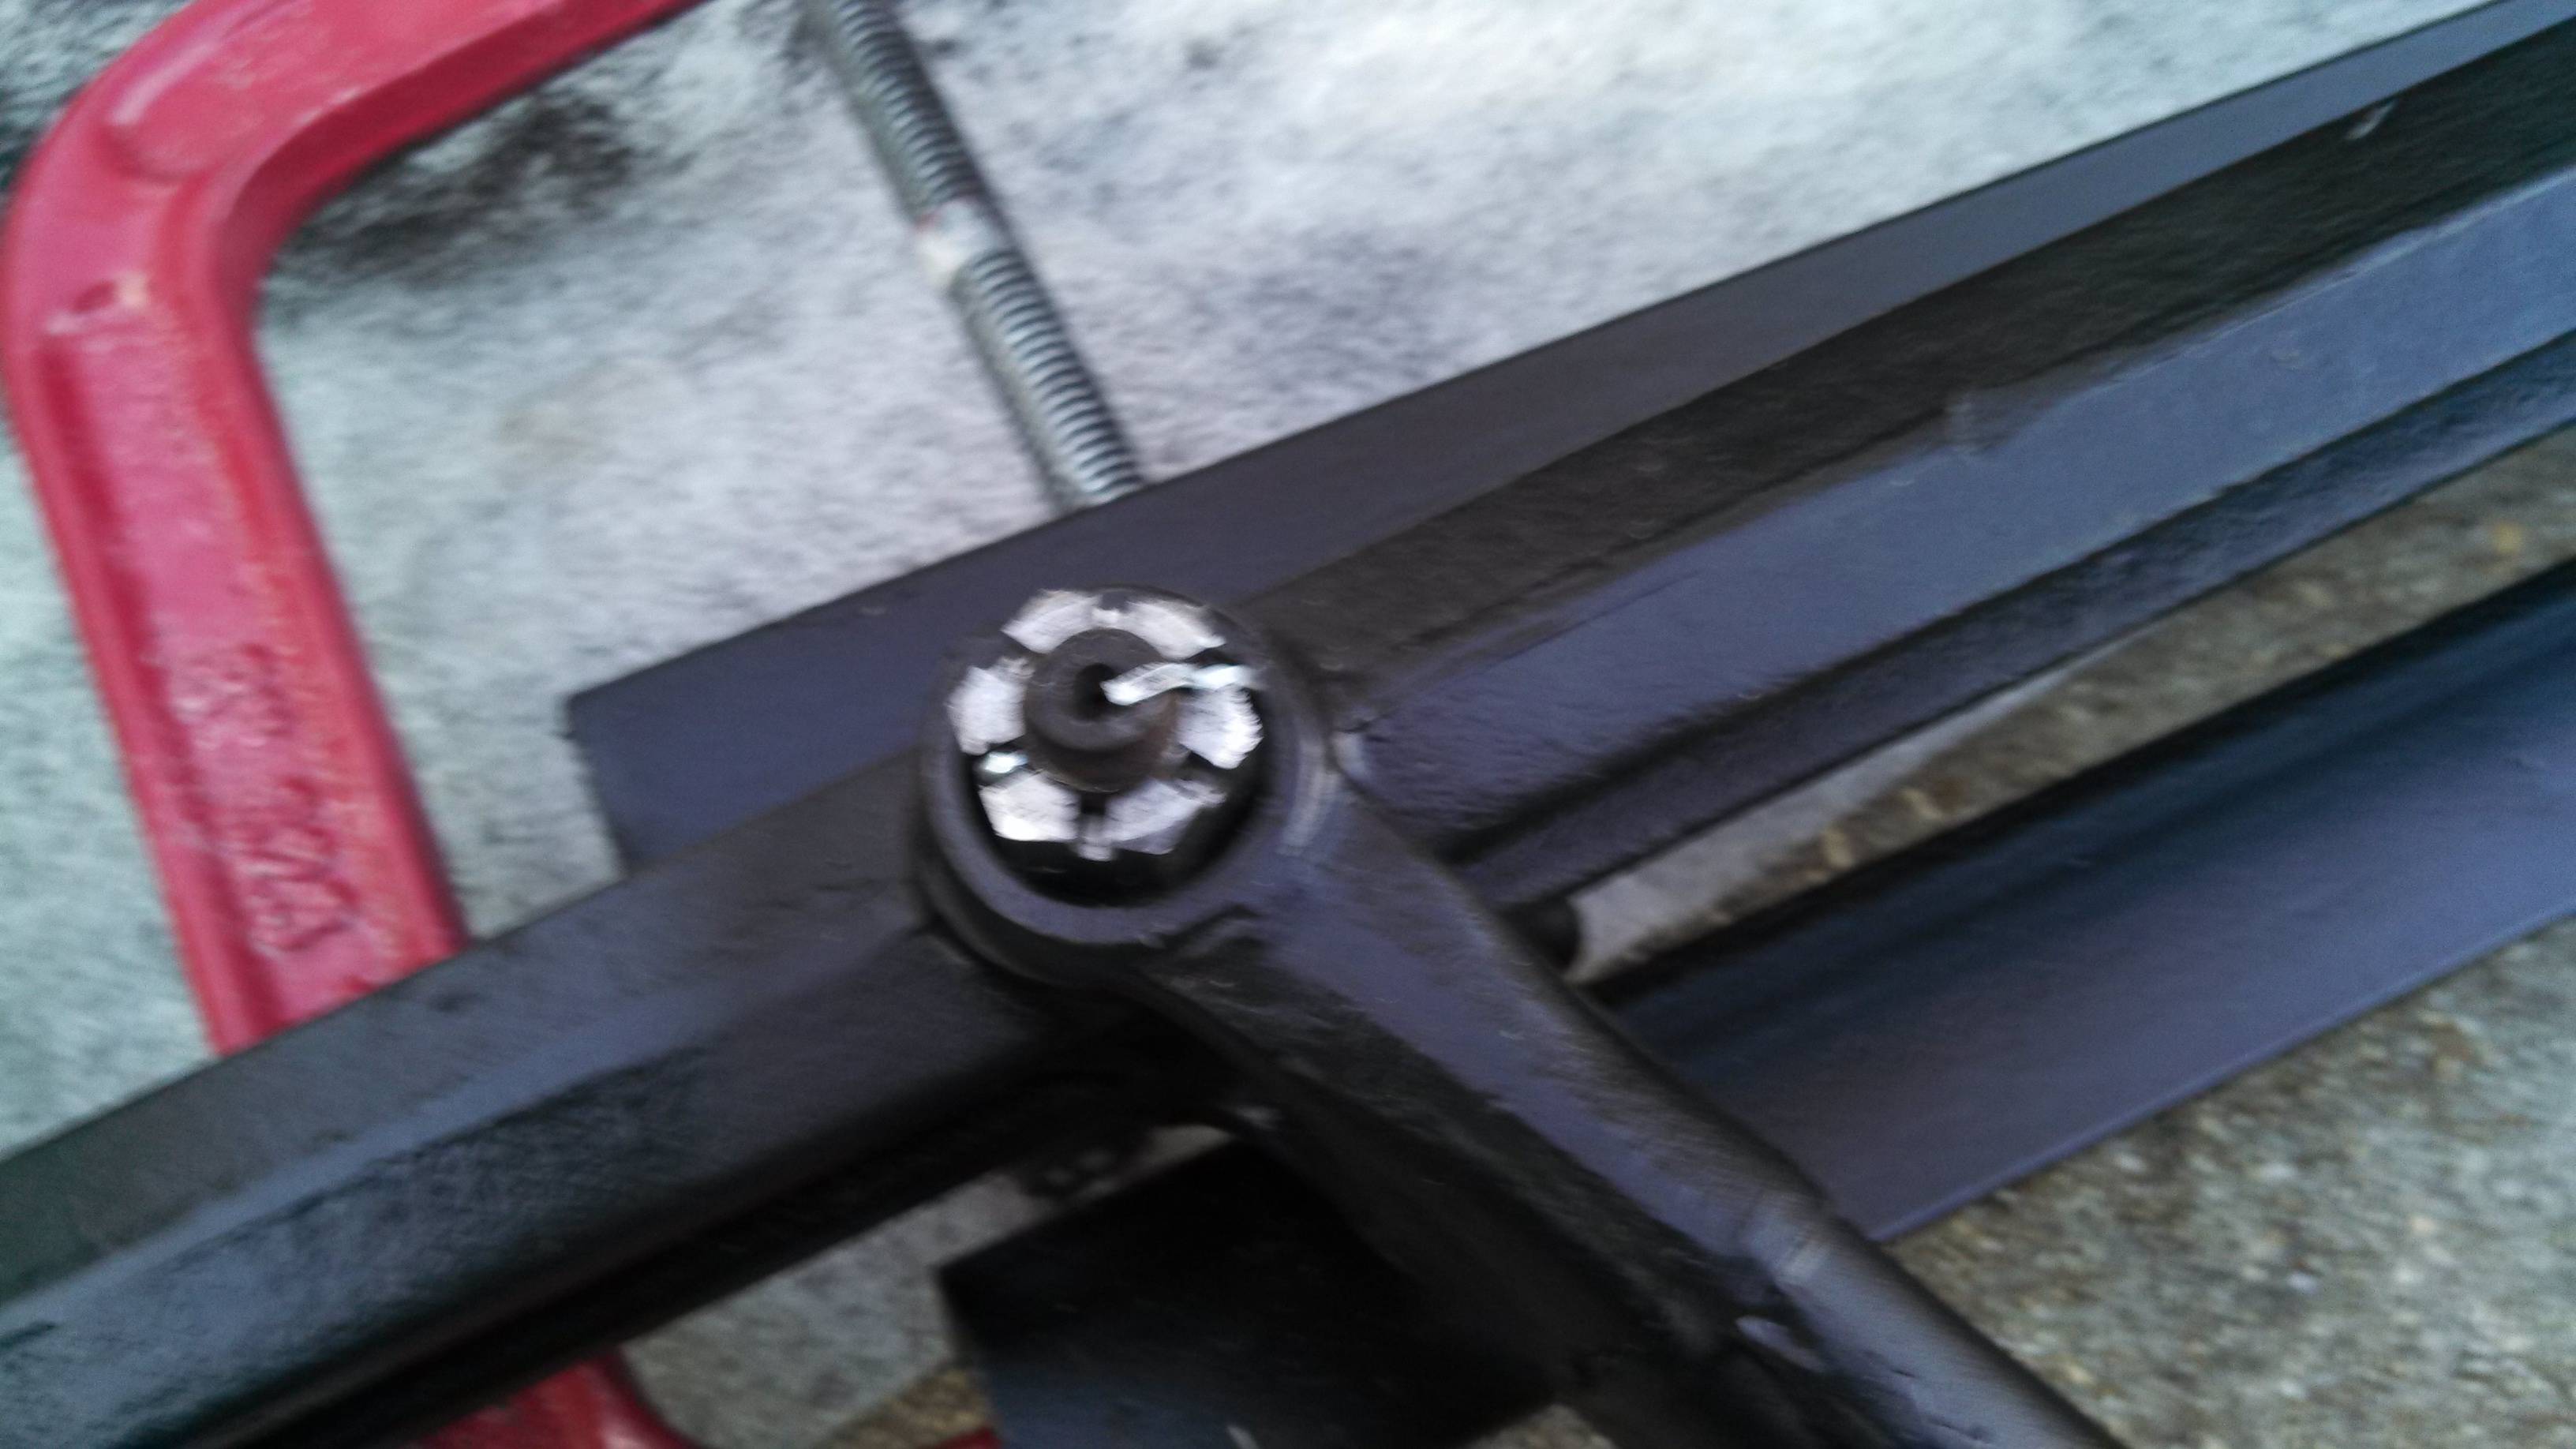
So, I got the arm all together, and it was time to put in the rivet...
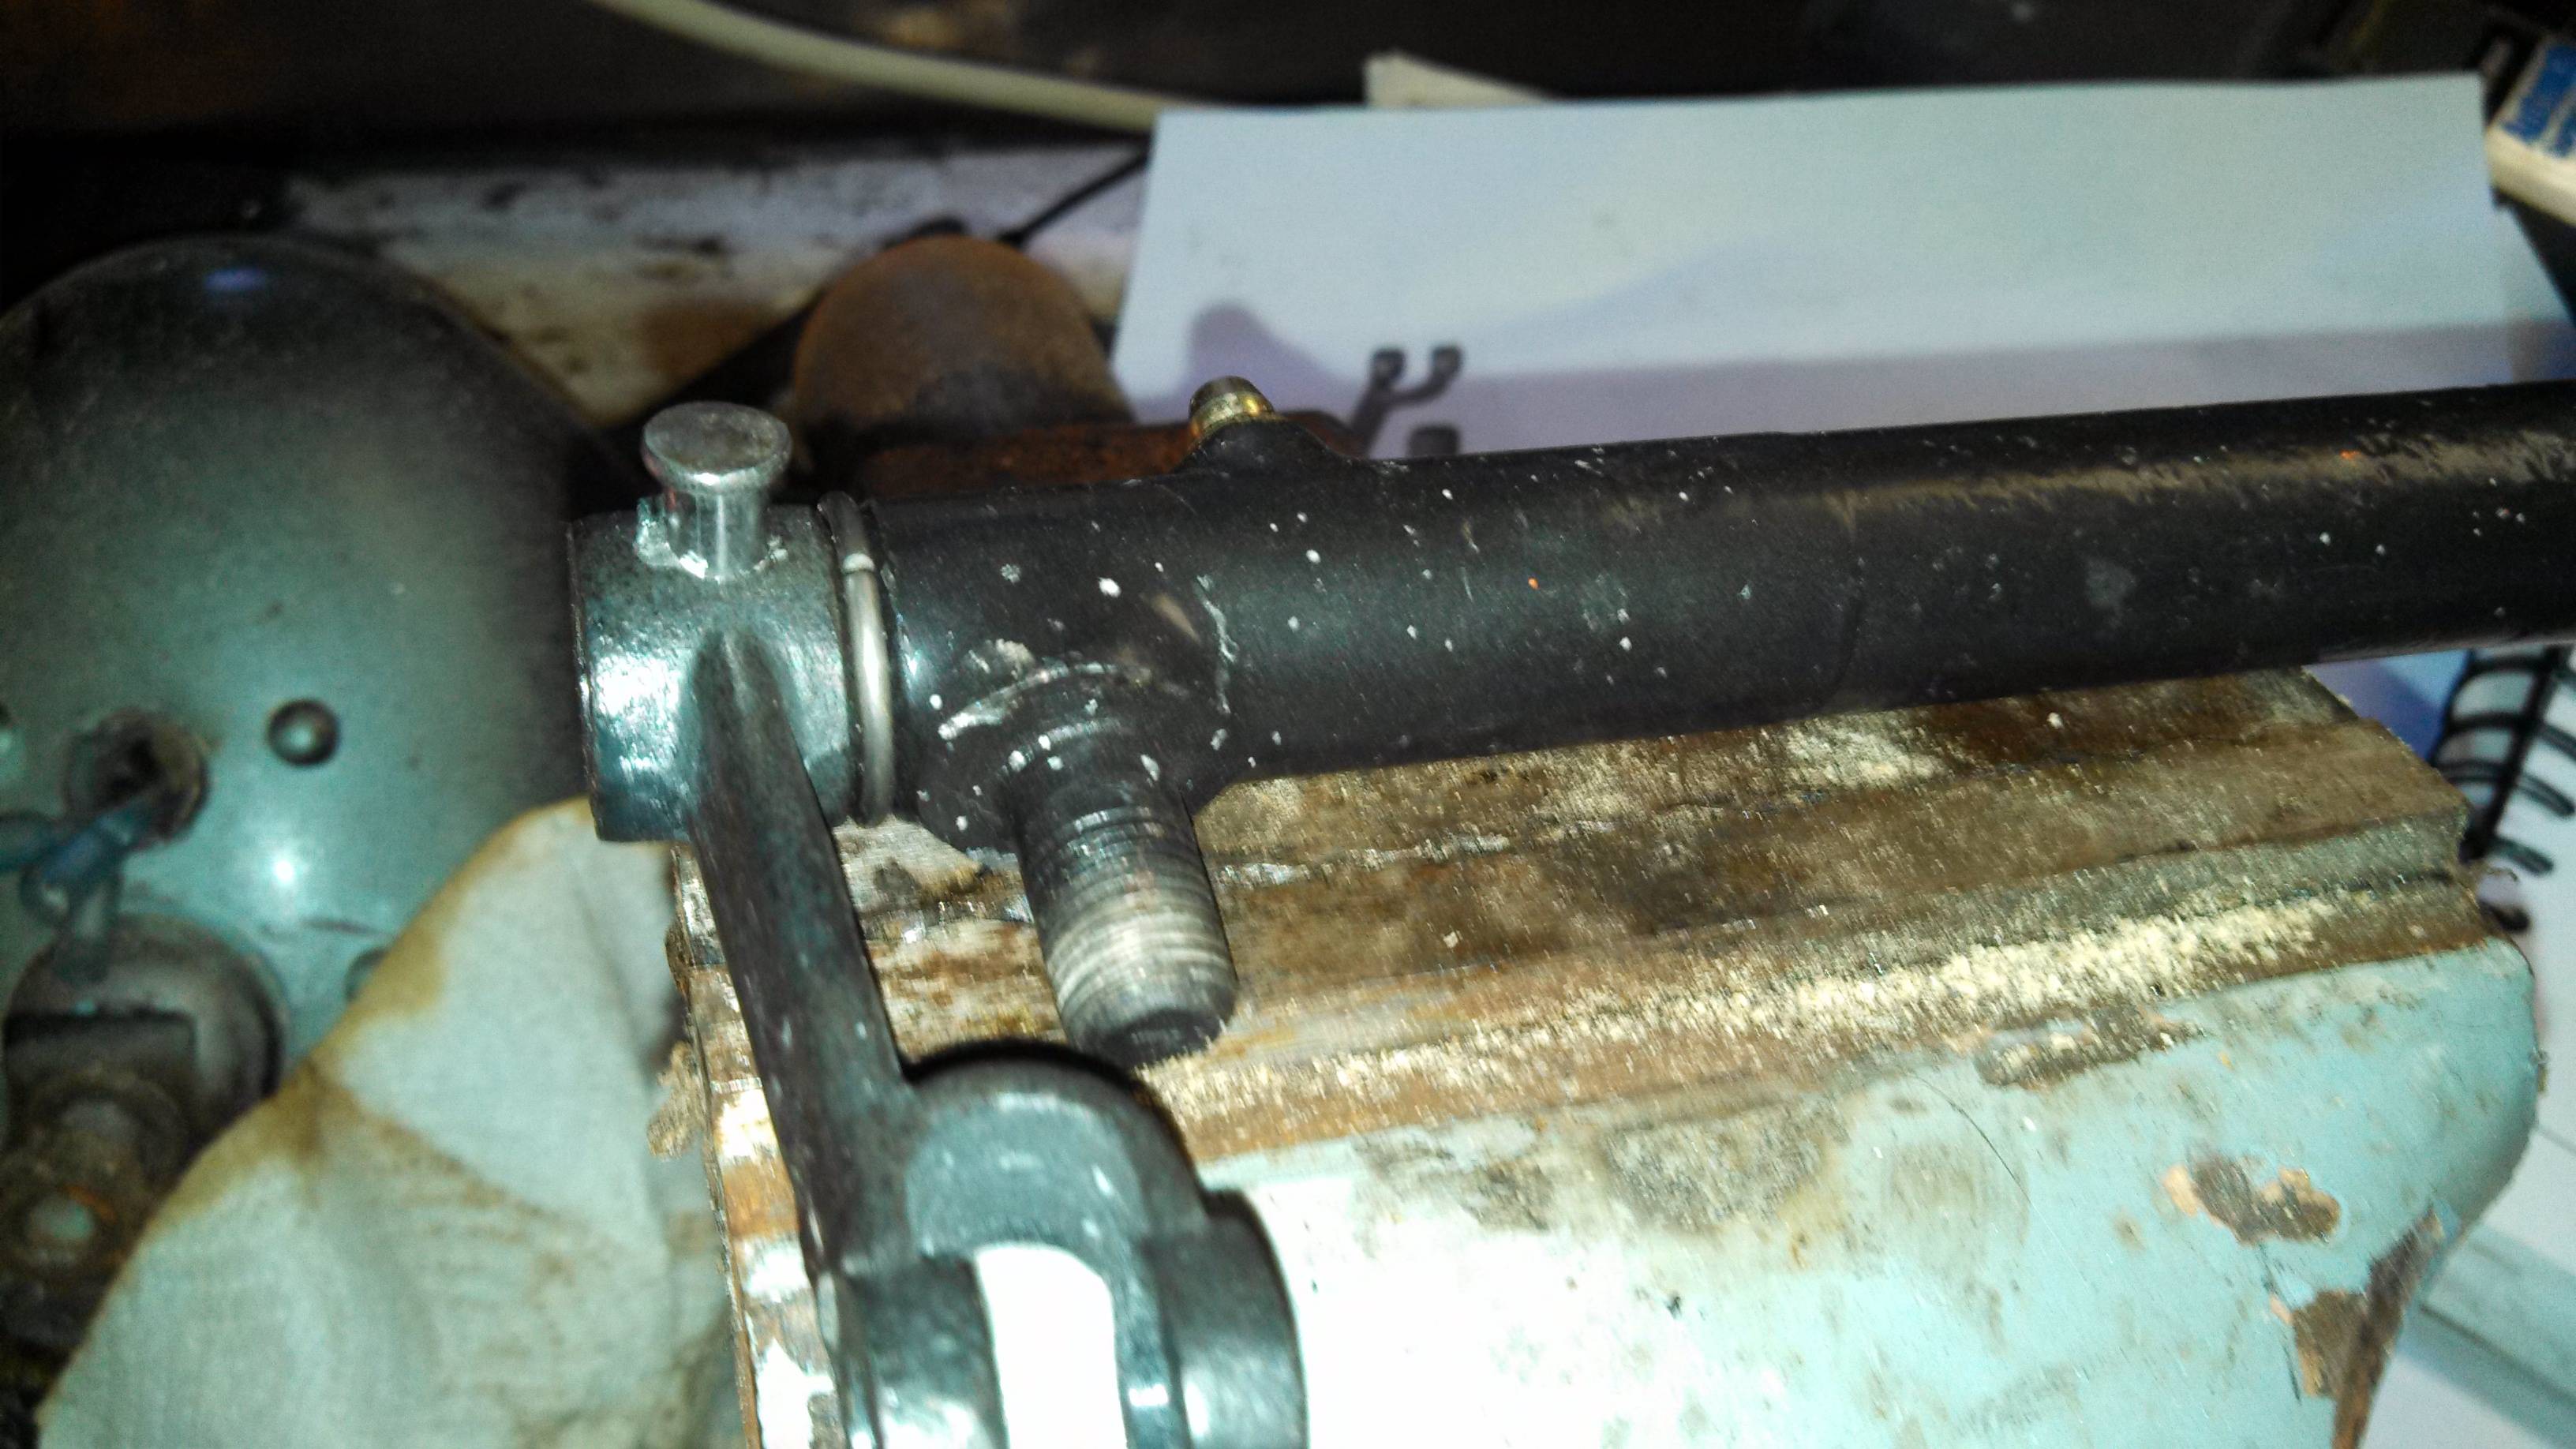
Per the manual, I took my blow torch to the rivet and heated it until it was red hot. Then I stuck it into the lever. And the hole was juse ever slightly too small. I used my vice as an anvil, and tamped the pin down into the shaft. Unfortunately, it began to swell on the side it shouldn't (from the hammer blows)... But, it was good enough, I think.
Unfortunately, by the time I got the rivet all the way through, it had cooled back down, so I hit the pin with the blow torch again, and heated it back up. Of course, that heated the lever & rod quite a bit, but I wailed the hell out of it and peened the rivet
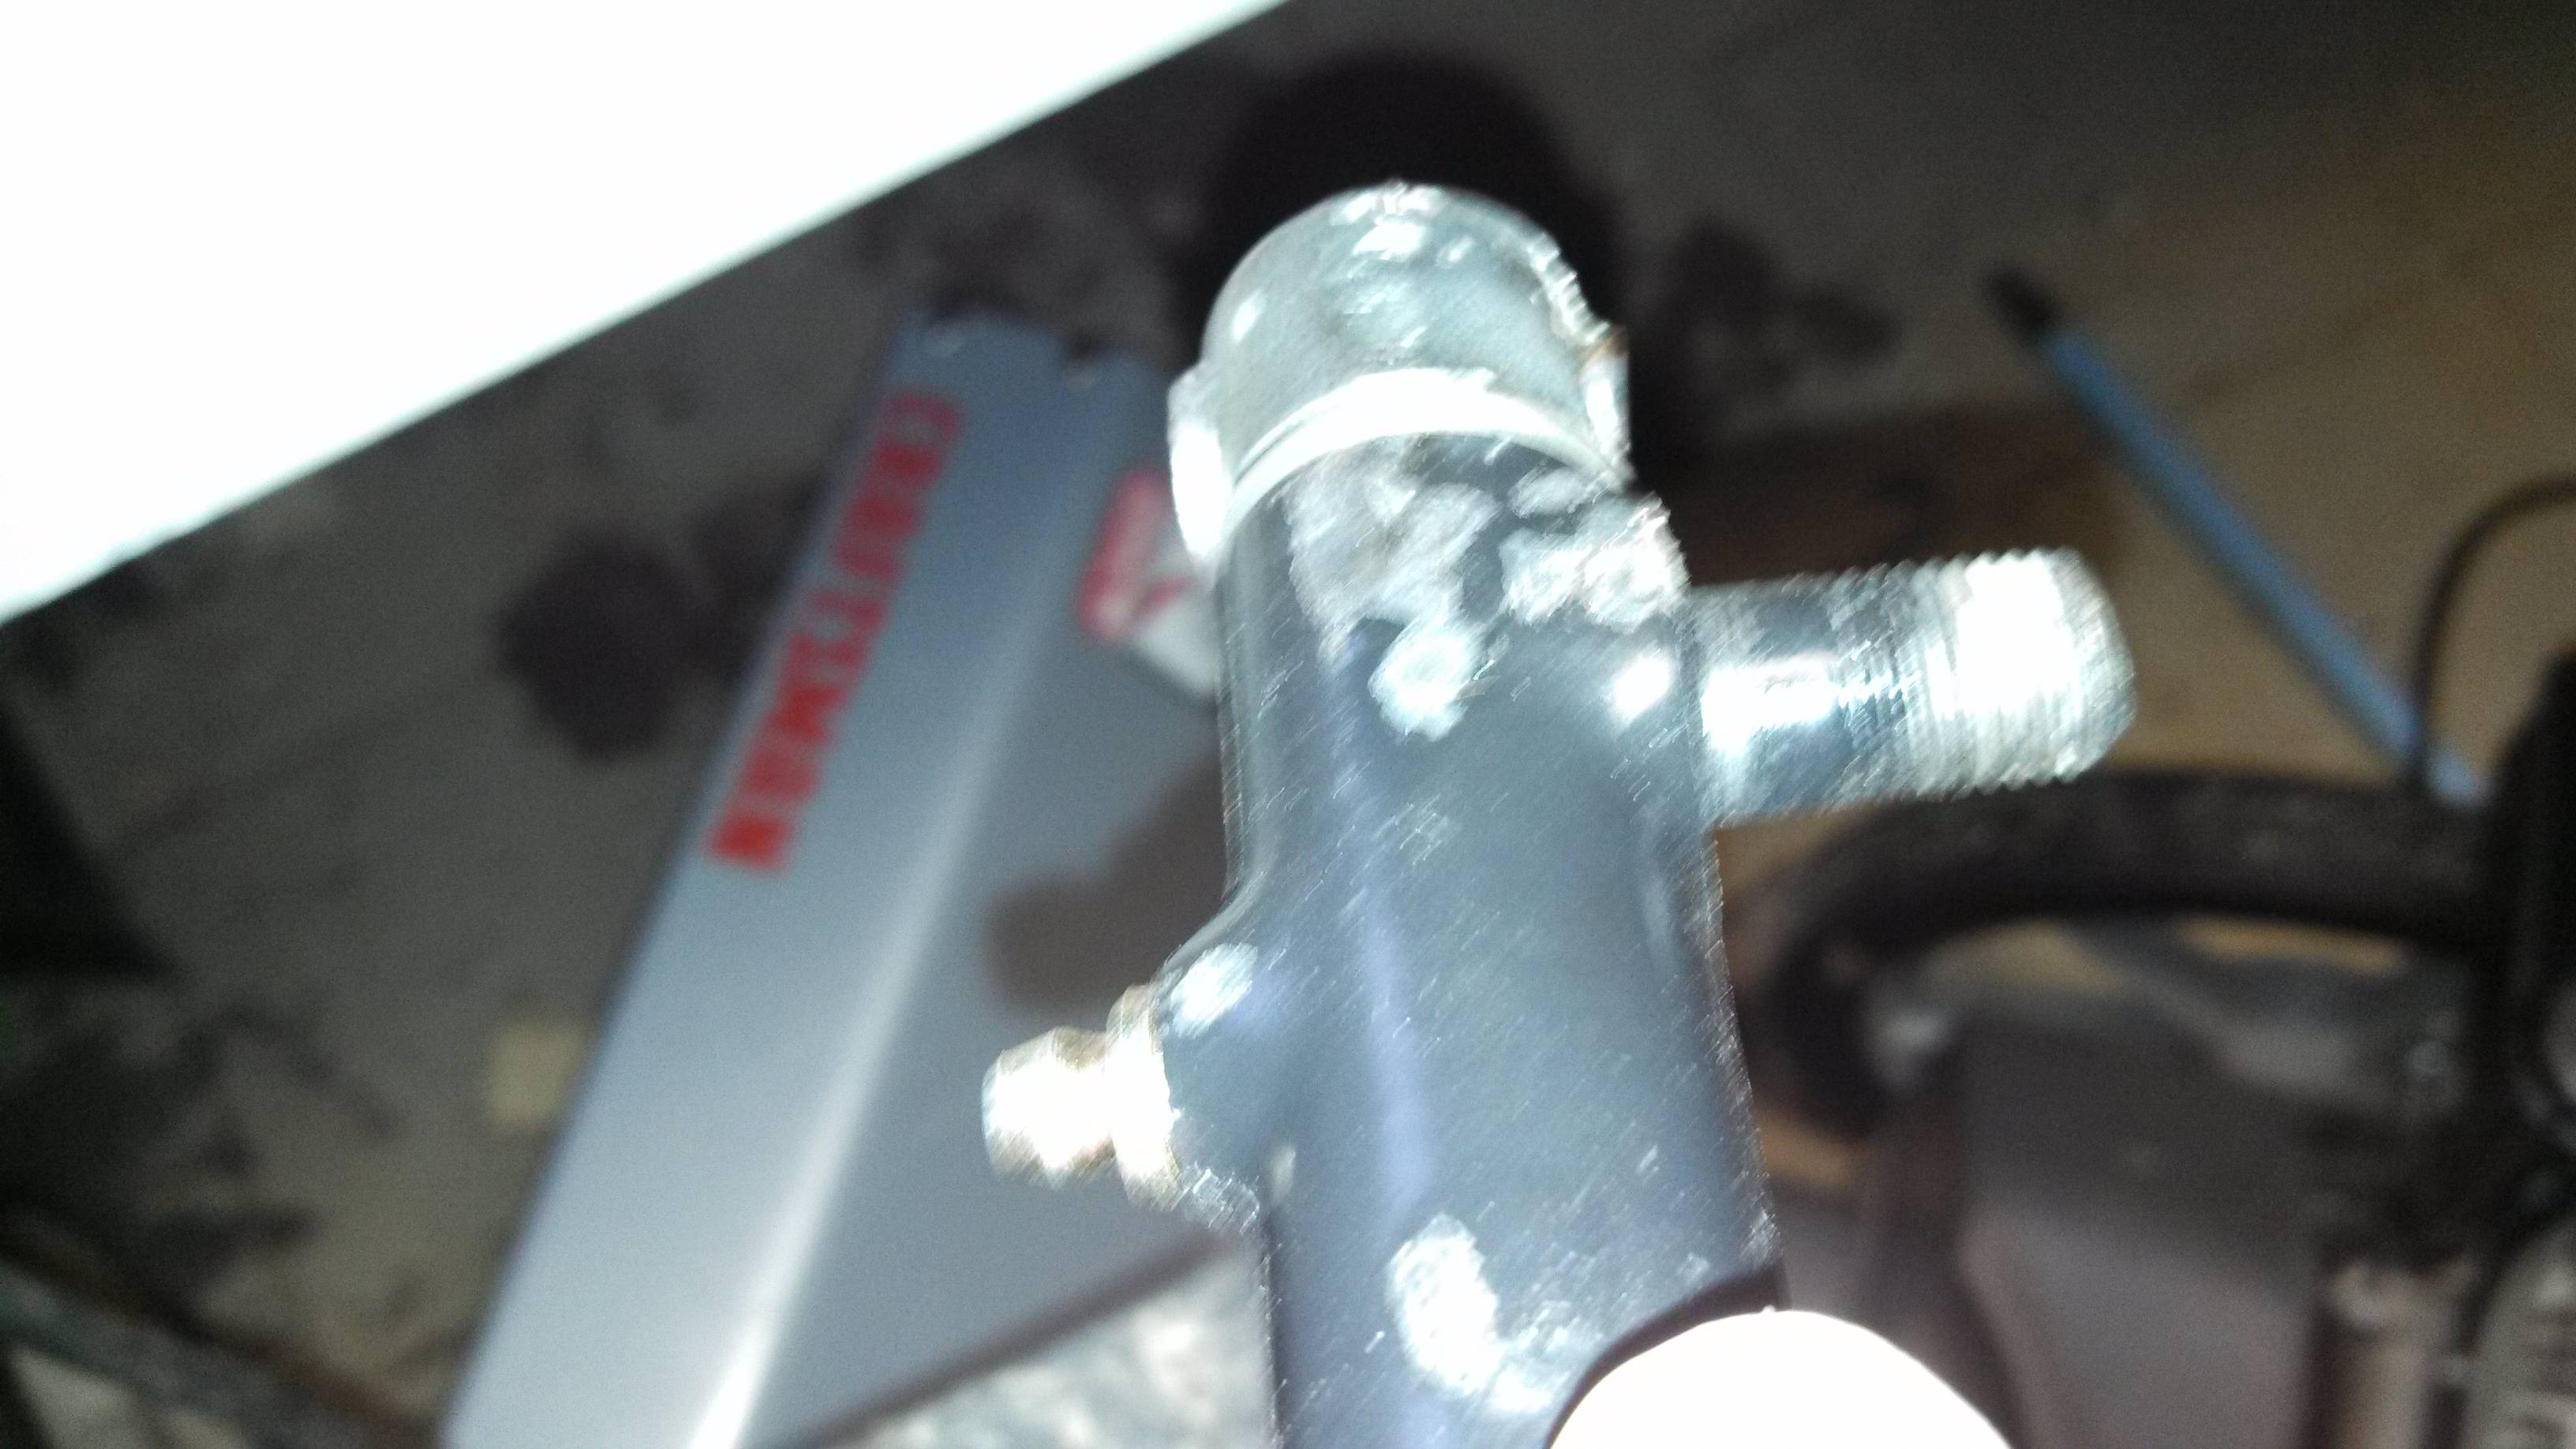
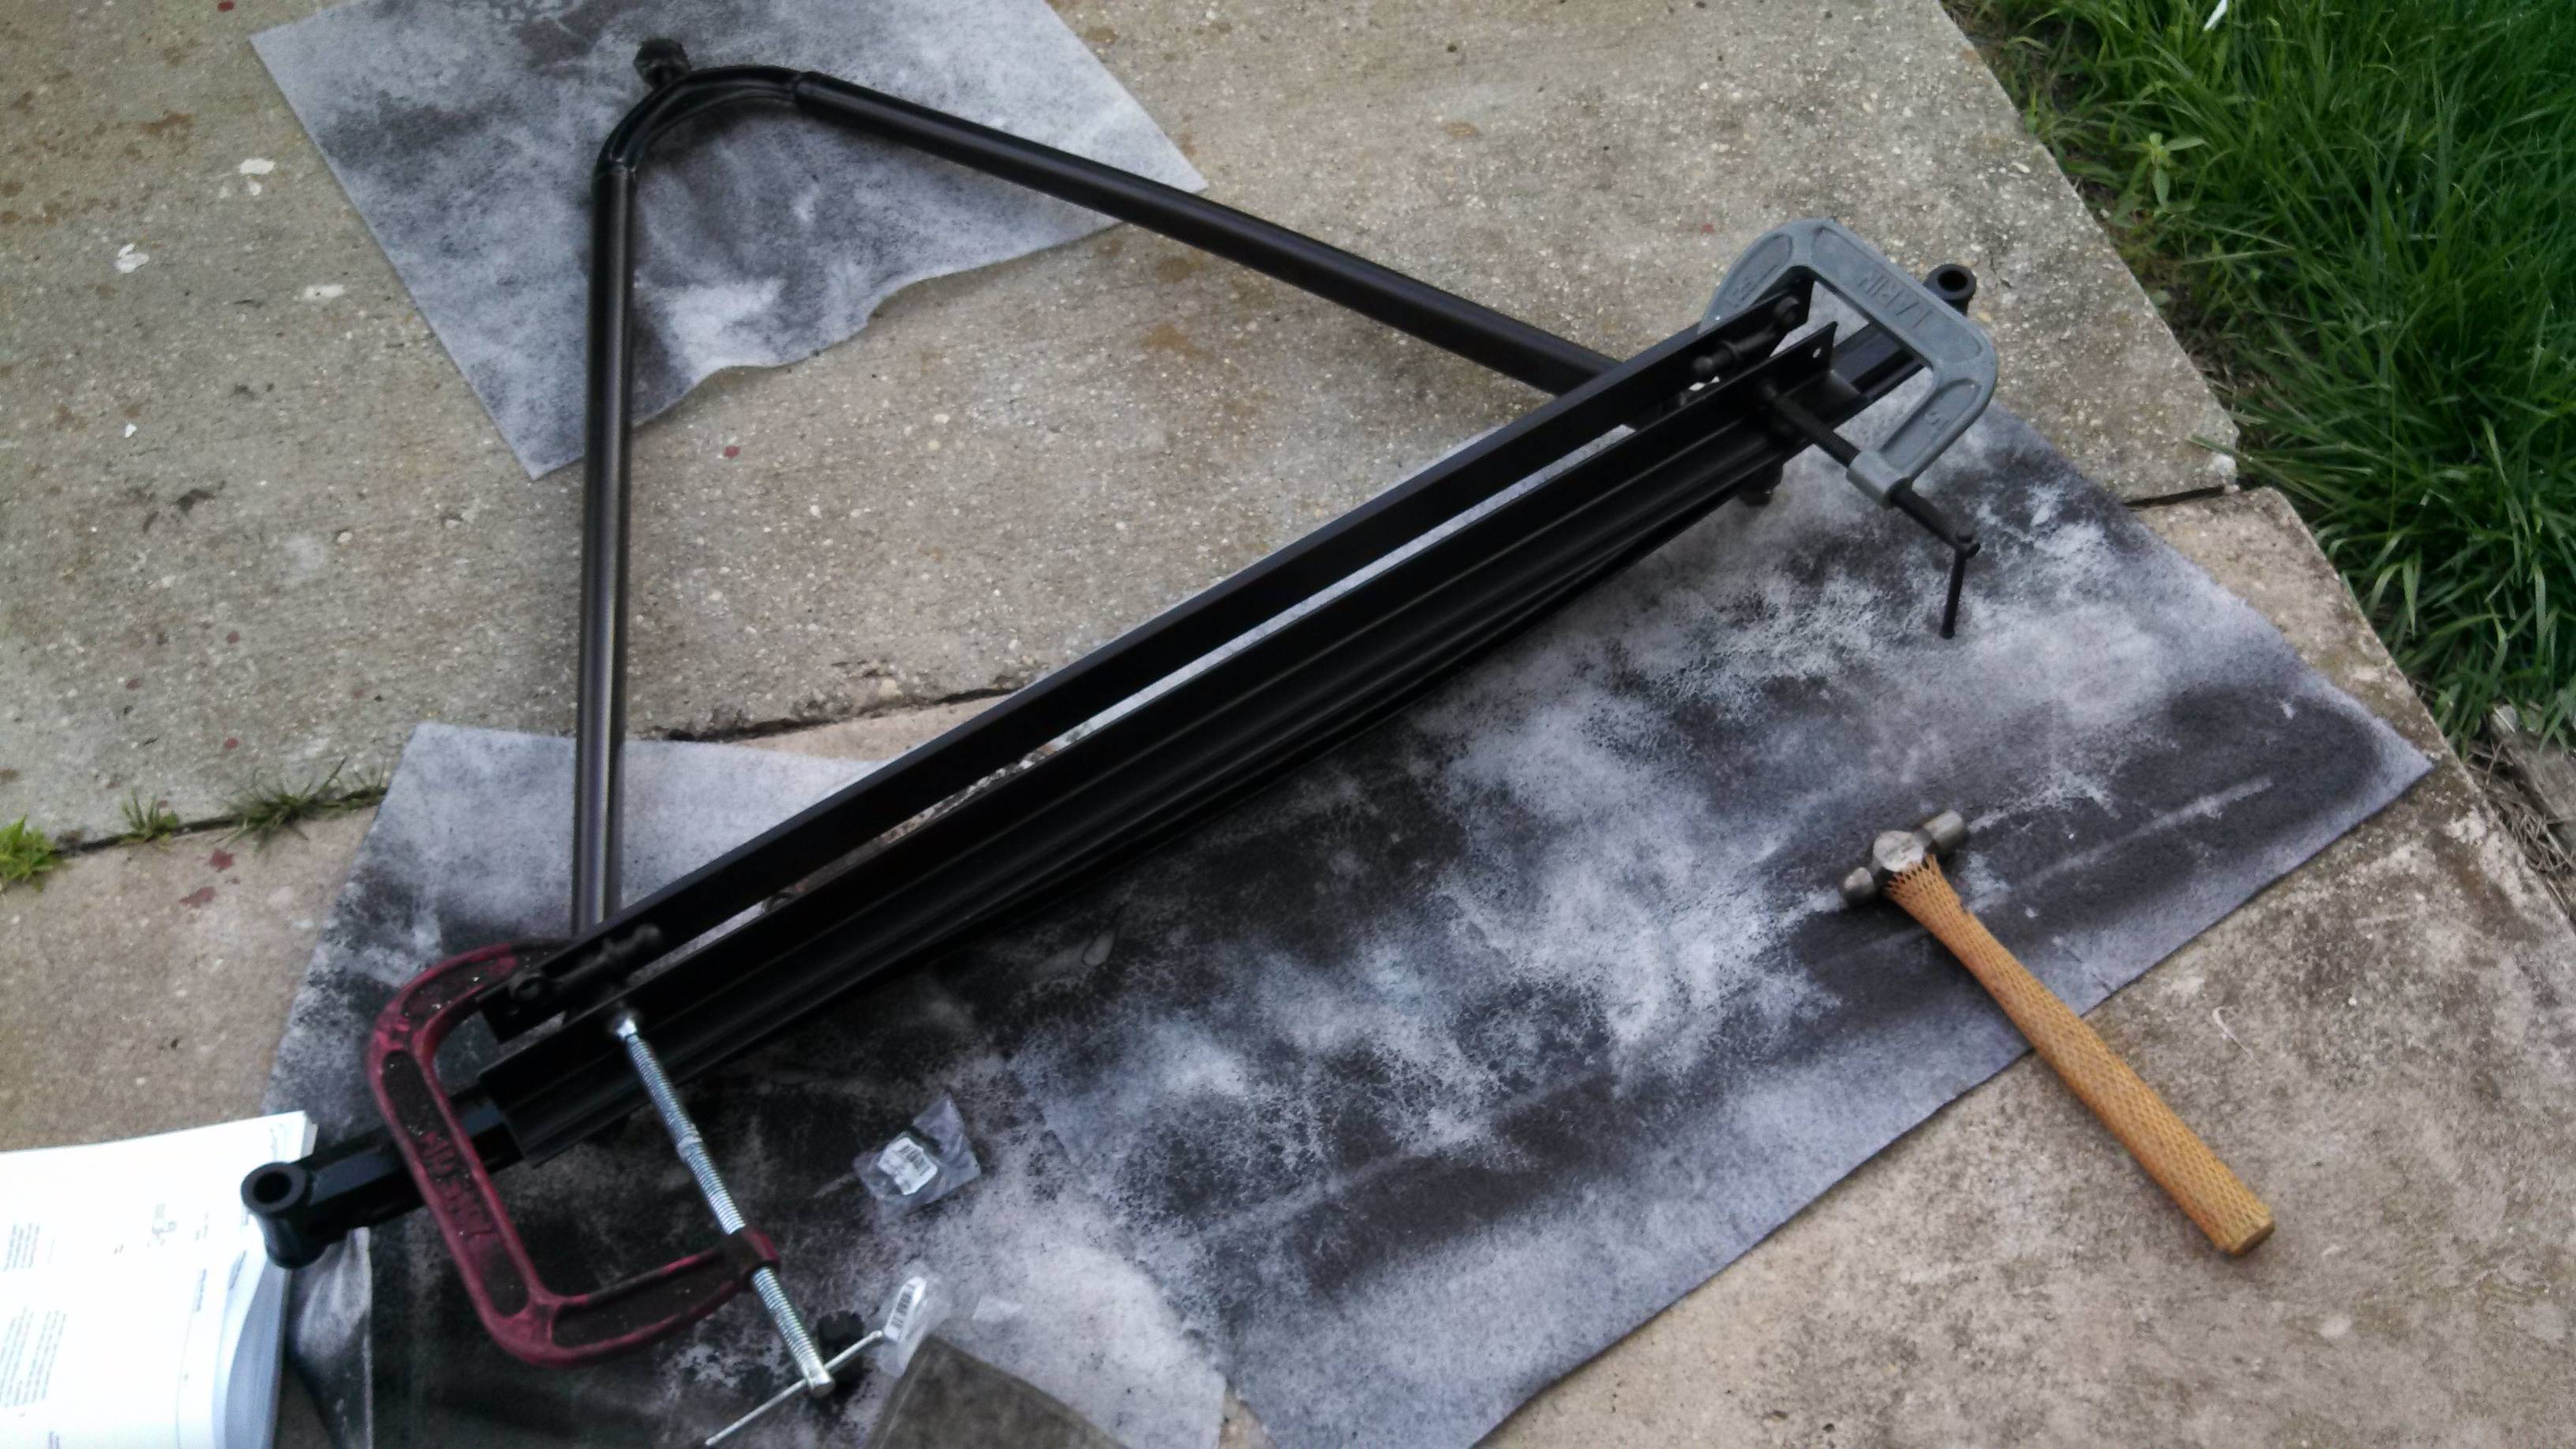
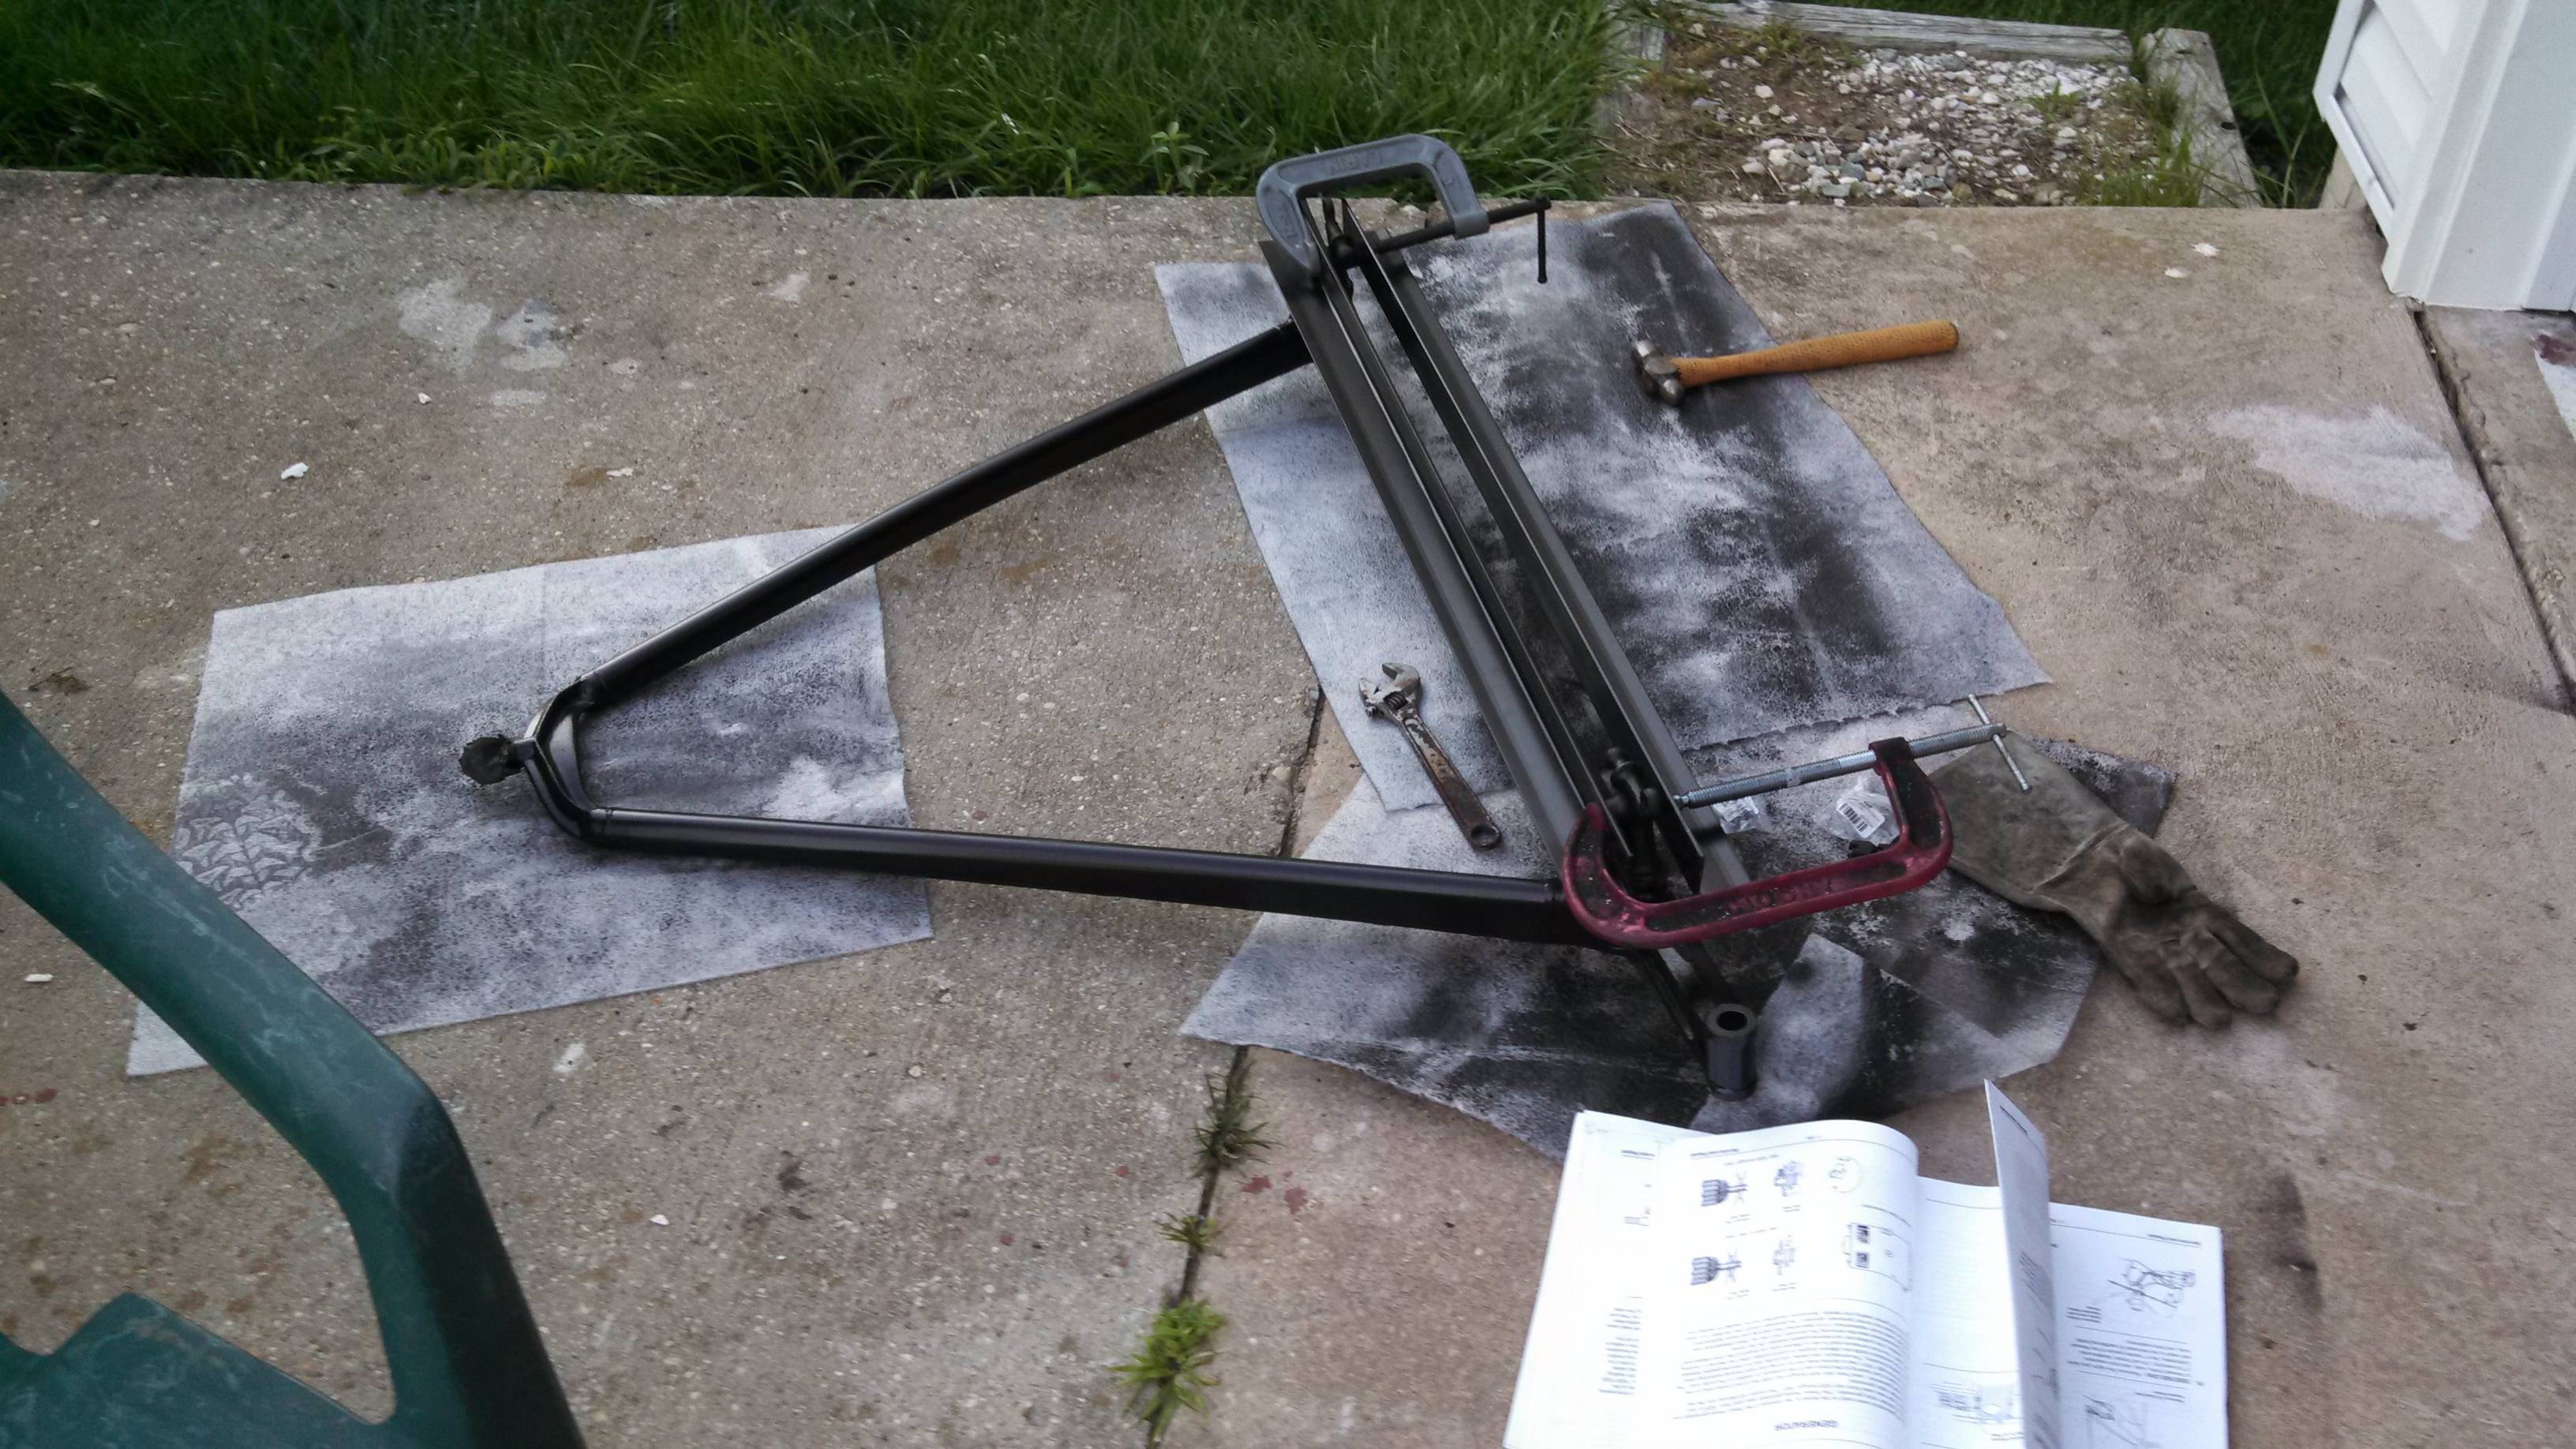
As a testament to the Eastwood Chassis Black, though, it mostly withstood this abuse. These pics are after the pin was installed, lever heated danged hot, and beaten up on the vice jaws:

So about this time I was mostly sweating my tail off, since it's Summer, now... I leaned on my vice, thinking "there has to be an easier way to do this..." ...and was staring right at my arbor press. D'oh!
I thunk to myself, "Ha! THis'll be easier!" So I got the other brake lever set all together and started heating the pin. I used my hammer to give it a few taps into the lever, and then stuck it in the press. And proceeded to bend the pin, because I couldn't get a straight bite from the press. D'oh!
After a few choice words, I managed to hammer the pin back straight. At this point, I decided to get clever and use the vice as my press... Now, this may have been the best idea I'd had all day, but the fact that the hole was too small won out, and basically expanded the rivet on the wrong side. I had to get out a pin punch and knock the rivet back out...

Well, poop. So, I didn't have any more pins (I thought I did, but I couldn't find them)... So, I went ahead and replaced the grease fittings in the front spindles with Zerks:

I'm on a roll this weekend, and it ain't all st00pid! Yay me! I'm bound, darned, and determined to get my front axle back together in short order. I've kinda been worried about screwing things up, I guess, and so I've been stalling a bit. Enough of that!
I got the wish bone (radius) and axle out & together, and amazingly enough, the spring perches pretty much dropped right in! I used a wooden block to protect them from my hammer as I tapped them in...
The manual mentions using some bar stock (or similar) to keep the perches aligned (for the springs) - fortunately, we bought a grill recently, and the packing included a couple pieces of angle metal that were the perfect length for this! I had kept them, as I figgered I might find a use for them later, and boy was I right!

Today was a pretty warm and dry day, and had plenty of bright sunshine... Excellent day to shoot some paint on those nicked-up front breake actuators! I sanded & wiped down the ends of them with a dry rag, and they were ready to go. I noticed that I got some grease on my backing plates, right in an area where they needed some more paint, so I shot some carb cleaner on them to knock the grease off...
Let me say... As tough as the chassis black is against knocks and dings, the carb cleaner got right under it at the spot I missed, and floated it right off in places... D'oh!
No biggie - I was getting ready to shoot some paint anyway, so I let everything heat up and dry in the sun for a bit, and then I shot some primer/chassis black wherever it was needed:

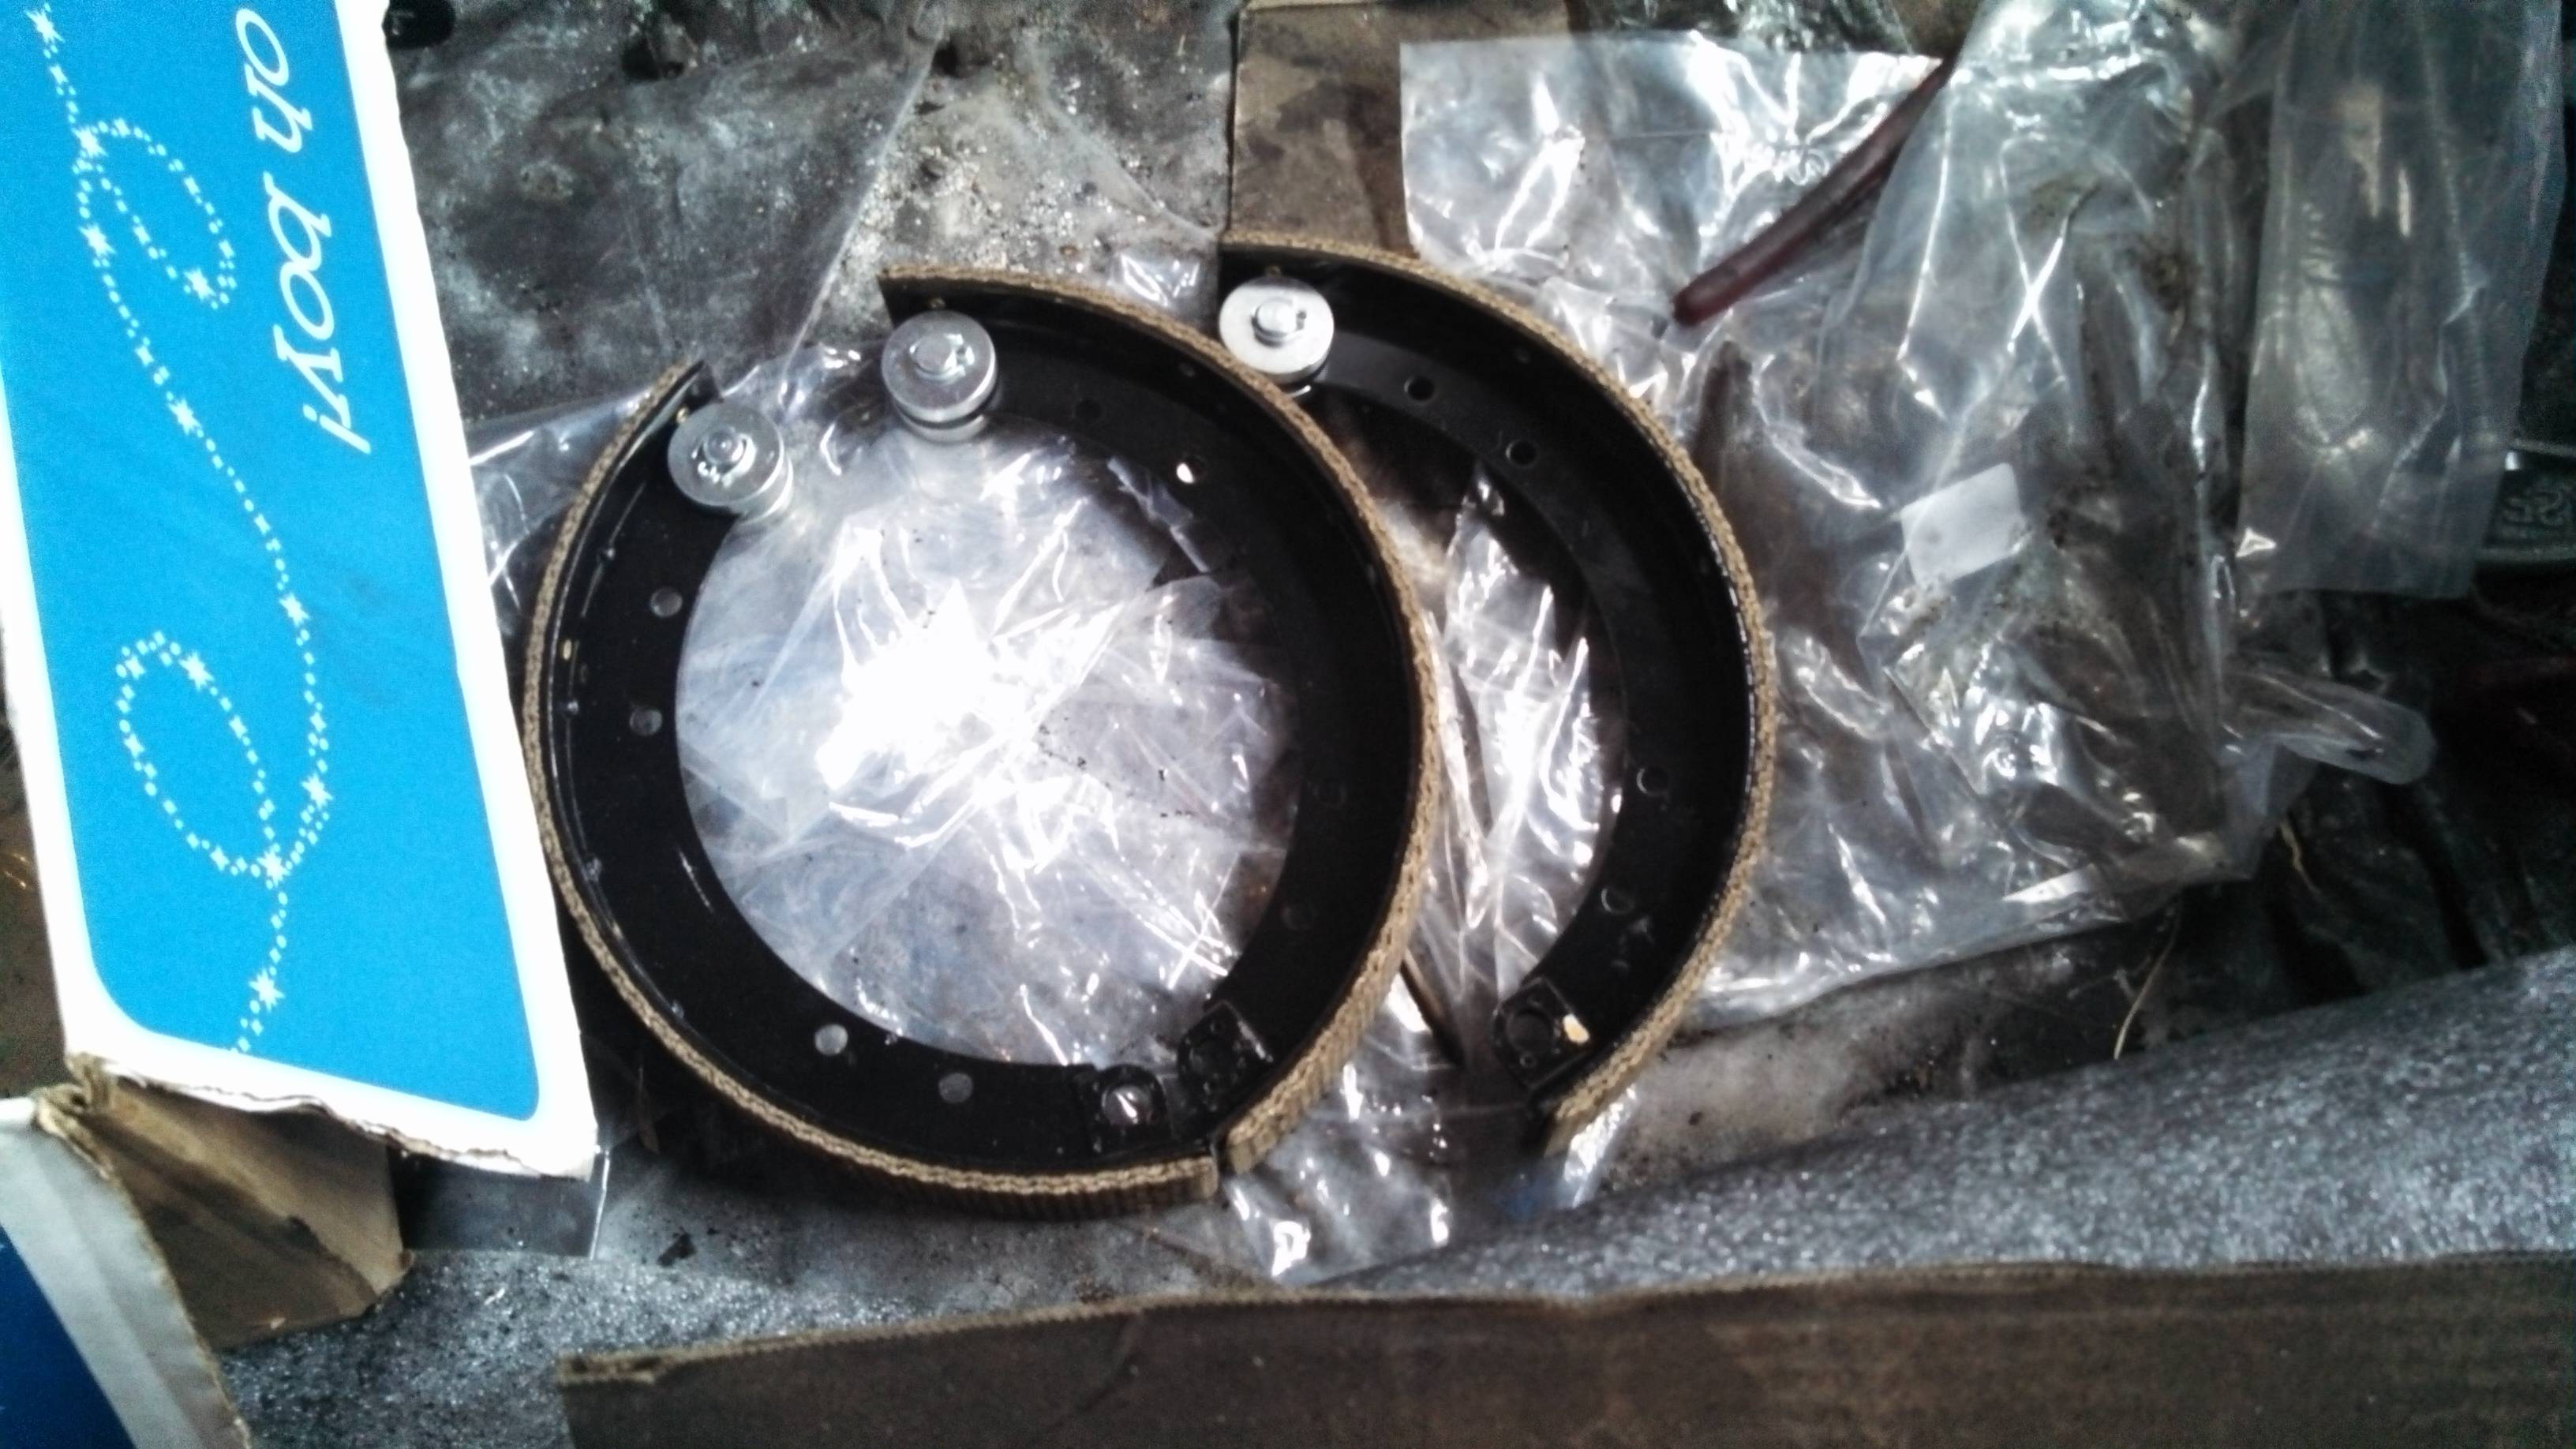
Wow, I've really been cookin' along the last few days, in spite of my own st00pidity... Today I pulled my lawn chair into the shade of my (hot) garage, and put the rollers and adjusters into my brake shoes.
Let me tell you what, there ain't no such thing as a tolerance spec on these things. Some of pins just drop right in to the rollers/adjusters/shoes, and others are interference fits... What a pain. Anyway, I got them all together, and only lost about 2 pounds in sweat:

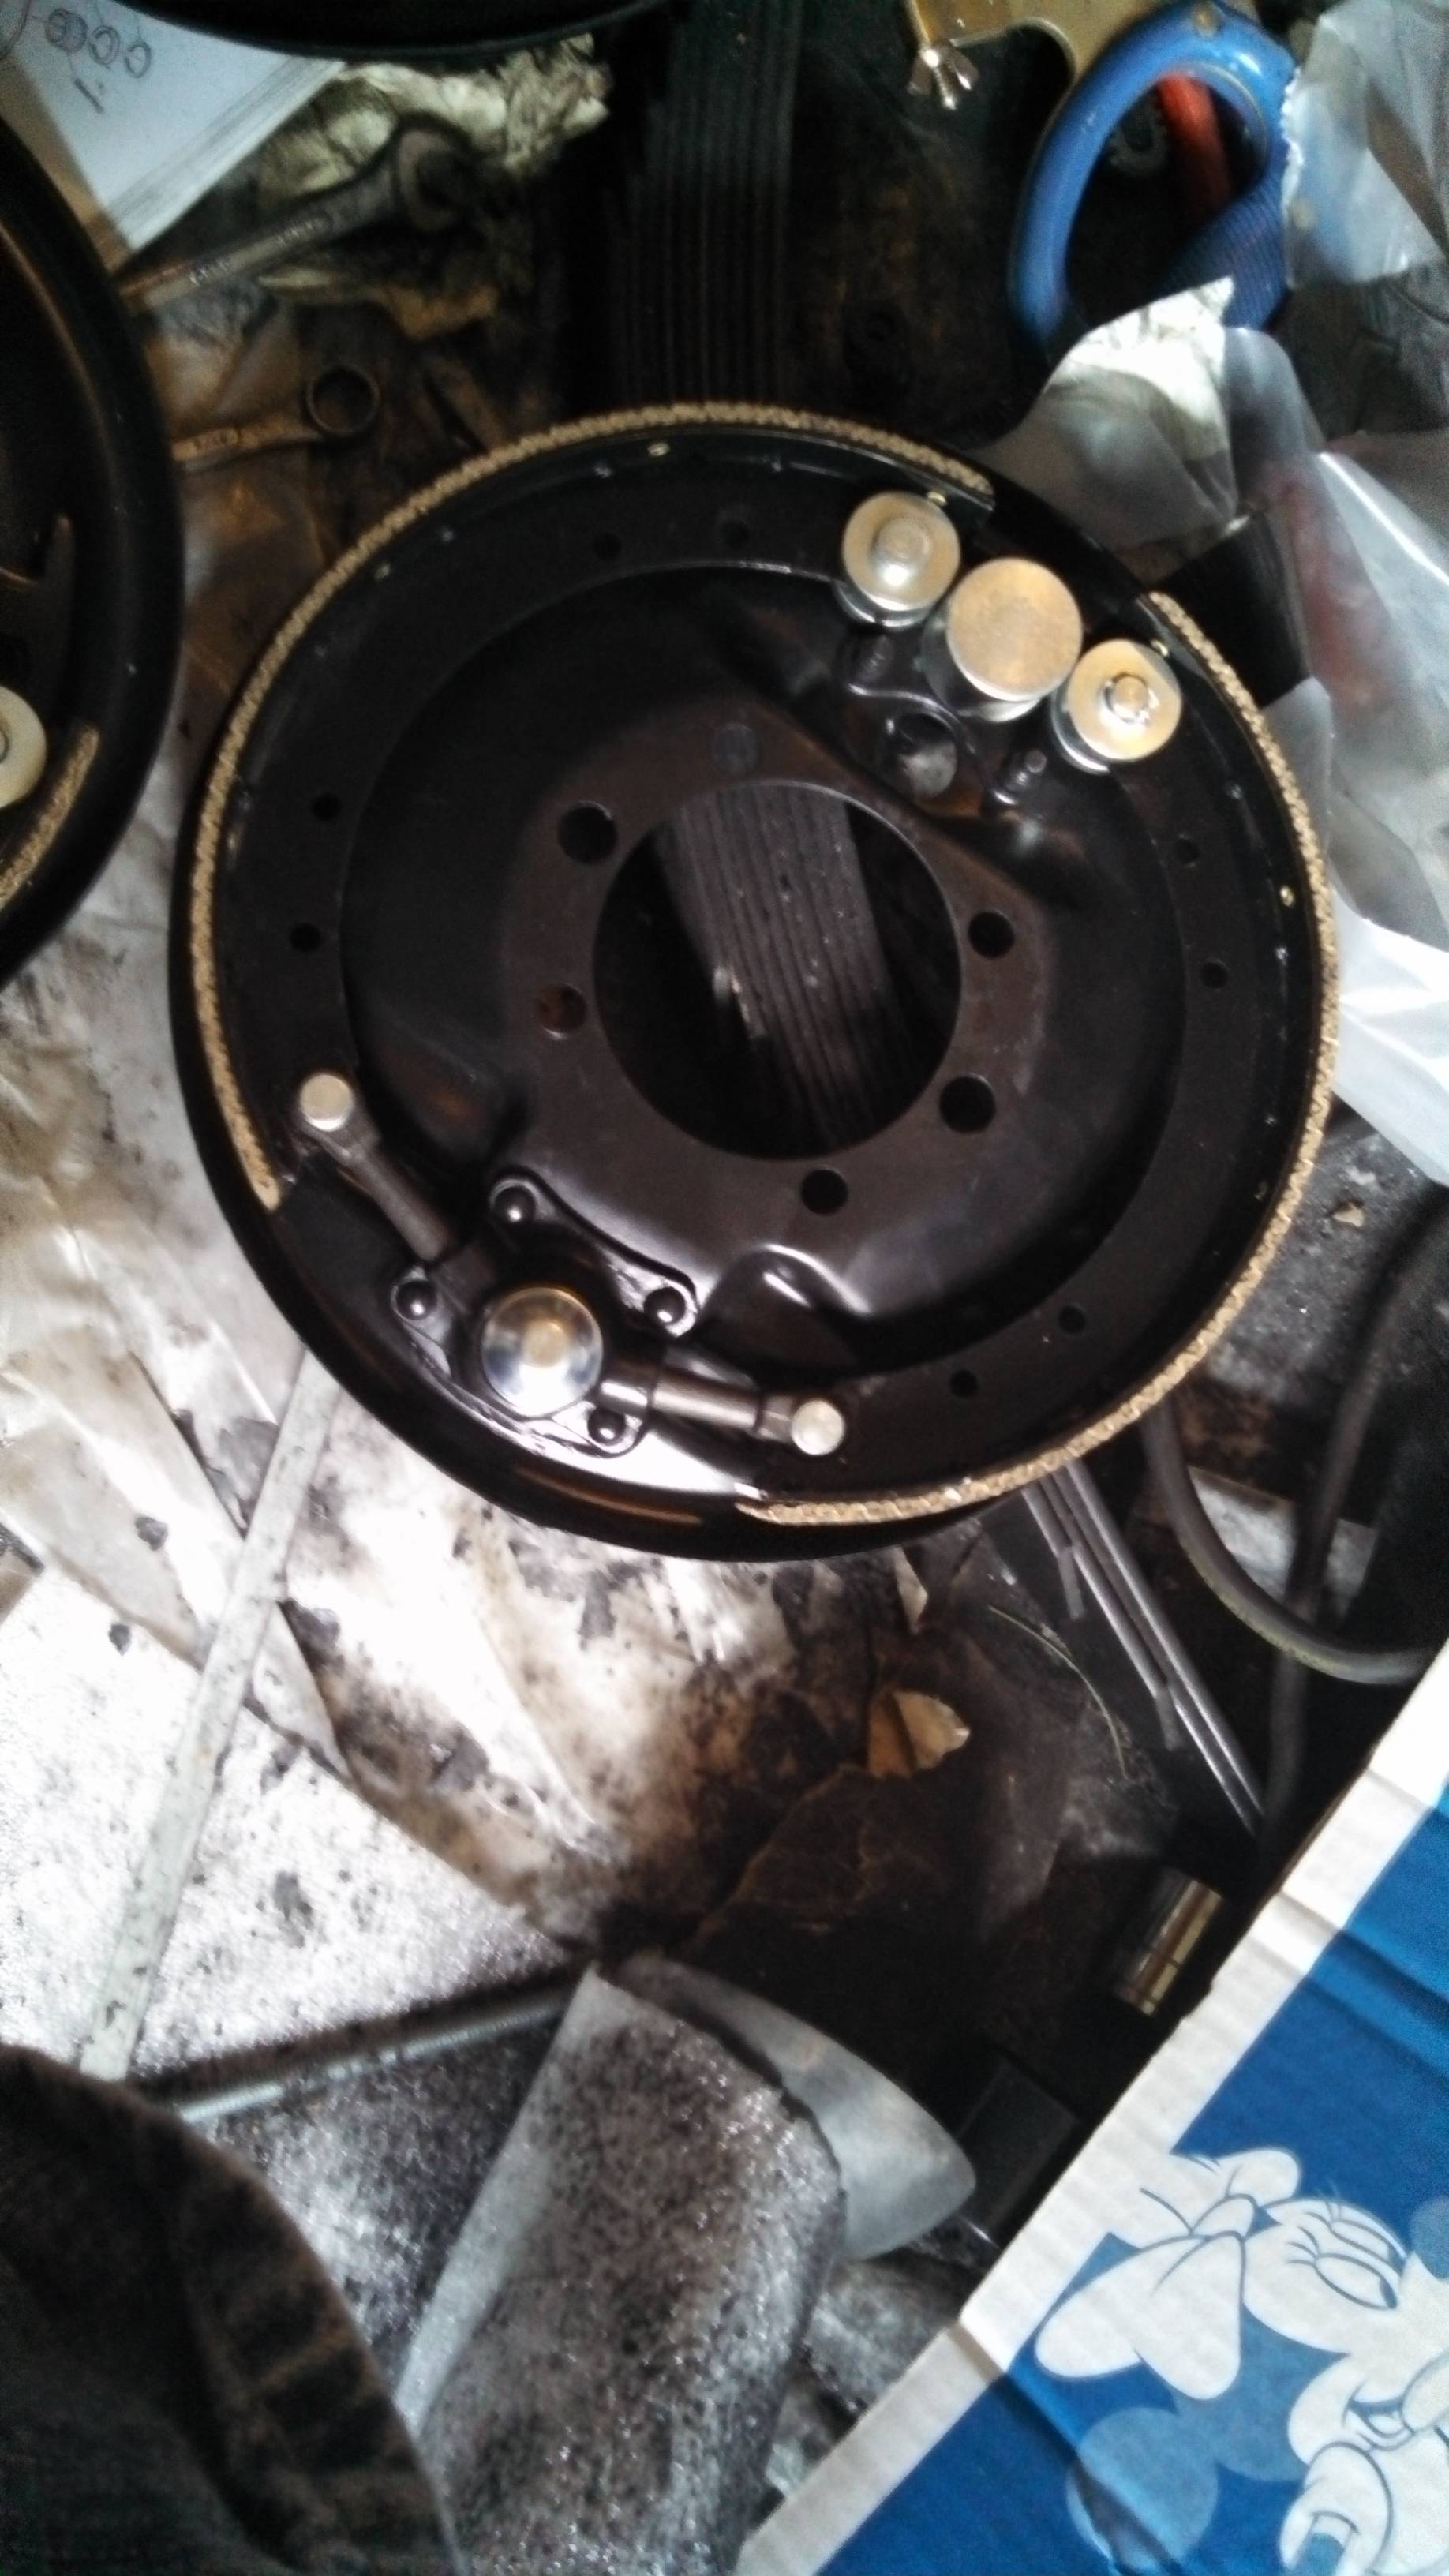

I don't have any more pictures, but I also assmebled the brakes on the backing plates... I got part way into this, and realized I'd made a "grave error in judgement."
See, on about half of the shoes, I managed to get the roller pins put in backwards. This means the Cotter pins were on the wrong side of the brake shoe. This is important, as the head of the roller pin rides on a little track. Cotter pins aren't made for this!
So, due to my own idiocy, I spent another (unanticipated) hot evening after work redoing the pins on a bunch of those brake shoes... Did I mention that some of them are interference fits?
That's it for June, tune in soon for July!
Last modified on 07/28/13