

Spring has finally sprung! And speaking of springs, this past week(end), I managed to get all the leaves primed, lubed, and ready for reassembly!
The repair manual mentions hitting the springs with a rust converter before doing anything else, and I originally thought about a couple coats of primer and chassis black on each leaf, but then I did a "stackup analysis" on the mess. Turns out, if I had done that, there could be as much as a quarter inch of paint & primer & lube built up in there (total), and as the springs "worked," and wore off the paint, I could end up with a lot of slop in there.
Instead, the springs went out to the sanblasting house along with all that other stuff. They got blasted, and the only rust on them now are some spots where they were touched by somebody's greasy fingers. They sat all winter, and got a bunch of overspray on them, too...
So, beaing as there were some beautiful days this weekend, I pulled the leave out and got them partially completed. Since there was very little rust, I didn't mess with any rust converter or etchants, and just wiped the leaves down with some thinner to get off all the loose overspray. I laid them out on some packing material and "shot" one side of them with Eastwood Rust Encapsulator. I waited 45 minutes for that side to dry and then flipped them and did the other side.
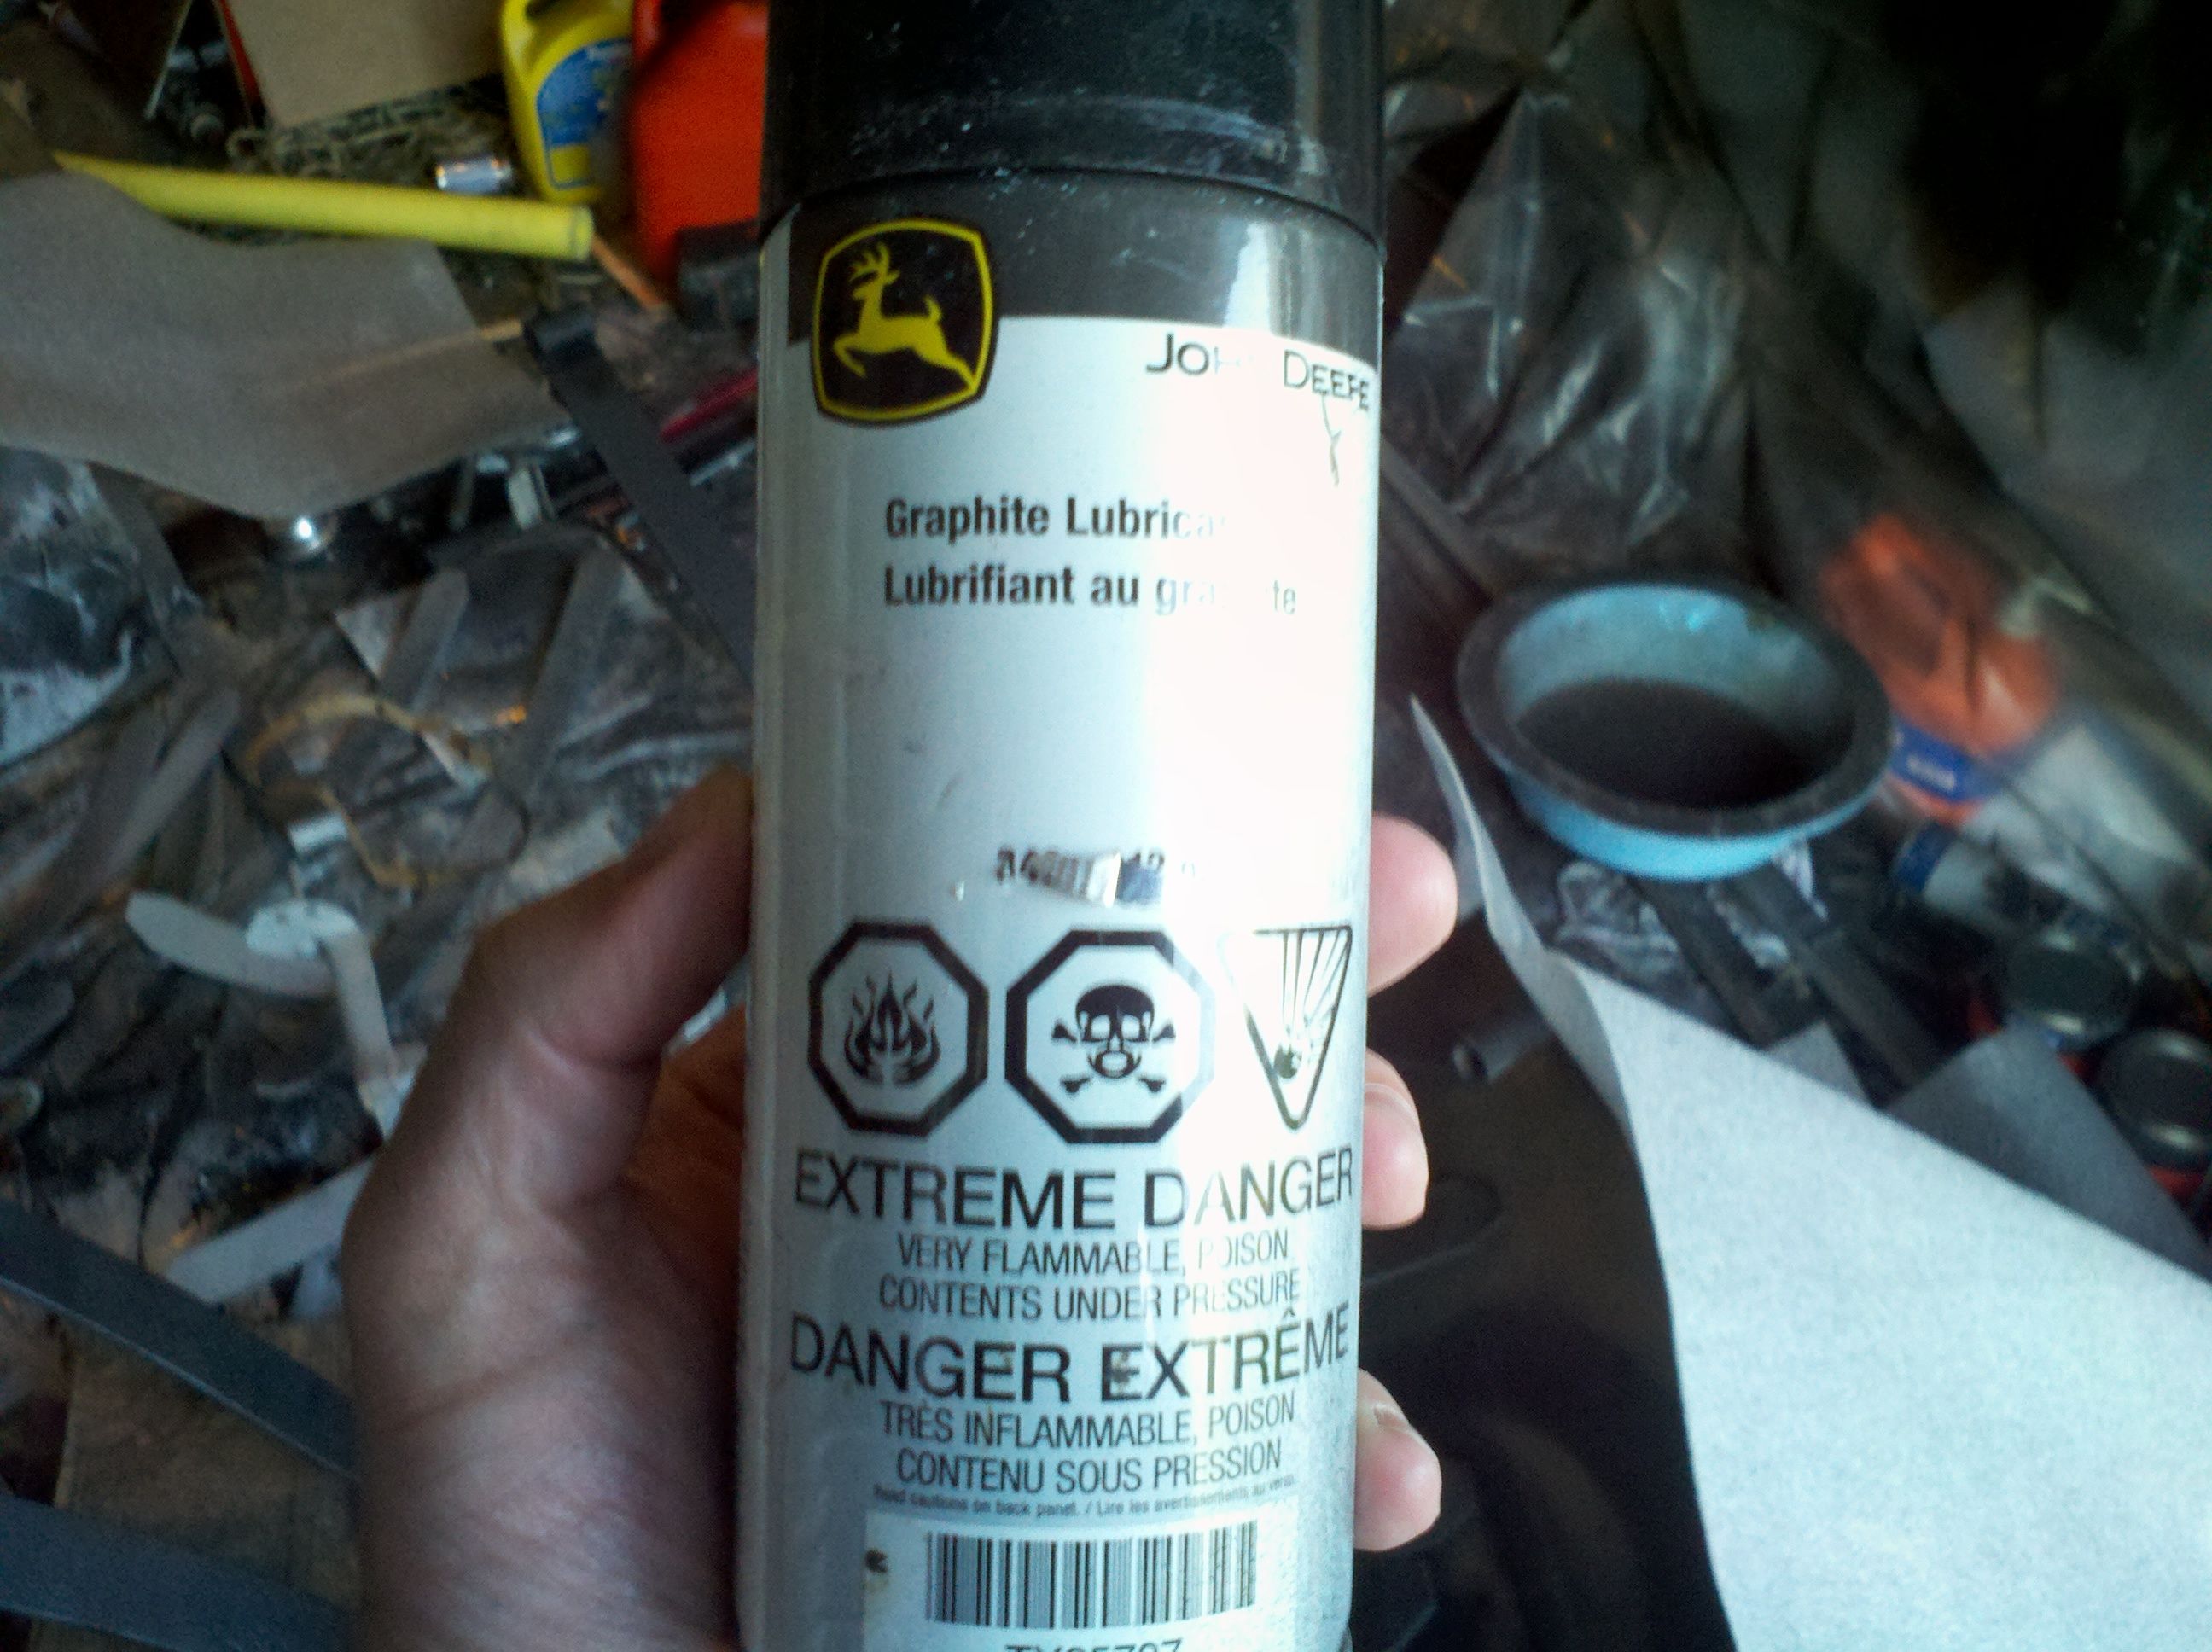
After they were primed, I dragged them into the garage and hit the undersides of the leaves with some "Slip-Plate" equivalent.
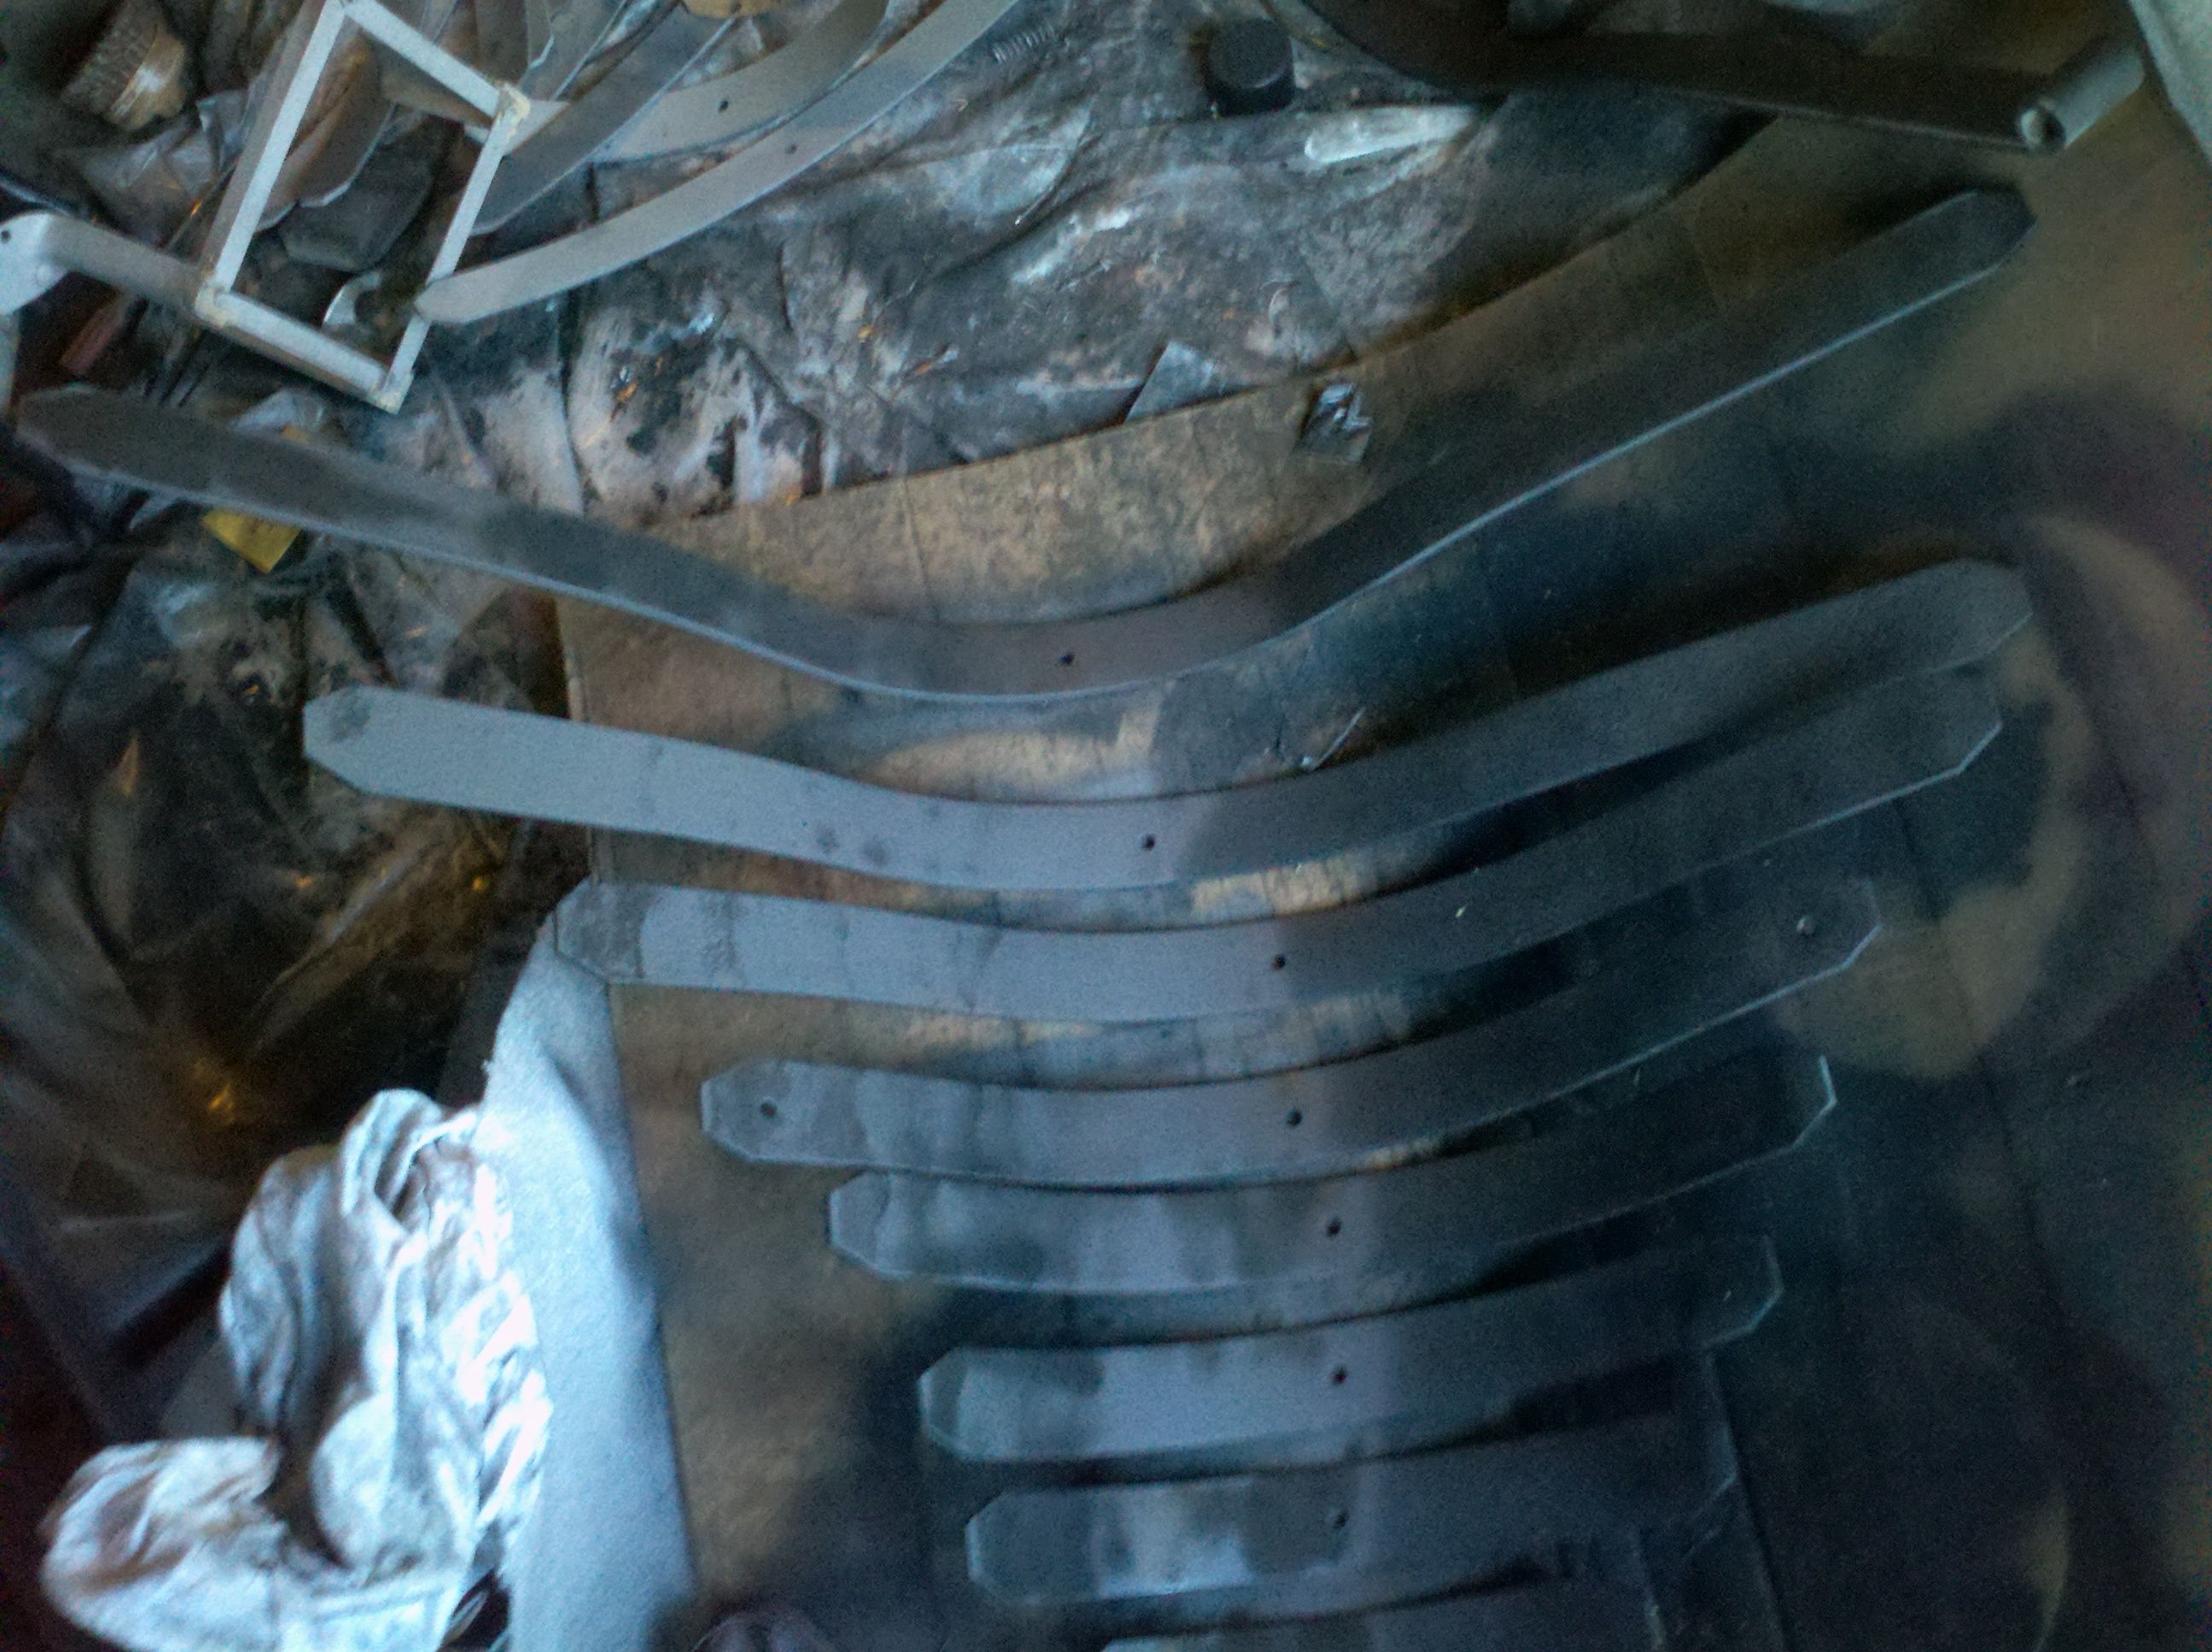

After they were painted and lubed, I didn't have much time to do anything else, but I did manage to get the rear leaves stacked and ready for reassembly (it was a busy weekend).
One real downer, though - I just used up the very last bit of my rust encapsulator... I guess I'll need to buy a couple more cans, so I can finish up the rear radius arms...
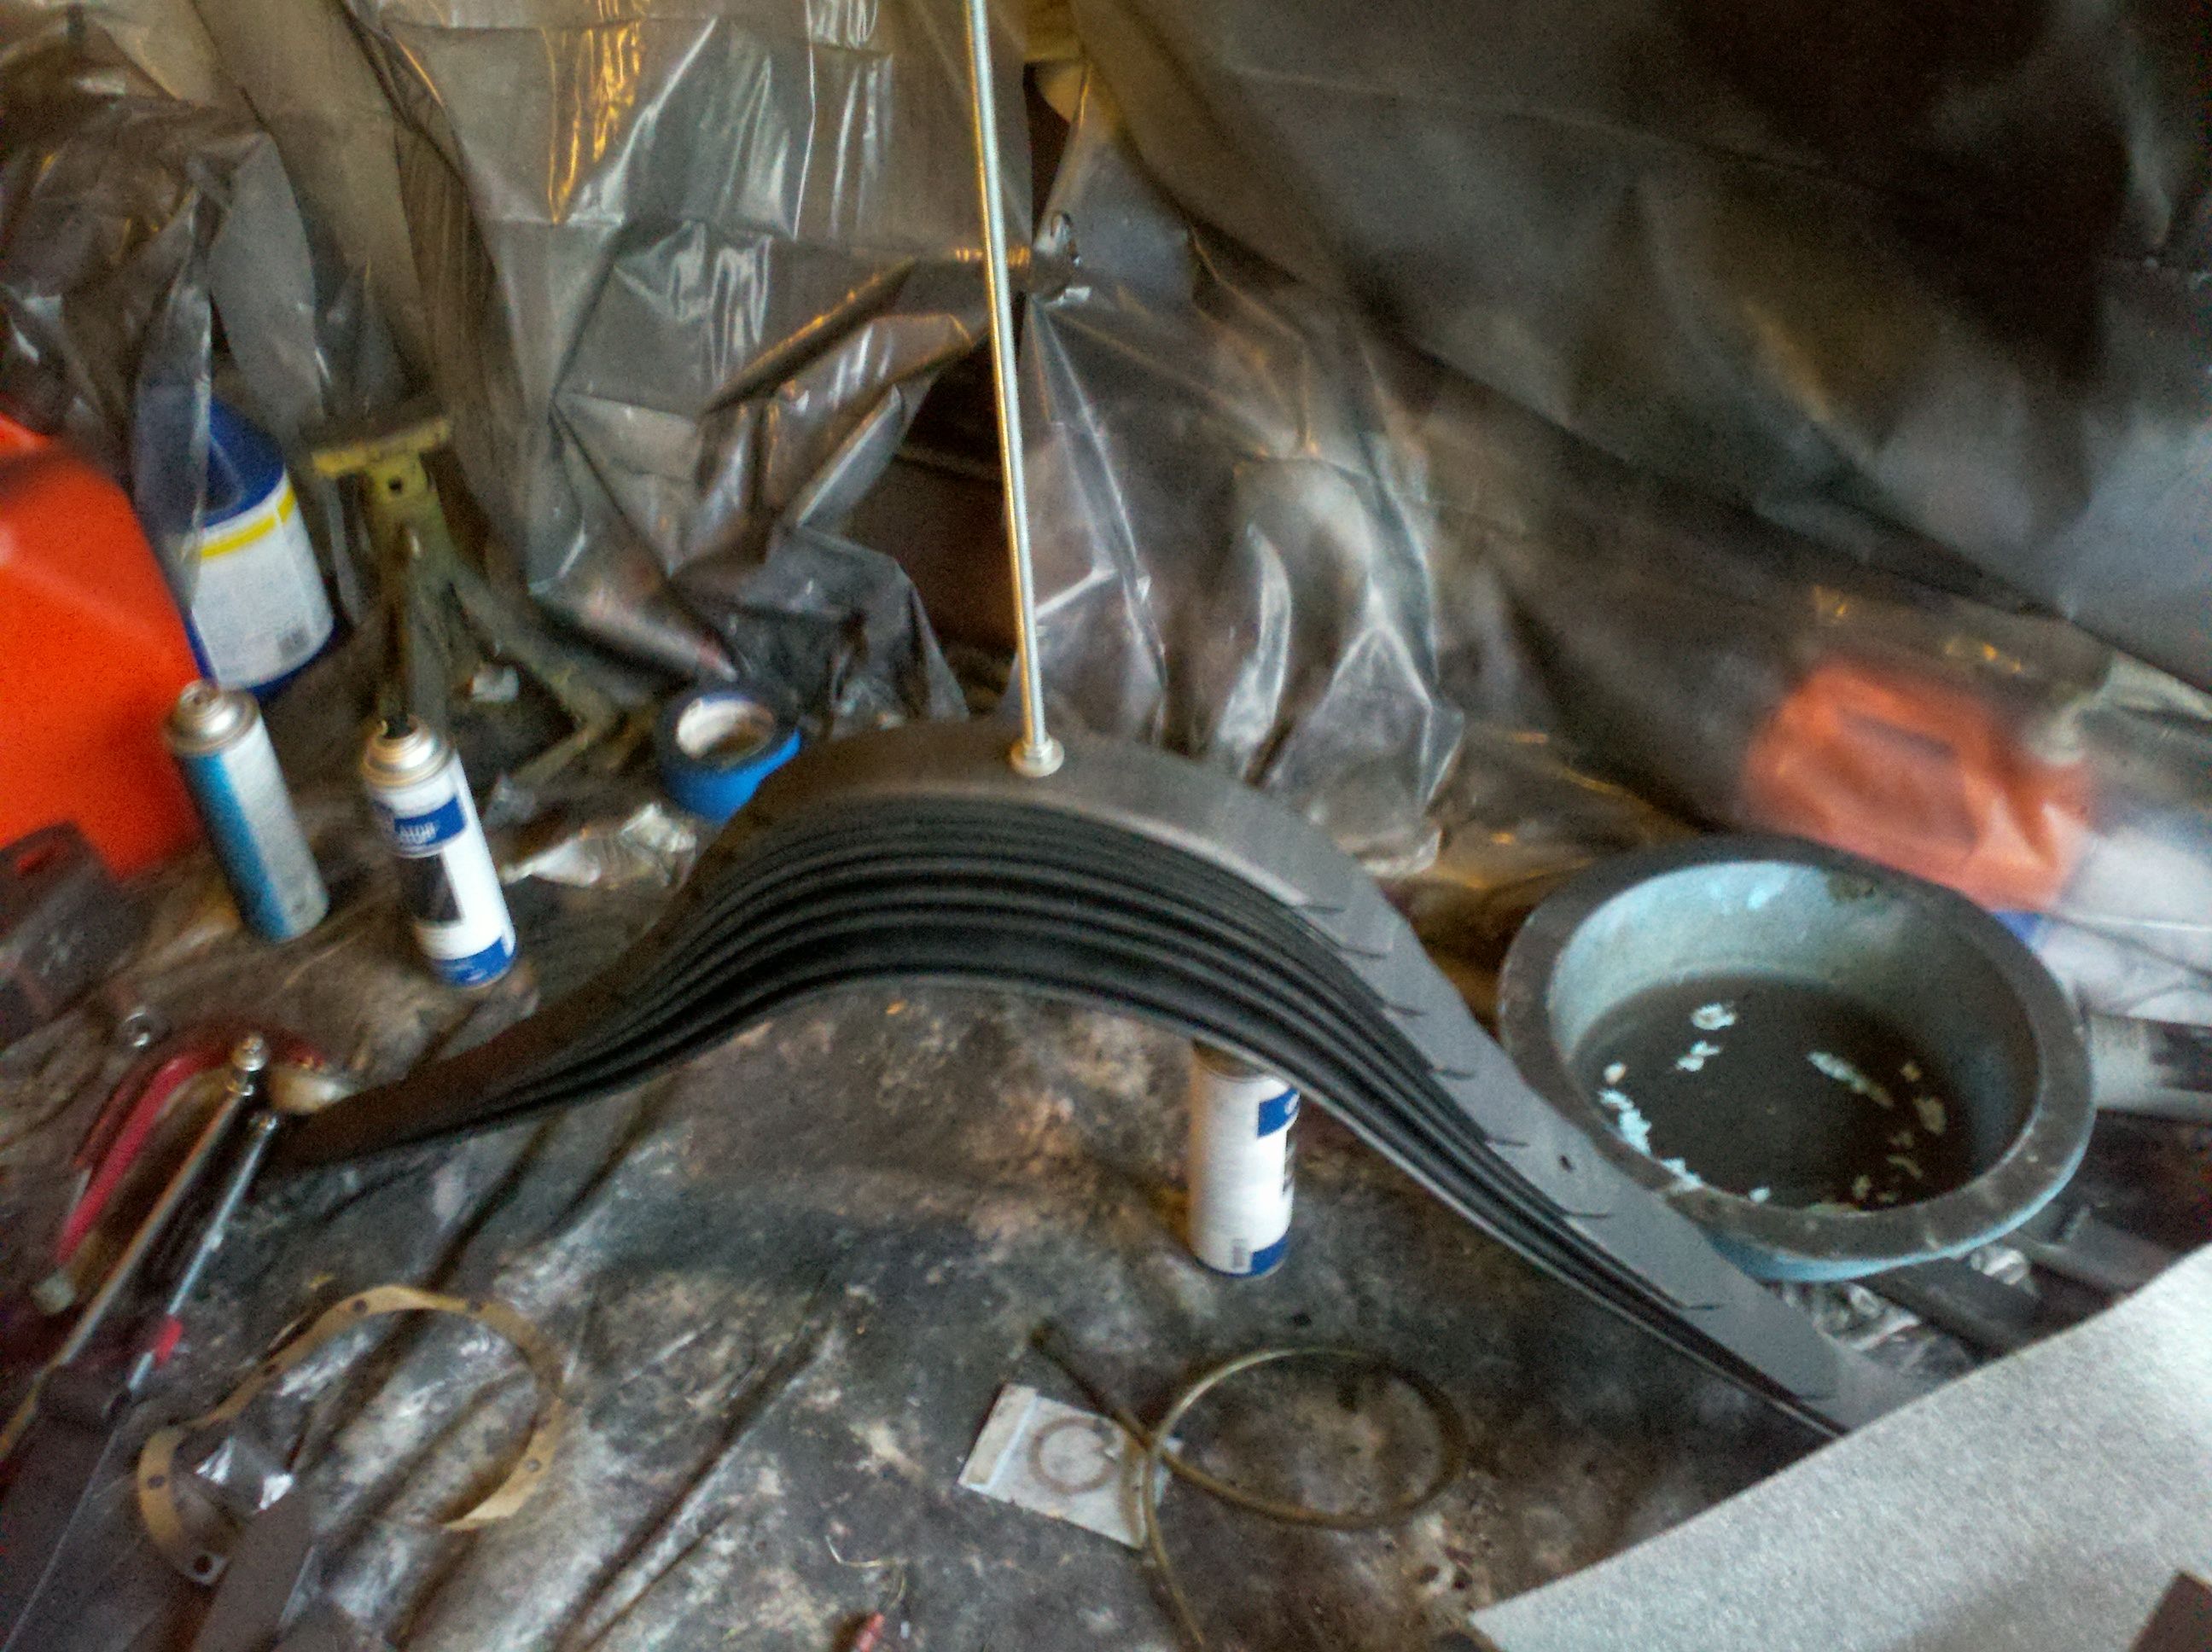
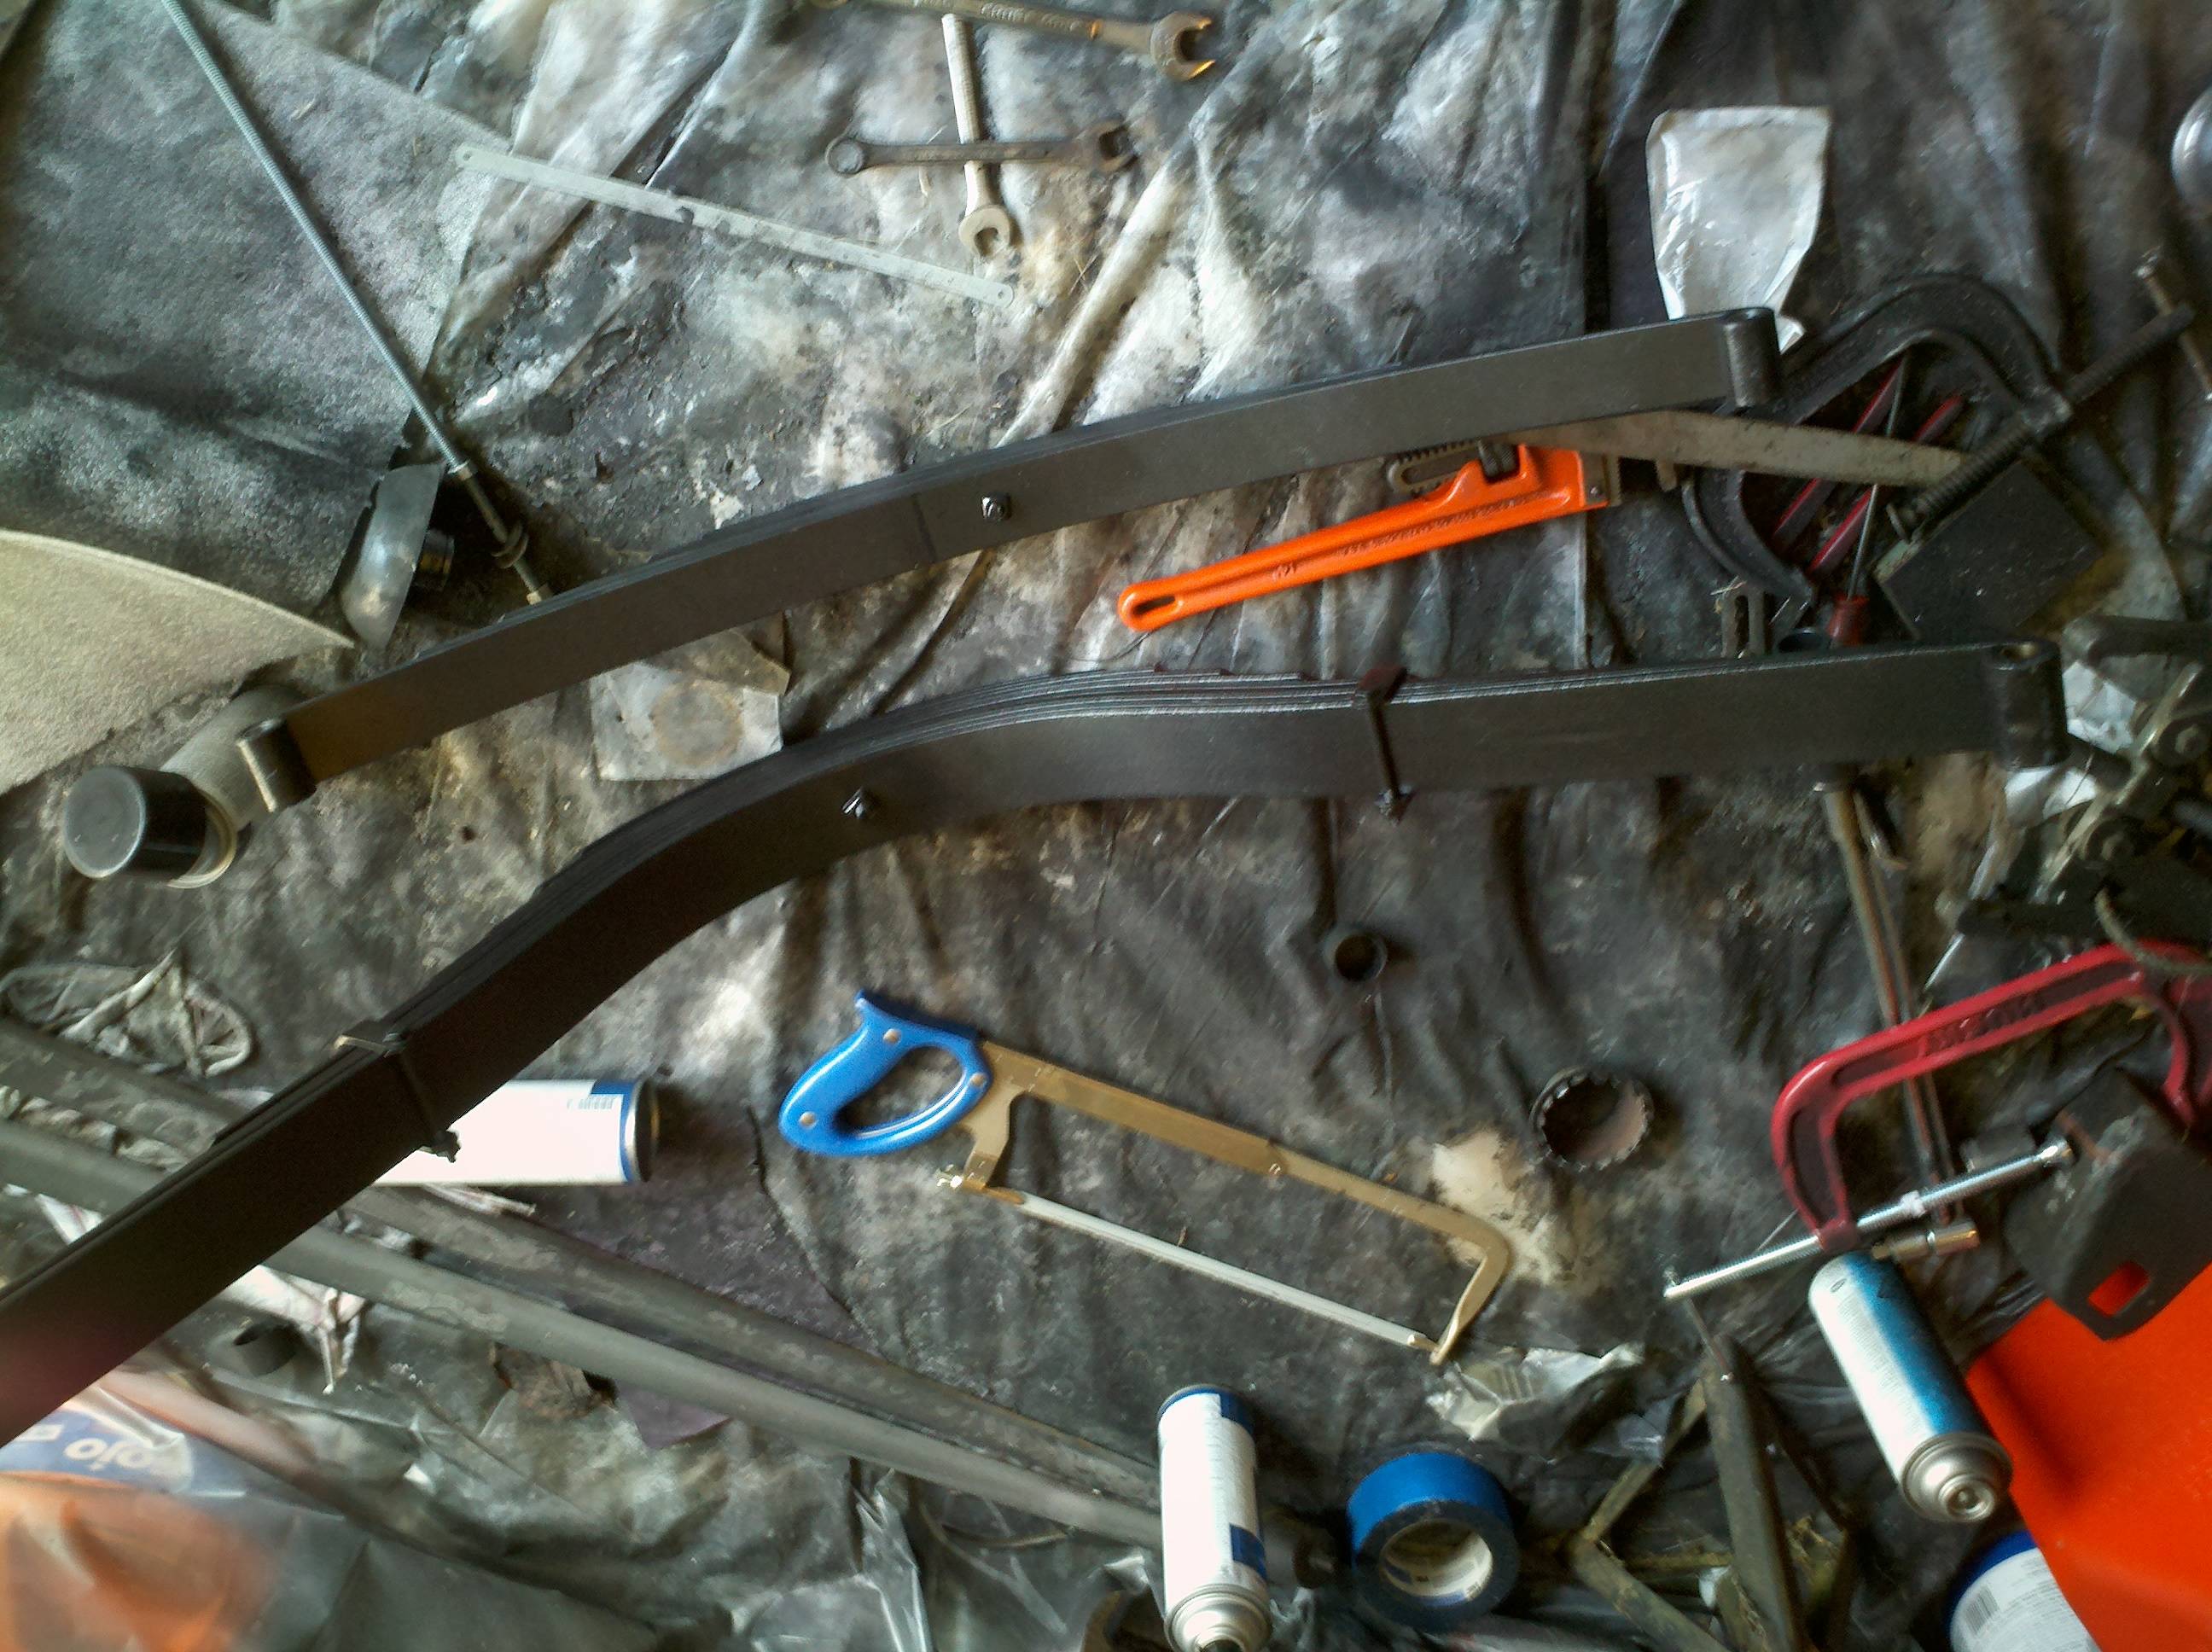
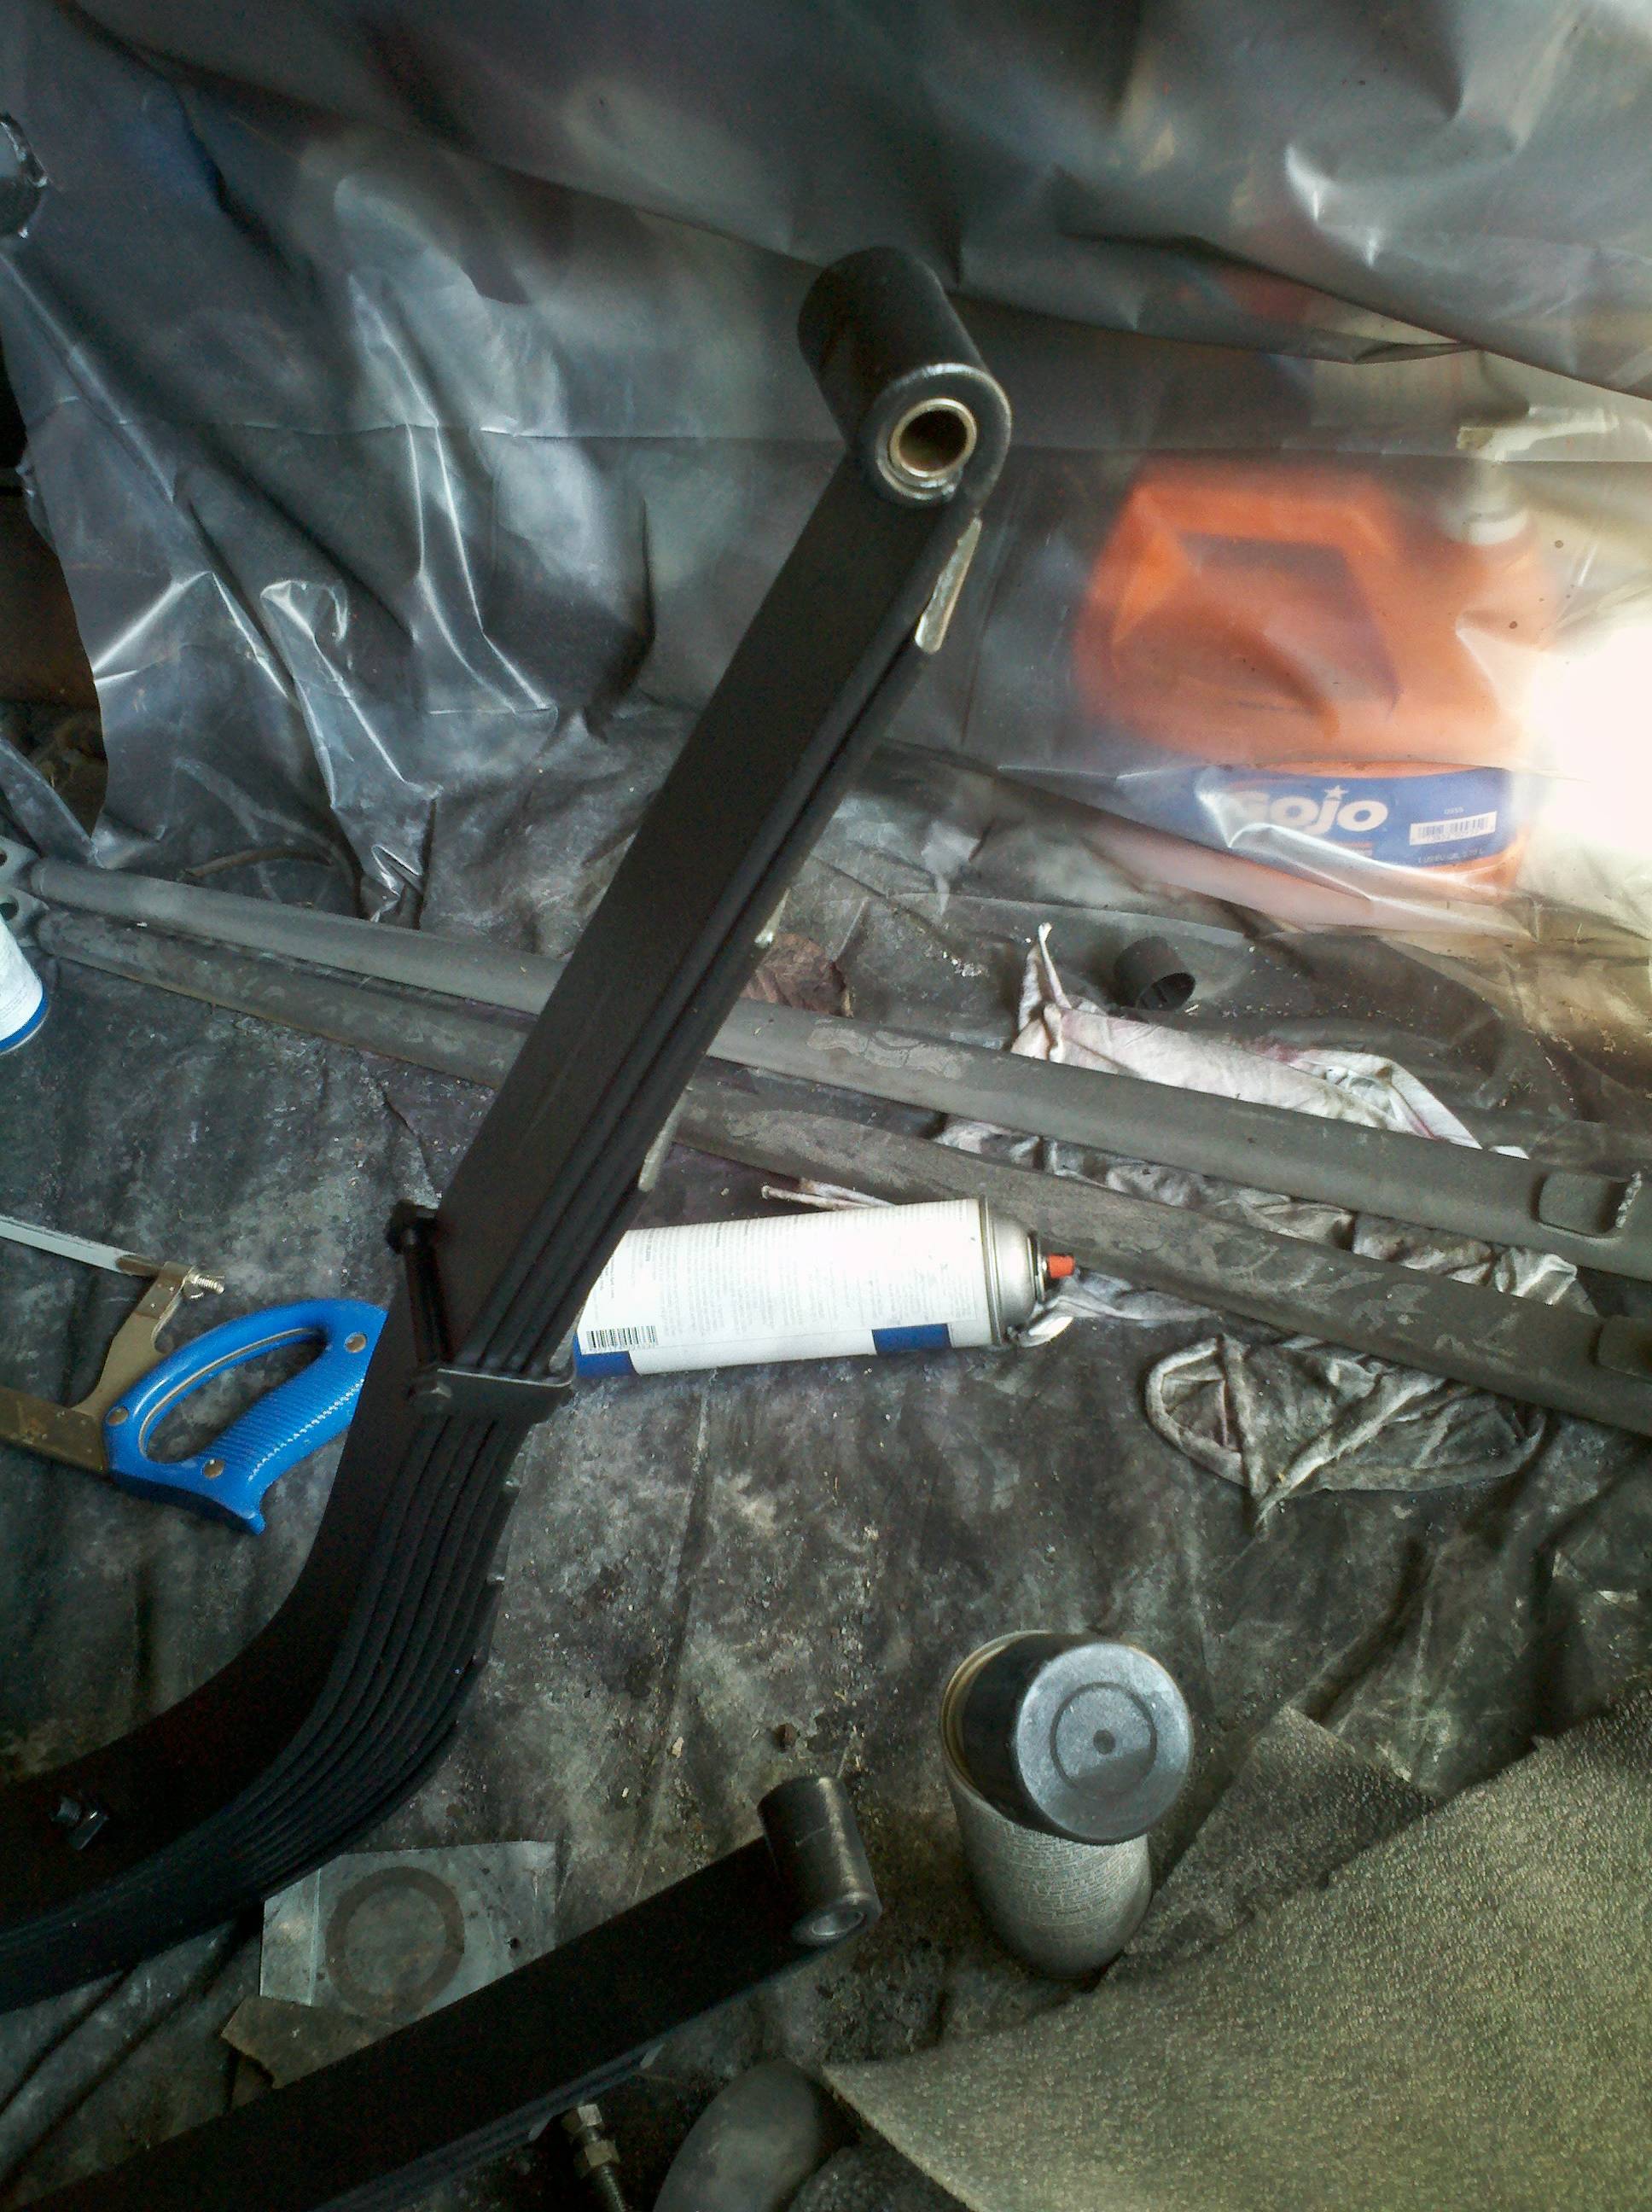
I got the springs all assembled today. I did what I was supposed to do with the rear springs - that is, I ran some all-thread through them, cinched them down, clamped them, and then grabbed the centering bolt to install it. Dang, but is ist long!
Then I got to looking... I'll bet I could have used the centering bolt to do the initial compression, and then I coulda done without the clamps. So, I started on the front leaves, and put them together with their centering bolt. Worked well. On the front springs, though, the spring clips were too "tall." I could put their bolt in and rattle the clip loose and all the way down to the shackle eye. D'oh!
It was getting late, so I went ahead and put a coat of Chassis Black over the assembled springs (per the manual), and called it a day.
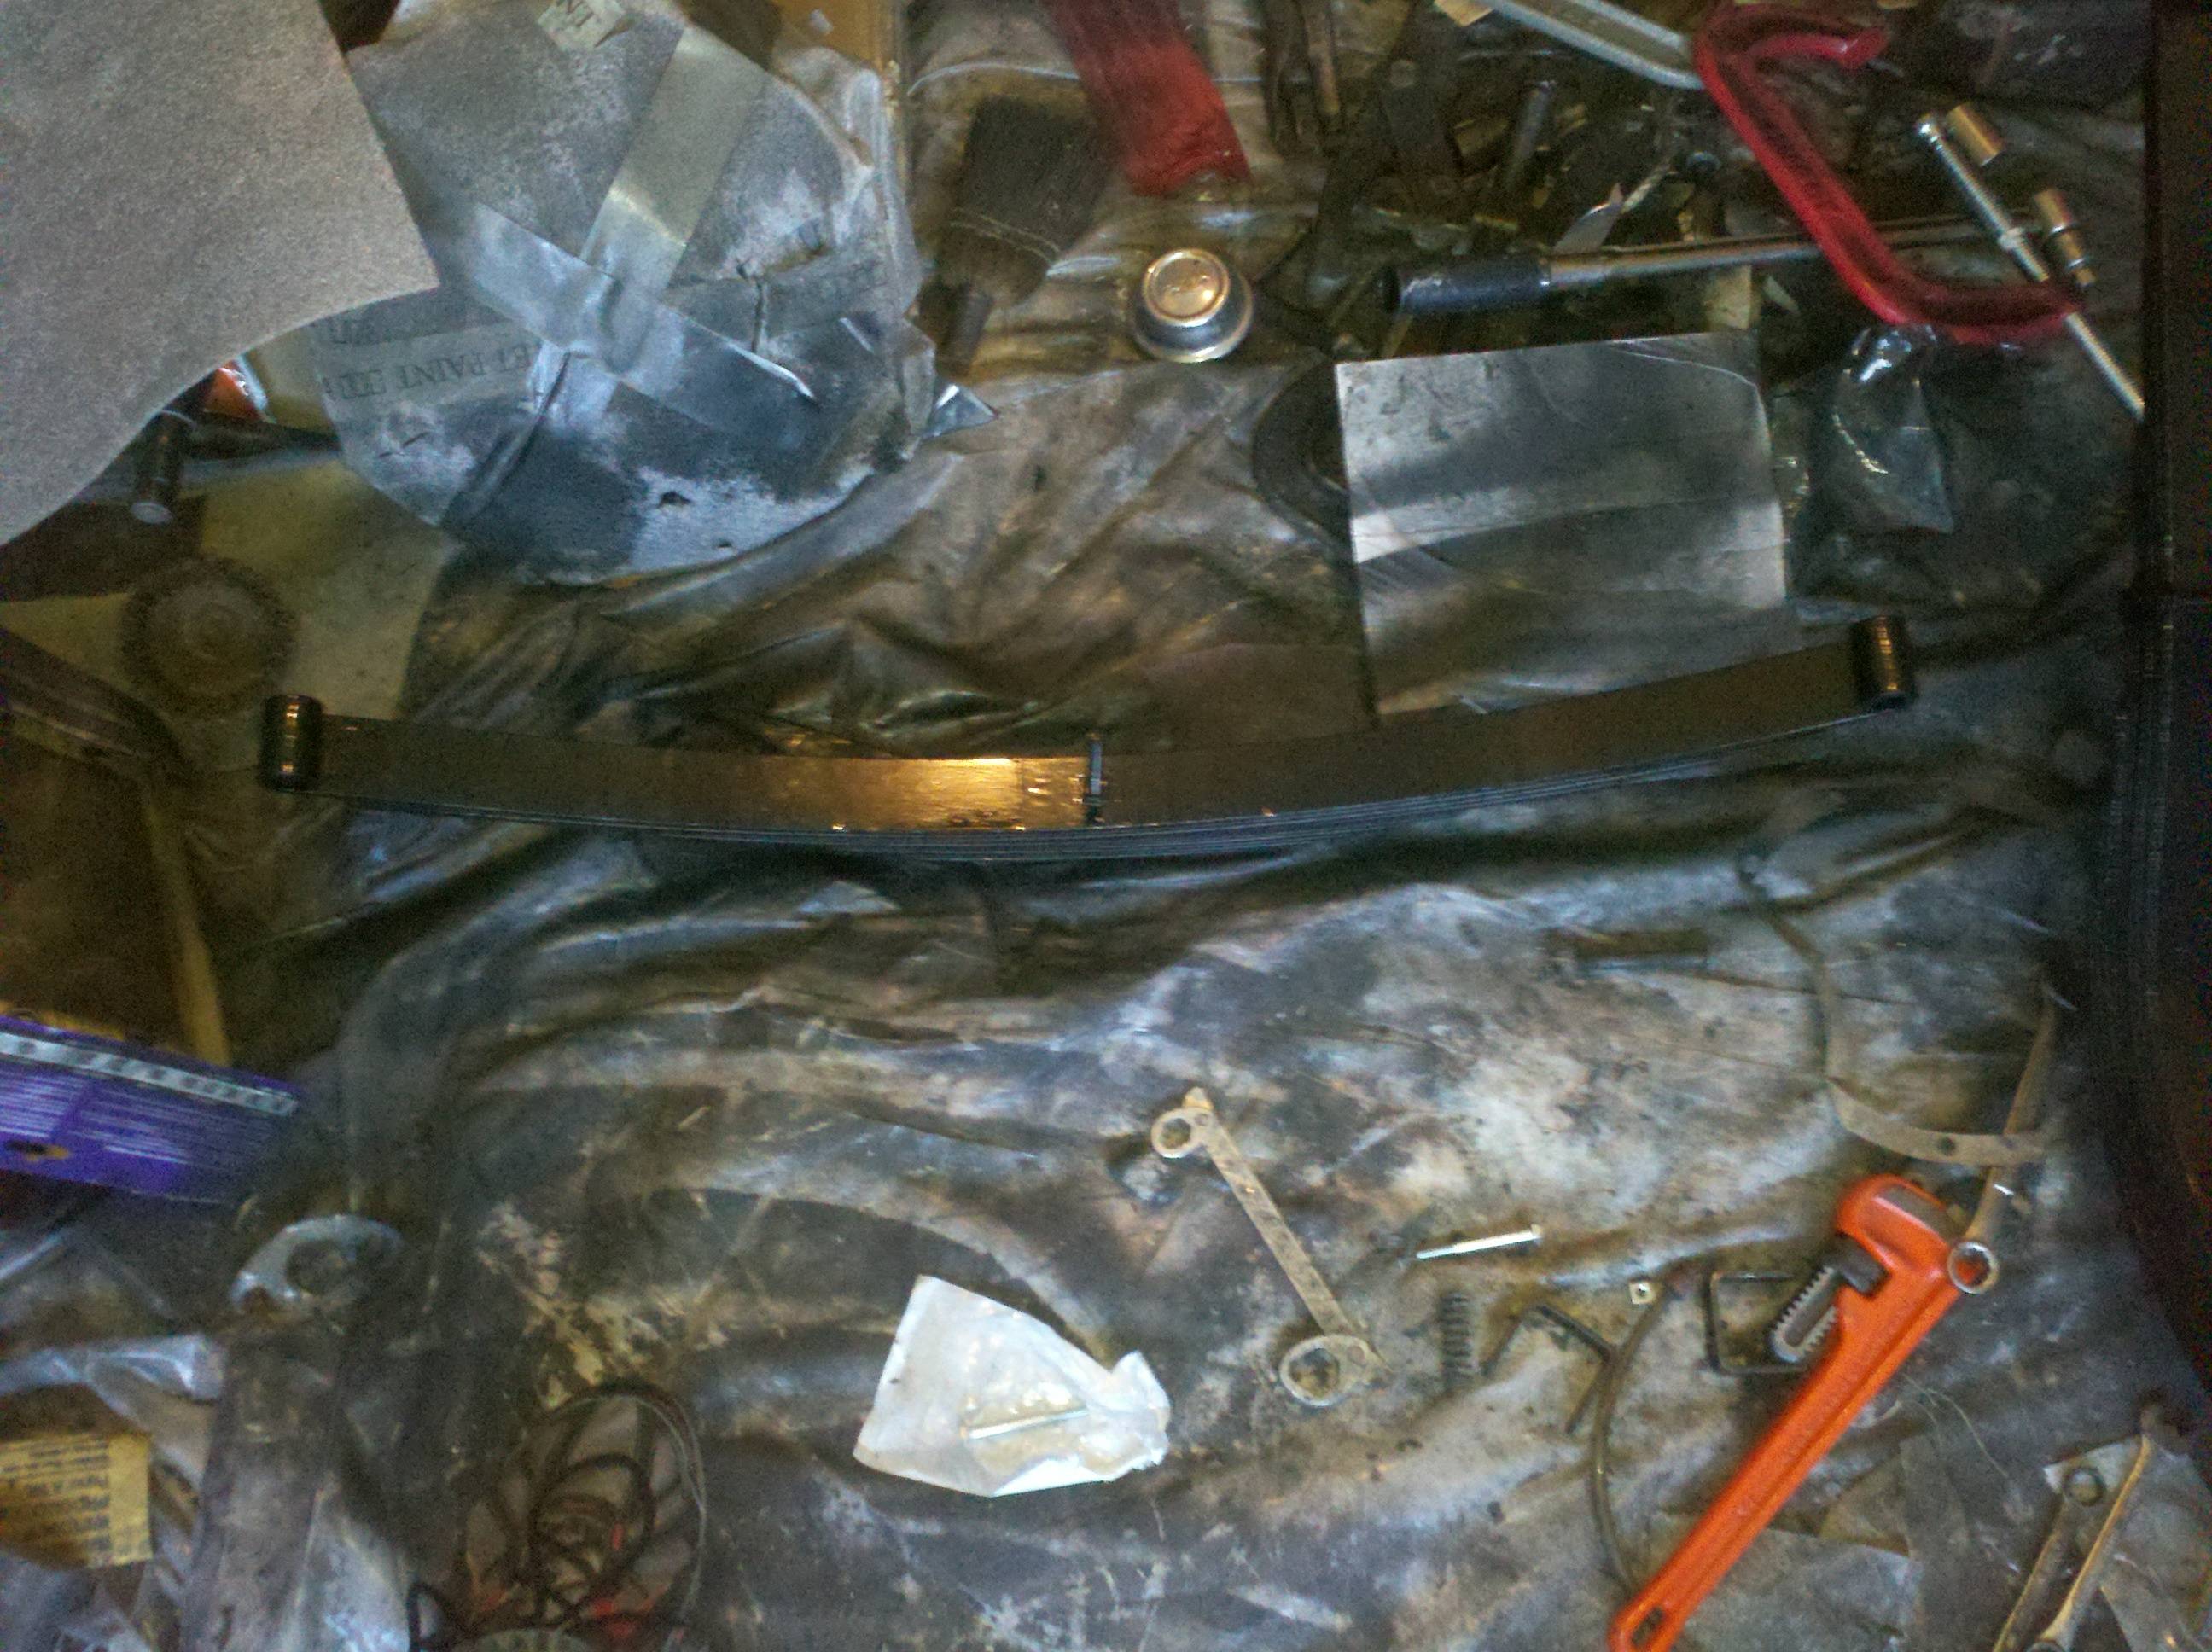
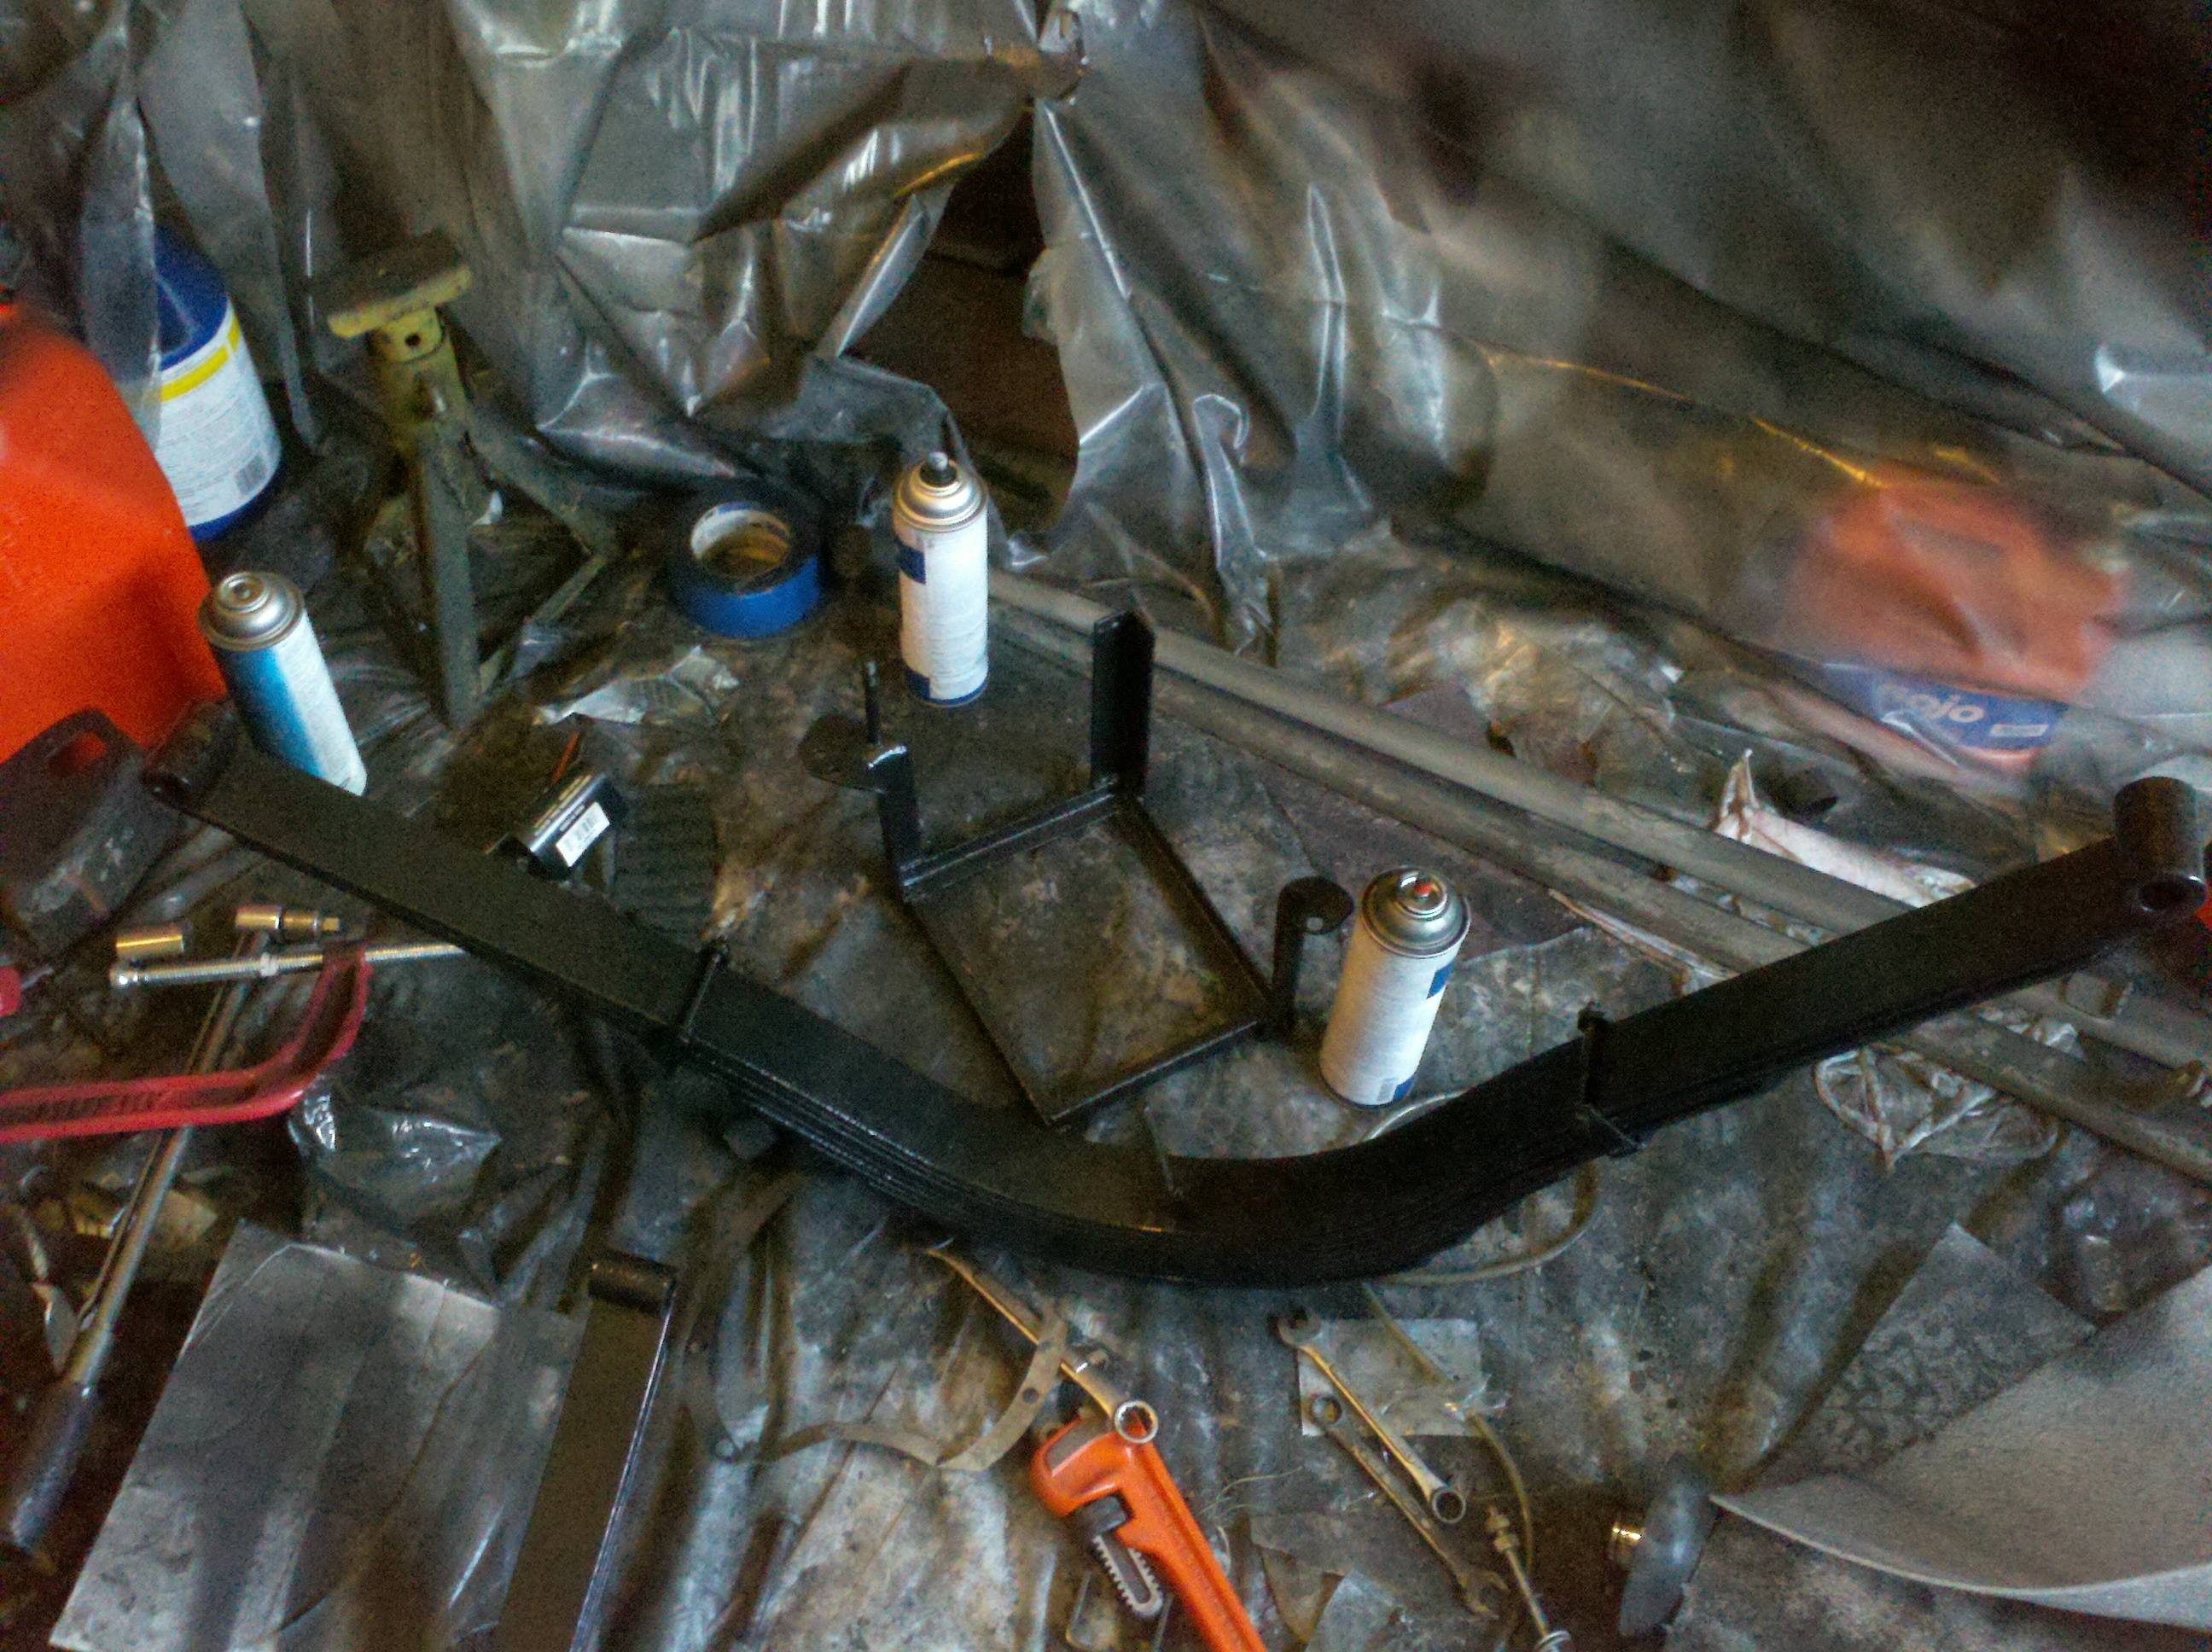
Oh... I also went ahead and painted the battery box. You can see it in the photo of the rear springs, there...
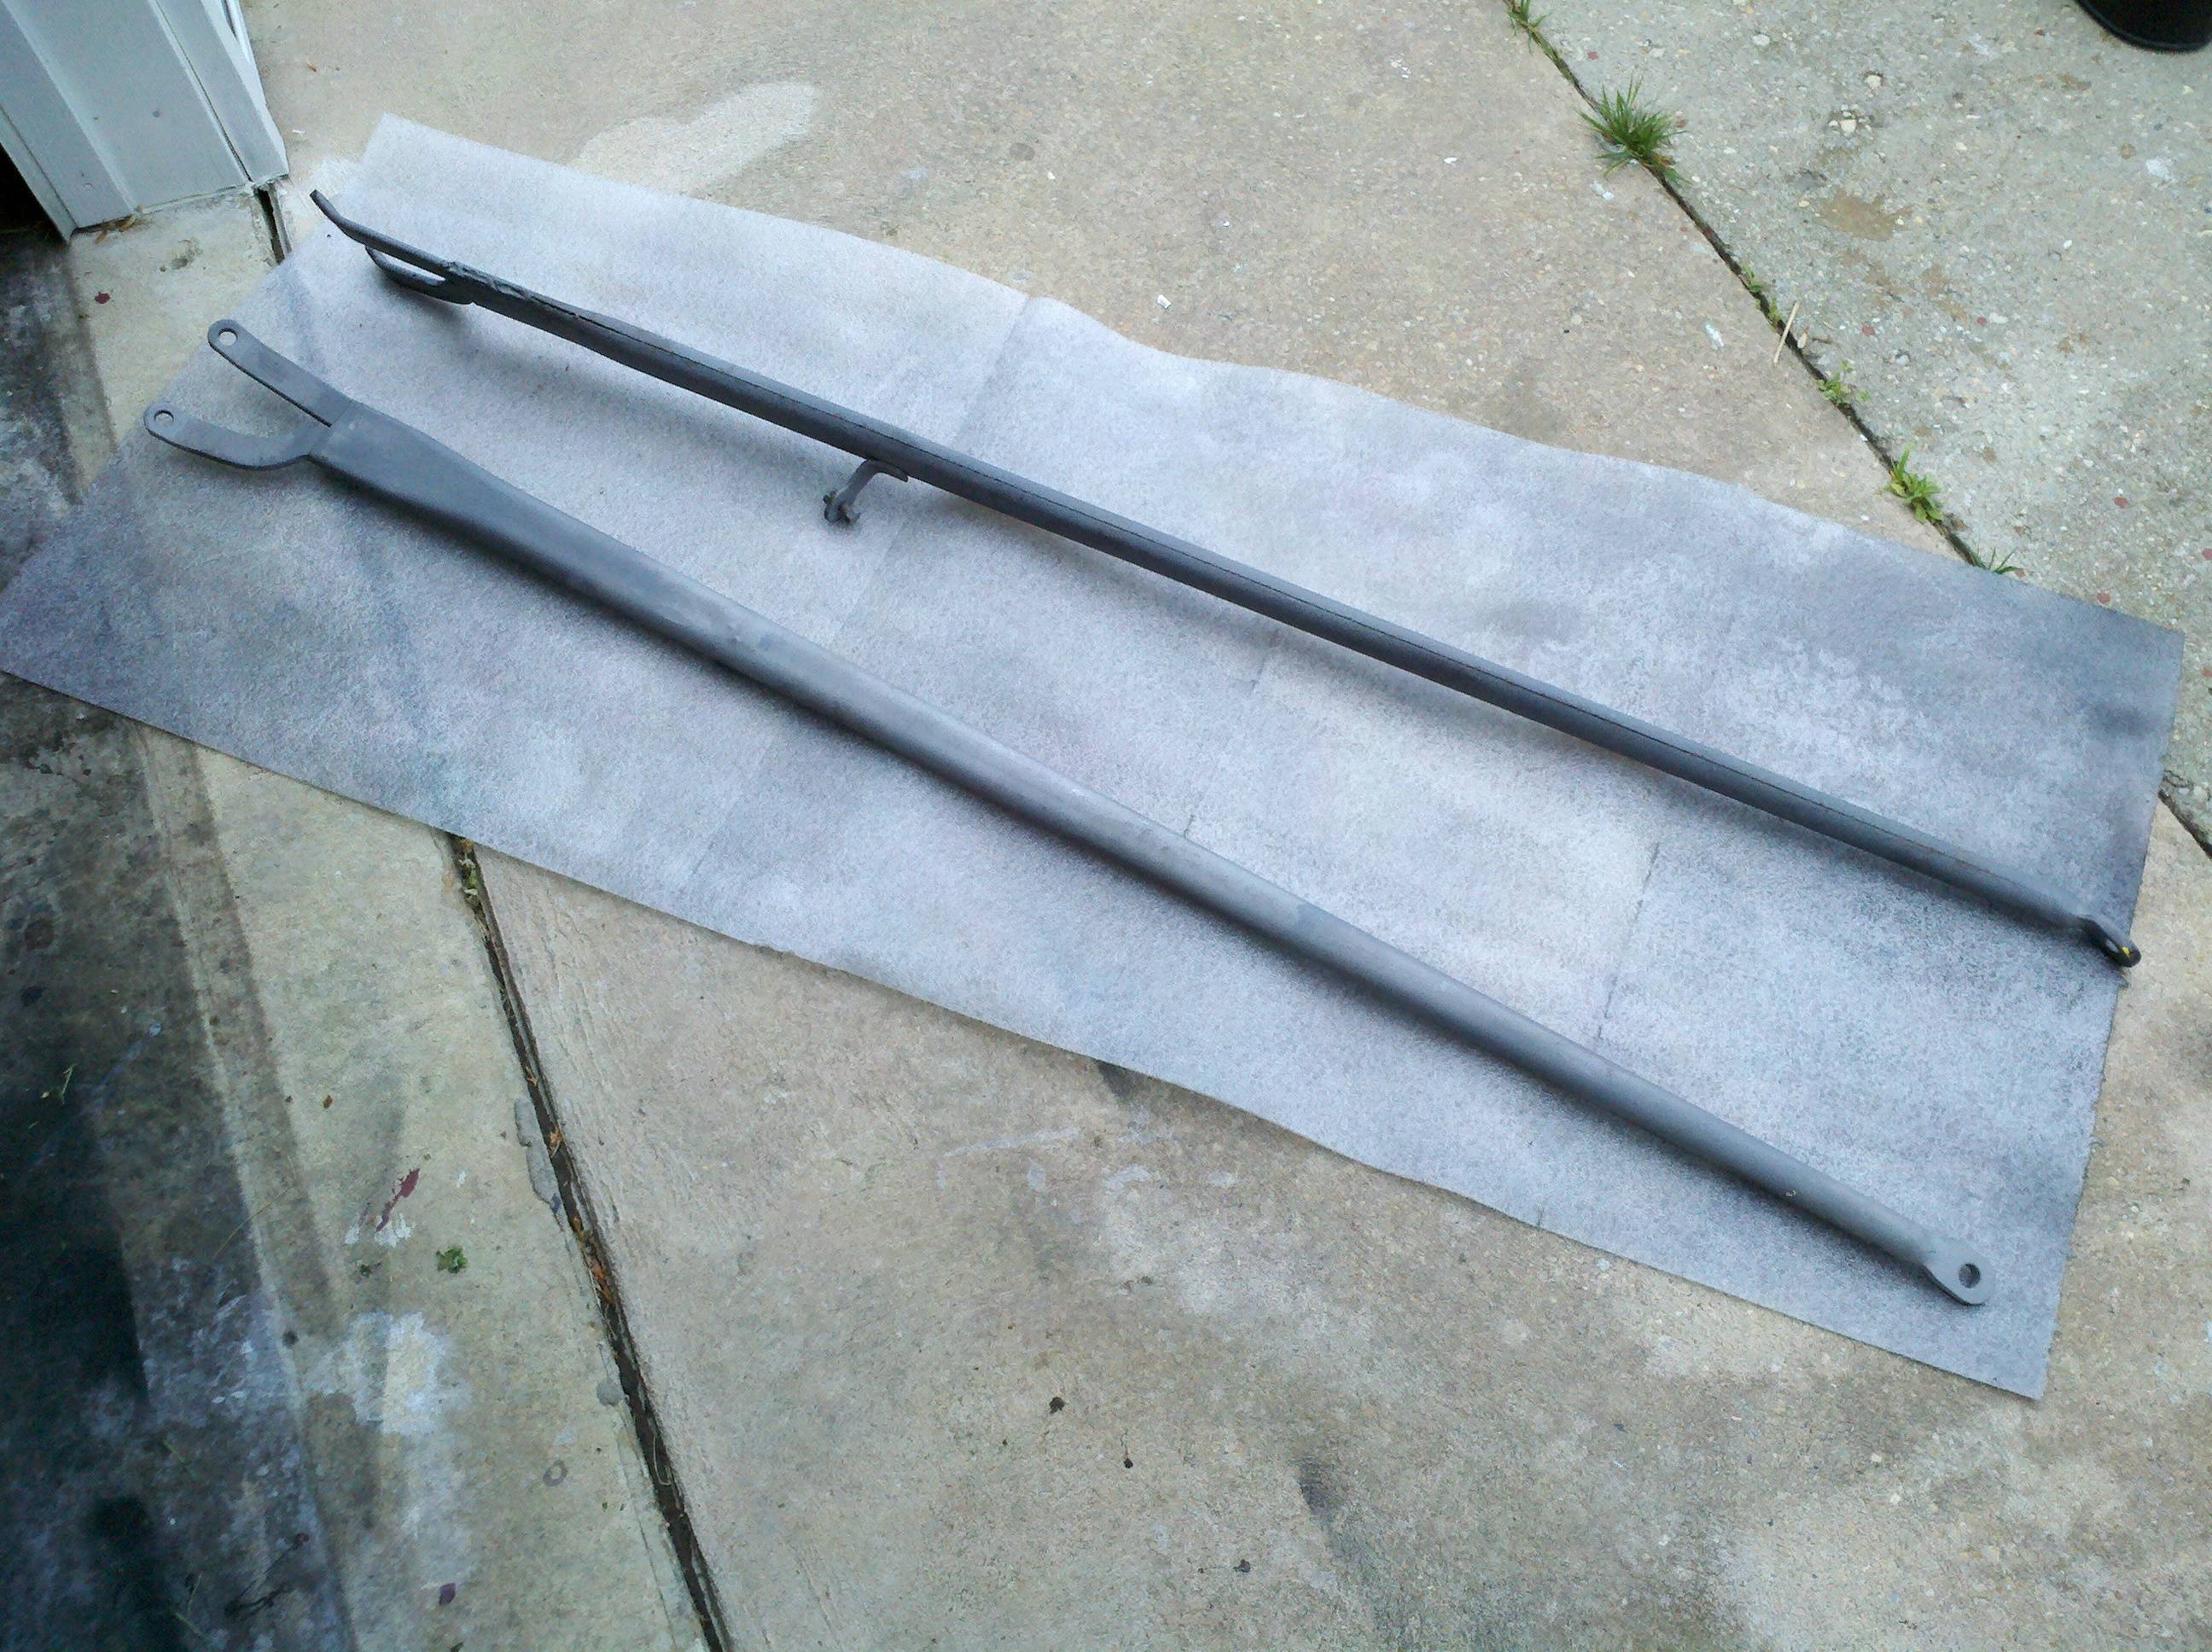
This weekend, I put the shackle bushings in the springs and put some primer on the rear radius rods. I also cut off the centering bolts... Those things're hard! I completely dulled a hacksaw blade on each one!
Installing the bushings was no big deal. Just installed the bushing on the tool, and tapped it in. With the front springs, though, this was a bit of a chore - see, without the clips in place, the leaves wanted to separate. Sorry, no pics of that...
As for the radius rods, they were all coated with overspray from all the other painting I've been doing. This was no big deal, except that they were pretty rough (in texture) from the sand blasting. I just ran a thinner-soaked rag over them to get all the overspray dust off of them. Fortunately, it was all black, so it was pretty easy to tell where I missed.
Today was almost exciting! I finished up painting the backing plates - I had started them the other night, but the temperature suddenly dropped, so I got one side done, but not the other. No biggoe, just had to wait a couple days to finish.

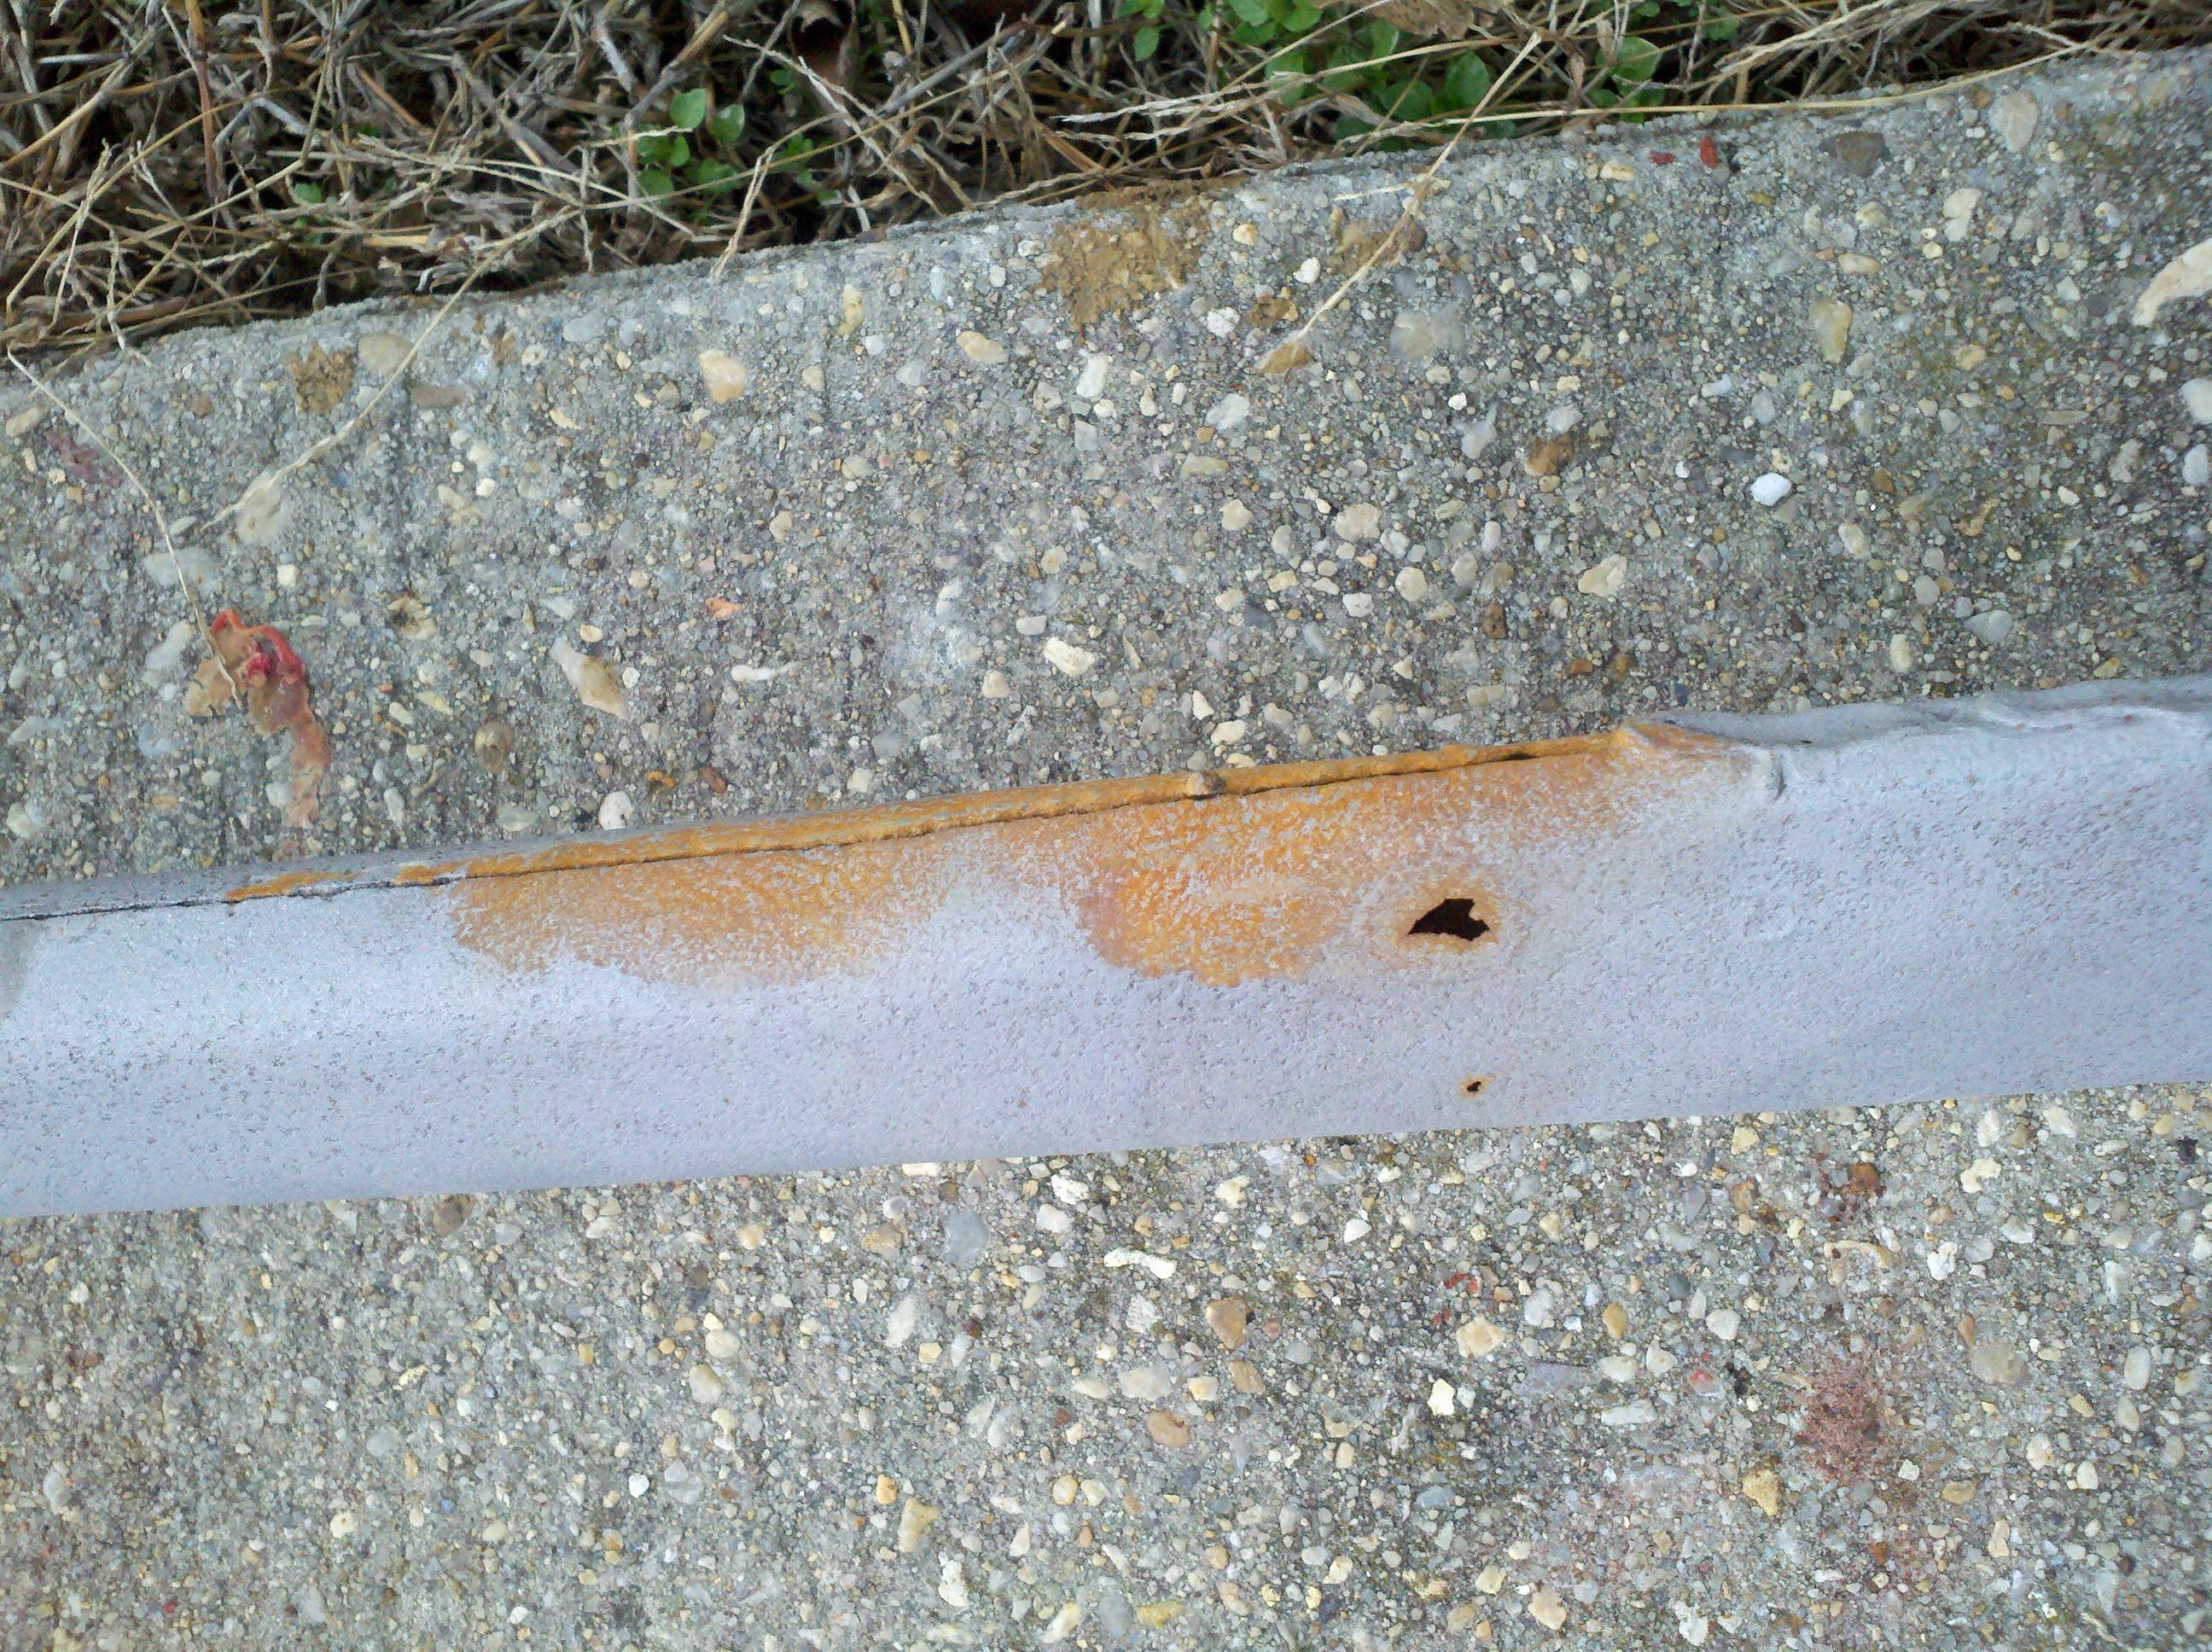
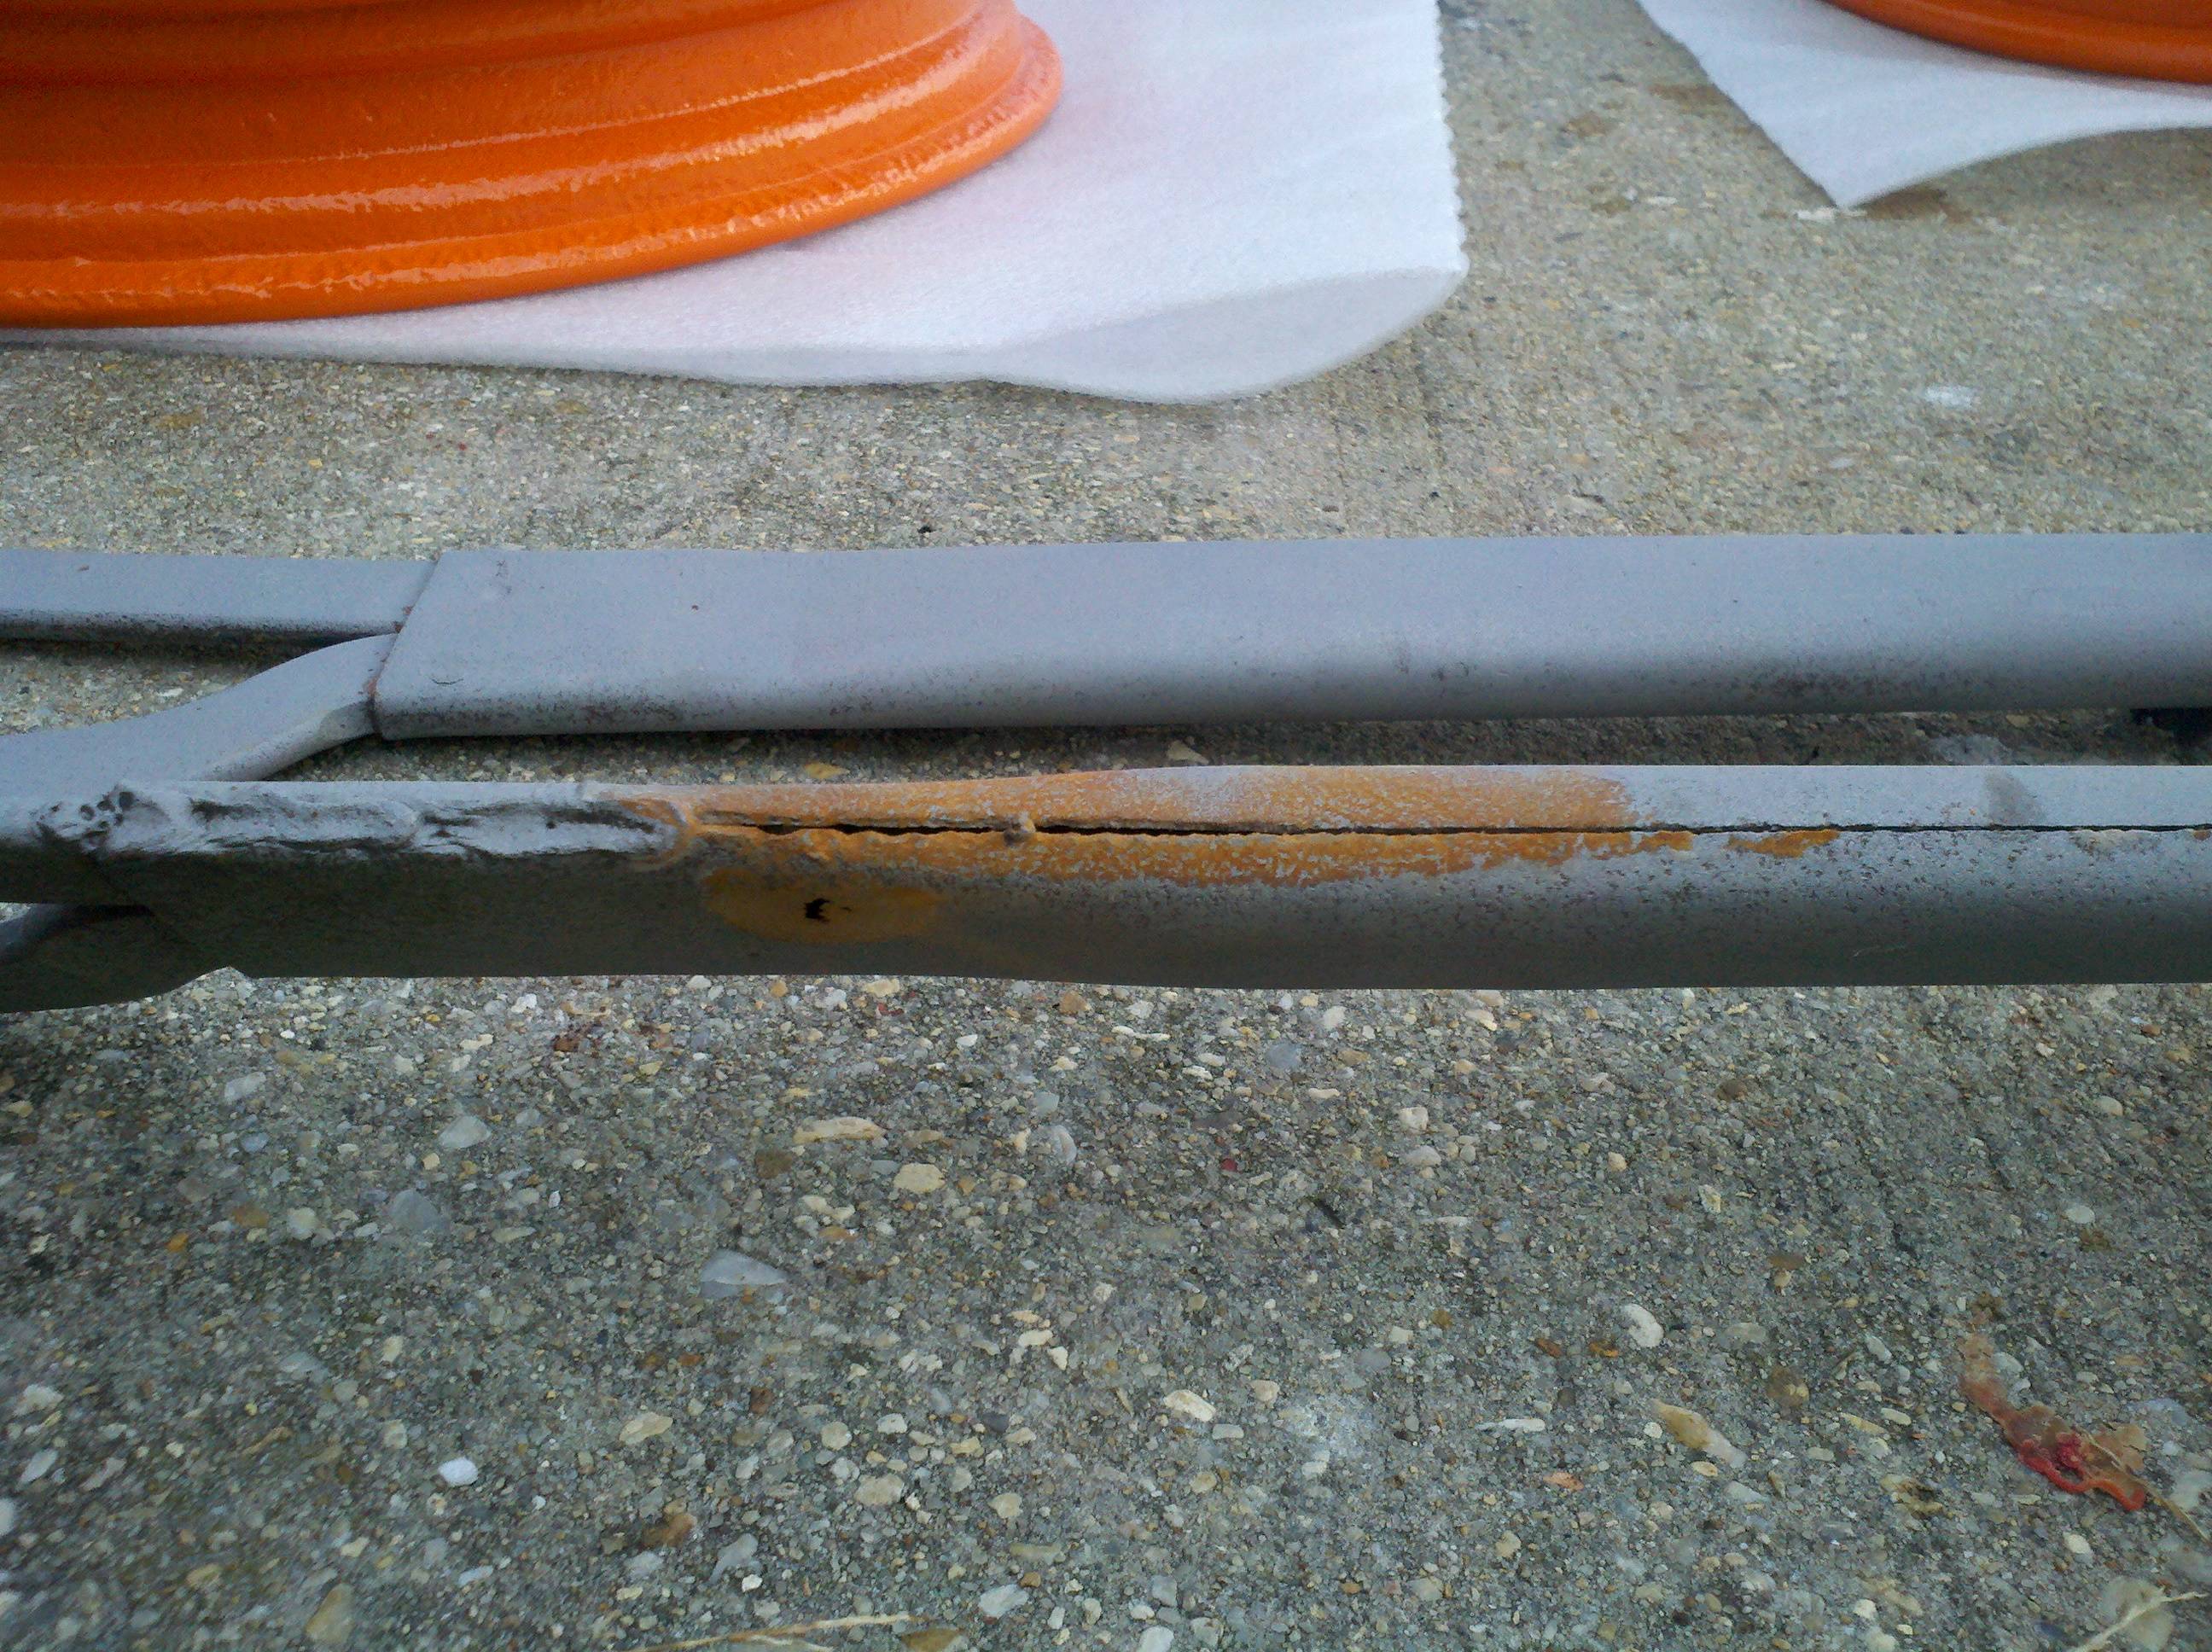
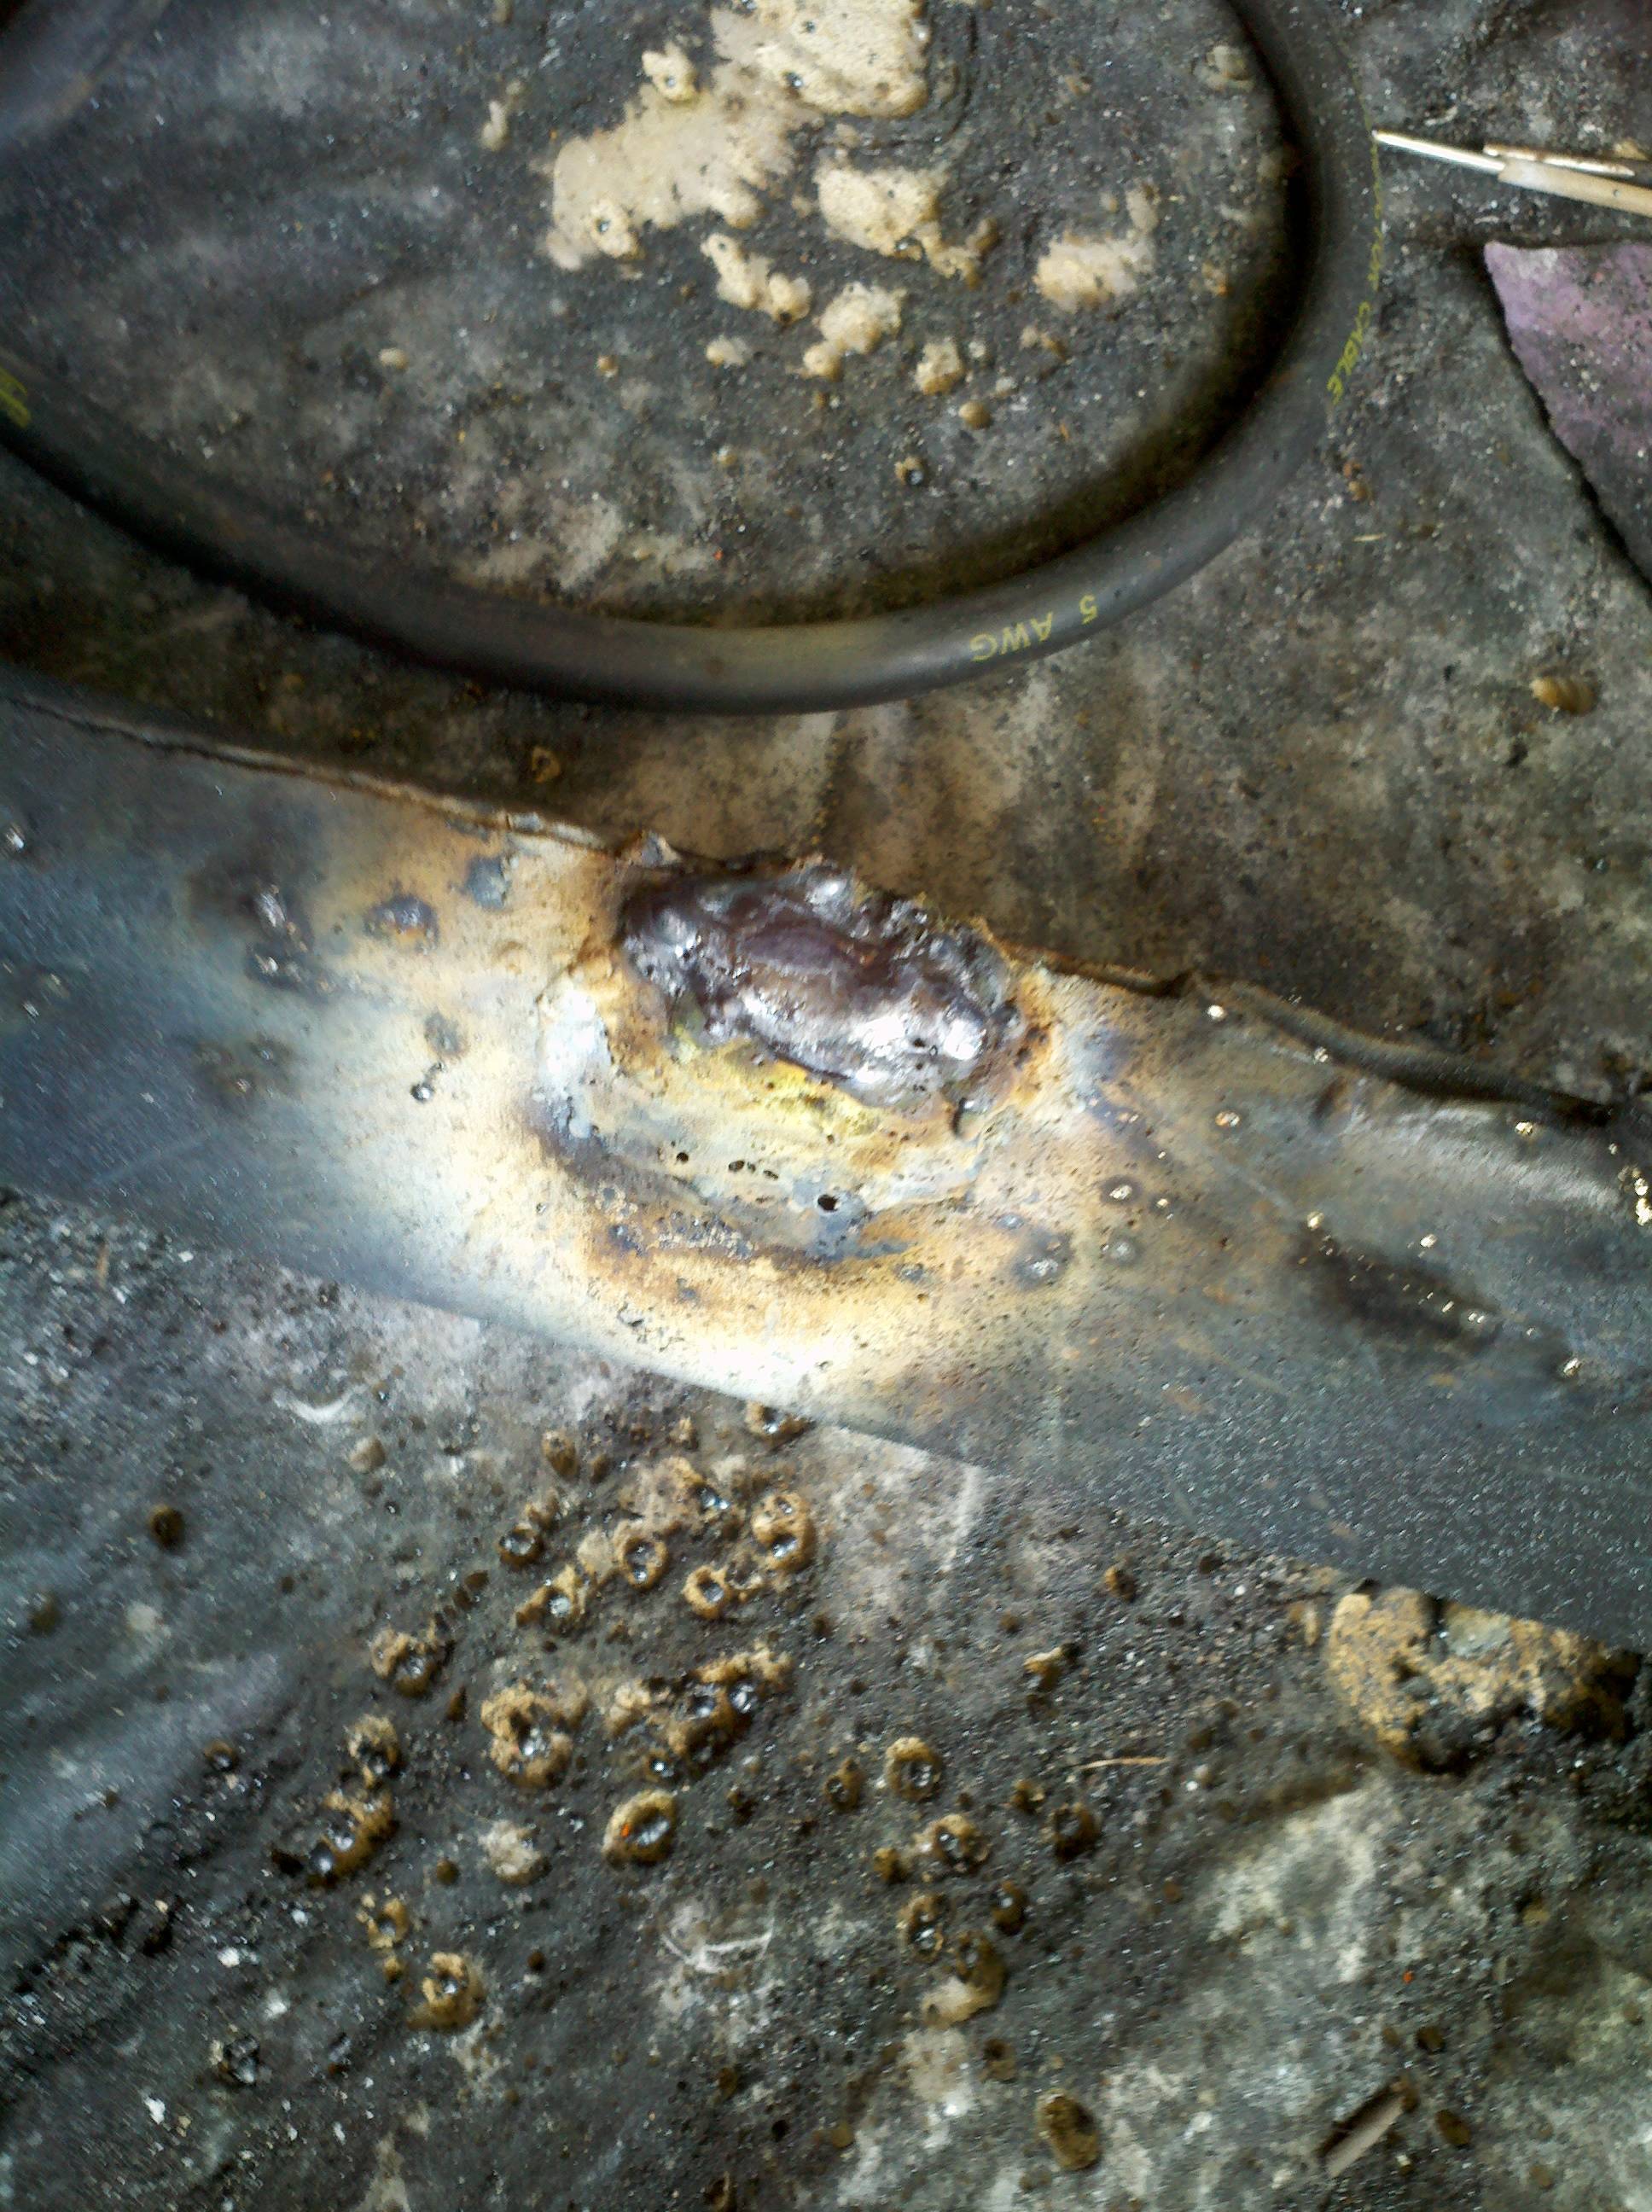
Now for the exciting part - I convinced myself to go ahead and do a "fill weld" on those holes in the rear radius arm. Here's a pic from when I got them back in December:
So, the first thing I should tell you is that I am not a professional welder... Heck, I'm not even "accomplished." I can count the number of times of done any welding at all if I take my shoes off and pull my pants down (think about it)...
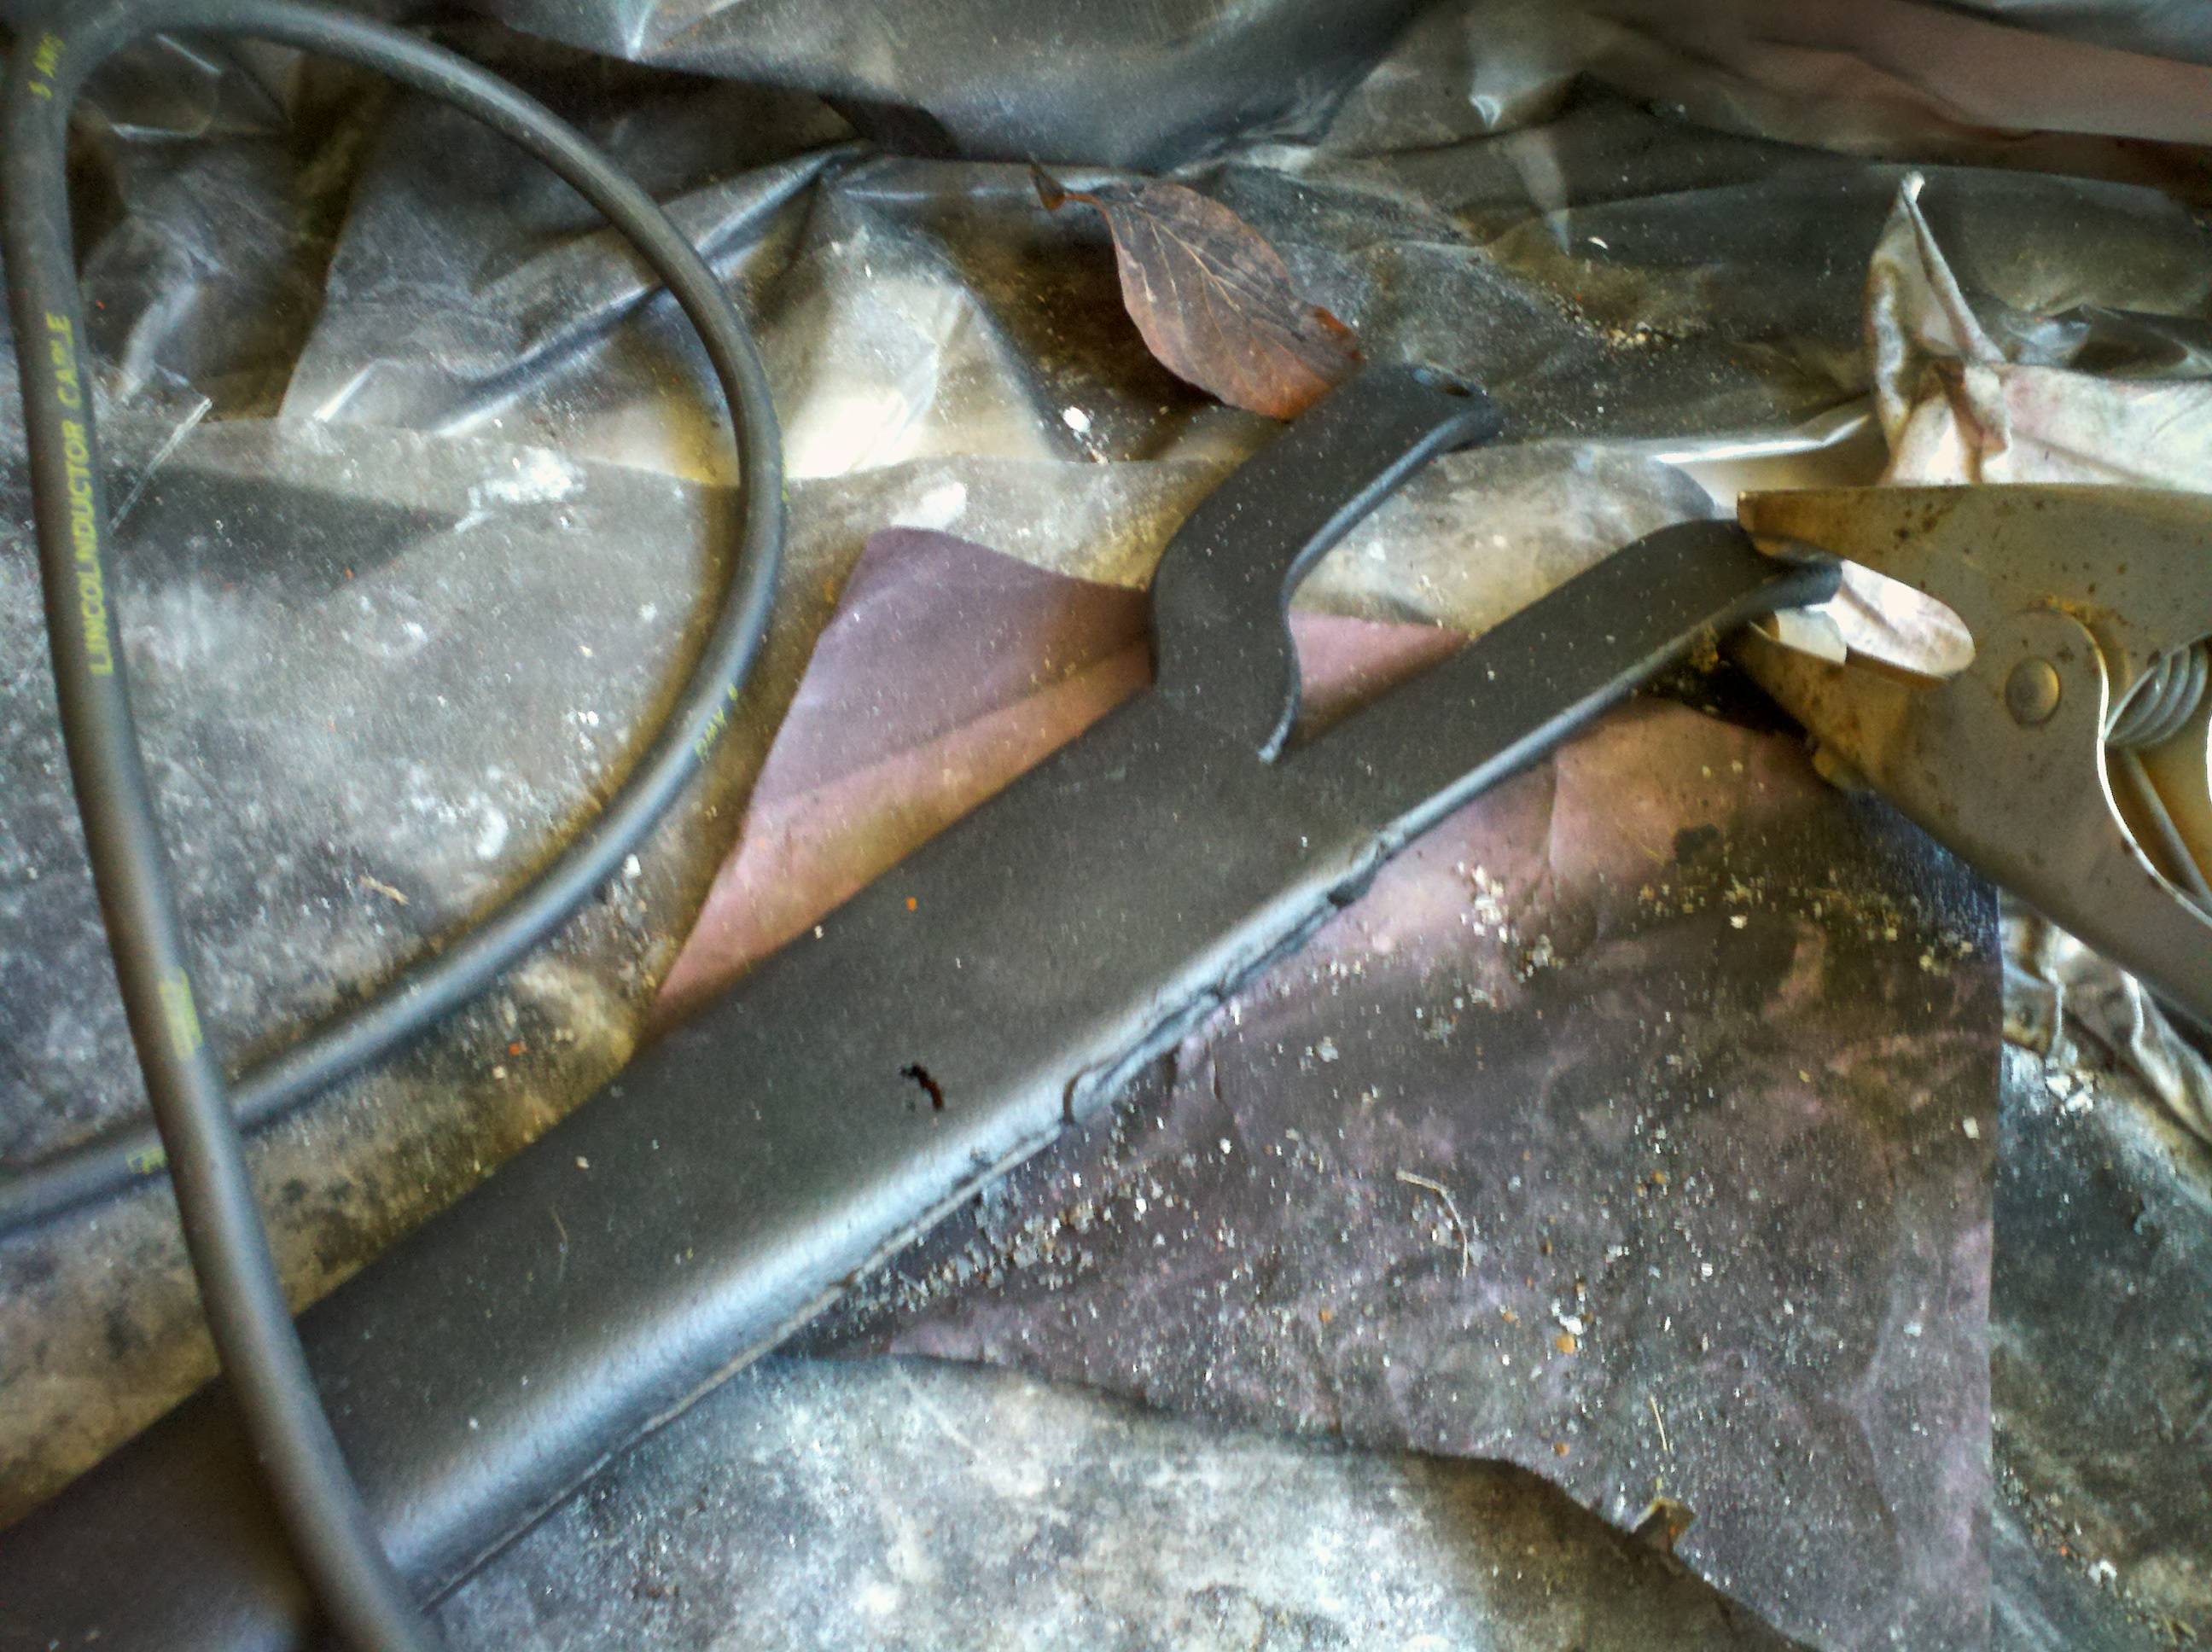
So, I dragged out the ground clamp and "stinger" for my stick welder, and then started looking for some sticks. I didn't find the ones I was looking for (somewhere I have some fairly small ones for "precision" work), but I finally found some I thought would do.
And I went at it. And I started getting really worried...
See, once I managed to strike an arc (about 300 times), the hole grew to about the size of a nickel. Partly it was because the metal was badly eaten (from the inside), and partly because I am no good at this sort of thing (and had the current set one notch too high, I think). And yeah - that fill weld looks pretty awful. I built it up a little higher than necessary, though, so I would have plenty of material when I grind it back...

It was the outpbaord side that got me really excited, though... I set the current on the machine down to 40 Amps (barely enough to keep an arc going - for me, anyway), and went to work. Before I knew it, the plasma had cut a hole that was big enough I could easily drop in a 50 cent piece, and maybe a silver dollar!
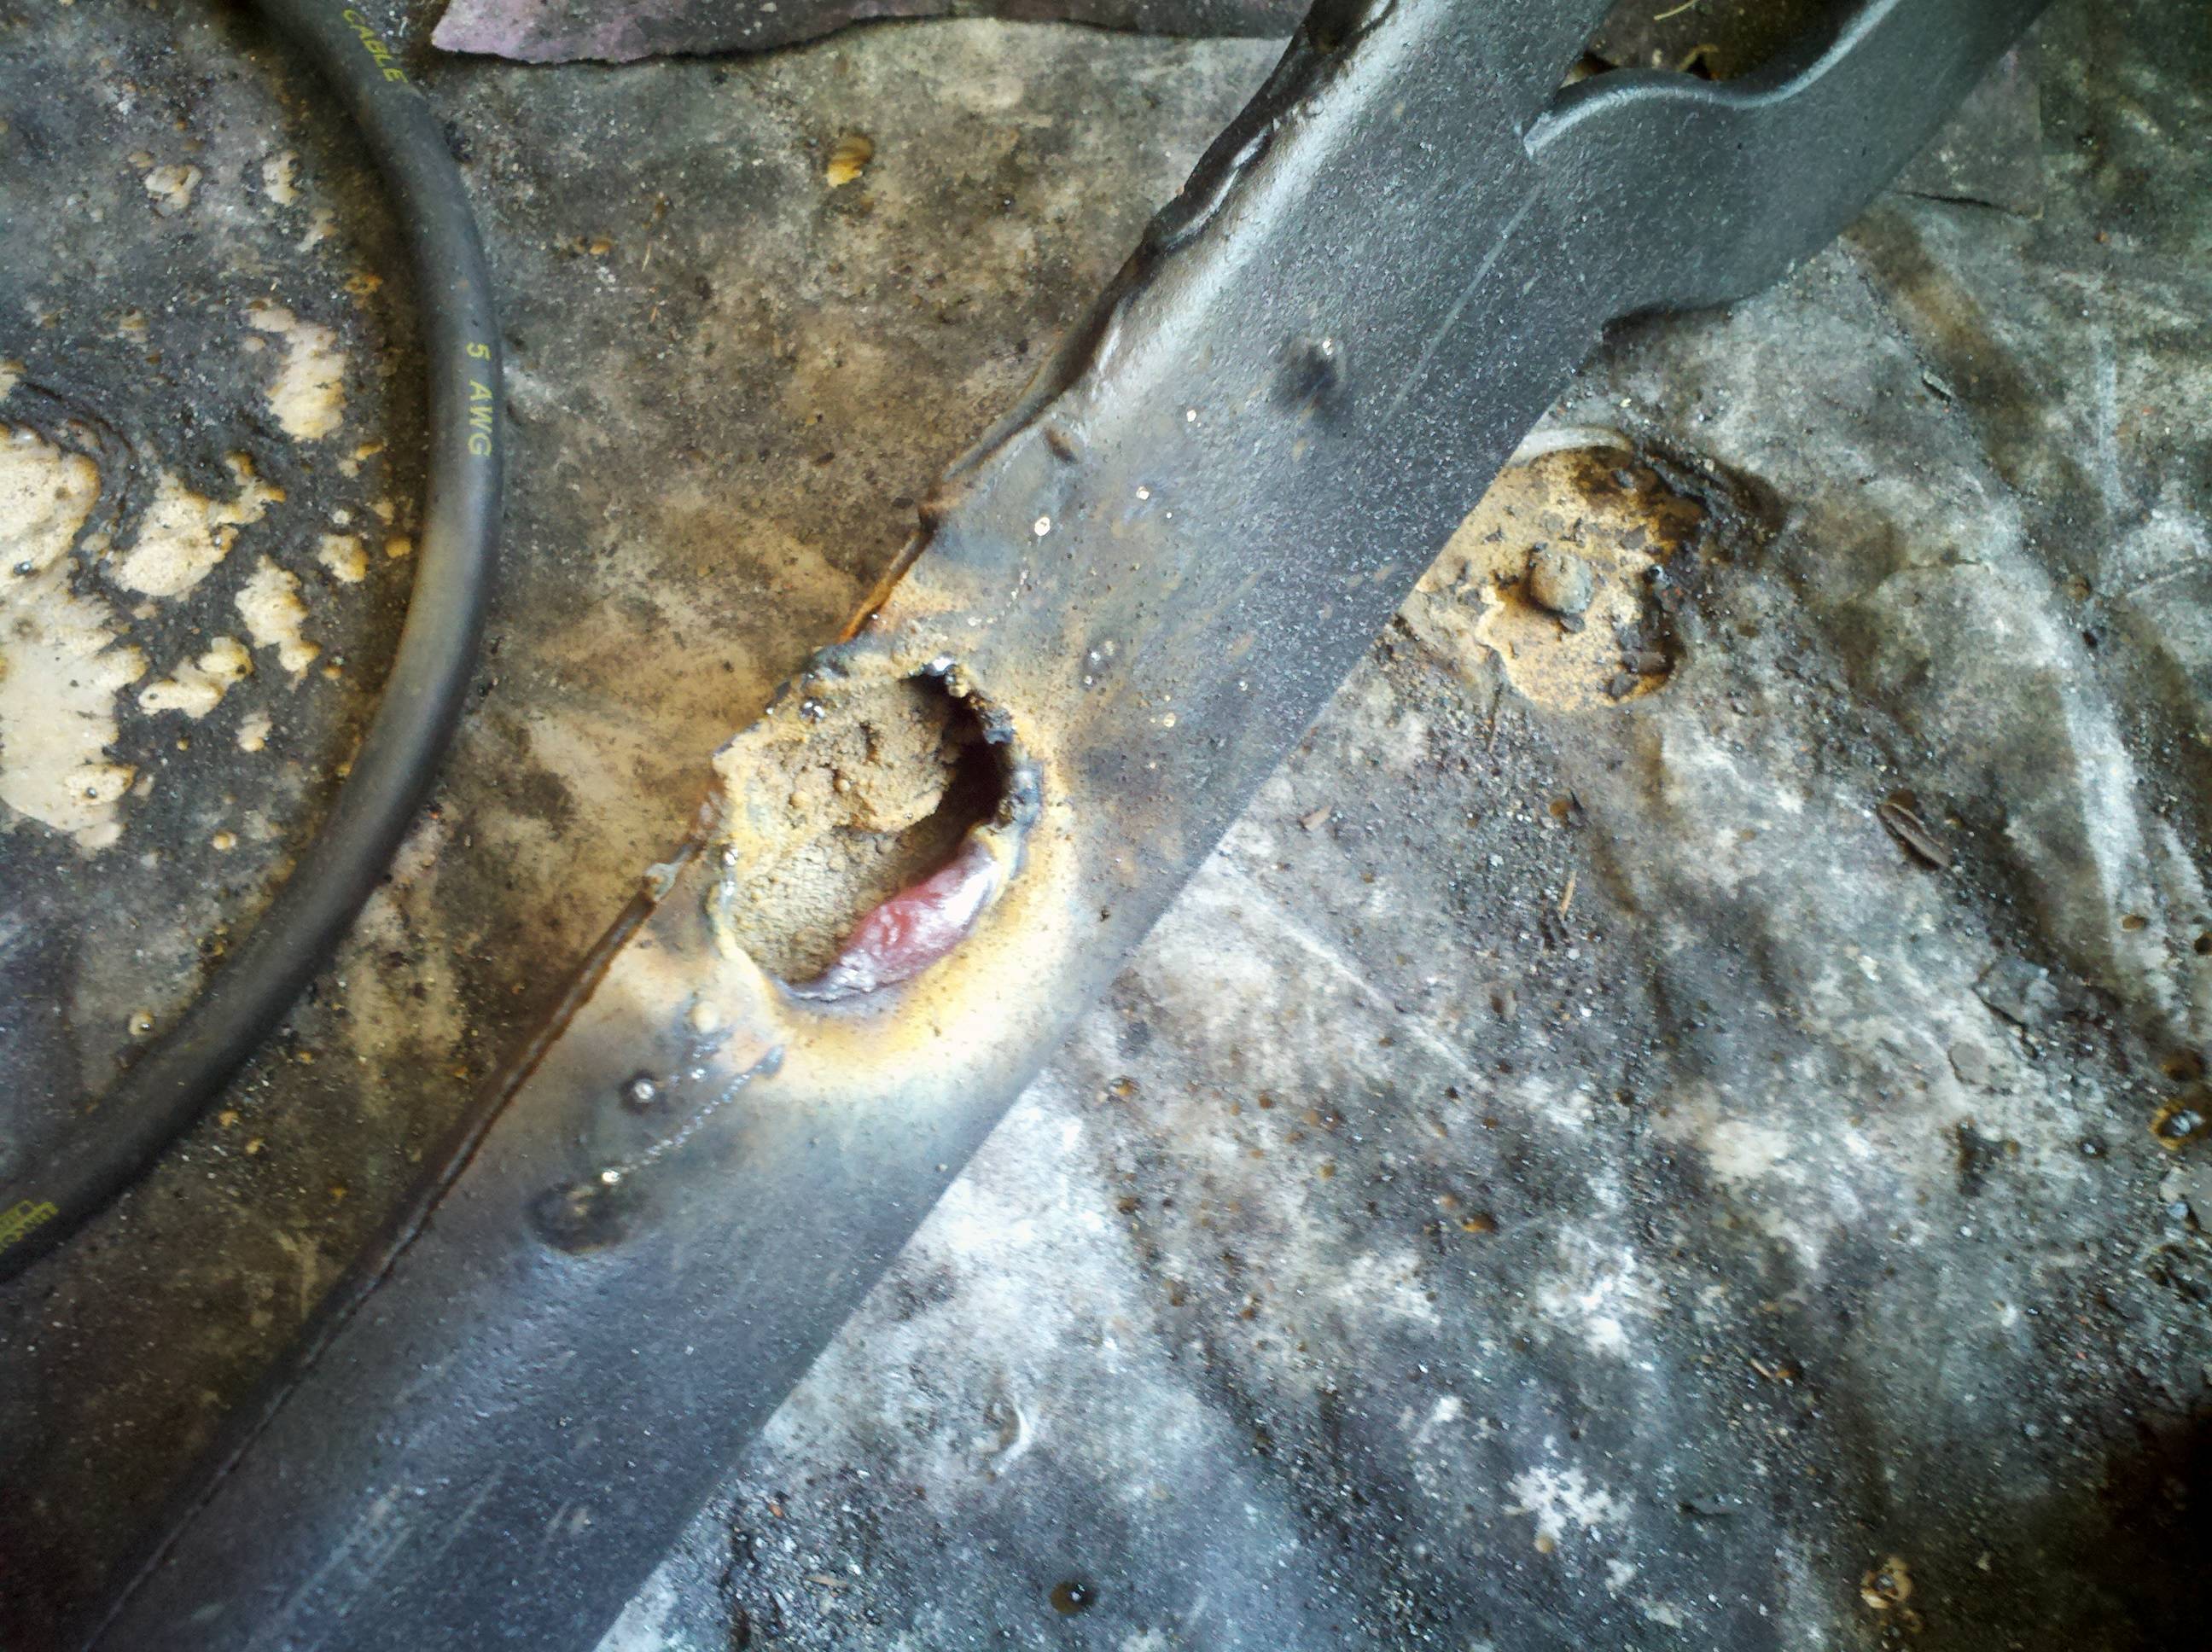
I nearly gave up at this point - I was worried about how much material was being eroded away, and how badly I was screwing up... But, I bravely (stupidly?) went on, and finally I got to the point where I was putting in more metal than I was losing (whew!) ... Oh, and this is the first time I got to use my auto-dimming mask, too!

I took off and fixed the kids lunch, and the day was warming up nicely. The littlestg girl and I took a short nap, (she was watching the welding through my dad's old mask). When she got up, we took the radius rod back to the shed where I stuck it in the vice and ground it back down. All in all, it looks pretty good!
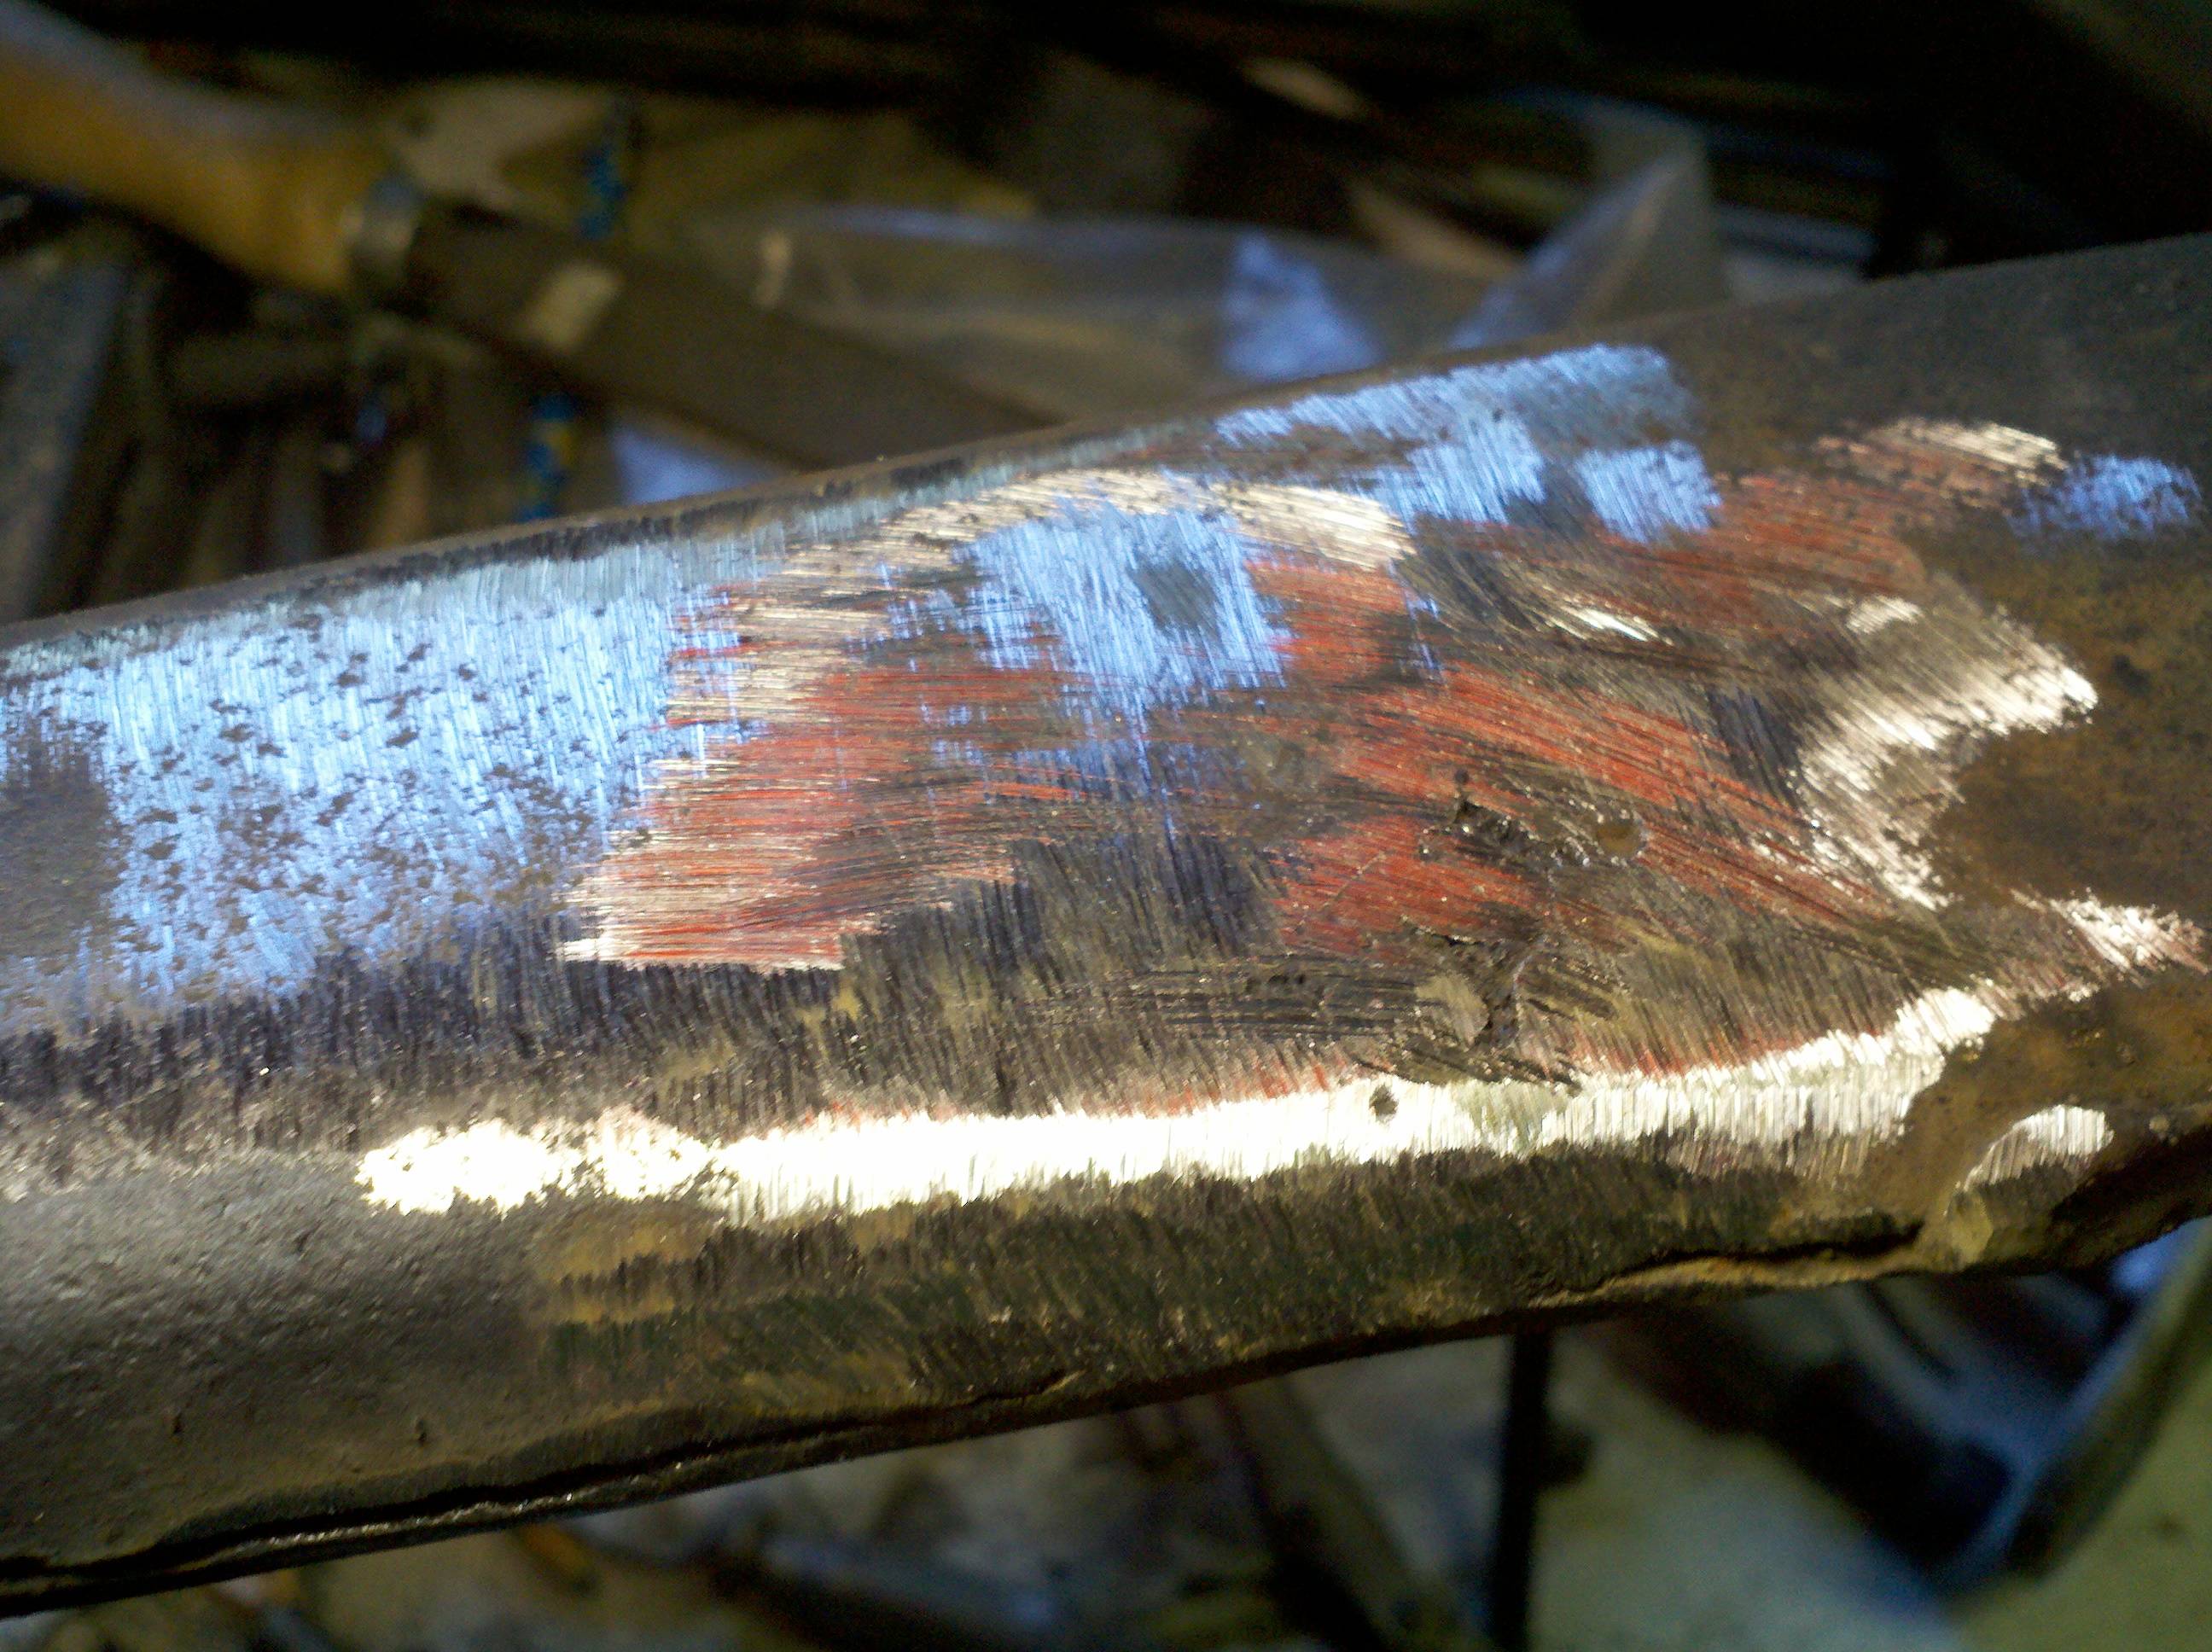
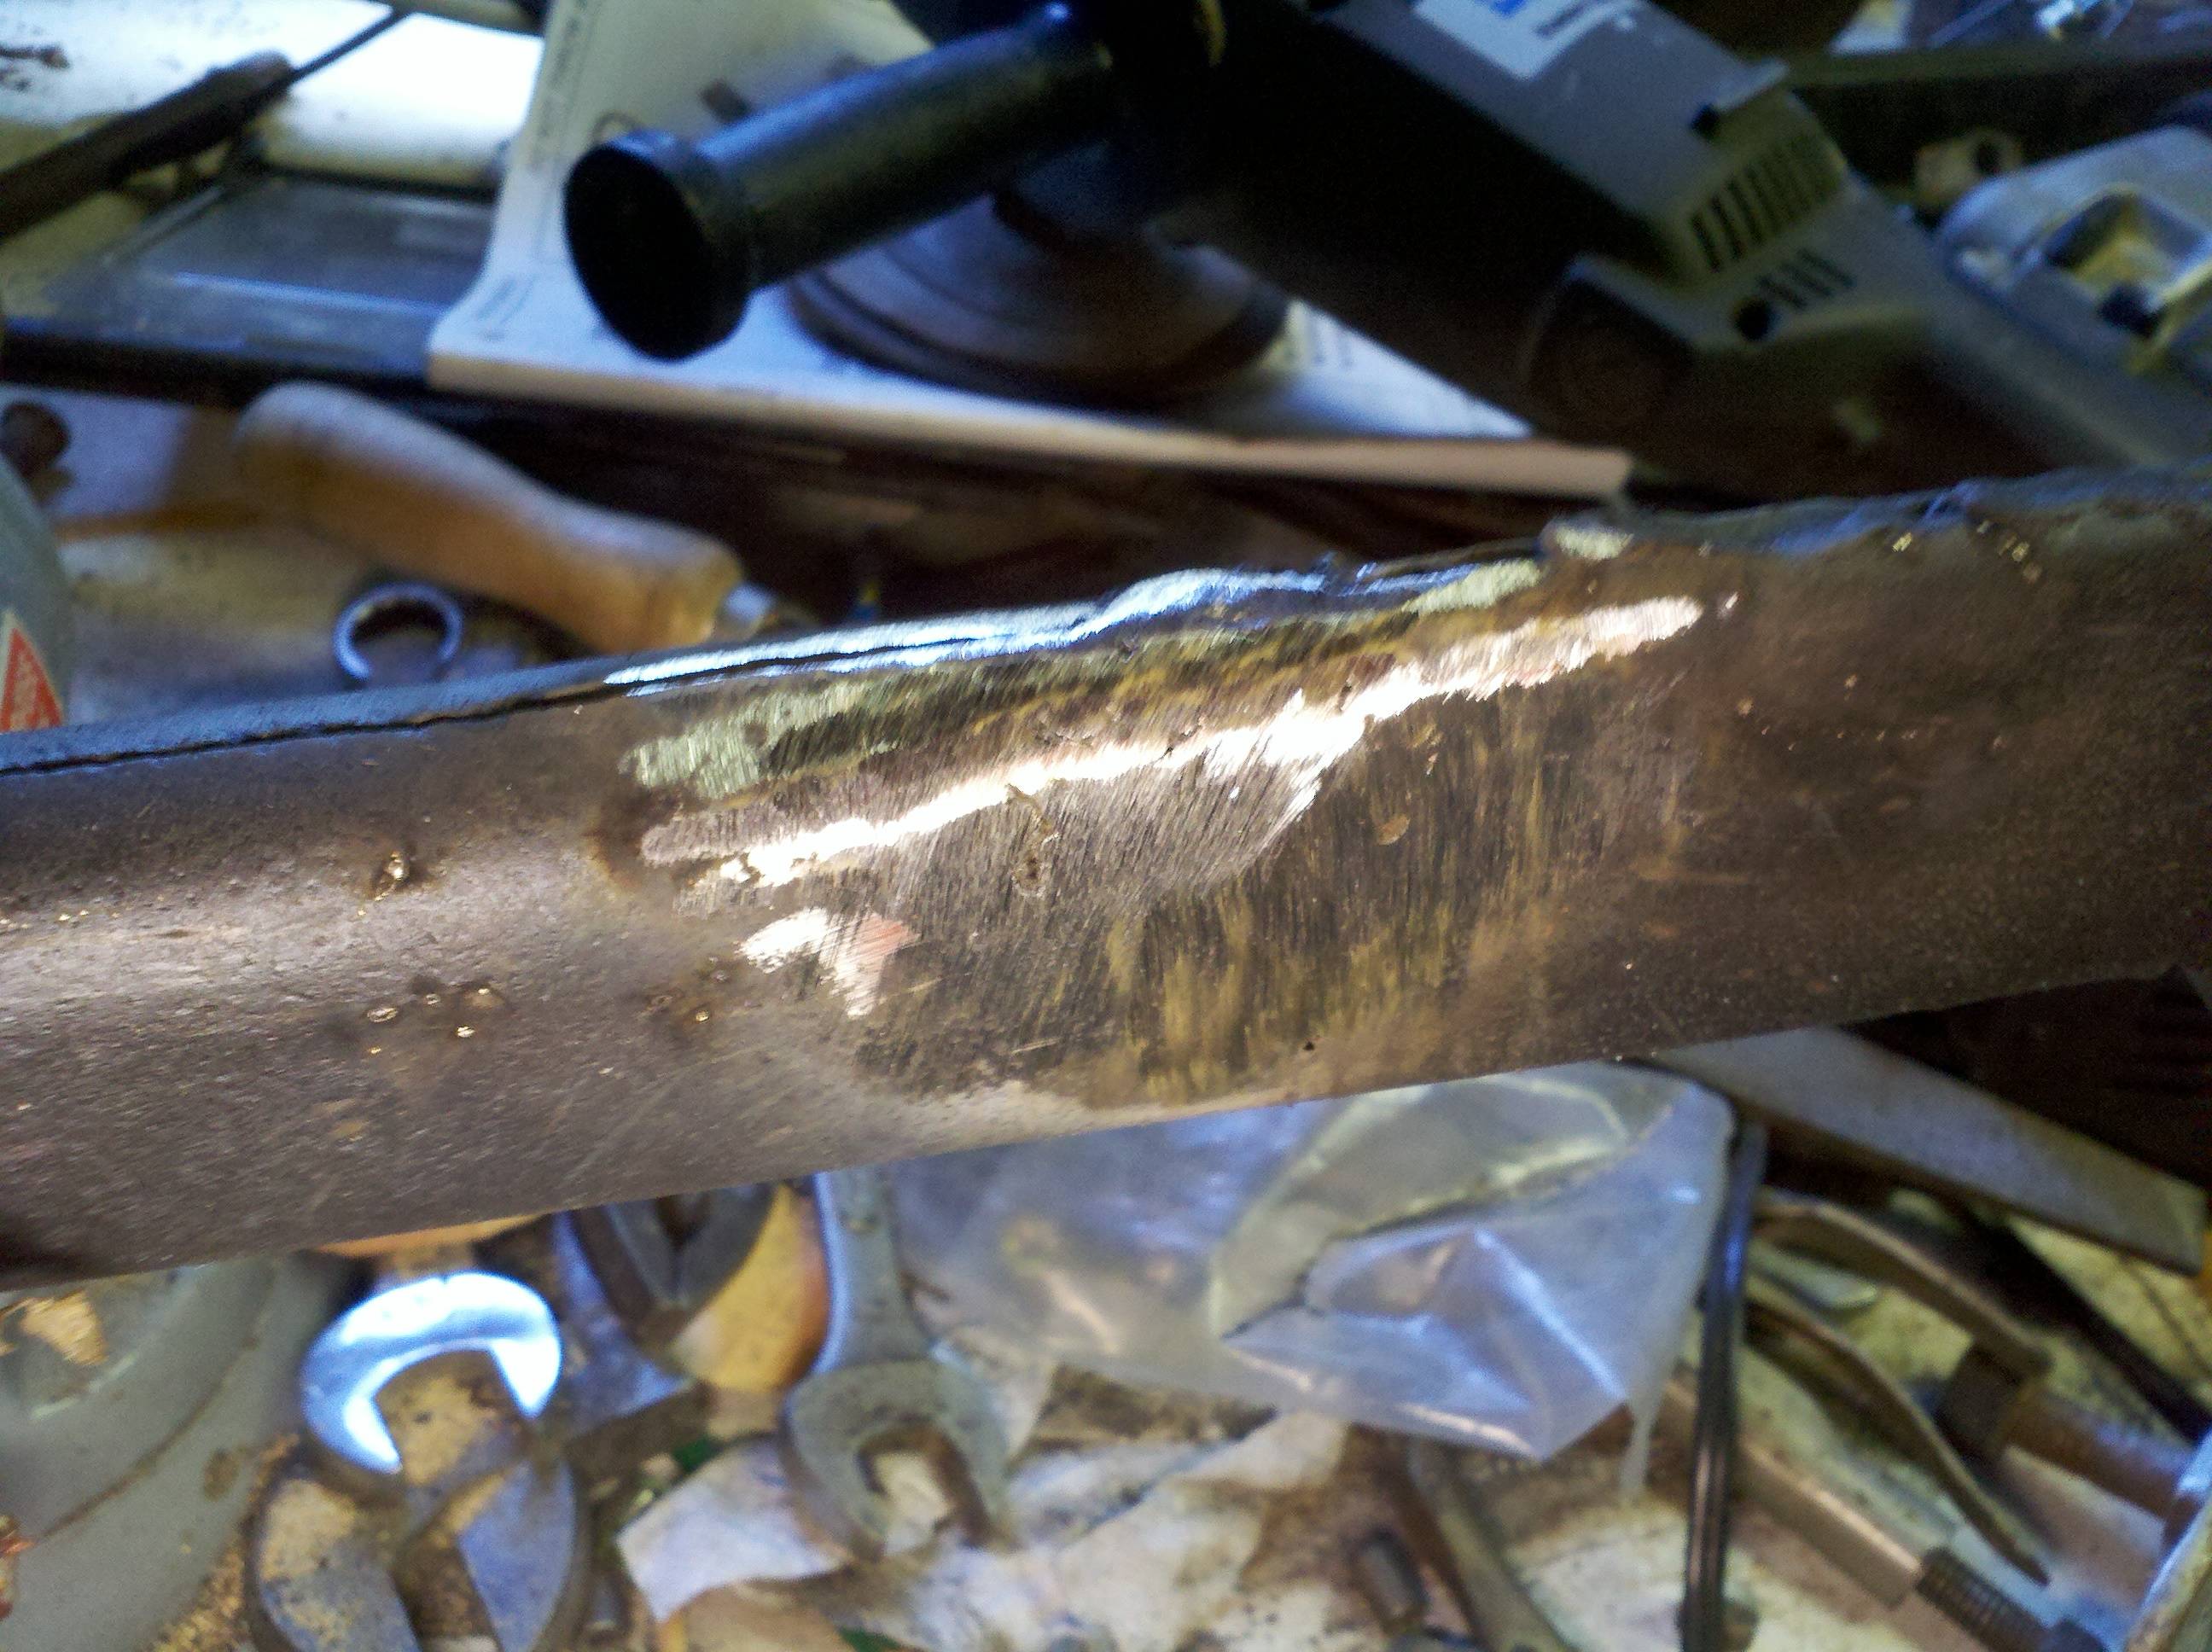
I then took the rod back around to the garage and shot some primer over the bare metal. Maybe this week I'll get the chance to hit the radius rods with some Chassis Black, and then I can go get all my stuff to reassemble the suspension...
Last modified on 10/30/13