

This morning, I went out with the kids and bought a new set of calipers from Home Depot. They're not the best set I've ever seen, but they're likely about the best I'm gonna get for about $30.
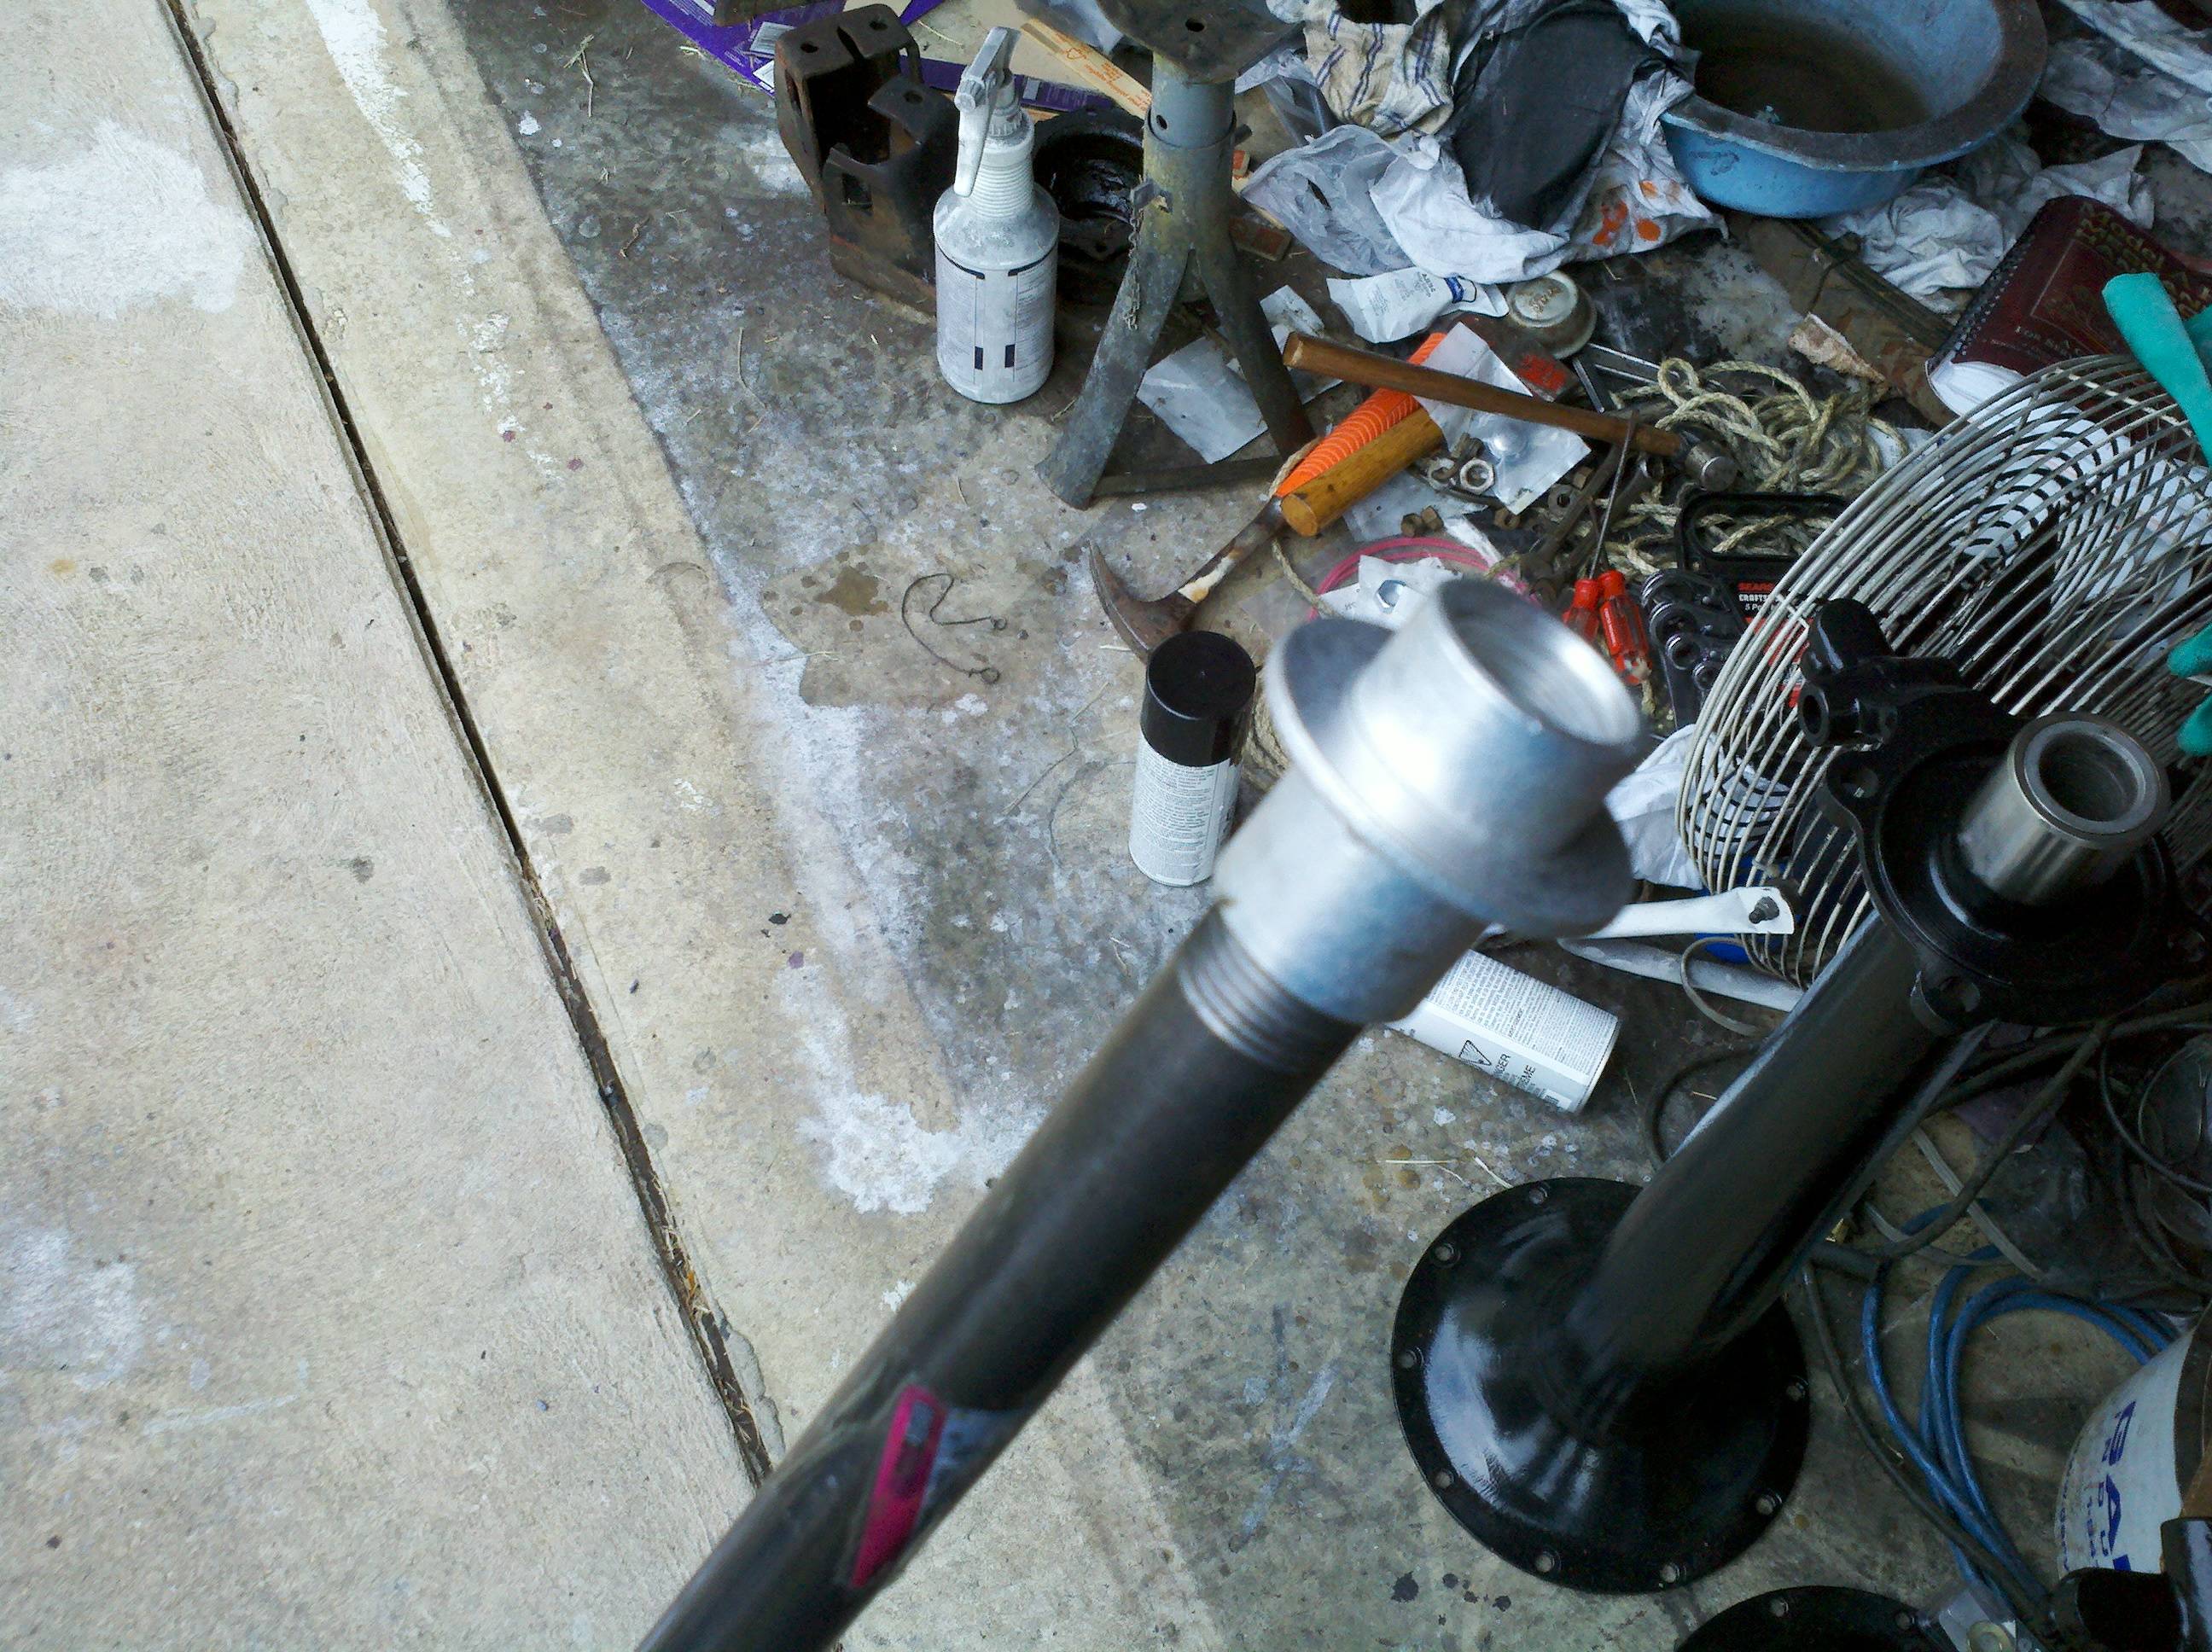
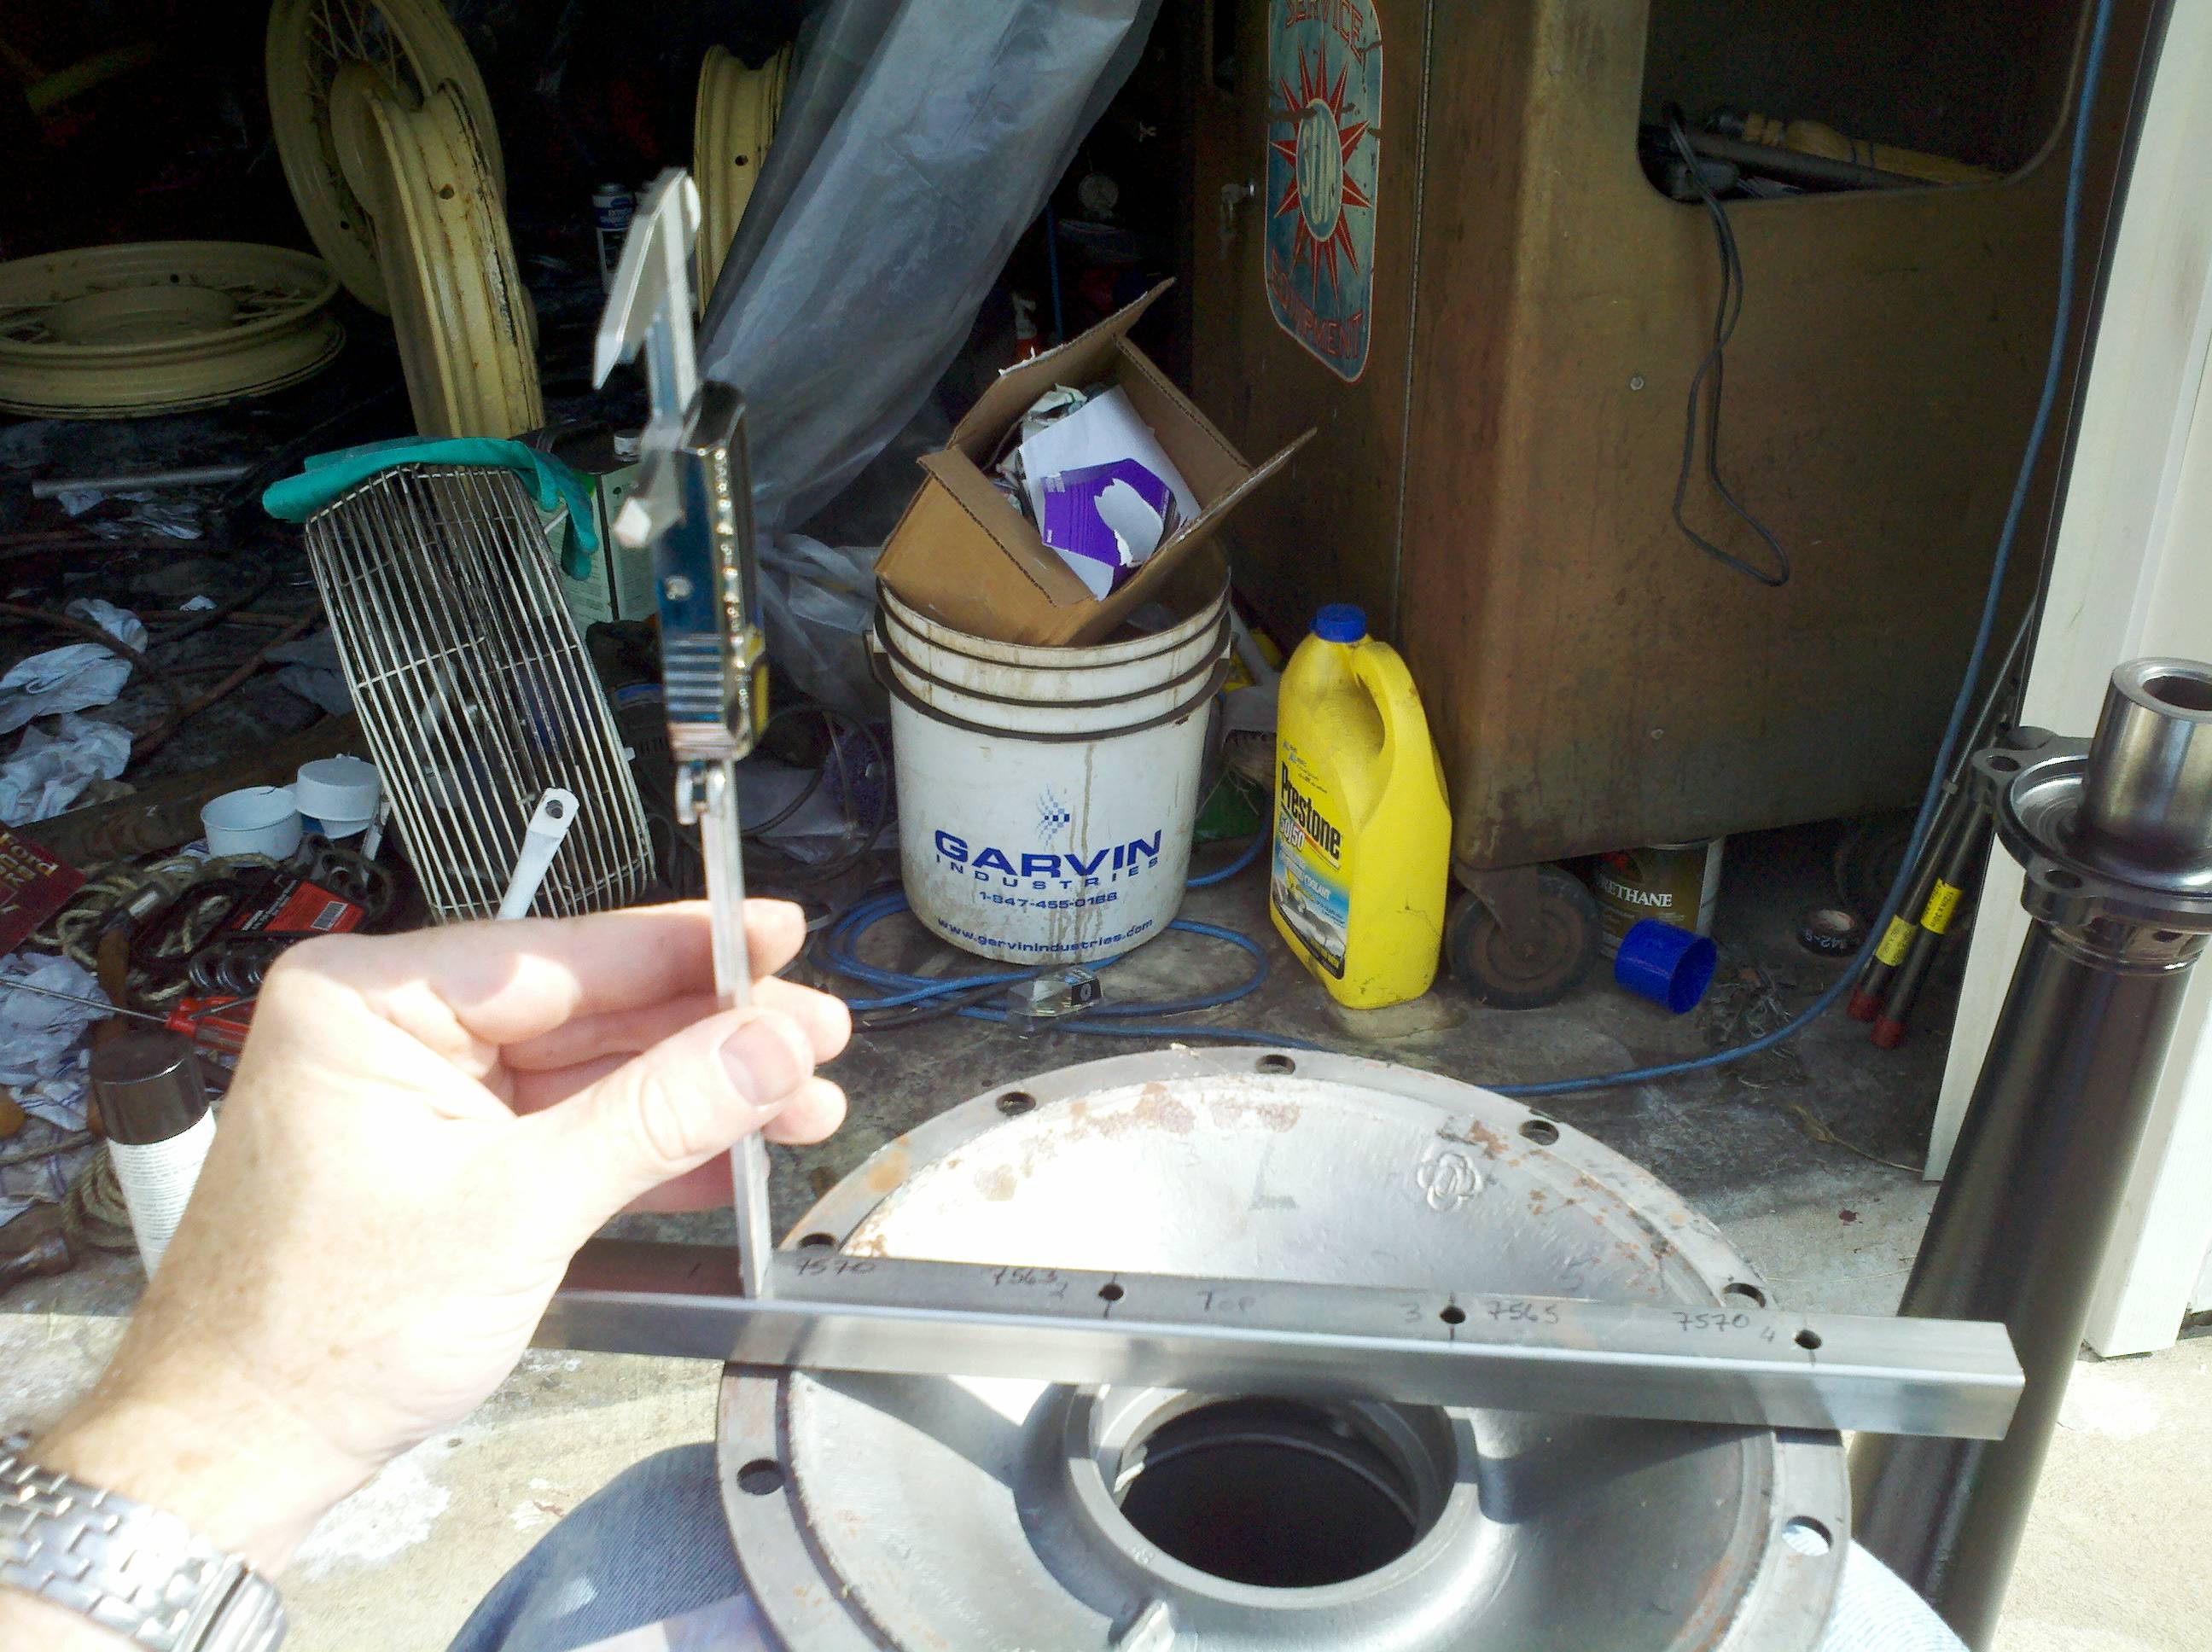
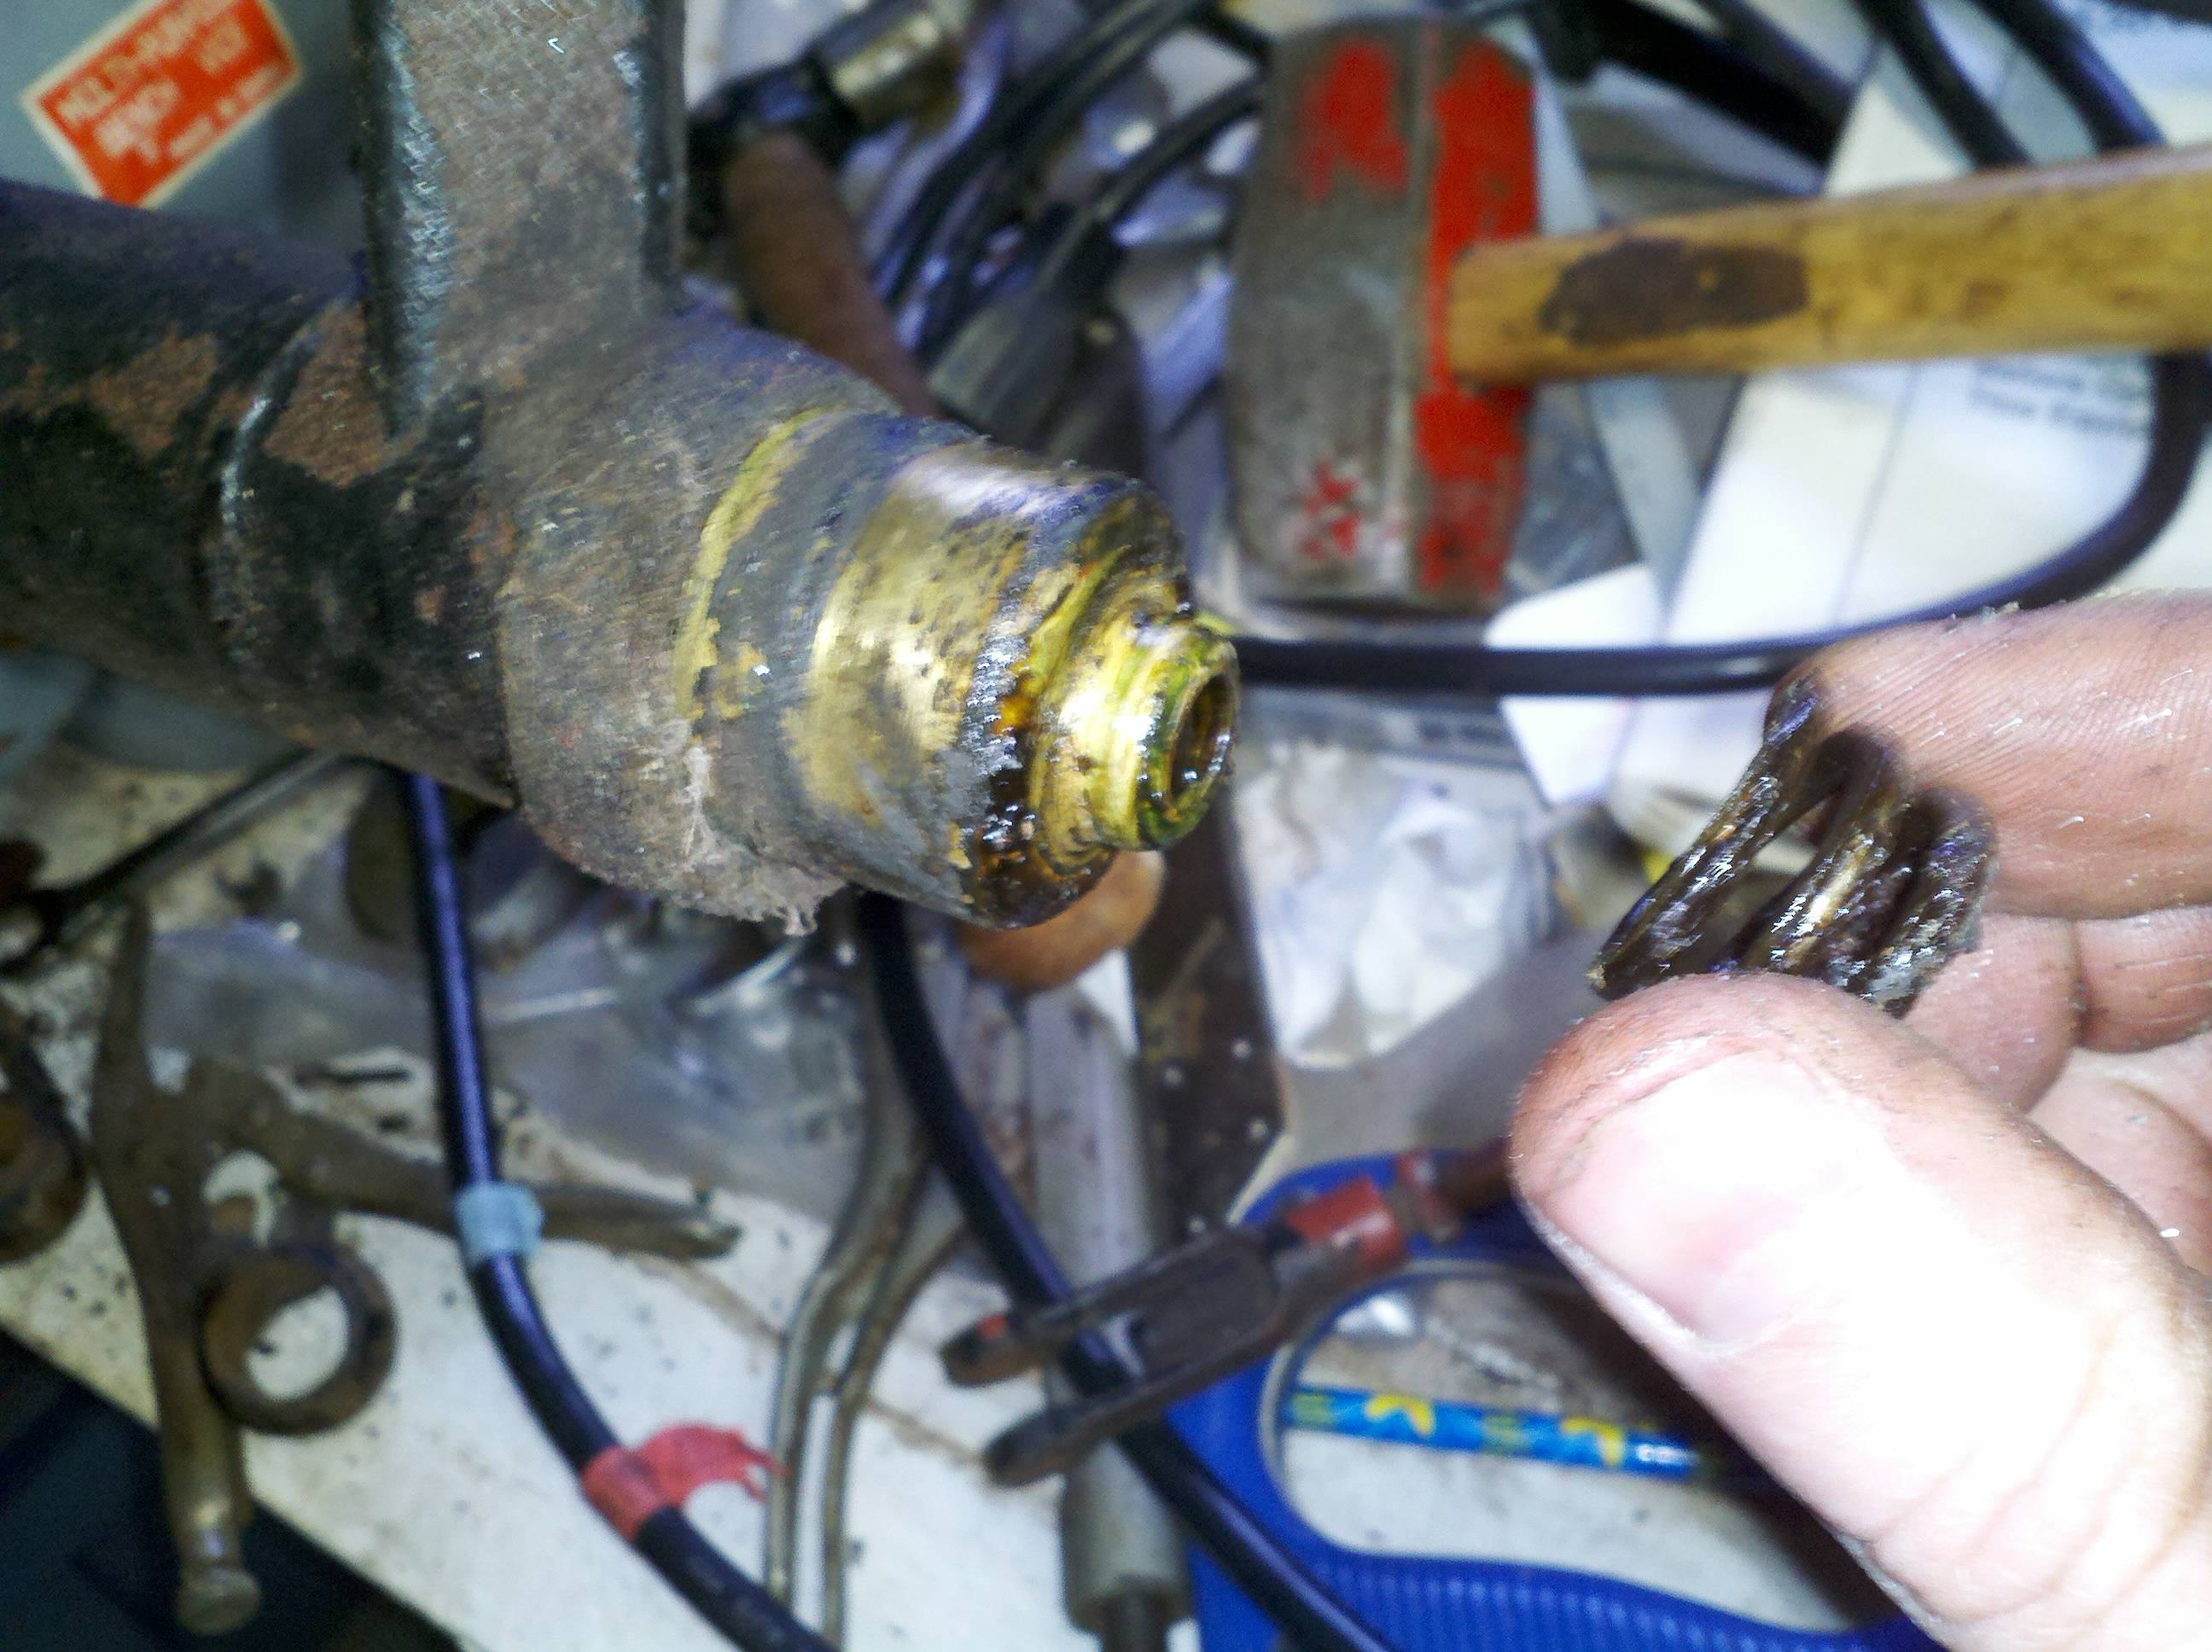
Once we got back and got all the other shopping squared away, I went out and started working on the axle housings. First thing I did was to go ahead and put in the axle seals. There was some question, originally, about which way those things are supposed to go in (they're not symmetric). I did some research, and I found some little blurb, somewhere (sorry, don't remember where) that says they are supposed to go in with the seal to the inboard side (toward the differential). Hopfully you can see that in the pictures. A couple weeks back, I shelled over about $20 for the metal for the measuring tool (see Sep 2012), and a couple pieces of water pipe and a coupler. Basically, I bought 2 4-foot sections of threaded pipe. i can use just one for the axle housings, and then when I get ready to put the seal in thetorque toob, I will join the two together to be long enough to reach the distance.
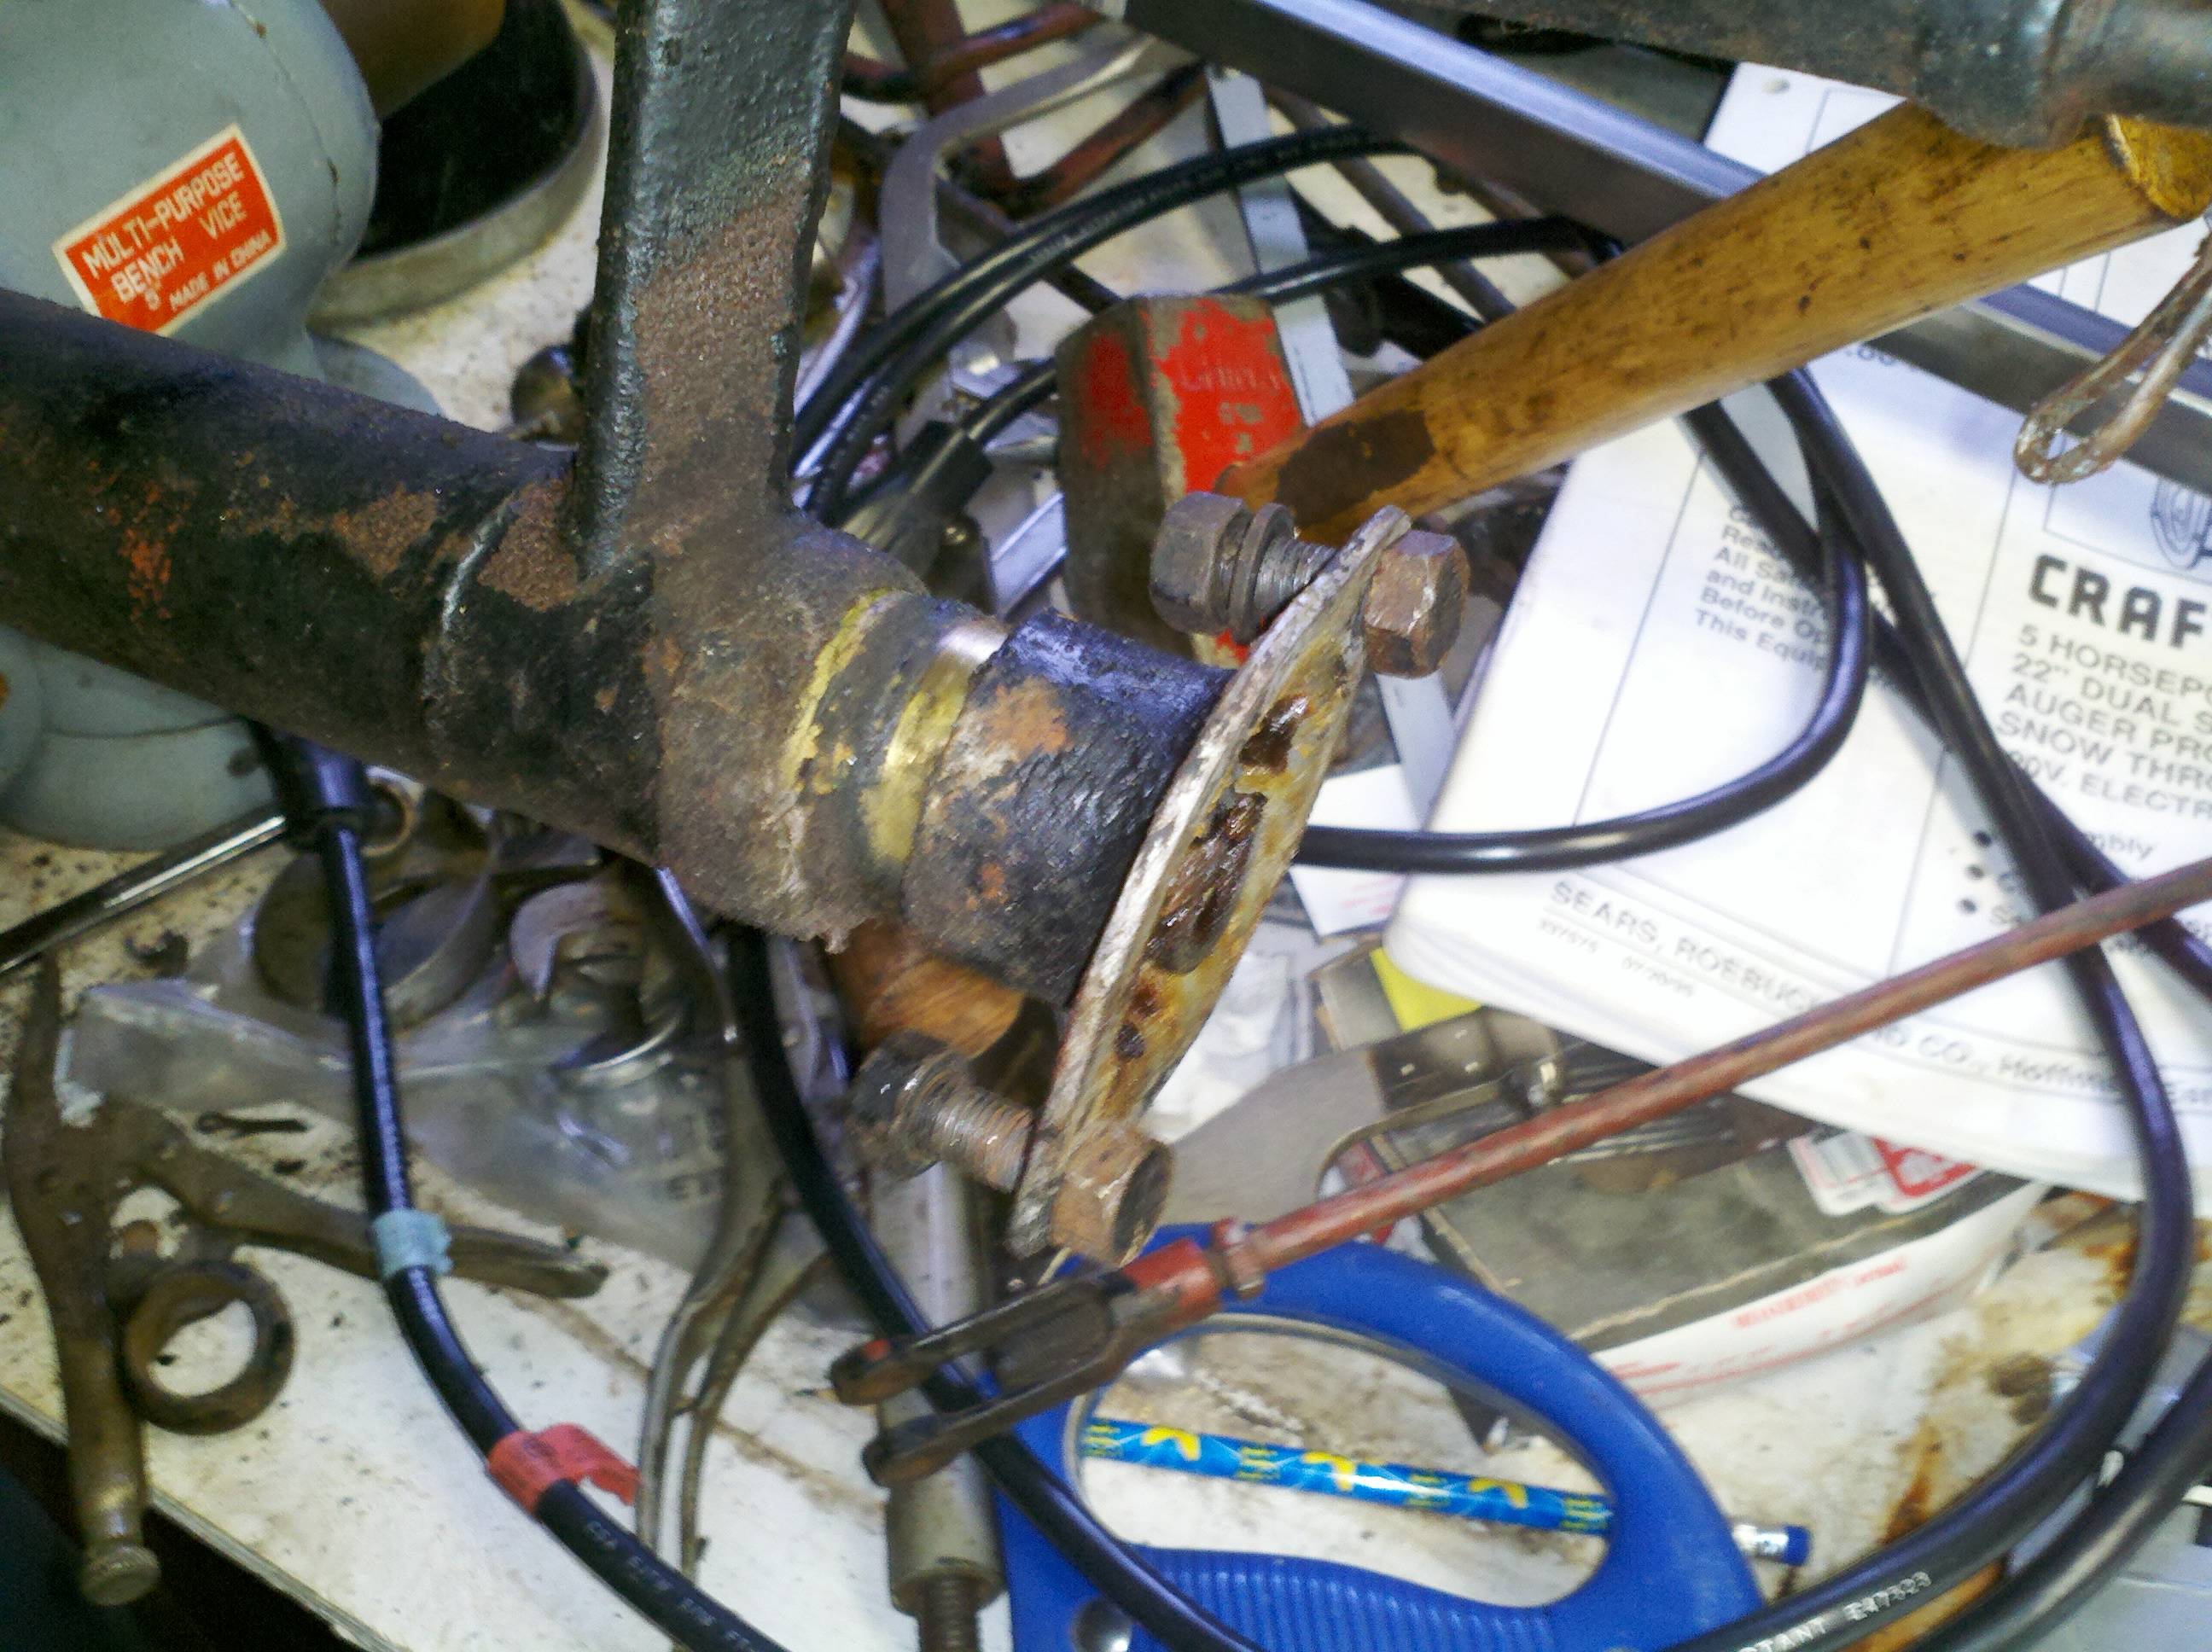
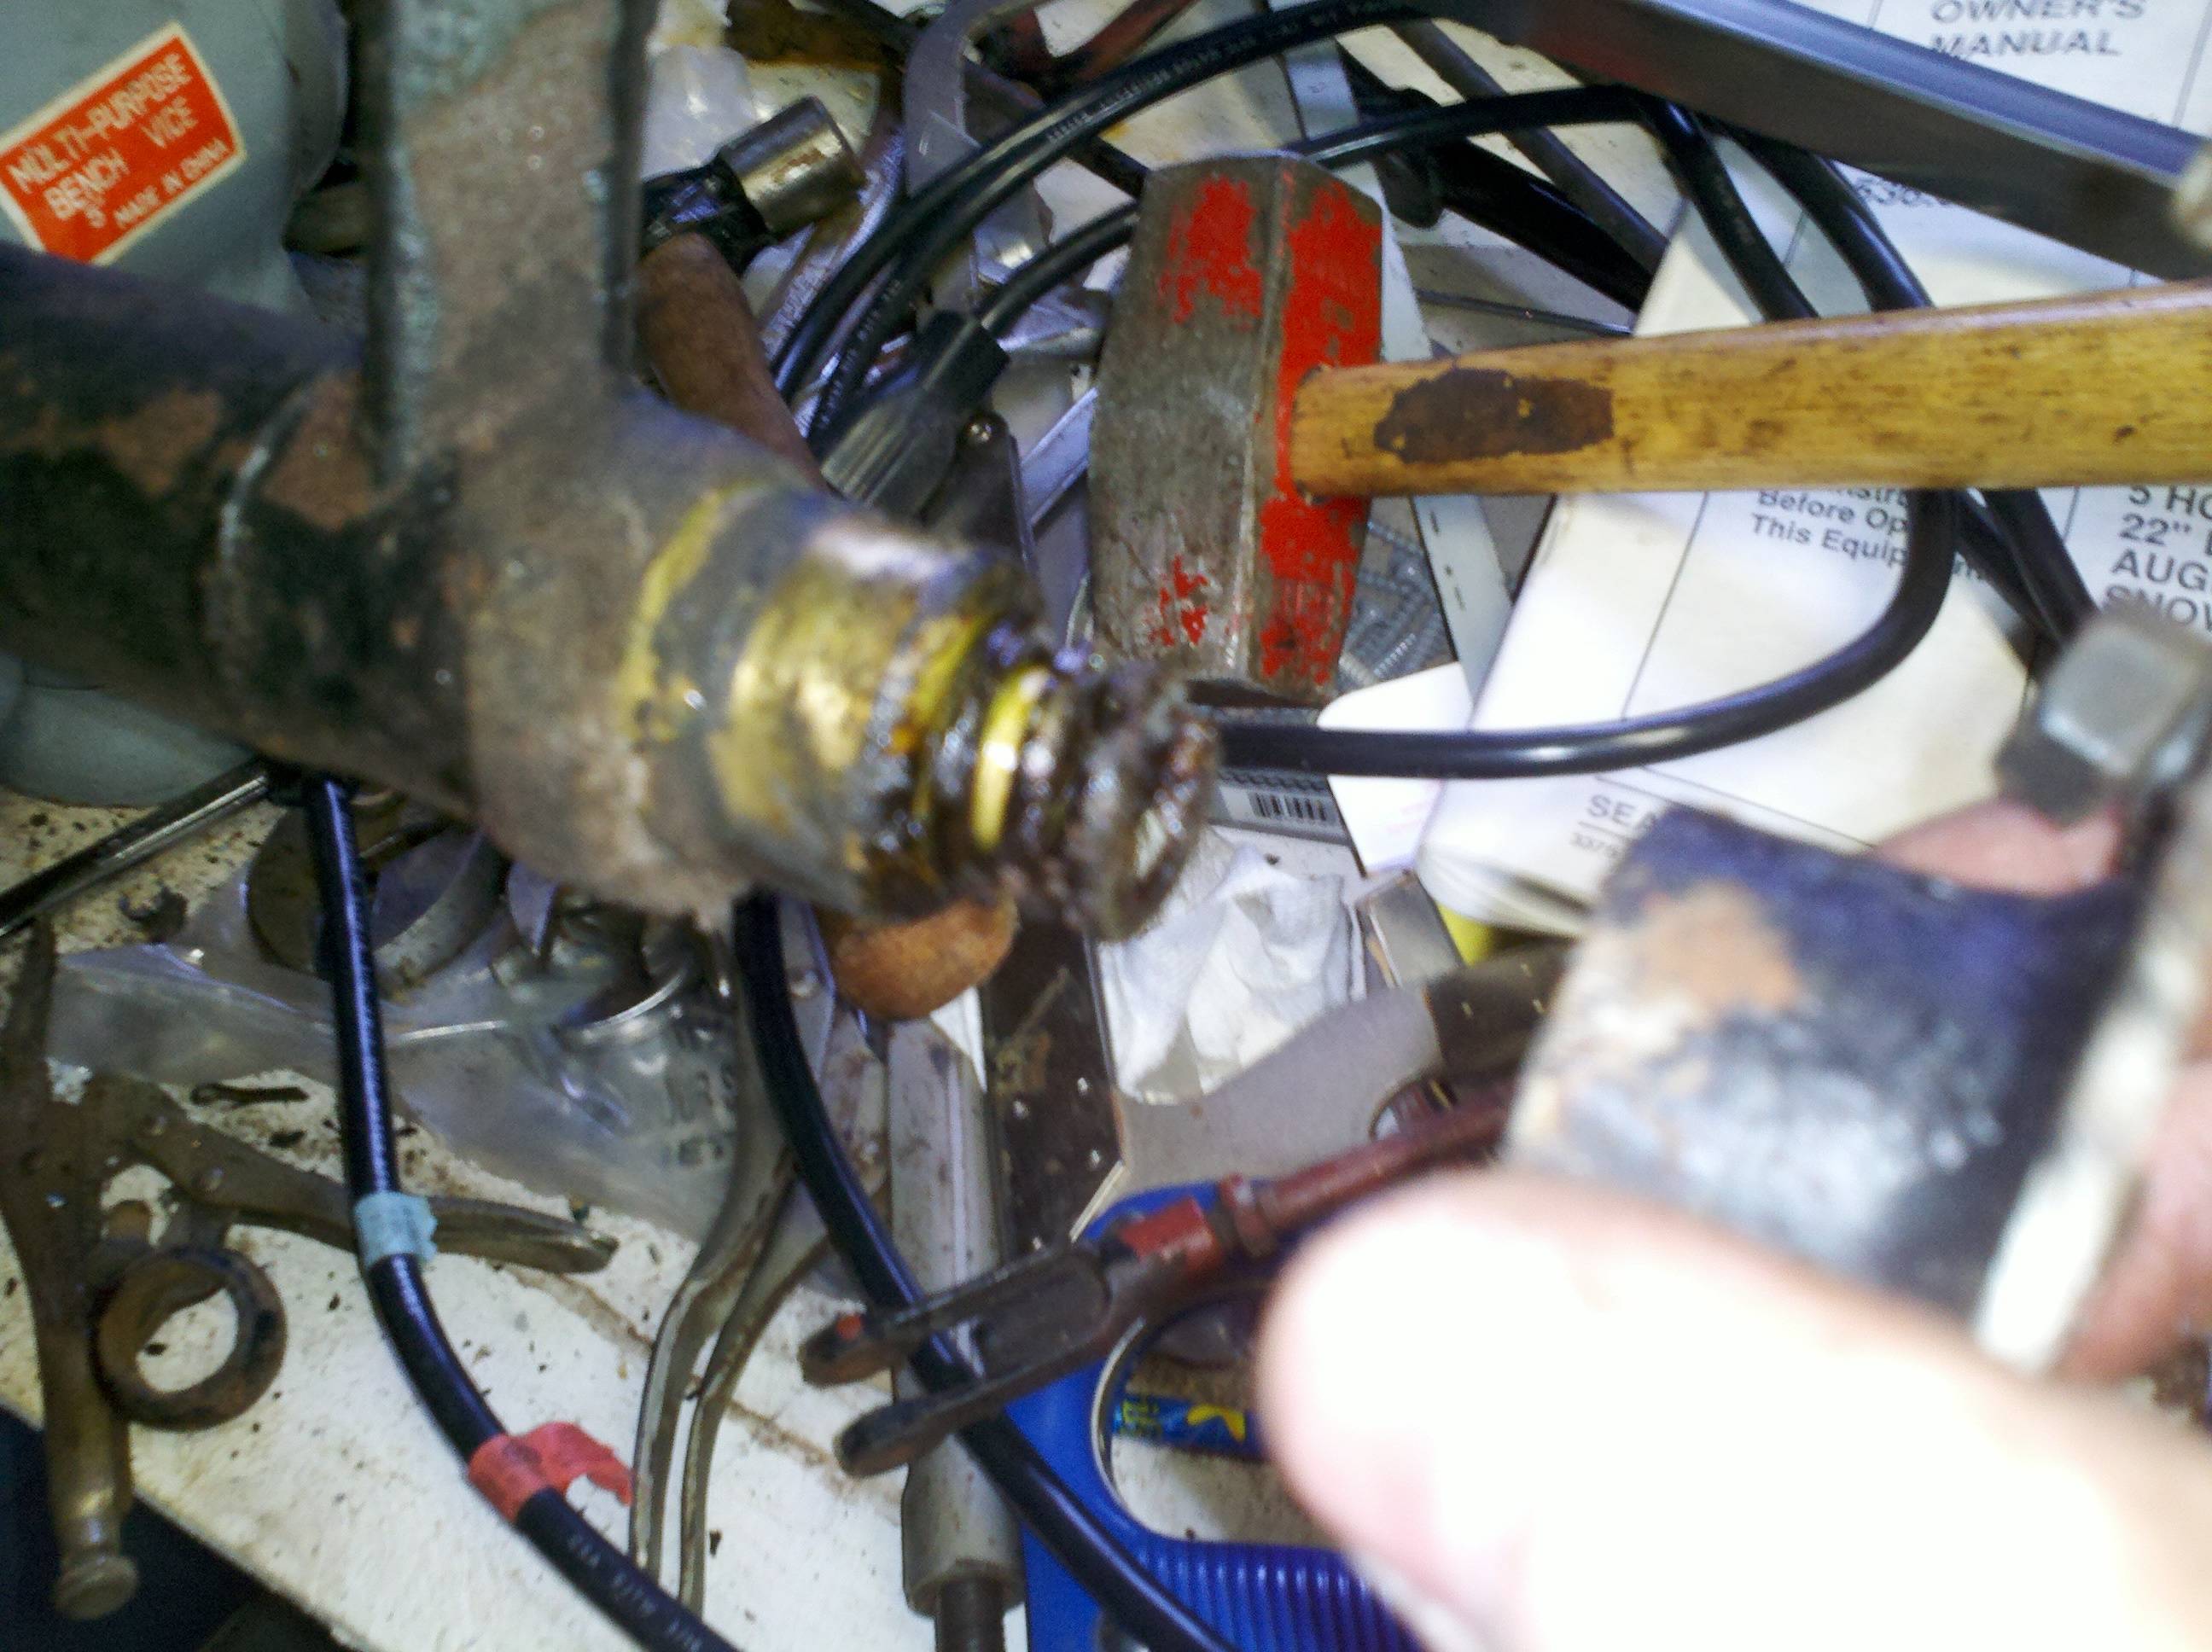
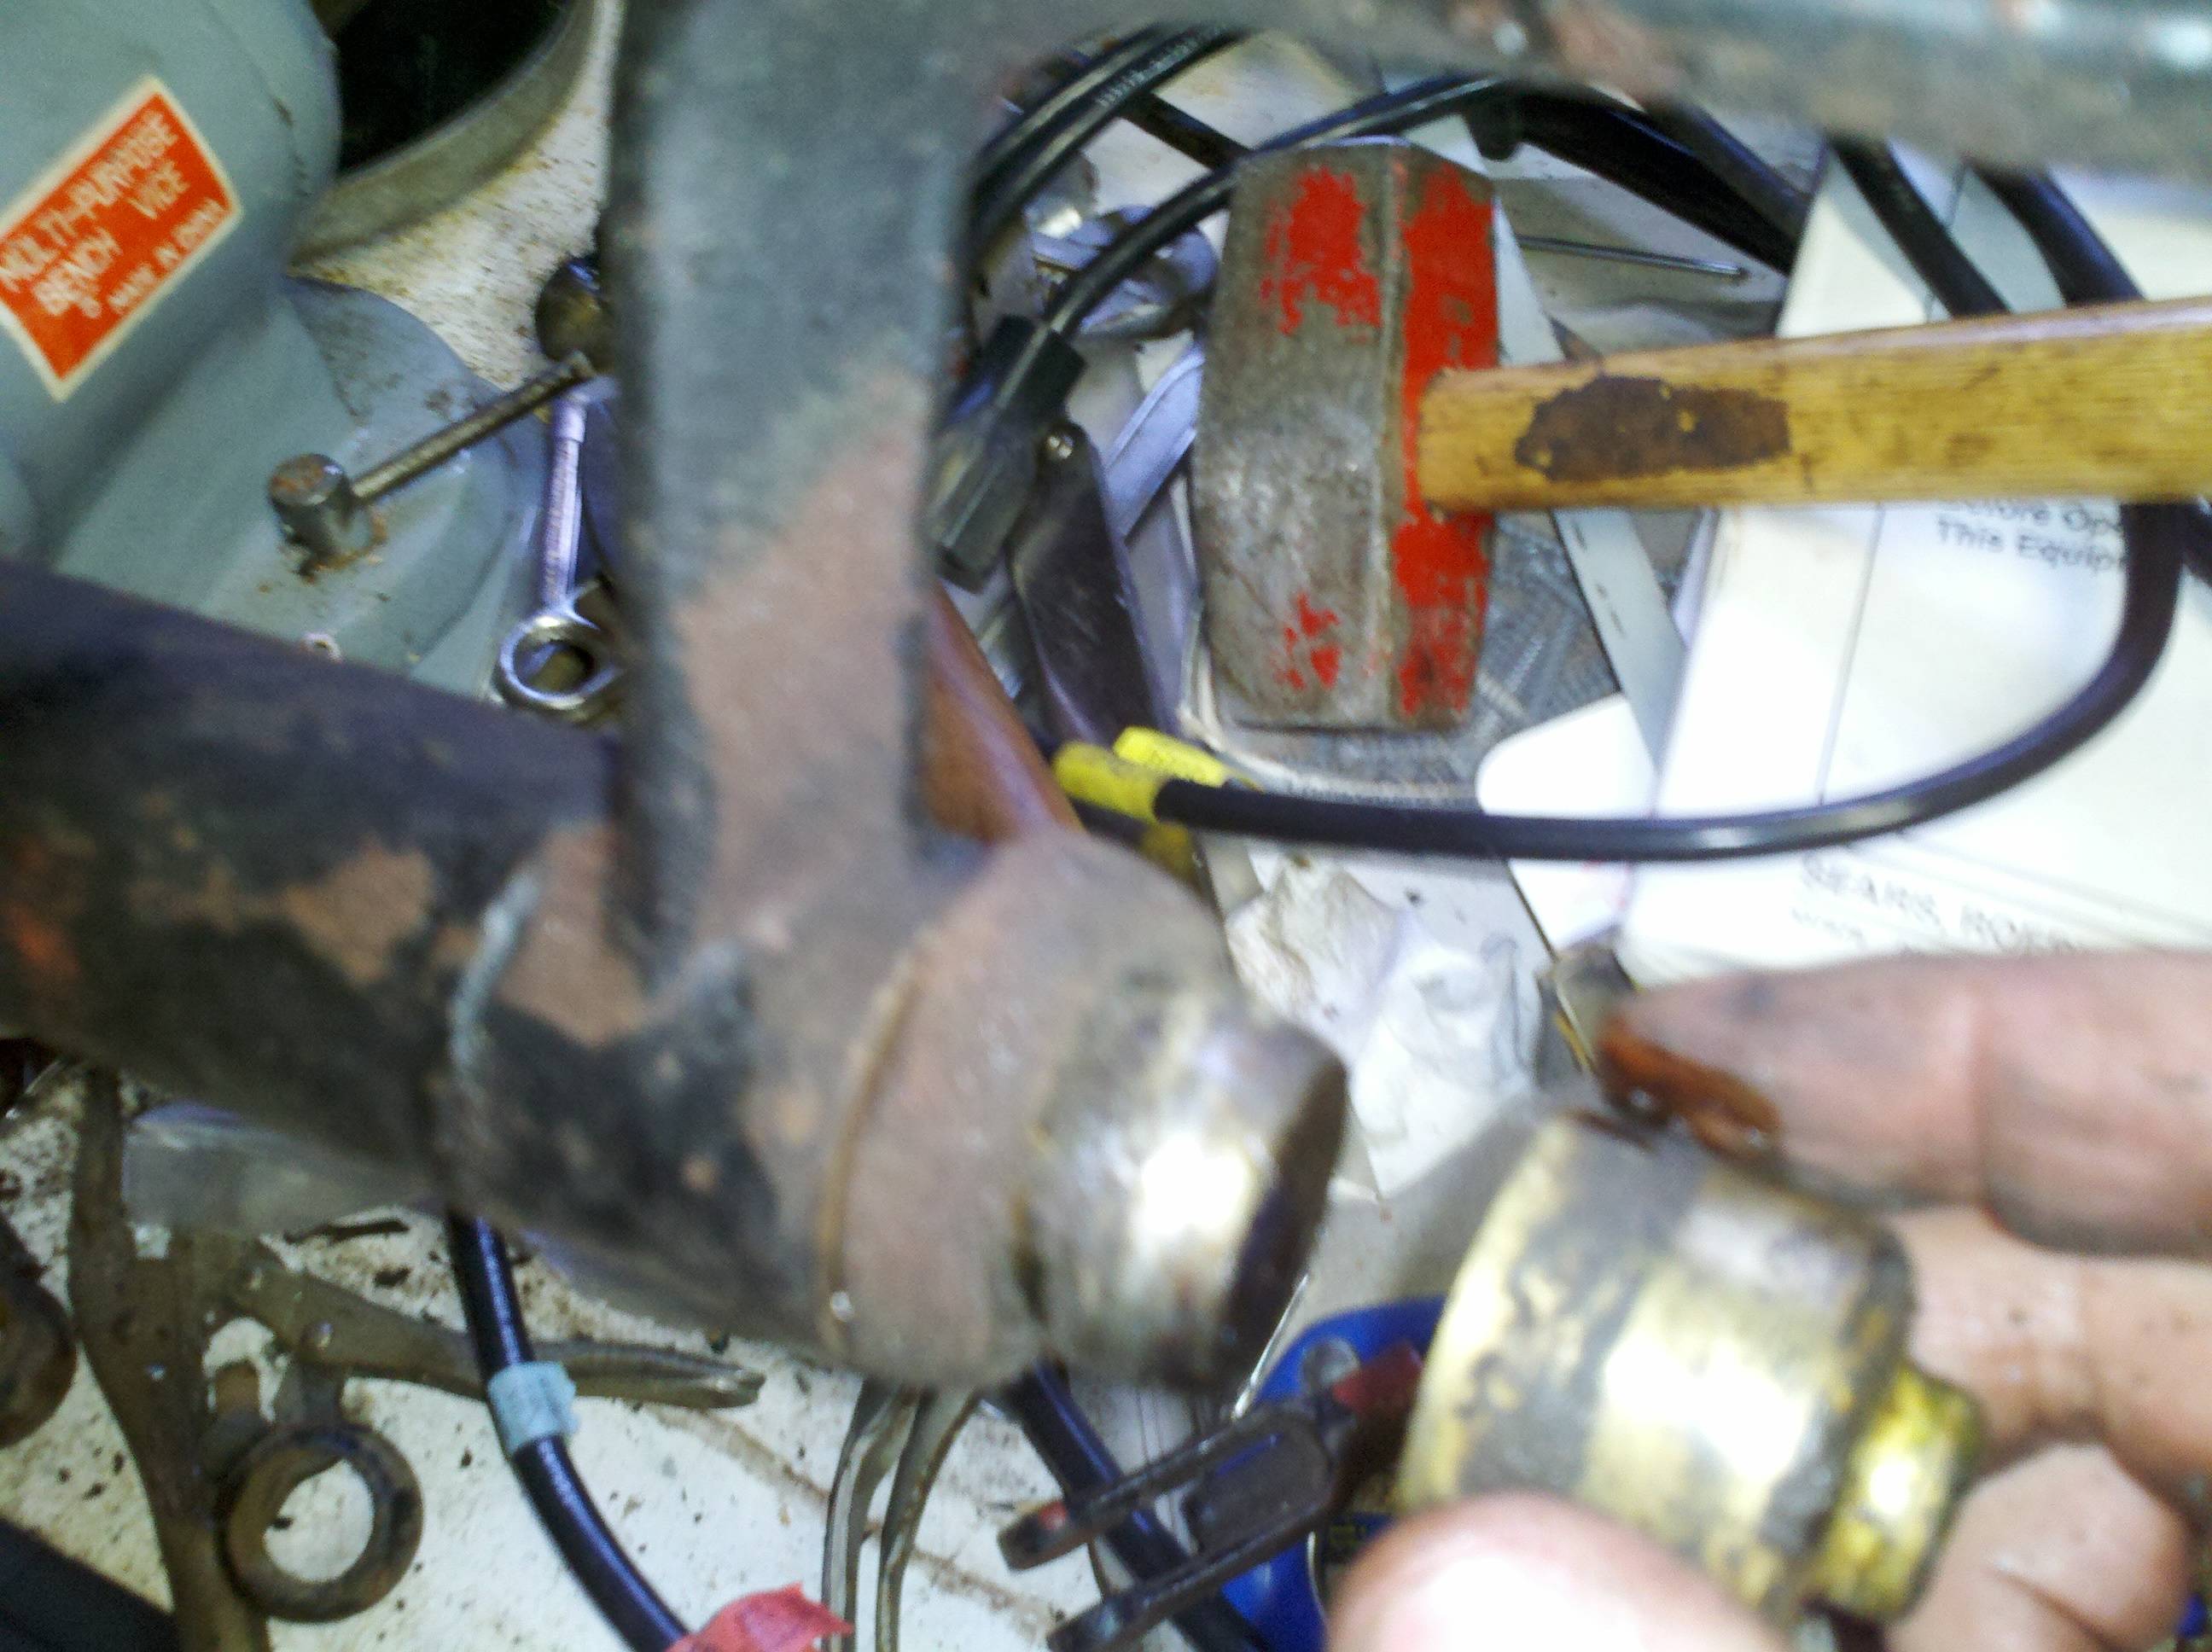
The "poor man's seal tool" screws on to the end of the water pipe. Put the seal on the end, put it in place, and a few smacks with a heavy mallet/hammer drives it home. Now it's time for more pictures!
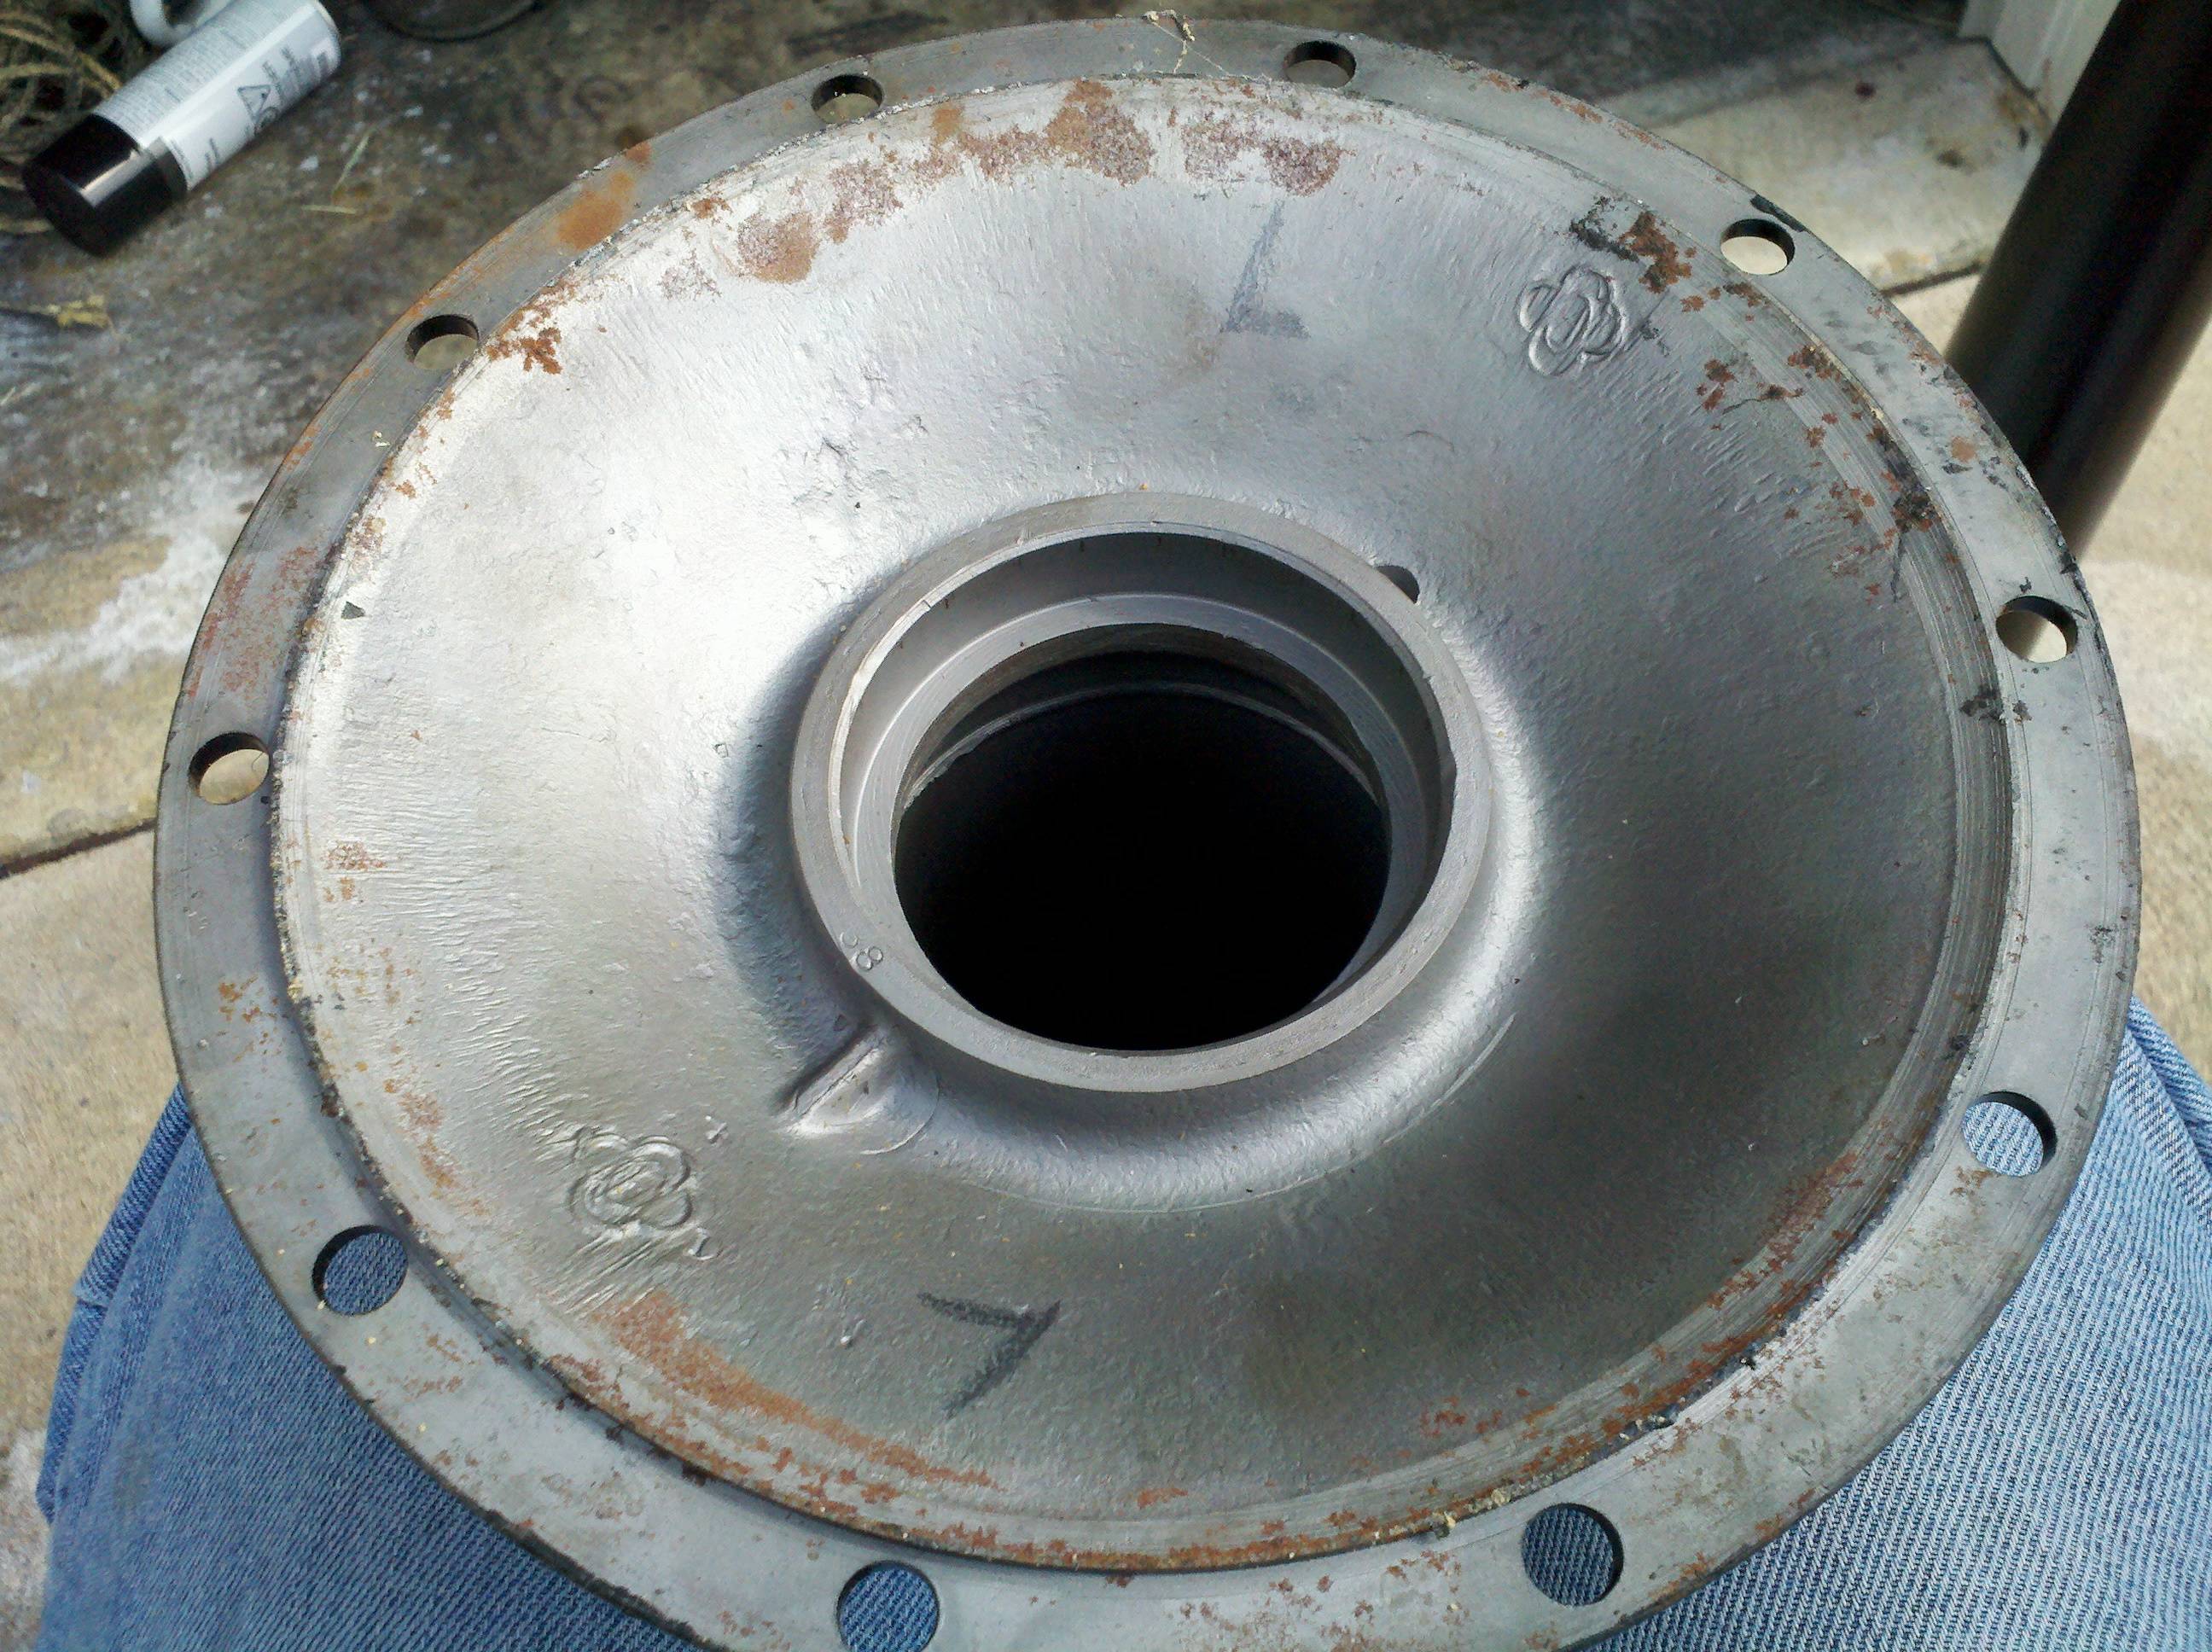
The next hour or so was spent doing measurements of the faces where the bearing seats, and where the housing mates to the banjo. I marked up the hosings with a pencil and took a measurement of each hole in 10 different position in the circle of the housing. That's 40 measurements, total. That seems like a lot, but I've been in the engineering business a while, now - every measurement will have some error. But some of the errors will be to the plus, and some to the minus. Taking a bunch of measurements and then averaging basically causes the errors to mostly nullify each other. In the parlance of the world I've been in mostly, it's called "increasing your SNR."
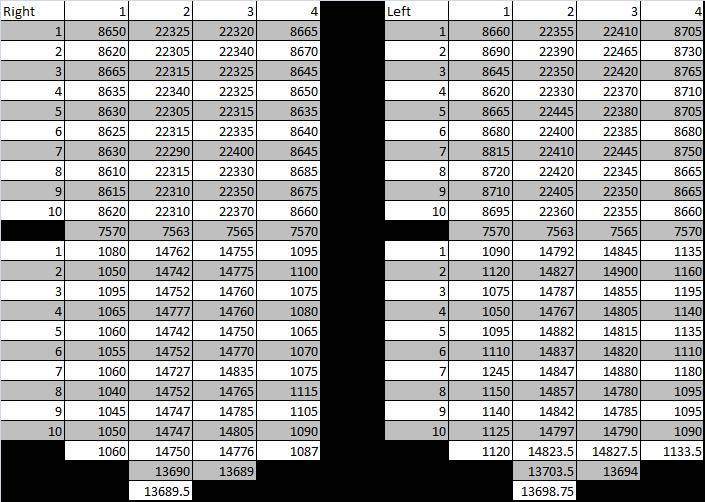
Once I got the measurements all done, I dropped them in to Microsoft Excel (because I'm too lazy to do my own addition and math), and found out something really interesting. My housings are pre-modification! That is, the seats for the bearing races are 5 mils deeper than the Ford re-design! 0.005" doesn't seem like much but for the preload on the differential, it's a bunch! This is absolutely wonderful information, and will likely save ma a gob of time later. I'm hoping this makes the re-assembly much less difficult. I'm thinking I'll be able to drop a 5 mil shim (of which, I have already bought a couple) on each side. This should make up for the 5 mil depth of the race. Then, I can use a standard 9 mil gasket for the faces and be pretty close. According to that little piece, it looks like I might need to play with a 4 mil gasket, as well, to adjust the pinion backlash, but I guess we'll see (maybe I can put two shime son the driver's side, and no extra gaskets...) I'll be doing some more reading in the near future, I think.

Here's the reults of all those measurements:
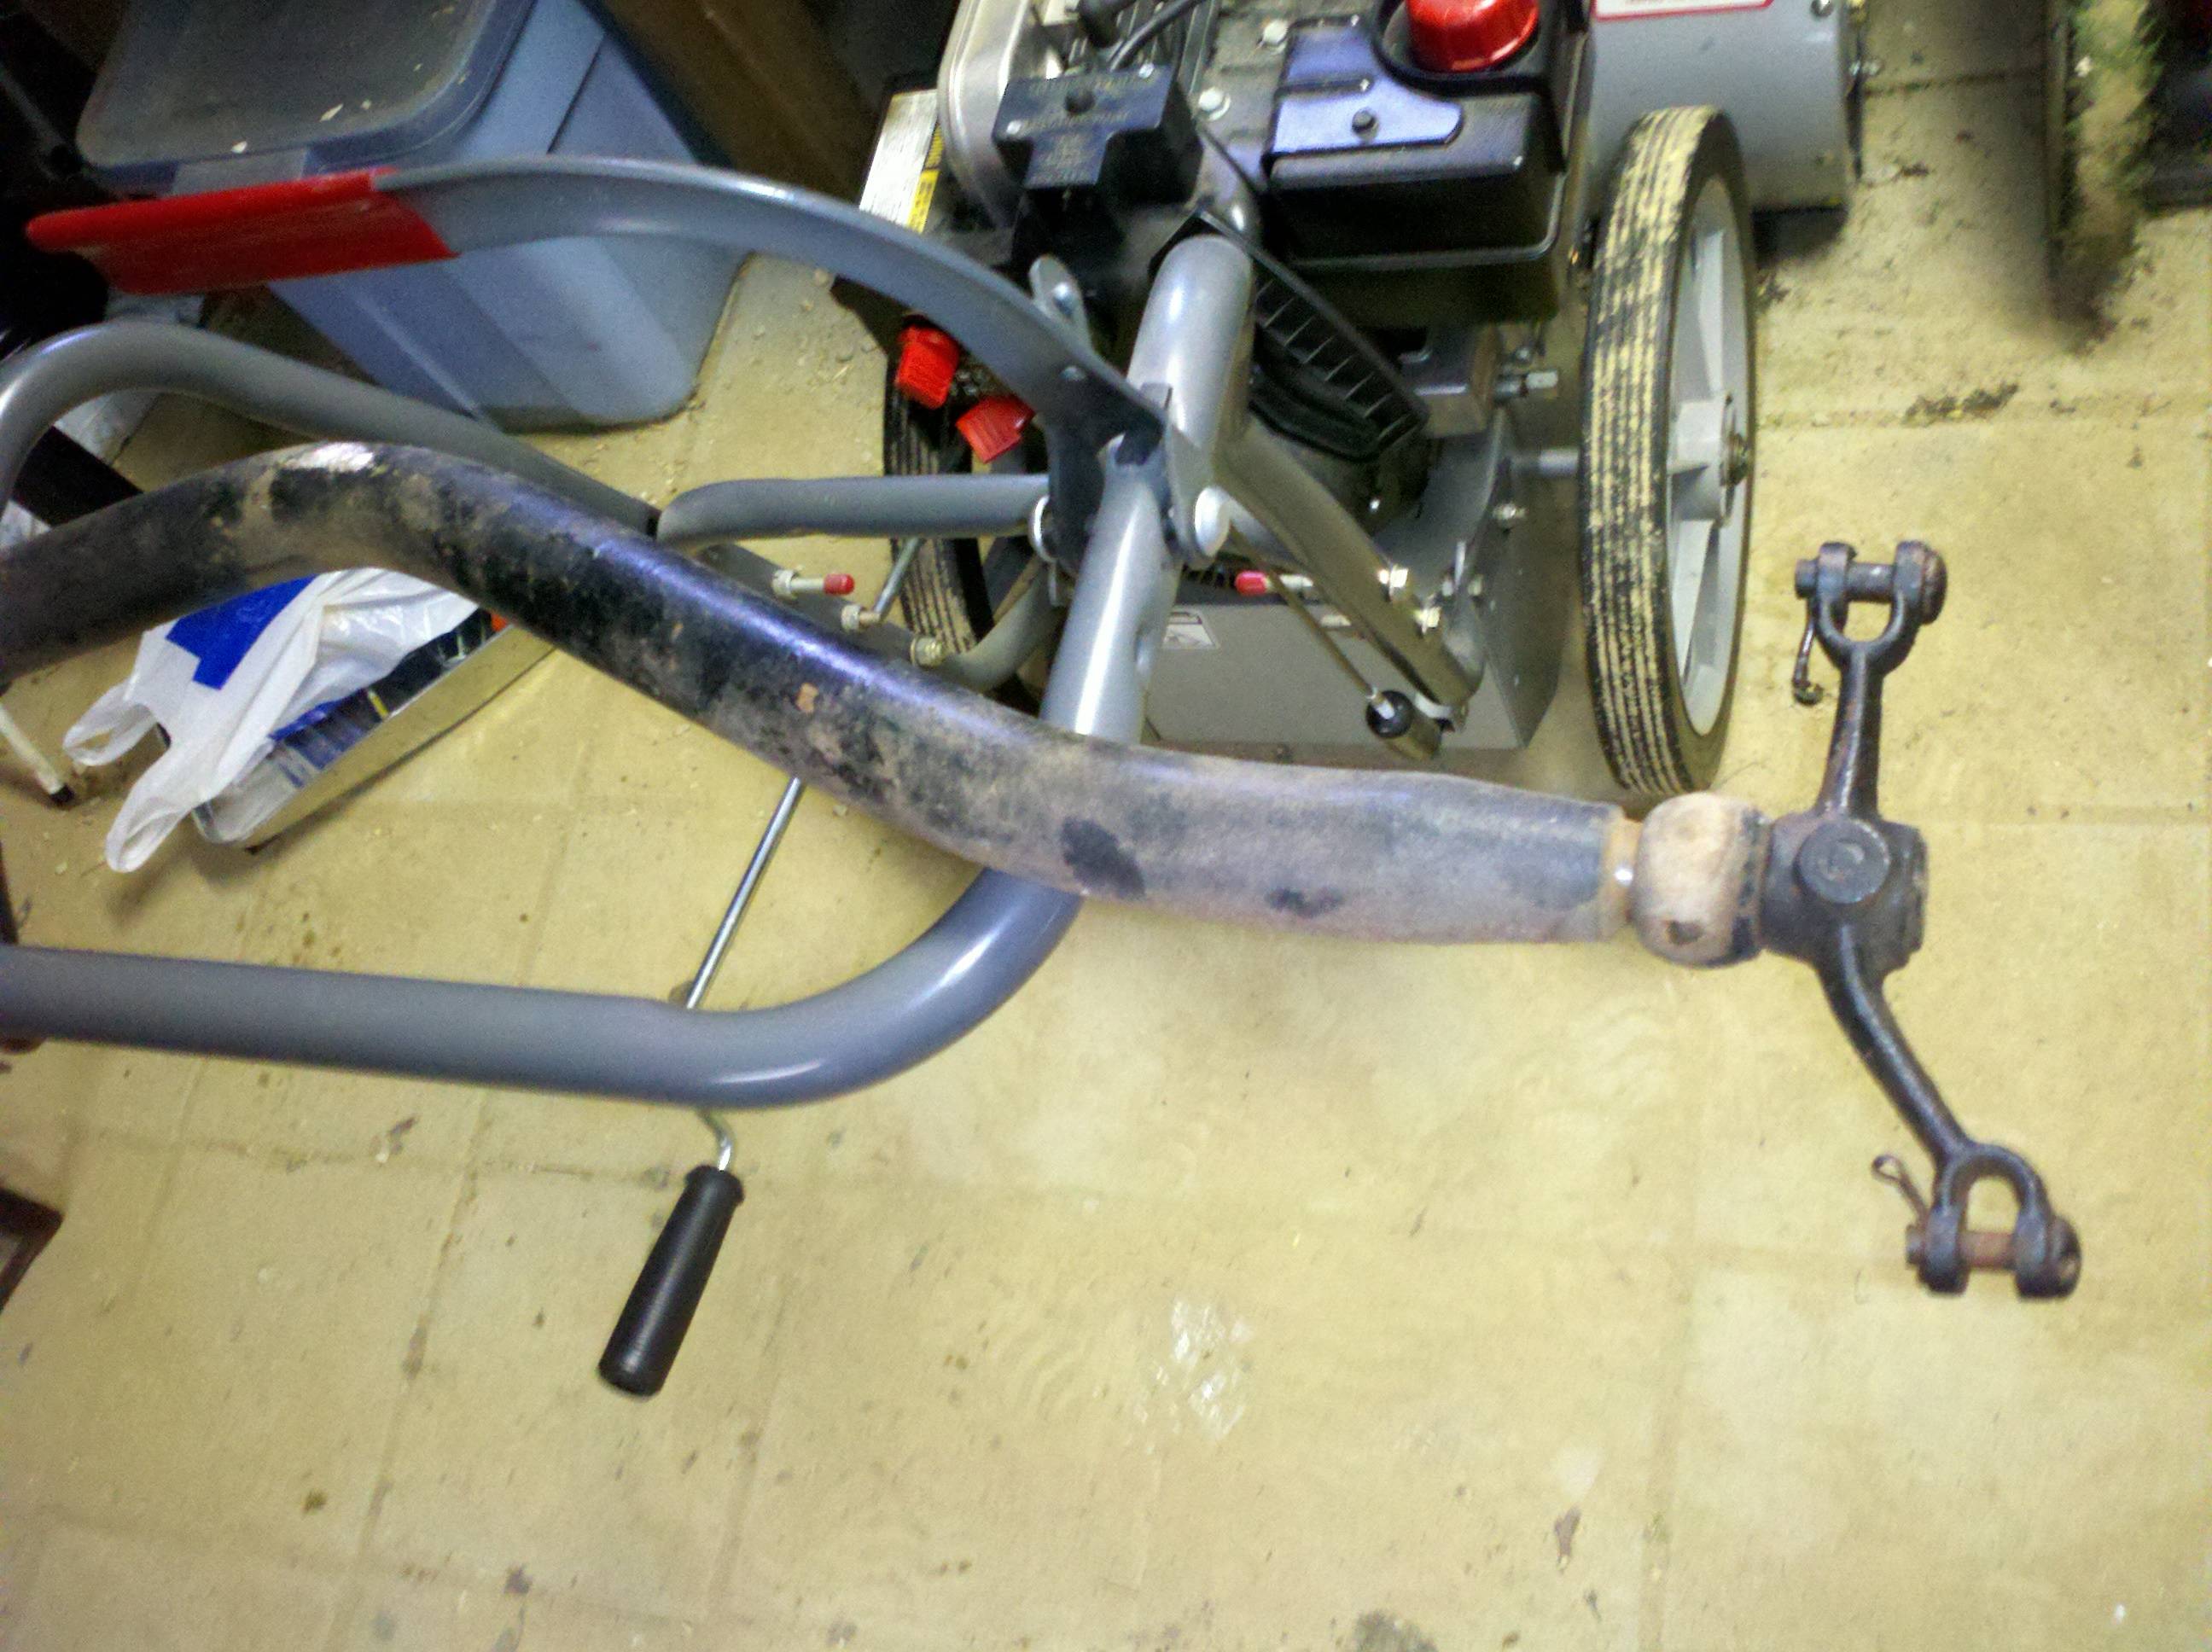
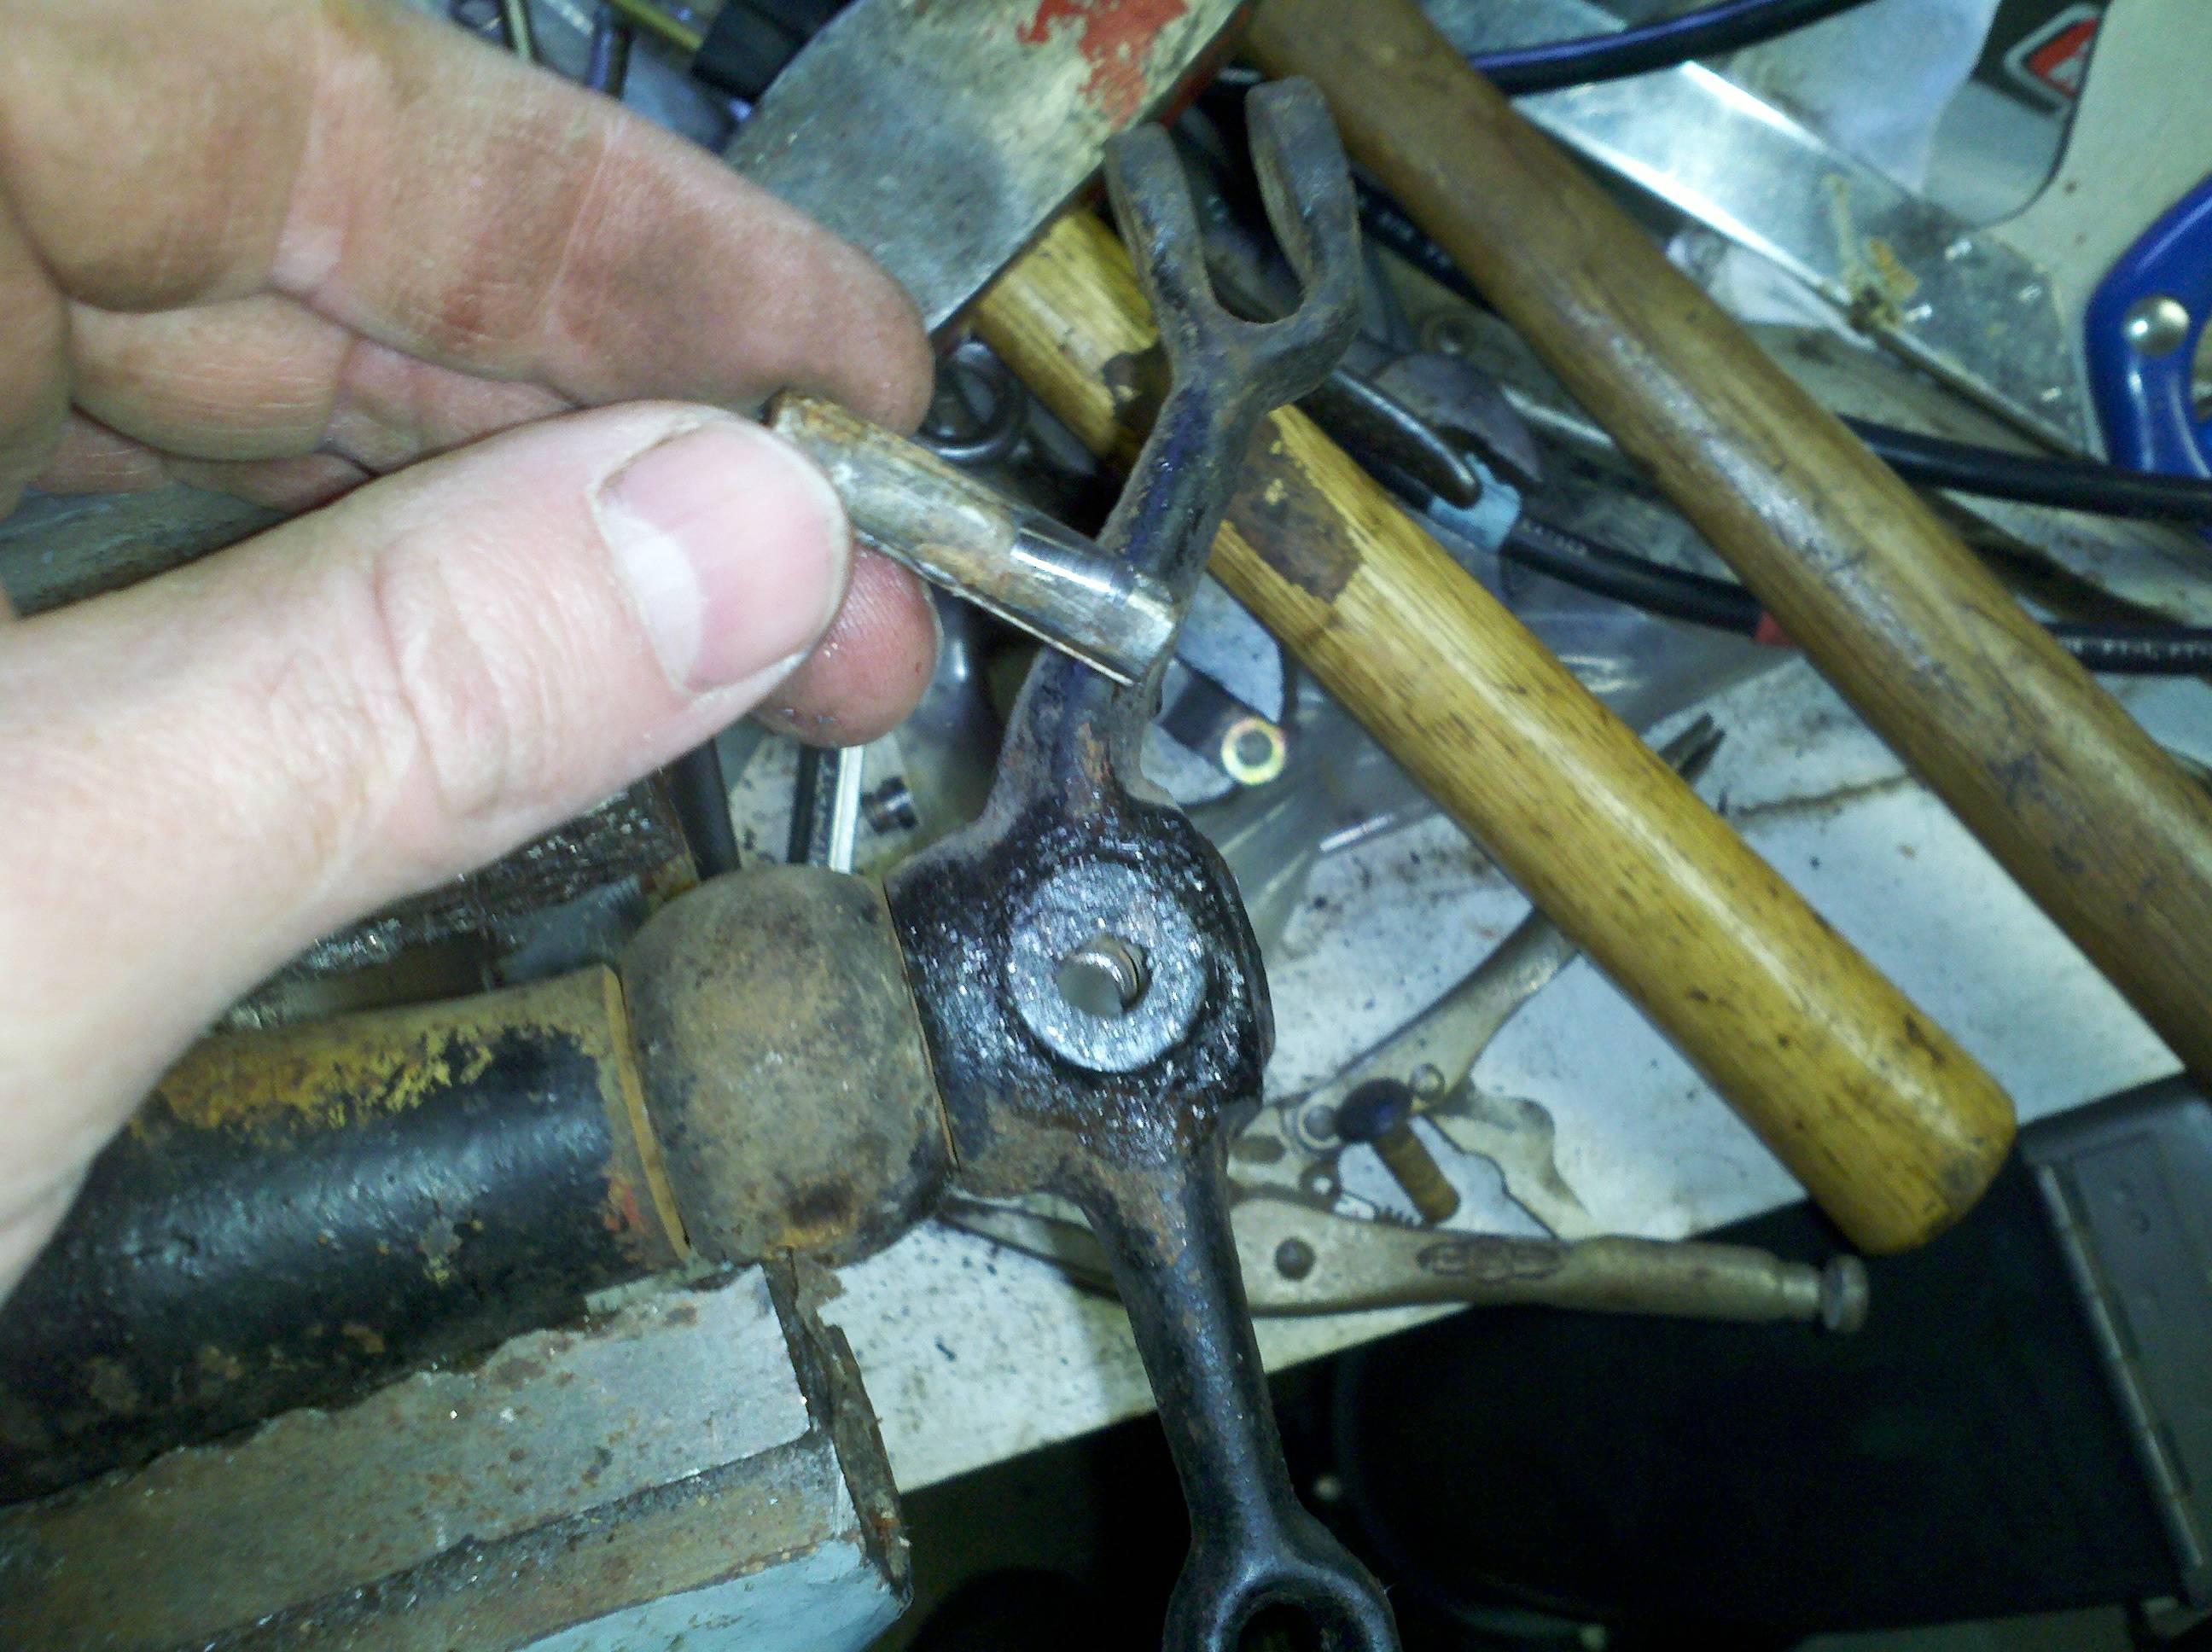
I had a little bit of "quiet time" last night, so I took it as an opportunity to go finish up on the things that need to be taken apaort before blasting happens. That was to pull the clevis arms off the brake cross-bar, and the bearings from the emergency brake cross-bar. I might have considered leaving the ends on if the bushings weren't so loose they rattled. This was another case of "drill, baby drill!" - this time I did it a lot better, though. After I got the rivets knocked out, I had to smack the clevises with a goodly-sized hammer to break them free. Once I could get the clevis to turn on the cross bar a bit, I used some metal tubing to pry while hitting. As the actuator would turn, it would walk off under the force of pressure from the tube. Here's some pics of the clevises coming off - note the clever use of a snow-blower as a stand:
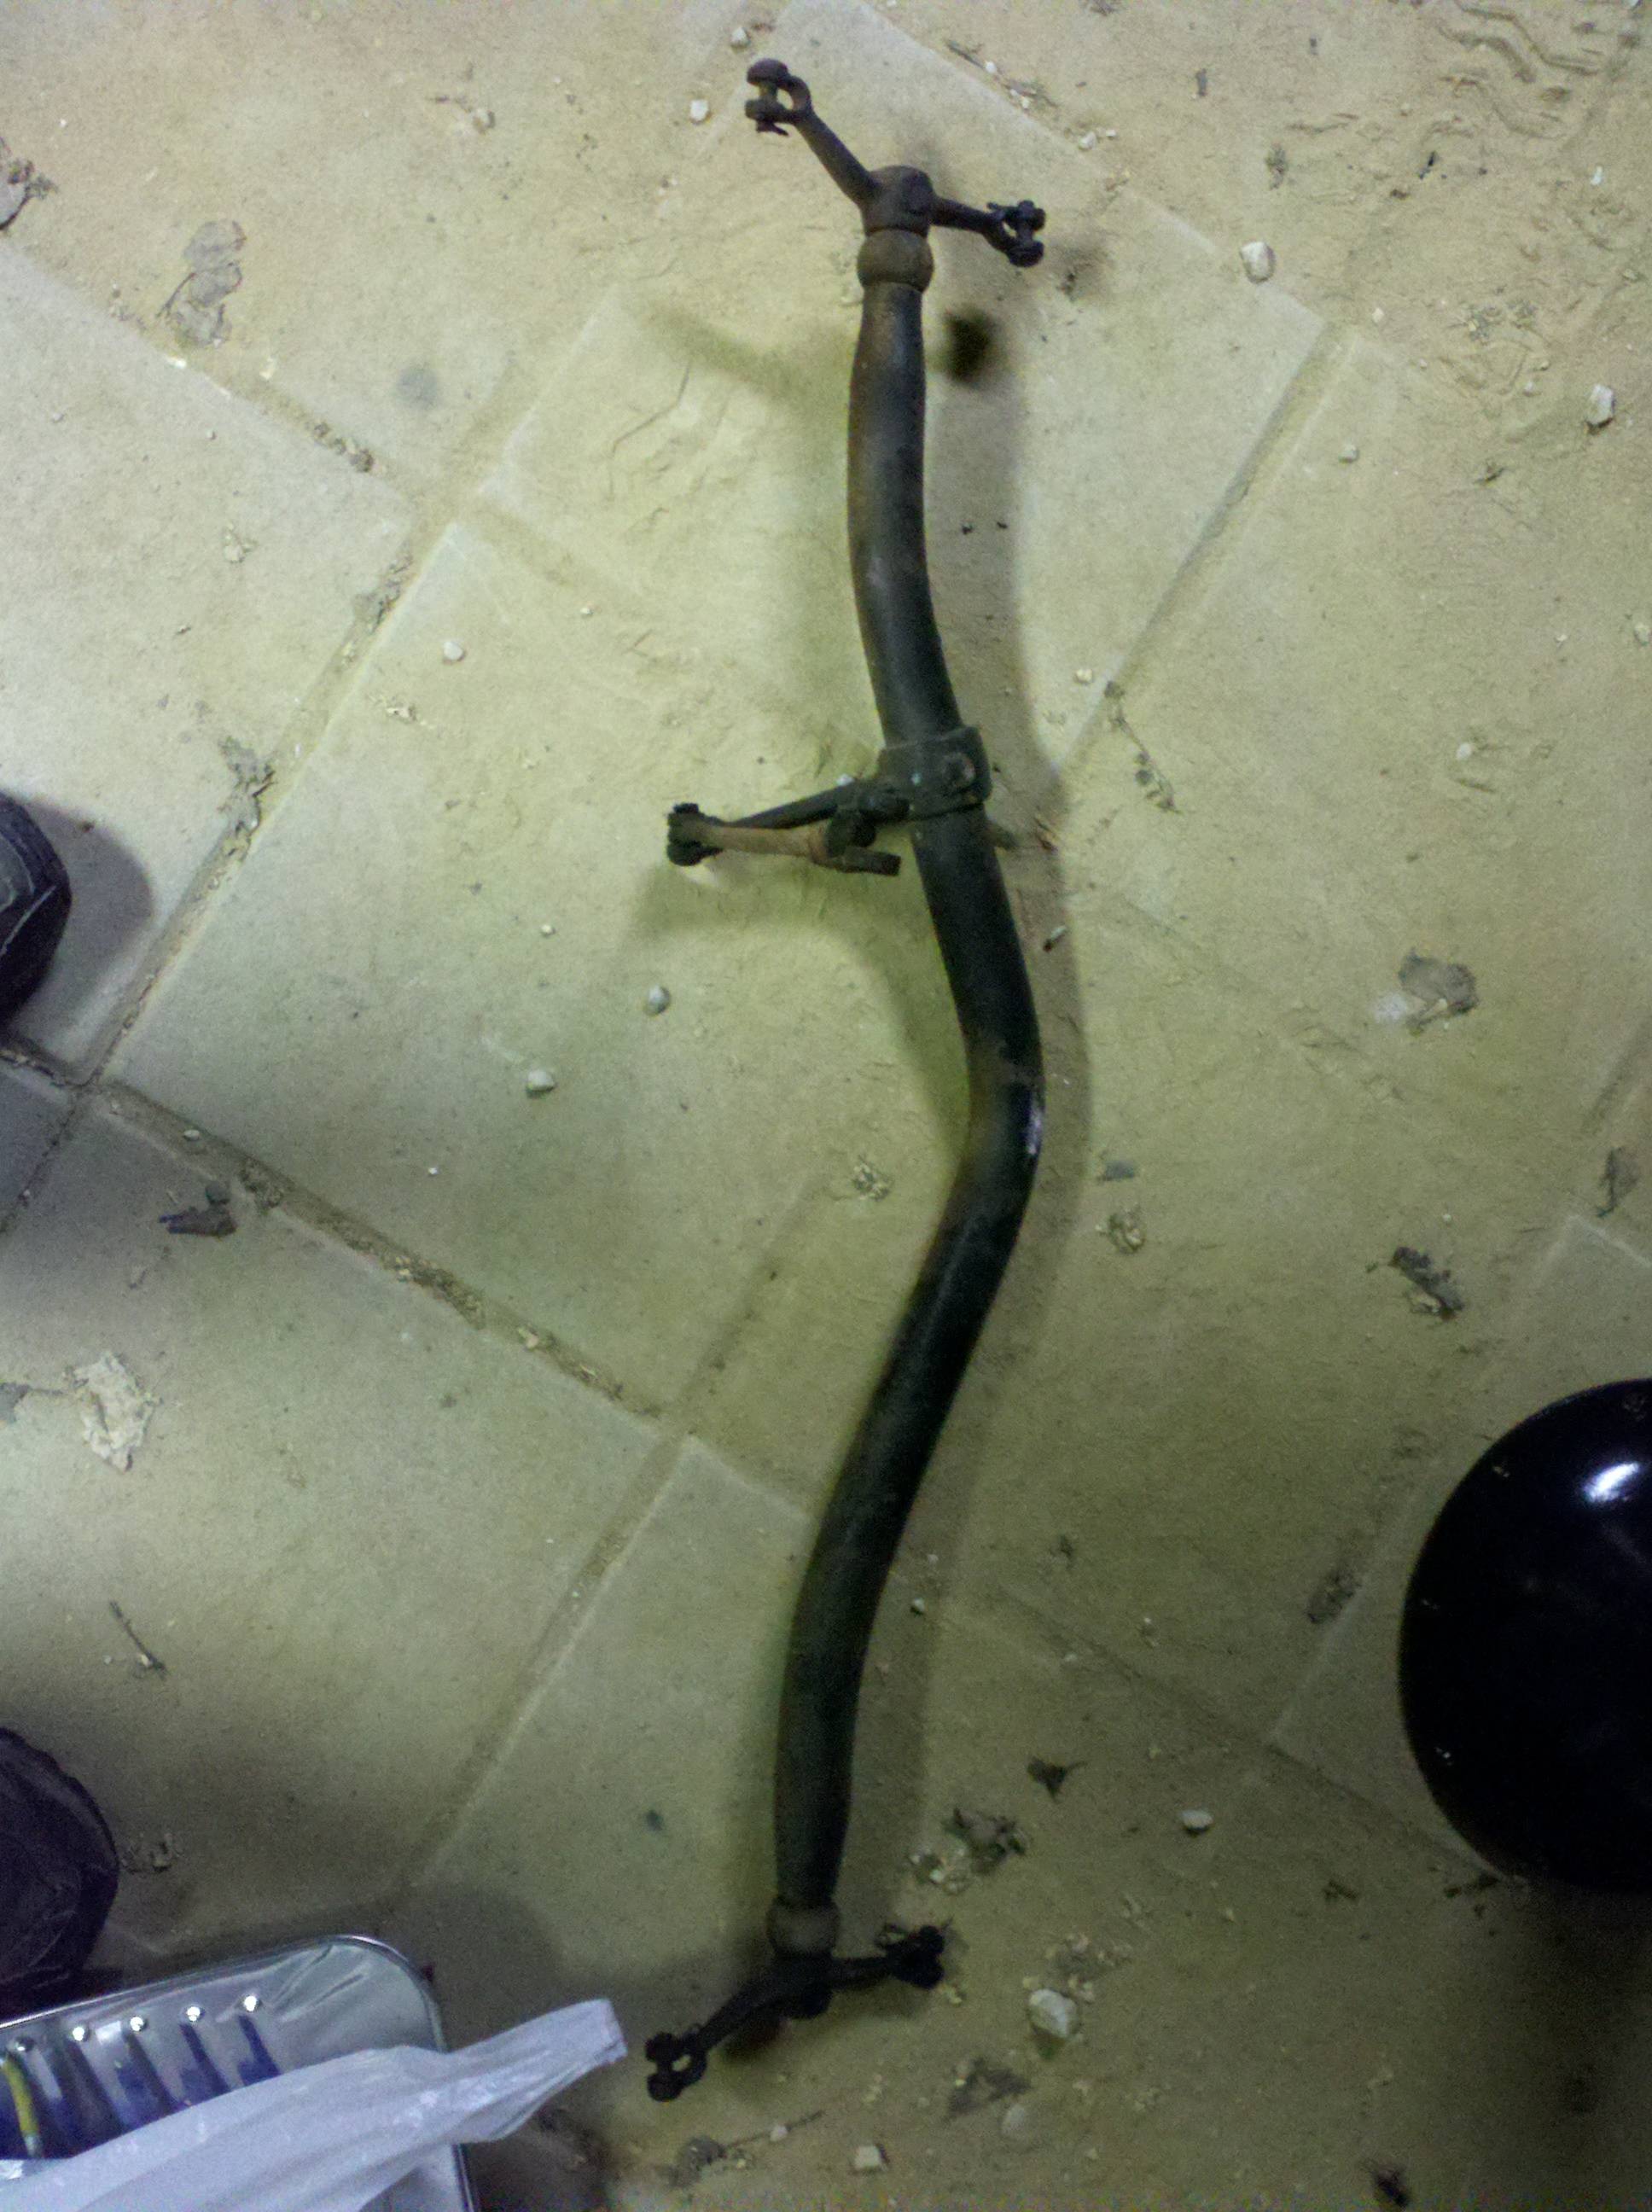

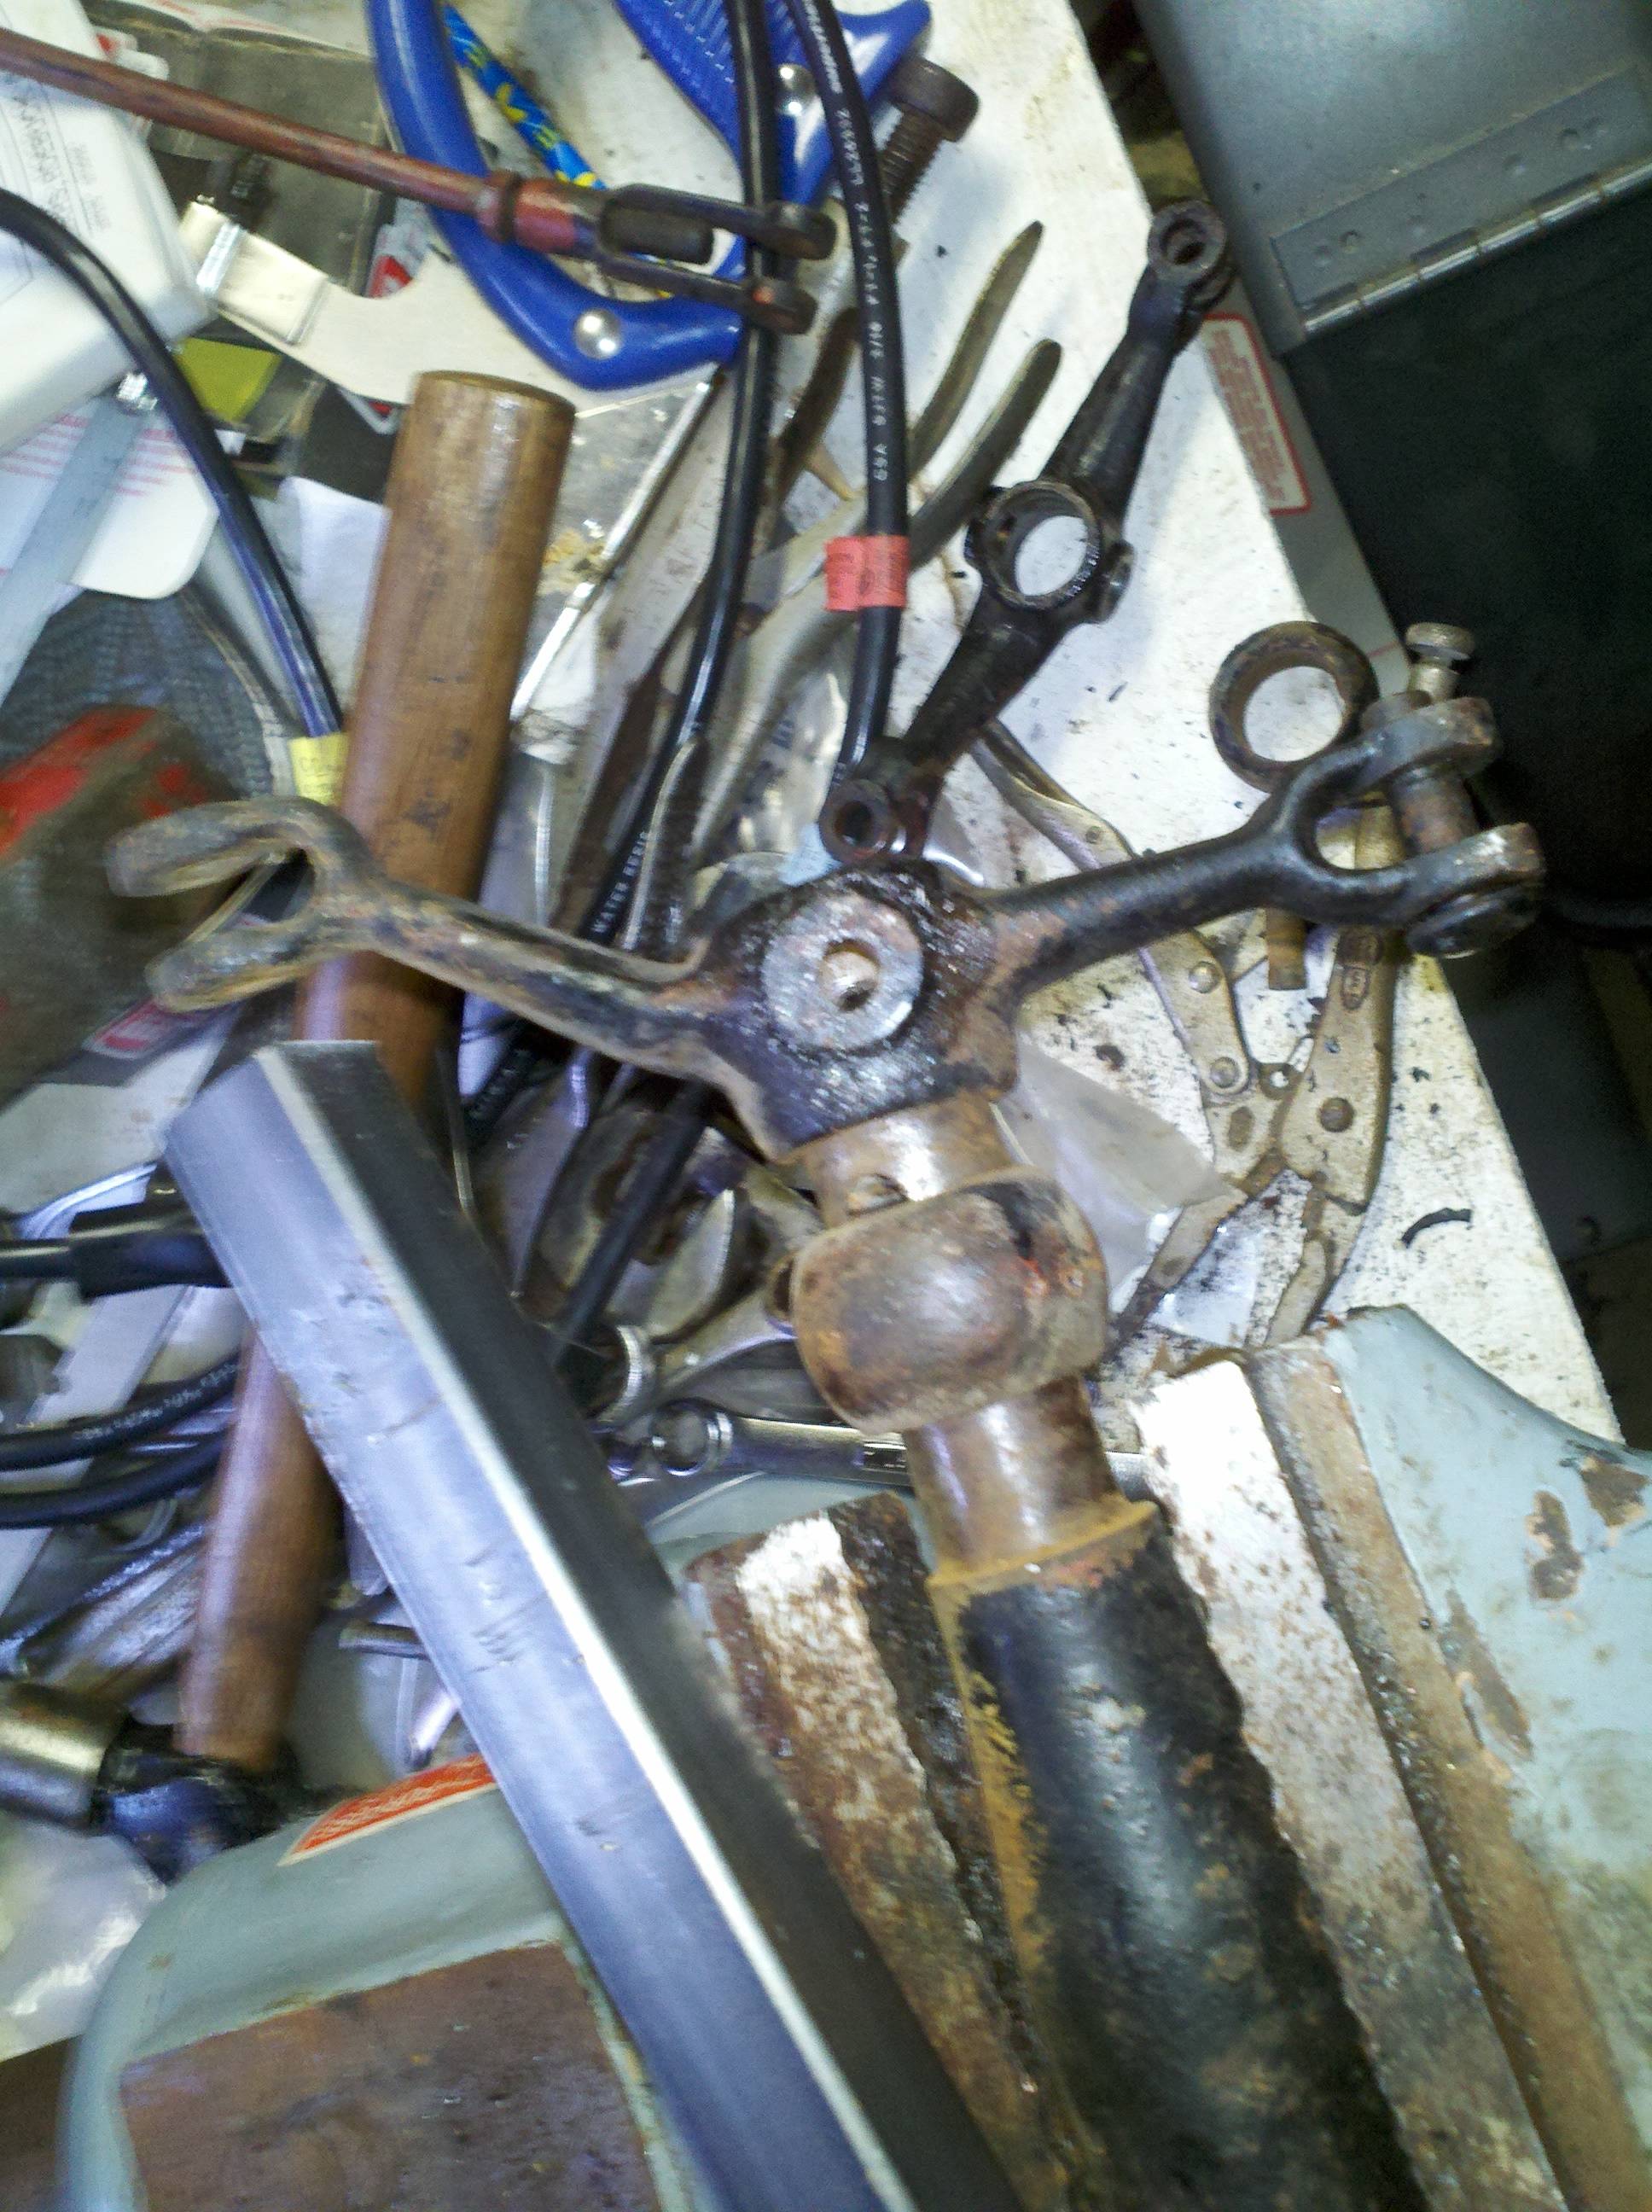
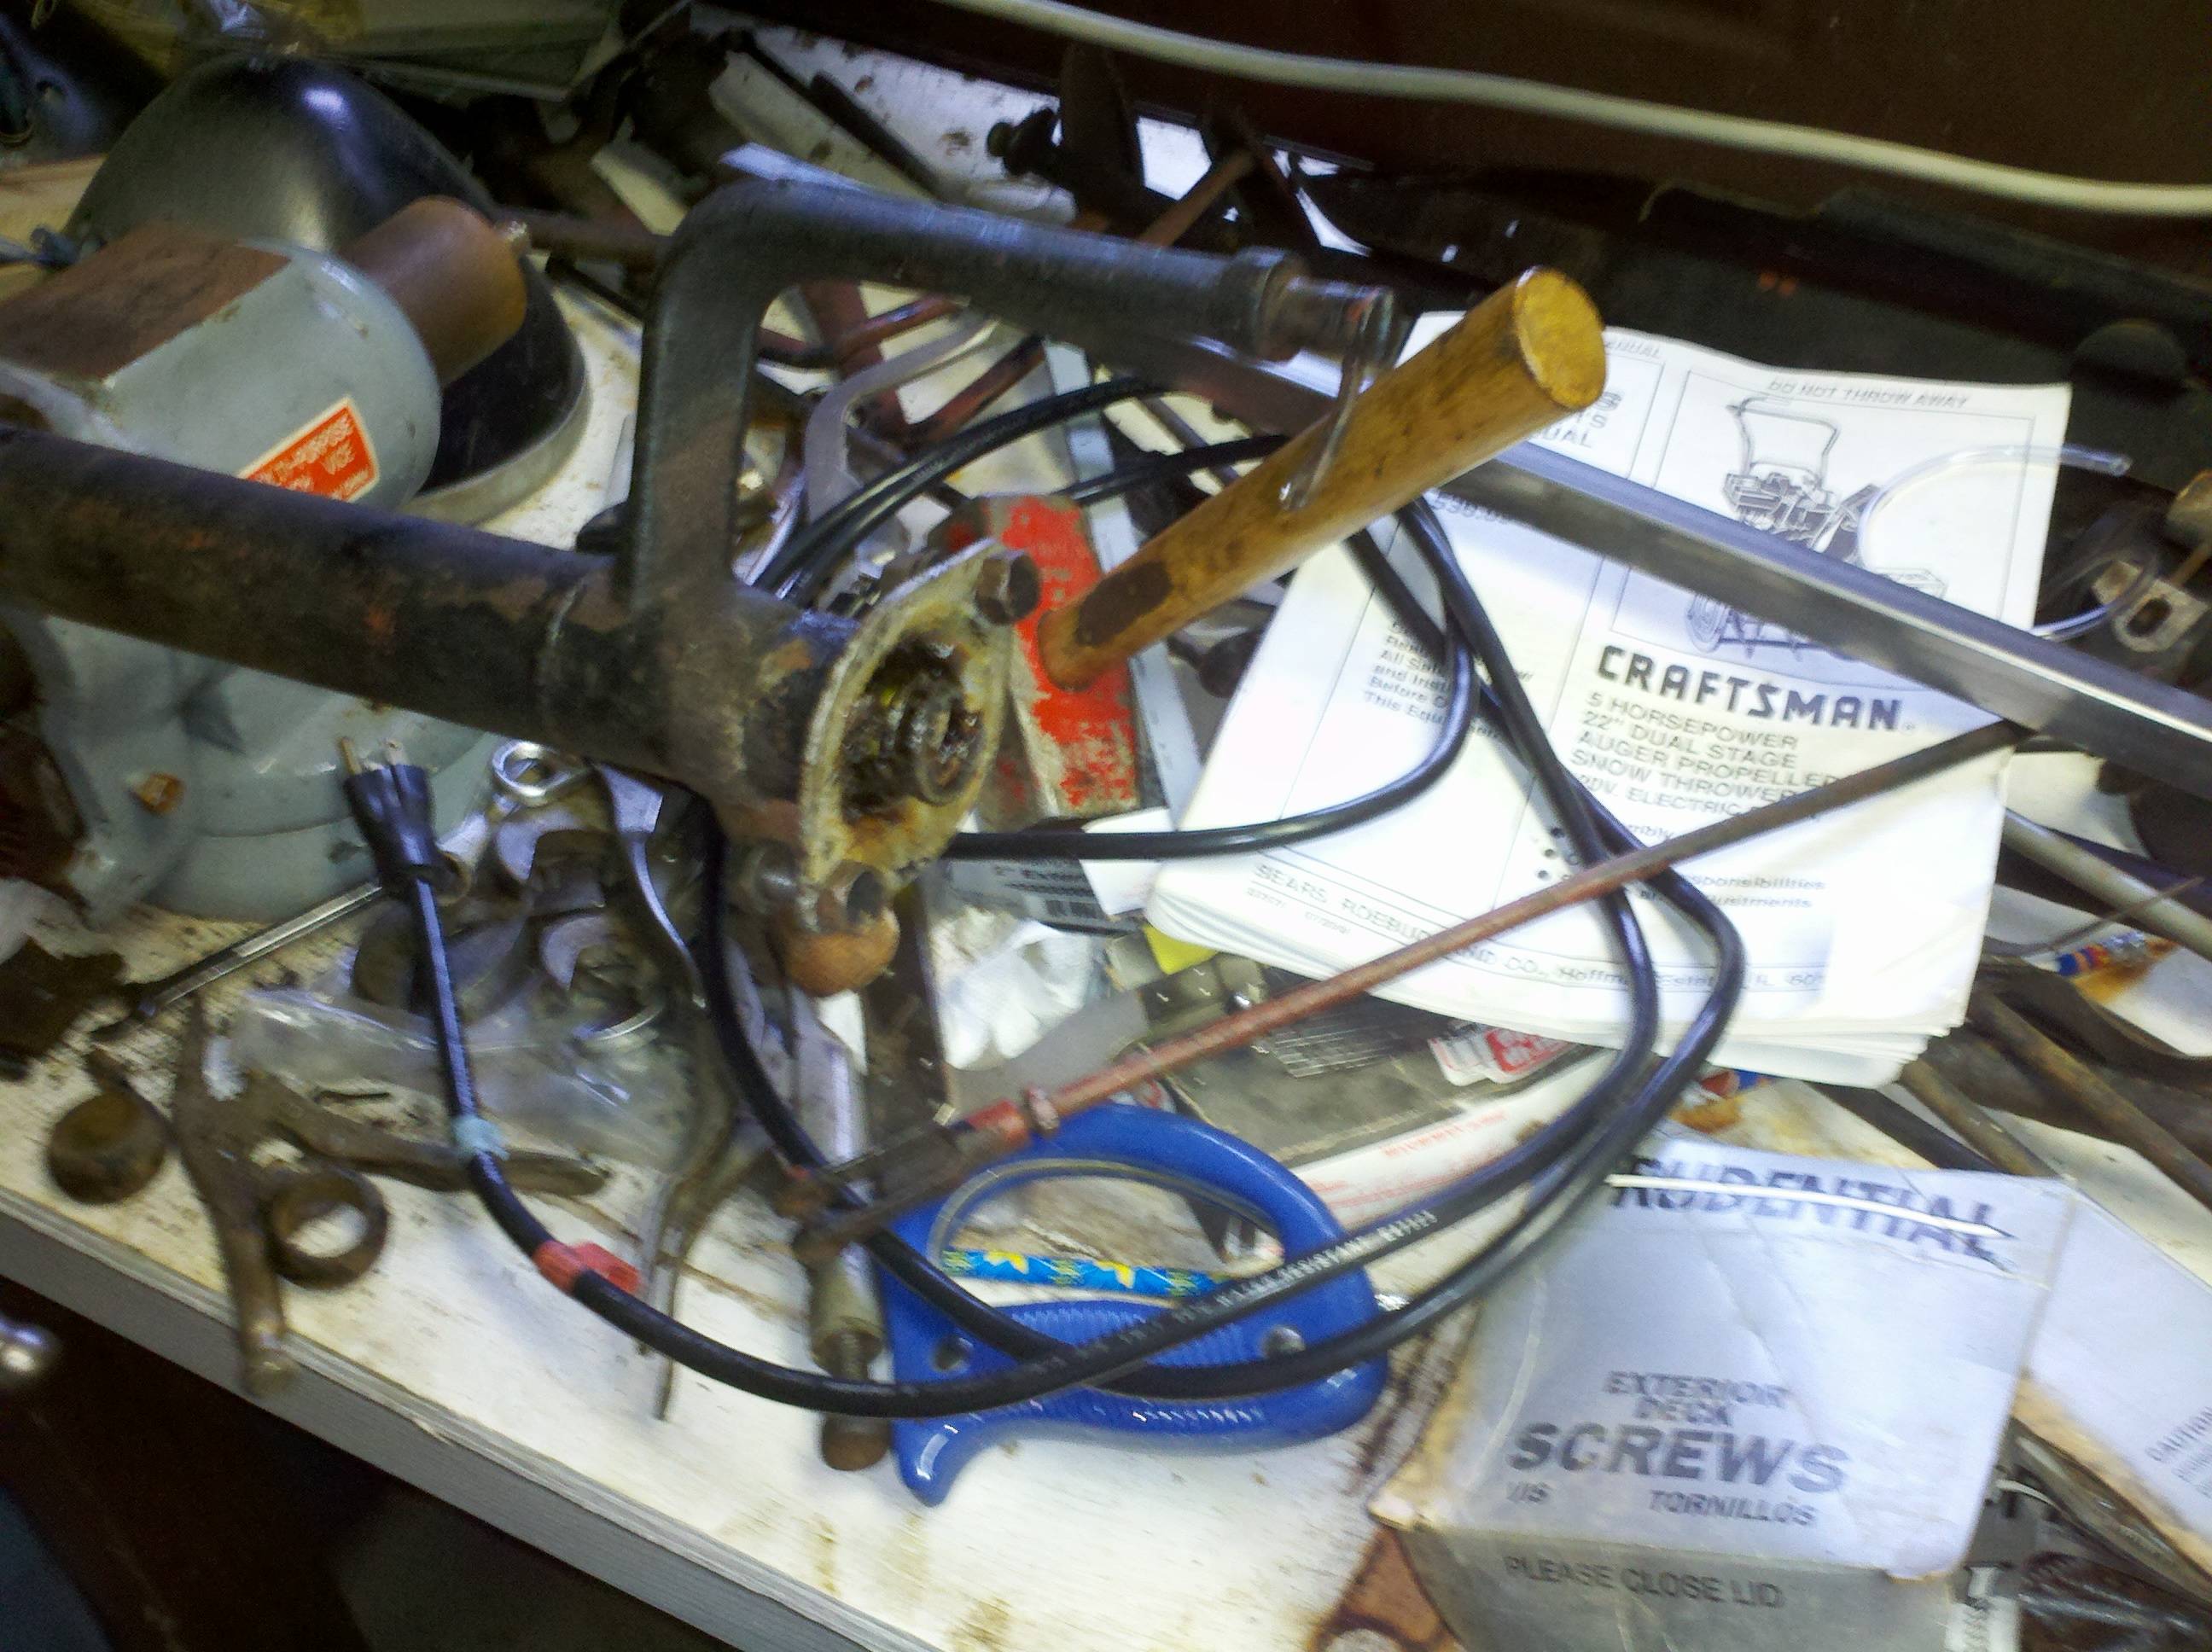
And, so I can remember later, here's the disassembly of the E-brake cross bar.

I also took the shackle bushings out of the front springs and disassembled them. Nothing special there, so no pics. I will warn you, though - the bolt hole in the front springs is not 3/8"! I'll have to buy a different piece of all-thread when I put it back together.
Started the rebuild of the rear-end today! First things first, my mom was out to help with the kids, and she helped me a bit in putting these pieces together. So, Thanks Mom! ... BTW, here birthday is the 20th, so Happy Birthday, Mom, We love you!
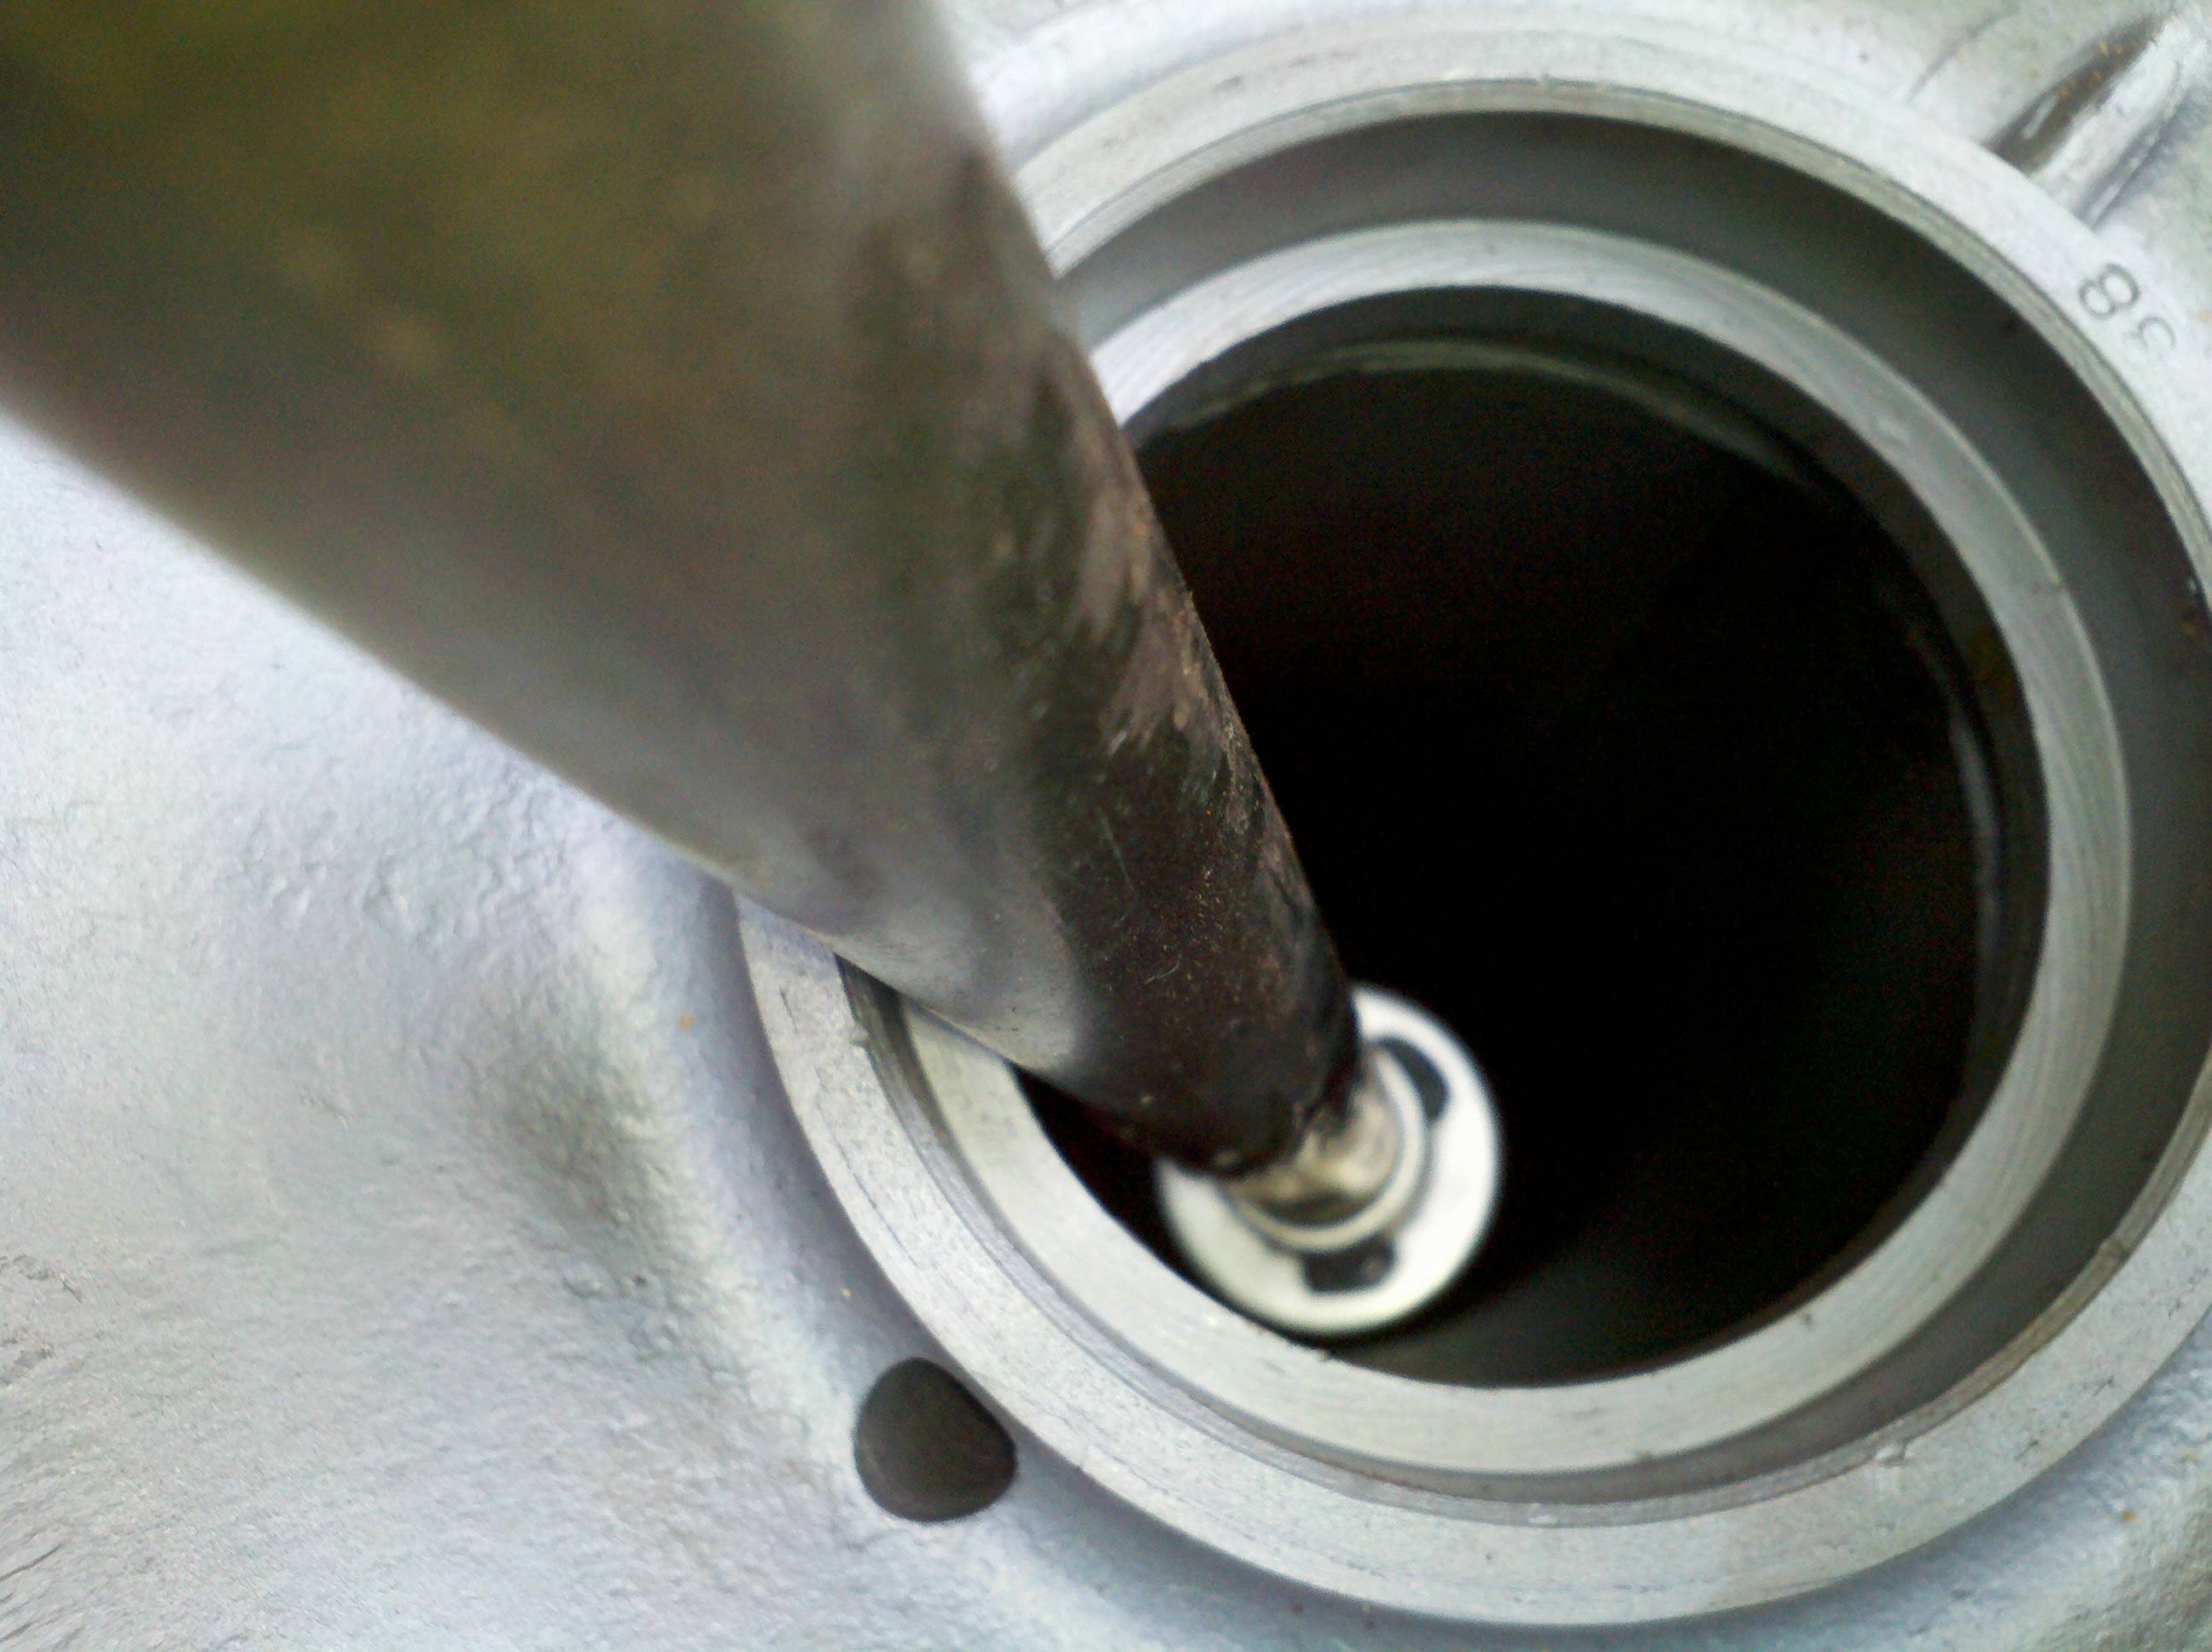
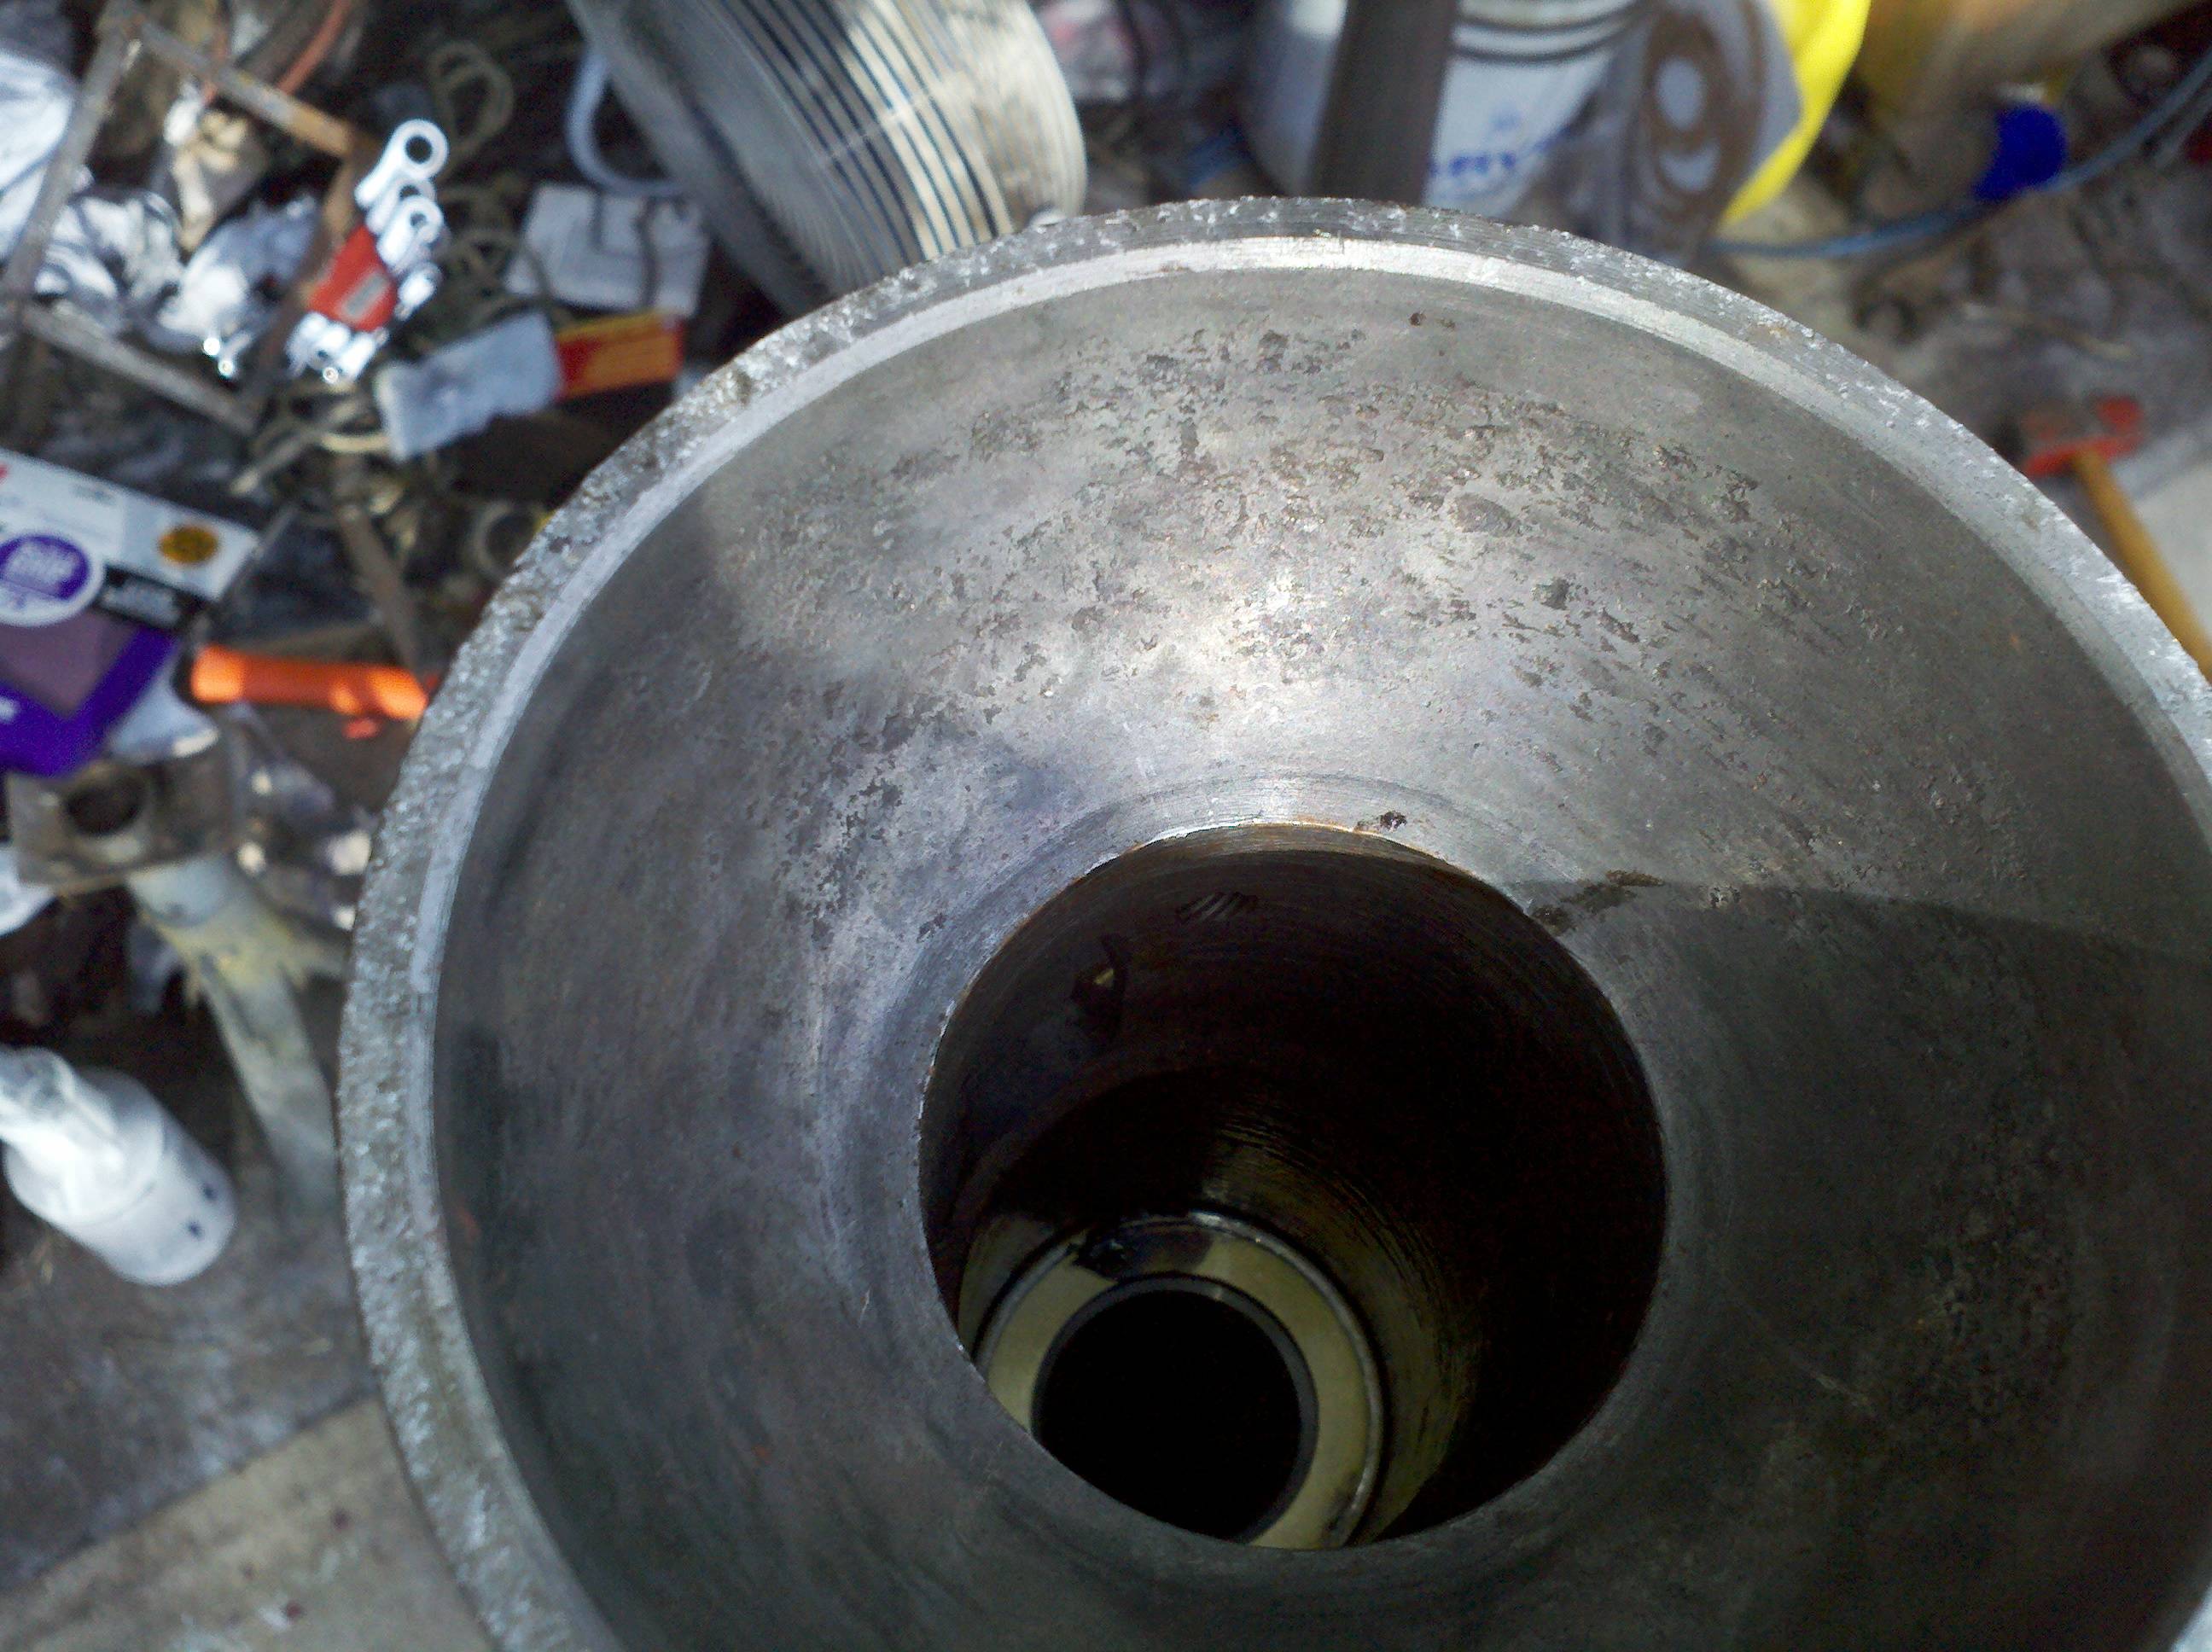
This bit happened in the middle if I recall correctly, but I'm gonna cover it first. I pulled the seal and bearing race from the torque tube. Heads up - I have had my noggin squarely inserted in my kiester this weekend. As you'll see.
Somewhere, I got it in my head that the grease seal was inserted and removed from the differential end of the torque tube. Well, that was wrong (duh), and I dunno why I was thinking that, especially since I'd read Tom Endy's Differential Seminar several times before doing ay of this. Yes, I'm an idiot, but you already knew that... So, there I was, trying to knock the seal out from the front, when my mom looks at the torque tube and says something to the effect of "are you sure it doesn't come out the other way? This looks like is narrows down - I'll bet it comes out the other way." A discussion ensued, where I told her I was pretty sure it came out the other way. After taking a few more whacks, I thunk about it a bit, and went & looked the seminar back up. Mom was right >.<. Yes, I was wr... wrrr... wrroo... I was incorrect. ;p
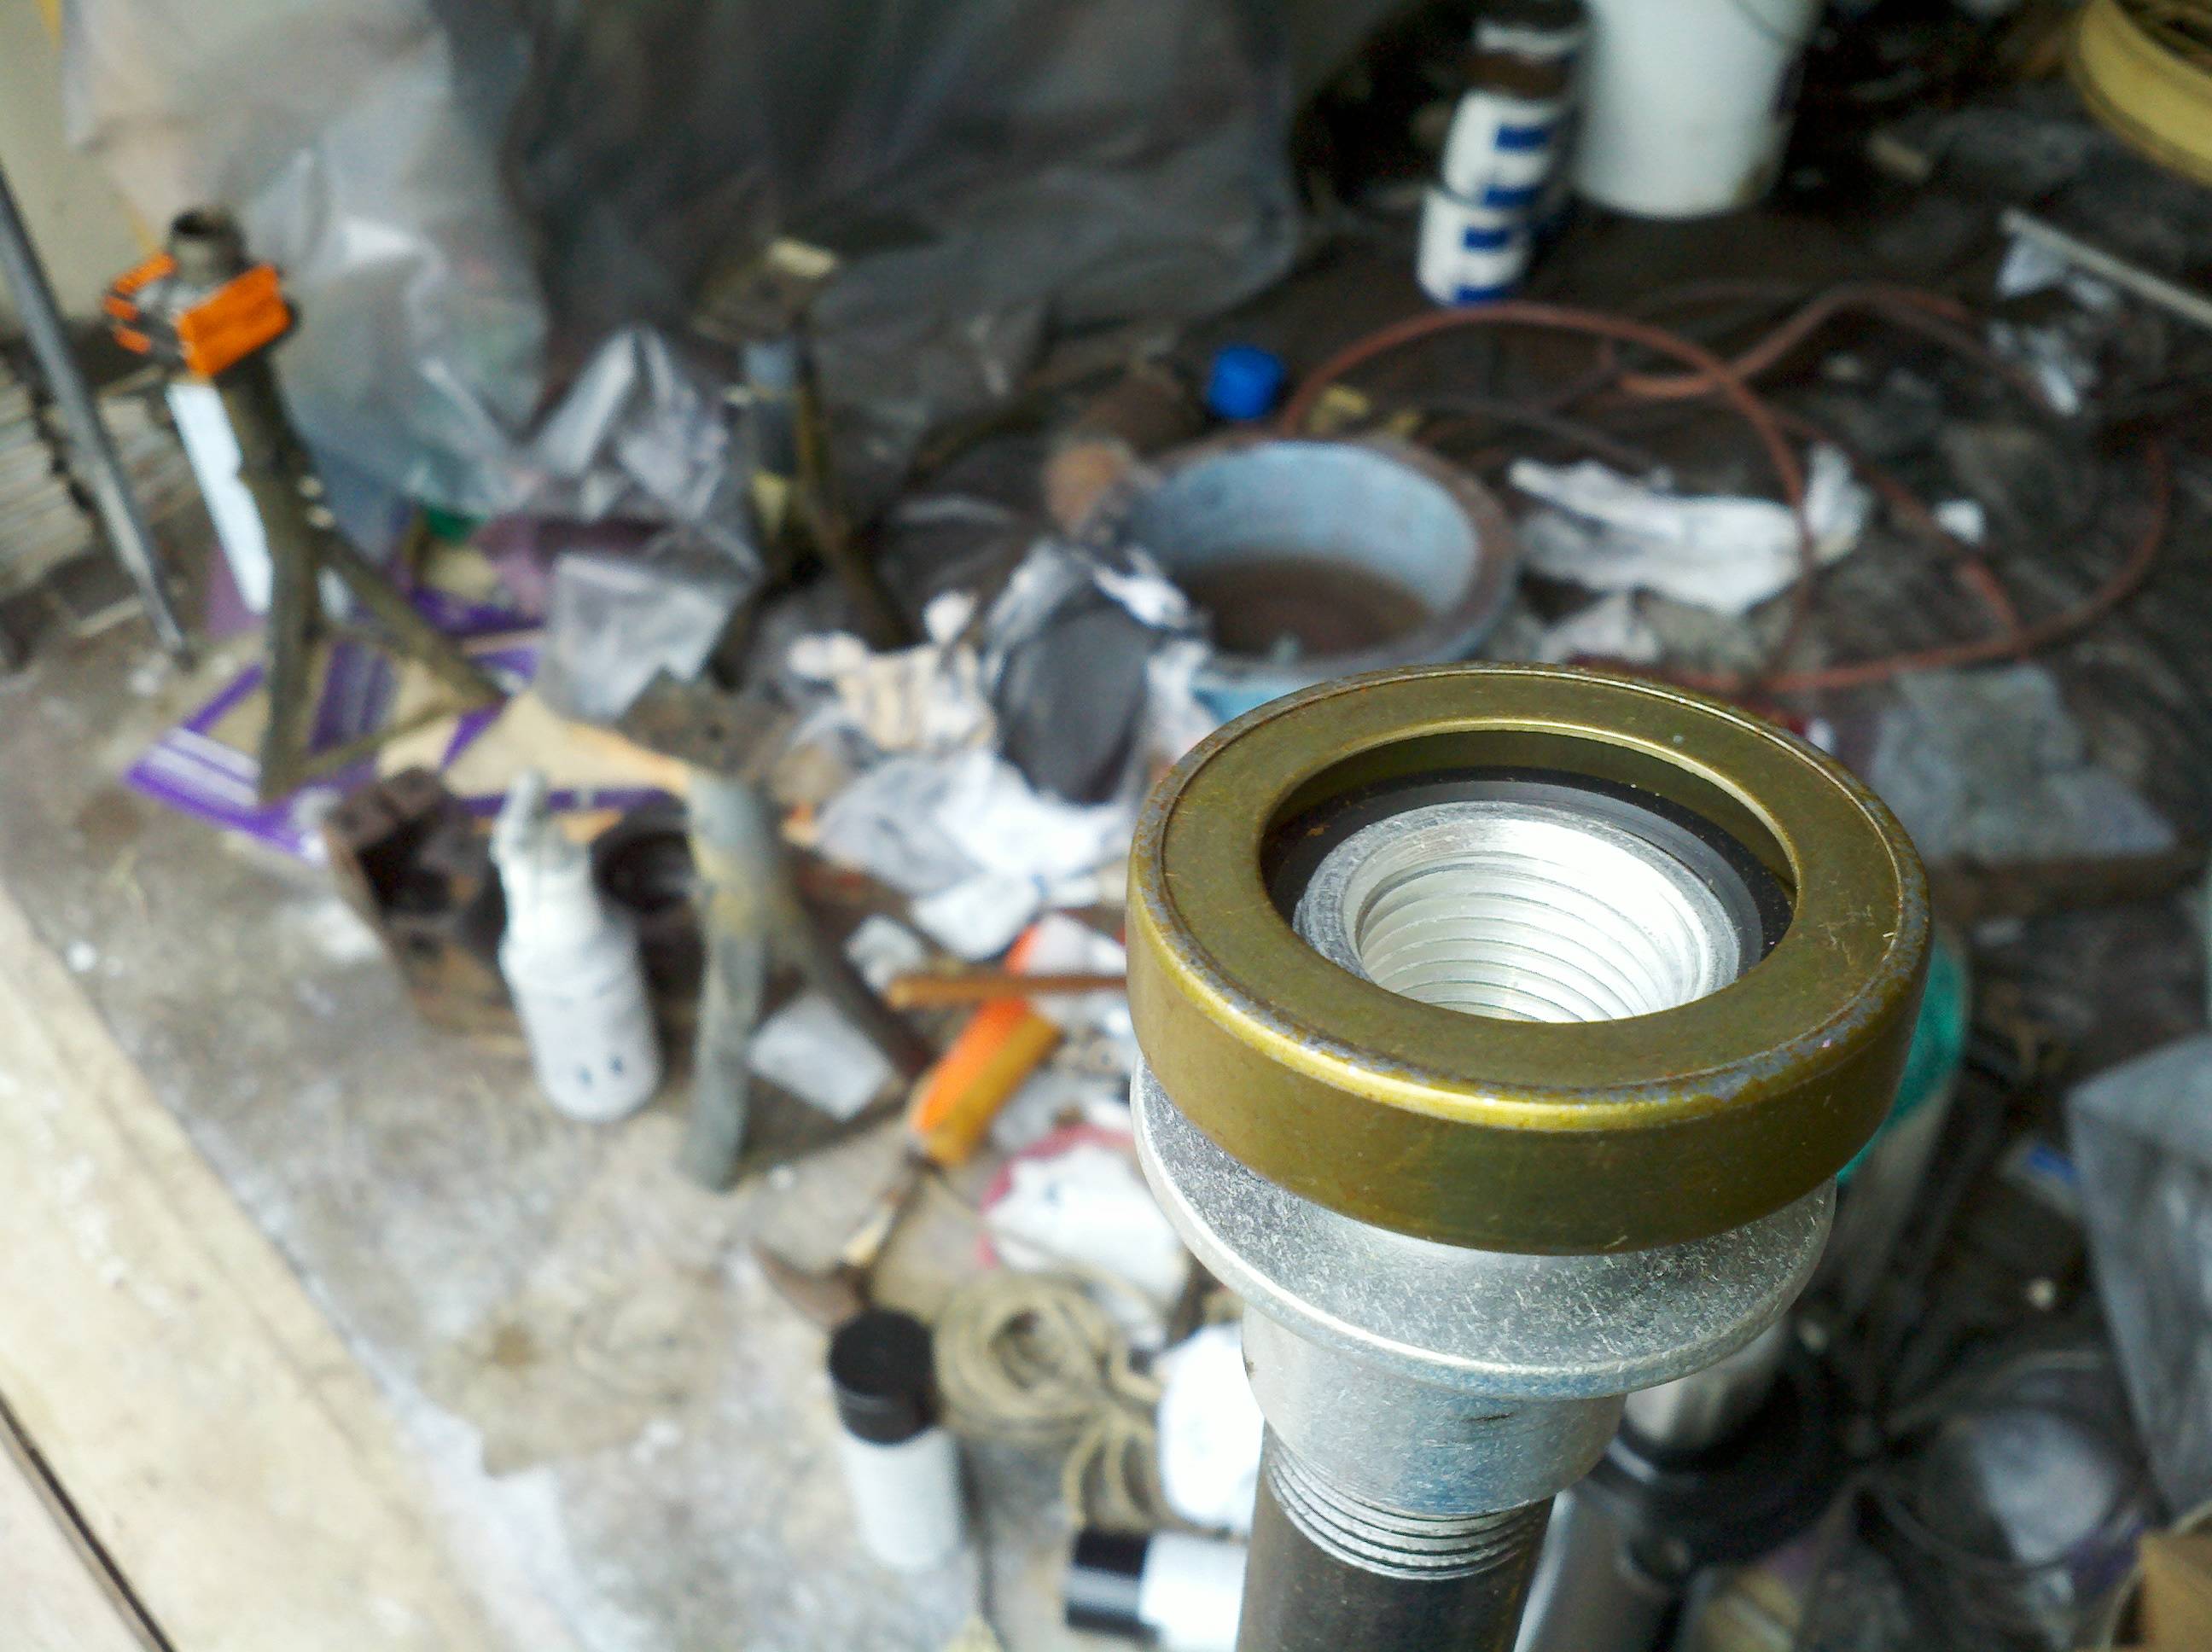
Follwed the directions in the seminar, and had the race and seal out in less than 5 minutes. And most of that was finding the correct socket. Follow the advice about puttng a rag over the end of the tube - the bearing pops out pretty well.
Once the bearing was out, it only took a minute or two to put the new seal in. I'm wondering about the race, though. I don't have a picture handy, but it's not perfect. I've read in multiple places to use the original if possible, better metal, better gap, etc, etc, etc... On the other hand, a new one is only $2 and shipping. And I might be able to stop by Bratton's to pick one up, so maybe no shipping. Hermm... Decisions, decisions. I'll get back to you on that later.
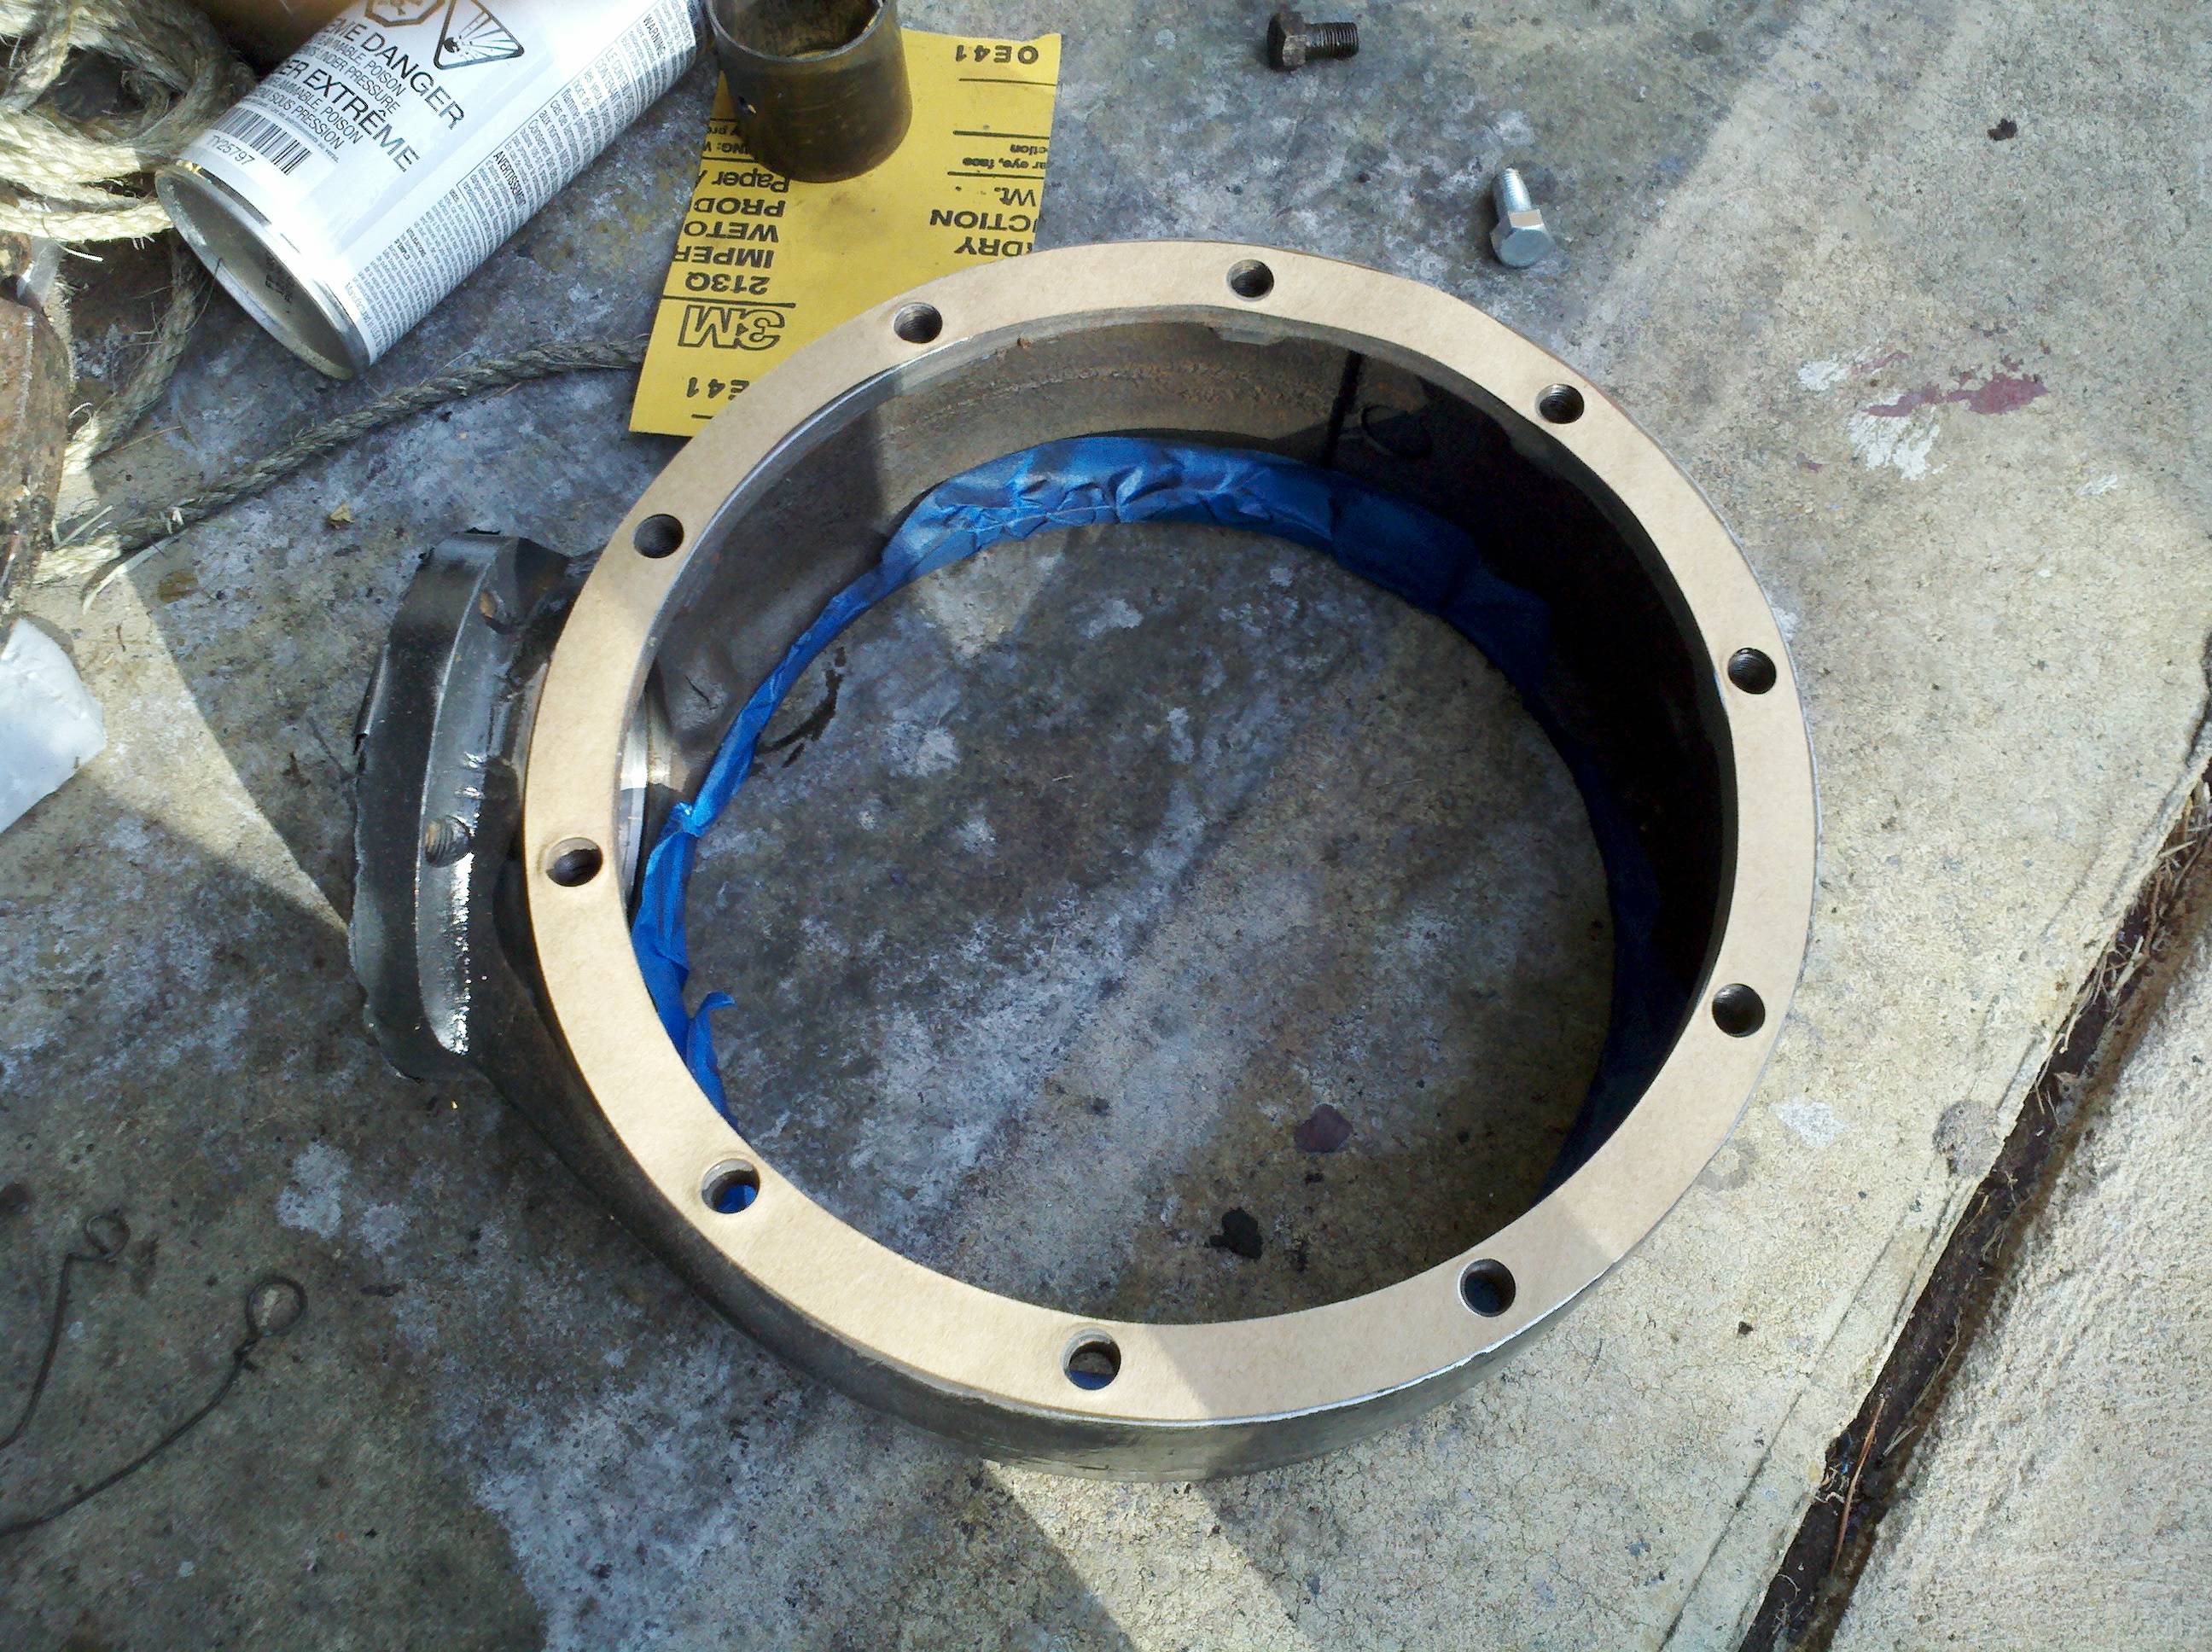
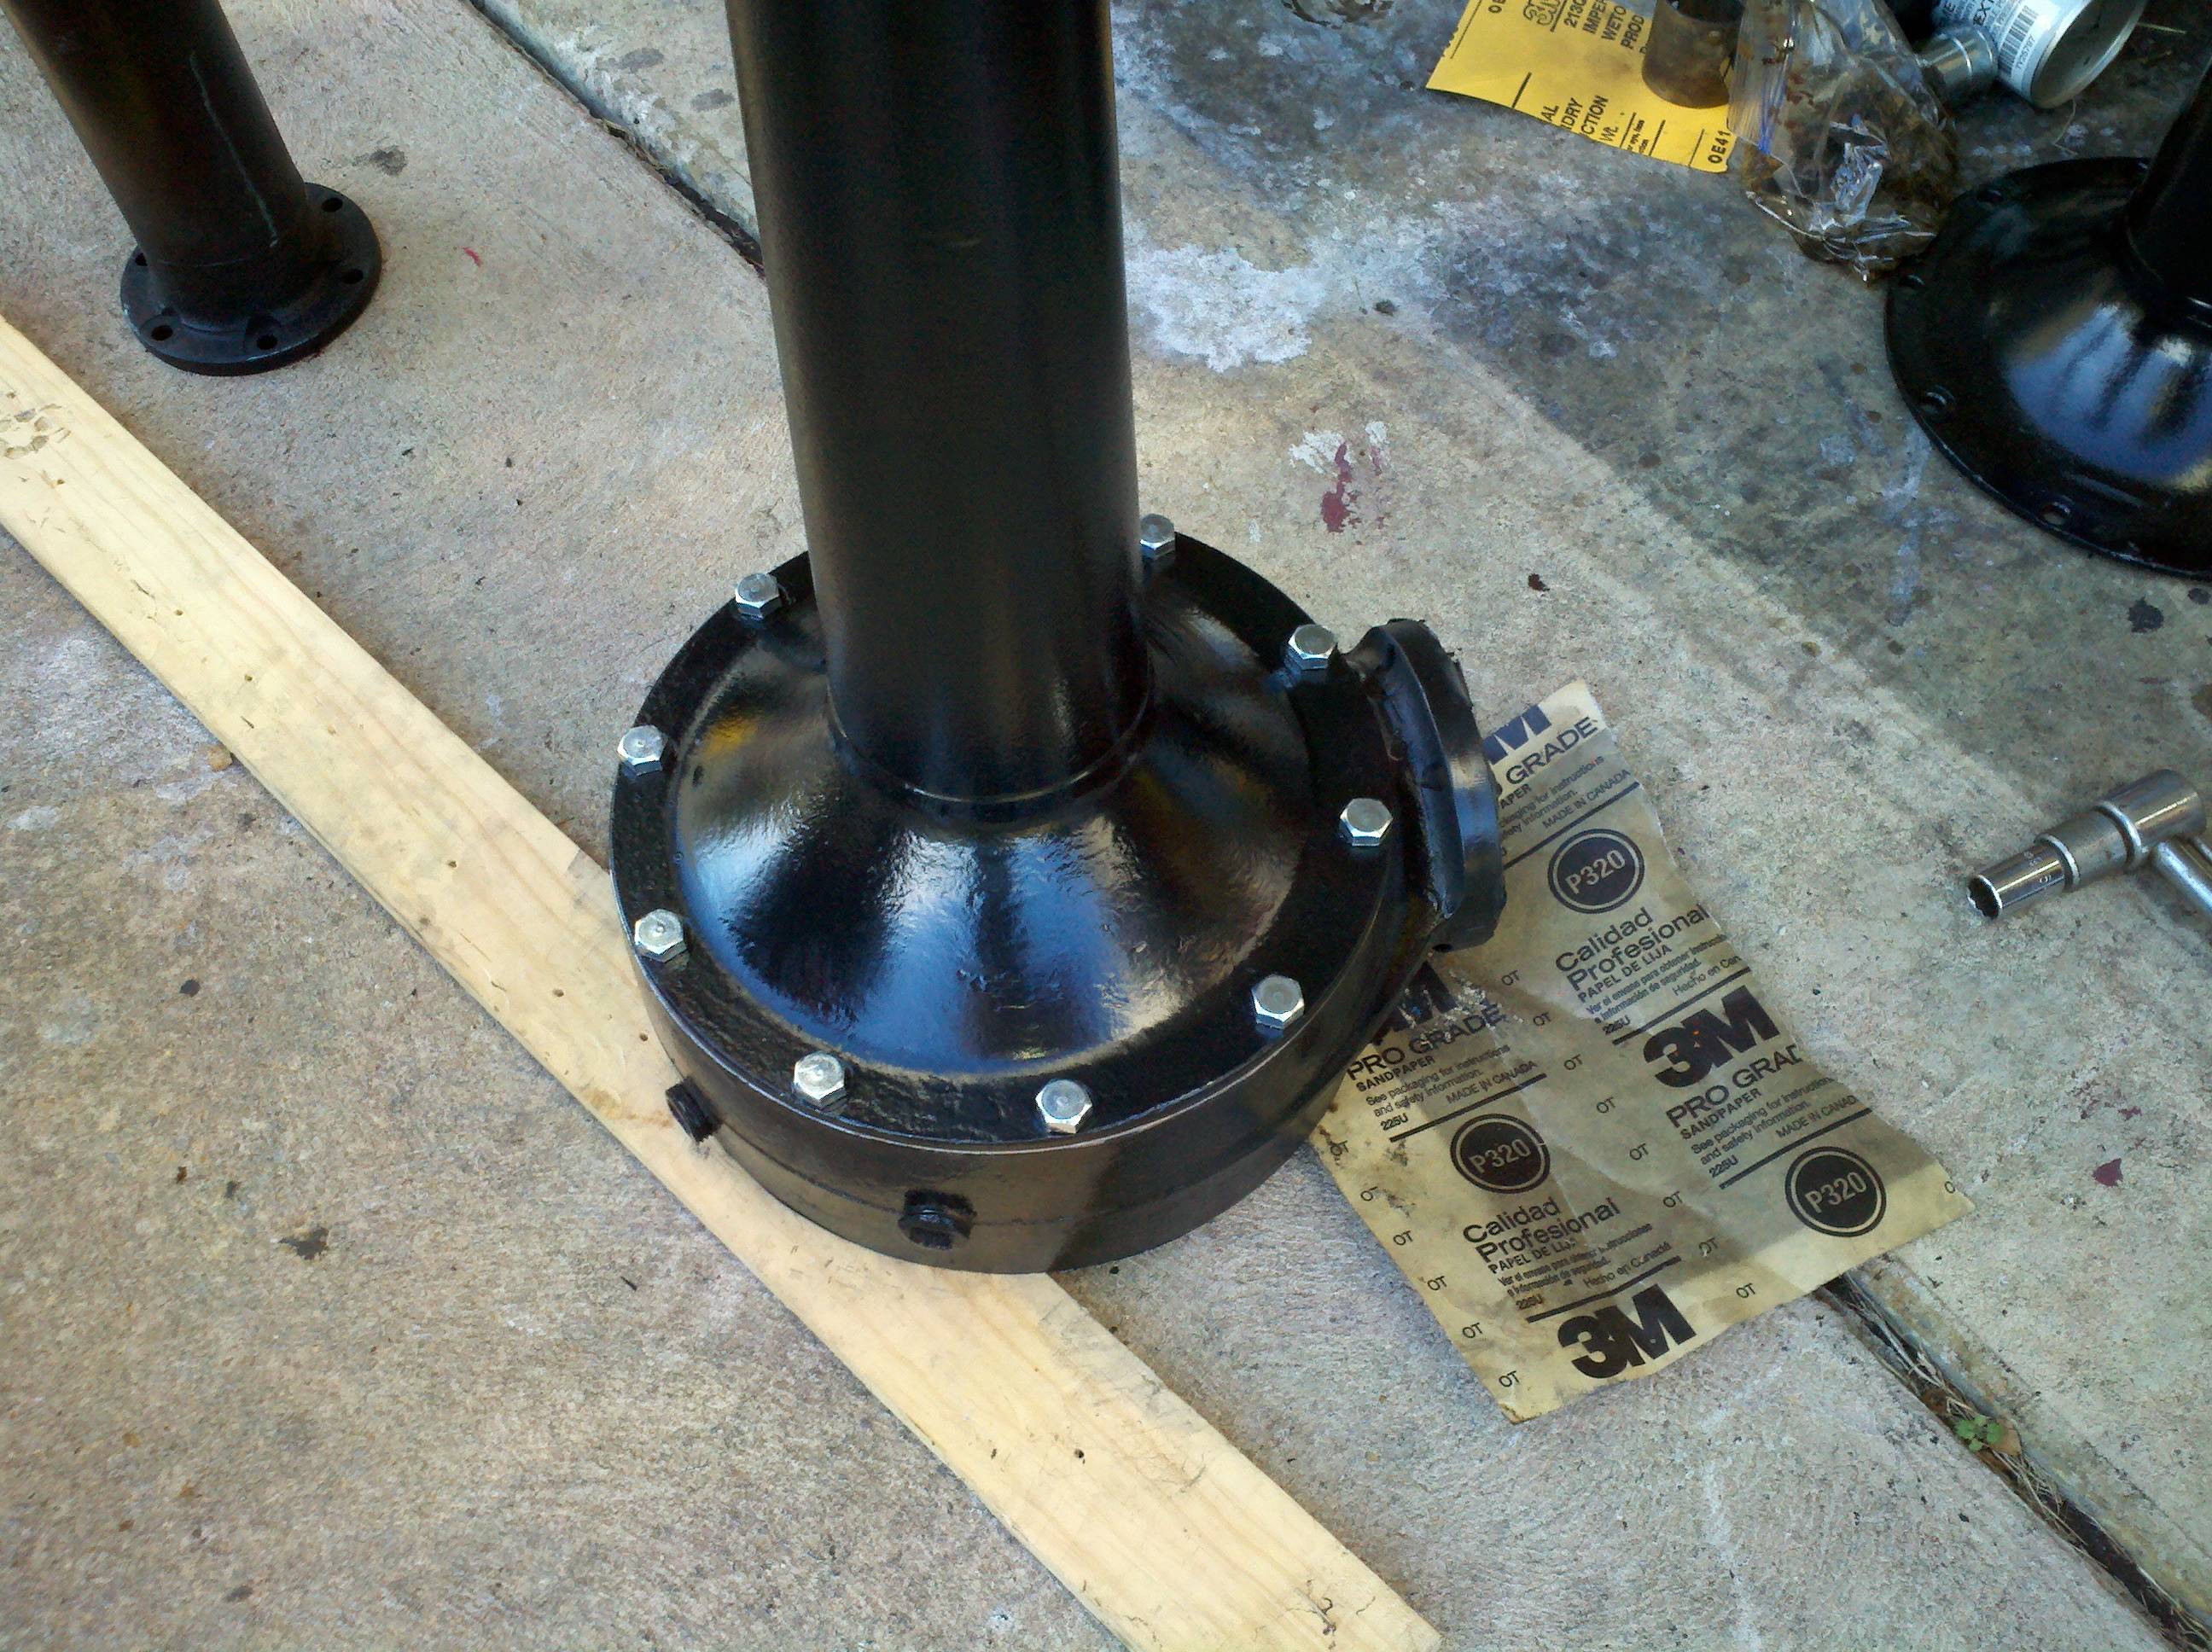
That's out of the way, then, so on with the show! Today's big effort was getting the rear-end partially assembled to get ready for the differential, etc. Mom helped me with this mess, so you'll see her hands in there every now & then. First bit of business was to clean off some surface rust that had formed since I had everything cleaned. Some 320- and 600 grit sandpaper took care of this nicely. Next was to insert the race for the carrier bearing. I don't have shop press, so I fell back on a technique I've used on many, many (I wouldn't go so far as to say a hundred, but certainly several dozen) bearings over the years - a heavy hammer and a brass drift. The brass drift bit is important - you need to use a metal that's softer than the bearing material, or you can create a dent/ridge that will ruin the bearings themselves! Basically, very carefully set the bearing/race into place, and then tap it. First on one side, and then on the other. It will rock back and forth, and walk its way down into its pocket until it seats. I used some picks to make sure I had it fully seated... A quick note - I did not install shims behind the races. I installed them behind the carrier bearings, and for a good reason - easier to remove & reinstall! We'll talk about that later...
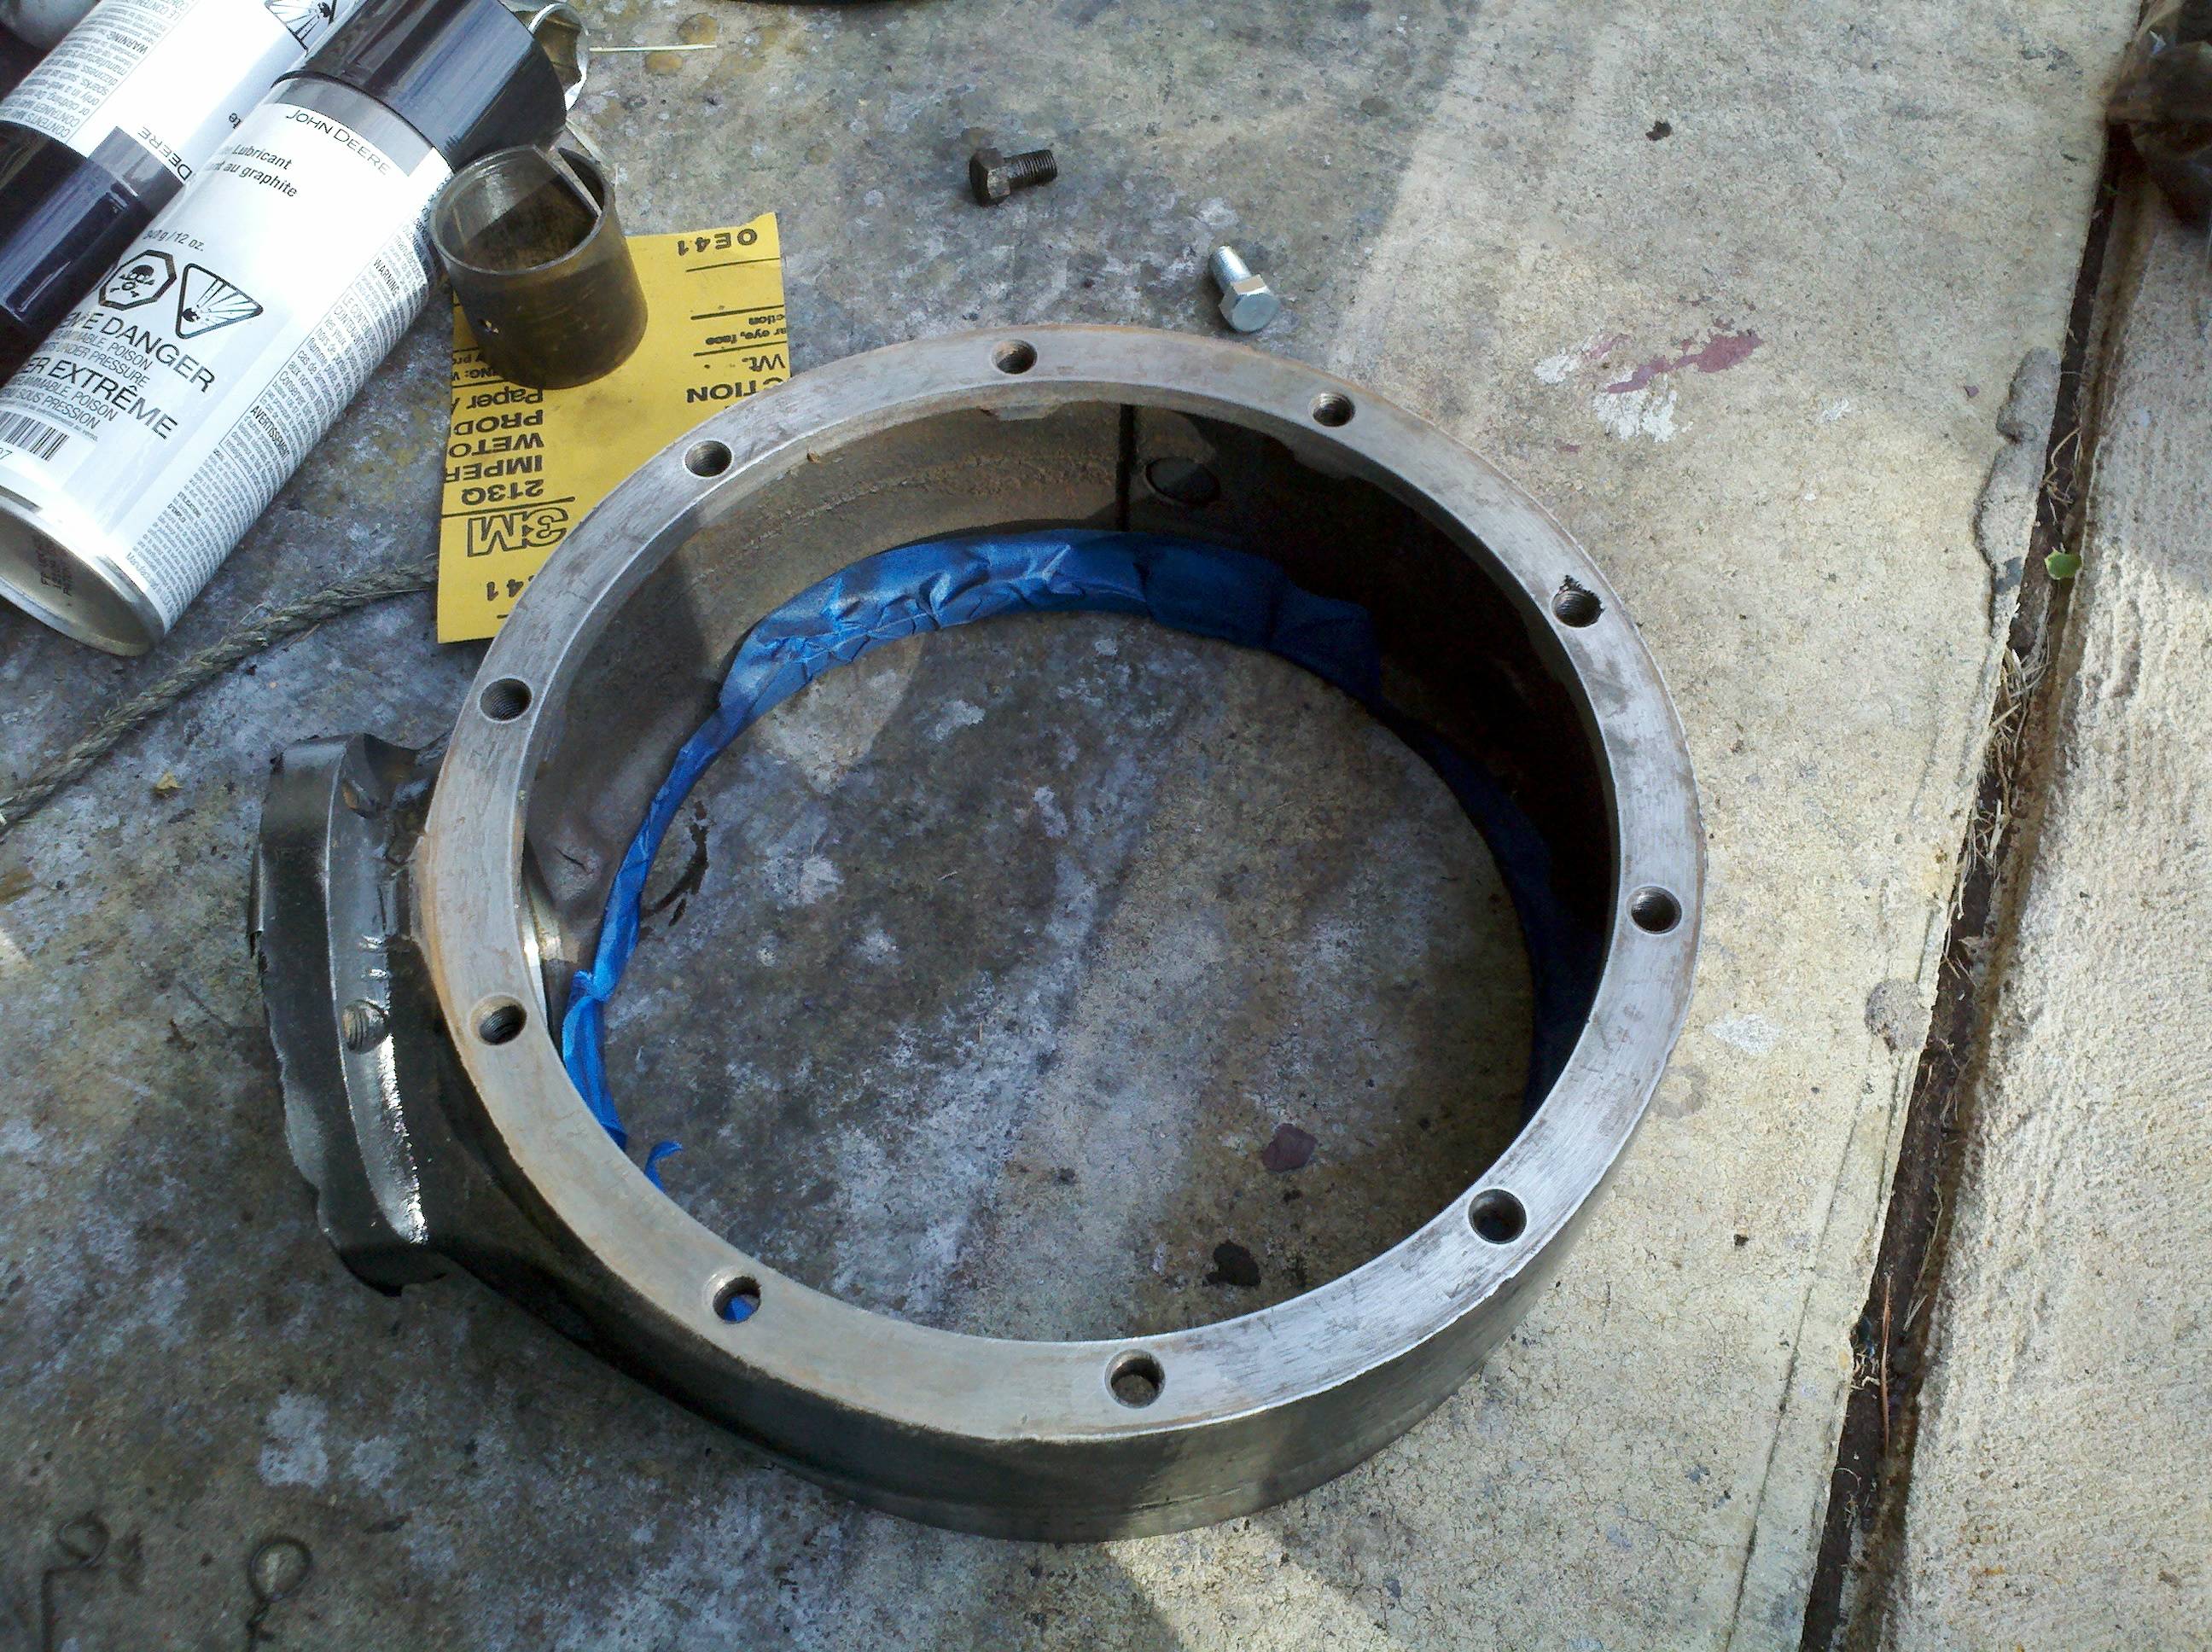
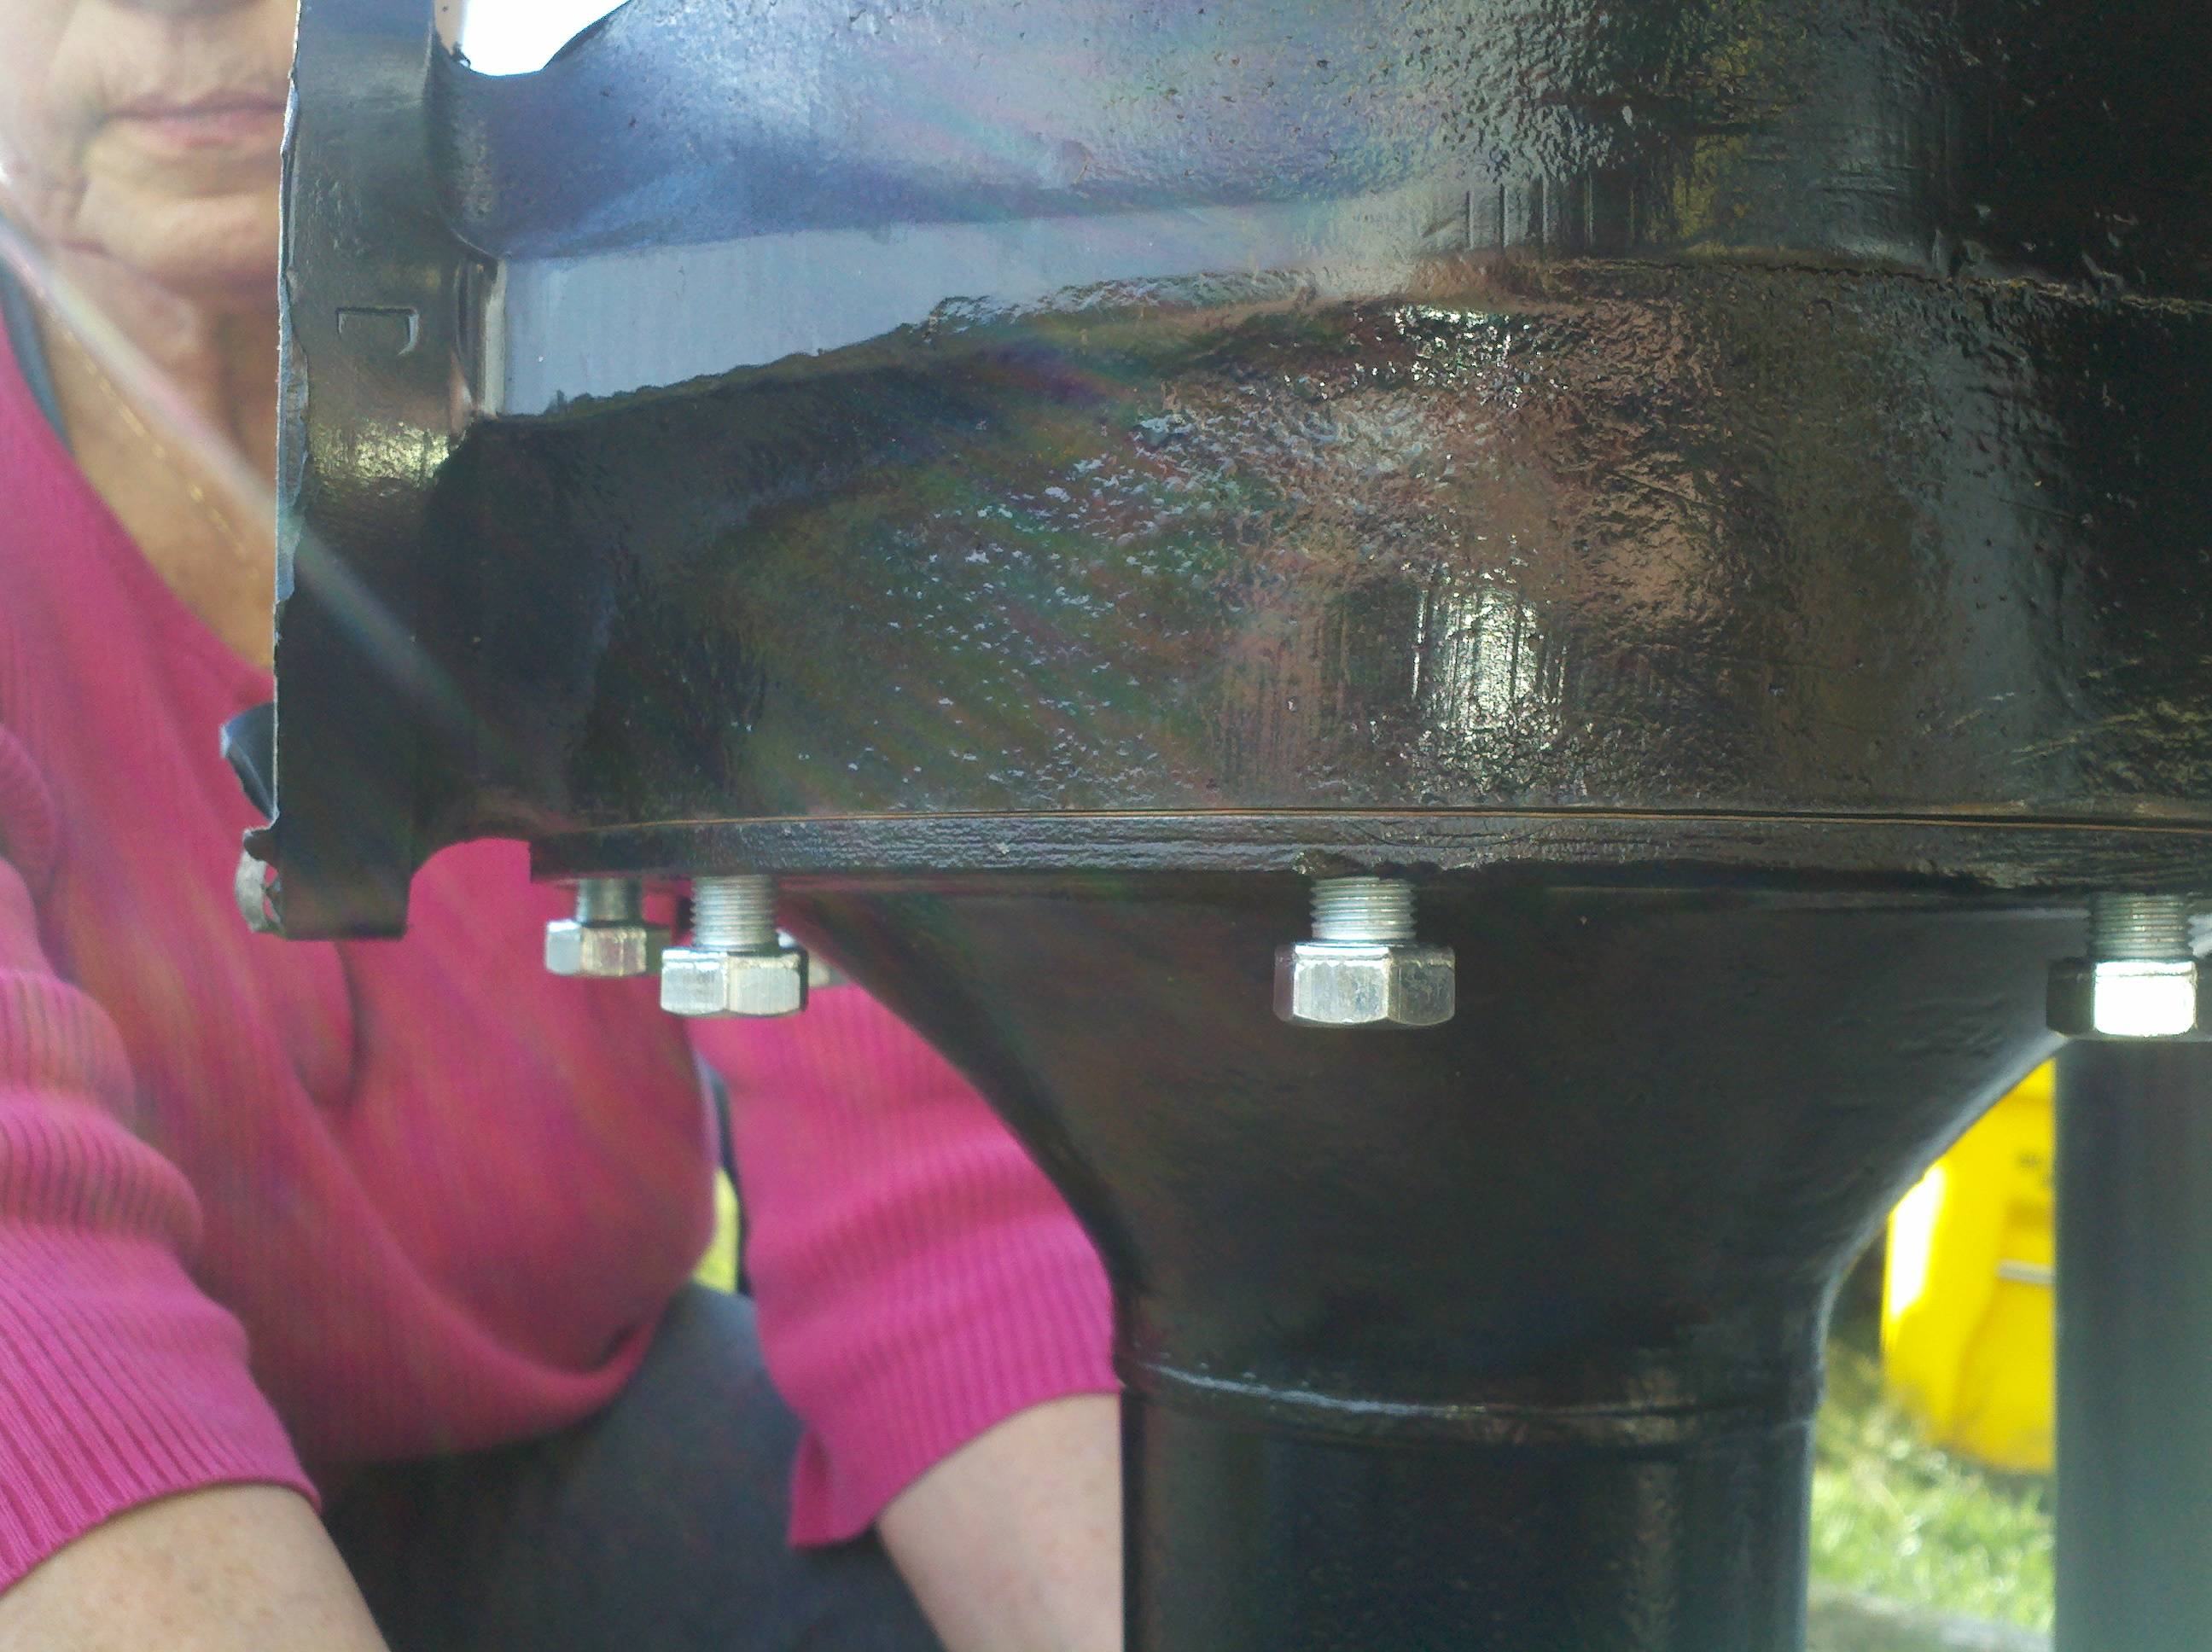
Next, we installed the rght-side housing onto the banjo. I measured the banjo gaskets (always verify, right?) - they were eahch 10 mils. The picture shows it setting on the banjo, but it only took a couple of tries to figure out it was easier to put it on the axle housing, and hten lower the banjo down - especially since it was a bit windy today (the ridge on the axle housing holds the gasket in place). Interesting to note - the gasket barely fit. What I mean is that it took a lot of effort to very carefully fit the gasket around the ridge on the axle housing. In the end, it was all puckered up, but went on fine without any tears (best I could tell)... Mom held the housings in place while I applied my old-style torque wrench, and gradually set them all at 35 ft-lbs. Remember, kids, always apply pressure evenly. My rule of thumb is to work in thrds, and go back and forth across whatever it is you're fastening. By doing this, you ensure a flat mating surface (no puckers), and you help ensure a seal won' get pinched, be blown, and so on...
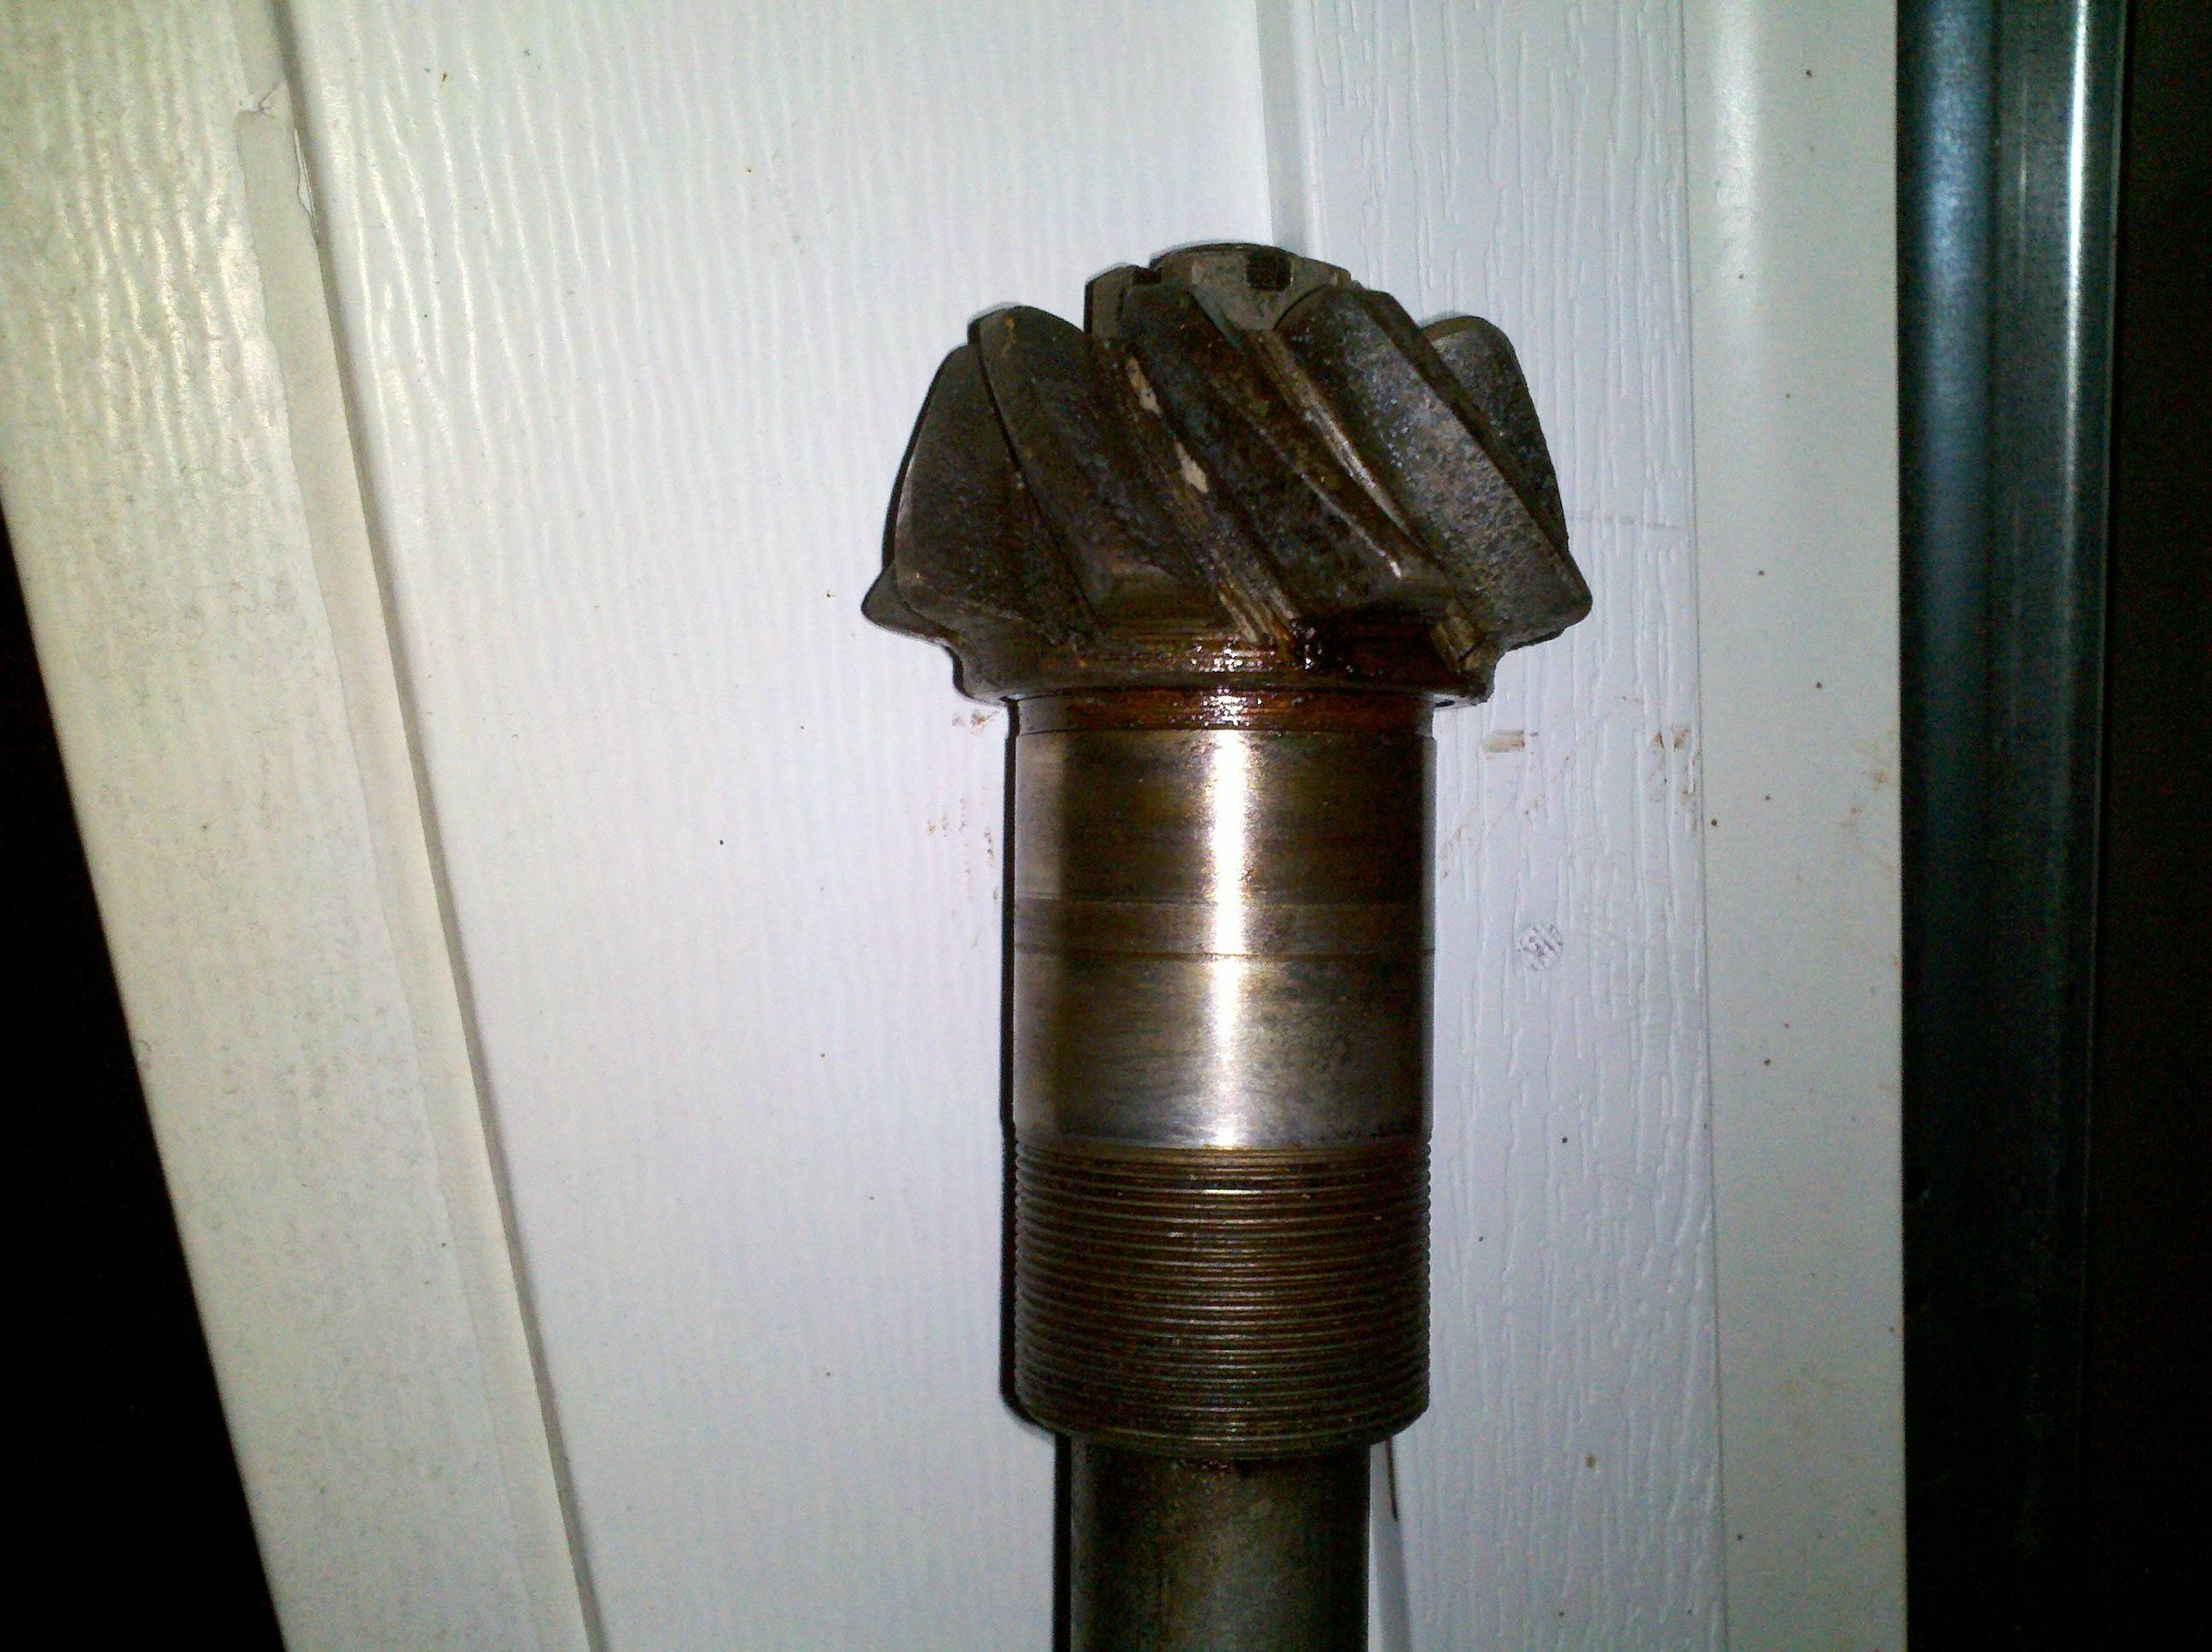
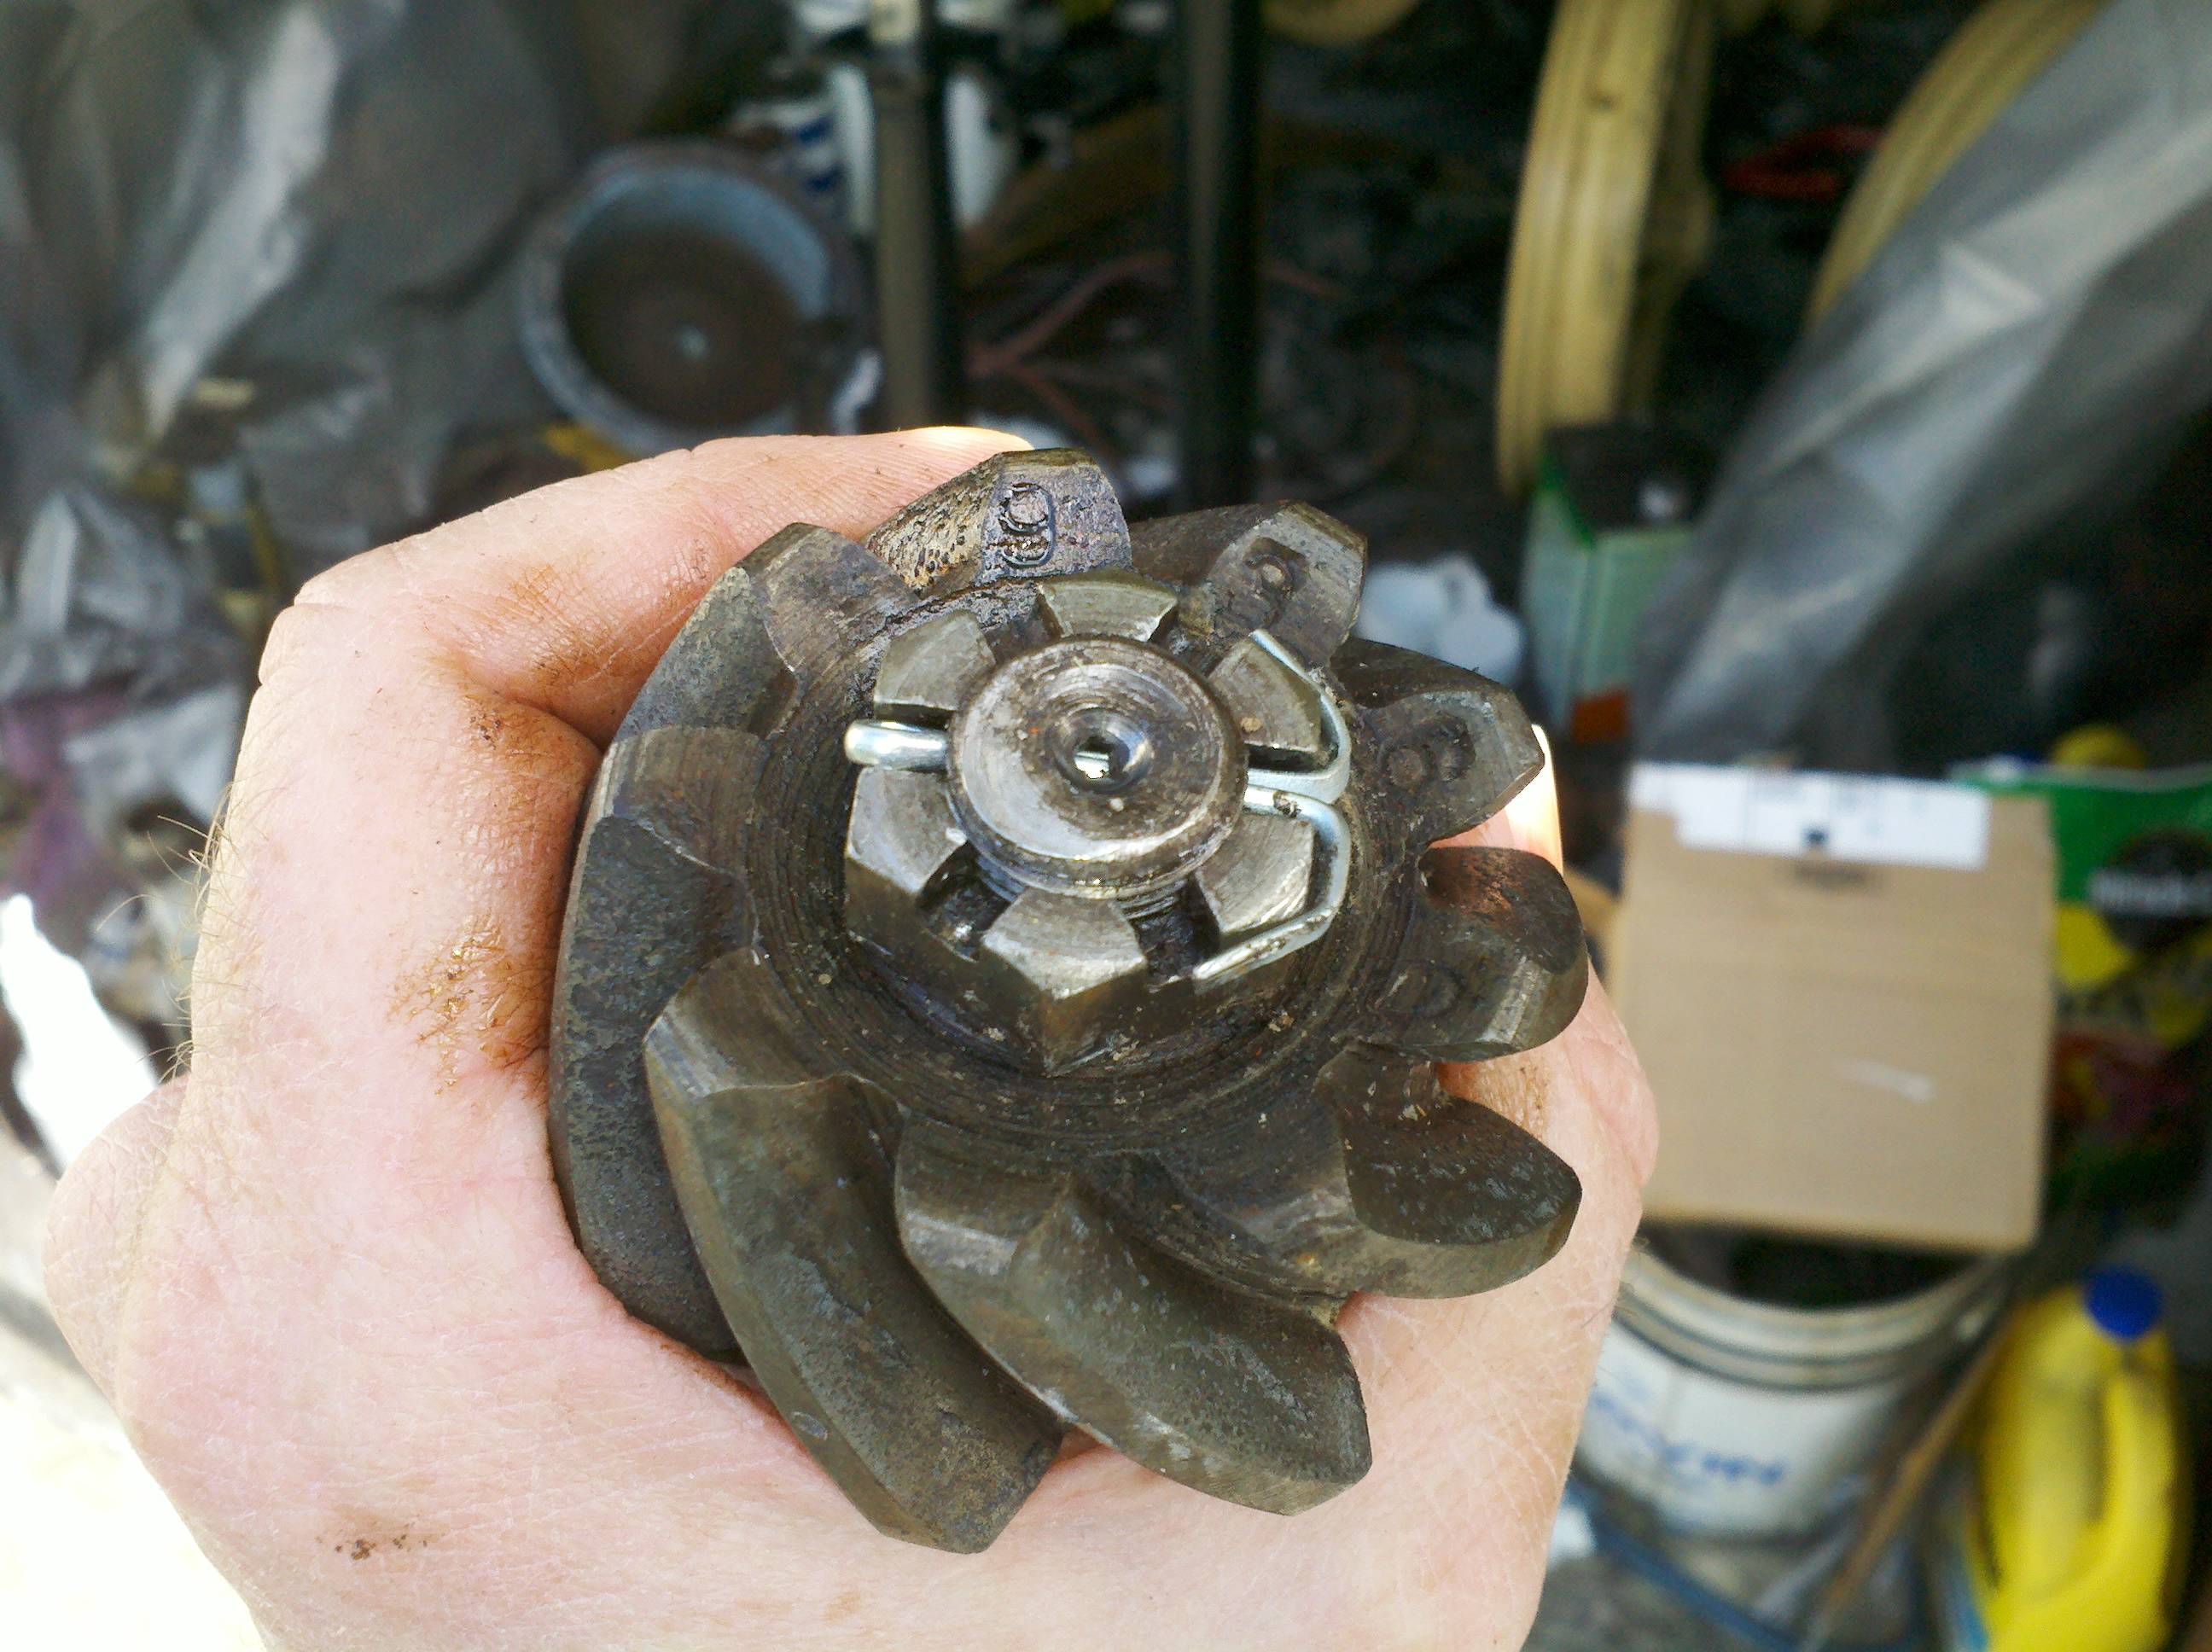
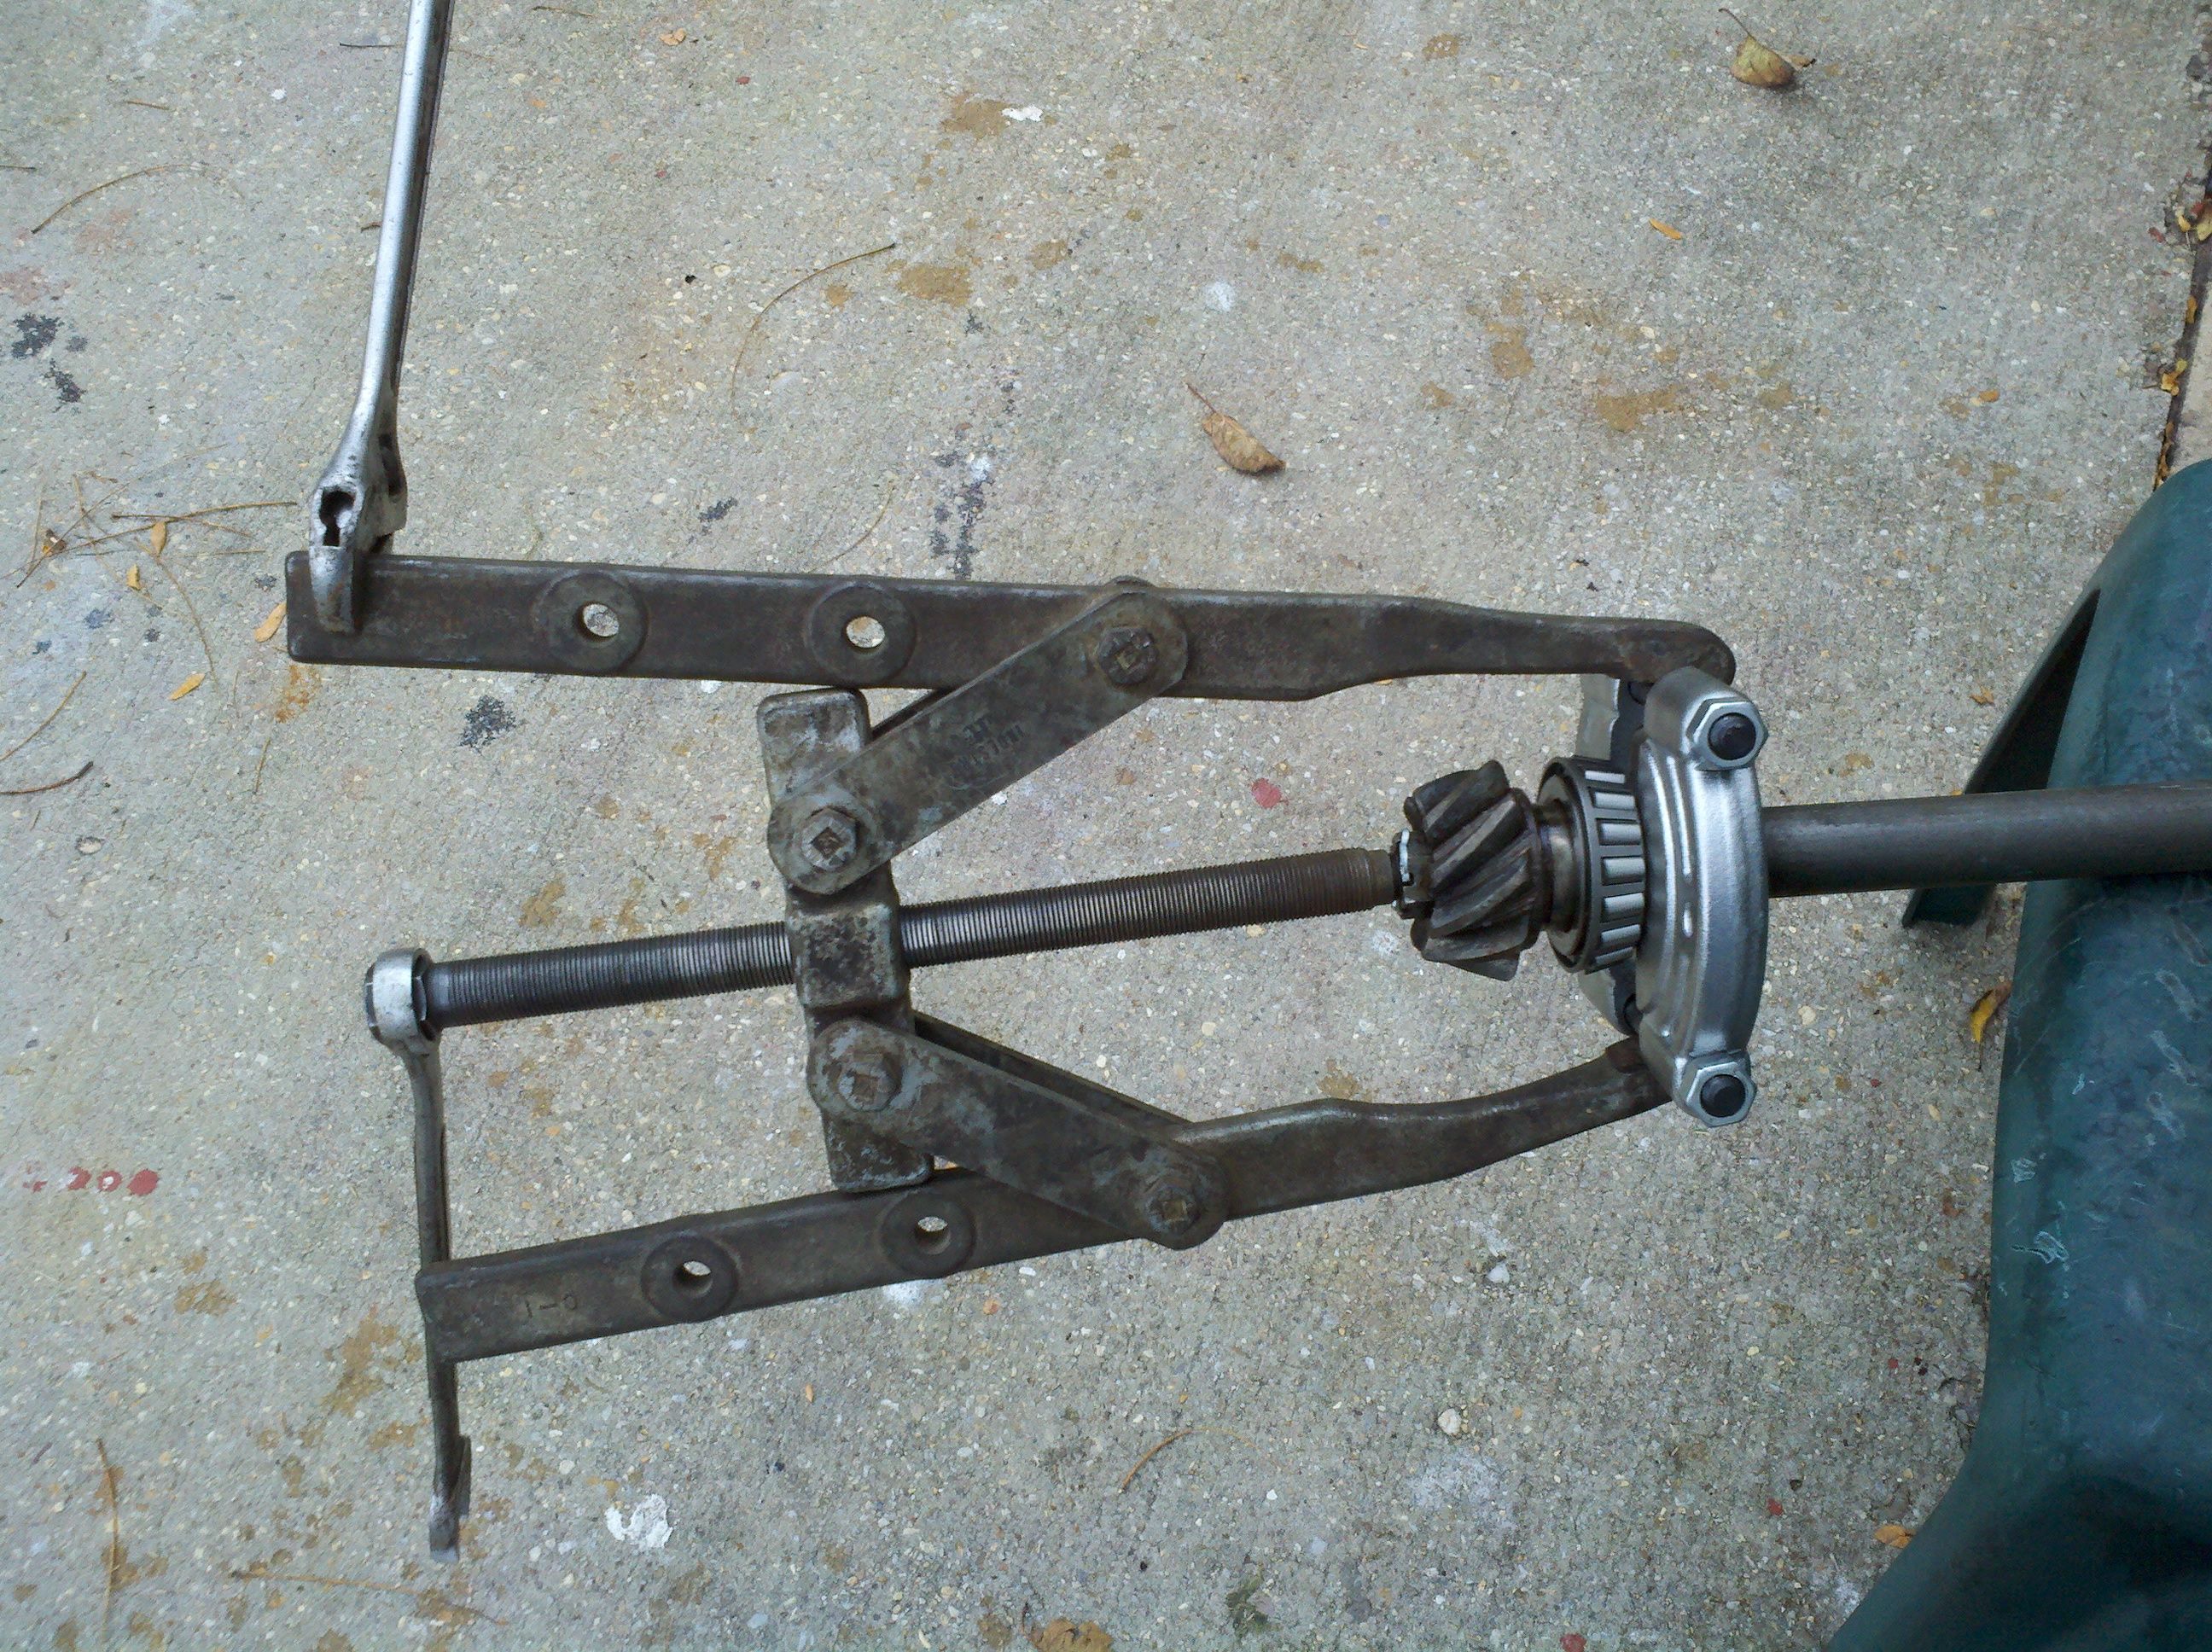
Didn't have a lot of time to do anything today. Once it was near bed time, I took a walk out to the shed and pulled the pinion gear bearing. Now, remember the bit, yesterday, where I said I was suffering cranio-rectal inversion this weekend? Yeah, it carried on to this, too. D'oh. So, all the stuff I've read talks about this particular bearing pressing up against the face of the pinion gear, and talks about removing the gear first, and then the bearing in a press. So, I went out, dropped my axle in the vice, and started trying to pull the pinion gear...
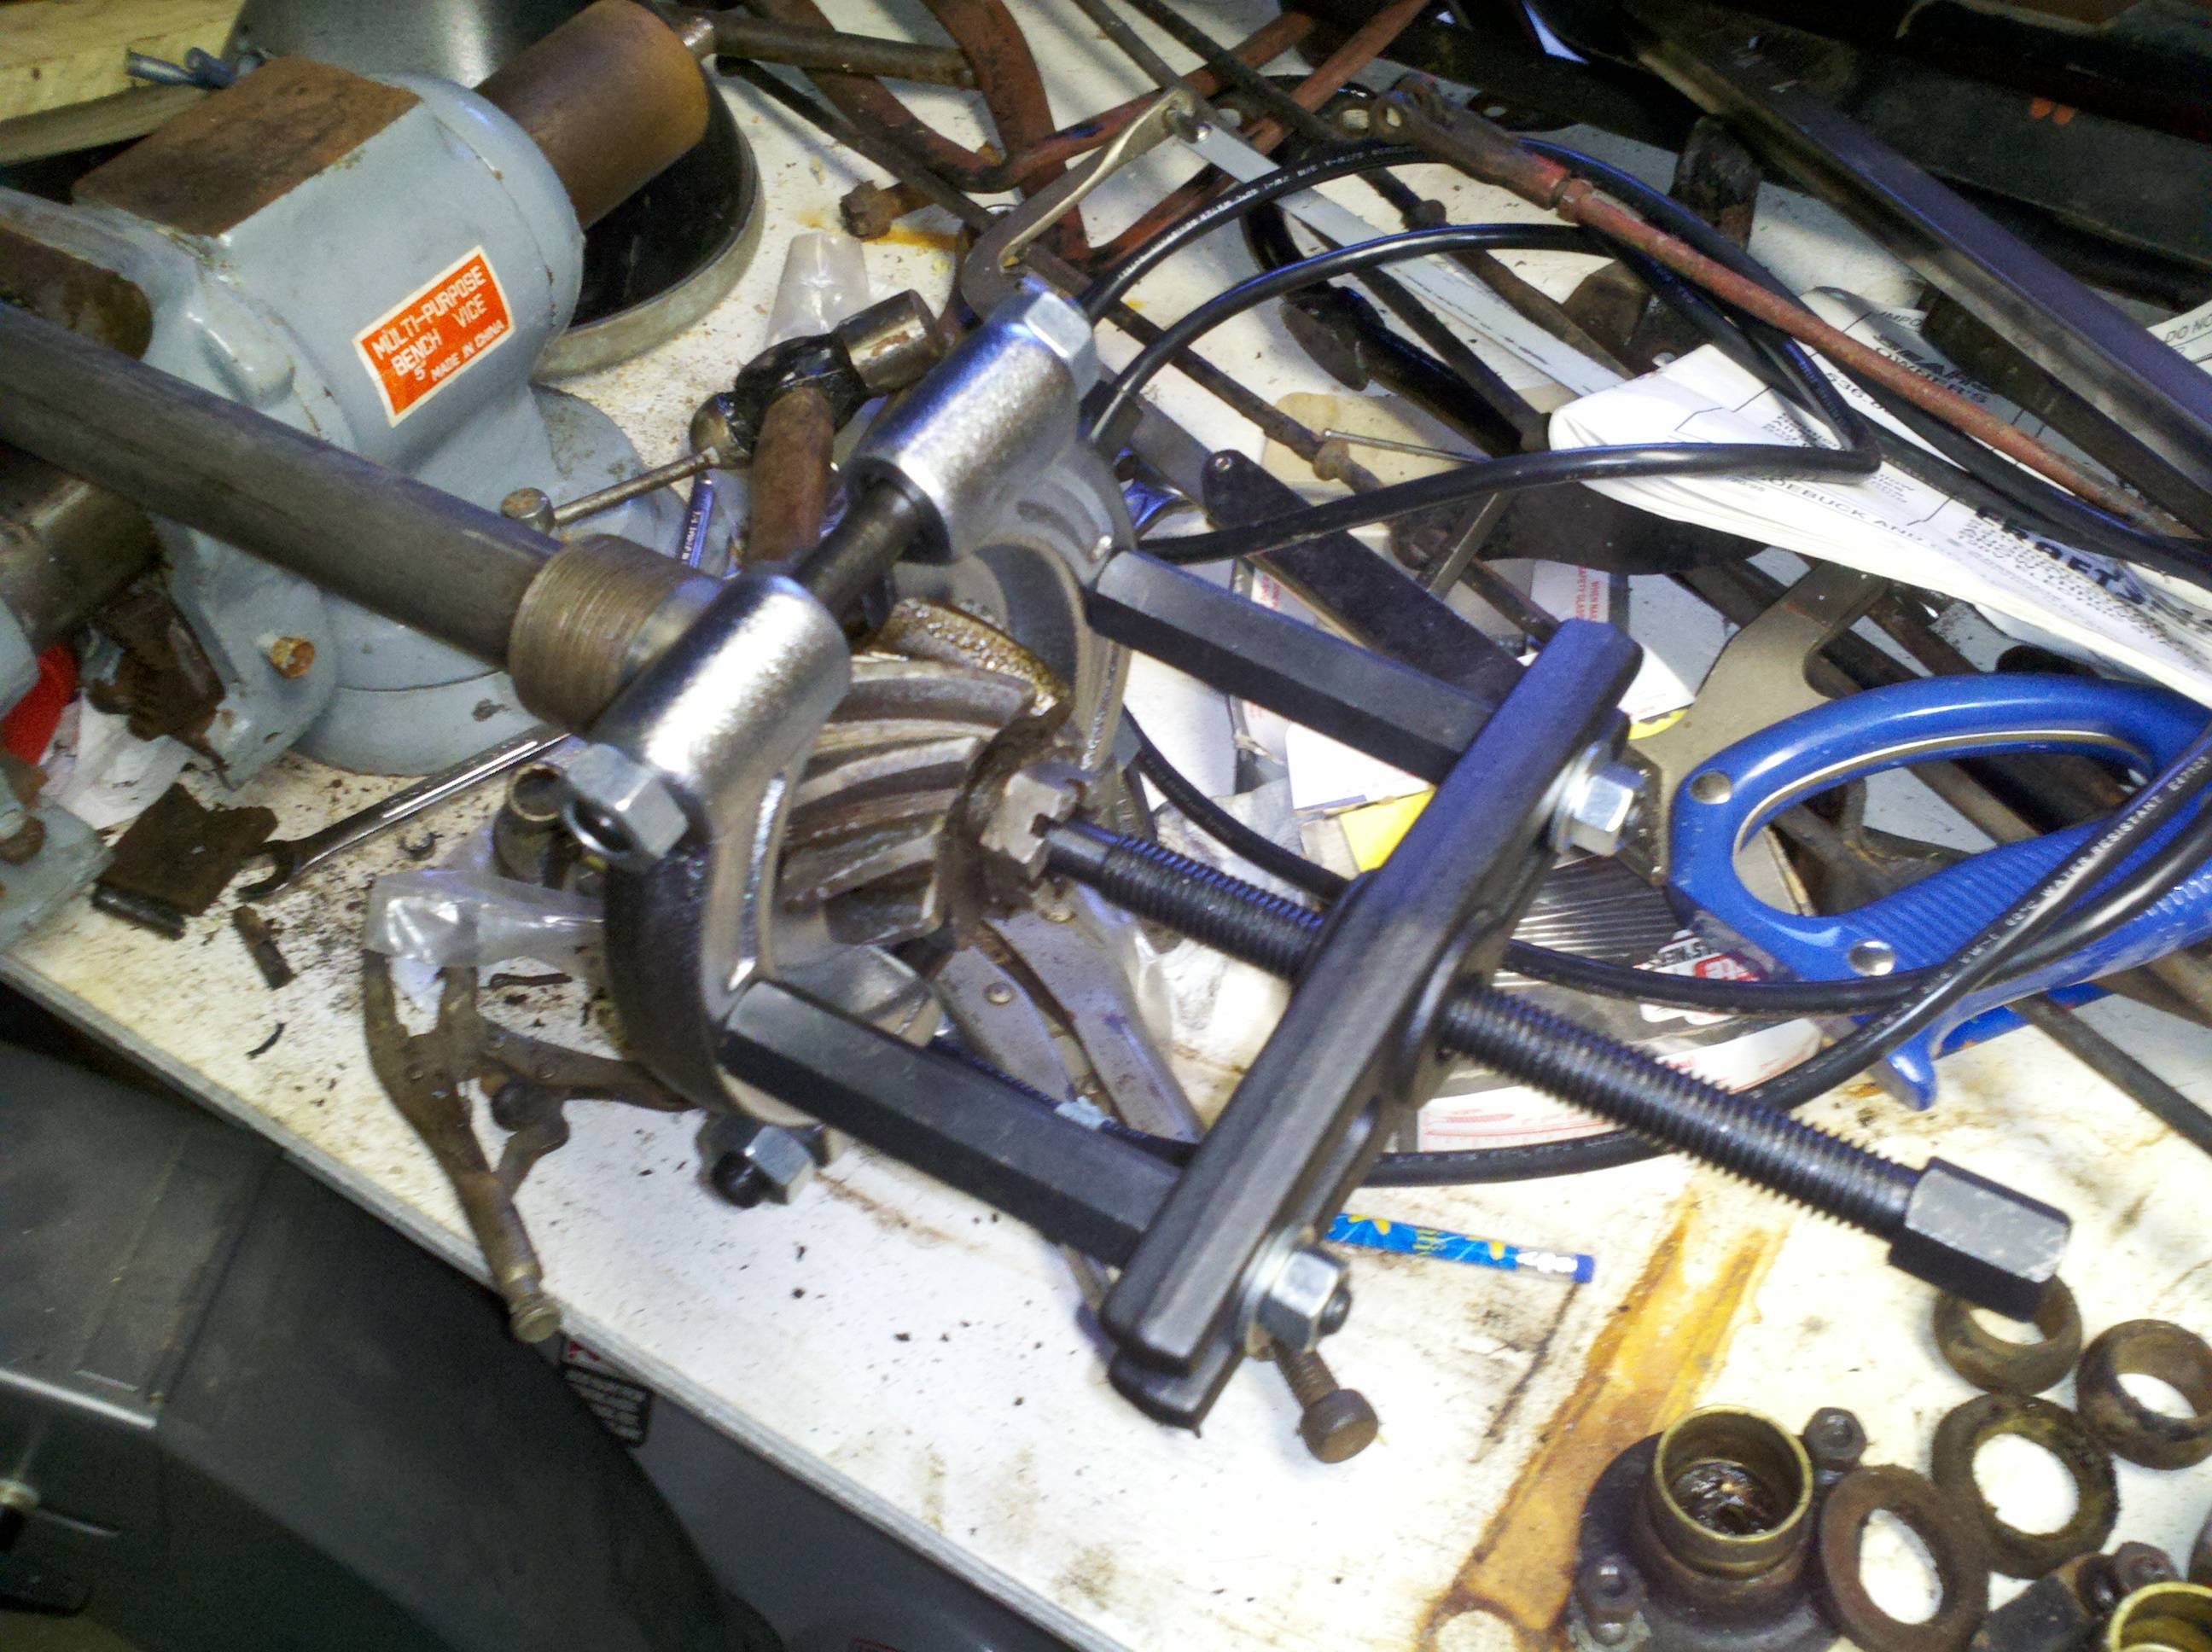
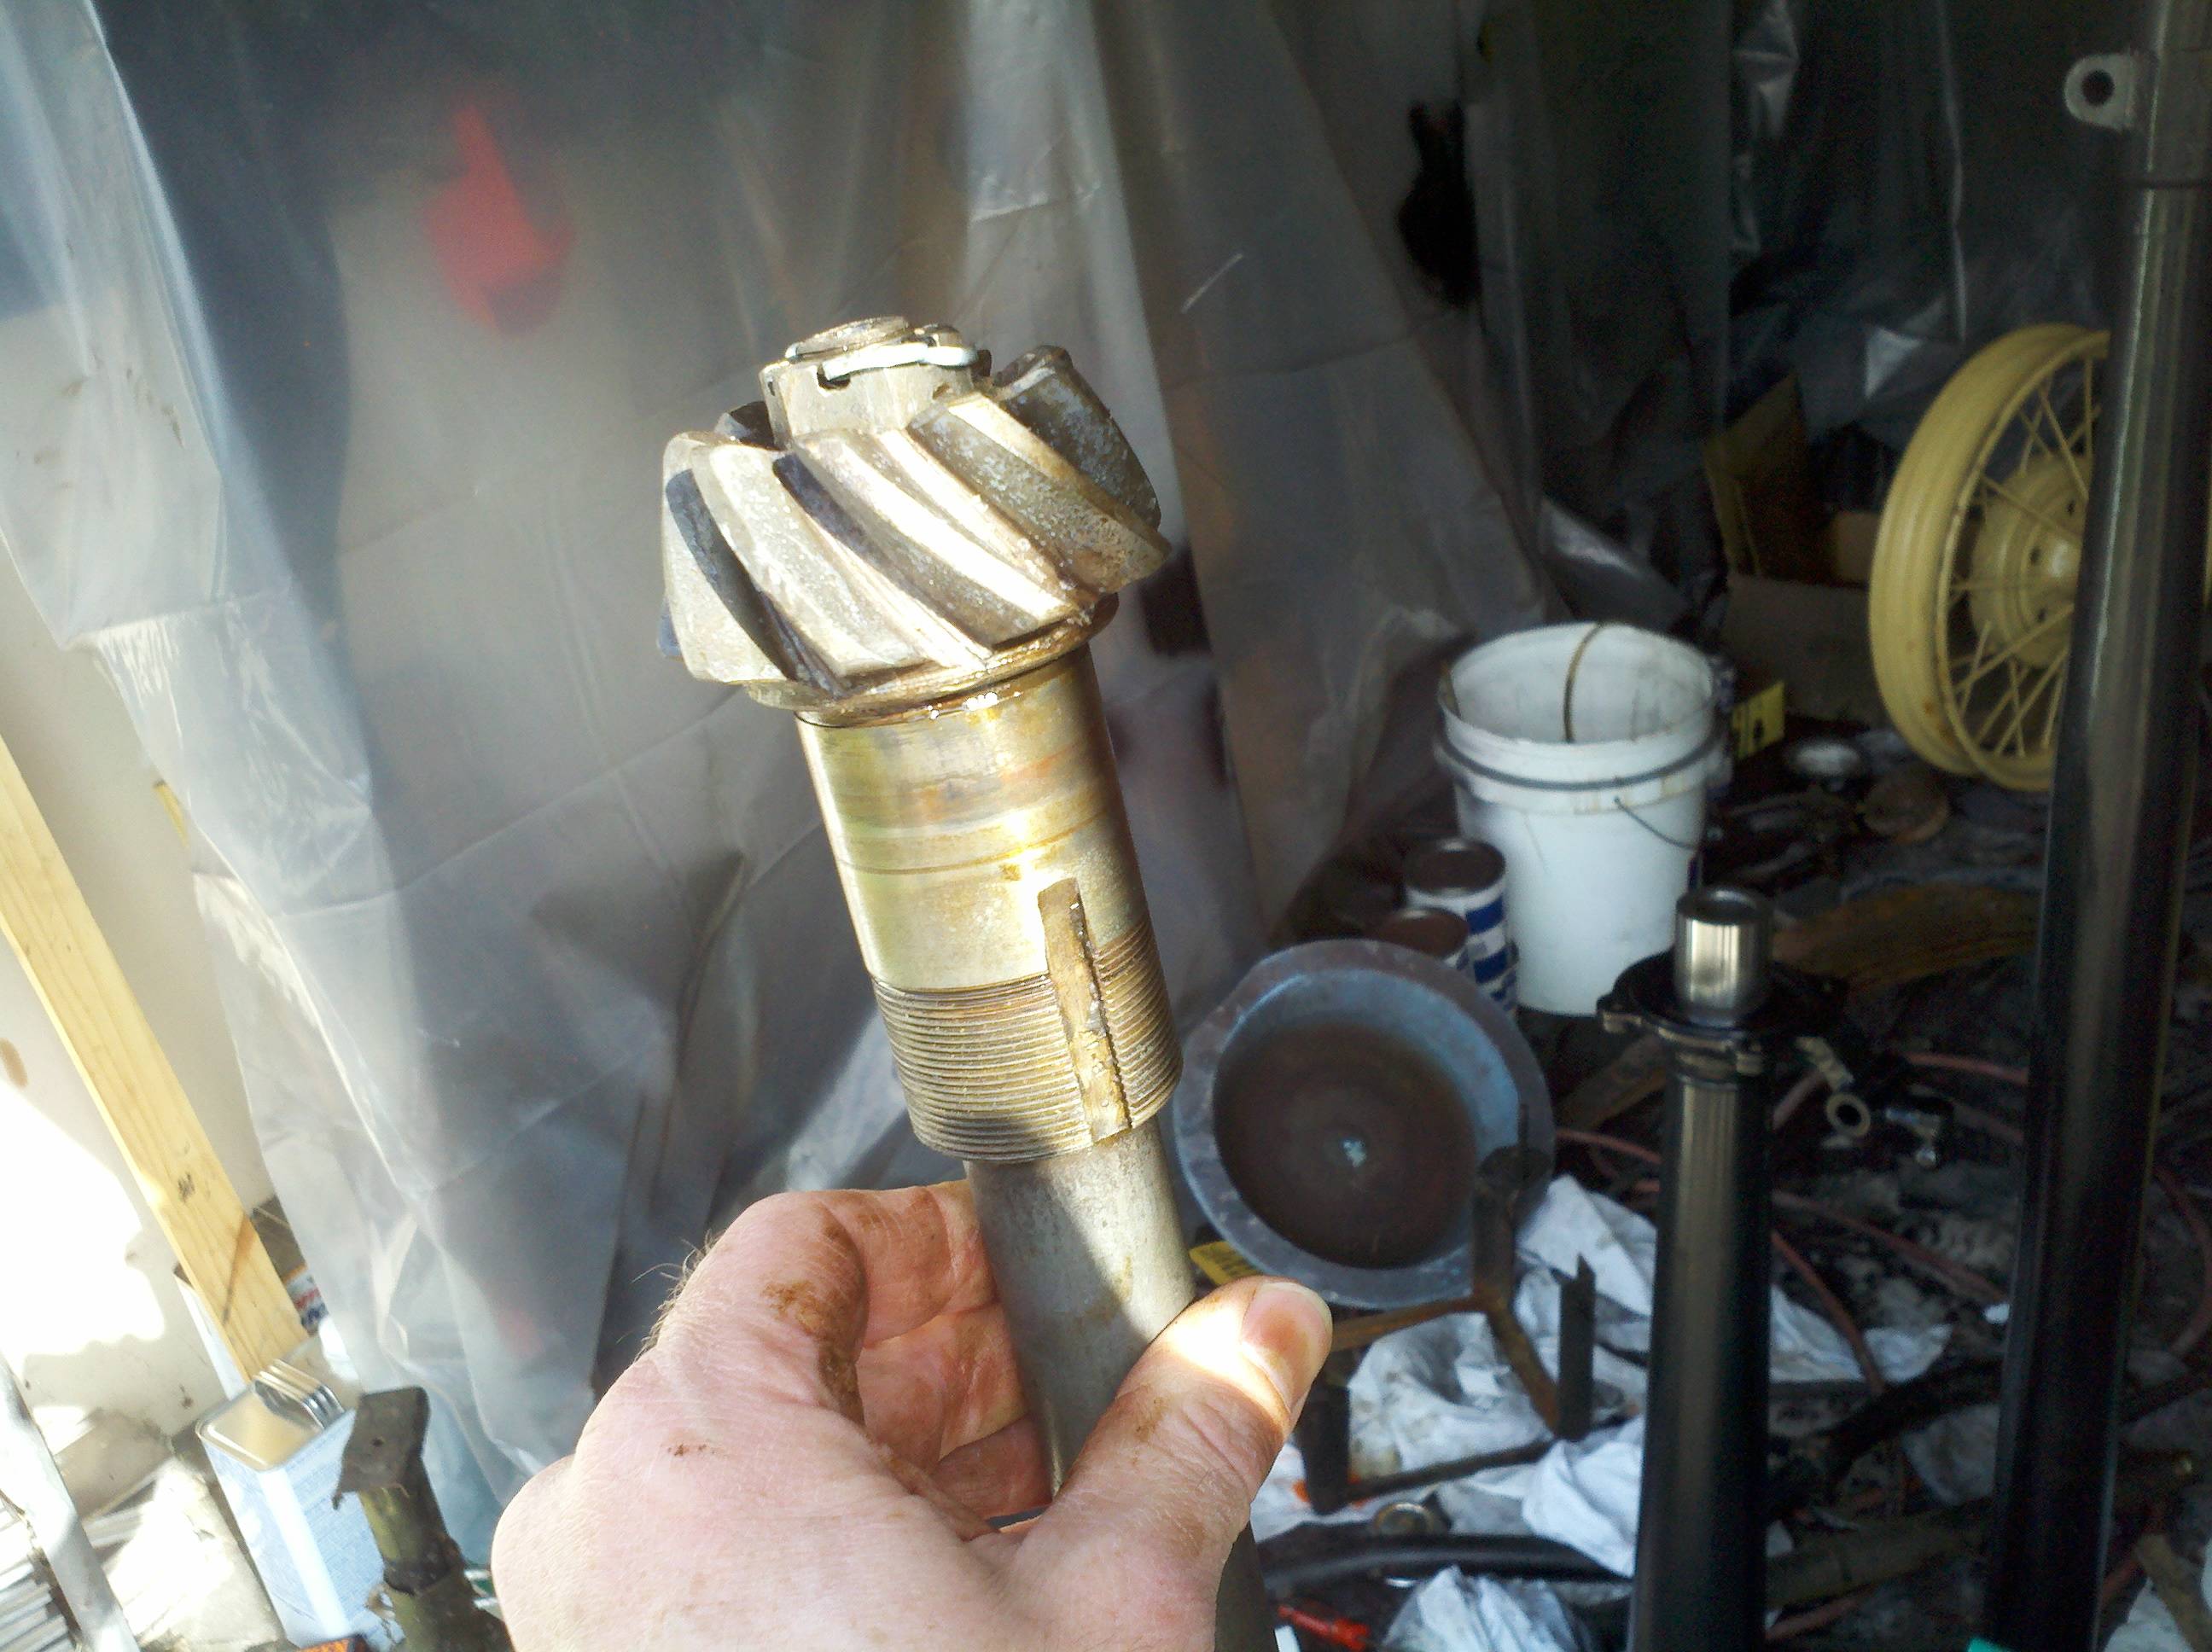
I had actually started with my gear puller, but it can't reach the face behind the gear. So, I went out and bought a bearing spreader/puller, and went to work. And it didn't work so well. It was easy to start the spreader, and the bearing pushed off quickly. Of course, what I thought had happened is that the gear had starting coming off. nope. See, here's what I didn't realize, until I started looking at some pictures: the gear by itself ain't the whole thing! The bearing race is part of the gear! See that, over there on the far right? And all this time, I thunk it was just the toothed part. I kept looking at photos of the back of that gear, and was thinking that there must be some different version with a shorter drive shaft, maybe for a U-joint just ahead of the differential. stupid, stupid, stupid.
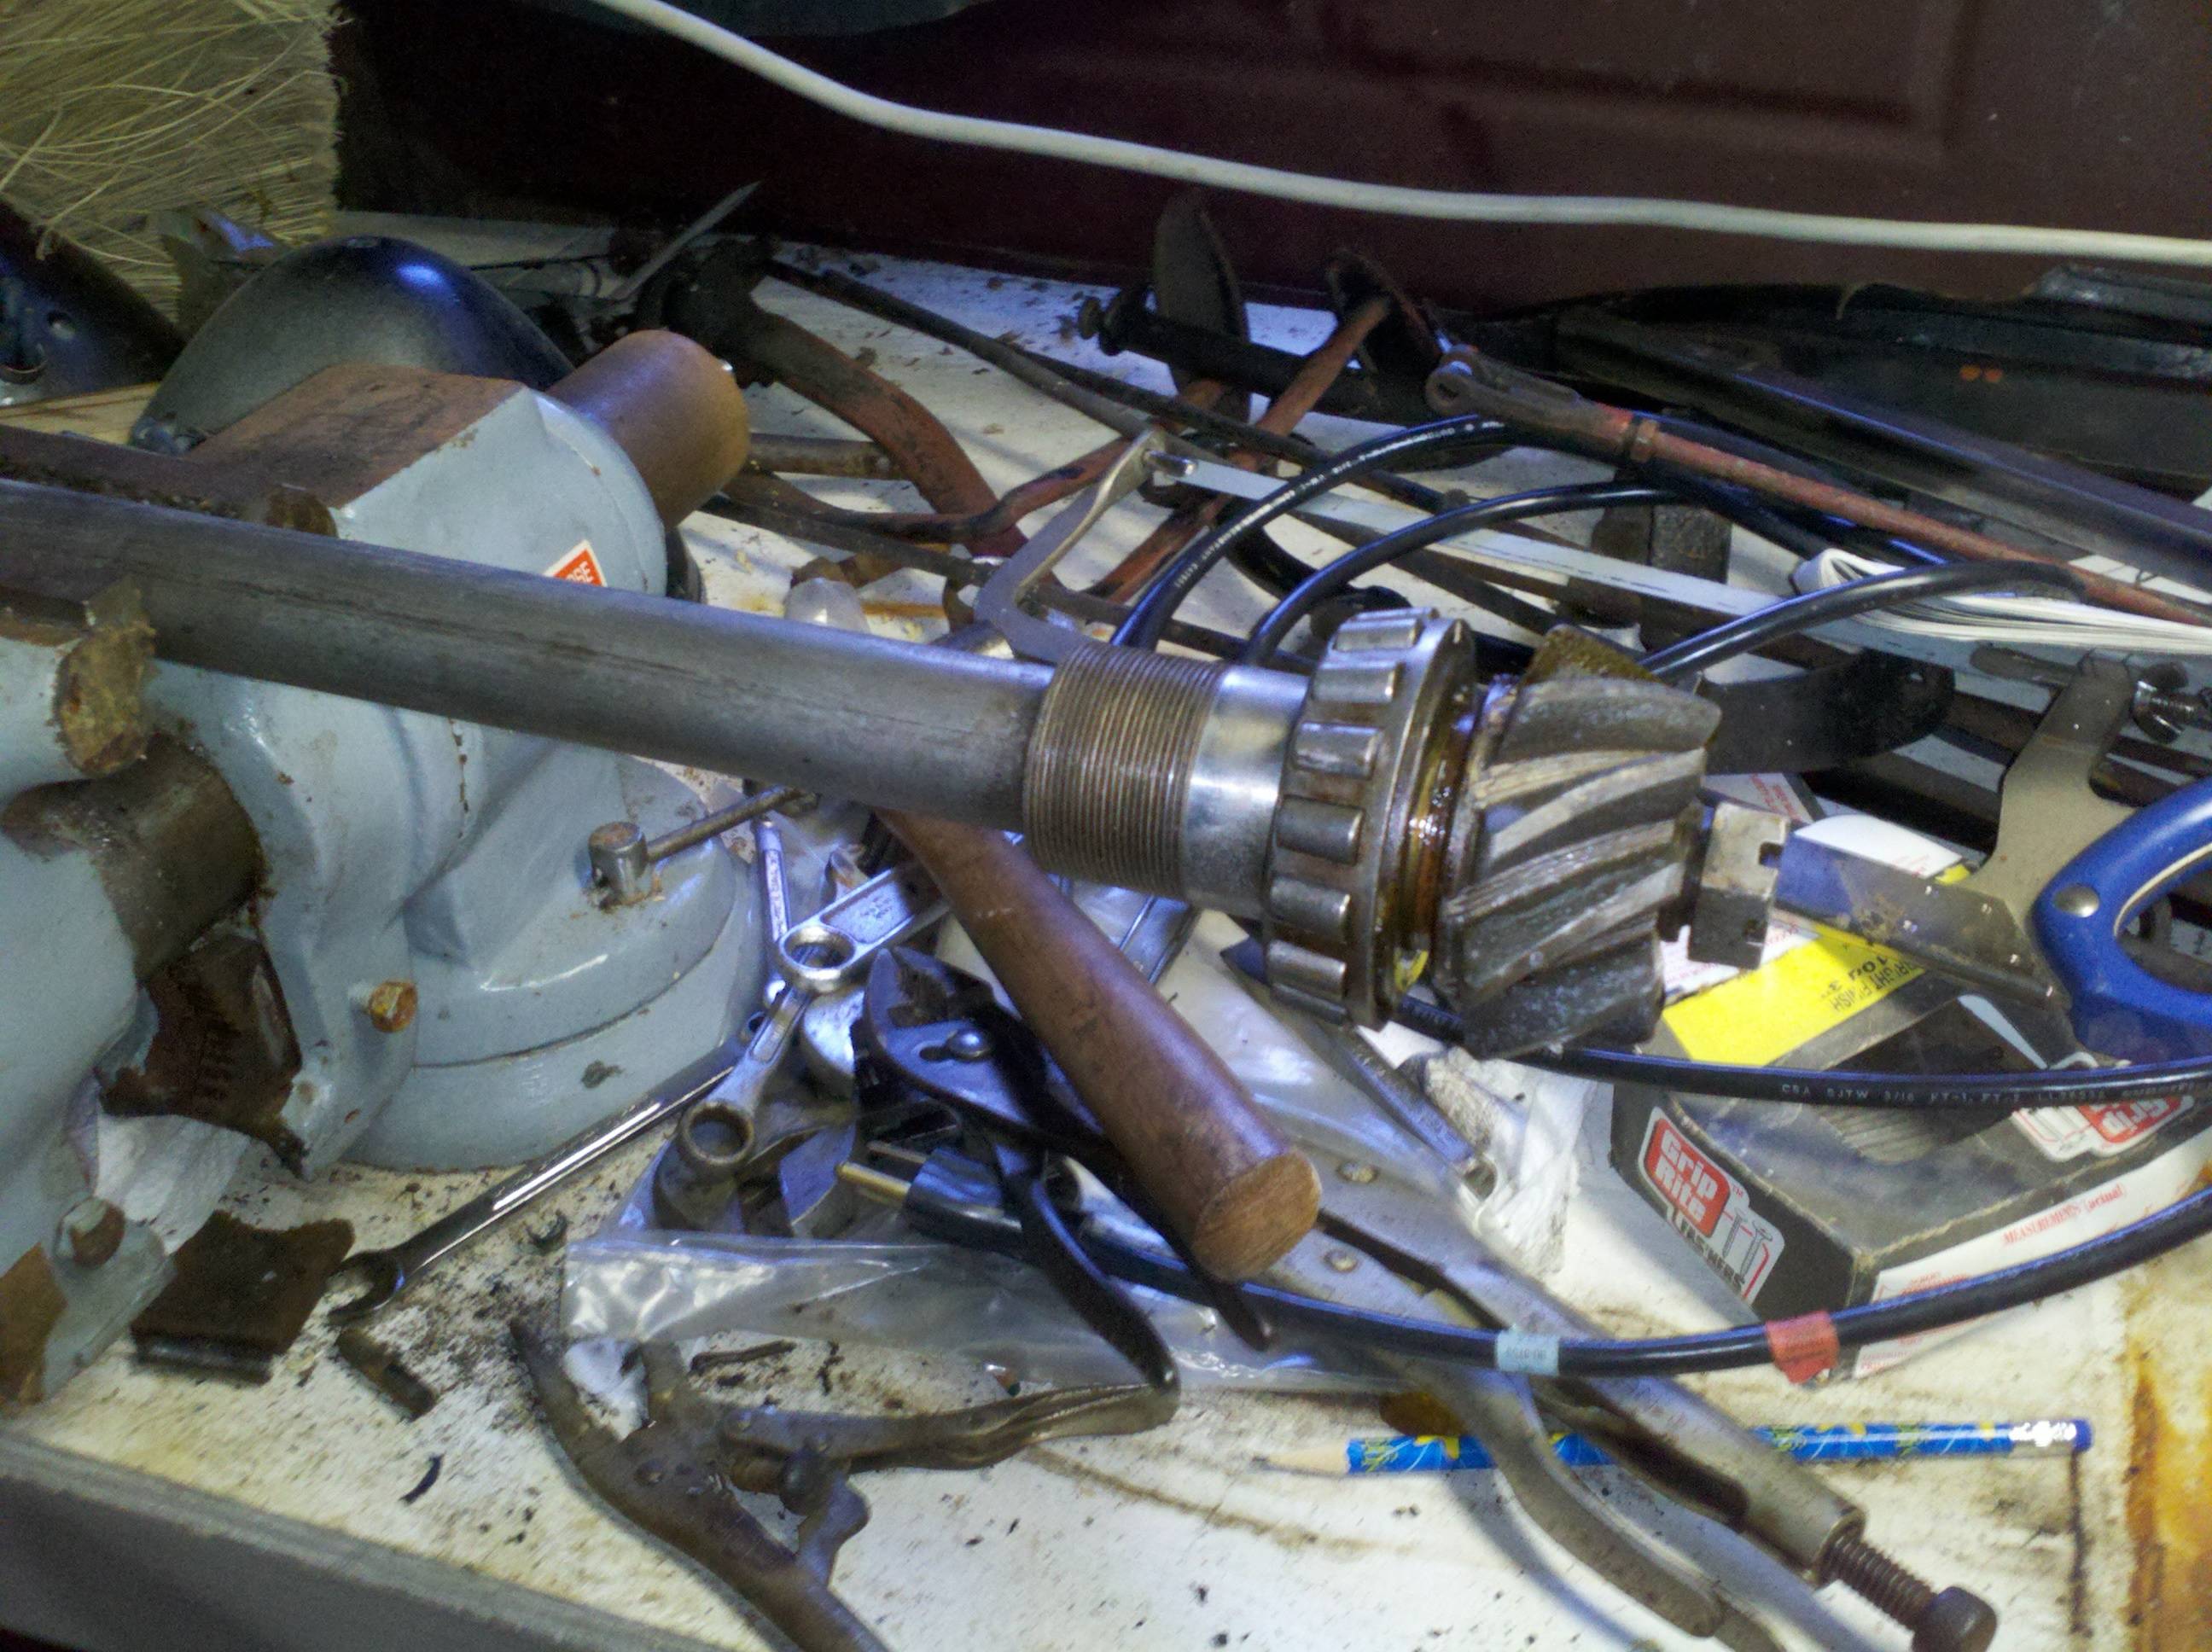

After I'd gotten the bearing off (just tapped it off with a hammer and punch), I was all worried about that groove on the back side of the gear. See, I still didn't have it figured out that the whole piece was the pinion gear, and I was thinking that the gear should mount flush against what I thought was a face. And tightening the pinion gear nut down on the drive shaft didn't make it move. So now I was all worried that maybe I'd really screwed up! Yes, dumb, sumb, dumb. Later that evening I figured it all out and let out a big sigh of relief...
I think I got over the stupids, but I'm not sure. I installed the carrier bearings on the differential, according to what I had been planning - two 5 mil shims on the driver's side to push it over and get the backlash about right. But I'm no fool (today, anyway) - I'm not gonna bolt it alltogether ad hope it's all correct. I'm a gonna check it all out, first. So, I installed the driver's side race and the passenger-side carrier bearing (again, using a brass drift and a hammer)...
Oh, and a quick note about the original carrier bearings, since I don't remember saying anything about it before...
Next I installed the Driver's side carrier bearing with two 5 mil shims, and bolted it all together...

At this point, I hadn't even torqued the axle housing down, yet, and the differential was already frozen up. I loosened things up a bit, and made sure I applied the torque evenly, and the thing was still locked up tight when the bolts were only "wrench tight" - that is, not toqued, but some wrenching... Time to tear it back down, and try again. I carefully knocked the bearing back off (ruining the shims in the process) and installed a single shim (I had bought extra on one of my smarter days).
This time, everything worked out fine. I could turn the differential with a little bit (but not a lot) of effort, and it didn't free-wheel in there. I think this is the correct setting! Unfortunately, I tore the banjo gasket, so it looks like I'll need to get another one...
Thel ast thing I did today was re-install the pinion nut. Took the drive shft back down to the vice, and torqued it to 100 ft-lbs. New cotter pin installed. Note that I didnt bend it over the top of the nut like you might normally do. More reading turns out the cotter pin could create interference, so do it this way!
I'm hoping to get the chance to get the pinion bearings installed and the drive shaft all installed & ready to go, here, soon. Sent an e-mail off to the blasting house to see if their offer still stands for the blat and 1st coat of primer. Also asked them about the cost to go ahead and shoot all coats of paint on the wheels. We'll see.
Lat week, I spent a few bucks with Snyders - picked up new spring shackles (front and rear), differential gaskets, pinion nut wrenches, and some other stuff. Spent ~$133. That stuff came in a couple days ago...
It was a good day to get some rear-end work done. Especially since my youngest girl asked, "Daddy, can I help you work on your truck?"
How could I turn that down?
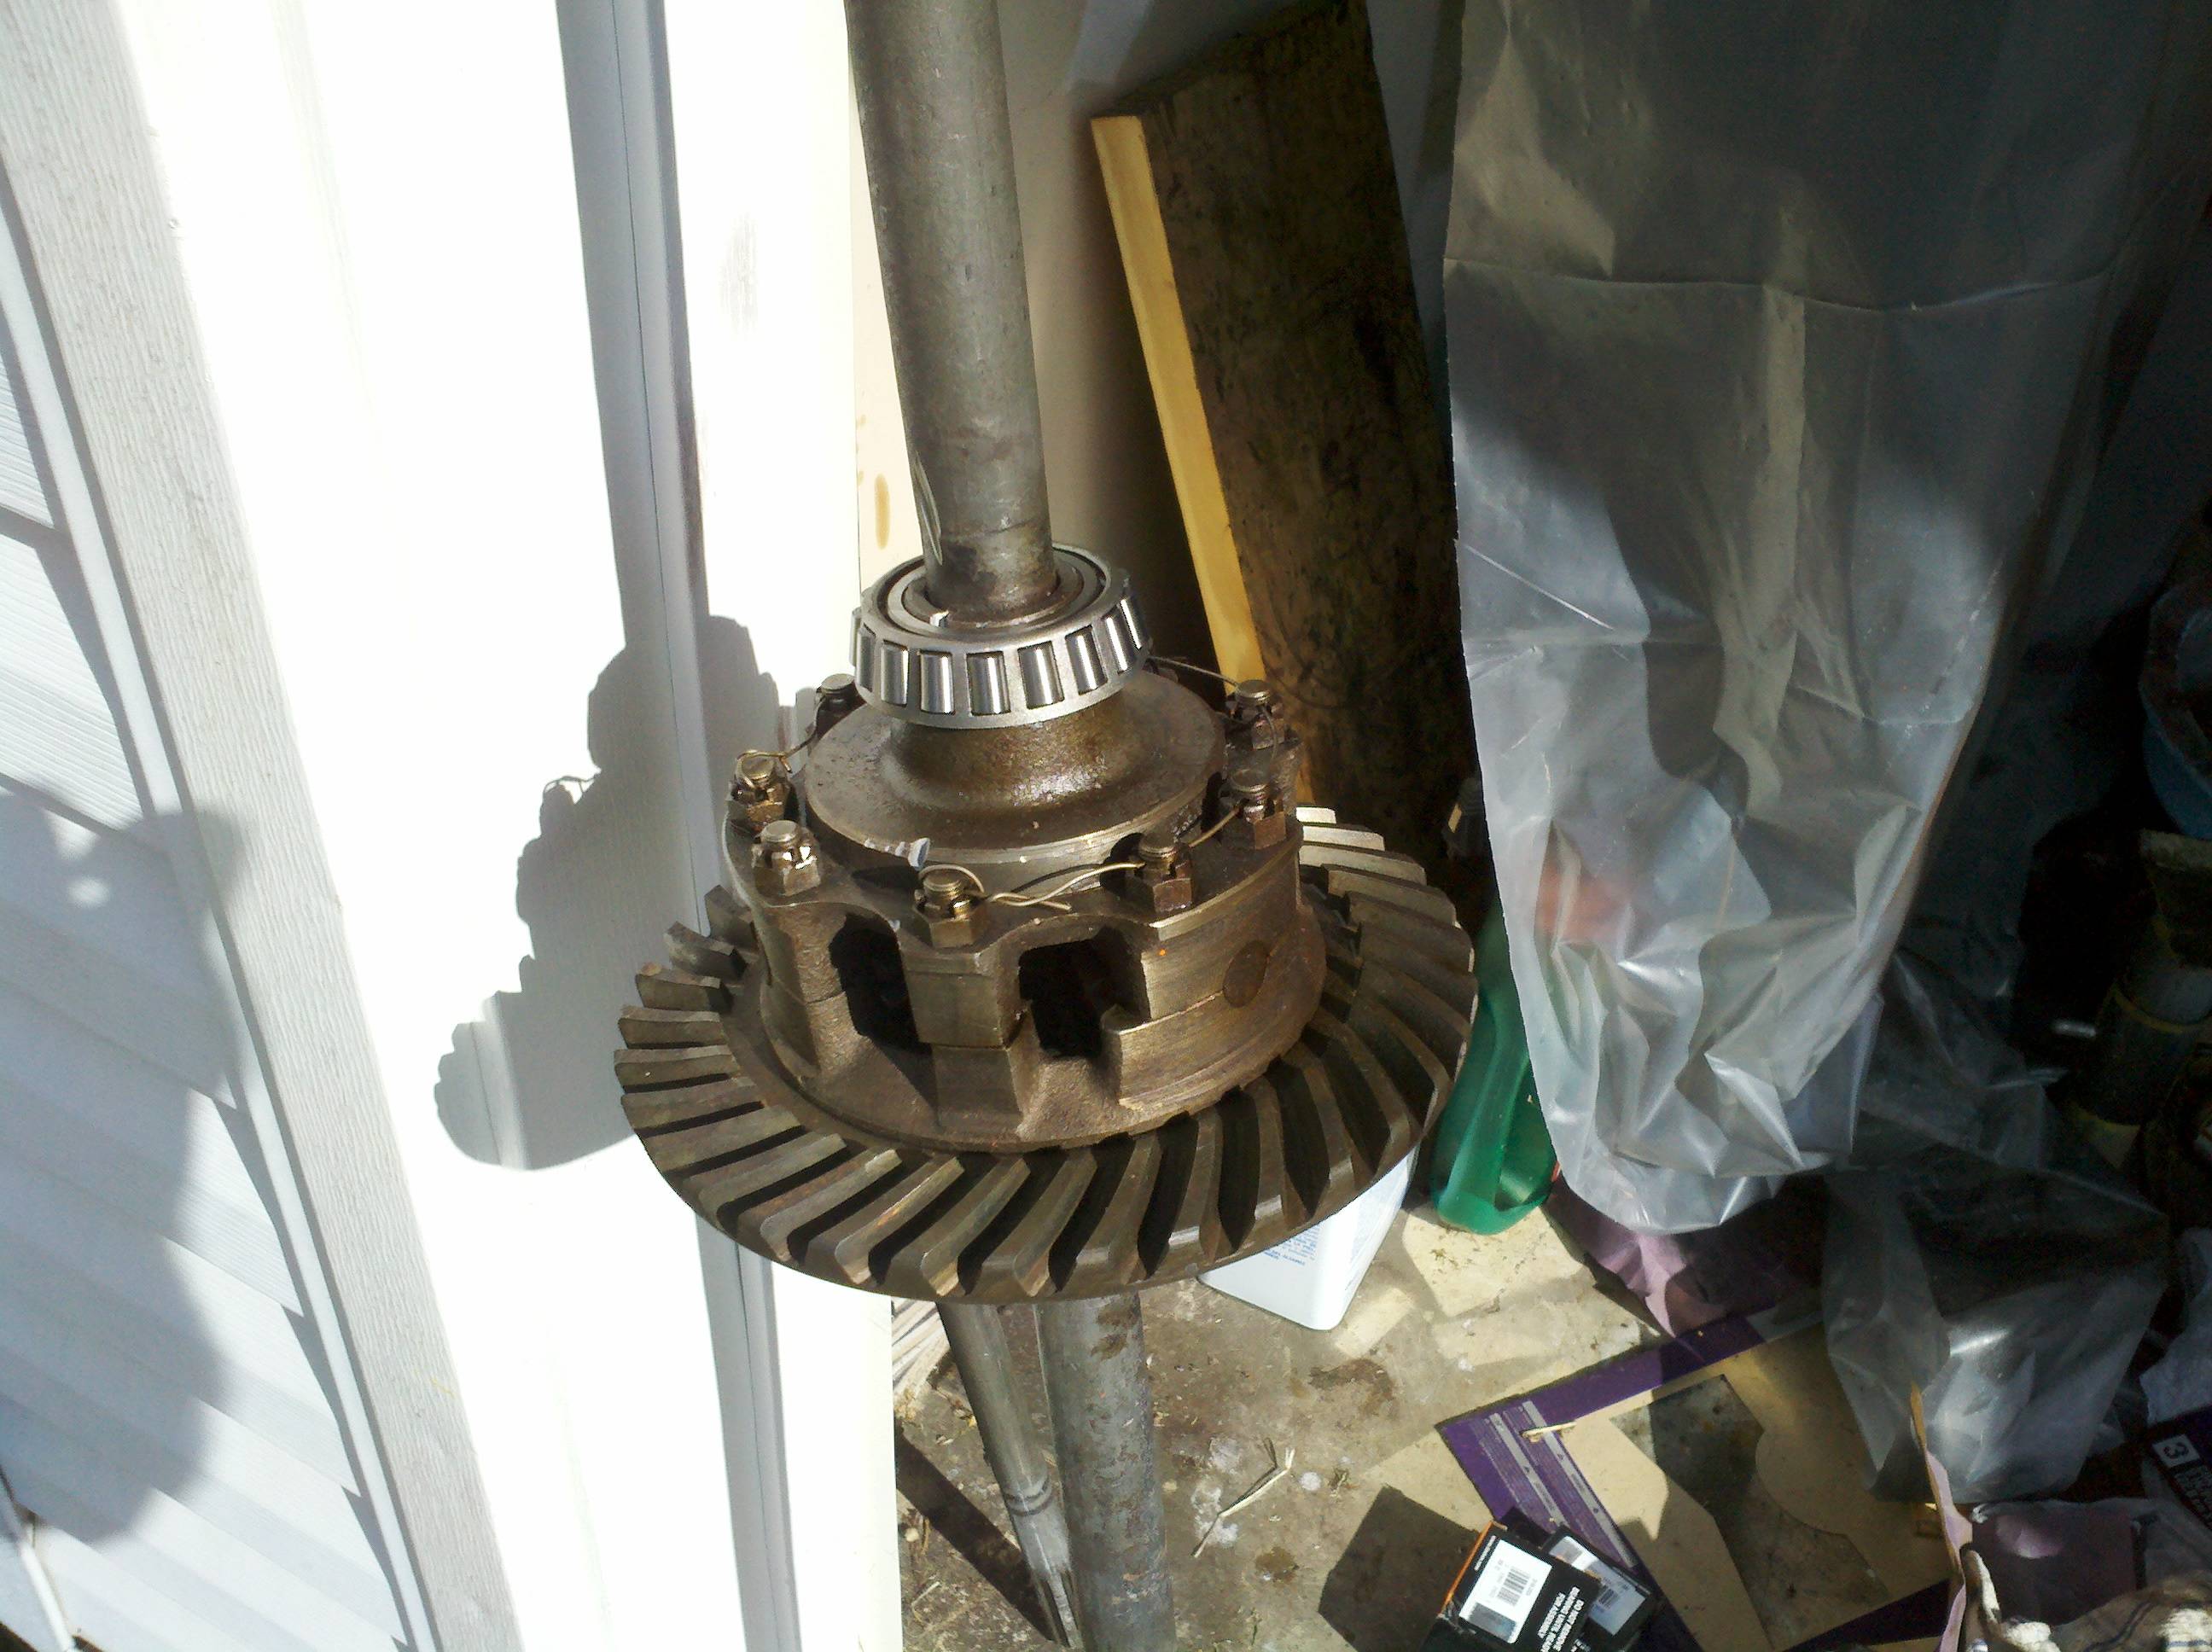
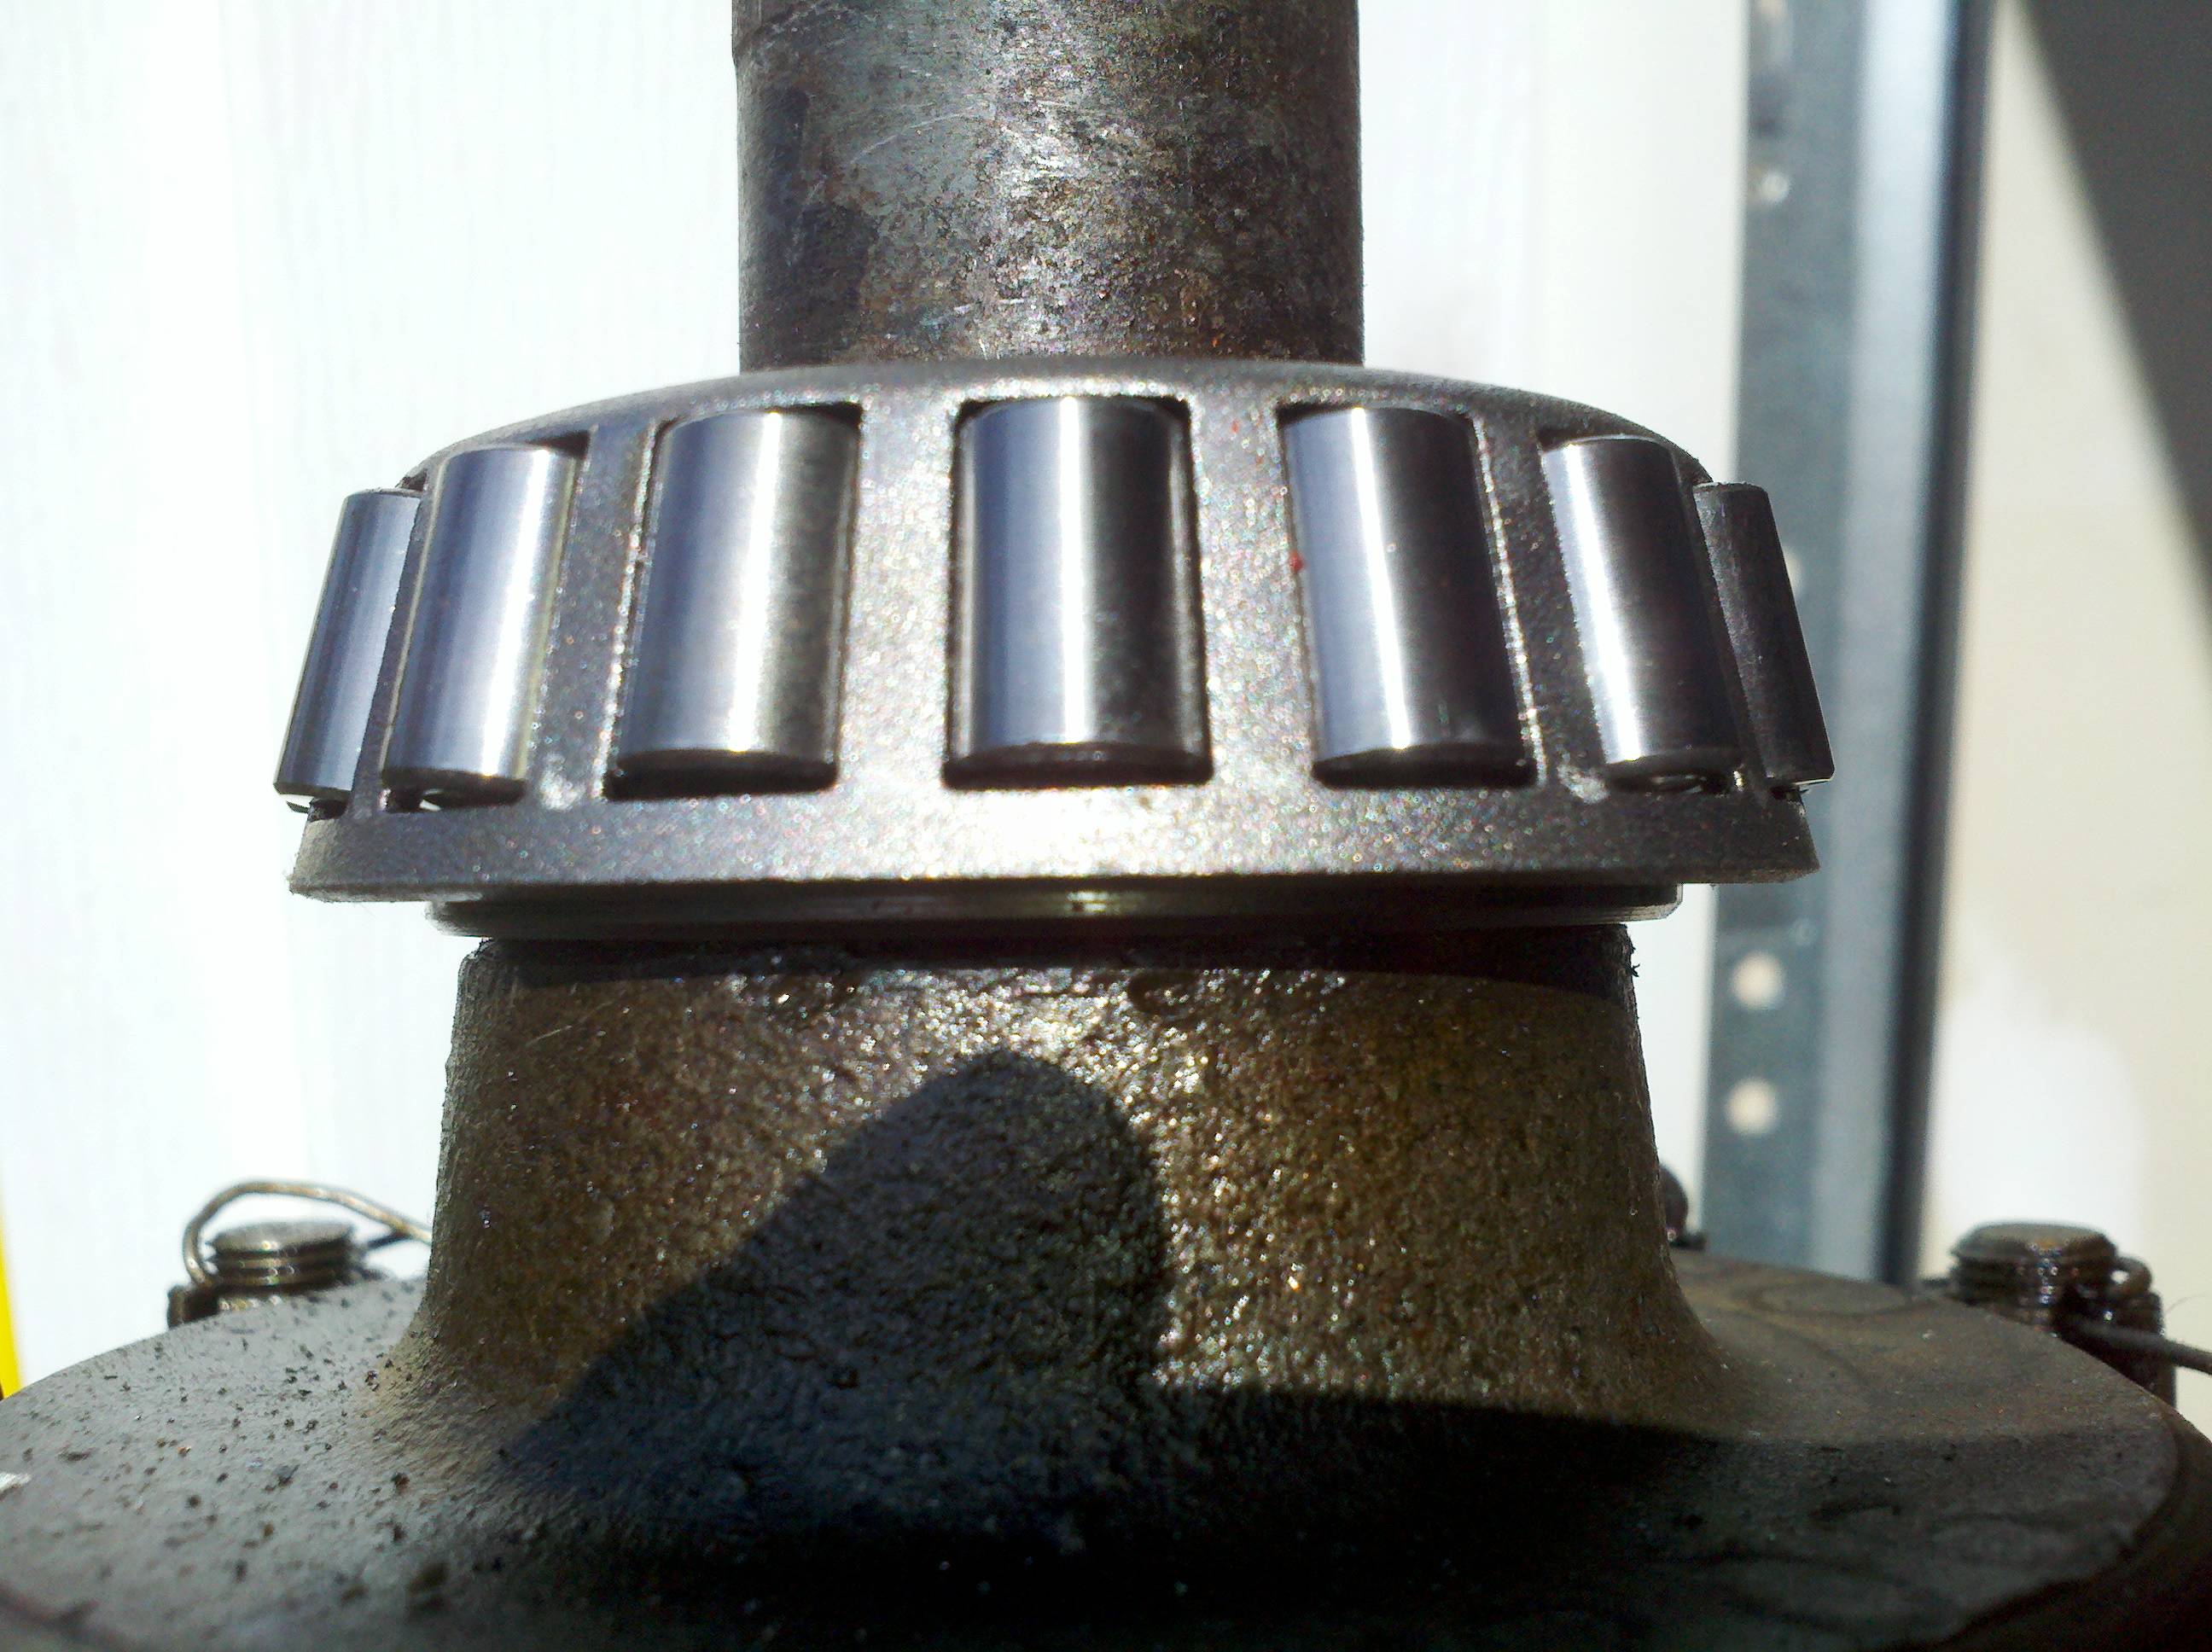
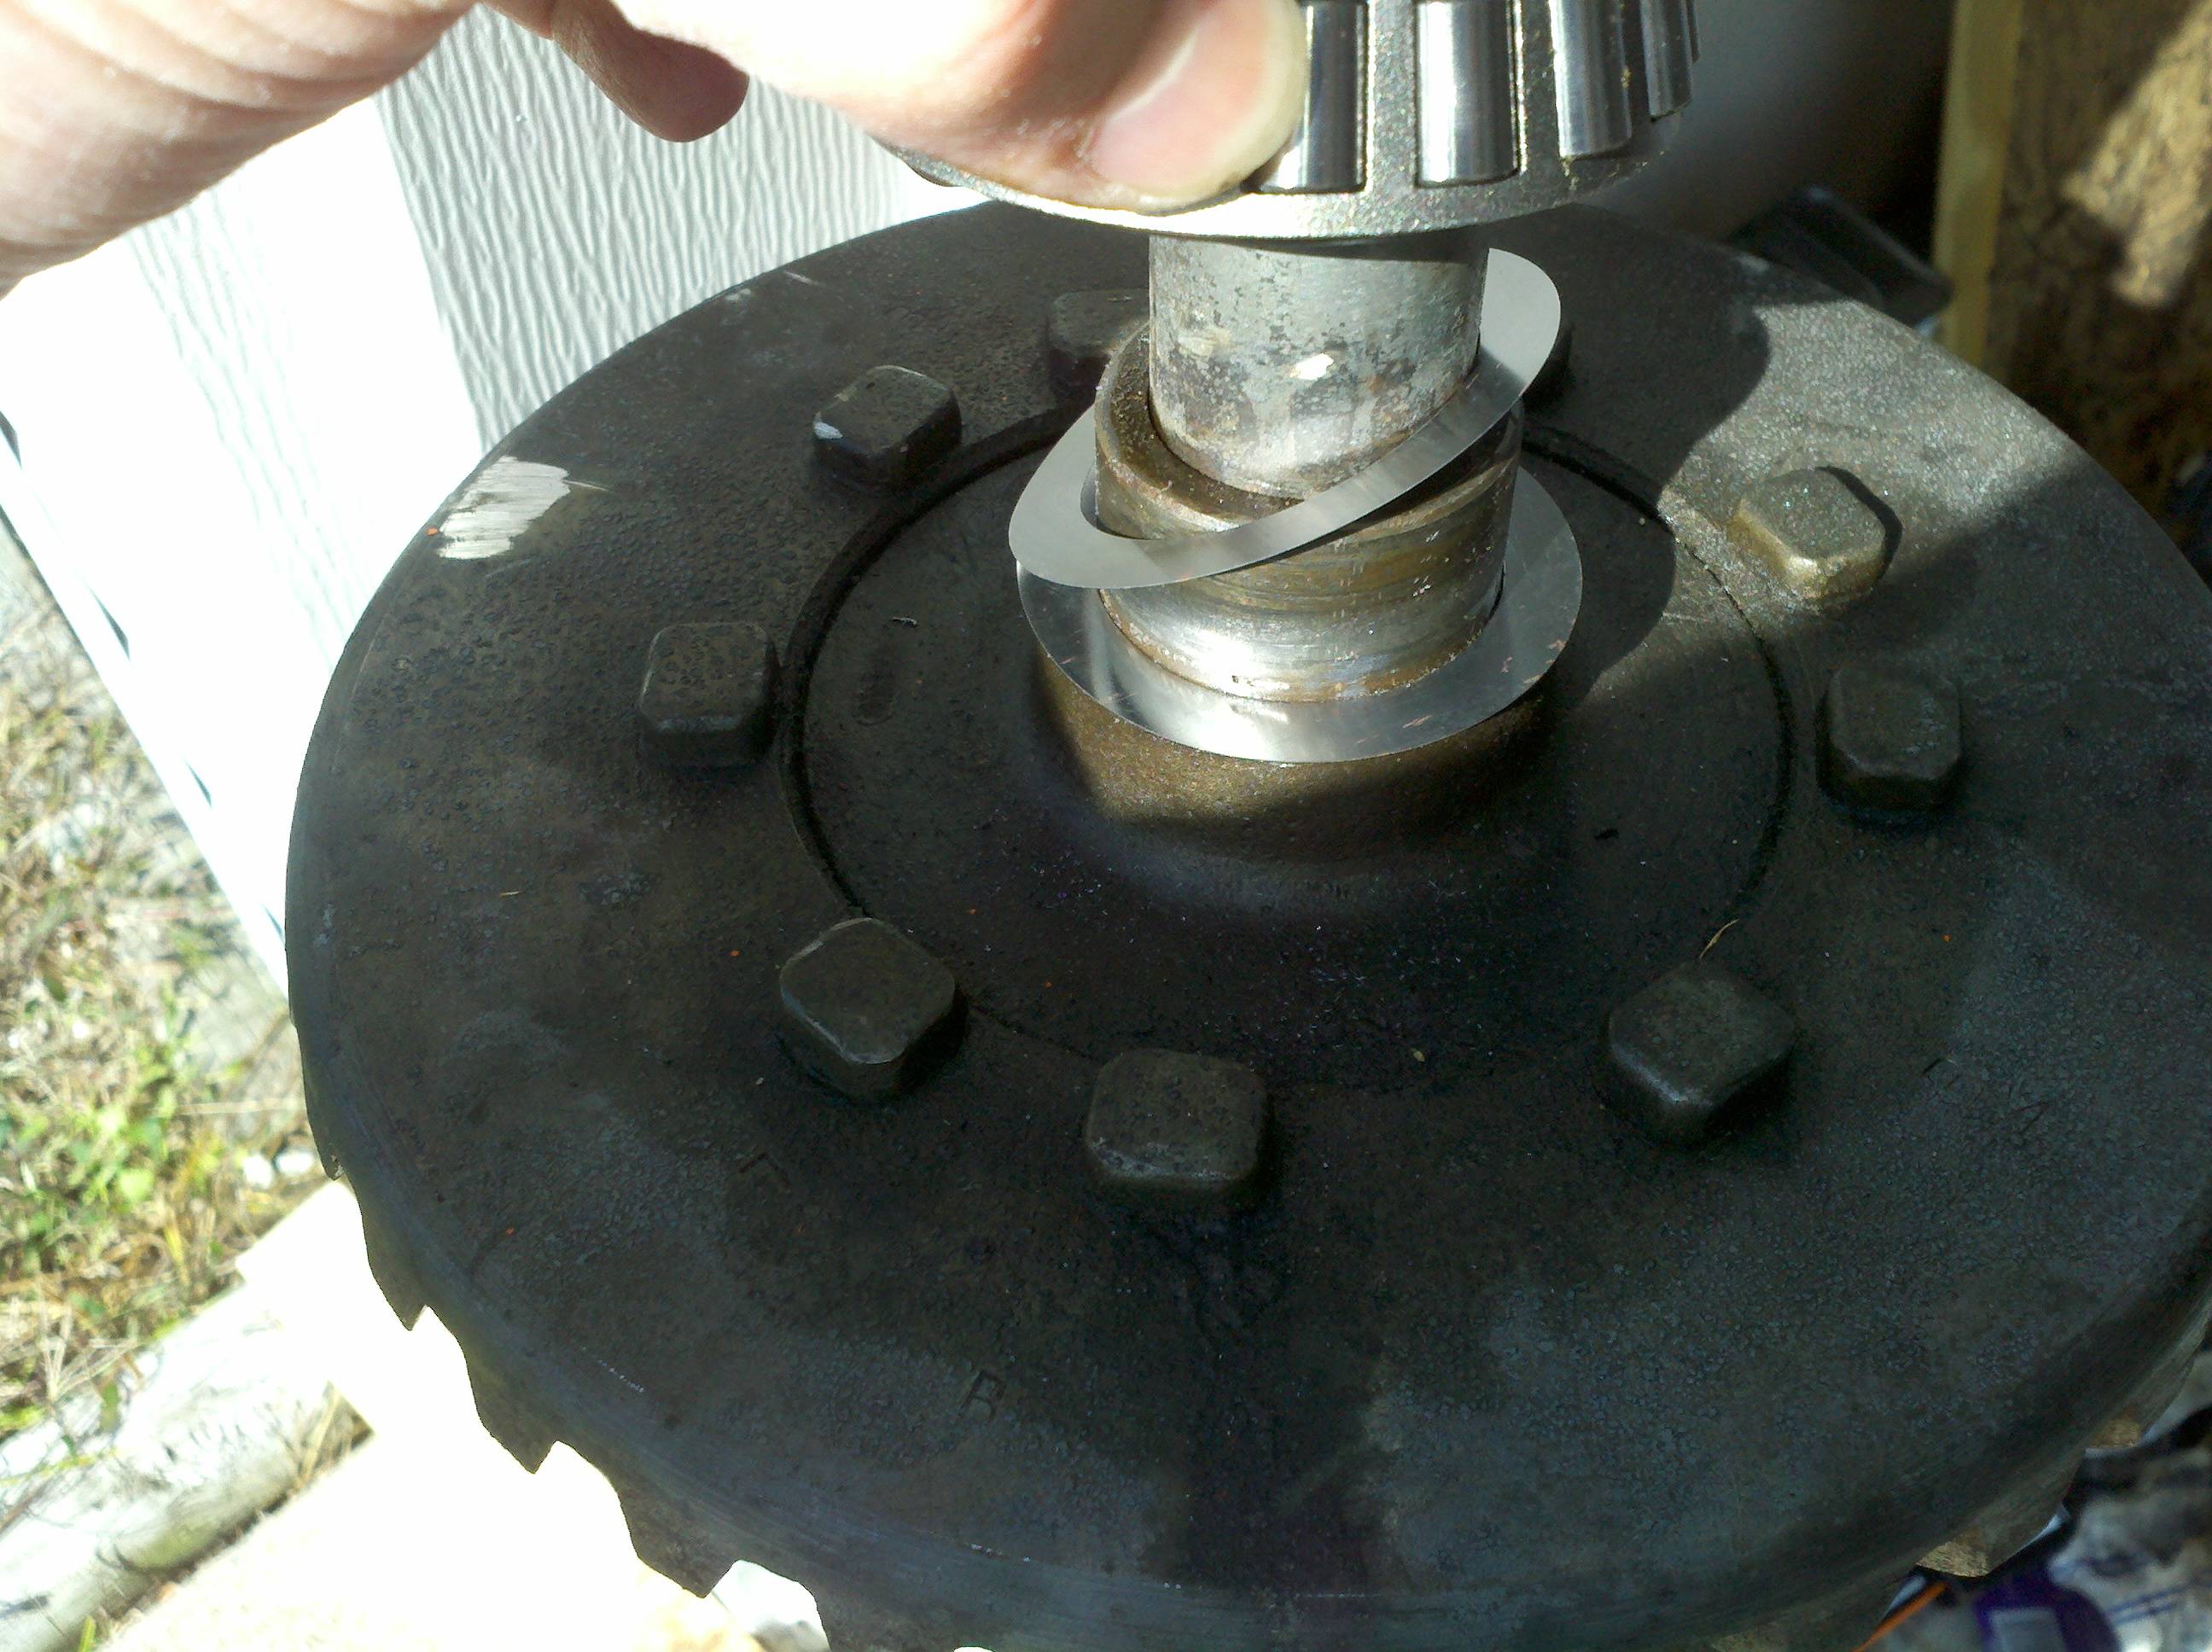
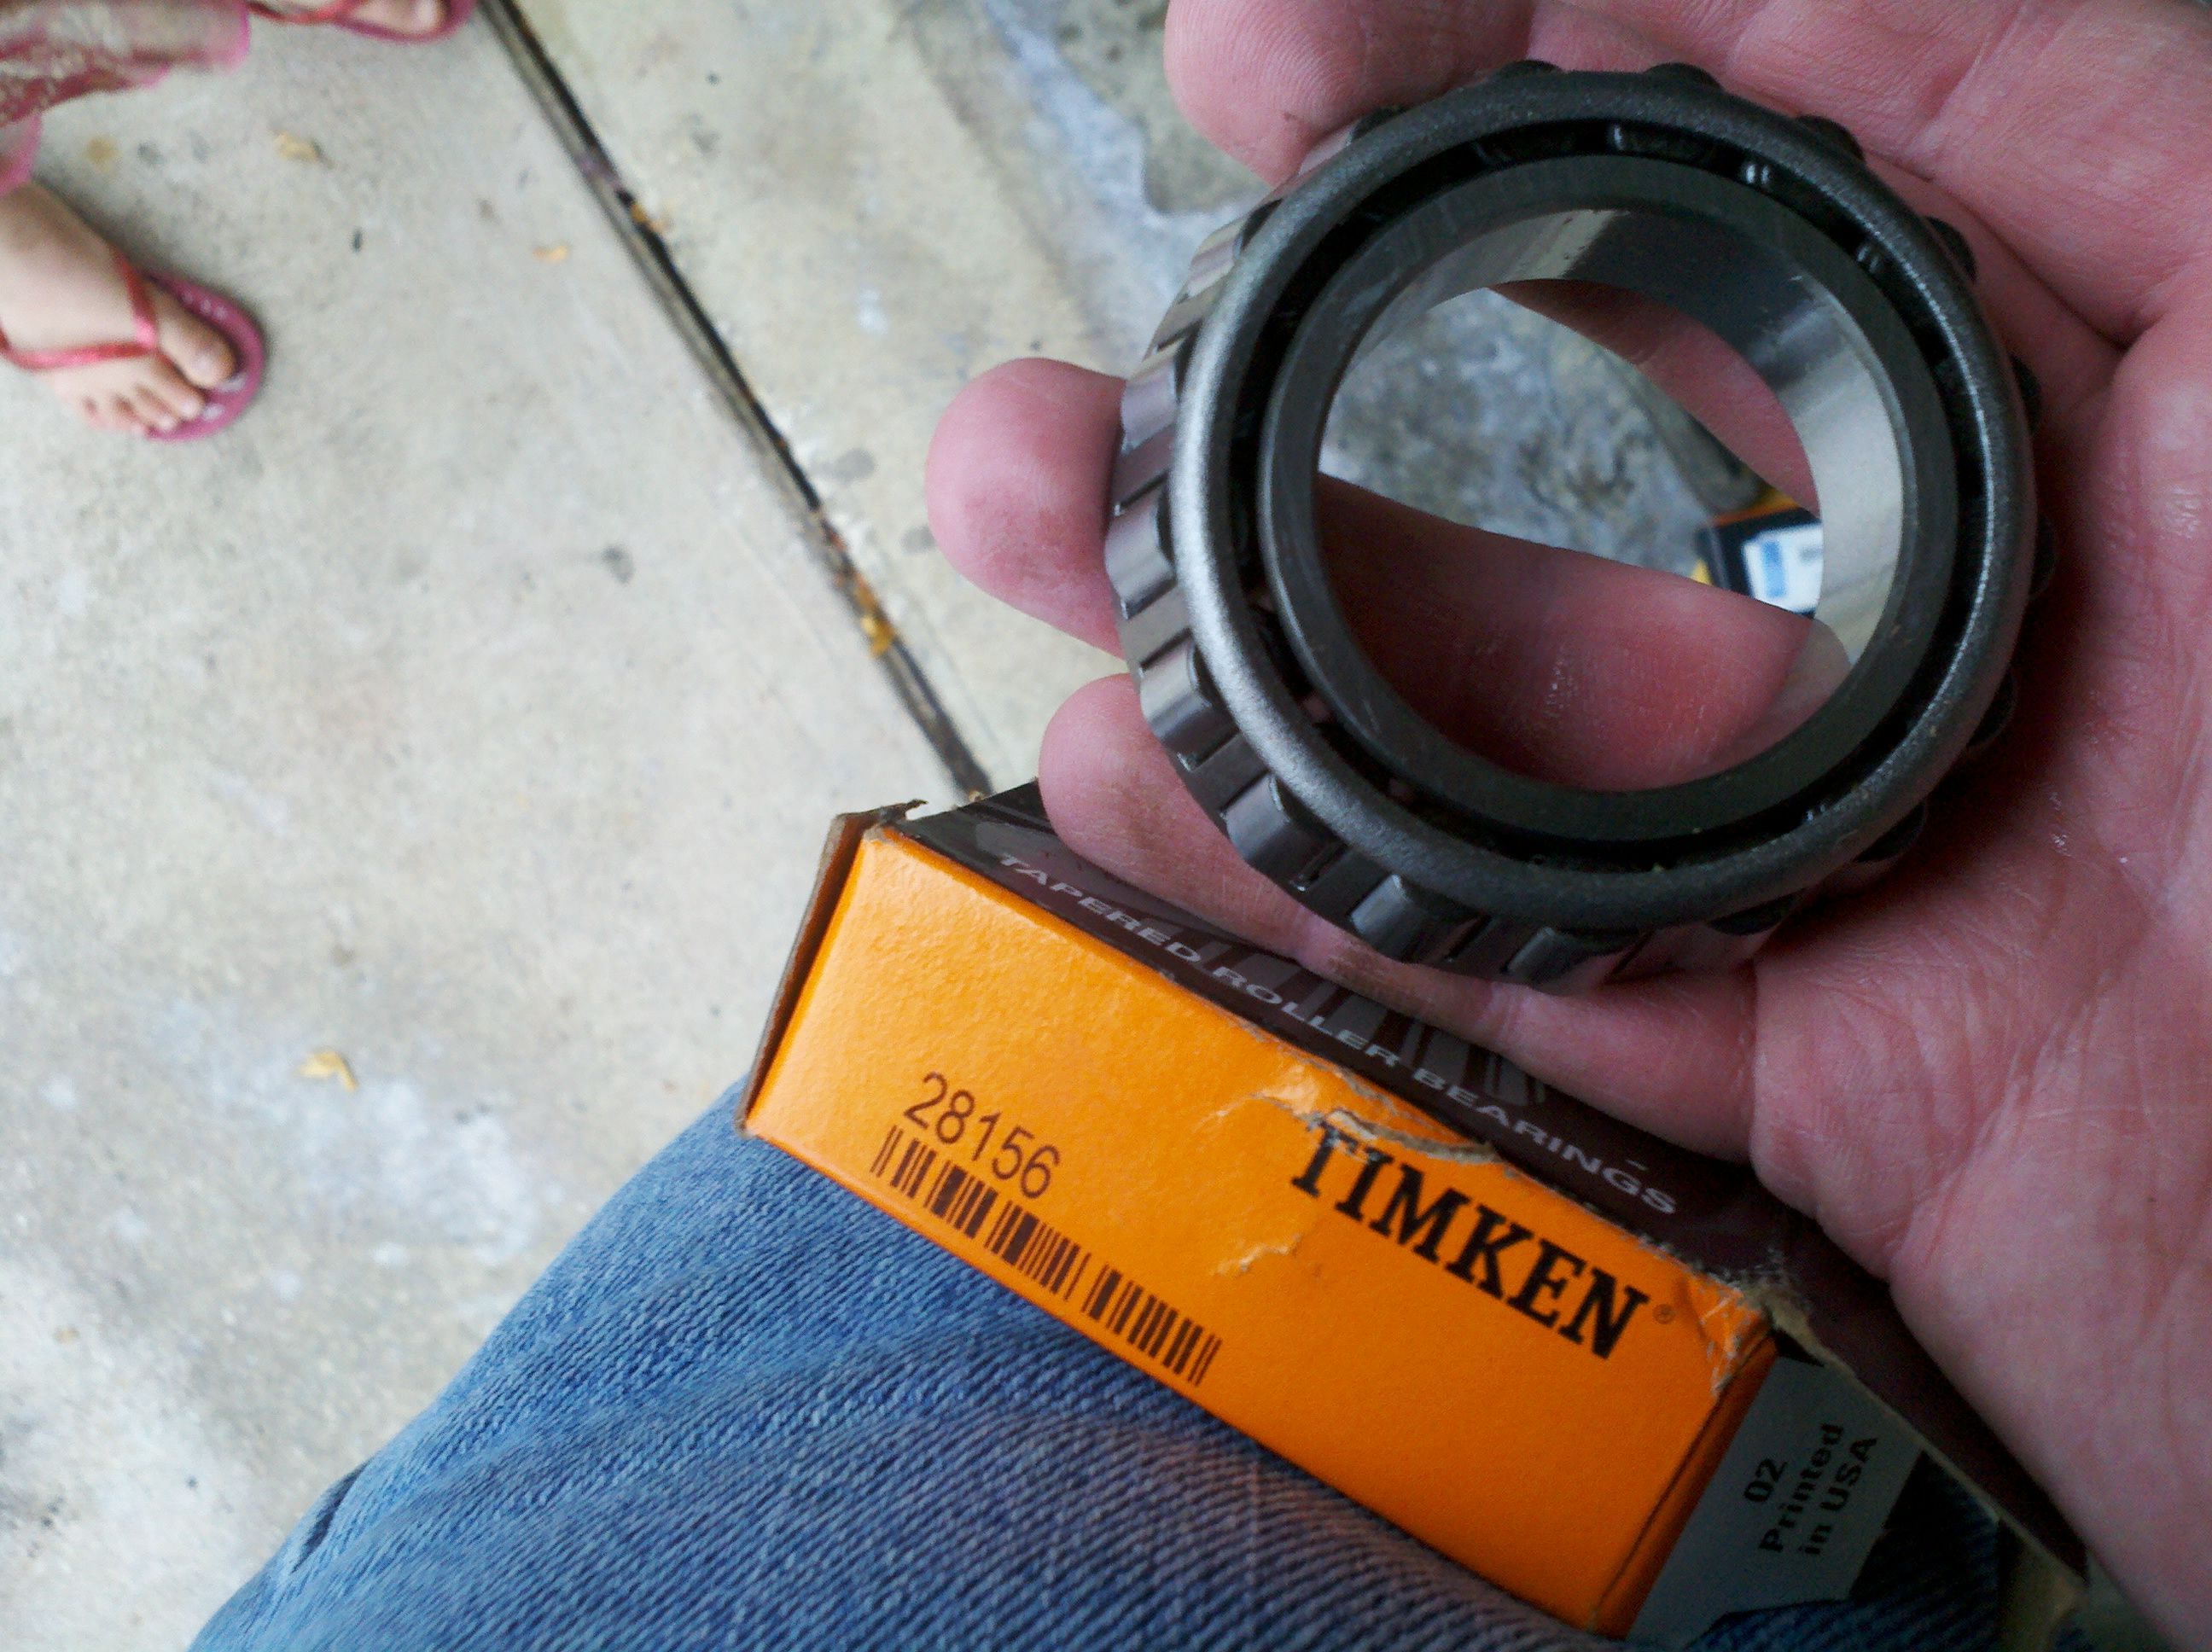
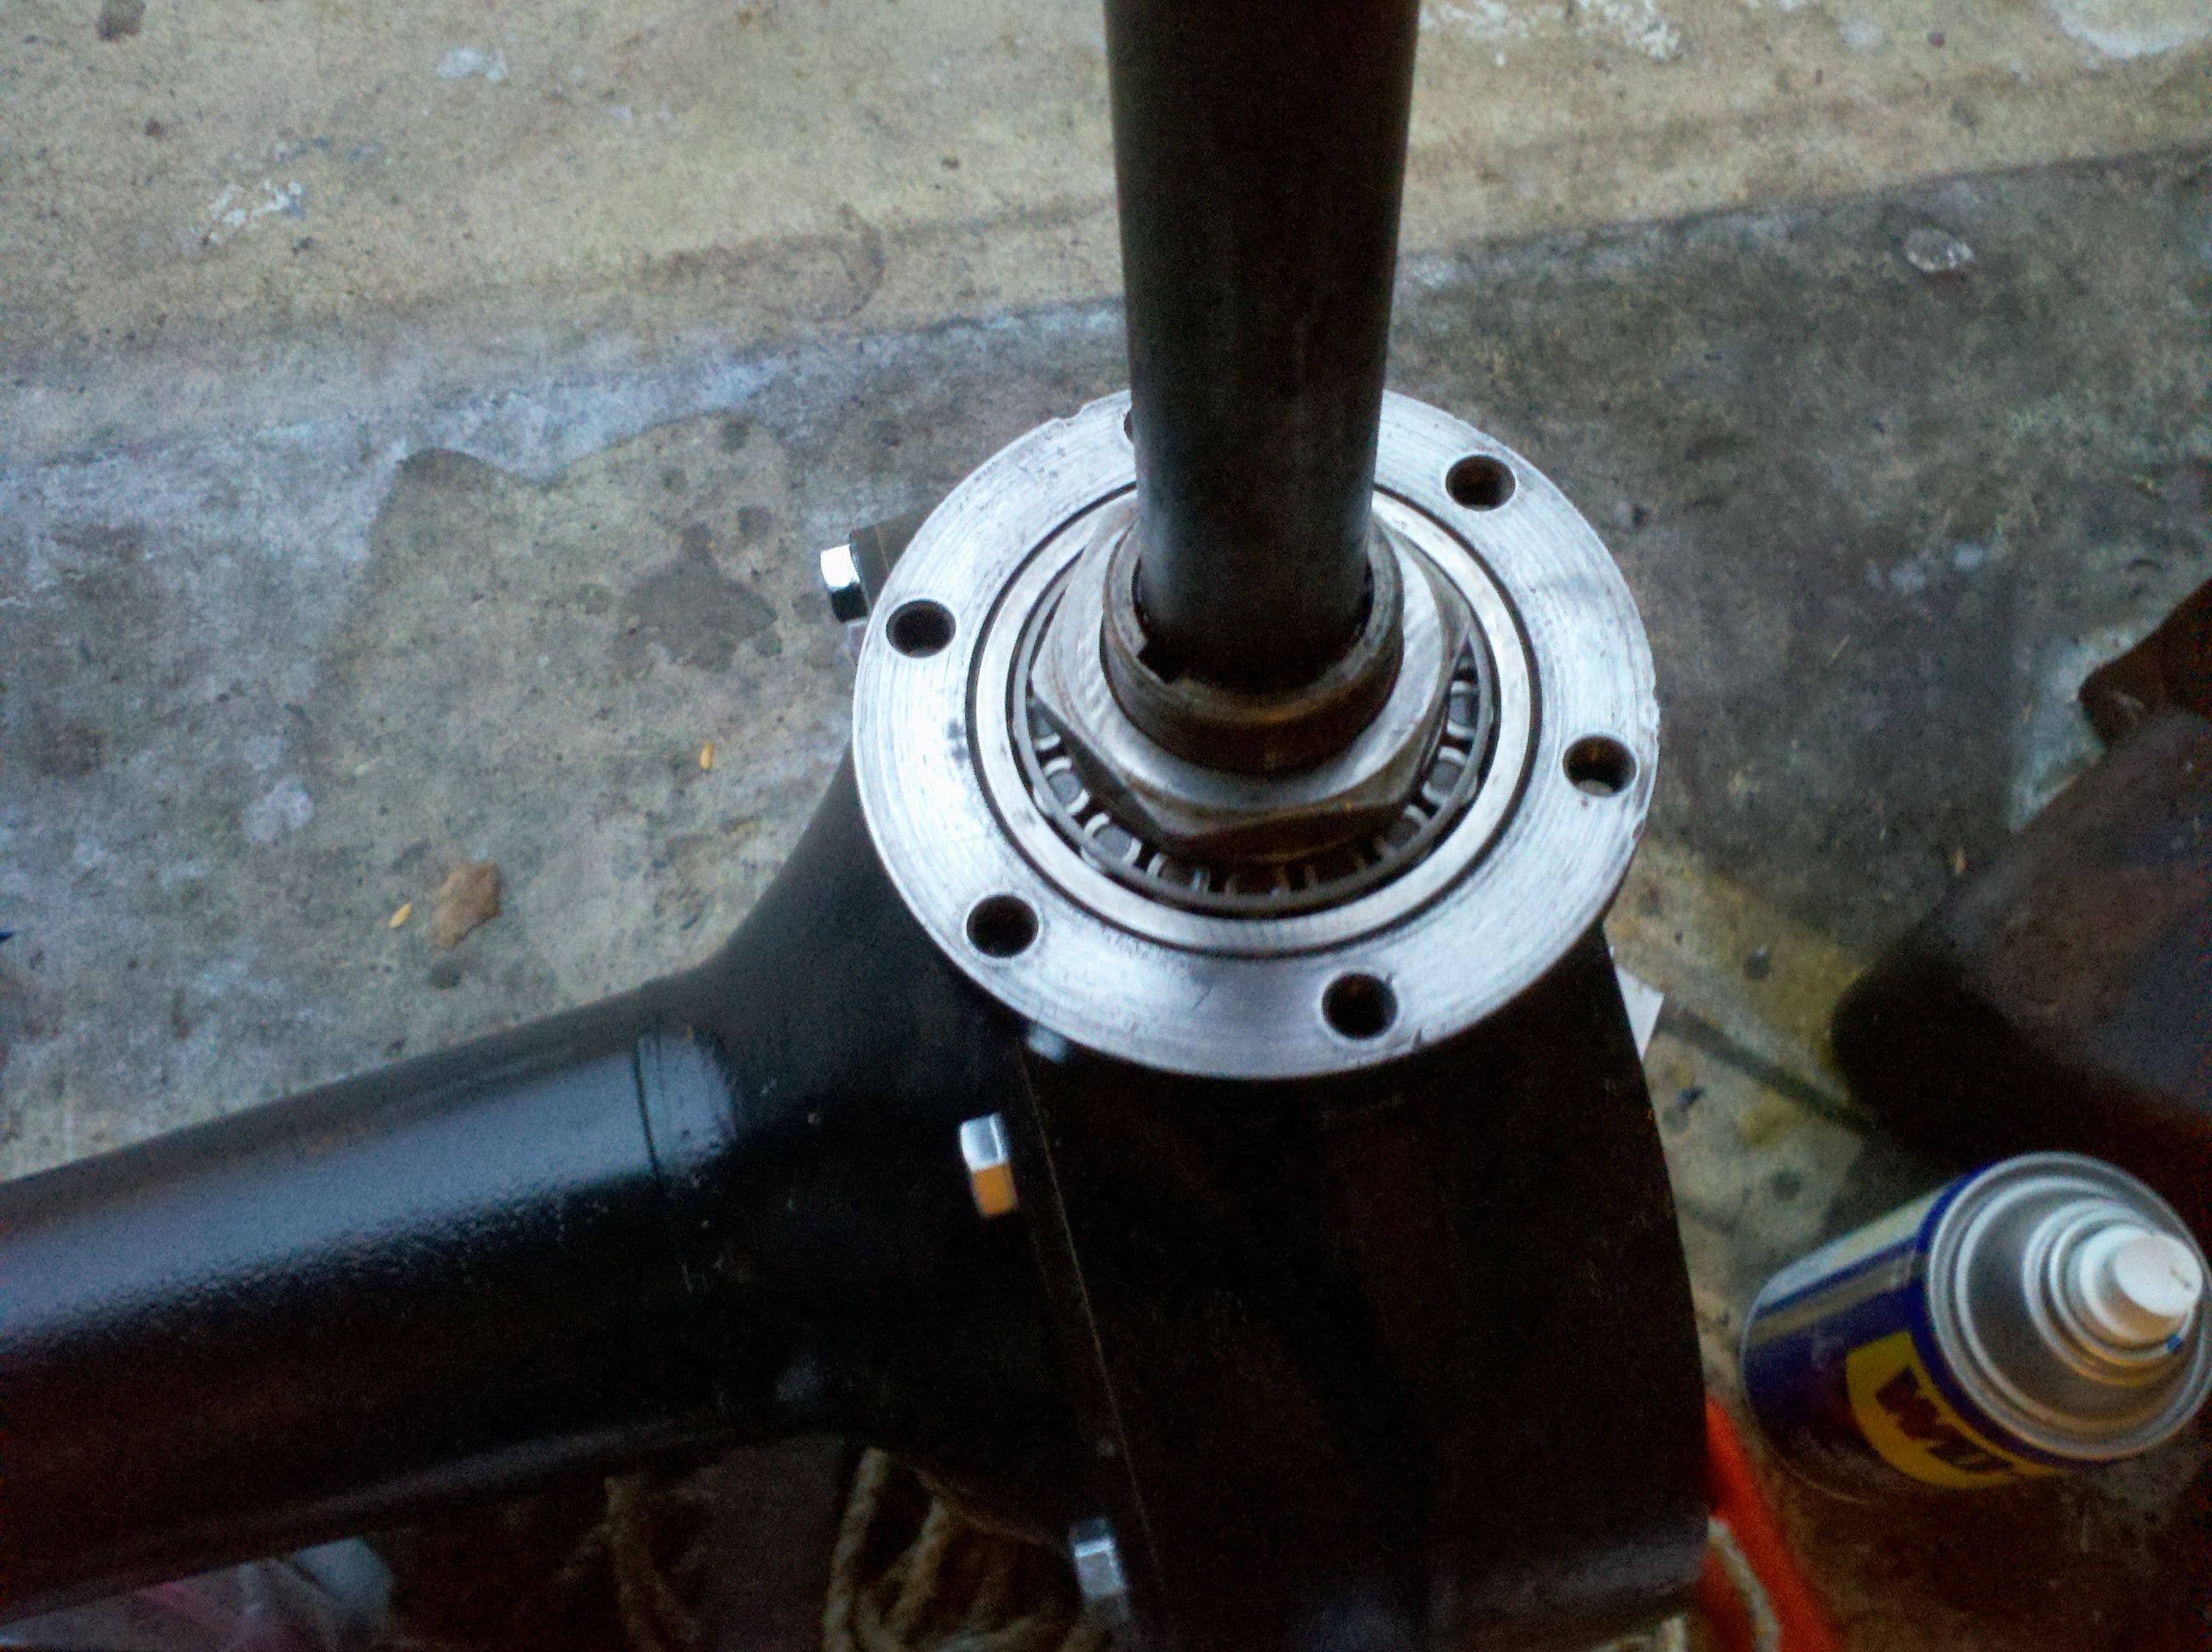
So, we went in and out a couple times during the day for all this, and this was the weekend just prior to hurricane Sandy coming ashore. It started raining, so we stayed in the garage to do everything, and now it's getting dark earlier and earlier, so it seems late, right? I ramble... First thing we did was to get that pinion bearing on. My brass drift is too flared out to work on the narrow end of the inner race, as it was whacking the cage. So after thinking about it a bit, I rigged up my gear puller and bearing separator. Notice from the pictures that I had to add in a crescent wrench to get the leverage I needed.
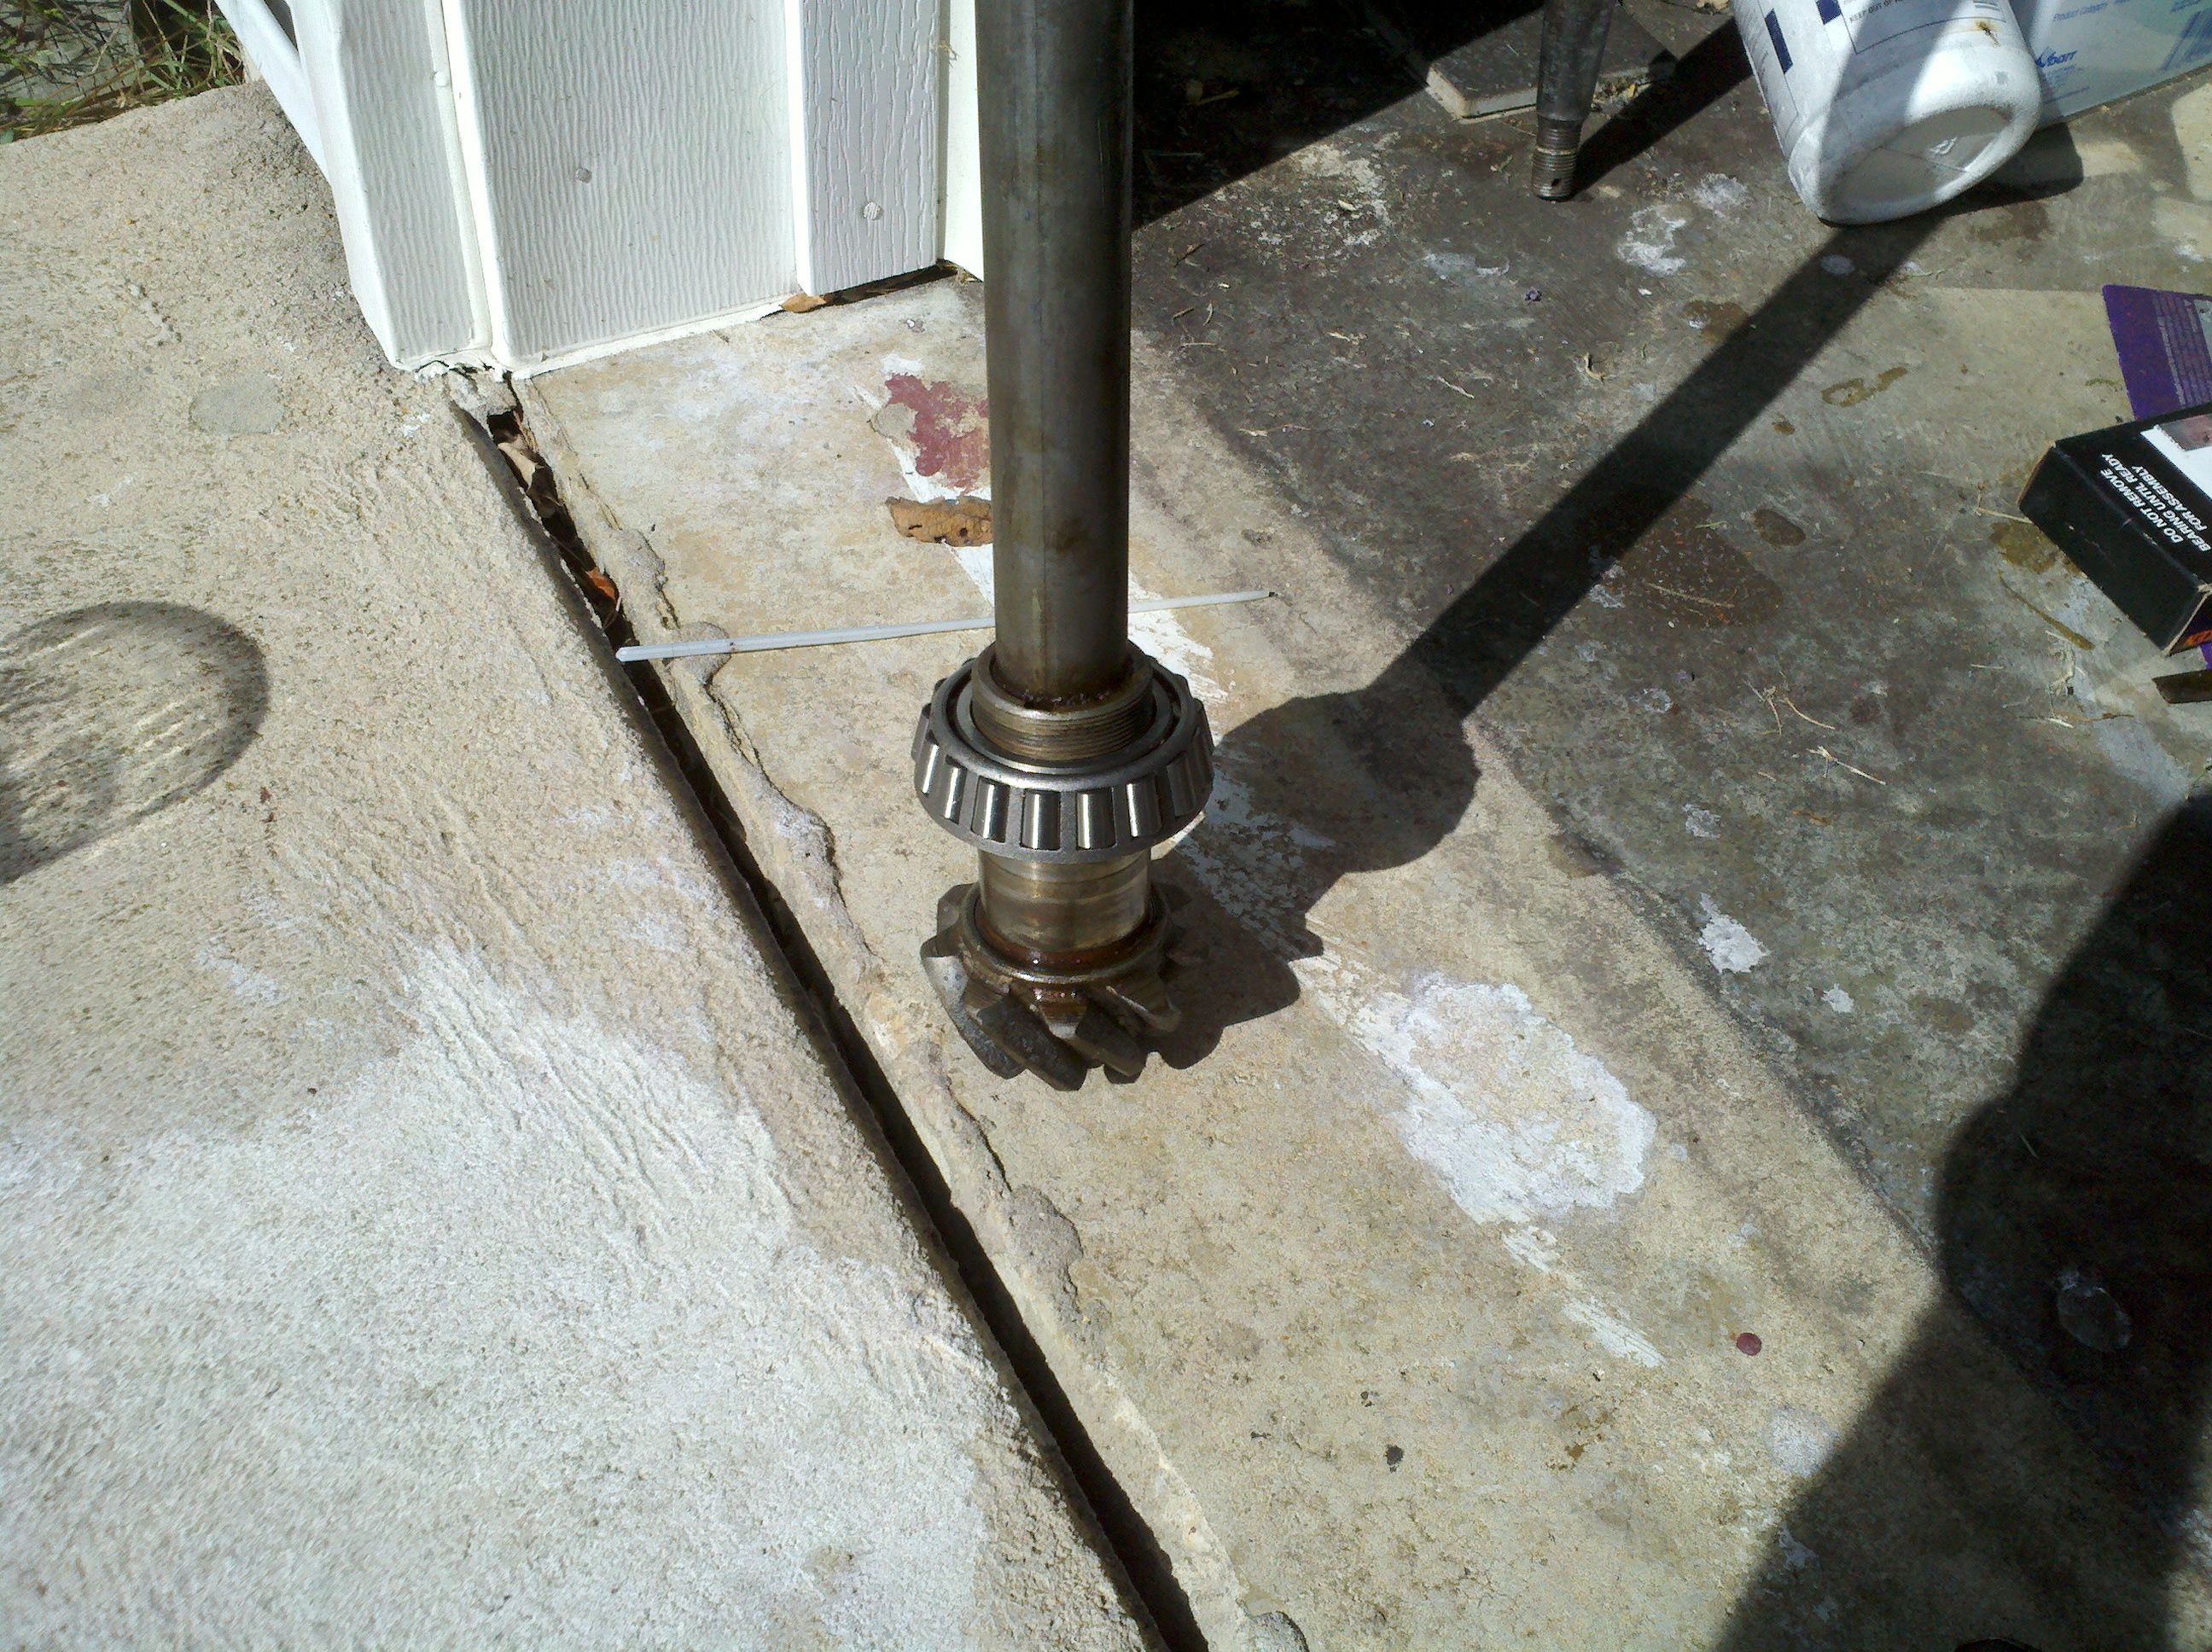
We wnet back inside for a while, and then later in the evening my littlest girl and I went to the garage to install the drive shaft. I really need to get the mess all cleaned up so I can work better. If my plans work out, that'll be happening soon - what with the blasting and all... Ennyhoo, we slid the drive shaft through the opening for the axle housing, and set the pinion gear in place. Brought the other gear on, and ran the pinion nut down behind it. It pressed on nicely until tight. We played with it a little bit, but it would turn with just my fingers. A little tight, but not horribly so. My readings seem to indicaate that it should be around 12 inch pounds, and I would hazard that this was about right. The drive shaft had no play at all (that I could tell) at this point, and would stand up straight without any wiggle. As a quick note, I did not change the pinion bearing race. It looked to be in really good shape, with no pitting, corrosion, or flat spots.
And then, I couldn't find the lock washer. I looked and looked. And then the little one learned an important life lesson - don't try to catch heavy stuff.
She was helping me hold the axle upright so I cold drop the nuts and washers in place. I told her I didn't much want her to hold it, because I didn't want to catch a drive shaft in the mellon. She assured me she could hold it just fine. I looked around - she had plenty of room to move it fell towards her, and if it fell away, there was nothing it could hurt, and I didn't see how she could get something stuck underneath. Sooo... I stood up to look for the lock washer. Then I heard the loud clang and a crying baby girl. Of course, the way the thing fell, the axle fell on a jack stand. With her poor middle finger in between. Yeowtch!
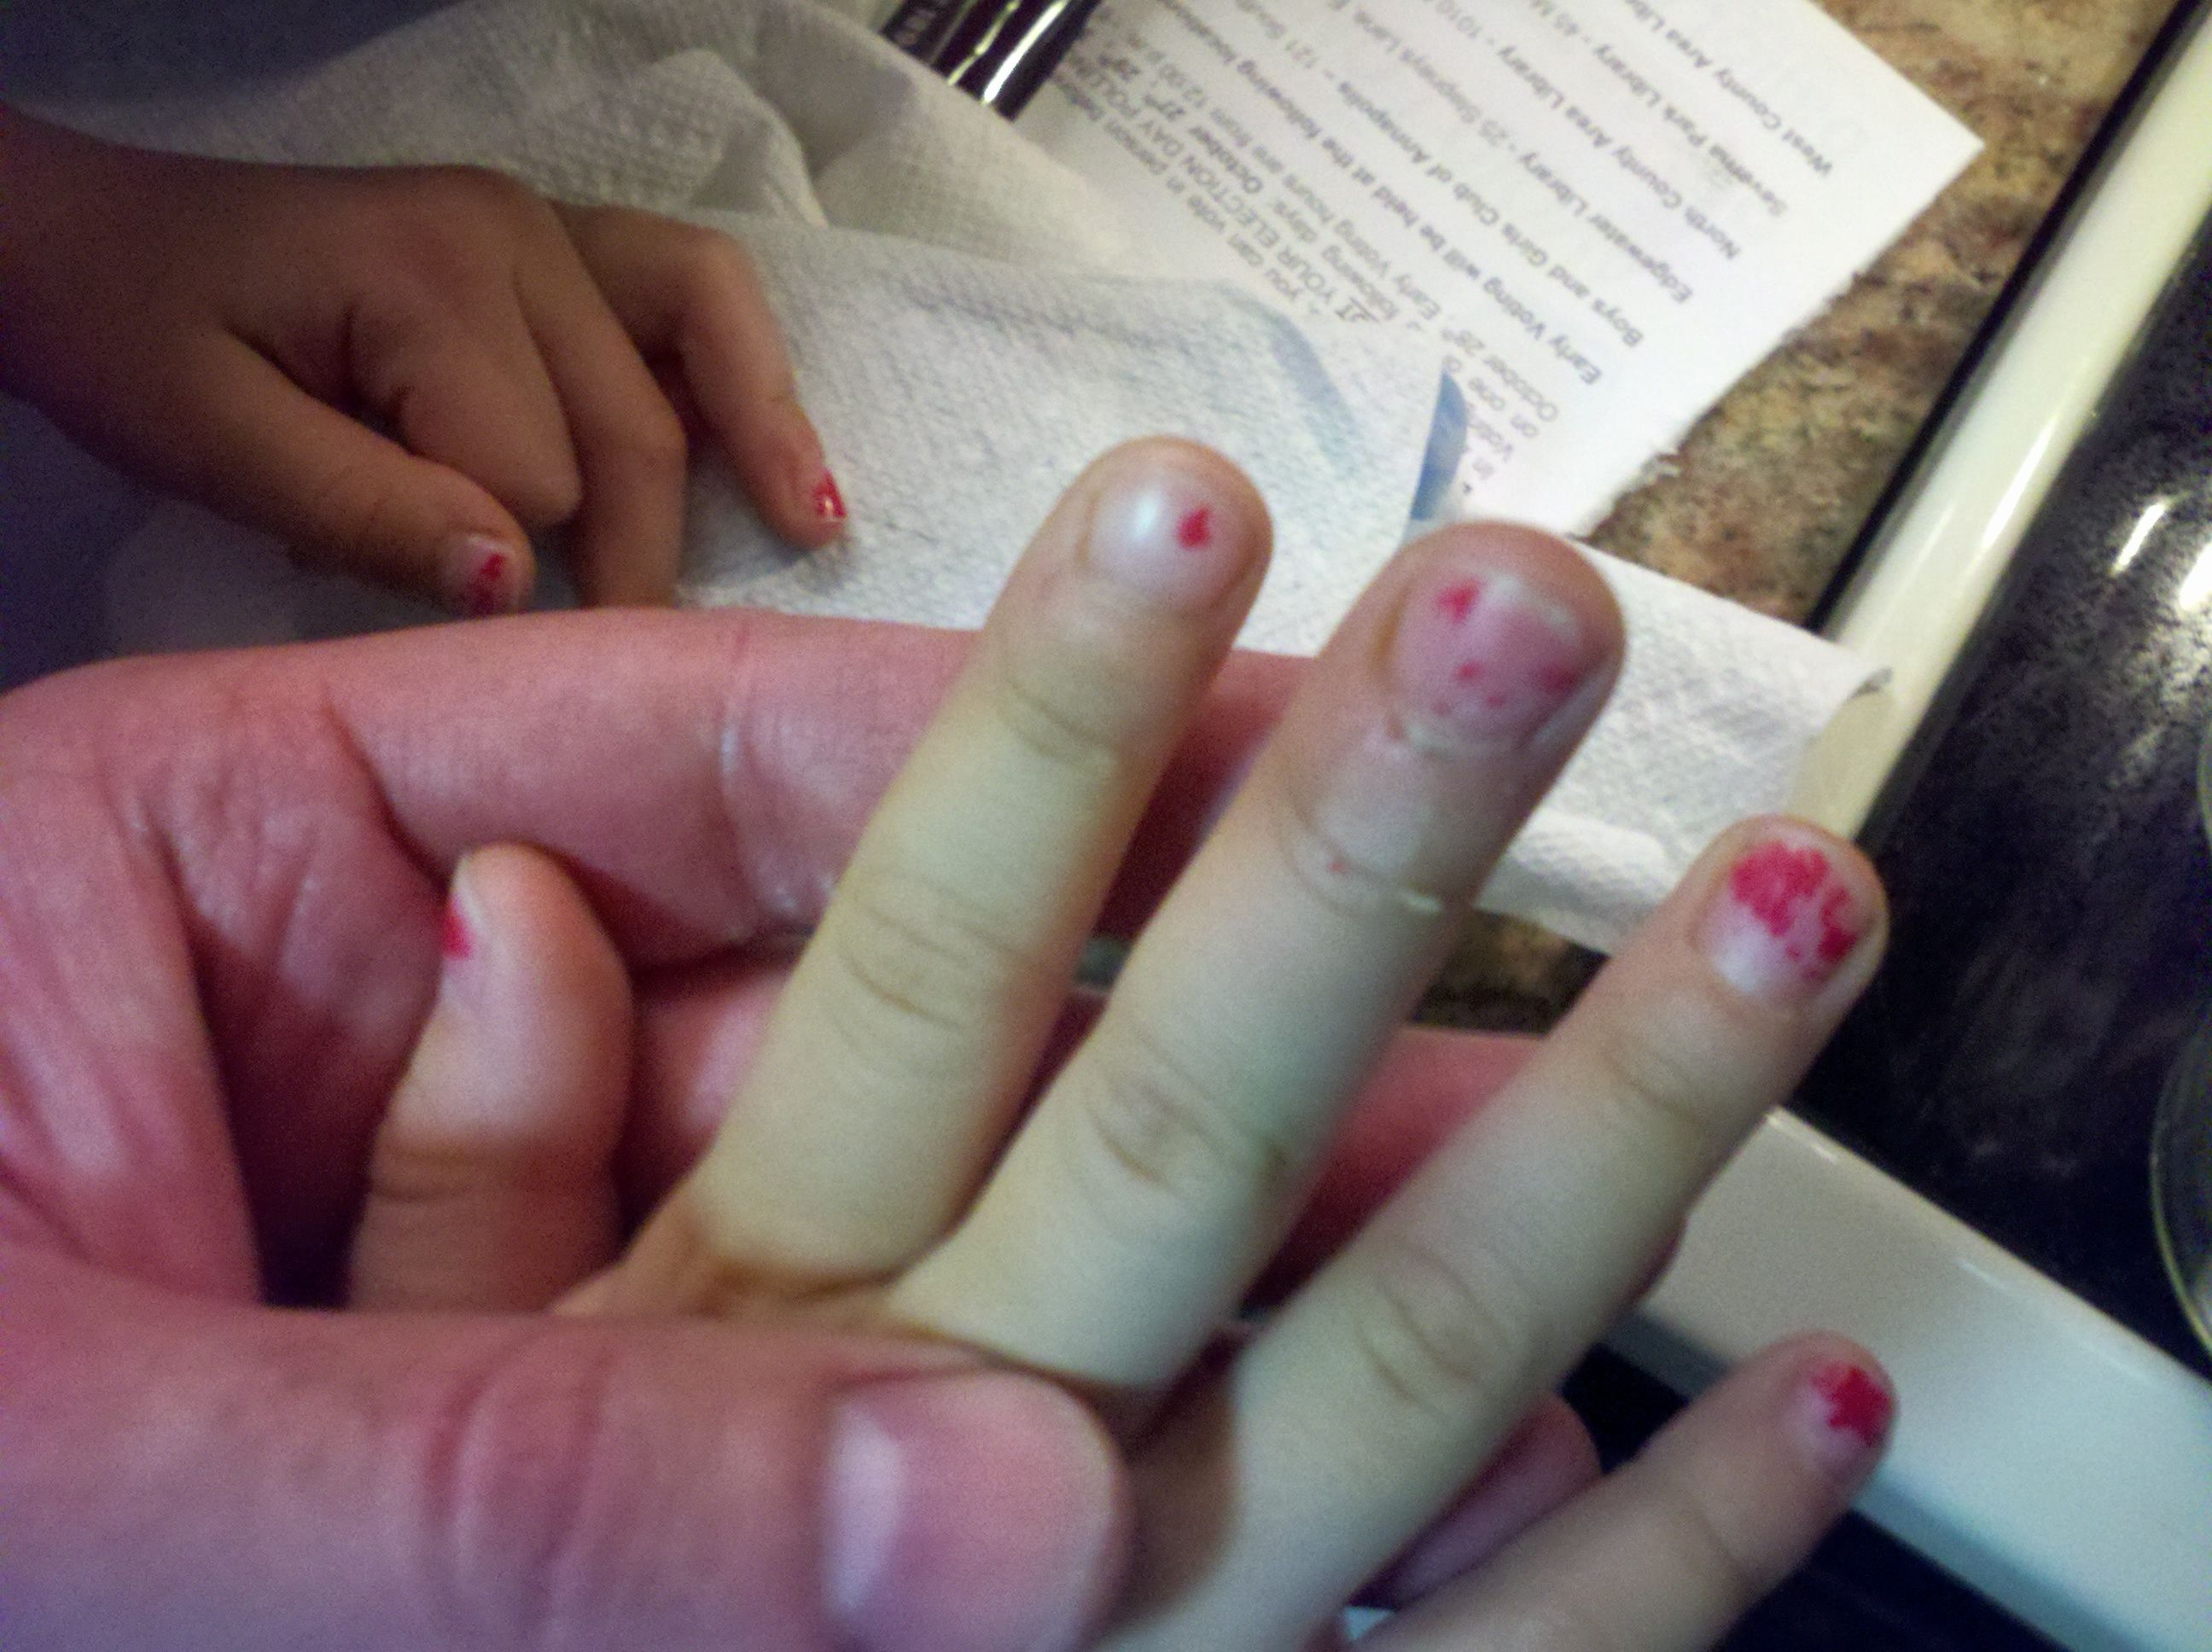
We hurried in and cleaned it out and made sure nothing was broken, and applied plenty of kisses. We took a break for a while, and she had an ice pack and some cartoons. It wasn't too long before she was asking if we could go back out and work on the truck some more. I guess she survived her first "Ford bite."
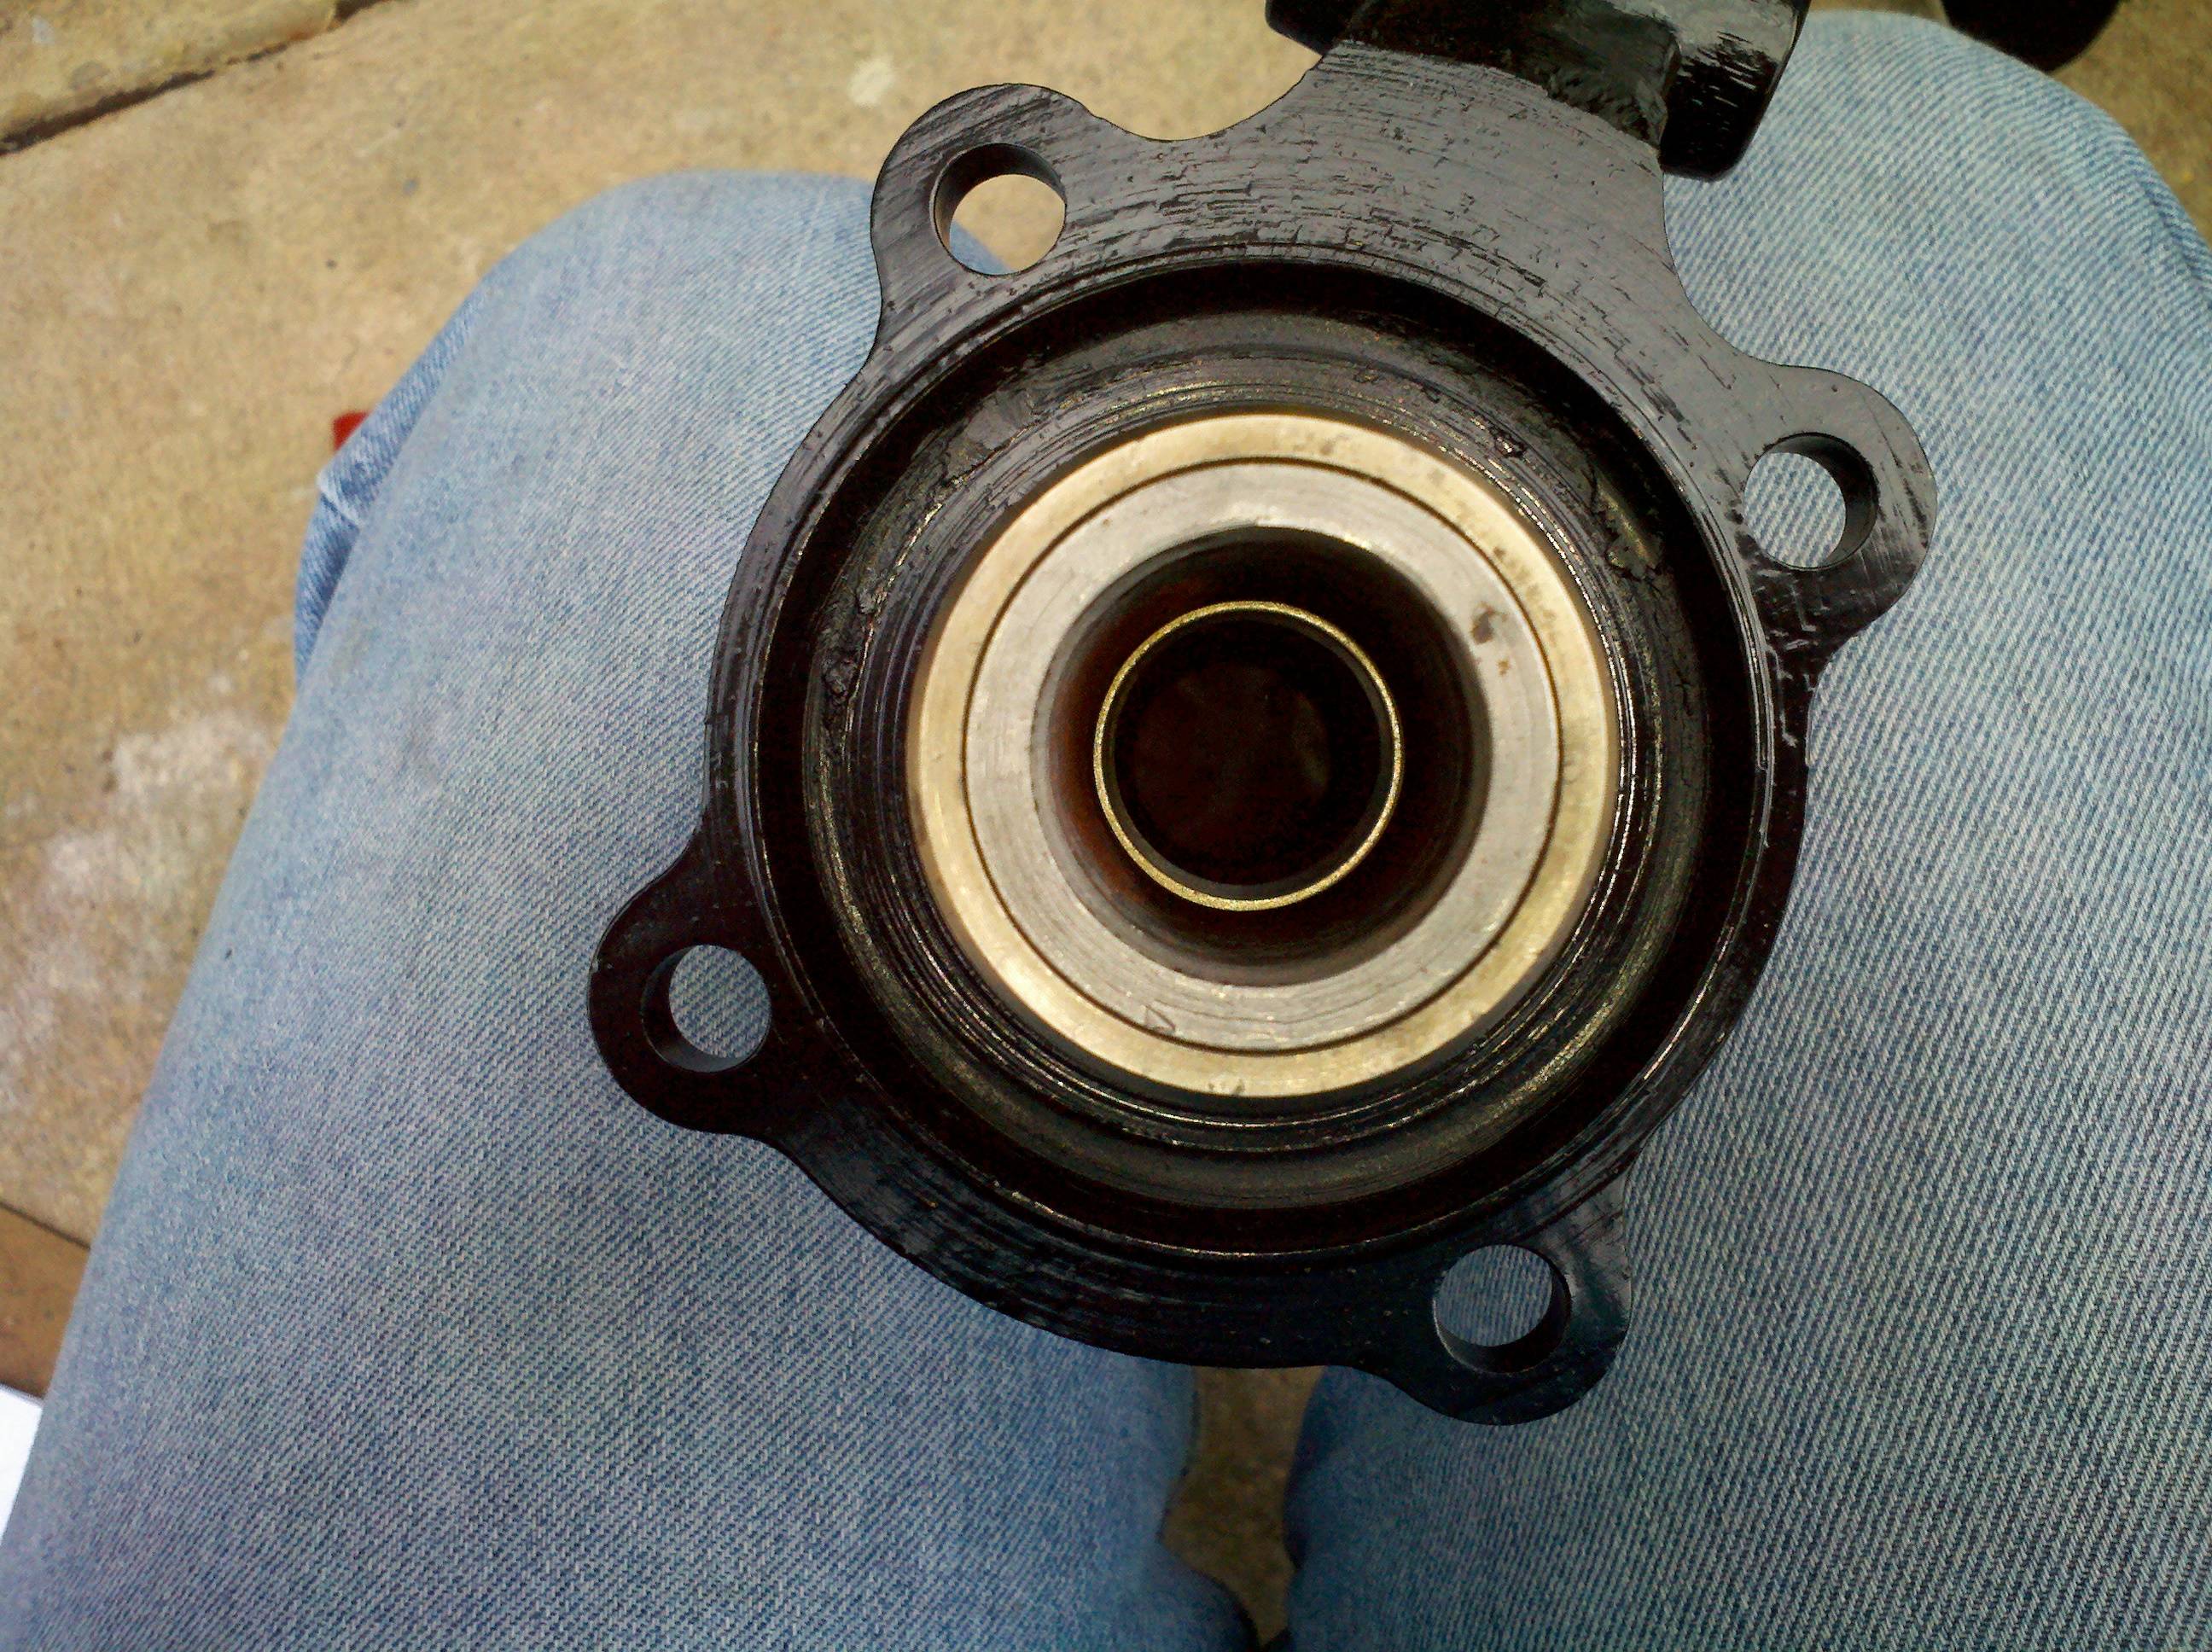
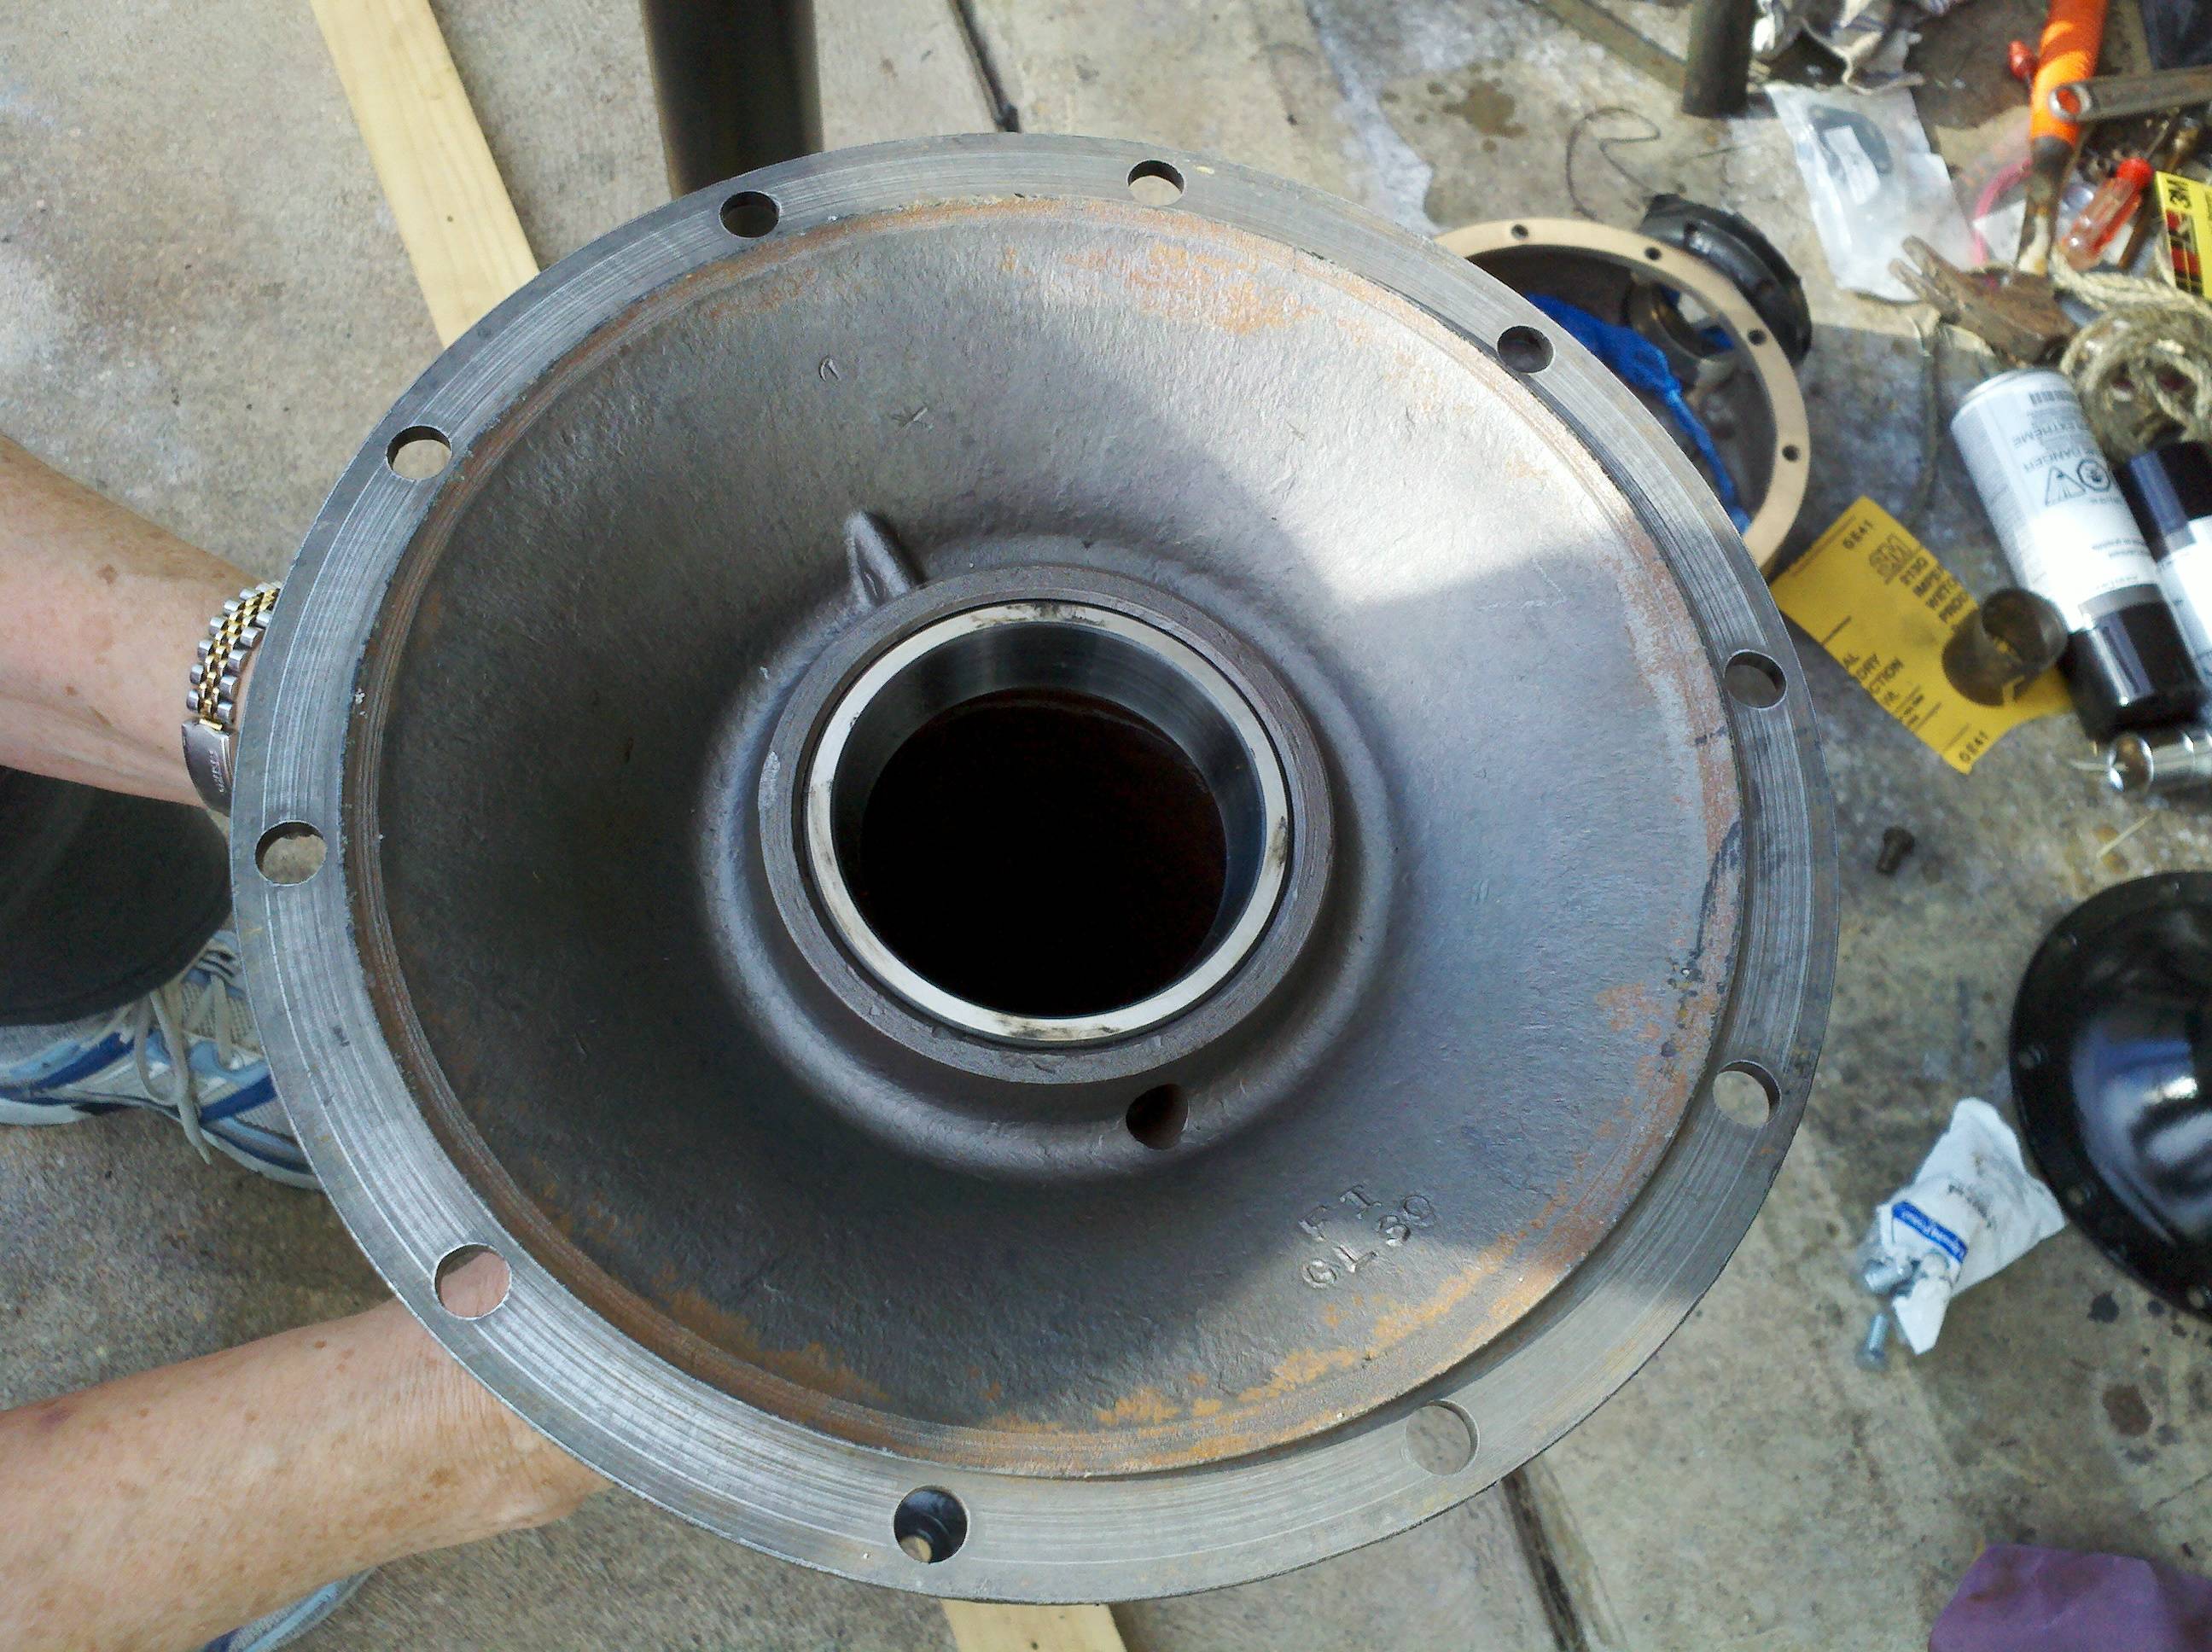
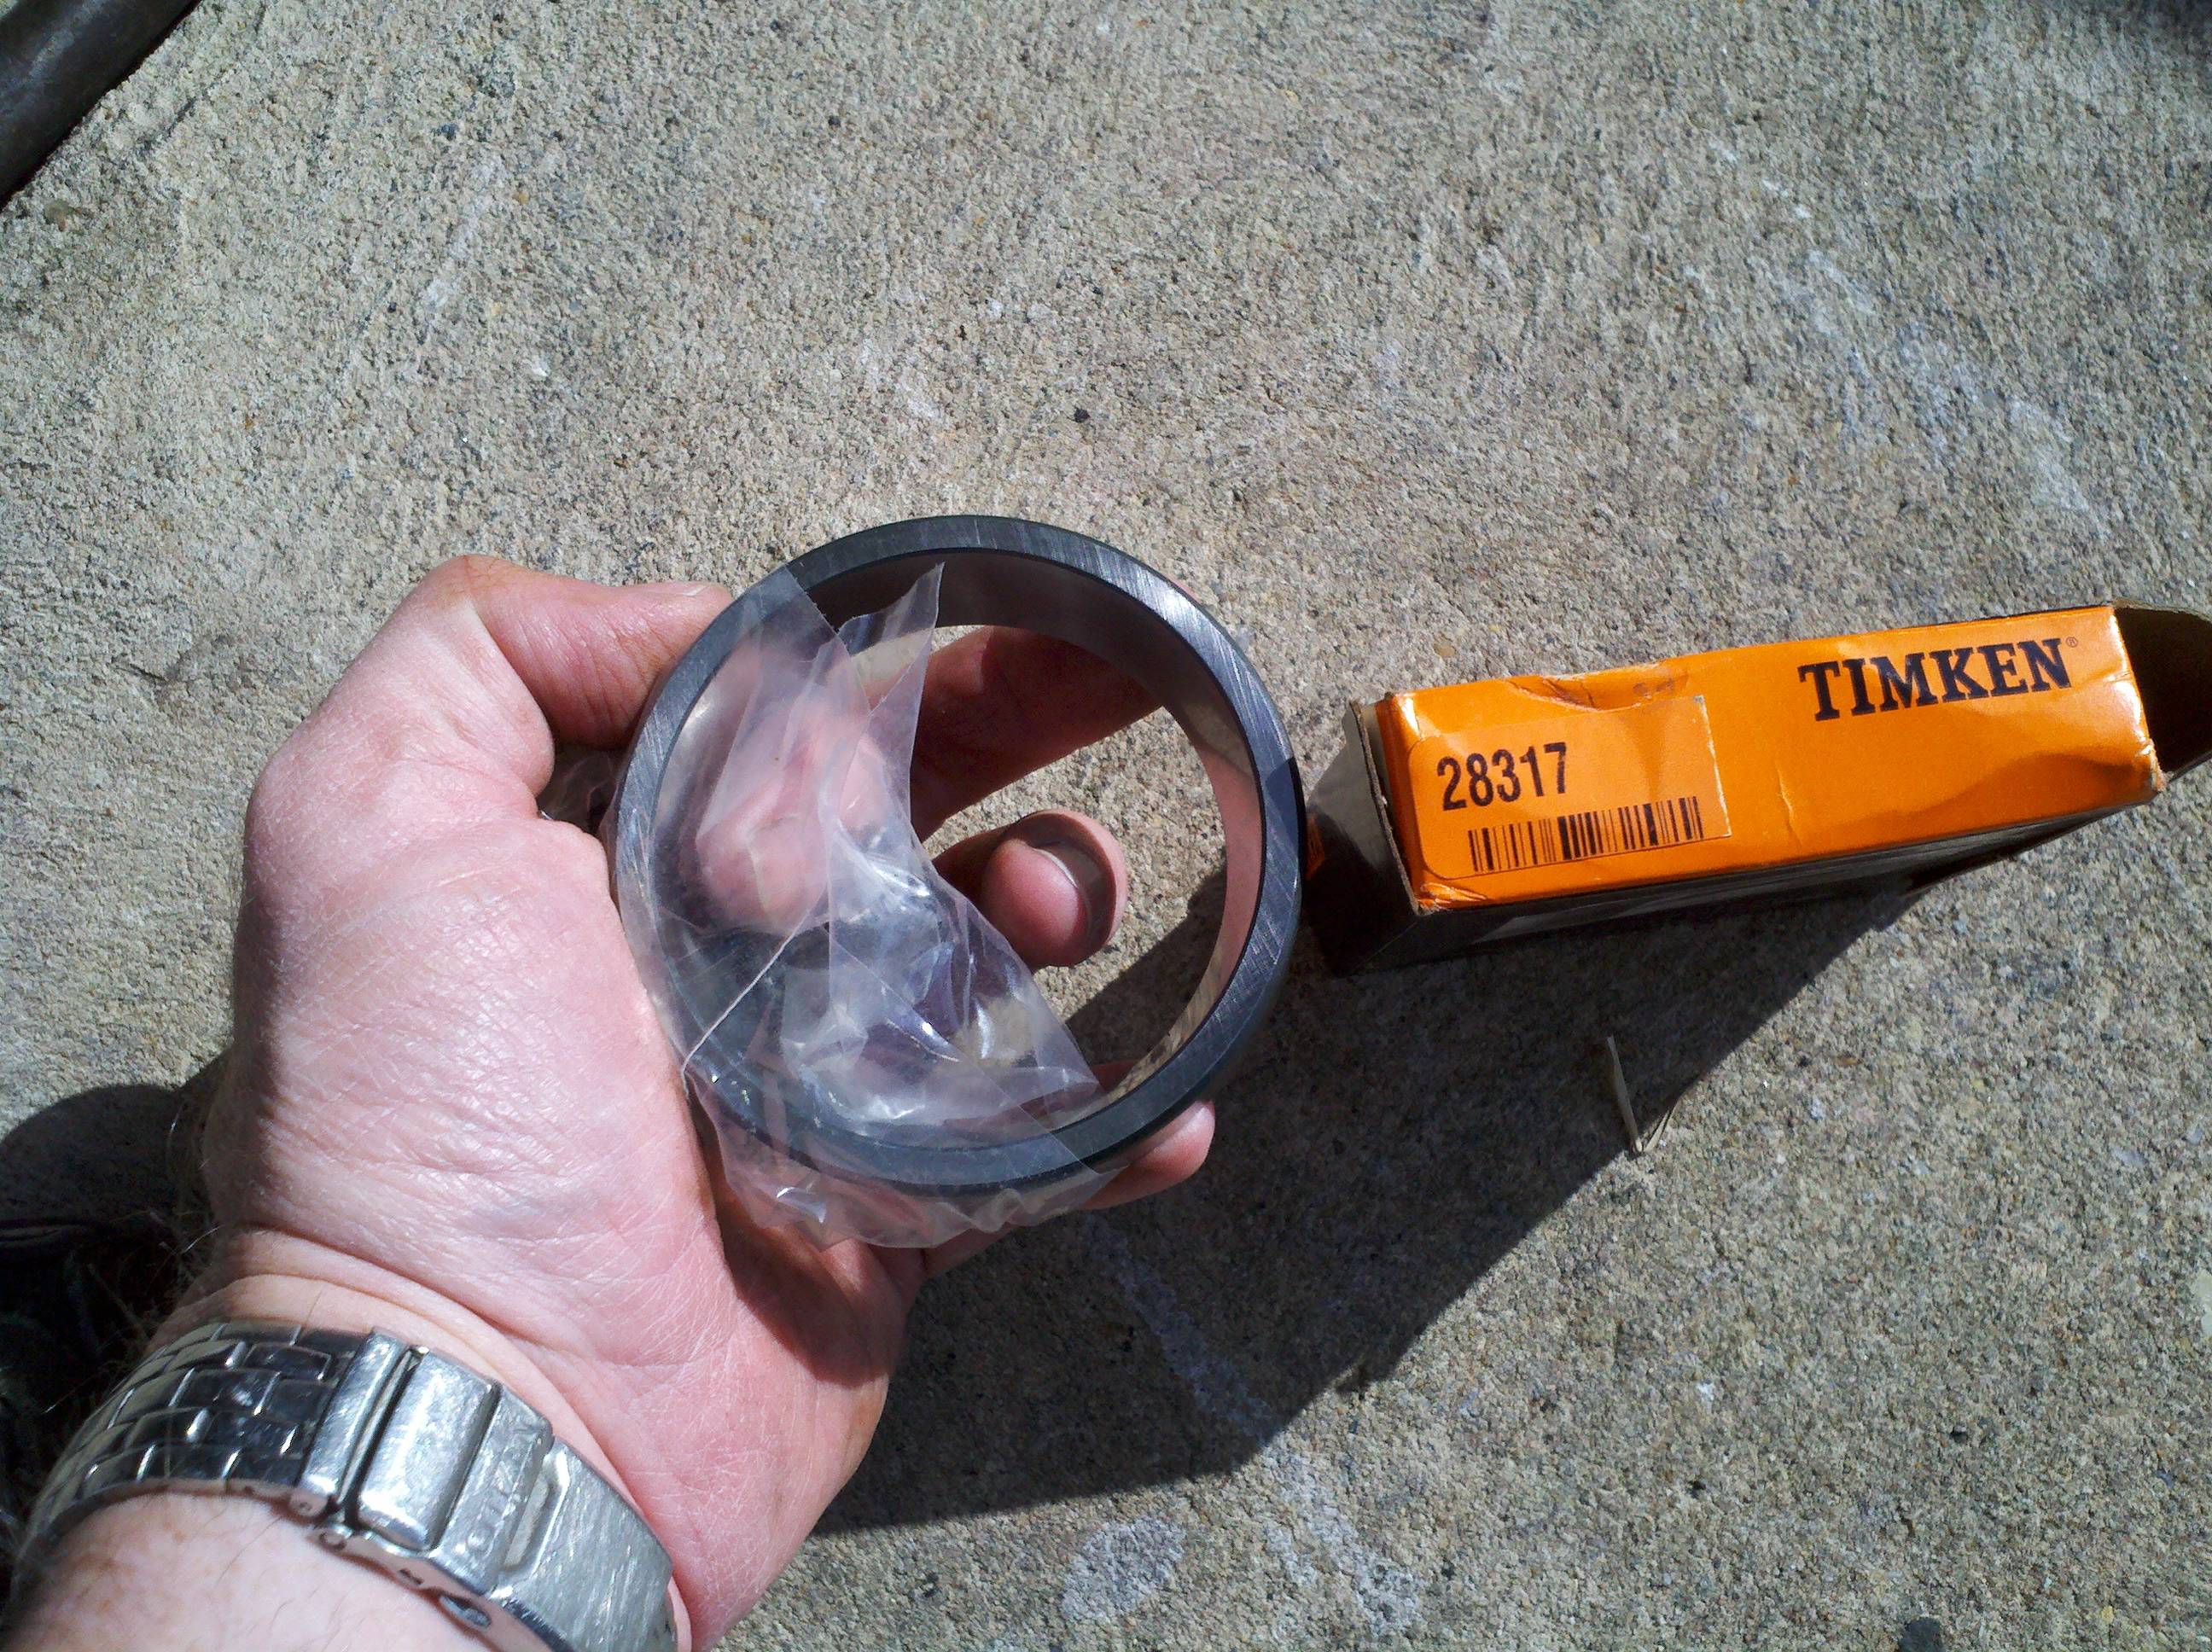
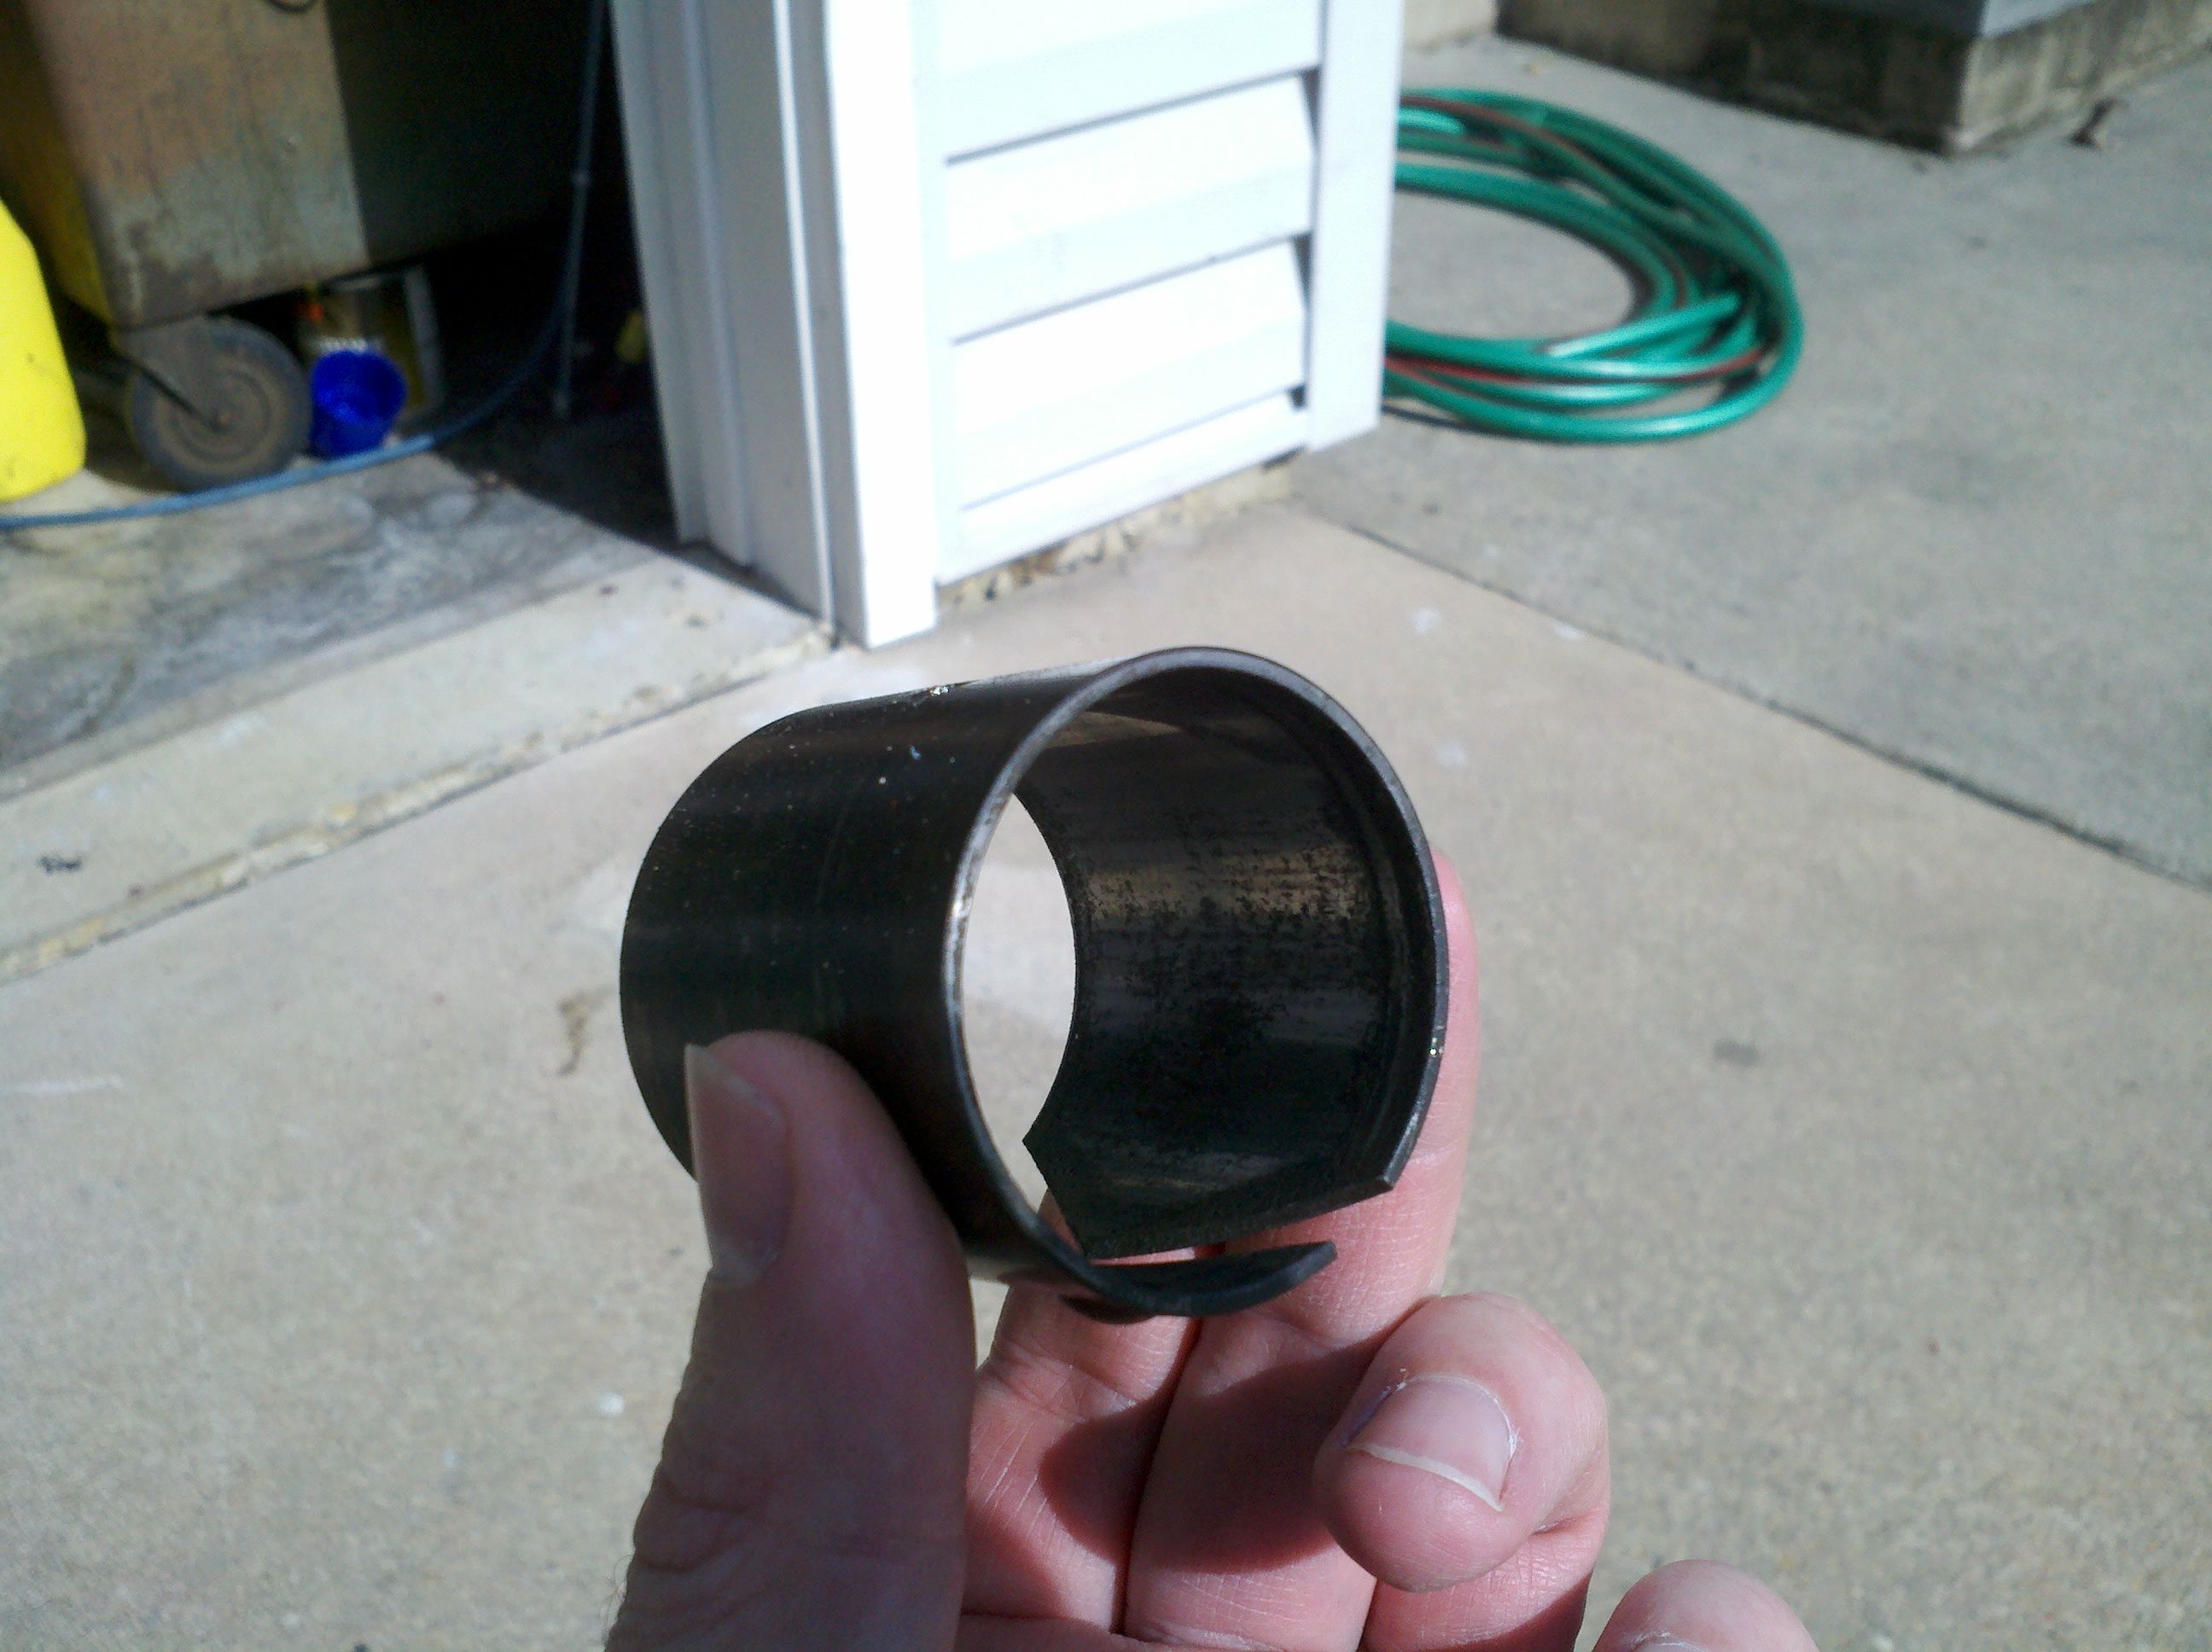
While she was recovering from her serious trauma, I went back out and installed the drive shaft carrier bearing race. I've read some stuff about using the original if at all possible, but is seemed pretty rough, so I put in a new one. Putting it in wasn't so bad - use a pair of Channel-Locks to squeeze it down, and use a piece of safety wire to hold it that way. Two tricks I figured out: (1) Make sure the wire is above the detent - this'll help when you're putting it in. (2) Twist the safety wire on the inside of the race - so the twists come through the gap in the race. Otherwise, it doesn't want to drop down past the initial neck, because the wire braid gets in the way. Once settled in, a few taps on the top of the race, using the seal installation tool gets it right where it needs to be. Note also warnings from other places - make sure the detent is in the right spot, or you'll have to knock it all back out and start over. I got it right on the first try, so yay for me! Note also: The new race will not bottom out on the seal! It looks like maybe you can knock it in too far, and then the race will be out of round! Be careful!
I've read in a couple of places about trying to reuse the old race if at all possible. Like I said, the old one looked pretty rough. Here's some comparison pictures. This is after I ran some sandpaper through the old race...

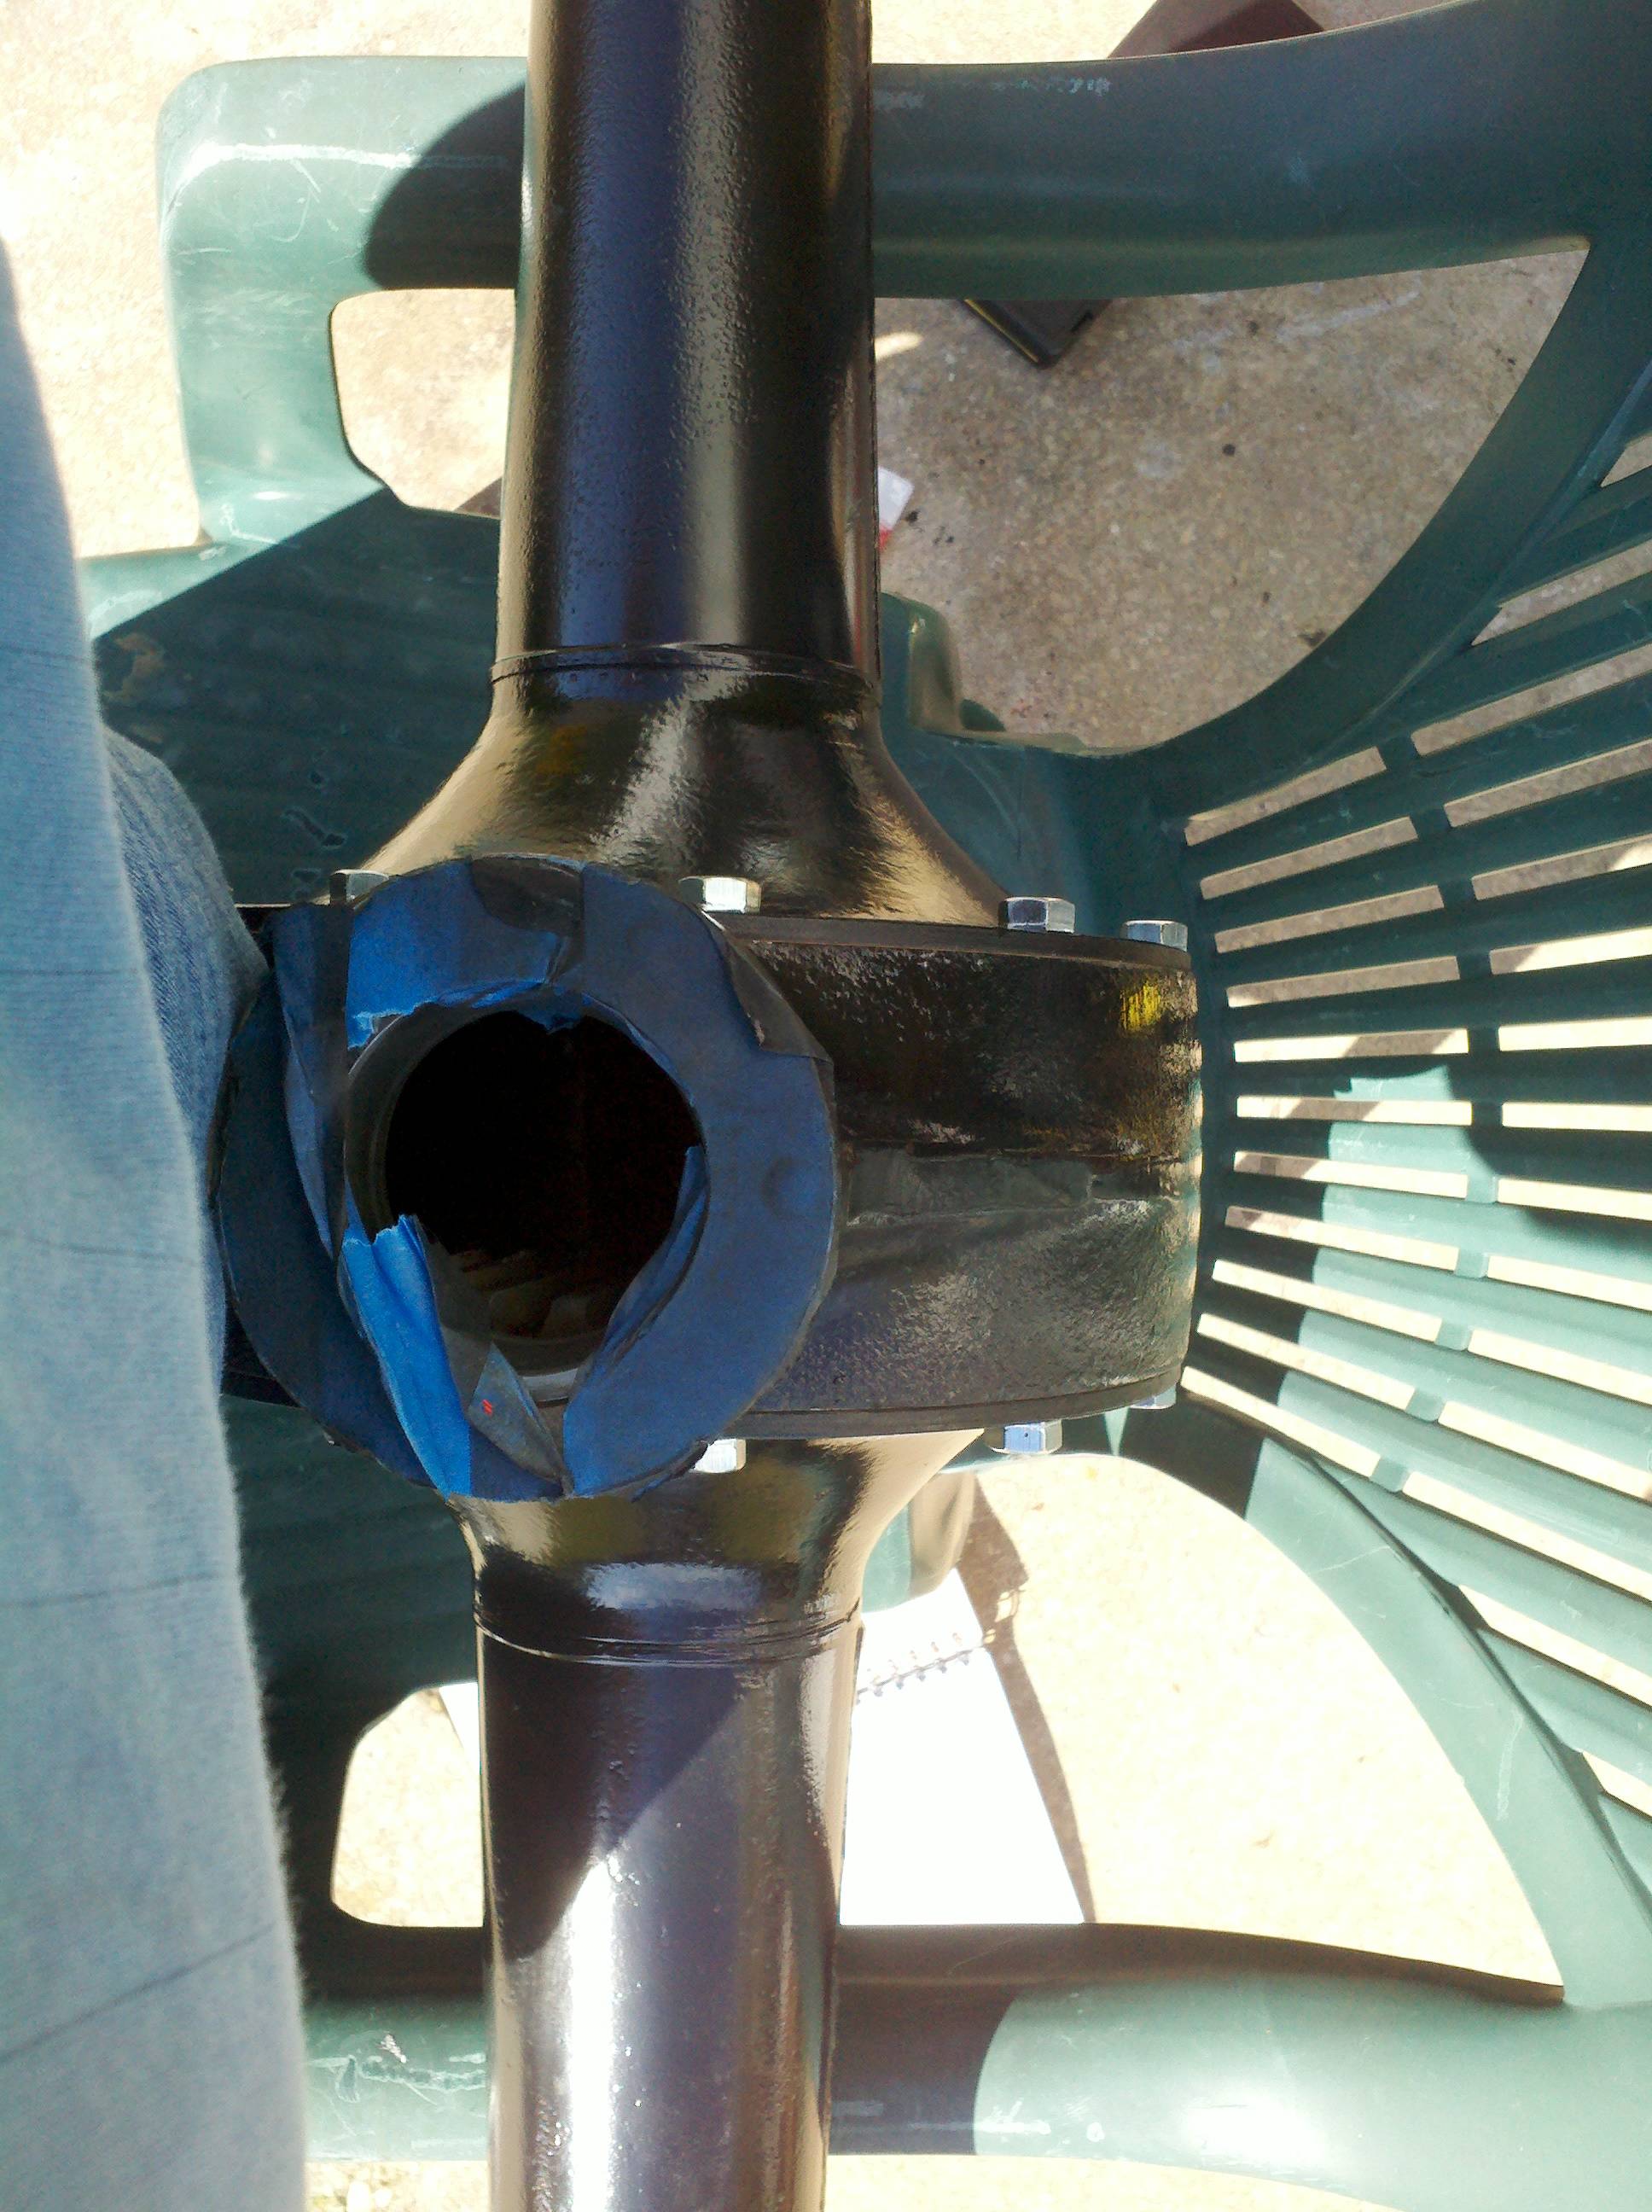
After dinner, the little one was begging to do some more work on the truck, so we went out and installed the torque tube. I dropped the bolts in and ran them down with an open-end wrench (my sockets wouldn't fit). I explained to her about even application of torque/pressure, and we worked out way around. One note, the gasket has a notch in it, and I found no mention of which way the notch is supposed to go. I figure that's the point that's most likely to leak, so I set it in the up, driver's side position.

We dropped the tube into place and set the bolts, torquing them all to 35 ft-lbs. The safety wire that came with the bolts, though, was nowhere near long enough to tie them up right. Actually, it might have been, but only if all the bolts had lined up perfectly. Fortunately, I have some safety wire of my own, and we ended up using that to lock all the bolts in place.

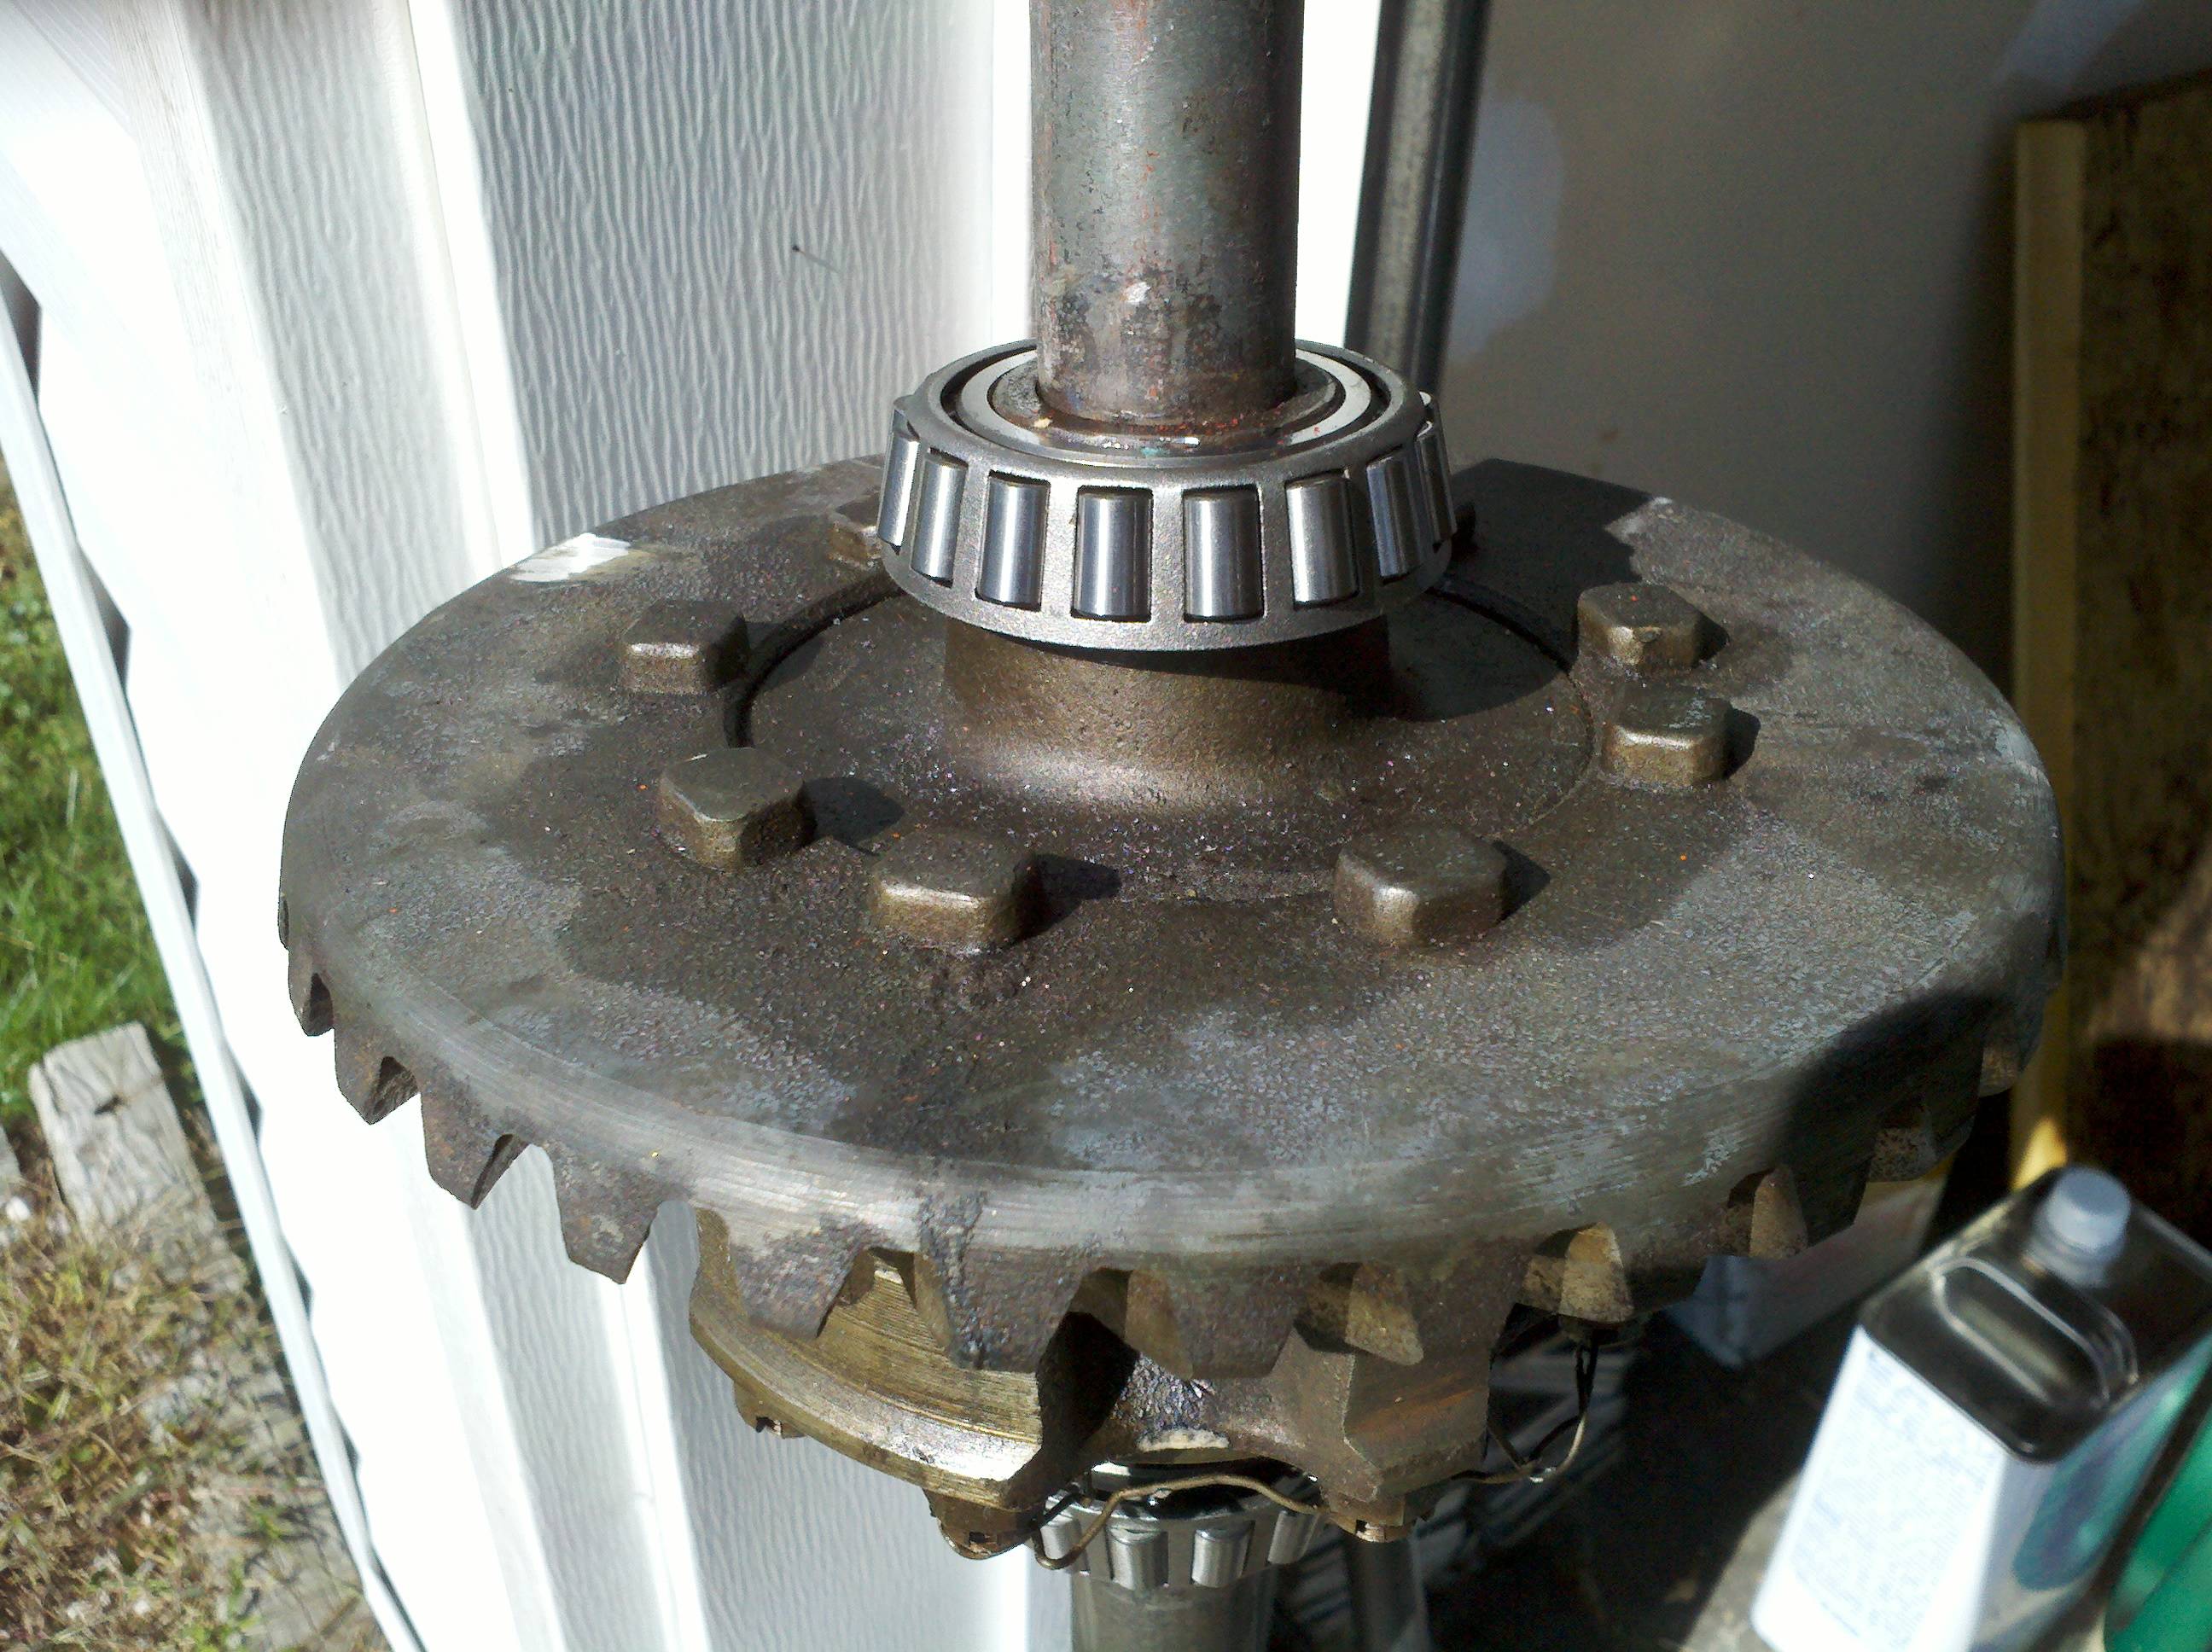
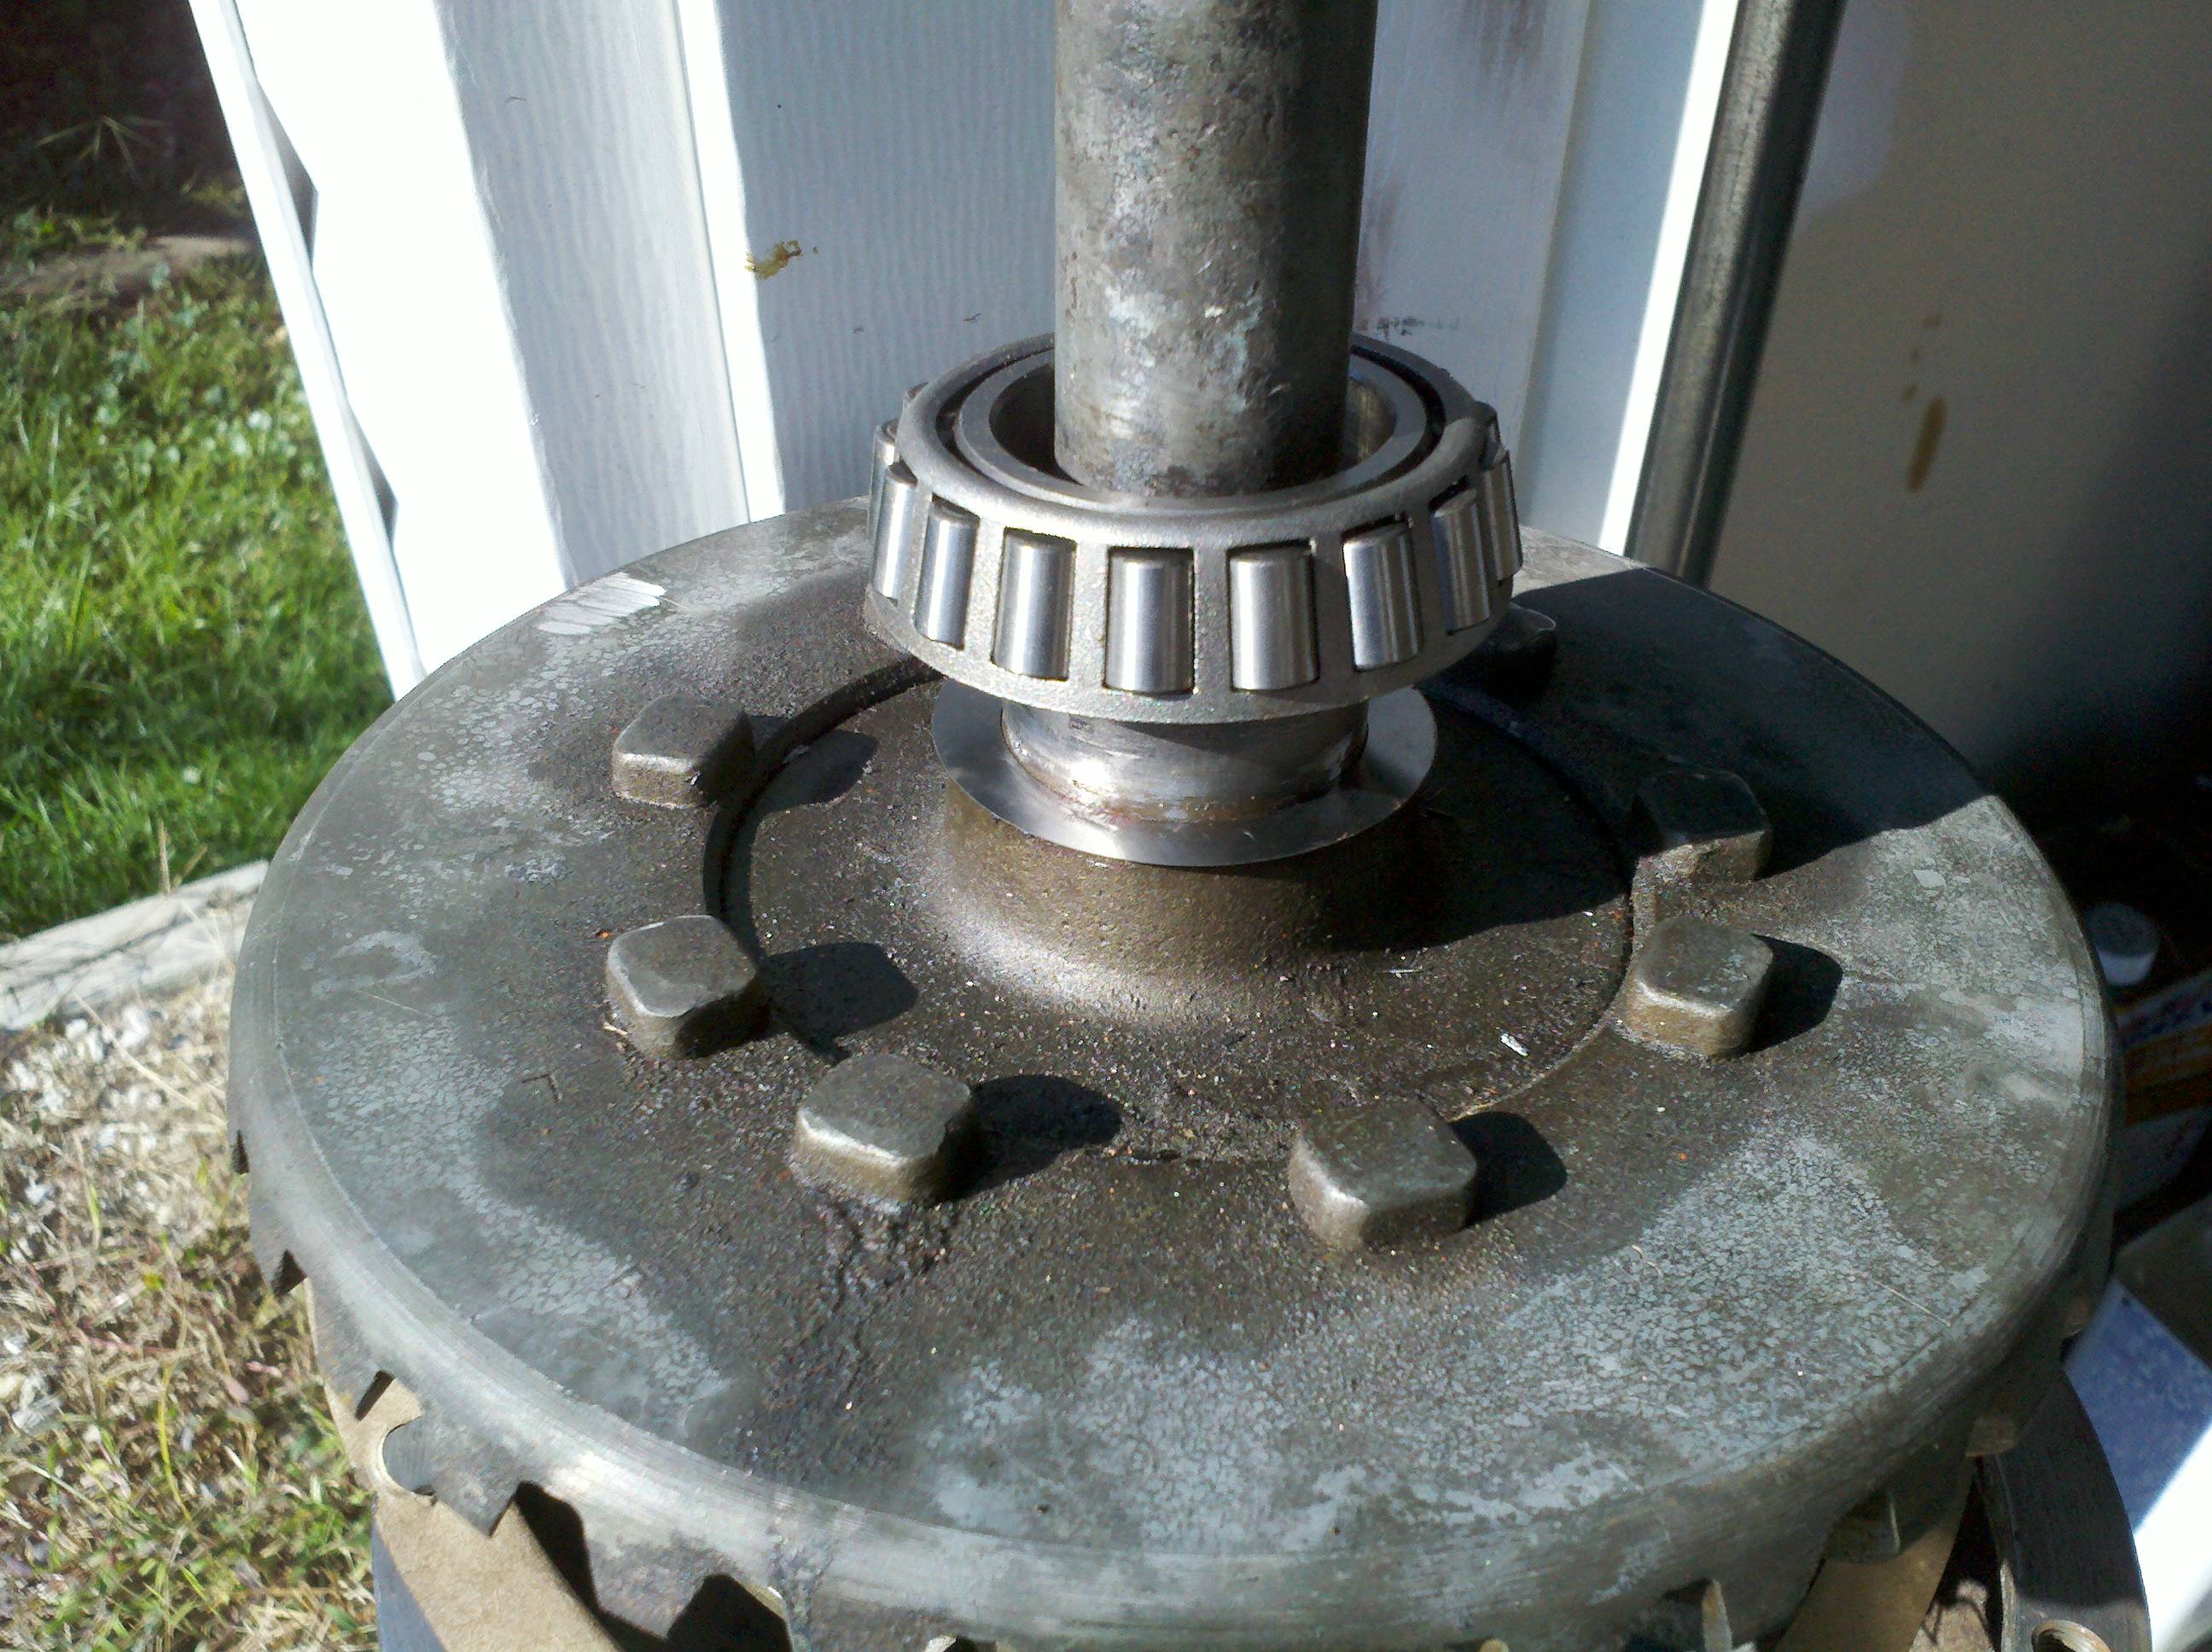
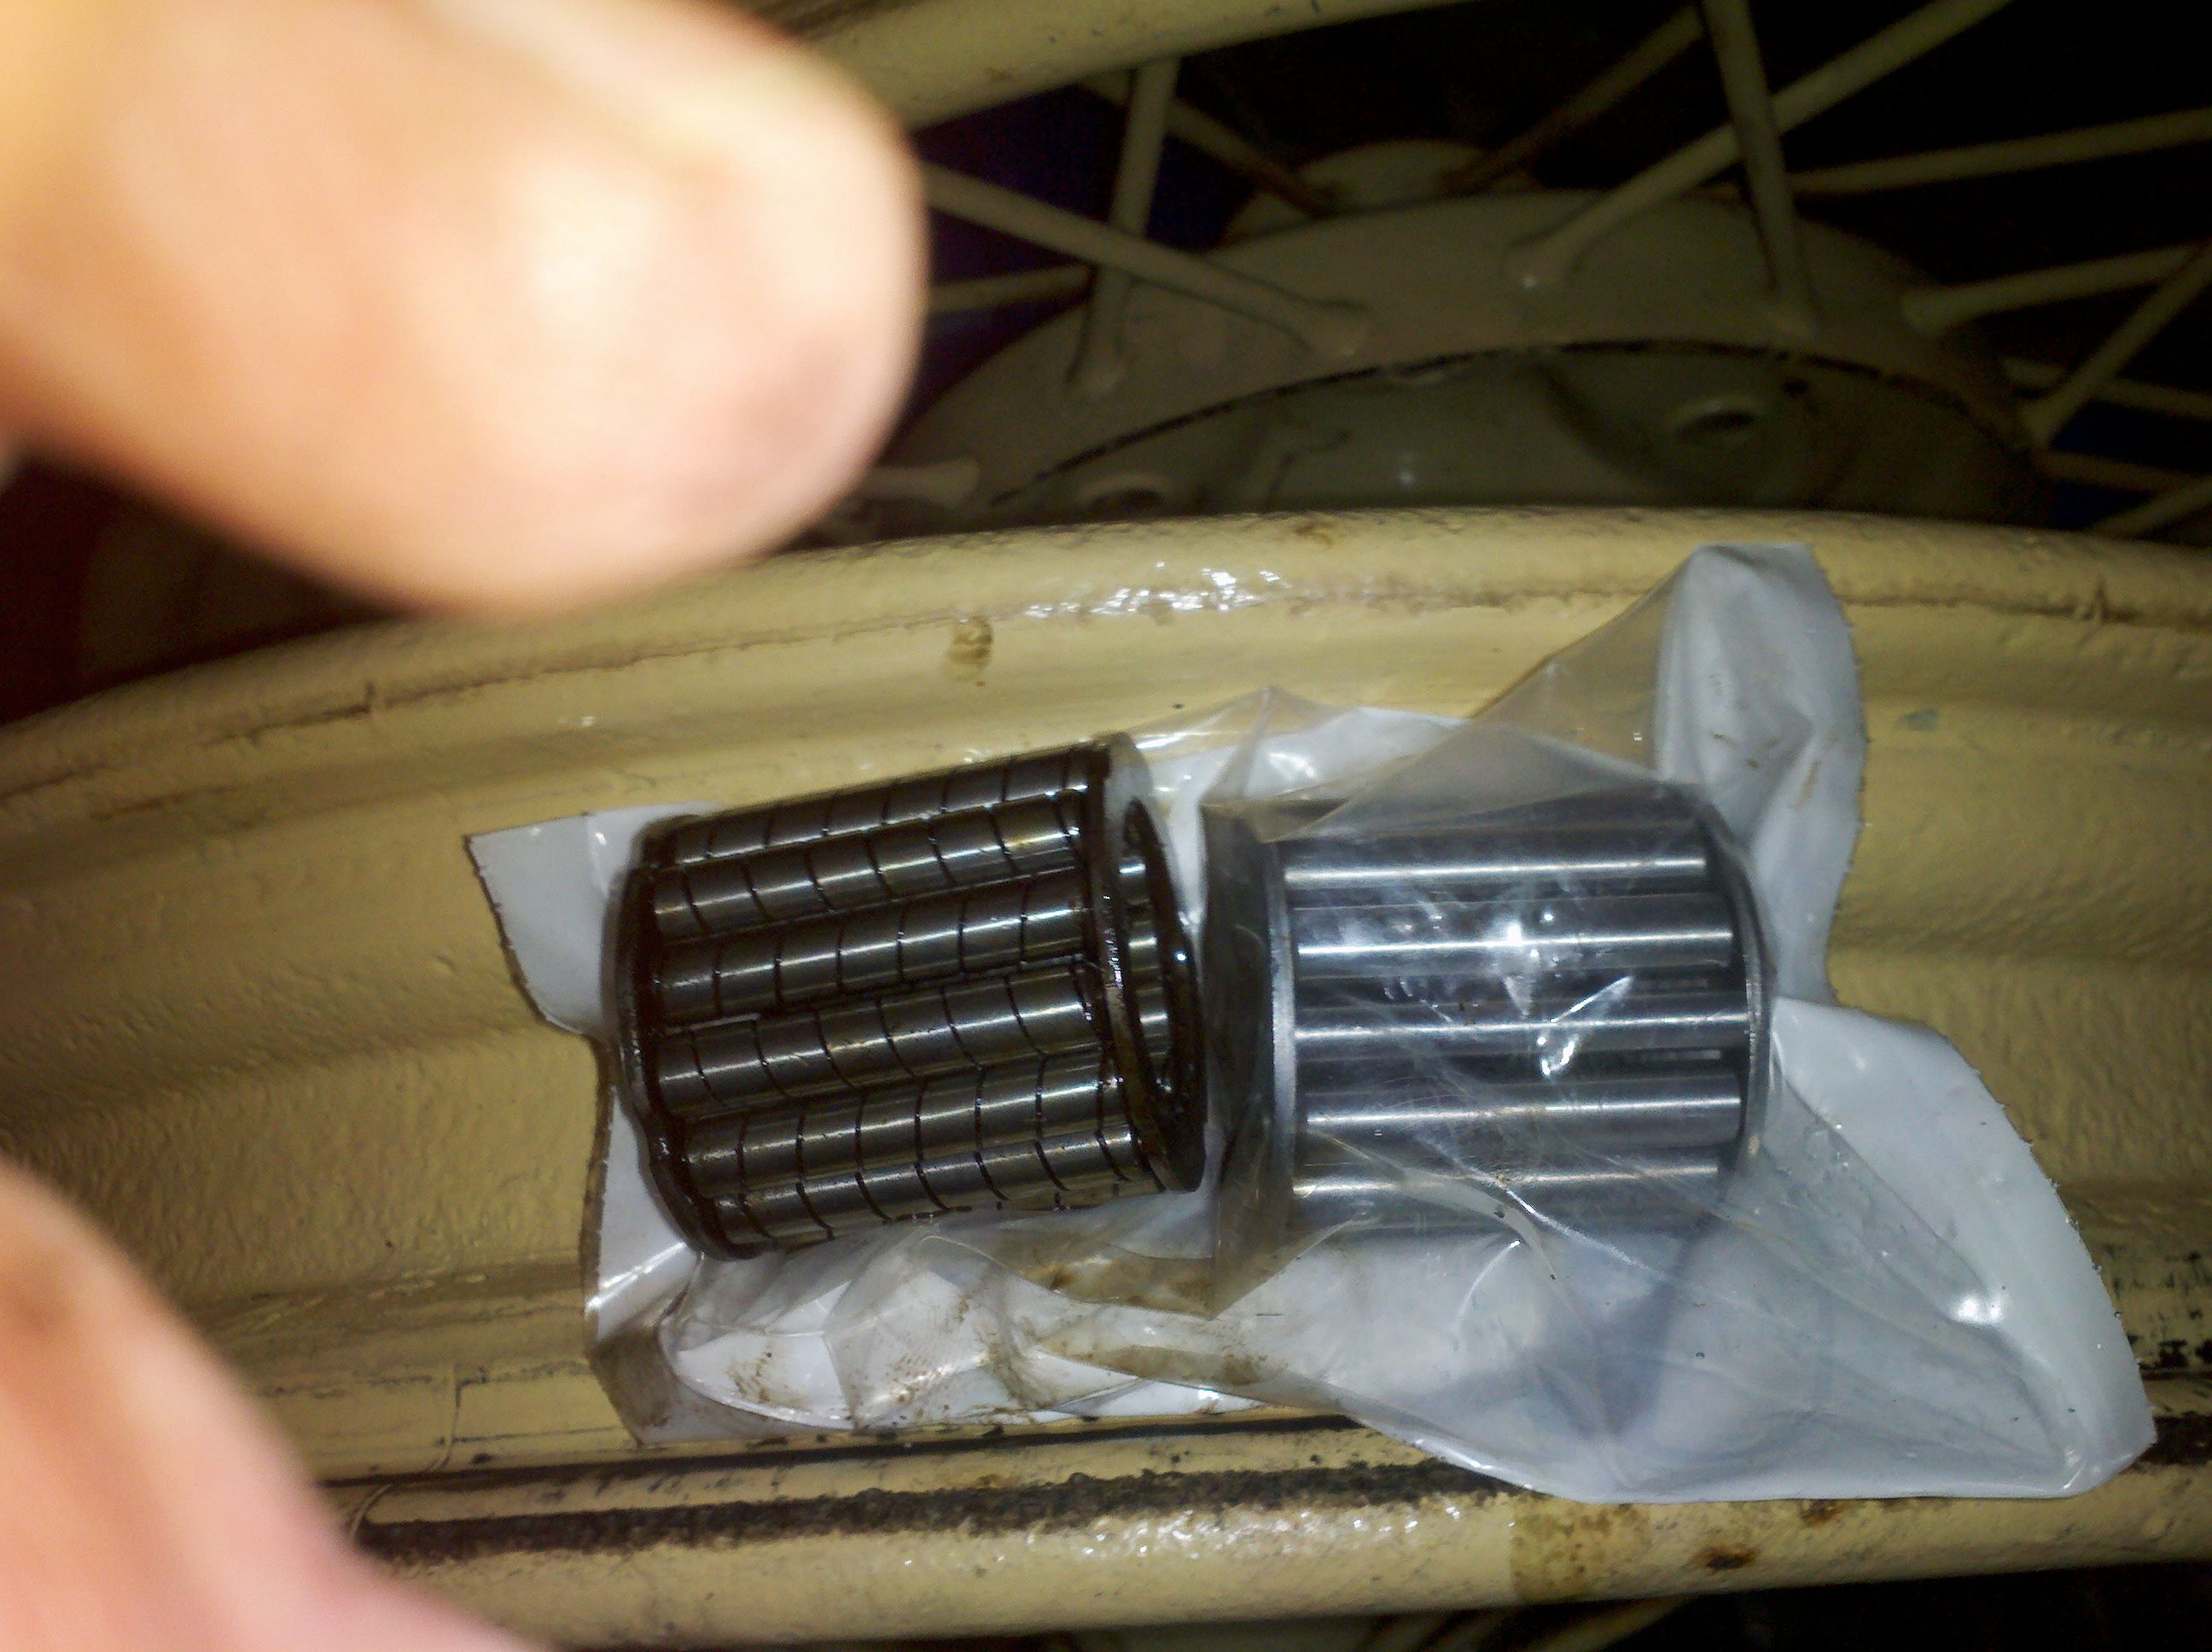
Once that was all in place, we dropped the carrier bearing, thrust washer, and speedometer drive gear onto the drive shaft, and locked them in with the snap ring. This was an interesting process, as they didn't want to just drop in. I actually turned the pinion gear... Oh, probably twenty revolutions. Every turn would let gravity pull the bearing down a little more. It took a bit, but it all went in. I used the original carrier bearing, too. I decided not to use the new one - the original was still in pretty good shape, and I think it was much better quality. See pics:
And that's it for Octopber! See you soon, in November!
Last modified on 11/07/12