
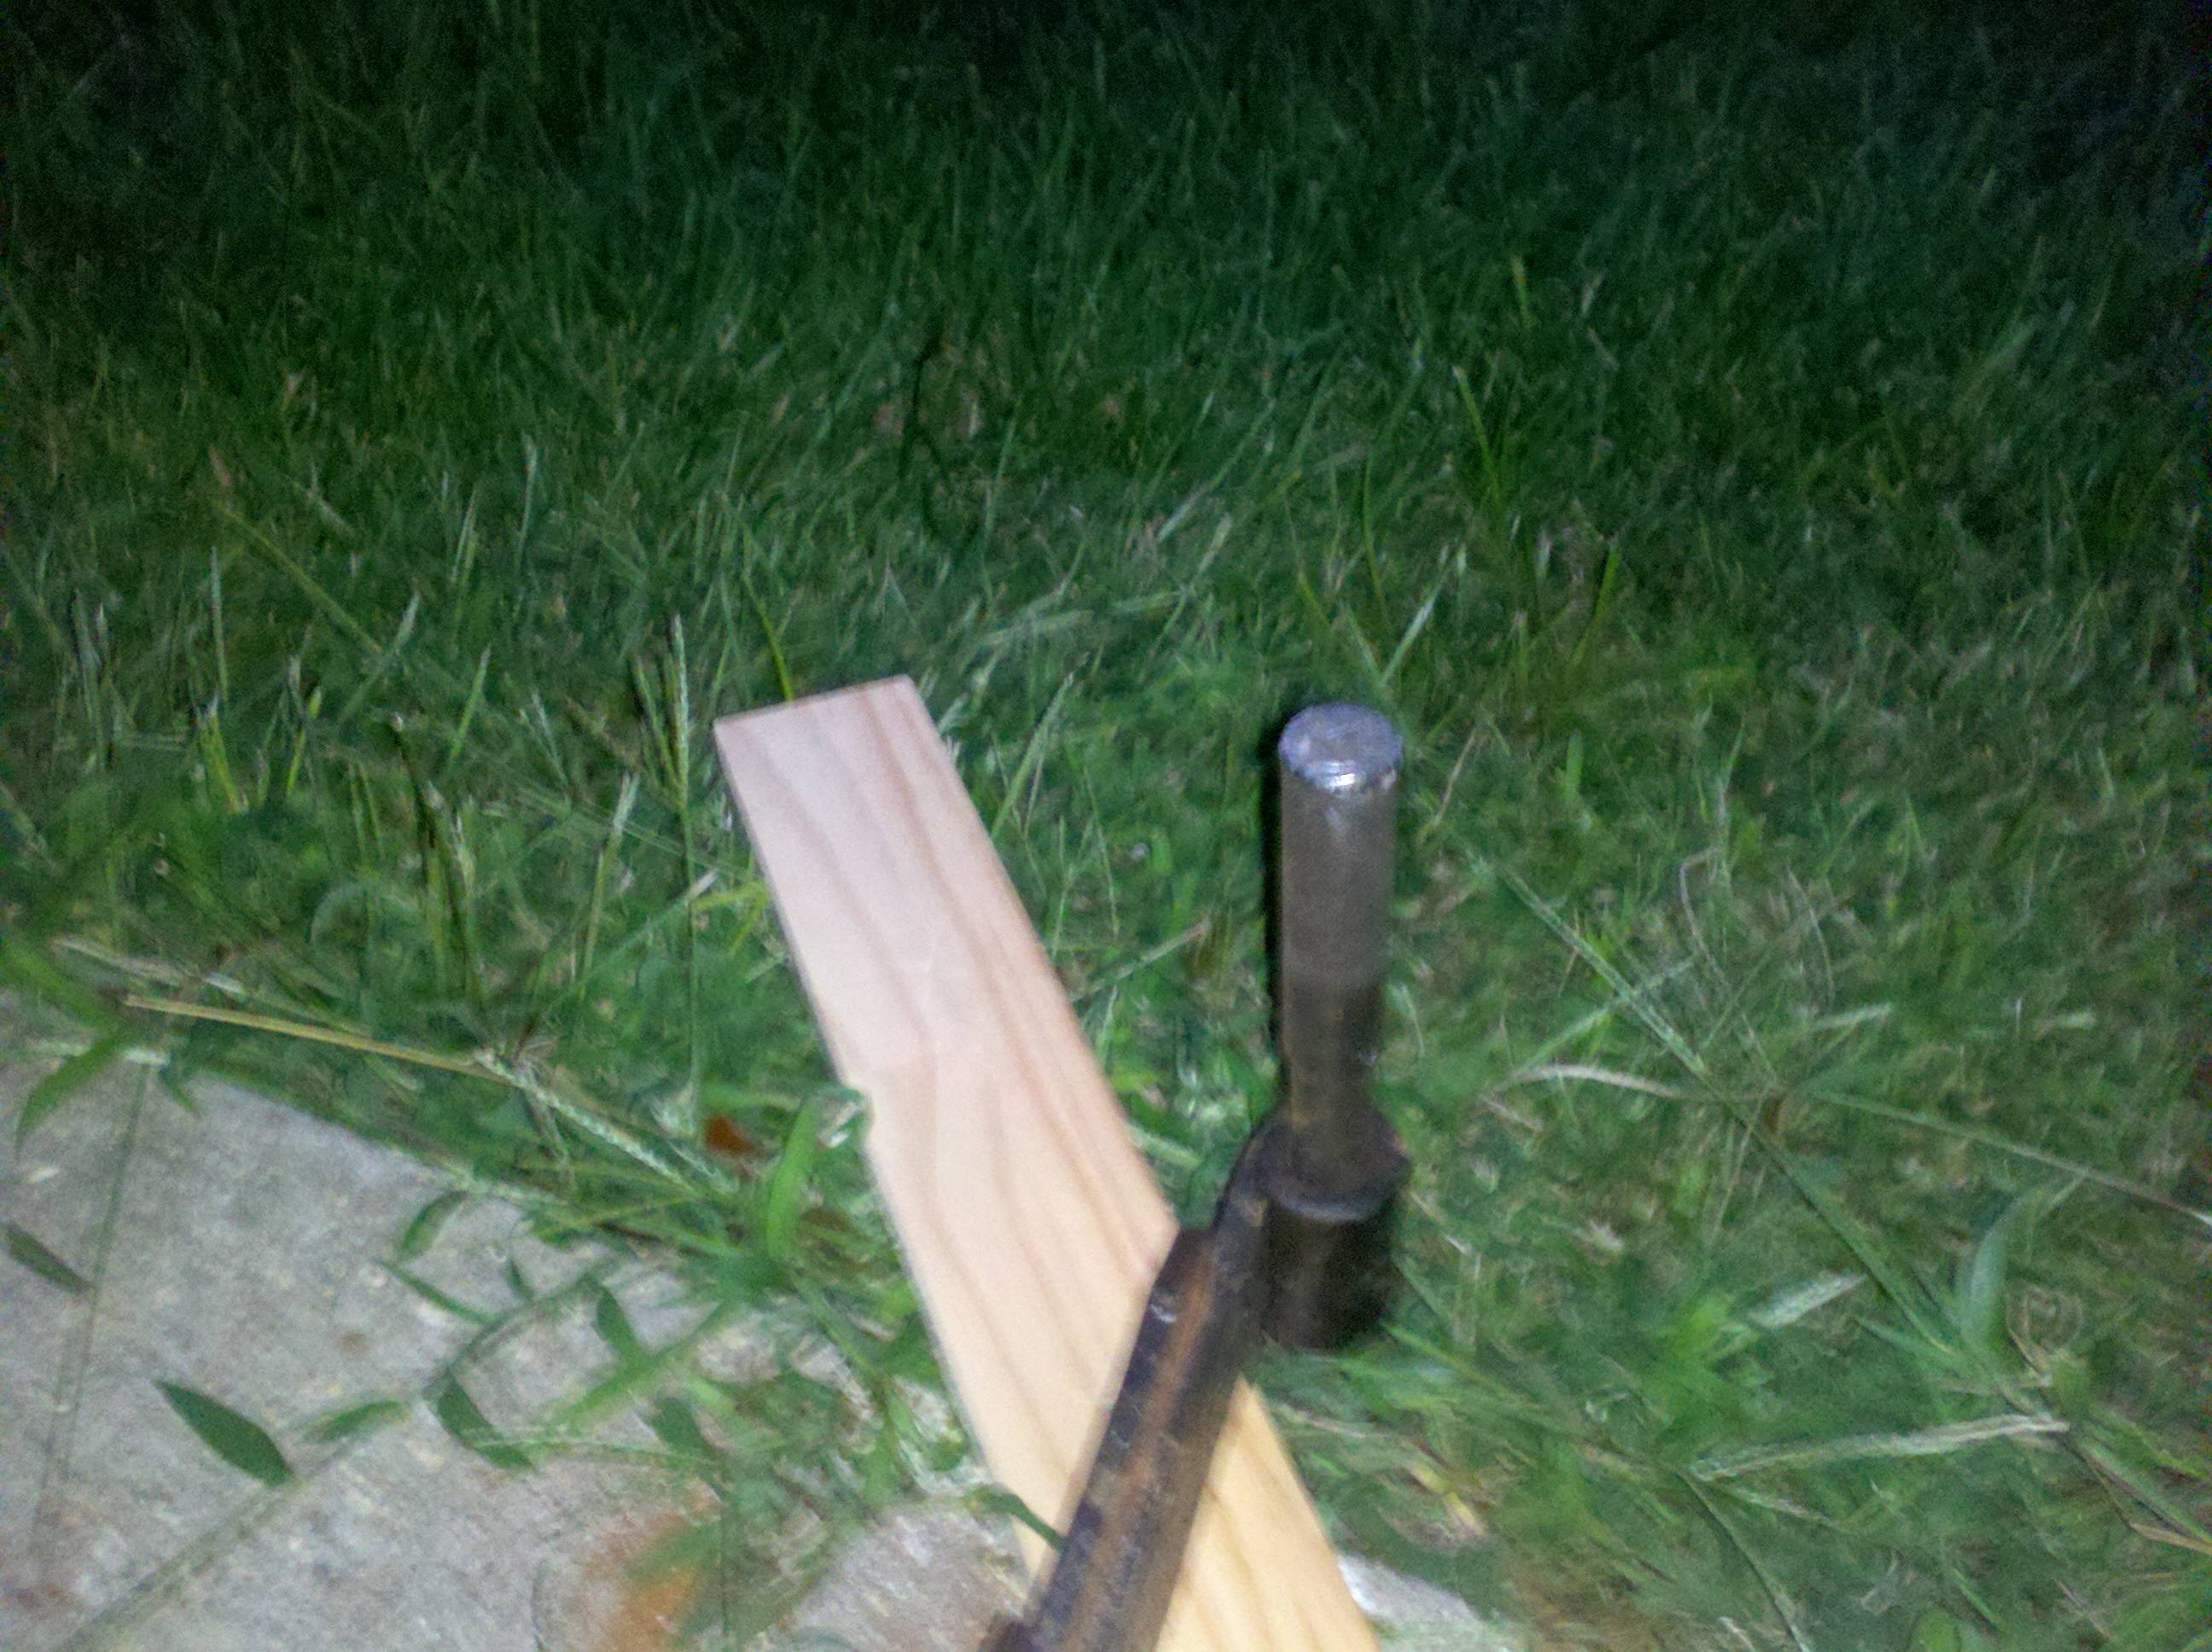
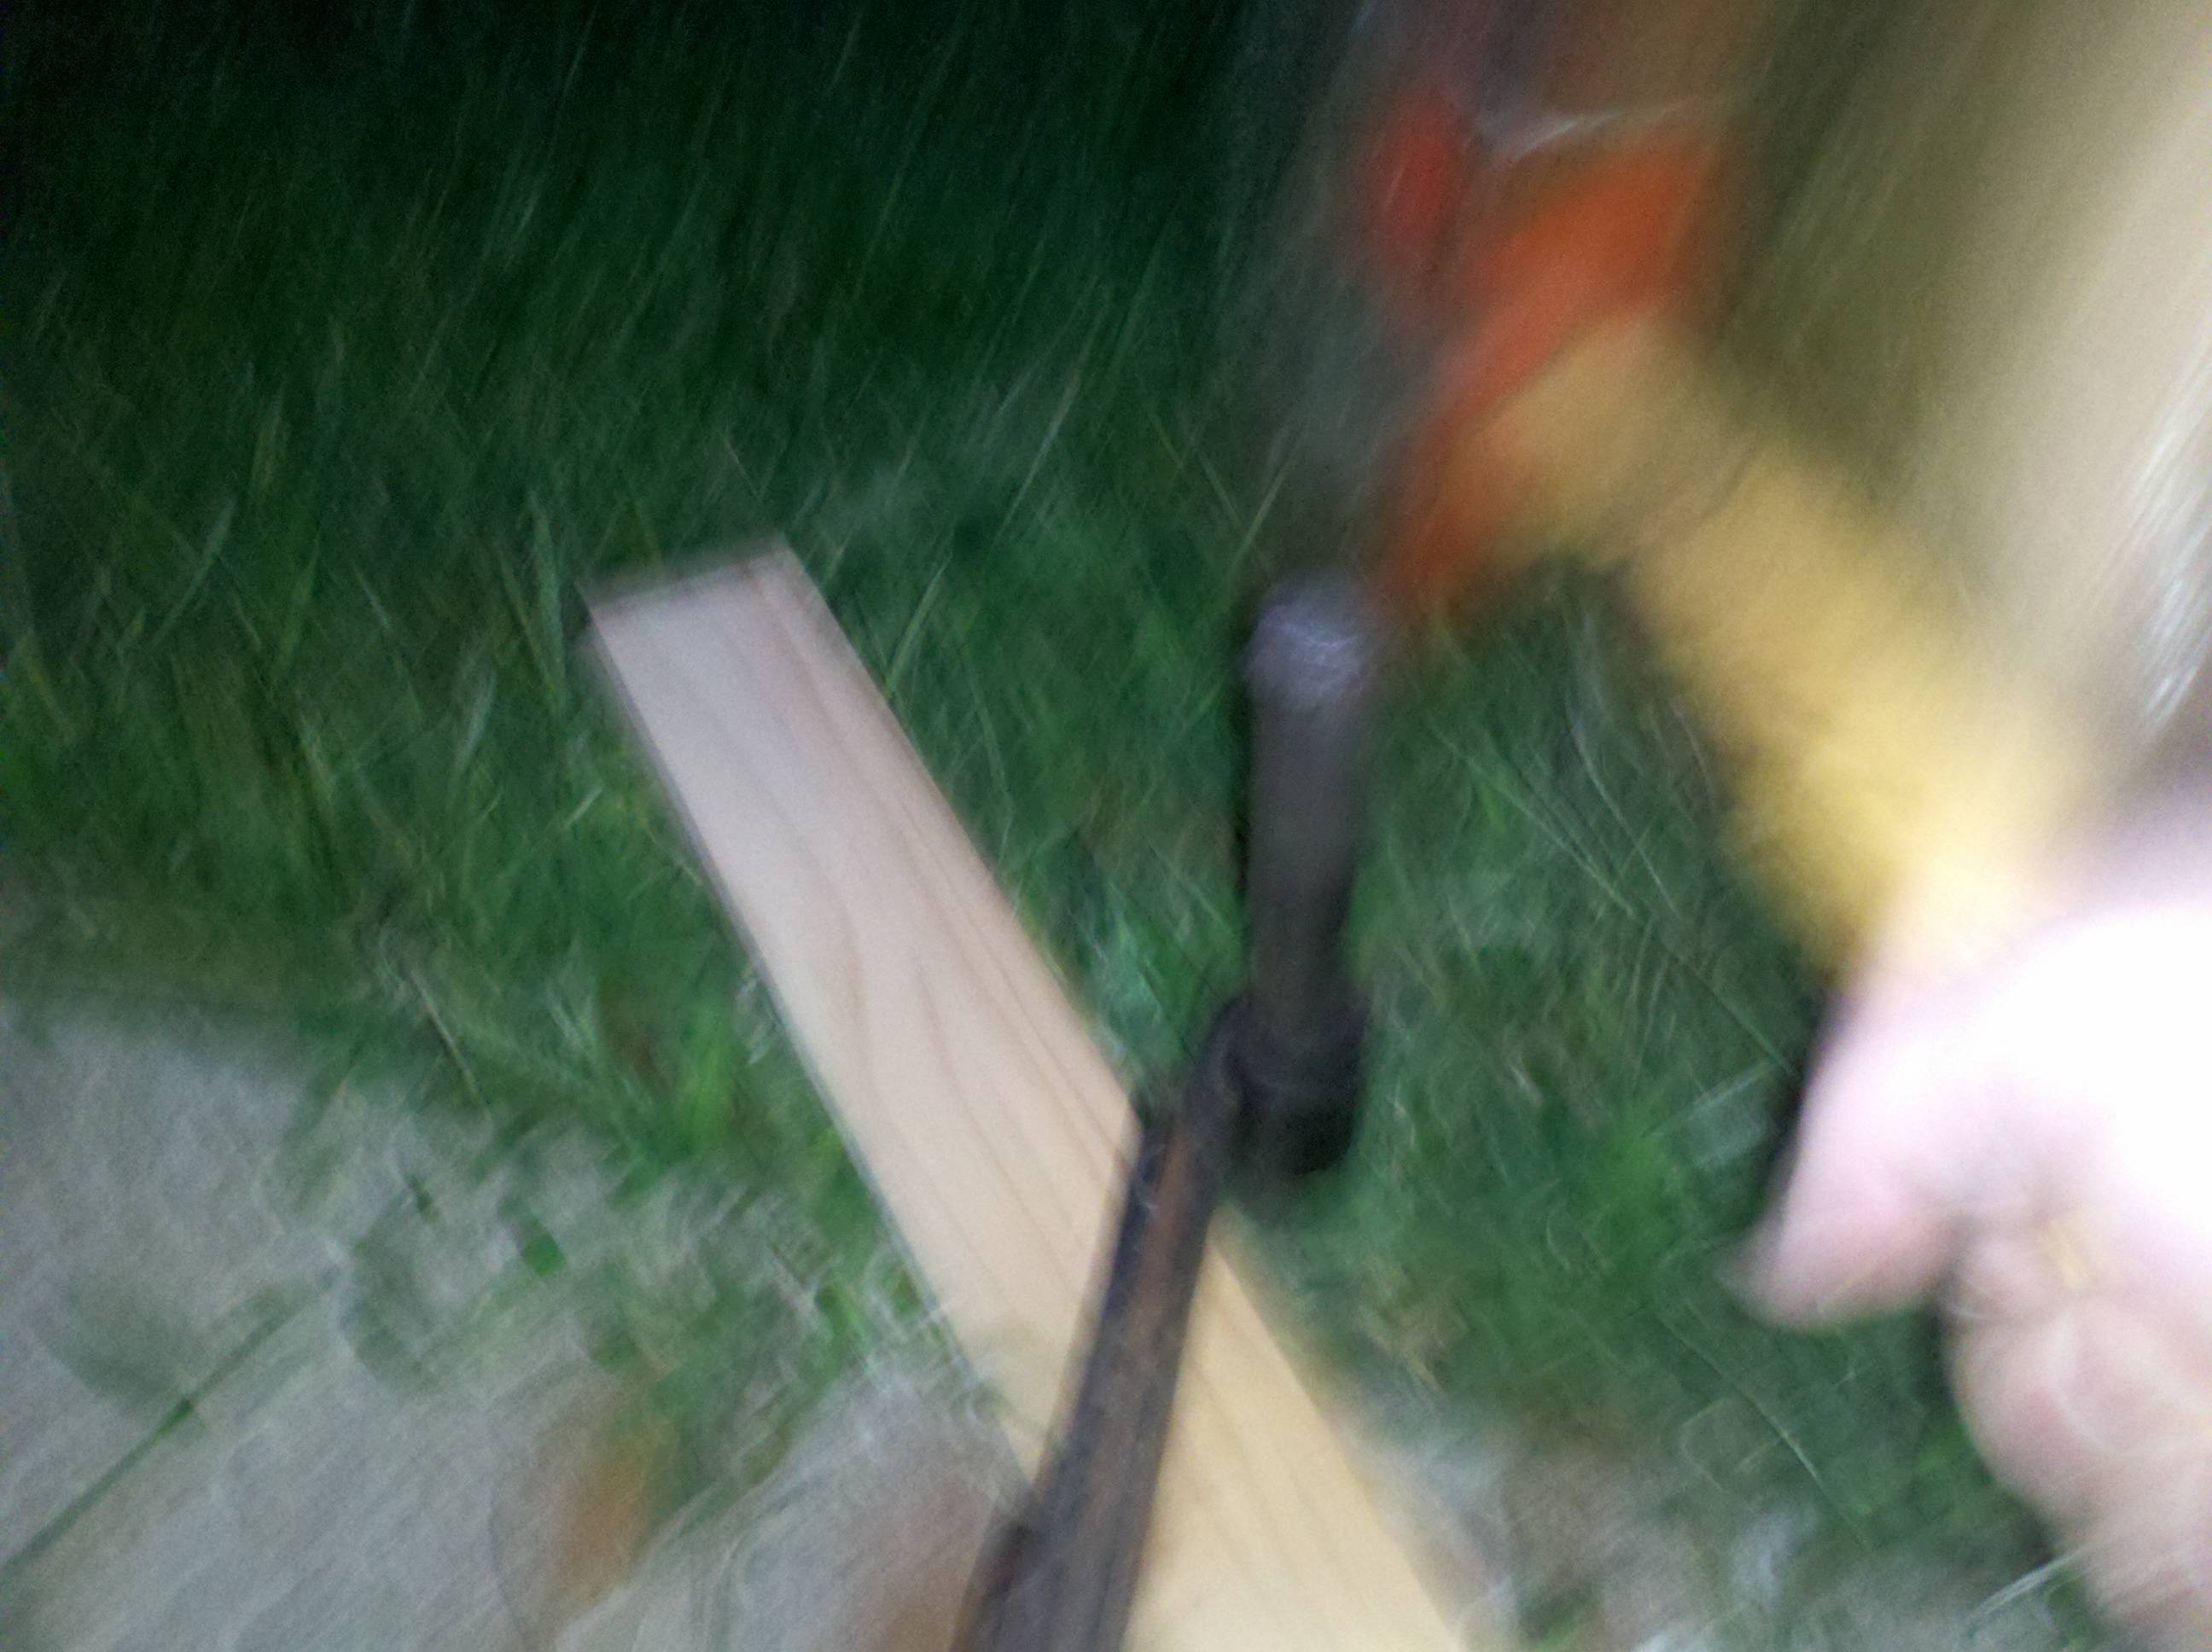
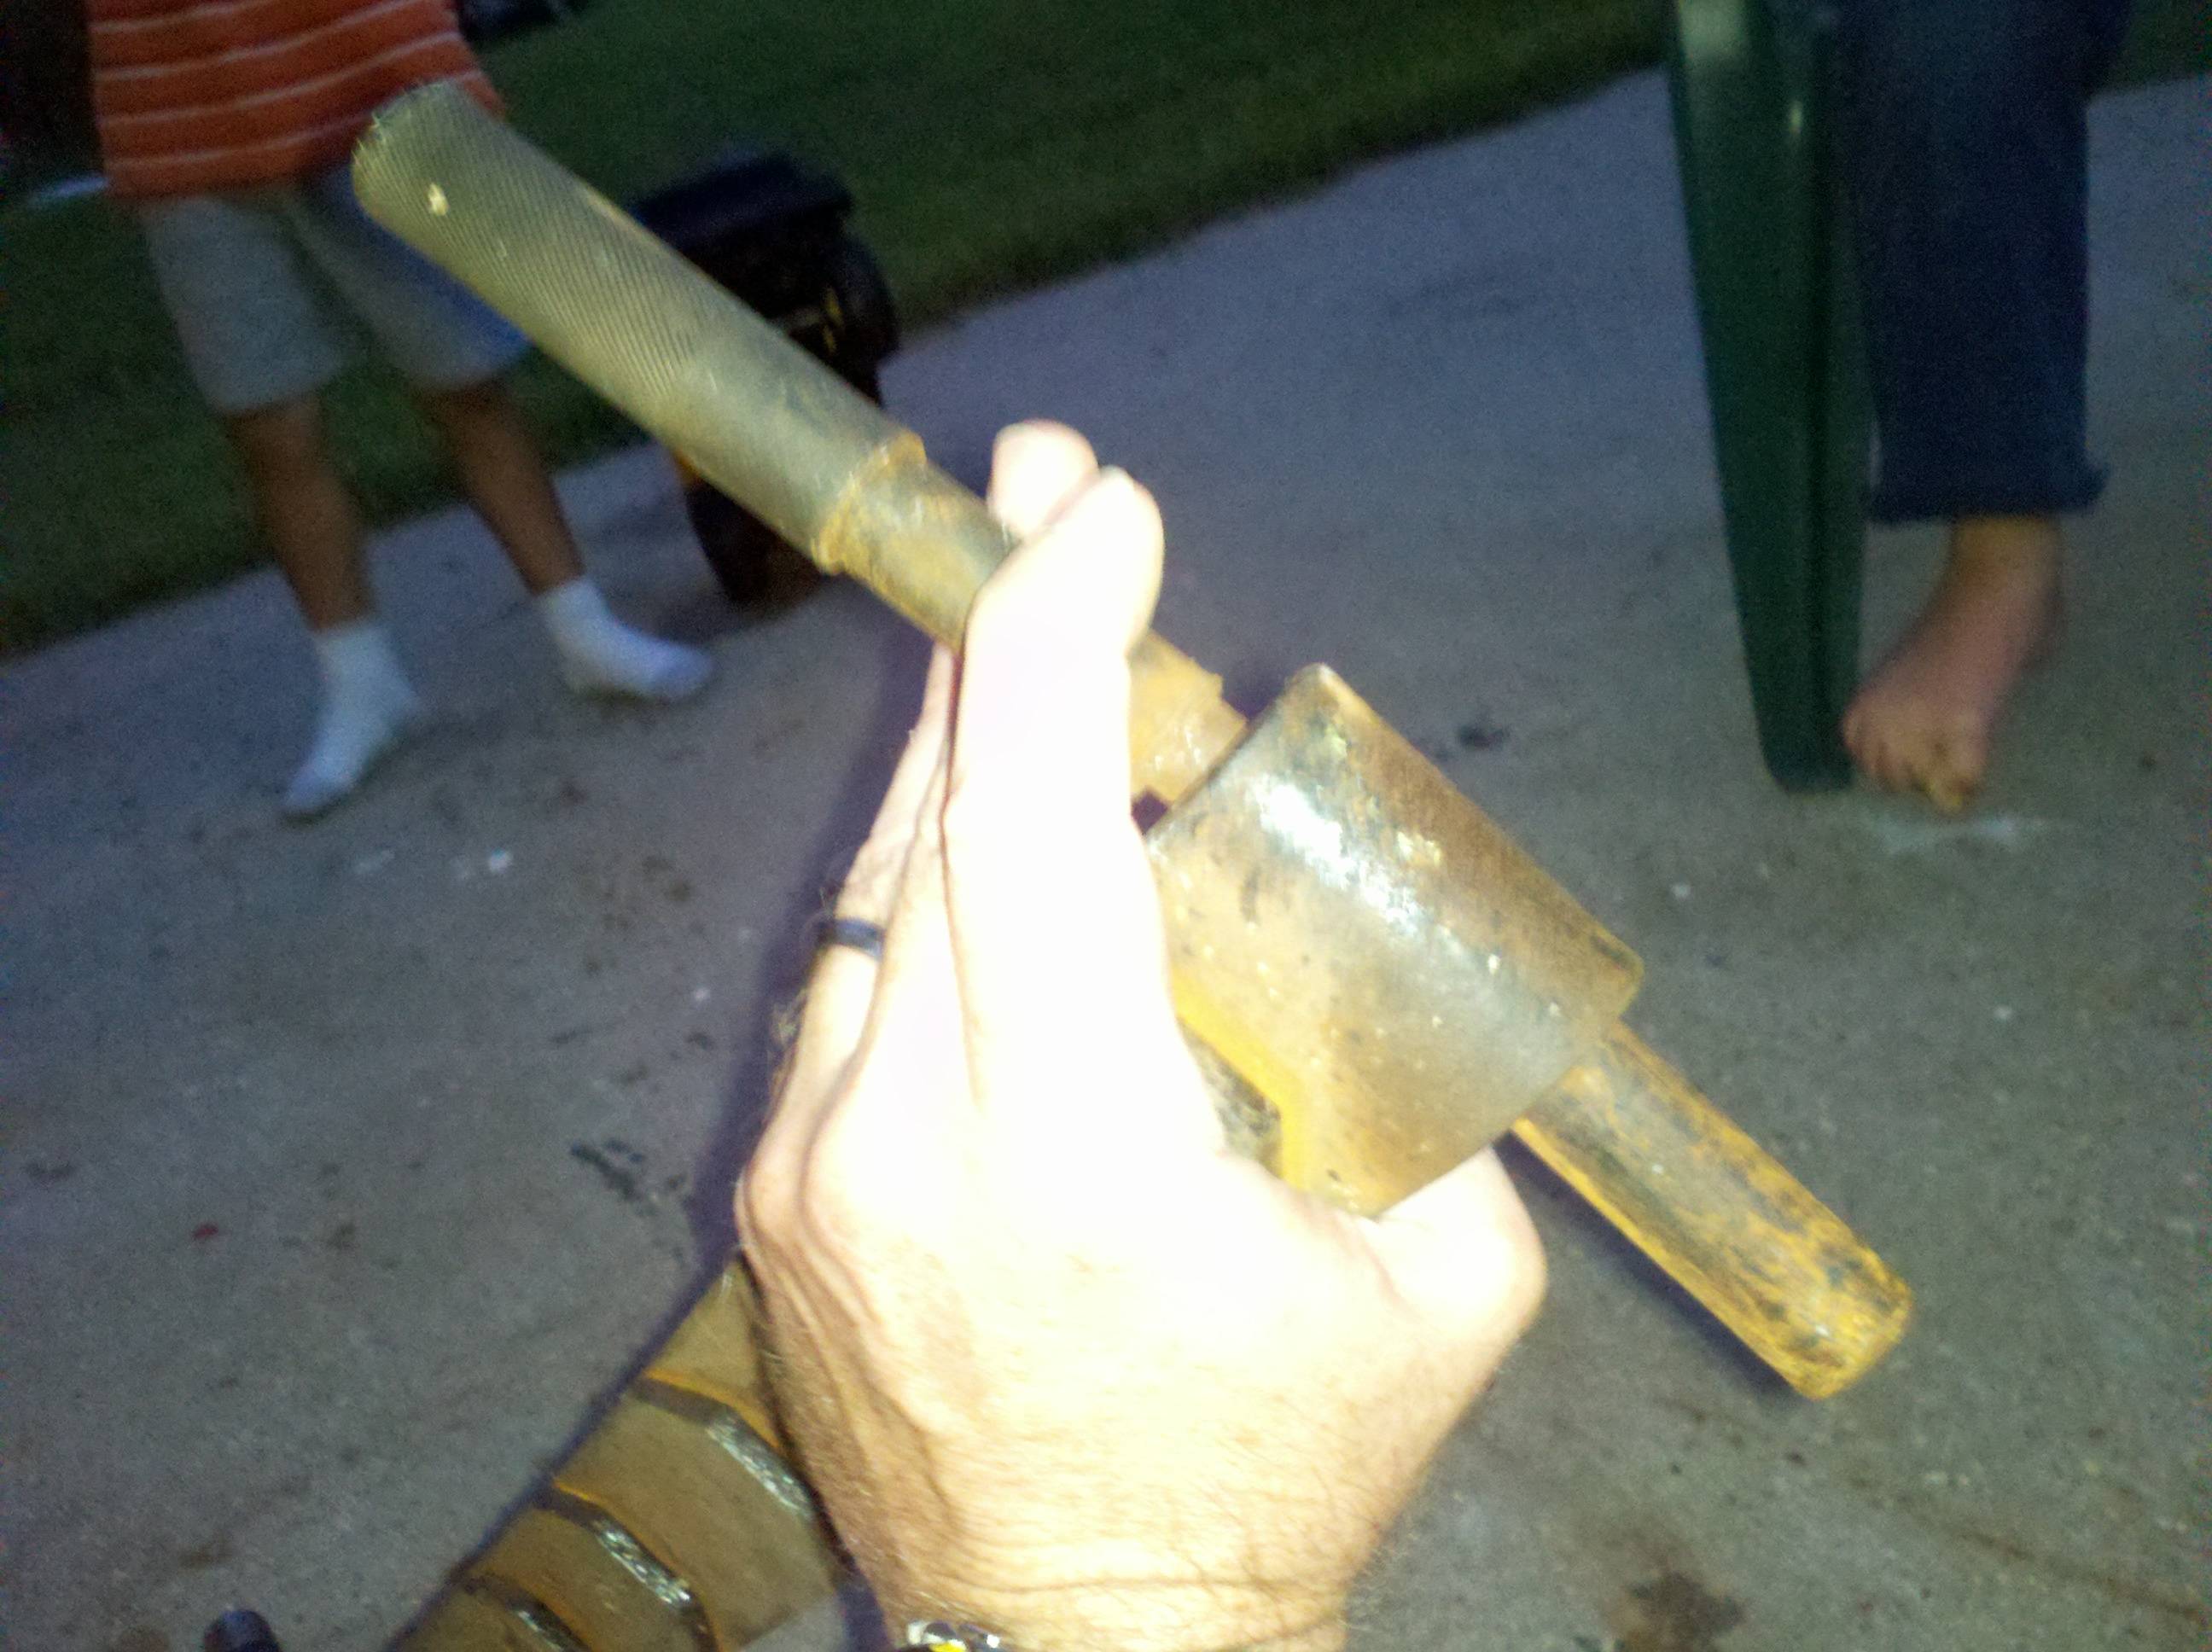
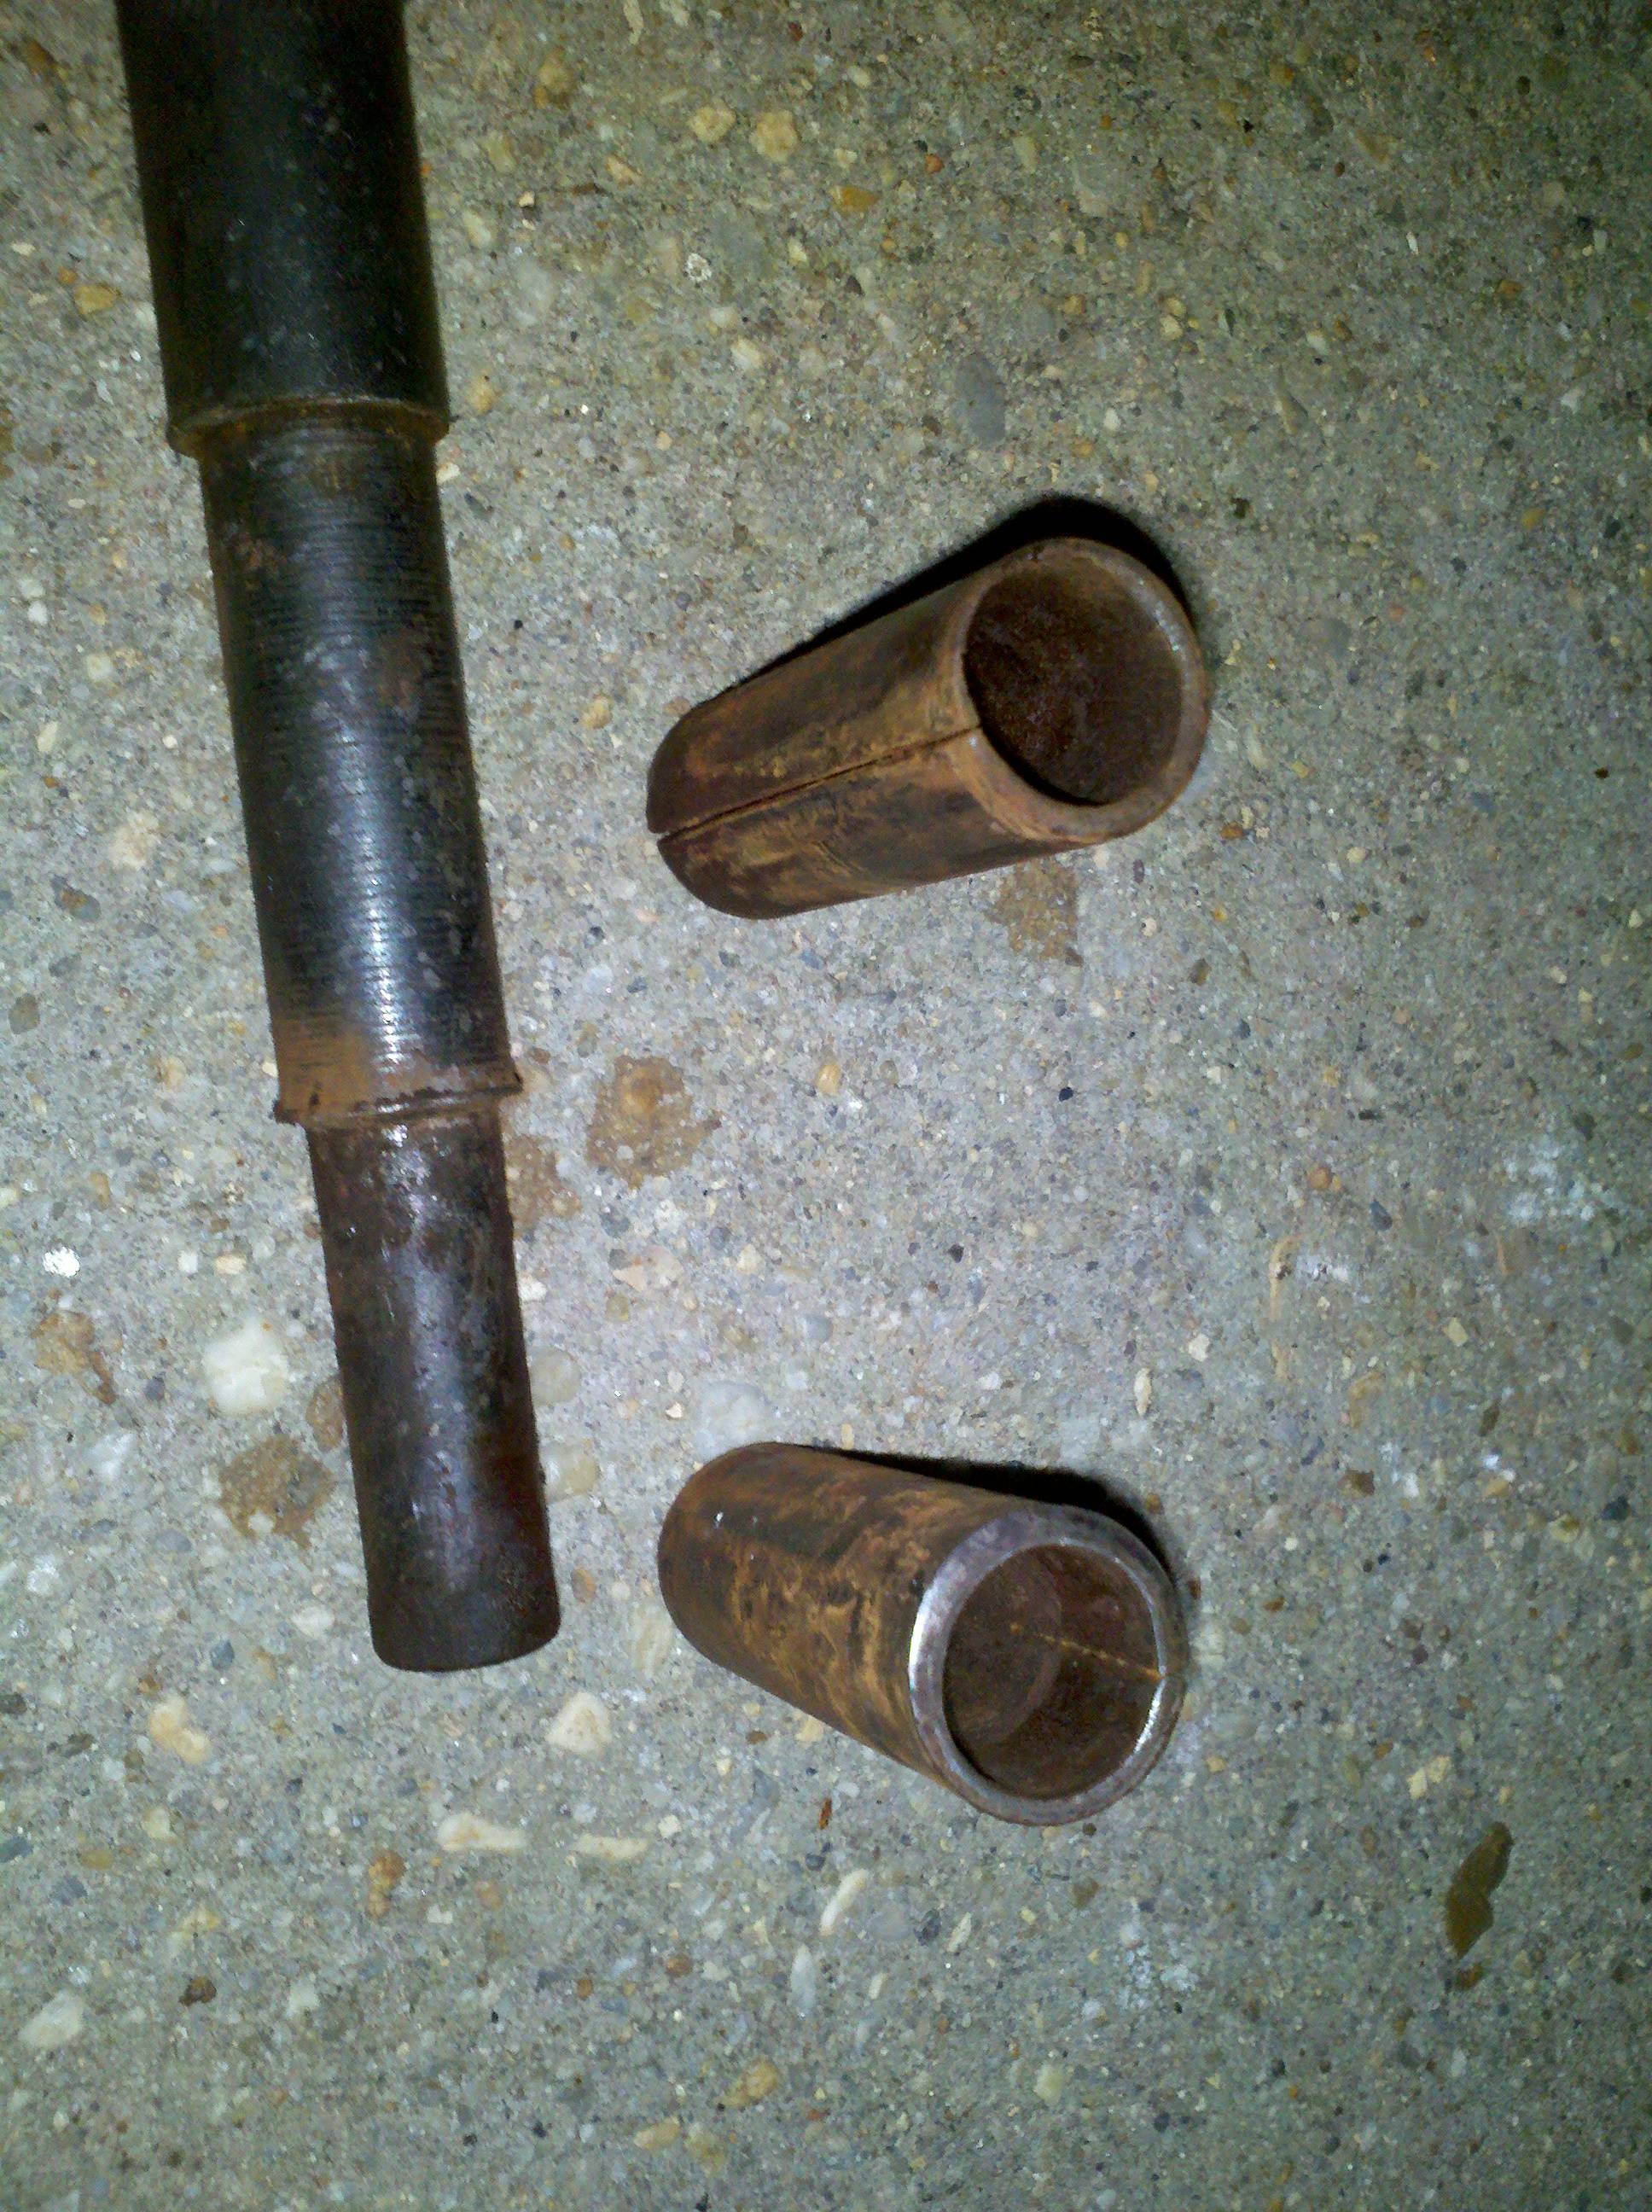
Today I got up the gumption to try and knock the bushings out of the rear leaves. They look a little worn, and I had alreay decided they needed replaced, so now seemed a good time to do it. I used the tool that's for knocking out the brake bushings. Turns out it's the correct diameter to do this (and the front shackle bushings, too!). If you remember, my brake bushings were so badly worn that the tool fell right through them. Glad to see I found another se for that tool, and the dollars weren't completely wasted (they weren't, really, as I'll need it to put in the new bushings when it's all ready).
Note that all the impacts caused the bushing driver to flare. Guess I should think a little more about investing in a shop press...
Today turned out to be a most excellent day to pull the rear leaf apart and also pull the carrier bearings off the differential. I had originally planned on keeping the old bearings (they were in excellent shape), but when I sprayed down the axles with the Fast-Etch, I got some in those bearings. And they are now no good. D'oh!
Following theinstructions of the shop manual, first step of spring disassembly is to clamp it down with somebig C clamps. It also mentions that it's a good idea to wrap a chain around them, just in case they "get away" (I have a fried at work who has a nice scar on his cheek where that happened to him once). Let me also point out that I put a couple drops of Kroil on the nut a few days earlier. The nut came off much more easily than I anticipated.

Next, pull the center bolt and replace it with 3/8-inch "all thread"
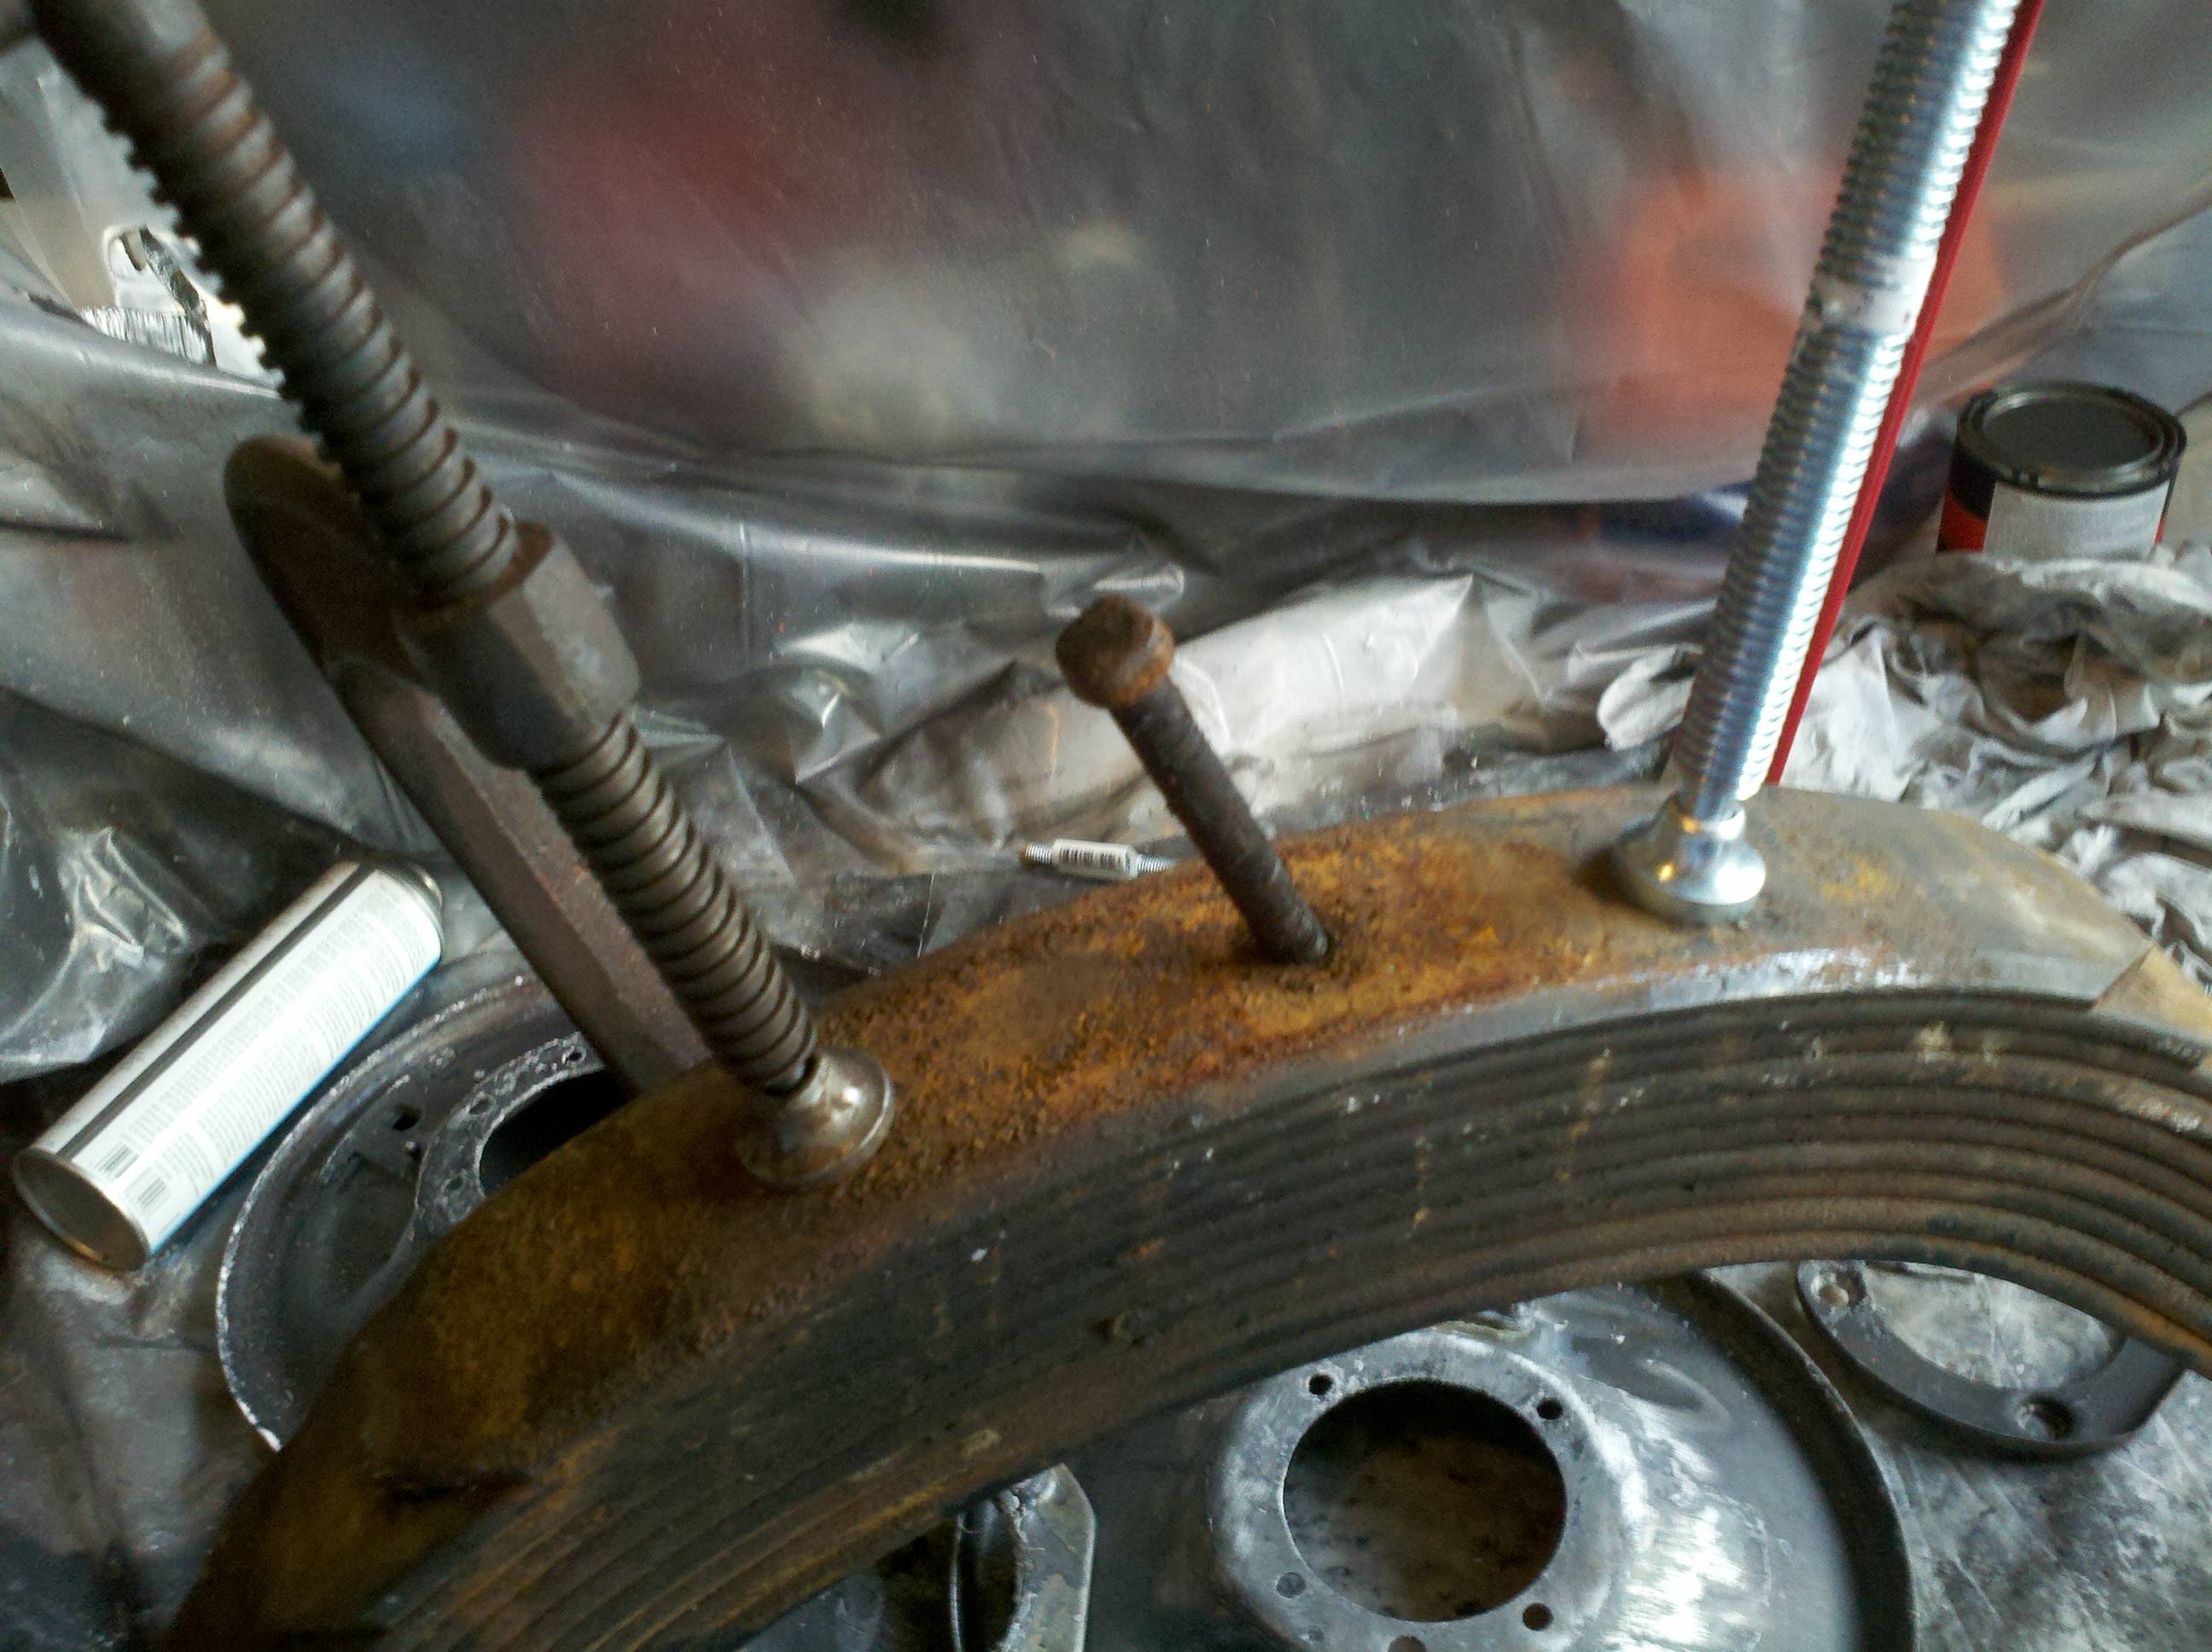
Remove the clamps, and slowly turn loosen the all thread. Notice the jam nut I put on the underside. That was to make sure the bottom nut didn't turn loose on me and let the springs go in a maneer I didn't previously approve (yikes!)
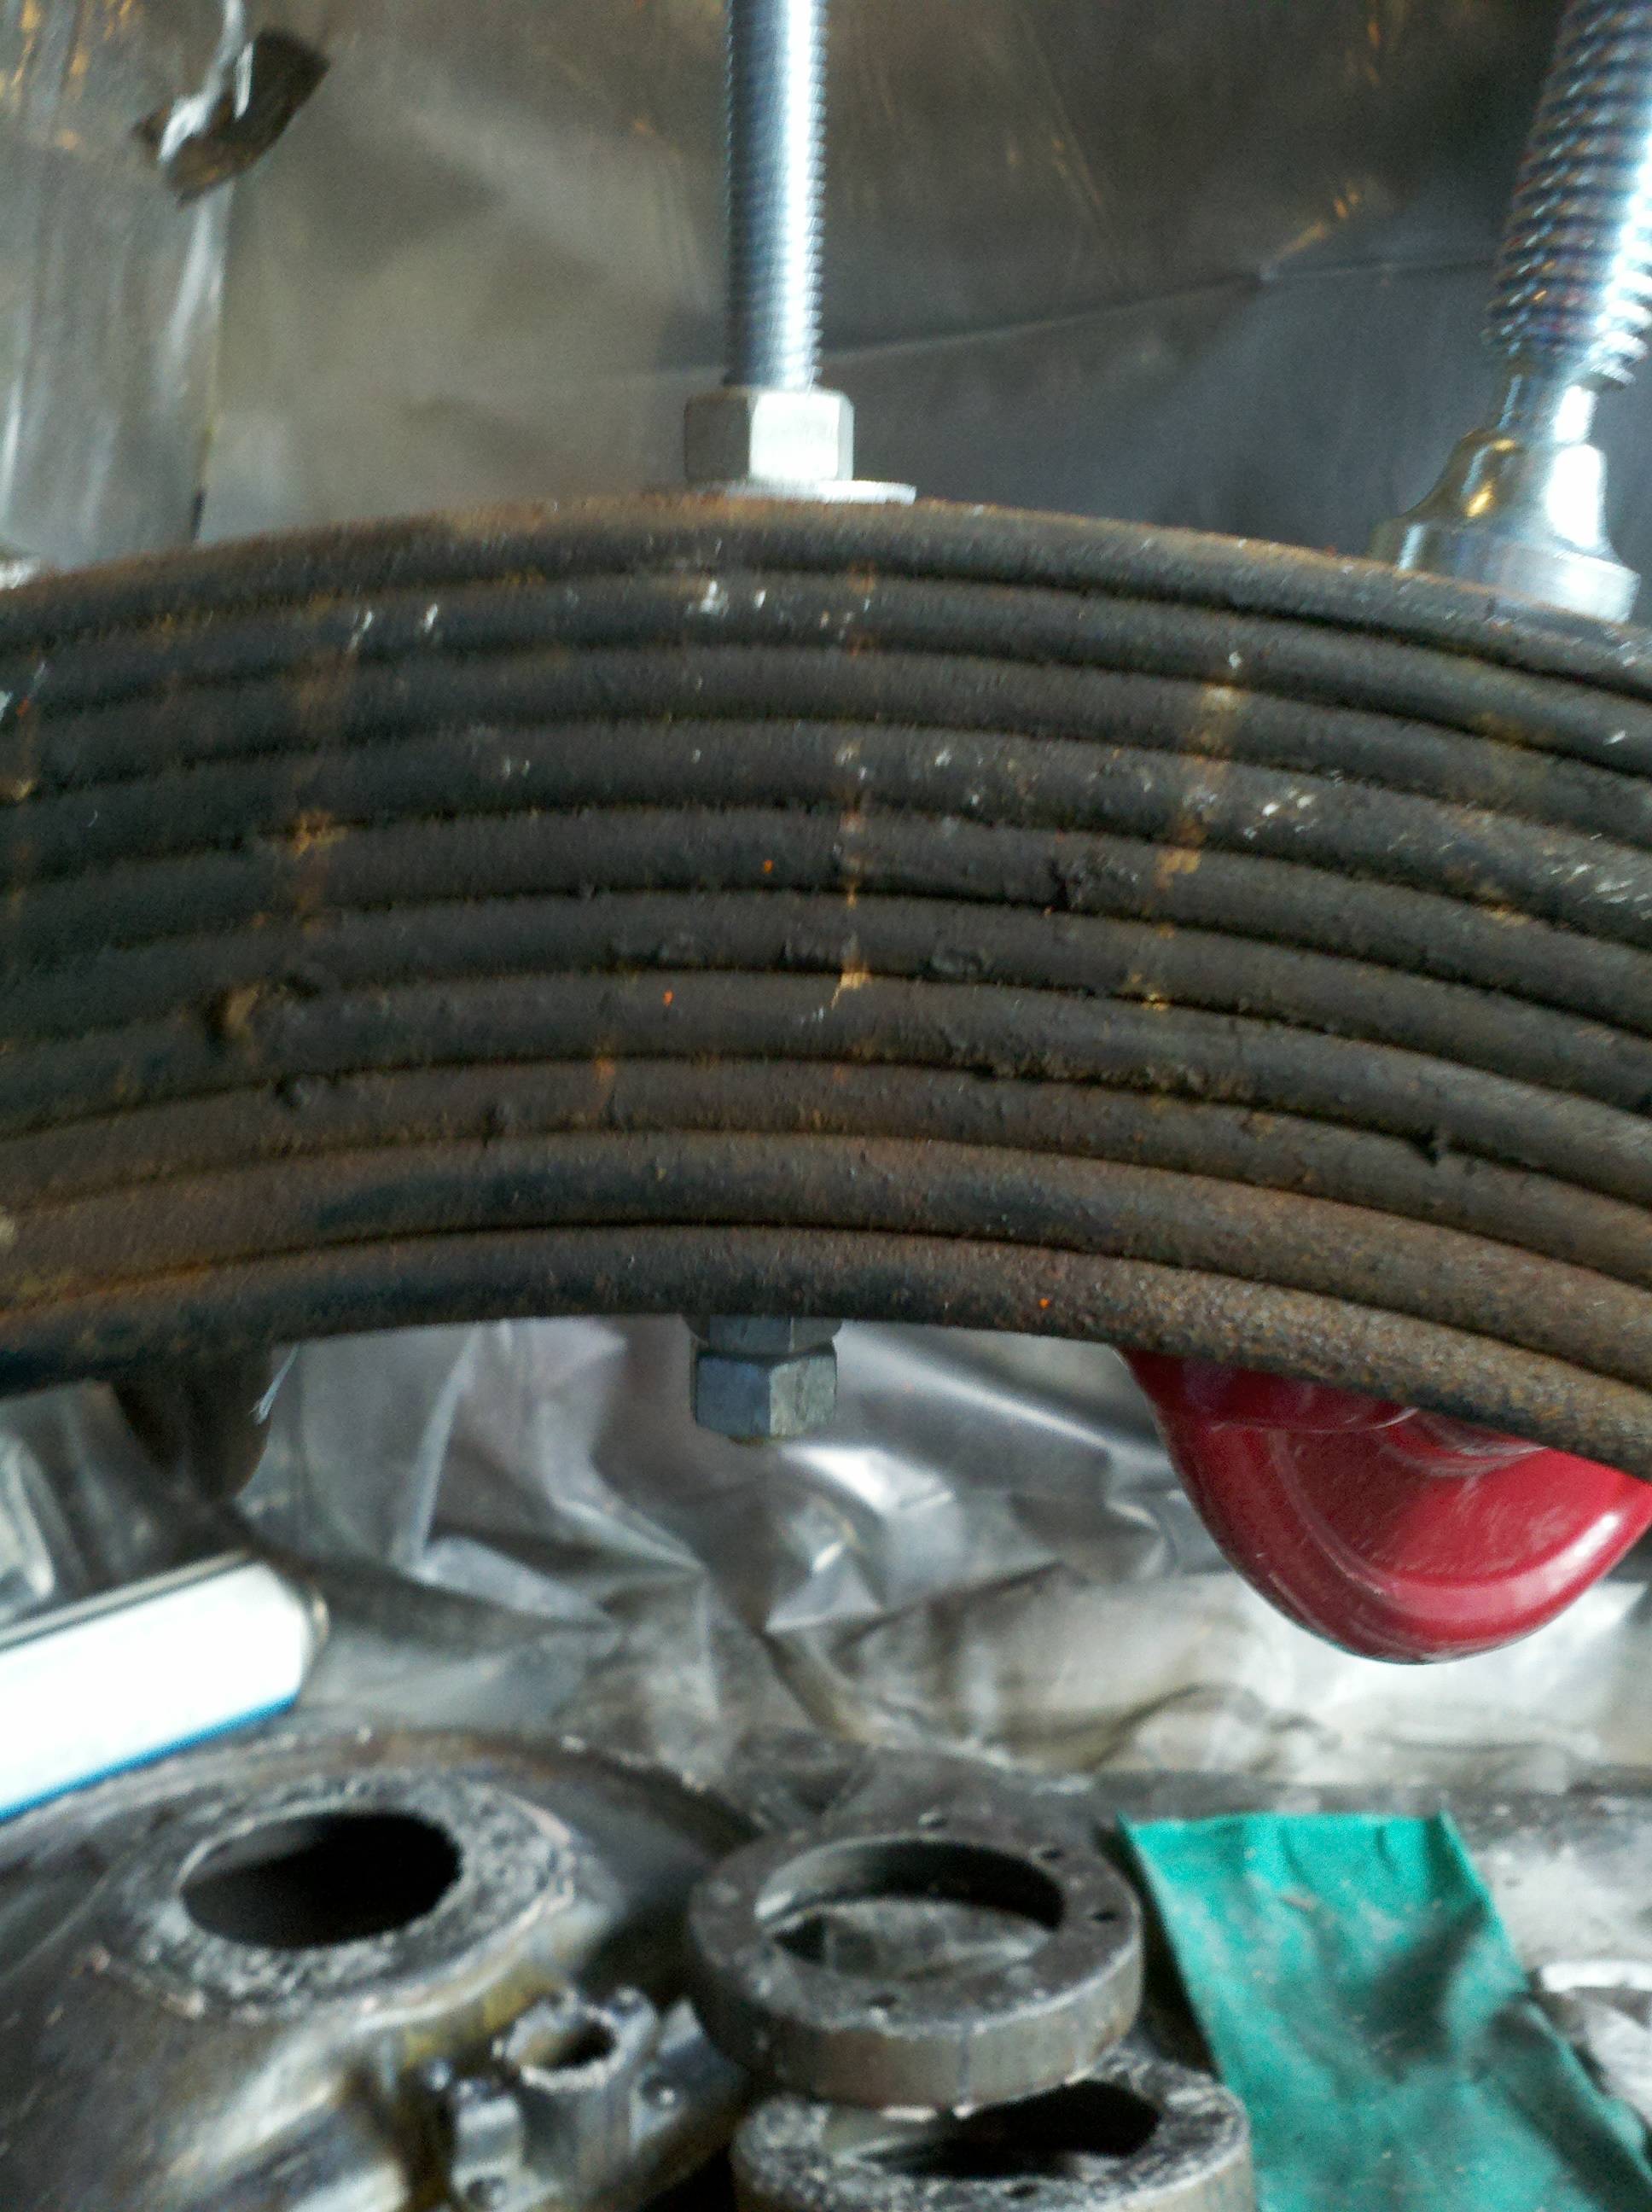
Next the clamps came off so I could loosen everything...
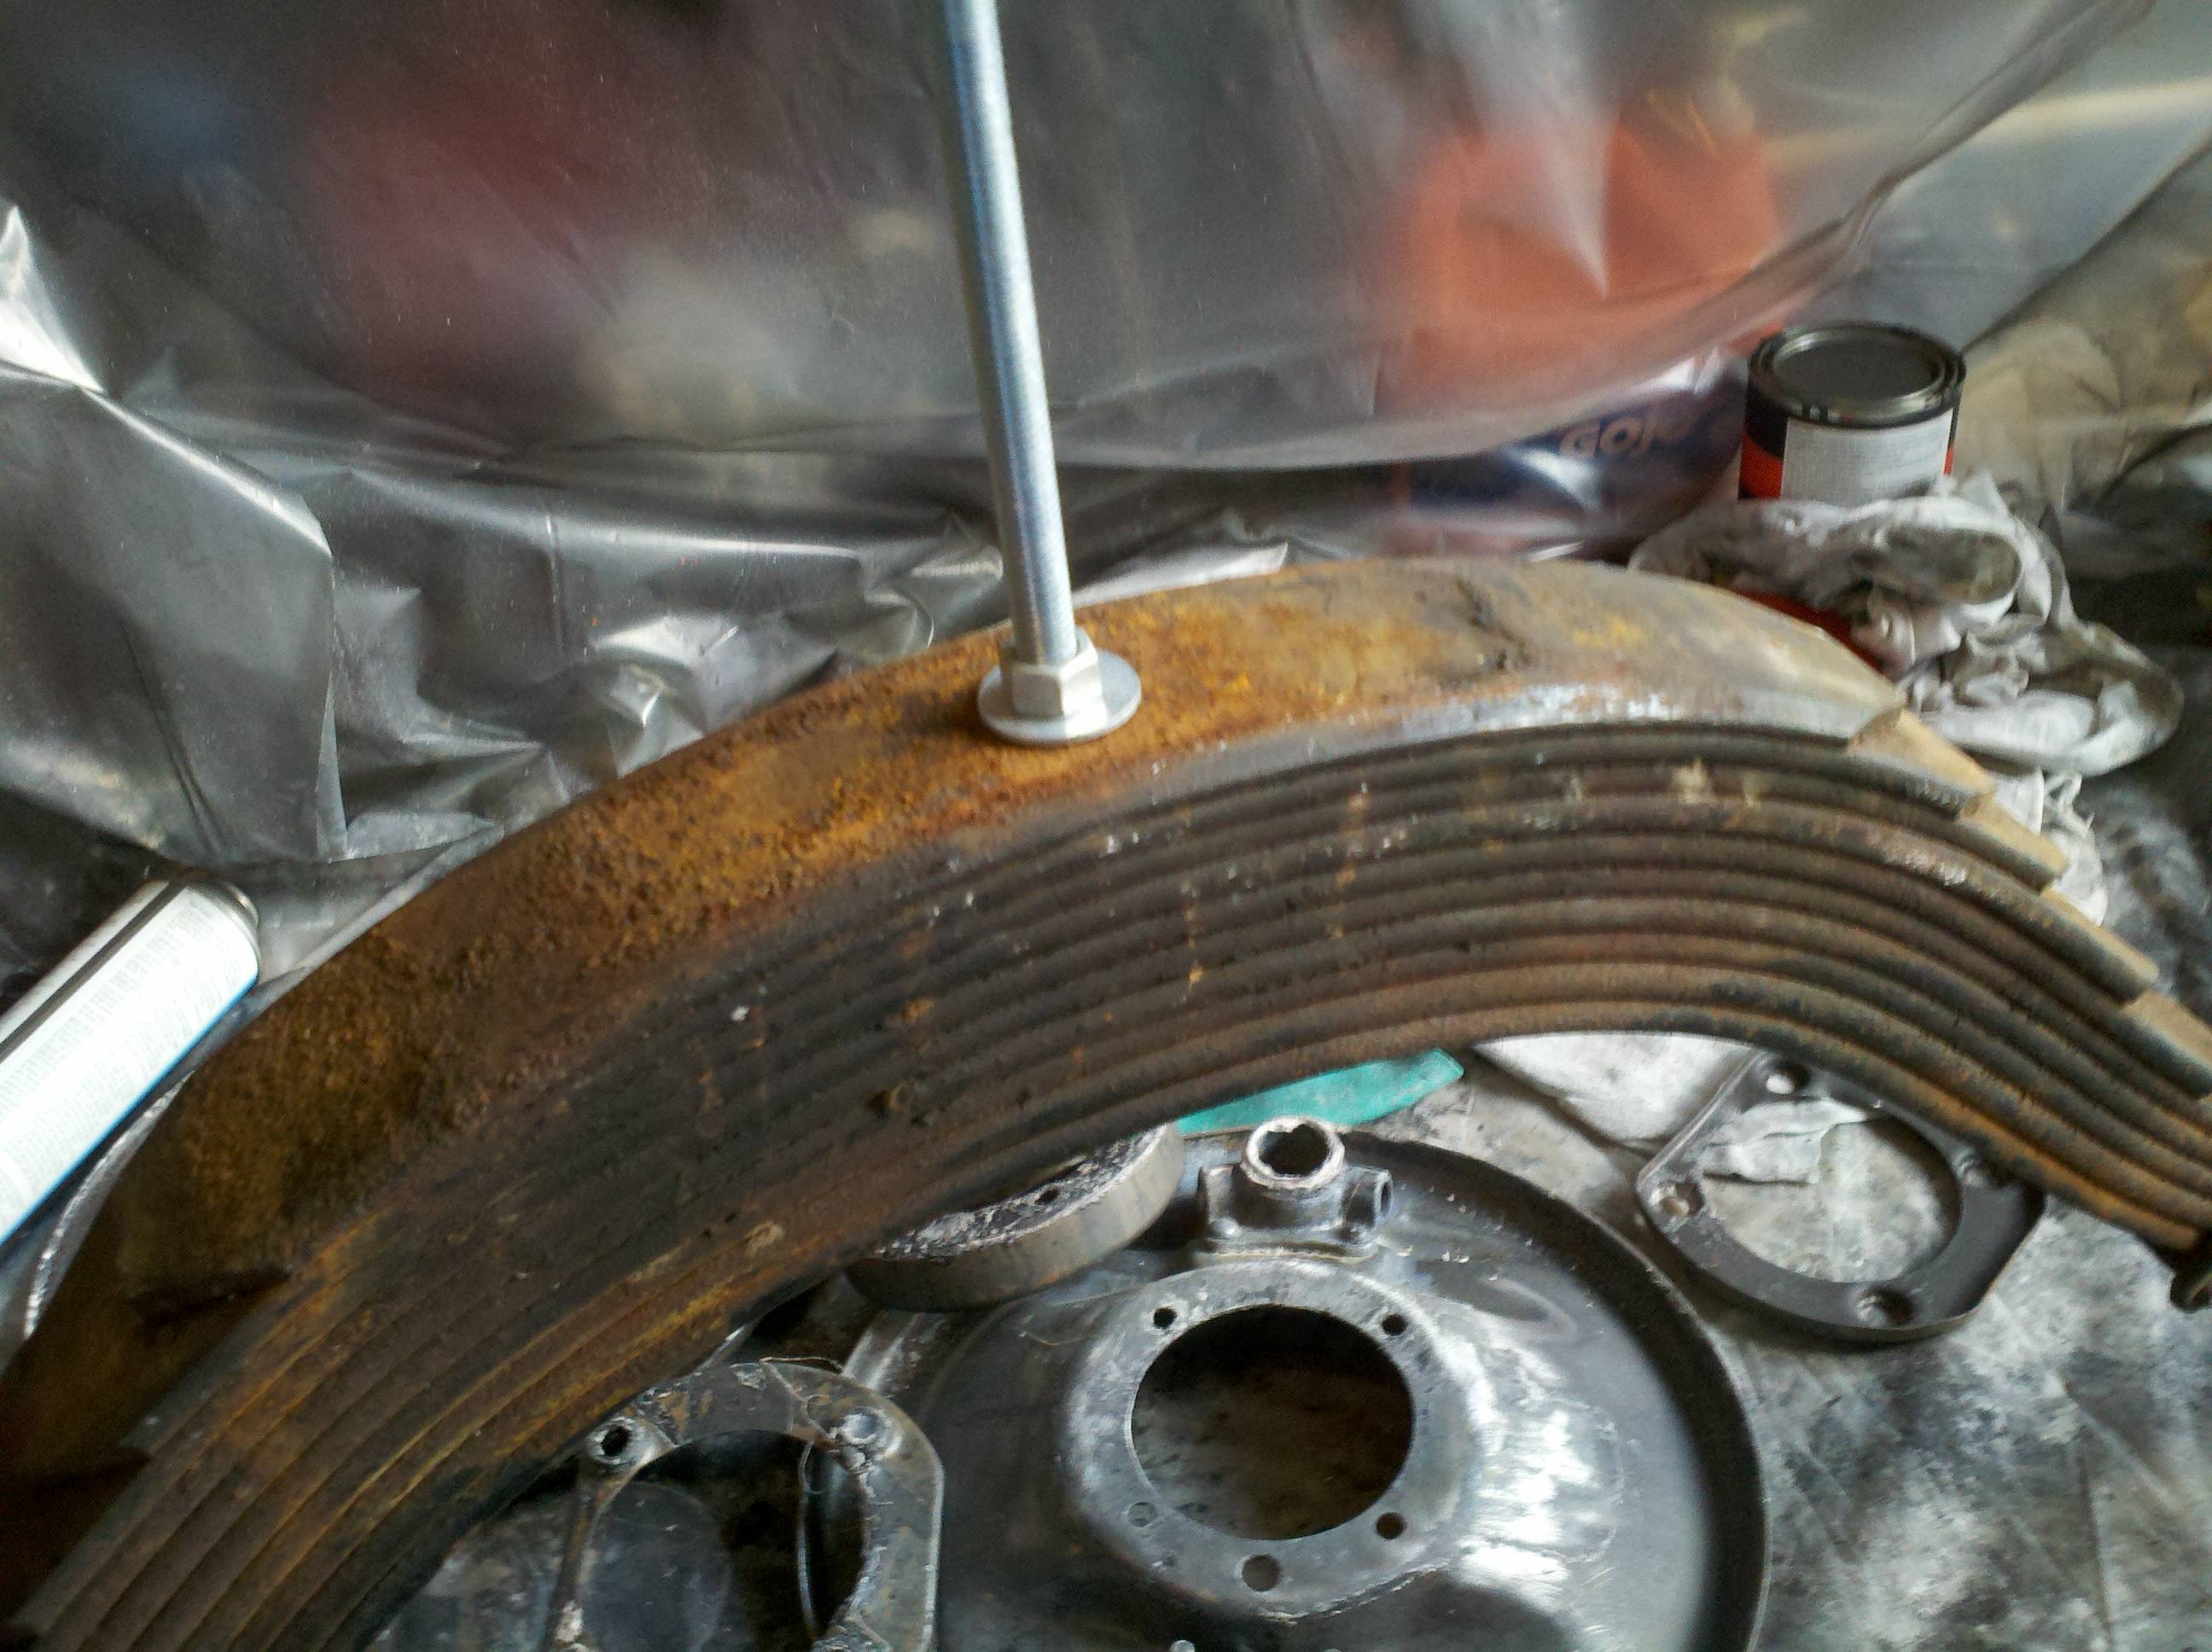
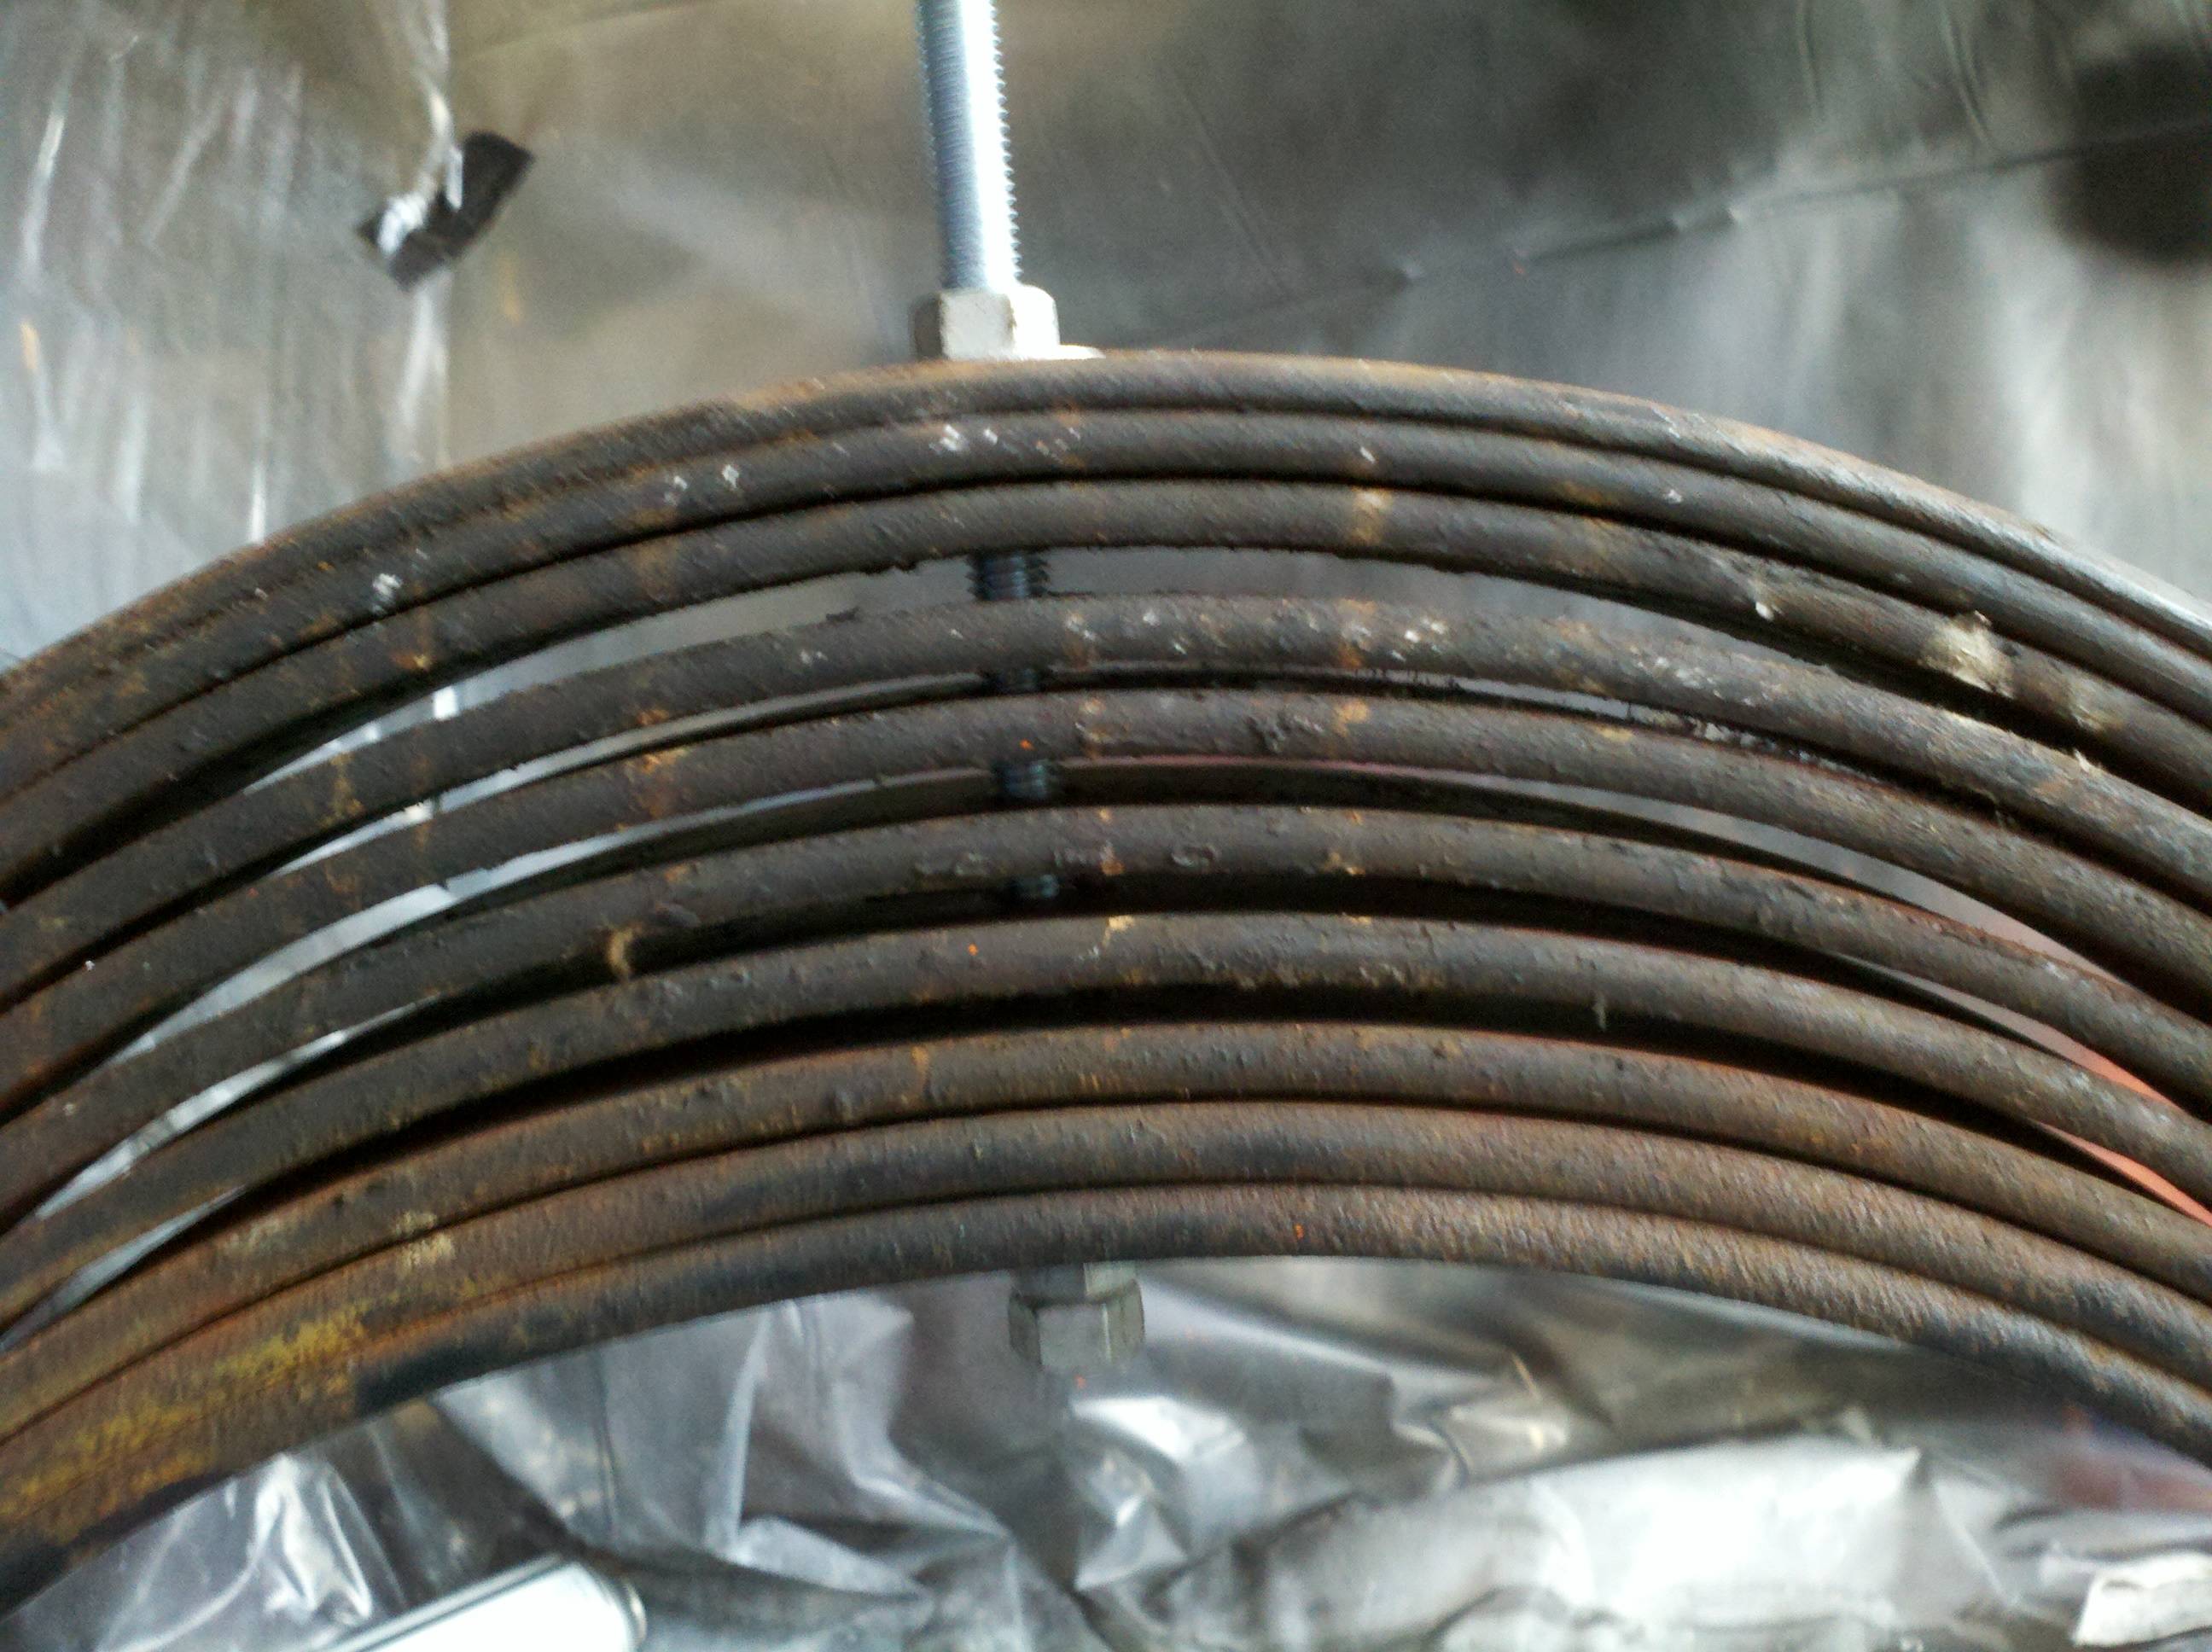
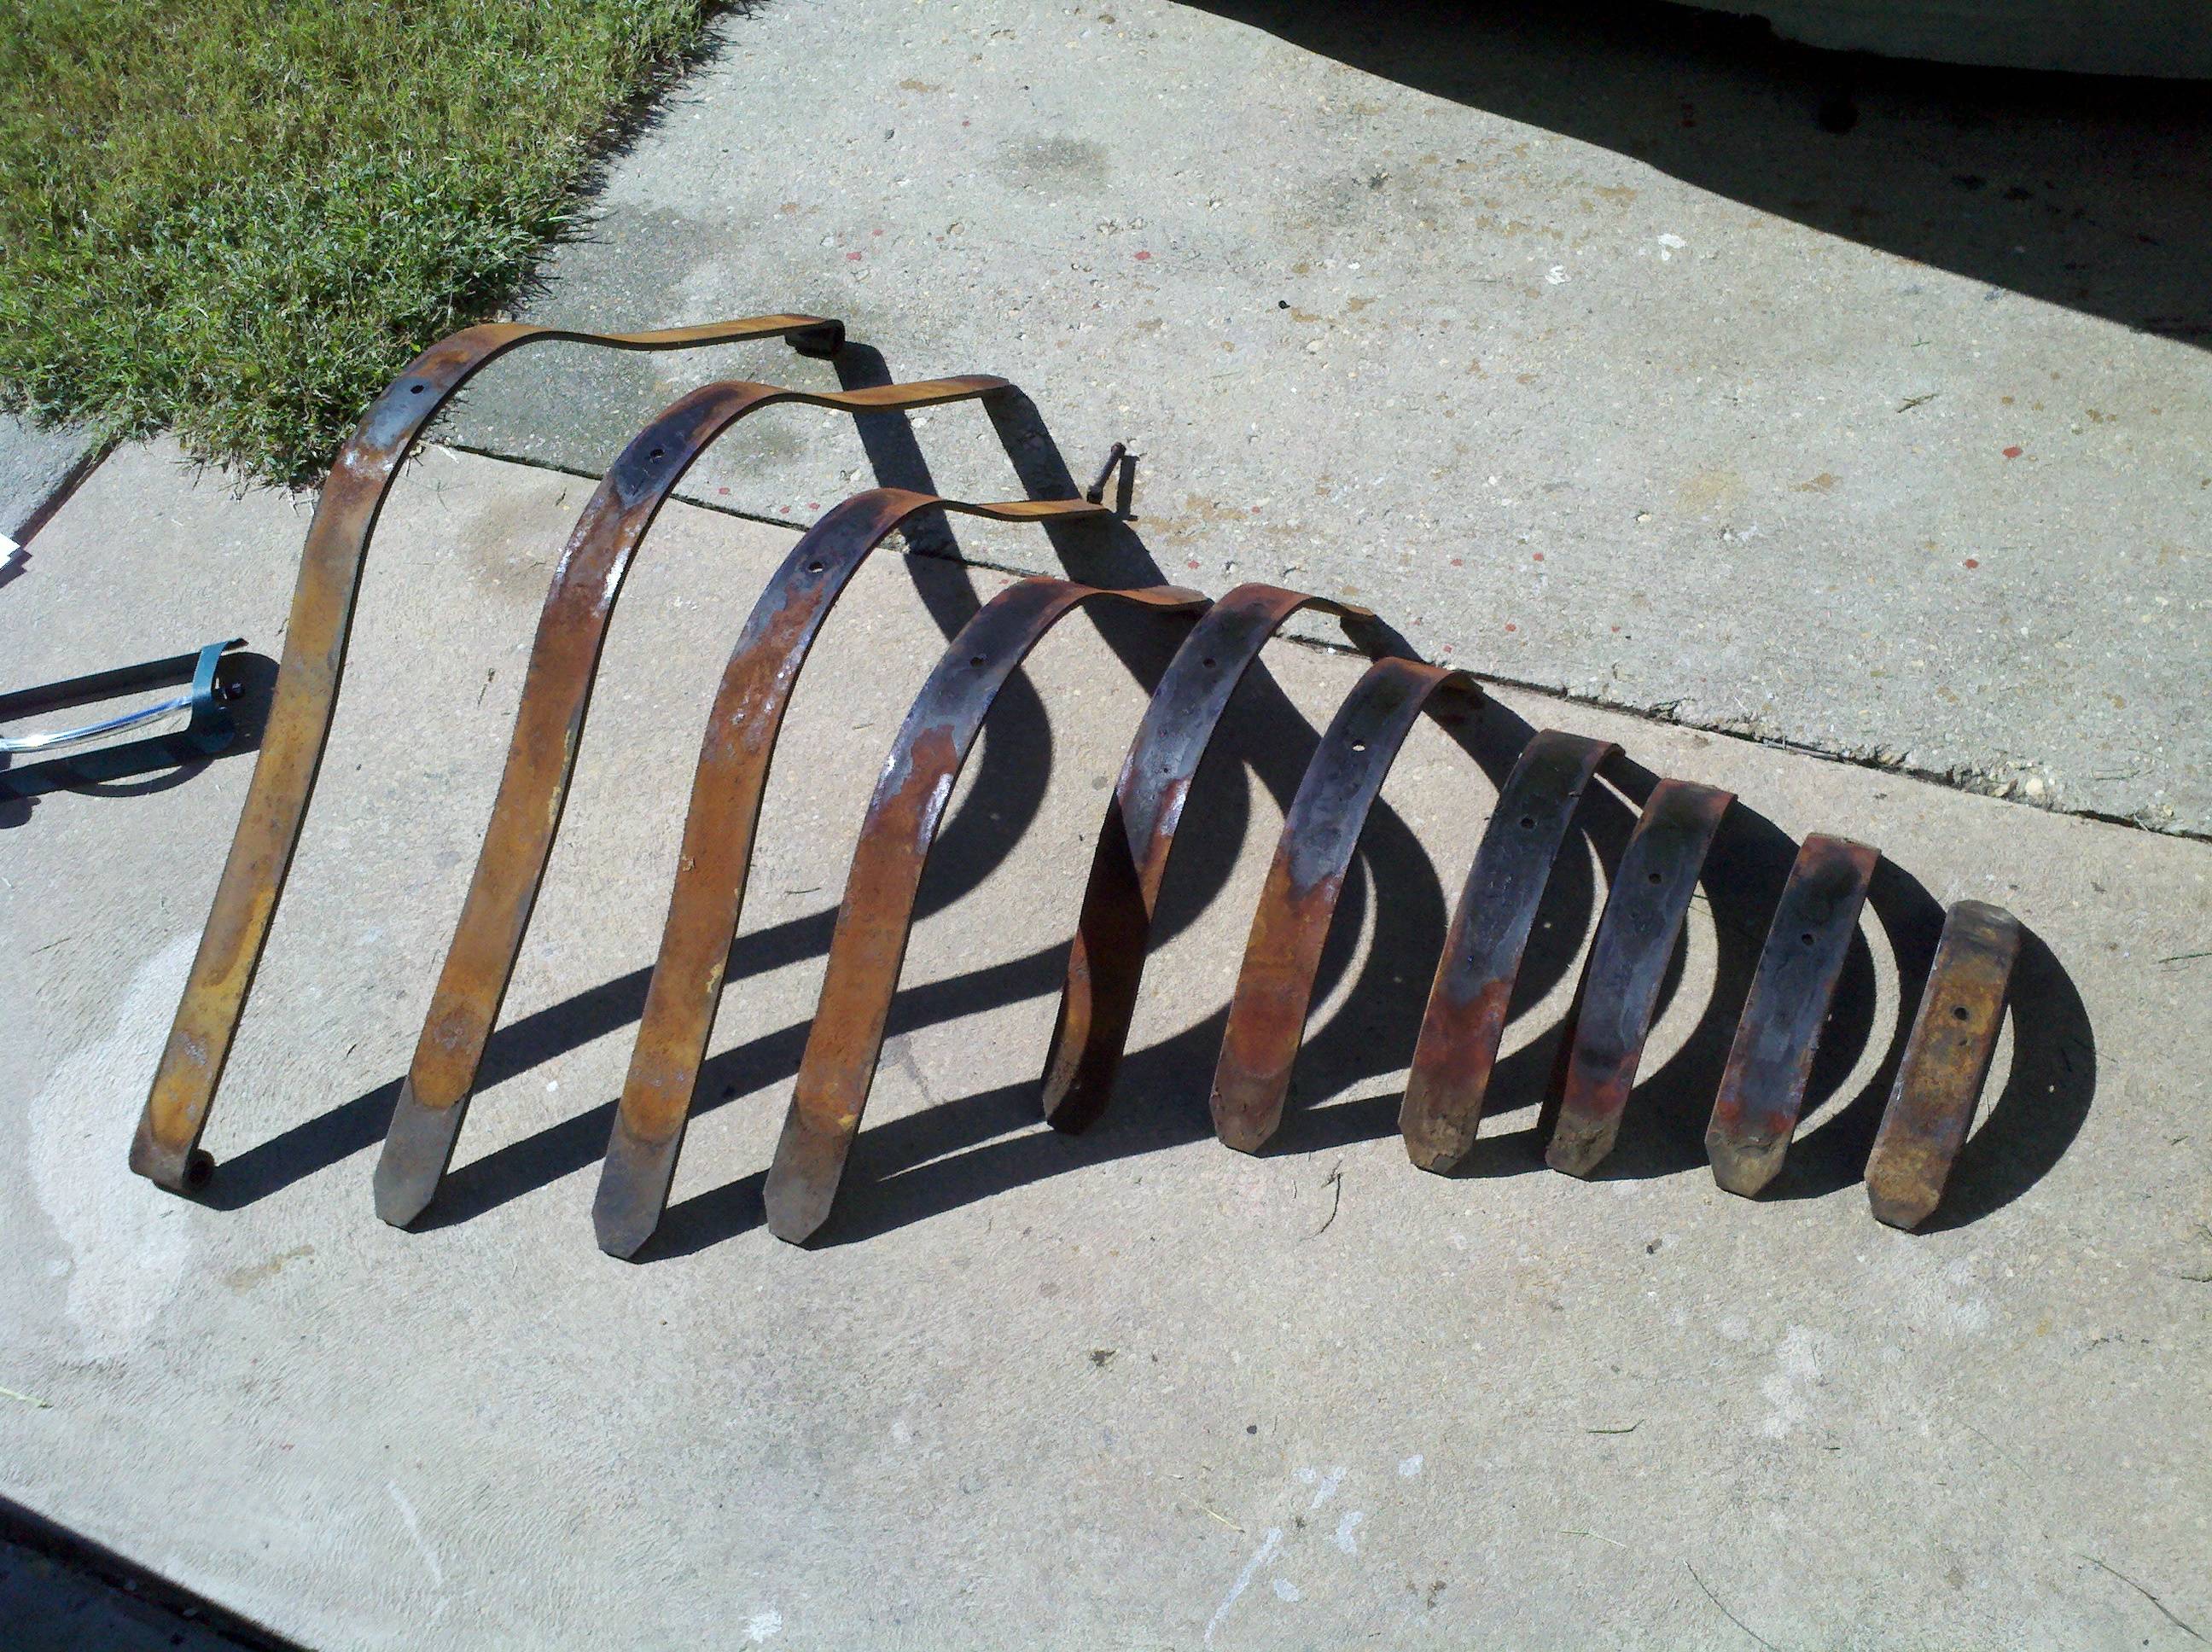
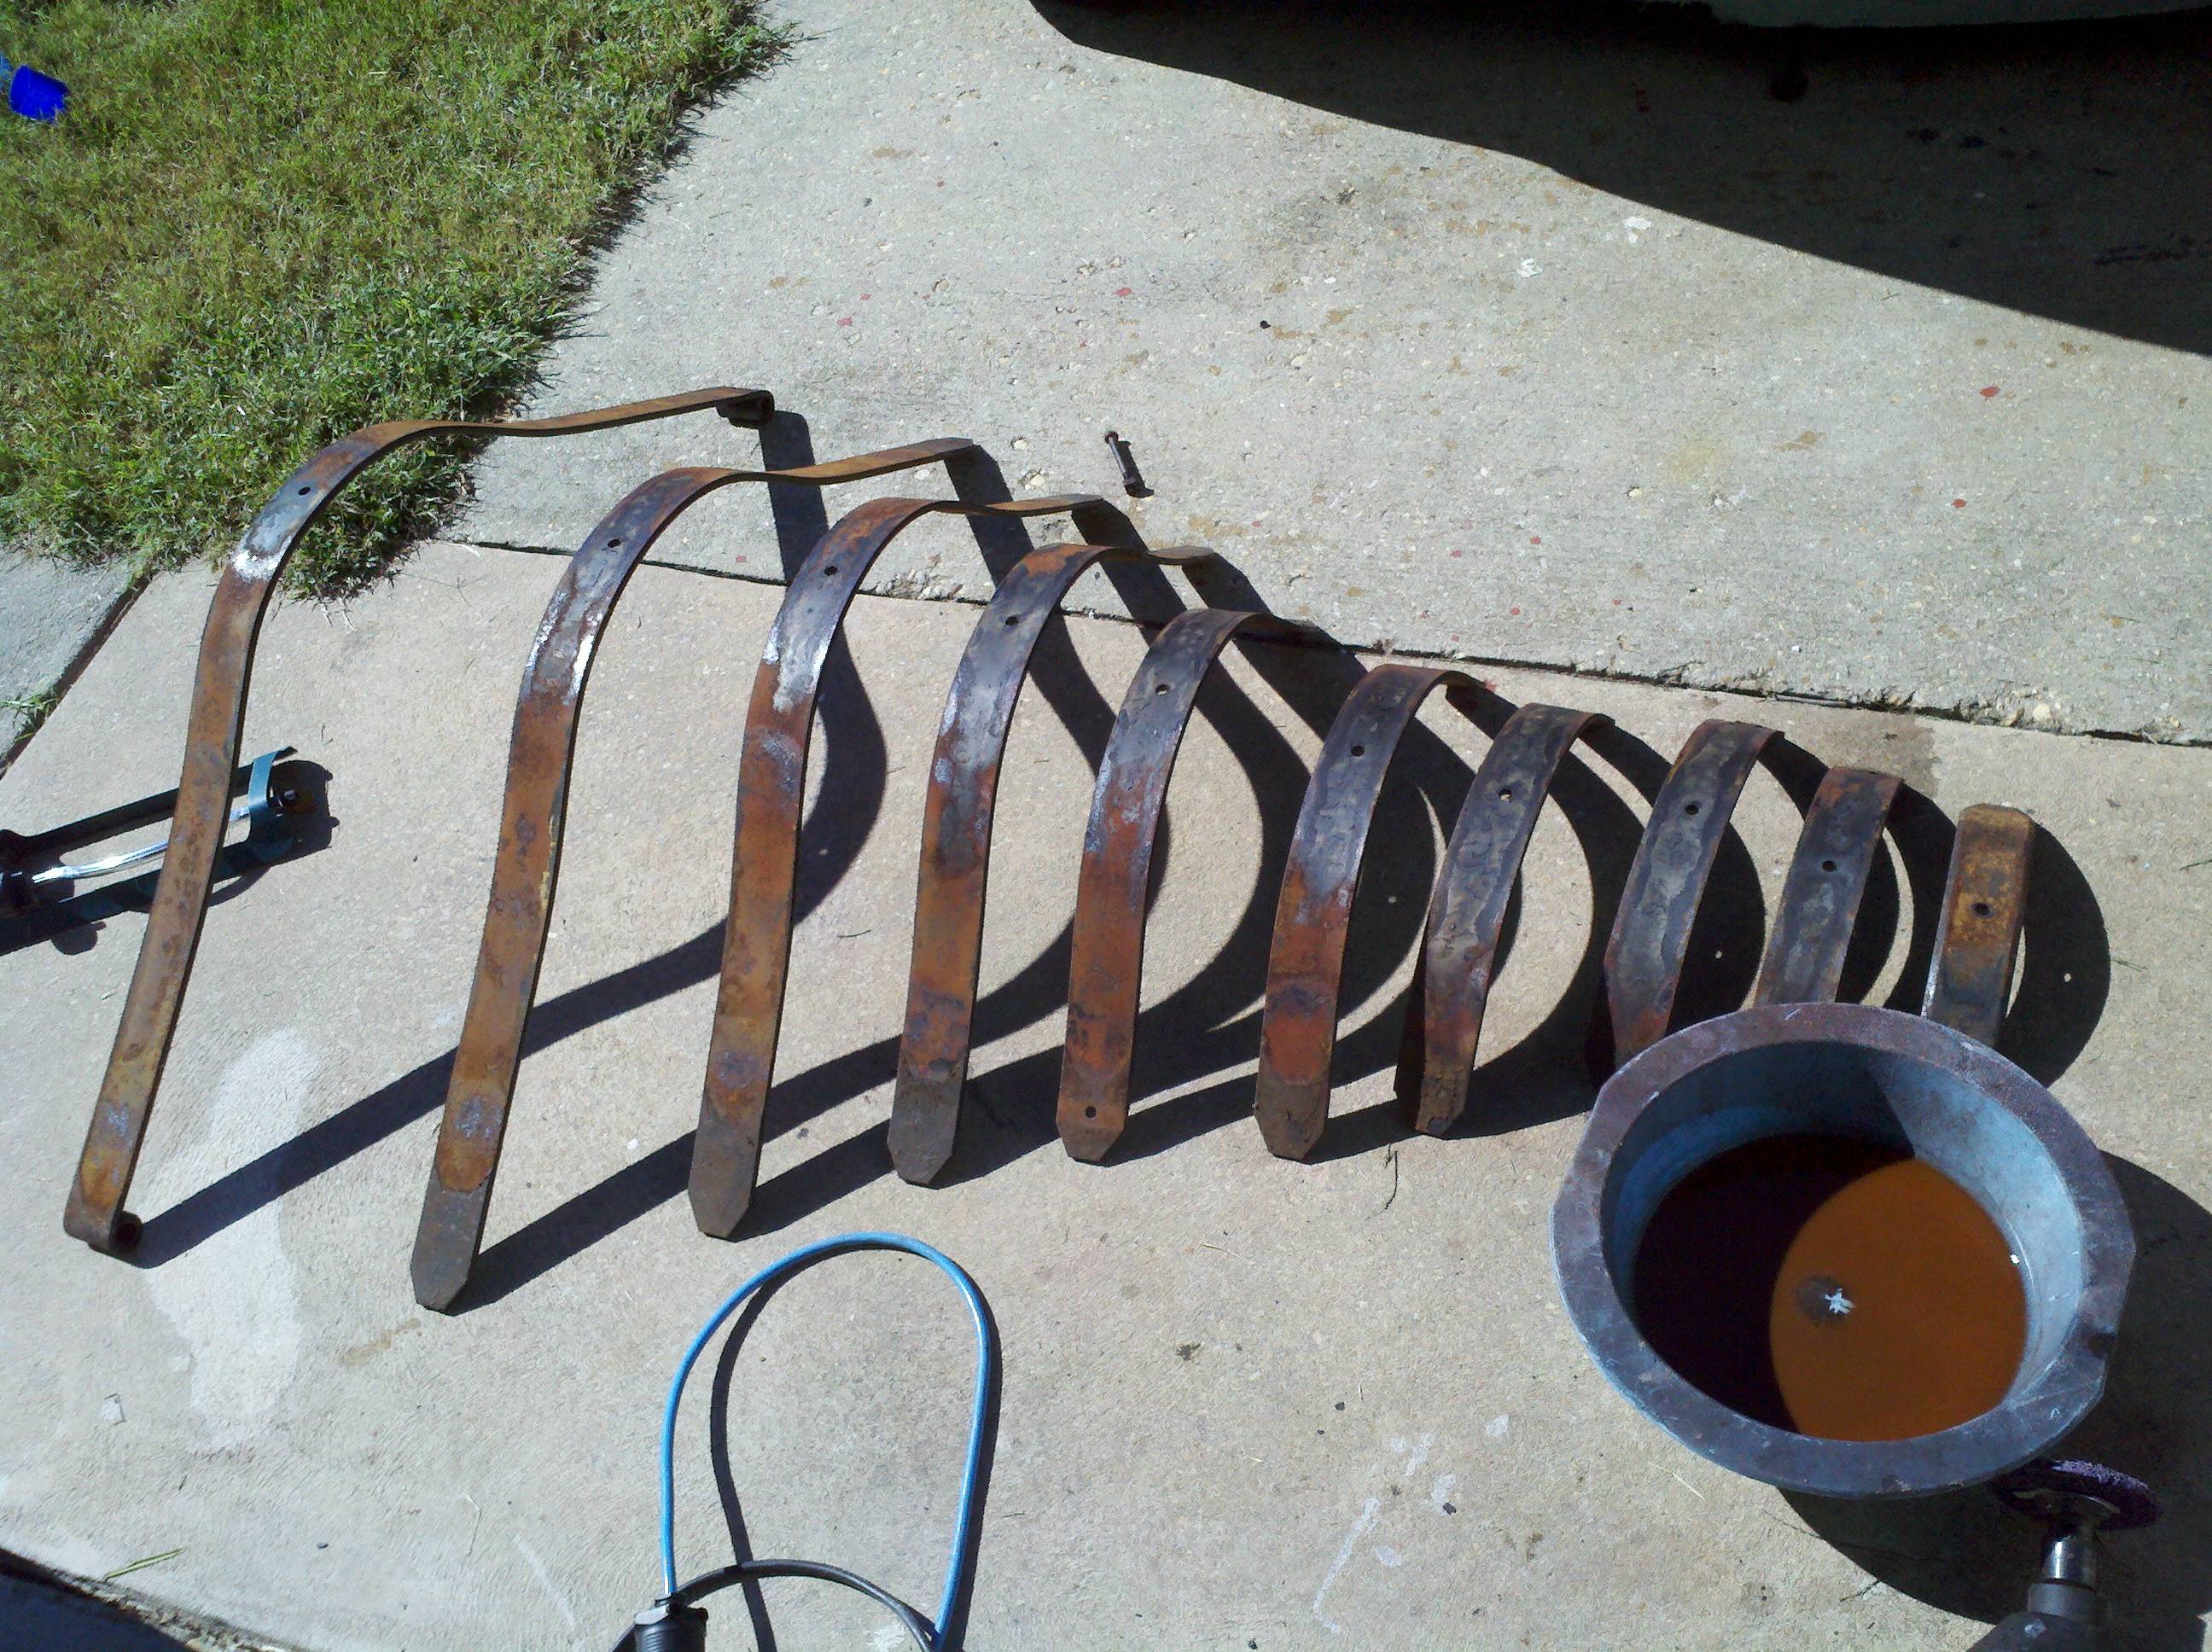
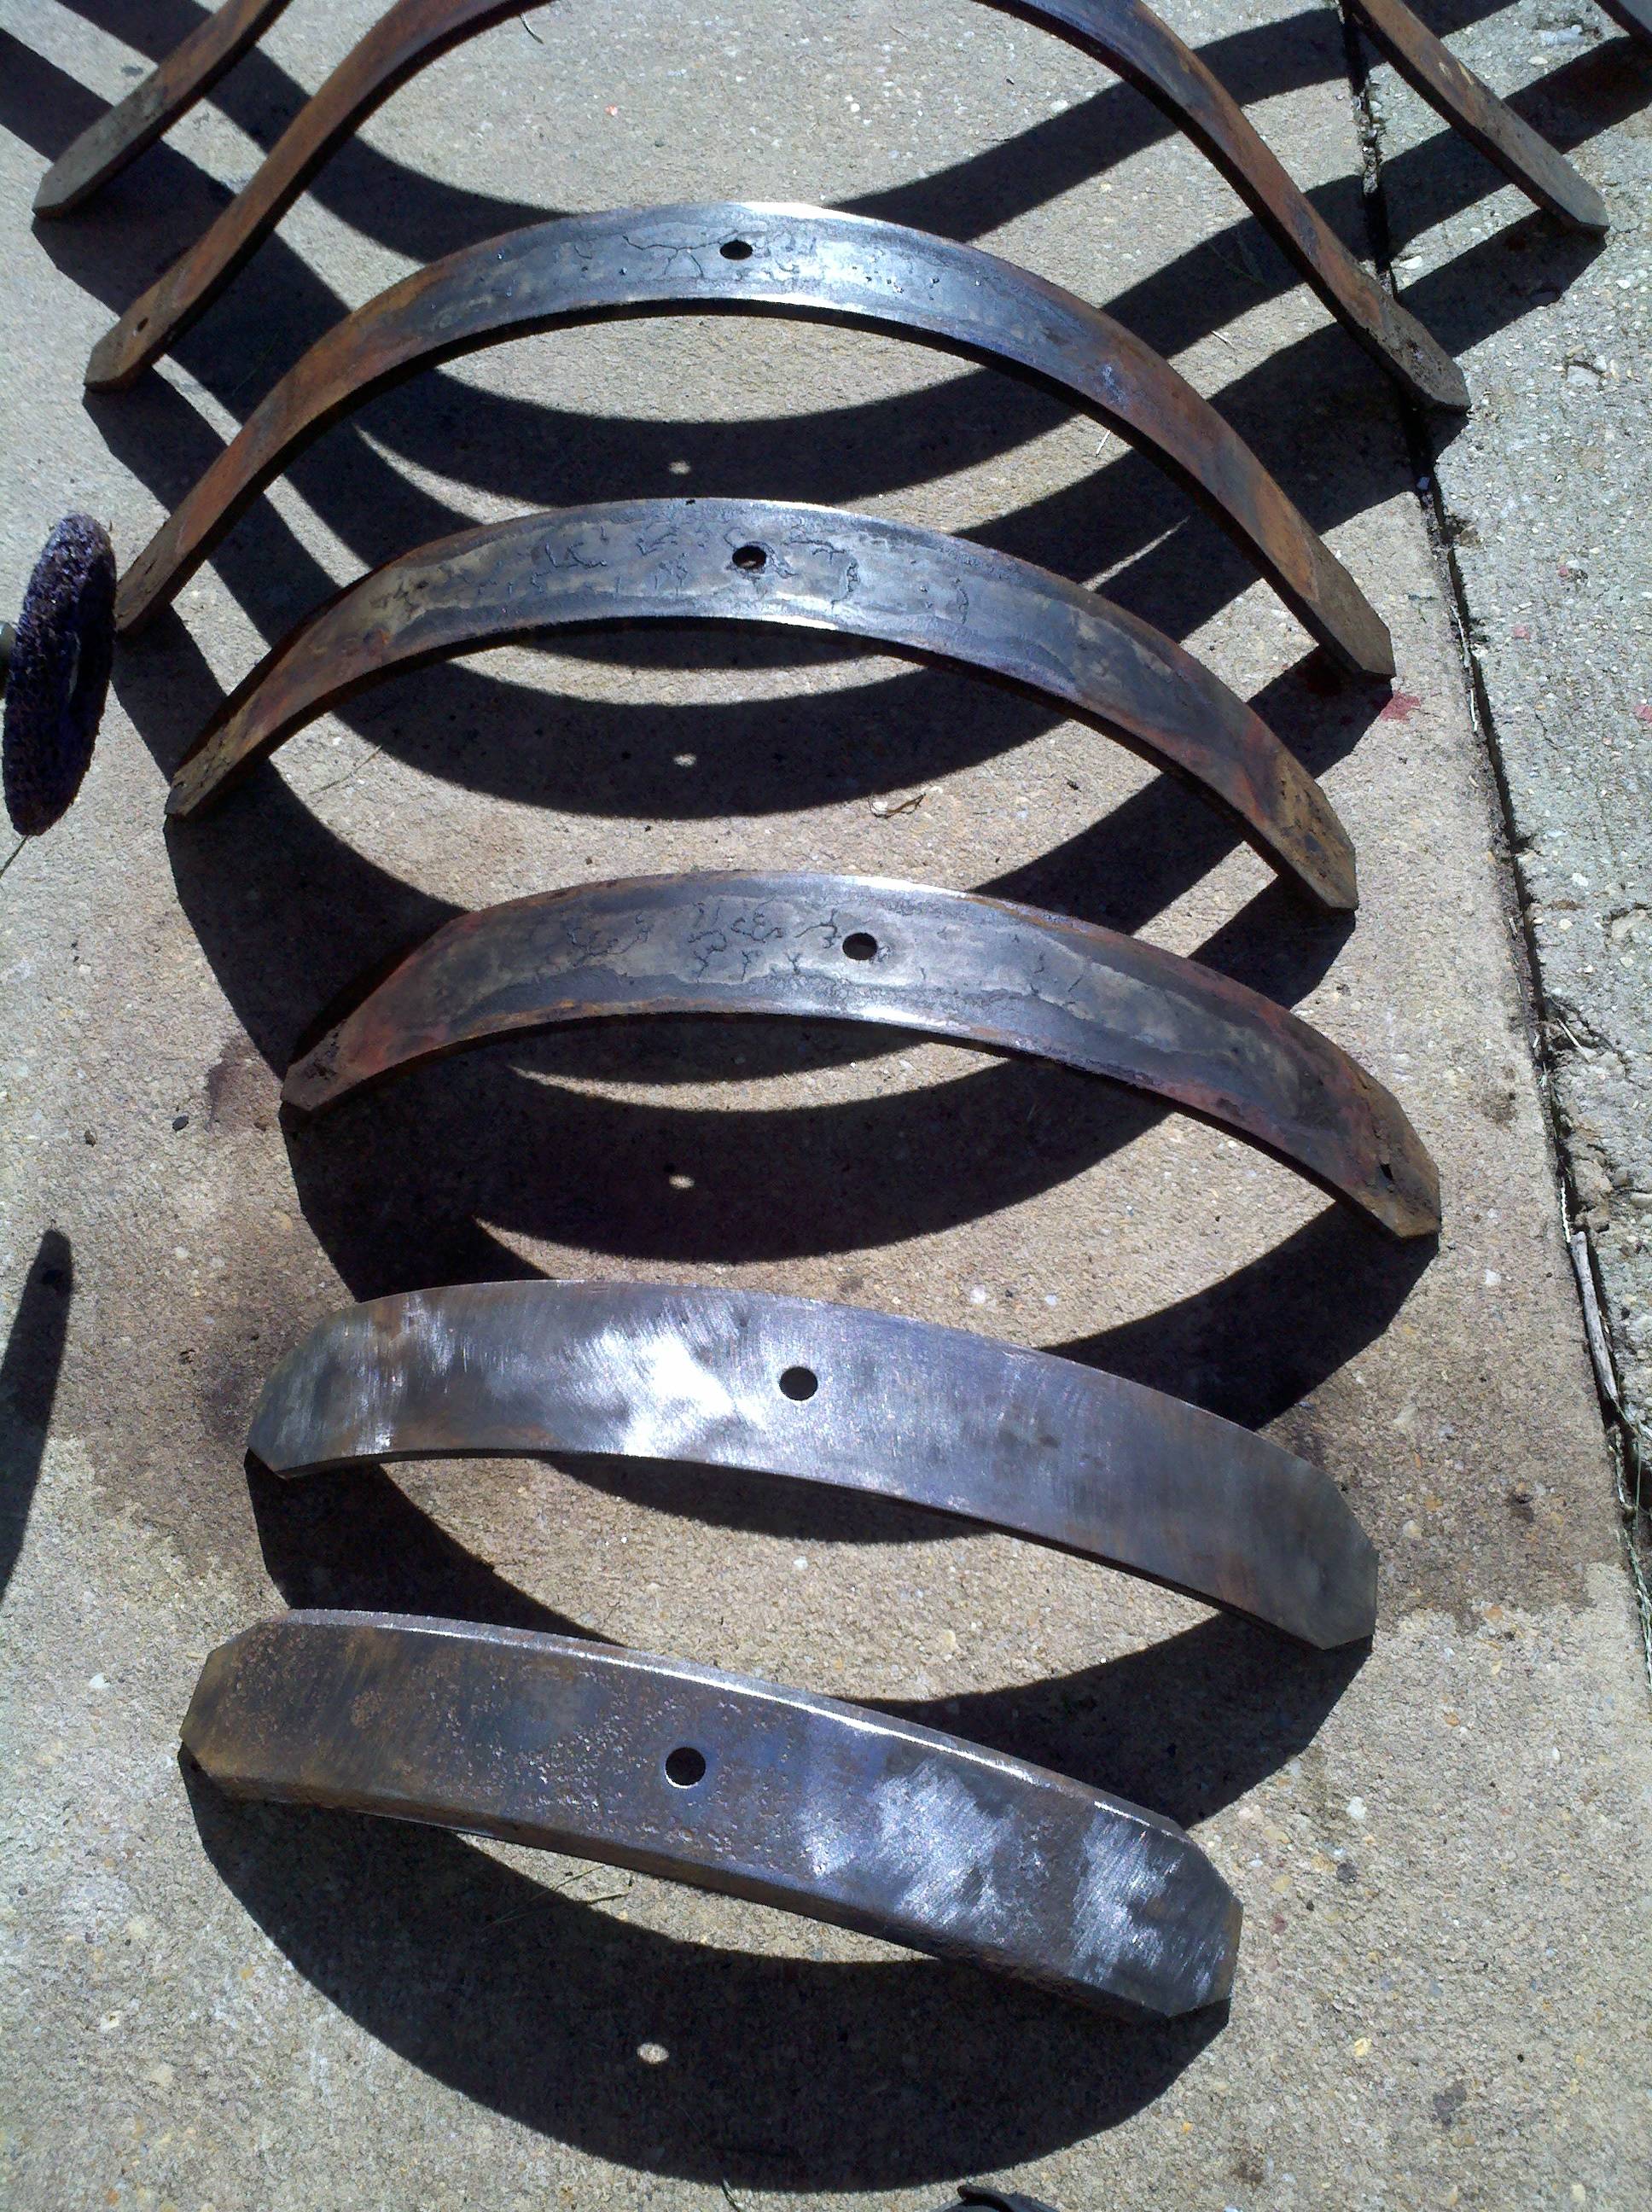
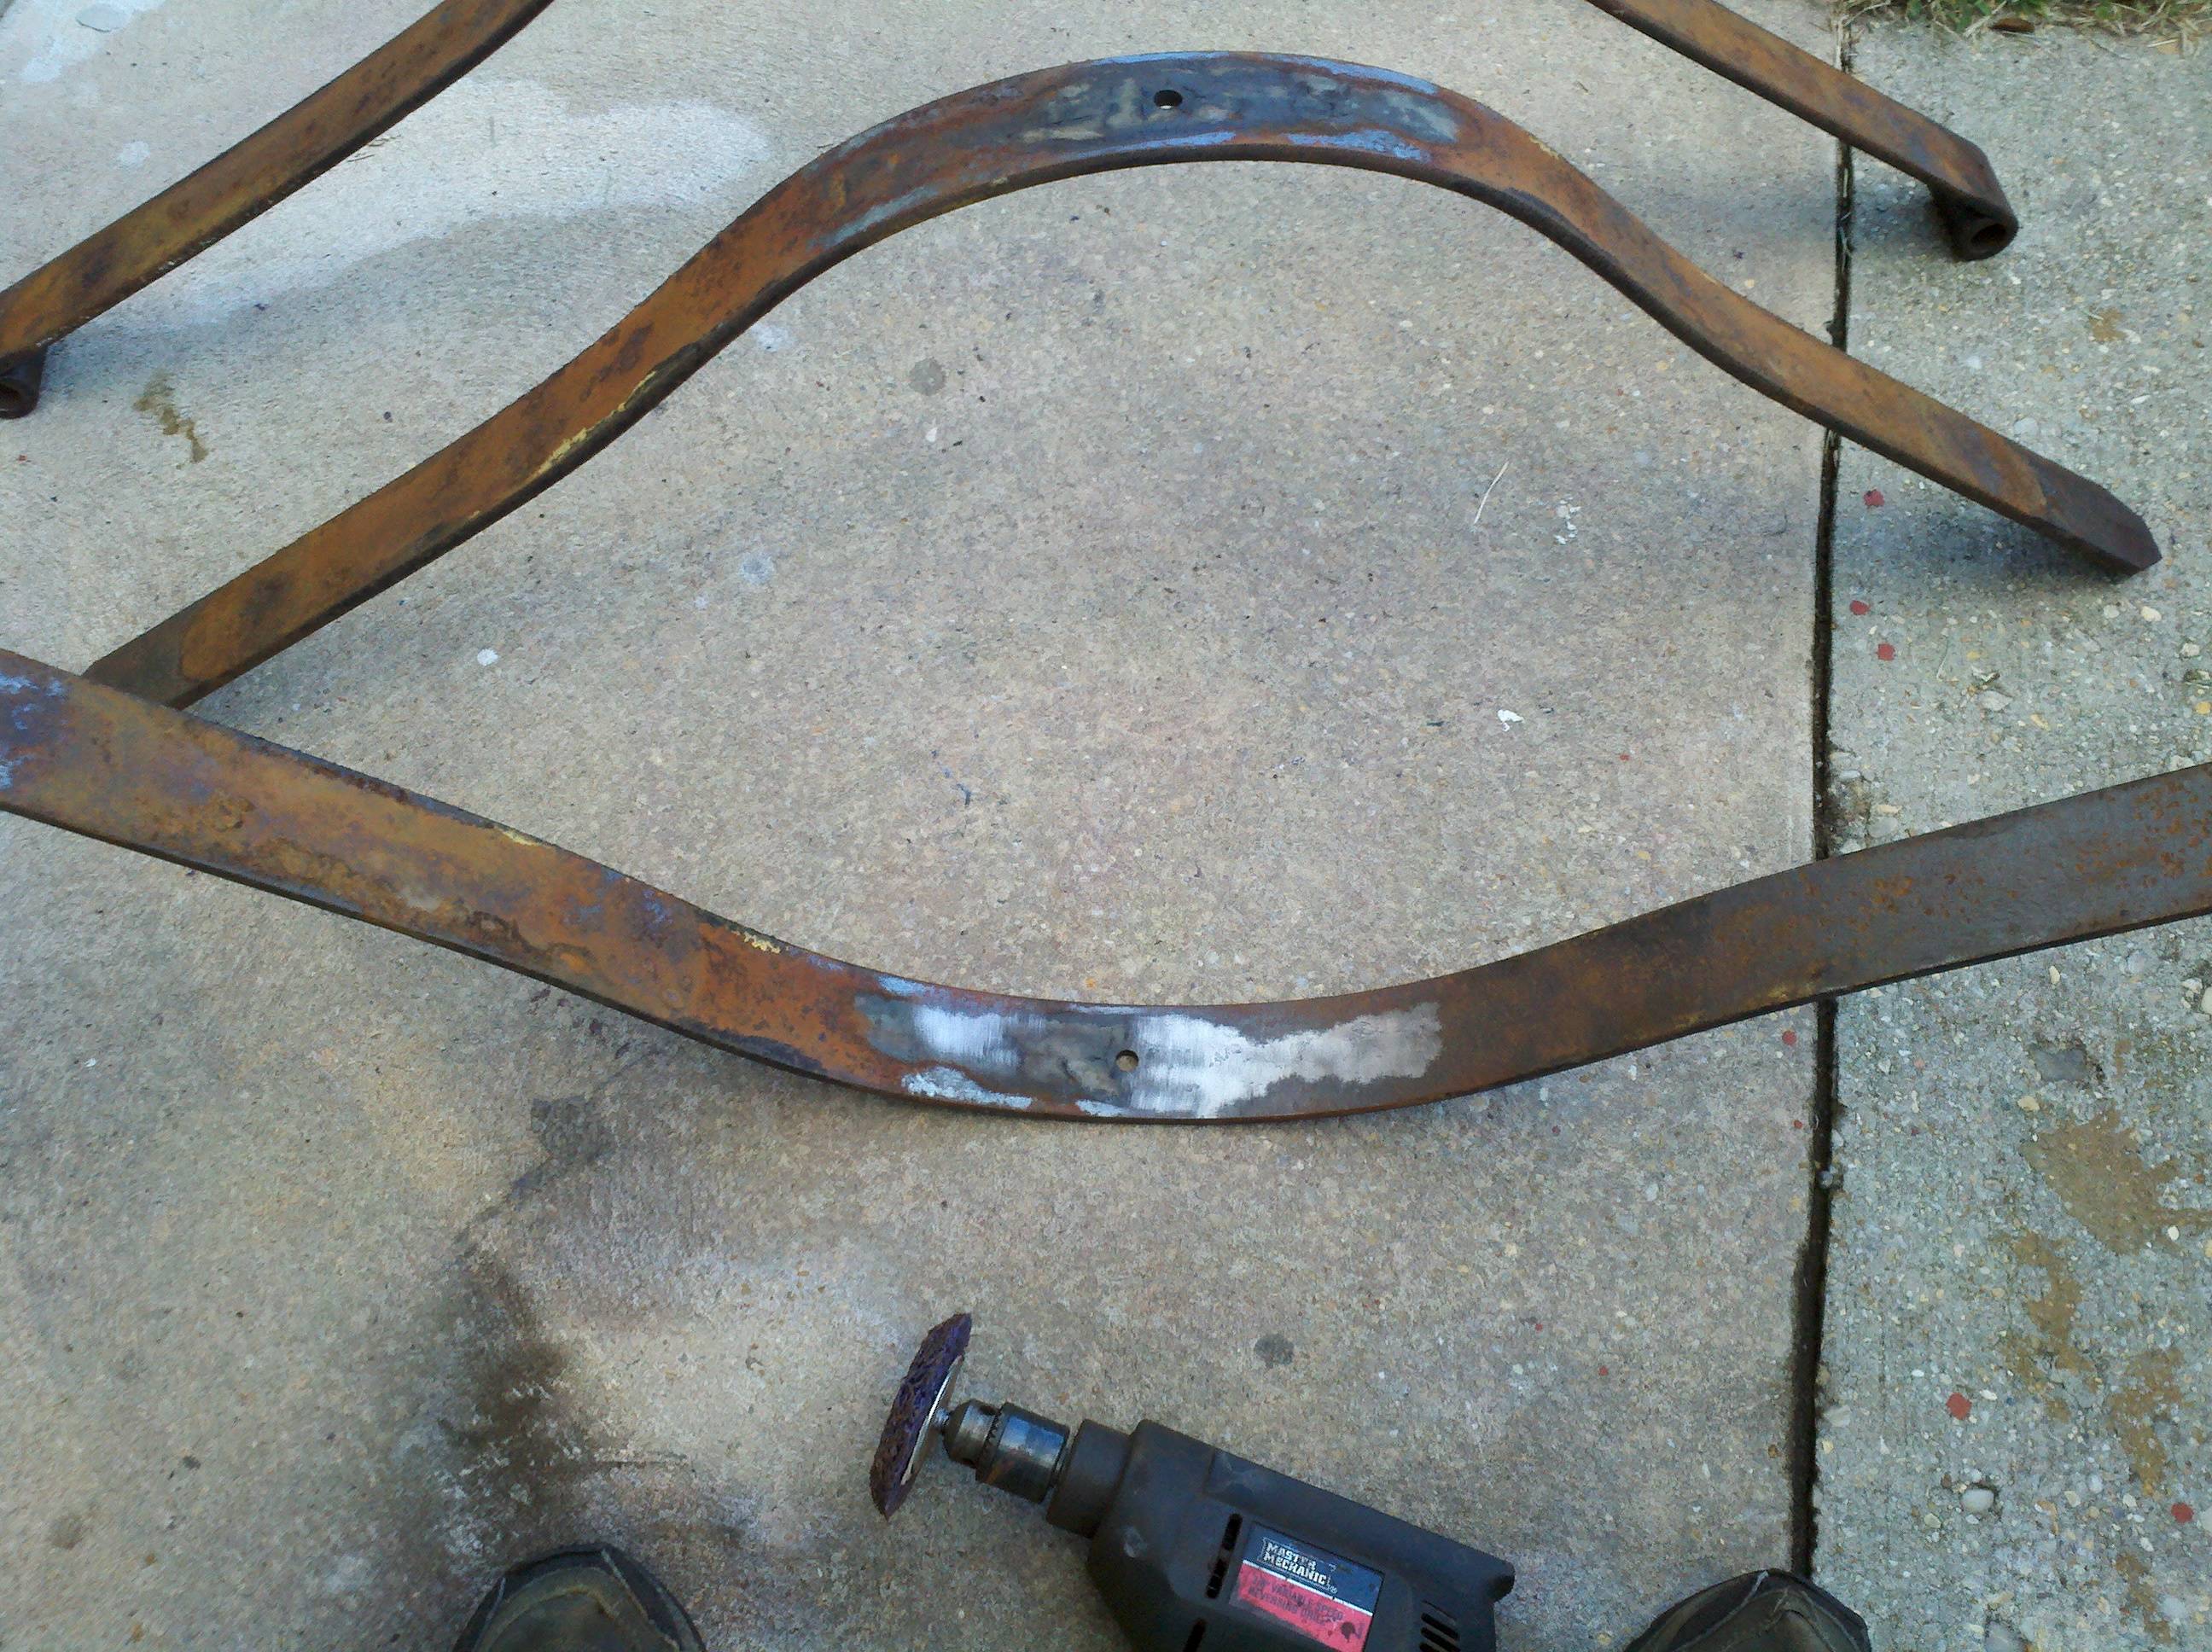
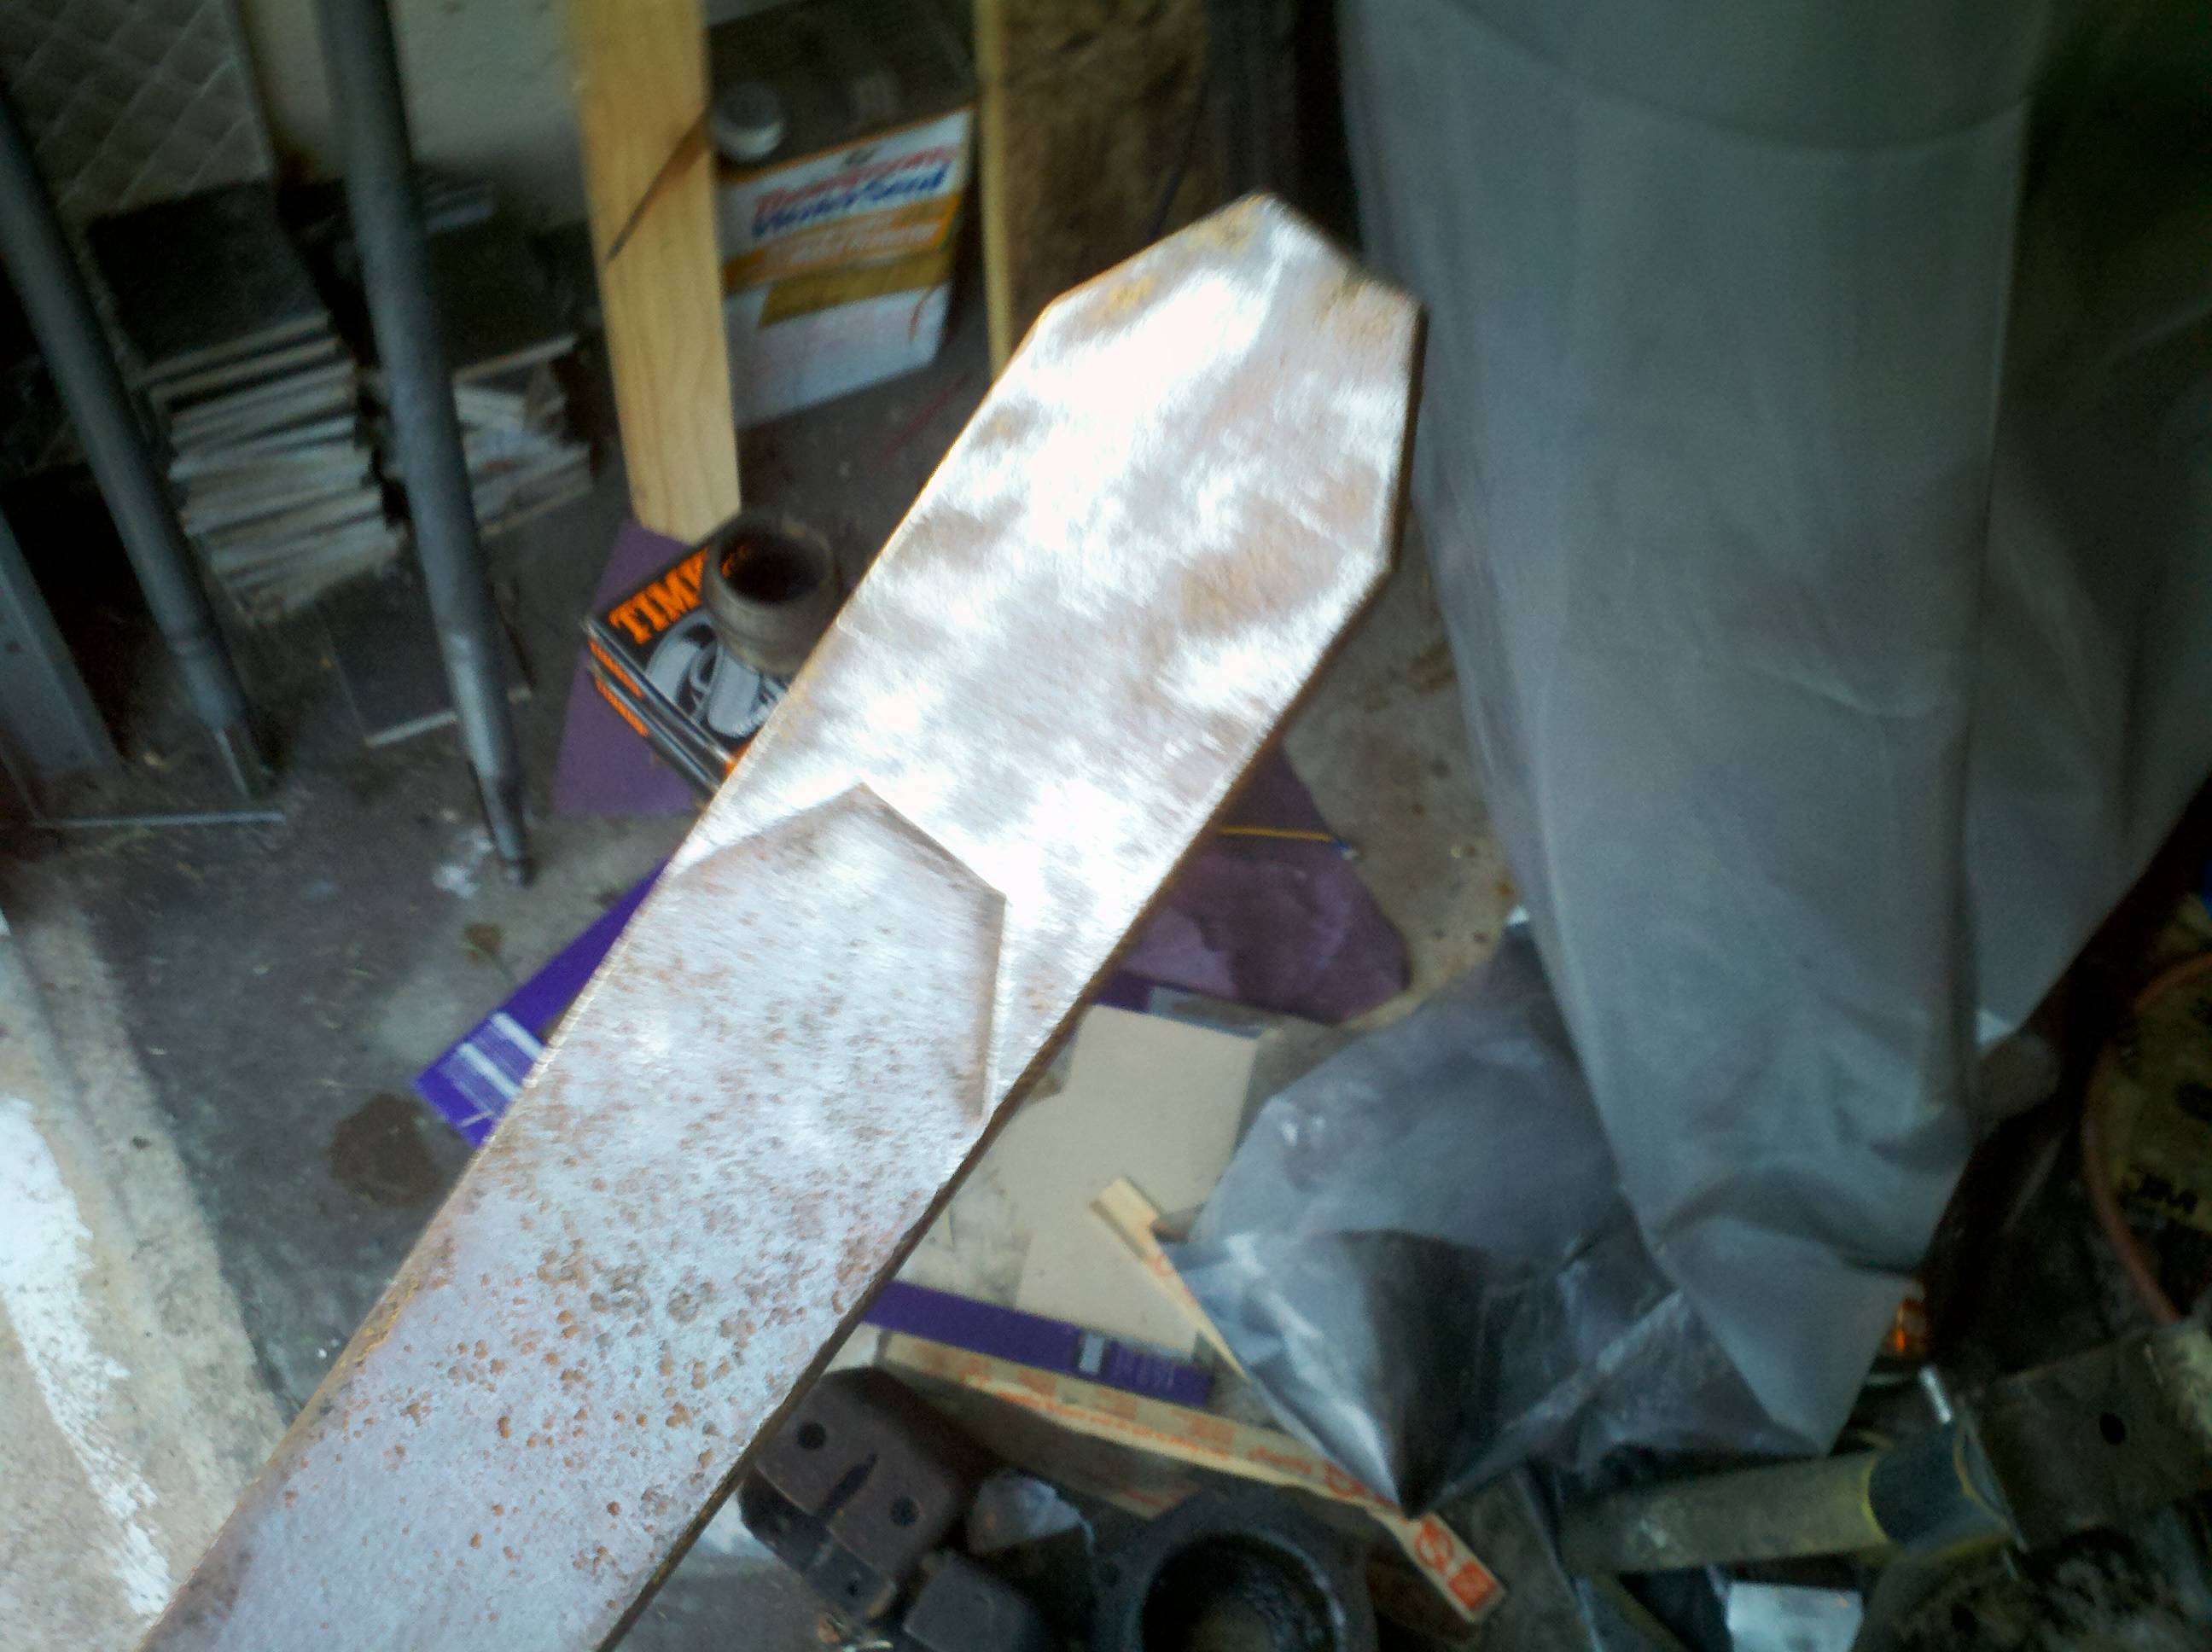
And finally, the leaves are all apart. Setting them out like this somehow reminds me of a critter. Like maybe a Trilobite or someting...
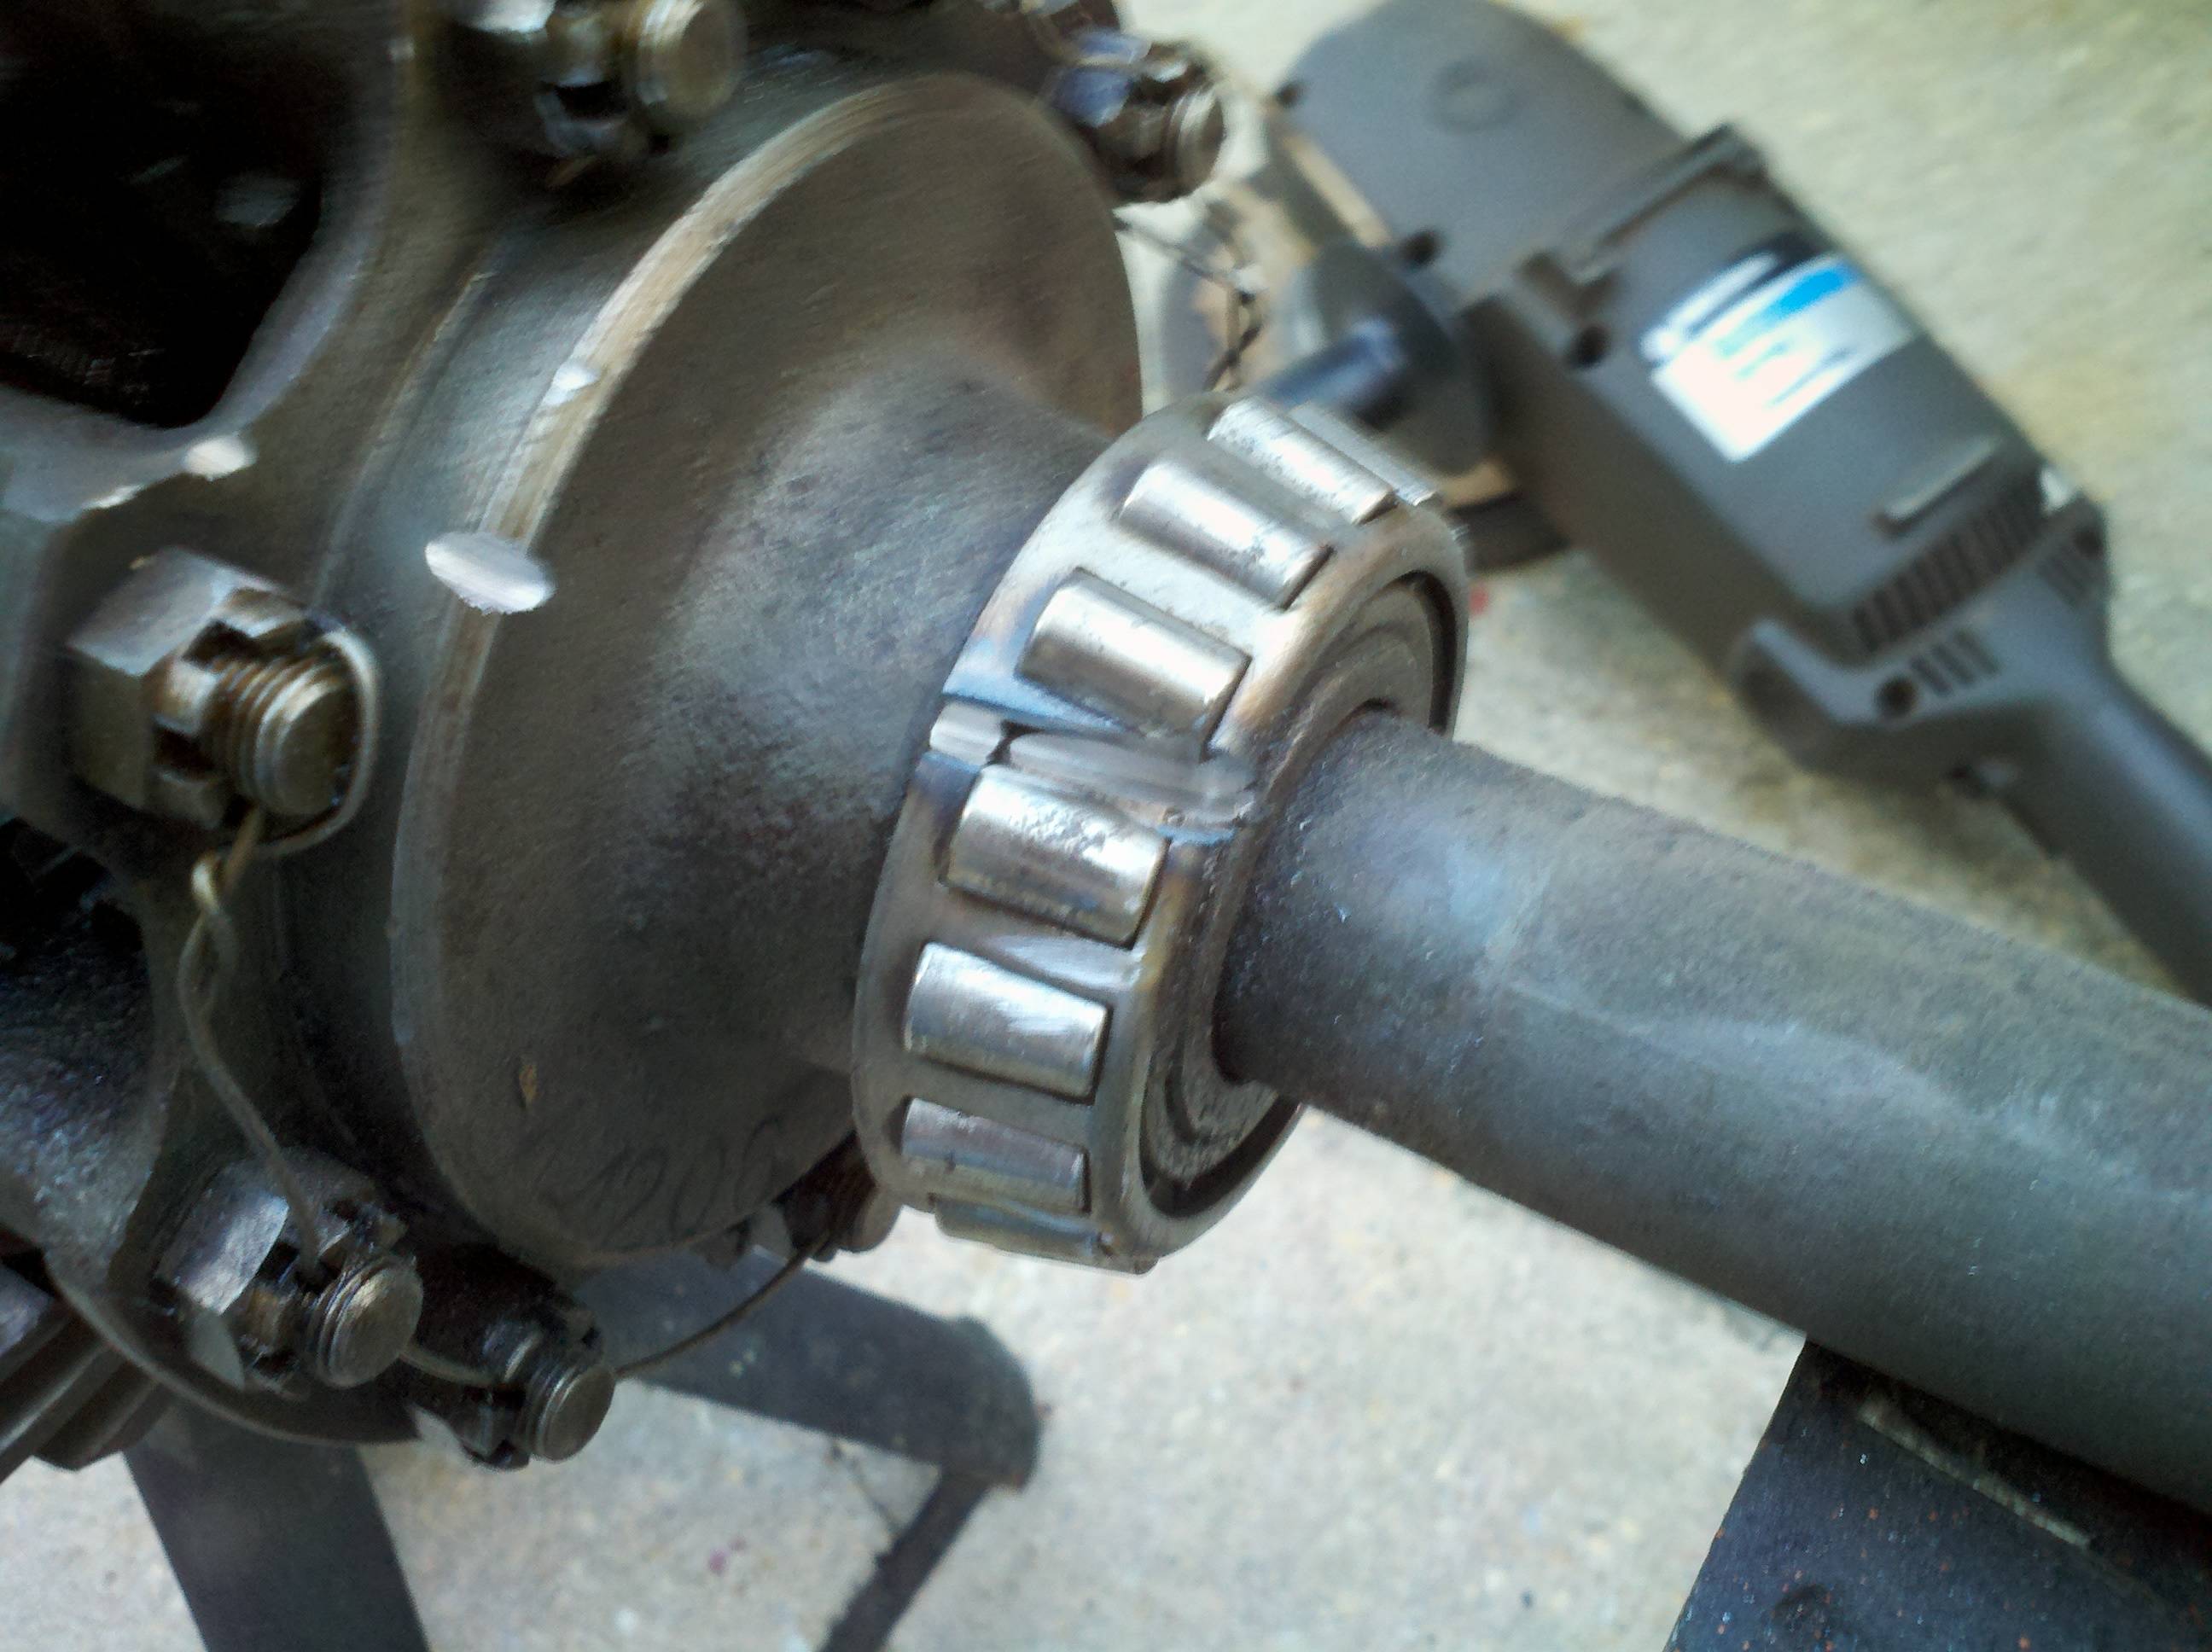
Today was an excellent day for pulling bearings from the differential. I think I said that earlier, but just in case. Like I said, I had originally planned on keeping these, but the Fast-Etch had gotten into them, so they were frozen. Bummer. On a side note, almost everyone wants to sell them for ~$40 ea. I found them here, at Auto Zone for ~$25 ea. Most awesome!

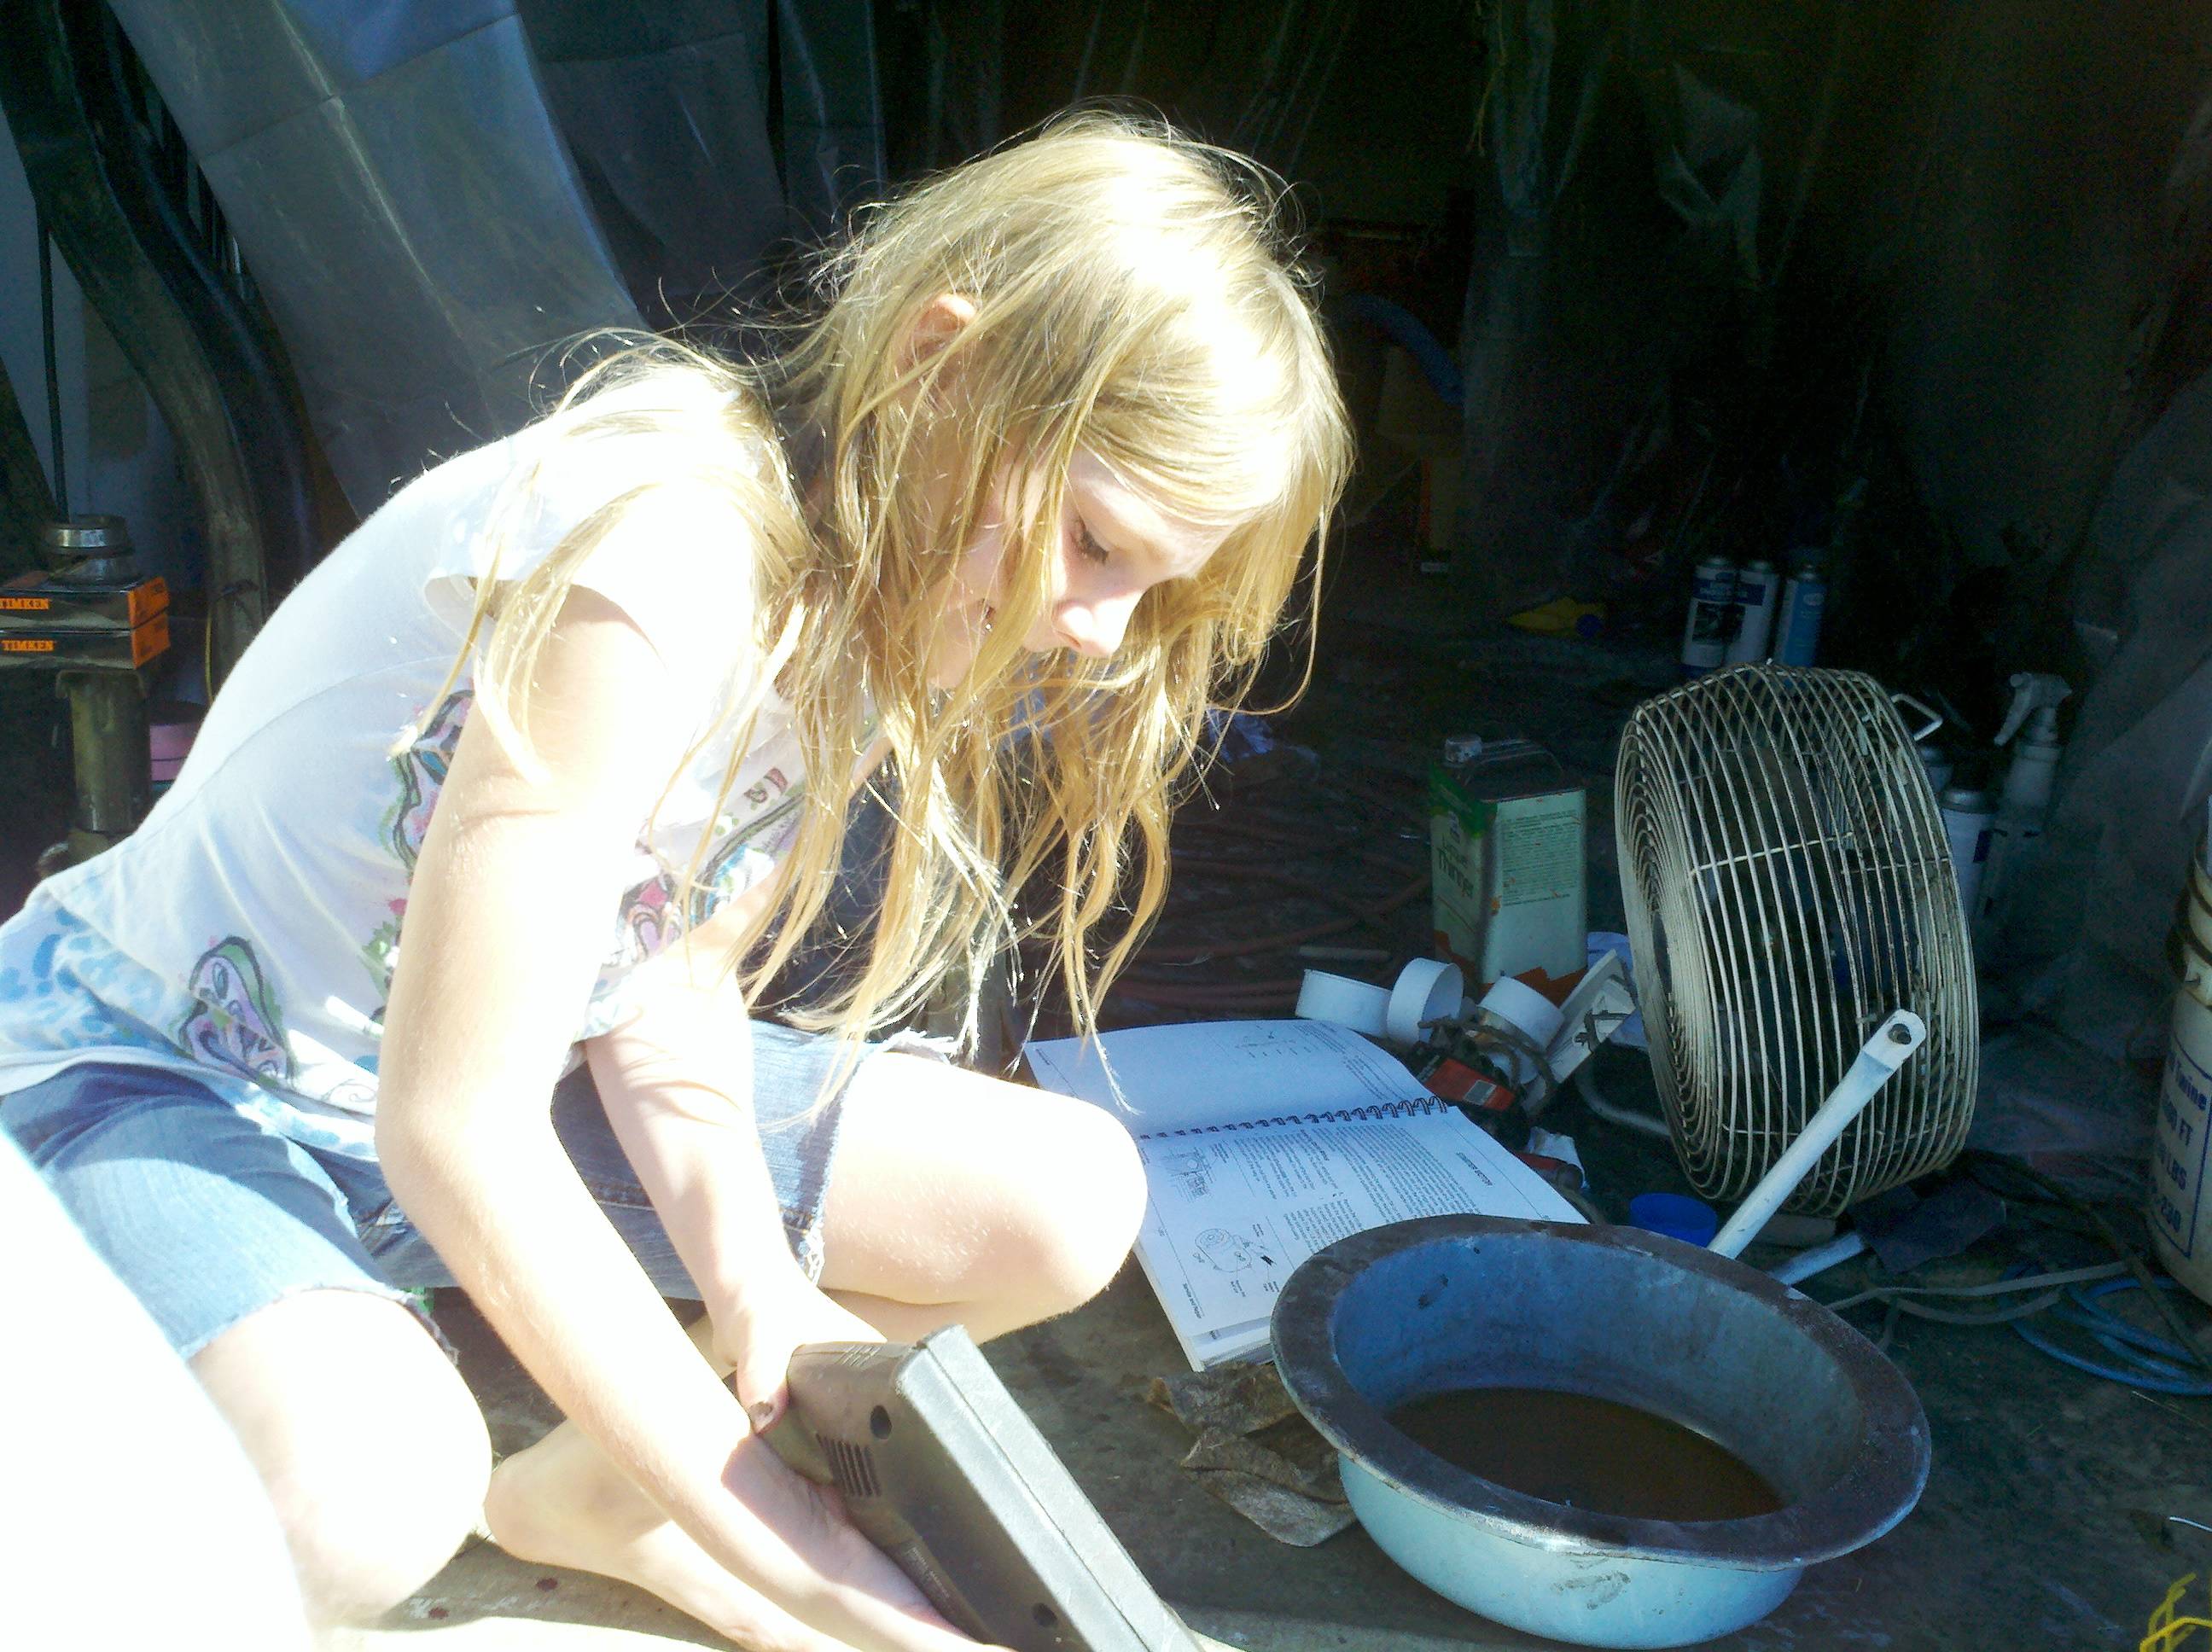
Pulling the bearings was made a little more complicated by the fact that I don't want to pull the differential apart. That means I can't put a baering puller on them. So, first tep was to pull out my grinder, and cut through a bit. During this whole process, I got some hepl from my youngest daughter, who you can occasionally see in the background. i didn't let her help much, because she had already taken a shower and was dressed in her jammies.
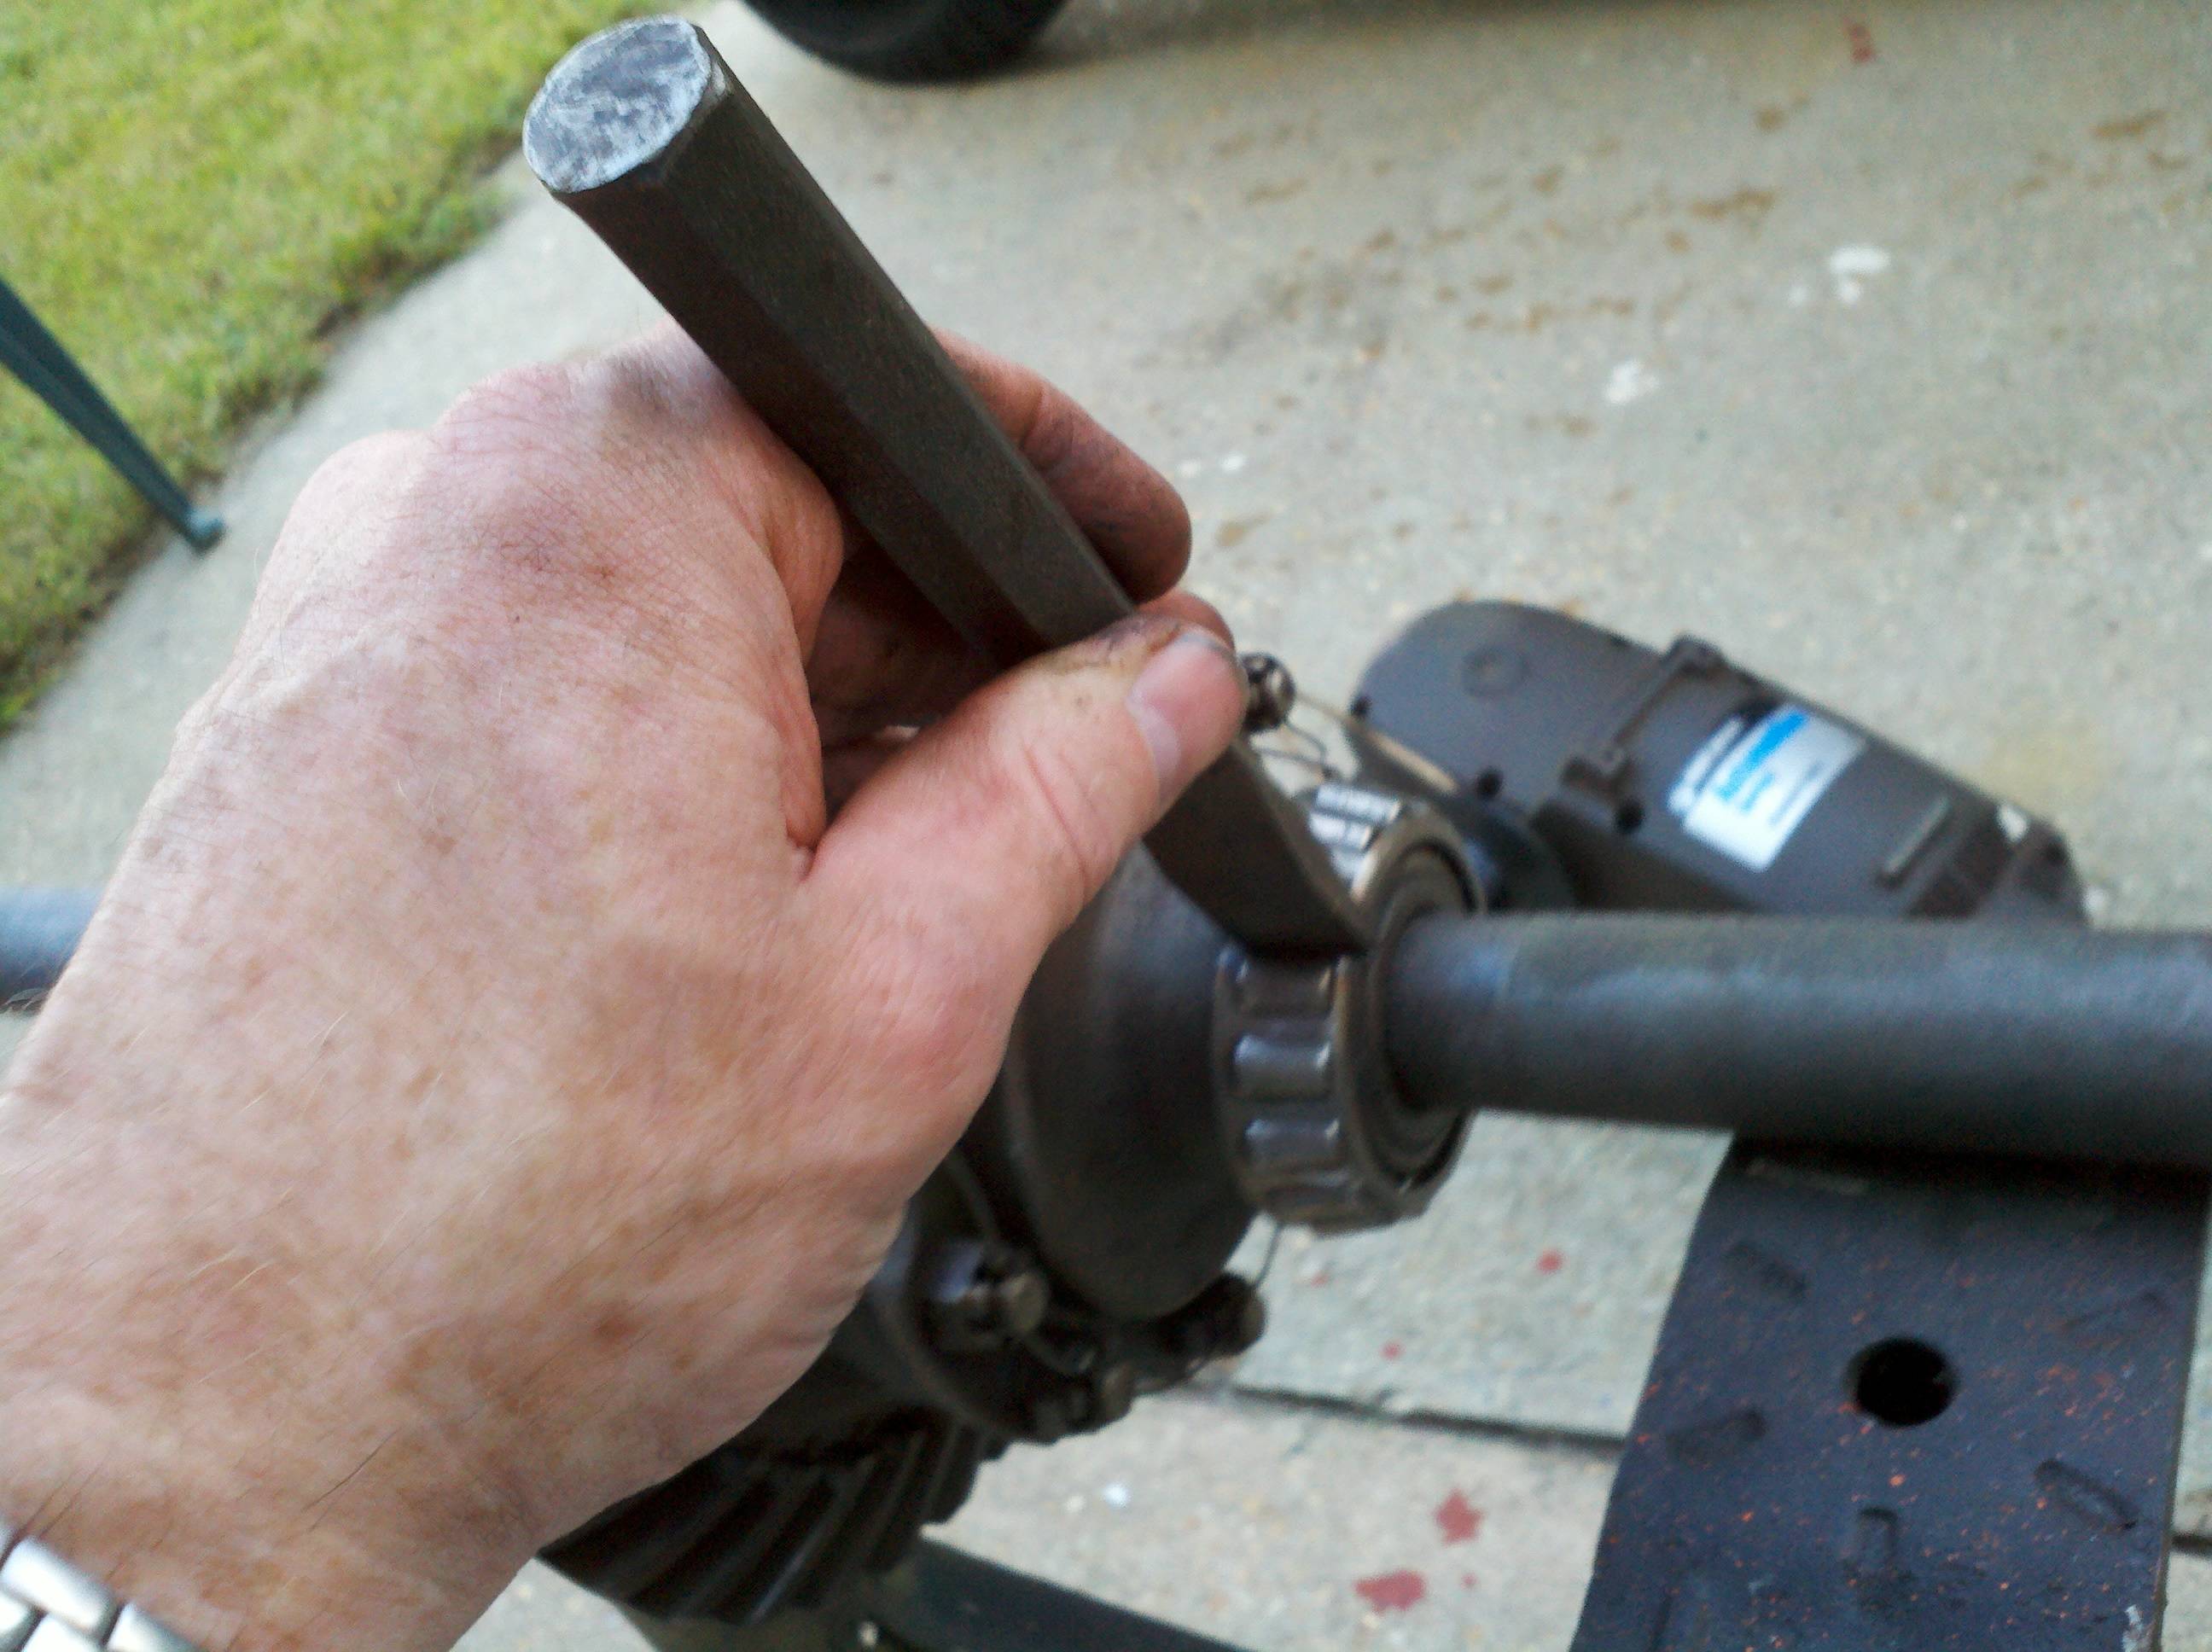
You probably noticed that I skinned the carrier just a little bit, there. That was an "oh, crap!" moment - I couldn't see that I was touchin it with the grinding wheel - I guess I was too focused on what I was doing. That's a really small gouge, though - I'm sure it's not gonna hurt anything. Next step was to attack the cut with a chisel, and break the race so it will come off relatively easily.
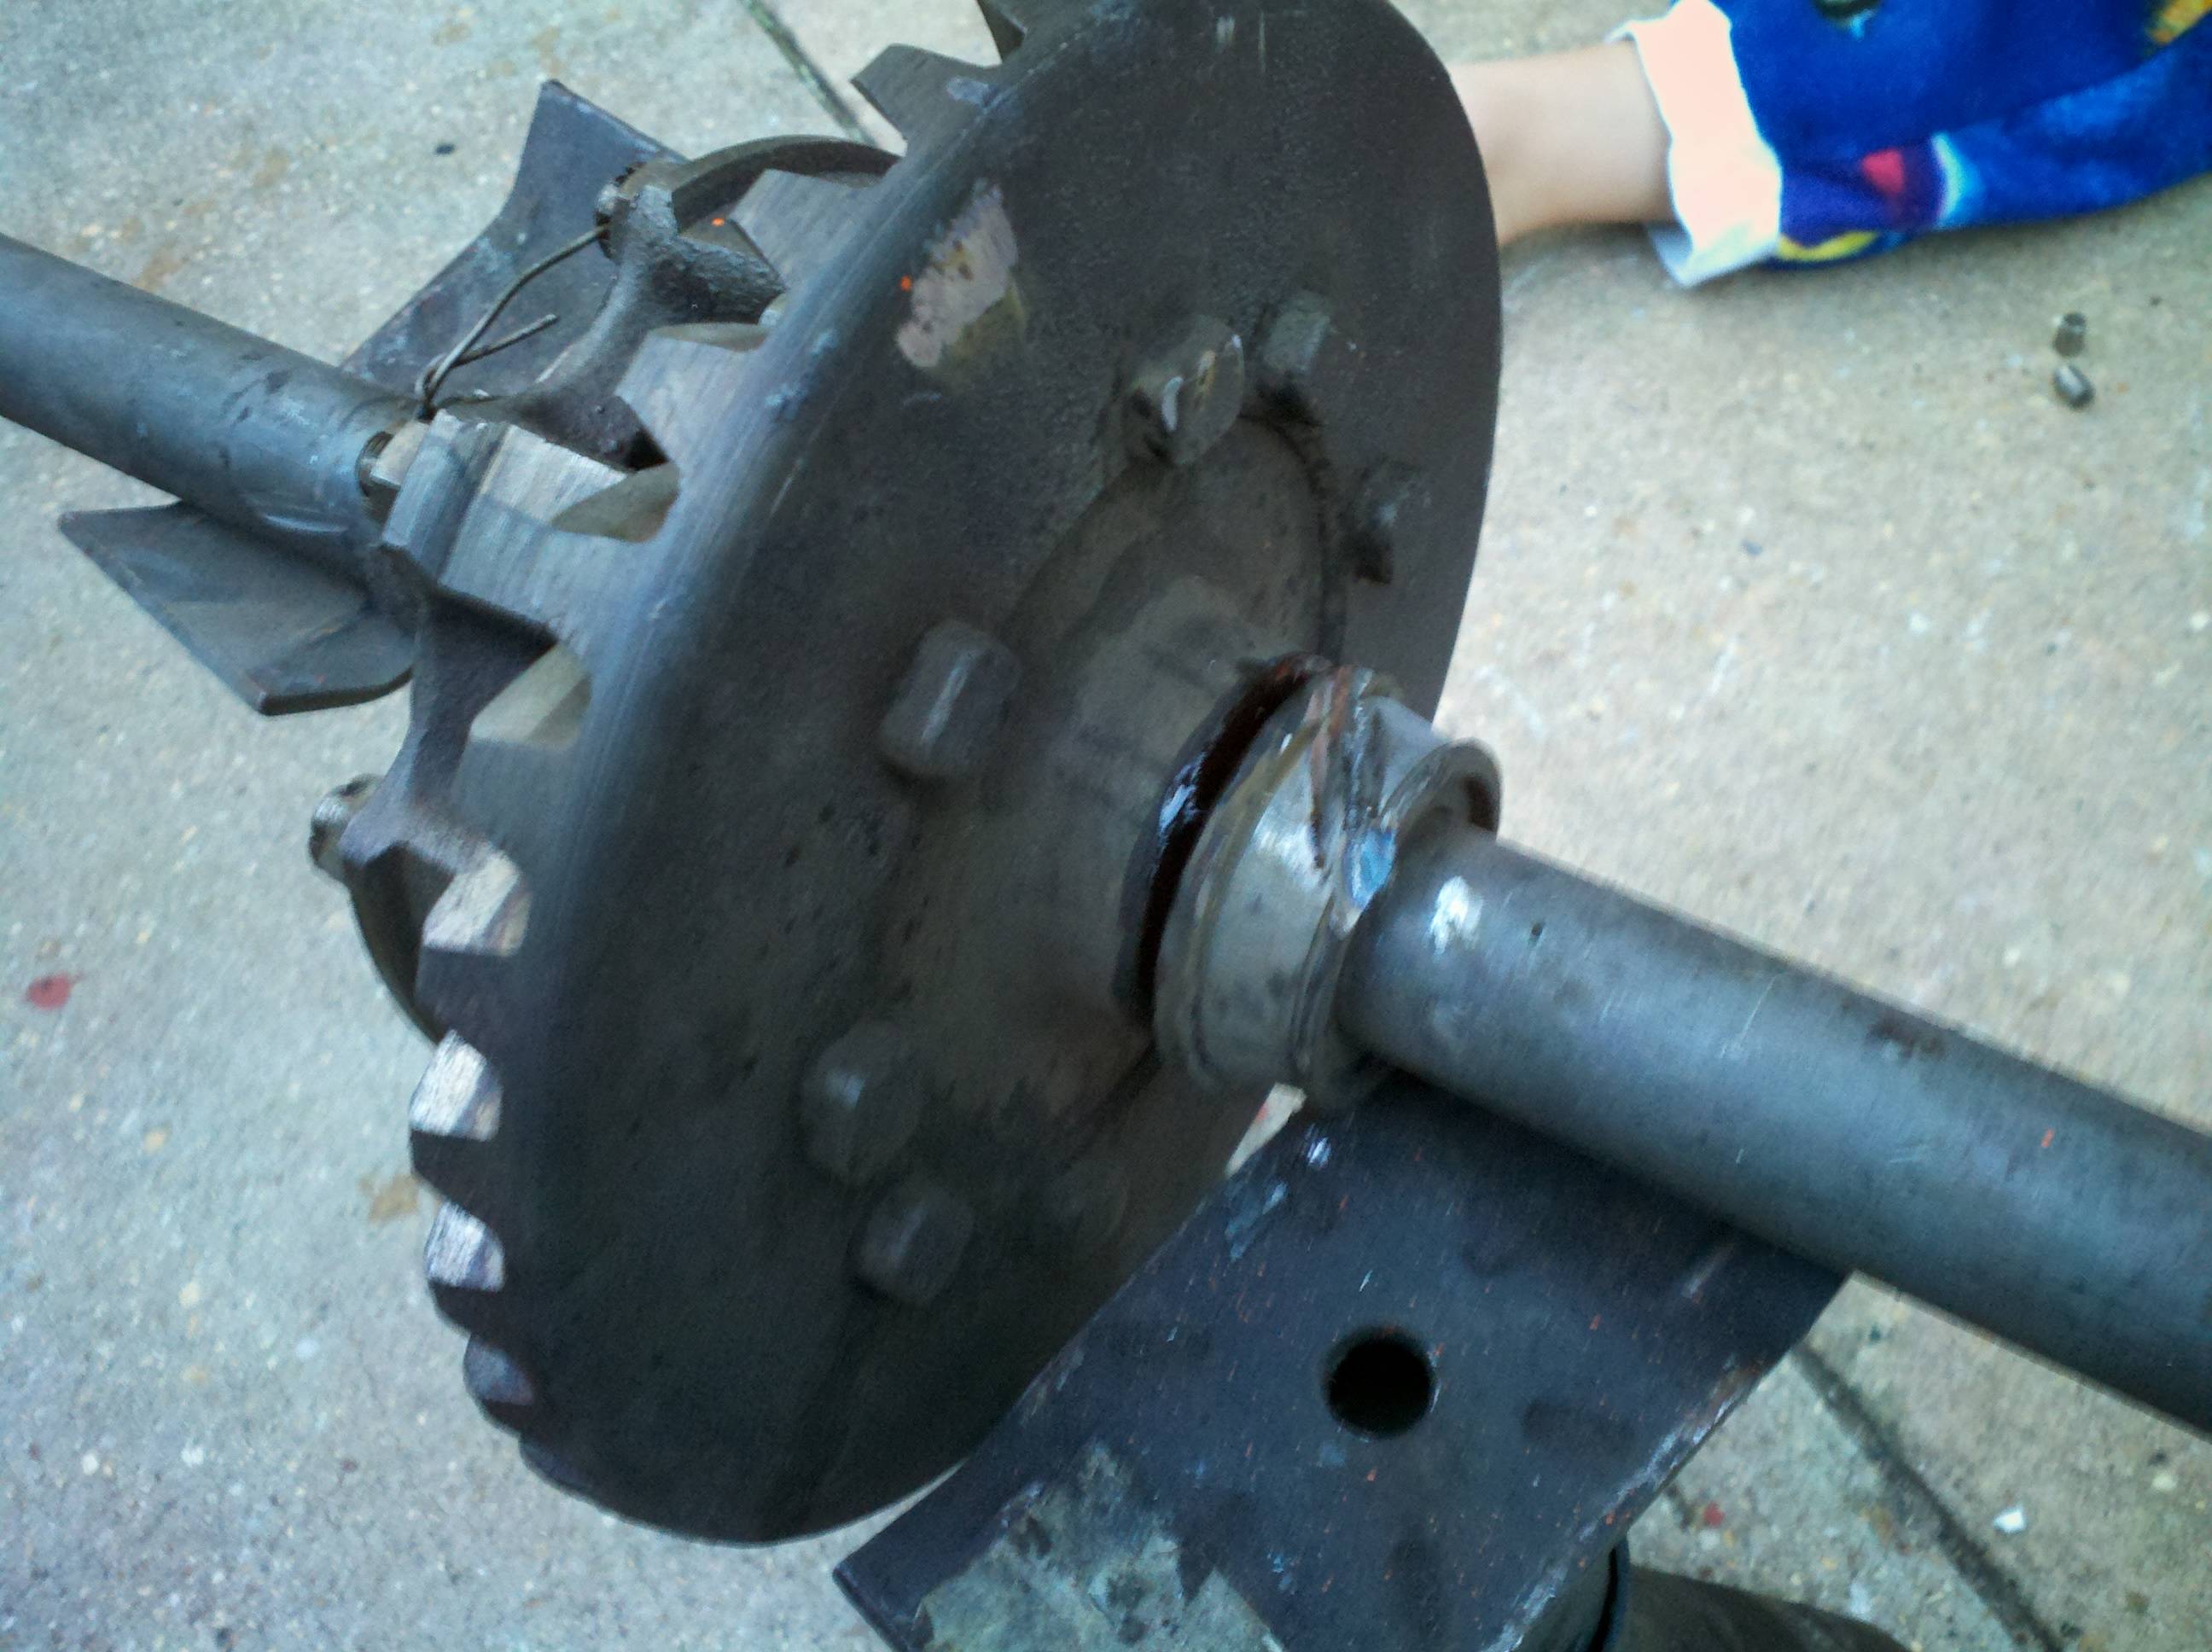
A couple of good hard smacks later, and the bearing slid off with very little force - I had to pry it a little bit with the chisel, but it was no more than hand-driven force.

Today, I finished the spring work from yesterday. My middle daughter and I cleaned most of the rust off the leaves. Auto Zone had brake cleaner on sale, so we picked up a couple cans of that stuff first. We hosed the leaves off to get rid of the worst of the grease. Next we took turns grinding off the old paint, lube, and rust. Then we hosed them down with brake cleaner again. After that, I hit them with Fast-Etch. The next day, I decided I didn't like that, and I would just have them blasted along with the frame - I'm pretty sure that was part of the original deal, so... Anyway, pictures:


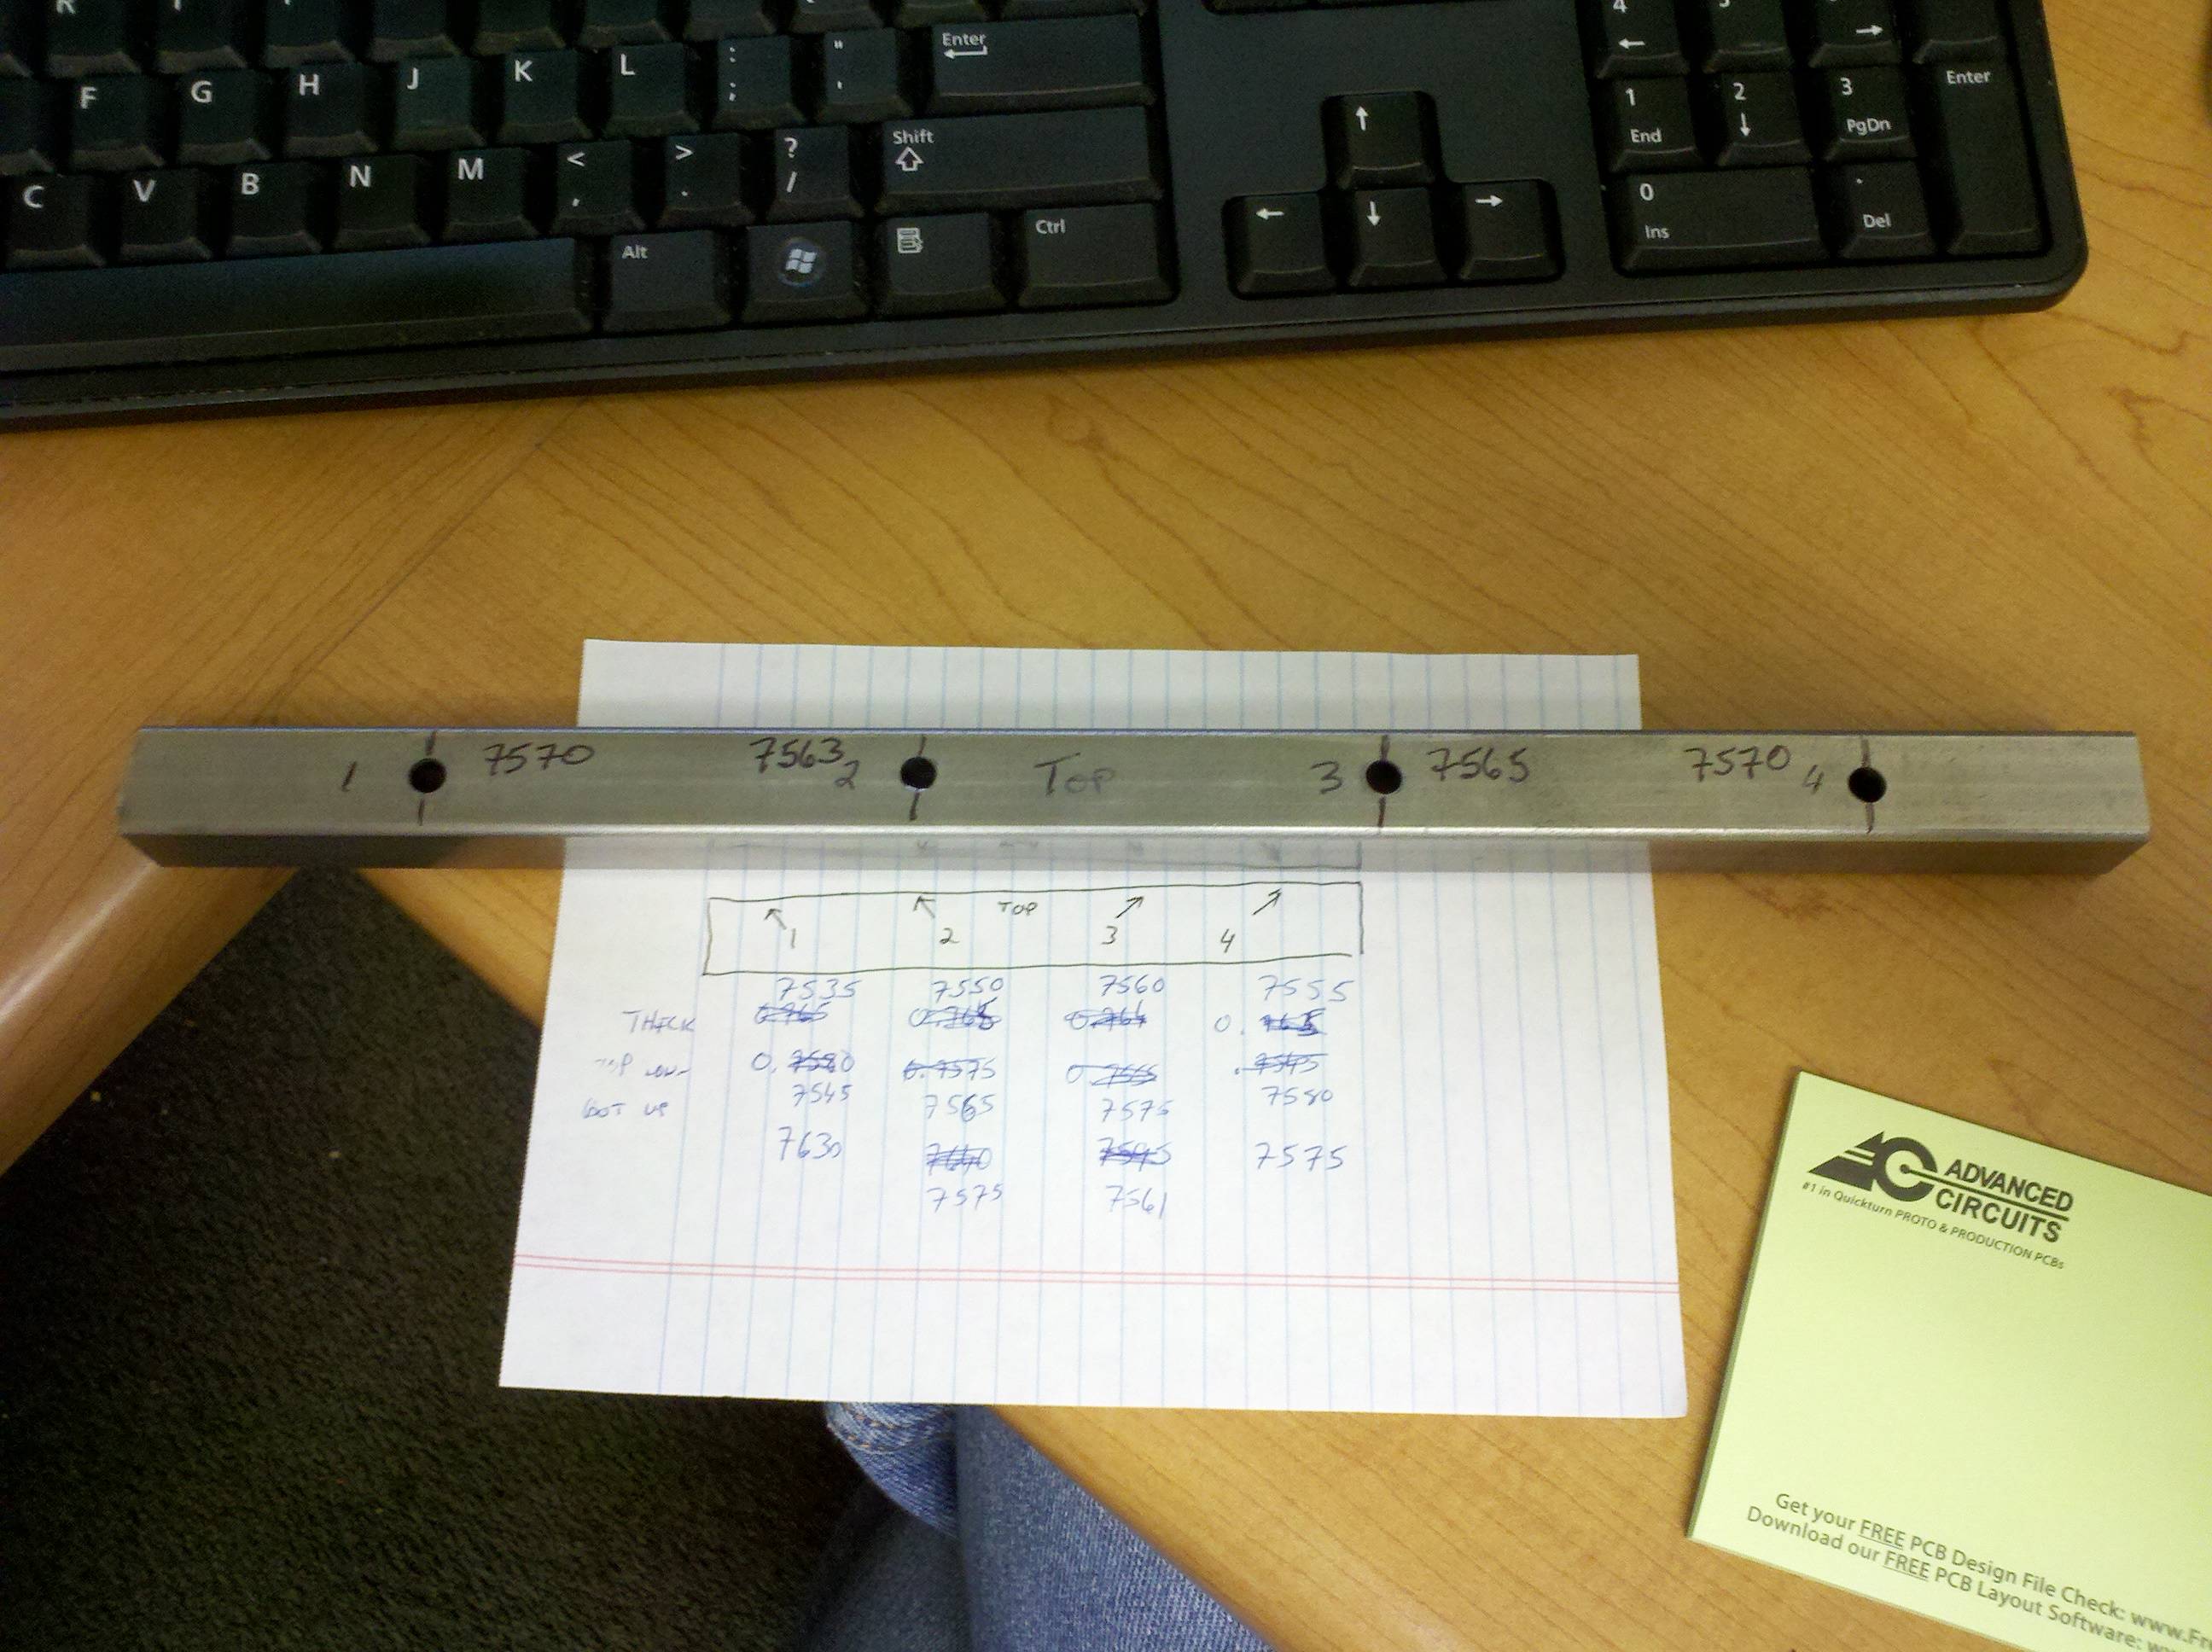
So, in preparatin for rebuilding the rear-end, I've been reading up. I found this interesting tidbit (copy here) that I hope will make life a lot easier. Basically, everything I've read and heard says it takes a whole bunch of tries to get the rear end right. But with that little bit of knowledge, I know how deep the races should be set, how much to offset things, and so on. I'm hoping I can follow what this fellow's done, and minimize the trouble. To that end, I "made" a tool to help me measure the race depth. I found a "calibrated" surface and measured the thickness and distance through the metal. The notes comprise several measurements, giving me an average depth at each point. Those numbers are 10,000ths of an inch.
Today was a nice day to do some work, but I couldn't measure my race depths because my kids got into my tools at some point in the past. They have absconded with a really nice pair of my dad's Starrett calipers. They deny it all, of course, and I don't have ~$200 to replace them. I guess I'll make a trip to a hardware store to get a cheap set, and hope they're good enough.
Instead, today became a good day to pull the tires and tubes off the wheels. Not much to show - I pulled the schrader valves over the winter. I gave up on pulling the tires off the rims because I couldn't get the bead to break free from the rim. Today involved a lot of my jumping up and down on tires to break that bead. All is good, no turned/broken ankles! The kids were somewhat amused. And disappointed that I wouldn't let them jump on them.
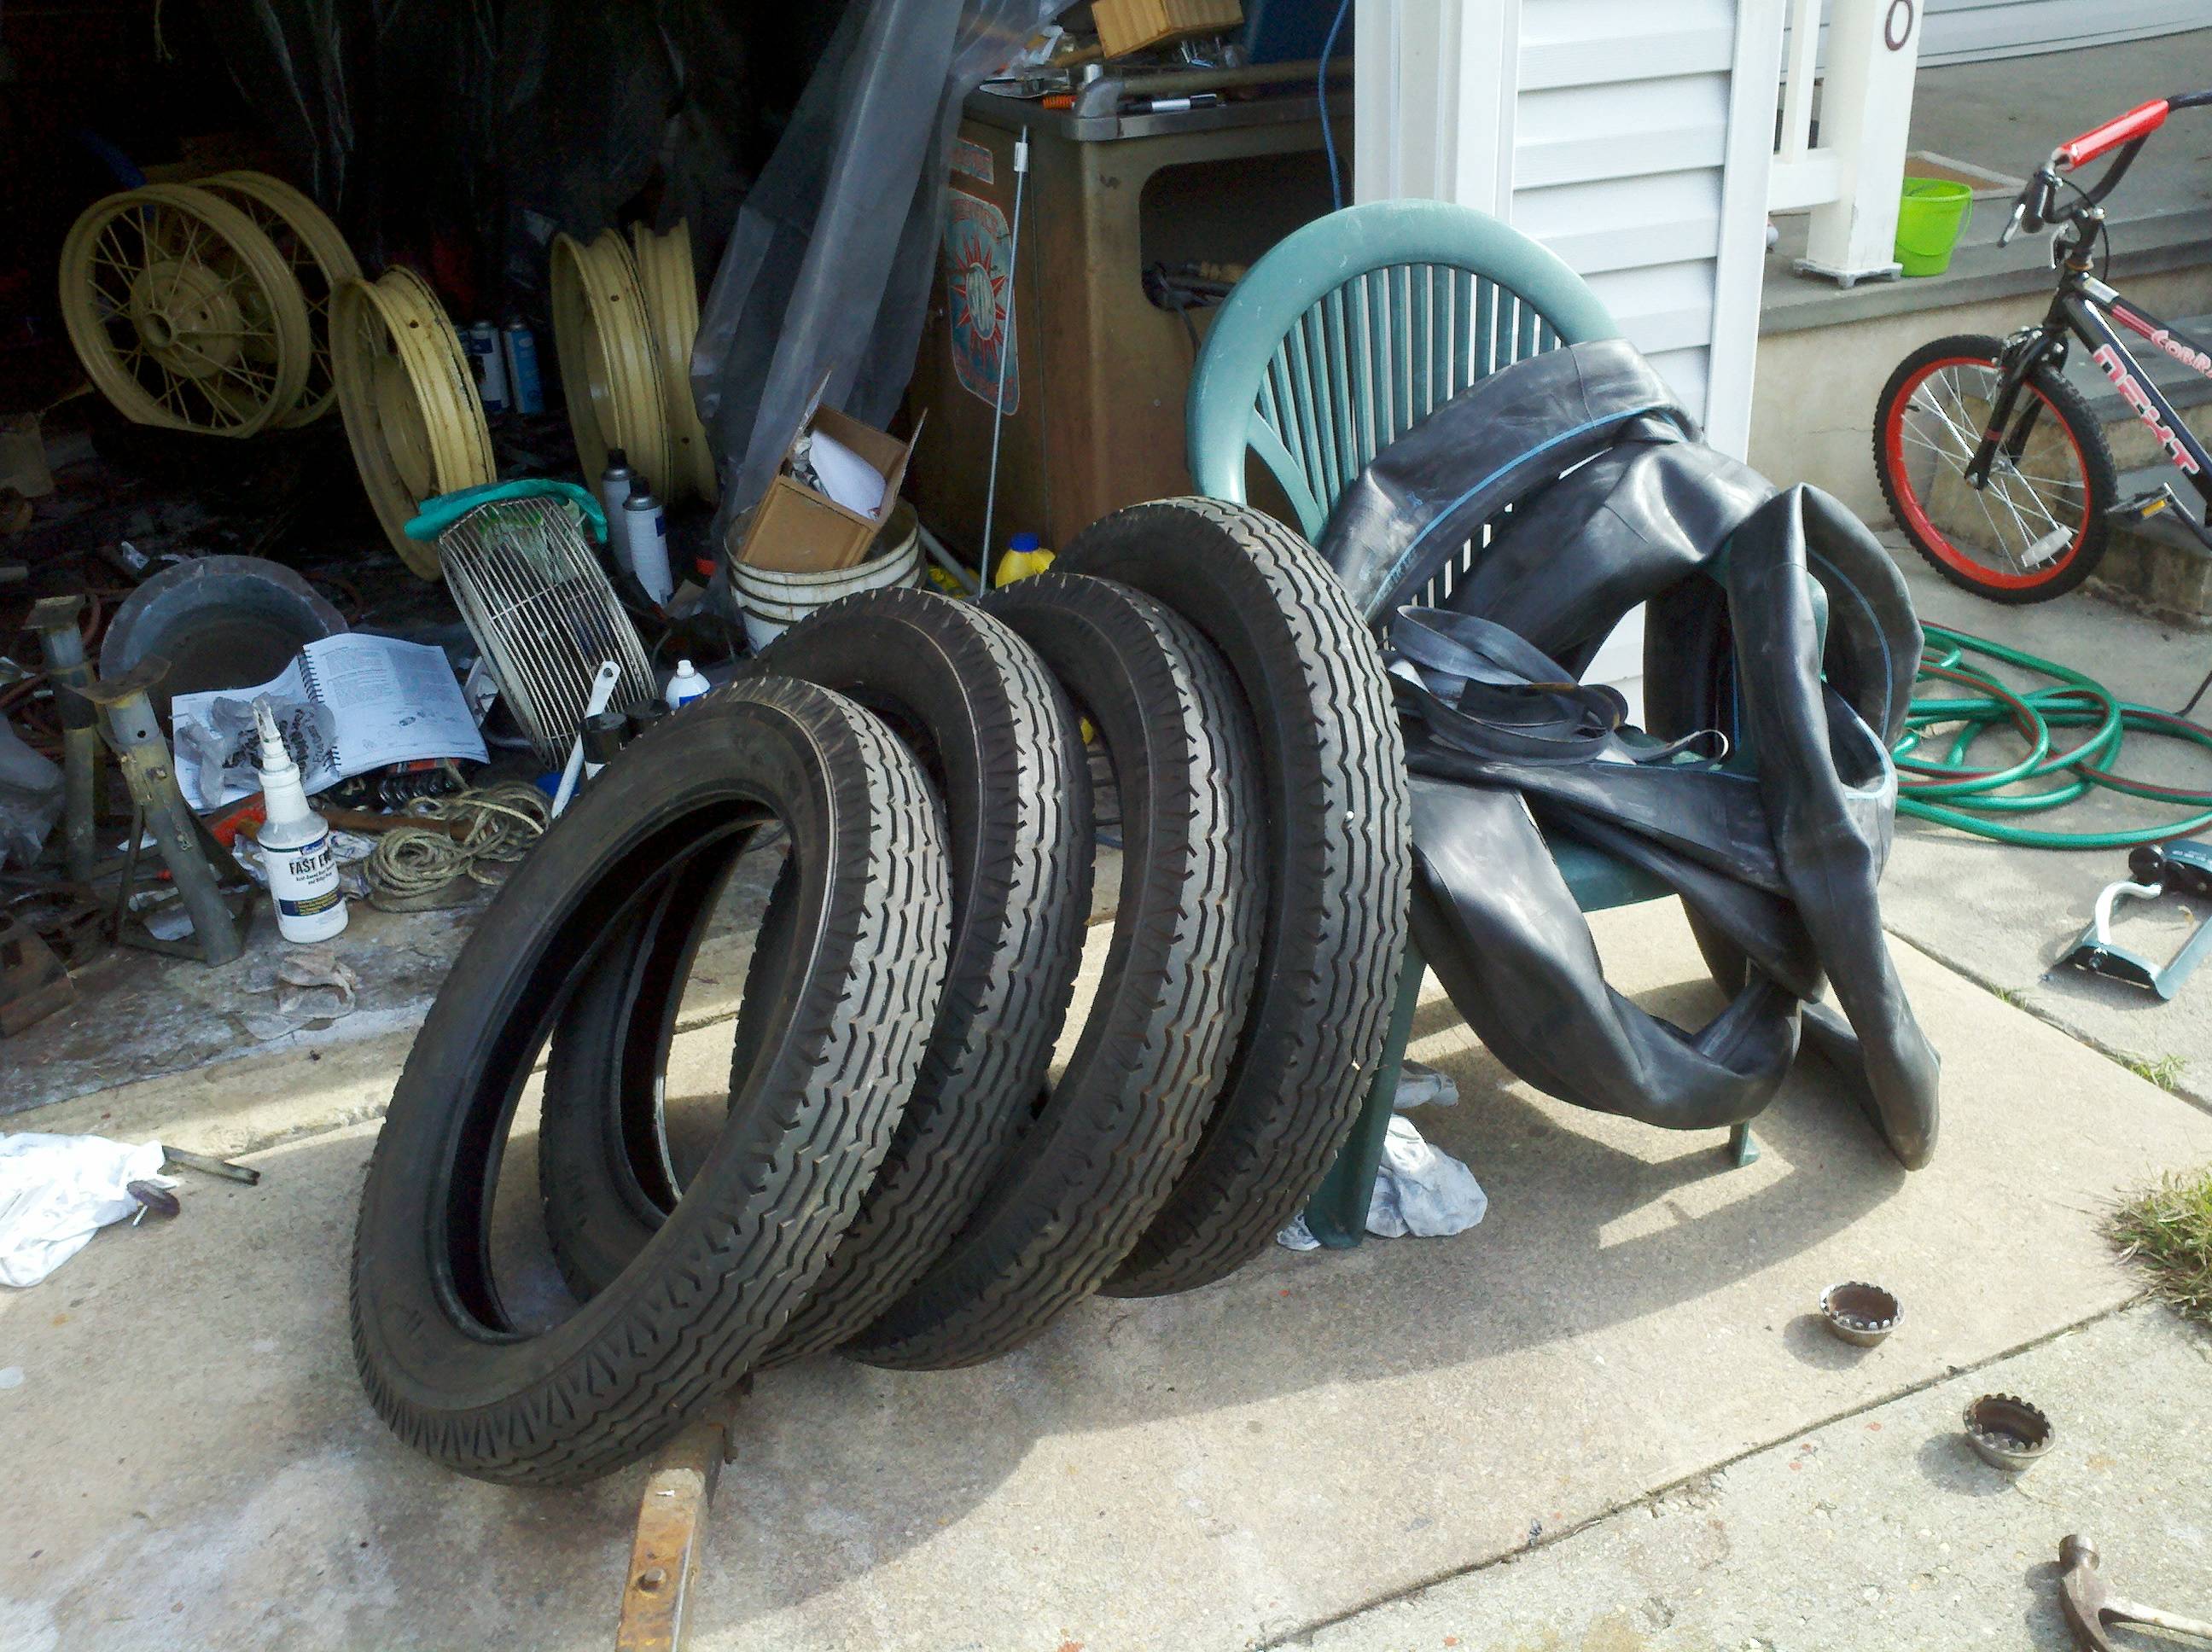
The inner tubes are in excellent shape. A couple of the tires appear to have some dry rot, though, so I guess I'll be replacing those. I'm hoping that real soon, now, I'll be able to get everything blasted and the frame & chassis pieces painted so I can start to get my garage back...
And that, my very bored friends, is the end of September.
Last modified on 11/07/12