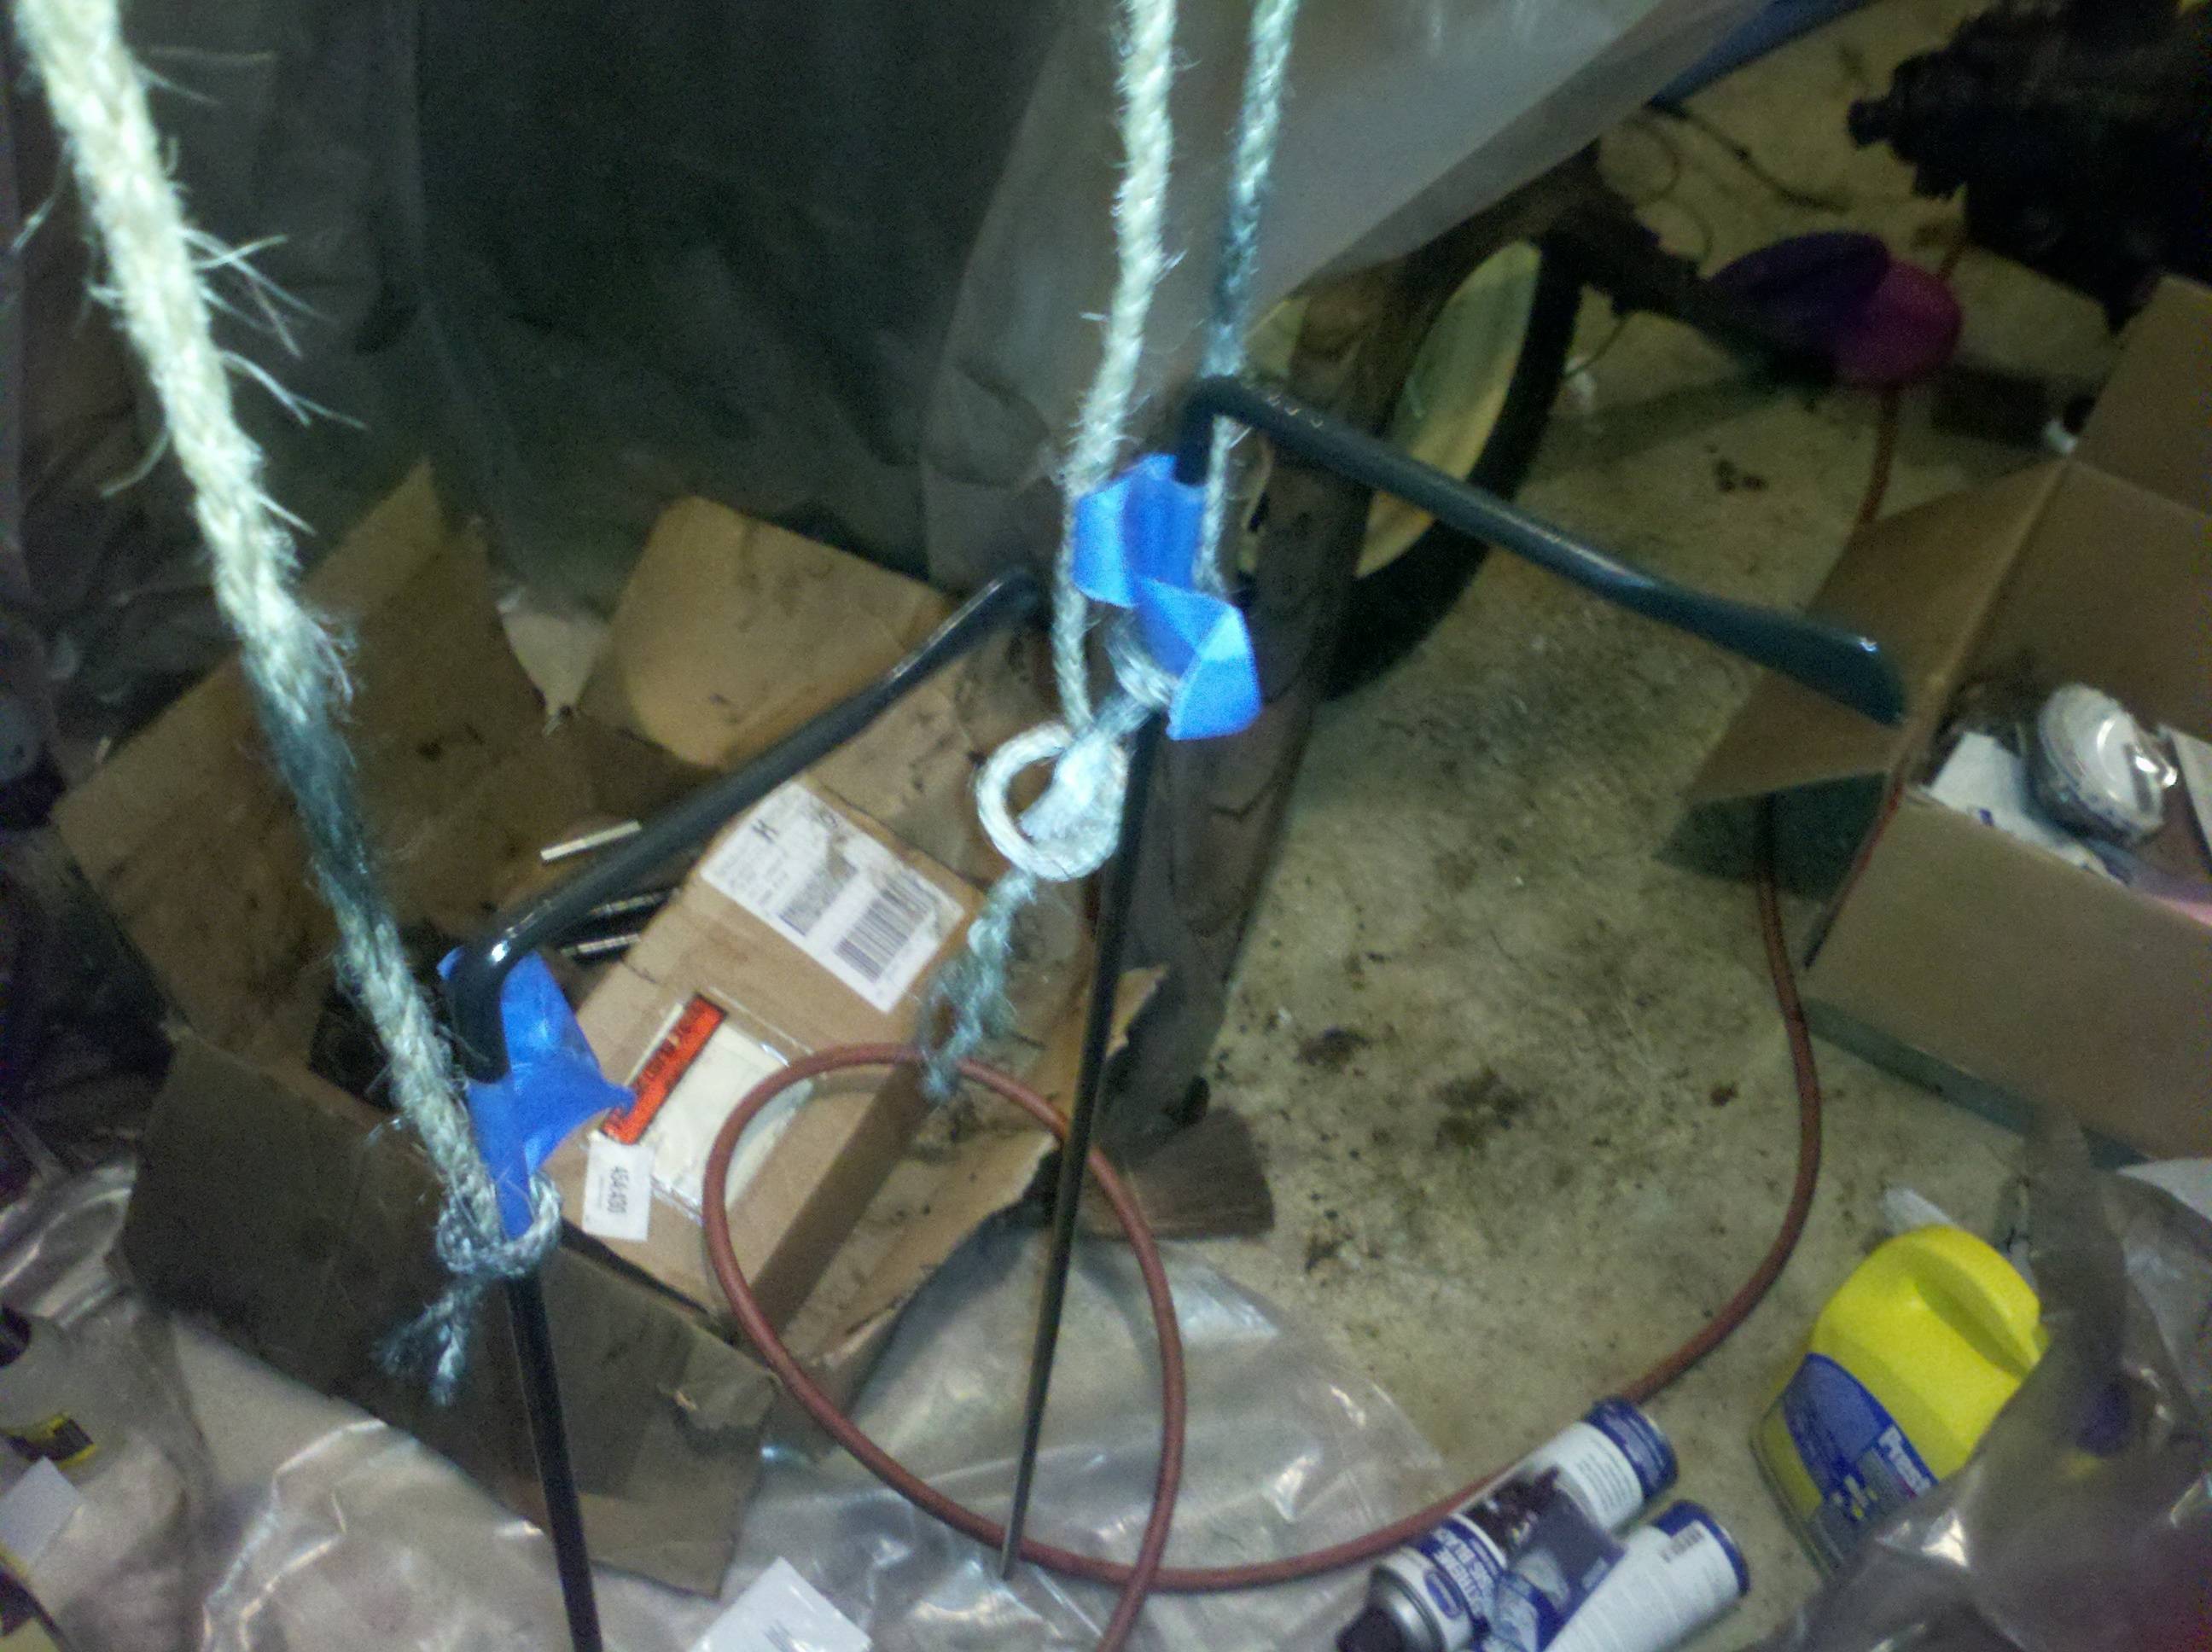
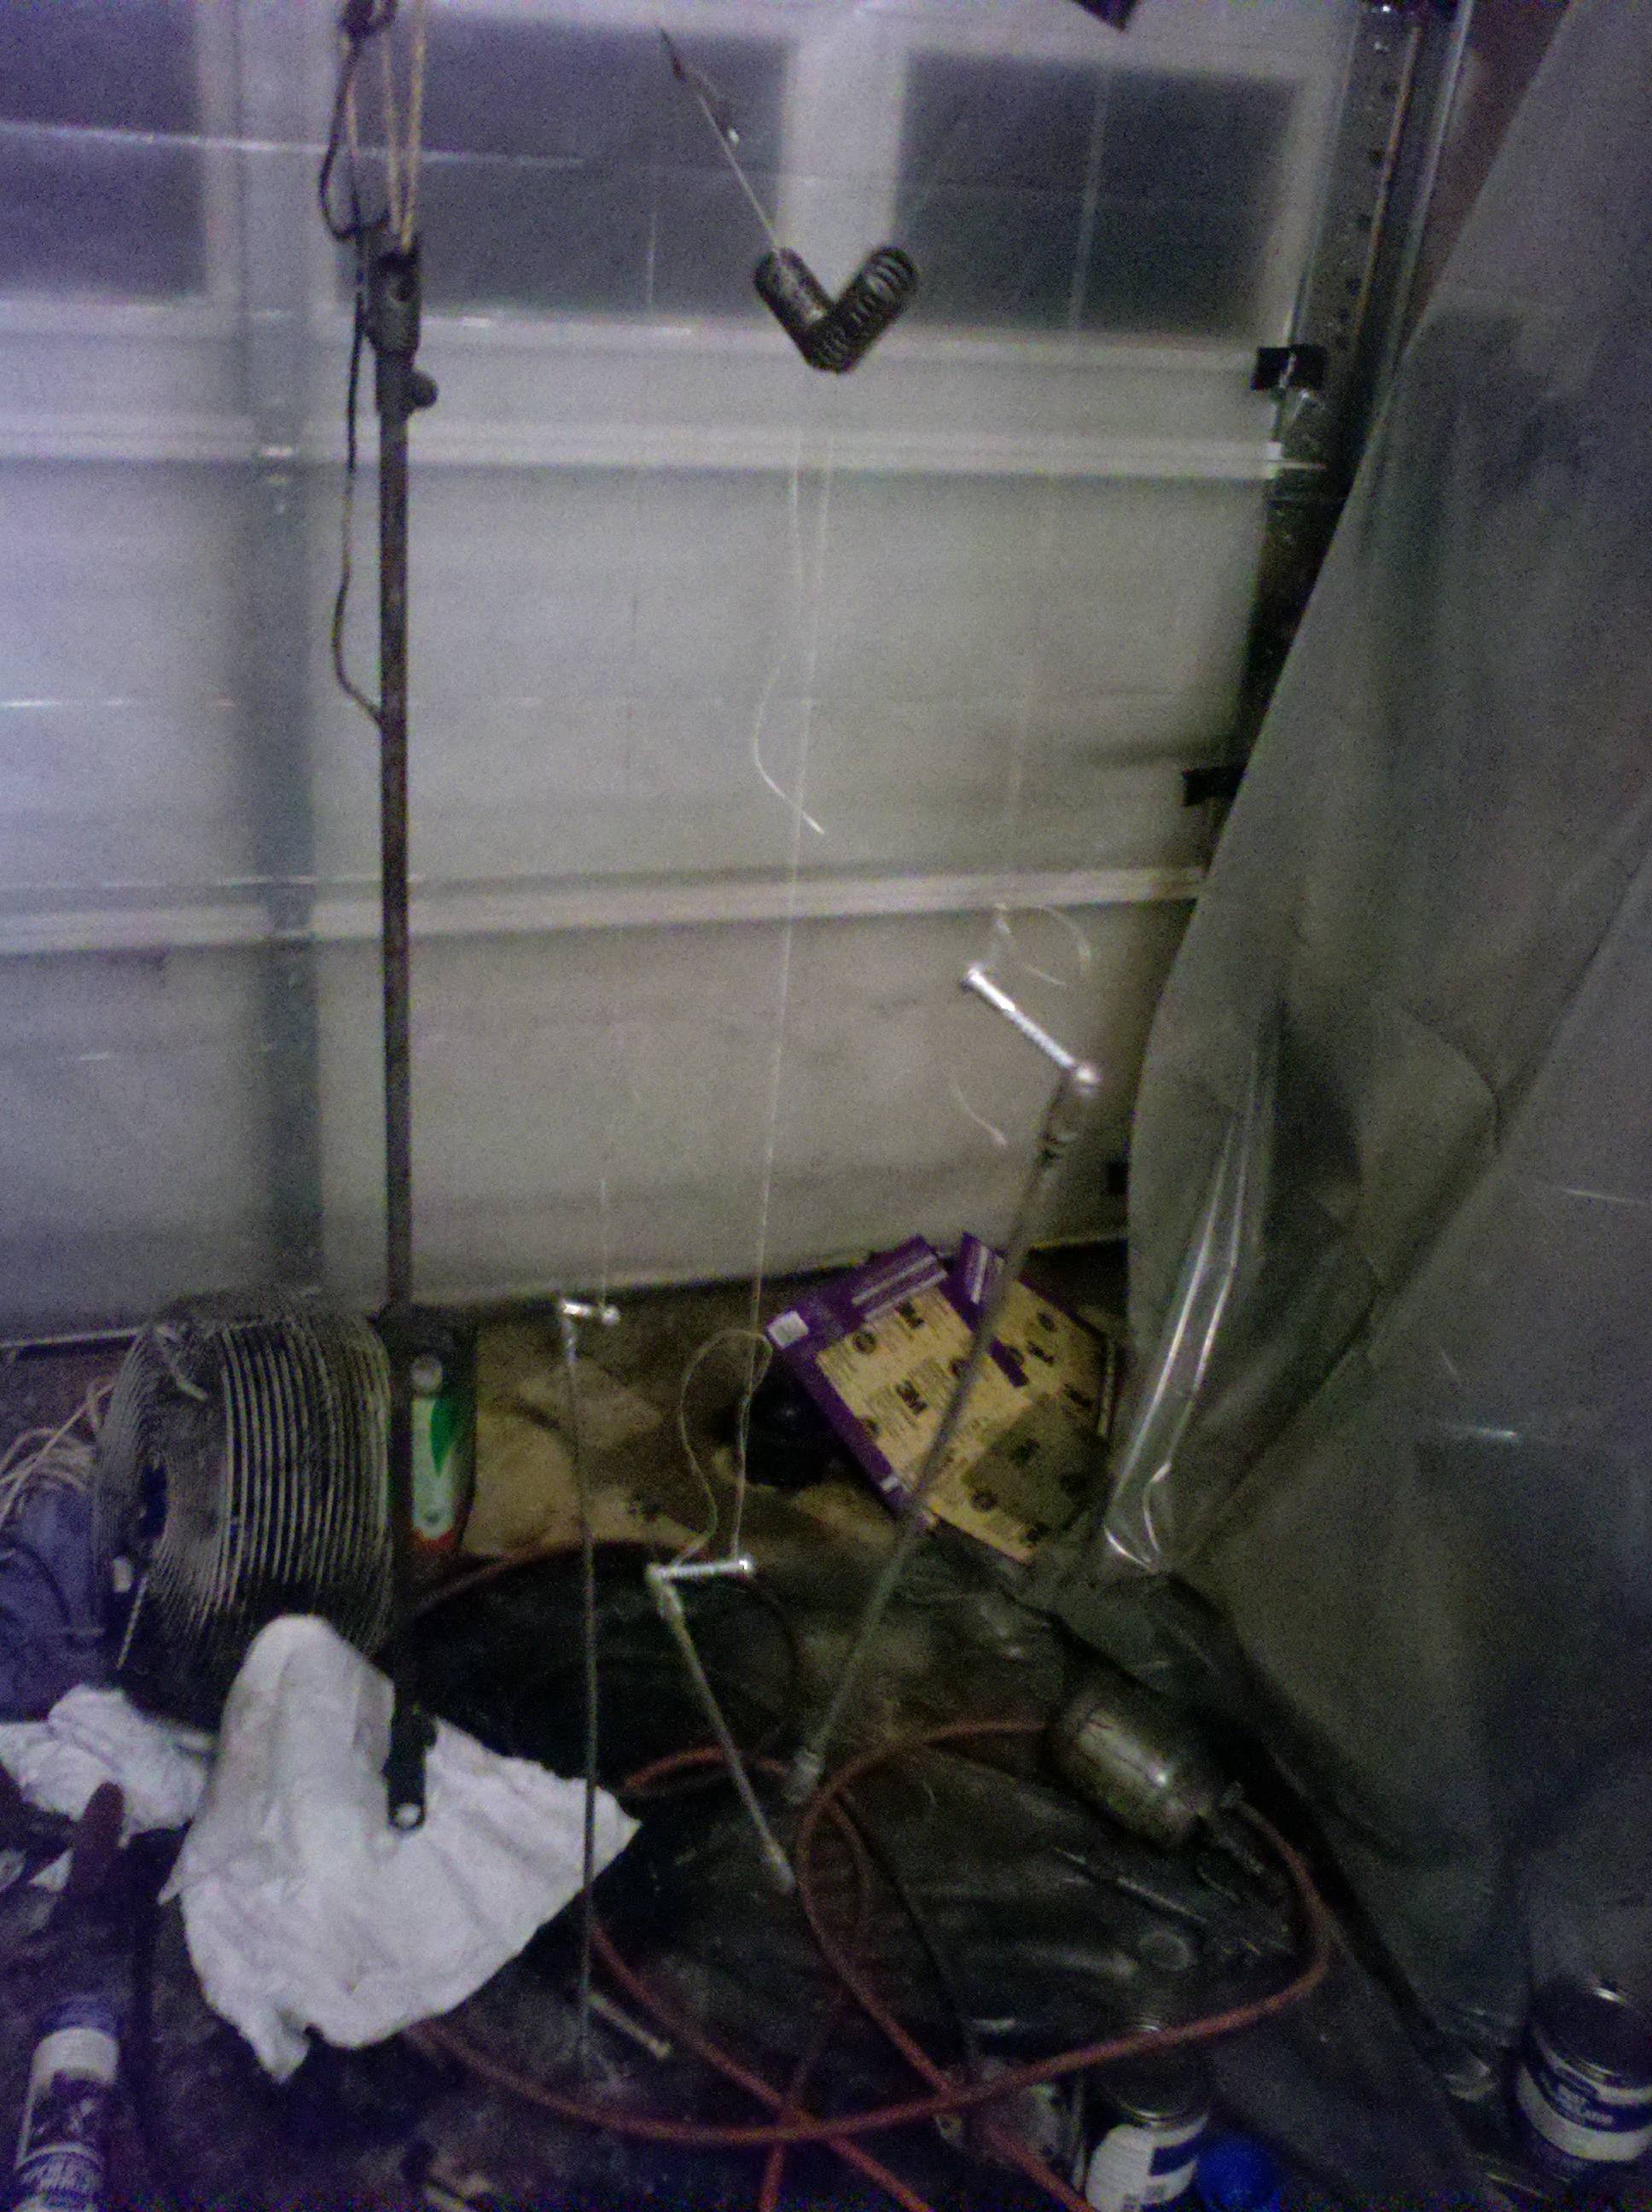
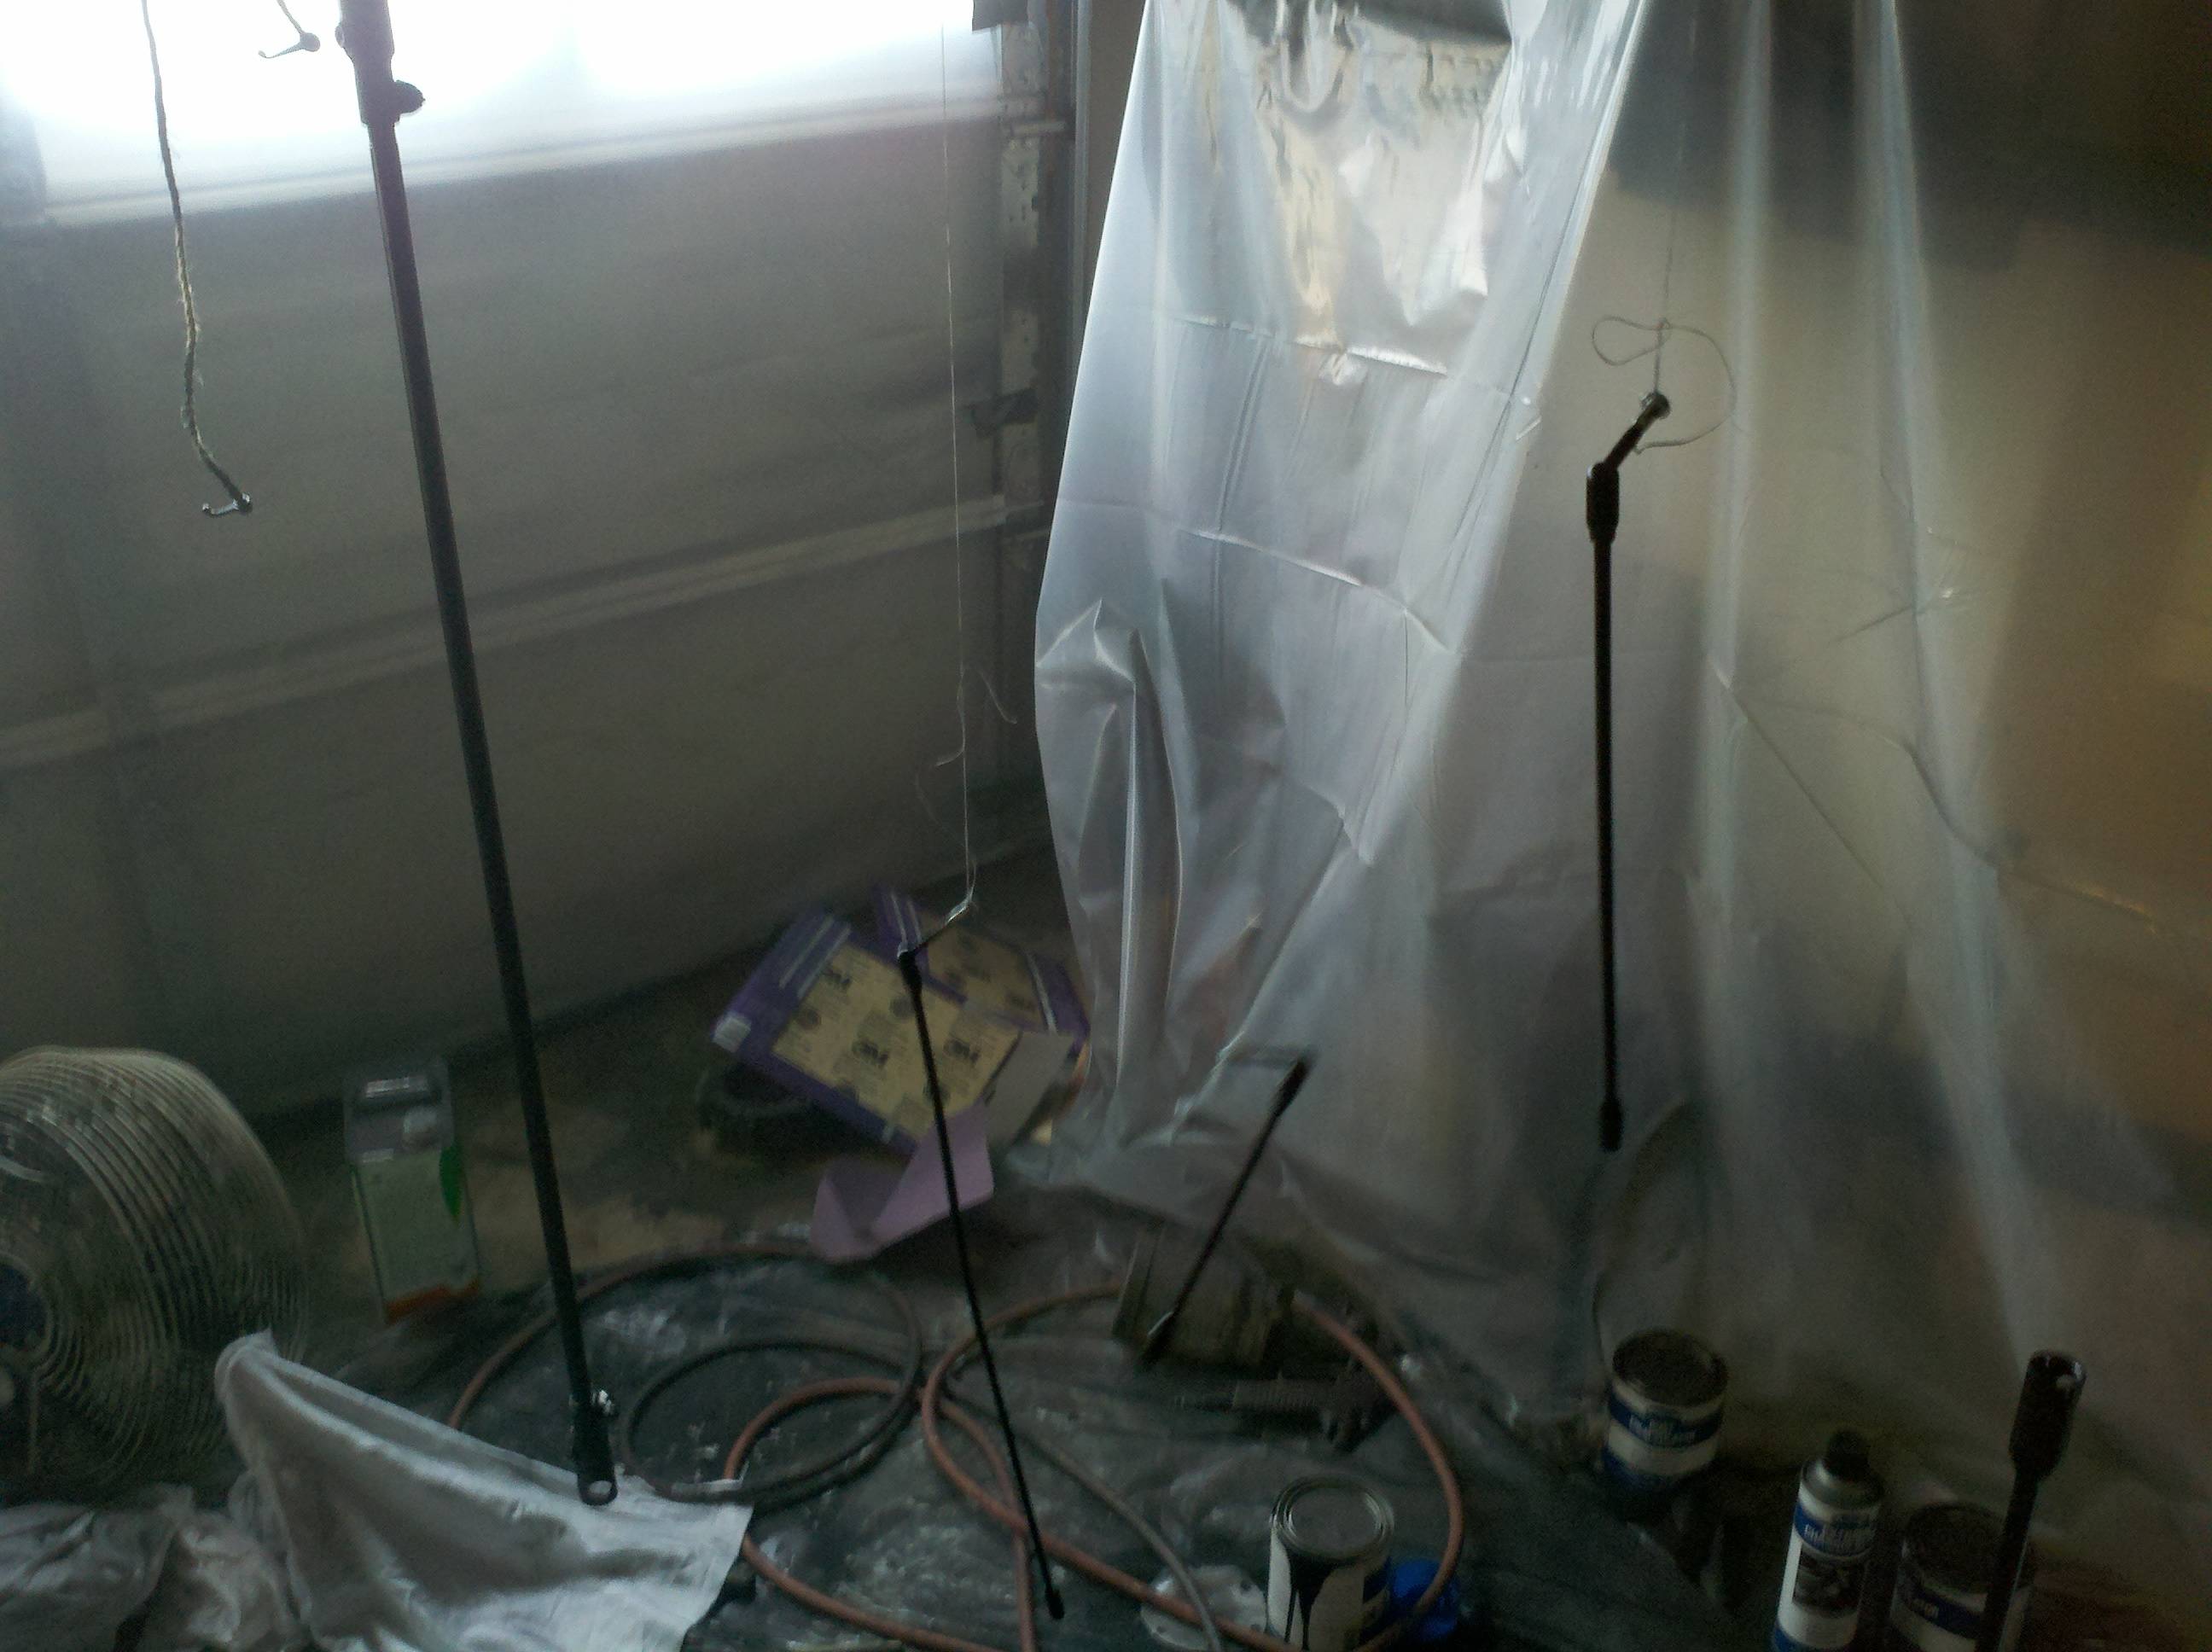
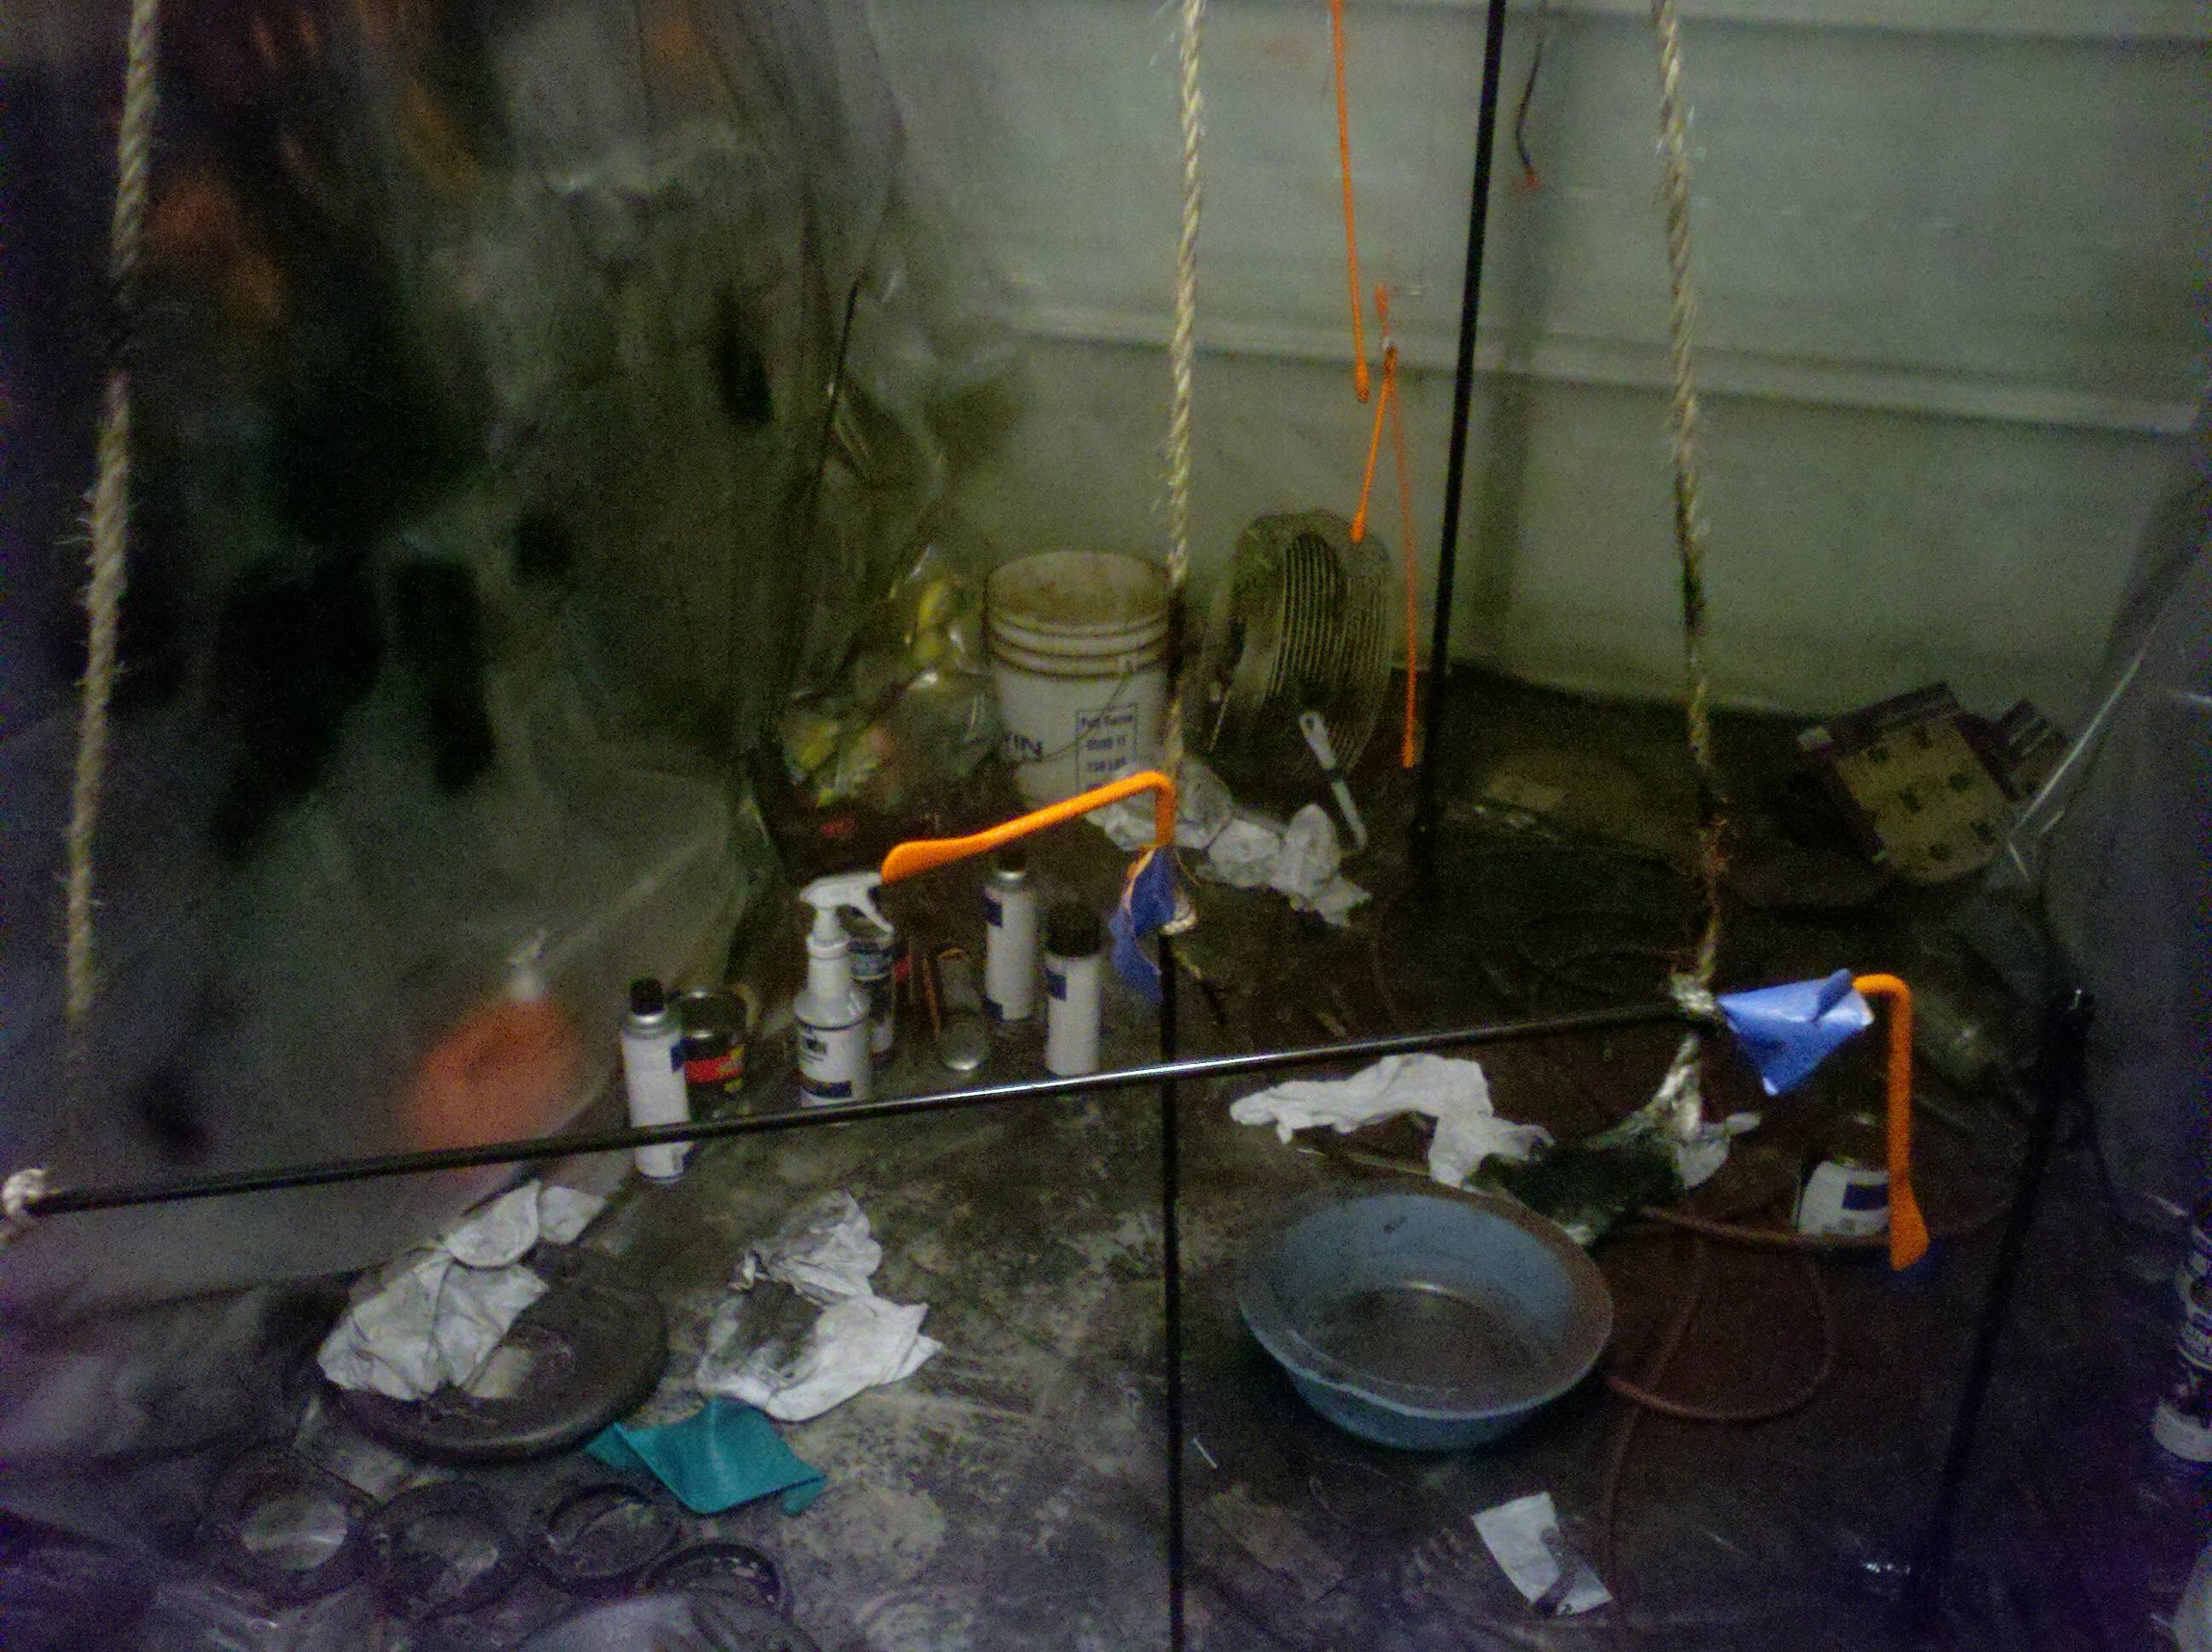
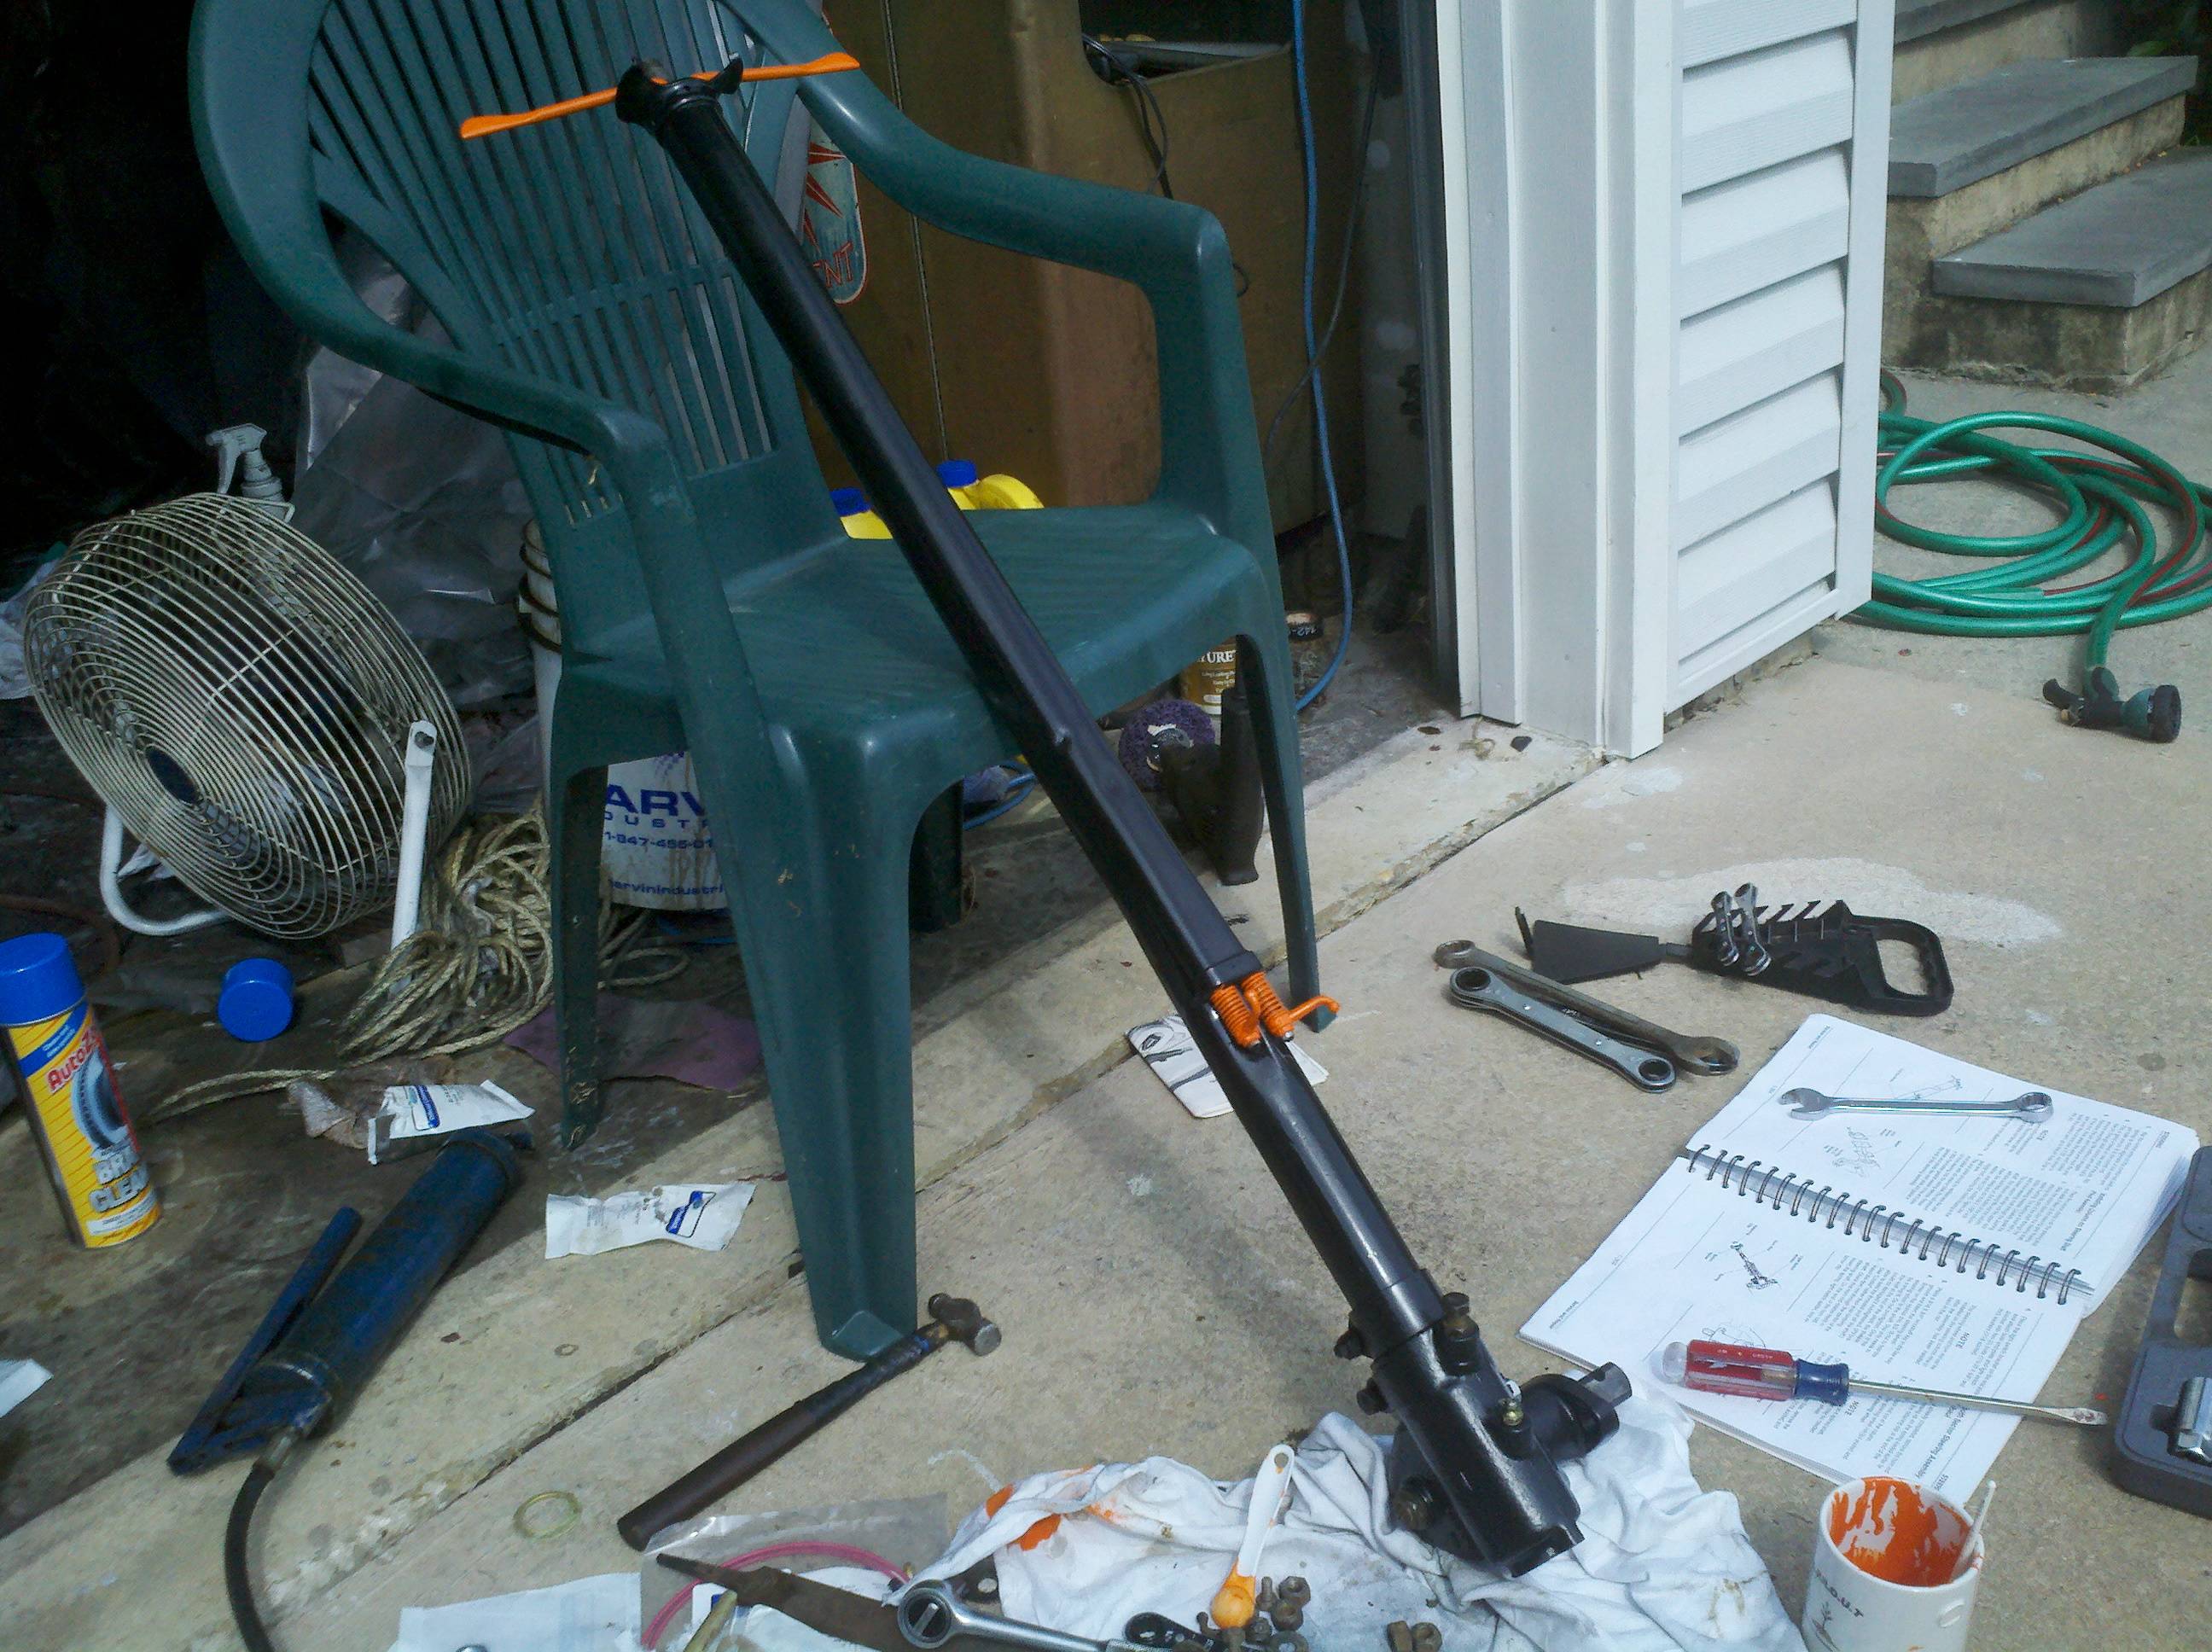
Paint! This evening after work, I managed to set up to shoot some "Omaha Orange." Only some little pieces - the control levers and springs for the steering column. I also shot some paint for the tie rod and drag link. I got it all set up last night so I could (hopefully) just walk in, mix, and shoot today. Got everything hung from the garage door opener chain rail (like before). The small stuff I hung from dental floss...
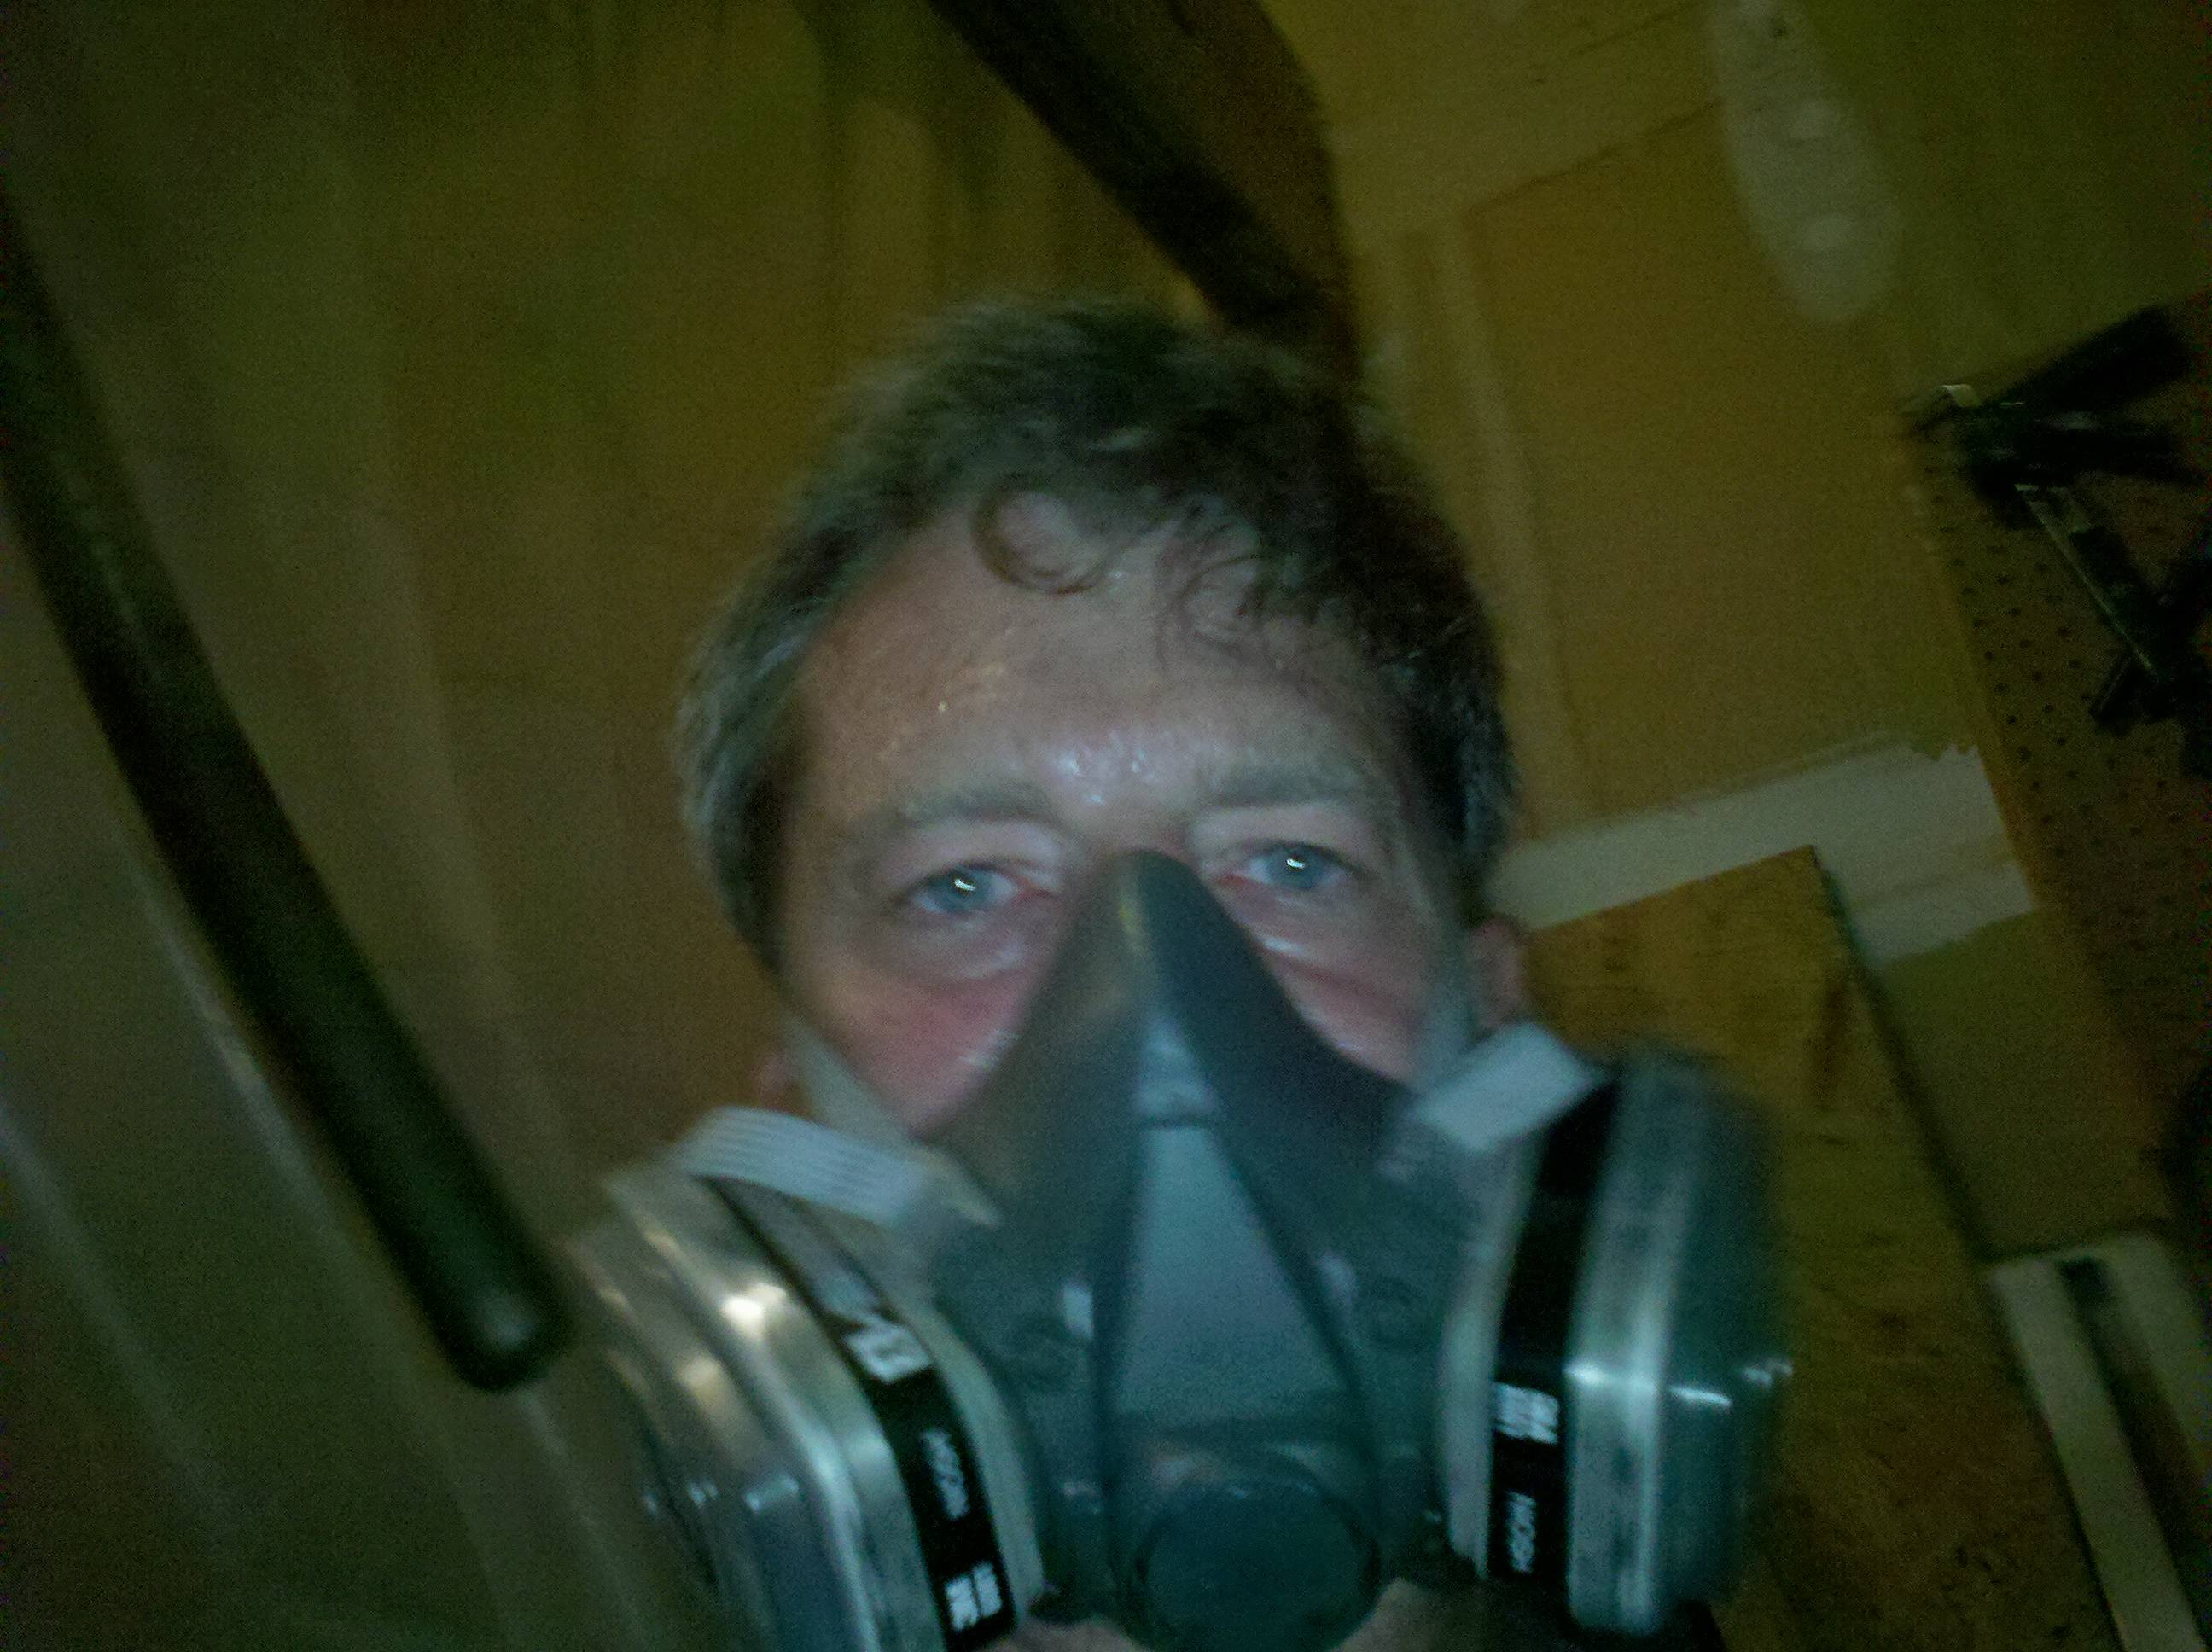
I also asked my mom (who's visiting) to run by the dollar store and pick me up some el-cheapo measuring spoons and whatnot. When I got home, I went ahead and shot two coats of primer, about 45 minutes apart. Never forget to wear your respirator, by the way, those fumes'll kill ya!
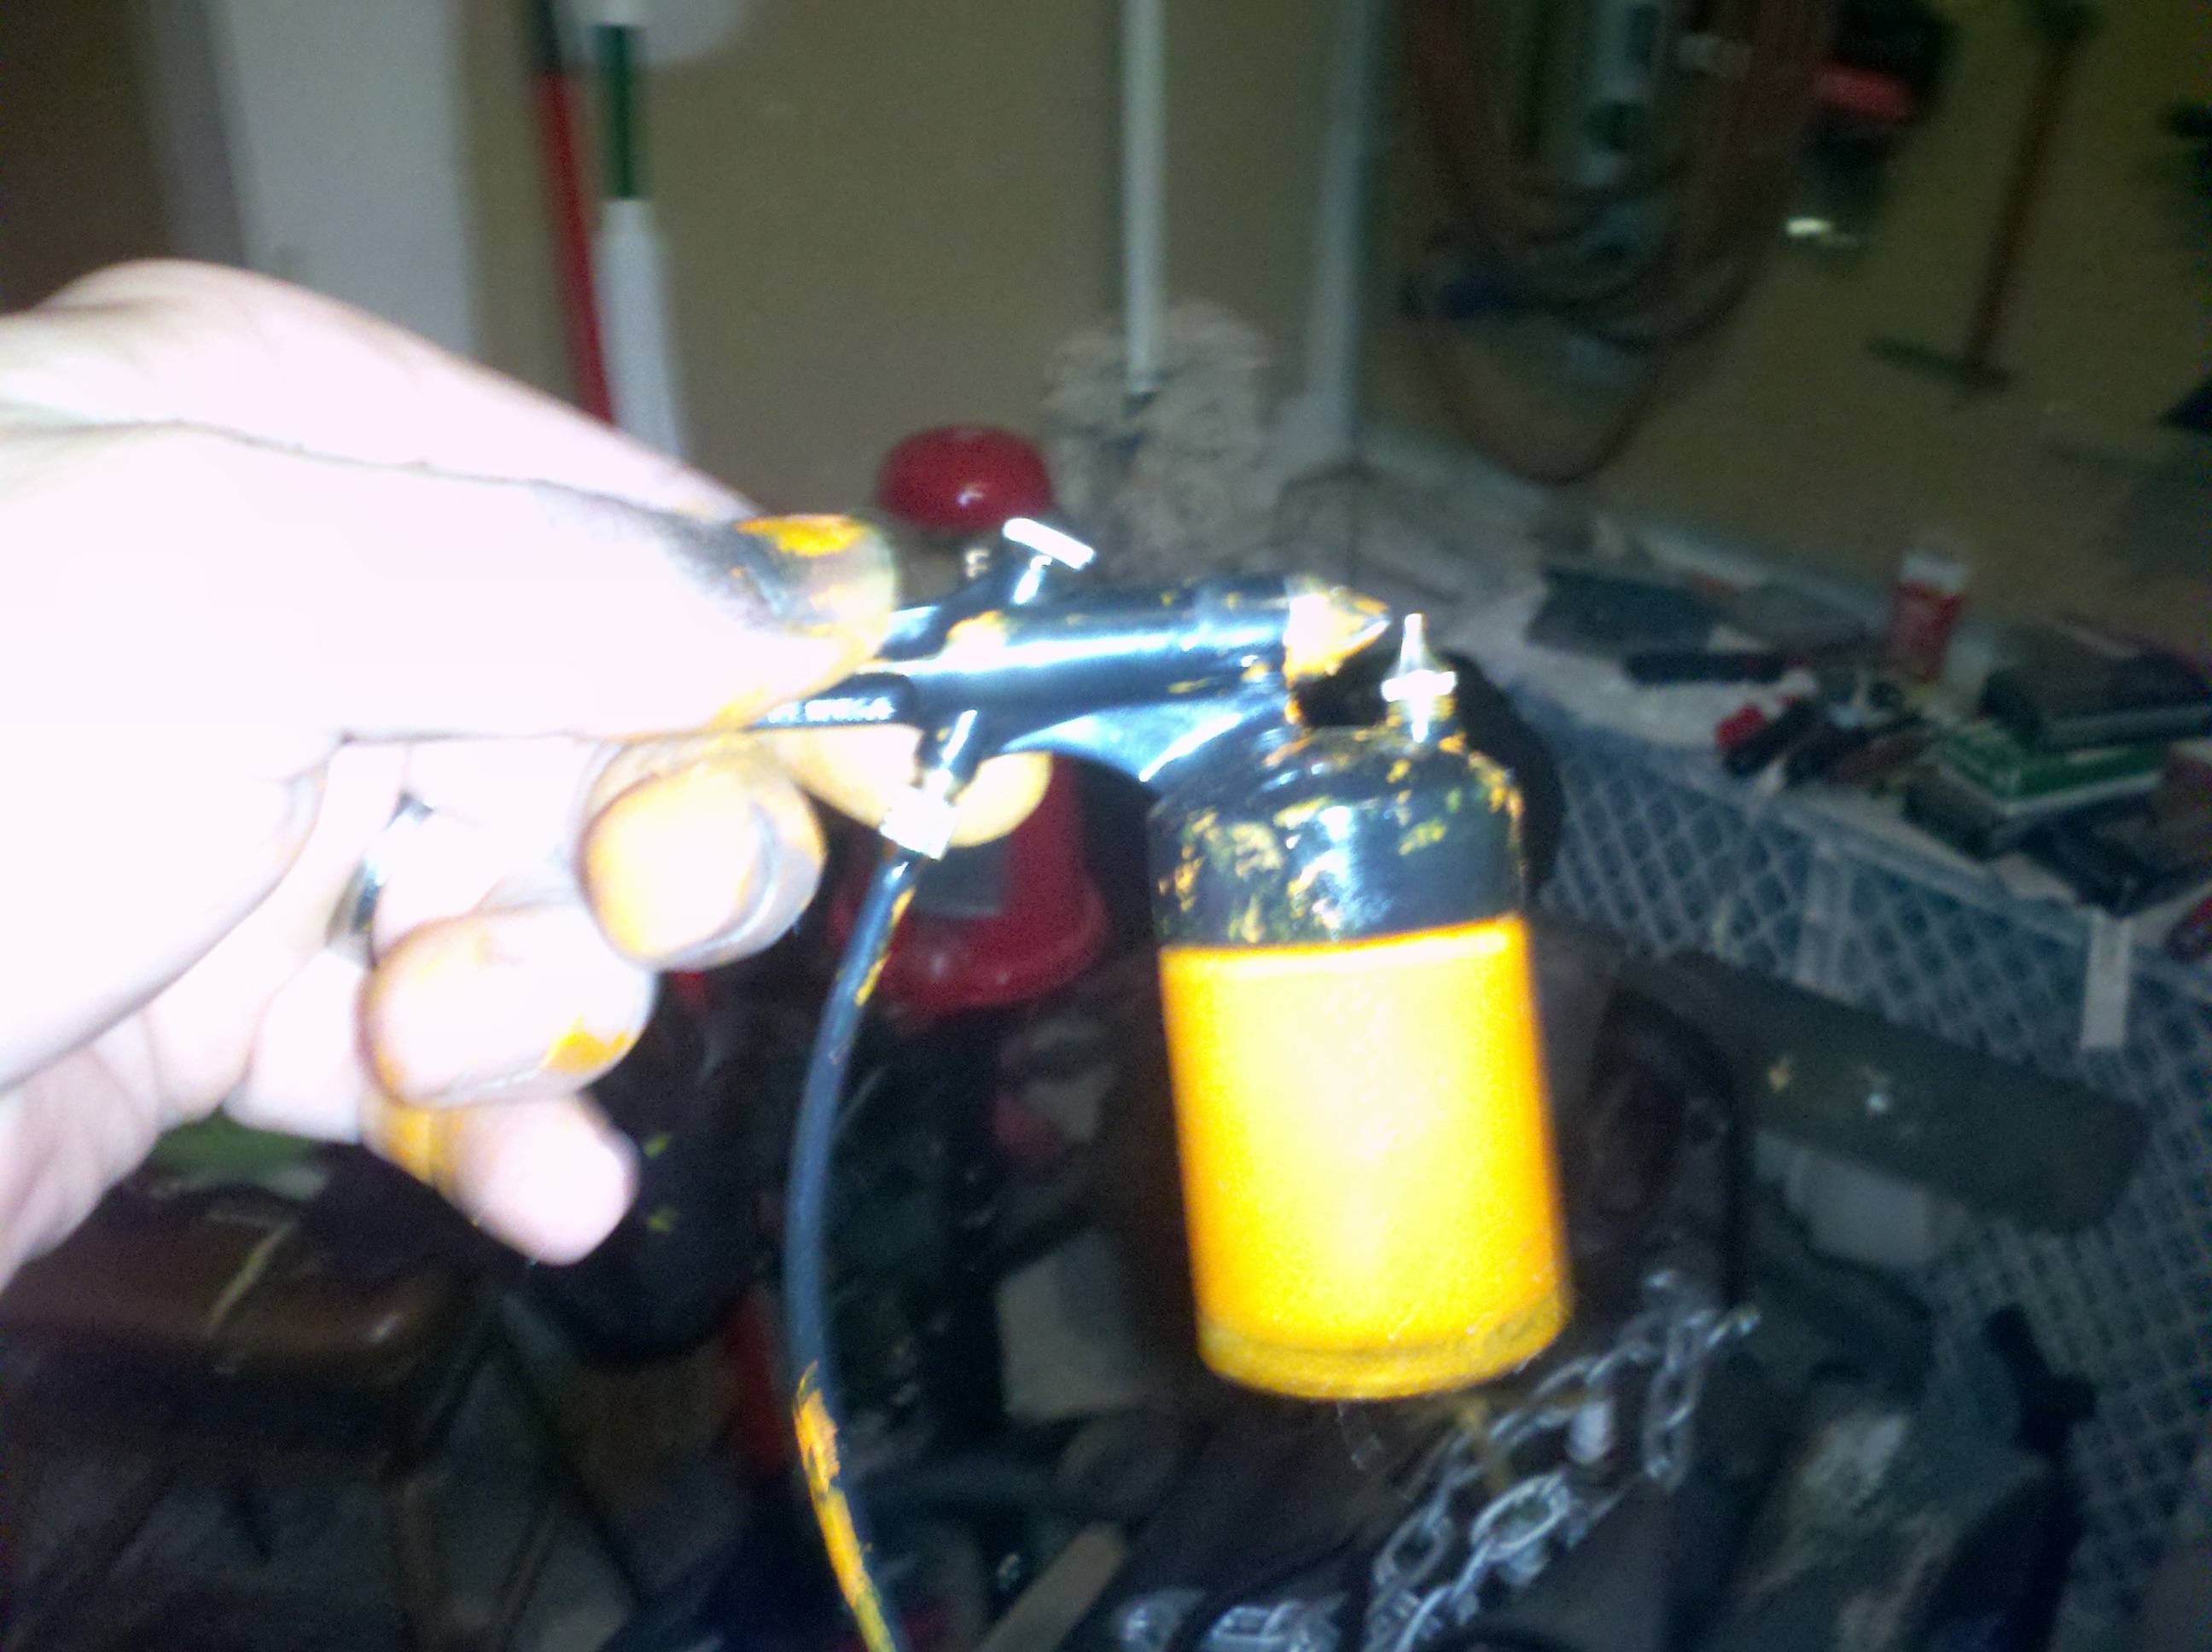
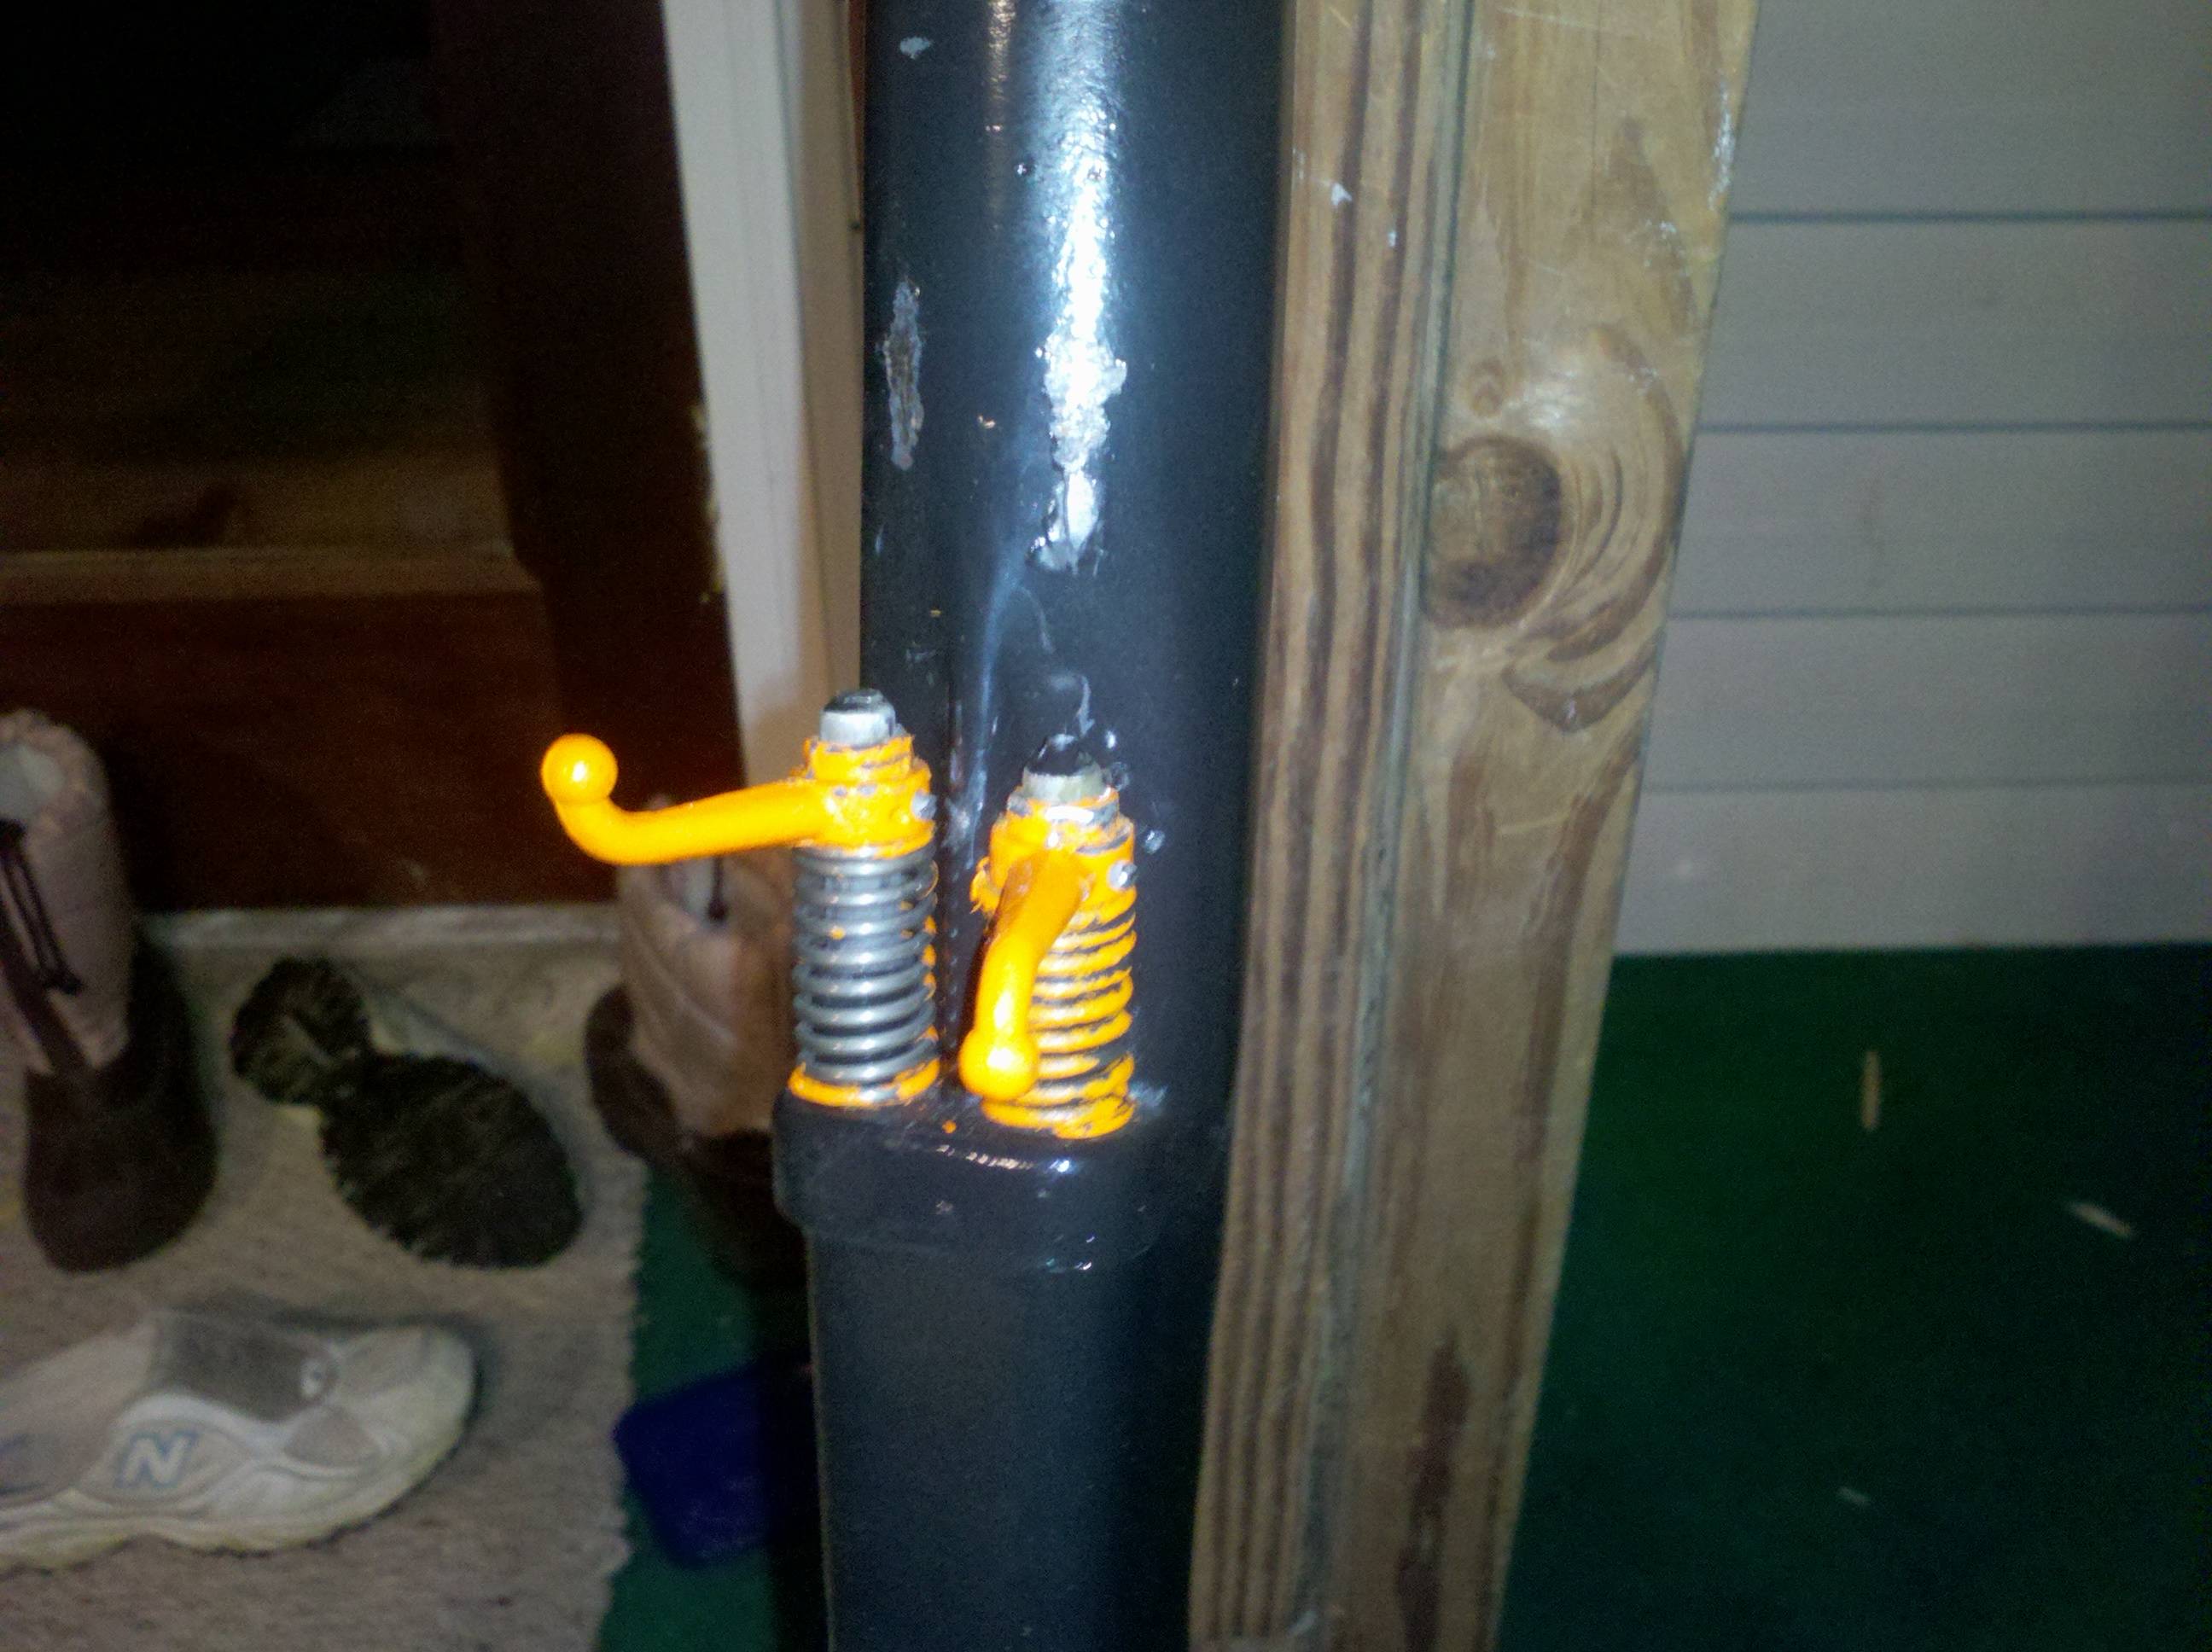
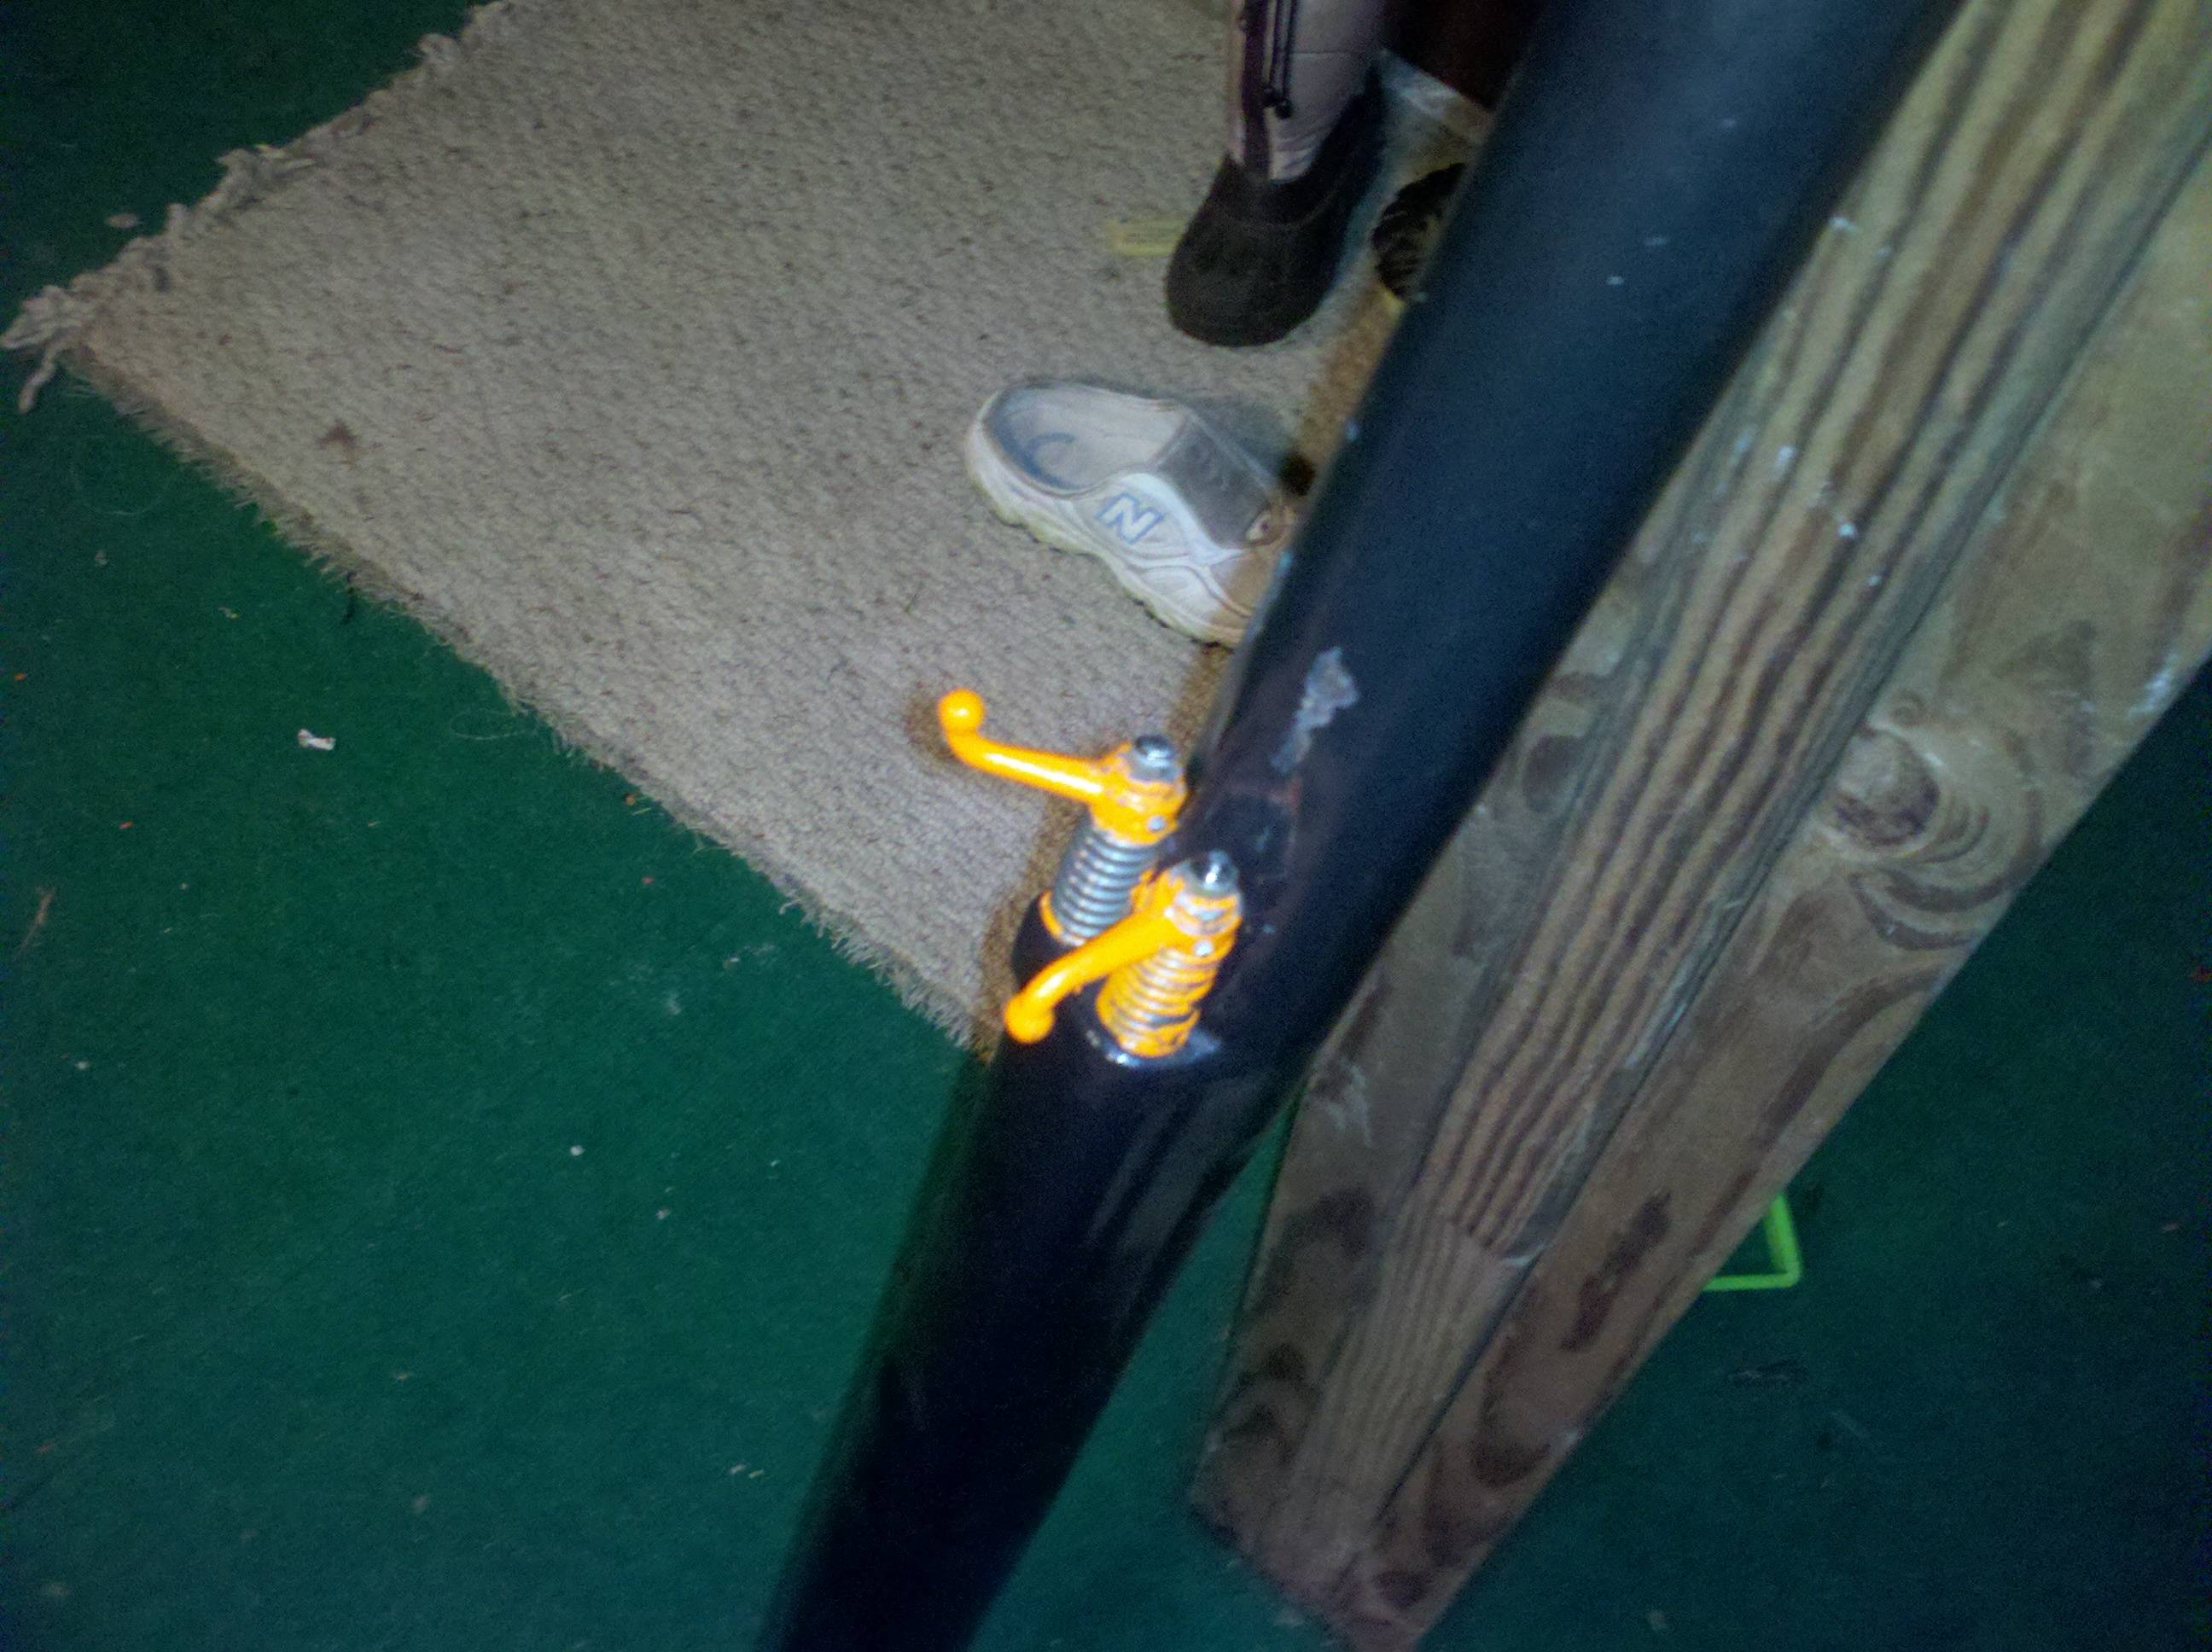
Then it was time to mix paint. The paint is an 8-2-1 mix acrylic enamel. So, eleven teaspoons later, I had the first batch mixed up and stuffed in a cheap airbrush. Note in the pics below - when my camear phone's flash went off, it makes the parts look yellow. The orange ones are really close (on my monitor, anyway)... I learned something in this process, and I think it is that I might have the wheels shot at a body shop. I mixed up the paint, shot the 1st coat, and then came back about 35-40 minutes later to start the second coat. The paint had already started to get thick. I thinned it a bit more, and started shooting the 2nd coat, but my airbrush got gunked up. I spent a half hour cleaning it out, remixed a teeny bit, and shot the second coat. It's not horrible, but there's a bit more "orange peel" than I care for. Also, the stuff got thick a lot sooner than I thunk it would. I thought the pot life was about 4 hours, but the stuff turned into a lump of jello in about 1. Granted, it was near 90F out, but still... I'm afraid I'll end up wasting a bunch of paint doing 5 wheels, and I don't think I've got room to set them all up at the same time. I also shot chassis black on the tie-rod and drag link.

The morning of the 4th, I assembled the levers into the steering column. Sadly, I must report that things did not go well. However, I will also say that it was good foresite ordering two sets of pins... I figured out straight away that I needed to sand the control levers before they would fit in the steering bushing. A couple mils of paint made an interference fit. Once I got that straightened out, it took me another good hour or two to get the rods in their holes and the bushing installed. The bushing did not quite fit right, and in the end, I had to ever-so-slightly enlarge one of the screw holes. Dissapointment first came when the top collar moved a good 32nd of an inch (maybe a 16th) up, so there's a spot, there, I'm gonna have to repaint.
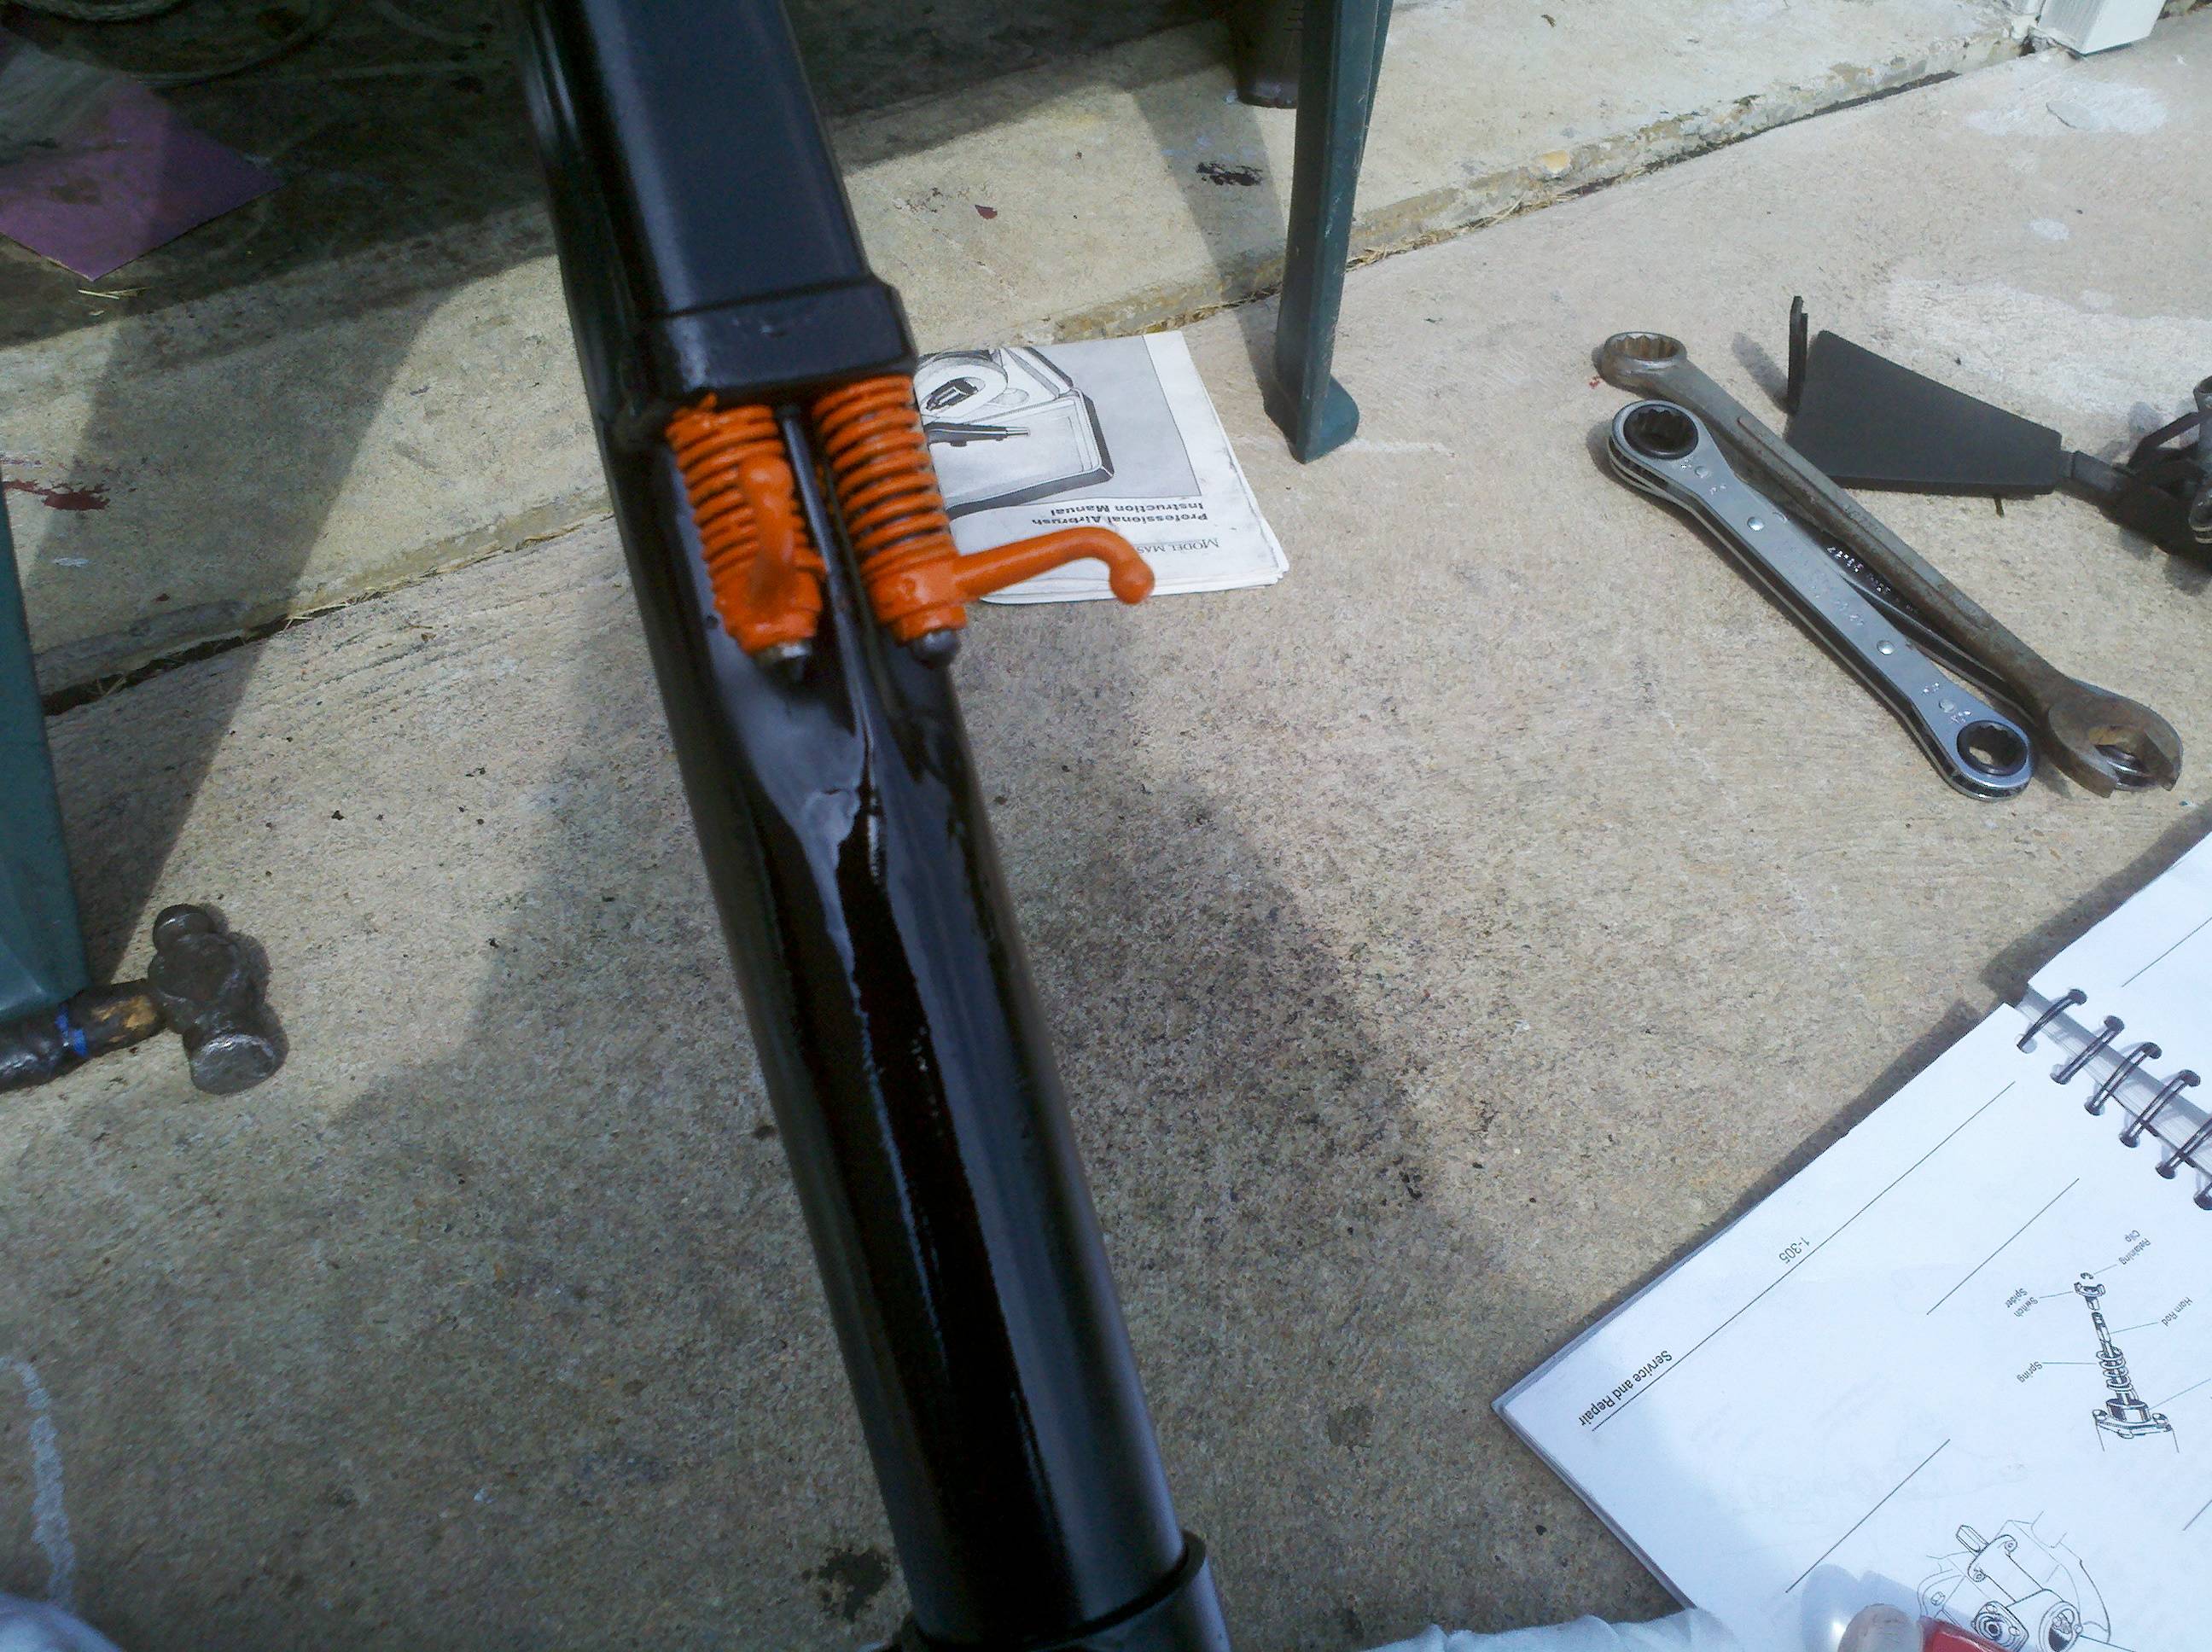
It took quite a bit of effort to install the control levers at the bottom. I used a 3/8 (?) deepwell socket on a six inch extension to compress the springs. The first wasn't too bad, and had me feeling pretty good about things, but by the time I got the second in, I had nearly bruised the palm of my hand. And taken off some orange paint. D'oh.
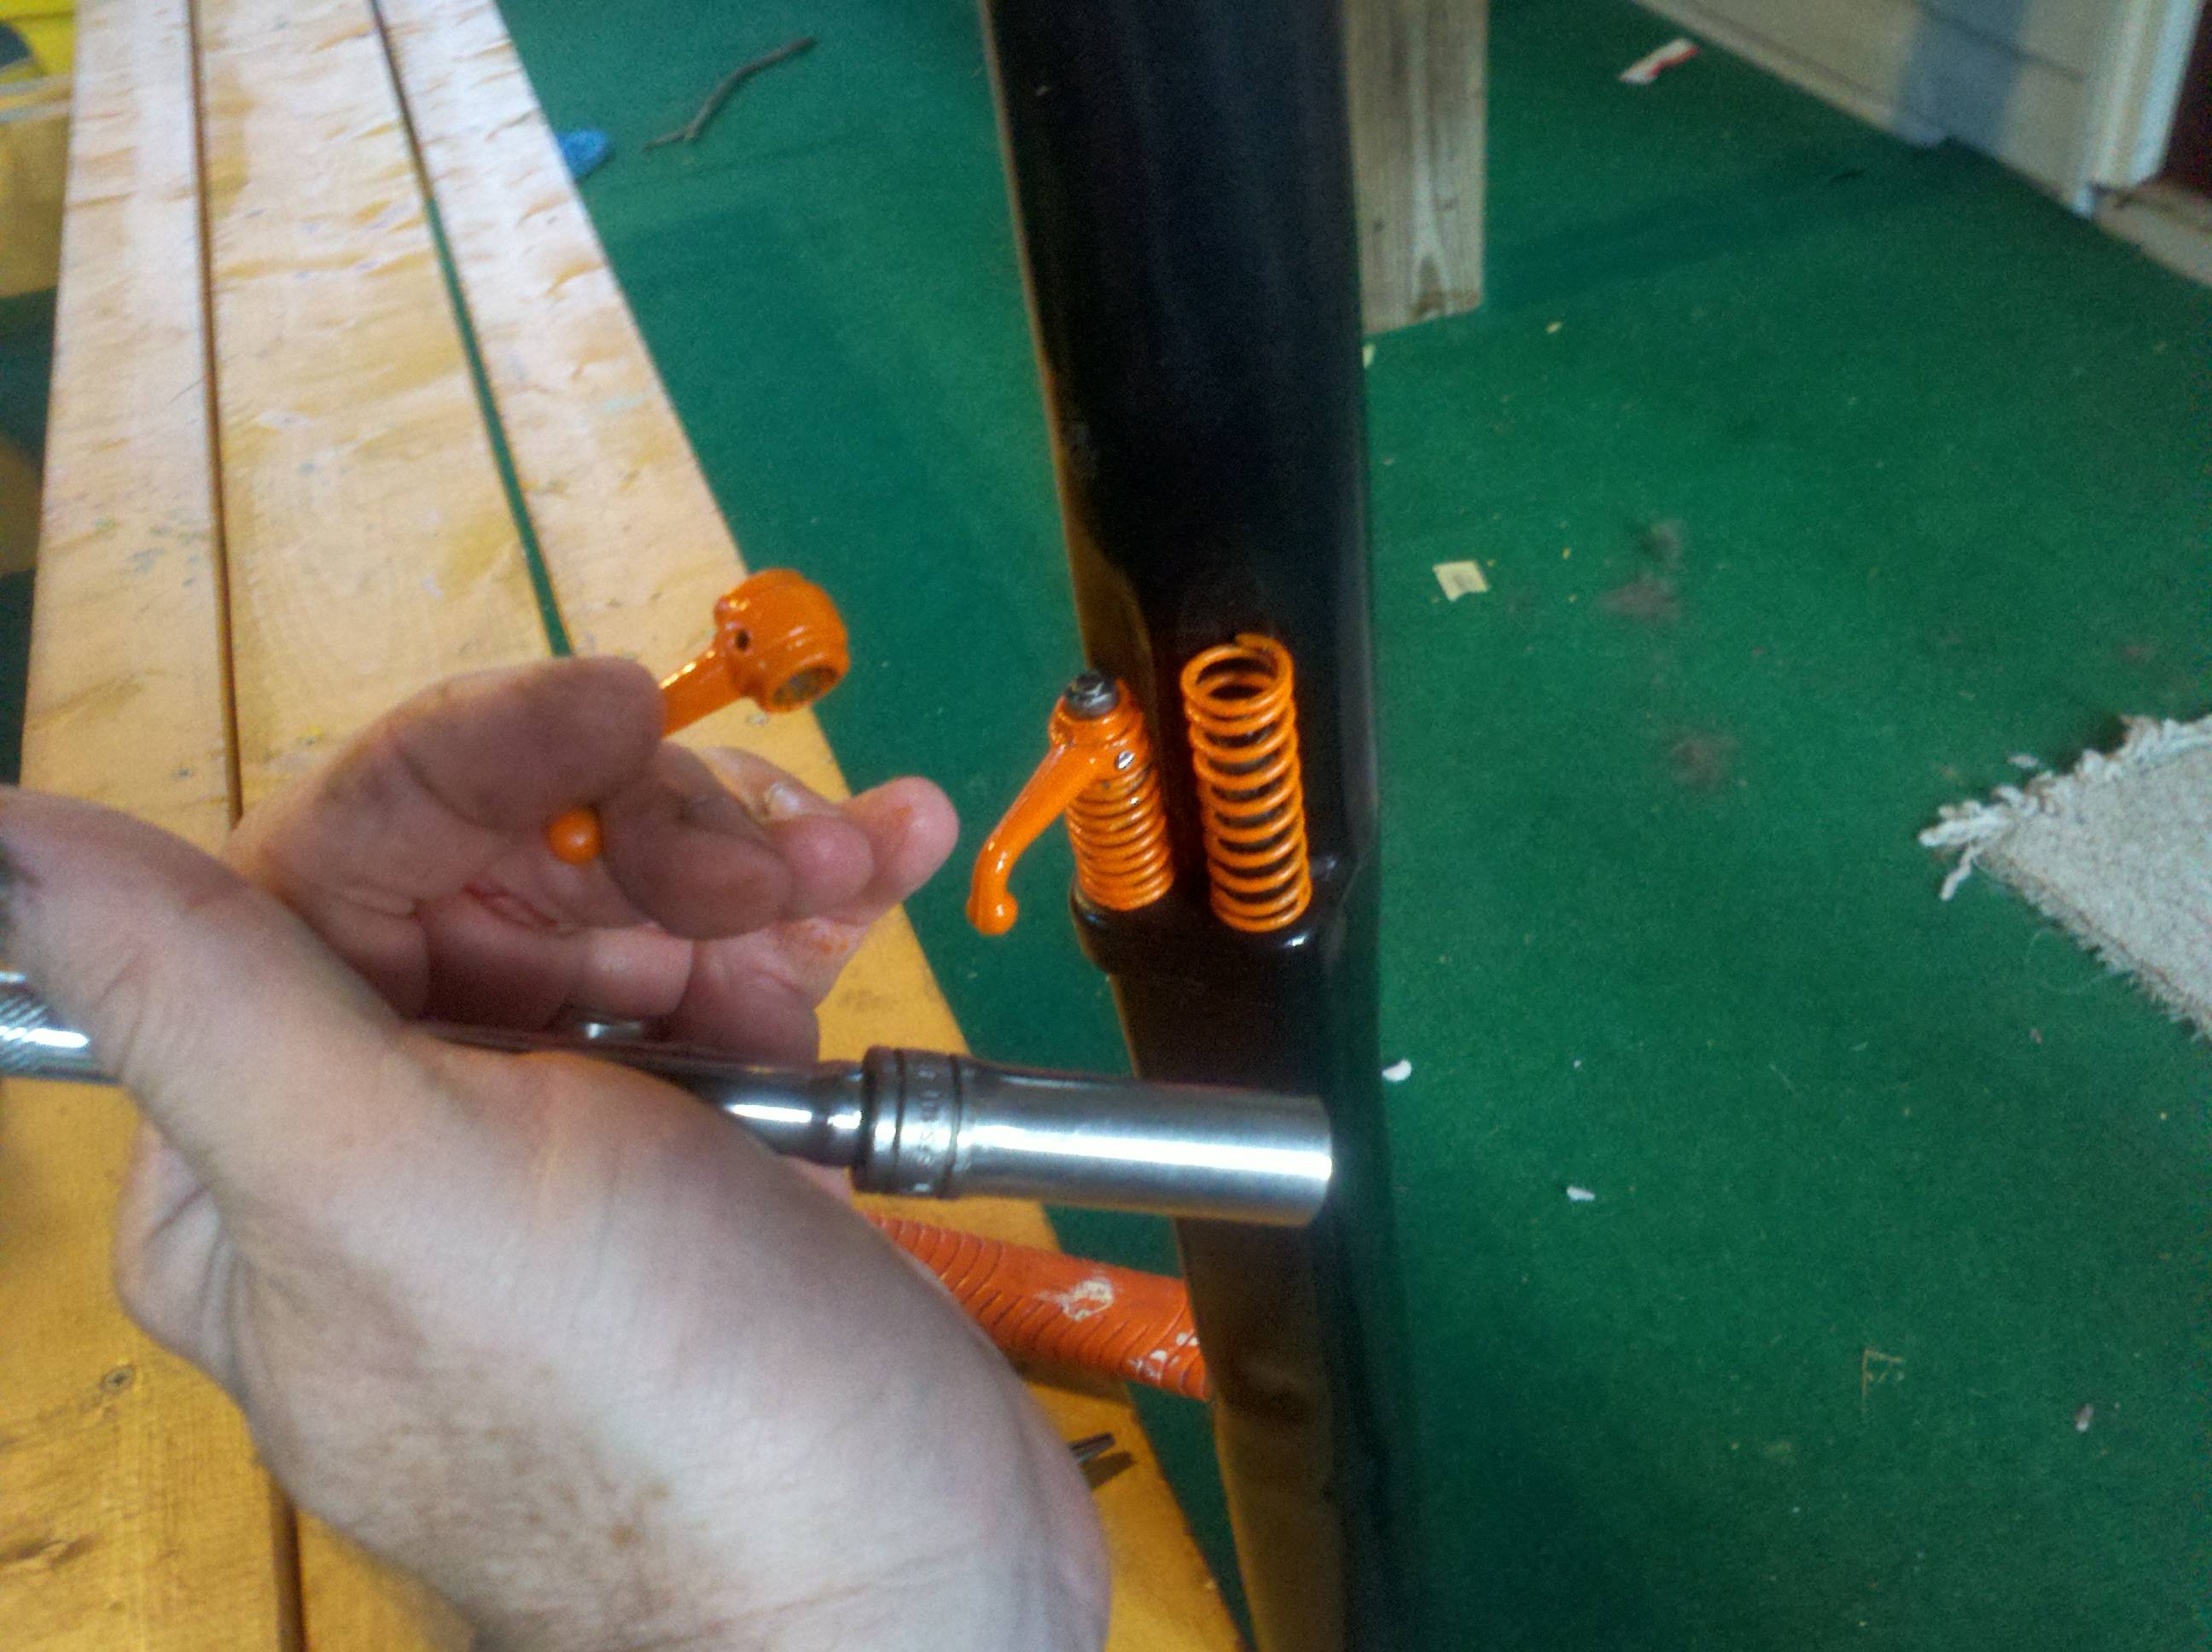

Let me say, I really like the way that orange contrasts against the black... Some of you, though, looked at those last two pictures and think "gee, something there just don't look right..." Yeah, well, you're smarter than I am. That first lever is installed upside down. D'OH! I disassembled the dorked up side, and reassembled it correctly. Unfortunately, I ended up taking off even more paint, both the orange and the chassis black. DOUBLE D'OH!... And, I succeeded in bruising the palm of my hand. Owie. I guess I'll have to do some touch-up work here, in the near future. Not this weekend, though.
Oh... I also got word that my axle housings are completed. I'll have to arrange to go pick them up sometime in the near future. I also have not heard back from the machine shop about the backing plates I asked them to push the bushings from. I might drop by there this week, too. I guess I'd better save up some pennies to have the frame & front suspension blasted, as I'm pretty close to being ready for that...
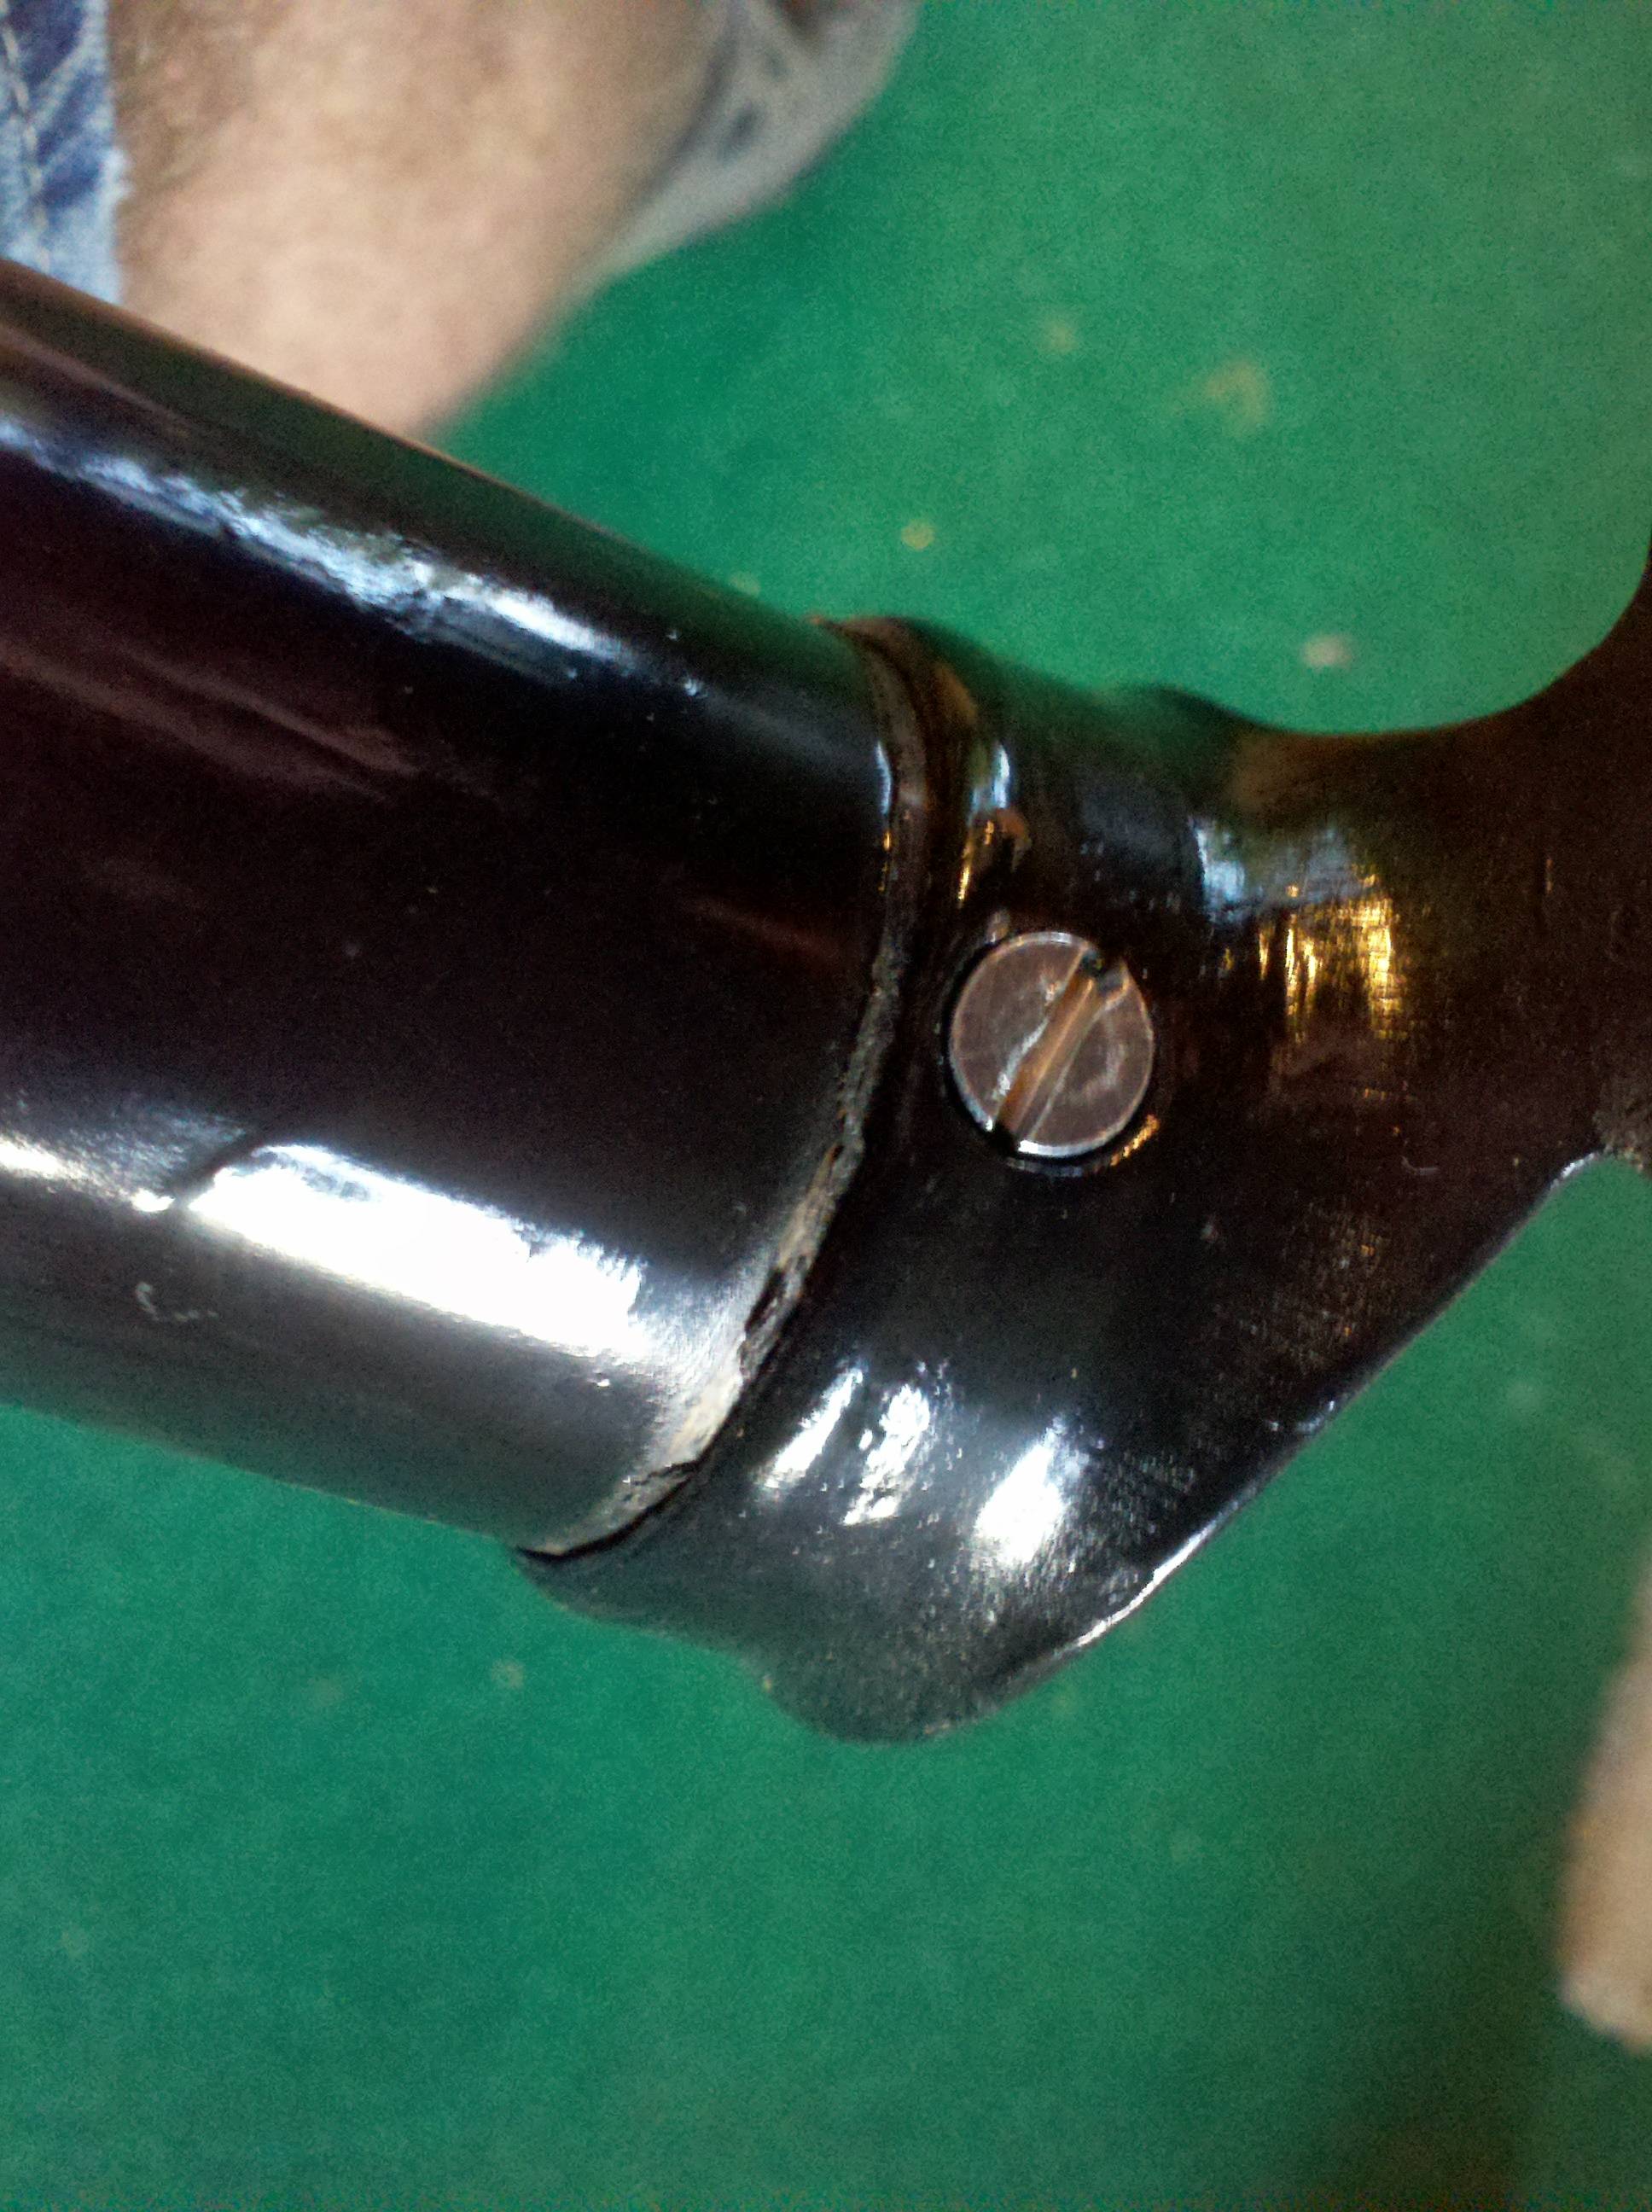
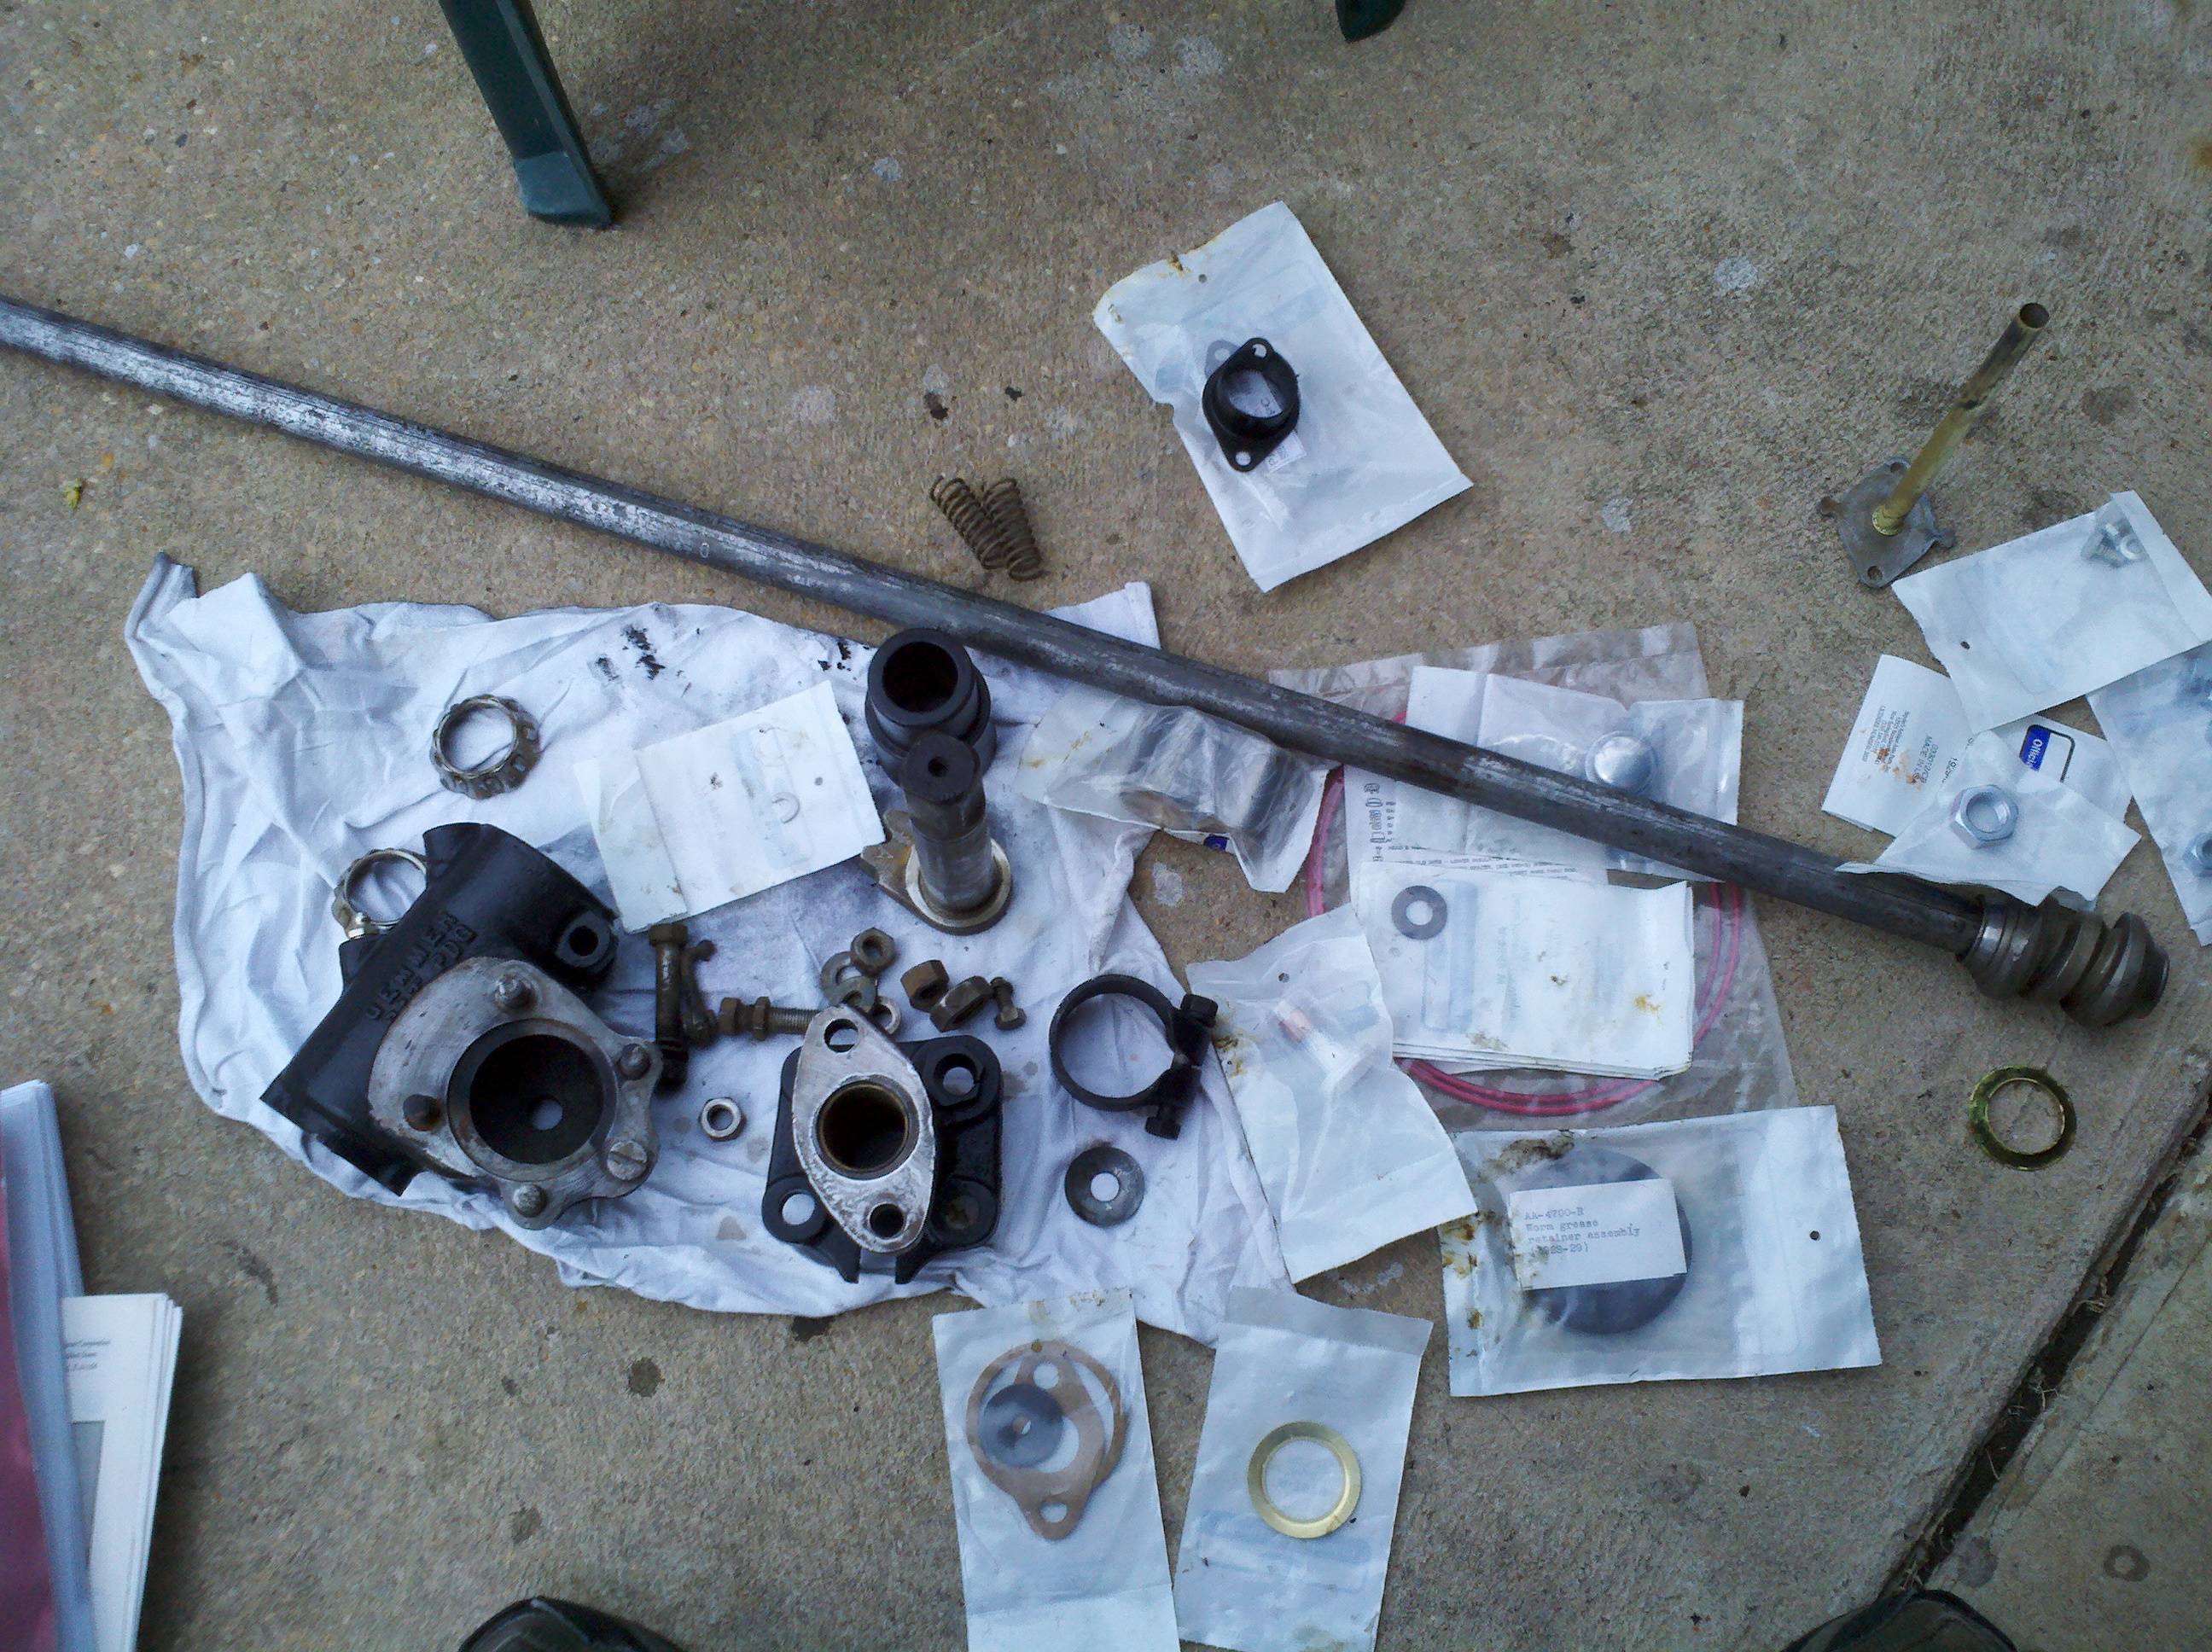
Got my act together a bit, today, and rebuilt my steering column. And did some touch-up painting on it. It was a nice, sun-shiny day today - excellent for some truck work. I pulled all the parts together, sorted out all the new seals I bought a few months back, and went to work. First thing to do was to touch up the black paint on the column, from where I'd chipped it before. I wrapped some parts in rags (for a backdrop), sanded down the chips, and then re-painted the black. They came out looking not bad.
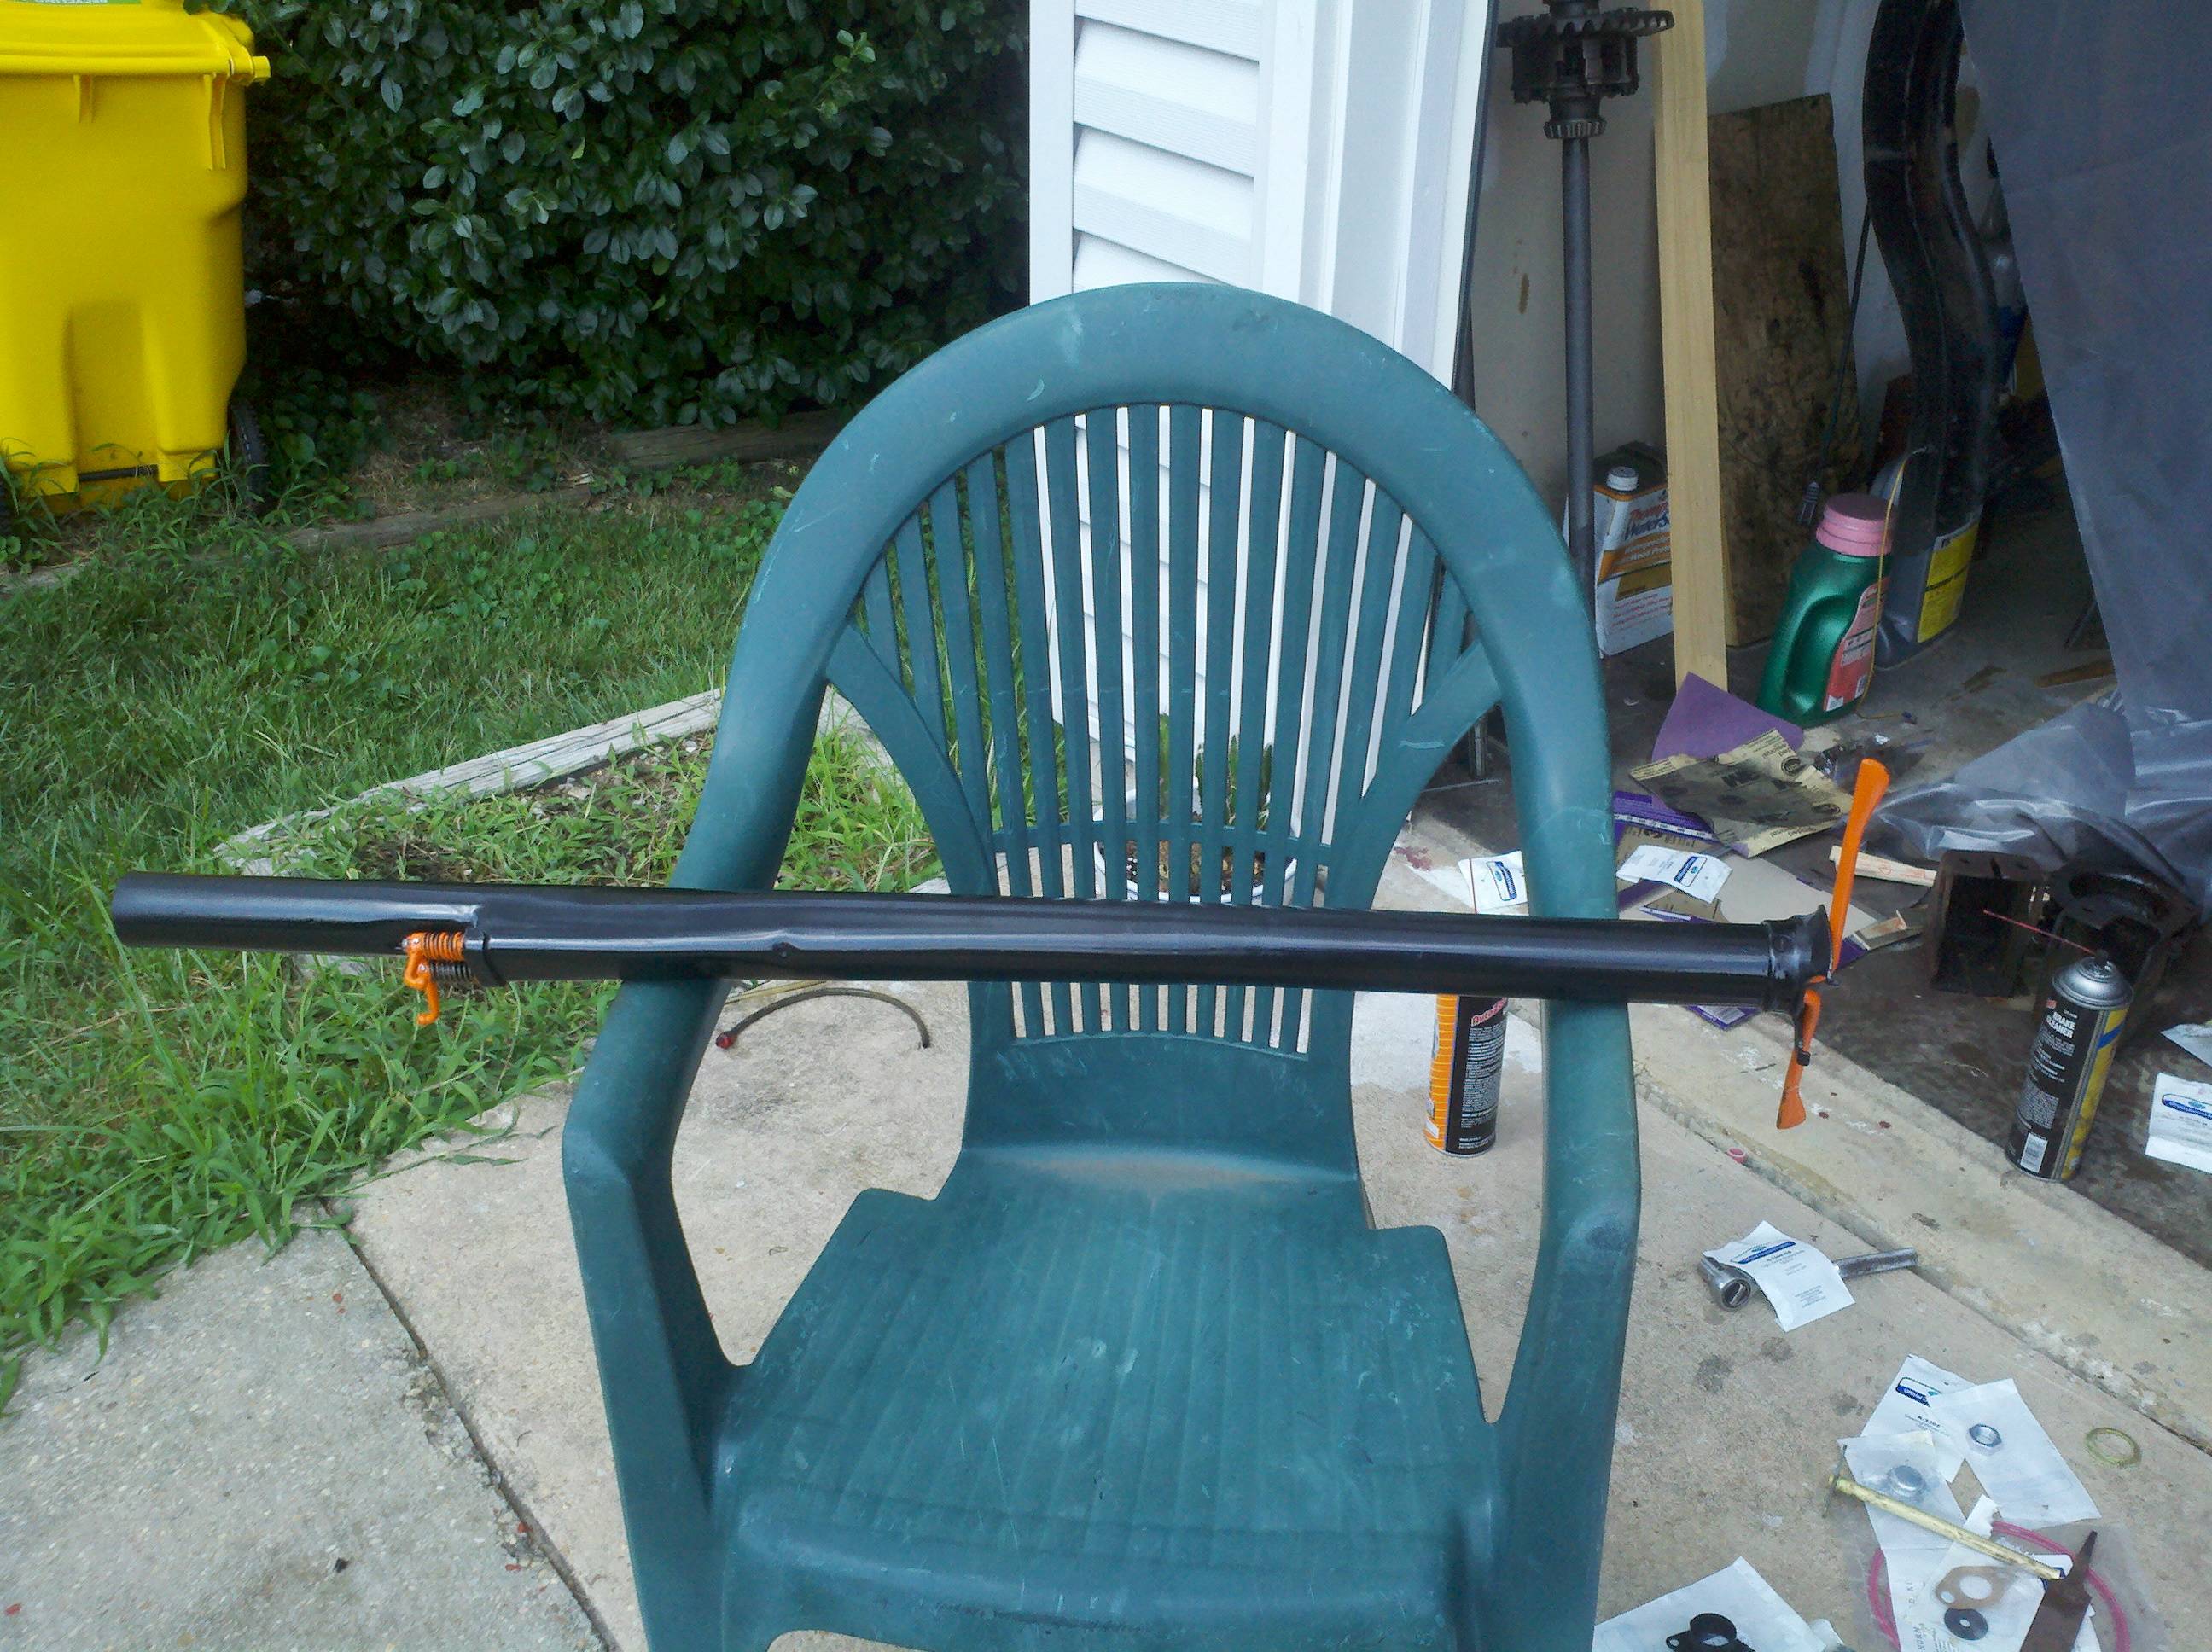
Next step was to assemble the gear box. I followed the instructions in my manual - even though I read through them once or twice before, it still took me a couple hours to get it back together.
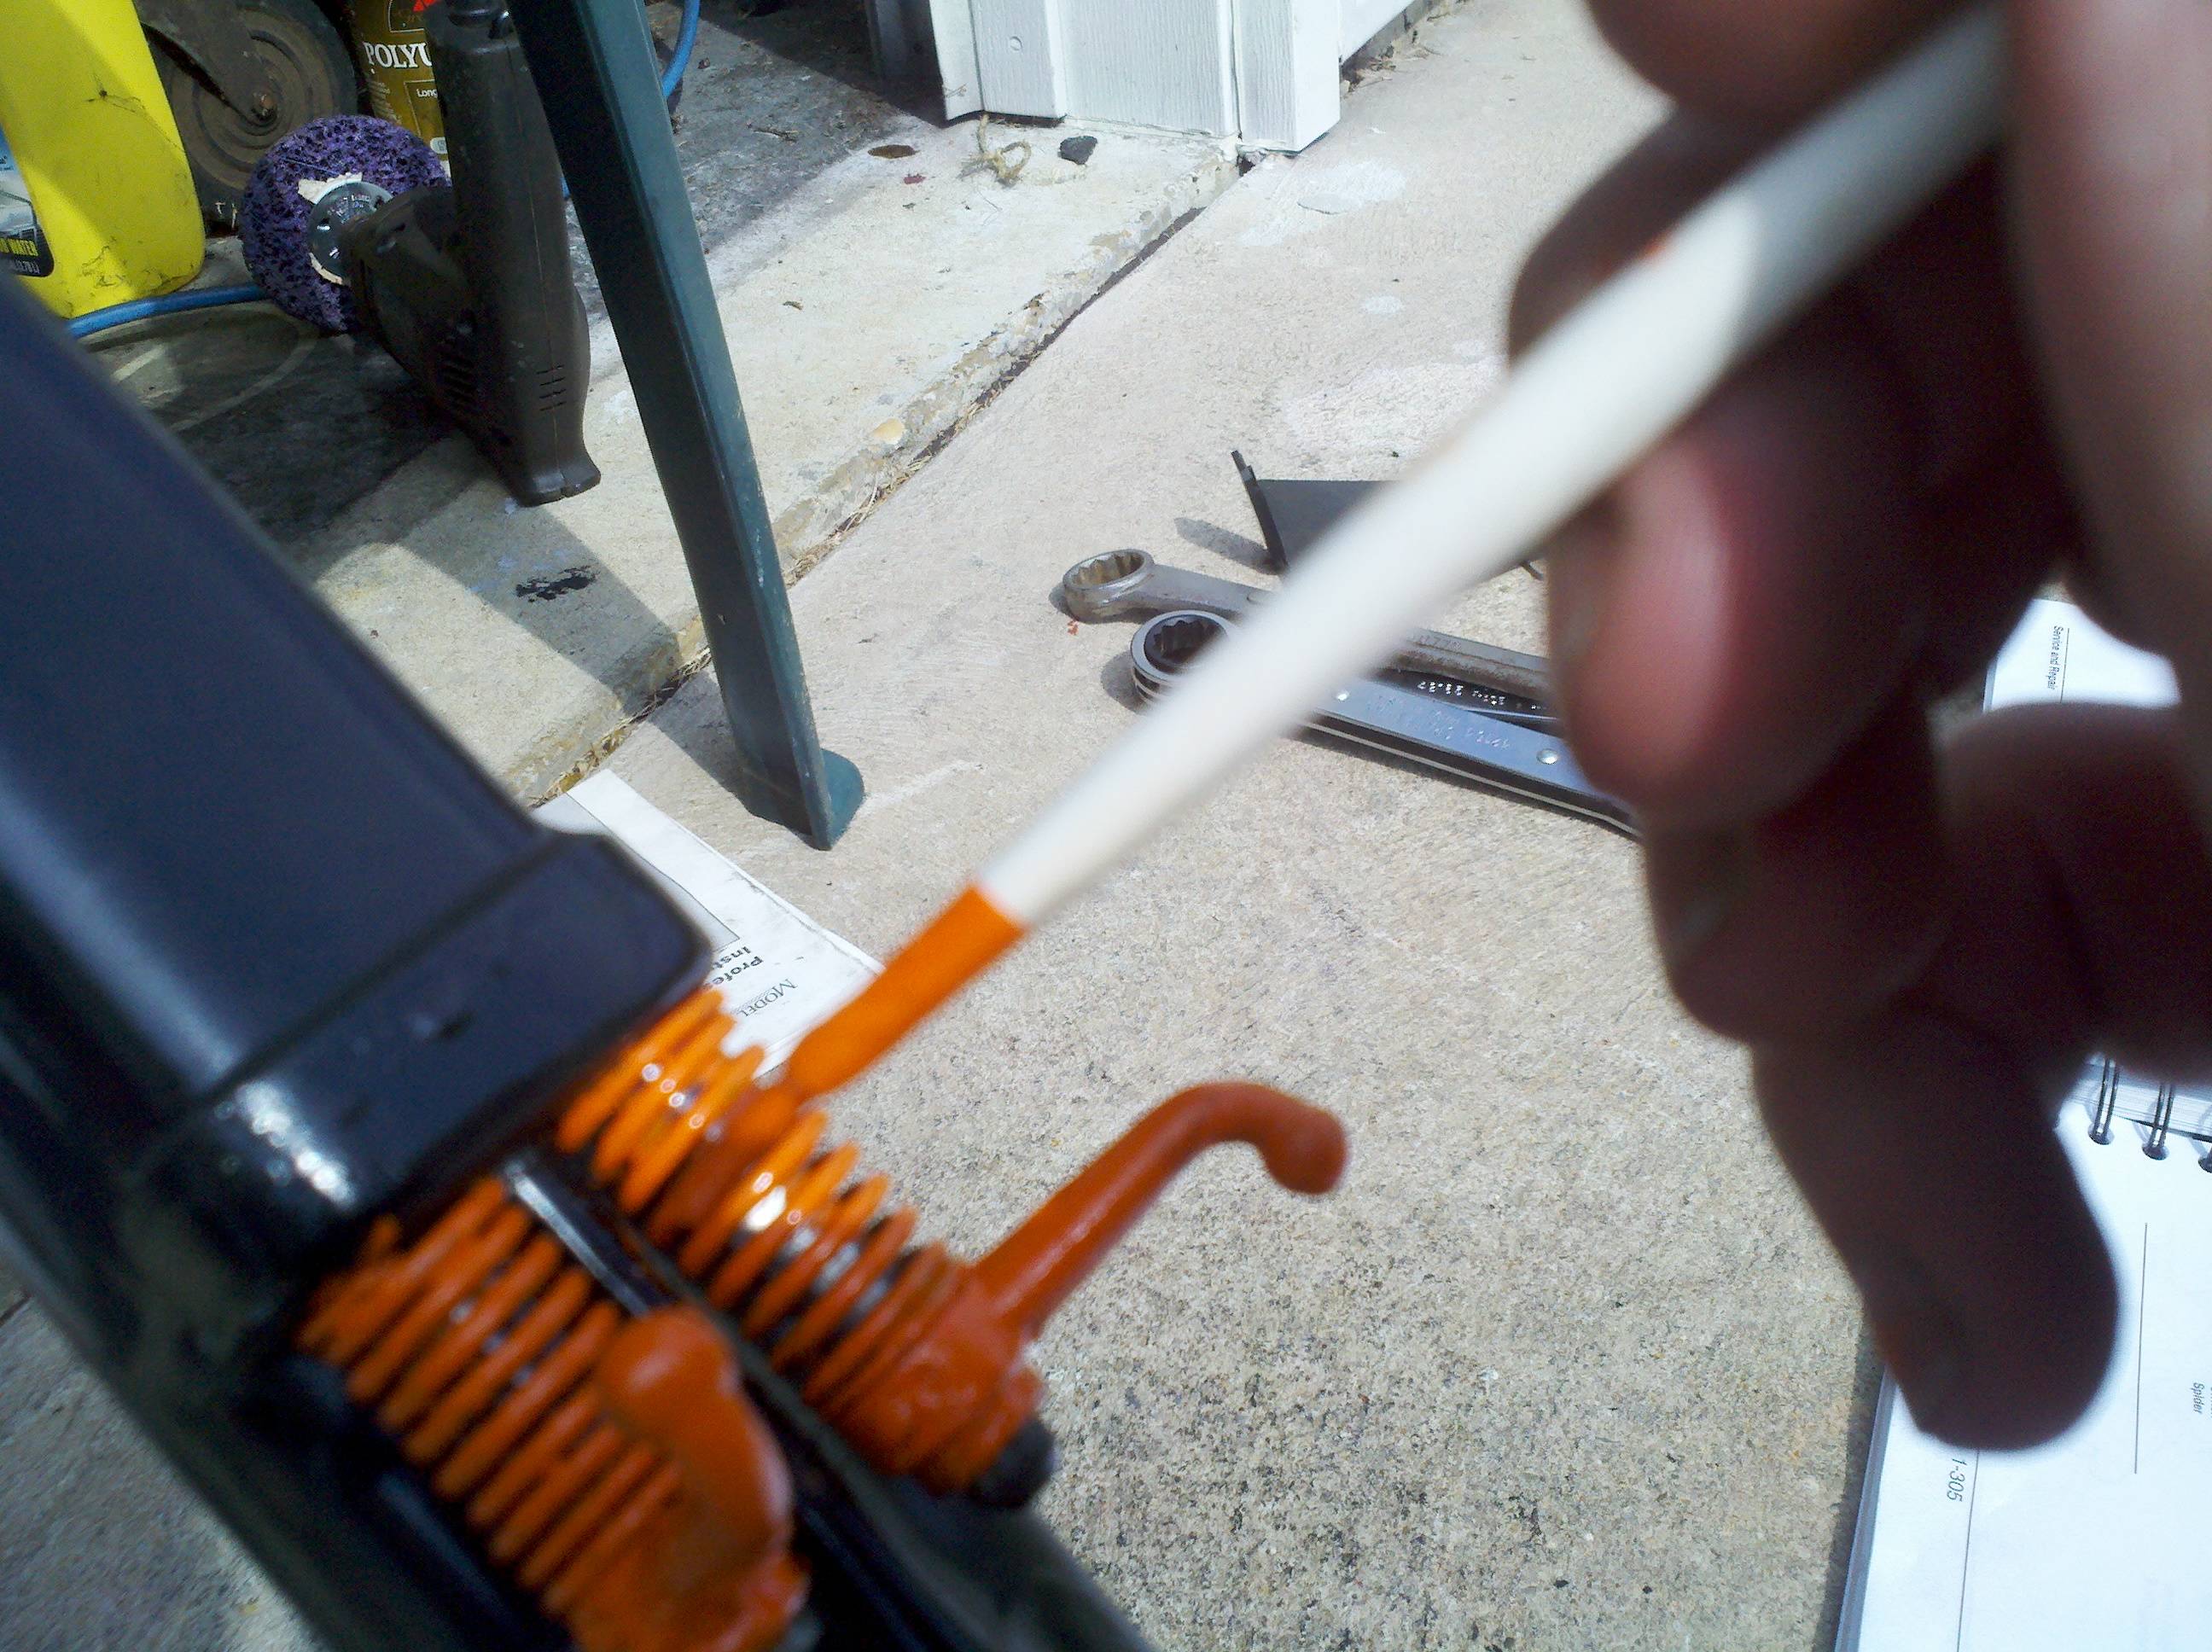
After I got the steering box all put back together, I reattached the column, and then did some touch-up painting of the springs and control levers (top and bottom). I mixed up about an ounce of Omaha Orange, and pulled out an old model paint brush. Here's the results:
After I got done with the touch-up paint, I let it all sit out in the hot sun for a while to help "cook" the paint. I understand that the hotter you can get it, the better, to help turn all those long-chain polymers into *really* long chain polymers. Unfortunately (fortunately for my electric bill, though), I don't have a bunch of heat lamps to cure the stuff, so I guess the subn'll have to do today.

About this point, I was getting a little worn out from the heat. The day wasn't all that hot, but sitting out in the sun all morning had taken its toll. My oldest daughter very nicely brought me a big glass of water, and I gulped that down pretty quickly. I then made the mistake of going in and drinking a mixed drink. One drink got me pretty likkered up. Good think I didn't have to go anywhere, huh?
After I came down from that a bit, and drank a gob more water to boot, I got down to the task of trying to adjust the steering. I ran in to some problems there, though. It wasn't a problem adjusting the top race, and that properly got done during the gear box assembly. It wasn't a problem adjusting the set screw tht keeps the sector gear from rattling around loose, either. However, I could not seem to get the sector gear to mesh correctly with the worm gear. It would always bind when I got the slop out. Similar problems were to be had with the centering adjustment. Just a fore-shadow, though (since I'm writing this a couple of weeks after the fact) - this is, apparently, normal.
I took today off from work, and headed up to PA to pick up my axle housings. Brought the kids with me, and we went to the Utz potato chip factory on the way, for the factory tour. Now, this in itself would be mostly unremarkable, but the GPS took us through some really pretty countryside, and I thunk I'd share it with you a bit. The kids ended up loving the trip almost as much as me. We got to the Utz plant about 45 minutes early, so we found a little park to go play in.
After thr tour was over, we headed North to Schwalms. We saw plenty of Amish farmers out tending their fields with teams of draft horses (sorry, no pics). We drove on mostly "Chipsealed" roads (glad the tar was dry!)

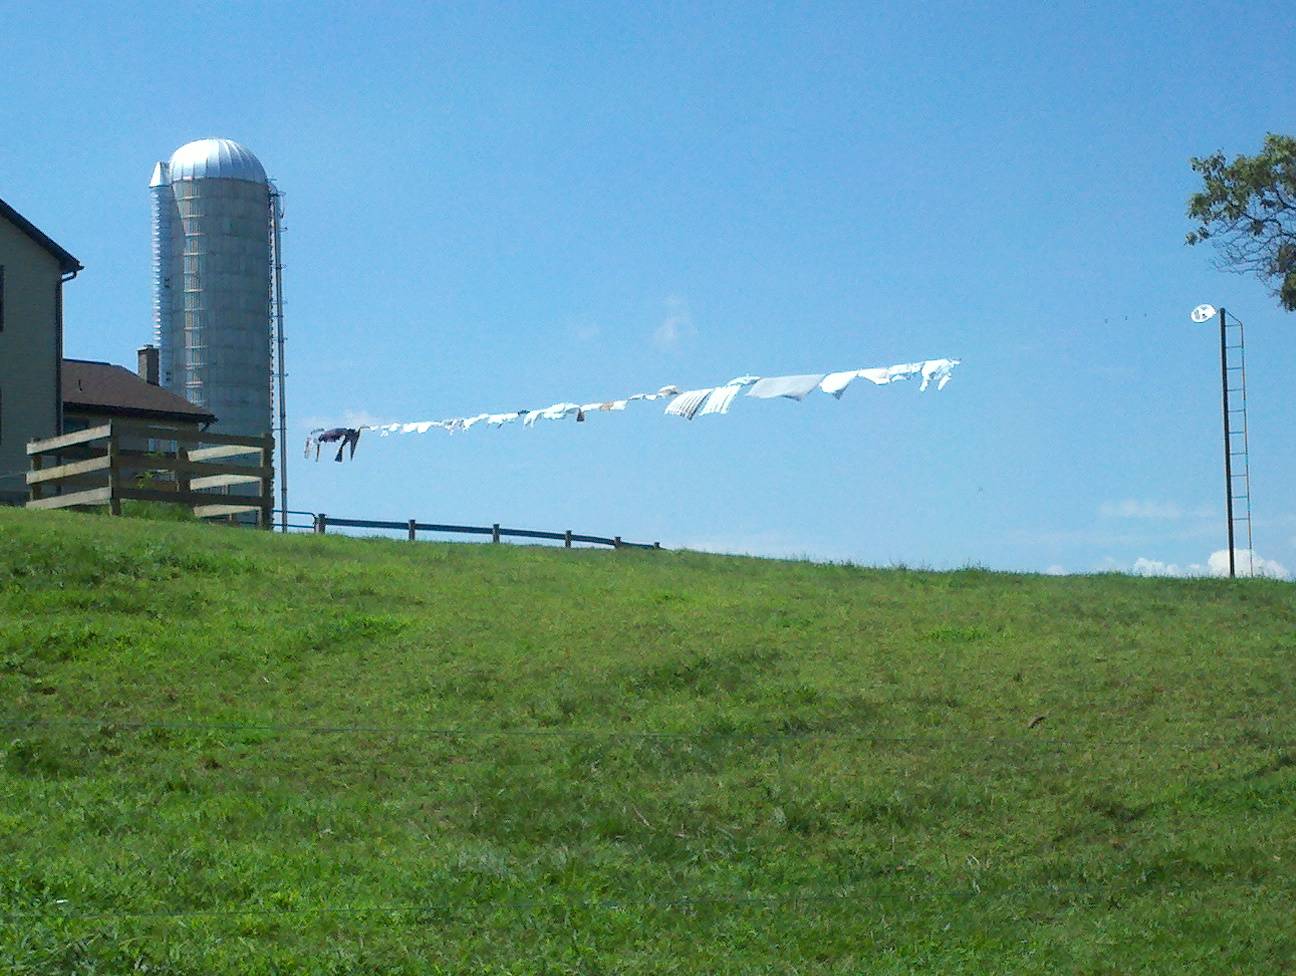
We also saw some serious laundry lines...
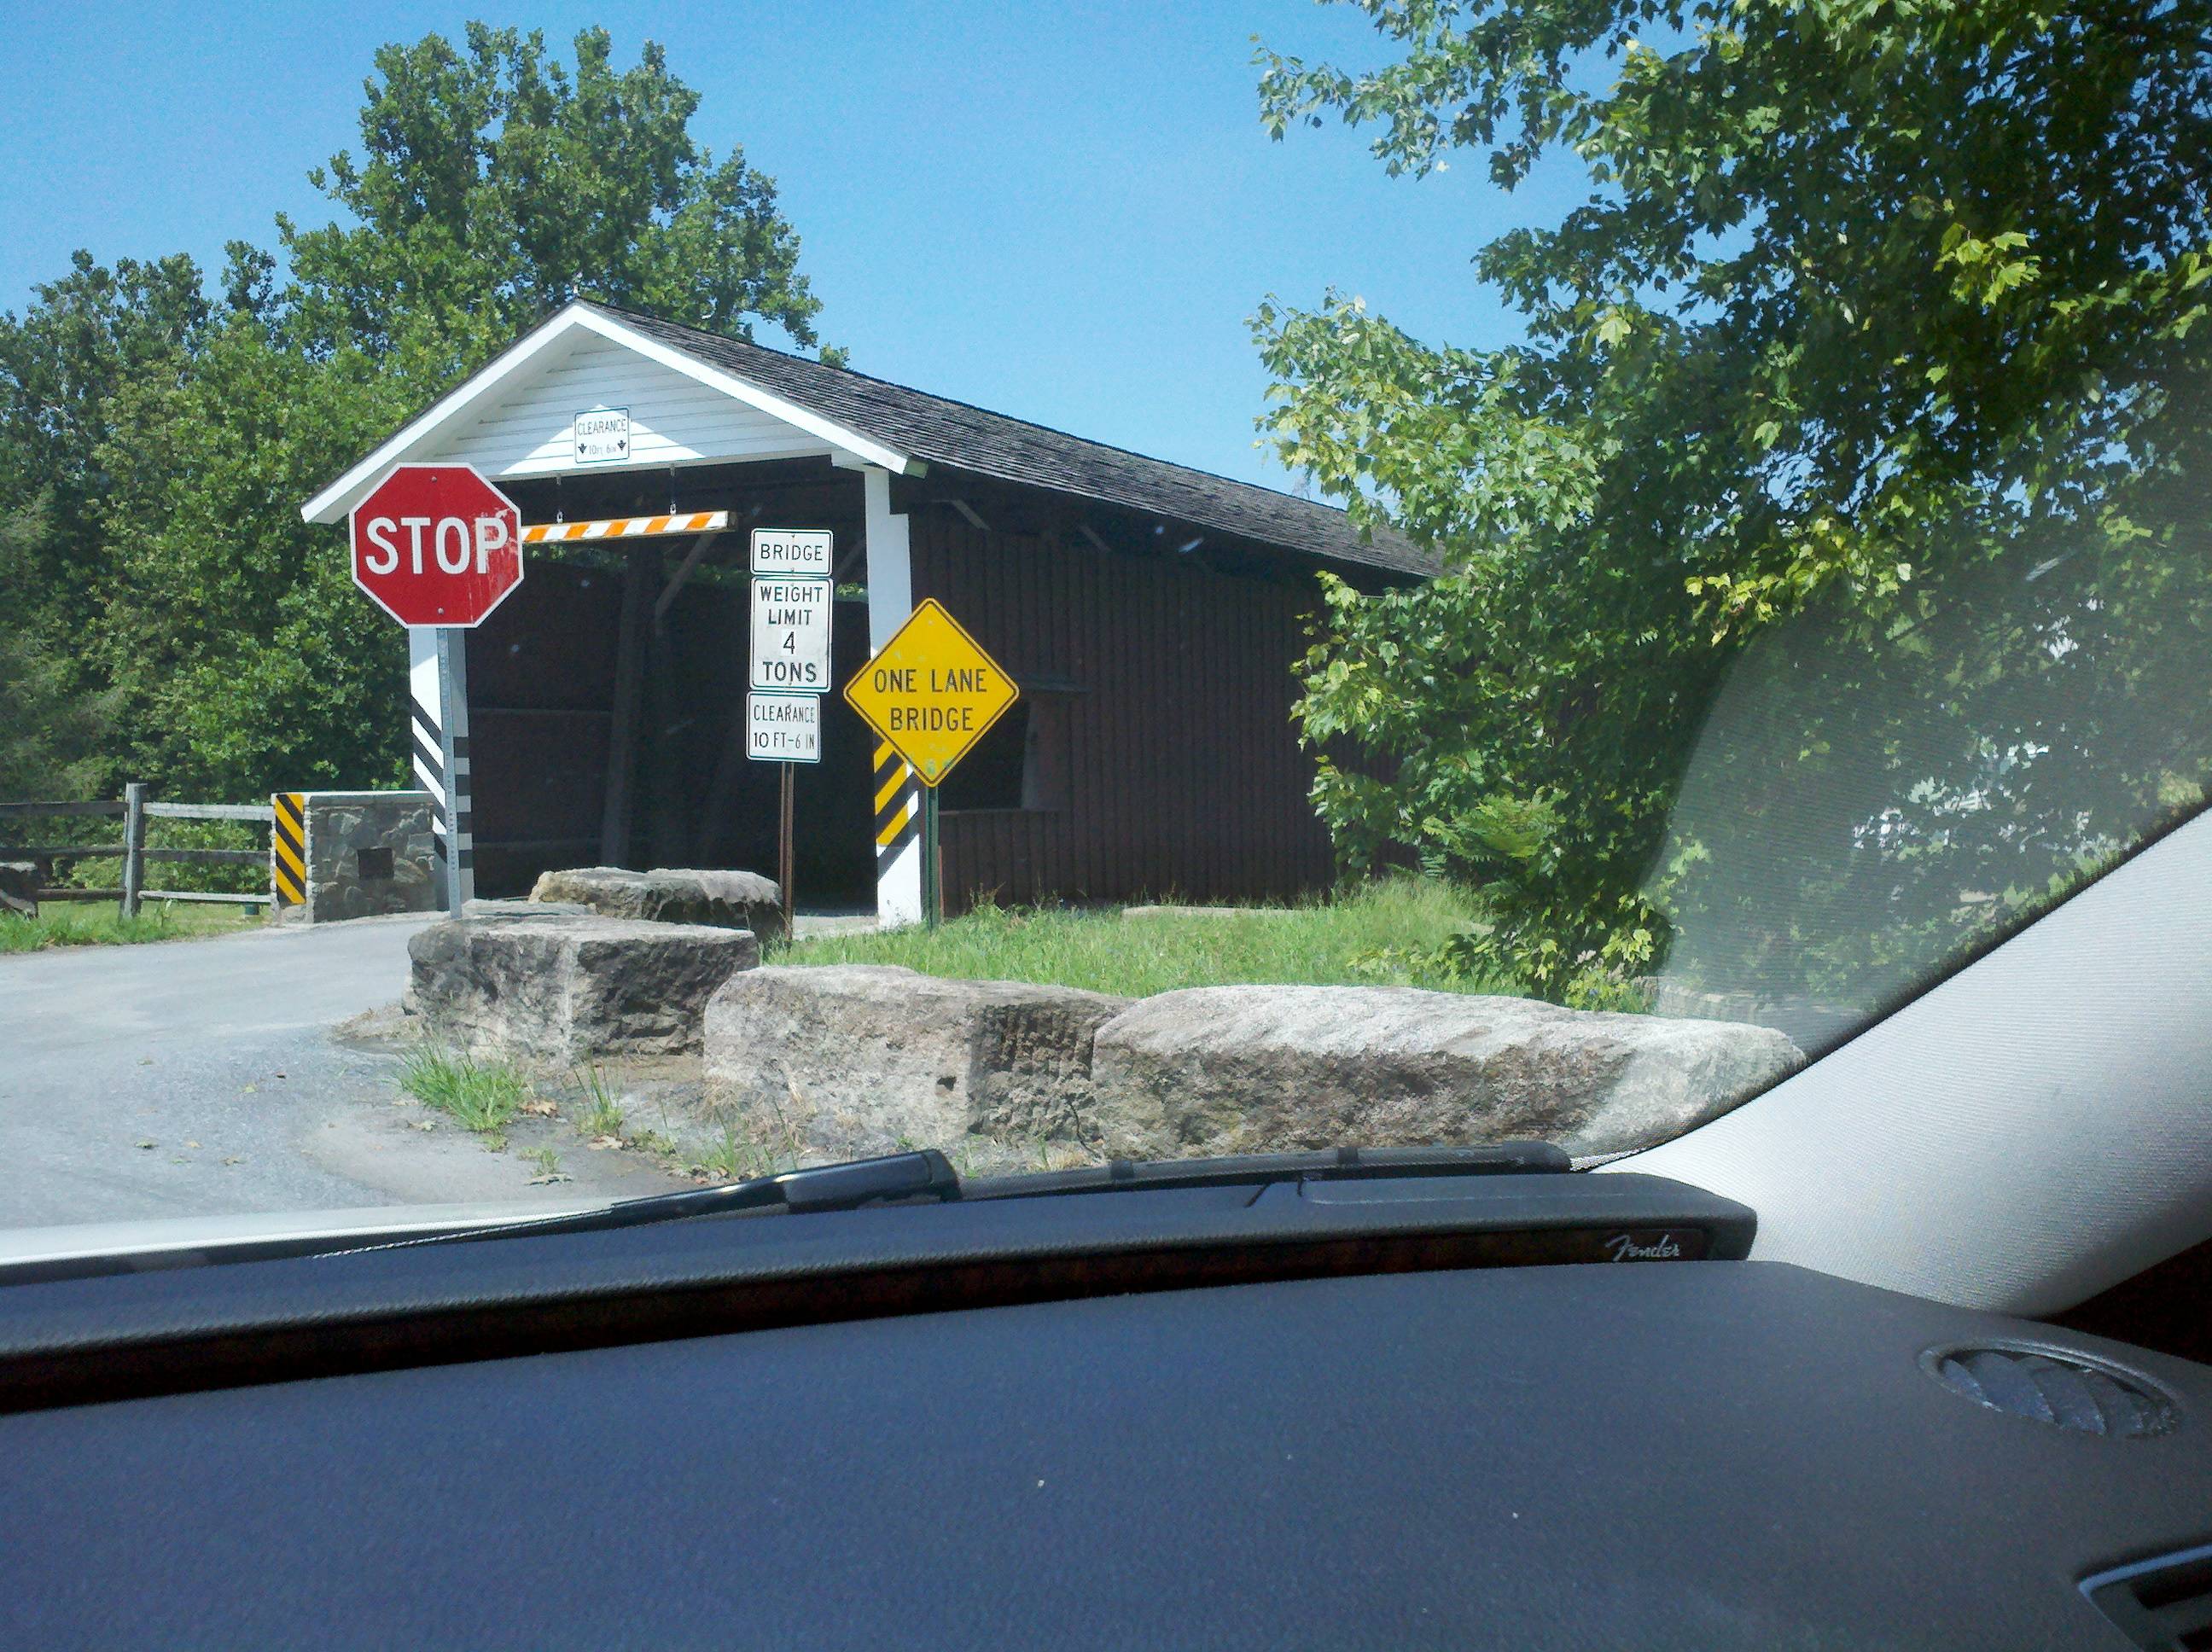
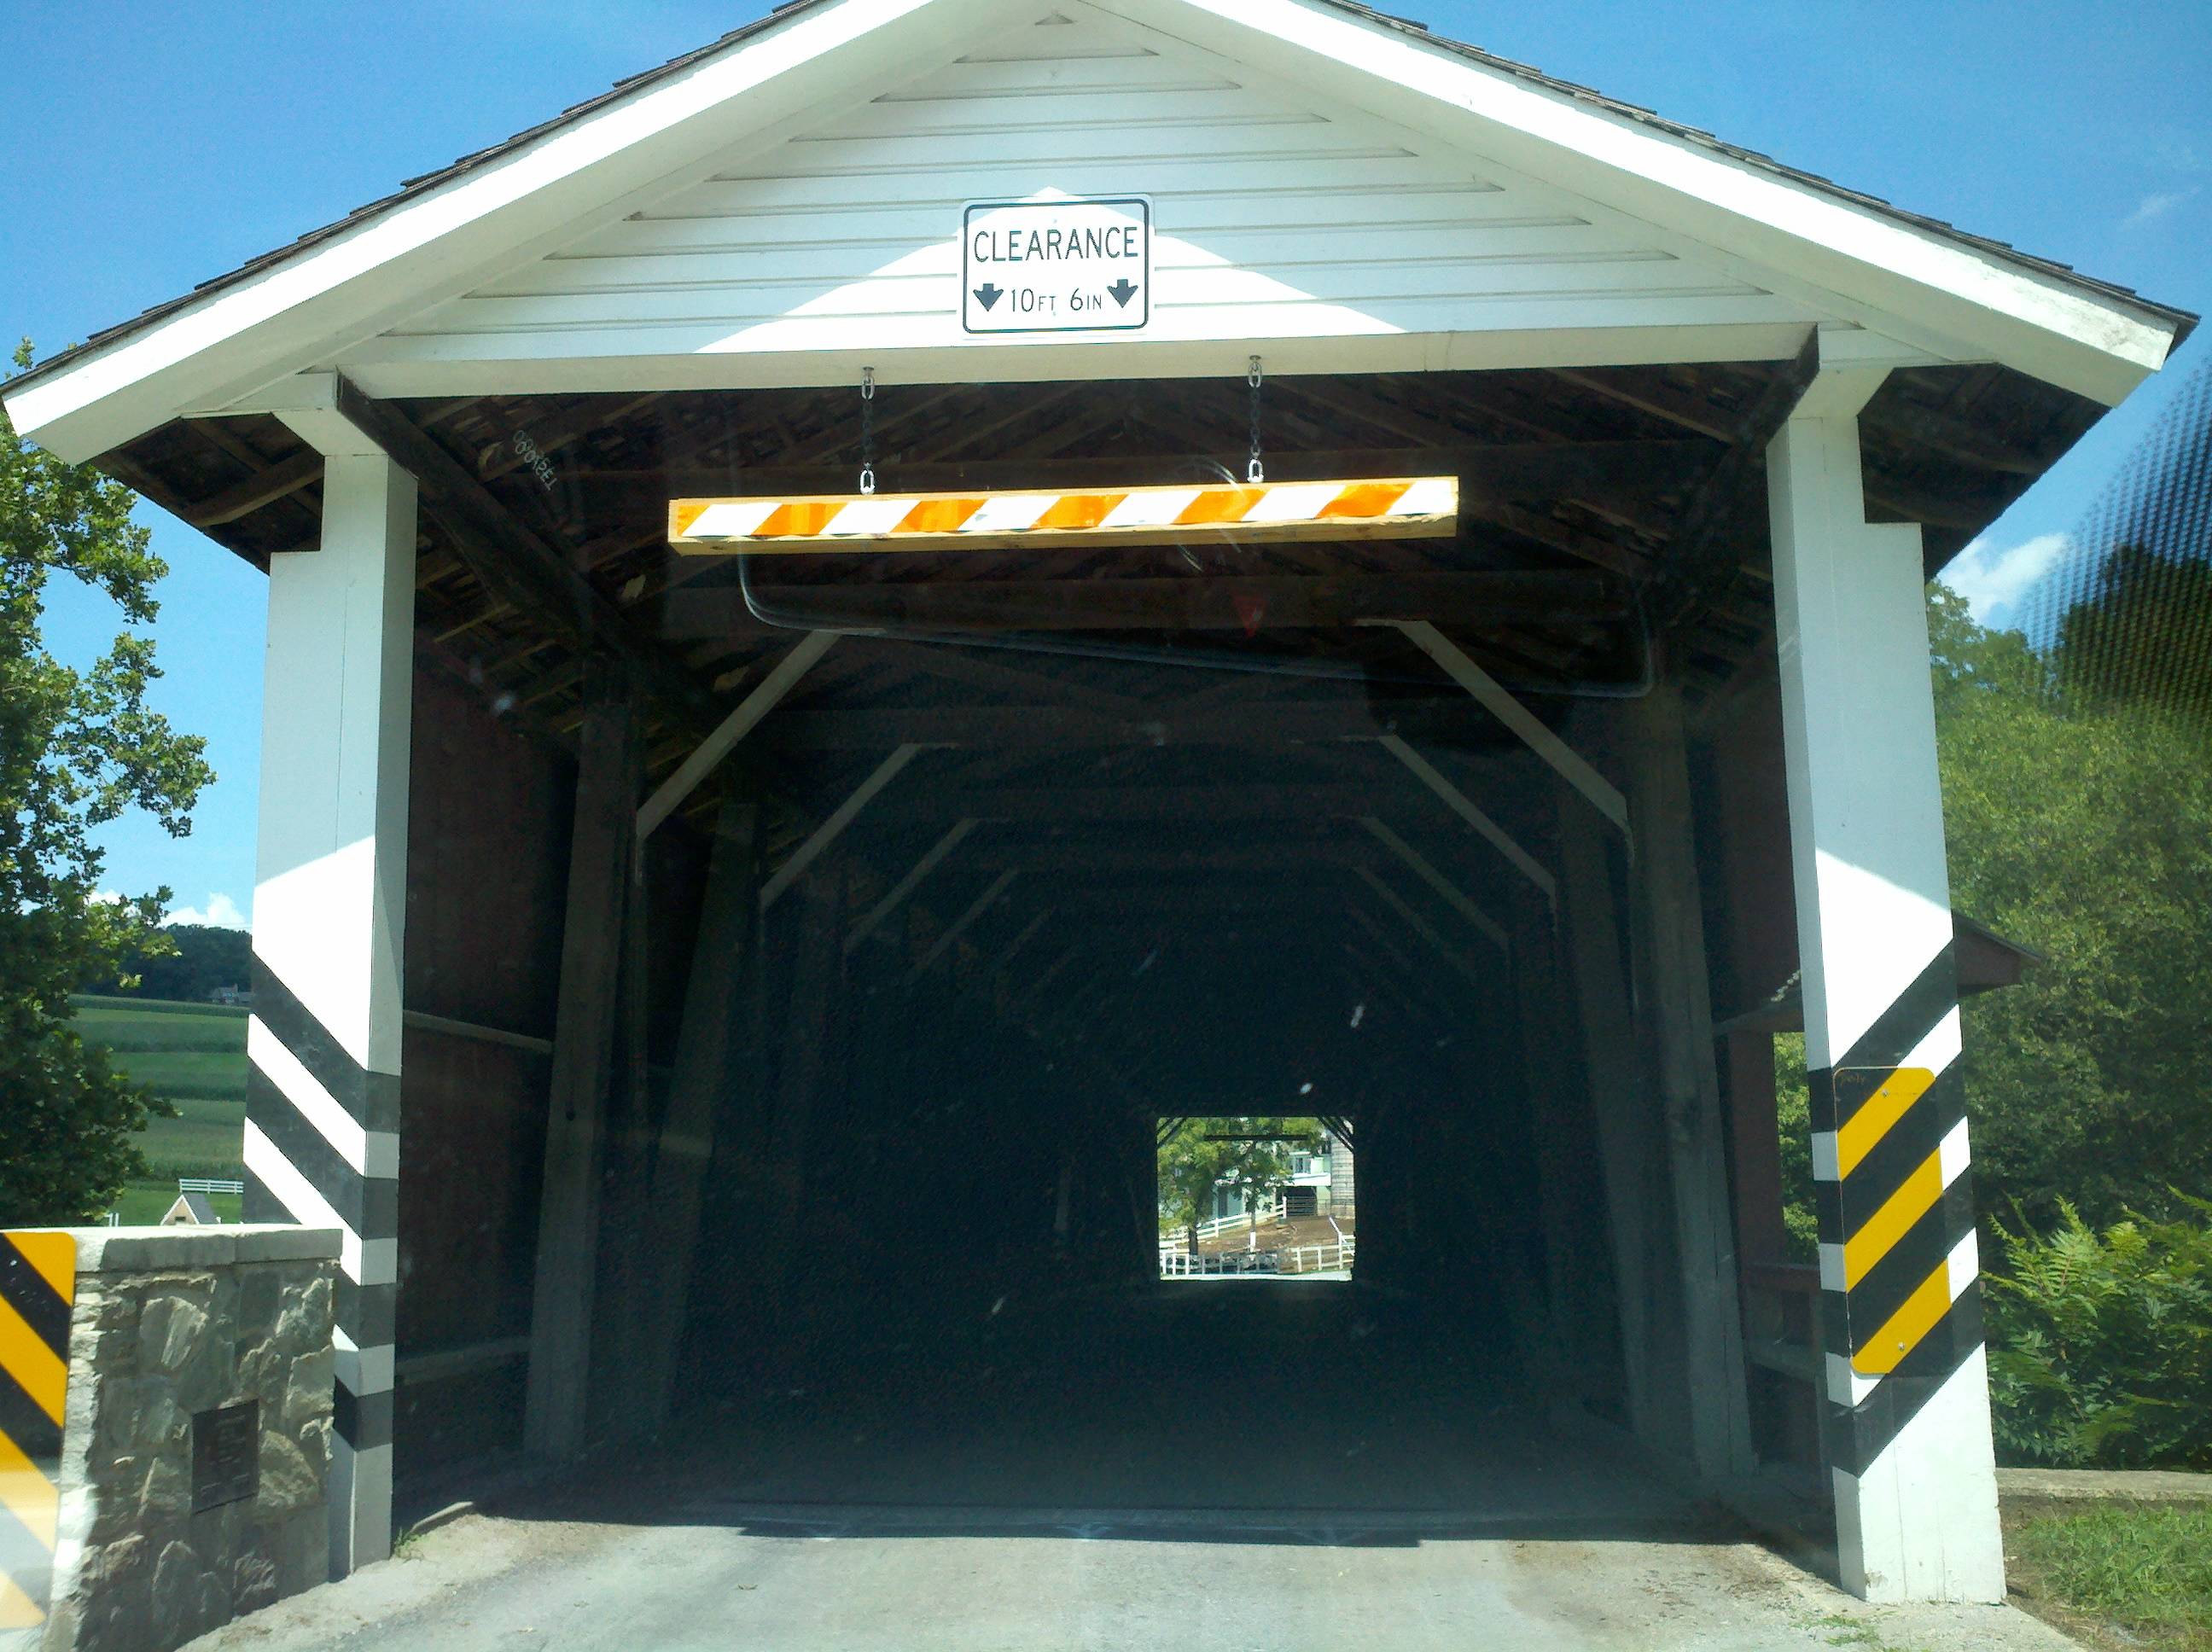
And a really nice covered bridge (that we drove across)!

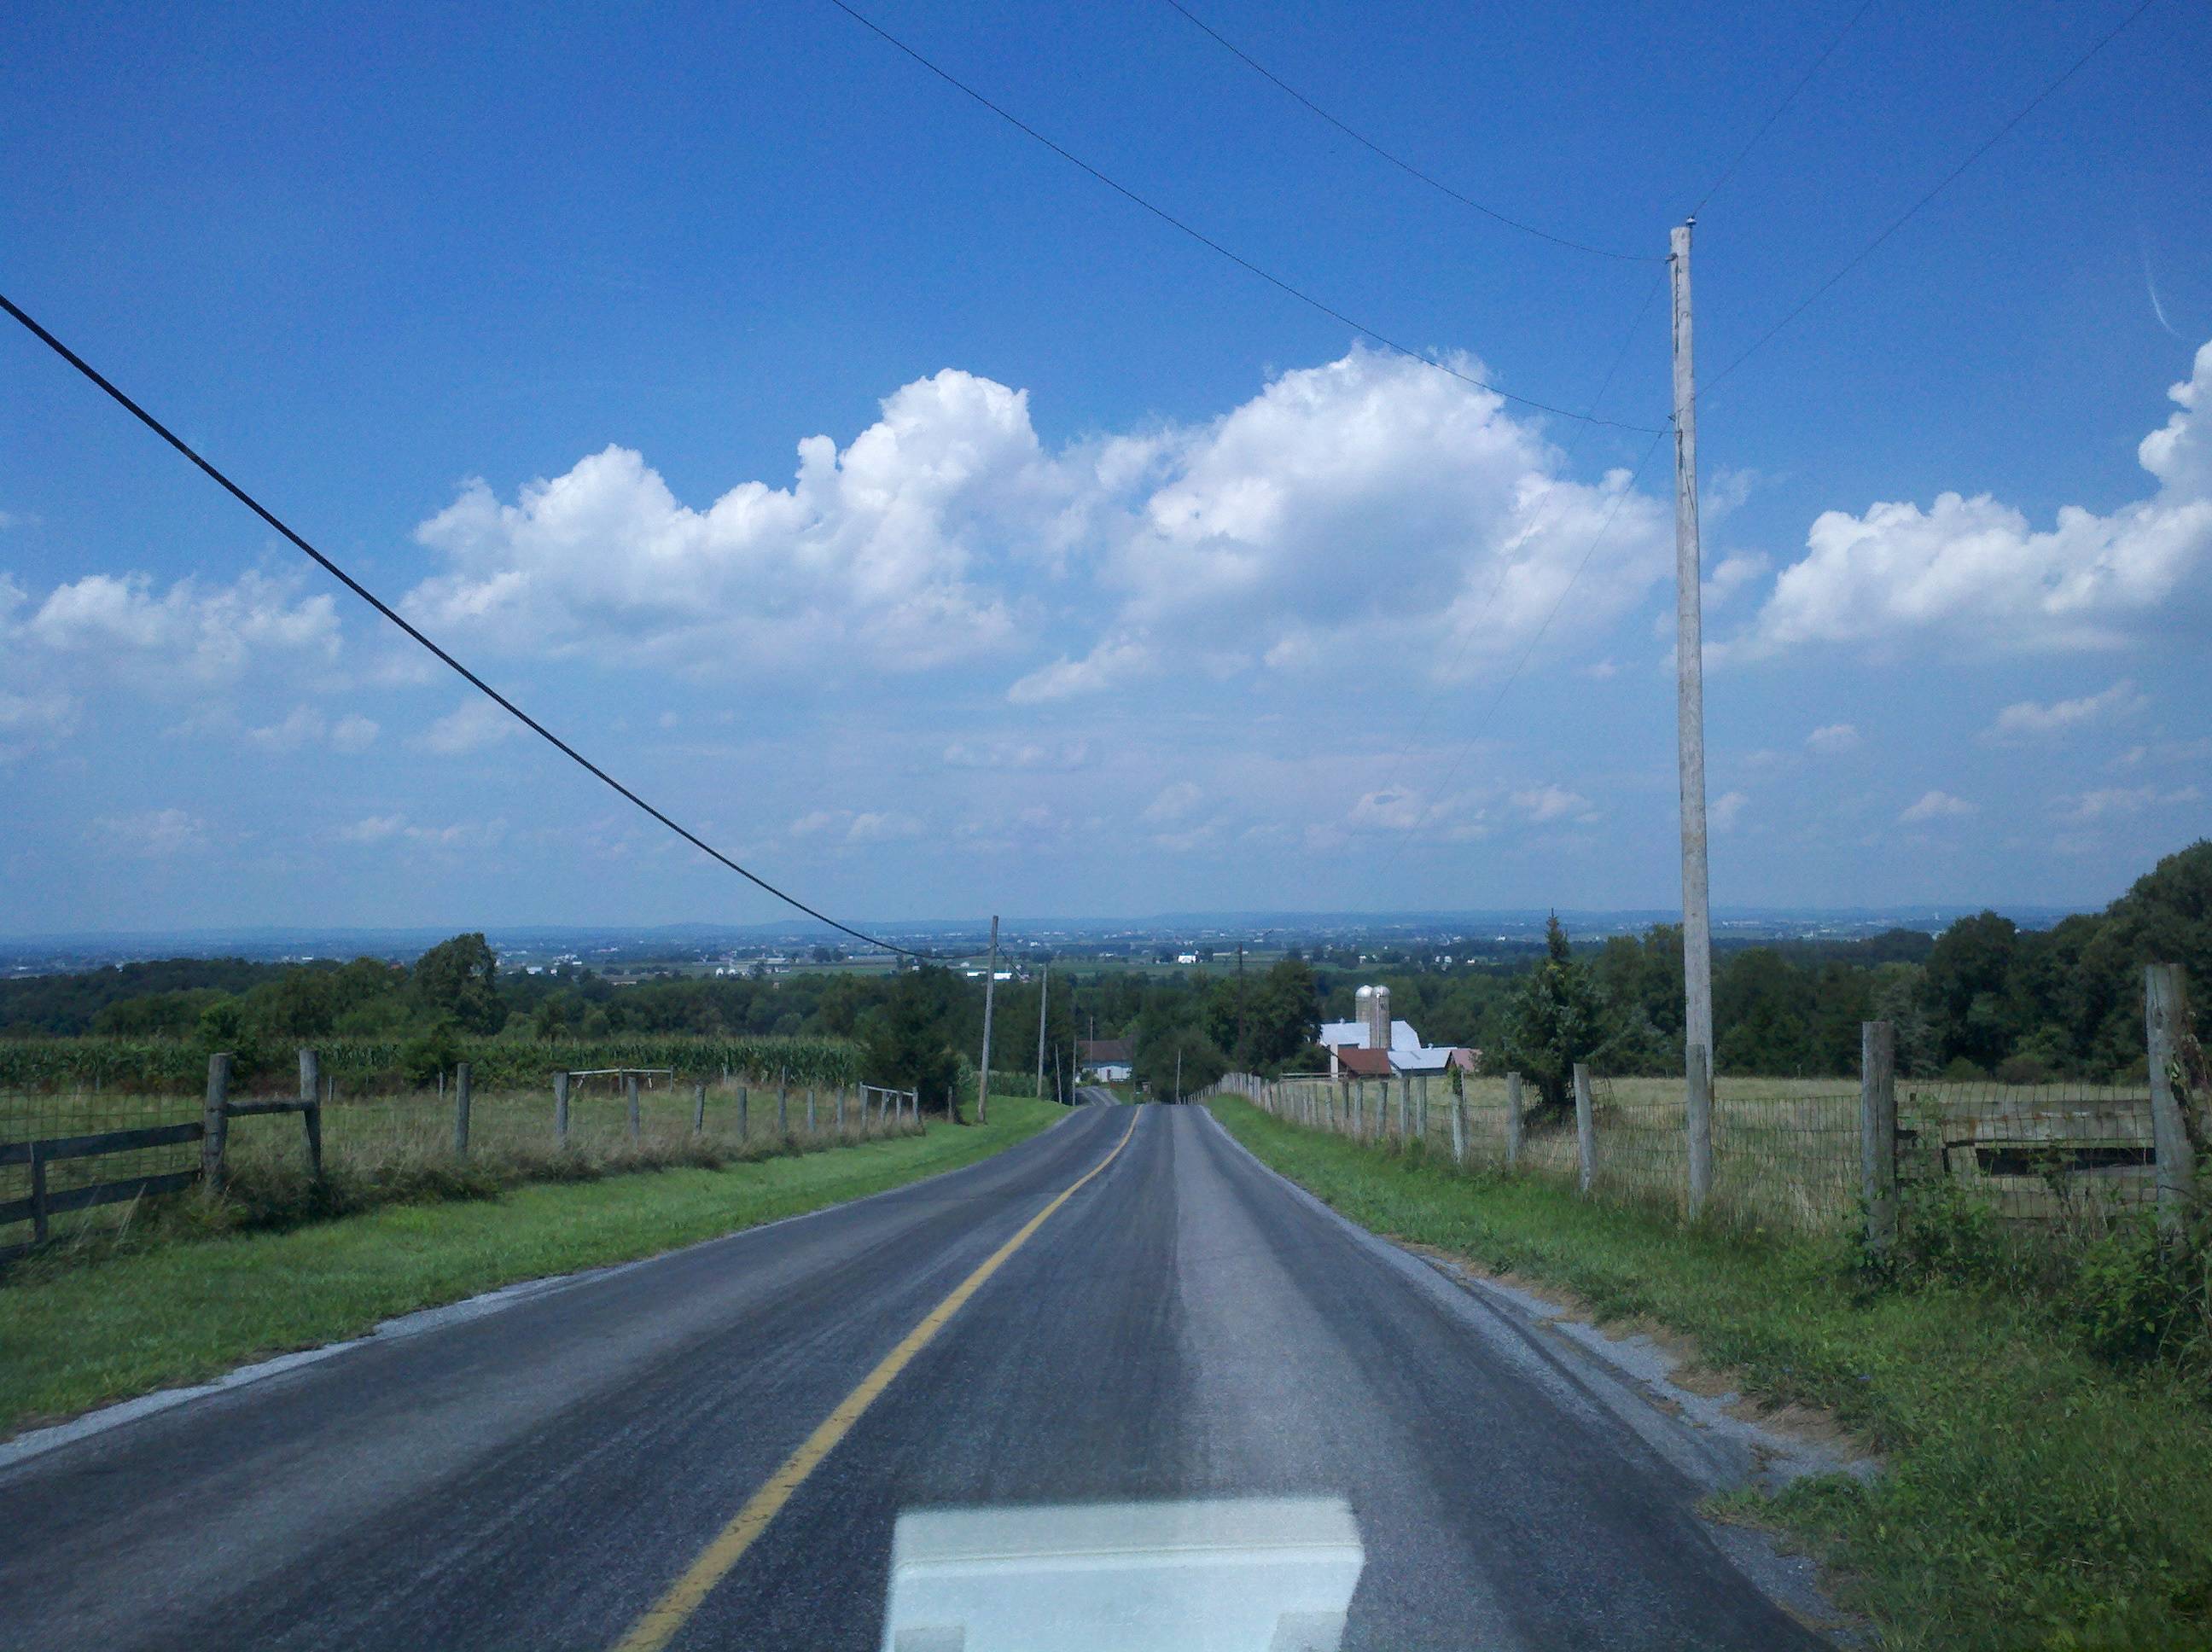
And some generally beautiful country side...
The scenerey was, of course, pretty much the same both ways. I talked to the GIC (guy in charge) at Schwalms, and he explained that I was doing it right with the steering box, that is should bind at center. He said that once I put the steering wheel on, it would feel- and work just fine. So, I guess I'll get back to that steering column one of these days, but it may wait unti lright before I put it back in the frame, since I need a new steering wheel. Although, I suppose I could use the old one to get the adjustments right...
I also kibbitzed with him a bit about putting rear ends together. Sounds like a rough road, but I have an idea or two that I hope will make it easier. We'll see, I guess, but that's still a couple months down the road, I think.
I did not get my housings back - just rebuilts. They look to be in pretty good shape, and they've been sand-blasted. Now I'm wishing I hadn't spent money on getting them cleaned. Oh well, I guess. I also bought a couple of differential bearing races while I was there - apparently I misunderstood. The rebuilt housings don't come with those installed. They did, however, weld up the perch and add a new shock ball. They turned down the old bearing, and put in a new one (a ~1 mil interference fit).
Yesterday, I popped by the machine shop to chek on those backing plates. I hadn't heard from the guy, and I was wondering if he lost my number and was maybe getting ready to charge me a storage fee. Turns out he wasn't done with them, yet. He's only working on them in his spare time (which is fine), and they are being a pain (not surprising). Sounds like they're gonna end up costing me a fair amount to have those bushings pressed out. D'oh.
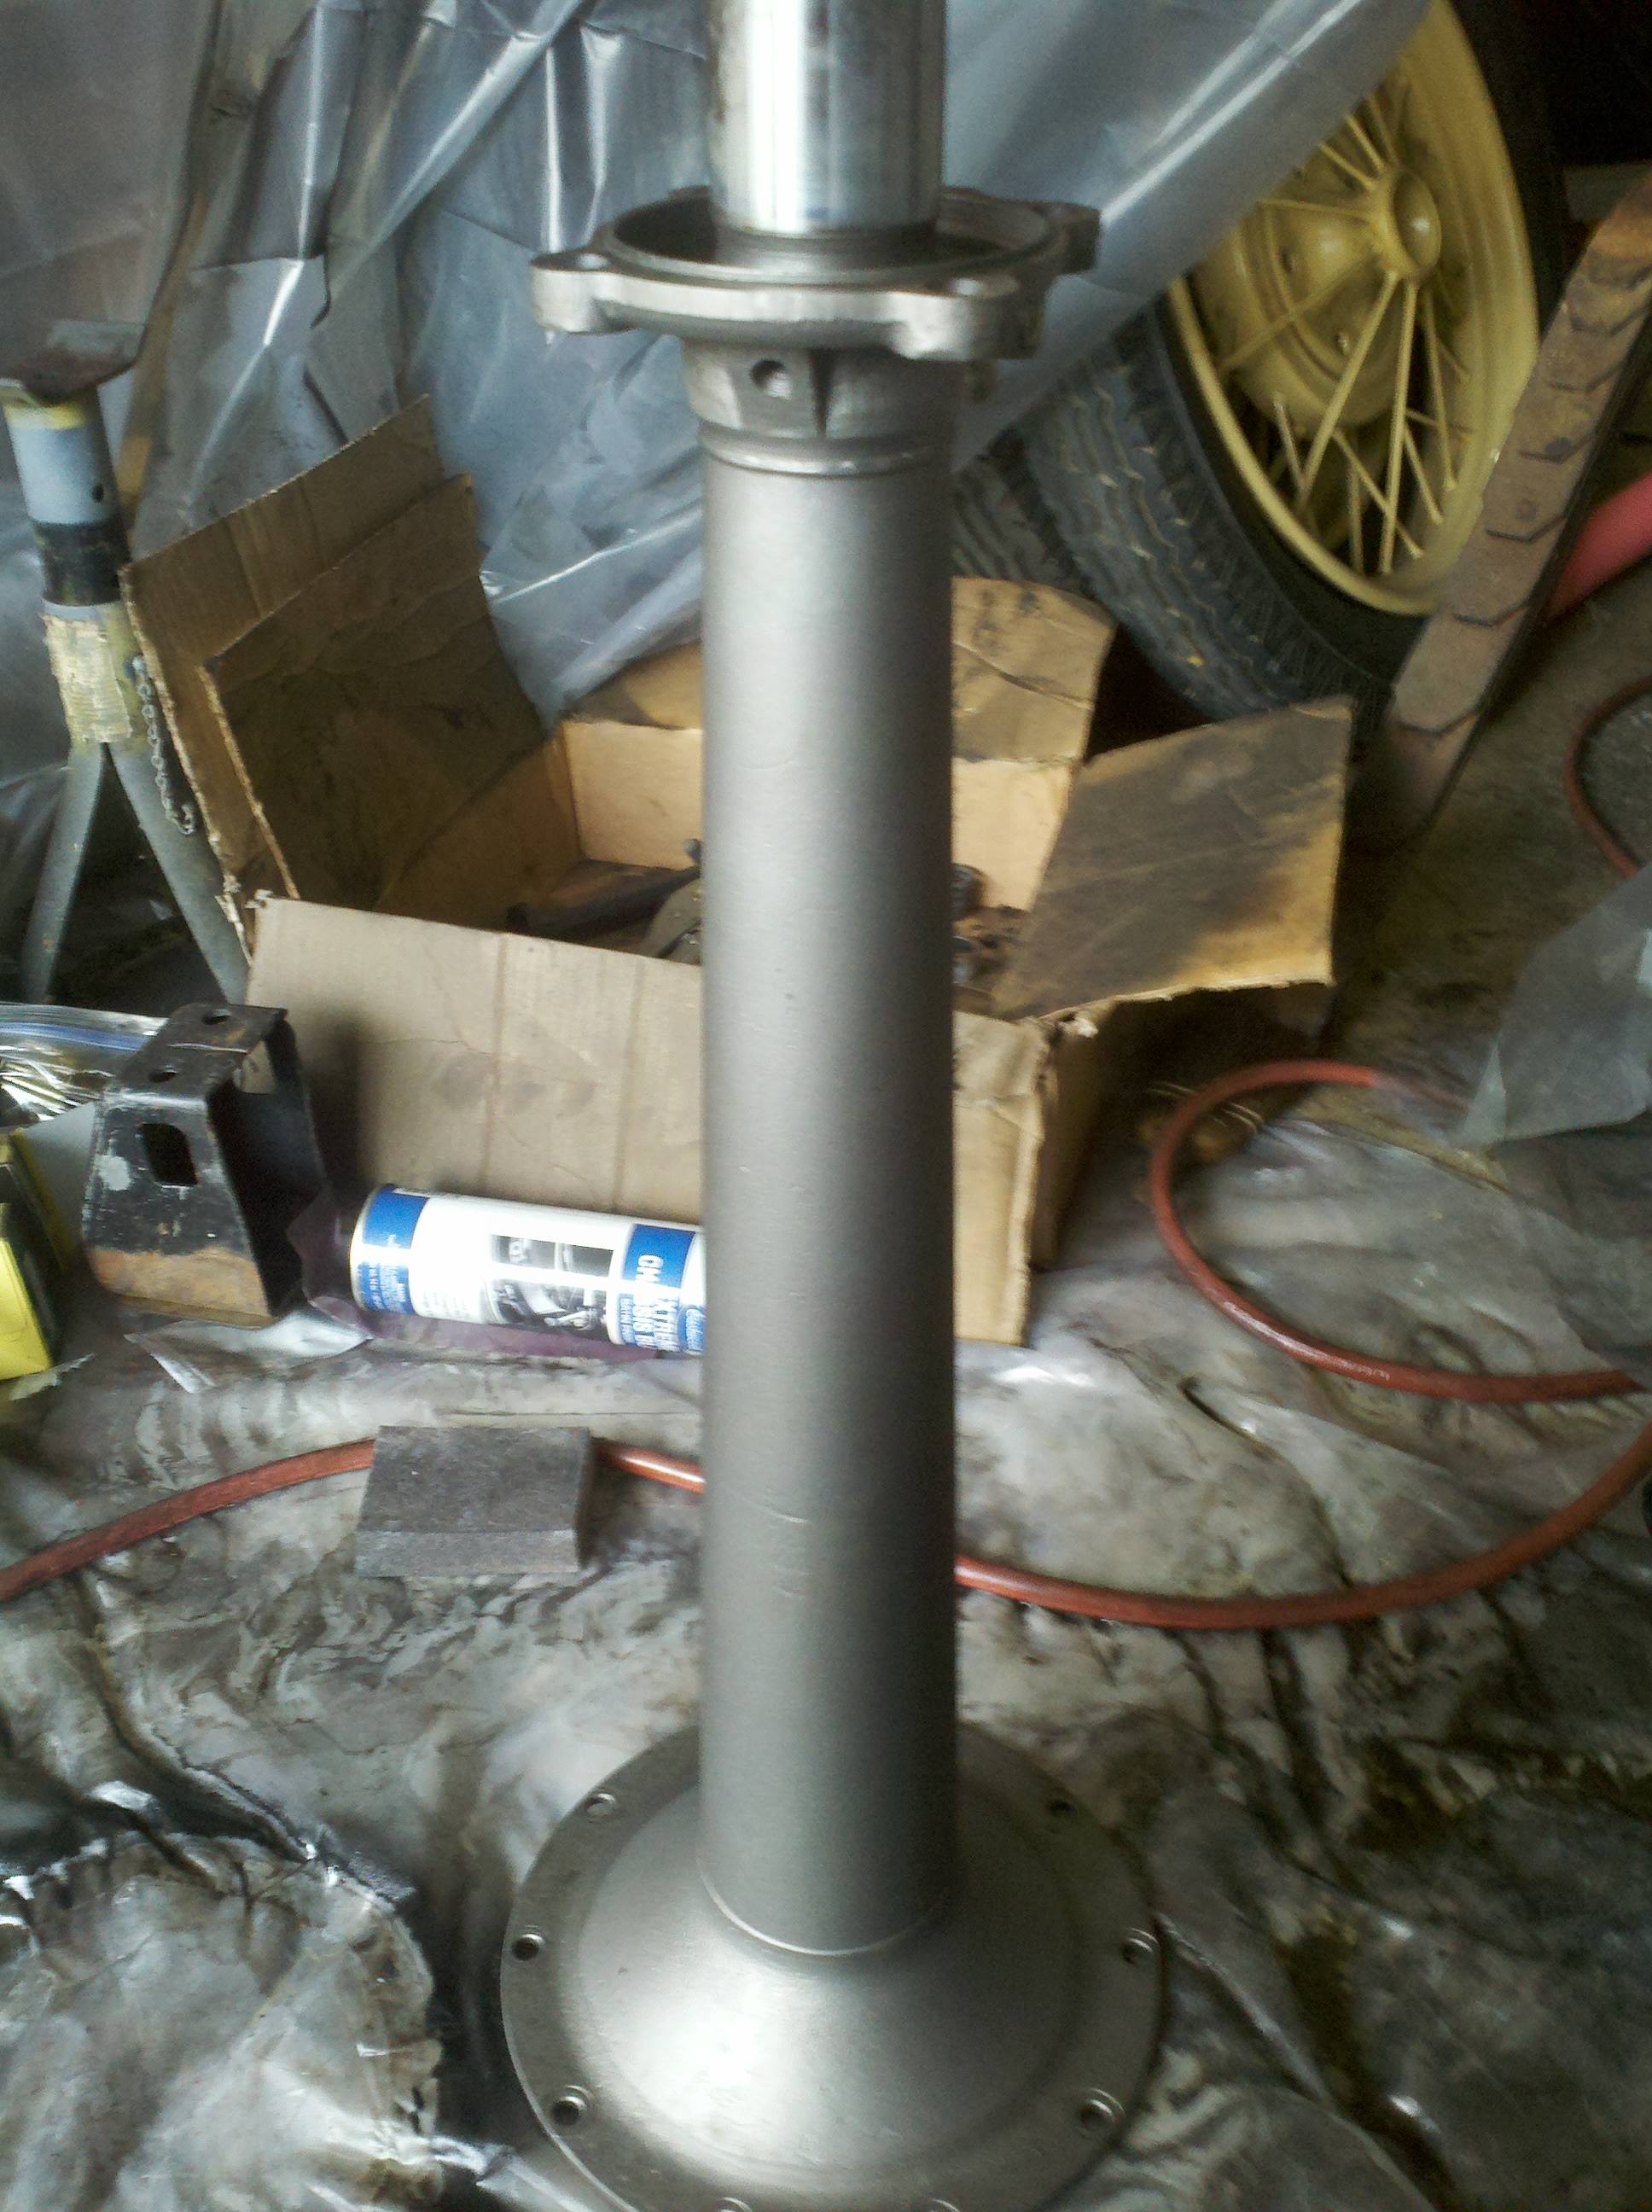
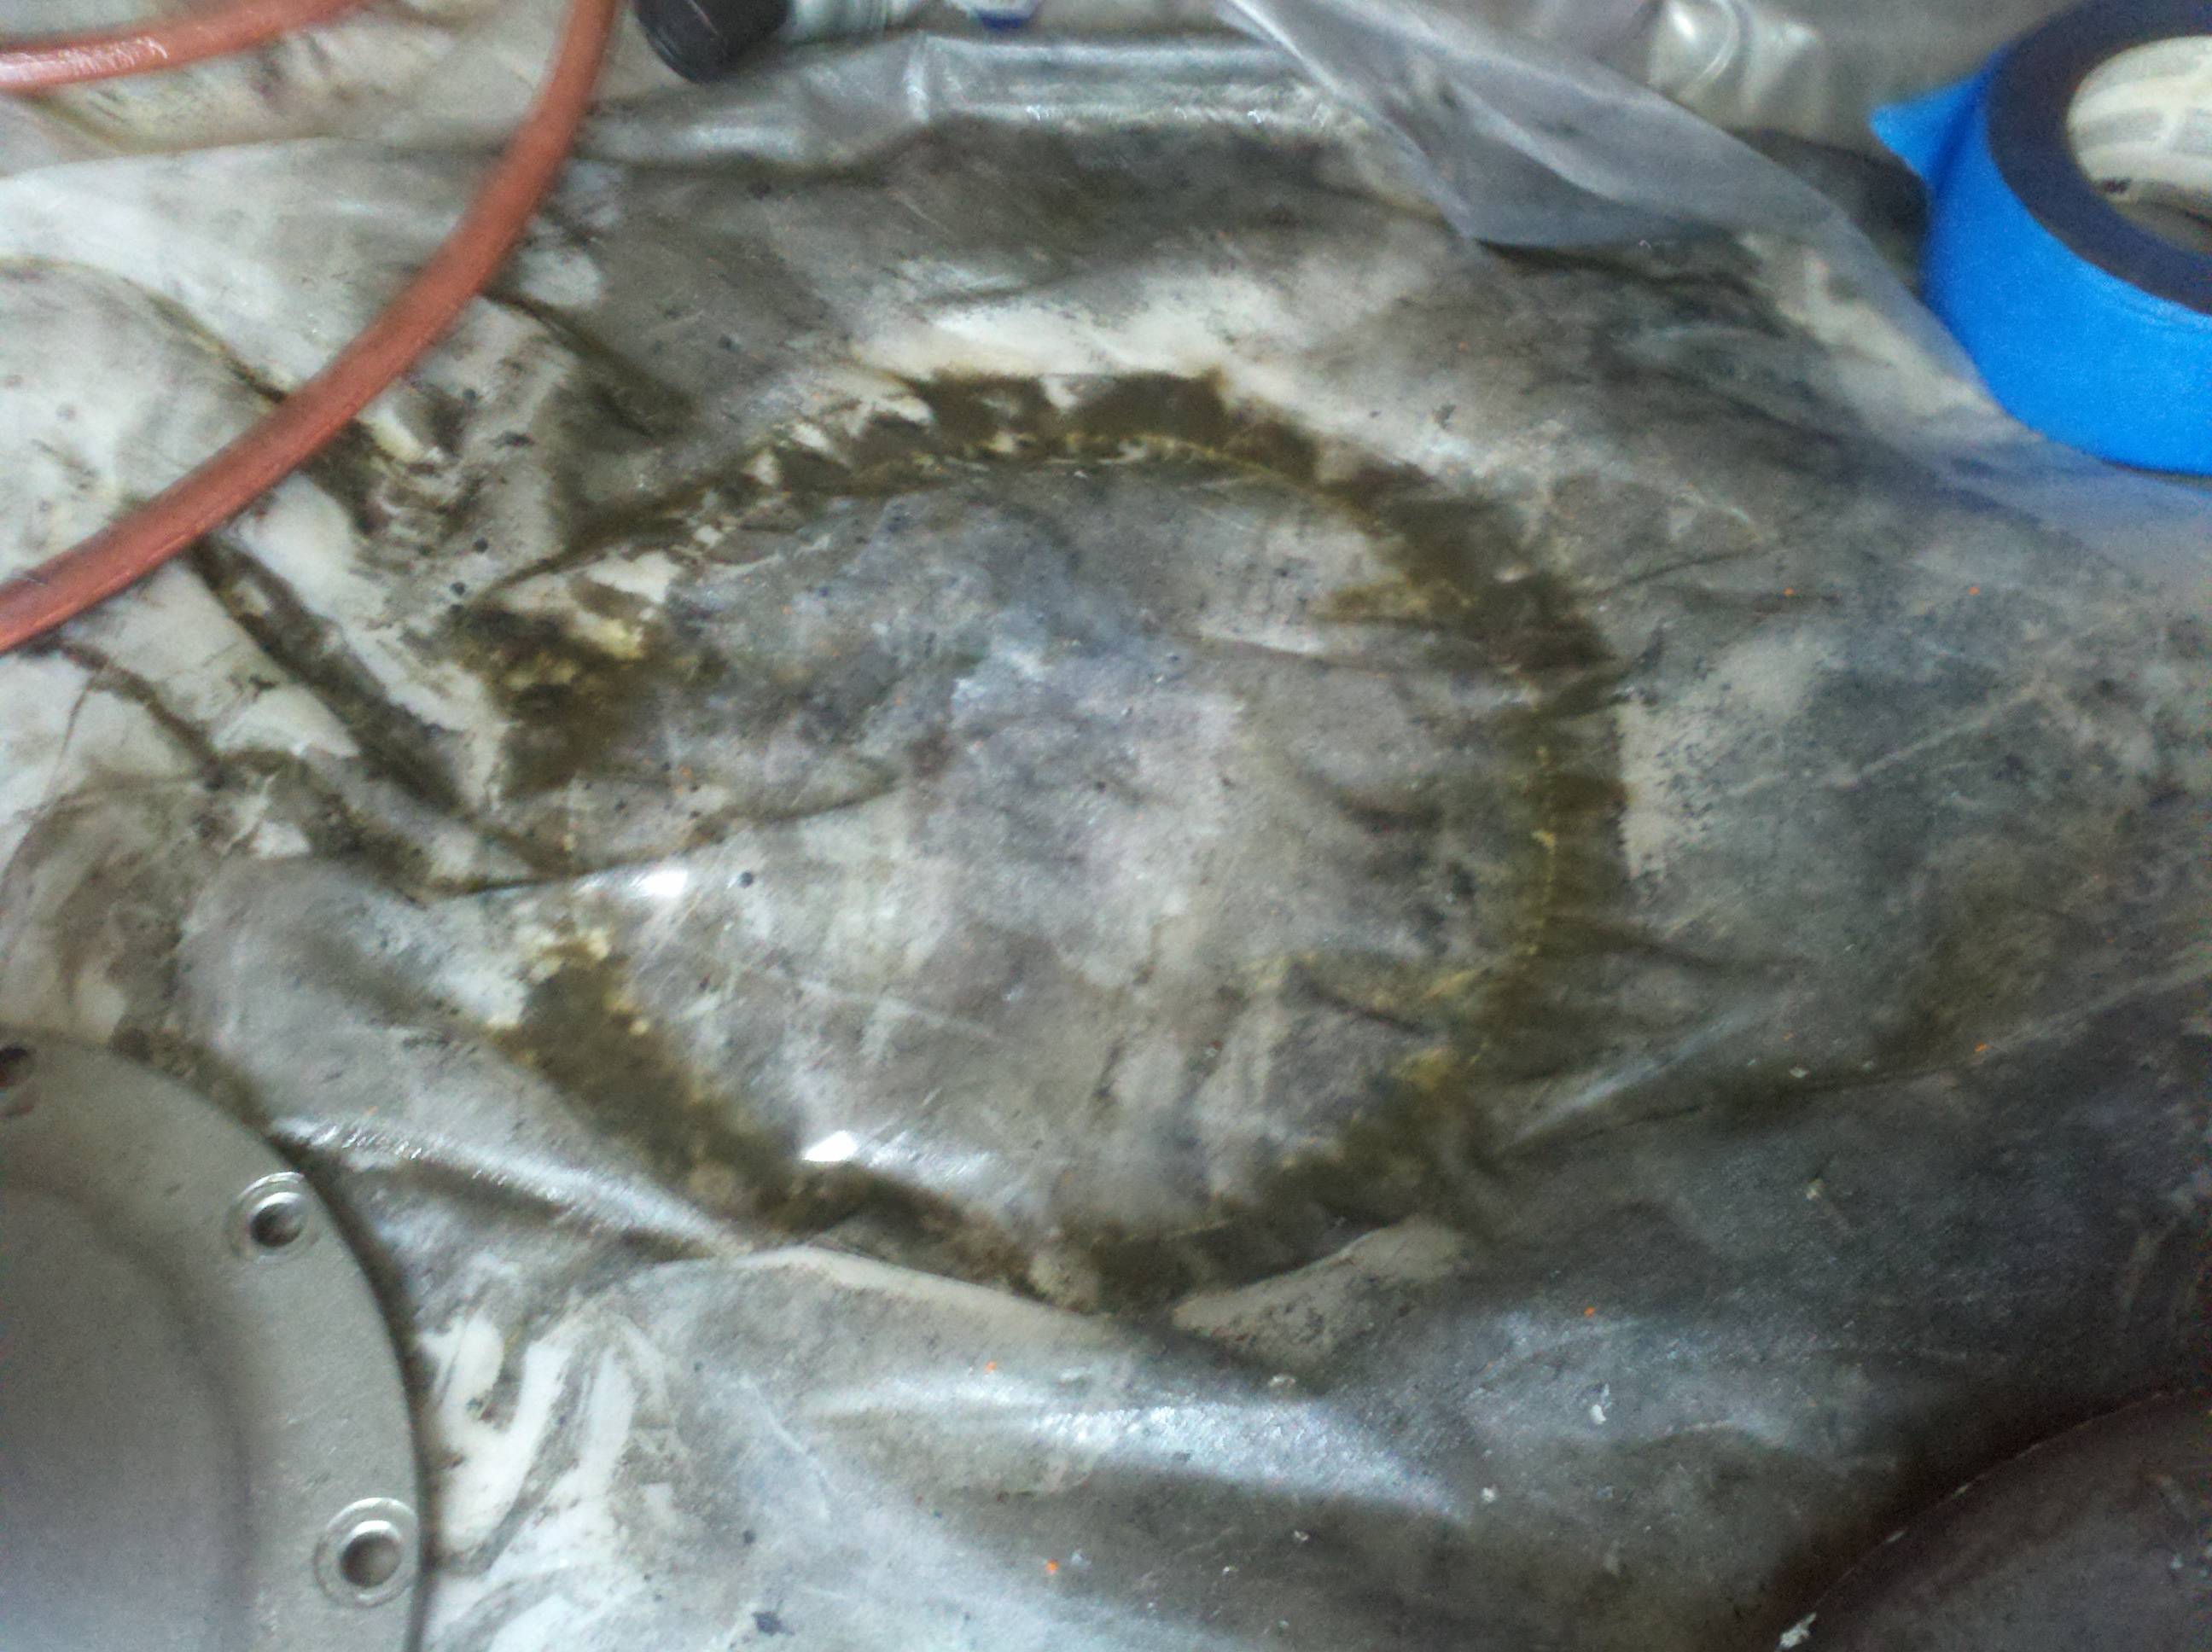
Today, I painted the new axle housings. Of course, I had to clean them first - they were pretty dirty. I didn't really notice it at first, but I decided to wipe up the spots where I'd touched them (to get the finger print oil off so paint would stick better), and I got a surprise. So, here's a picture sequence of one of the housings before, during, and after cleaning, along with a patch of left-over residue on the floor (ick).

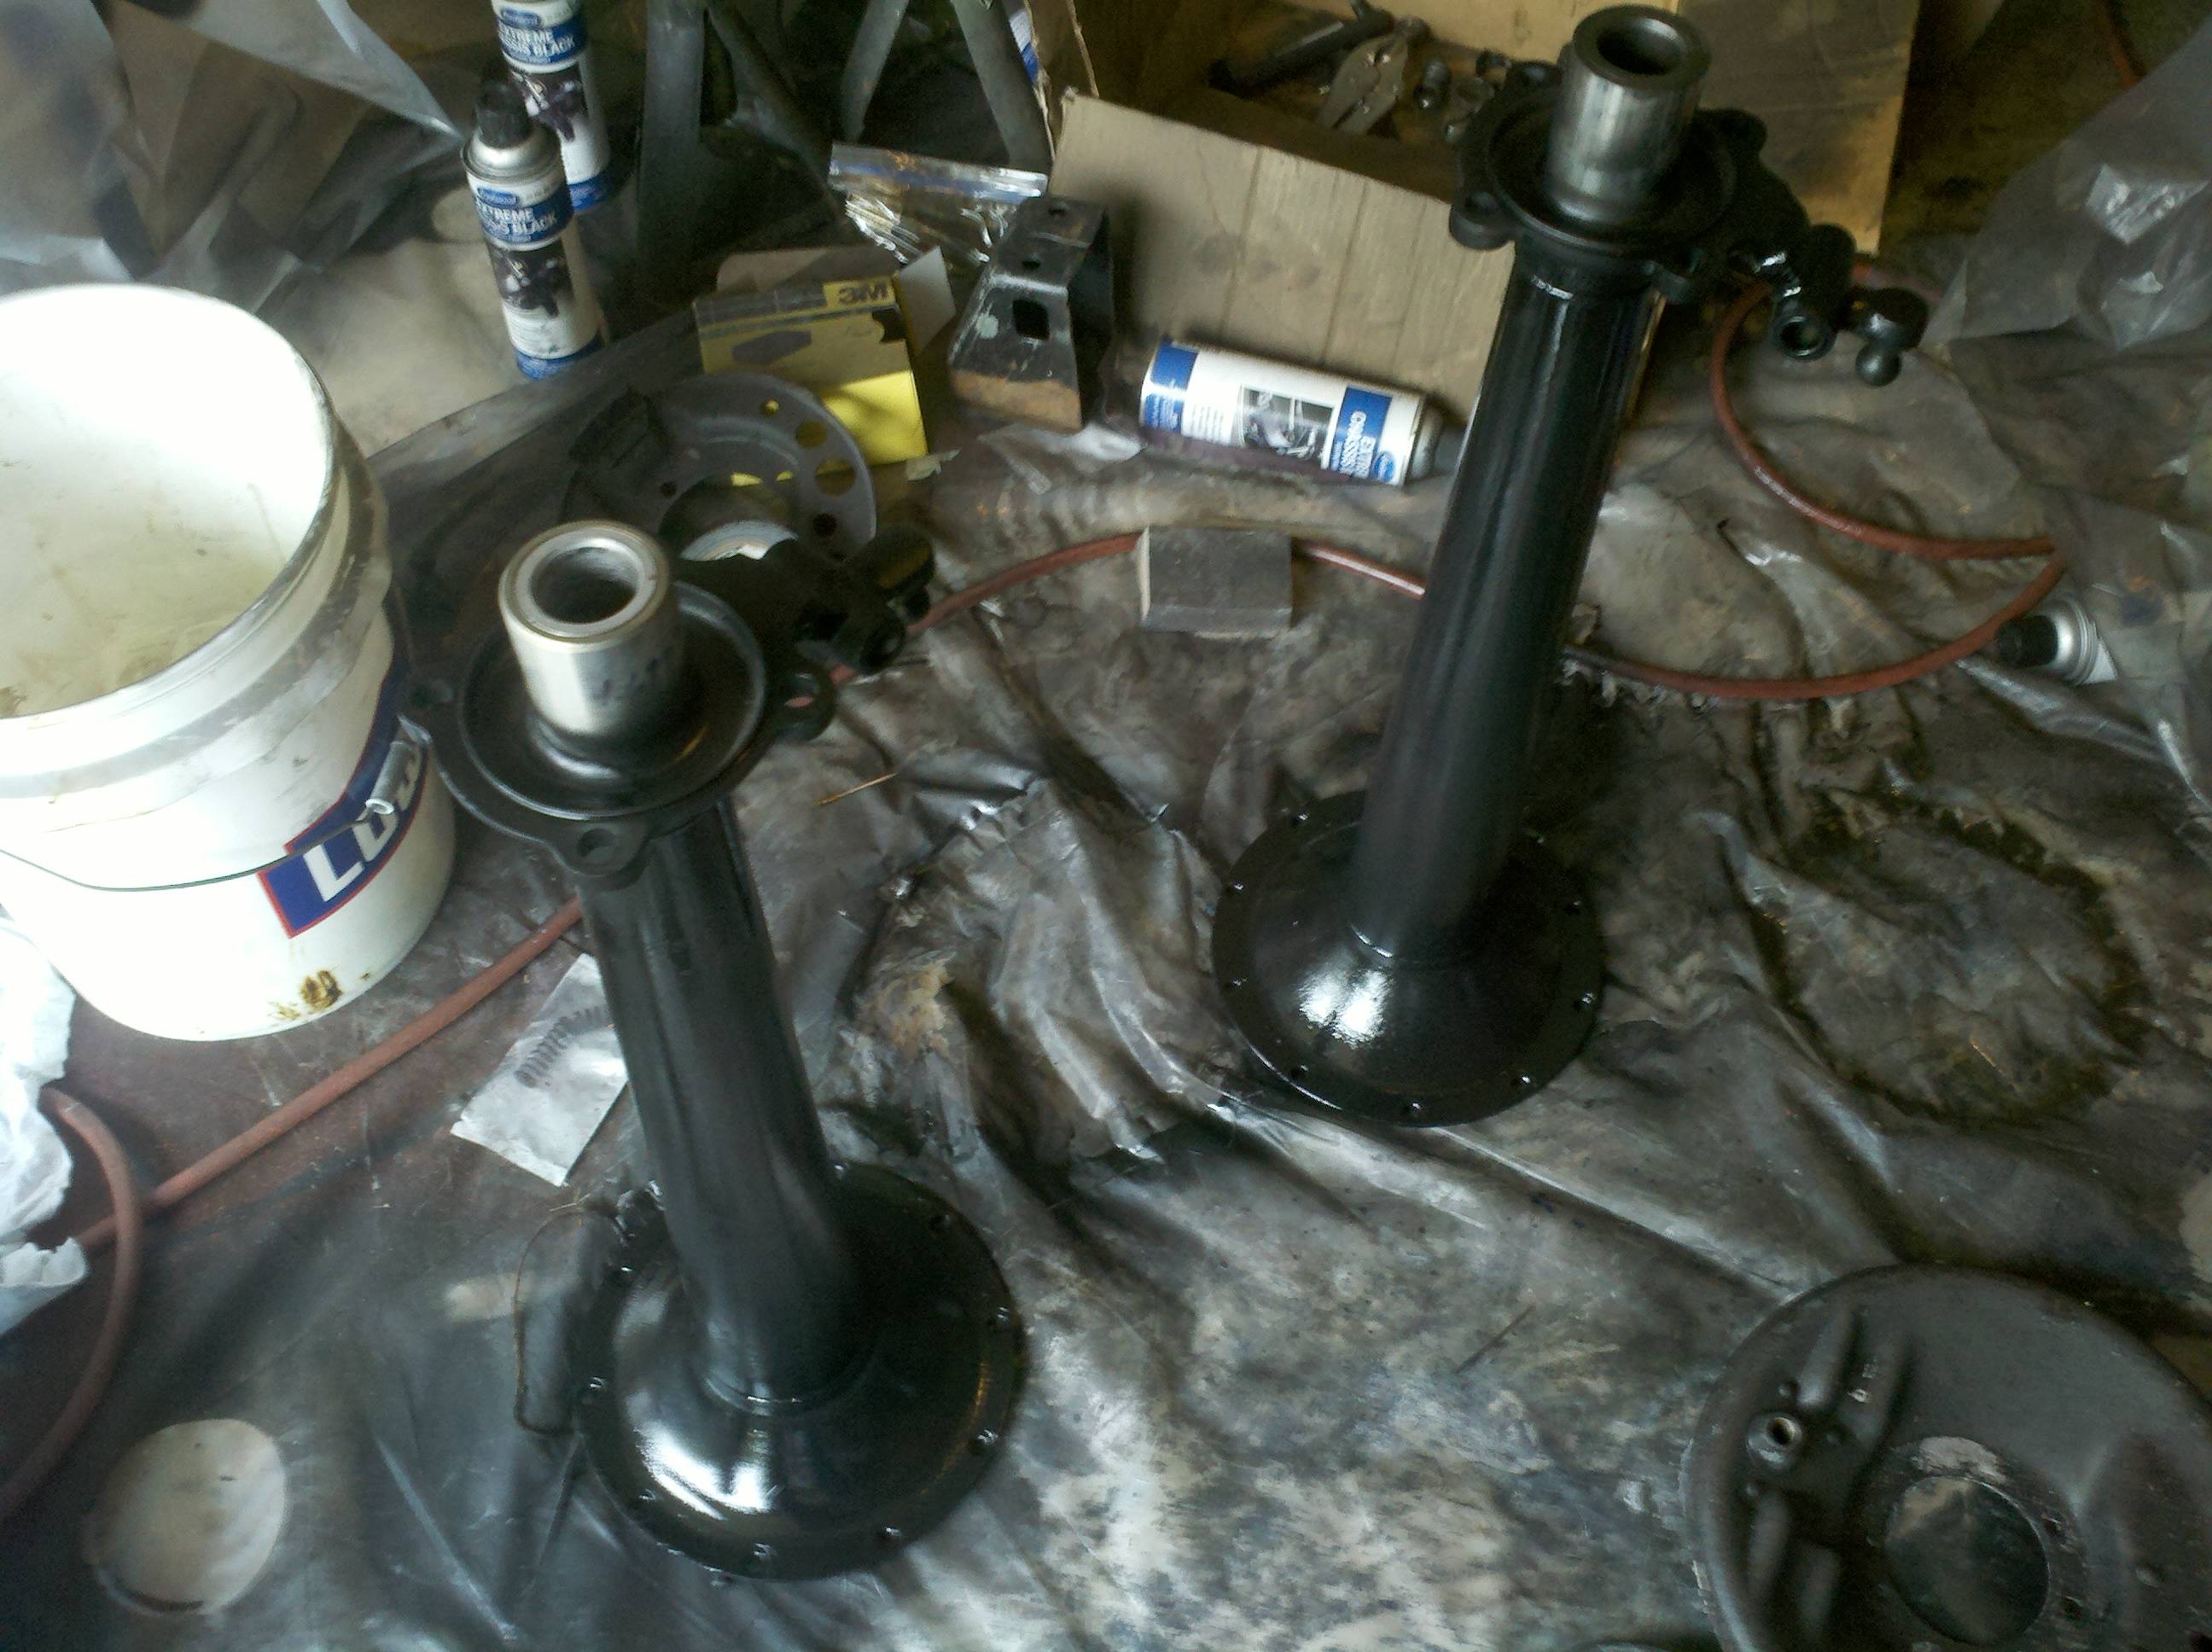
Once they were cleaned off, I shot pain the same way I've been doing on everything else - 2 coats of encapsulator, followed by 1 coat of gloss, and then 1 coat of satin chassis black. 45 minutes between coats. Here they are with a wet coat of primer:
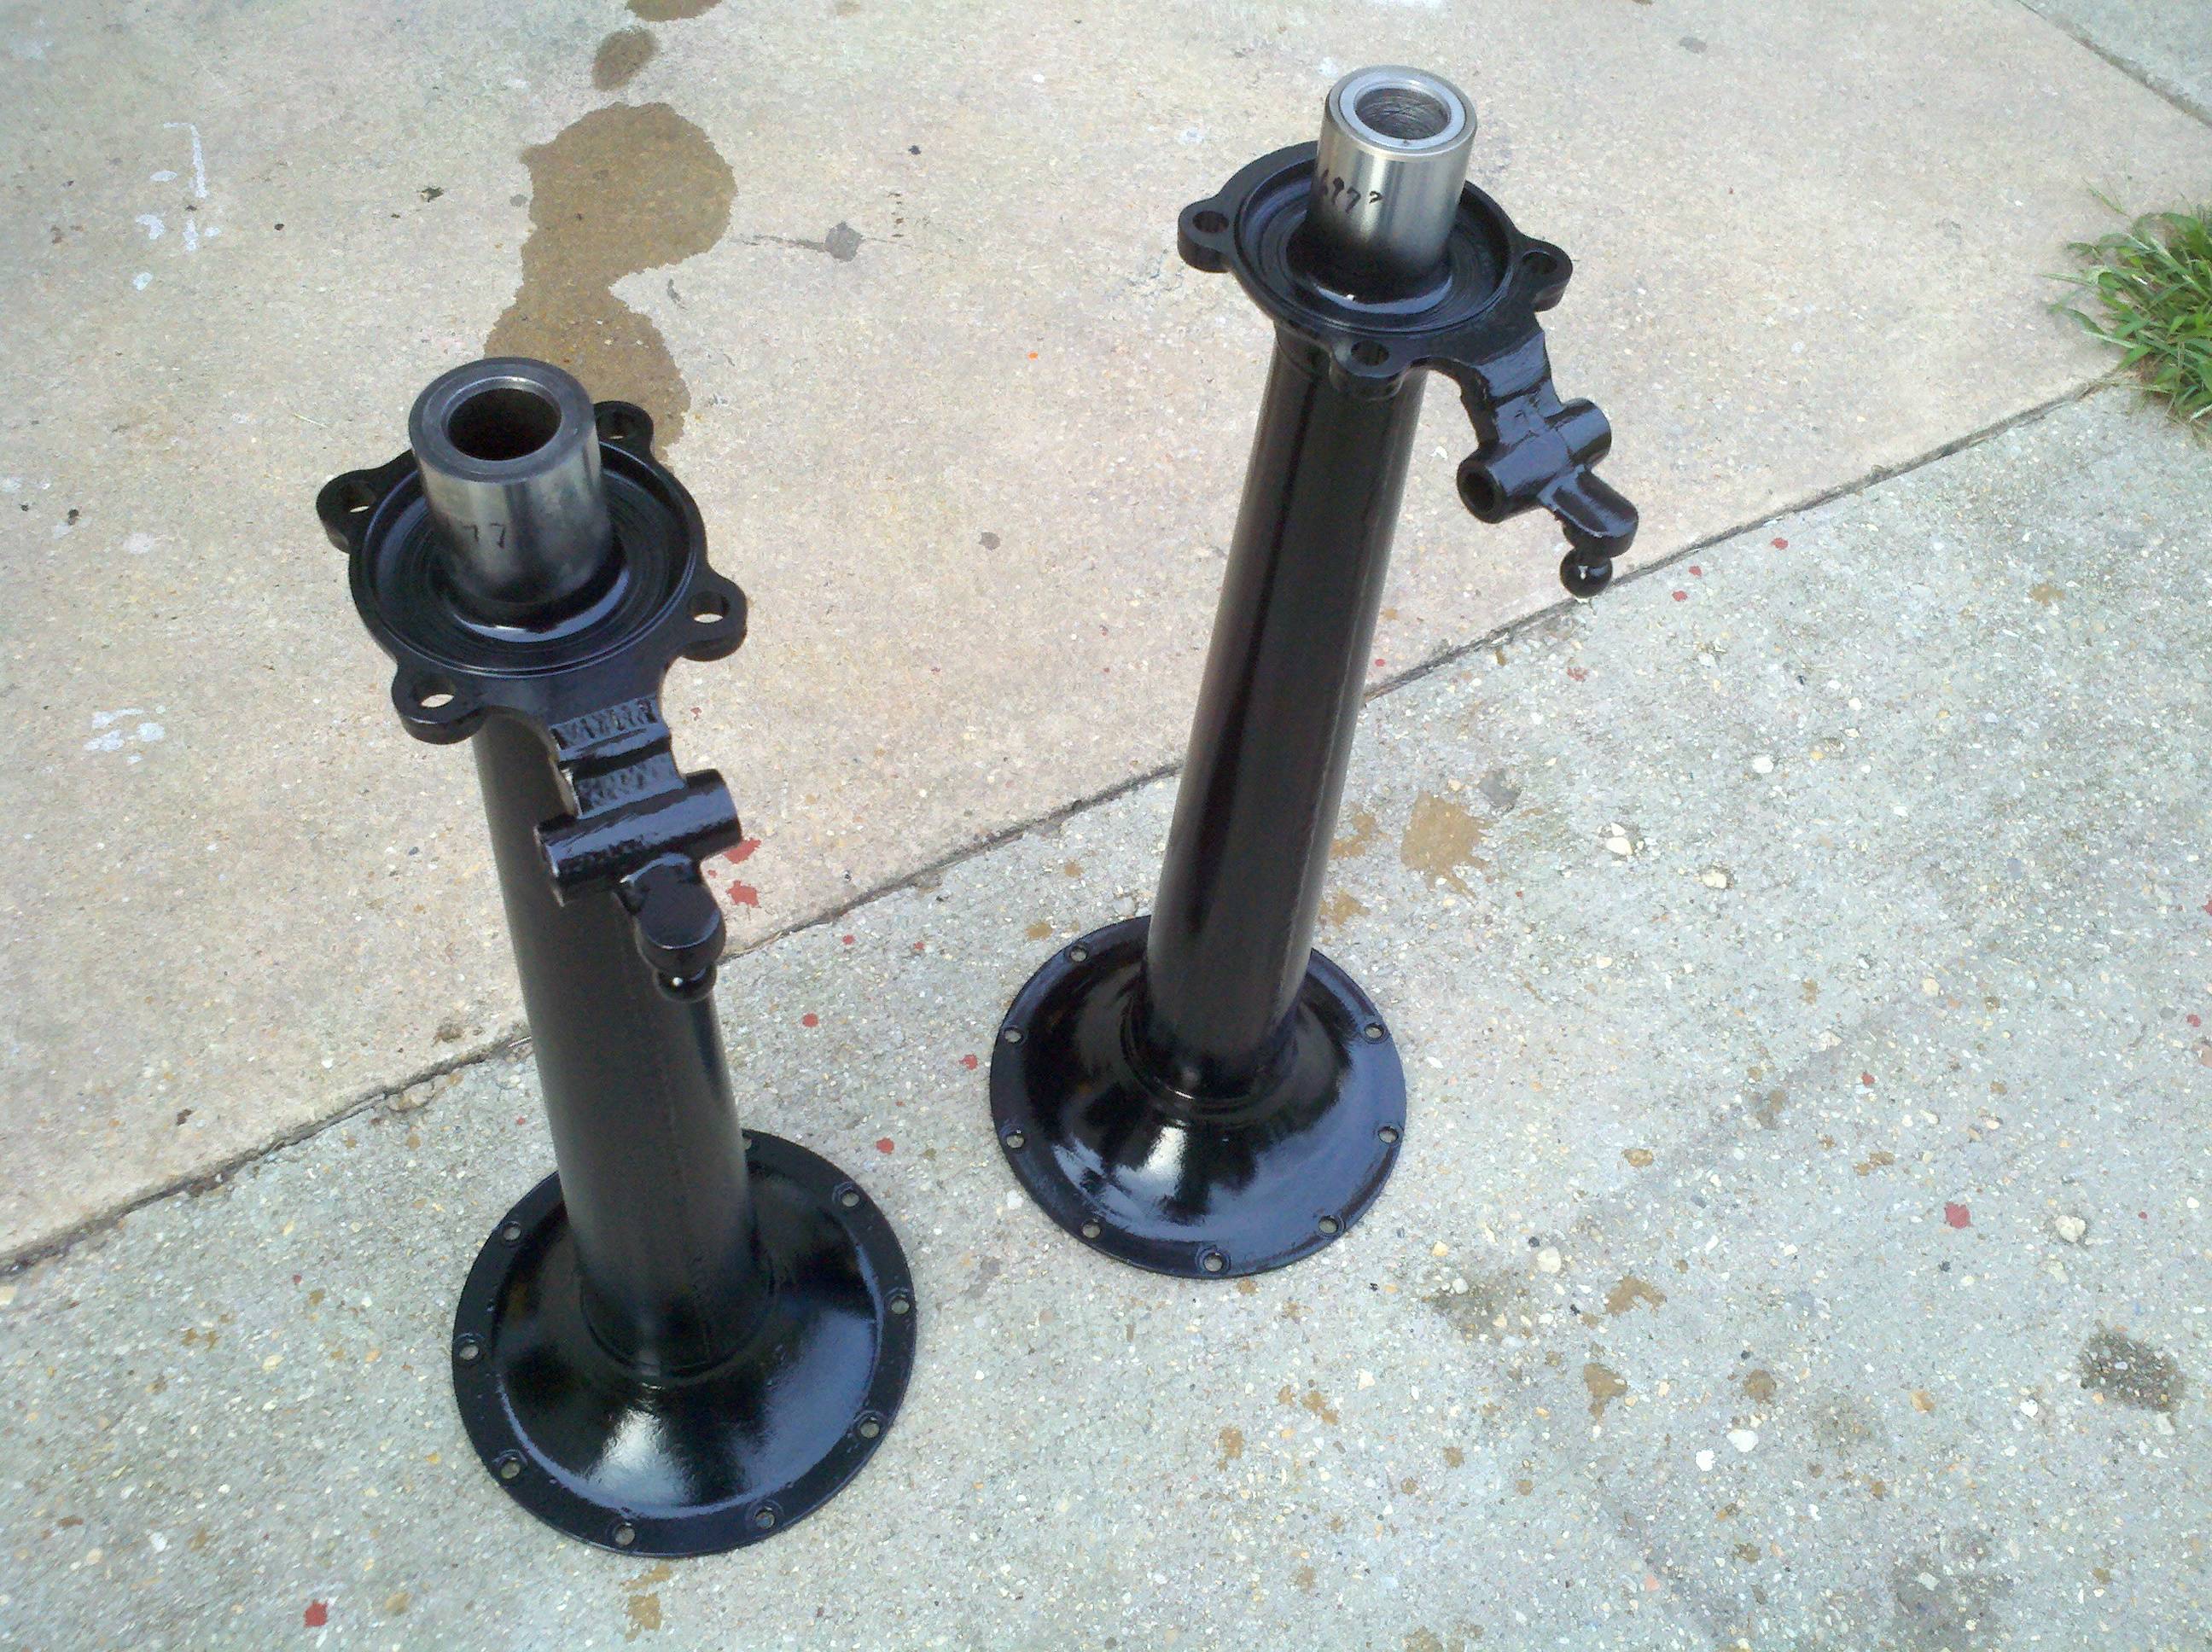
And again, with all the painting completed and dry, the day after.
Here it is, the end of the month, and that's all that got done. There's a few more things I'd like to get done in the near future (like getting the frame and wheels blasted and painted), but we just got hit with a bunch of unexpected bills (including a heat pump compressor that's going bad)... Looks like I'm gonna slow things down even more for a bit. I'll try to squirrel away a little bit of ca$h every month, but I'm probably only going to work on stuff that doesn't require any more lay-out, for now. there's plenty I can do along those lines, though, so no biggie. I think. I guess we'll see.
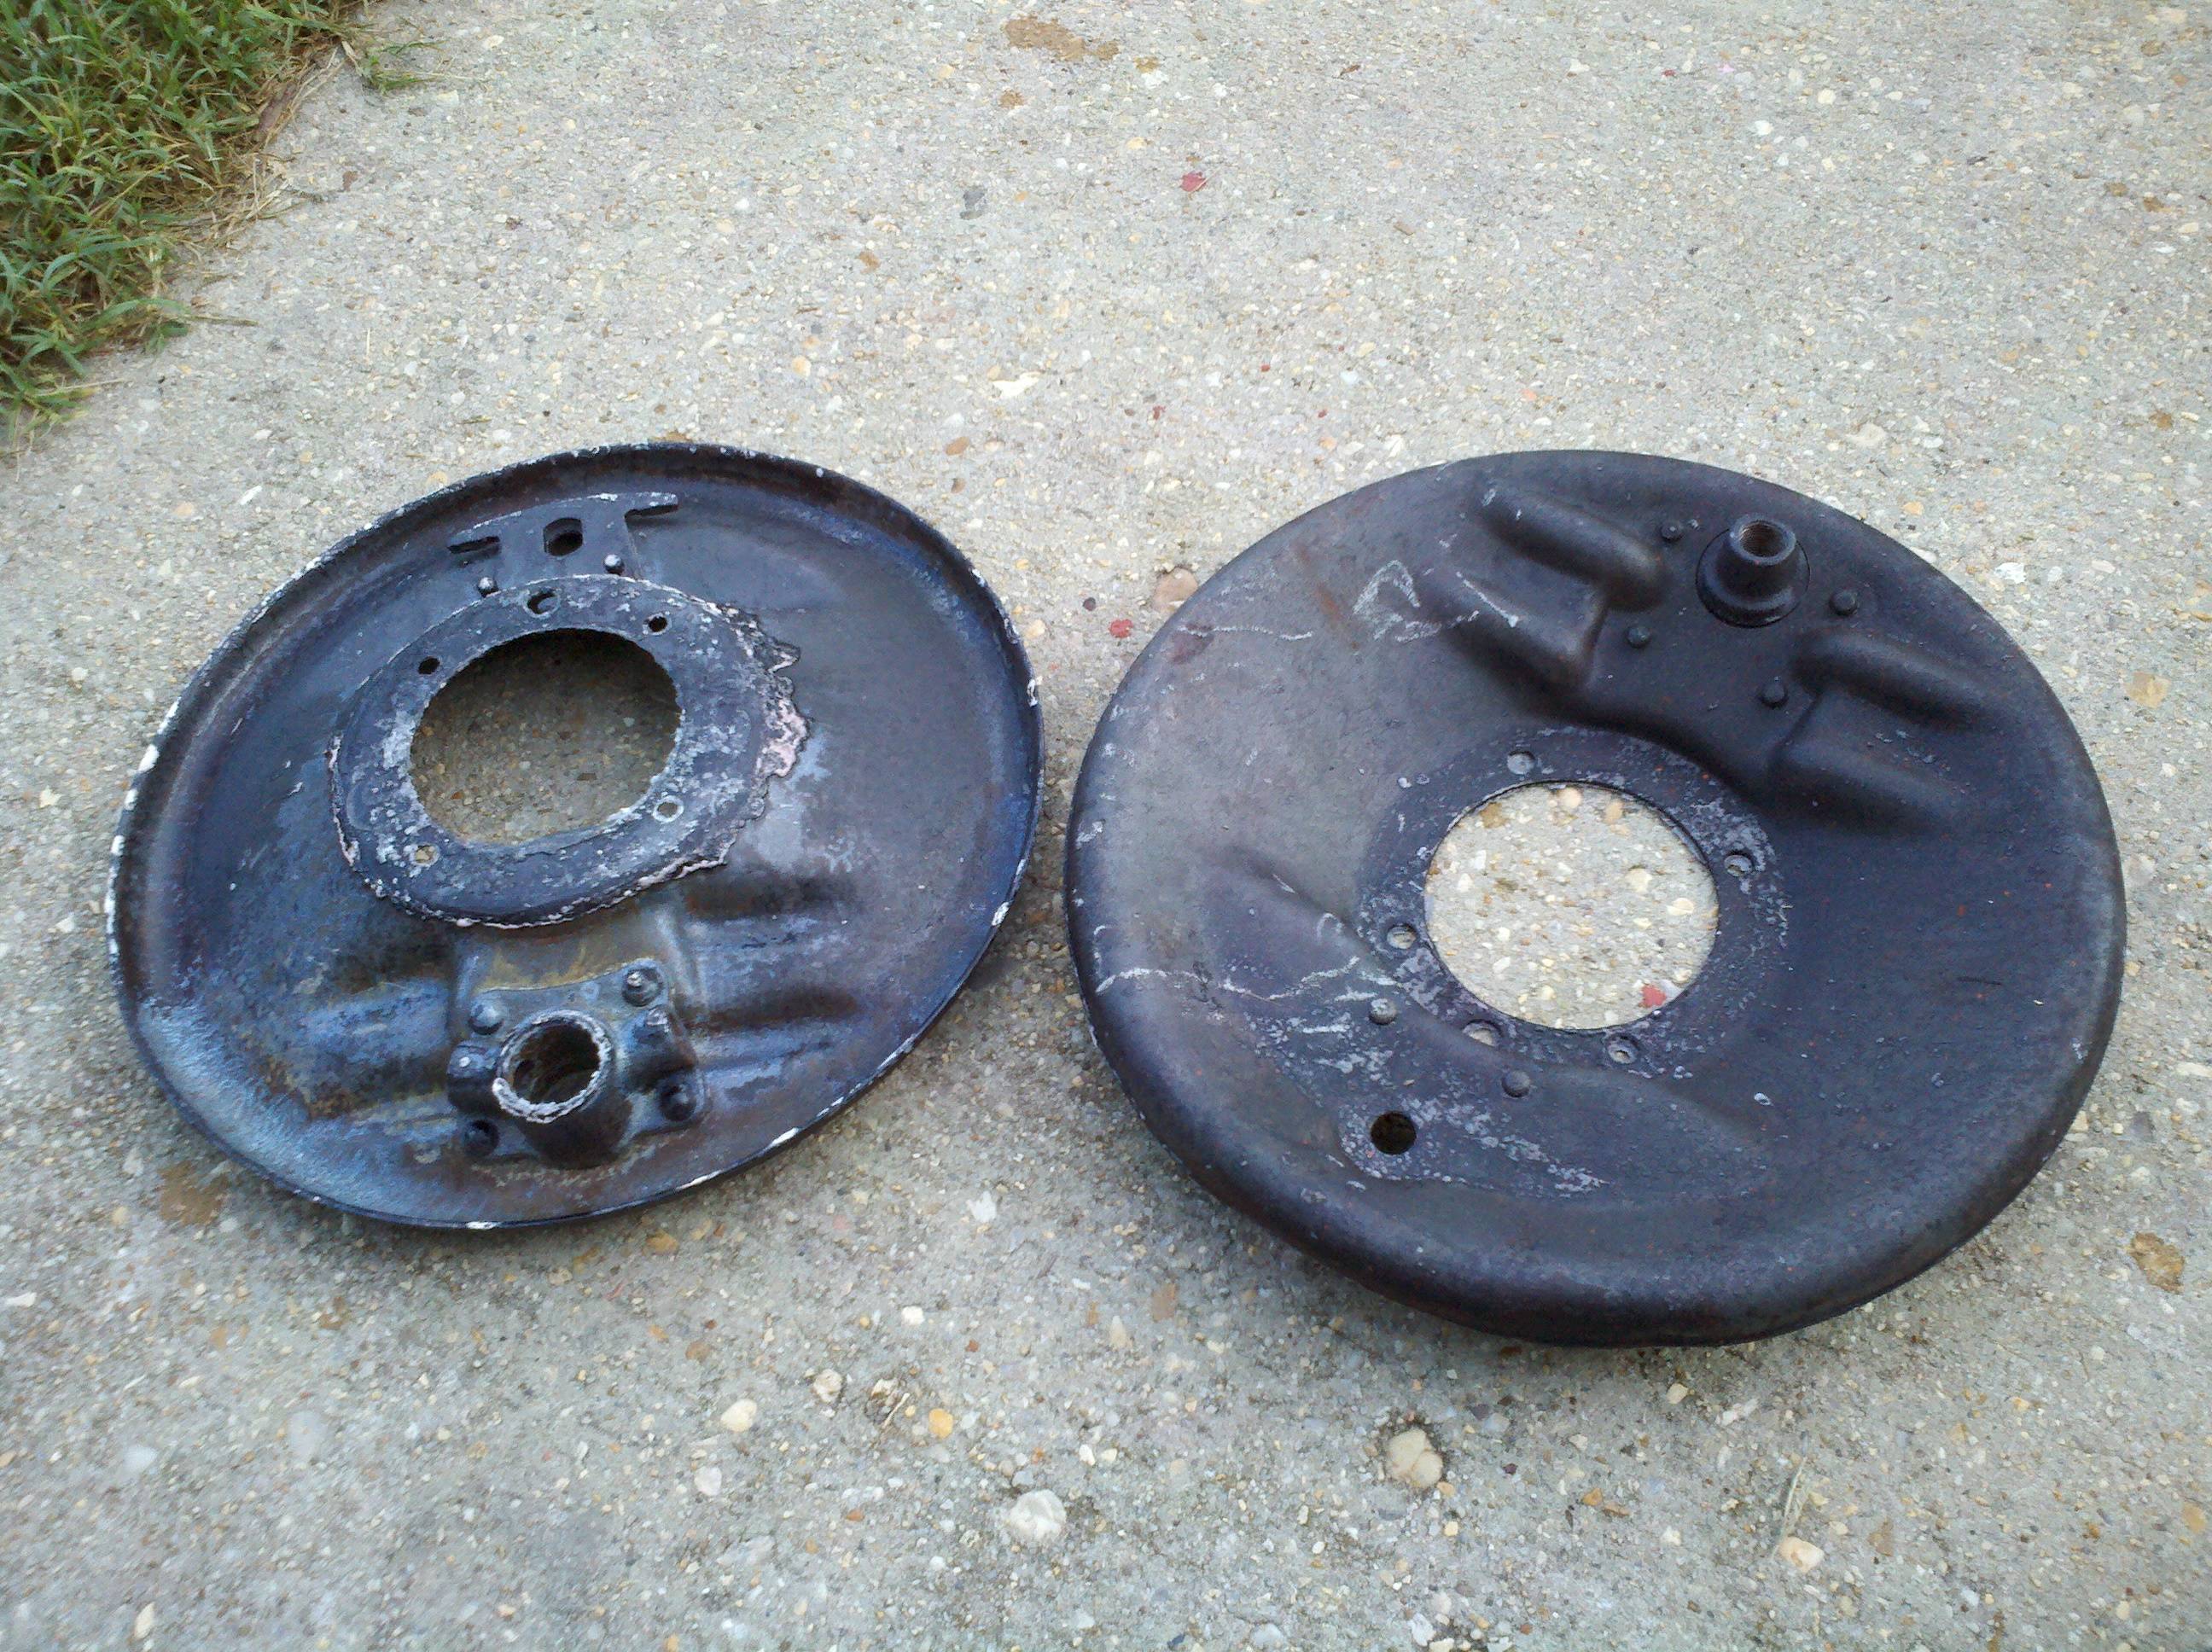
Quick August update. I had the time to shoot some Fast-Etch on the front brake backing plates. I have since learned that I've been "doing it wrong," so I thought I'd share with you so you don't make the same mistake yourself. The Fast-Etch instructions say to keep the stuff wet for at least 30 minutes - longer for parts with lots o' rust. After the paint was stripped off, it was pretty evident that there was a lot of rust in these things (See the pics from 15 June). So, I hosed the things down on both sides, and walked off. I came back the next day to see them looking like this:
The Fast-Etch, it seems, will dry up in an epoxy-like coating that is a real pain to get off. I had originally thunk that I'd be able to paint right over it, but you can see from that pic that it just ain't the case. Turns out that when you soak itl ike this, the stuff kinda gooks up into a sort of epoxy-like stuff, and is can be sticky and gross. It would also seem that maybe some of the chemicals could still be active, and then ruin any paint you put over it. Further investigation seems to say that you can reapply over the top of that mess, and it will re-activate, and then you can wipe it off. The right way to do it would have been to get it wet, and keep it wet with a rag/sponge. Once you think it's good enough, you wipe it all away and hit it really well with thinner. Then you can paint.
So, I started working it a little bit with my wheel to clean the stuff off, and I figured out pretty quickly that this was gonna be a real pain in the tukus. I'll be taking these in with everything else to have them blasted - which was part of the original plans, so no big deal. Be forewarned!
Last modified on 11/07/12