Well, then! Lots of stuff goin' down!
So, then... Earlier this week, I came into a bit of money. Not gonna say how, but rest assured it wasn't due to anything illegal. Purely legitimate, I swear!
Of course, the money was pretty immediately foolishly spent. I went to online to Snyder's, and spent about $210 in parts for the rear end and suspension - primarily seals, shims, Zerc fittings, new bolts, and a bunch of other stuff required to reassemble the rear end and steering column. I also spent another $450, or so, at Eastwood's. I bought a quart of fast-etch rust converter, 2 quarts of Extreme Chassis Black, 4 quarts of Eastwood POR, and 4 rattle-cans of each. I intend on painting everything that gets stripped with a coat or two of POR, followed by a coat of the chassis black. Hopefully this will all work out.
This morning (Saturday), the kids and I popped over to Pasadena Diesel, and dropped off all the steering components (tie rods, drag link, pittman arm, steering arm), the rear end housings (Banjo, torque- and axle tubes), all the backing plates, and all the brake drums. I'm pretty sure I also dropped off the front spring perches and king pins, but I honestly can't remember right this instant. They said we'd likely have at least some of it back in a week.
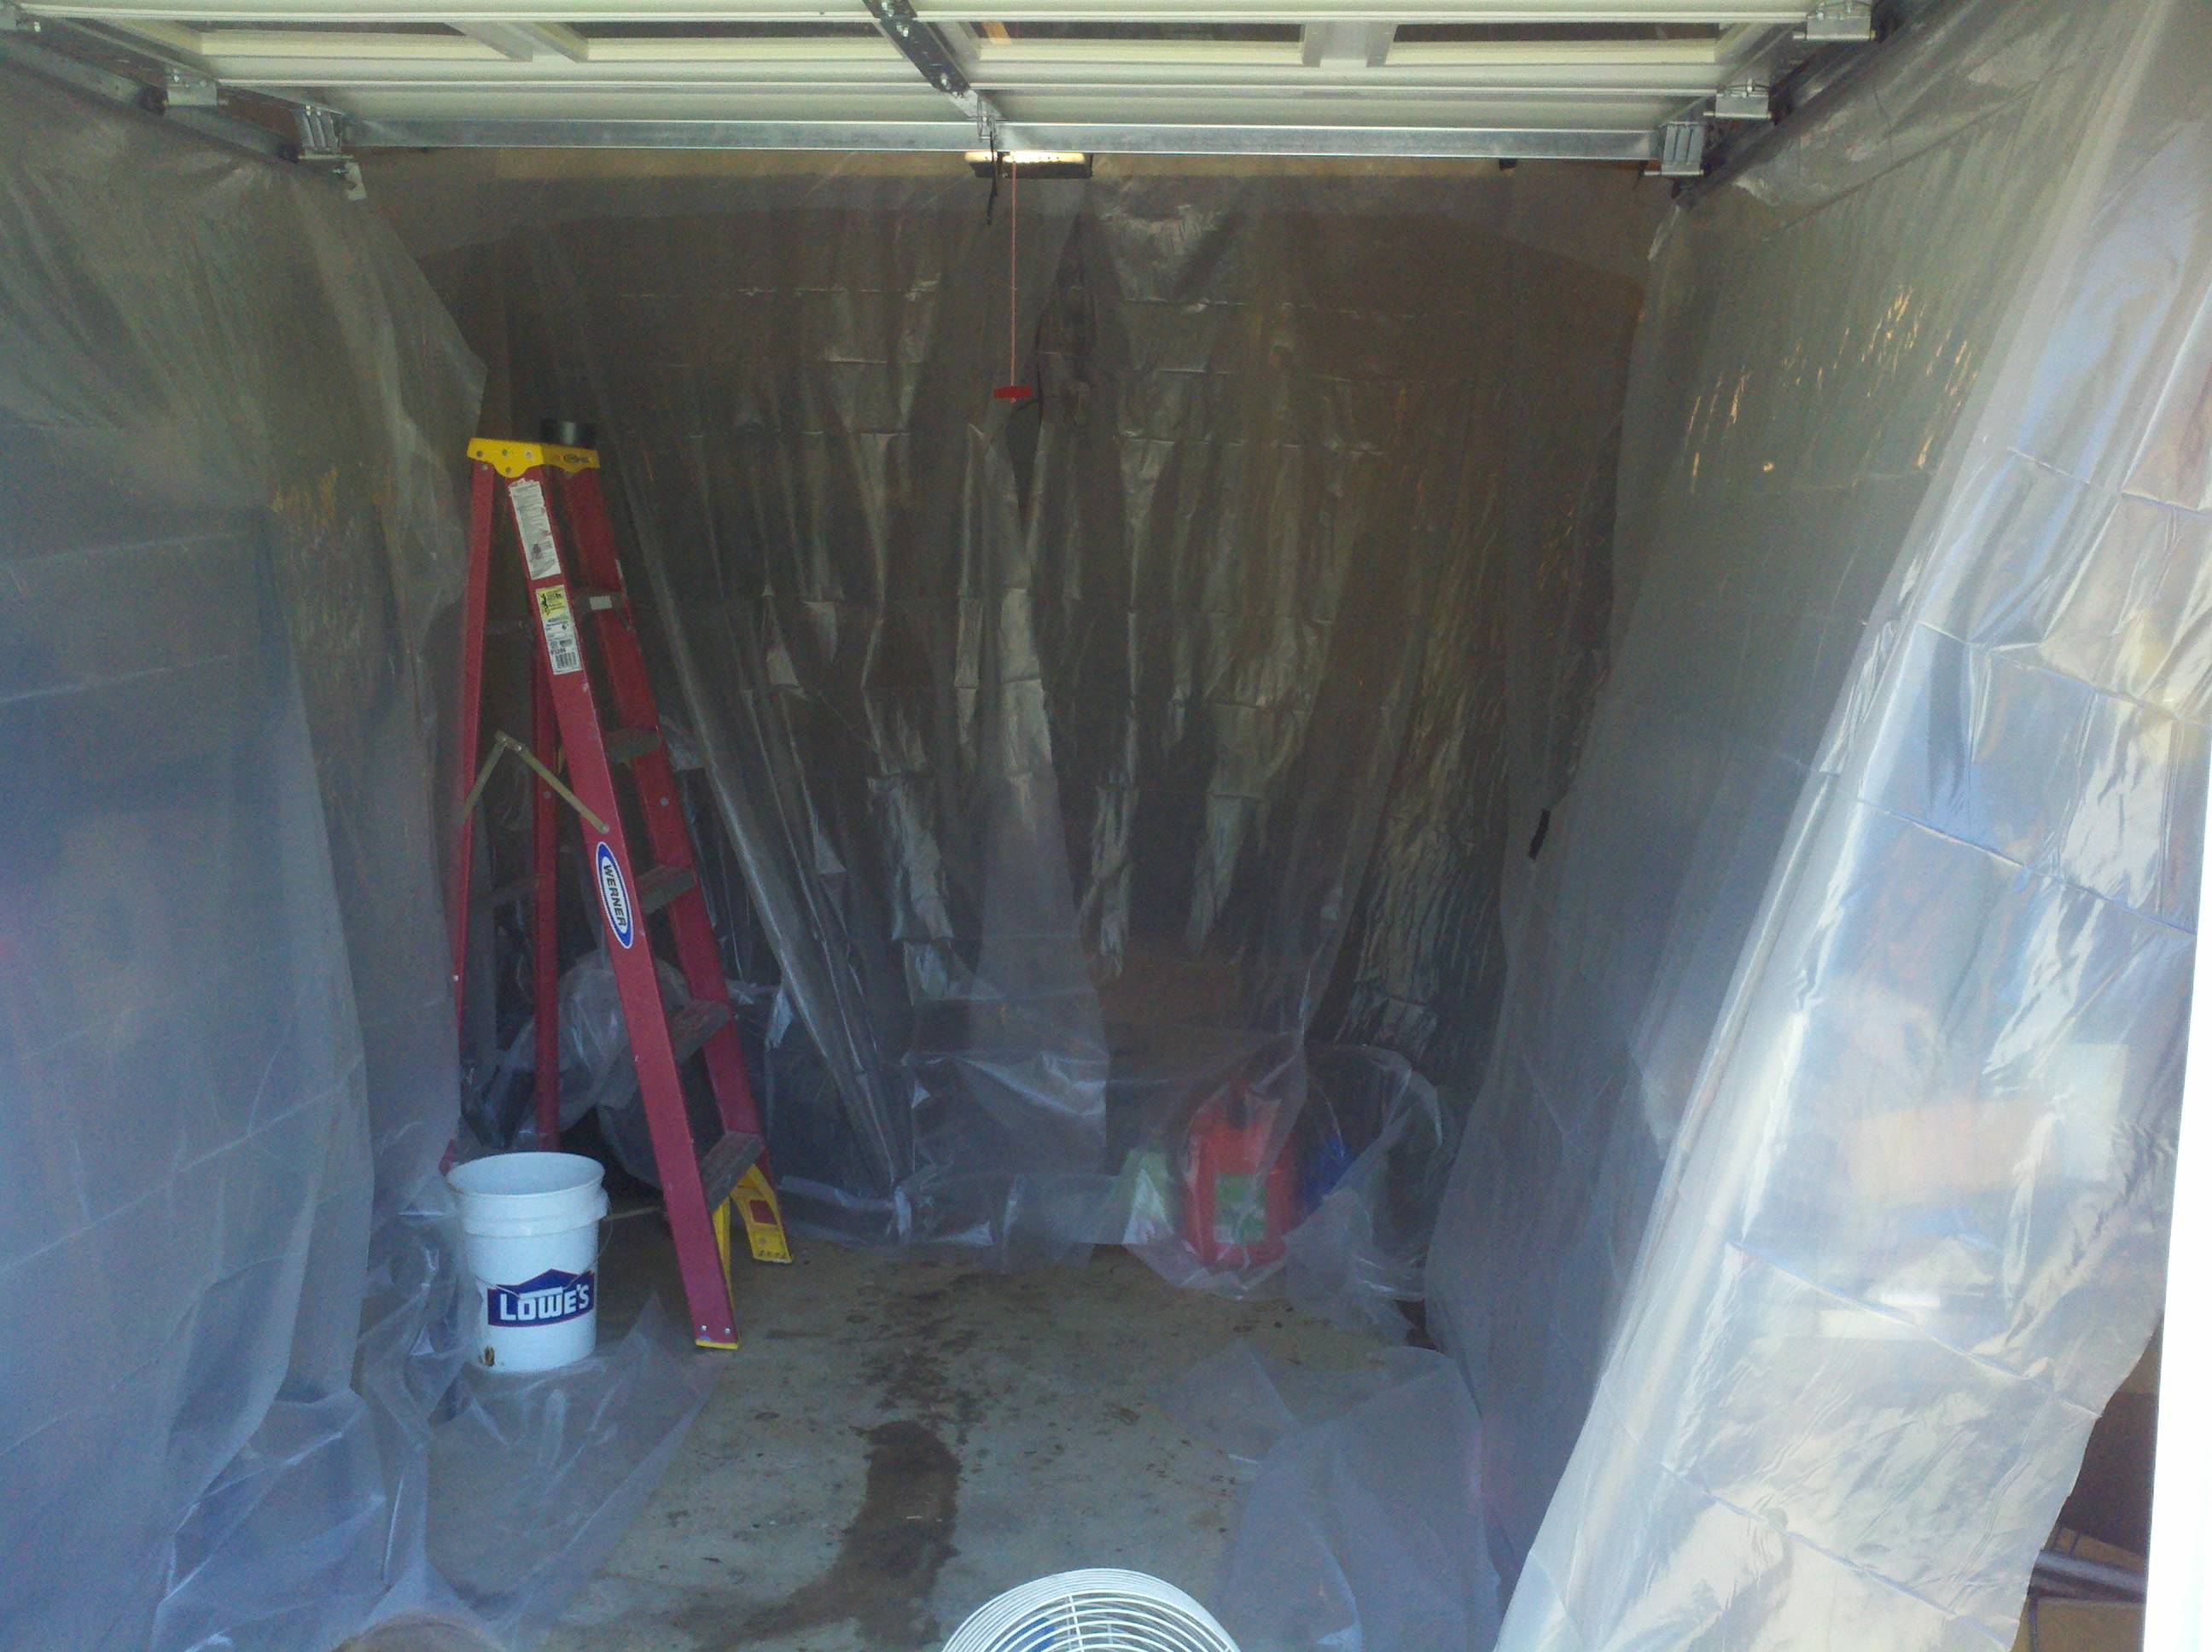
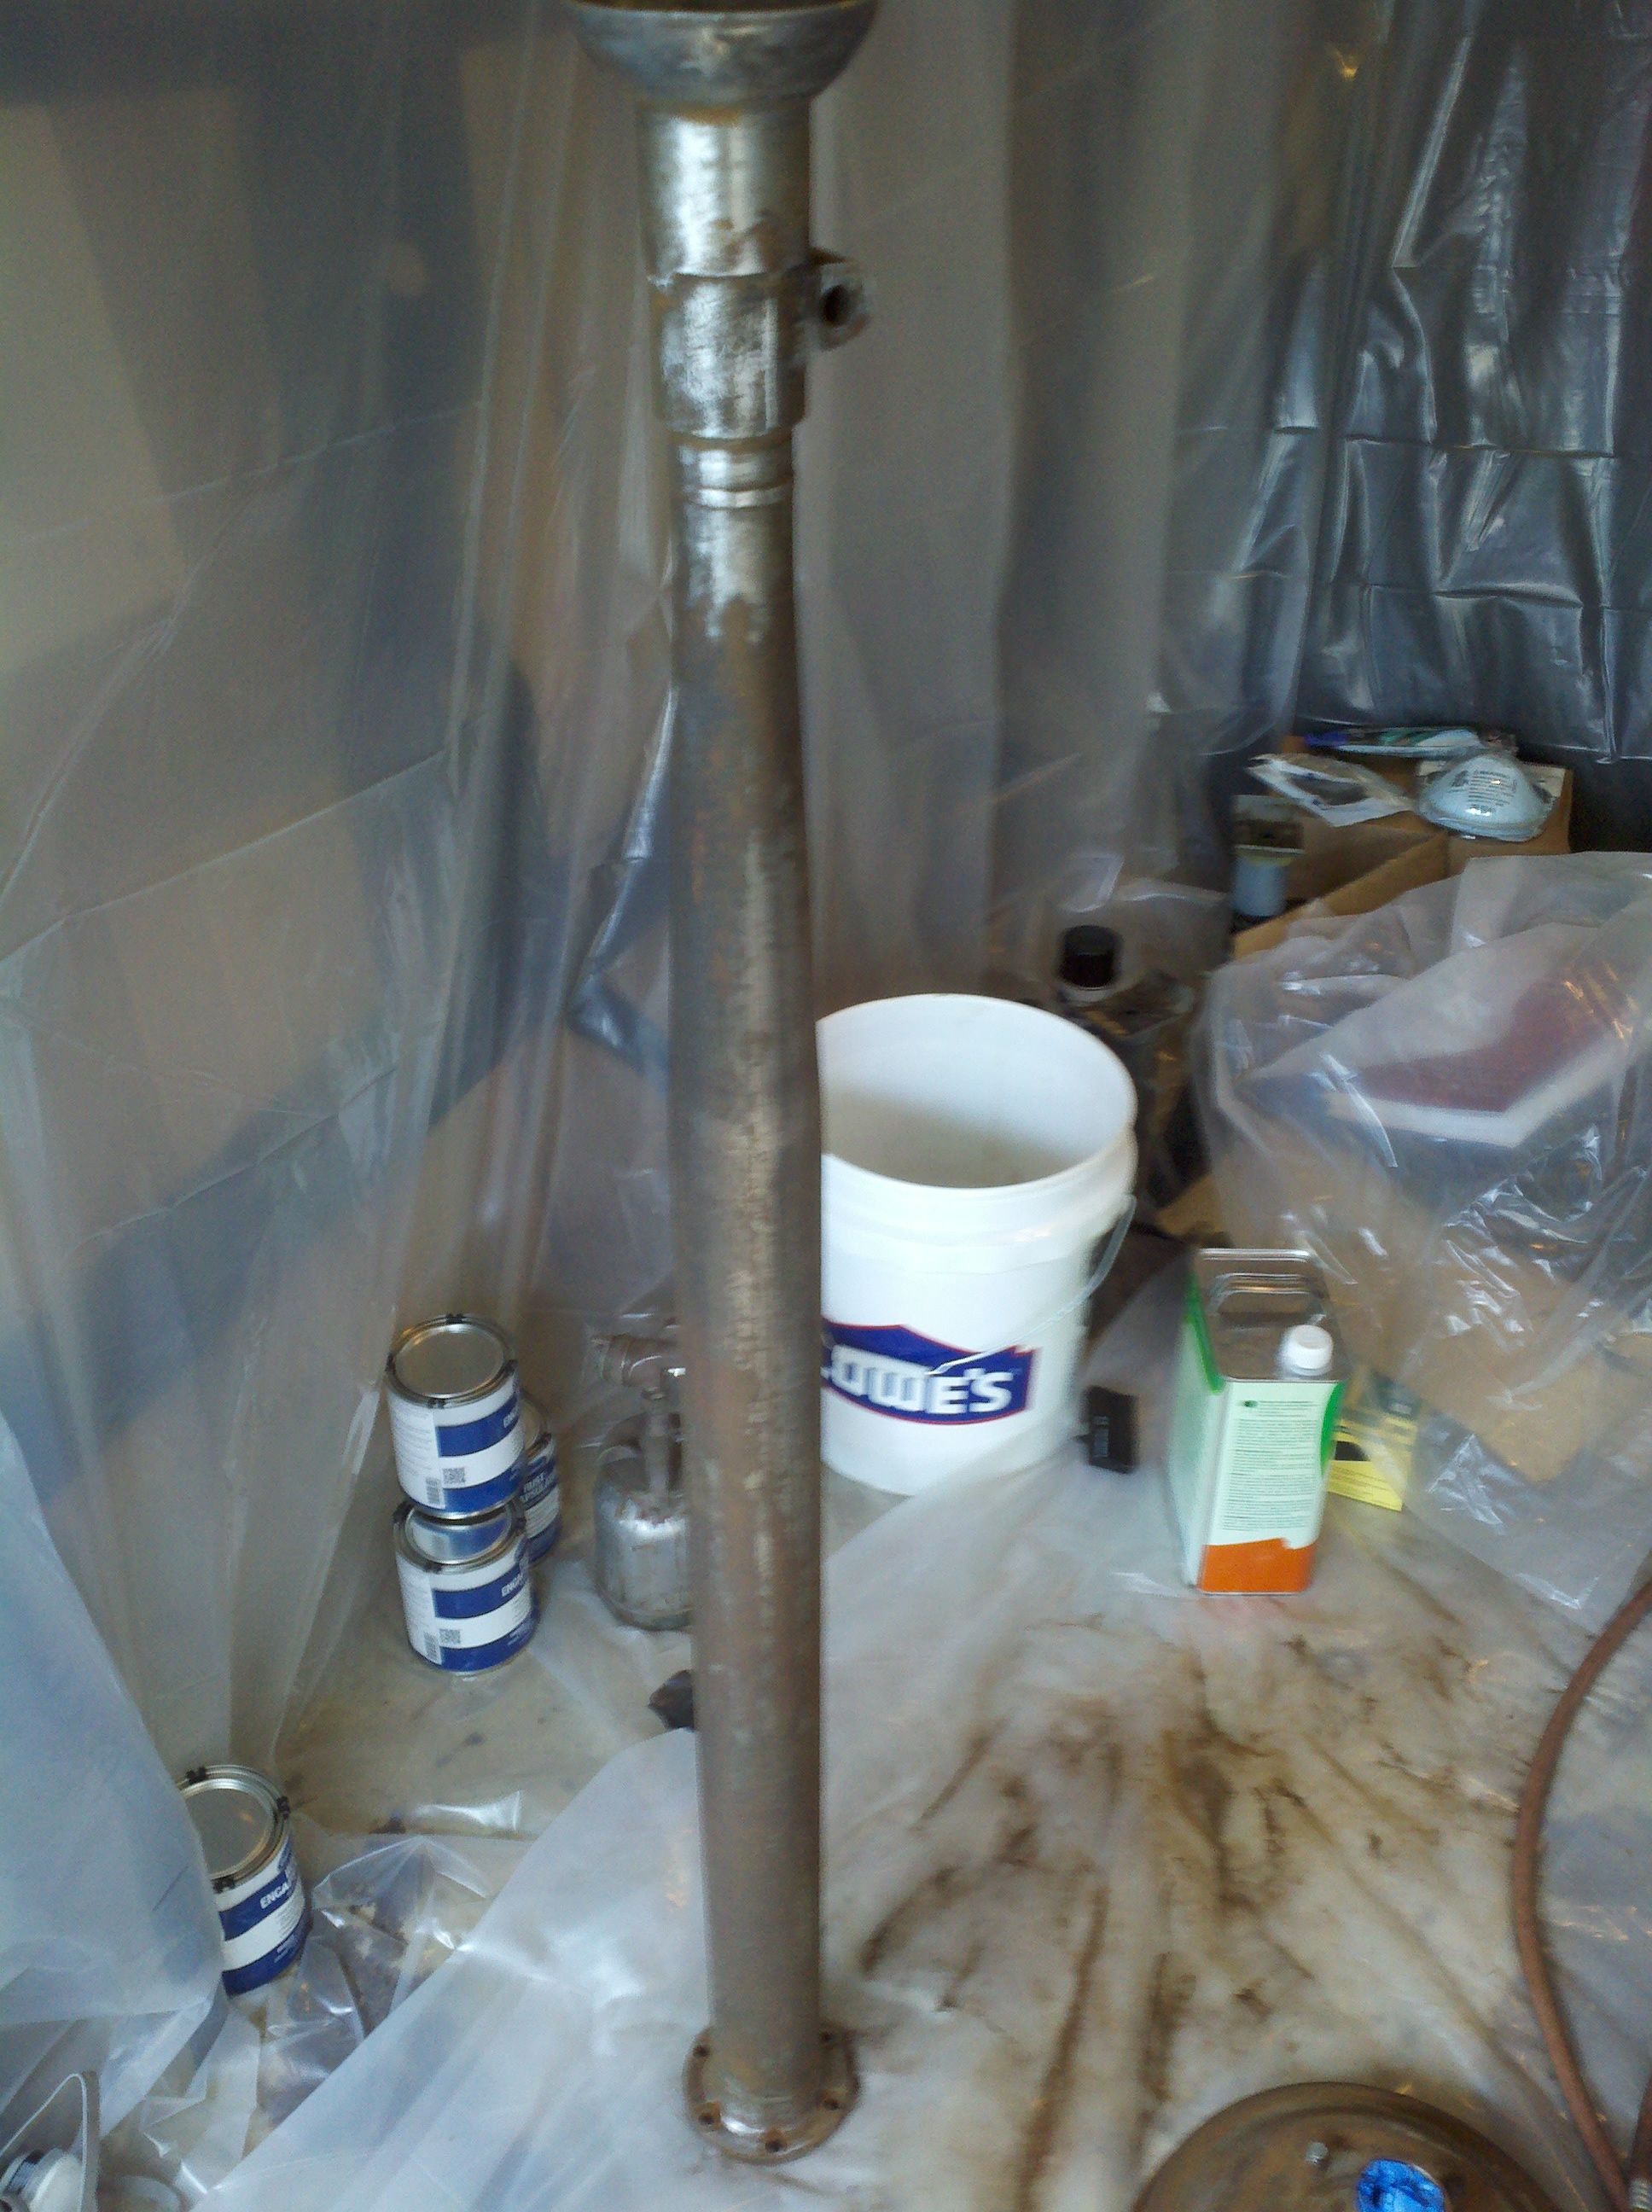
Of course, now that I've got that process started, I need to get on the stick. So, I'm fixin' to paint some stuff. I dragged the kids to Home depot, where I picked up a couple of rolls of visqueen, Laquer thinner, and some other junk. Then we went home, and I turned part of the garage into a paint booth.
Oh, wait... Did I mention that both the Snyder's and Eastwood's order came in on Friday evening?

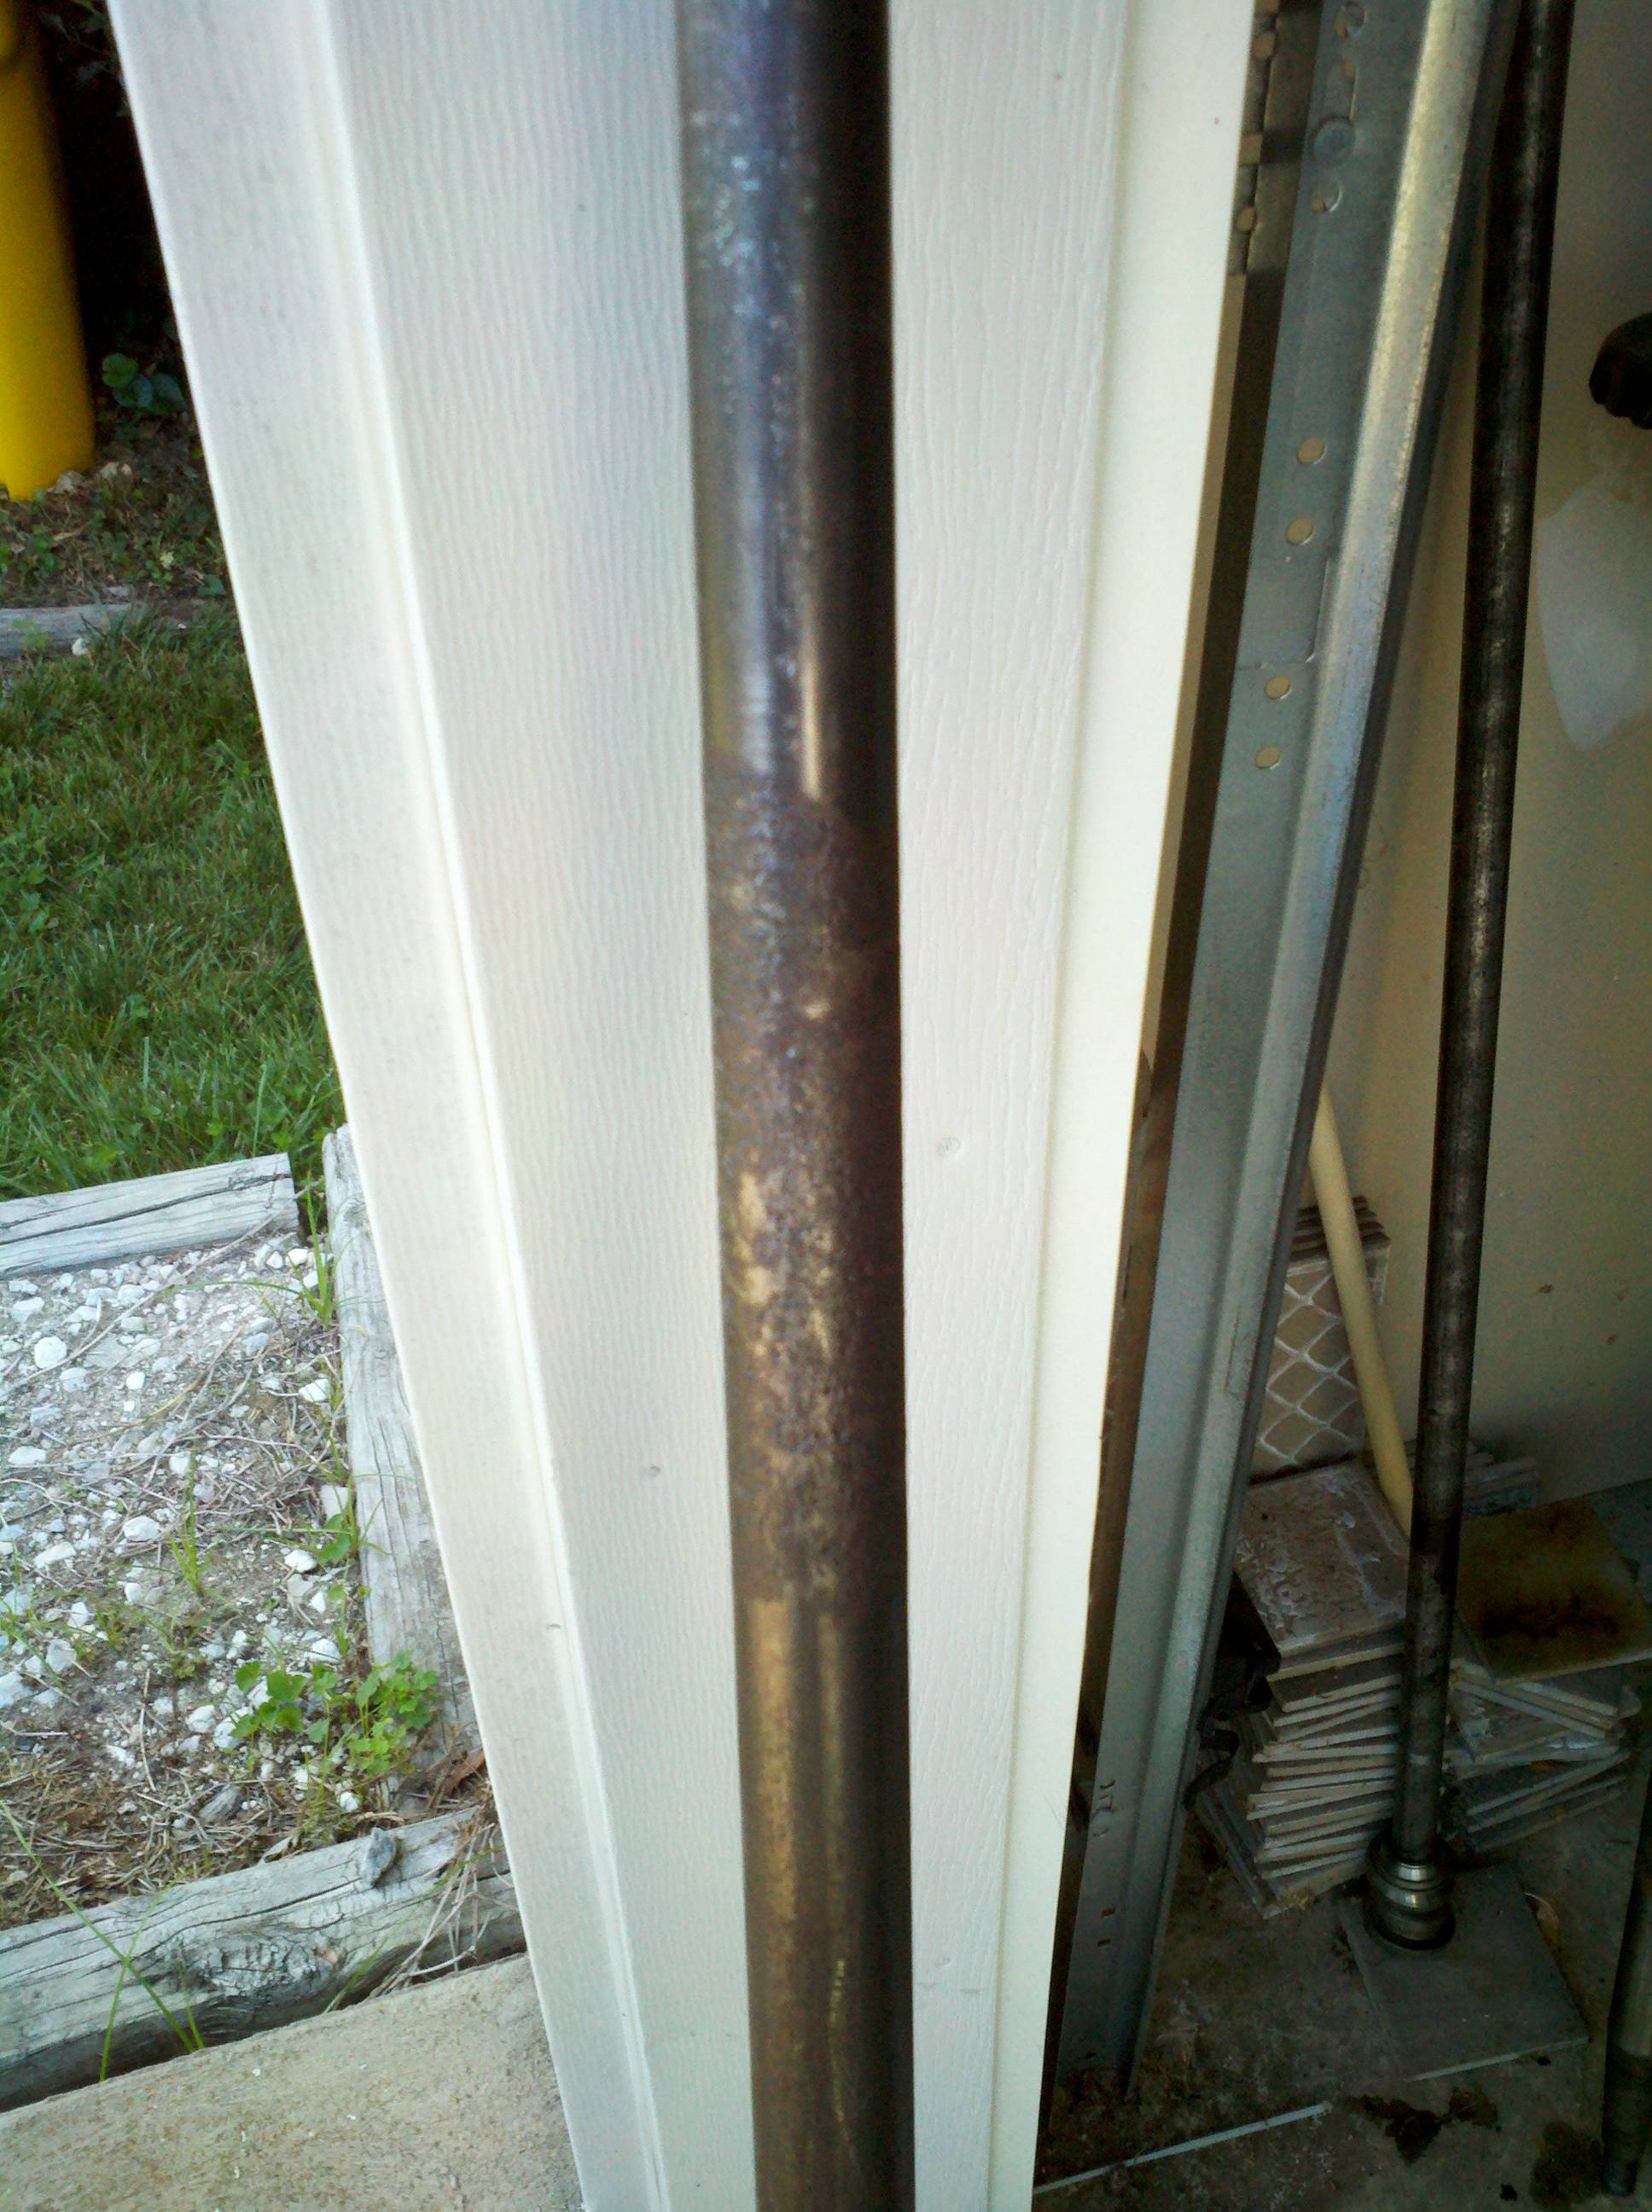
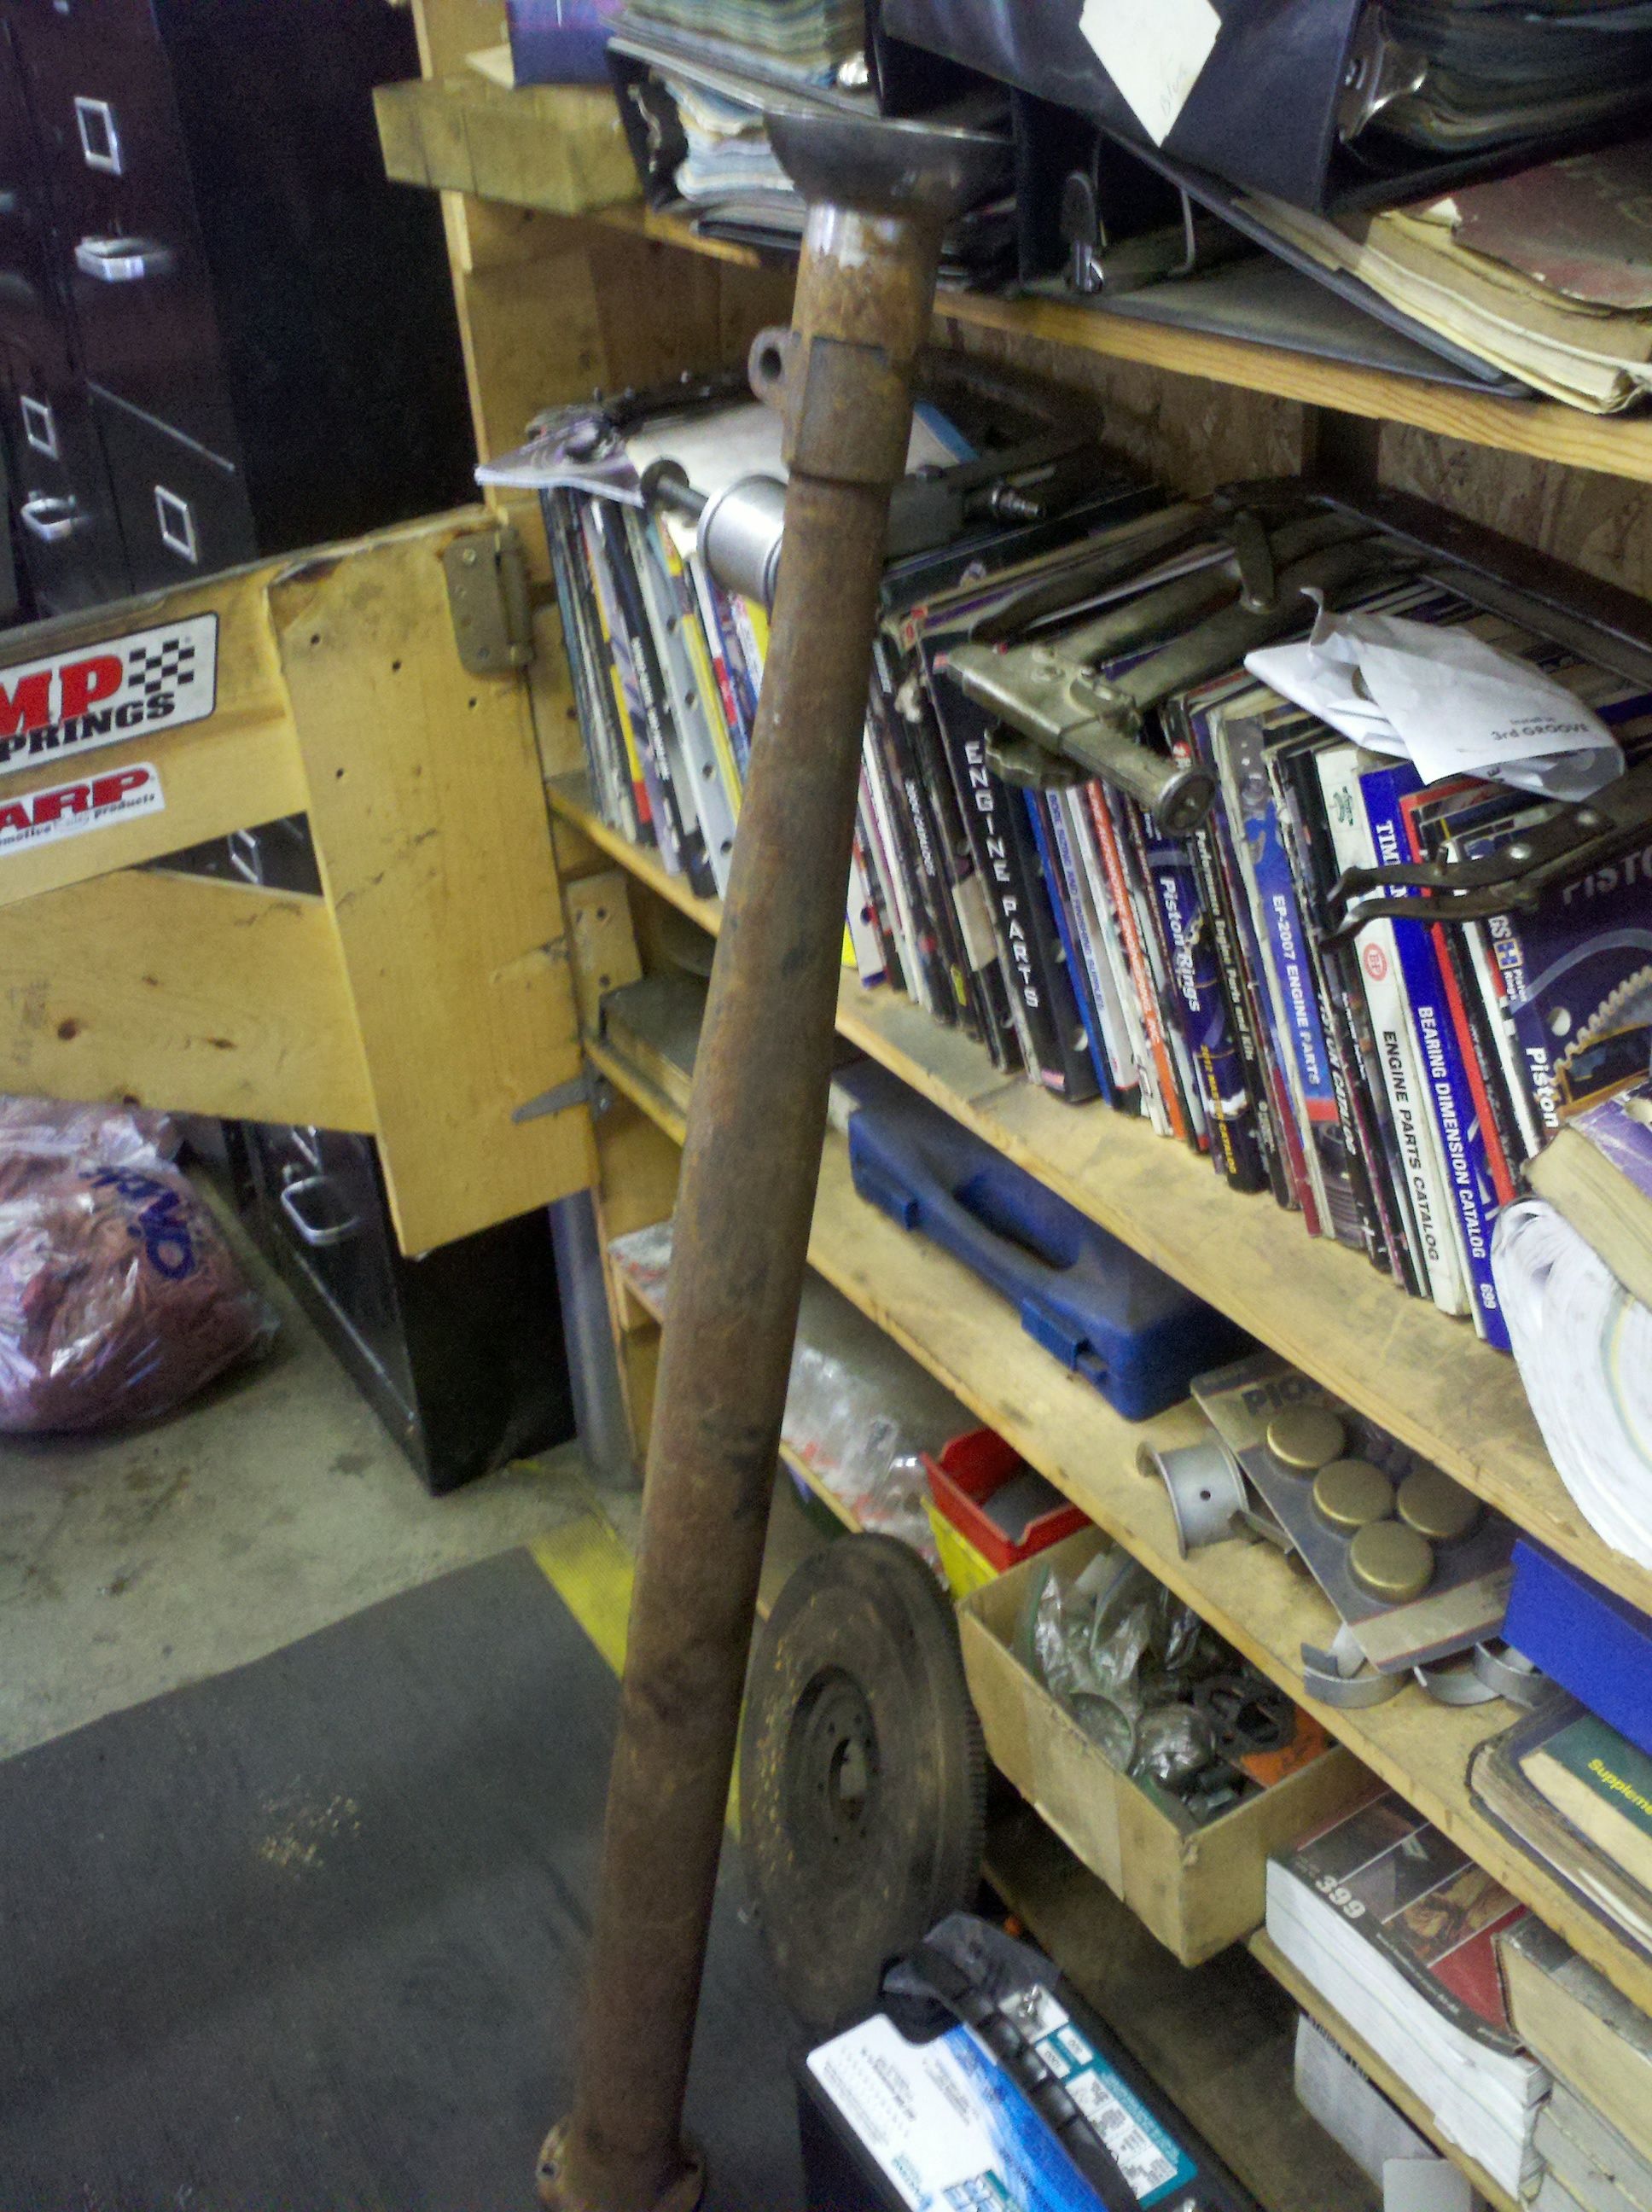
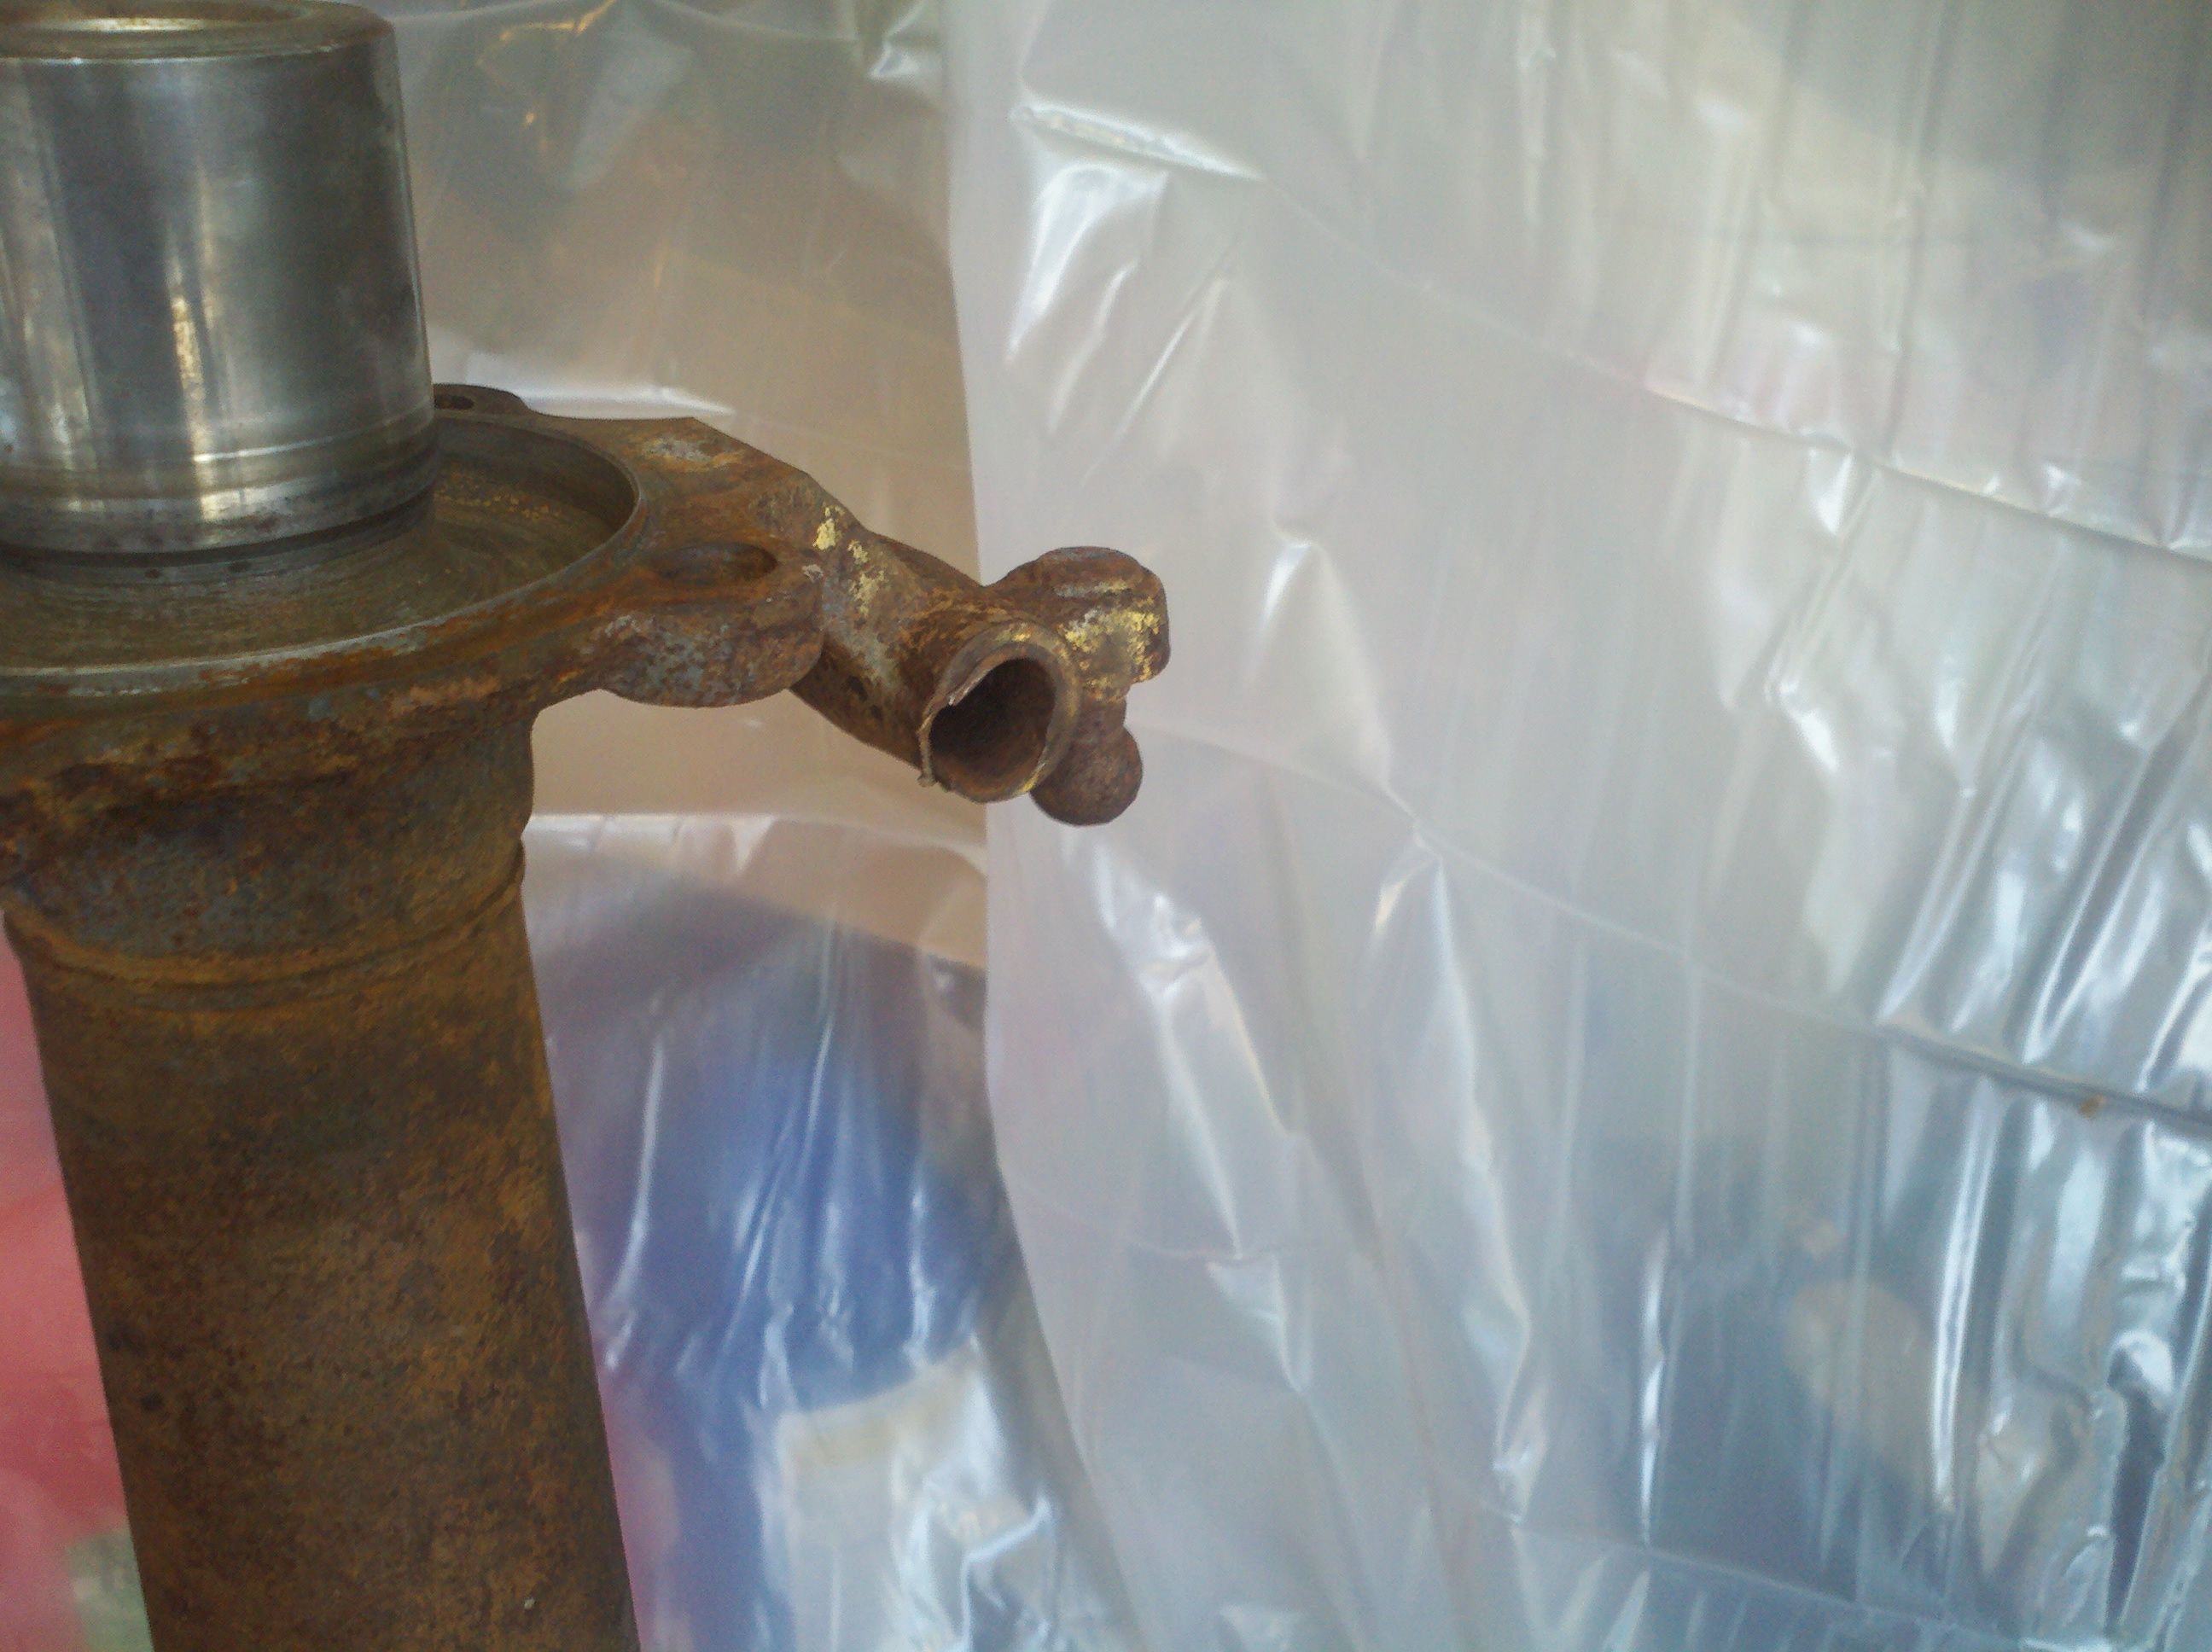
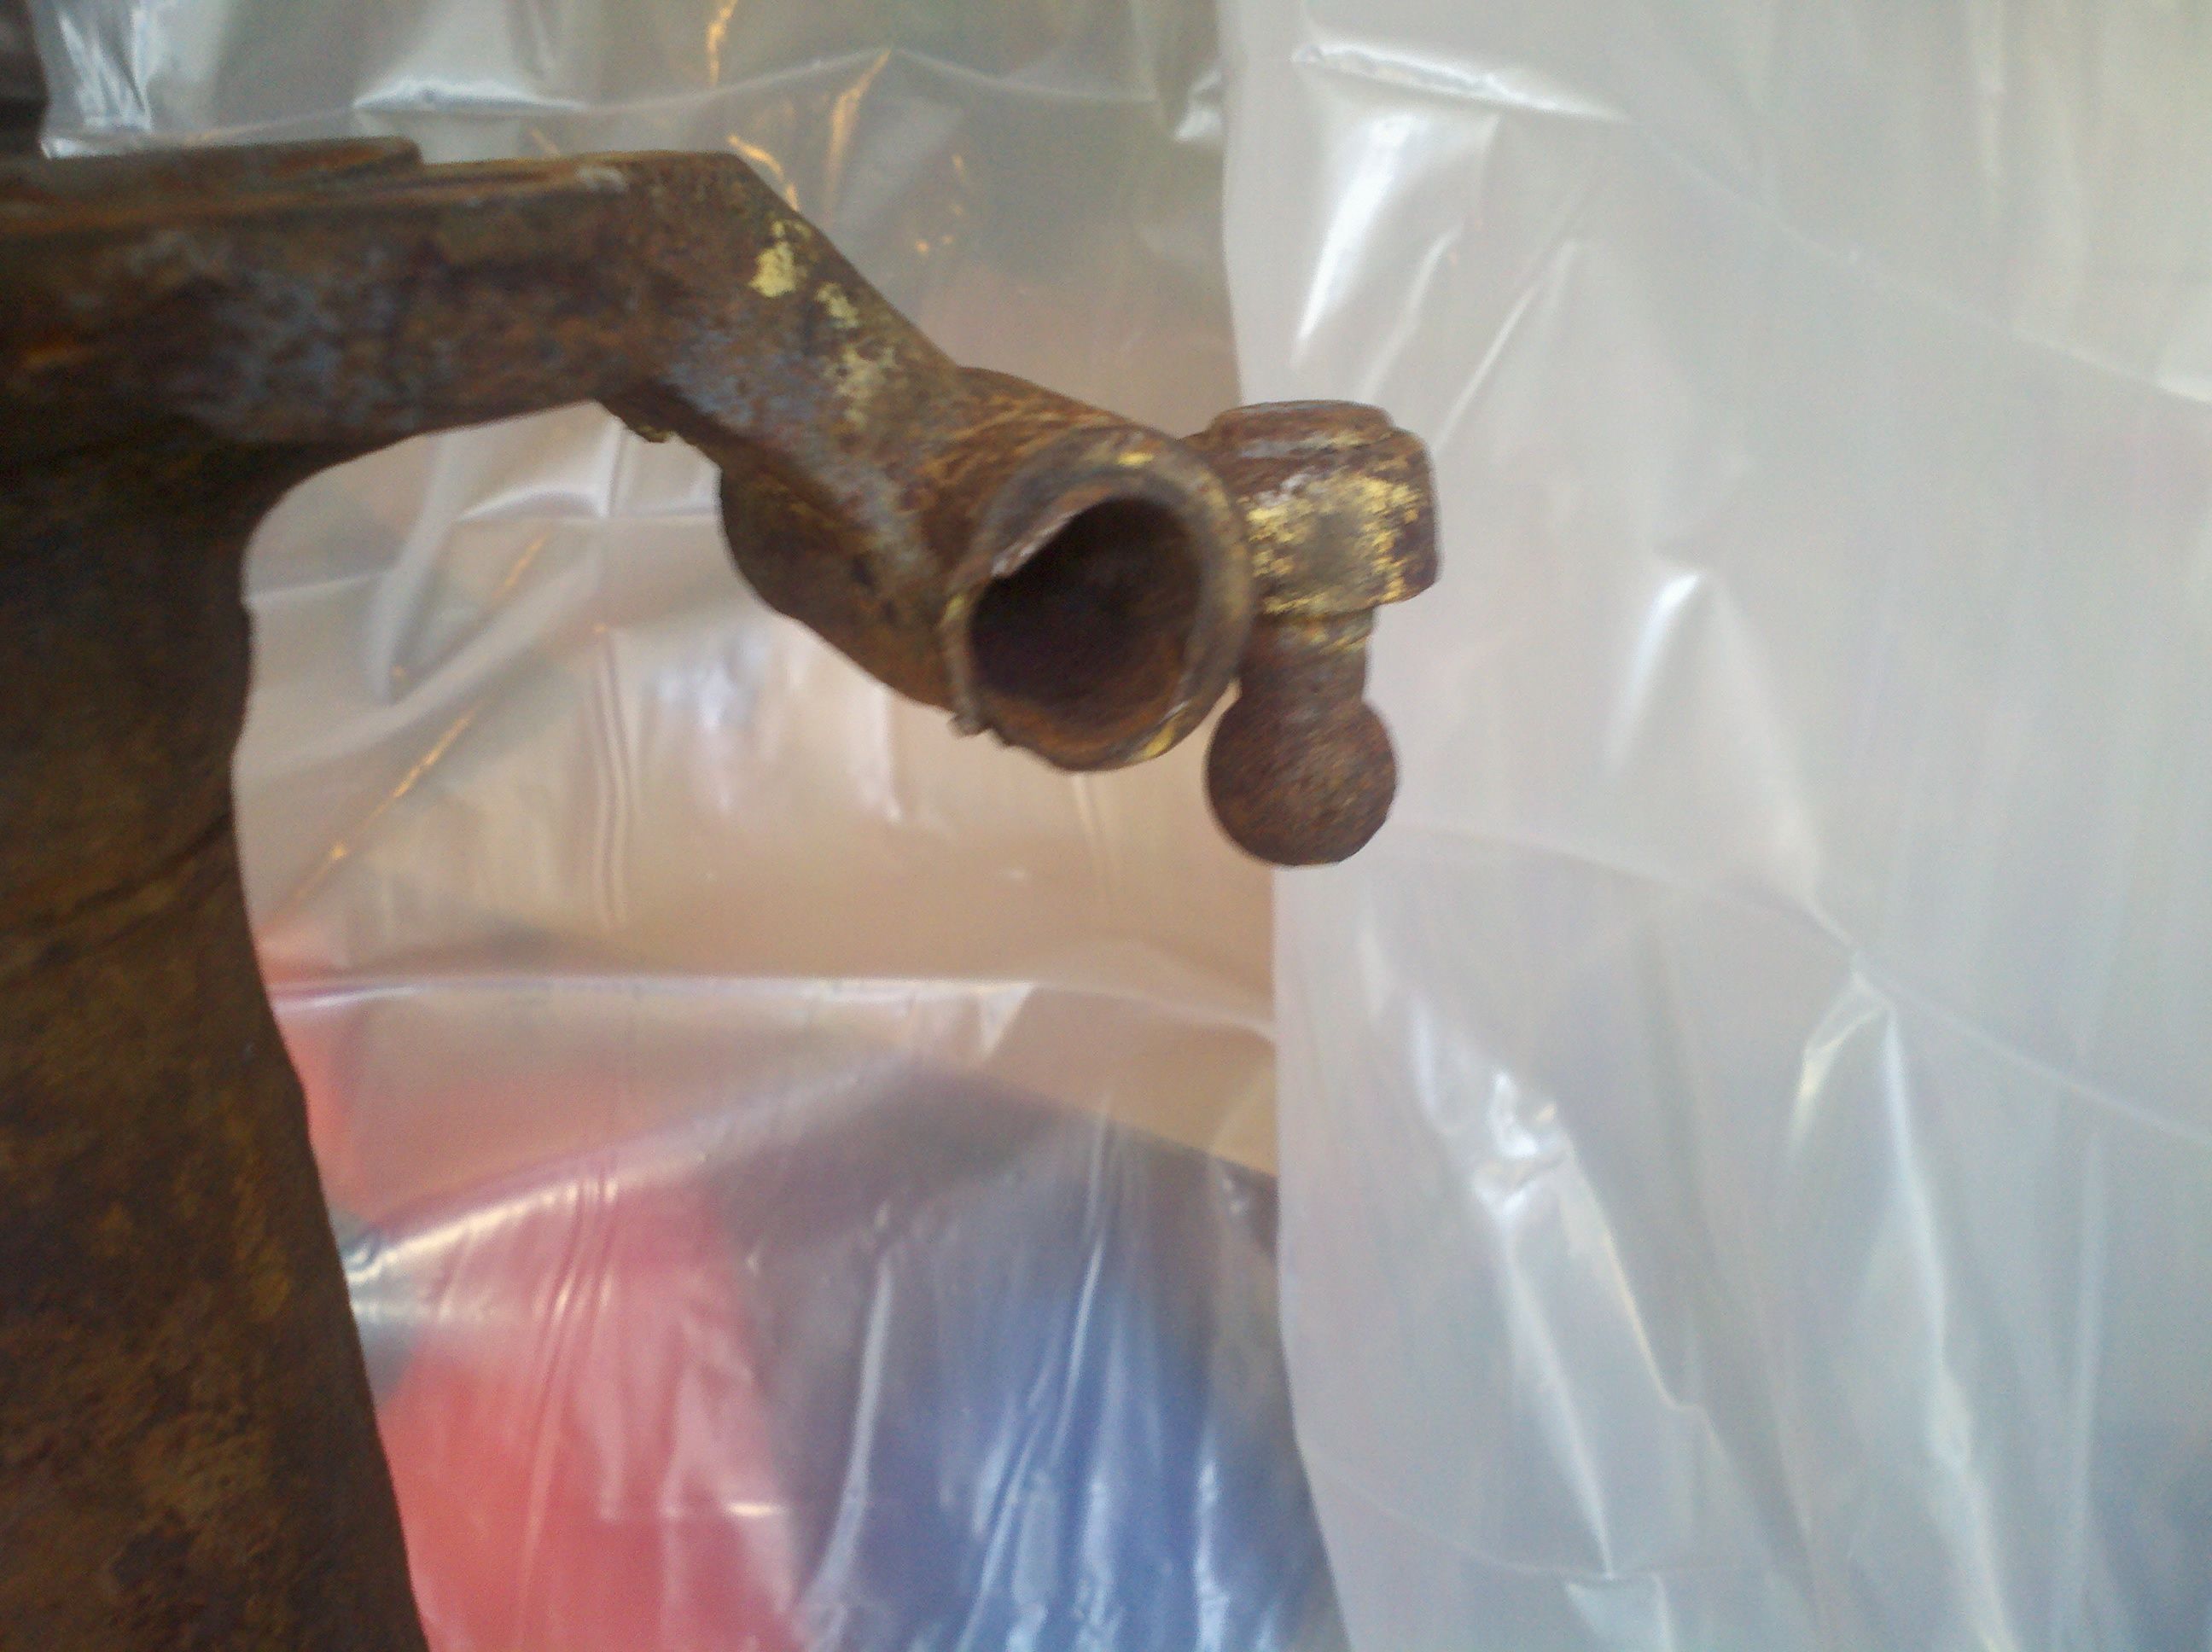
So, after all that was put together, I pulled out the hand grinder (which, BTW, may be on its last legs), attached a wire wheel, and went to work on the axles and drive shaft. I mentioned before about the rust on those parts... Here's some close-ups of the before.

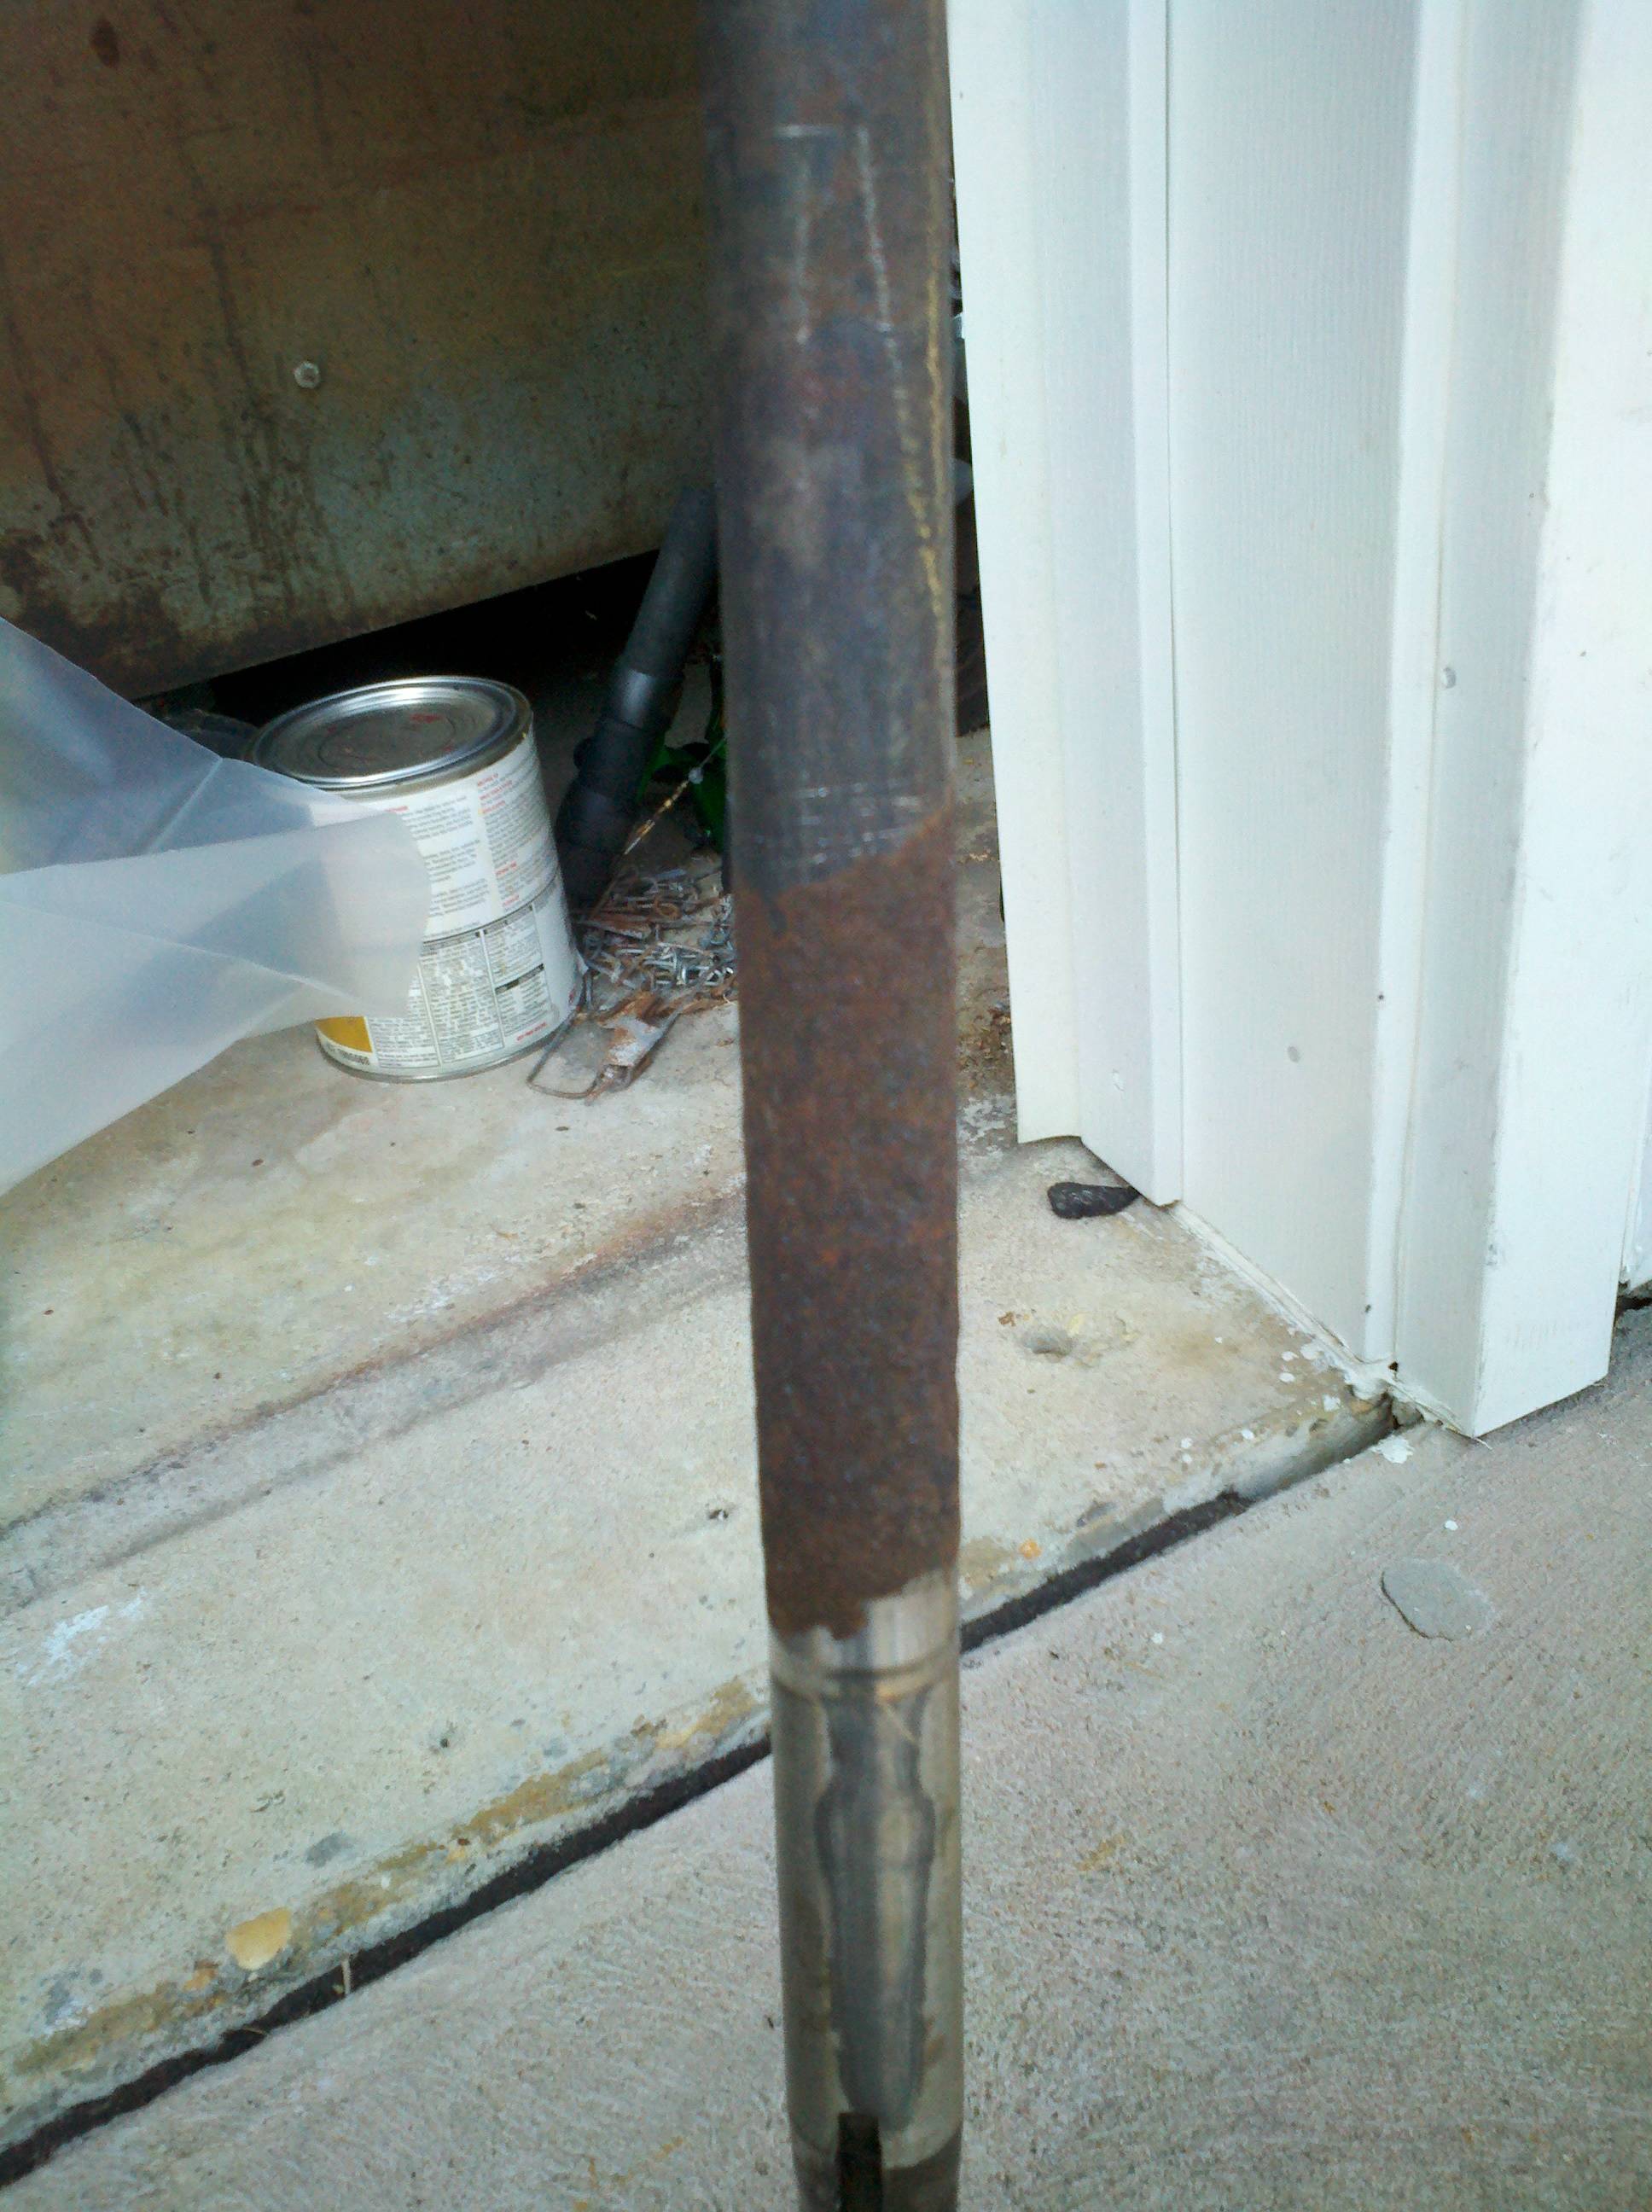
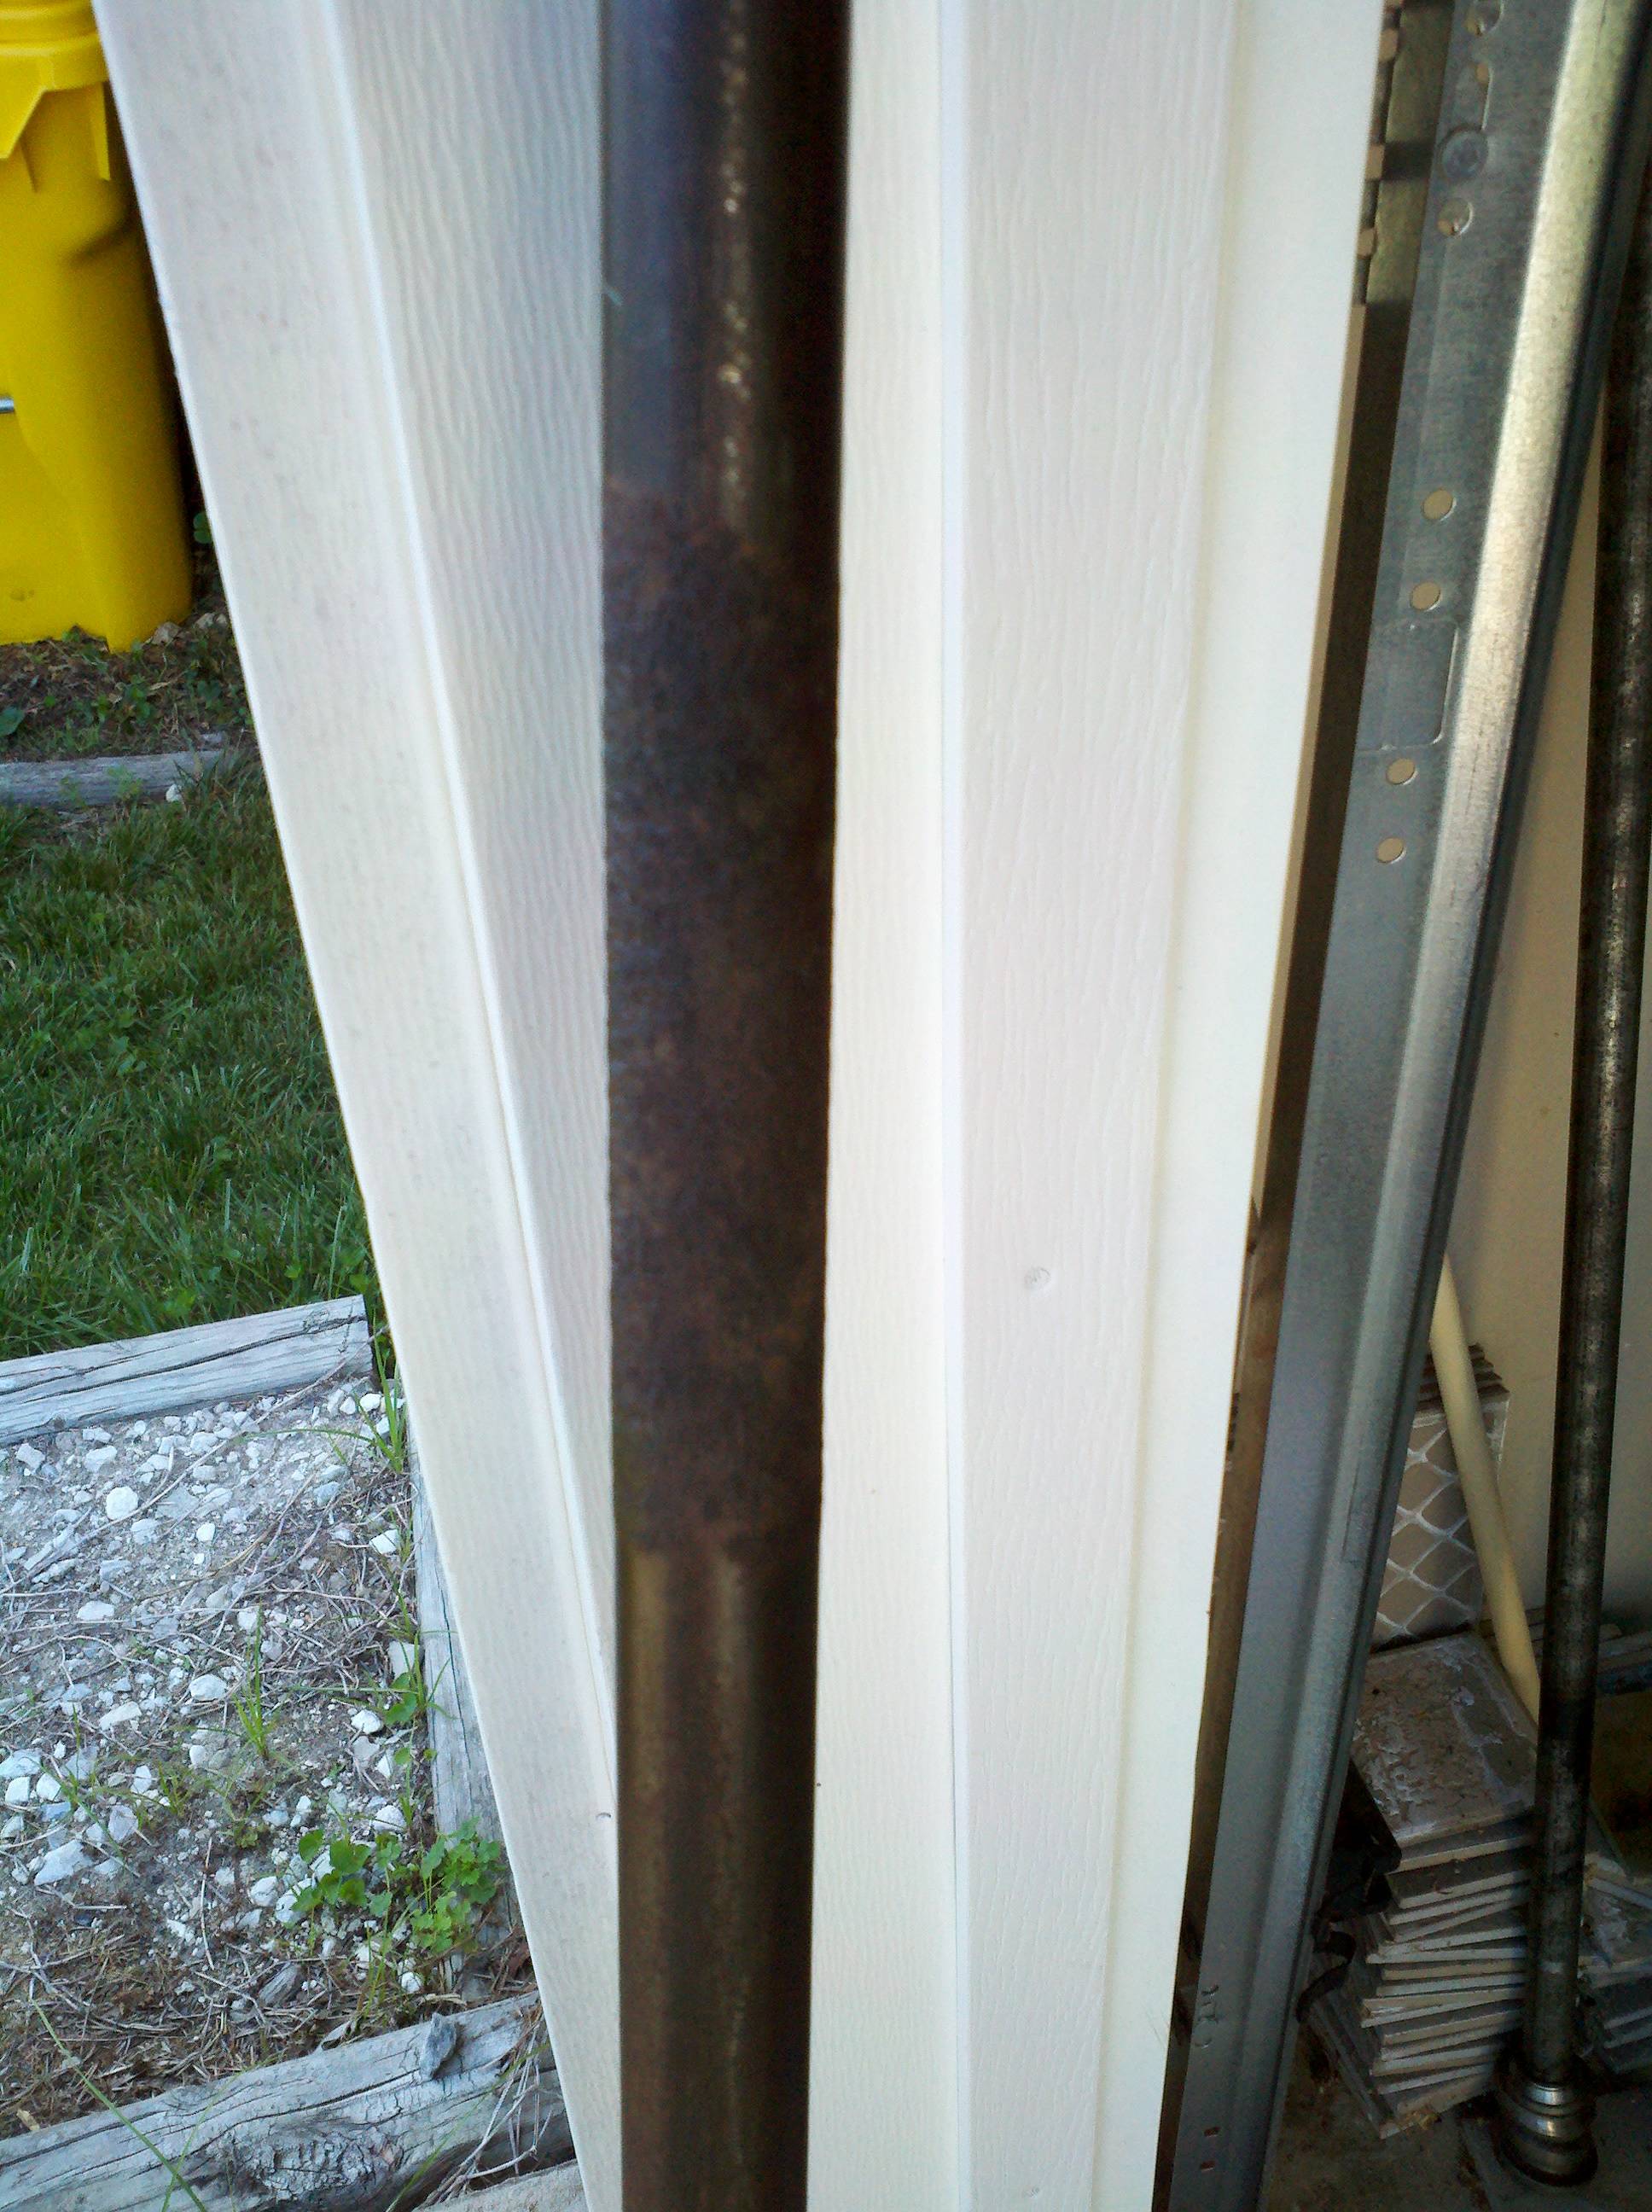
I hit the axles and drive shaft with some more kerosene to clean the worst of the stuff off of them, and then hit them again with some thinner to get rid of the kerosene residue. Next came the wire wheel. That got most of the stuff knocked off. Here's a pic of what was a very rusty area of the drive shaft...
I've got no pictures of it, but after I cleaned up the axles and drive shaft, I hit them with the rust converter. Neet stuff, that. What rust was left turned black. What wasn't reusty turned a skosh grey. It is, allegedly, a paintable, protective zink phosphide coat. Neat stuff.
Well, the parts weren't ready Friday. I popped in to the machine shop, and they told me they took the stuff over to Jim, at the other shop. He couldn't get it in during the week, but they dropped it all in, together, and it will soak all weekend. I was told the stuff should be real clean, all the way down to the metal, and likely ready for pick up Monday afternoon. Guess I'll be doing some work Monday... Which, unfortunately, is not the best day for it, but I guess it is what it is.
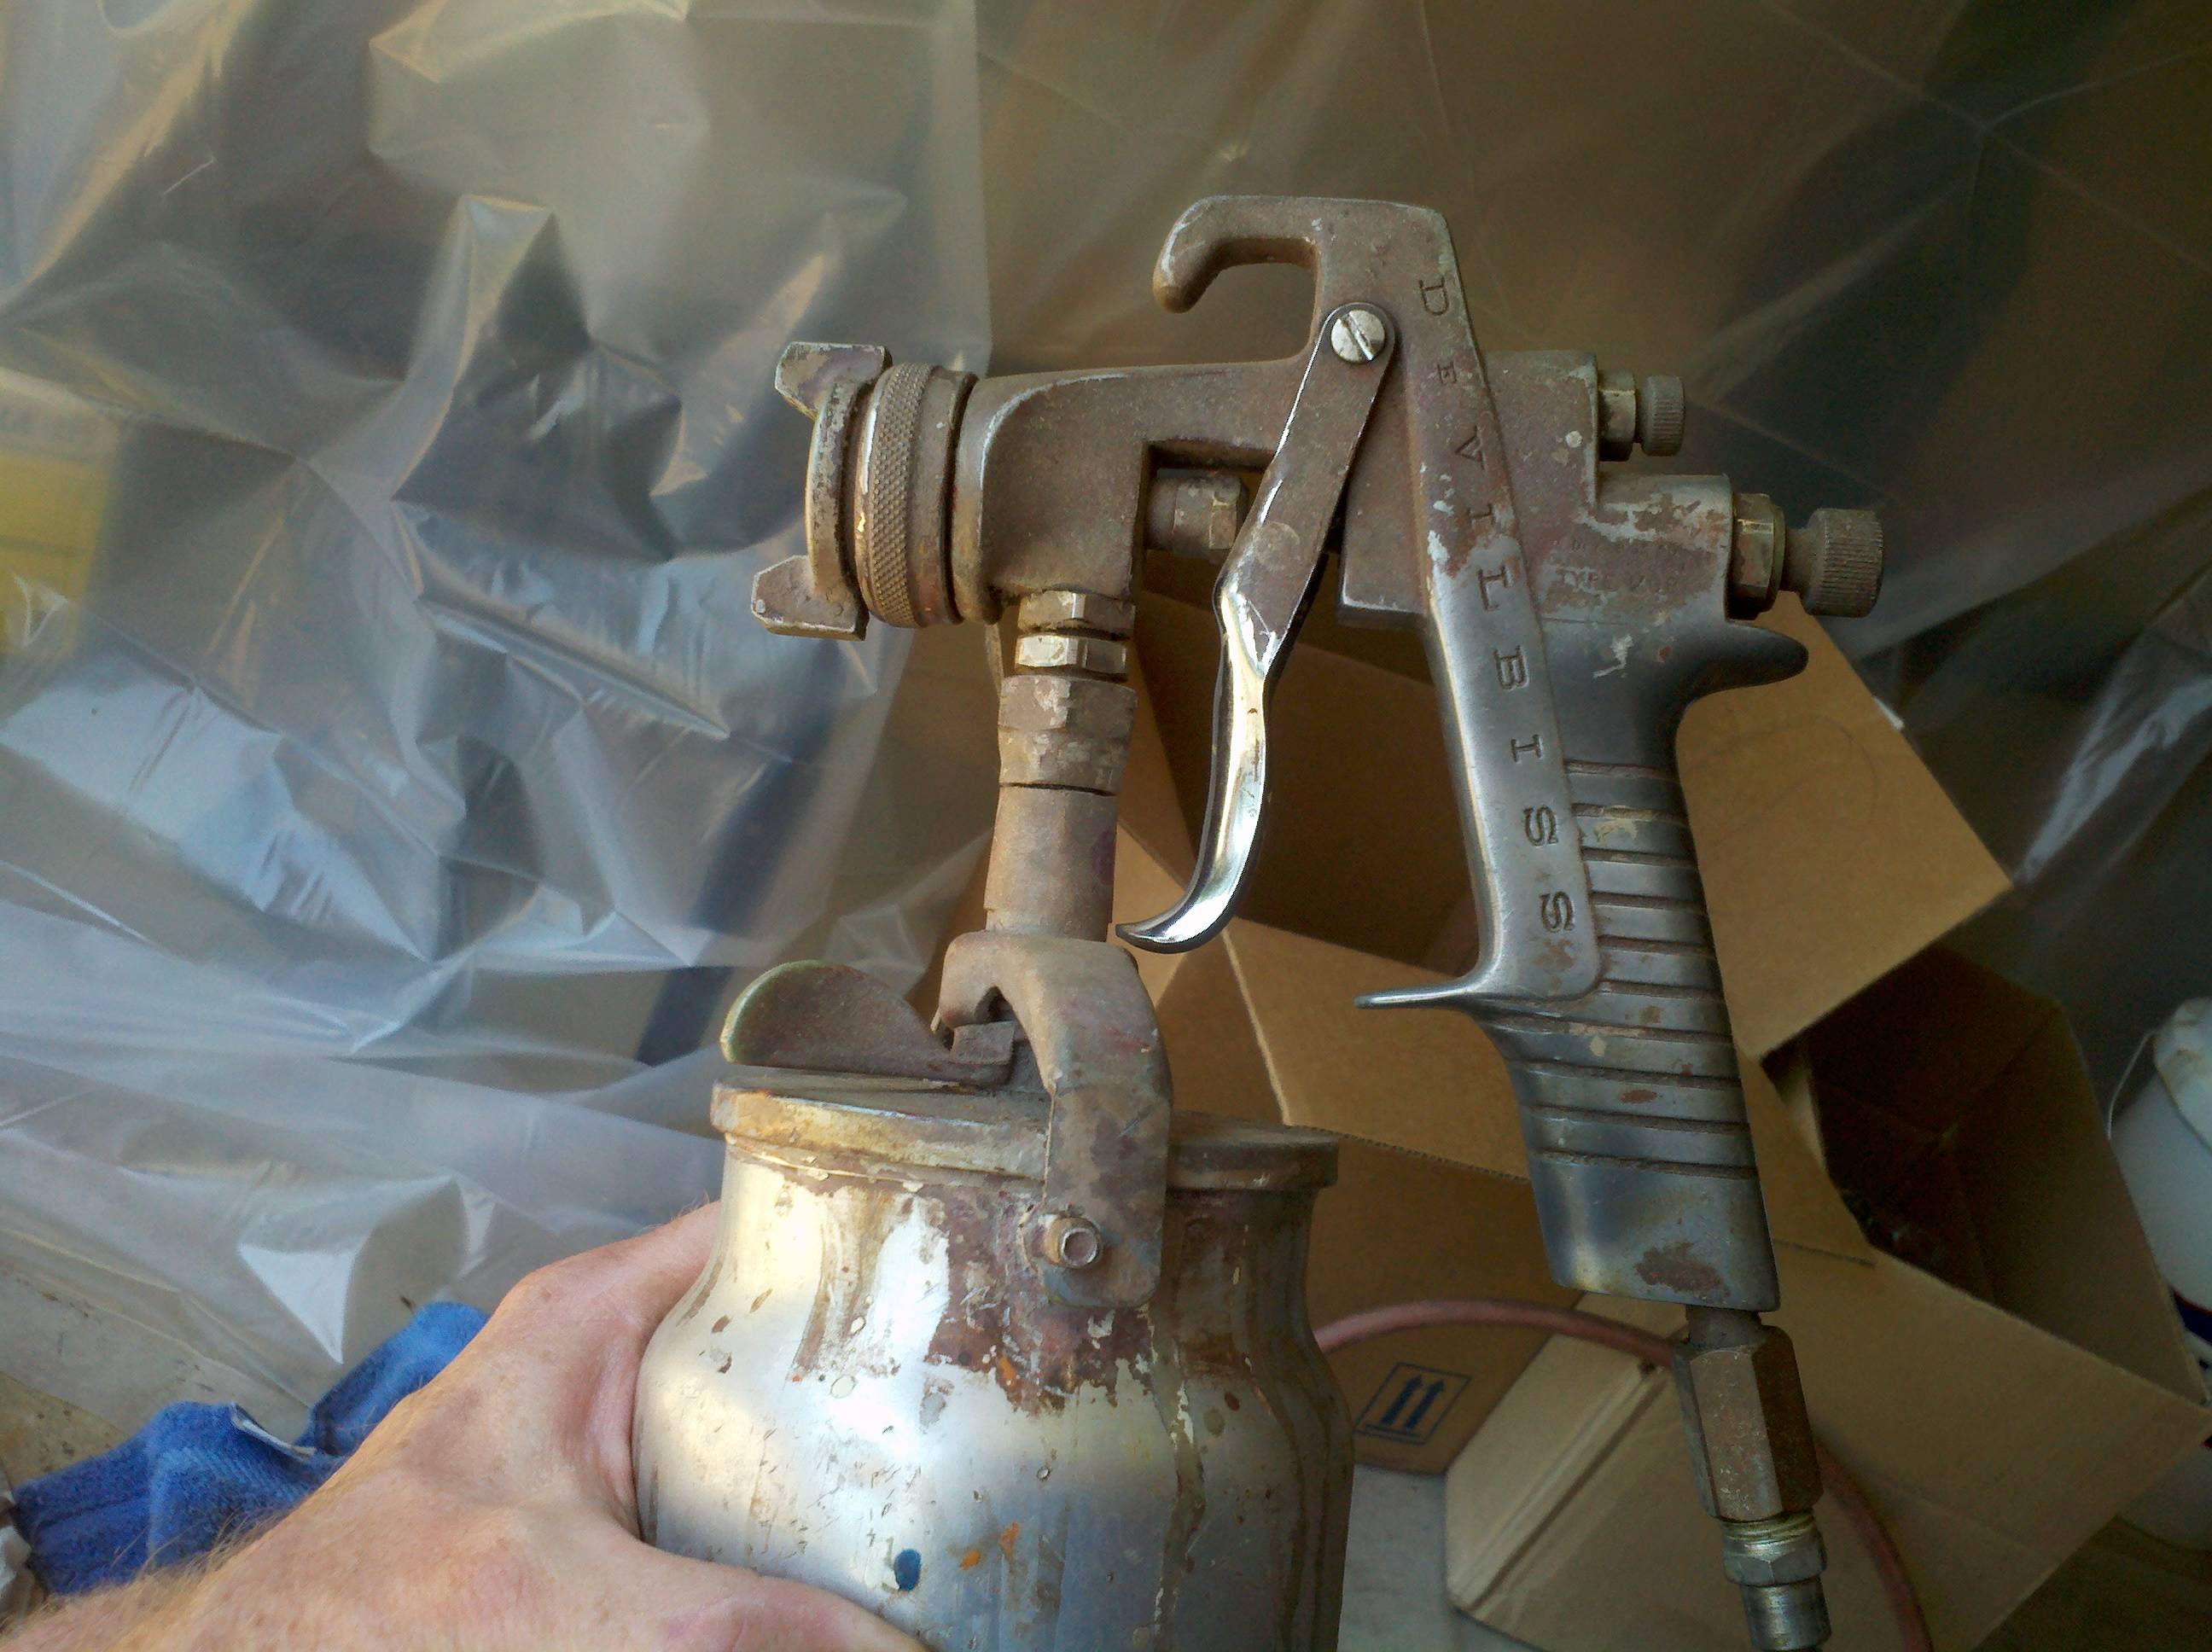
In preparation for Monday, I went ahead and taped some visqueen down to the floor (so I don't paint that, too), and pulled down my paint gun, and checked it out. THe paint gun is an old DeVilbiss MGB model (or so it says on the grip). The thing was my dad's, and it hasn't been used in at least 15 years. Heck, the last time I used it was... Probably 25 years ago. But, it's a good-quality item, and it was well-kept. I poured some thinner in the cup, and turned on the air. No workee - nothing came out, only air. And the air valve wanted to stick. I tore it down, and found some corrosion on the siphon/jet valve. I polished that off a bit, and cleaned out the air control thingamajigger, and put a couple of drops of oil on the seals. After that, it seemed to work just fine. The gun is a nice 2-stage system - pull the trigger, and air comes out. Kep pulling, and more and more paint comes out. There's some controls onthe back that set som pilot valves inside. One adjusts the valve at the nozzle, tuning how much it can be opened, and the other, I think, controls fluid flow from the siphon. Guess I'll figure it out in a few days, but right now, it looks like I'm ready to shoot some paint. (oh, yeah... one of the things I picked up from Home Depot was a respirator, so I don't kill myself in there...)

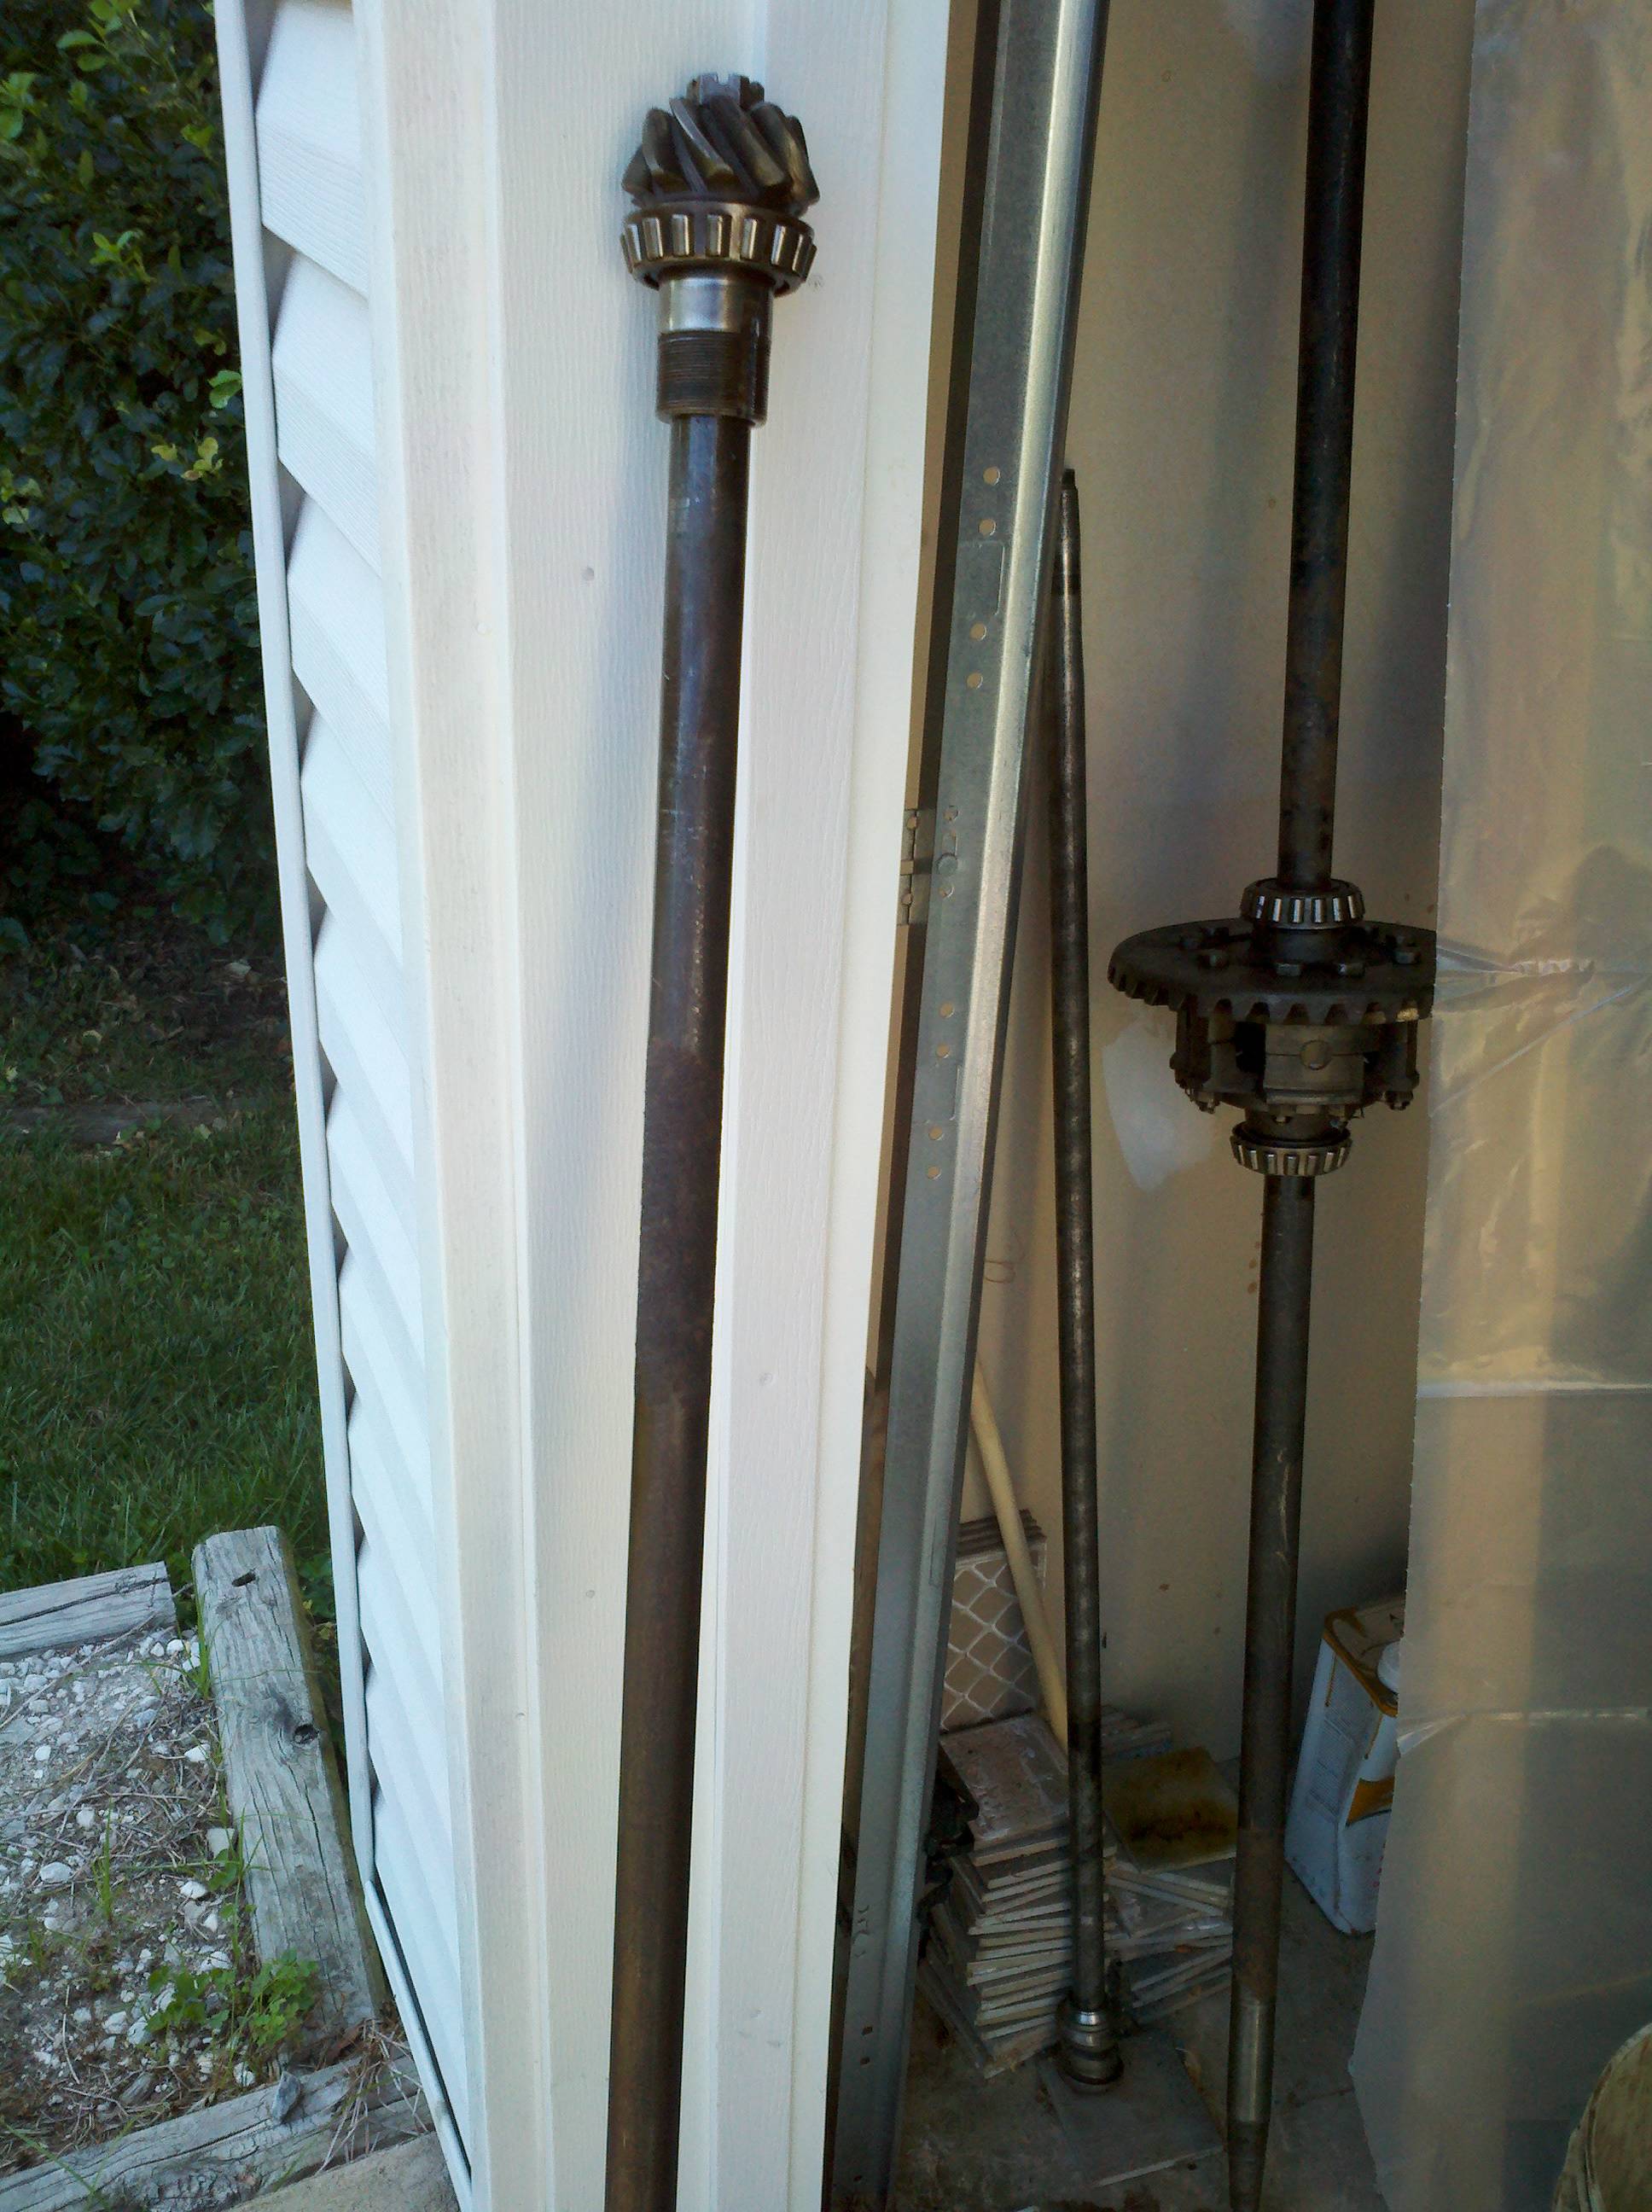
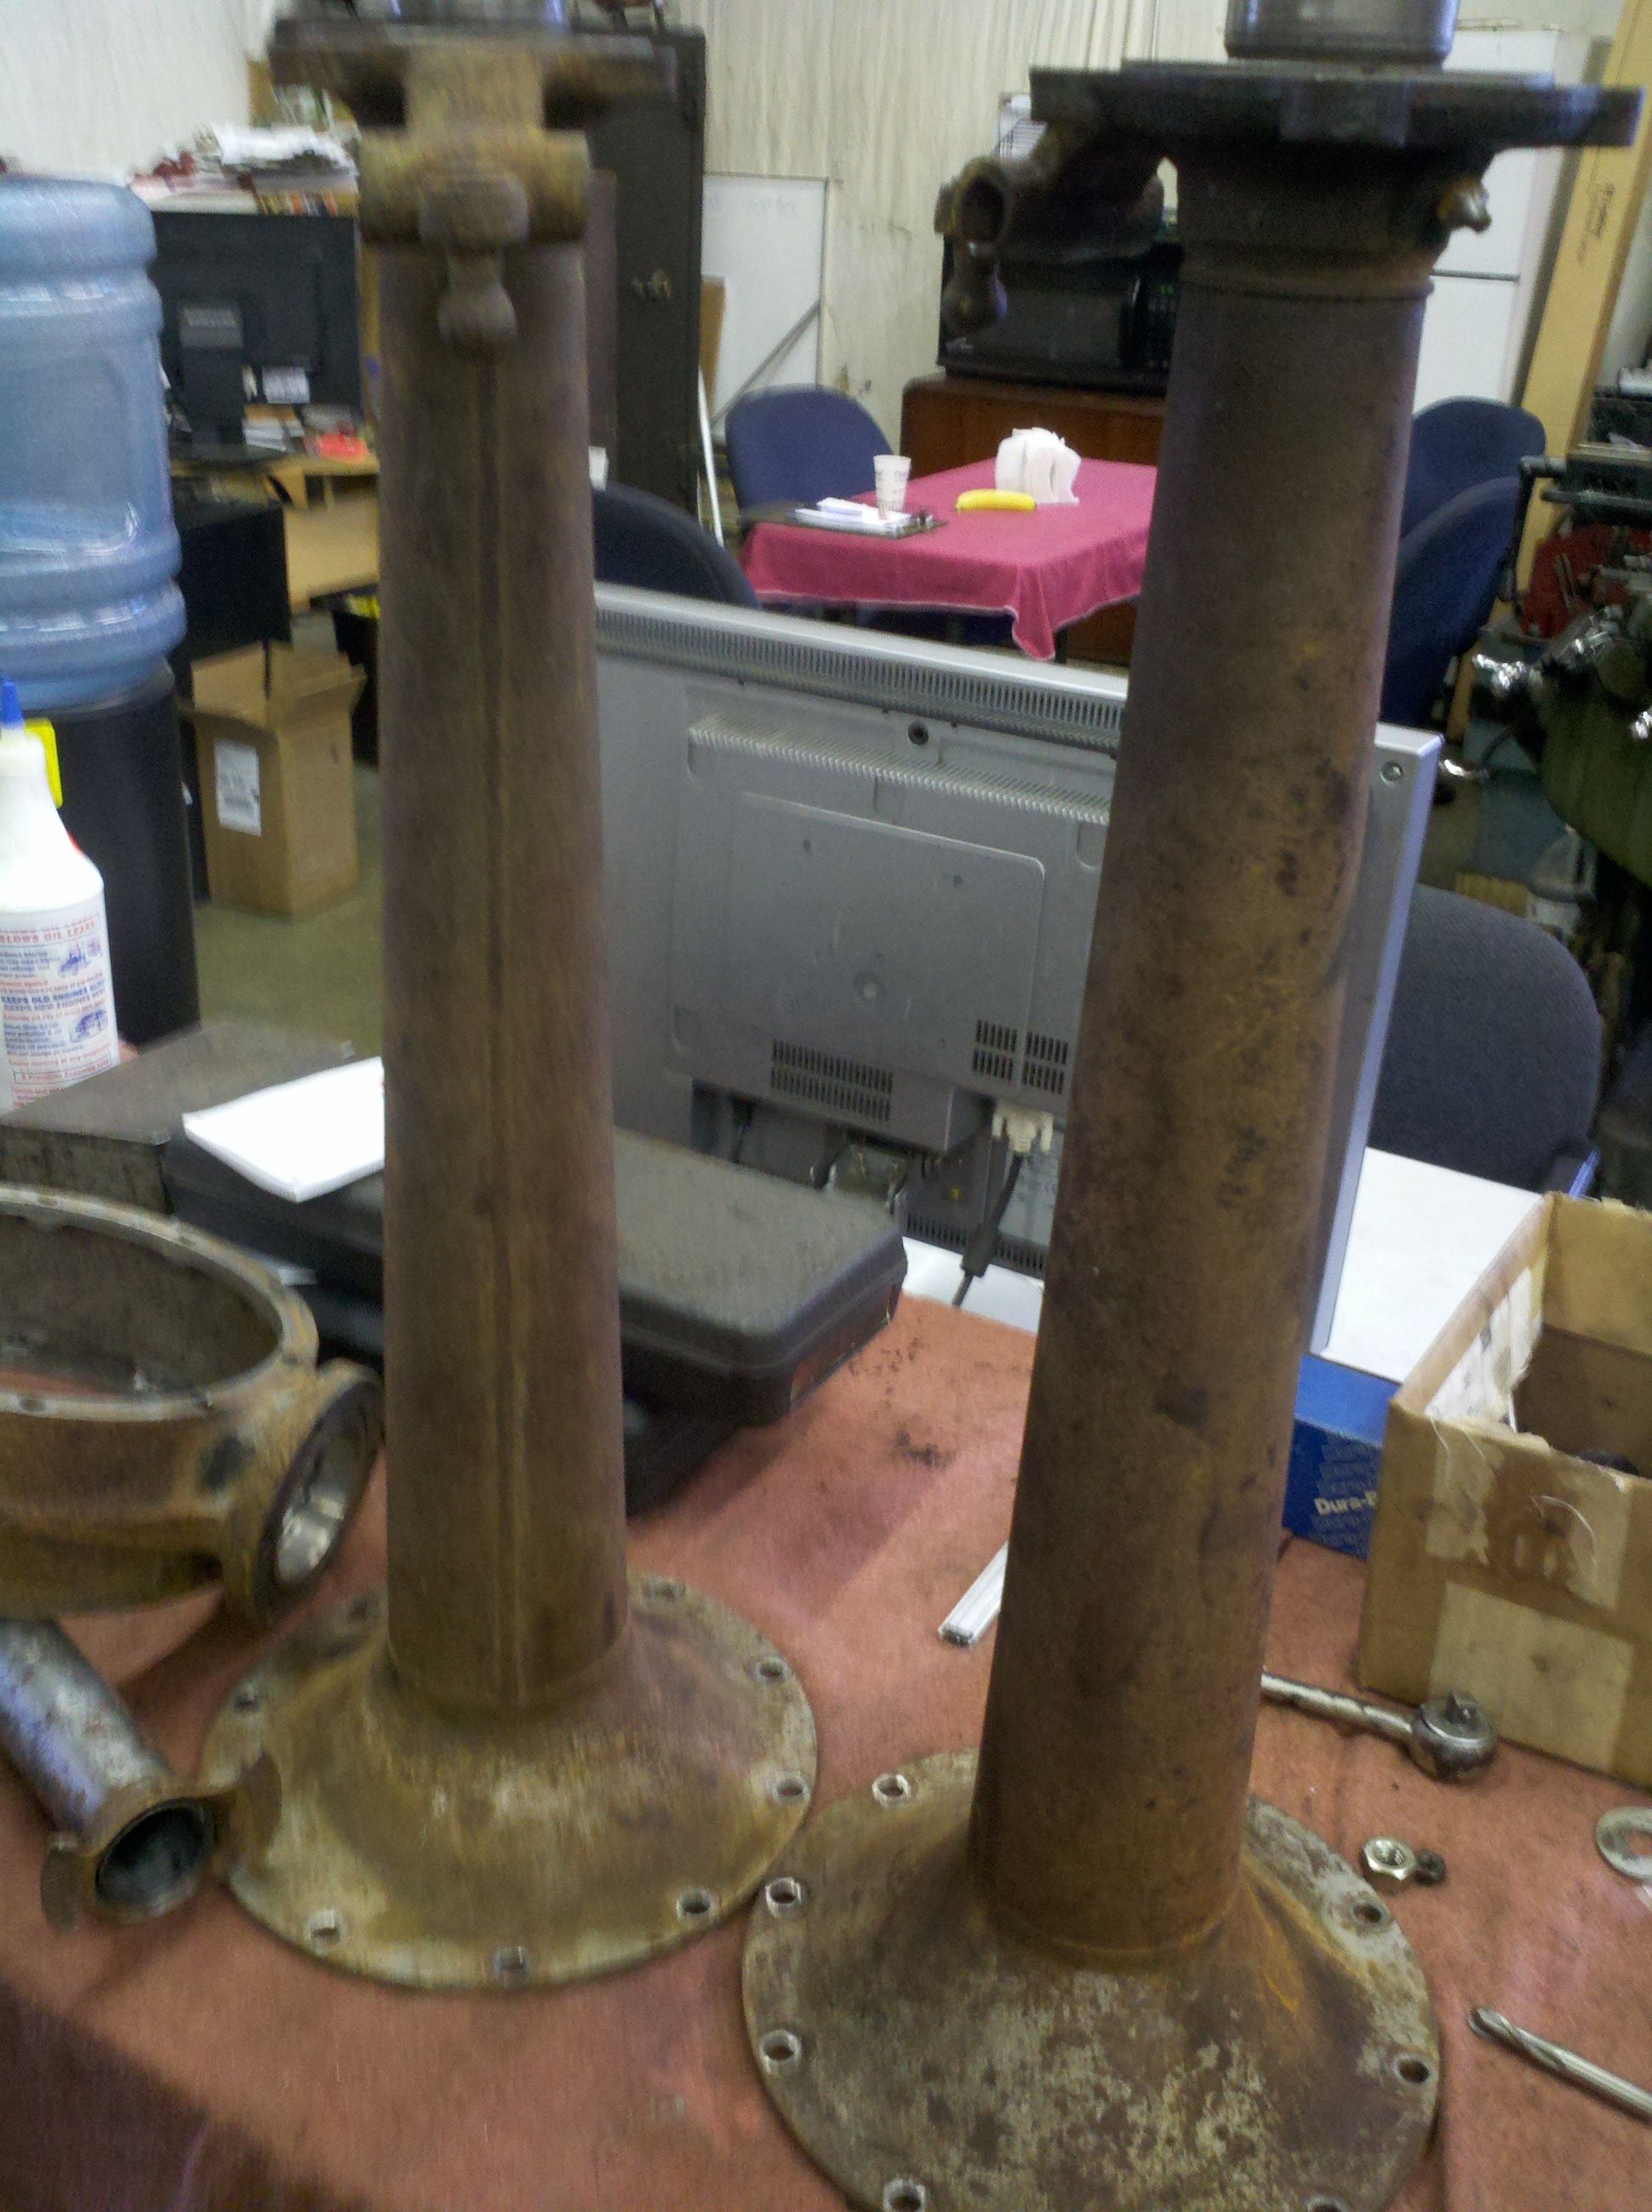
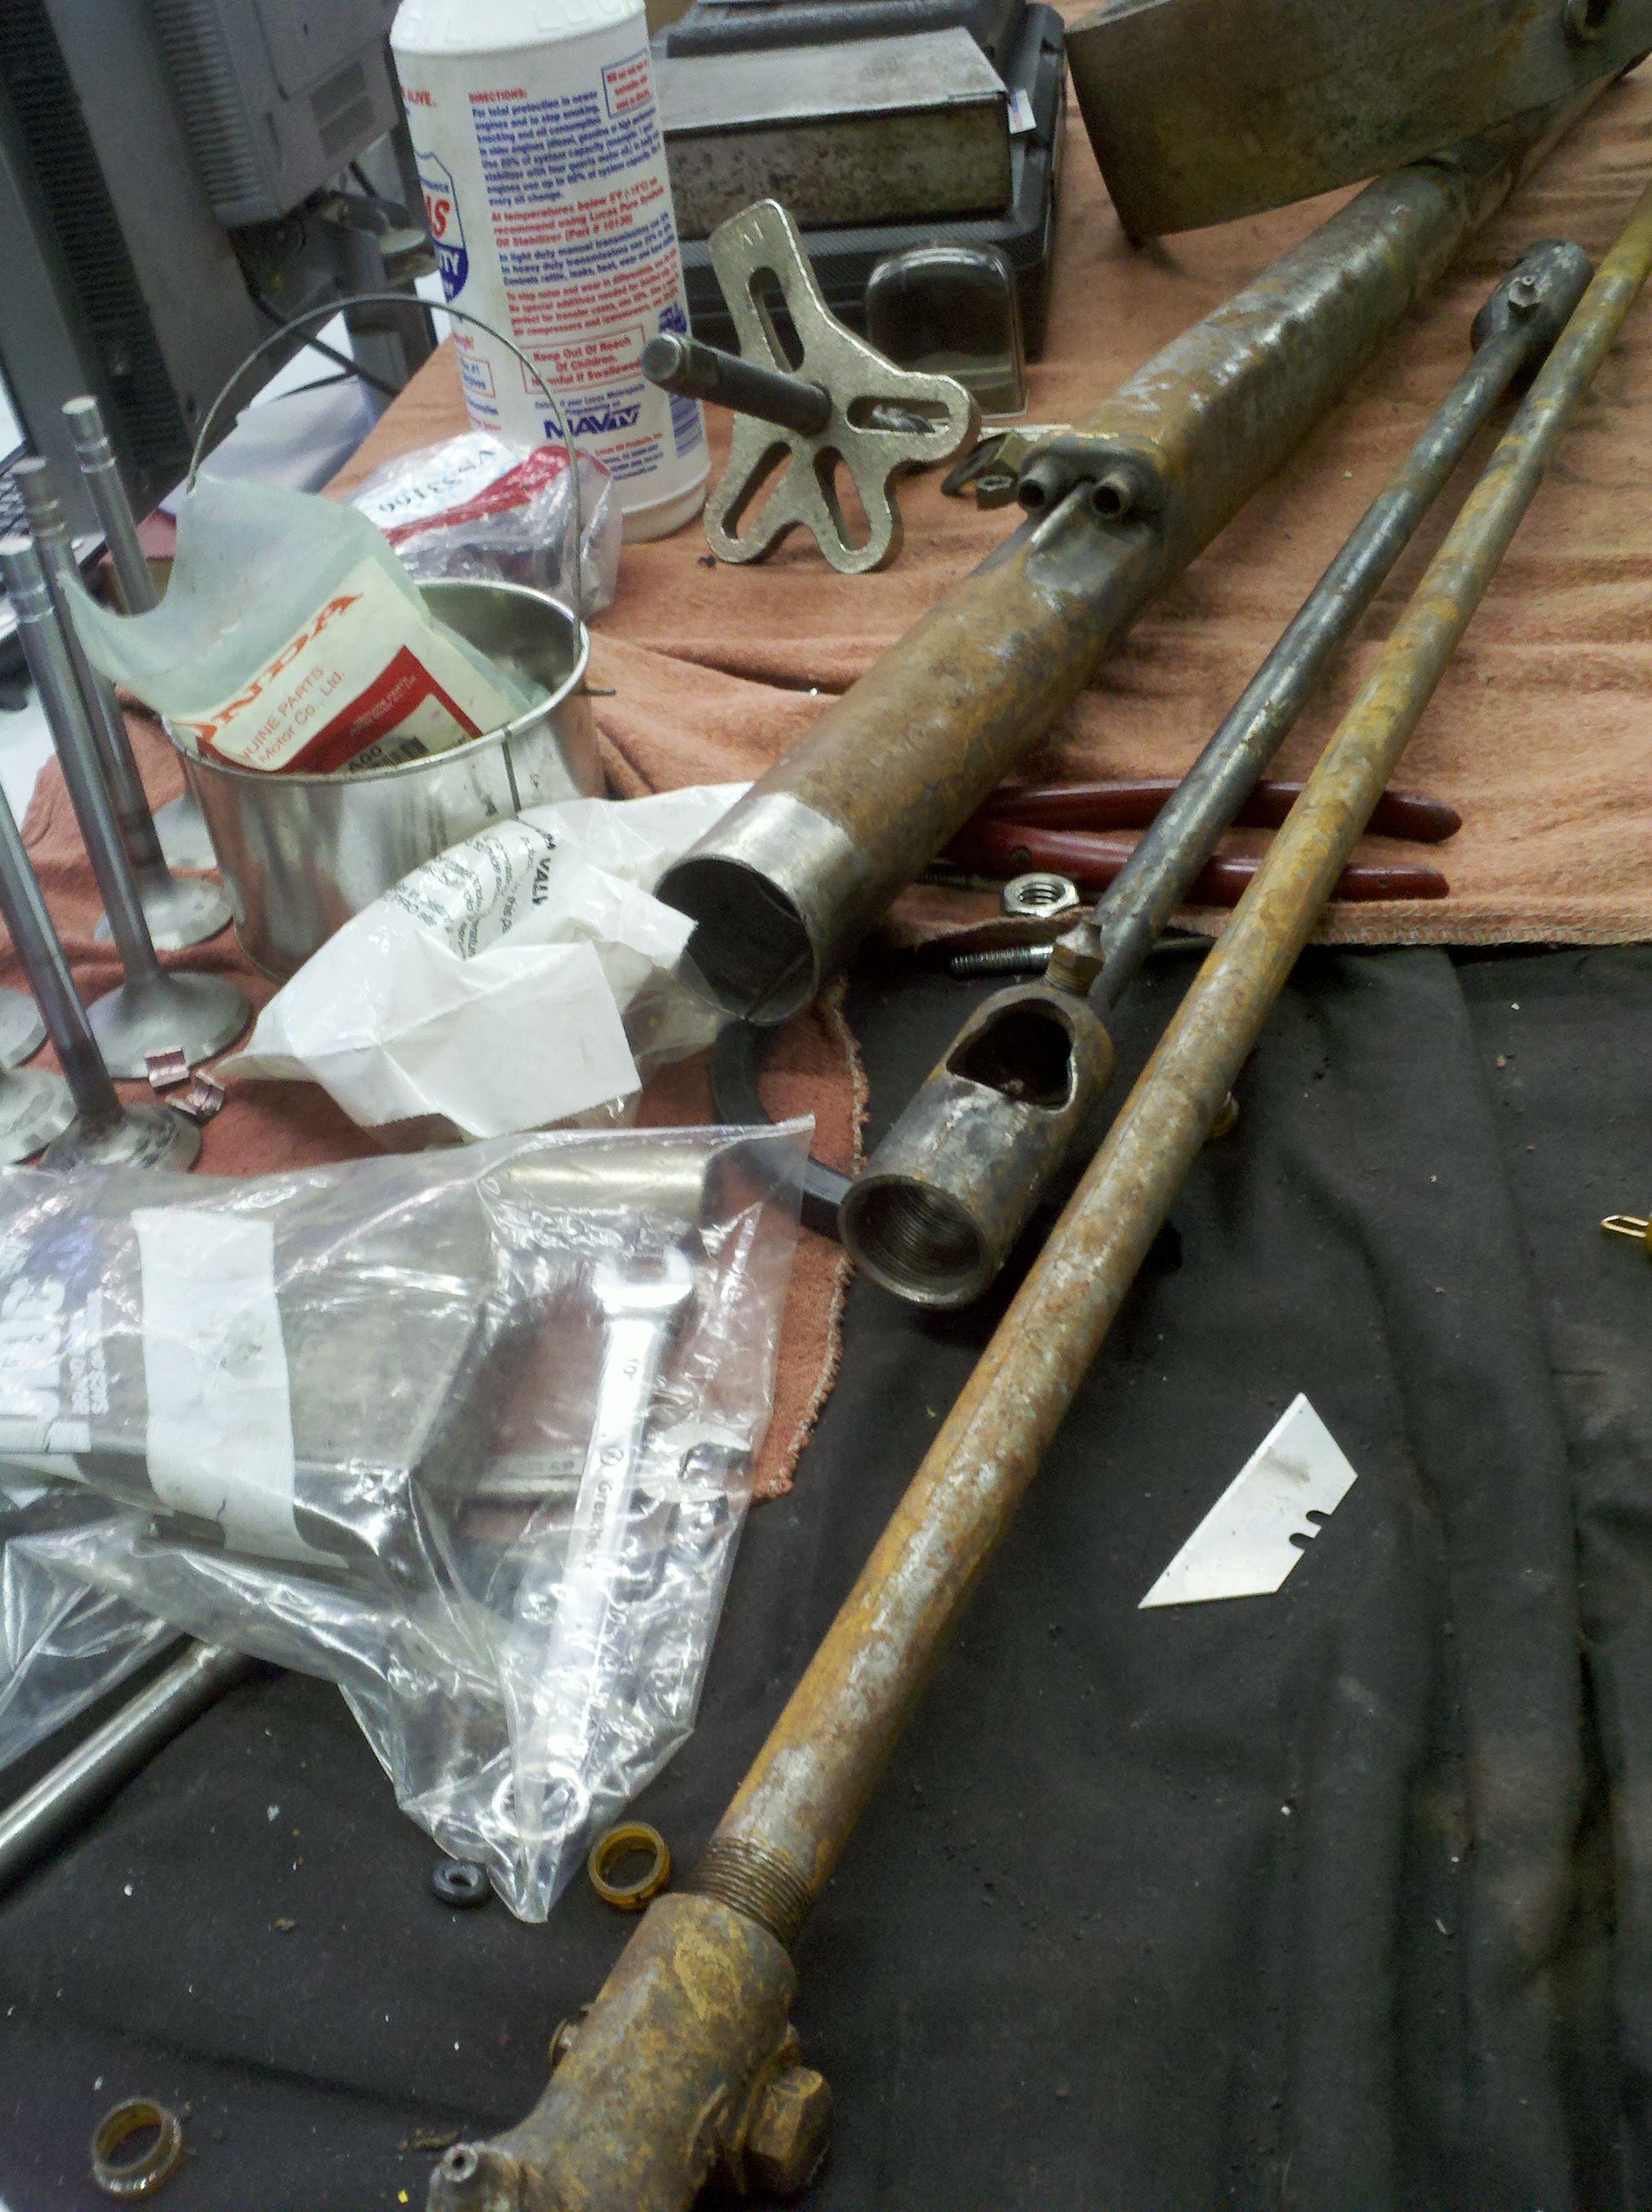
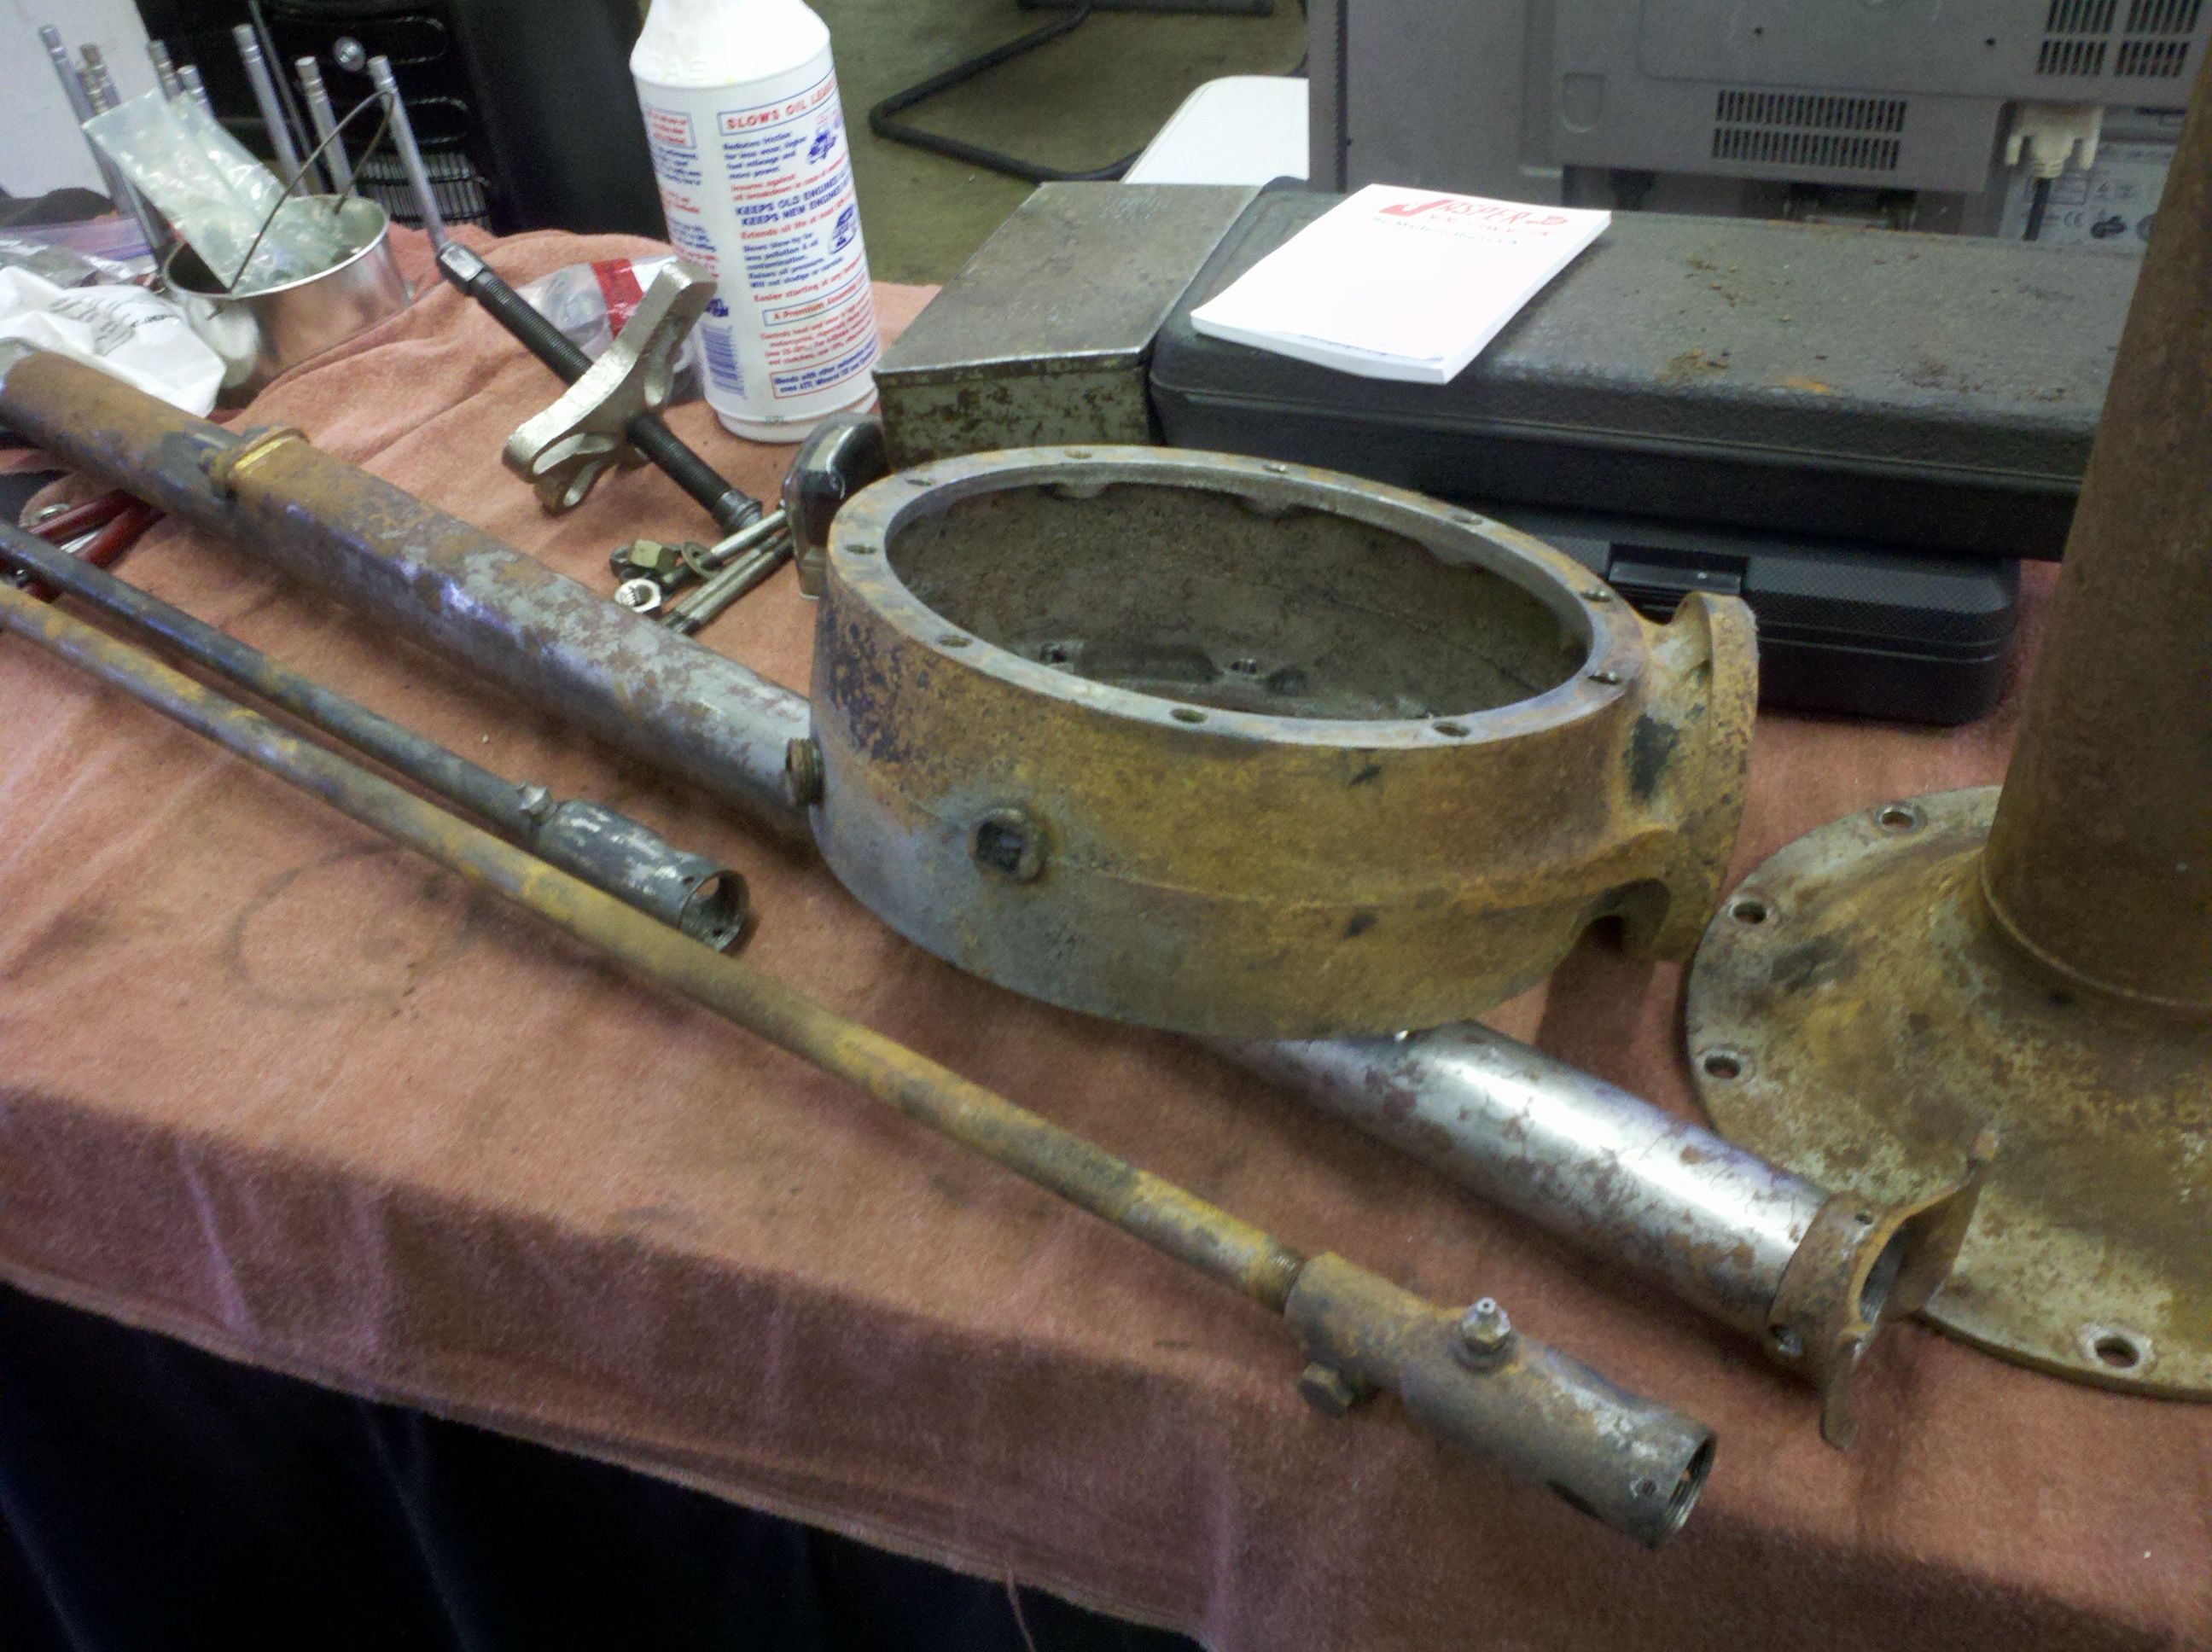
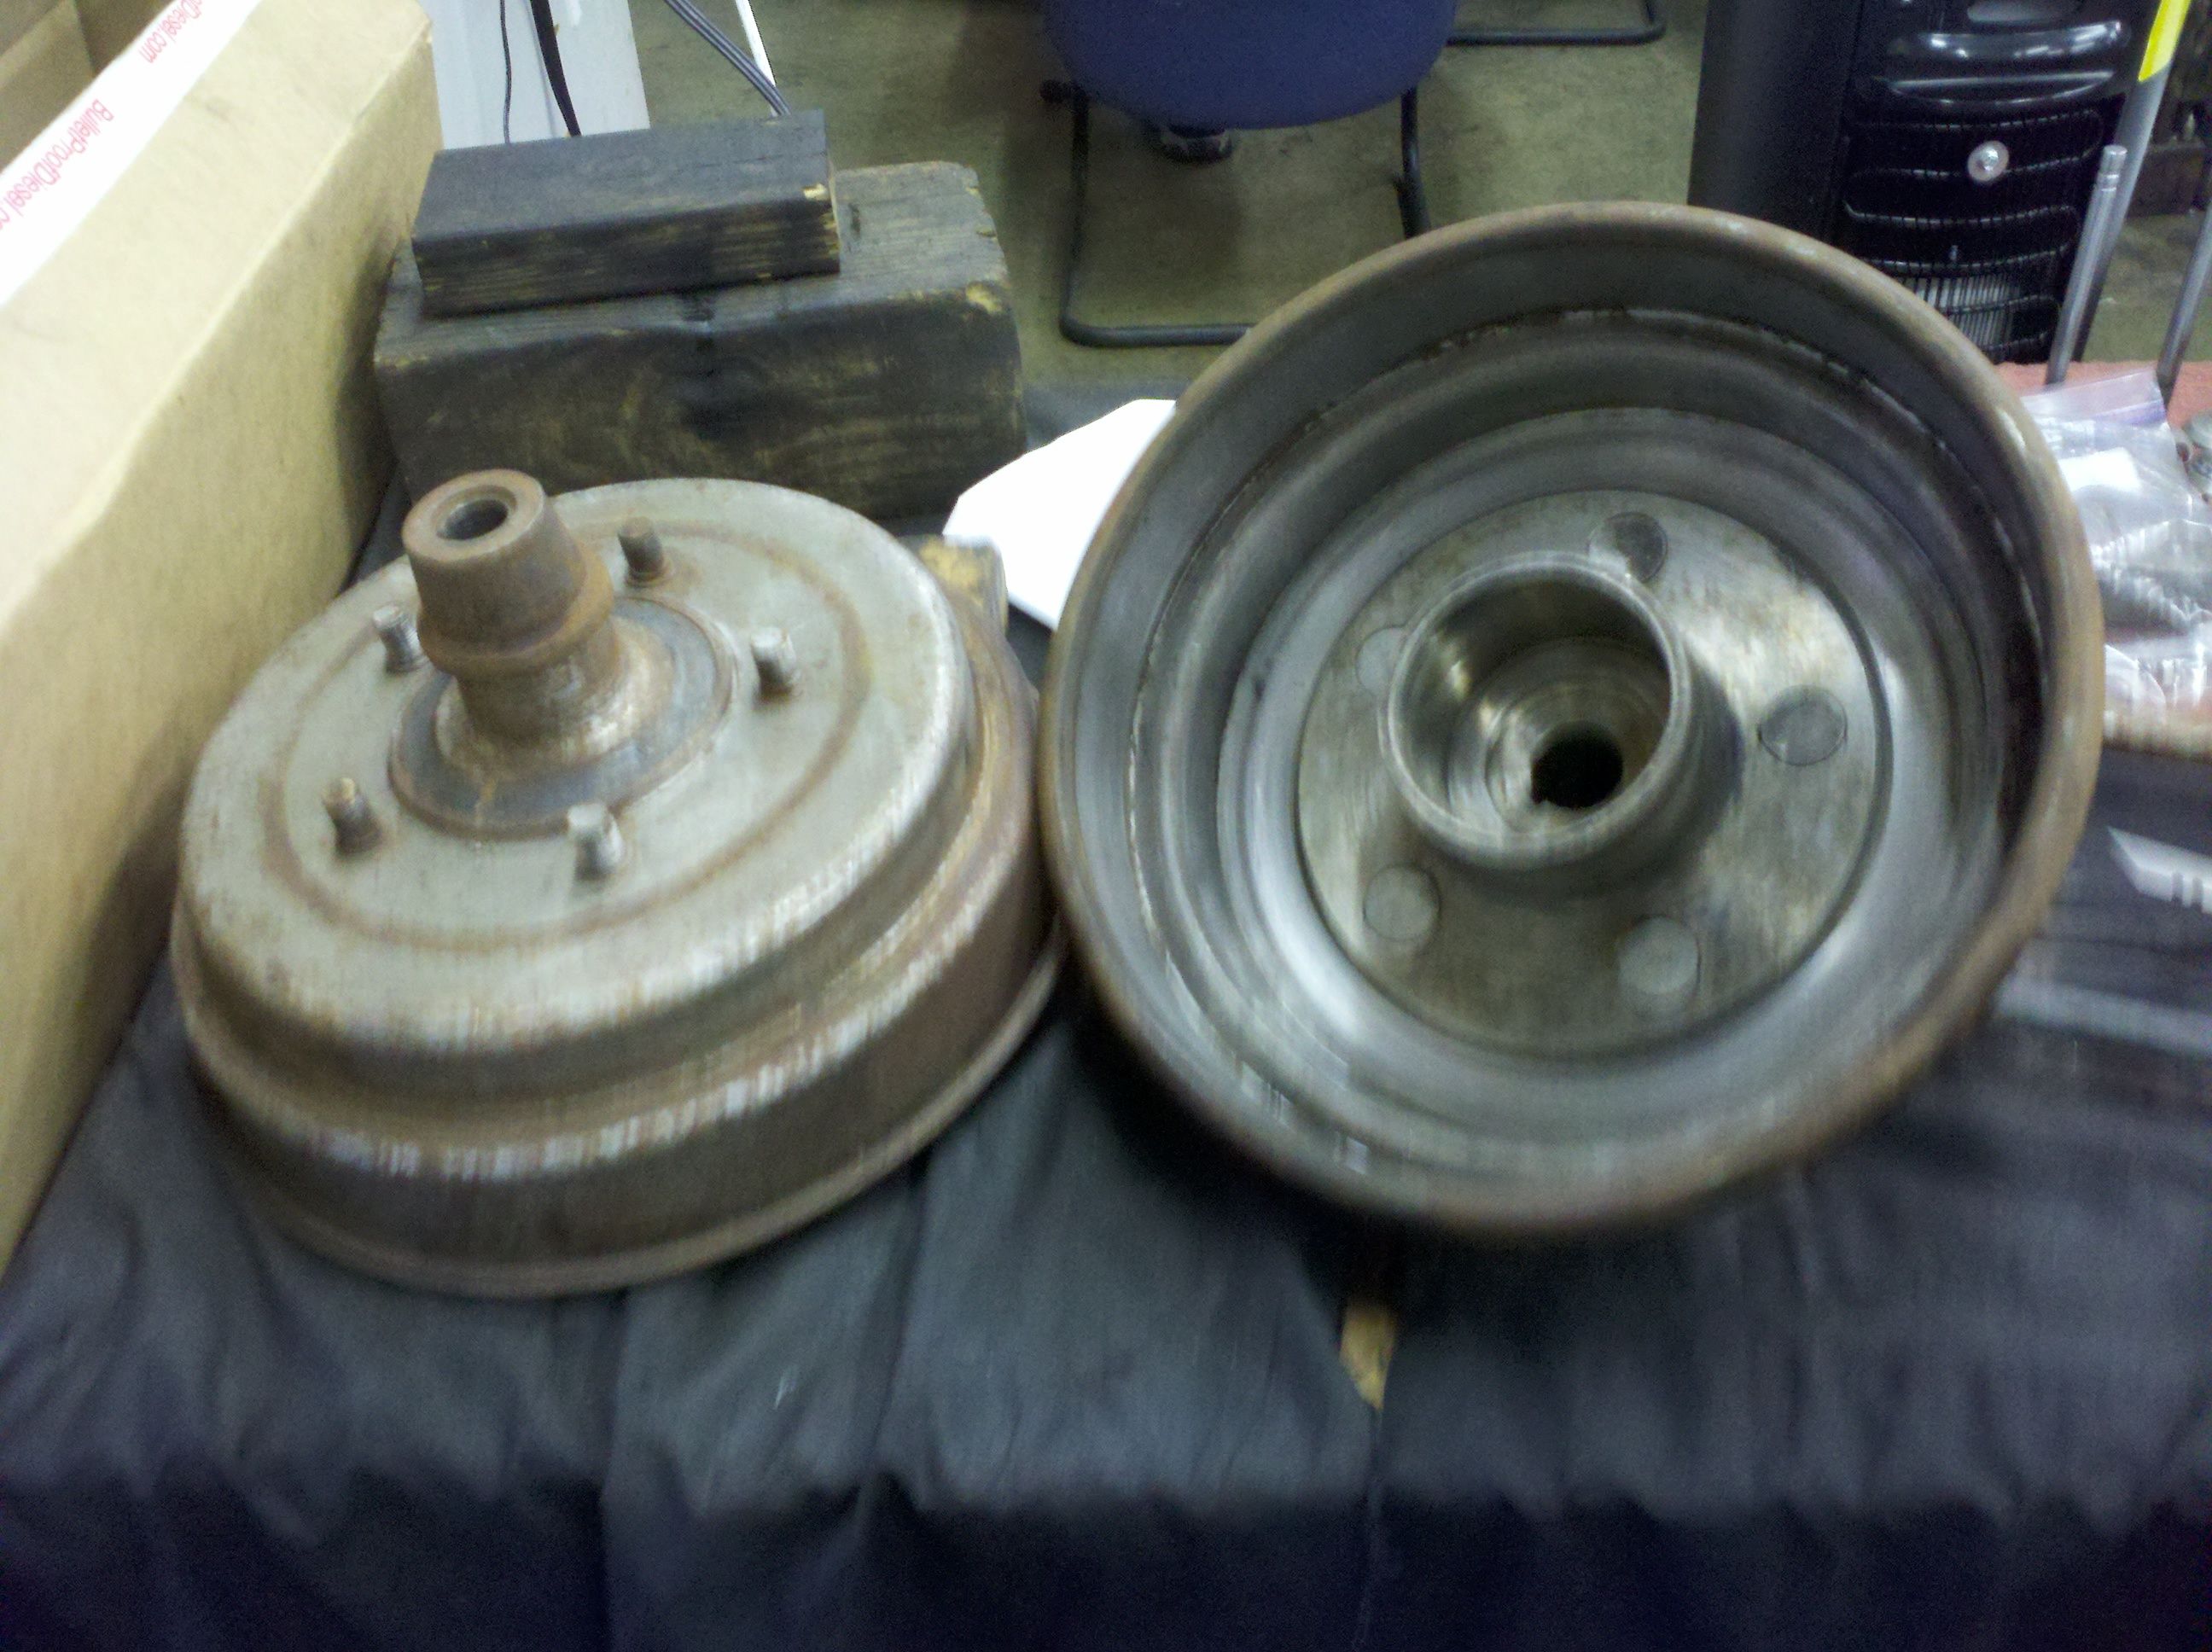
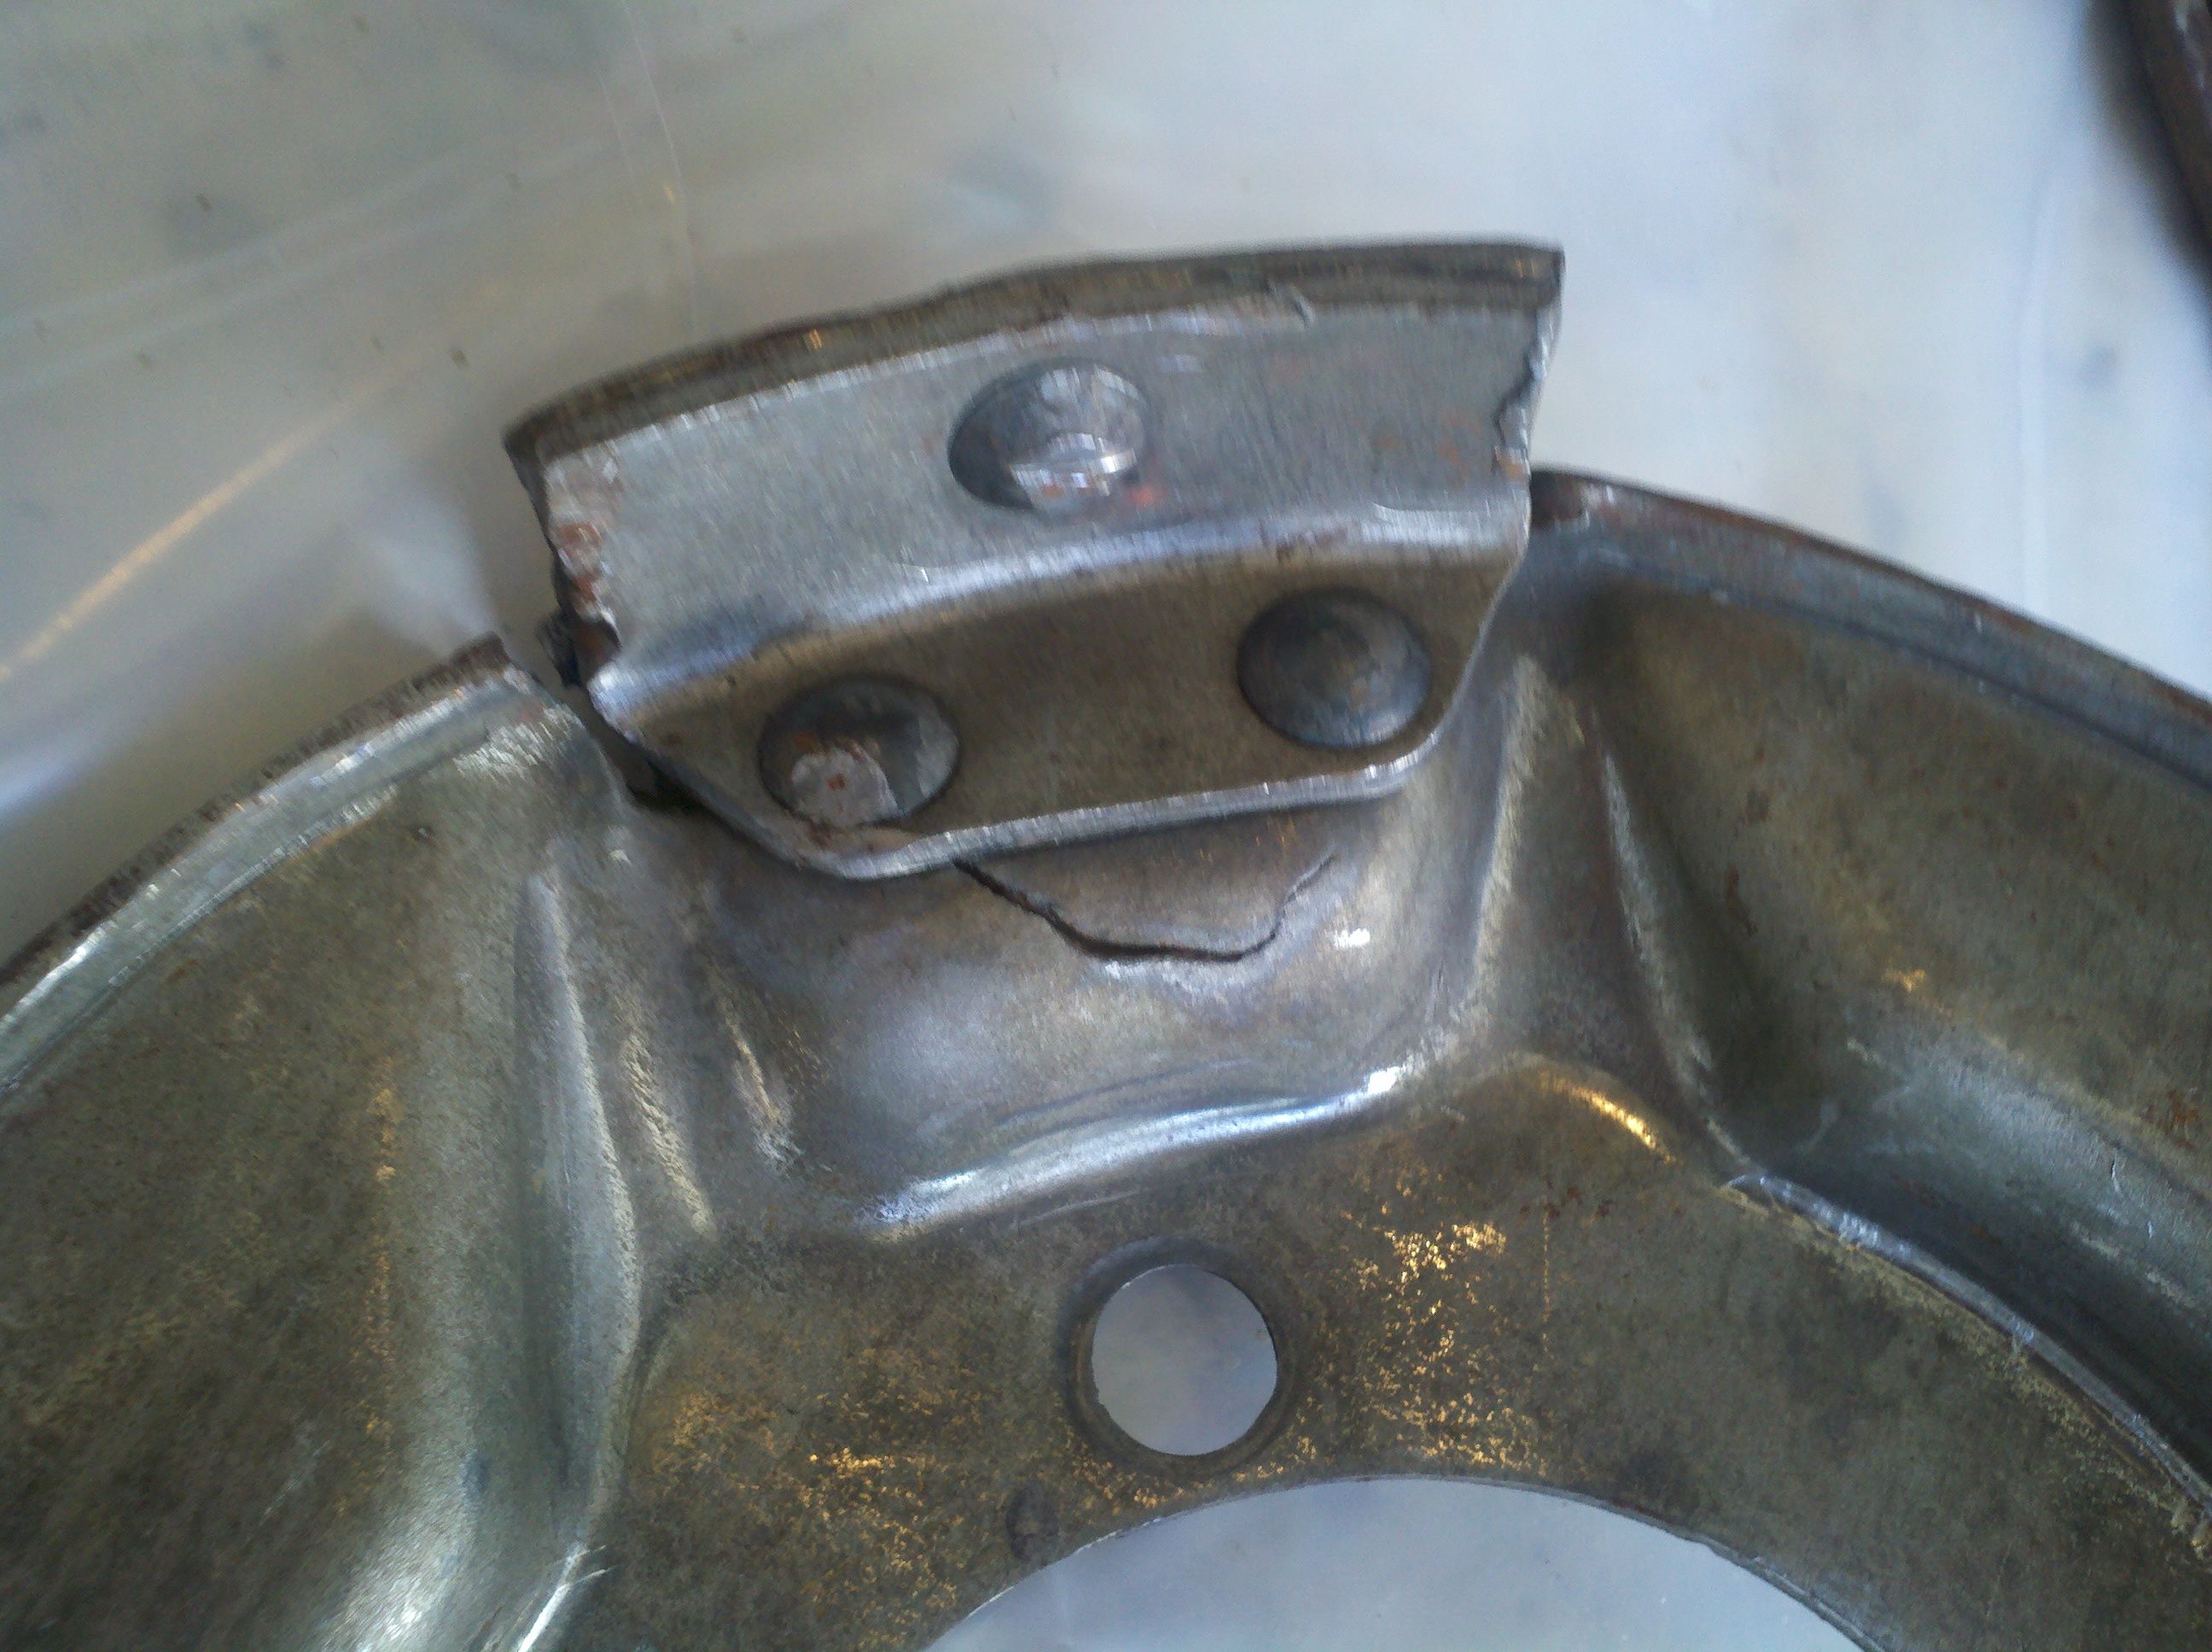
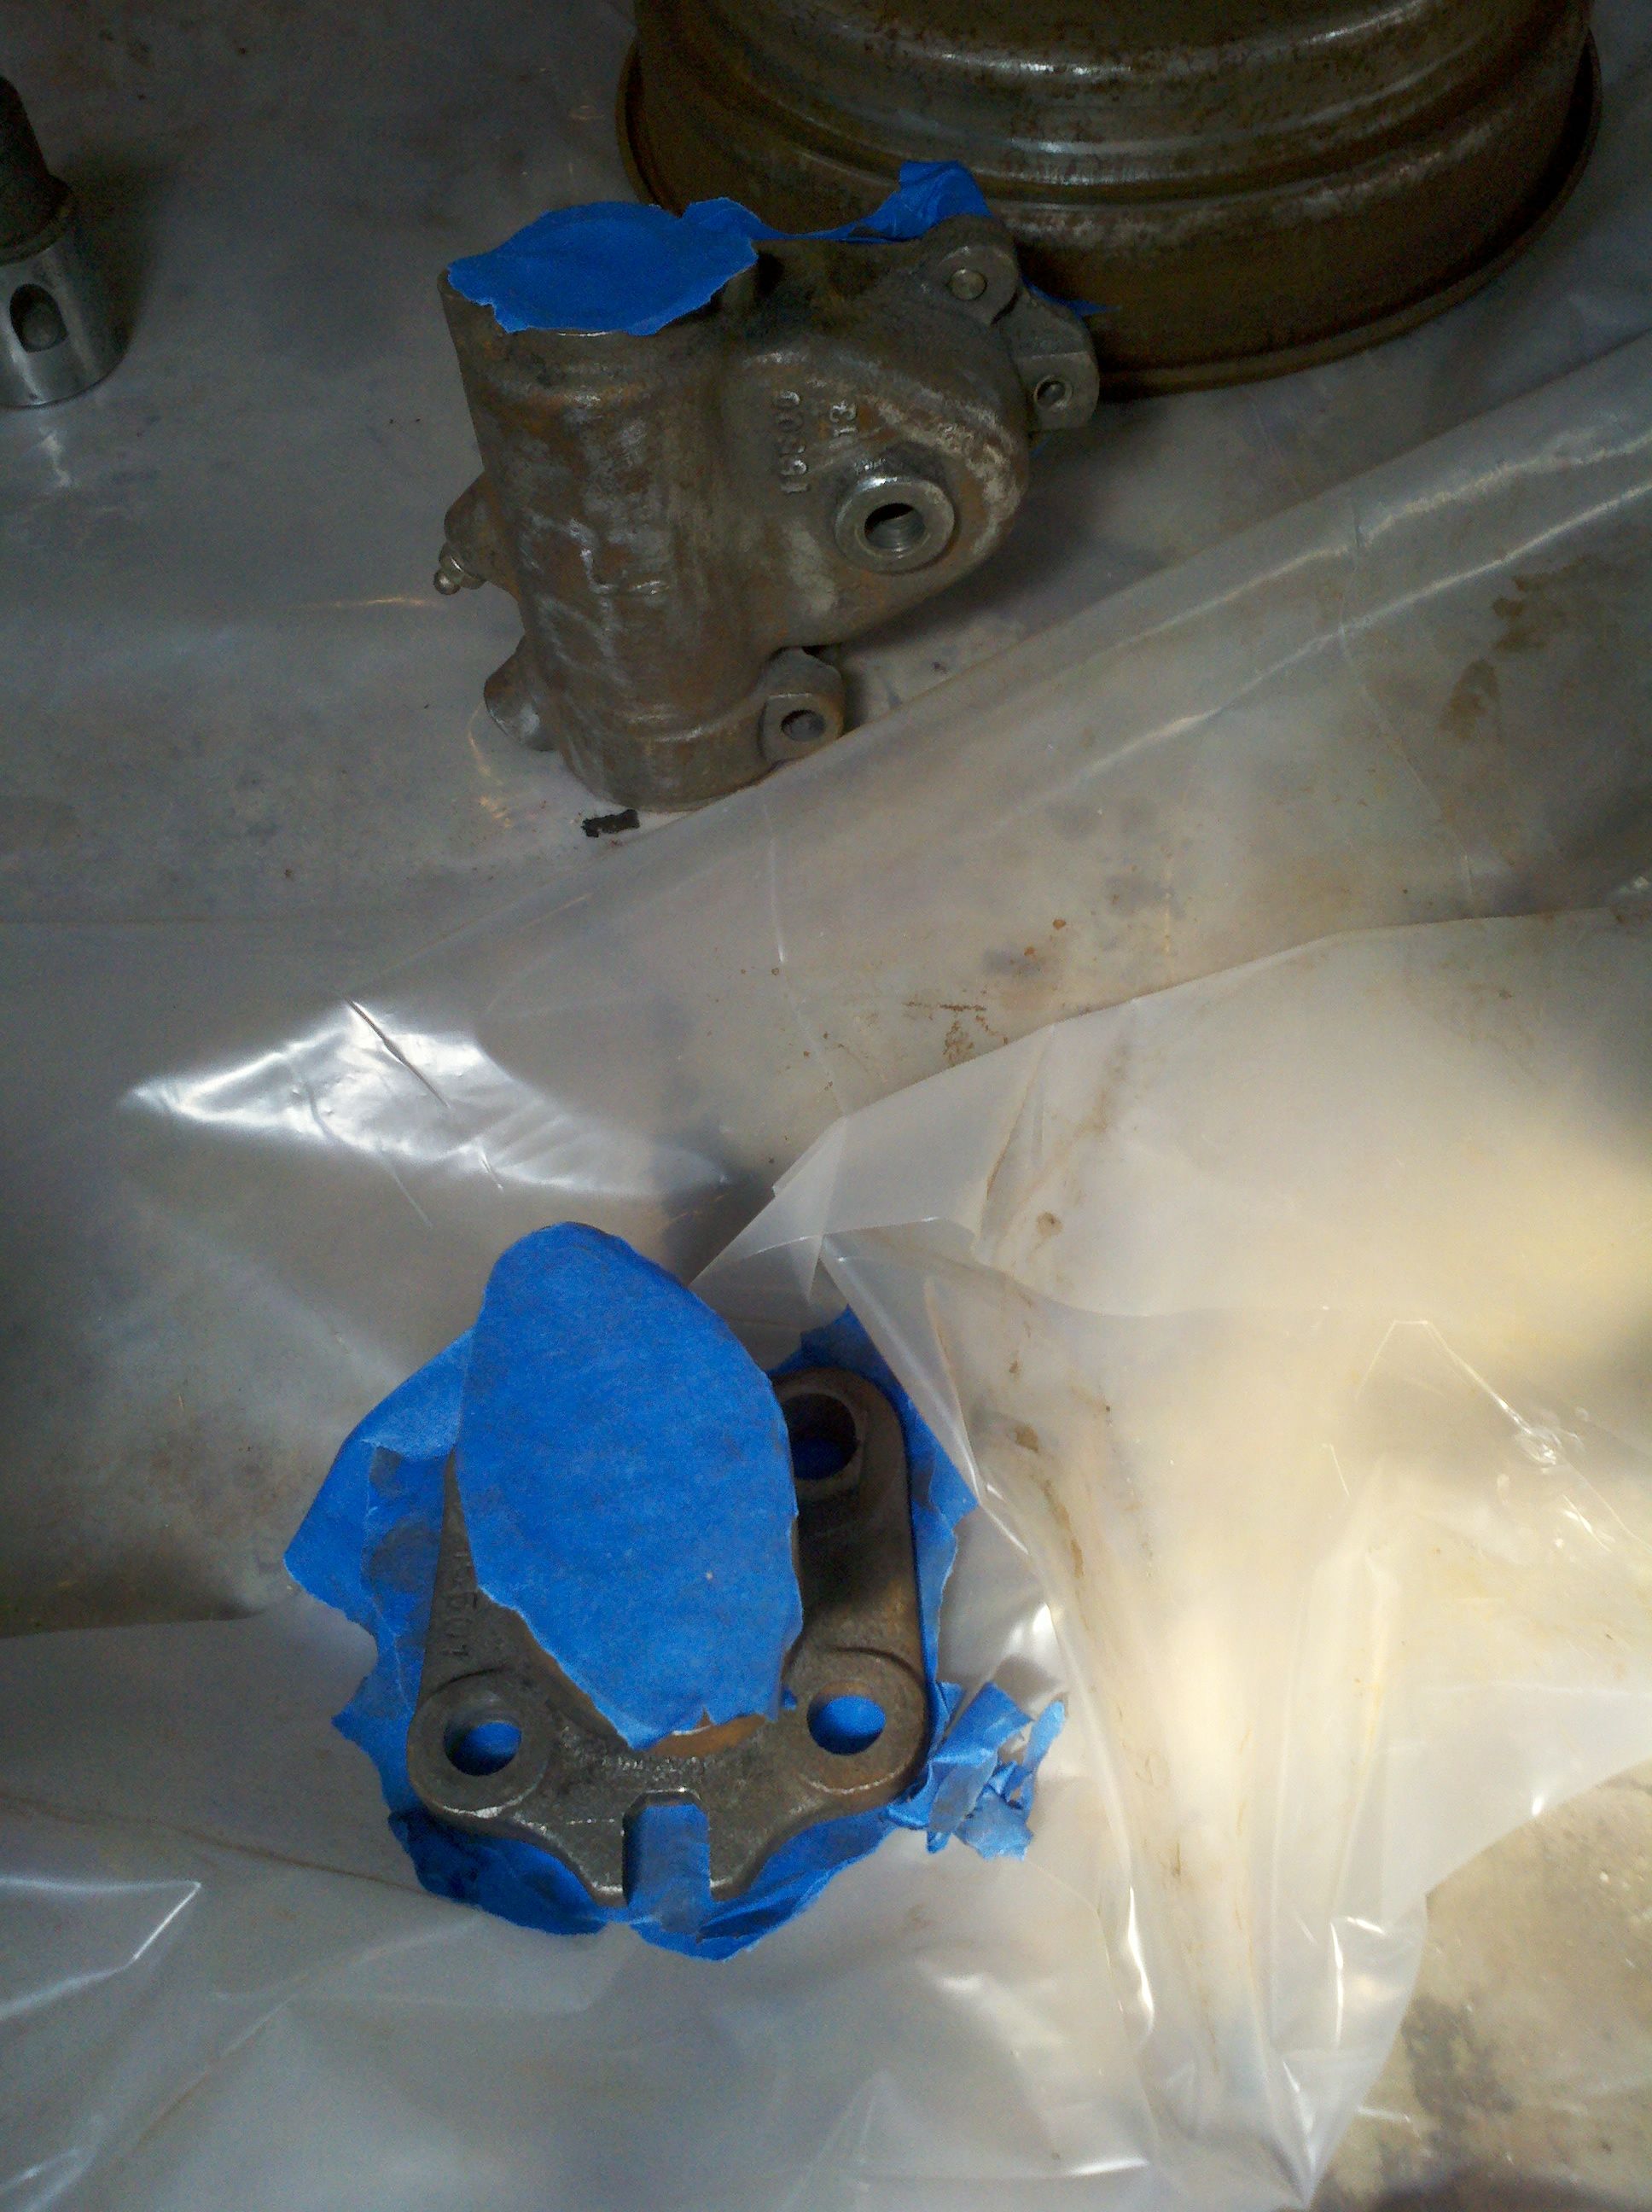
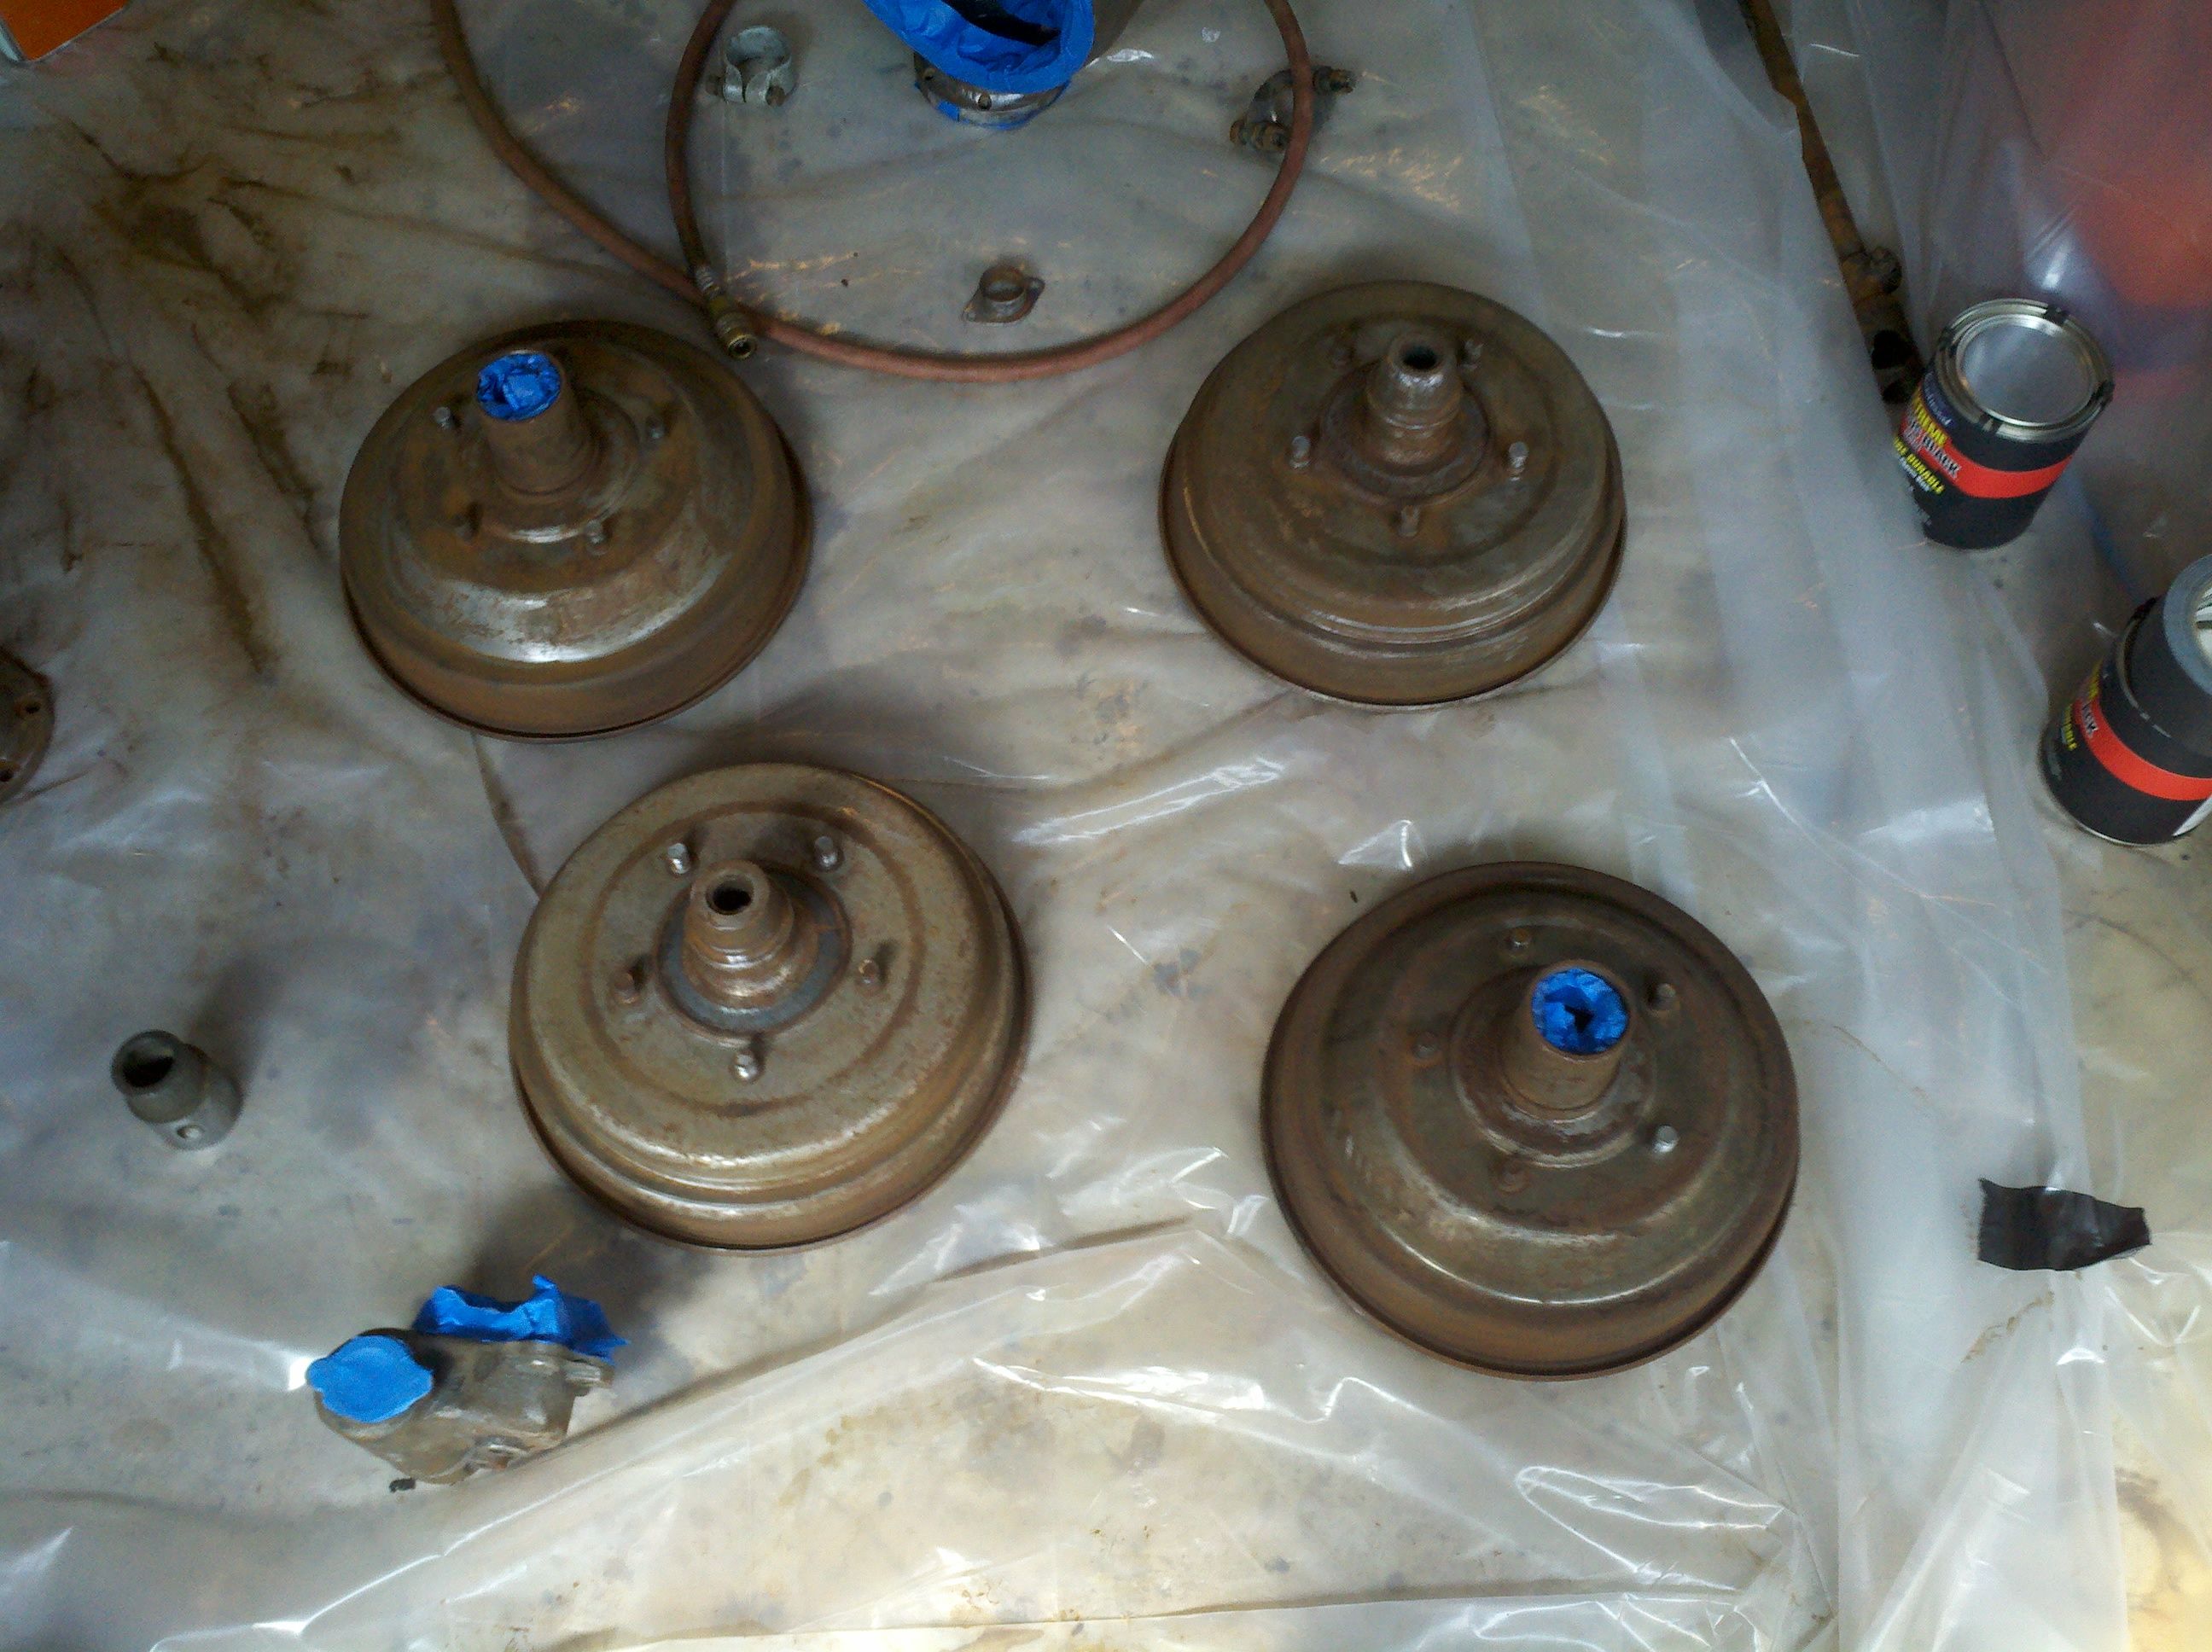
Parts came back from the machine shop today! Yay! Holy cow, there's a buch of rust in there! Yeah, see, the cleaning only removes paint, grease, and grime. Any underlying rust is still there. If yuo recall, those parts looked perty clean, but the rust had mostly been painted over, it seems. Maybe they used POR (paint over rust), but who knows? I looked at parts that I knew for a fact were not rusty before, and they still aren't. That tells me that the process didnt cause the rust, it was already there. So, I got the parts home, and let them sit for a day, while I figure out what to do with them. With all the grease & crud cleaned off, I could now see that there's a couple of parts that require replaceing. Dagnabit. Both axle housings need repiared or replaced - the spring perches are shot. And the emergency brake holder on one side is cracked, so that will neeed replaced as well. Here's pics of some of the bigger components. (Cleaning all the parts cost me $250)


Came home early from work to find the missus out and about. On the way home I picked up some Scotch-Brite pads, and a paint/rust removing wheel for my drill. Got an old wash cloth out (it was clean), and went to town on the torque tube, brake drums, steering column, and steering gear box. I'm not too concerned about getting all the rust off, as I'll be shooting the base coats as Eastwood's POR. It was a warm, sunny day. When I would get the worst of the rust off the part, I would then wash the item down with the rag and a liberal amount of laquer thinner. My nephew questioned this at one point, and I shouwed him some of the corrosion spots up-close. They were very old fingerprints!


I also made some inquireies. I can replace the Axle Housings for about $300, so long as they get my old ones for cores. So, not sure if I'll get the originals back or not. It would be nice, but I don't guess I'll get picky. The rebuilds include a reworked whell bearing race, new (and I assume properly preloaded) axle bearing, new perch, new shock ball, and maybe new seals, too. I already bought some of that stuff, so I think I'll bring them those parts as well, and see if maybe I can get a small discount. That's still a bit more than I planned on spending (I planned on nothing for this part...)... I mean, that is 85 years worth of wear, right, so surely they could take quite a few more years, especially with the small amount of driving I'll be driving. Right? Right? Yeah, I thunk about it a bit, and I do believe it sure would suck to be broke down in the middle of anywhere with a busted perch. D'oh.
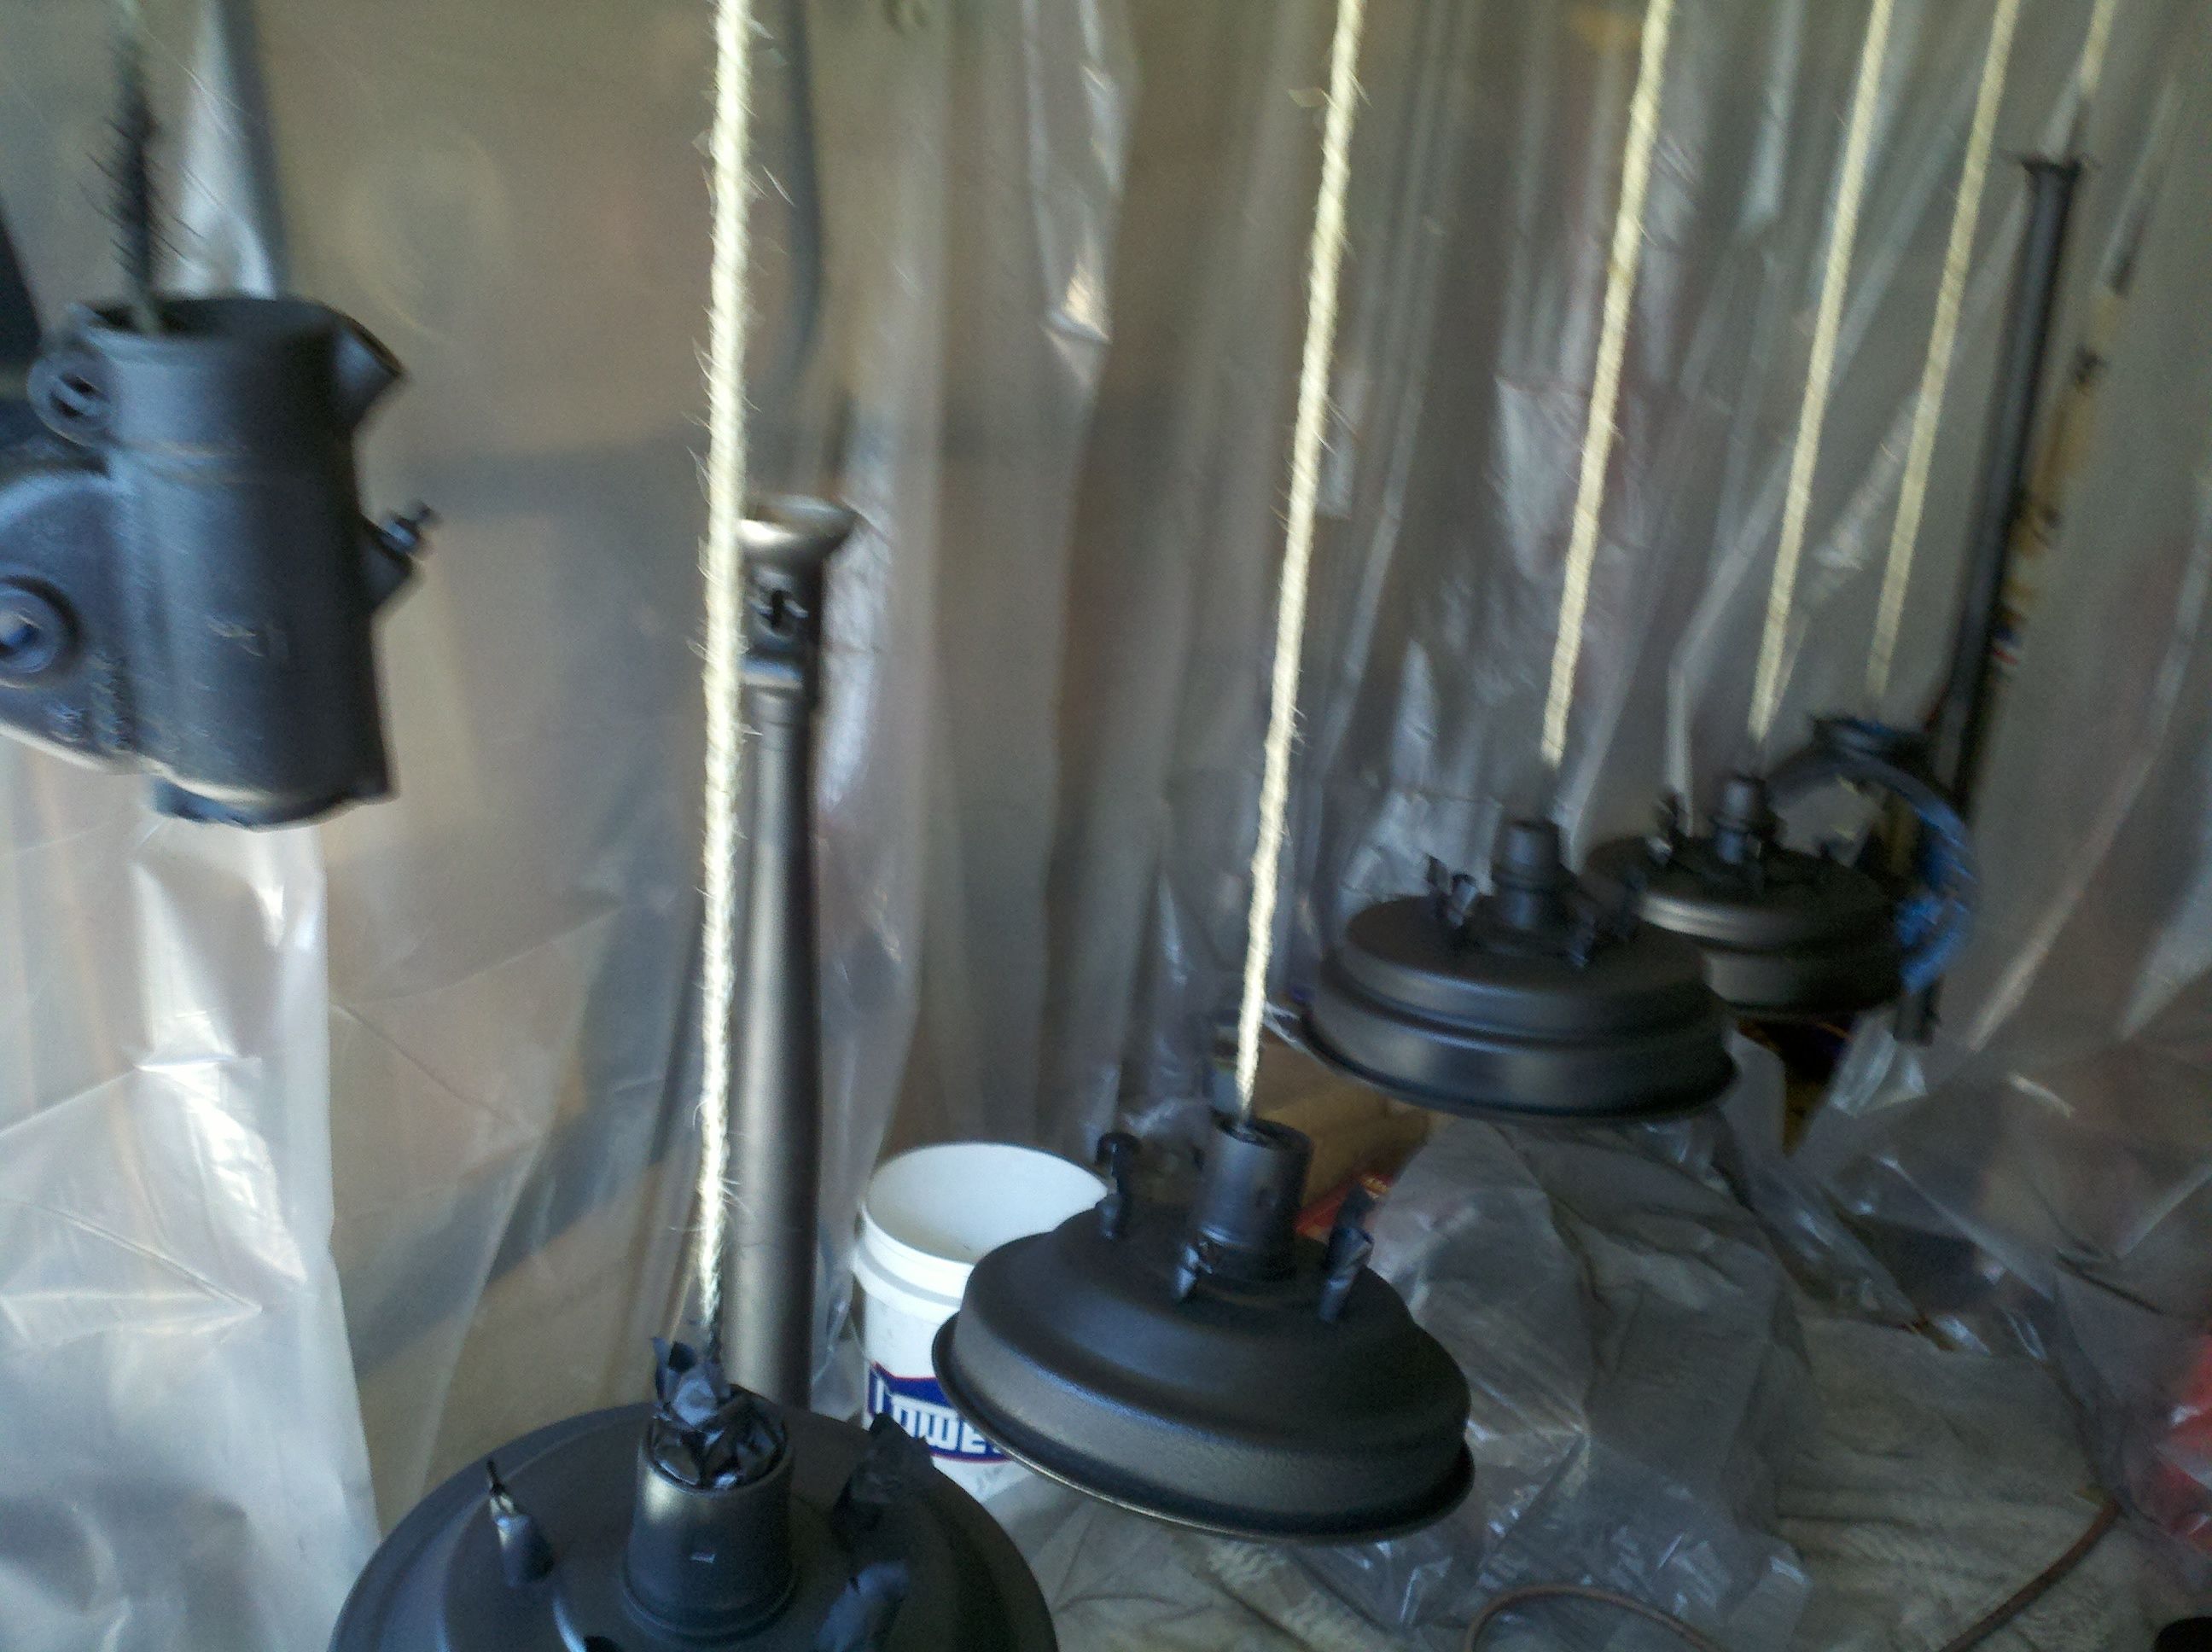
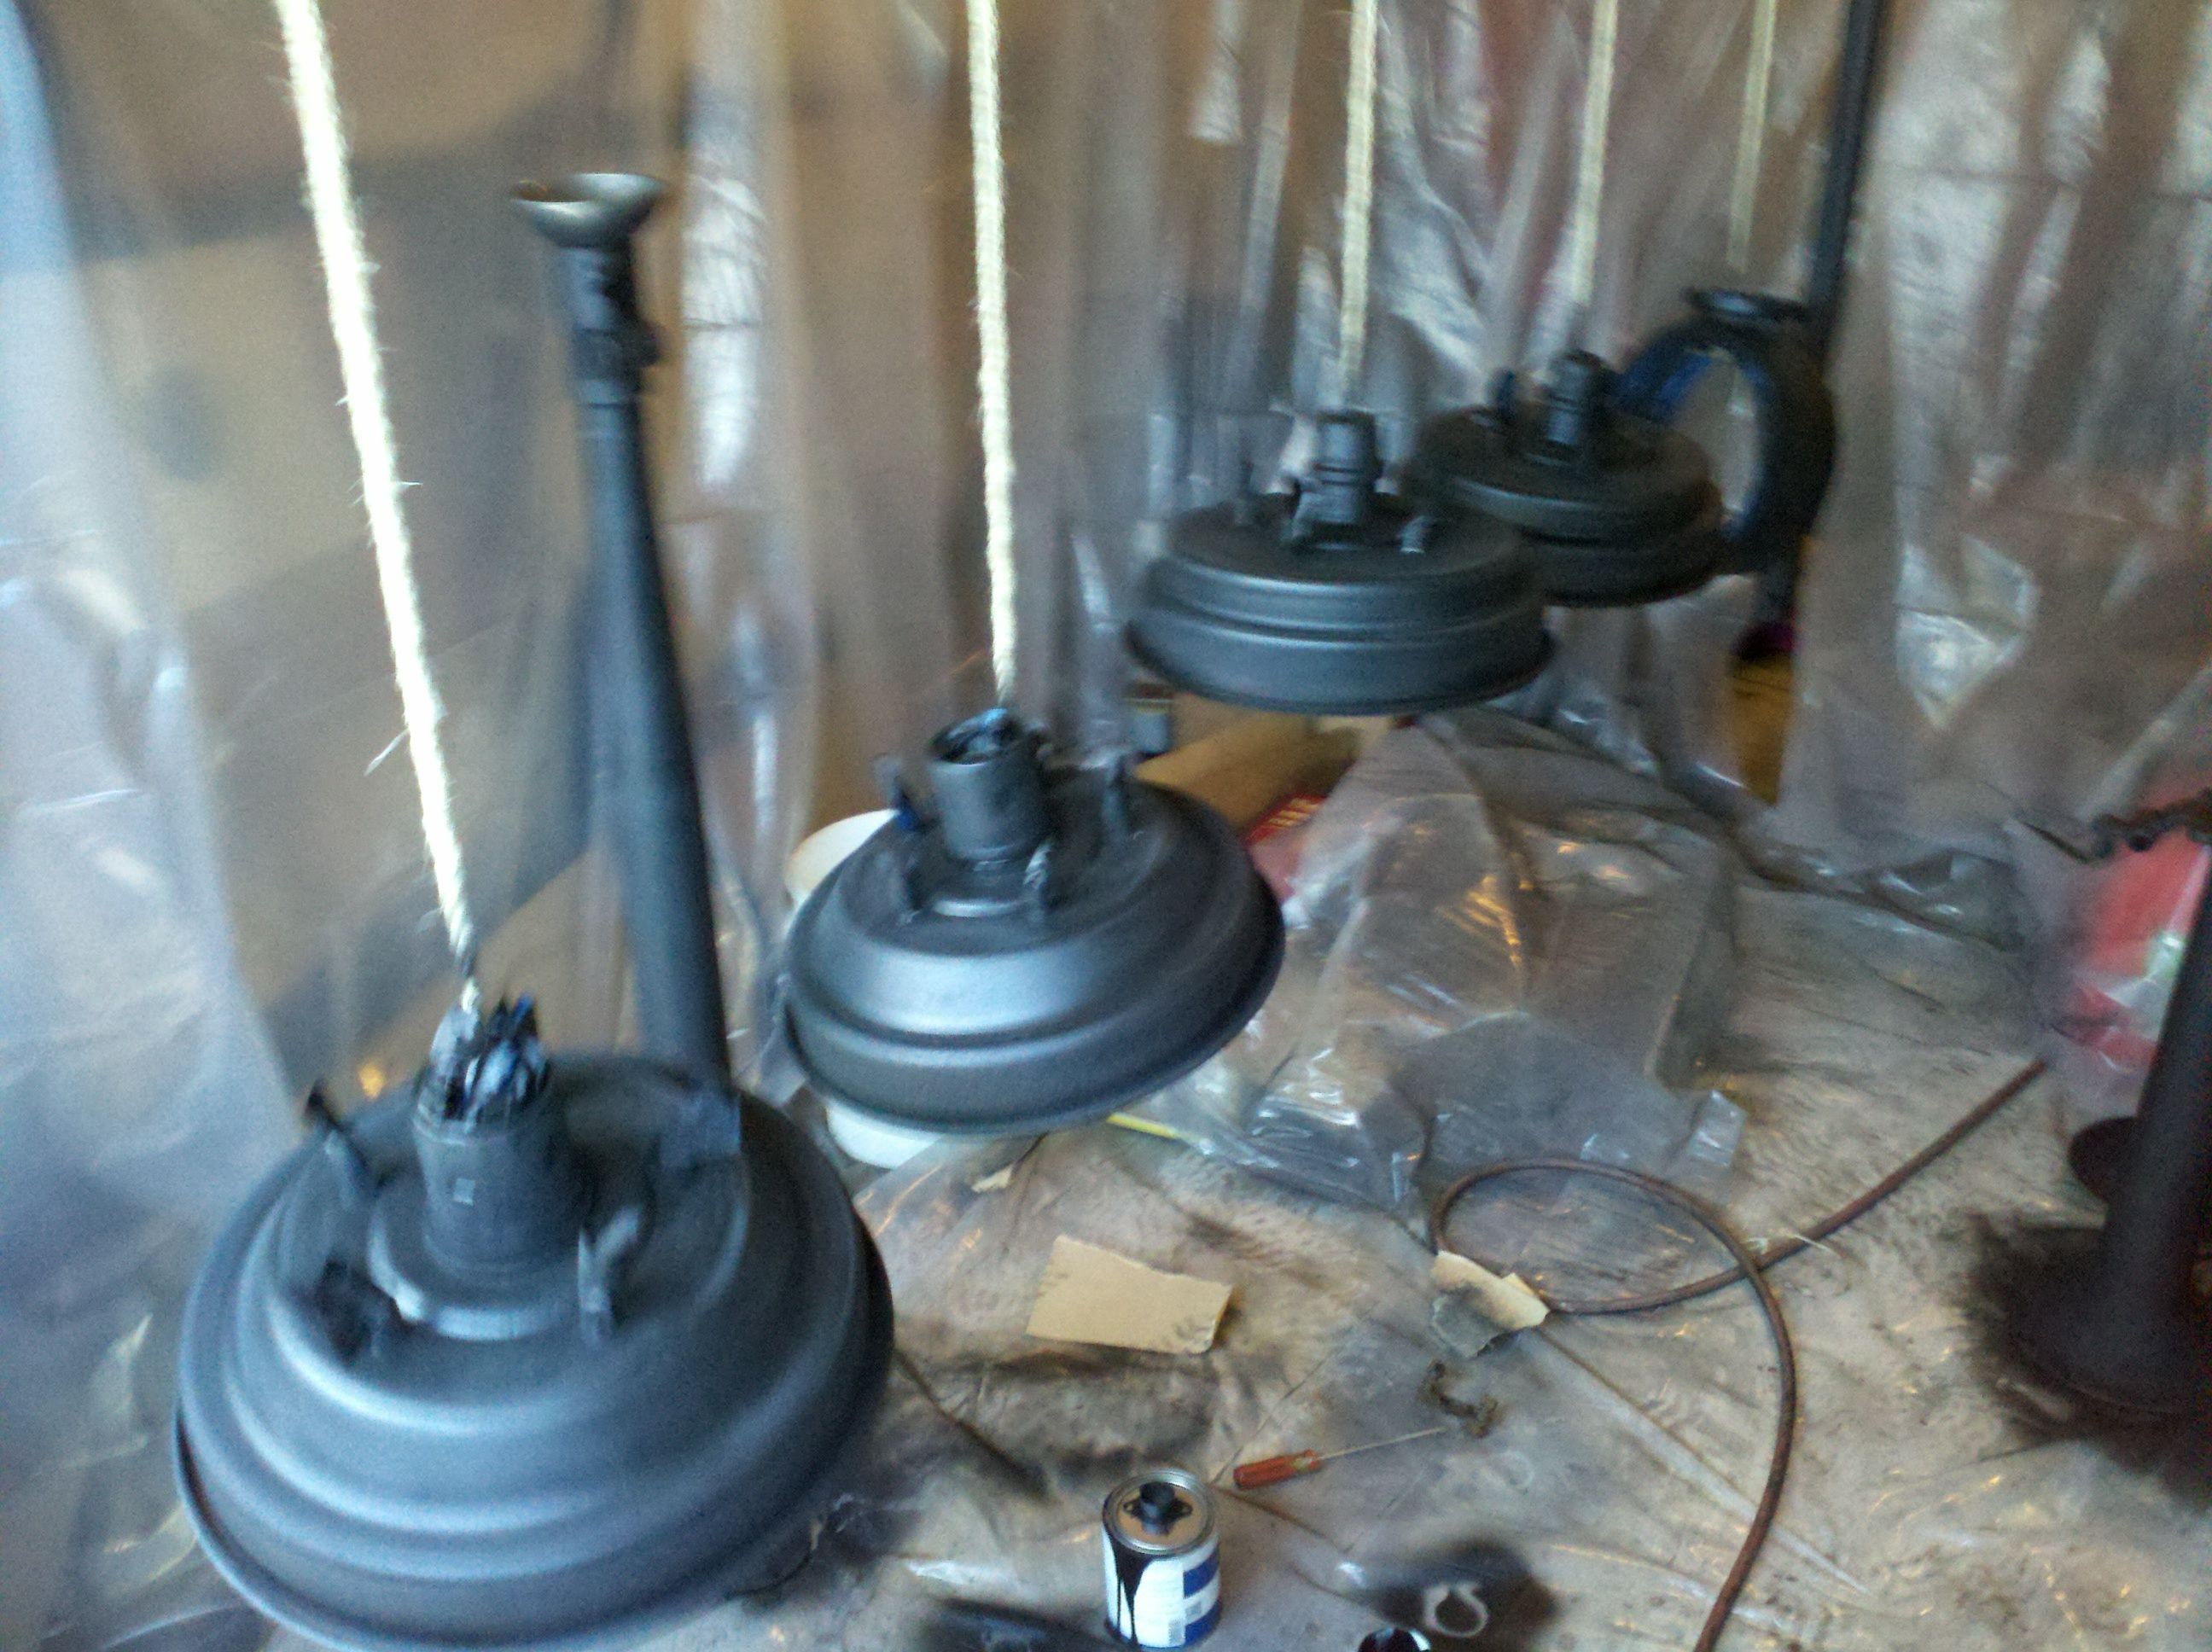
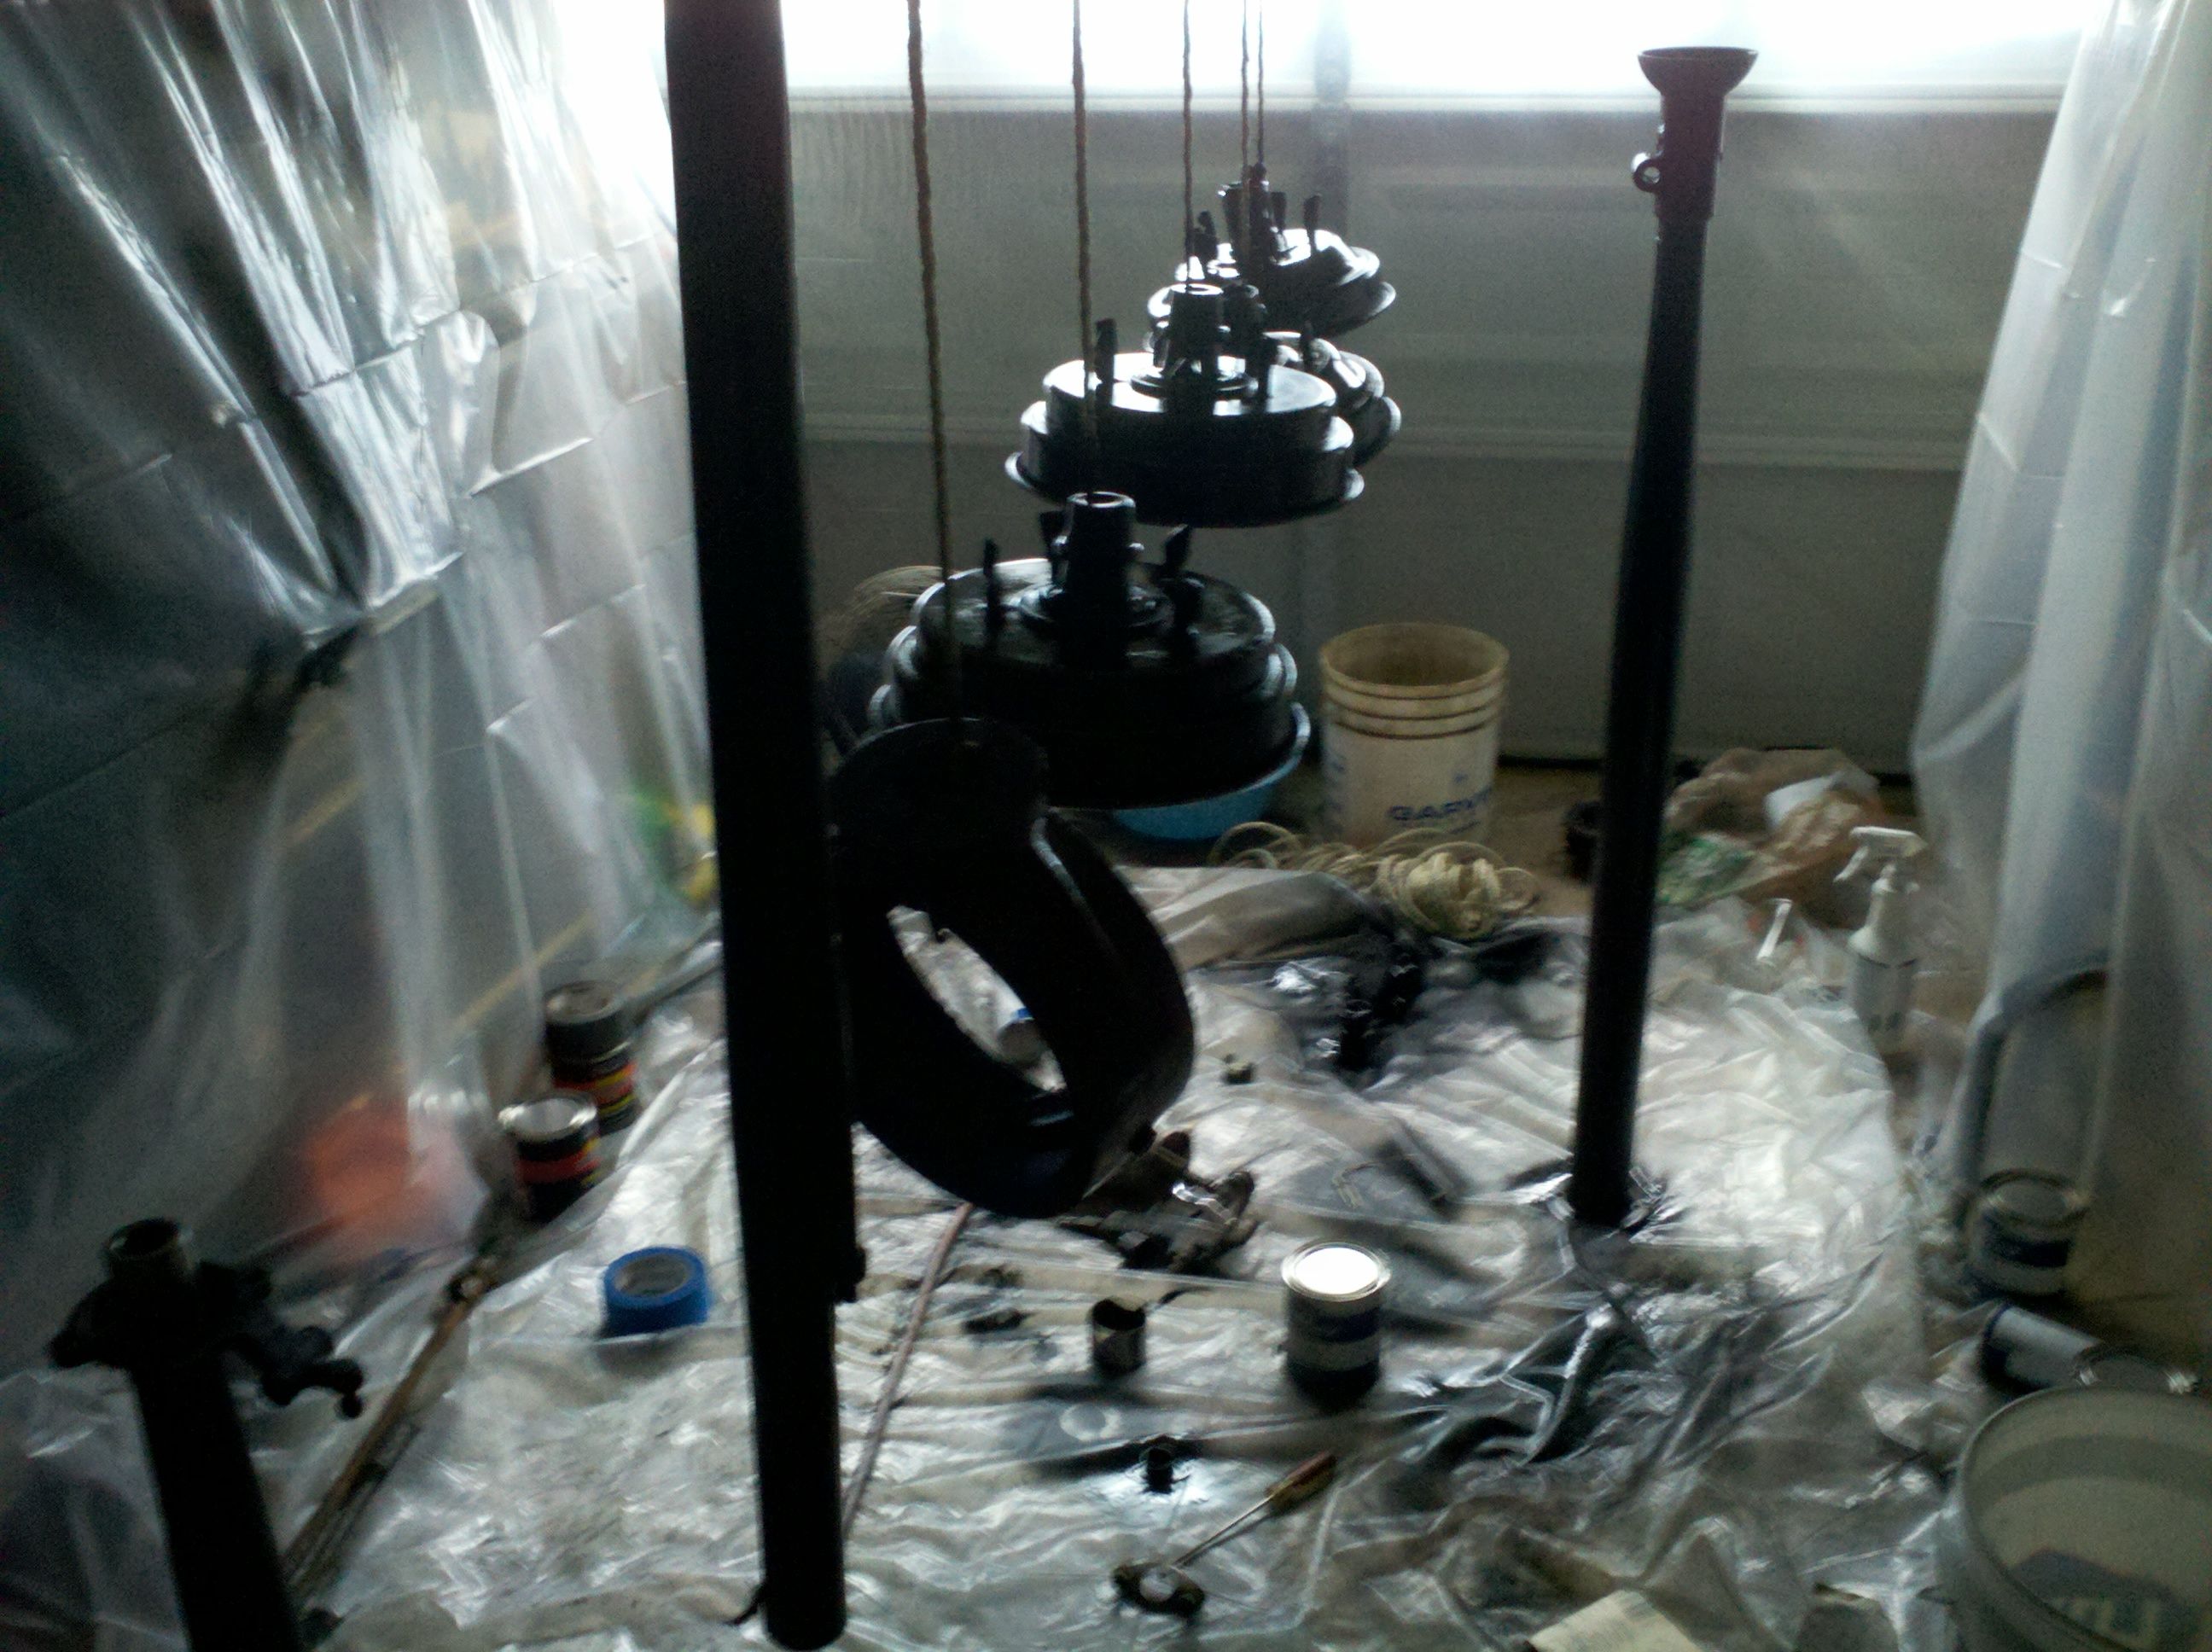
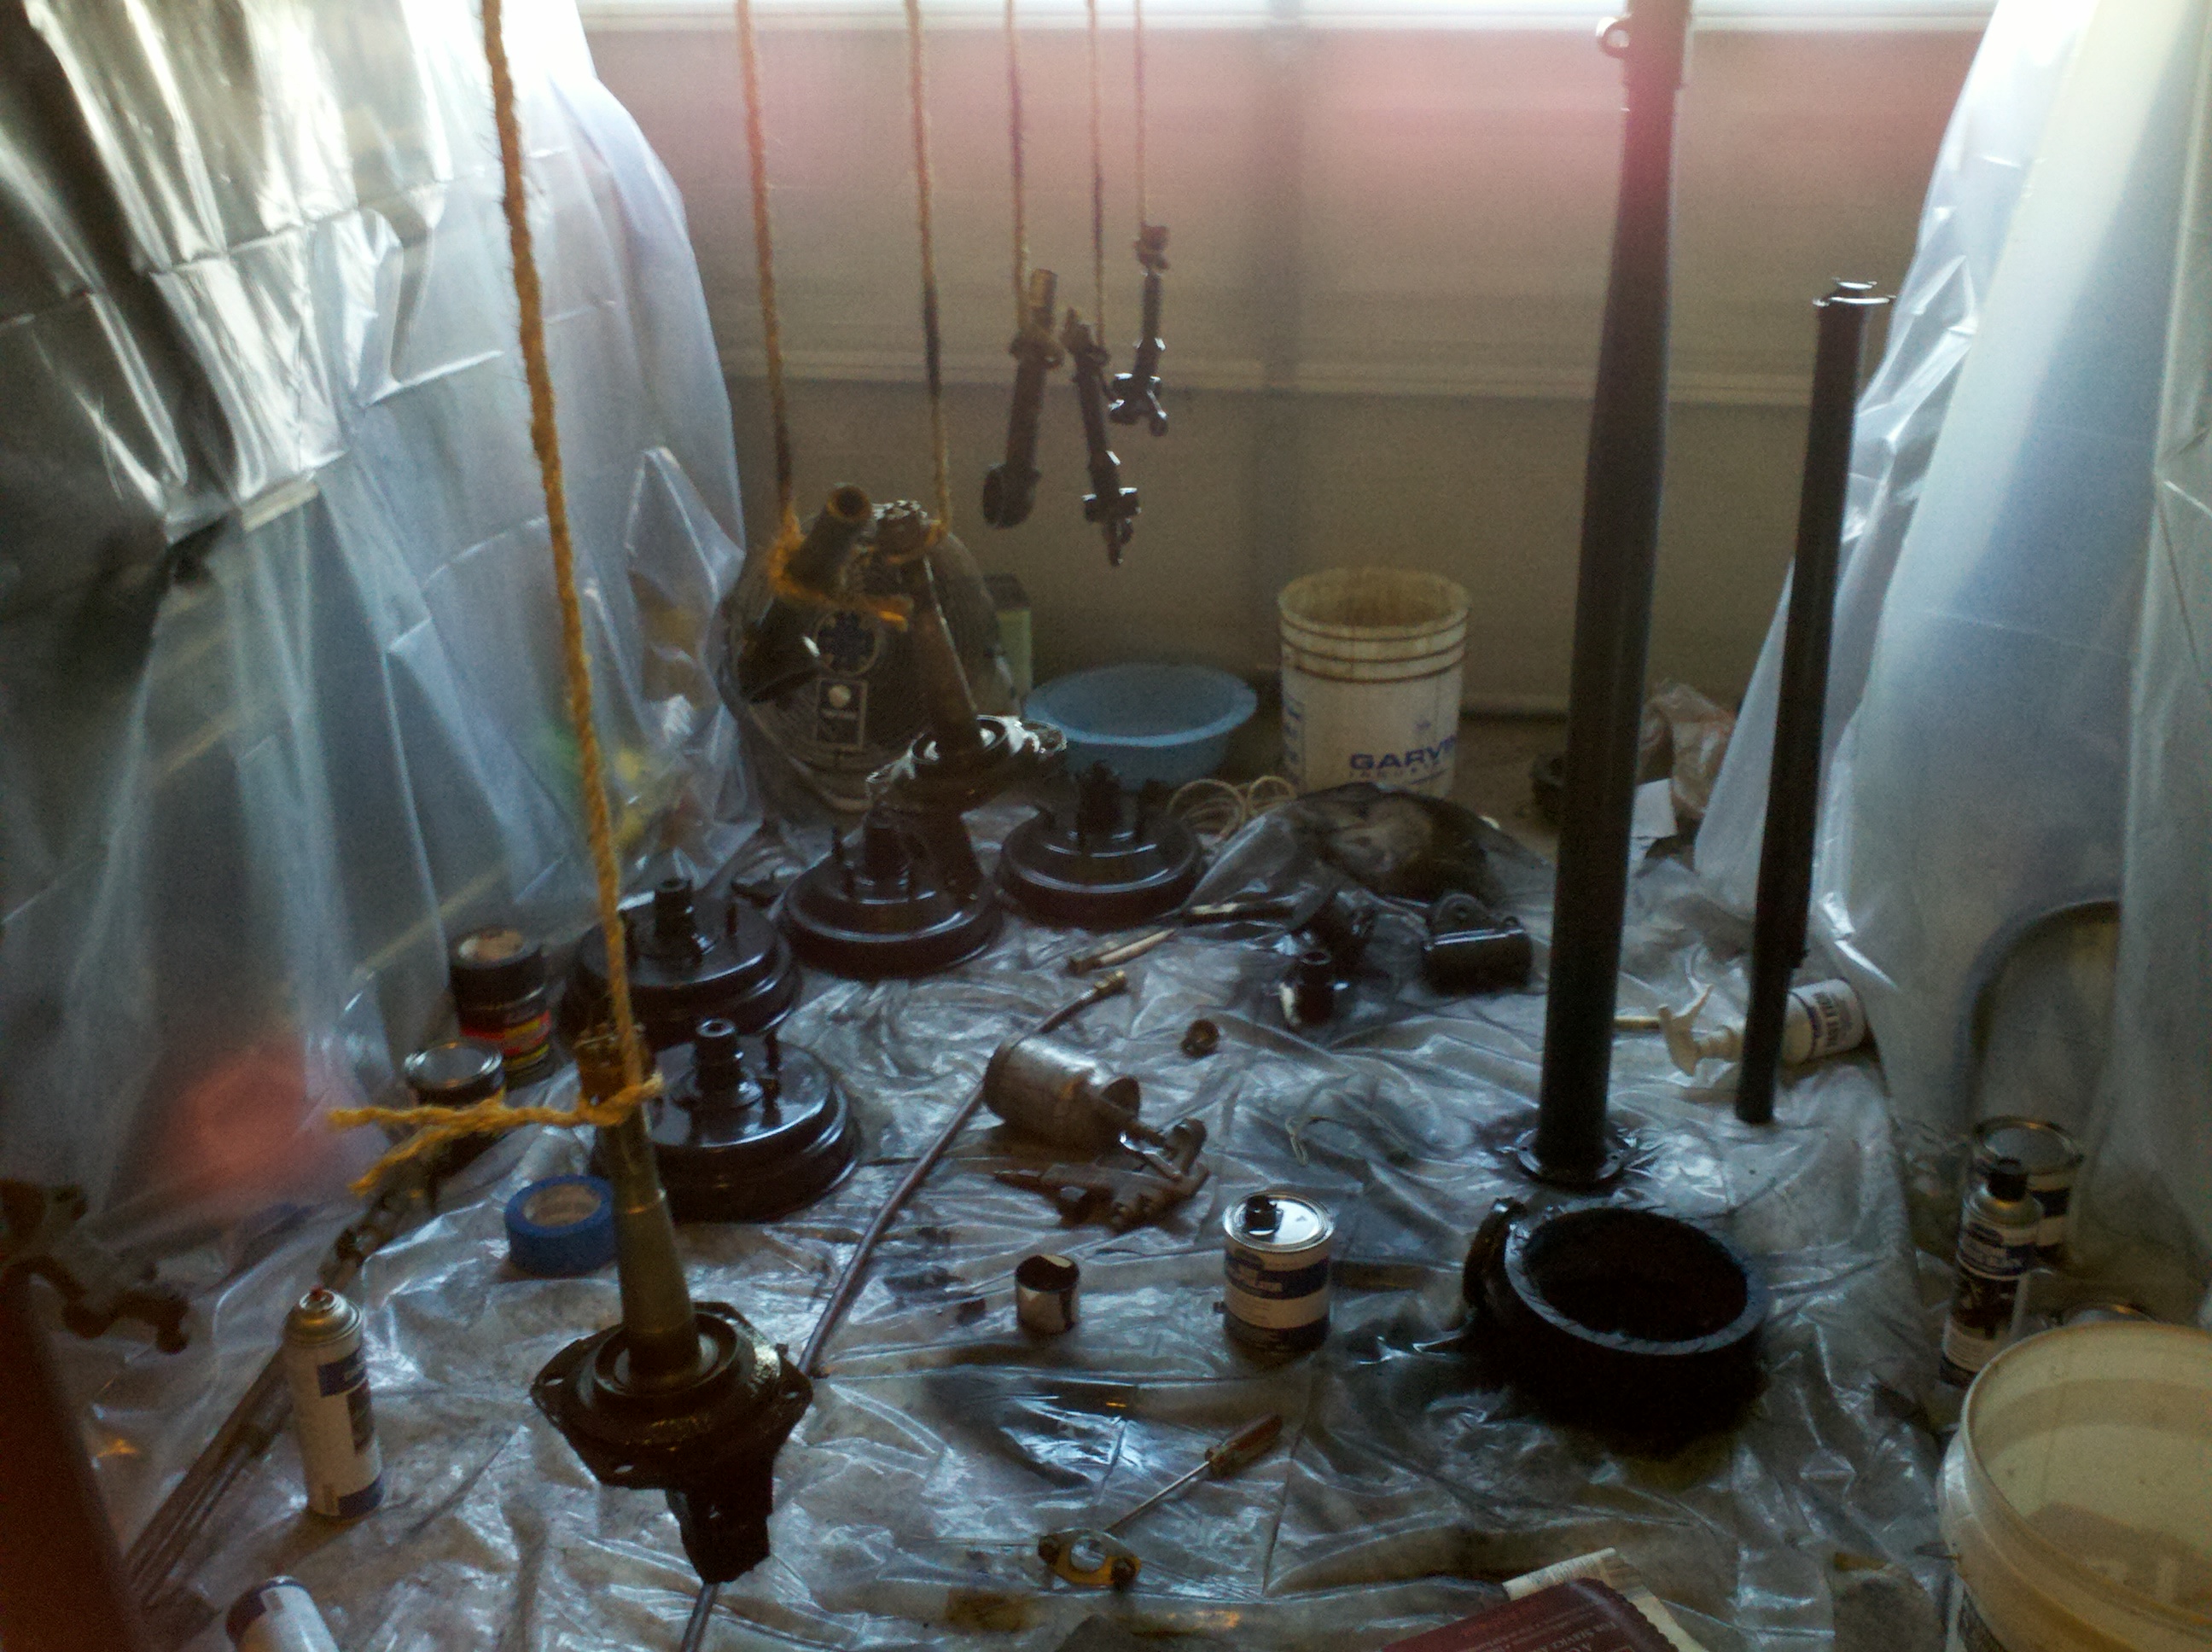
It's been a good weekend, so far. Yesterday I got a bunch of stuff cleaned up. Today I got to put on the first coats of paint (POR, actually). I thunked about it for a while, and I decided the easiest way to do this would be to suspend the parts somehow. In the end, I decided on some twine and the garage door opener chain guide/support. I tied up several lengths of twine to the support and hung the drums, steering column, and steering box. There's wooden dowels underneath to support the parts, in case you're wondering...
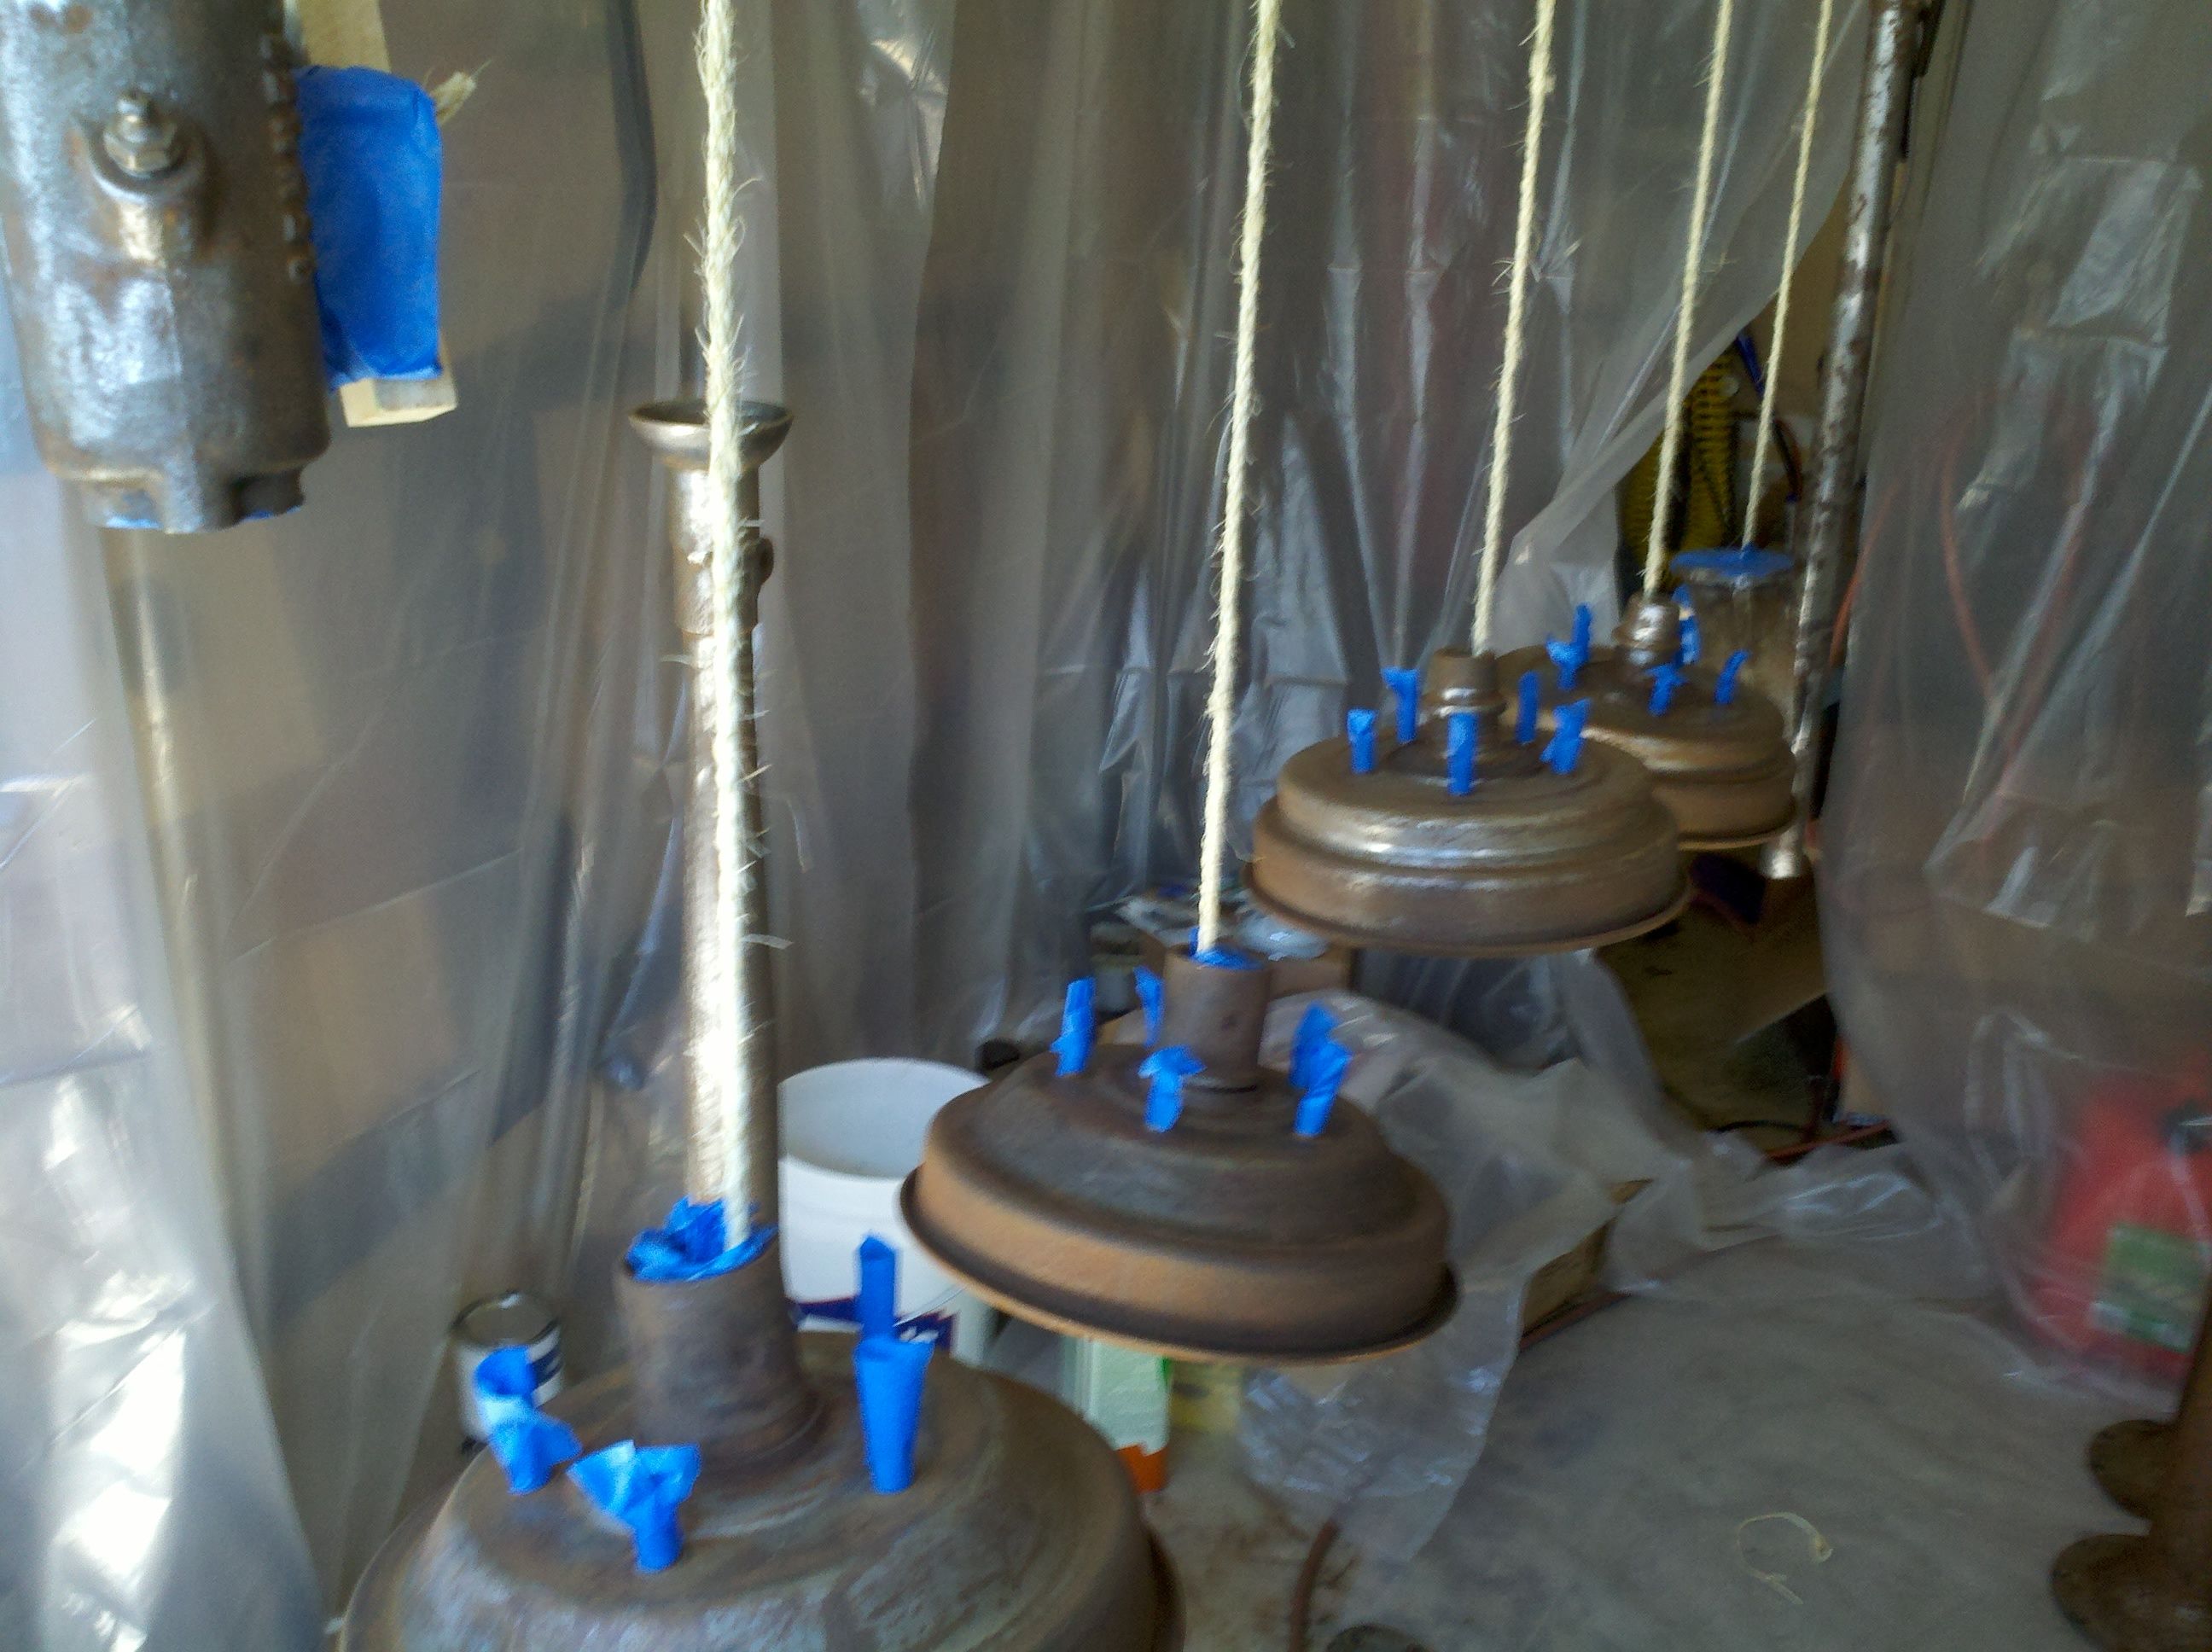
This worked out really well, as I was able to reach underneath the parts, or twist the twine to turn them. This made painting a breeze. I also went ahead and shot a coat of POR on the axle housings, just to ensure they got no worse before I have them rebuilt. I shot the first coat, and then waited an hour before I shot the second. There's a couple parts on the floor - I had to pick them up, and ended up painting my thumb a bit. I got asked about it at work: "What did you do to your thumb?!" (It looked a lot like a bad hammer accident). When all was finished, it took about two-thirds of a quart of POR to cover everything with 2 coats. I cleaned out my gun, closed up the garage door, and took the kids fishing for the weekend. Oh, and I managed to avoid in runs or sags, too!
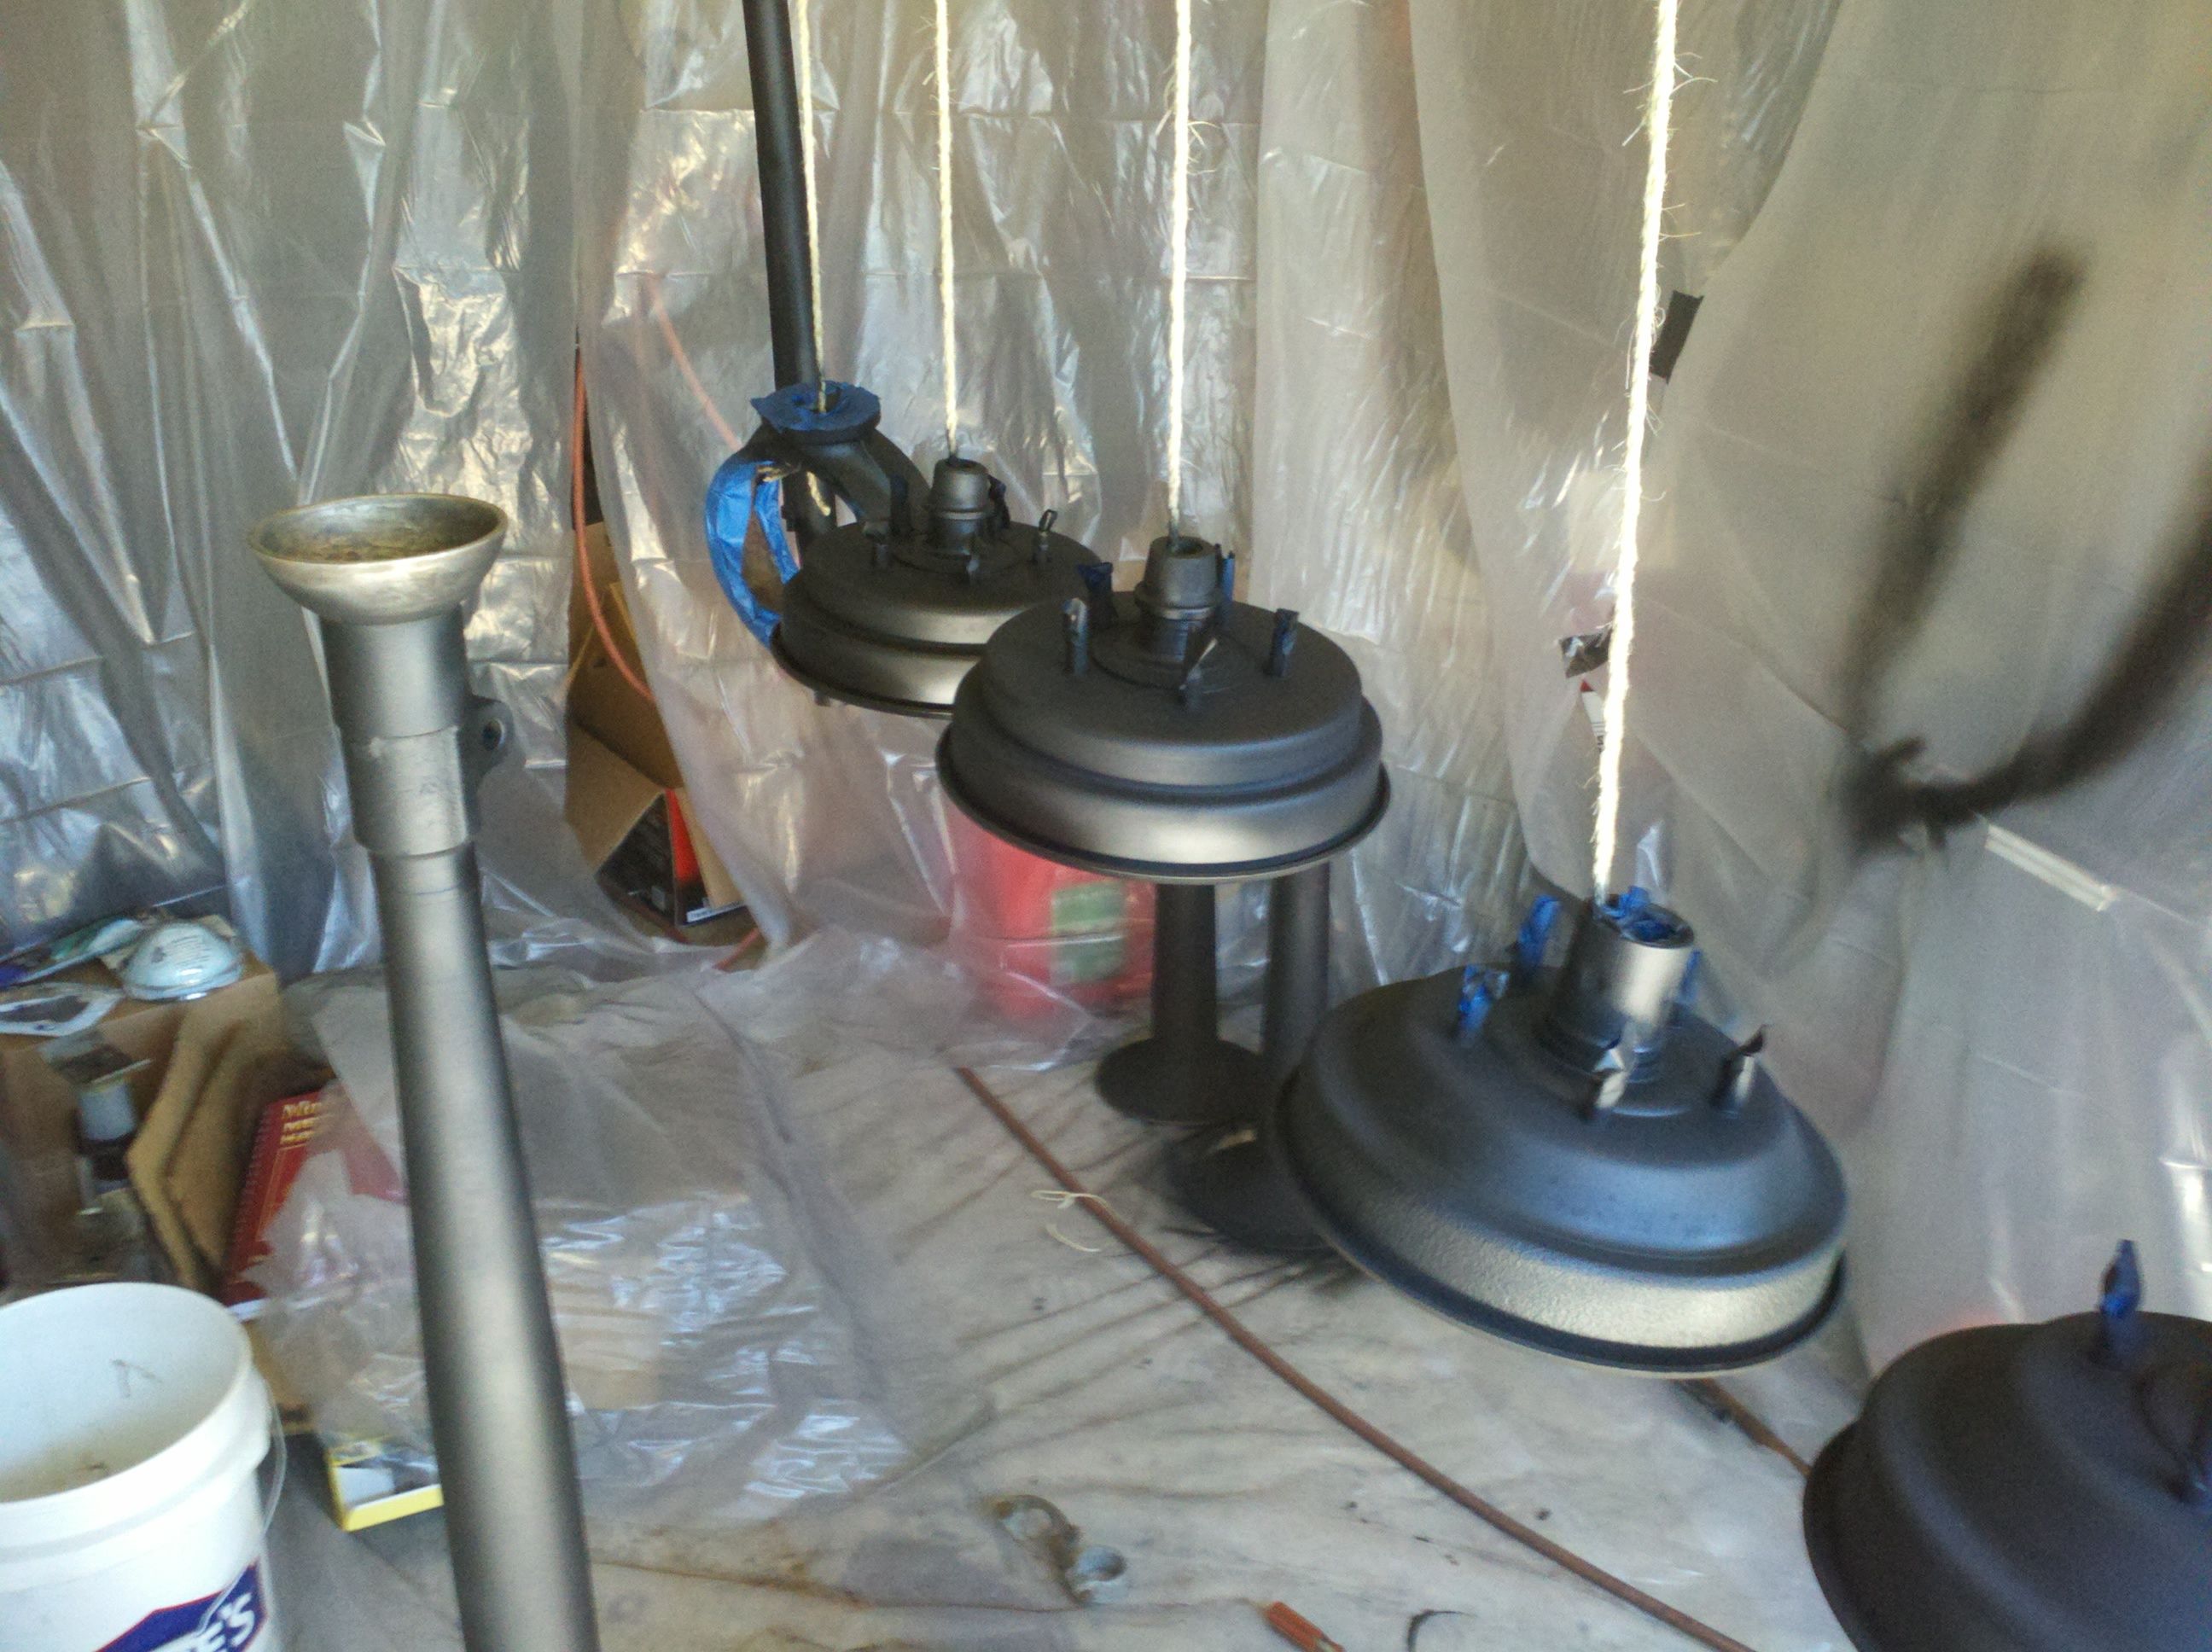
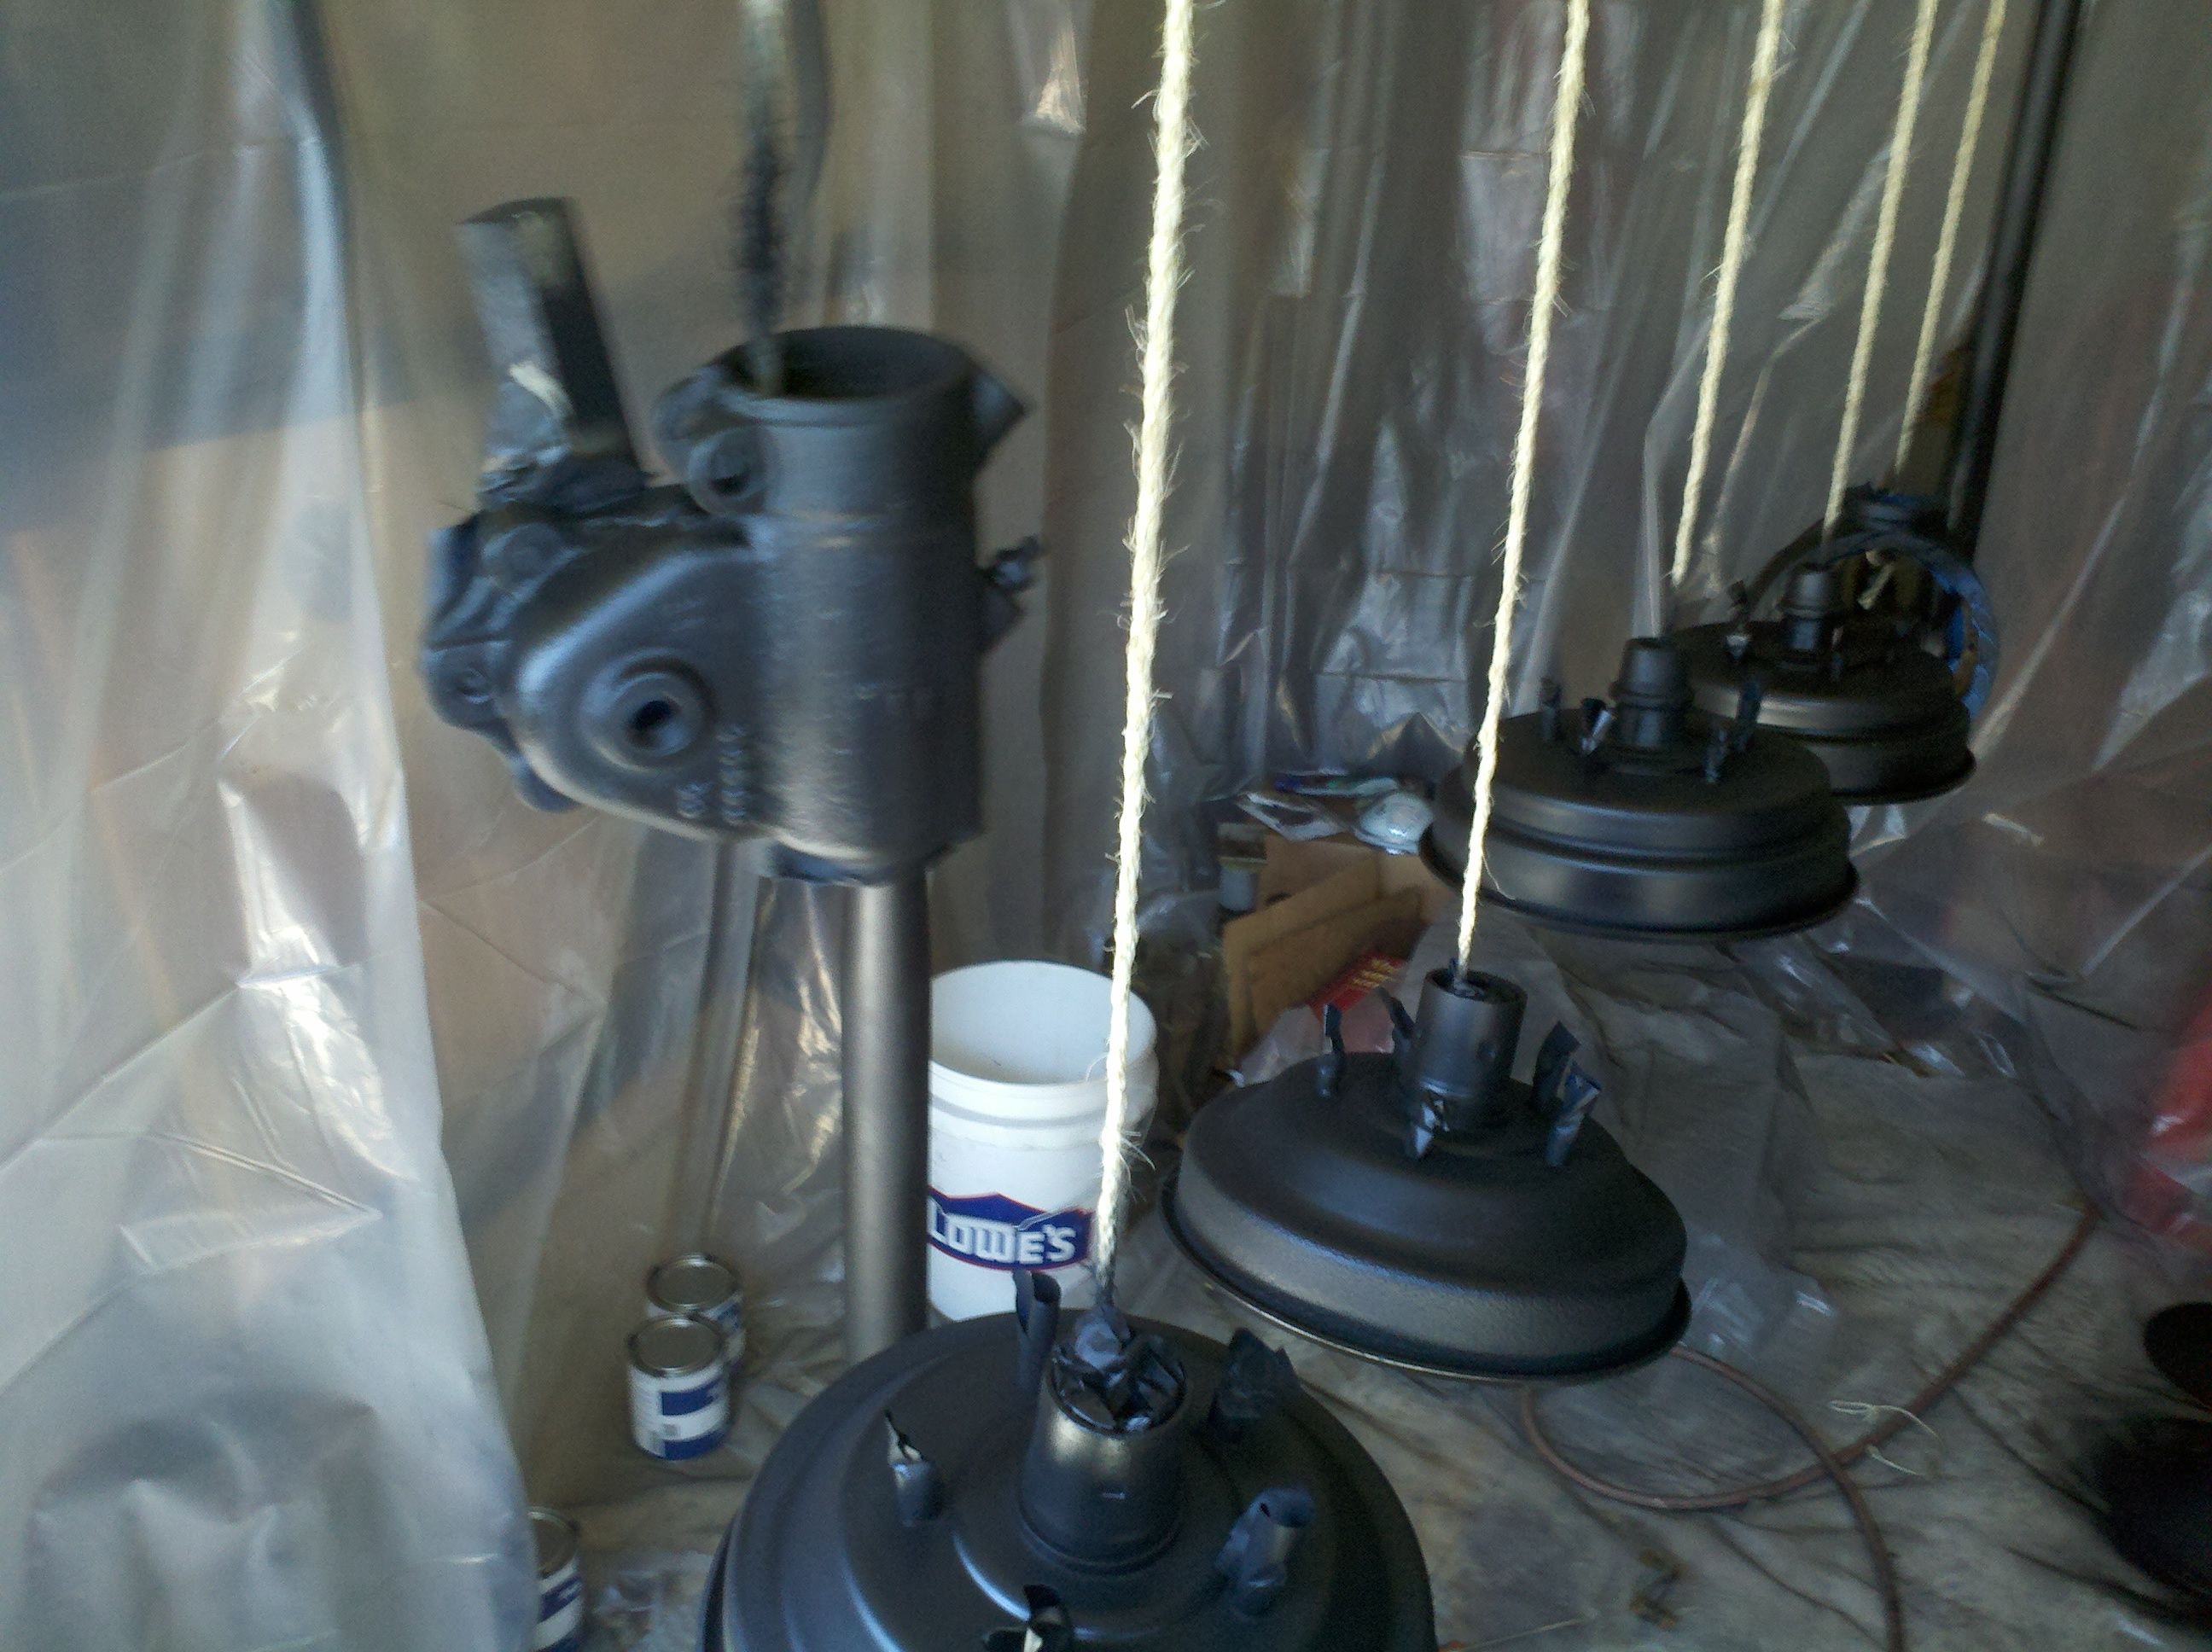
Well Howdy Doody! It's been a good weekend for getting things done on the truck, I guess! We got home from fishing today, and I had time to go in and shoot some more paint! This was a top coat of Eastwod's Extreme Chassis Black. First thing, though, is to scuff the POR, so the paint has something to stick to (since I didn't do it within an hour or so of the initial painting). I used some 220 grit sandpaper that I had laying around, but I really should have used something finer - on the order of 350 or so. As it was, there were a couple of very small spots where I scuffed down to the metal. I think it'll be okay, though, so I went ahead and shot the CB without touching up first.
I used a "rattle can" this time, so I wouldn't have to spend the extra clean-up time on the gun. I was a bit worried that I wouldn't be able to tell the dried POR from the CB (they're both black), but it went on nice and shiny, so it was easy to tell them apart. I got about half way through, and I noticed that the parts were staying shiny. I took a quick look, and D'OH! My rattle cans of CB are "gloss" instead of "satin!" I ordered the wrongthing! Carp!
I went ahead and finished the painting of the first coat, as I wanted to make sure everything was well protected. My quart cans of CB are satin, so I might go ahead and shoot a coat of satin over the top, later.
D'oh! Youngest daughter opened the garage door (it's an automatic). Haven't had a look to see what, if any, damage was done. I imagine it was pretty loud...
Got a chance to go out and check the damage. There wasn't any. The drums were all smooshed together, though. I can only guess that it made a helluva racket when she opened the door. Maybe next time I'll unplug the opener...
Pulled down the drums, steering column, and other stuff that was hanging off the garage door opener. Hung up both front hubs, spring perches, and steering connecting links. Used rattle cans to give two coats of POR and one coat of gloss Chassis Black. I didn't paint the whole part, in most cases. Surfaces that ride against other surfaces, I left unpainted. In retrospect, I'm not sure about the wisdom of that... I'm planning on ordering some satin Chassis Black, and I'll put a second coat on everything when I get it in.
I need to go check out a couple of my steering components, and get ready to put the column back together. I'm noticing a lot of over-worn bushings. The bushing tool just falls through them. I may need to have a machine shop take them out. This is a little concerning, given that I've already put some paint down... We'll see, I guess. Maybe I can figure out how to drive them out some other way...
It's thelast day of June, and boy has it been hot! It's been hitting 100F pretty much every day this week. You can imagine that I'm not doing much. Earlier this week I ordered some more rattle cans of Extreme Chassis Black, this time in satin. That will become a 4th coat of paint on most of the stuff, soon after I pick up some 350 grit sandpaper.
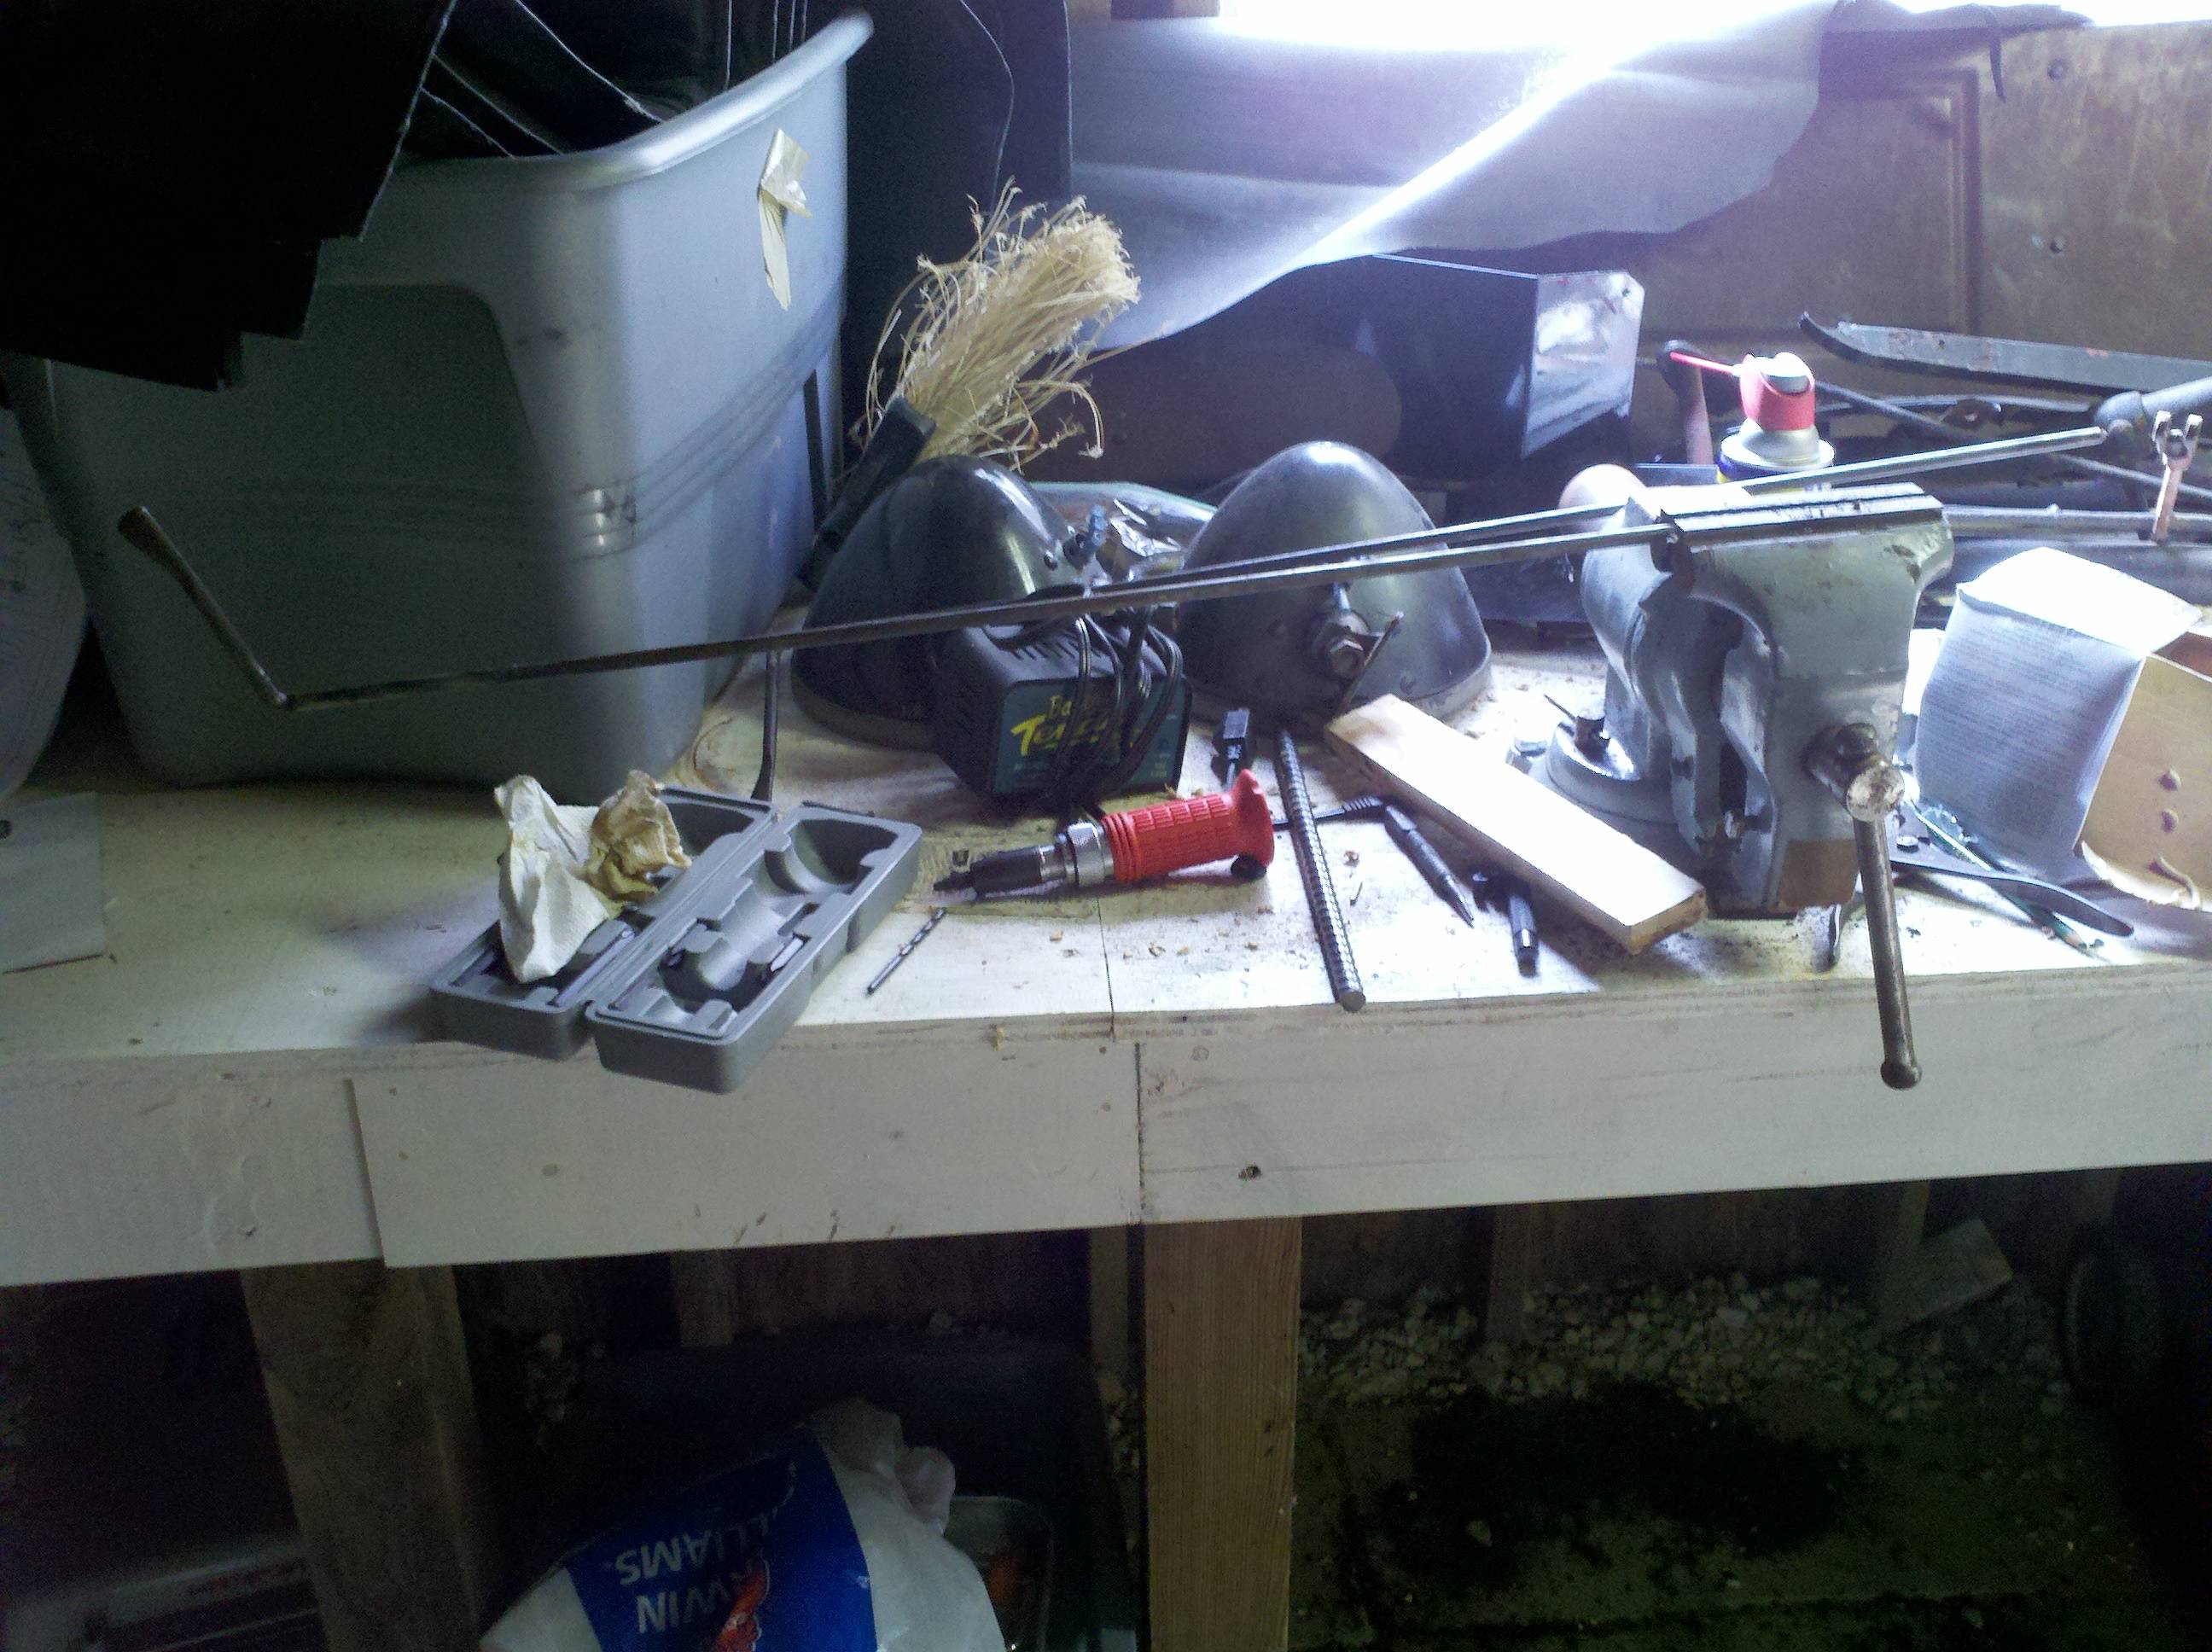
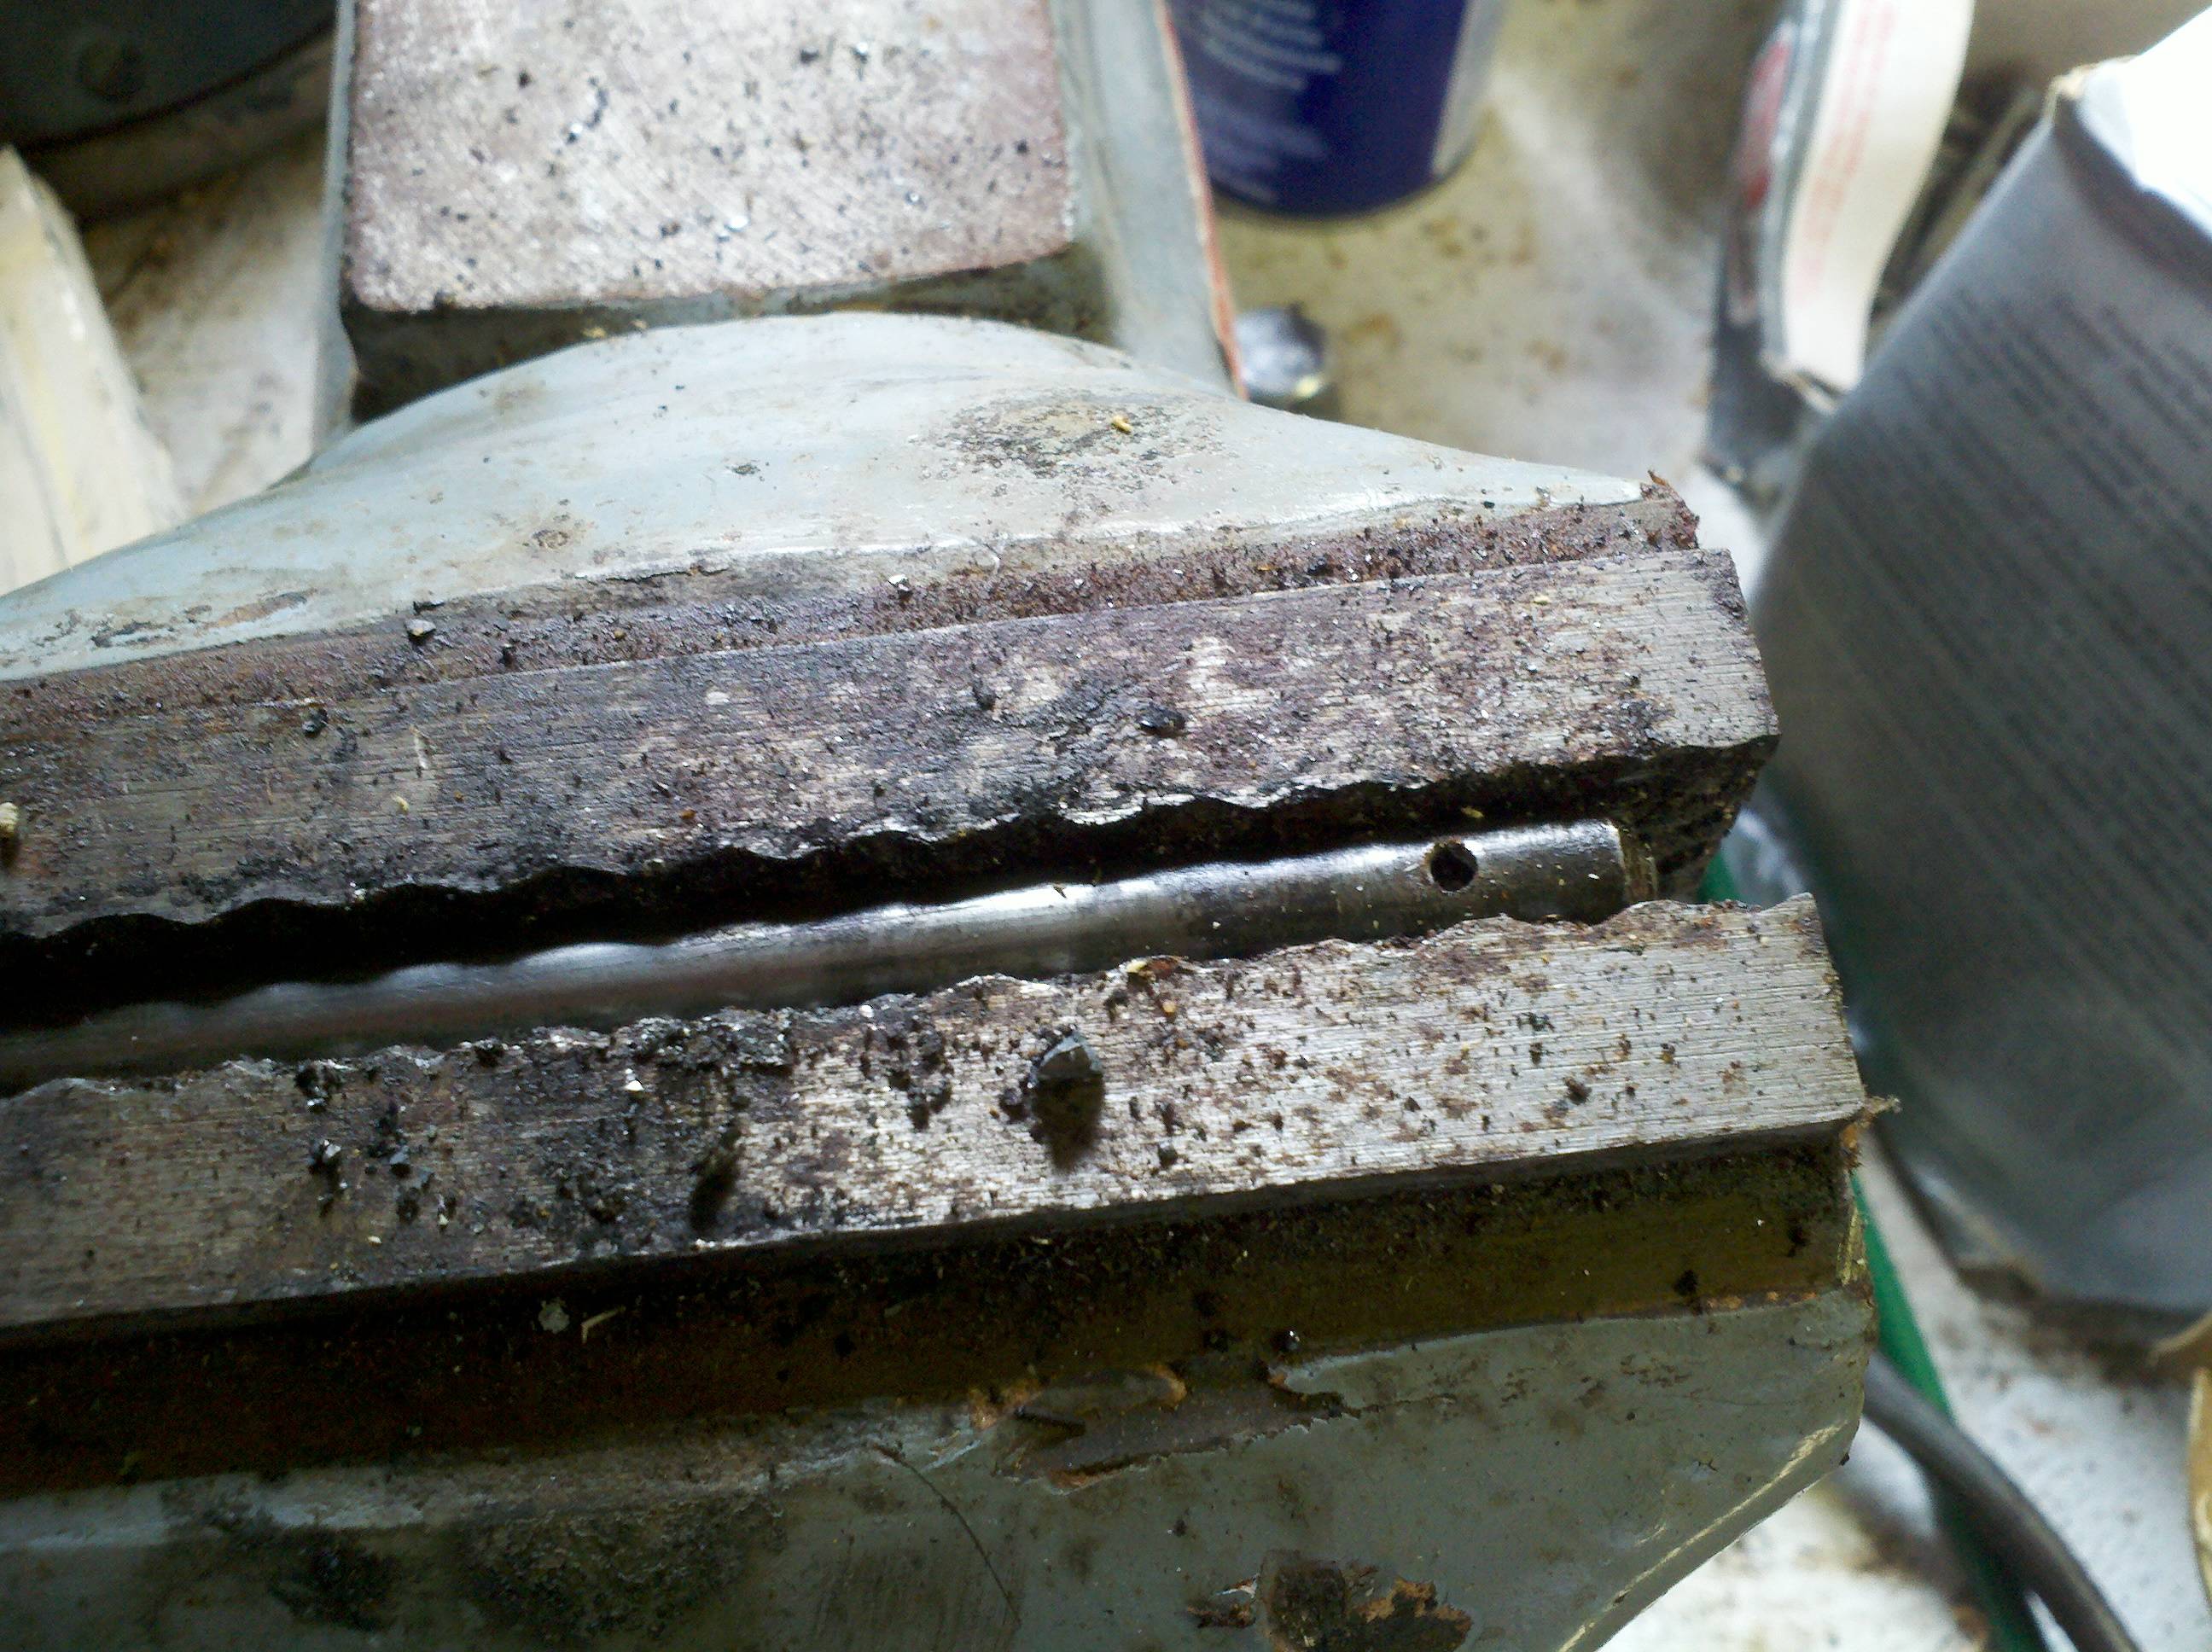
Today I did a tiny amount of work - I knocked the pins from the throttle and spark advance control rods that go in the steering column. I put some pictures of that process below - basically, I just mounted the control rods up in the vice, pulled out a small punch, and gave the pins a whack with a big hammer. After a couple of whacks, the pin started out, and I was able to pull it free with a pair of pliers.

I've decided that I want to paint the springs and levers at the base of the column the same color as the wheels and interior. This means I need to go find my paint PDQ. I suppose I can put the most of the column together without instaling the keepers and stuff, and just paint them at the last minute... We'll see. Right now, I'm eyeballing "Tangerine Twist" as a potential "stock" paint that won't require custom mixing. Any opinions?
Last modified on 10/09/12