April Fool's Day!
Yeah, all the neighbors think I'm a fool for taking on this project, so it must be my day. Hah!
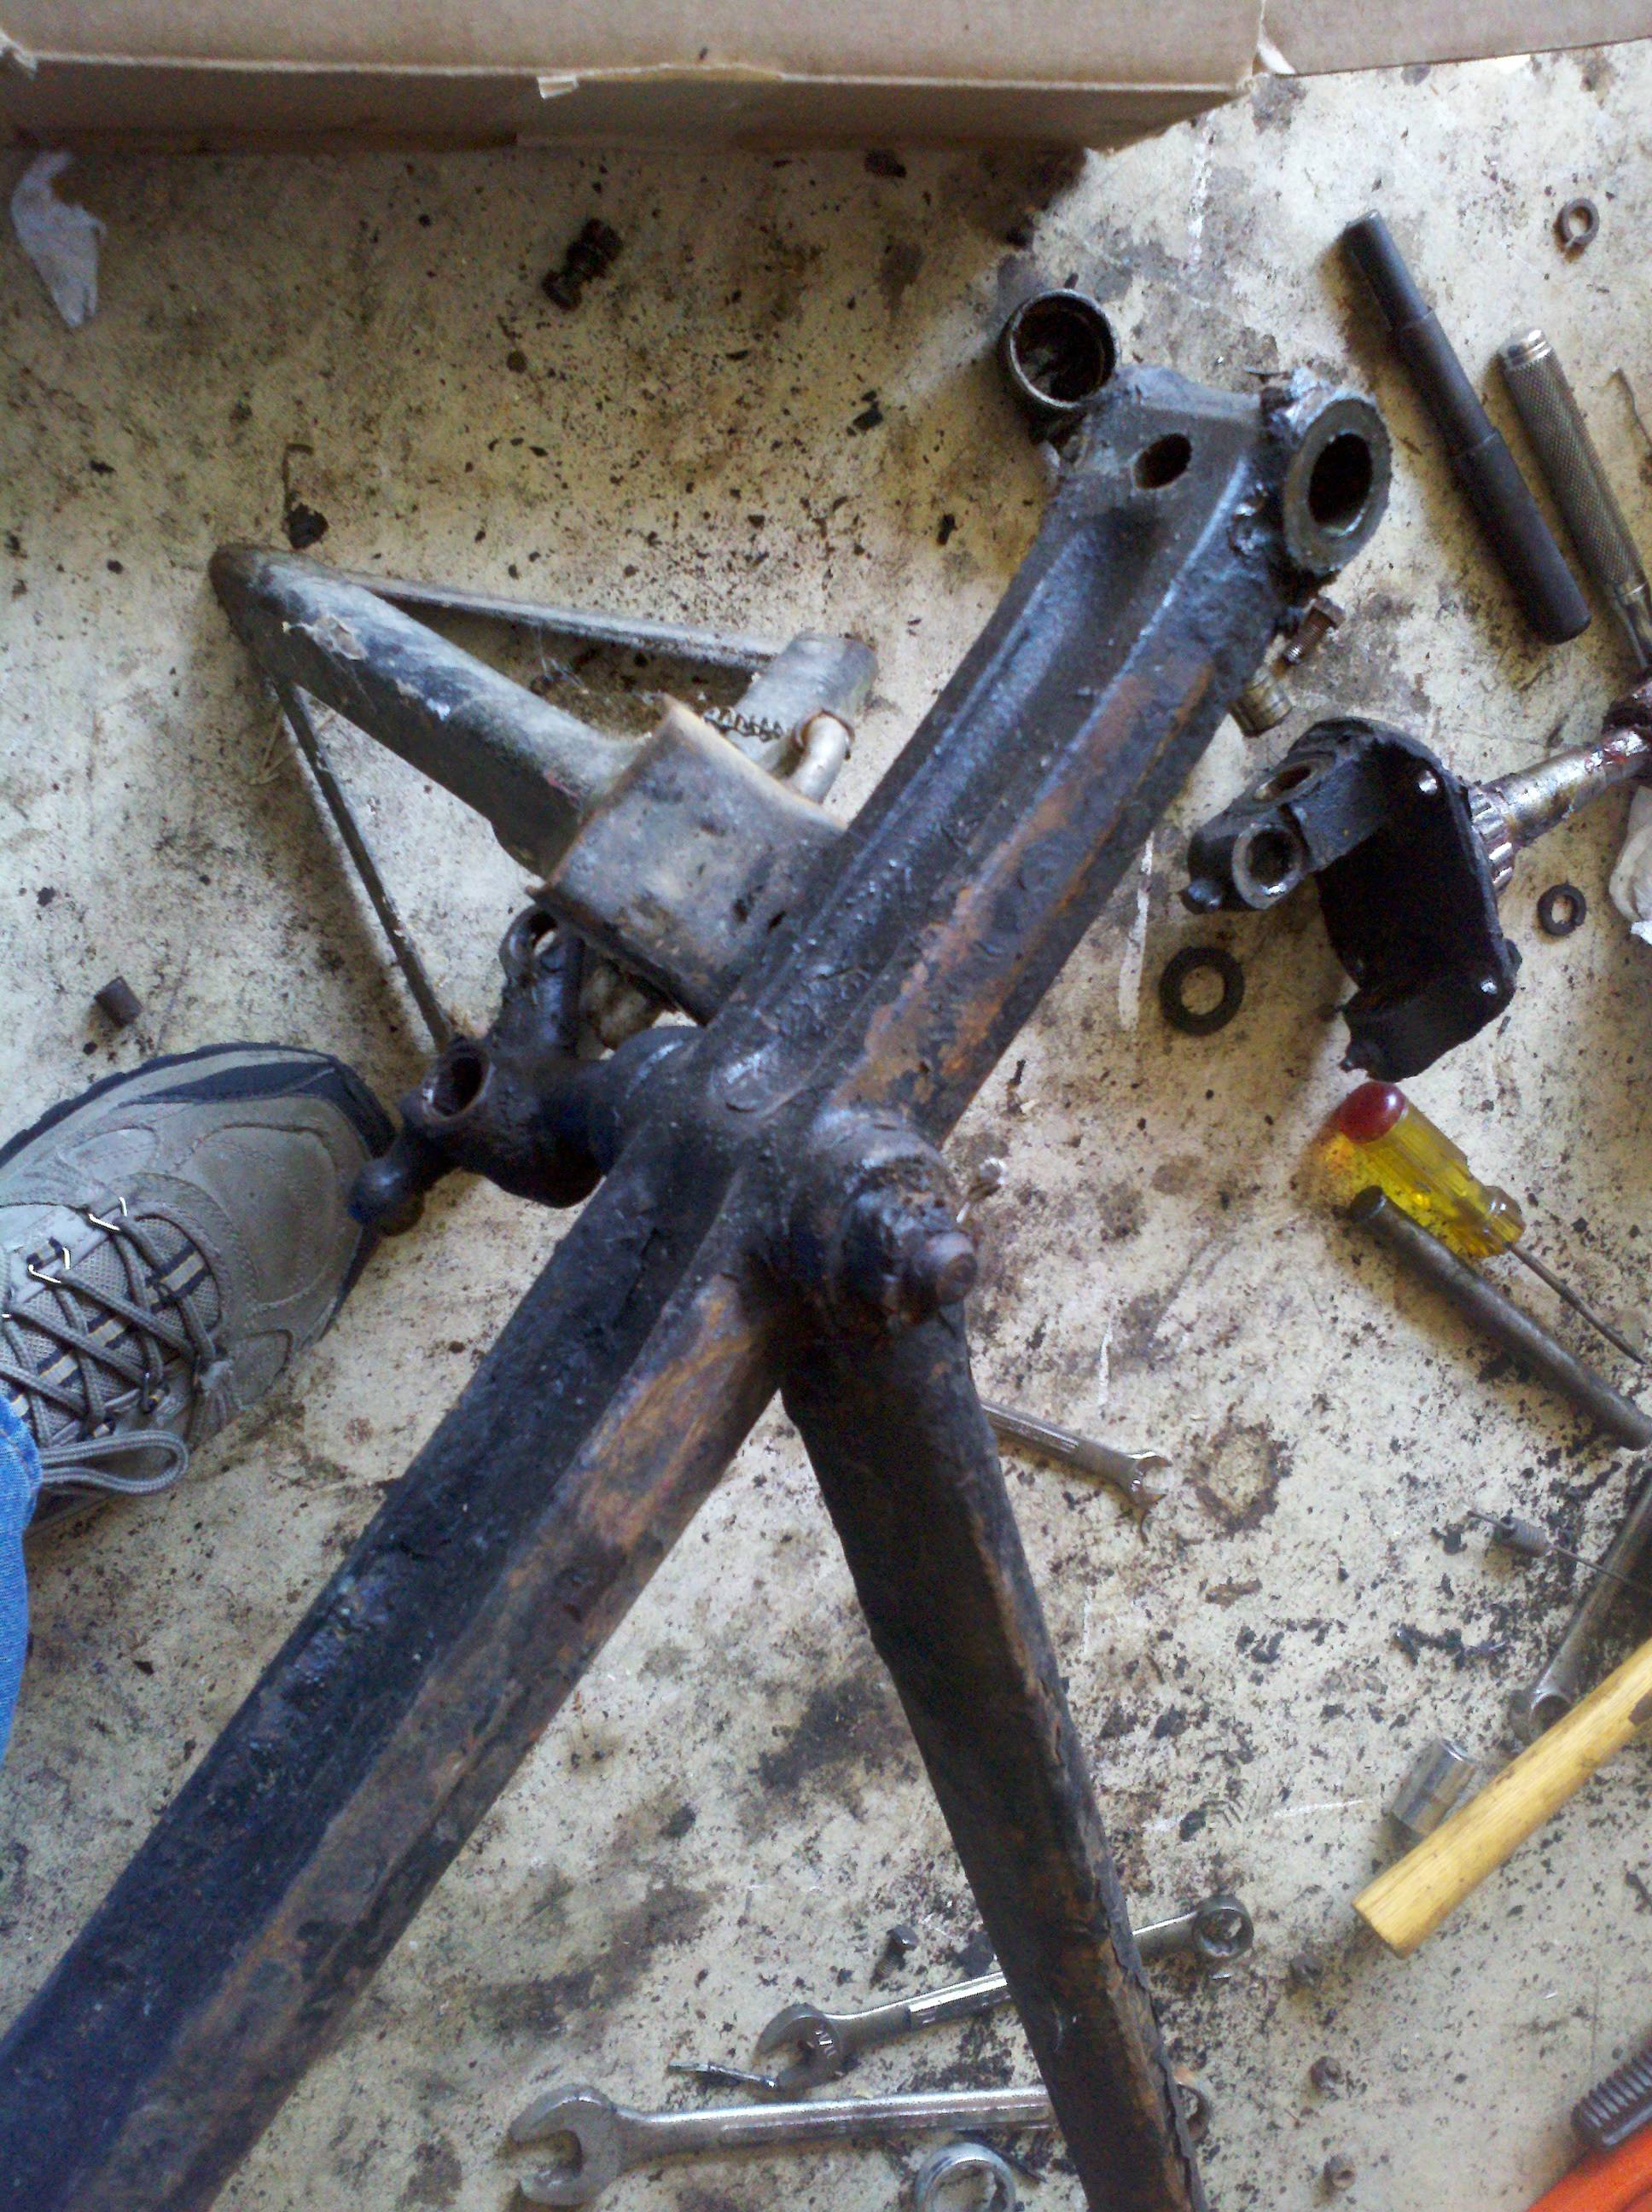
Today, I finished up the disassembly of the front suspension. The last things to do (aside from pulling the clevises and rollers off the brake shoes) is to pull the wishbone off the front axle. This is accomplished through the removal of the spring perches. The perches are held on with a large nut (and cotter pin, of course). Remove the cotter pin, remove the nut, and you're about a quarter of the way to removing the perch. The maintenance manual suggests taking the axle to a machinist to have the perches pressed out. Well, I'm cheap and don't have a press. However, I do have a brass drift and a 3 lb hammer.
I flipped the axle over, and supported it on some jack stands. The nuts came off pretty easily (although one needed some cheater pipe to give me enough leverage). I left the nuts on level with the bottom of the threads, so I wouldn't accidently mar the threads with the drift. The driver's side perch drove out pretty easily - probably with only about 10 whacks. The passenger side, though... Well, let's just say I ruined the nut. And I'm glad the kids weren't around for that one, or they might've learned some new words. I'll tell you what, when you miss a stroke and hit your hand with a 3 lb hammer. it HURTS, a lot... Ow. Anyway, a couple pictures below.
I'll comment on a couple things I noticed. First is that the wishbone seems to be in tension on the axle. That is, when I finished pulling the perches, the wishbone was a little narrower than the holes it had been mounted to. We'll see, I guess, how much trouble that causes me later. THe other thing I noticed is that the wishbone is hollow. It's very light, and when I chnge it's orientation, I can hear some detrious sliding around inside of it.
Differential tear-down goes here.
Happy Good Friday! Take a minute to think about the sacrifice that was made for you
Okay, enough of that, I guess. It was a pretty nice day, and the new work actually gives us the day off! The old place didn't do that, so it kind of caught me by surprise. It was nice to have a day off so early in the year.
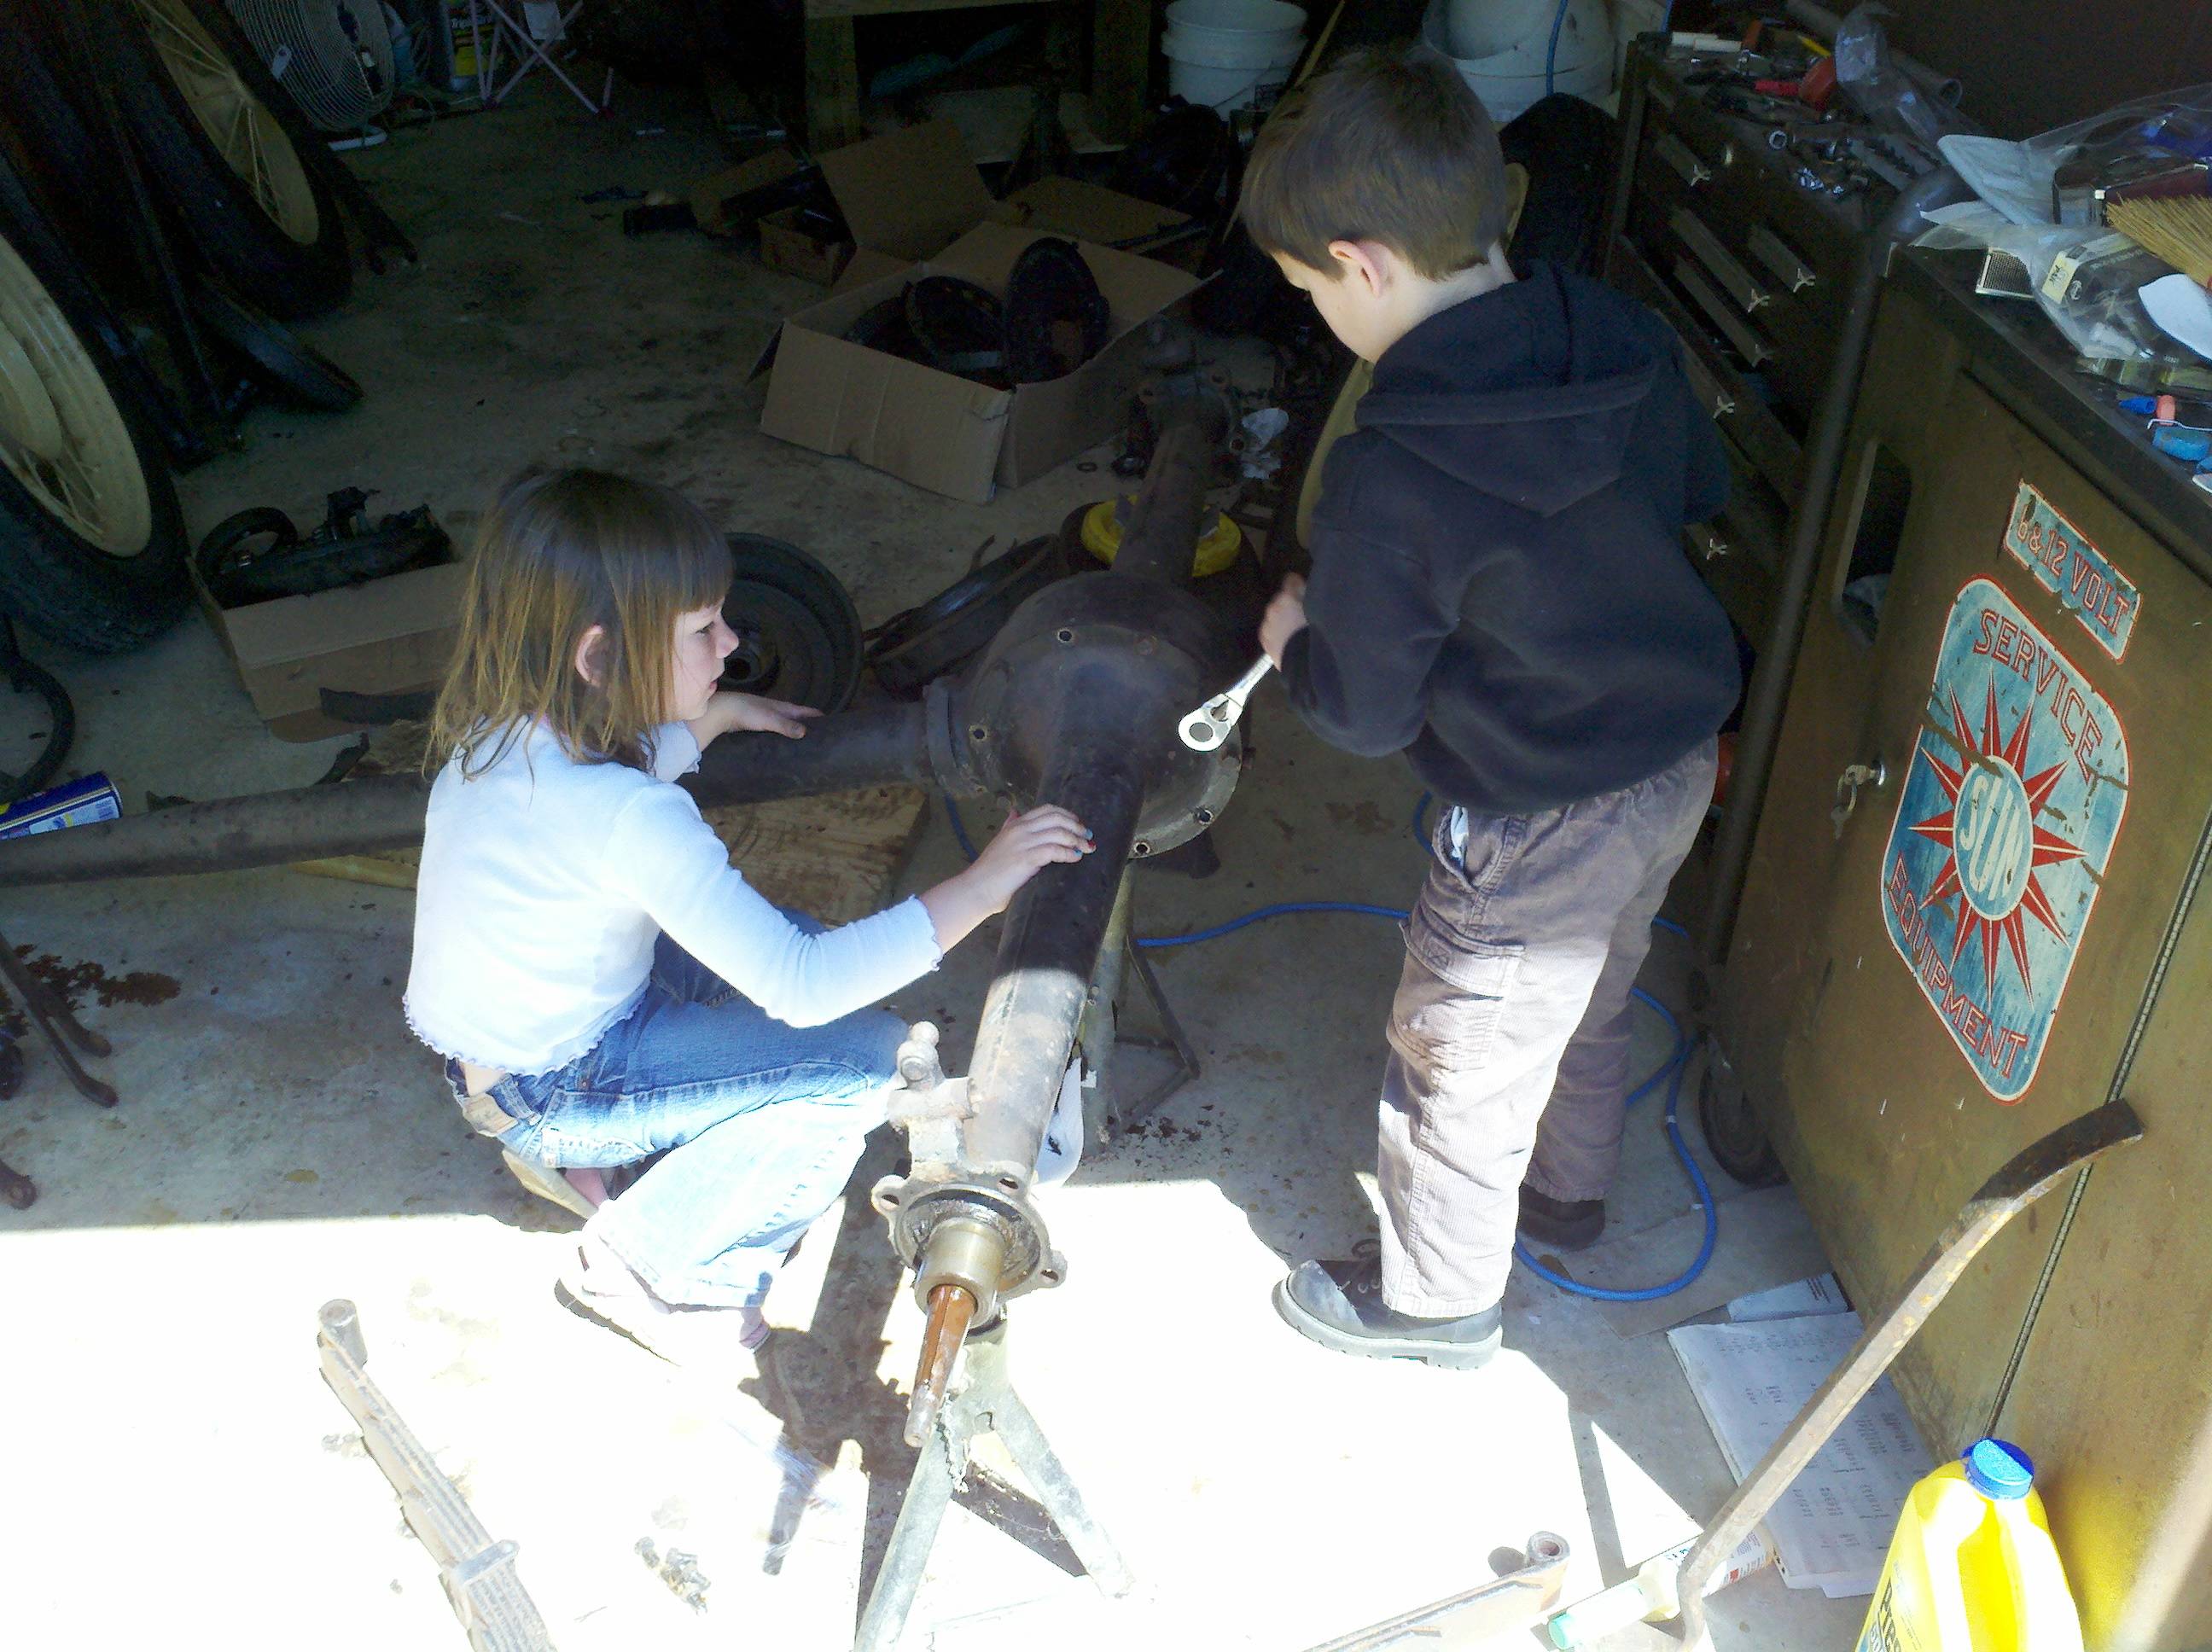
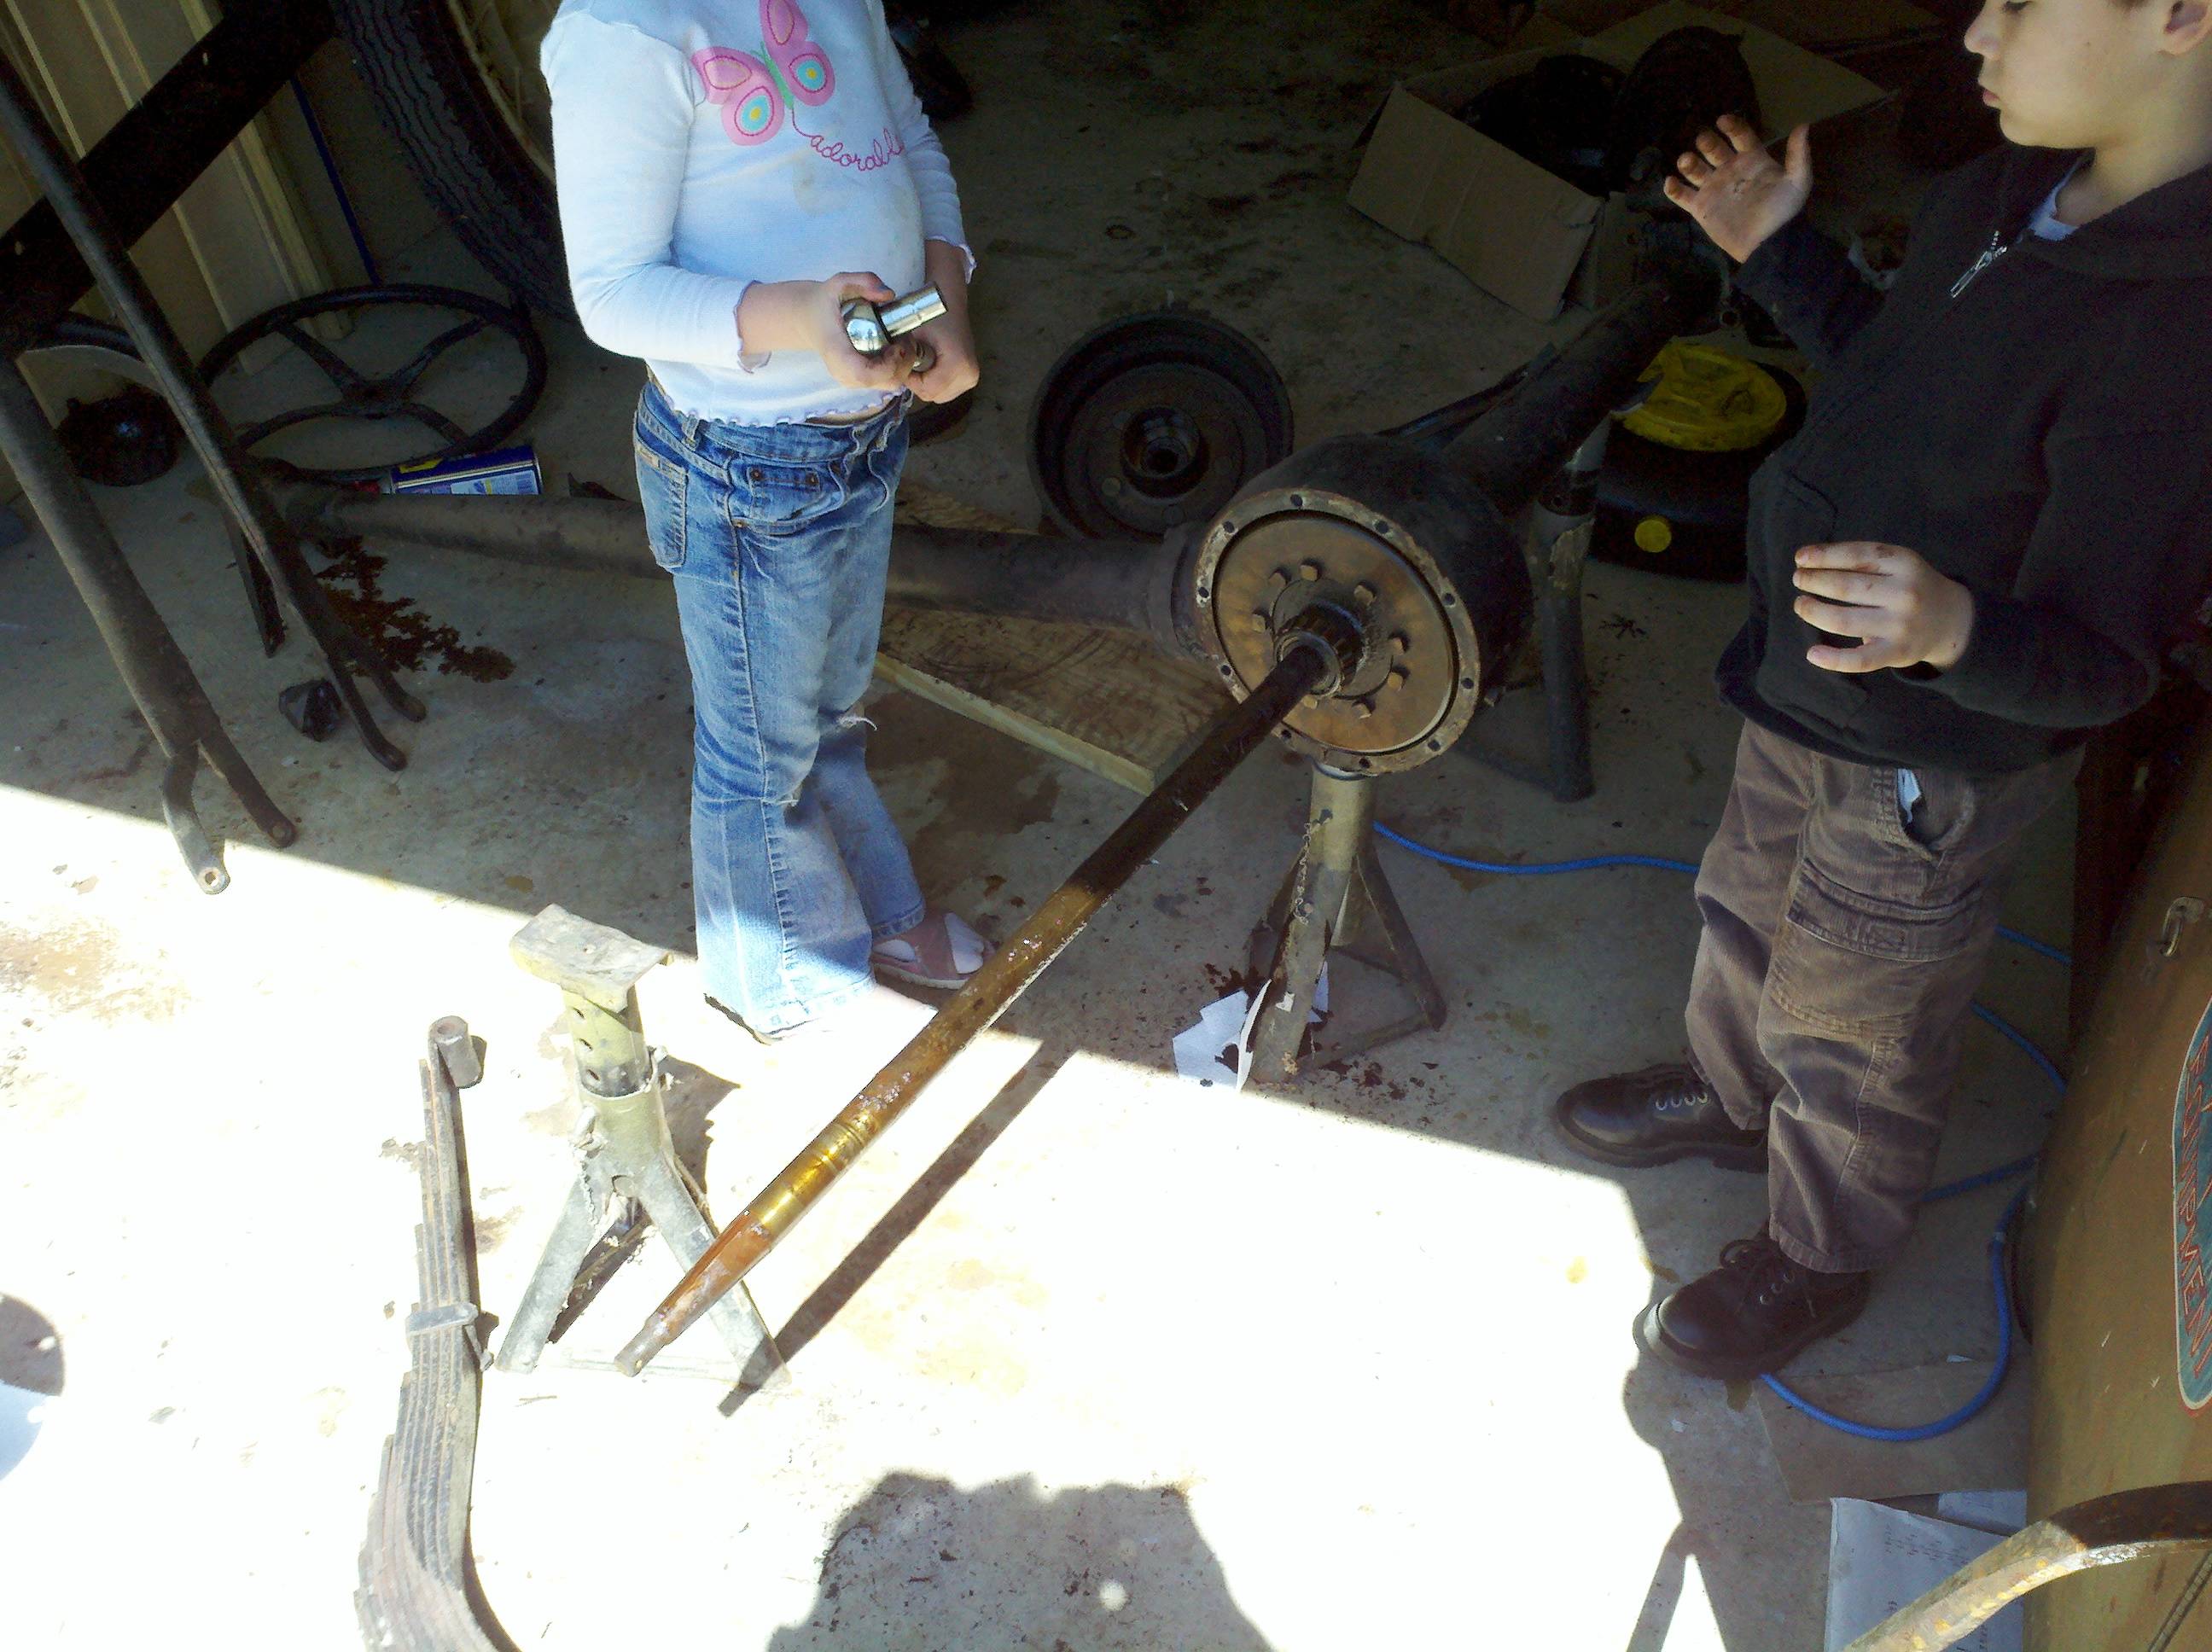
Like I said, the day was pretty nice, and I had me some helpers. The littlest ones quite happily helped me tear down the differential. They turned six (my, how time flies!) just a few weeks ago, and they were happily taking turns on the bolts with my half-inch socket. Gotta love it. Before too long, they'll be explaining to me just how st00pid I am... D'oh. Guess I need to enjoy it while it lasts, right?
Wait... Didn't I already say that was enough of the serious stuff? Shoot, if I don't listen to me, why should I expect anyone else to? D'oh.
So, as I said, today we tore down the differential.

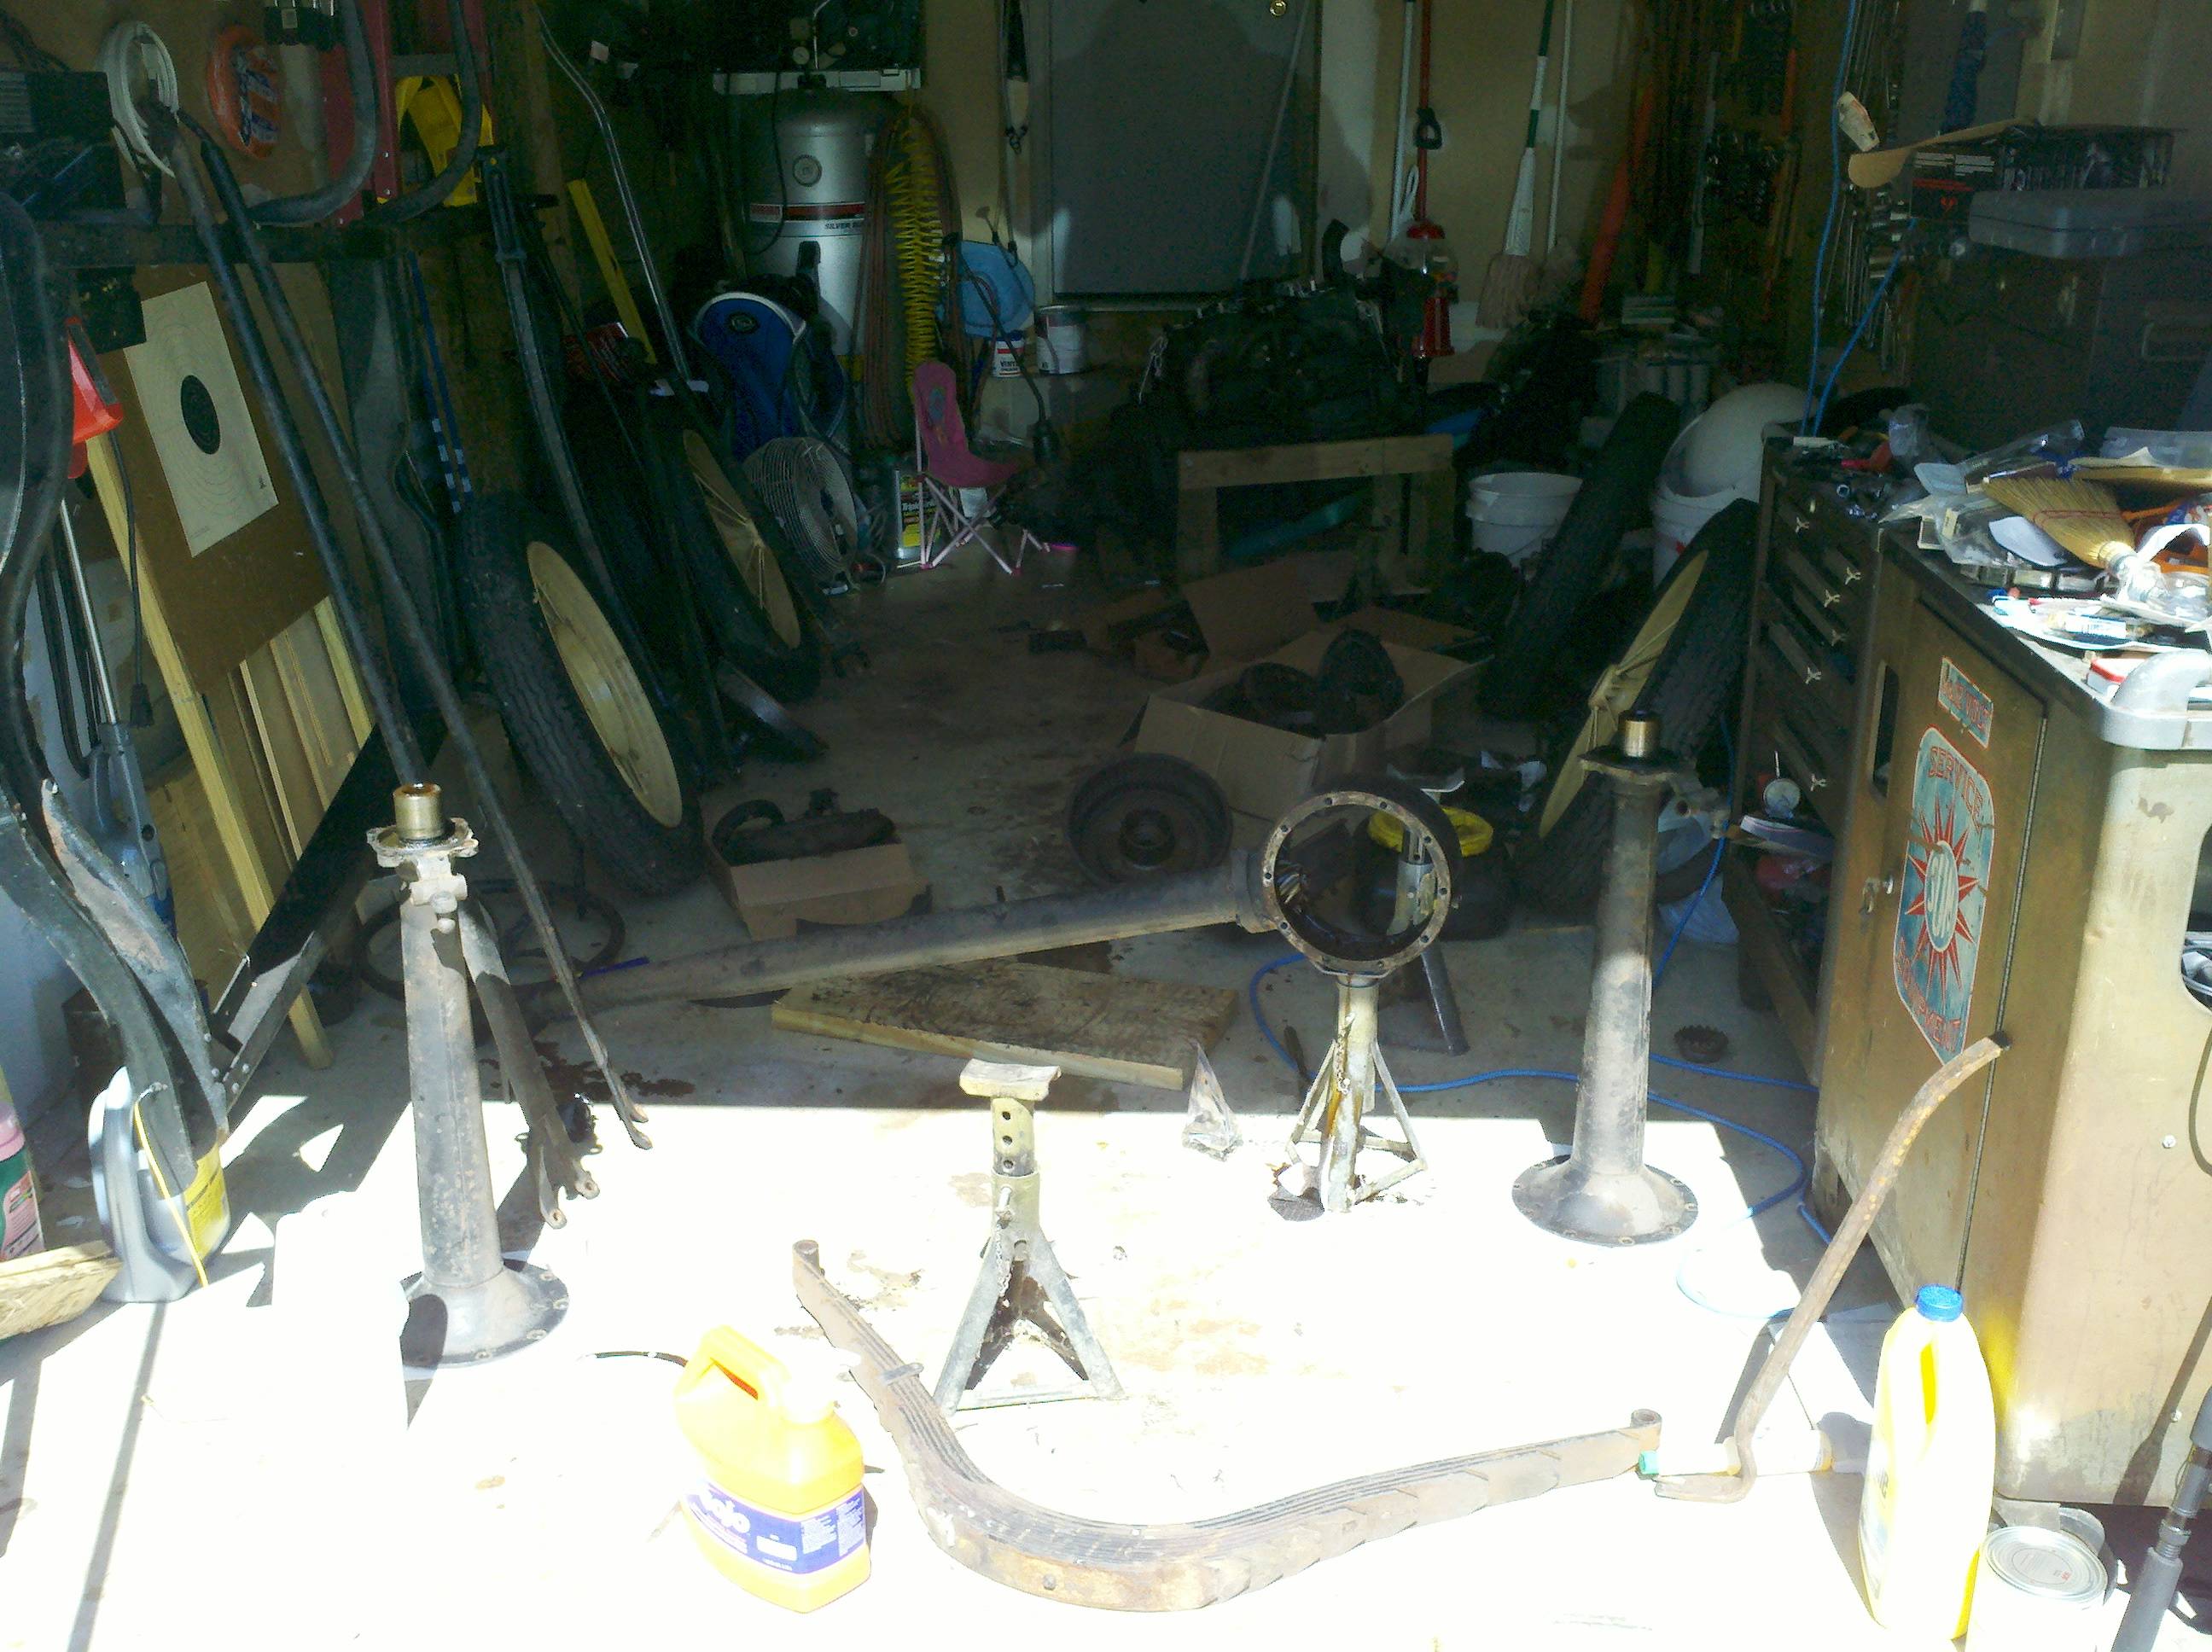
First step was to get another jack stand under the banjo. Once that was all set up, we pulled the bolts for the left side axle tube. It was not a big deal to pull the bolts. When we got to the bottom-most bolt, some oil started to drain from the case. I guess we didn't get it all drained, after all. Once all the bolts were loose, a light "thwack" on the tube caused it to break free. The housing slid right off, exposing the axle.
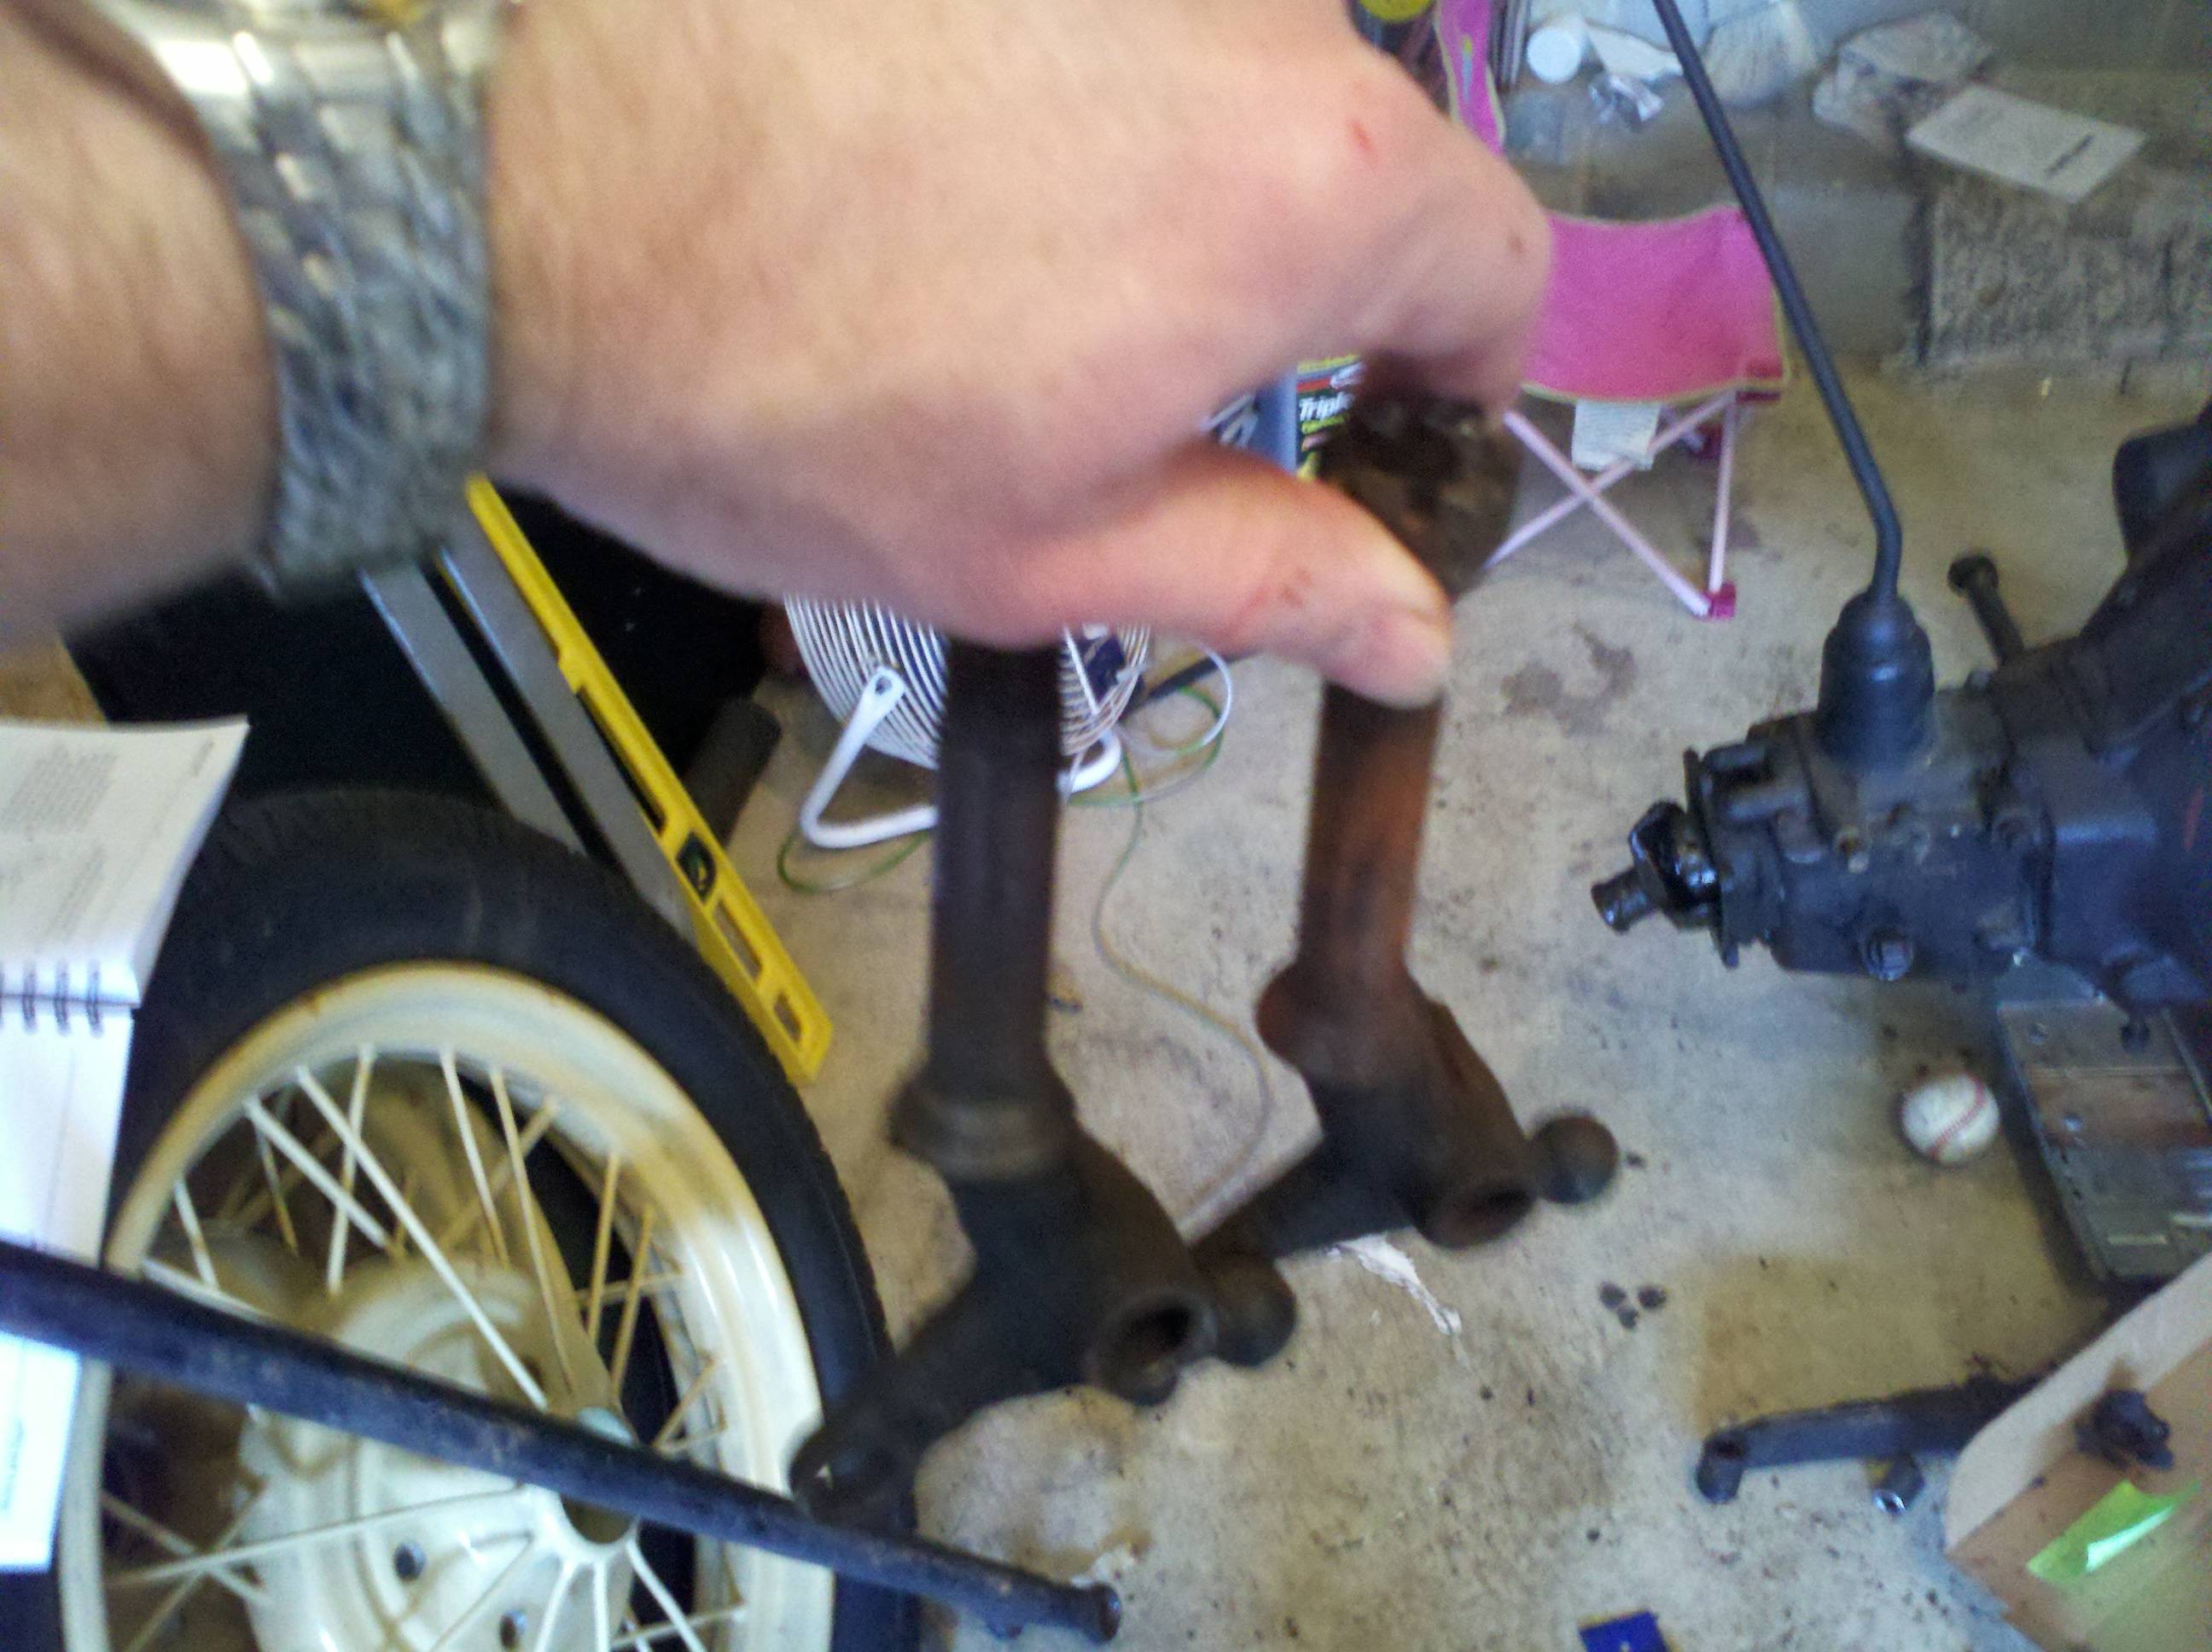
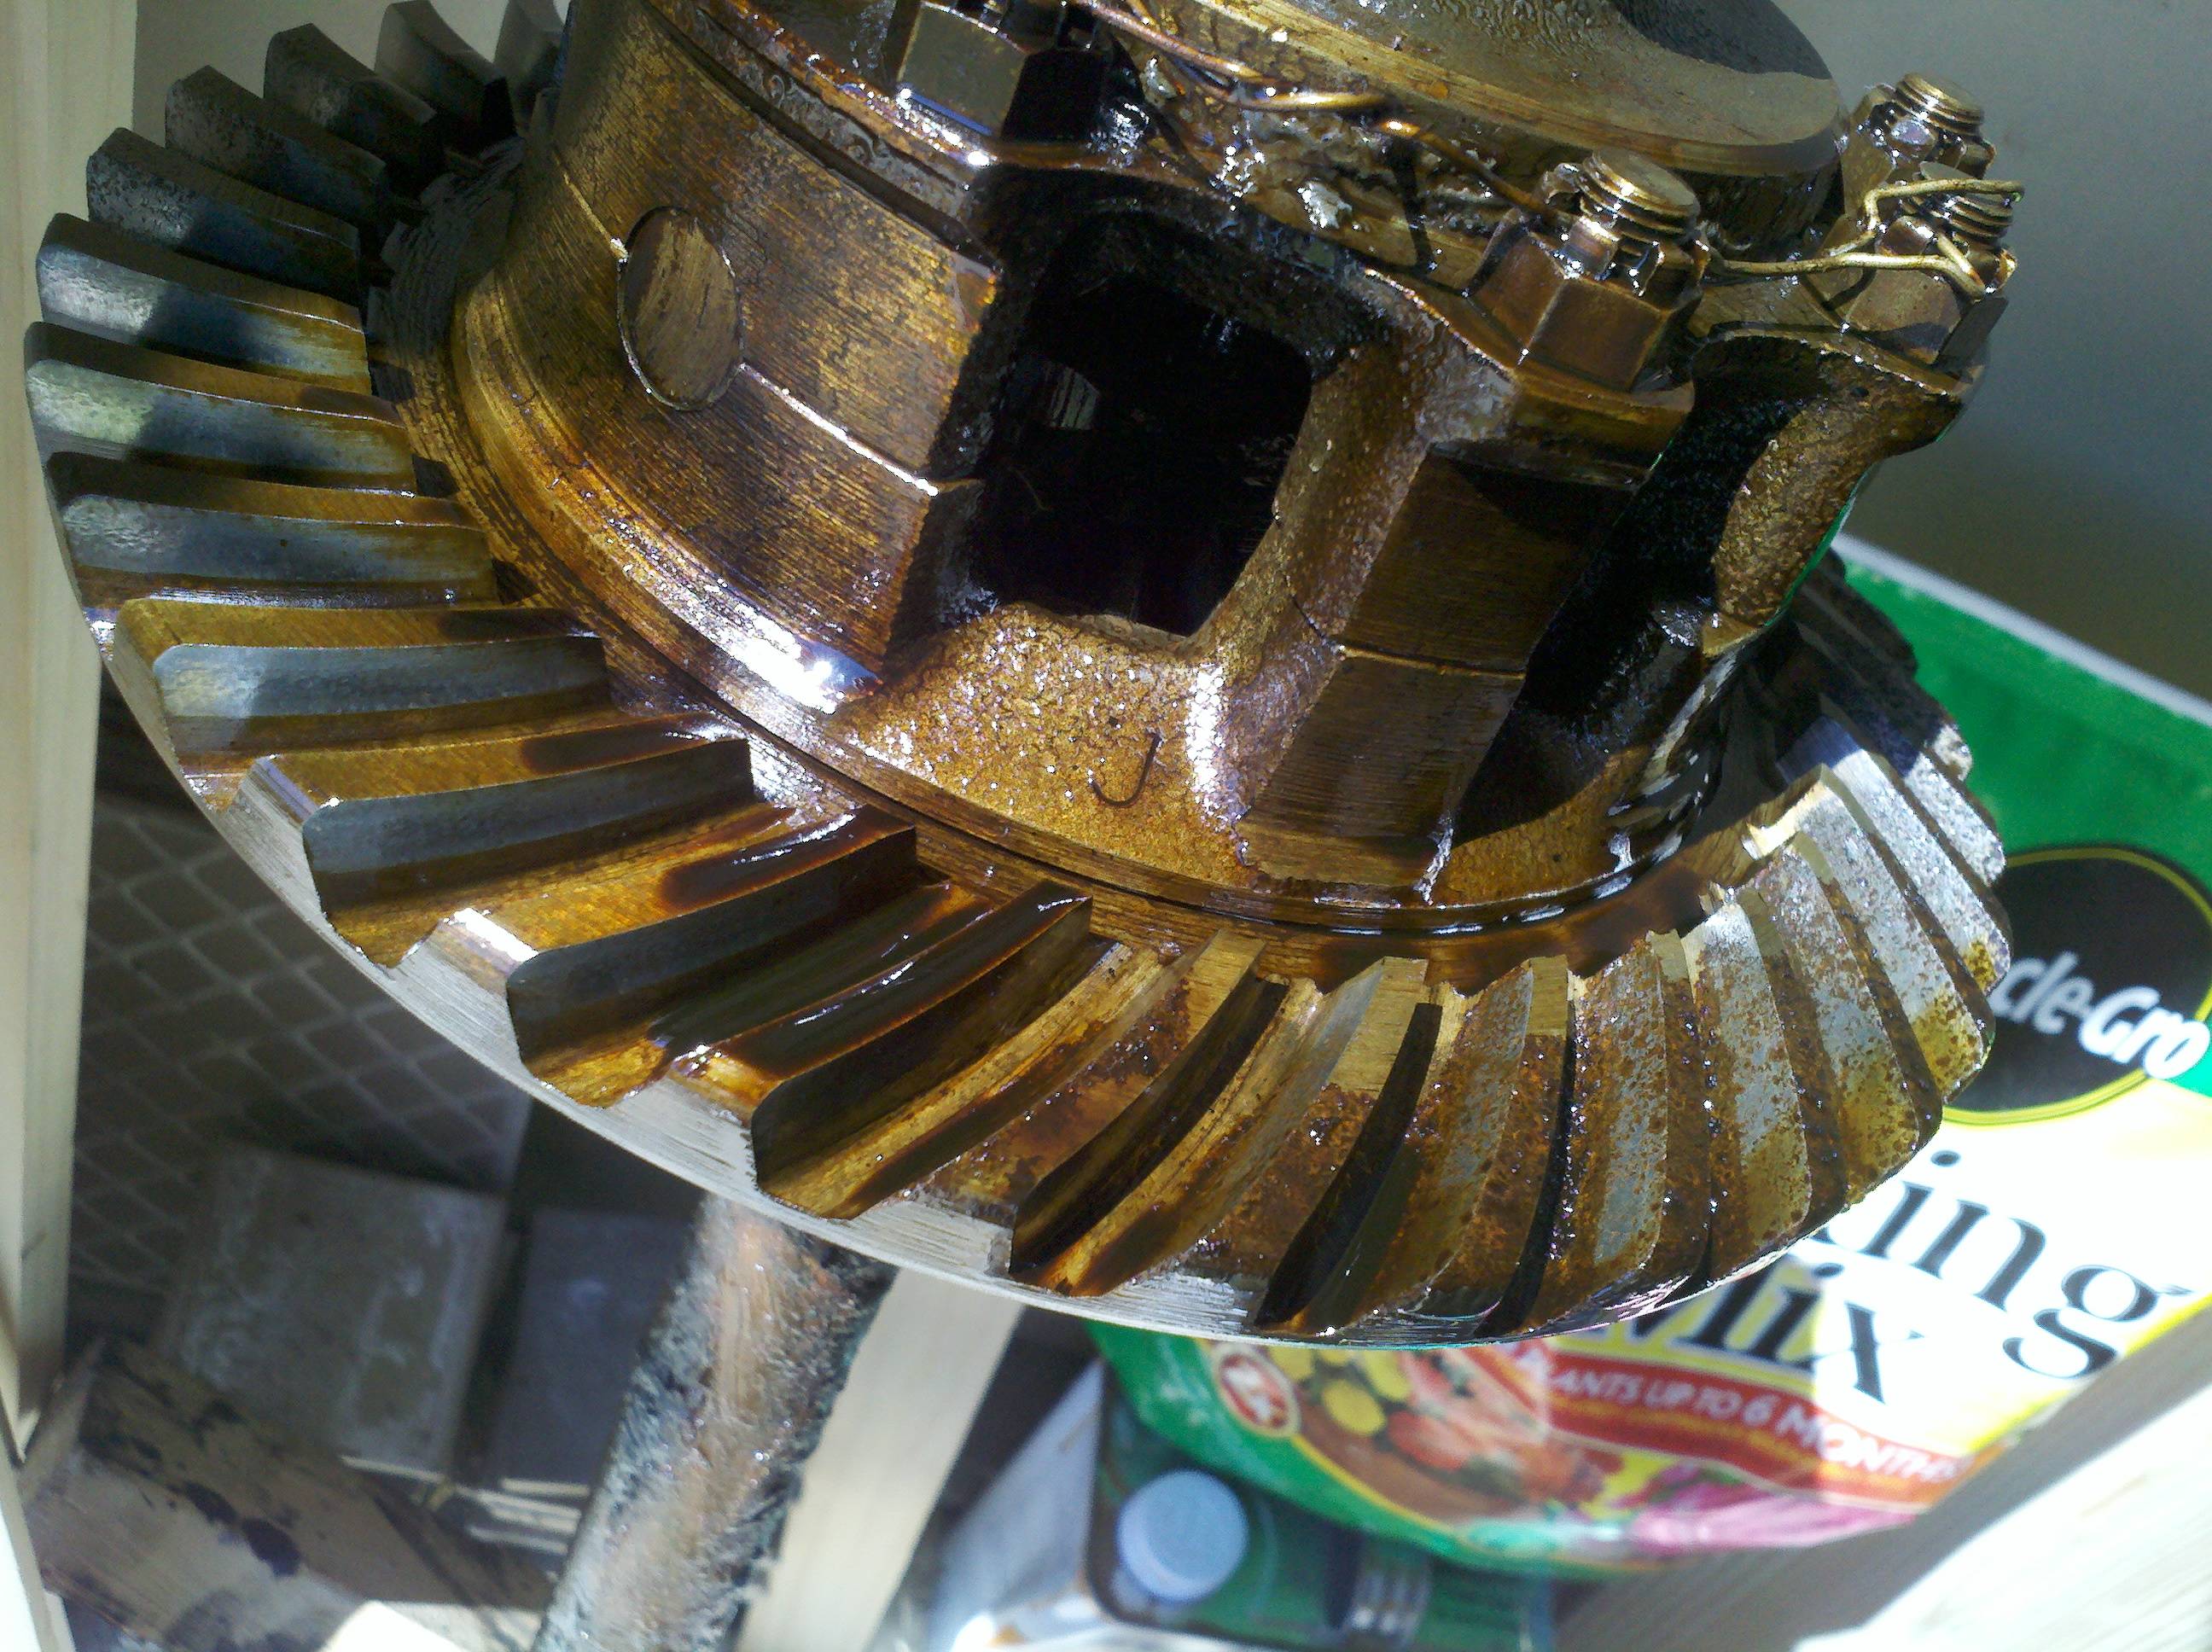
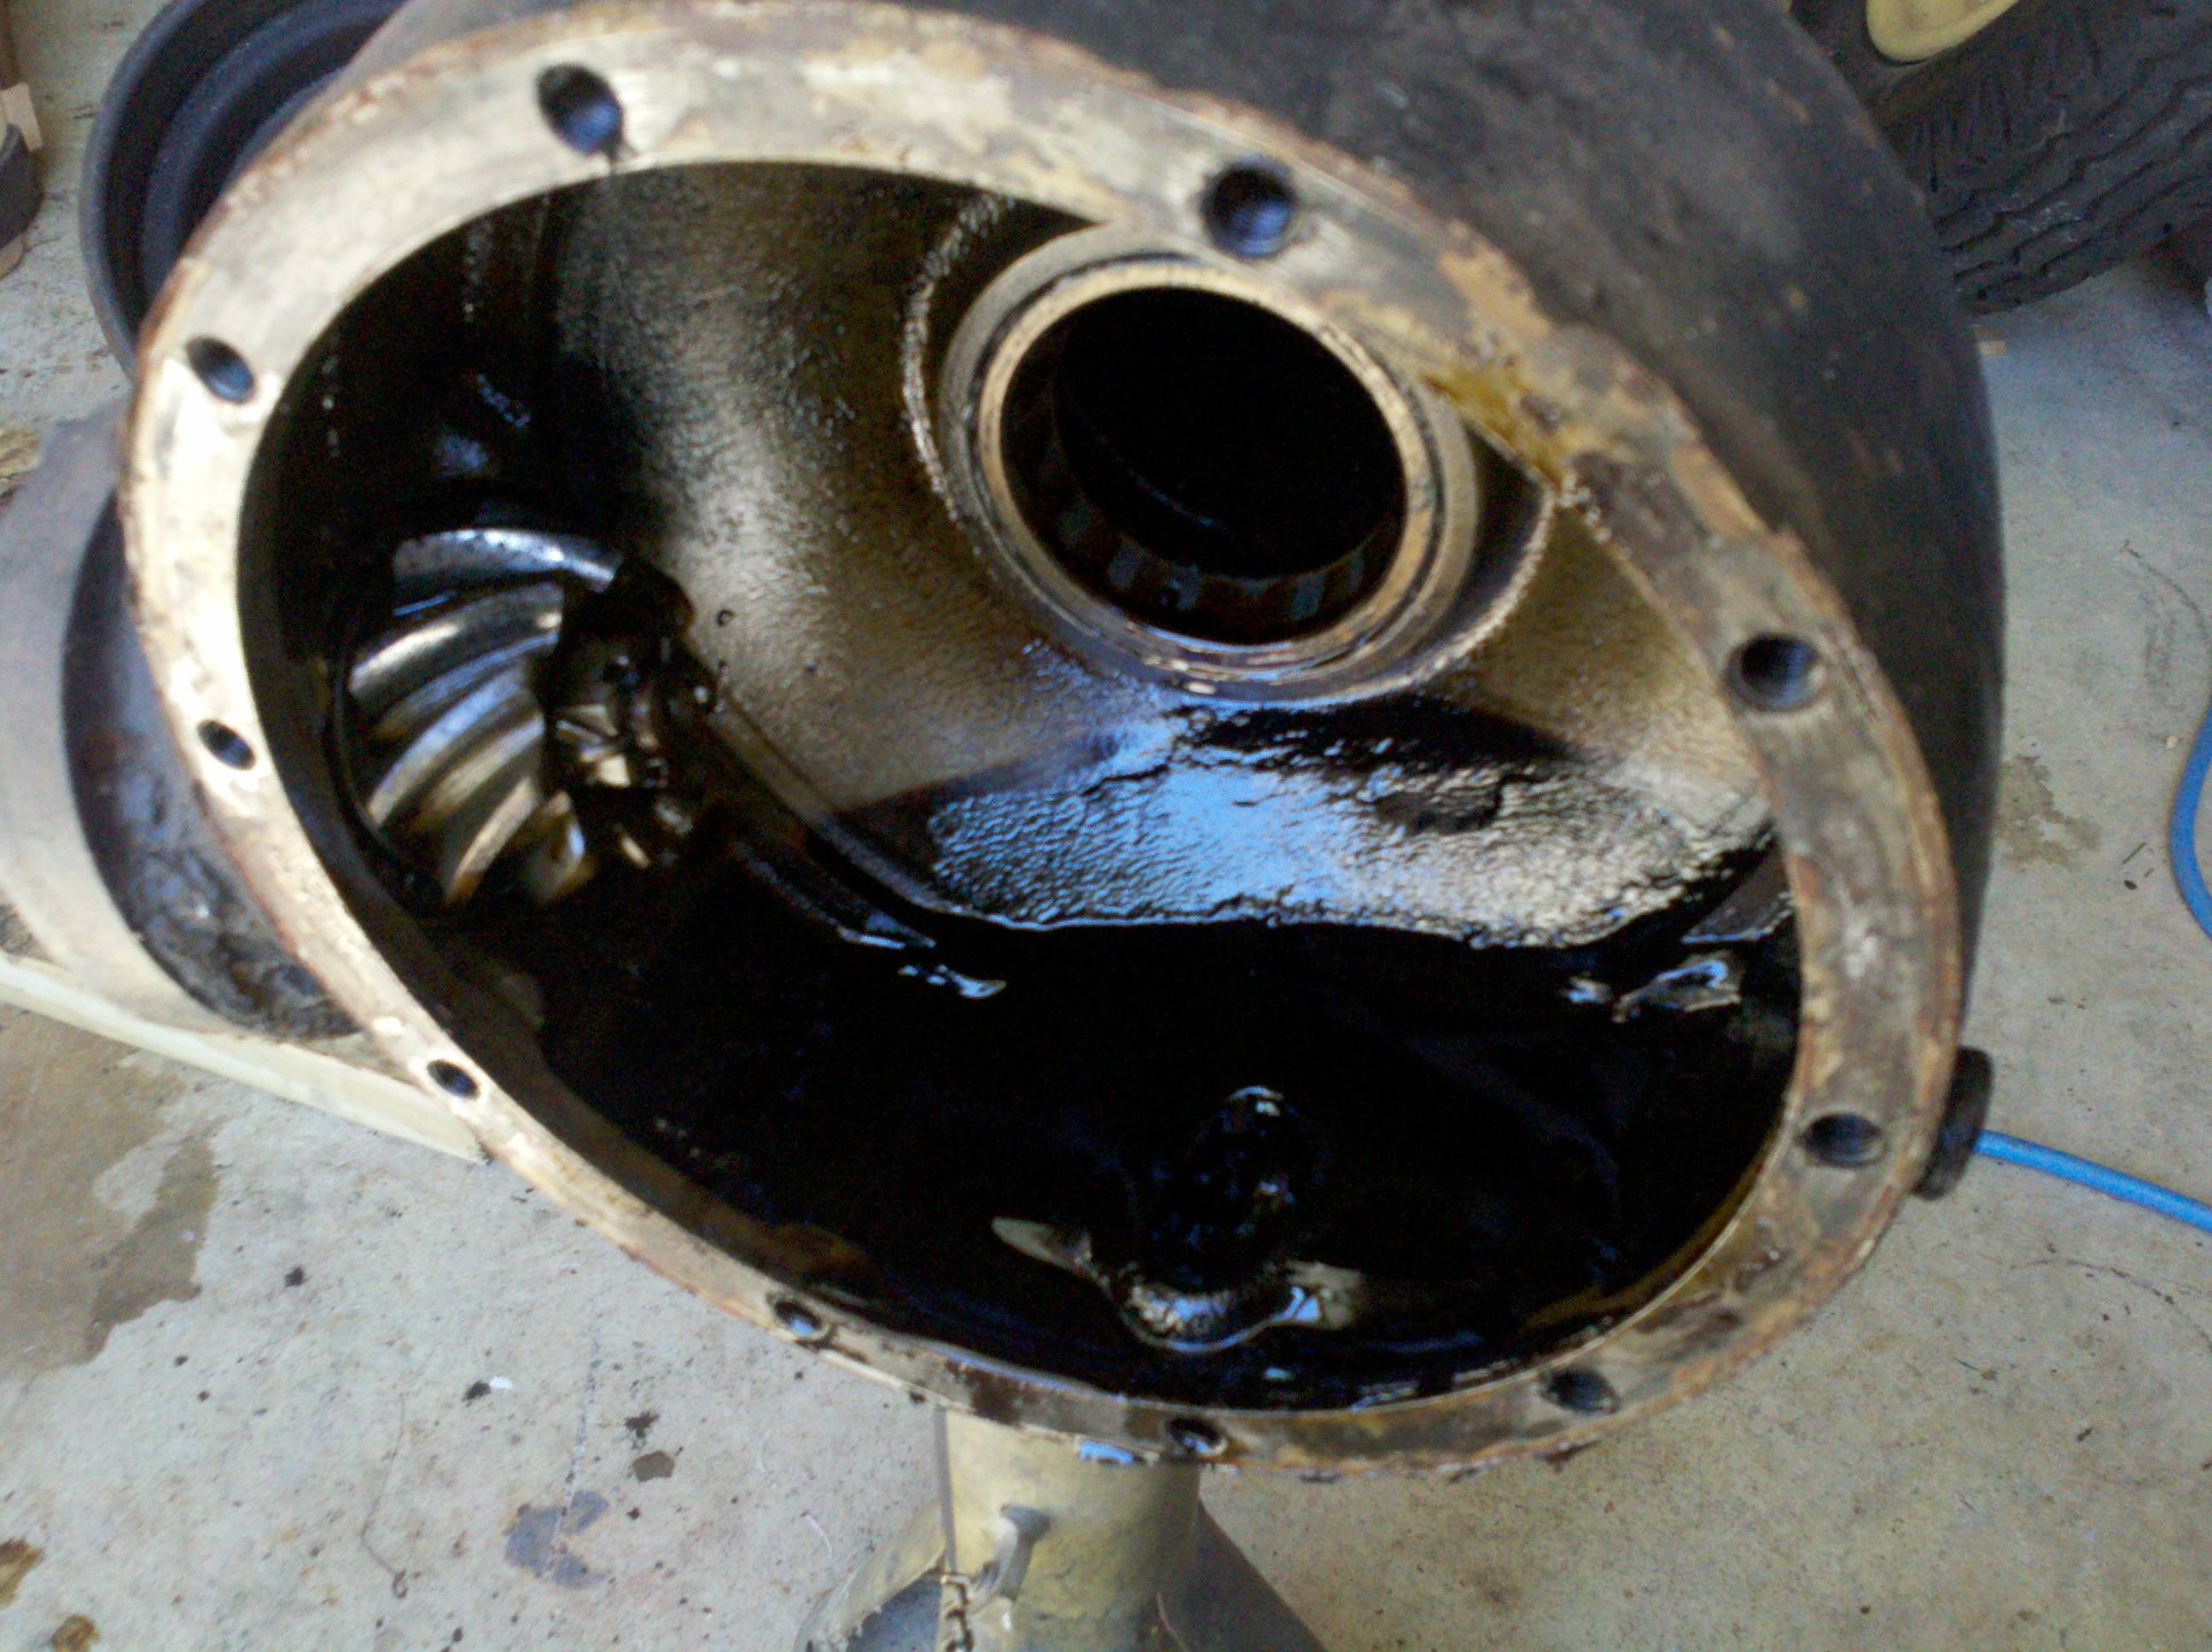
With the left housing off, it was a simple matter to pull the axle/carrier/ring gear assembly. I just picked up on the left axle a tiny skosh, and with a gentle pull, the entire carrier and both axles slid right out. I picked the whole mess up, and leaned it against the wall for later perusal. A quick look at the ring gear shows some pitting. I read up, and a small amount of pitting is considered okay. I think this probably amounts to a small amount. I really don't want to replace a ring gear. Same story with the pinion gear, too. Some pitting, but it looks pretty good, otherwise - neither appears to have any flattened faces, and there's no broken teeth. (much unlike, say, Kentucky). There was also a fair amount of muck on the axles. Part of it looks like maybe corrosion near the centers, and a bunch looked like dried up oil and grease.


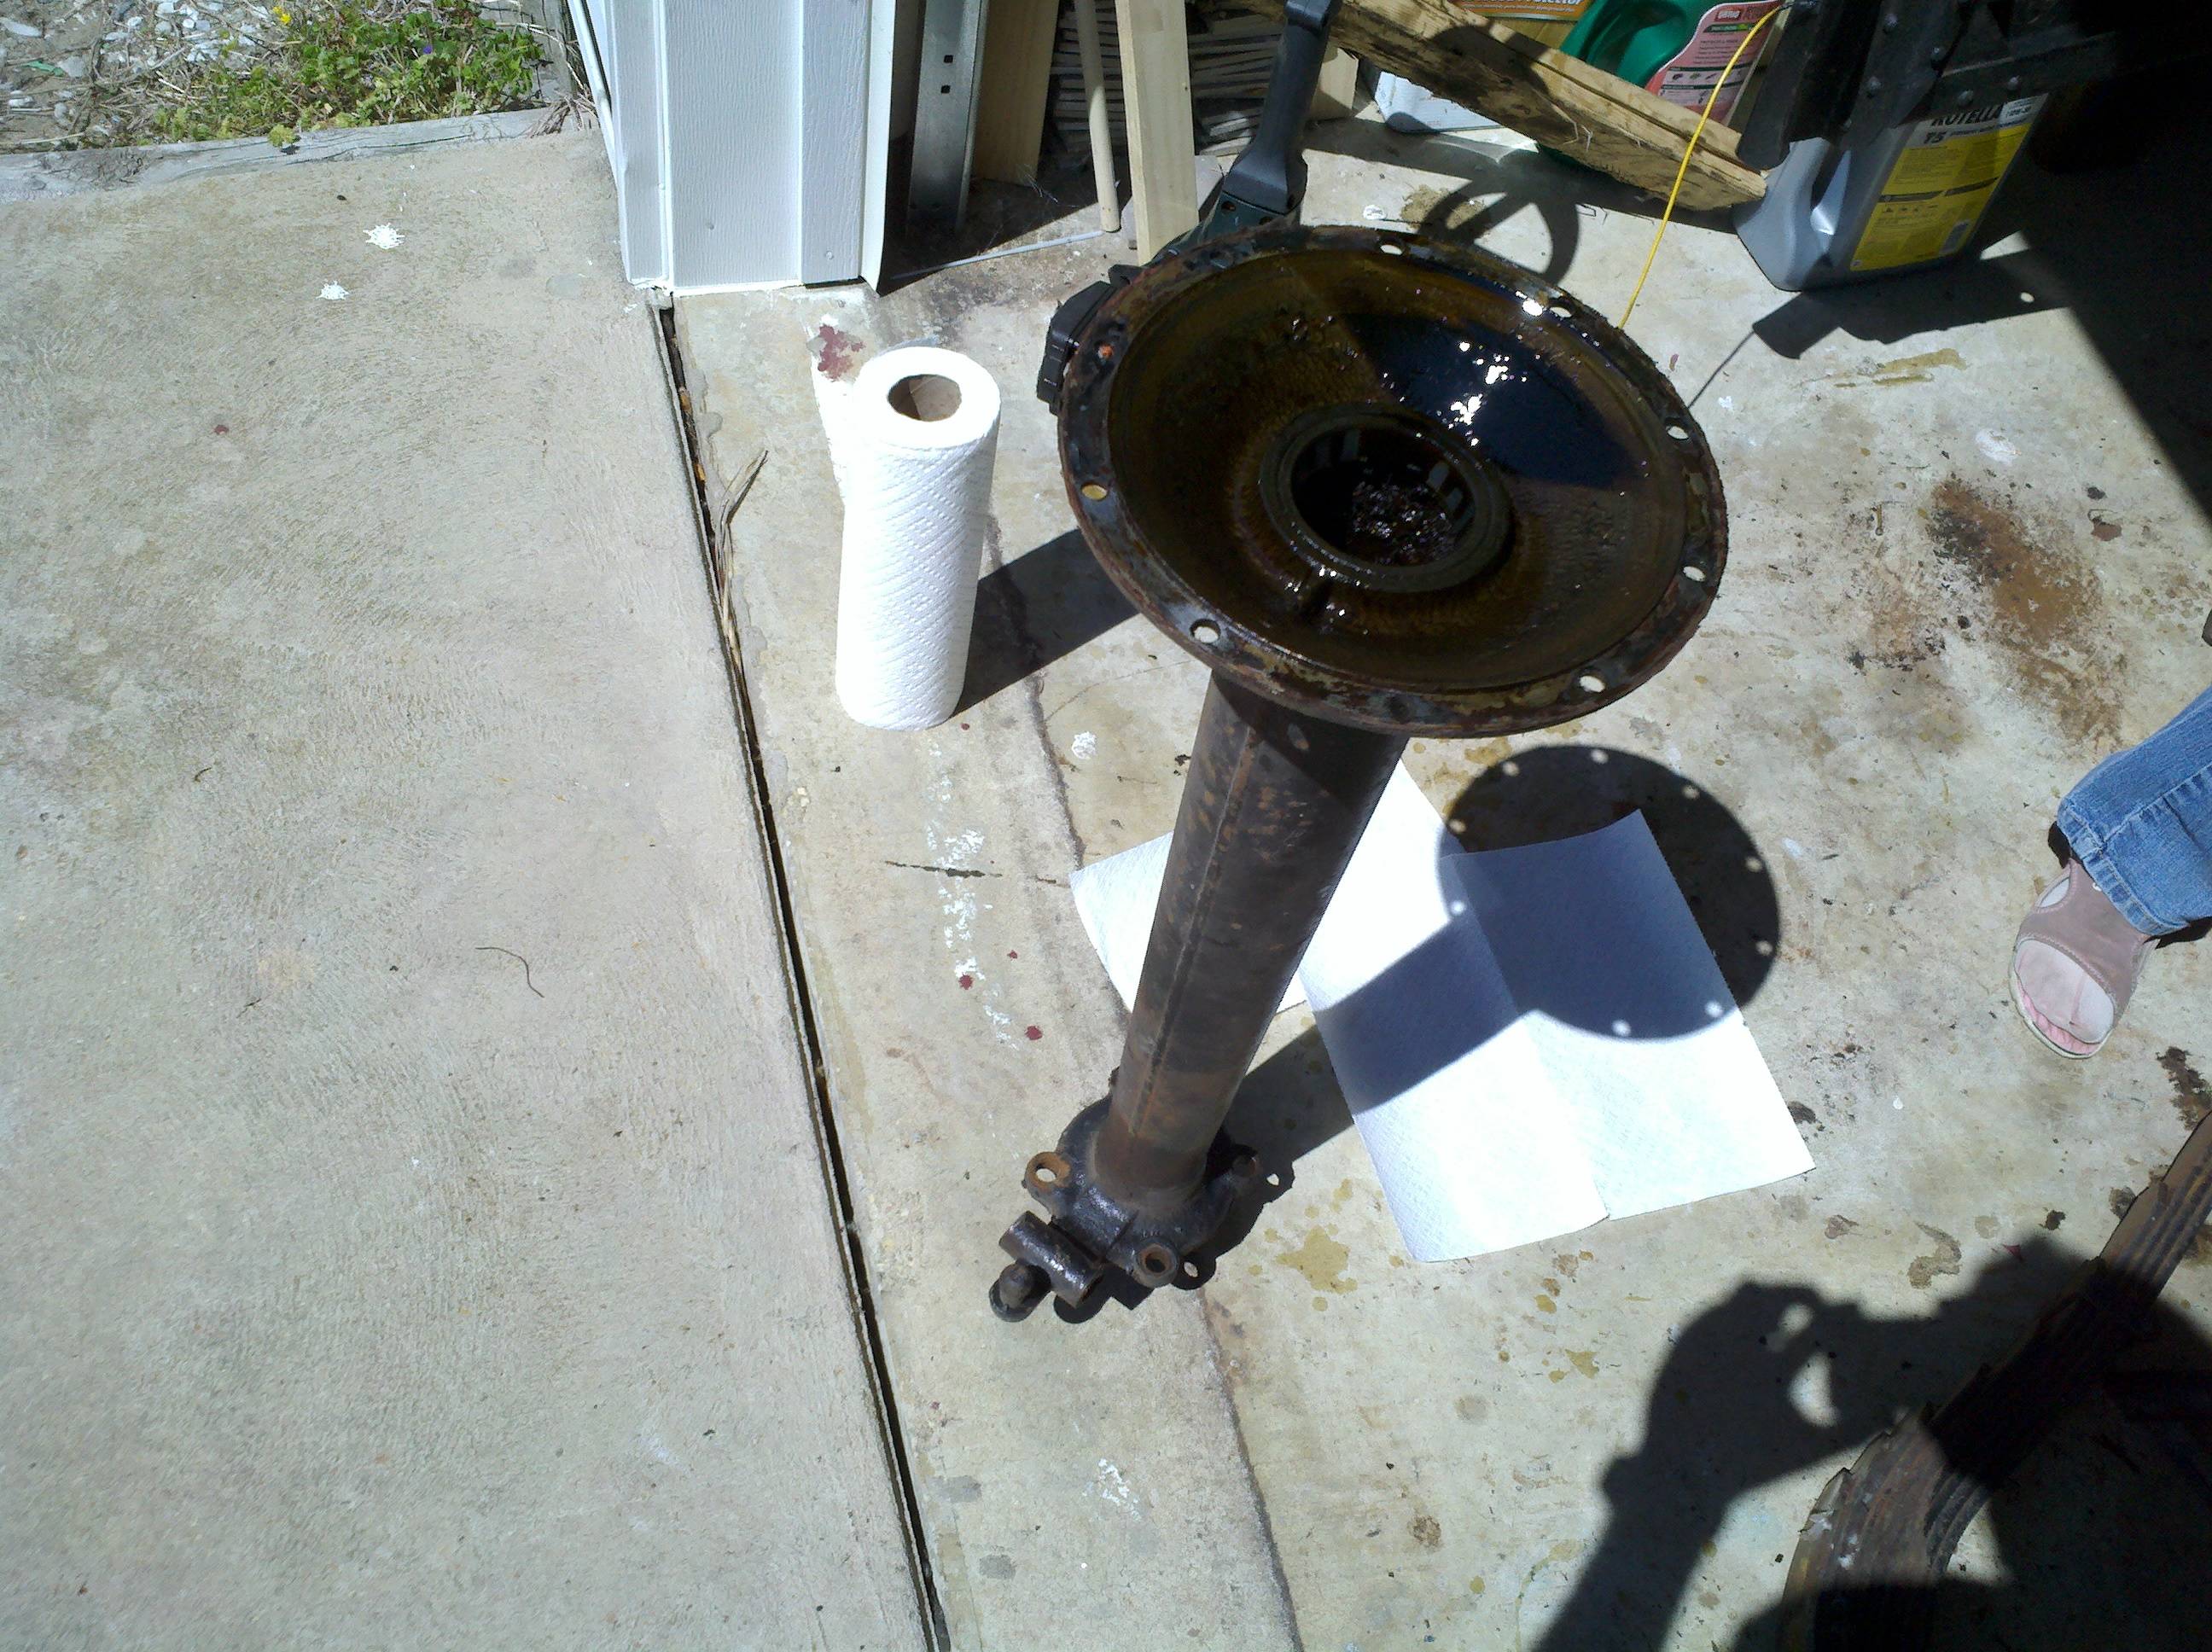
Now the banjo... That was a mess. Talk about a hefty pile of "ick" - there's a mound of old oil/grease residue... I'm betting it's a full 85 years' worth. At first, I wasn't sure if it was really a bunch of goo, or if maybe the interior of the banjo was formed that way... I reached down and stuck my finger in a pile of stuff that was the consistency of what you find in a diaper. About an inch deep pile of old, black, greasy parafin, I guess. At least it didn't smell like a diaper. I wiped most of it out with a paper towel, and it really didn't change the way it looked, much. I'm not sure, but maybe someone used a recycled diaper to lube the rear end on this thing, once...

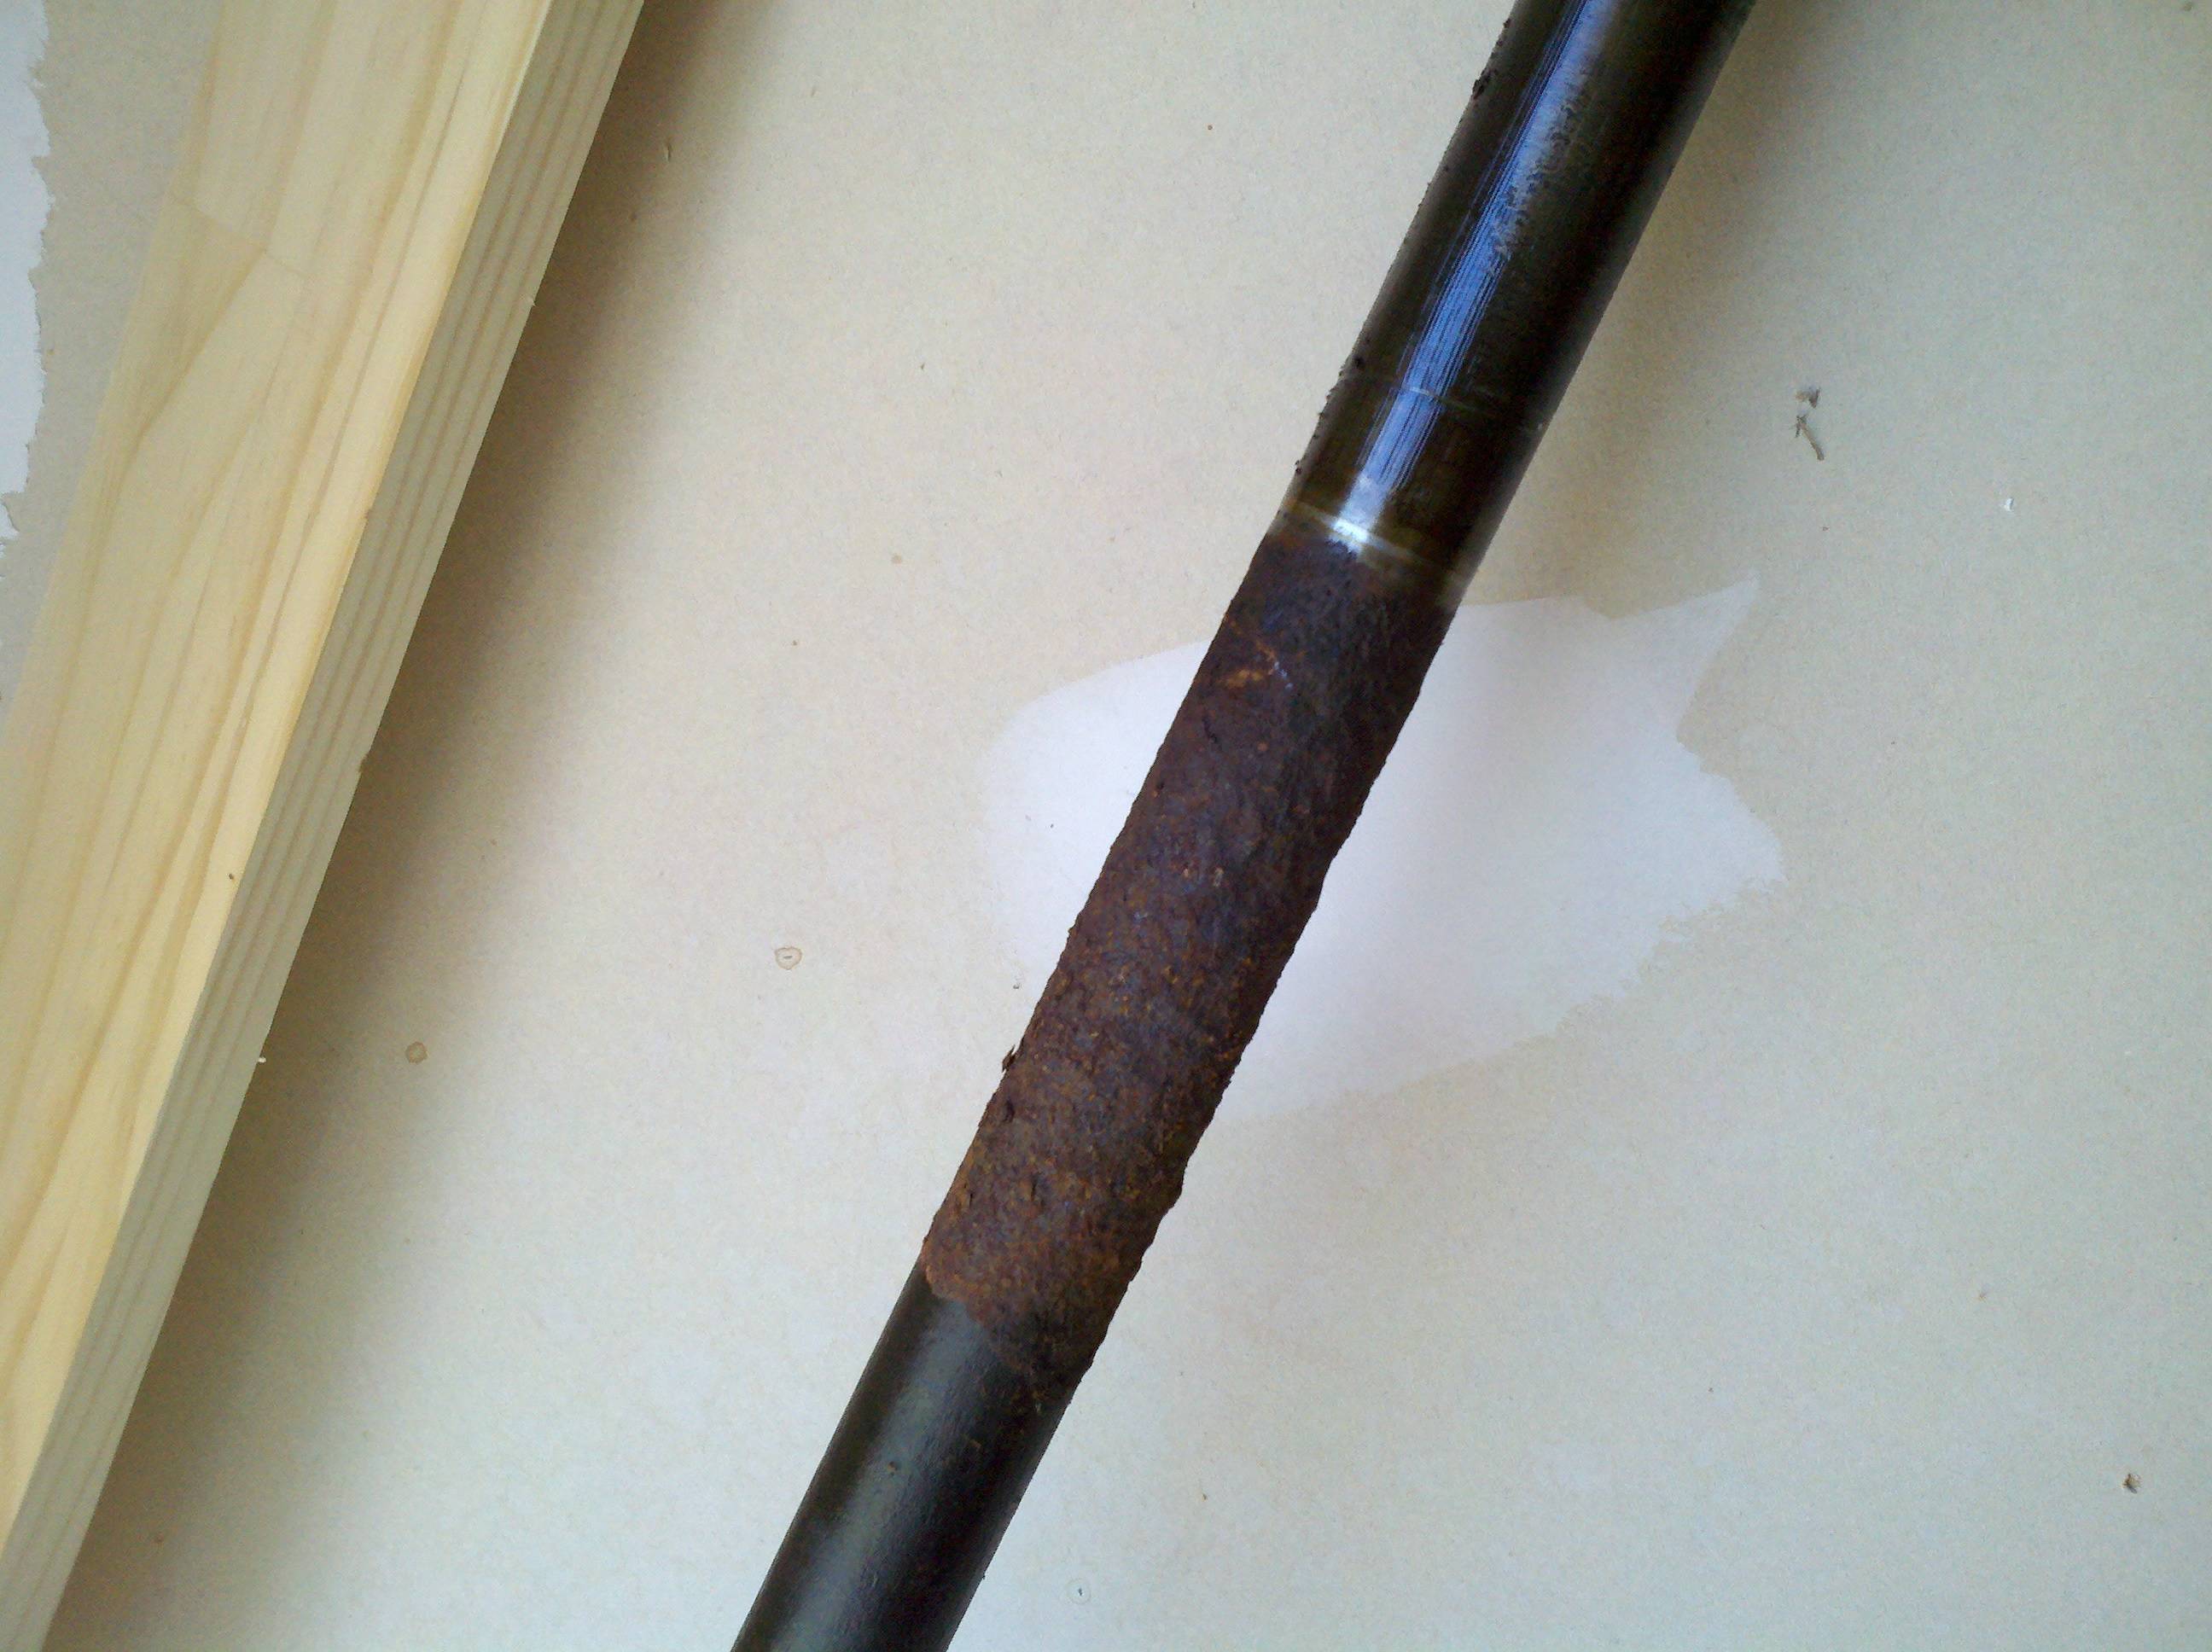
My helpers and I then pulled the right axle housing loose. Like the left side, it came off easily. Unlike the left side, when I sat it down on the floor, about thirty-seven pounds of crud fell out of it. Mostly dried-up oil and the like. I have come to the belief that the truck sat for a long time on a hill, or with a flat tire or two. The right-side brakes were full of grease. The left side's were pretty clean. The left side axle was pretty dry. The right side was full of drie up ick. It's kinda leading me down that line of thought. Confirms a bit of what I've been thinking, and that is that the rear end needs to be "boiled," as opposed to just sand-blasted.
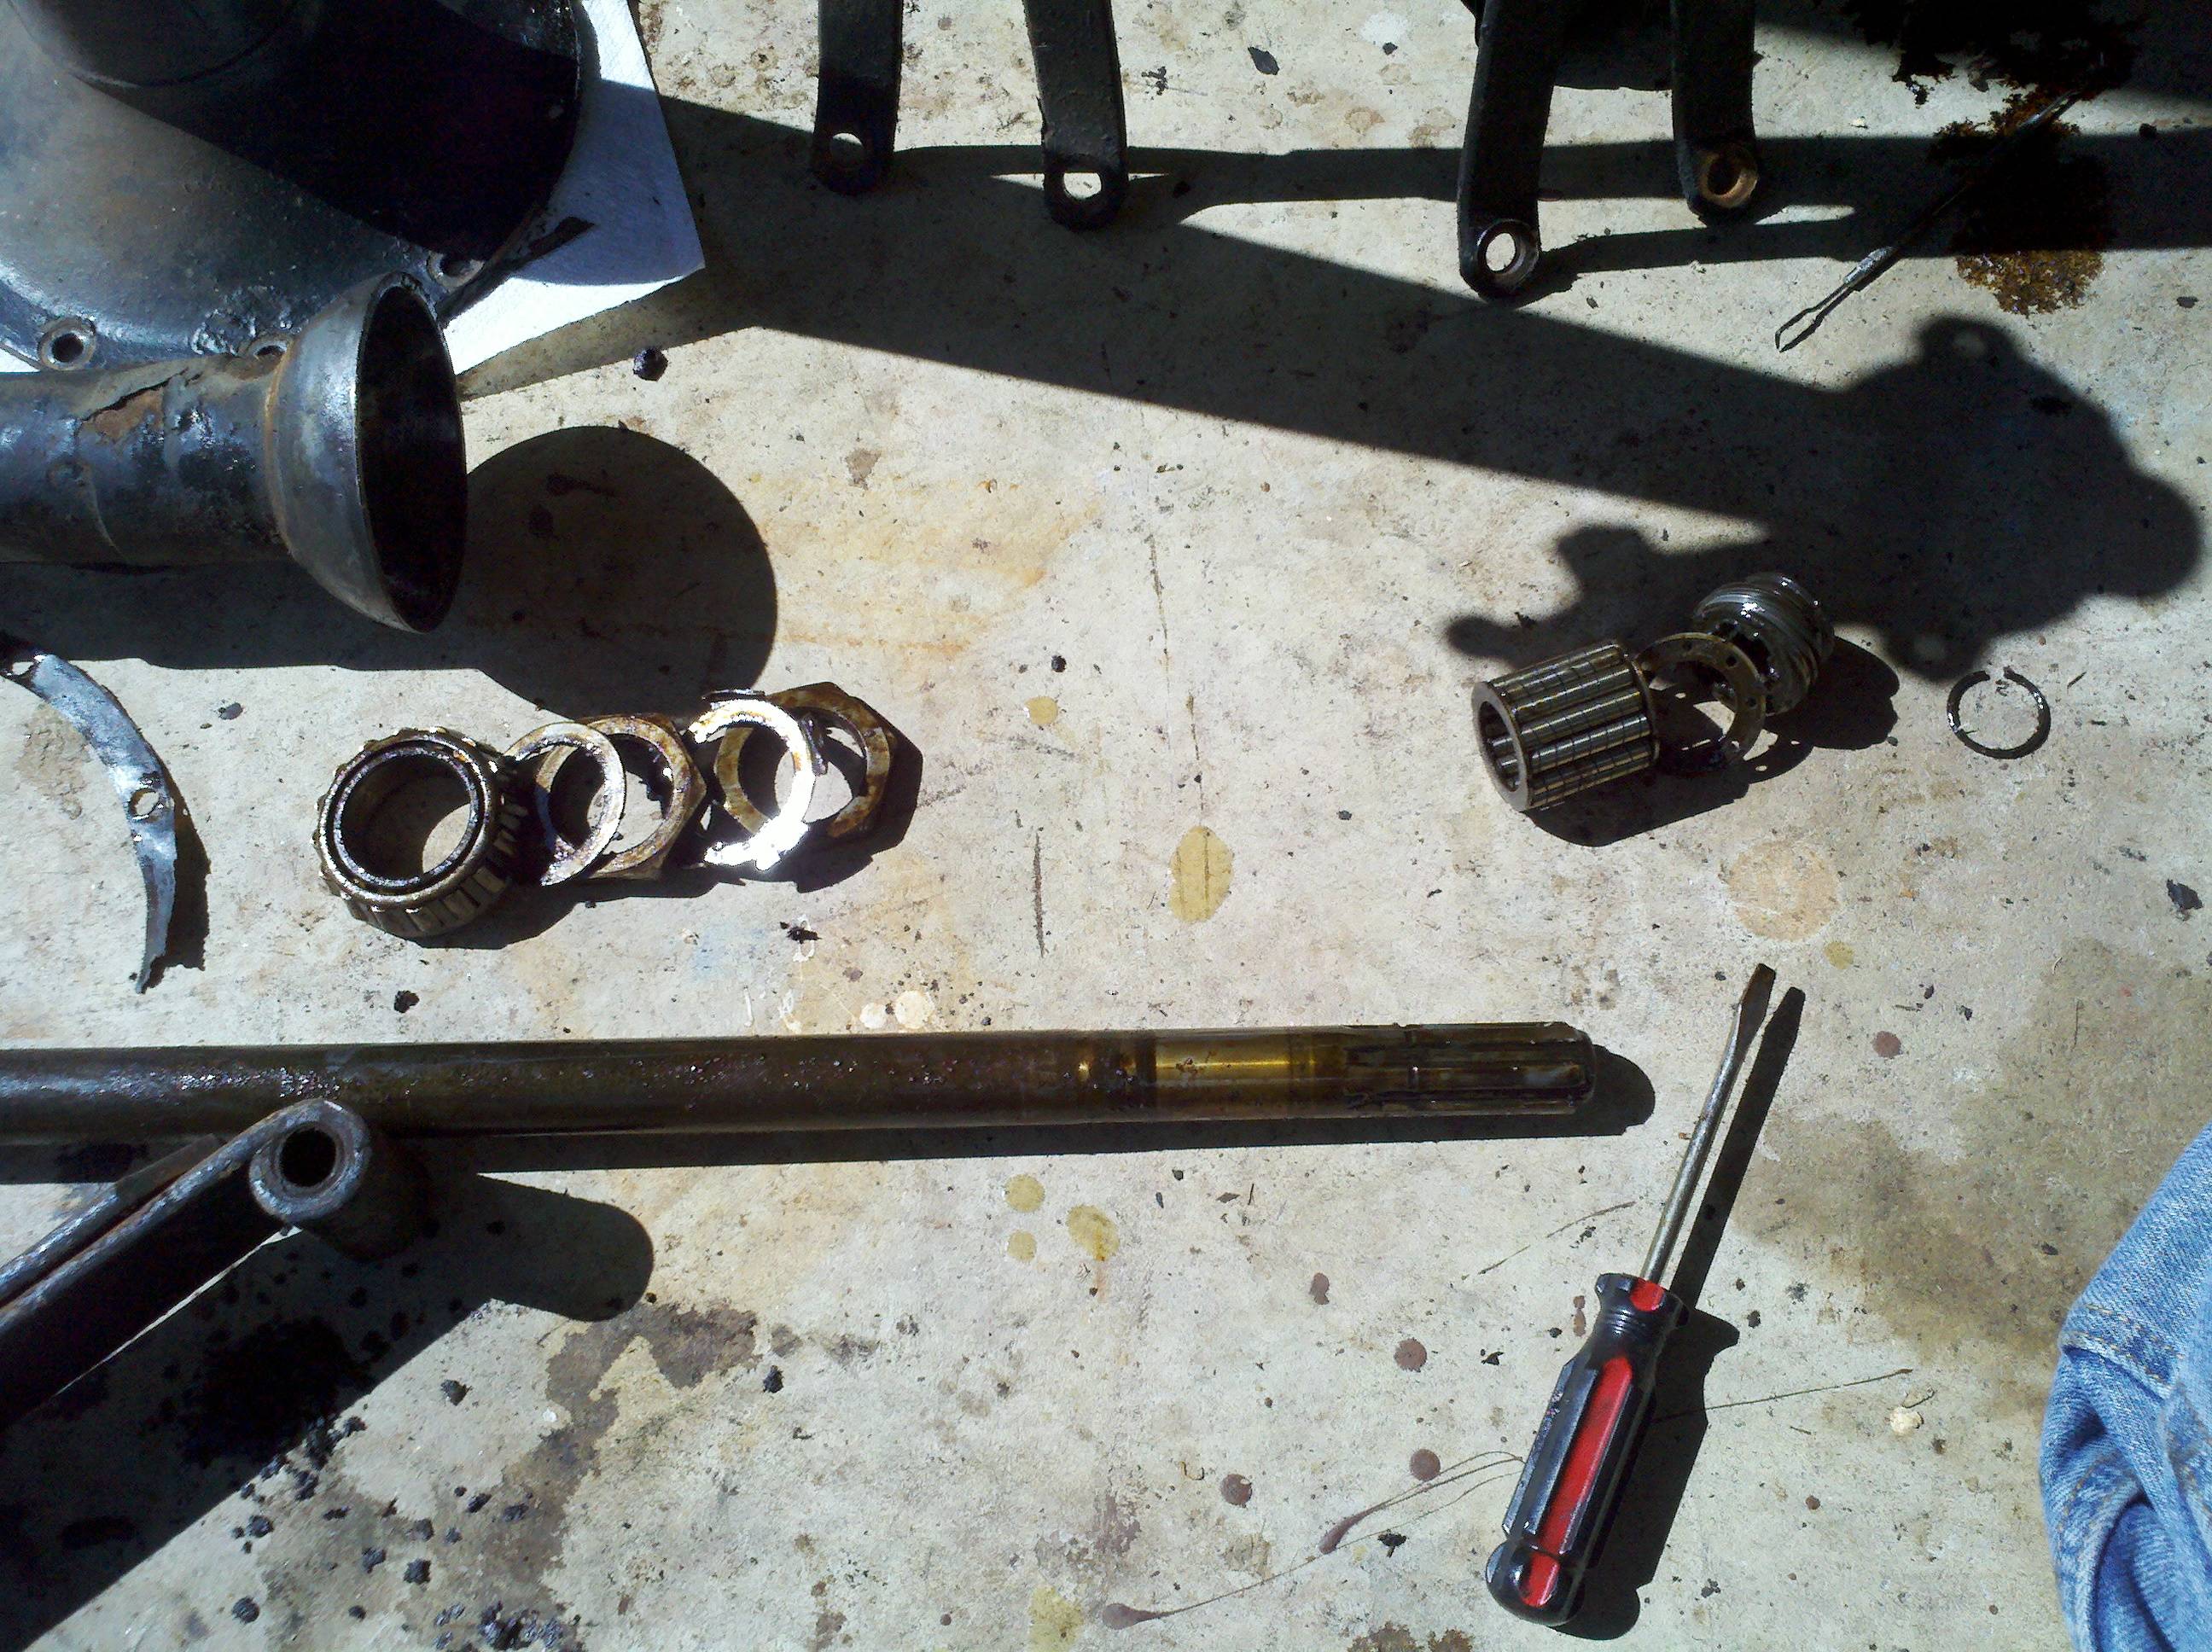
Next, I lifted up the torque tube, and fiddled around with the drive shaft carrier bearings. It was a bit of a breeze, since the spedometer gear was already pulled. Well, the follower gear, anyway. To remove the axle or torque tube, you have to pull the speedo drive gear. To do that, you reach in through the hole where the follower gear was attached, and work the snap ring loose. Once you pull it up from the top, you flip the whole thing over, and gently drop the "cup" onto a block of wood a few times. The thrust washer, carrier bearings, and drive gear will fall right out. The drive shaft is then hanging pretty freely in the torque tube.
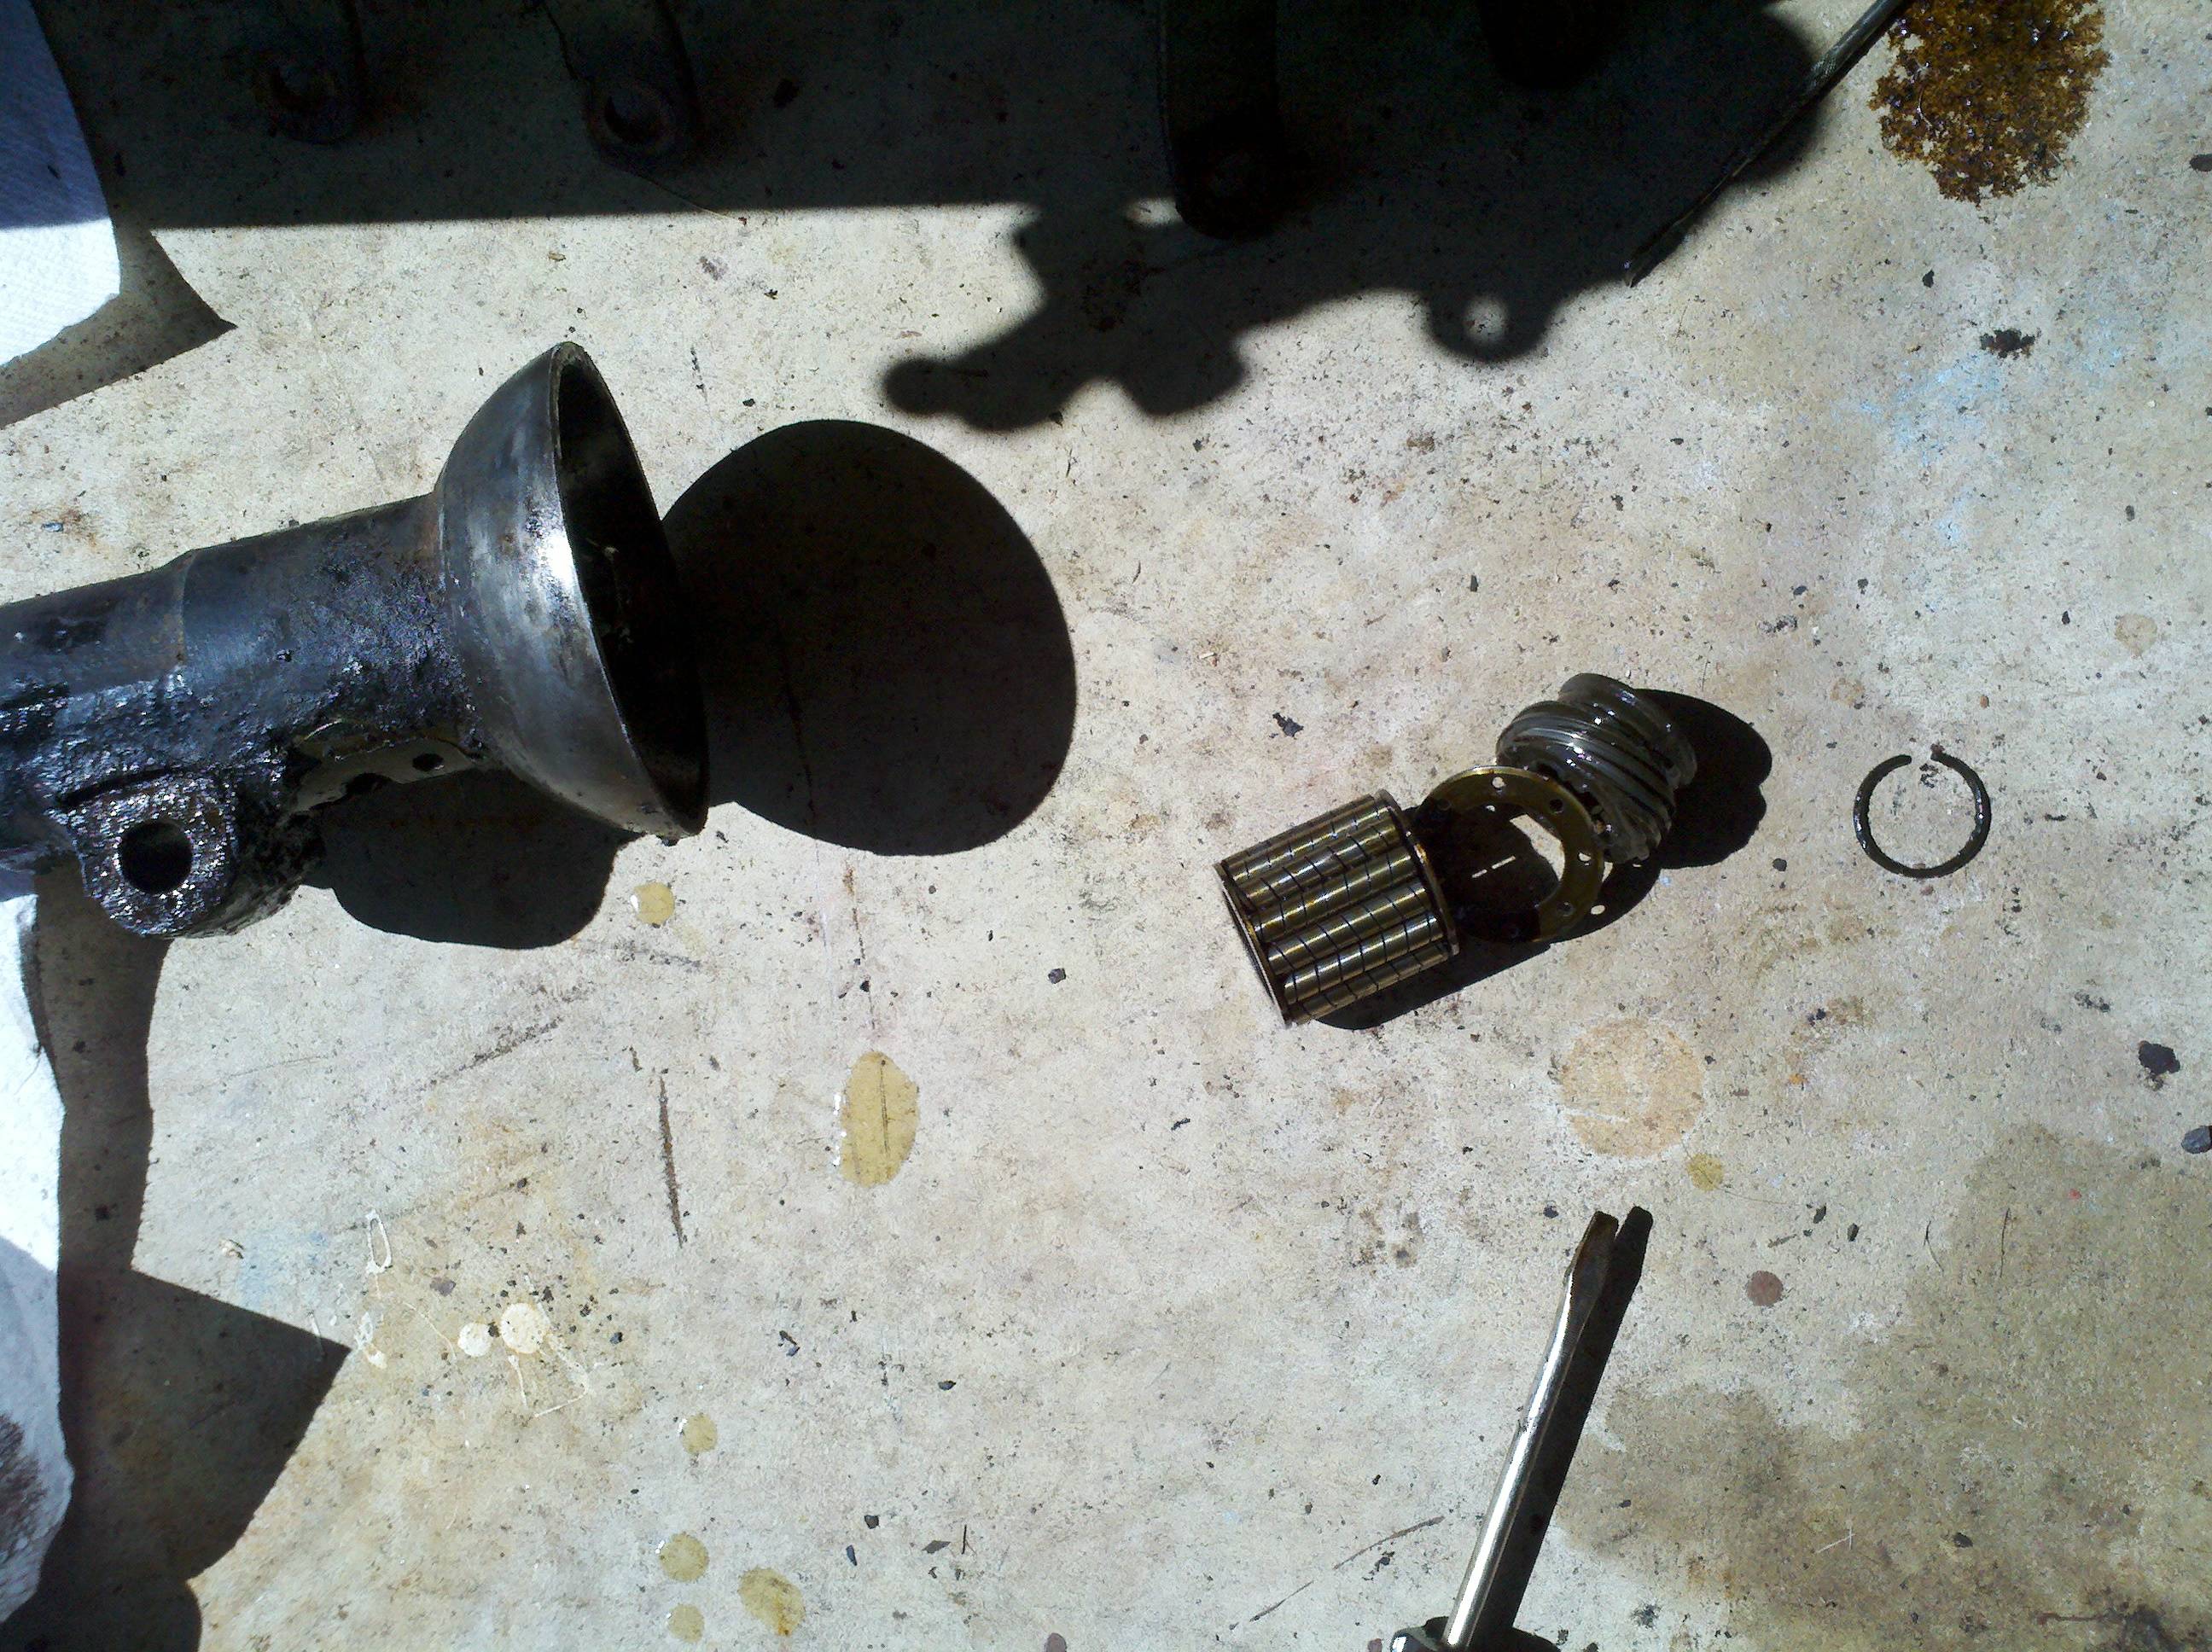
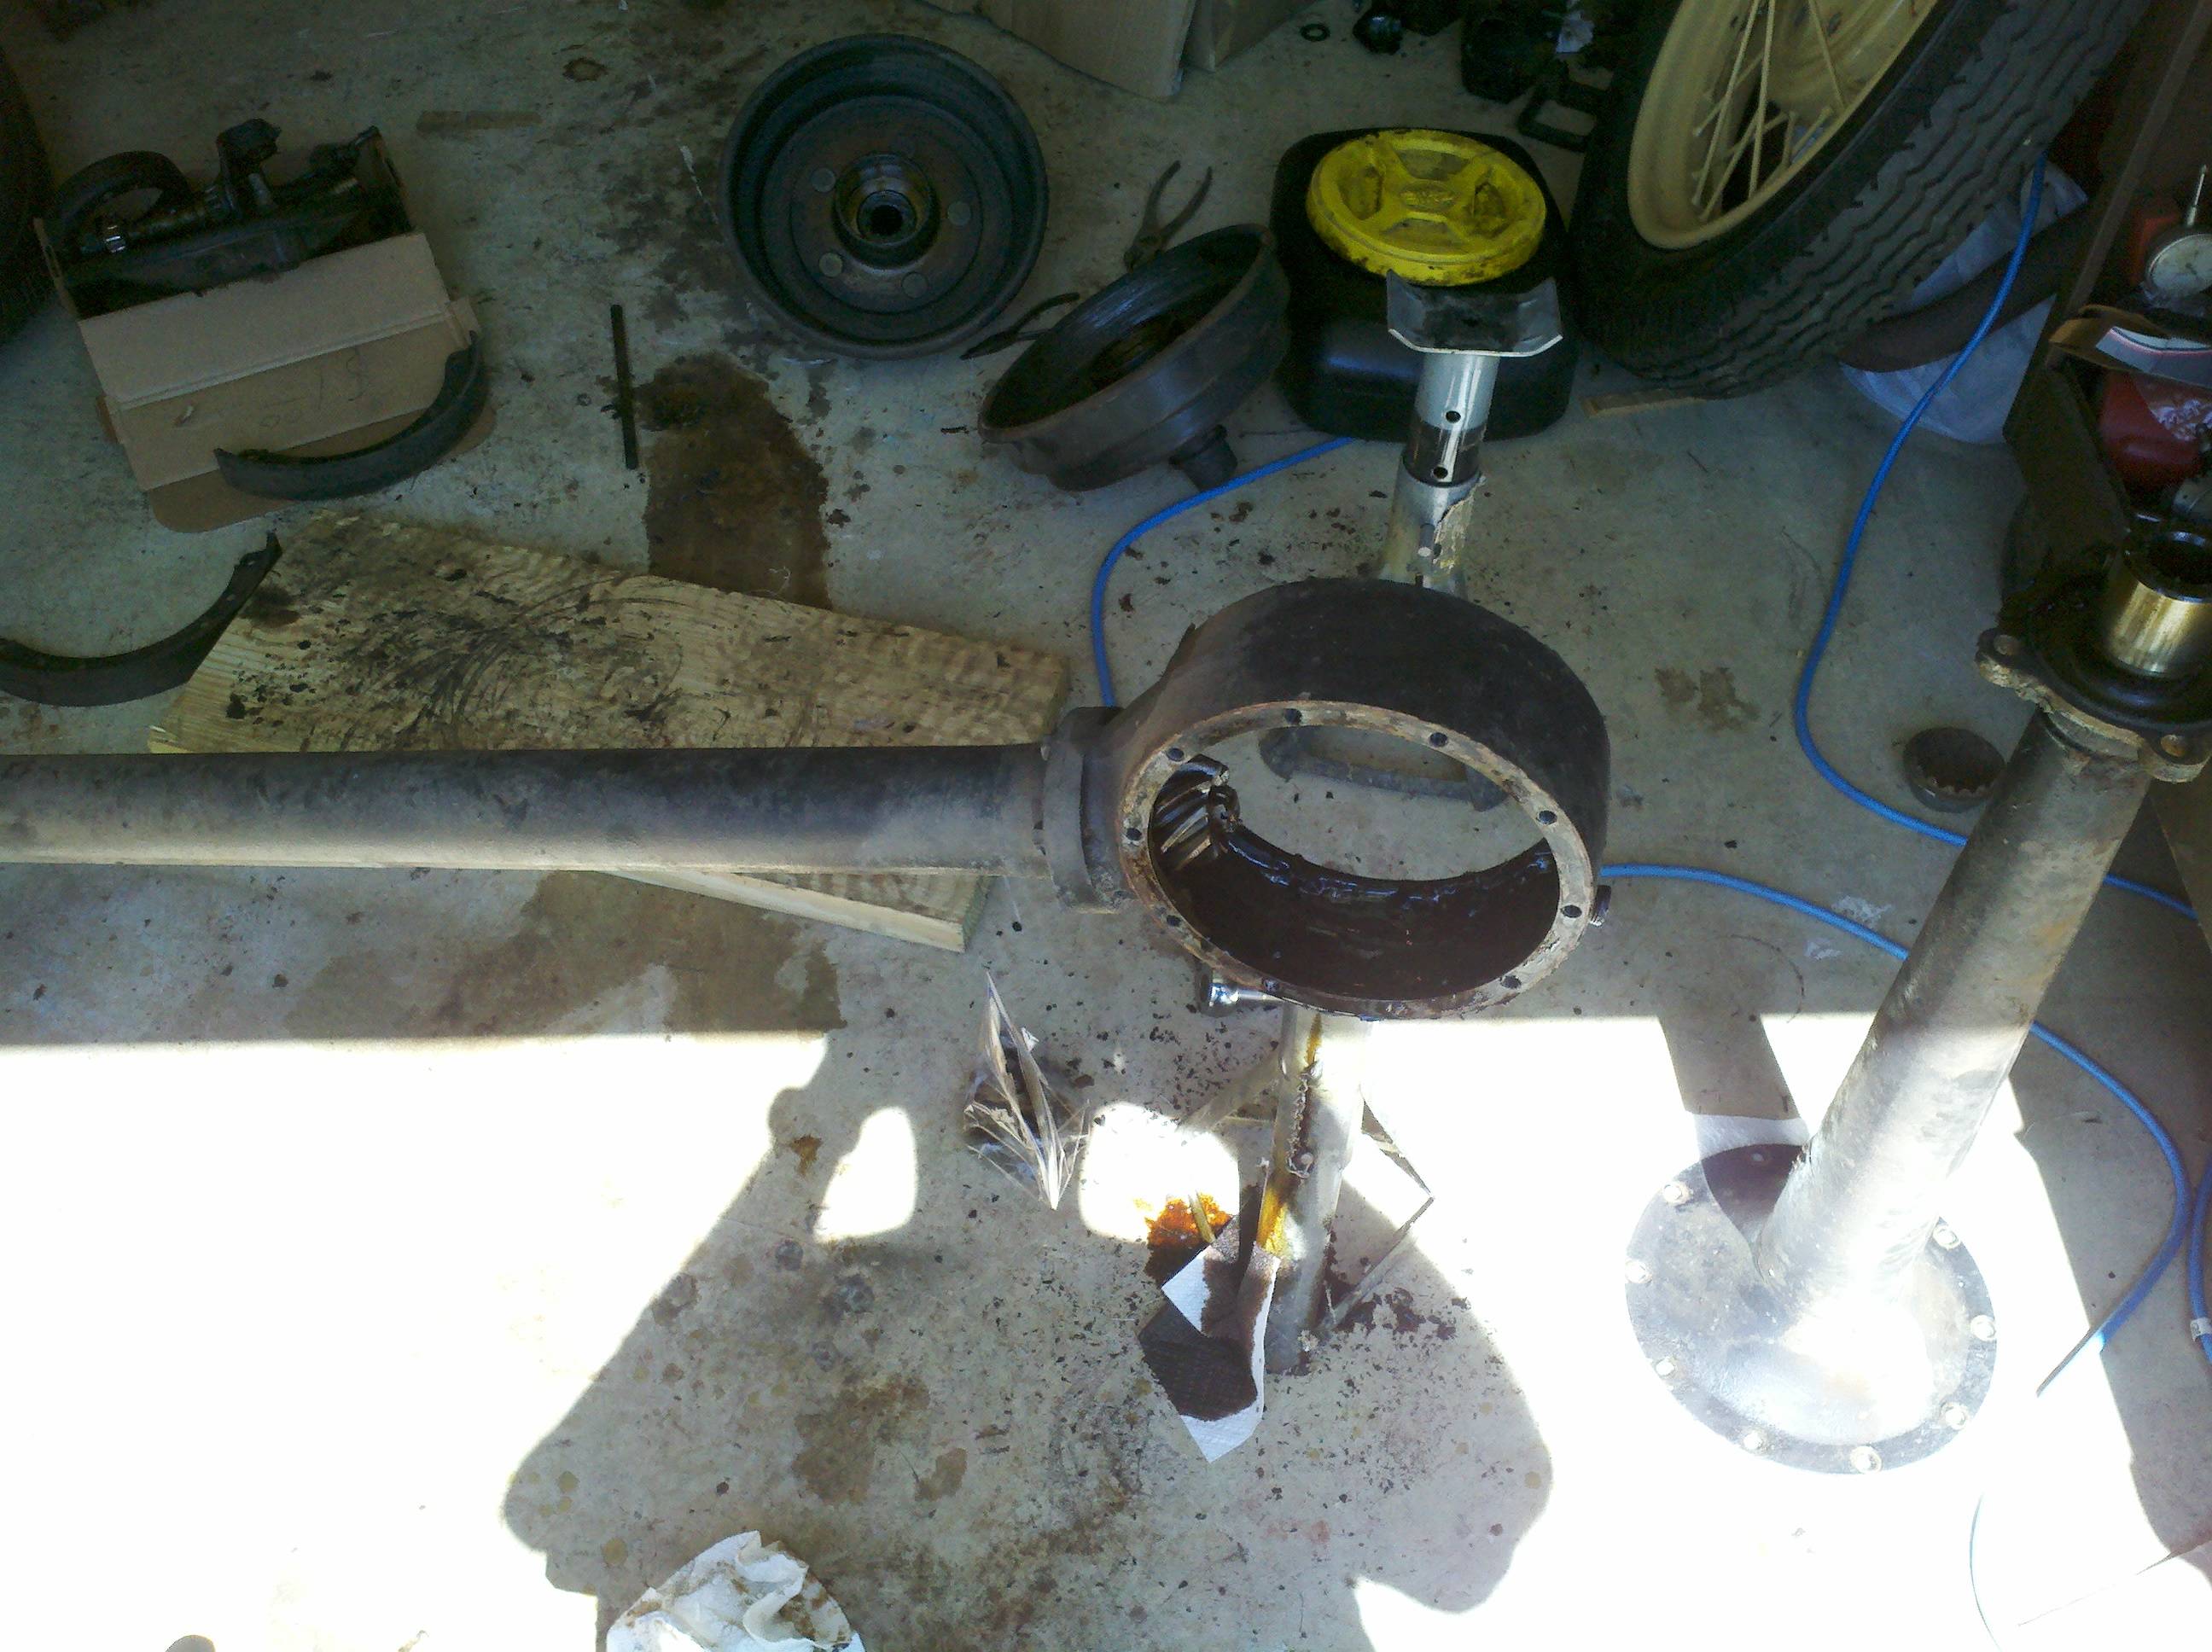
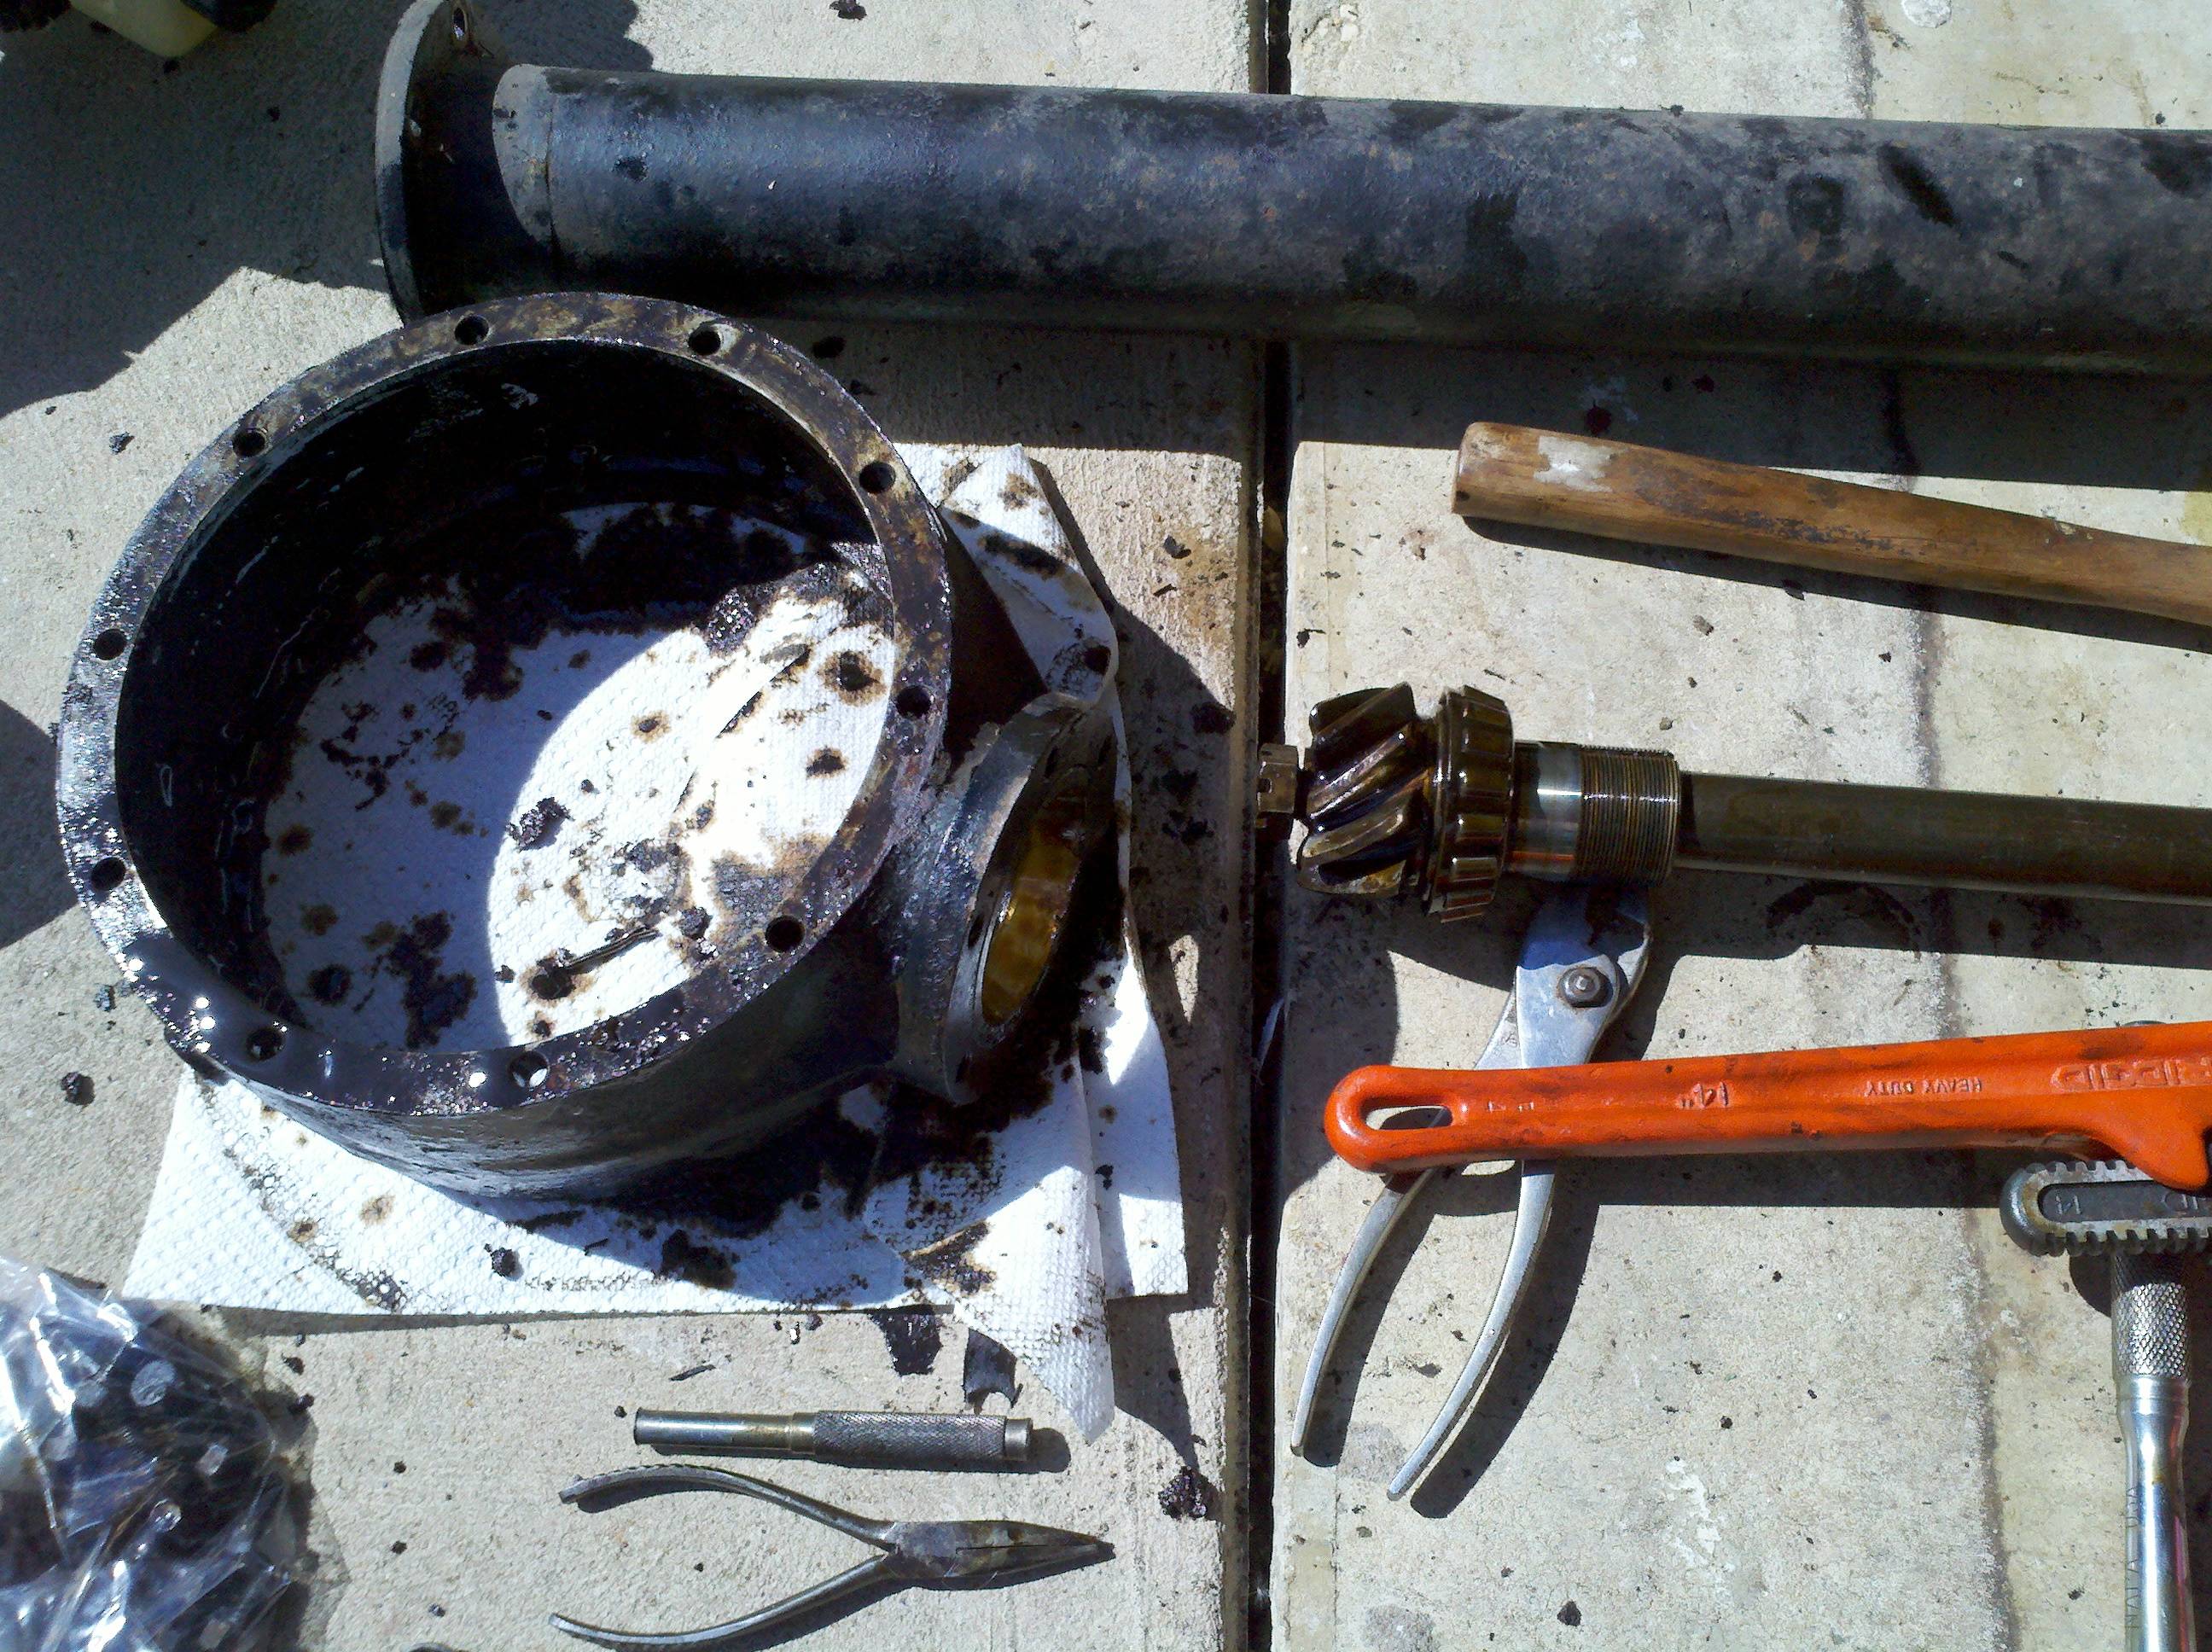
Next, we had to remove the safety wire from the banjo-end oft he torque tube. Then the bolts. That was problematic, as one of the bolts was stuck. On the first try, that particular bolt's head stripped a bit. I was worried for a while, but I finally managed to work it free, without having to resort to a drill or anything else drastic (although there was cheater pipe involved for all of them...). Once the toque tube was loose, it slid right off, exposing the buts and washers that hold the drive shaft to the banjo housing. There are two nuts in there, separated by a lock washer. A few light taps with a chisel and punch were enough to unlock the washer. Unfortunately, I did not have a large enough wrench to pull the nuts, so I had to use a pipe wrench. both nuts actually came off pretty easily, so I'm gussing I'll be able to similarly reinstall, unless I need to torque them. I'll look it up, but if that's the case, I'll have to figure that out. Looking at some other documentation, it seems I may need to look in the tubes at the seals - and maybe buy & install new ones. Didn't think to look for those, so I'll do it later. With theose two big nuts loose, the whole axle pulled out of the banjo housing at a slight angle. Differential dissassembly complete!

I took an hour or so this evening to try and pull the actuating rods from the brakes. The clevis end of those mechanisms is attached to the operating rod via a pin, of some sort. The shop manual says to grind off the head of the pin, and then press it out. I tried that. No workee. Crap. Ground the other end, and tried to press the other way. No workee. Crap. I tried it out on both a front and back. Neither worked. I think part of the problem is that the metal is deforming while I tried to pound them out, and I don't have a press, just some drifts, punches, and hammers. Maybe I'll have to stop by a machine shop. D'oh.
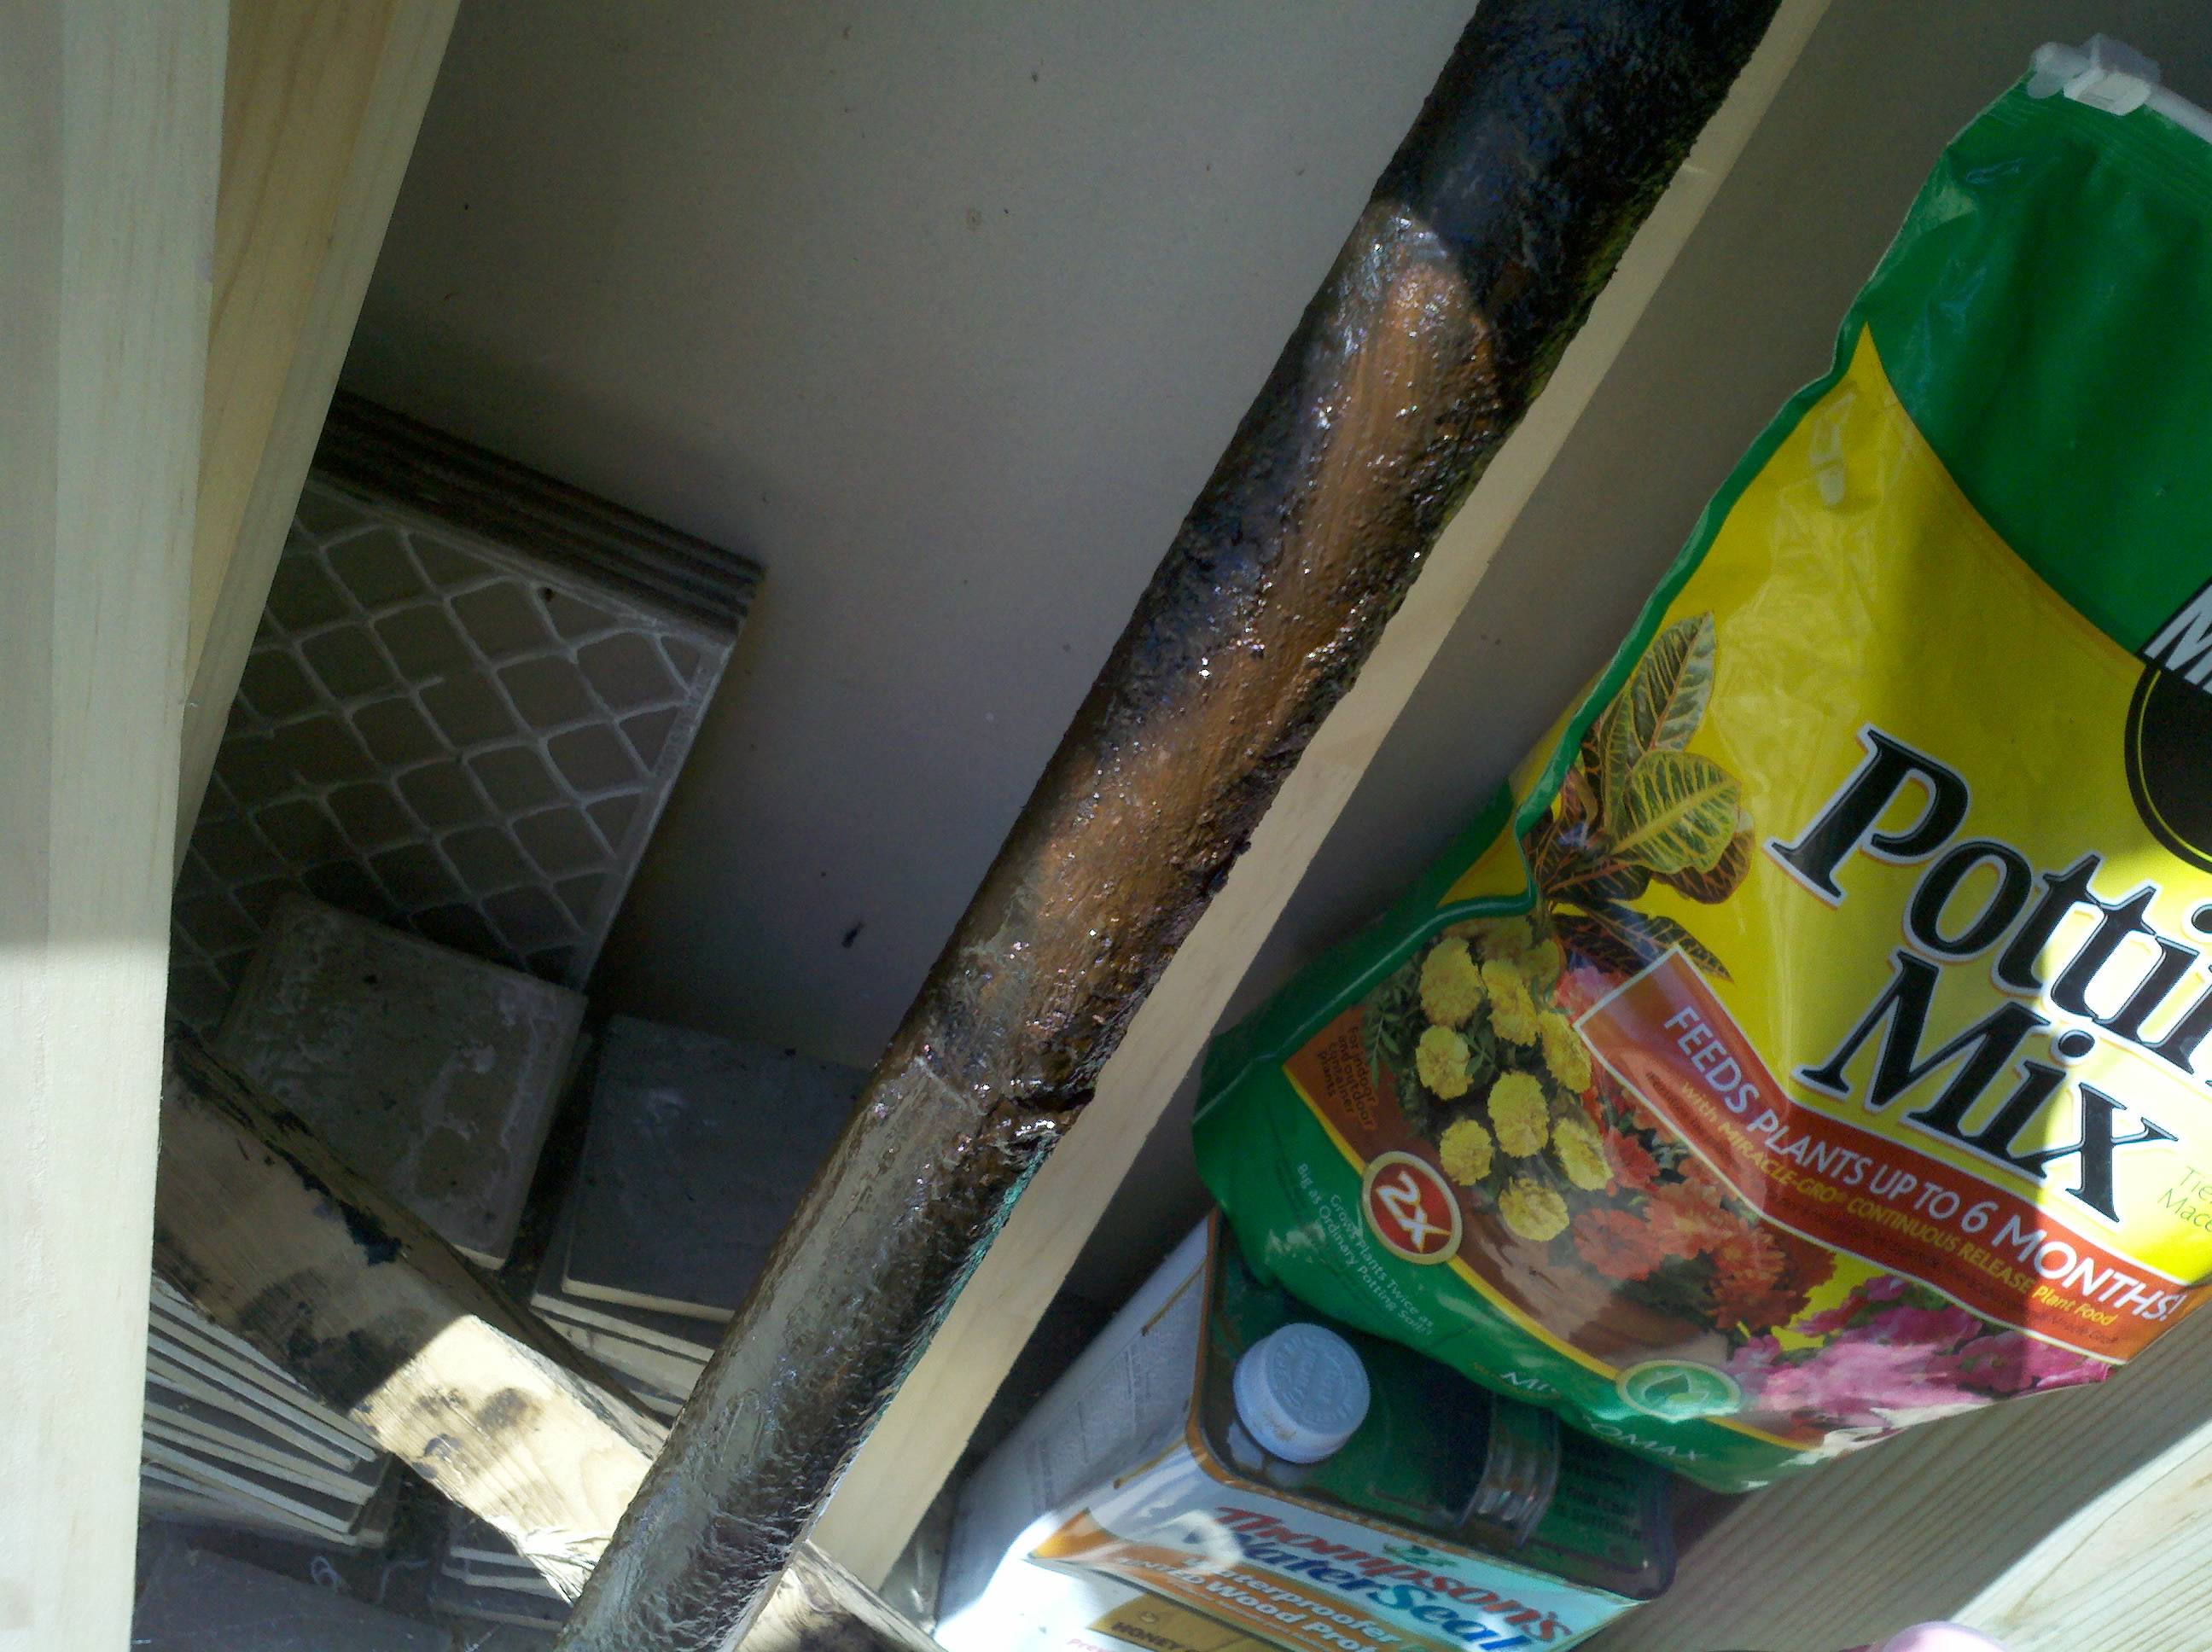
Aside from getting the levers off the operating rods, though, I don't think there's much left to tear down - just the steering column. Then it'll be time to start cleaning stuff off before I go in for boiling/blasting. Long ago, when I was a kid, my dad and I rebuilt a couple of cars, and he brought home a solvent sink from work. The solvent we used was "Varsol." I looked around for it, and while it appears that it's still made, I don't see anywhere that I can buy it. Looking a little deeper, it turns out that Varsol was made as a replacement for kerosese - easier on the eyes and hands. I don't think I'll go so far as a basin with pump, but maybe just a metal wash tub, and a couple gallons of kerosene. Probably a helluva lot cheaper than Varsol. I'll have to figure out how to properly dispose of it, regardless.
'twas another nice evening, so I decided to give those brake pins another shot. Took one of the fronts, and drilled on it a bit. Unfortunately, I don't have a press, just a hand drill, and my vise ain't set up... Yeah, I know, I just ain't got 'round to it, yet... Seems like it's fixin' to be time to be gettin' 'round to it, huh?
Anyway, I kept dripping oil in the drill hole, and I still ruined a bit. Dagnabit. Tried punching it out. no workee da. I give up for the night. No pics, just frustration. Started lookinng around the internet on how much shop presses and the like cost. Starting to look into an "arbor press." Harbor Freight has a 1-ton on sale for about $50... It has no die(s), though, just a flat end. I'll think aboot it.
Looked around on the internet for anything I could find on pressing out those brake pins. Stumbled upon Kevin's site. Some interesting stuff, there. Sent him an e-mail, asking if he knew anything - seemed likely he might. Stopped by the Ford Barn and searched the forums. Seems I'm on the right track with drilling the pins.
Got a response back from Kevin:
Tom,

To quote some politician:

Drill baby Drill!

The rivets are squeezed to cause them to expand and fill the space tightly.  So
you really need to carefully drill the center out.  You do not need to go all
the way out in diameter.  Start with a smaller drill and move out till you get
big enough for your punch to fit in the hole.  You only need to go around 3/4
the way down.  If you do not have some, go get some oil for drilling and cutting.
It helps doing the deep holes.  Once you get it drilled support it well and use
a larger hammer.

You will be at a disadvantage with a small shop.  A large quality vice on a
sturdy table helps in these operations.  I have a very old Prentiss vice that is
close to 150 lbs.  I can do stuff you would not imagine with a little vice.

Remember that a driver requires strict attention to mechanical details.
Understanding what and why will yield a nice driving car.

For your children in seats.  Seriously check with your state laws.  Cops are likely
to get upset with seats in the back of a pickup.  Do put in seat belts in your truck.
Well, that settles it. Guess I was doin' it right. Went to Harbor Freight and bought a 1-ton arbor press. Went to Lowe's and bought some 1/2 inch bolts and hardware to mount it up. Used a 3/8" drive star as a die. With a cheater bar, I was able to start the previously-drilled pin. Take that, sucker!
Ate dinner. Went out and drilled the other front brake pin. Was able to push it out, too! Yee-freaking-haw! The back ones are a real pain, though, as they're still in the backing plates. Not easy to drill, that's for sure... Time to go covet more tools, I think...
One last thing... Kevin - yes, I'm looking in tot he whole seats in the bed thing. It's legal in MD (I think), so long as seatbelts are installed. There's even an outfit that makes them for an outrageous price. Where it gets murky, though, is with kids. I'll be looking in to that a little closer when the time comes. Point taken on seat belts. Also need to put something in to keep driver and others in main compartment from getting whiplashed (headrests)... Although, I'm thinking that if I install a rear-facing bench, that'll likely do it...
So... Last night, I was stuffing my spare change holder (a can of yams that had the top slotted for coins, and then was washed out) a little bit fuller, when the roll-top of the can popped off. I guess I had it stuffed pretty full. Took it to a nearby Coin Star. After the 9.8 cents per dollar, I still walked away with $120!! (There were some bills I'd stuffed in there, too). Tool time!
For a while, I've been coveting both a drill press and a bench grinder.Harbor freight had a drill press on sale for ~$60, and Lowes had a grinder for ~$50. I took the kids to Harbor Freight, and the model they had... Well, let's just say I had some reservations about it. It seemed a bit flimsy. So, I went to Lowe's and bought their low-end bench-mounted version for $124. Once I bought a bunch of mounting hardware for the press and my vise, they were in to me for $145. I'm putting off hte bench grinder for a while.
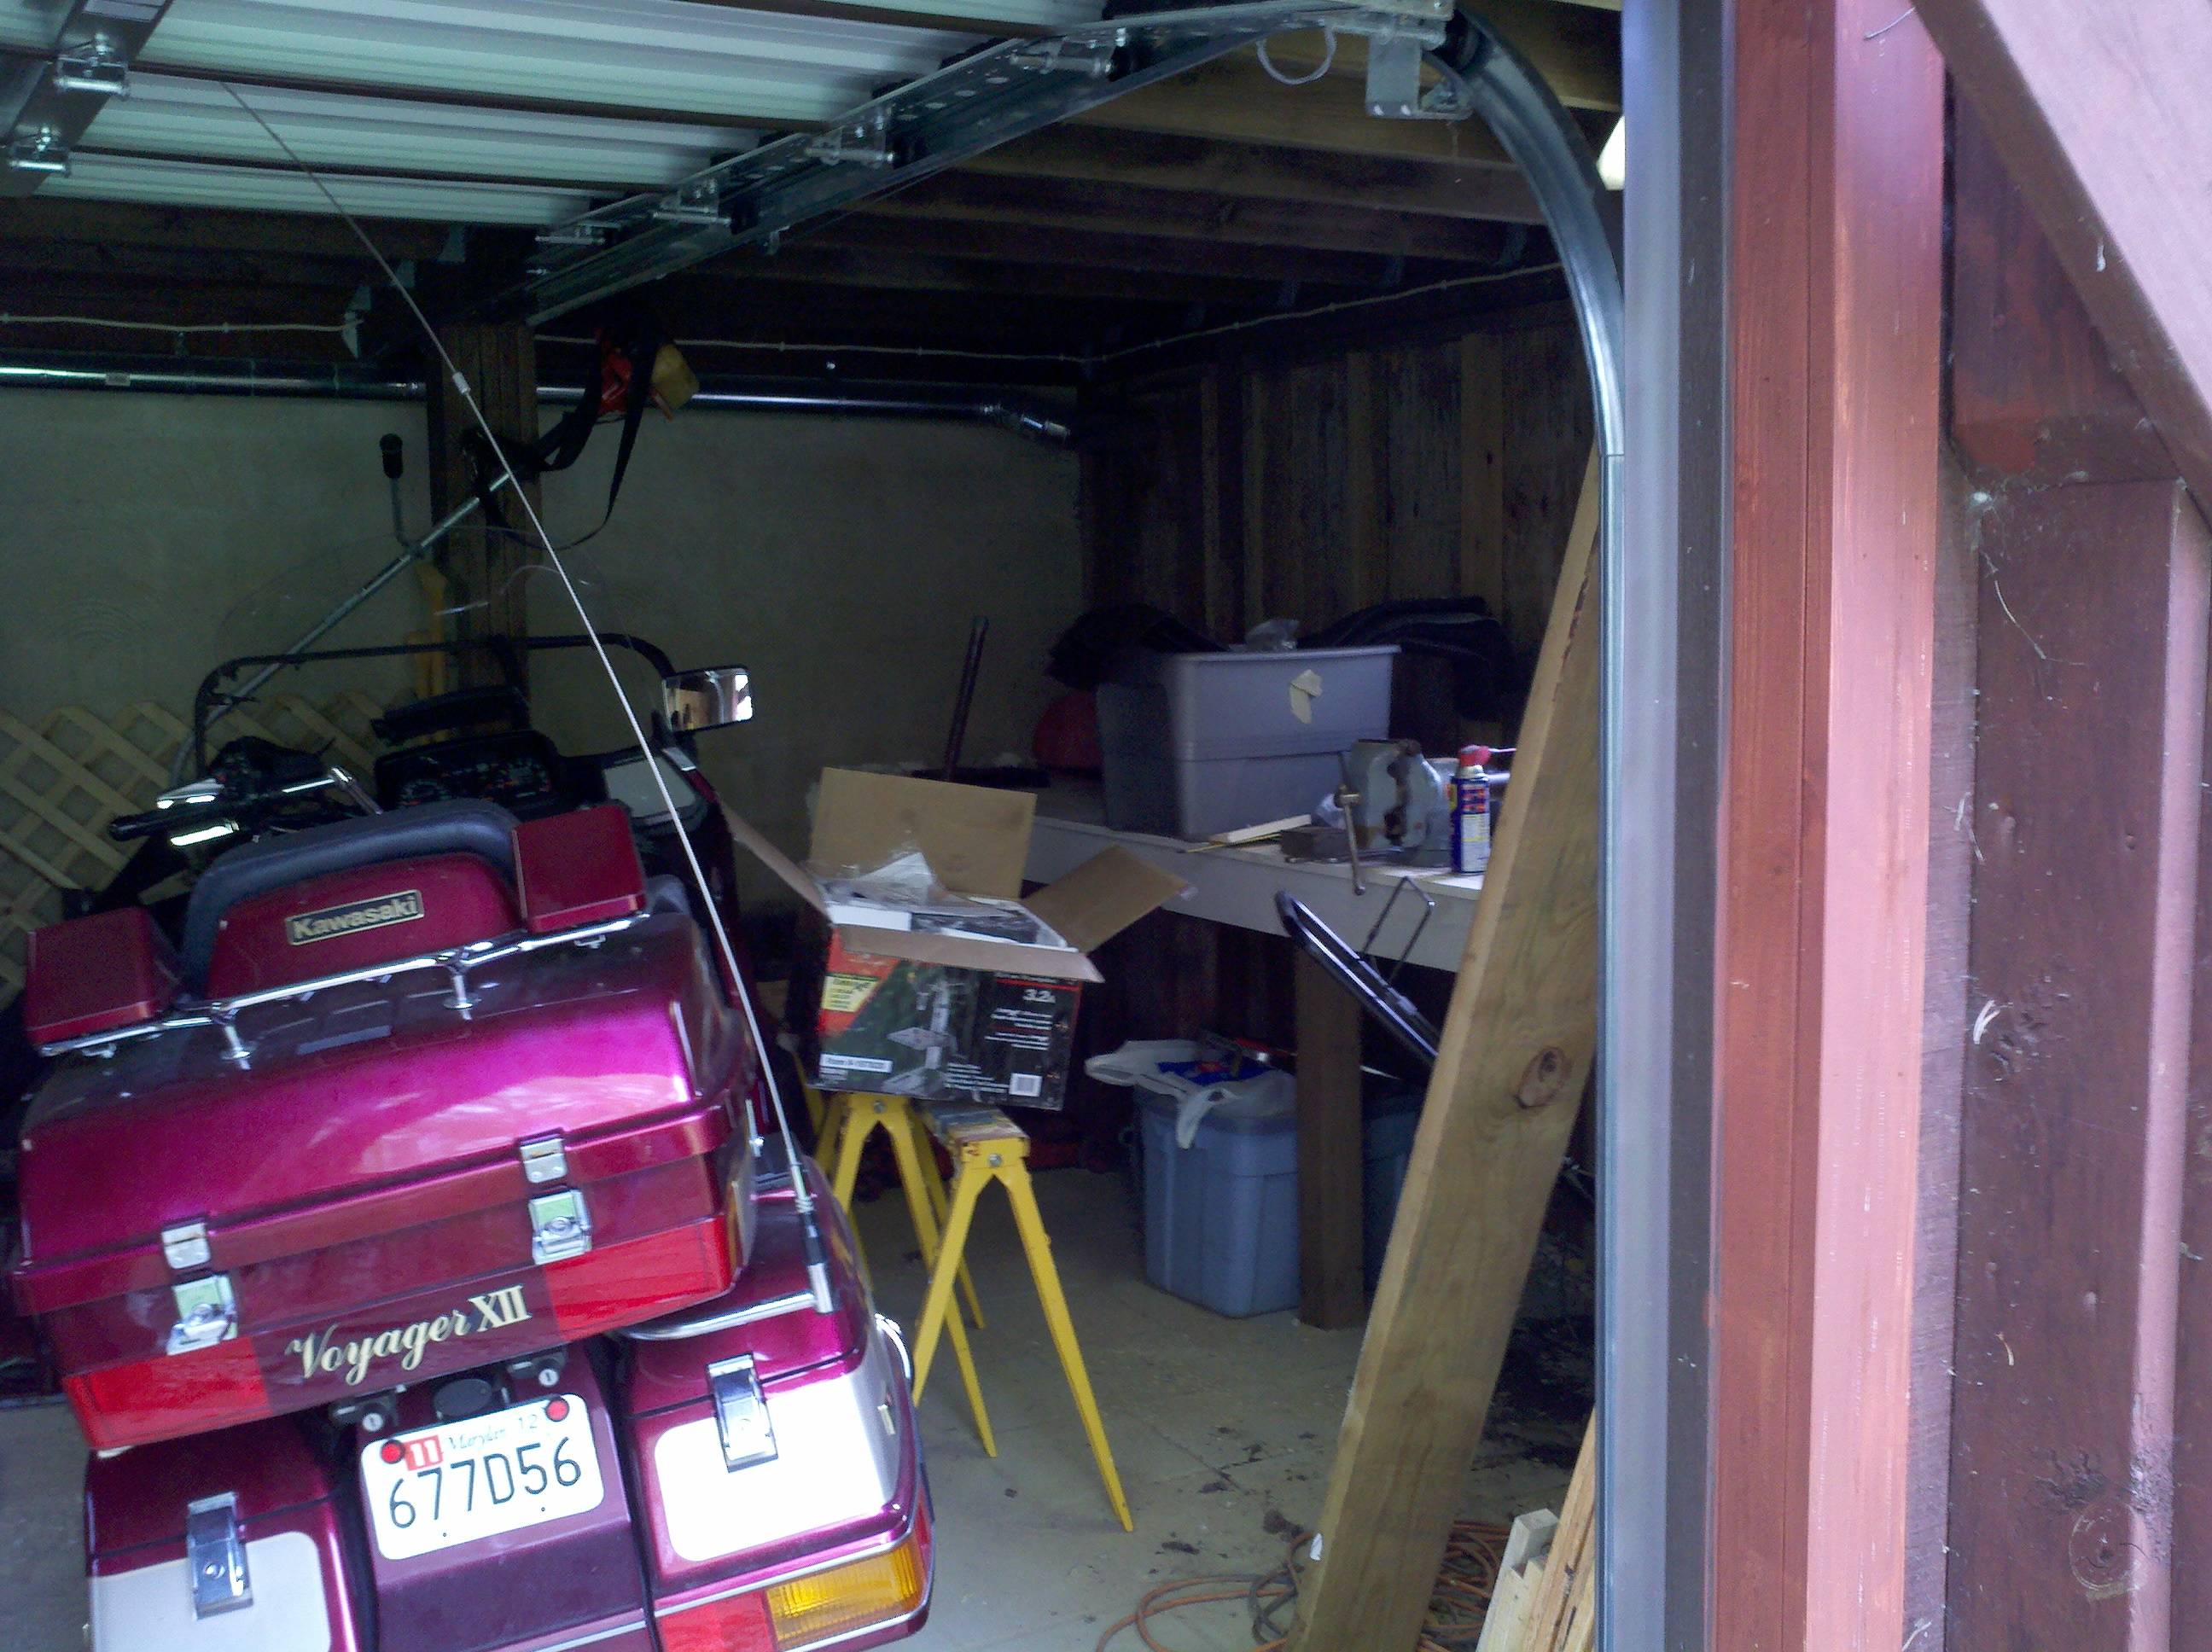
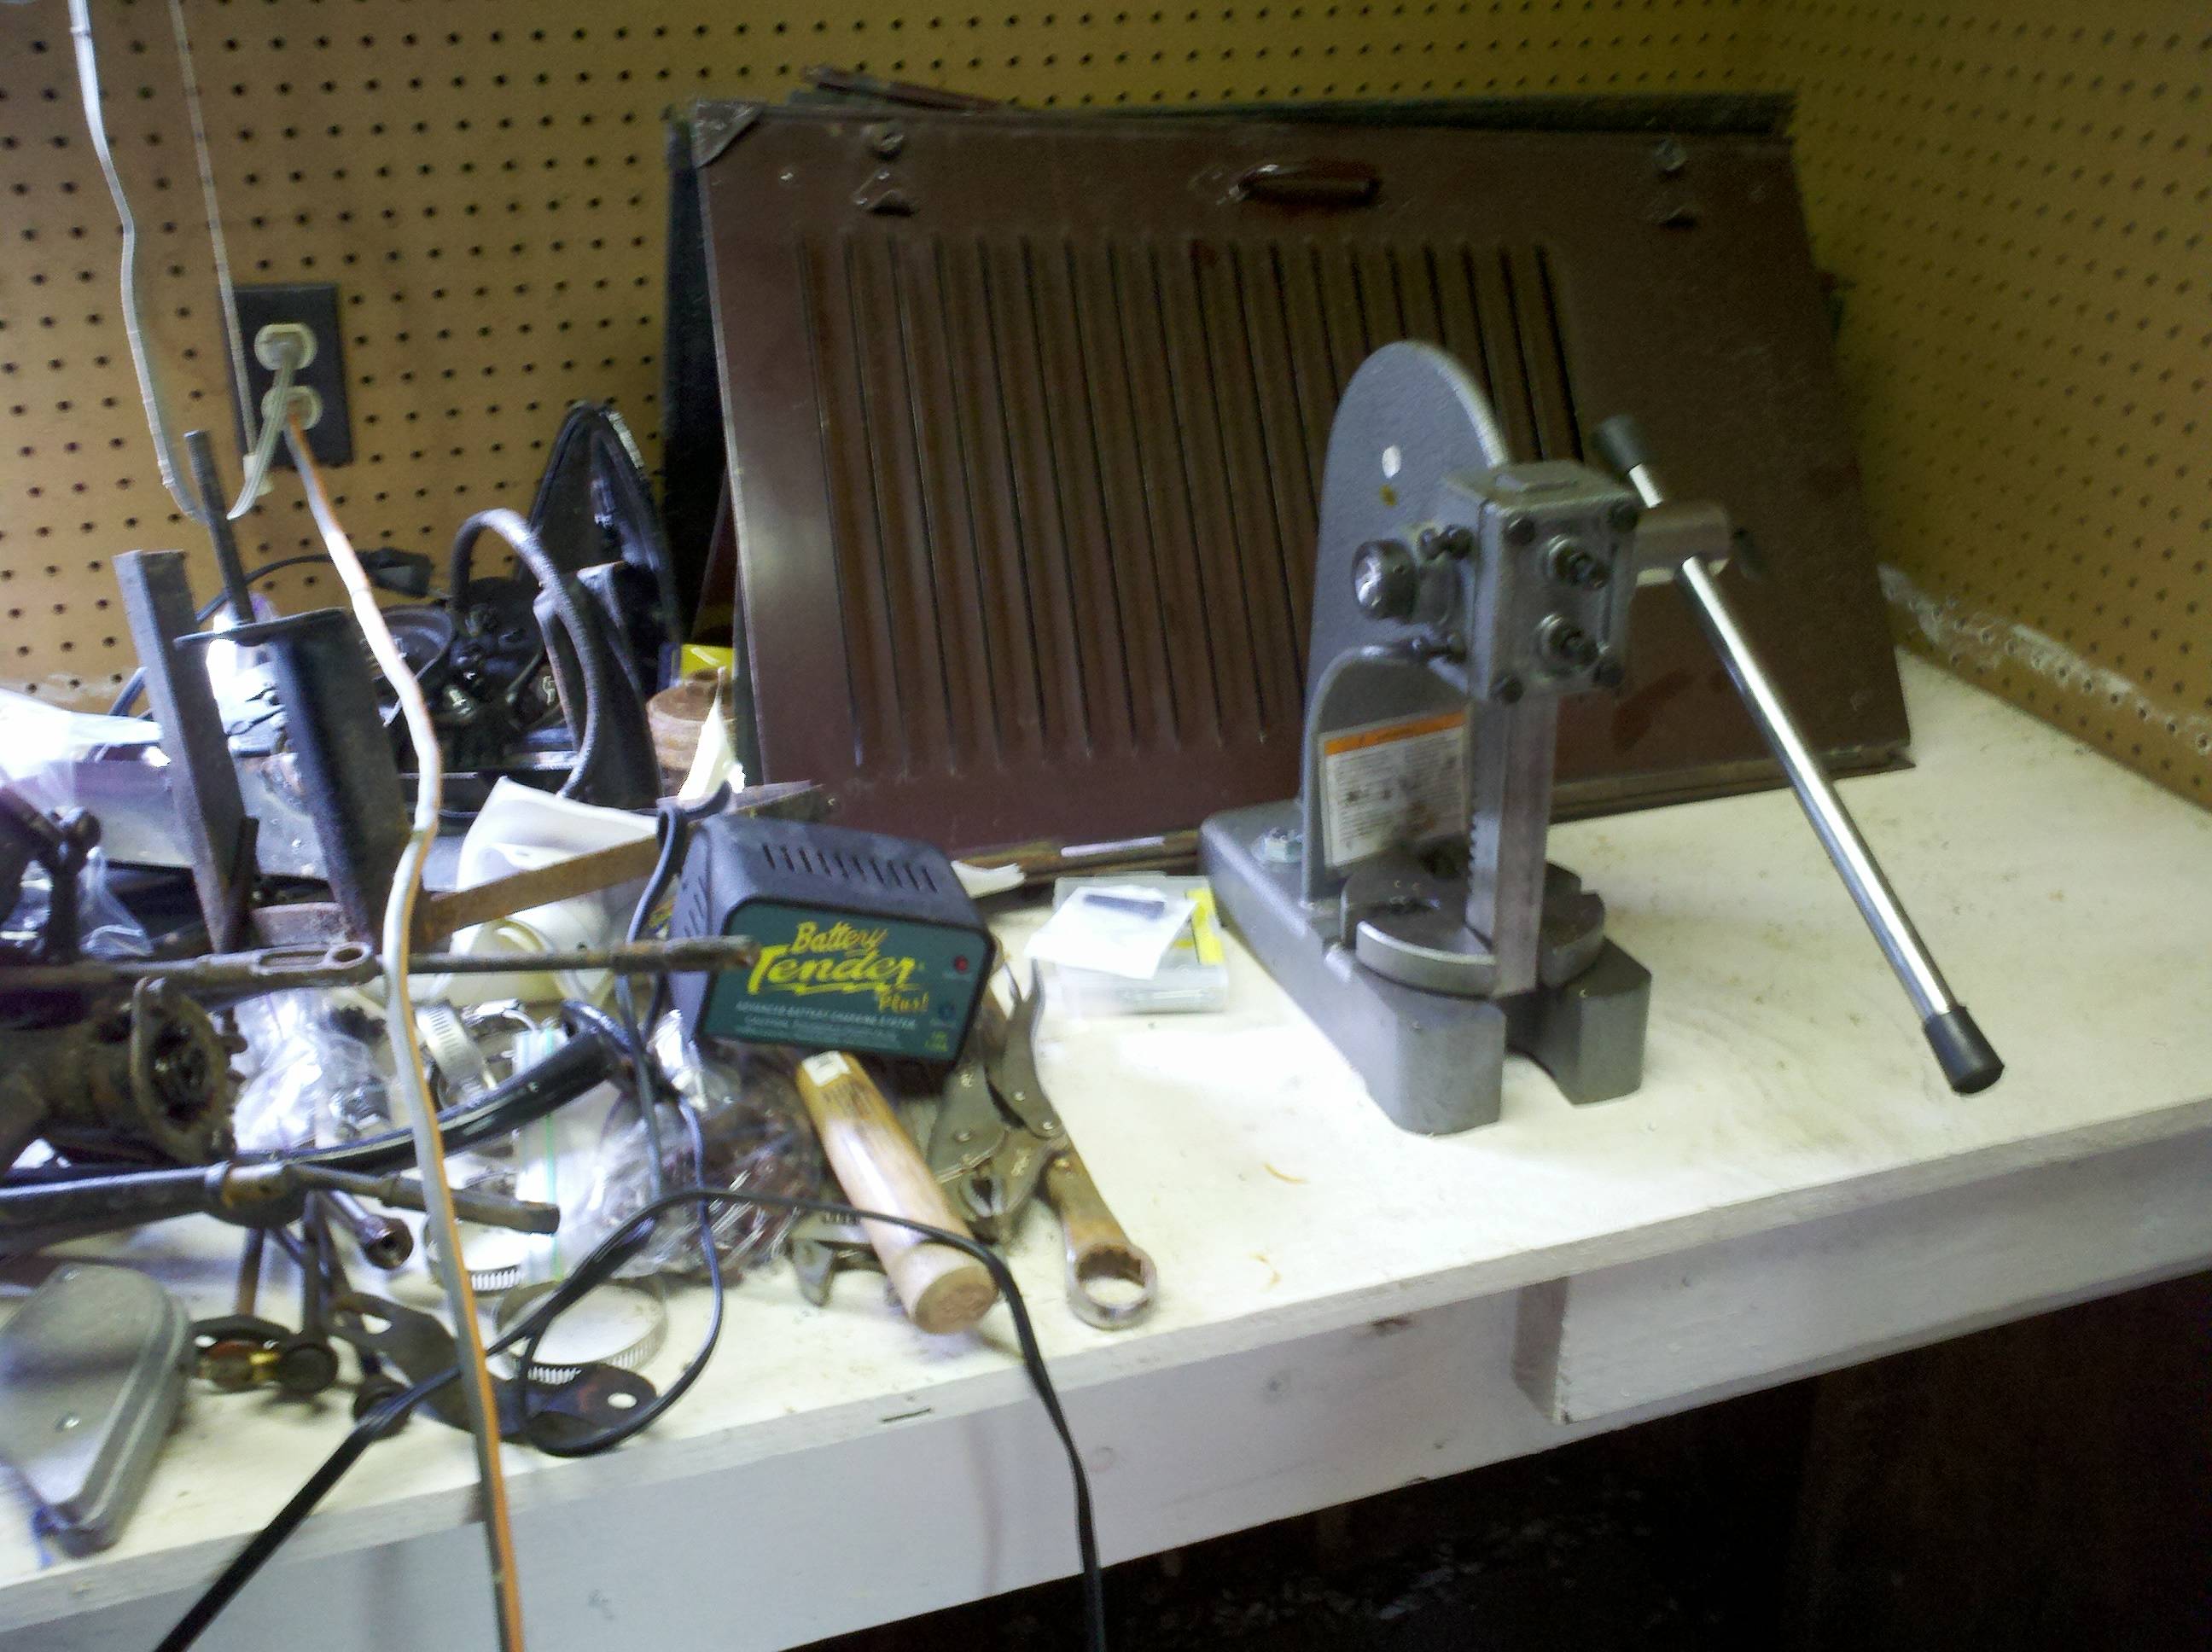
Brought it all home, and installed it in the shed, on the workbench. You can look elsewhere to see pics of the shed, but I took these of the tools mountd to the bench. Too bad all this can't be in the garage - I wouldn't have to walk around the house to do stuff...

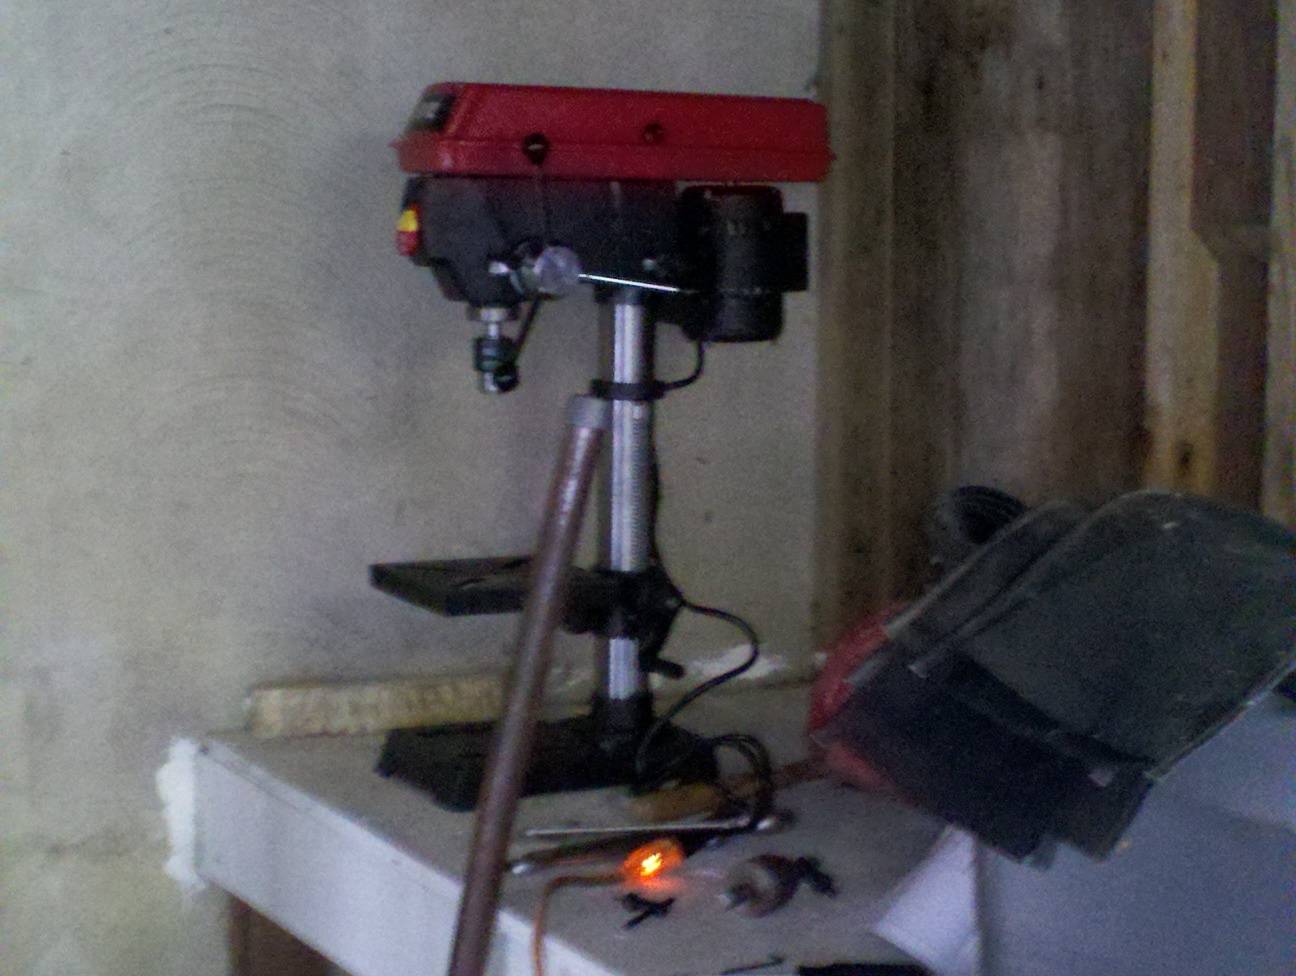
It took me a fair amount of the afternoon to get everything all set up. Get this, the drill press has a laser sight! I guess I'll be able to drill something from a couple hudred yard, now, or something!
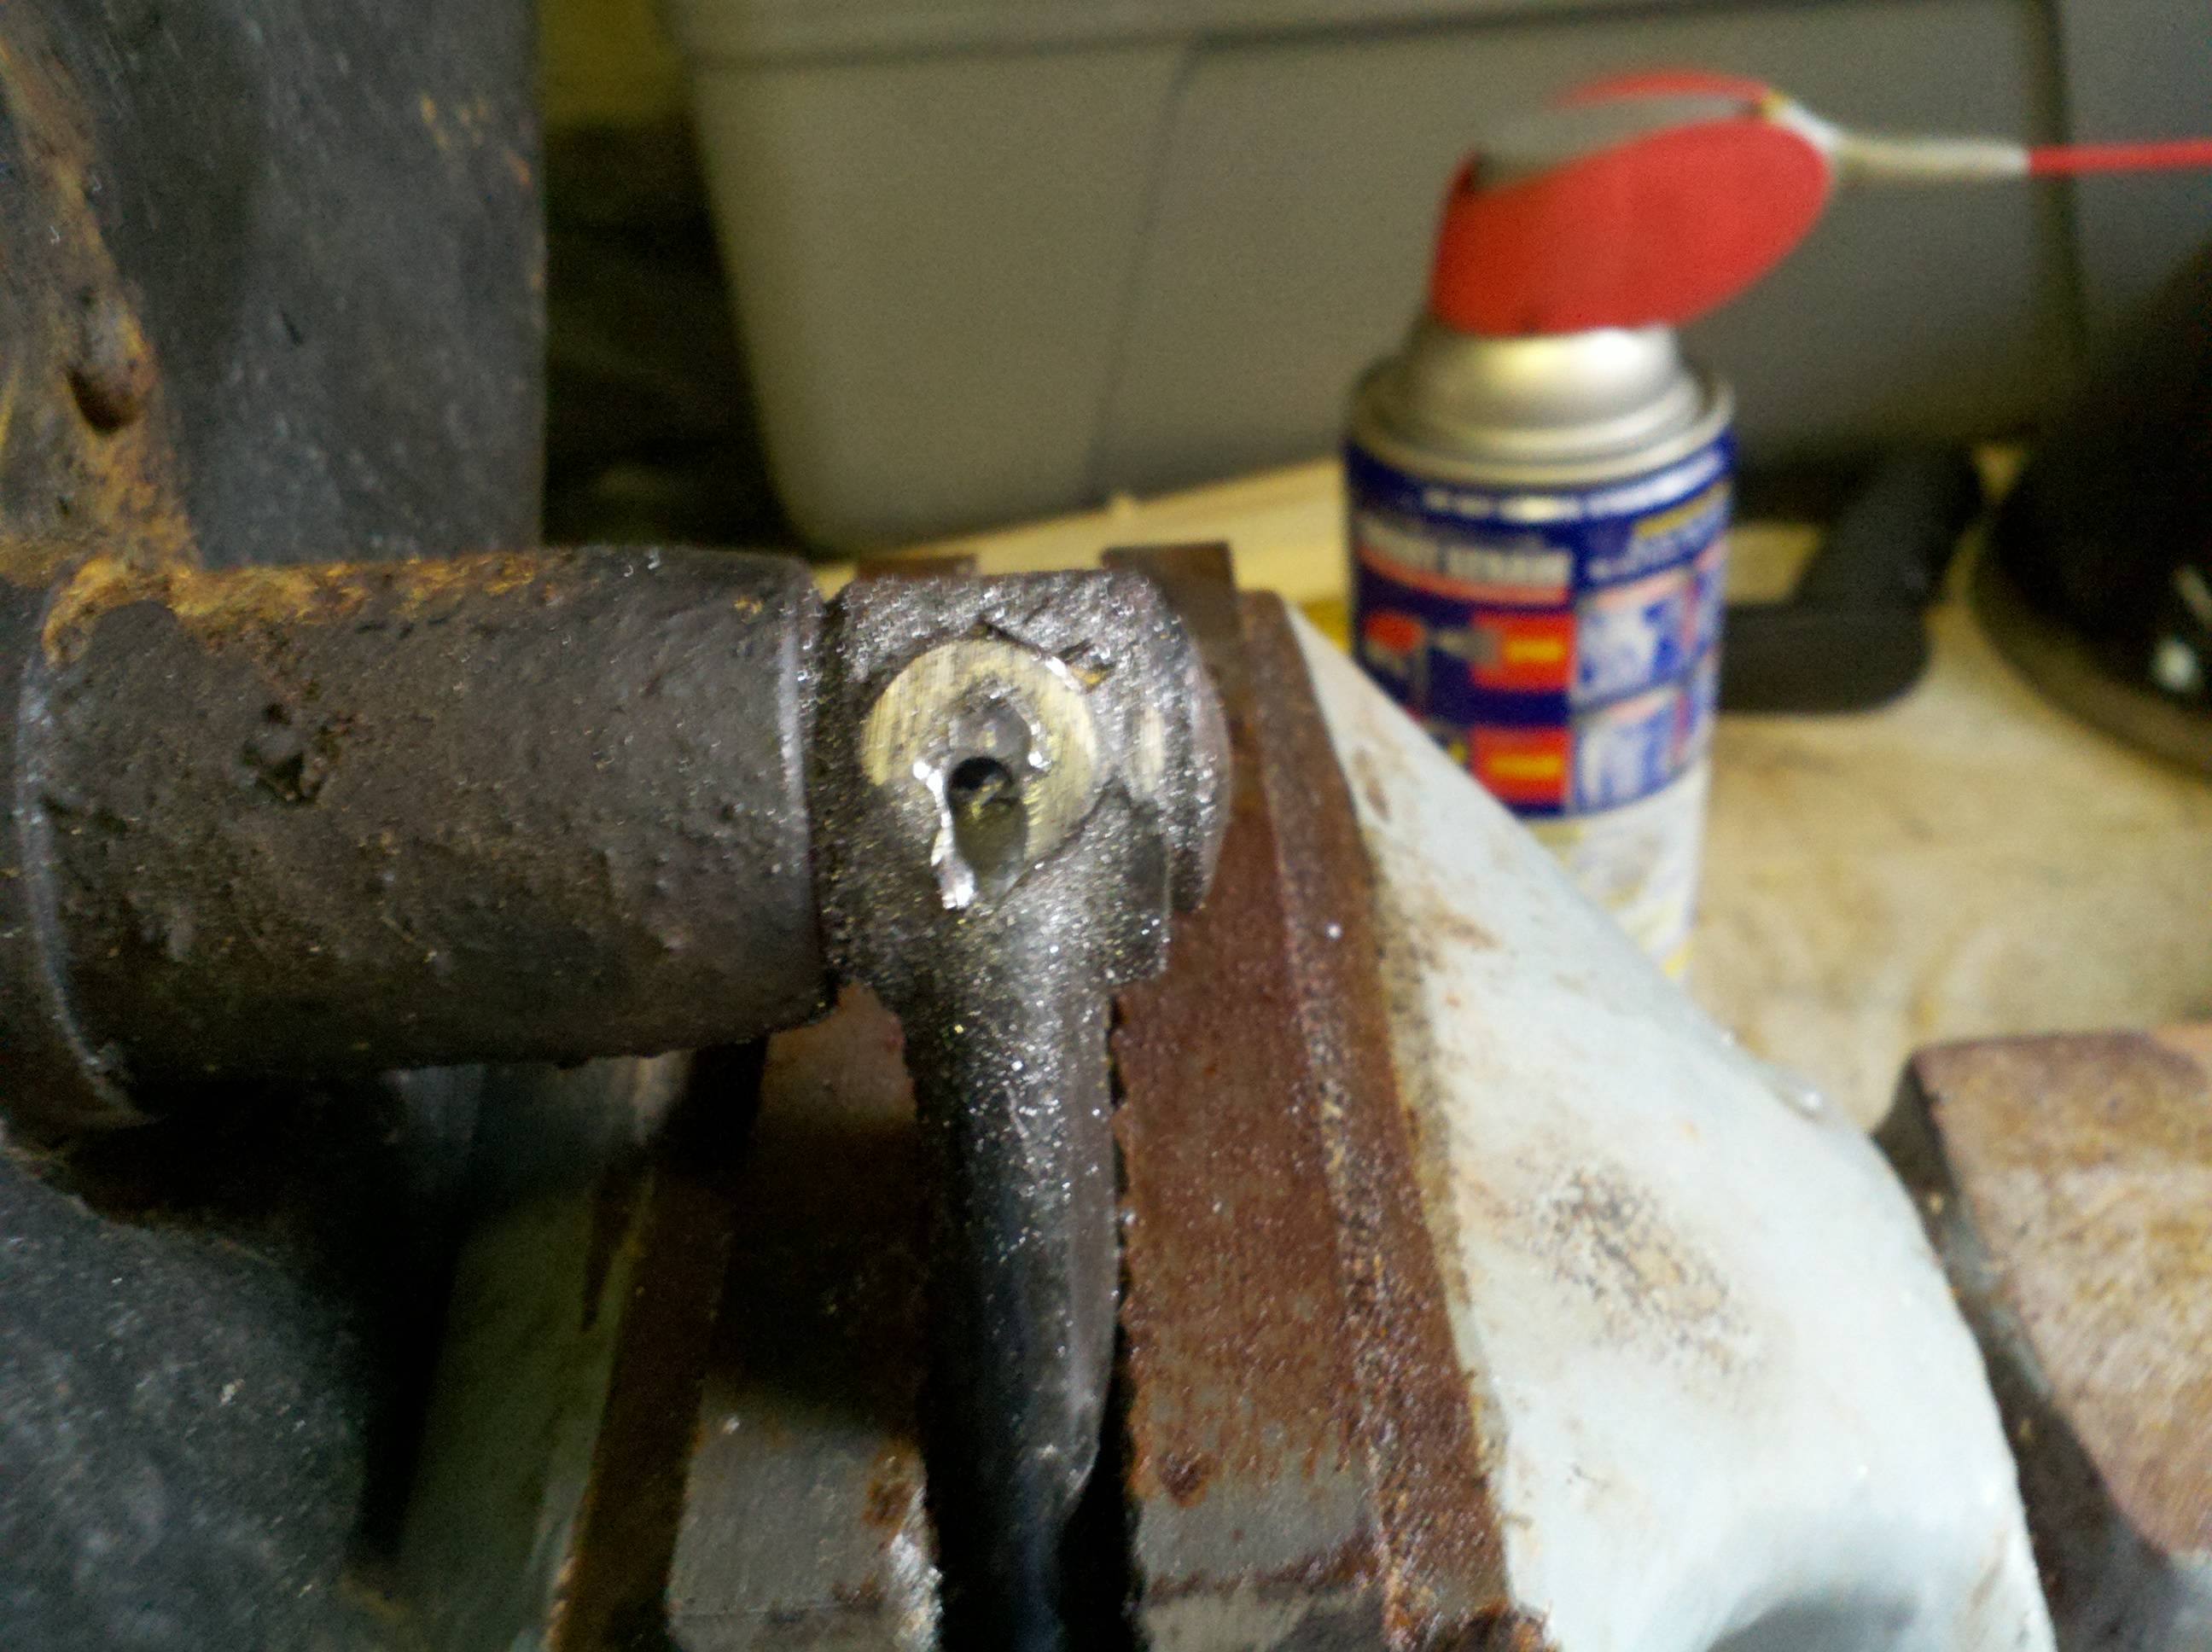
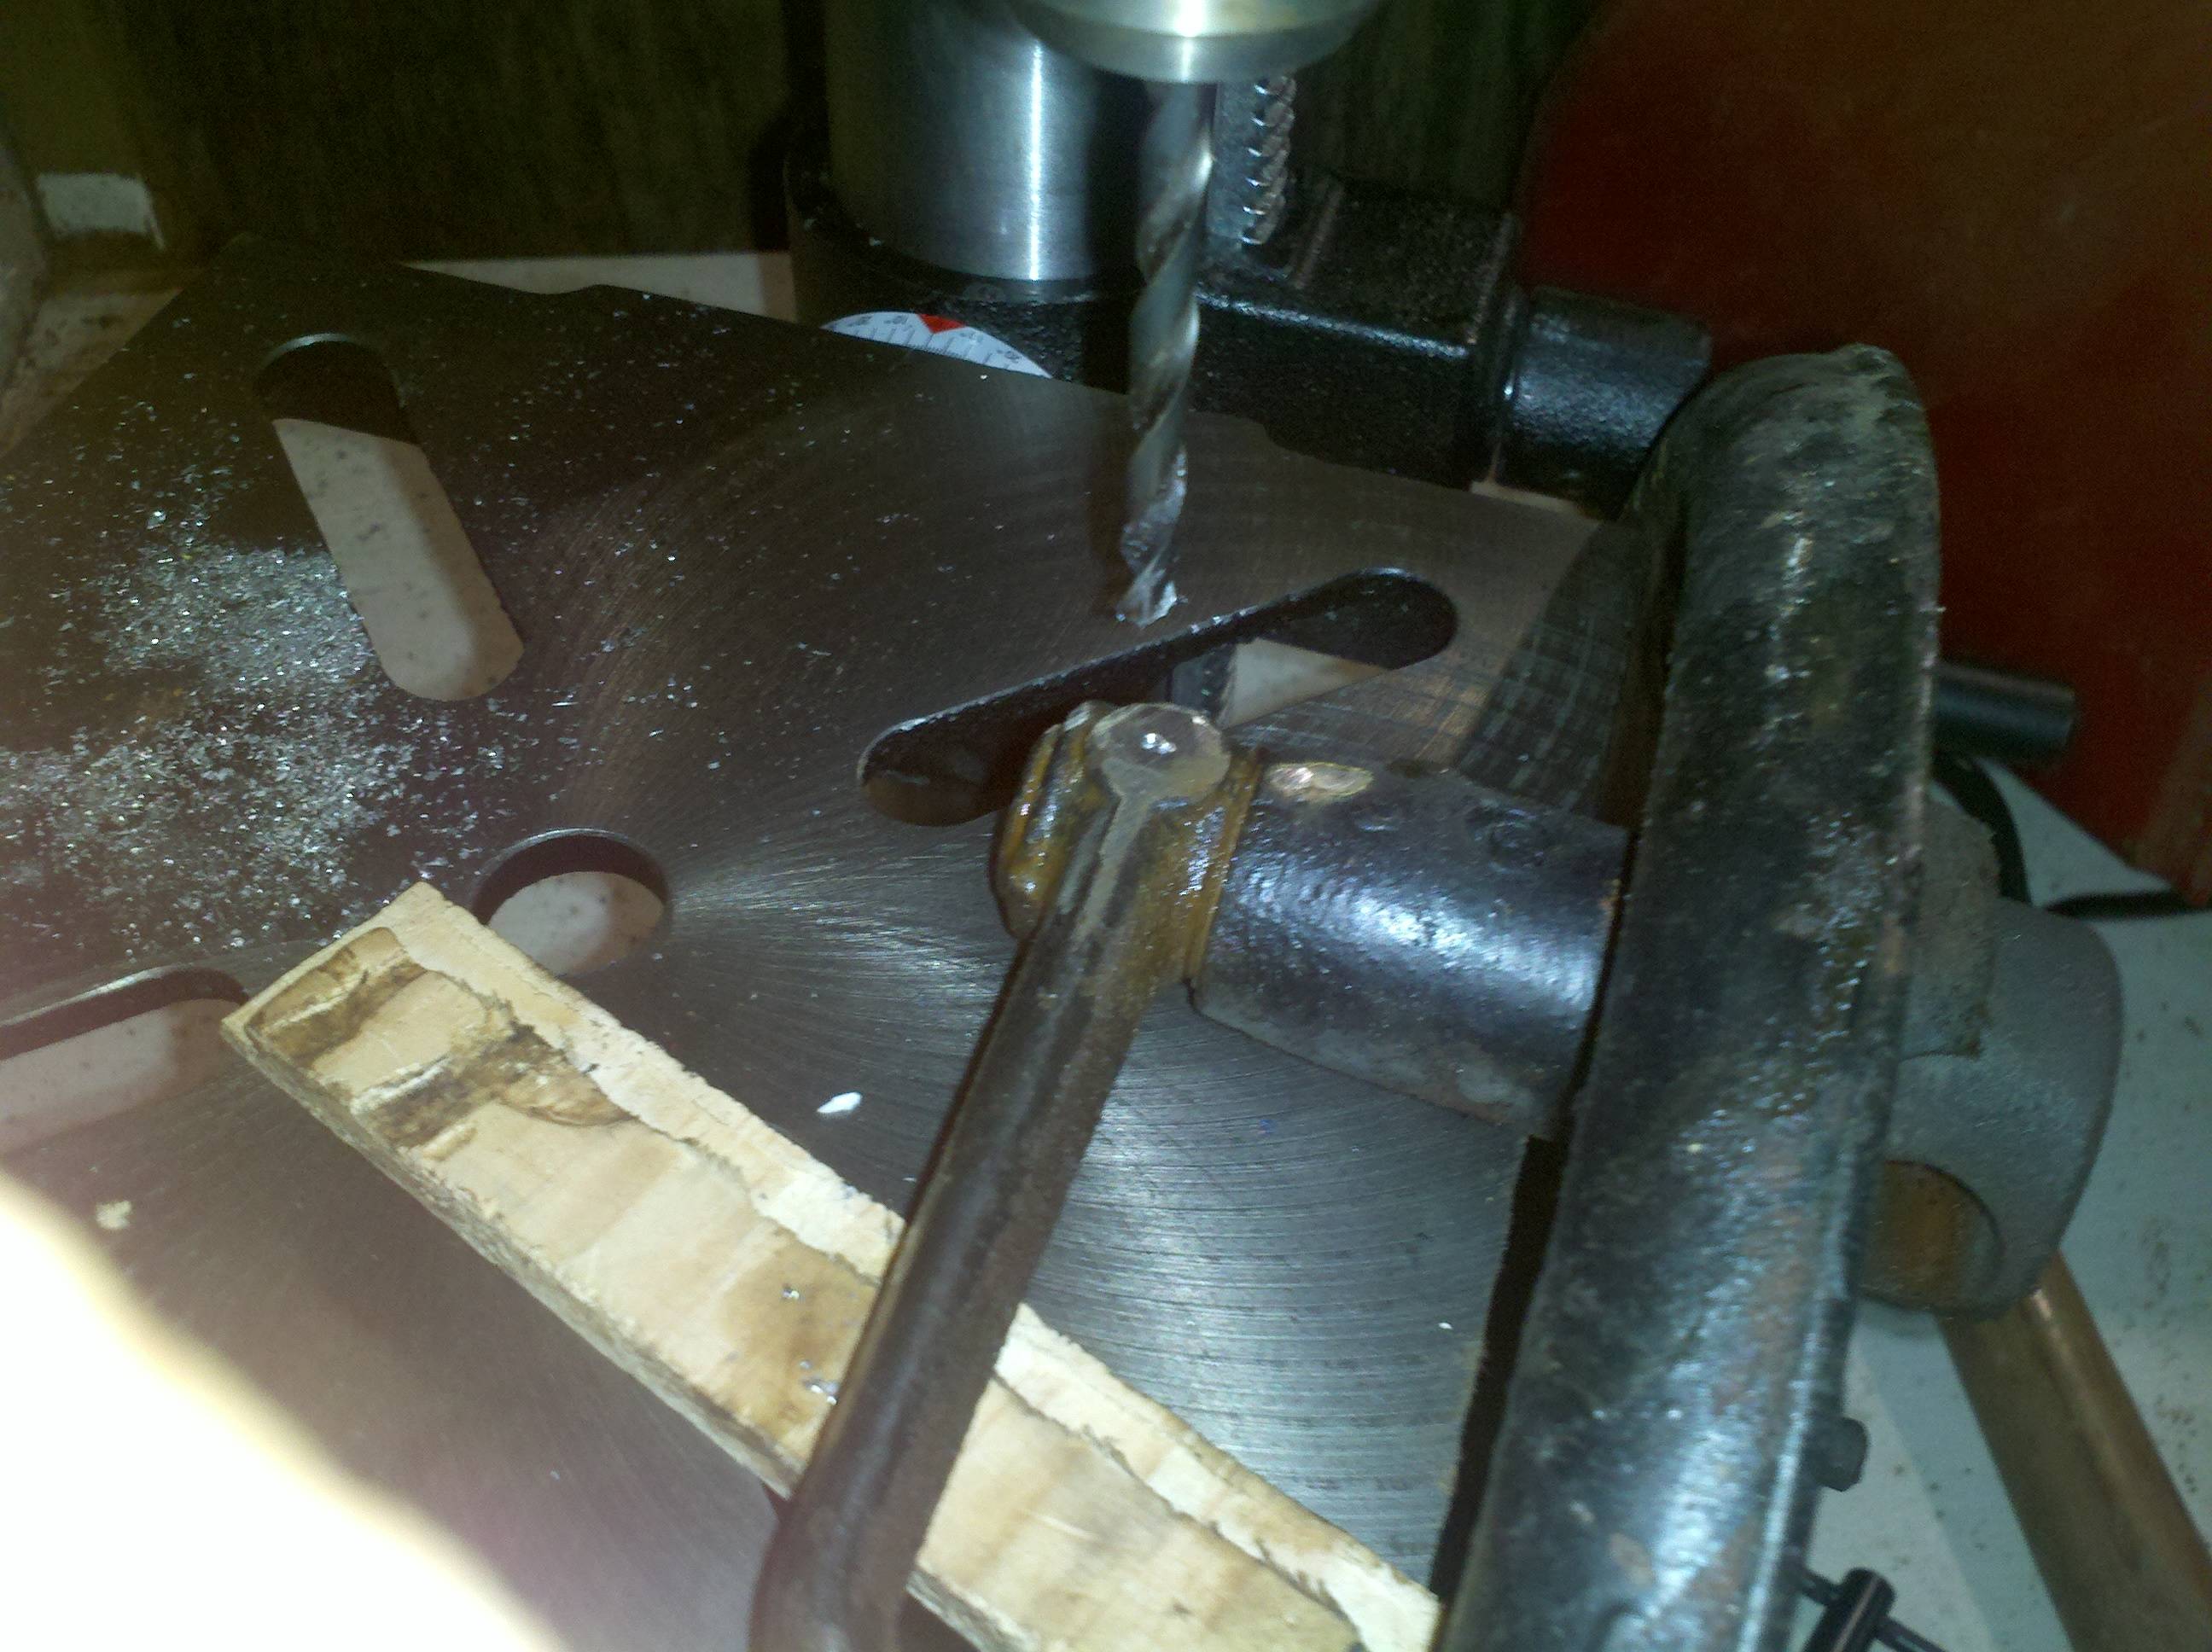
I decided to inagurate the drill with a rear brake. I ground off the head of the pin, and mounted it up to the vise:
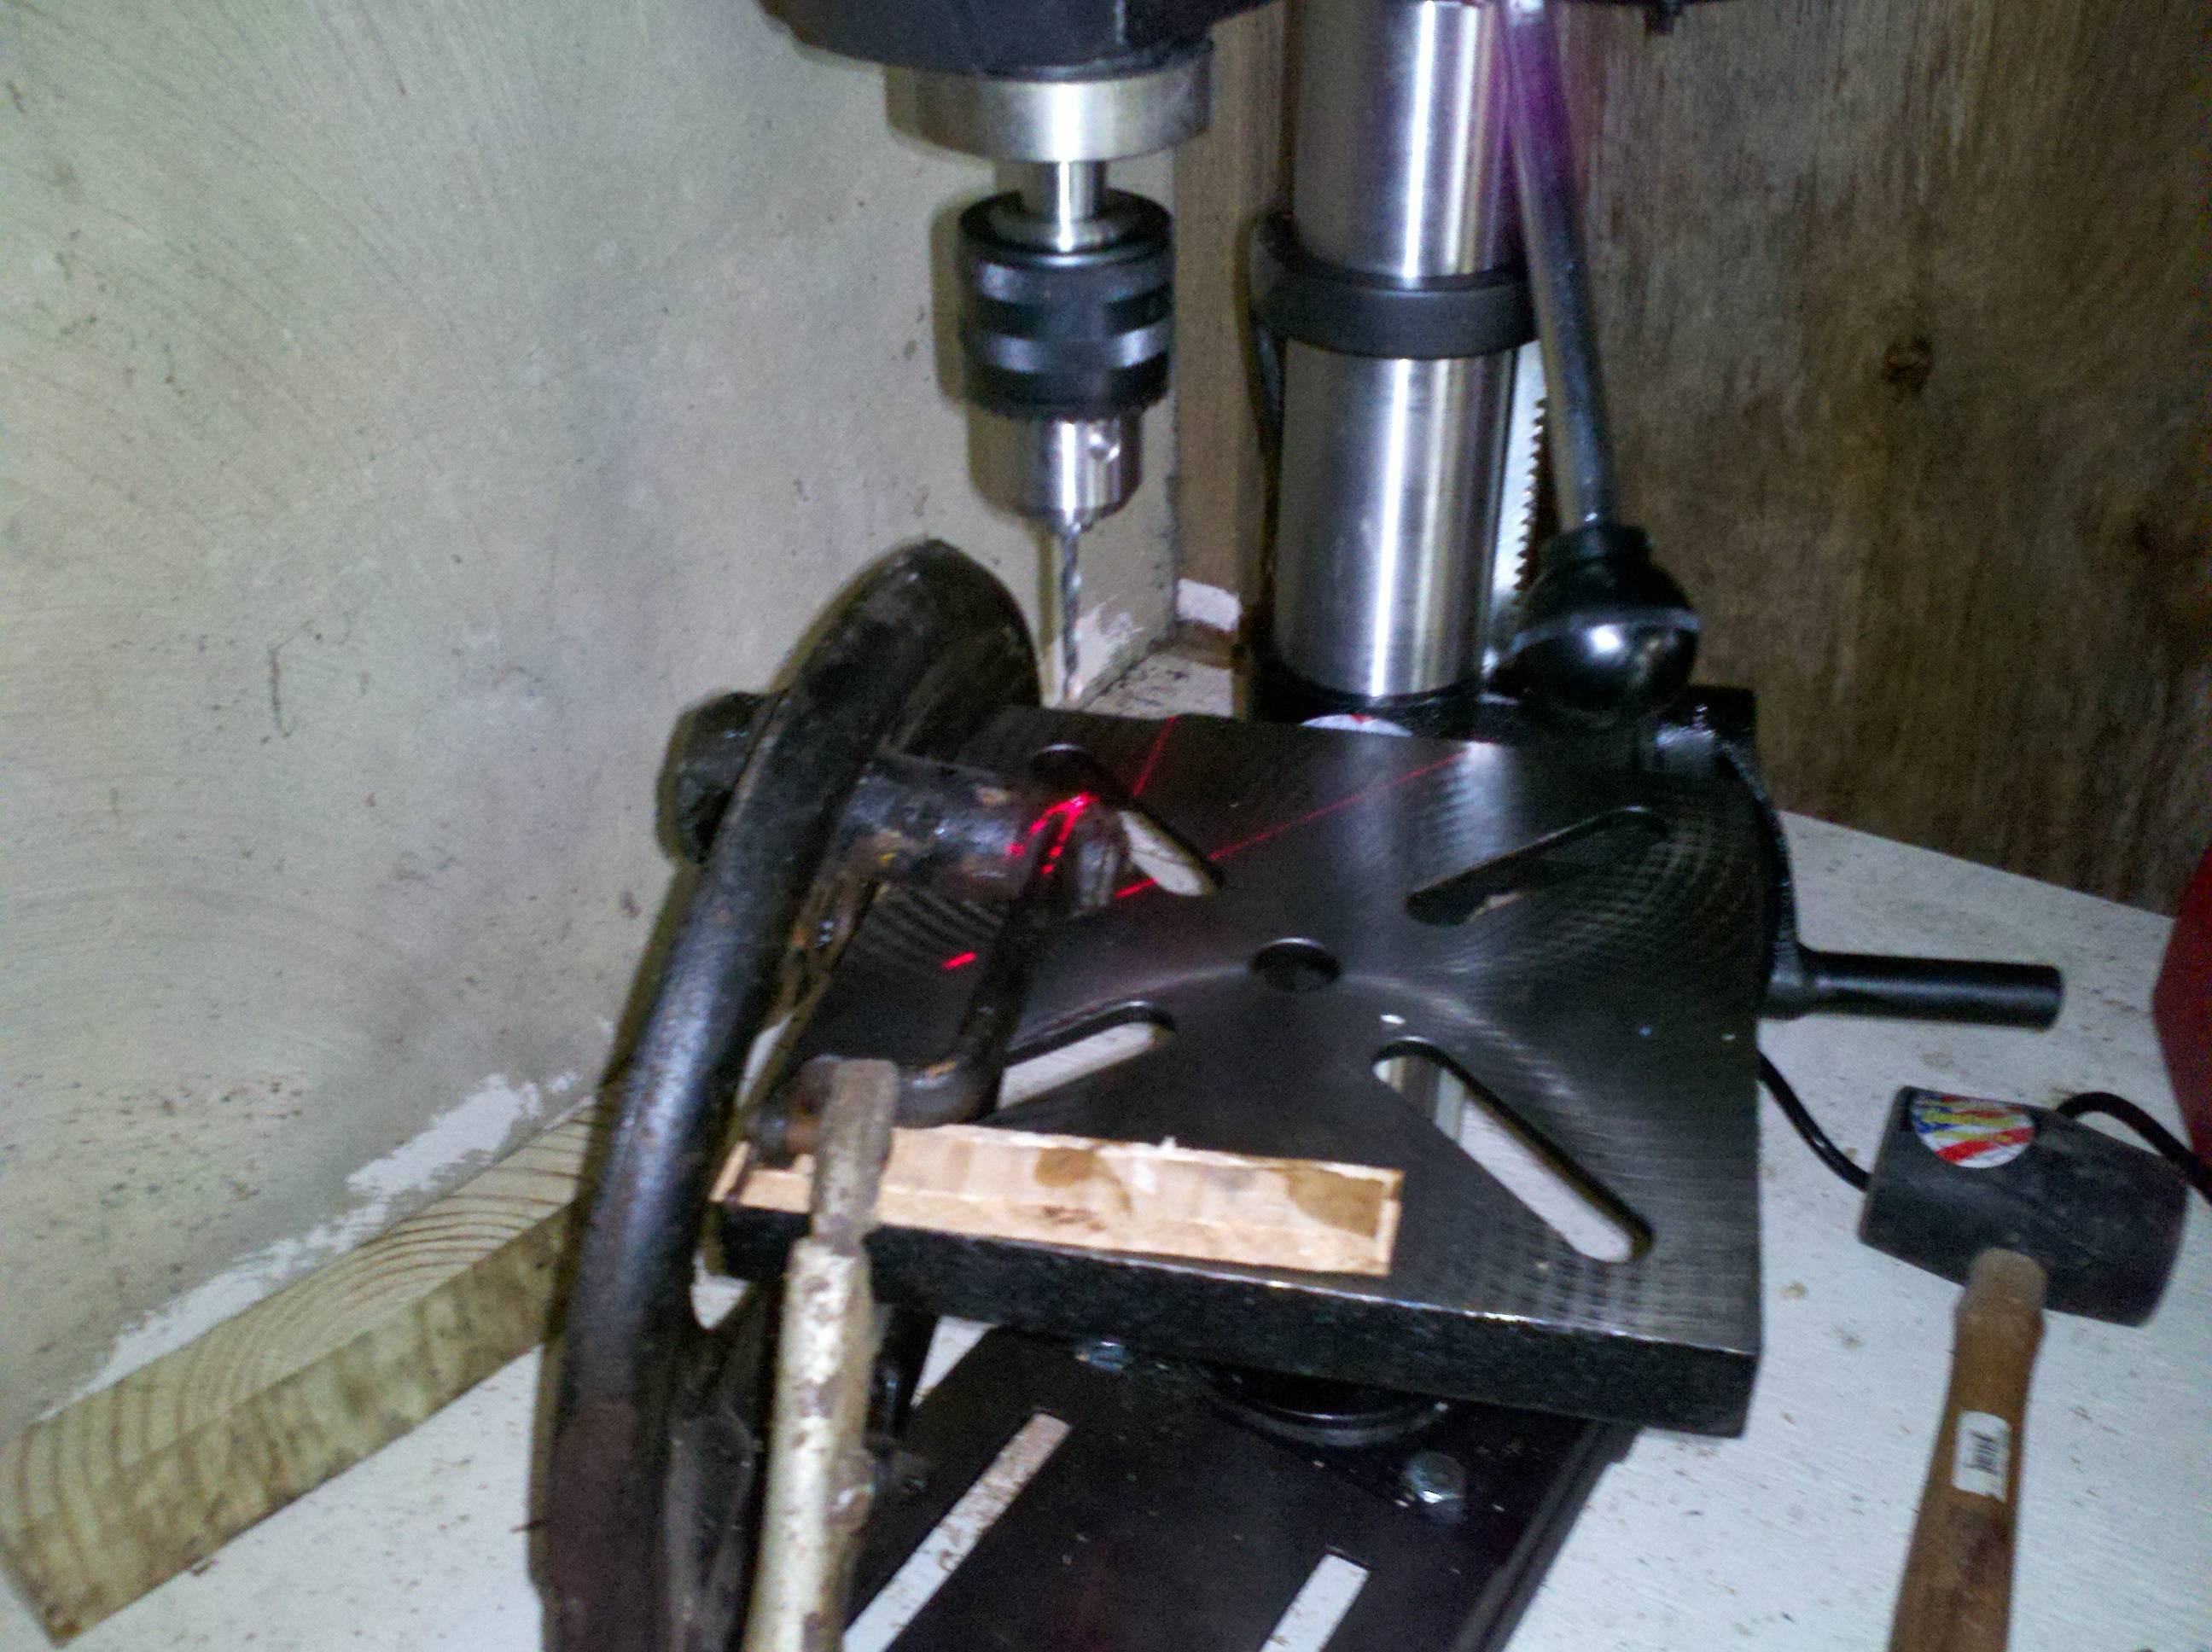
I started drilling, but in the bad light (I need to get another light over in that corner), I missed a bit, and the bit skipped and found a point to drill that was (way) off-center. I tried to clean it up a little, but had no luck. I haven't yet had a chance to try and knock the pin out, but I'm having my doubts about it, right now. Looks like I may have to replace these parts... See the pic below for one of the definitions of "Oops!"
Holee cow, that was a pain in the rear! That last pin/rivet, in the last rear brake actuator arm was the very definition of "bane," "doom," and a couple of other very ill-omened words. Over the course of the week, I took several tries on getting that pin out. One day, after cleaning up the drill, I got a "Grade 8" 3/16 bolt, and used that as a push-pin for the arbor press. The thing slipped, bent, and broke off so close to flush with the top of the hole, that I couldn't knock it back out. D'oh!
Another day, I came back, and took another look at it. There was no way I was gonna try and drill that little guy out of that hole without destroying a bunch of drill bits... So, I fot another tool I could use as a push pin, and tried pushing it out. No dice.
The next day, I had the opportunity to try again, so I ground the head off the other side of the pin, and drilled that side part way out. This side was a little closer to center, so I thought I'd have better luck. Nope. I have a piece of "cheater pipe" hanging on the handle to the arbor press. With me quite litterally hanging on it at the end of an over-2-foot handle, it didn't even budge. Darn.
I had to go off on trave a couple days for work, so there was no more work on it until this weekend. I decided that since I probably needed to replace the arm and the operating rod, anyway, it wouldn't hurt to overbore the thing a bit (since I was off-center, anyway)... So, over-drill I did. I drilled it a little wider, and tried to press it out. Nope. Drilled it a little wider, yet, and still couldn't press it out. Drilled it a little more, and when I tried to press it out, the pushing tool I was using went straight through, knocking the Grade 8 bolt out, but still leaving part of the pin! D'oooh!
Well, that 'bout did it for me. I just went ahead and drilled the thing over-bored all the way through. A three-pound hammer made short work of knocking the operating rod loose. Take that!
Here's a picture of how it all goes togetehr, so I don't forget later...


Got that all done and then pulled the adjusting cones out of the remaining backing plates. Most came out just fine, but one of them had one thread that was chewed up and didn't want to come out. My youngest daughter helped me with it, tapiing it with a hammer while I ran a wrench, and in about 10 minutes, we had it out. Jolly good show, mate!
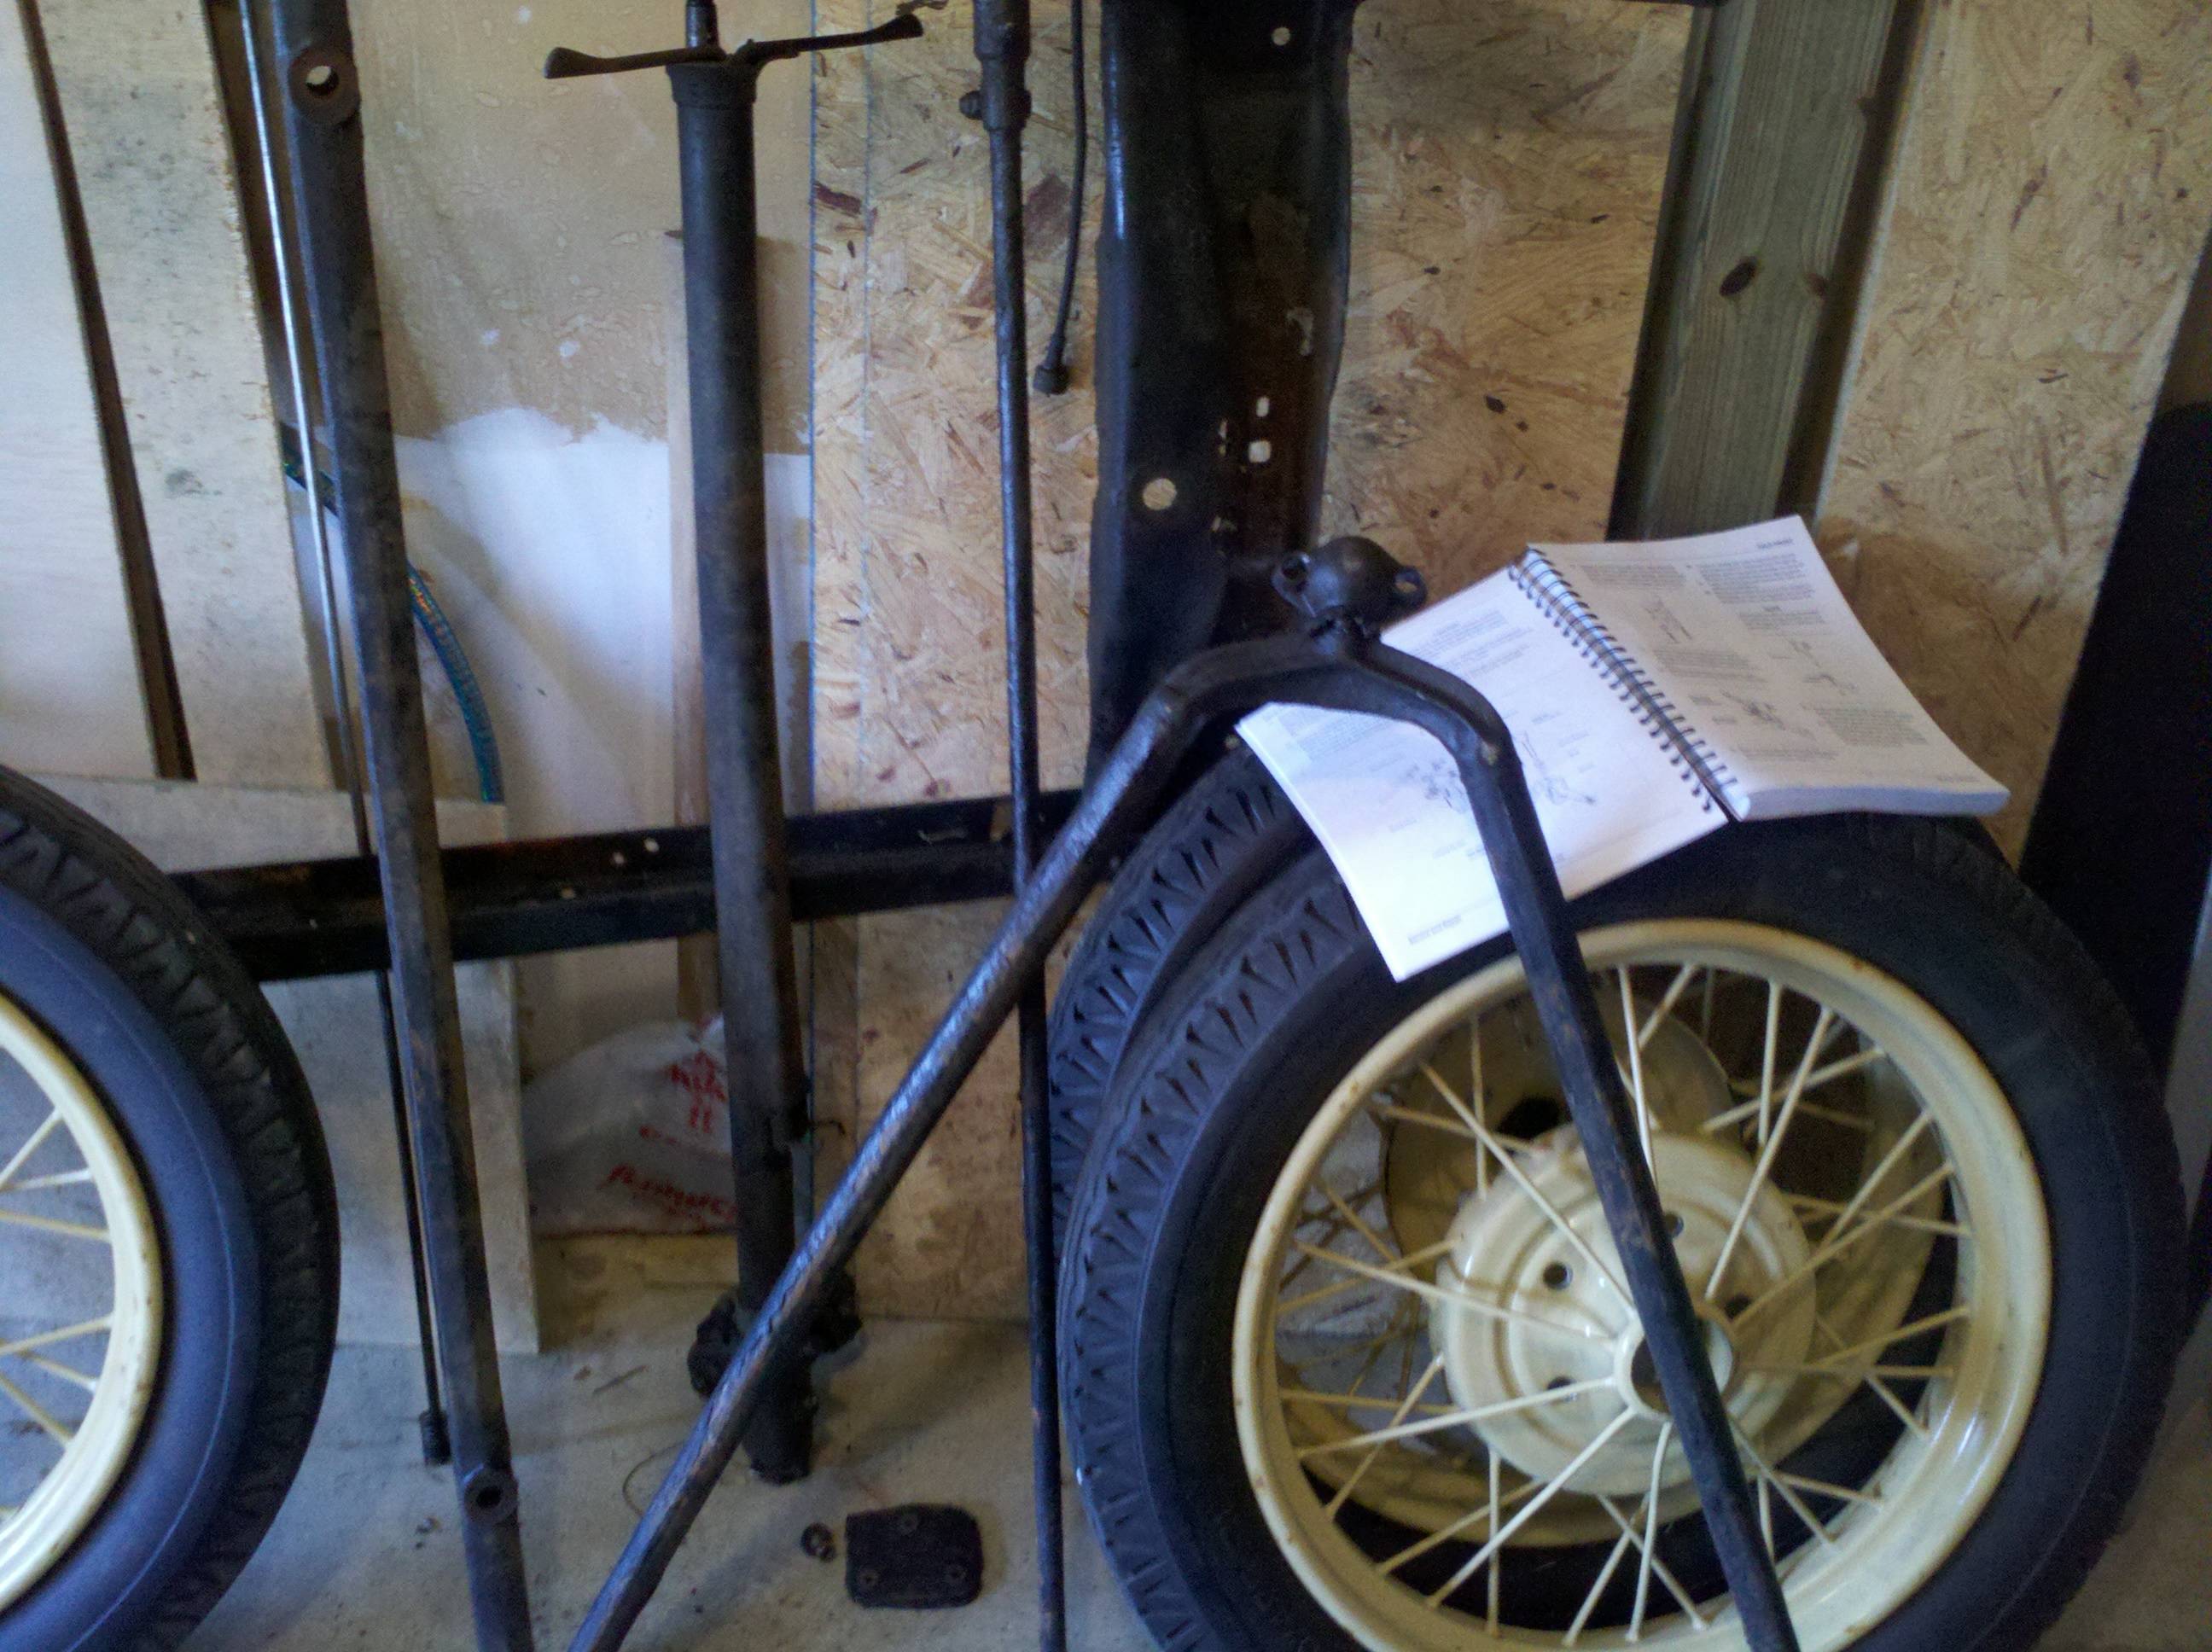
With those done, it was still the middle of the day, and there was only one thing left to take apart (besides the engine/tranny) - the steering column! So, we pulled out the manual and started reading. Glad I had the manual, as I'm not sure I would've figured out how to take it apart without those instructions. There was a pleasant surprise in all this, though...
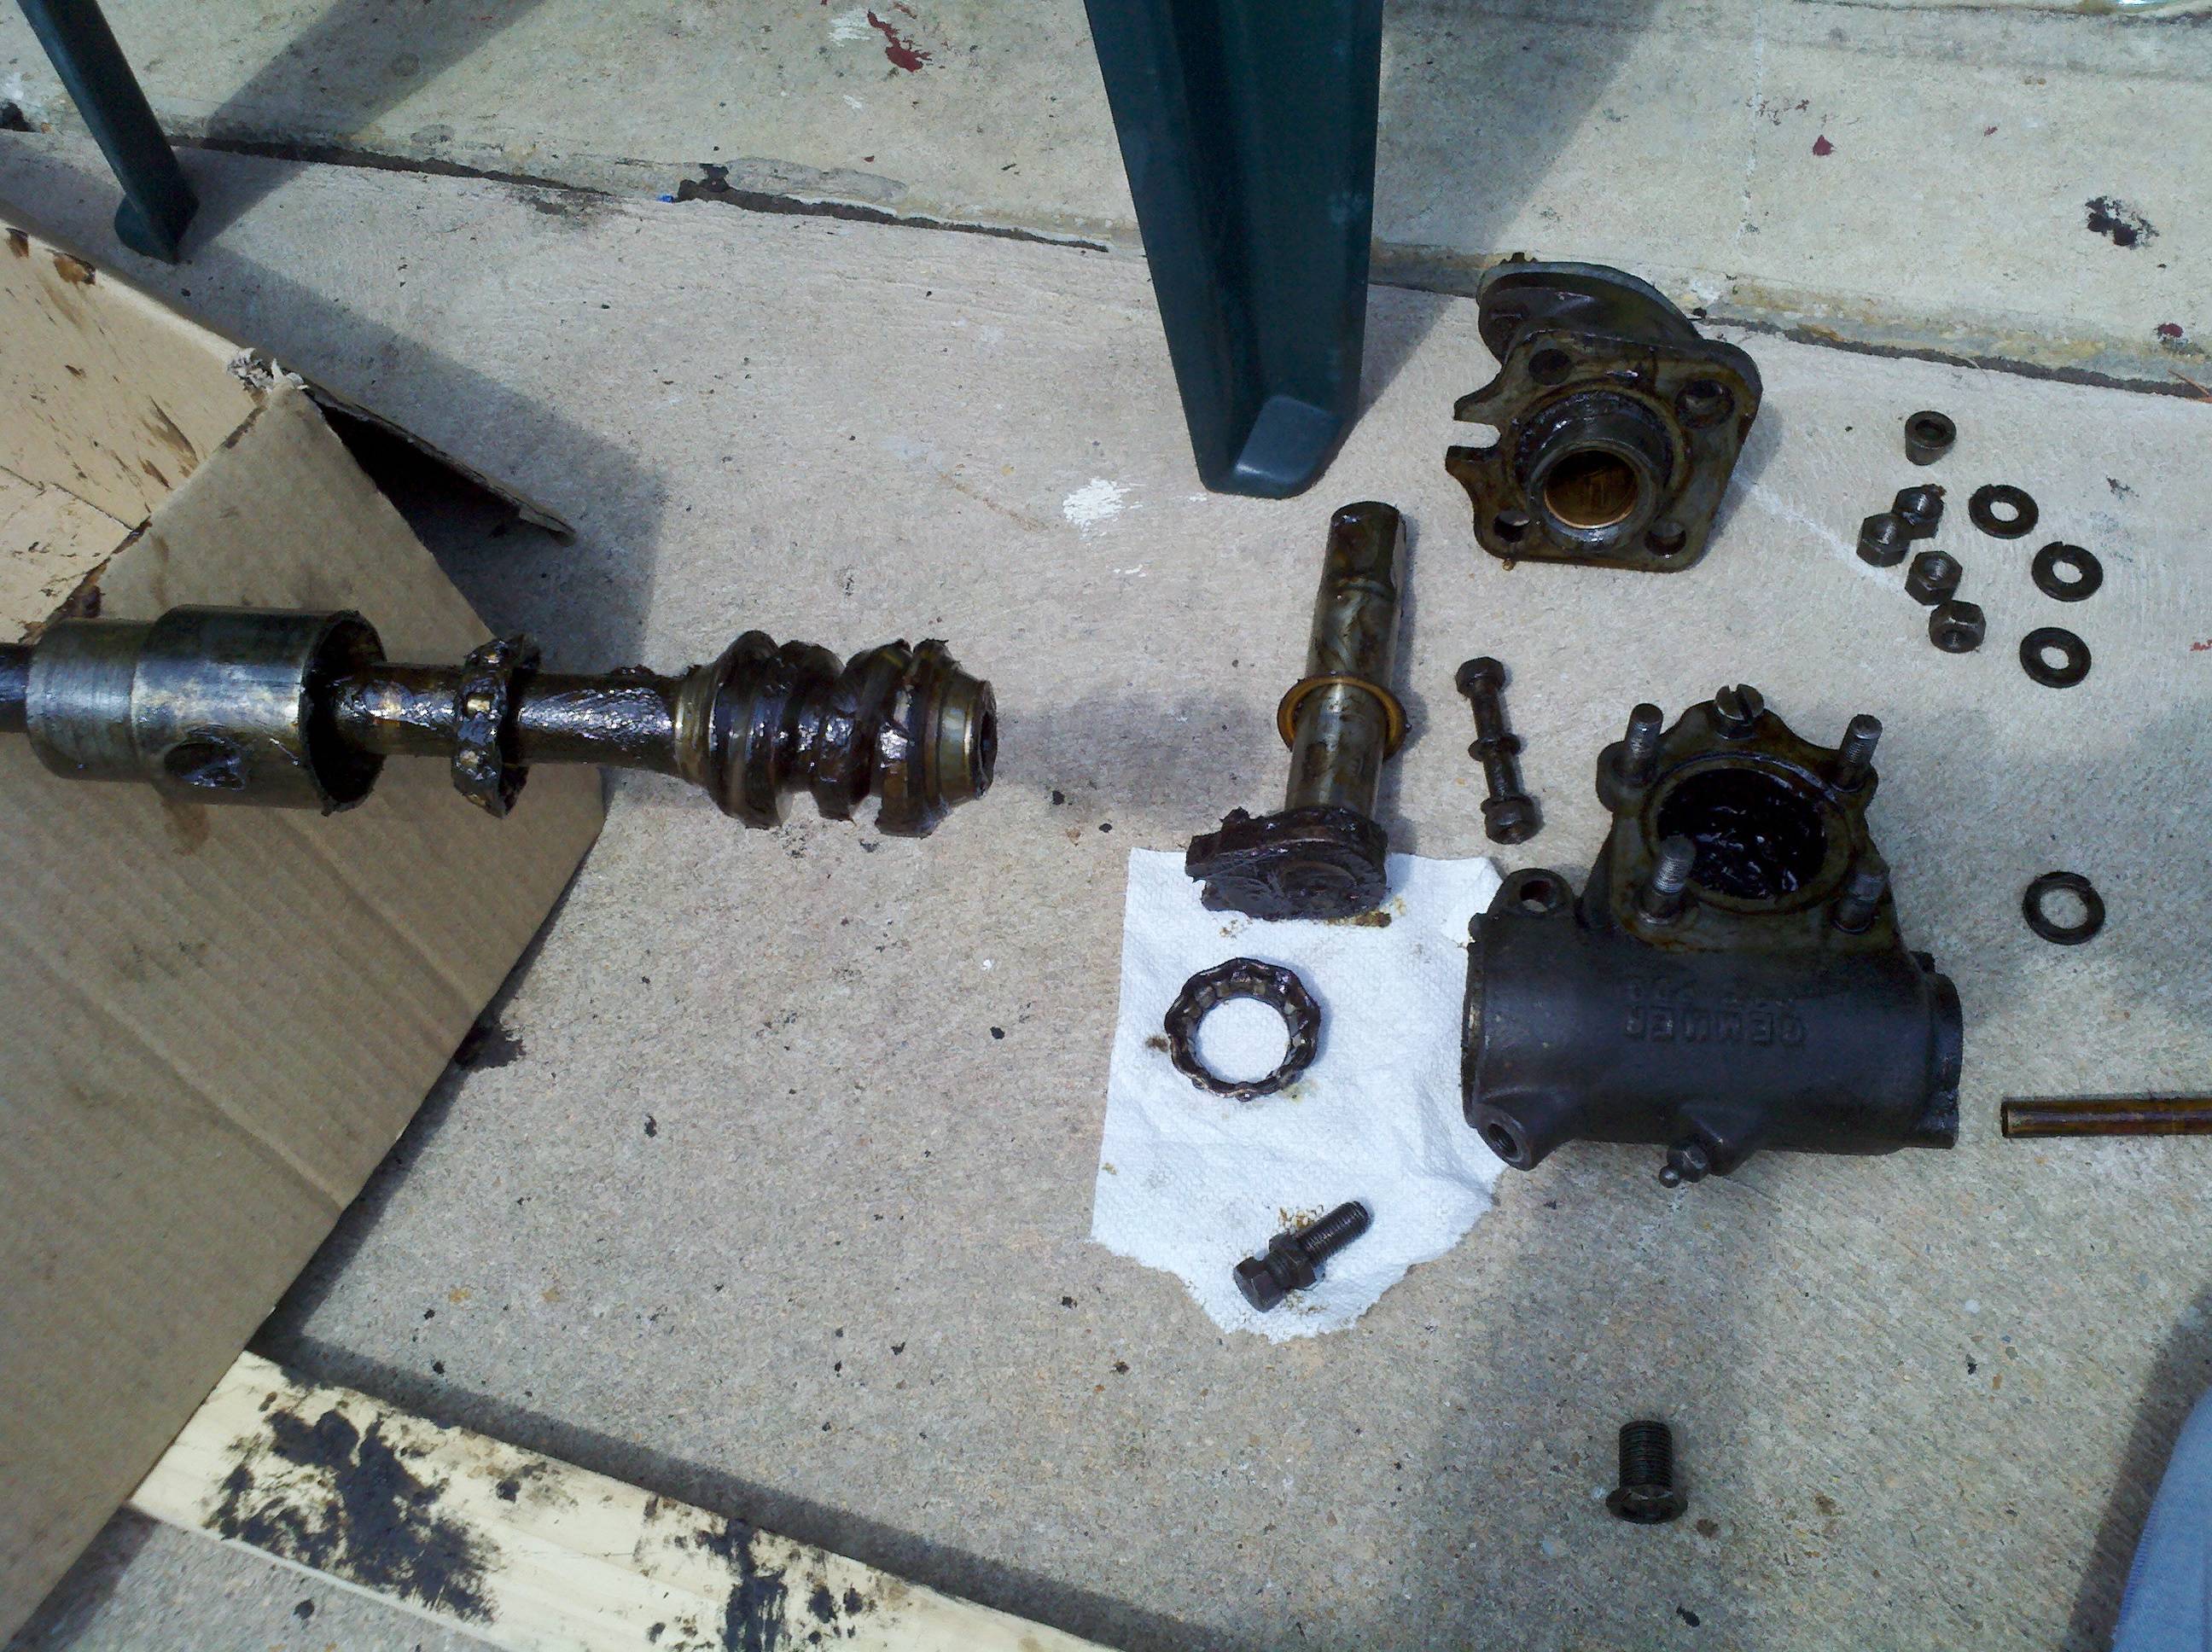
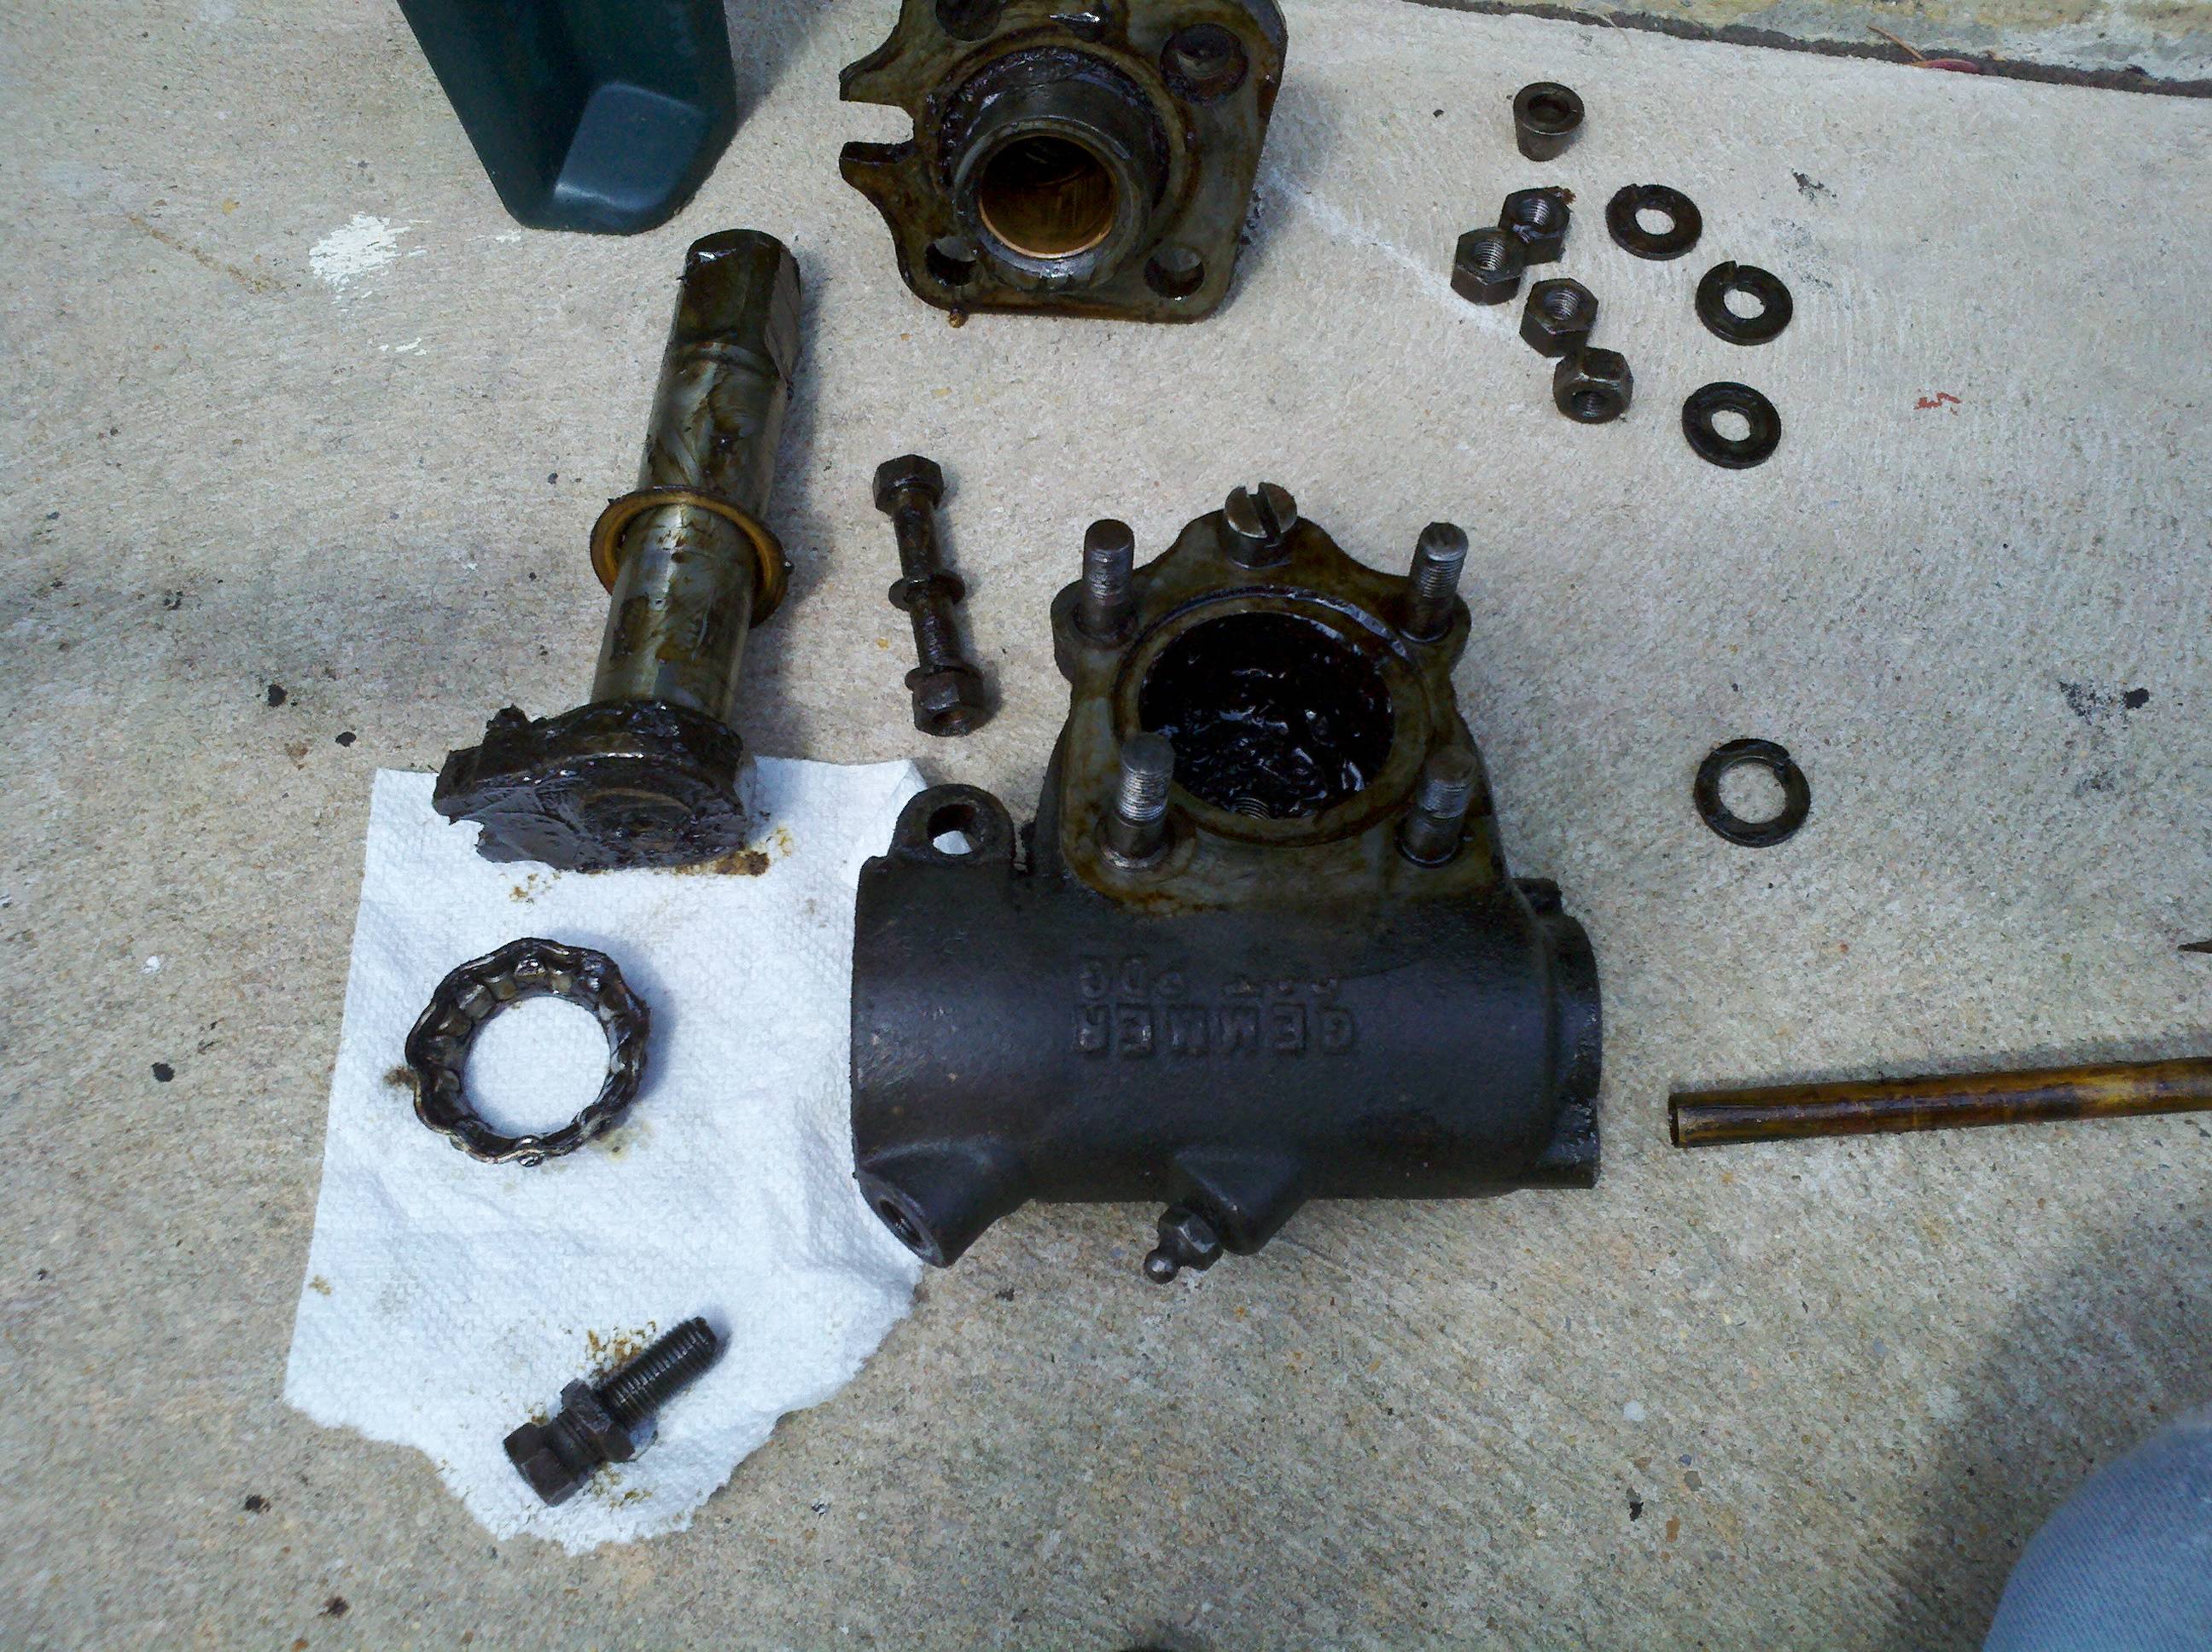
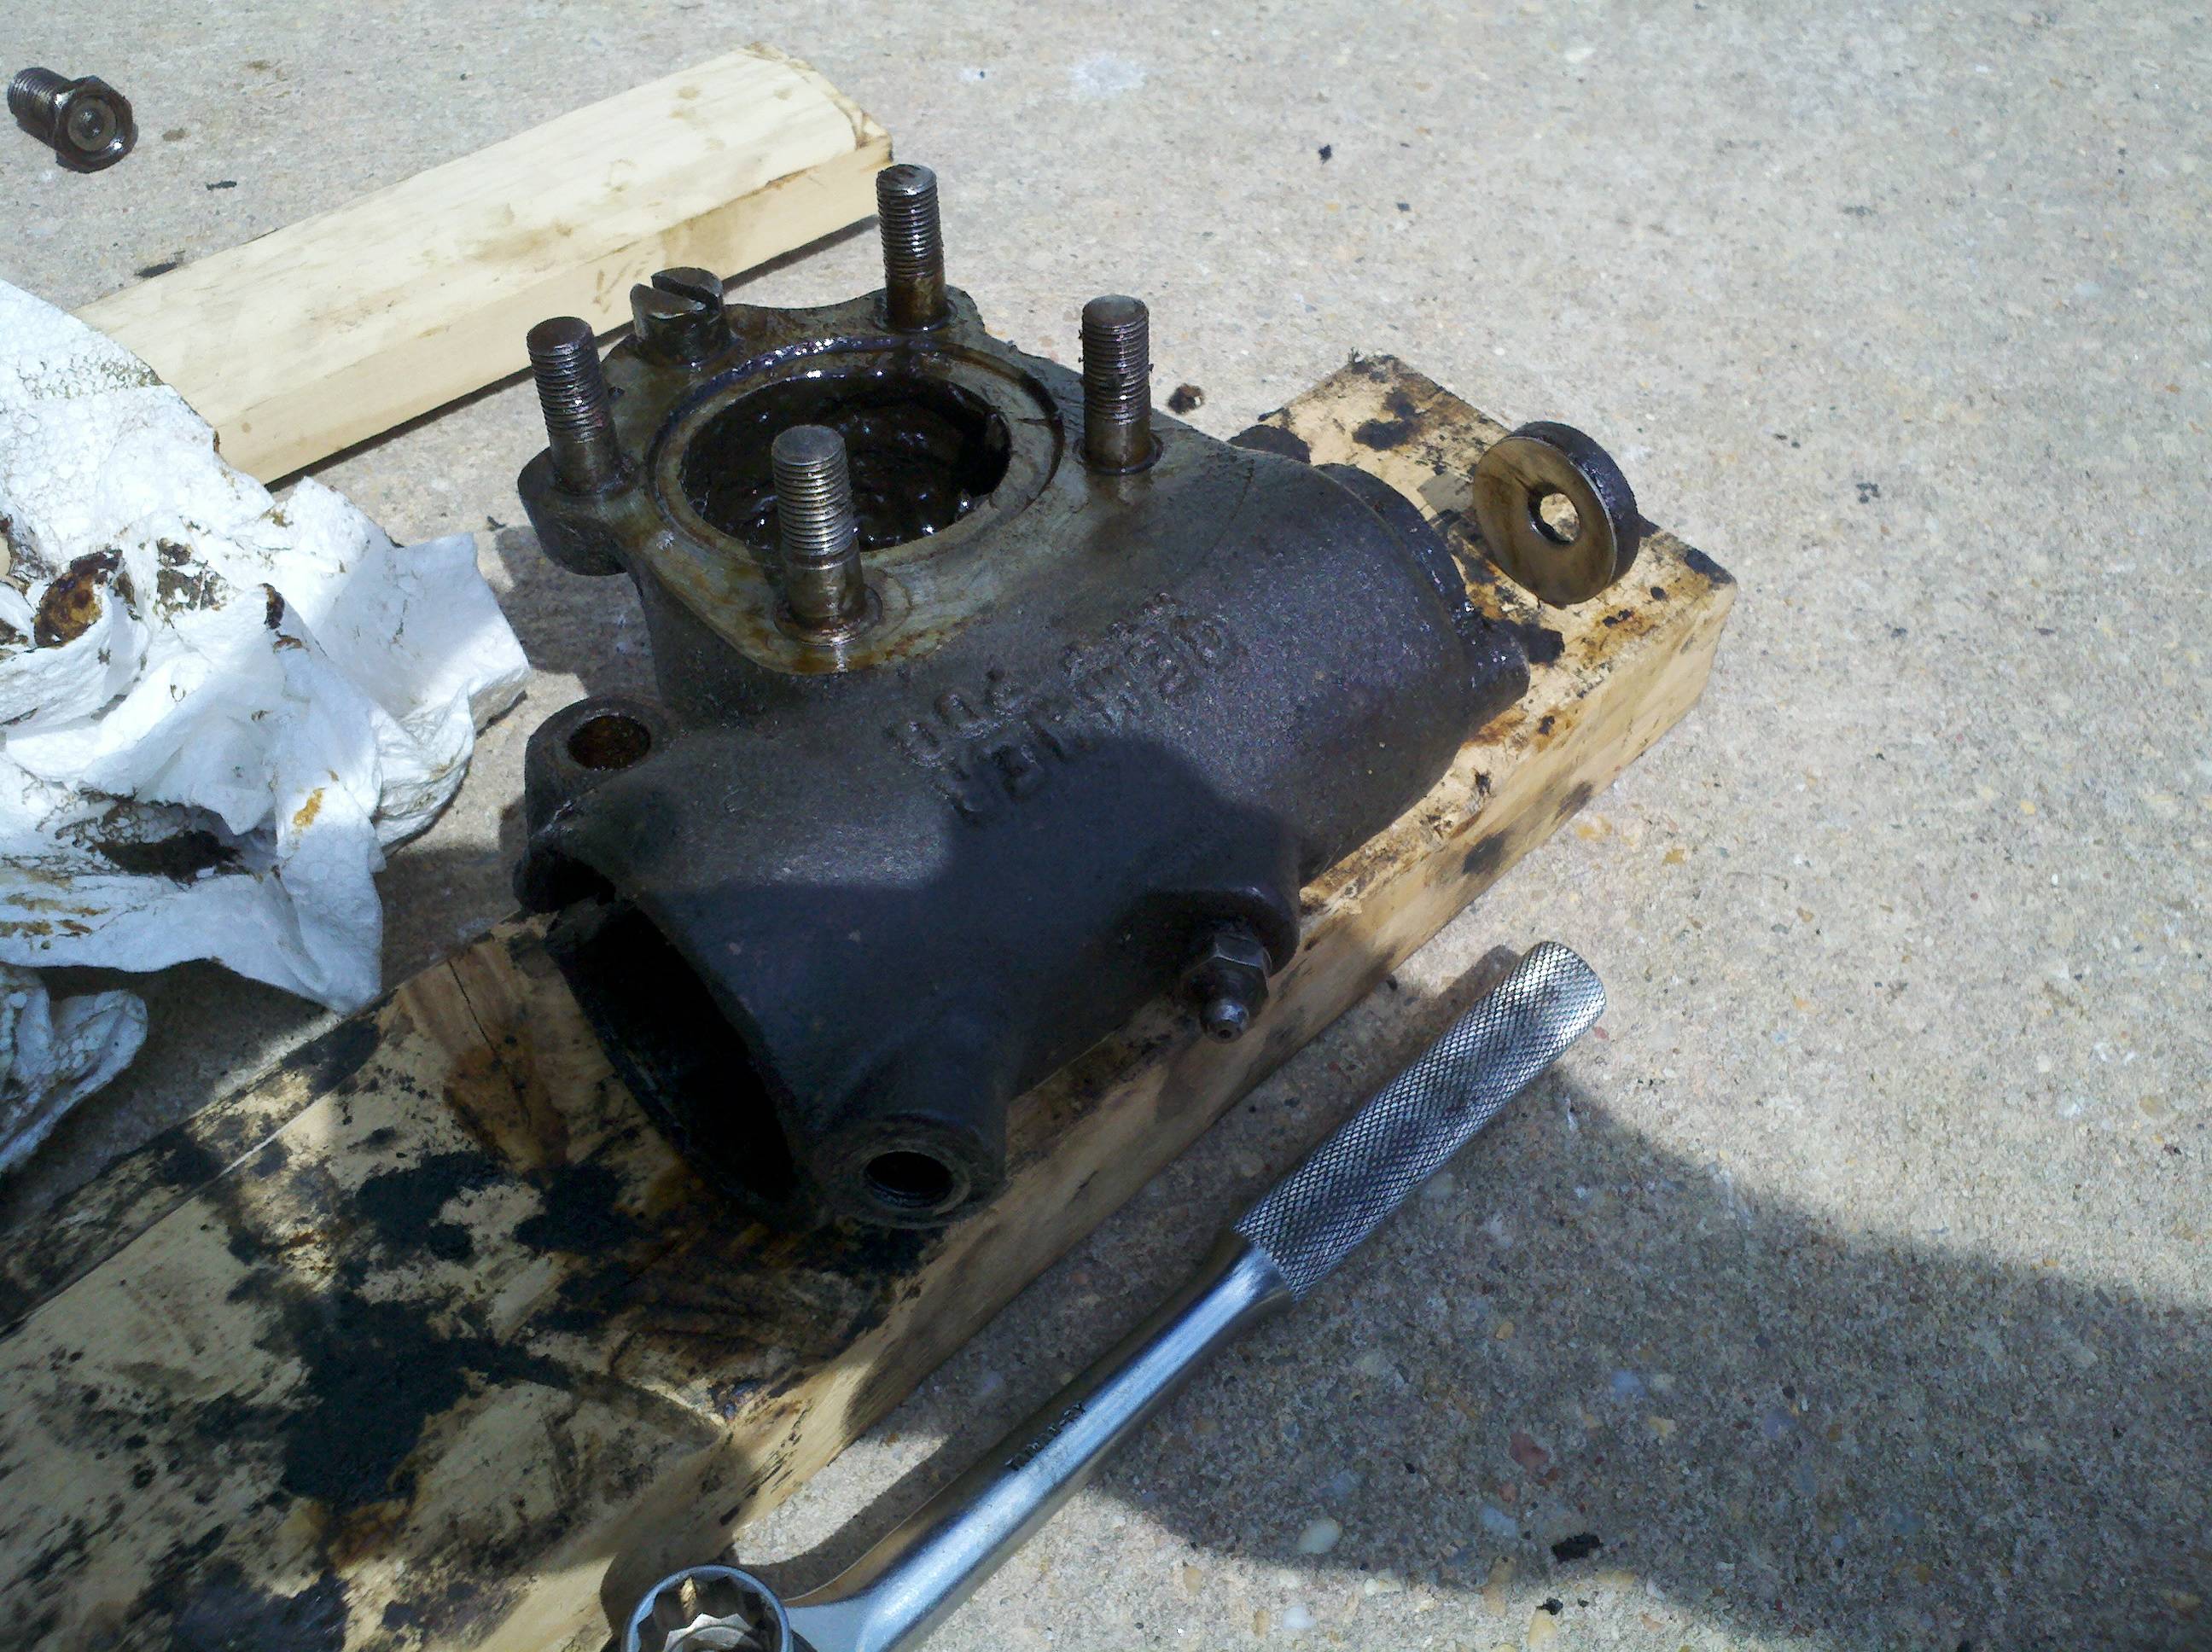
See, between the 1929 and 1930 years is when Ford decided to switch over from the 7-tooth steering gear to the 2-tooth gear. However, for some reason, some of the 2-tooth assemblies (made by Gemmer) got installed a couple of months early. Turns out this truck has a Gemmer 2-tooth unit on it. The manual says these early ones had some revisions made to them, and that if there's anything wrong, the whole innards need to basically be rebuilt with all new parts... The way my luck's been going, that don't sound too good.
But I was wrong! This was plainly an excellent day to be me! My youngest daughter helped me pull the thing apart, and we both got really greasy, and the missus just smiled at us. She did scold me for explaining to my sweet little 6 yr-old girl that the reason there was sooo much grease in the column is that it's very important to keep your shaft lubed. It wasn't a serious scolding, though - I think it was mostly because she almost laughed out loud. She had to work a little, not to...
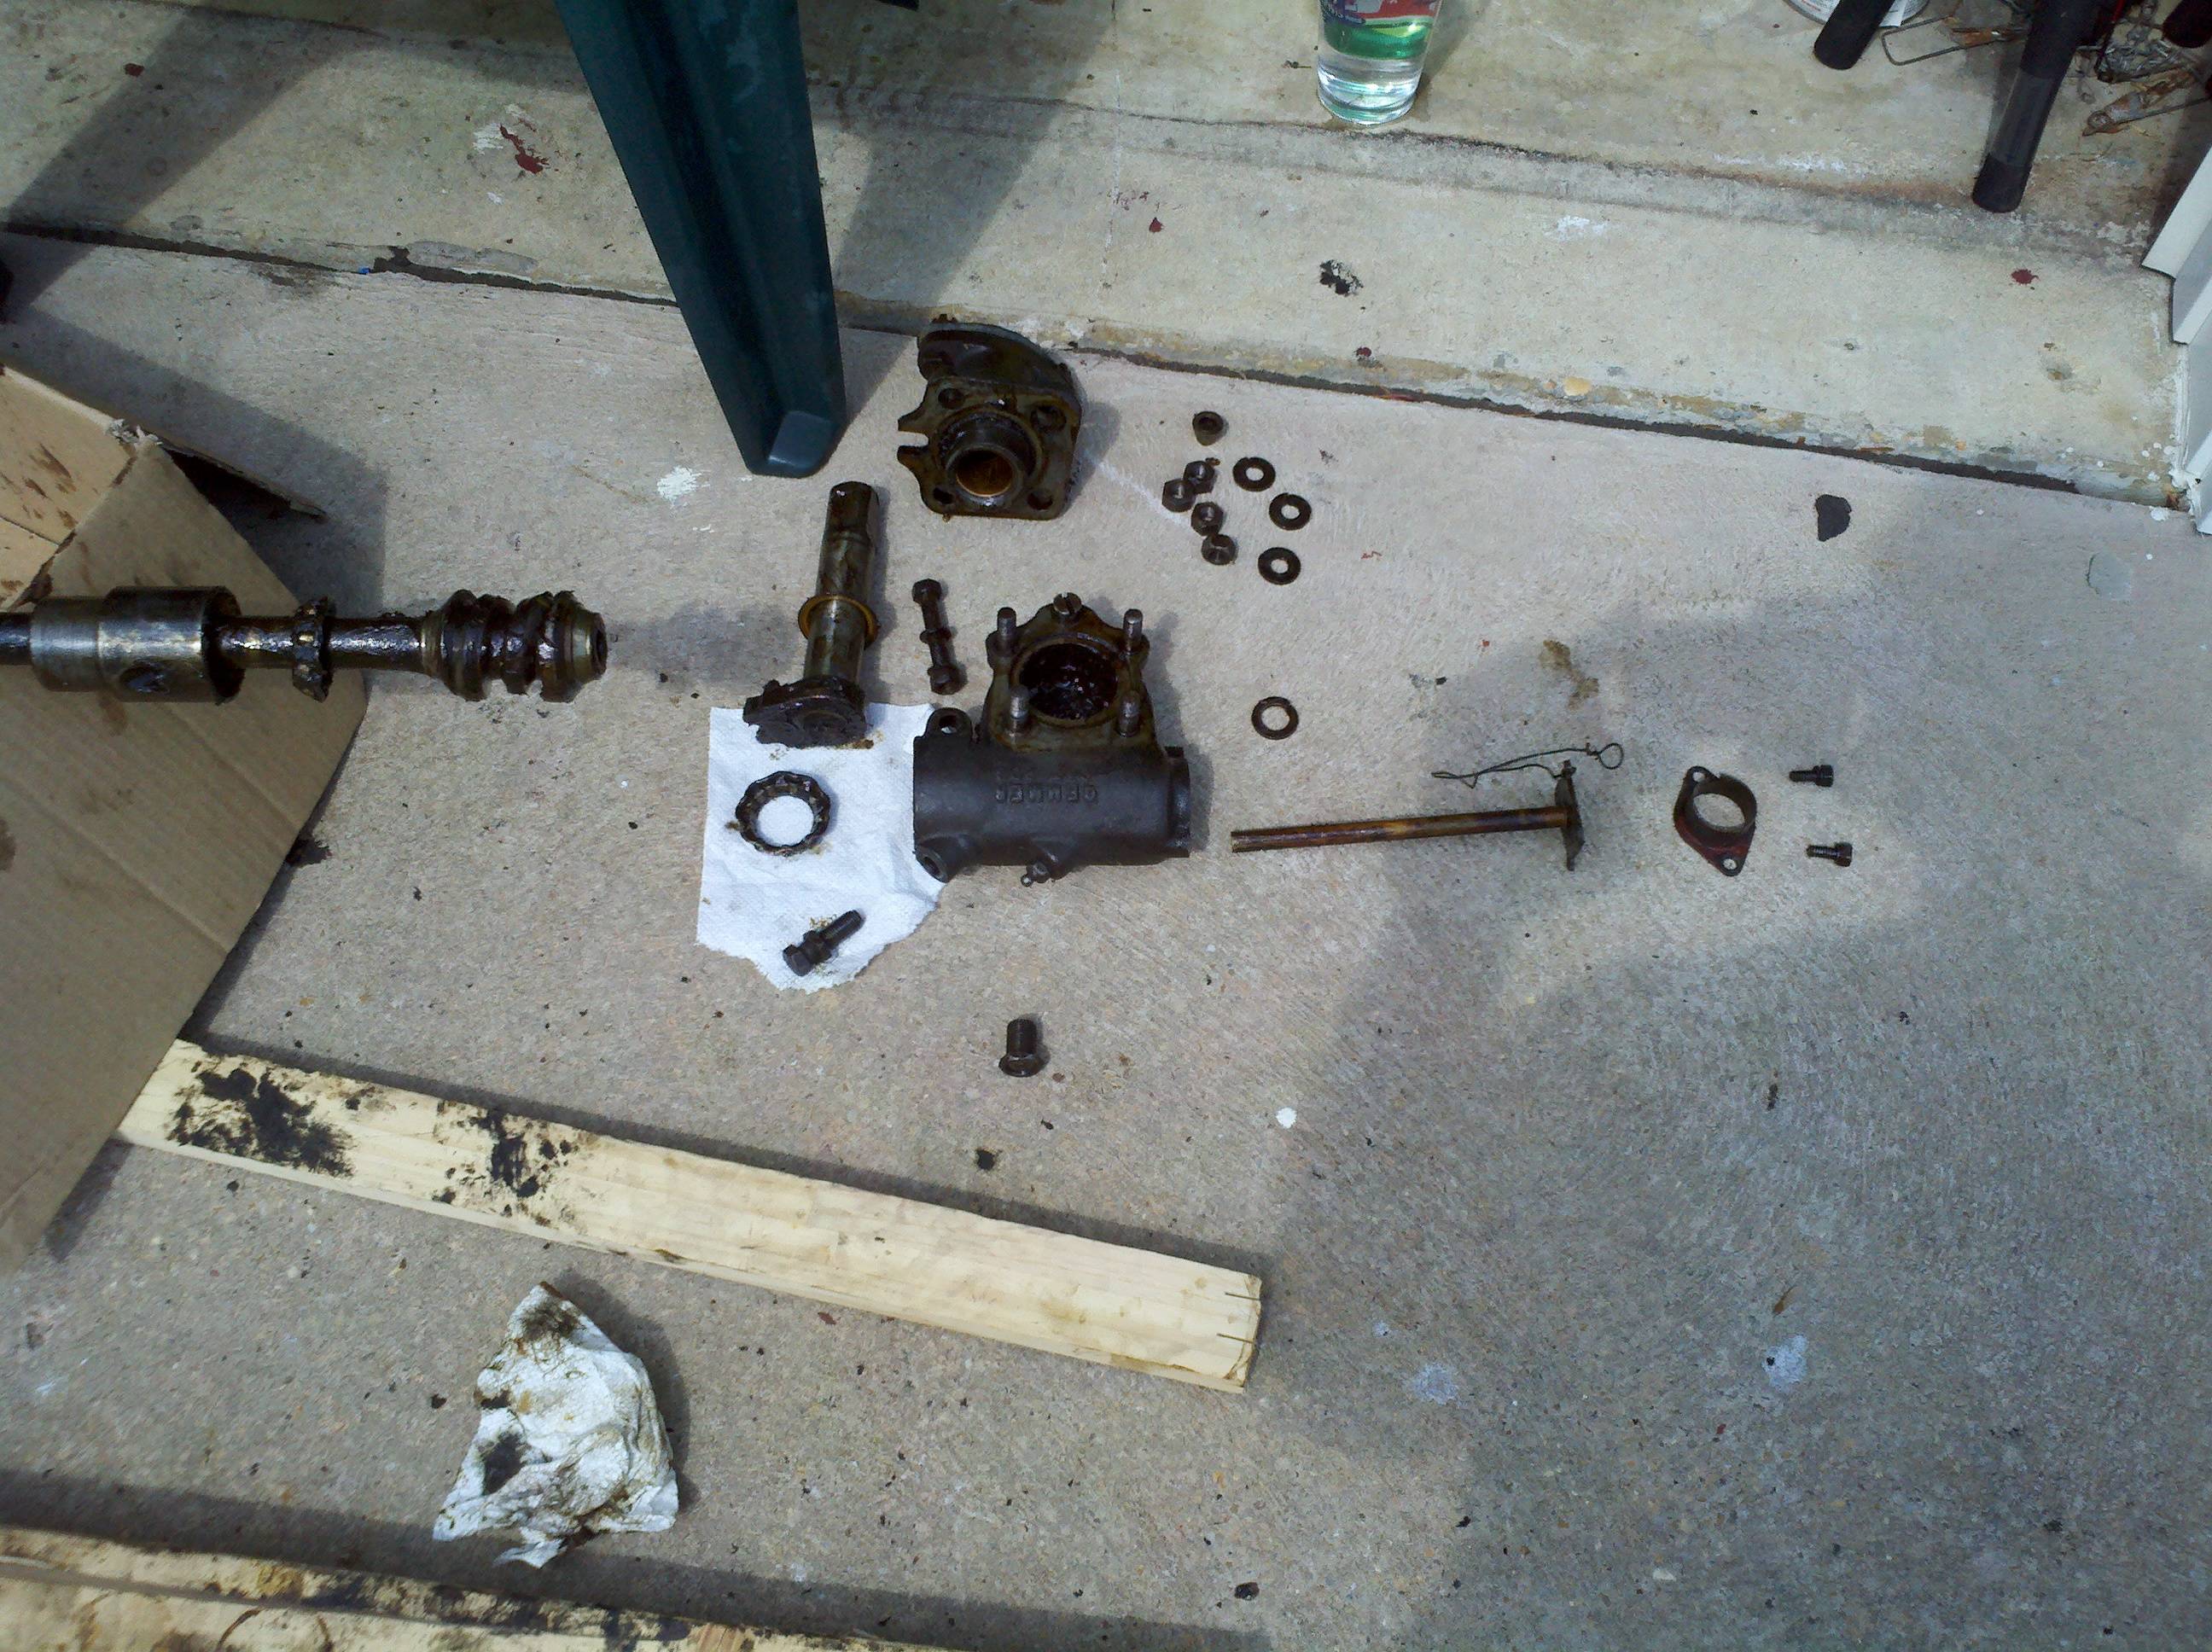
Anyway, we got it all apart, and the innards are original. Original 9-roller bearings (as opposed to 13 rollers), all original seals, and so on. Very interesting. I guess I got lucky - no apparent wear, no pitting, no rust. After I get it all cleaned out & repainted, I'll pack it all full of grease, and put it back together the way it is! Yay me!
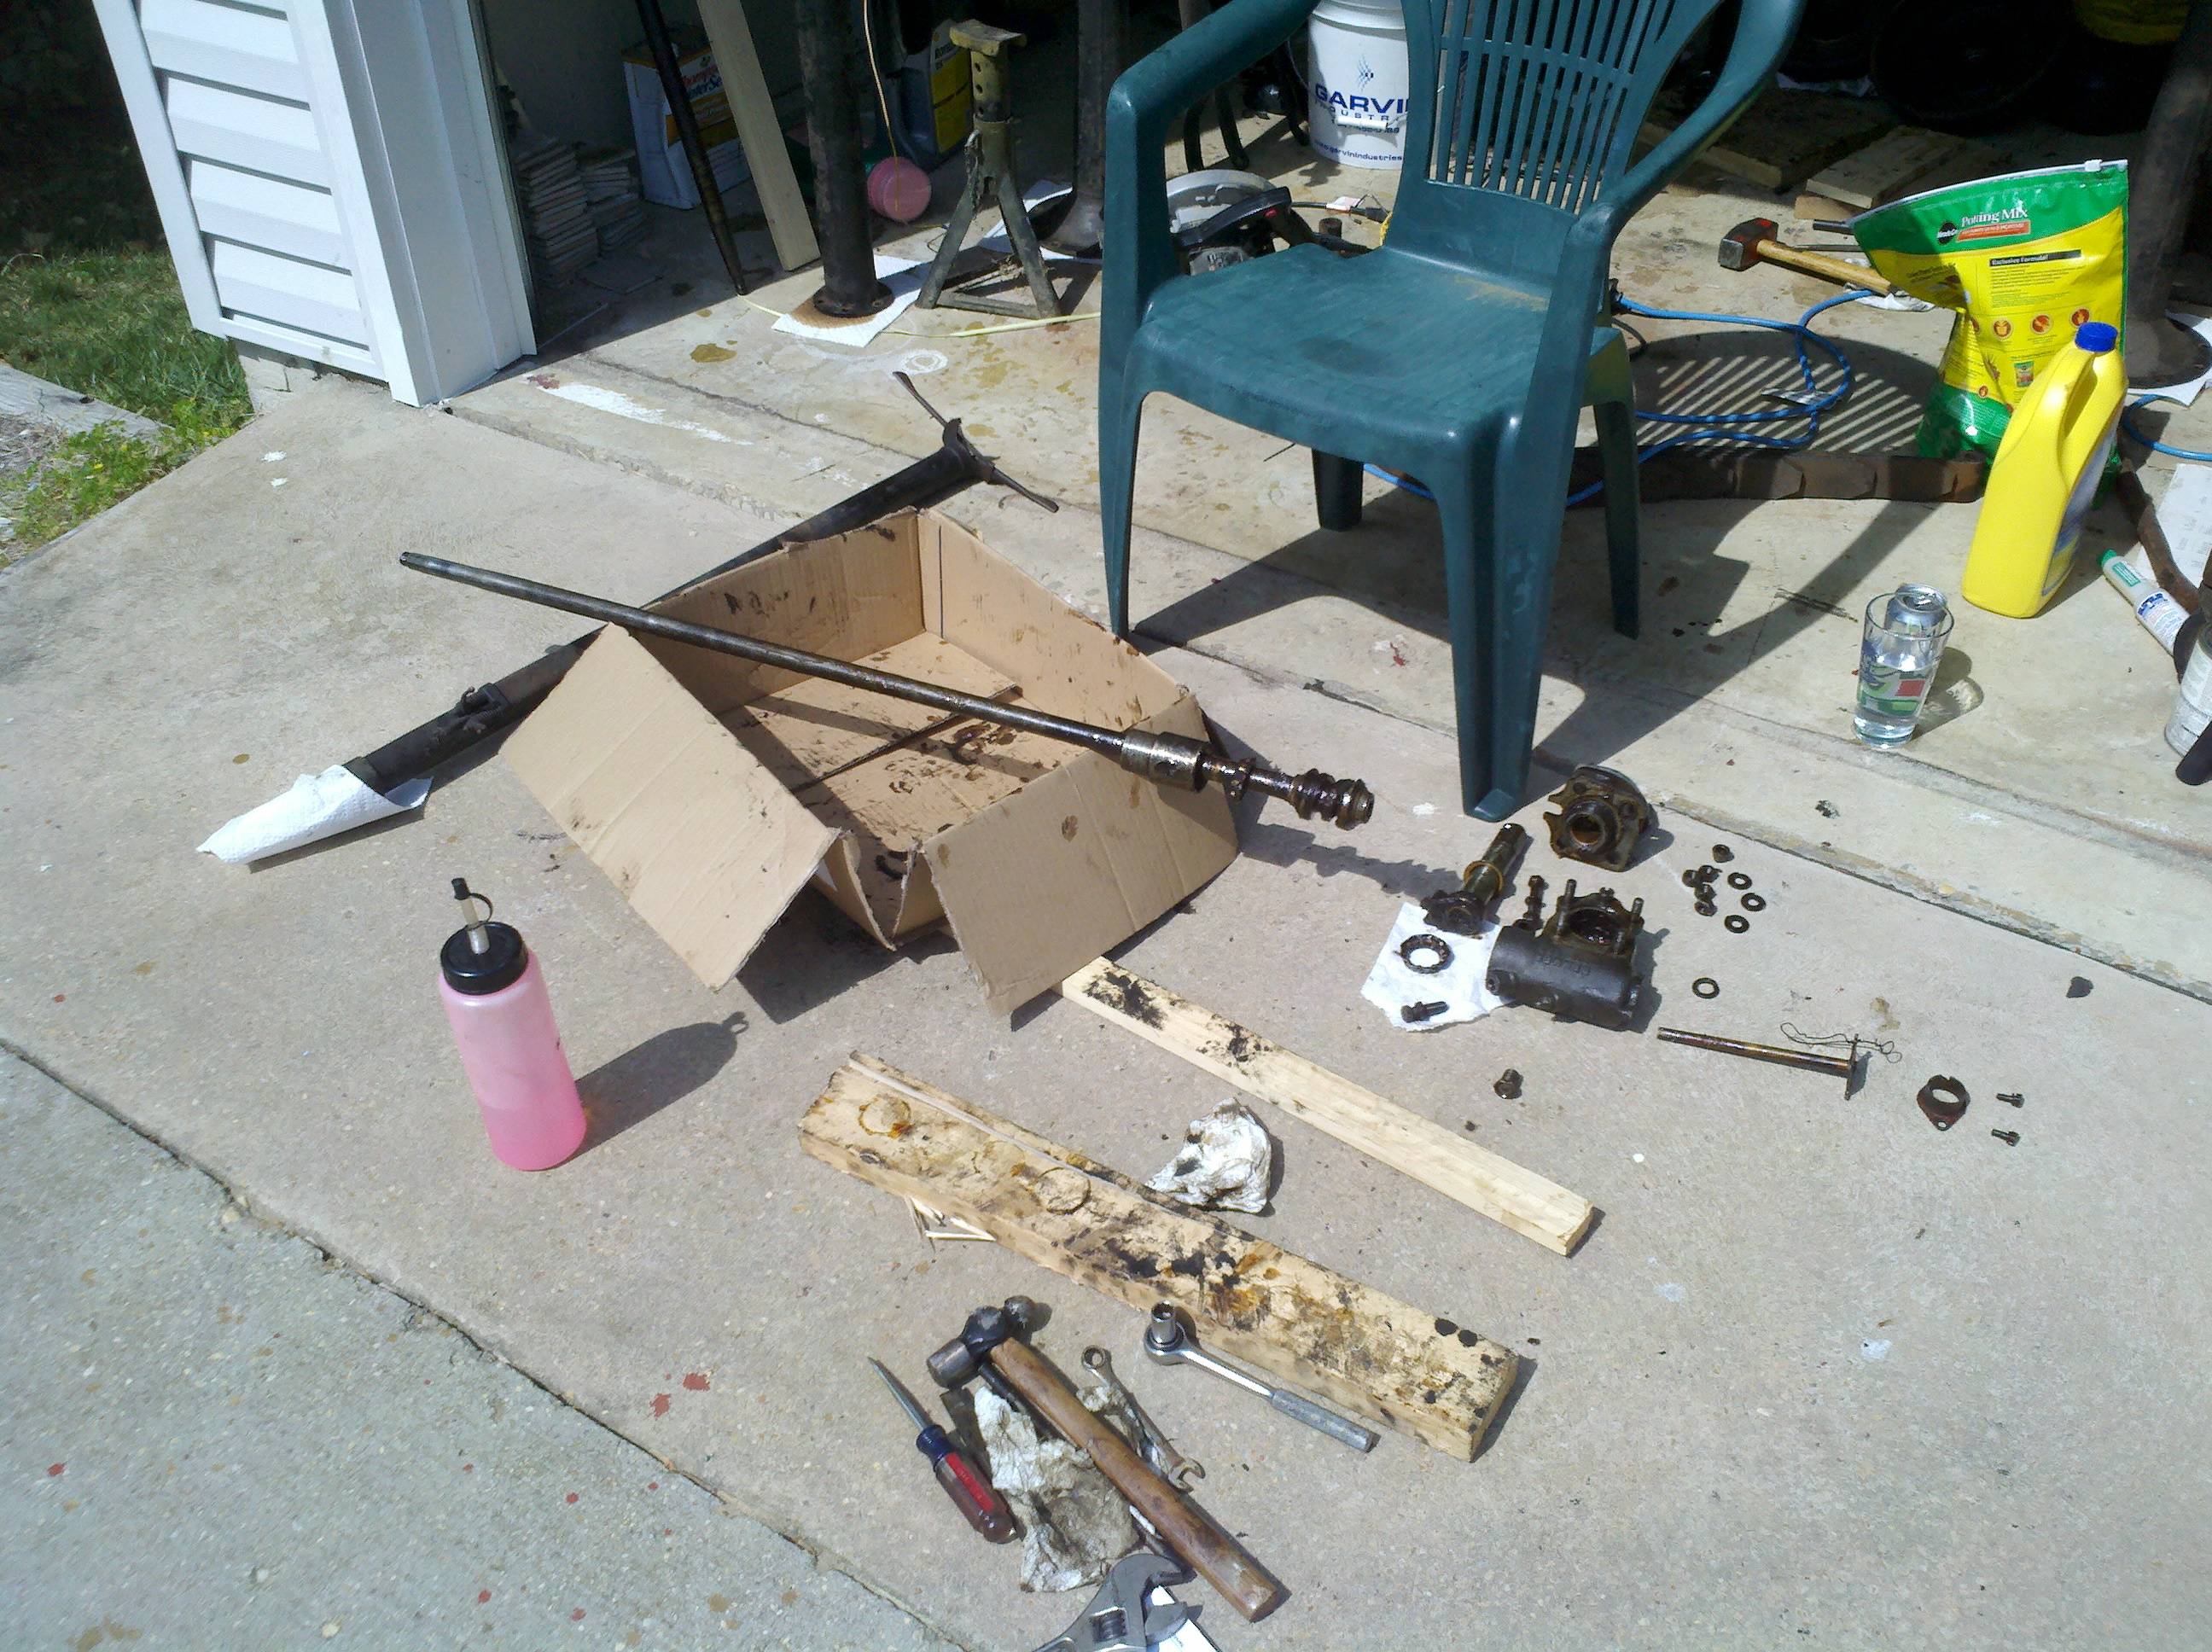
After we got it all pulled apart, we set it up like an illustrated parts breakdown (IPB) drawing, and took a few pictures (couldn't do it at steps - our hands were too greasy):

Once the steering box was apart, we went to work getting the operating rods out of the column. Spoiler: Still ain't there, yet. I followed the advice of the book, and used a 3/16 socket on an extension as a punch tool. Hammer the heck out of the bottom end of the rods to break the pins in the control rods. Well, that worked just fine until those shaft came loose of the actuaing arm, the spring shot off, cut my finger, and fired the operating rod about 15 feet in the air, and over into the neghbor's bush. D'oh!
Well, I guess I'll be buying a couple of those. Got the ends & springs off the rods, but am thus far unable to pull the rods loose from the column. I have one of them out about a foot, or so, but that was some serious work. I'm lucky (I think), and the bushing for my column is held in with a couple of screws. Unfortunately, they don't seem willing to come out, so I'll have to be very careful with them, and see what happens. I'm hoping that maybe I can get the bushig out, and then use a mallet to drive the rods through the bushing. Or maybe I'll just leave them like that. Maybe that's the best idea, but I need to get them free so I can clean up the quadrants and column proper. Sorry, no pics right now.
And that, friends, is the end of April. Going on vacation for a couple of weekends, so you won't hear anything from me for a bit. I'm expecting to go buy a few gallons of kerosene, a tub, and some cleaning brushes as my next steps. (after I finish getting the control rods out of the column). The cleaning will begin, and then we'll hopefully be on our way to blasting and painting the fram & suspension.
Last modified on 10/09/12