We had a cold snap for a bit, and I don't have real good light in the garage, so I only like to work in there when I can open it up. This was one of those nice days, though, so it seemed a good time to get to work on the truck.
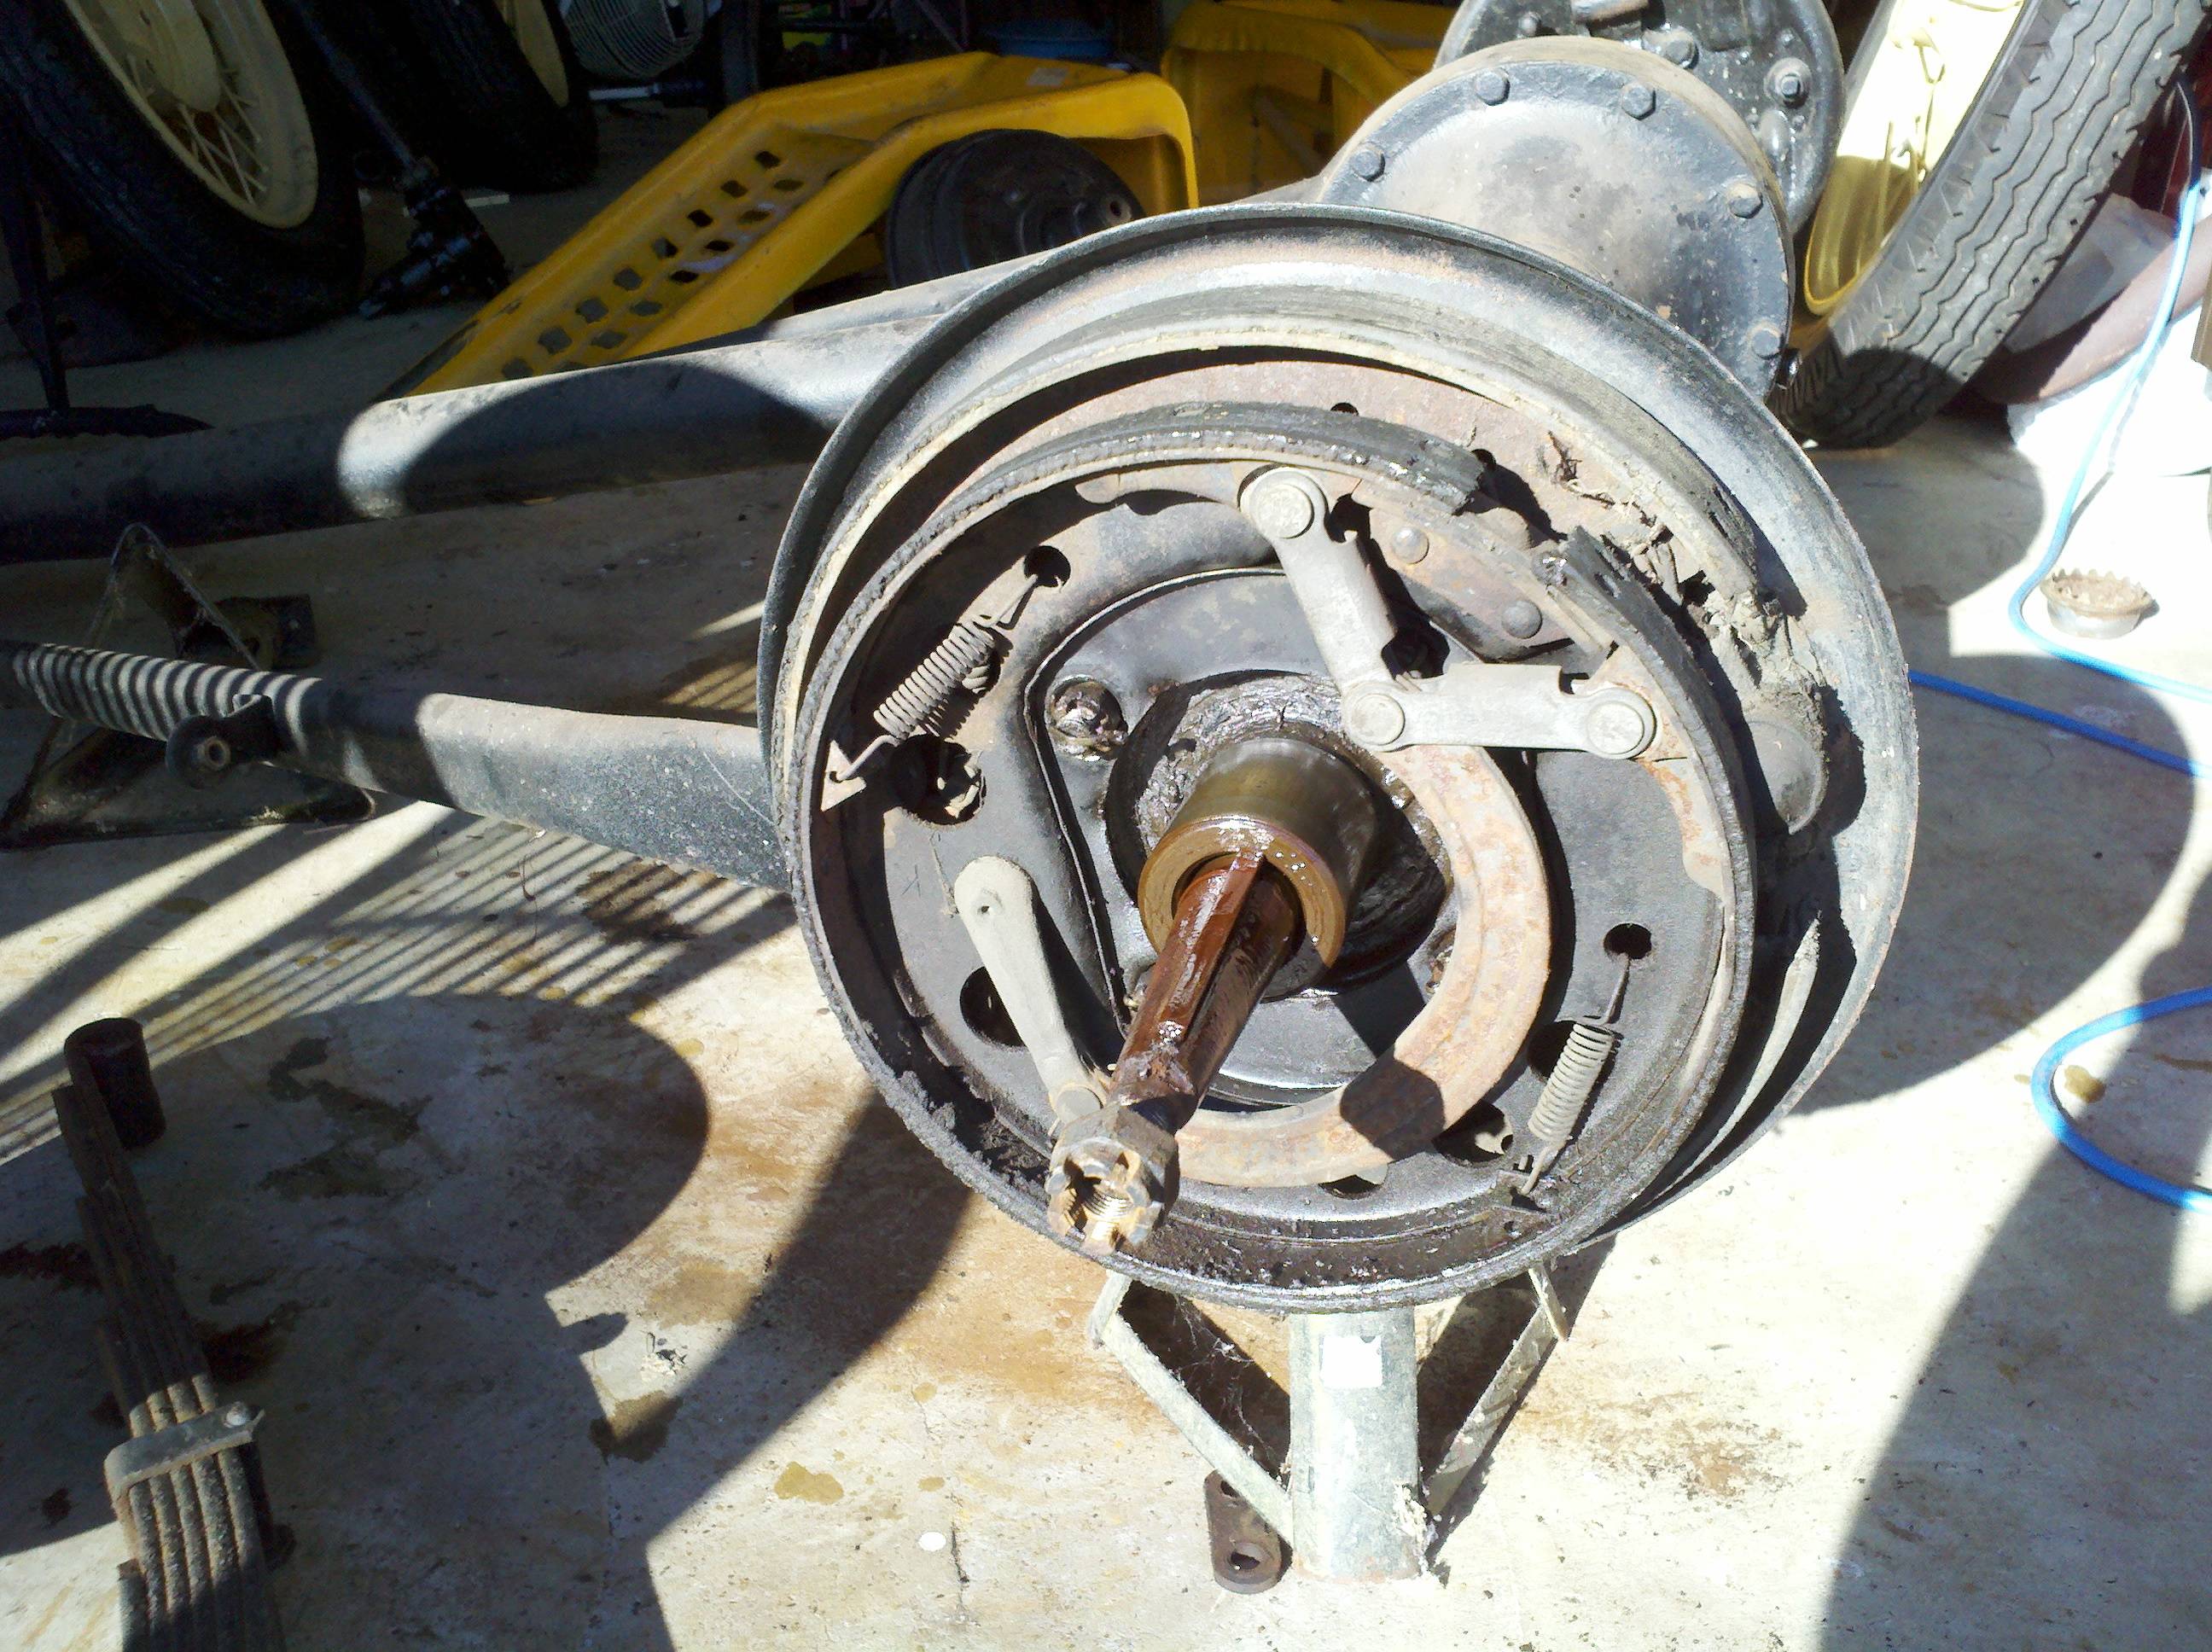
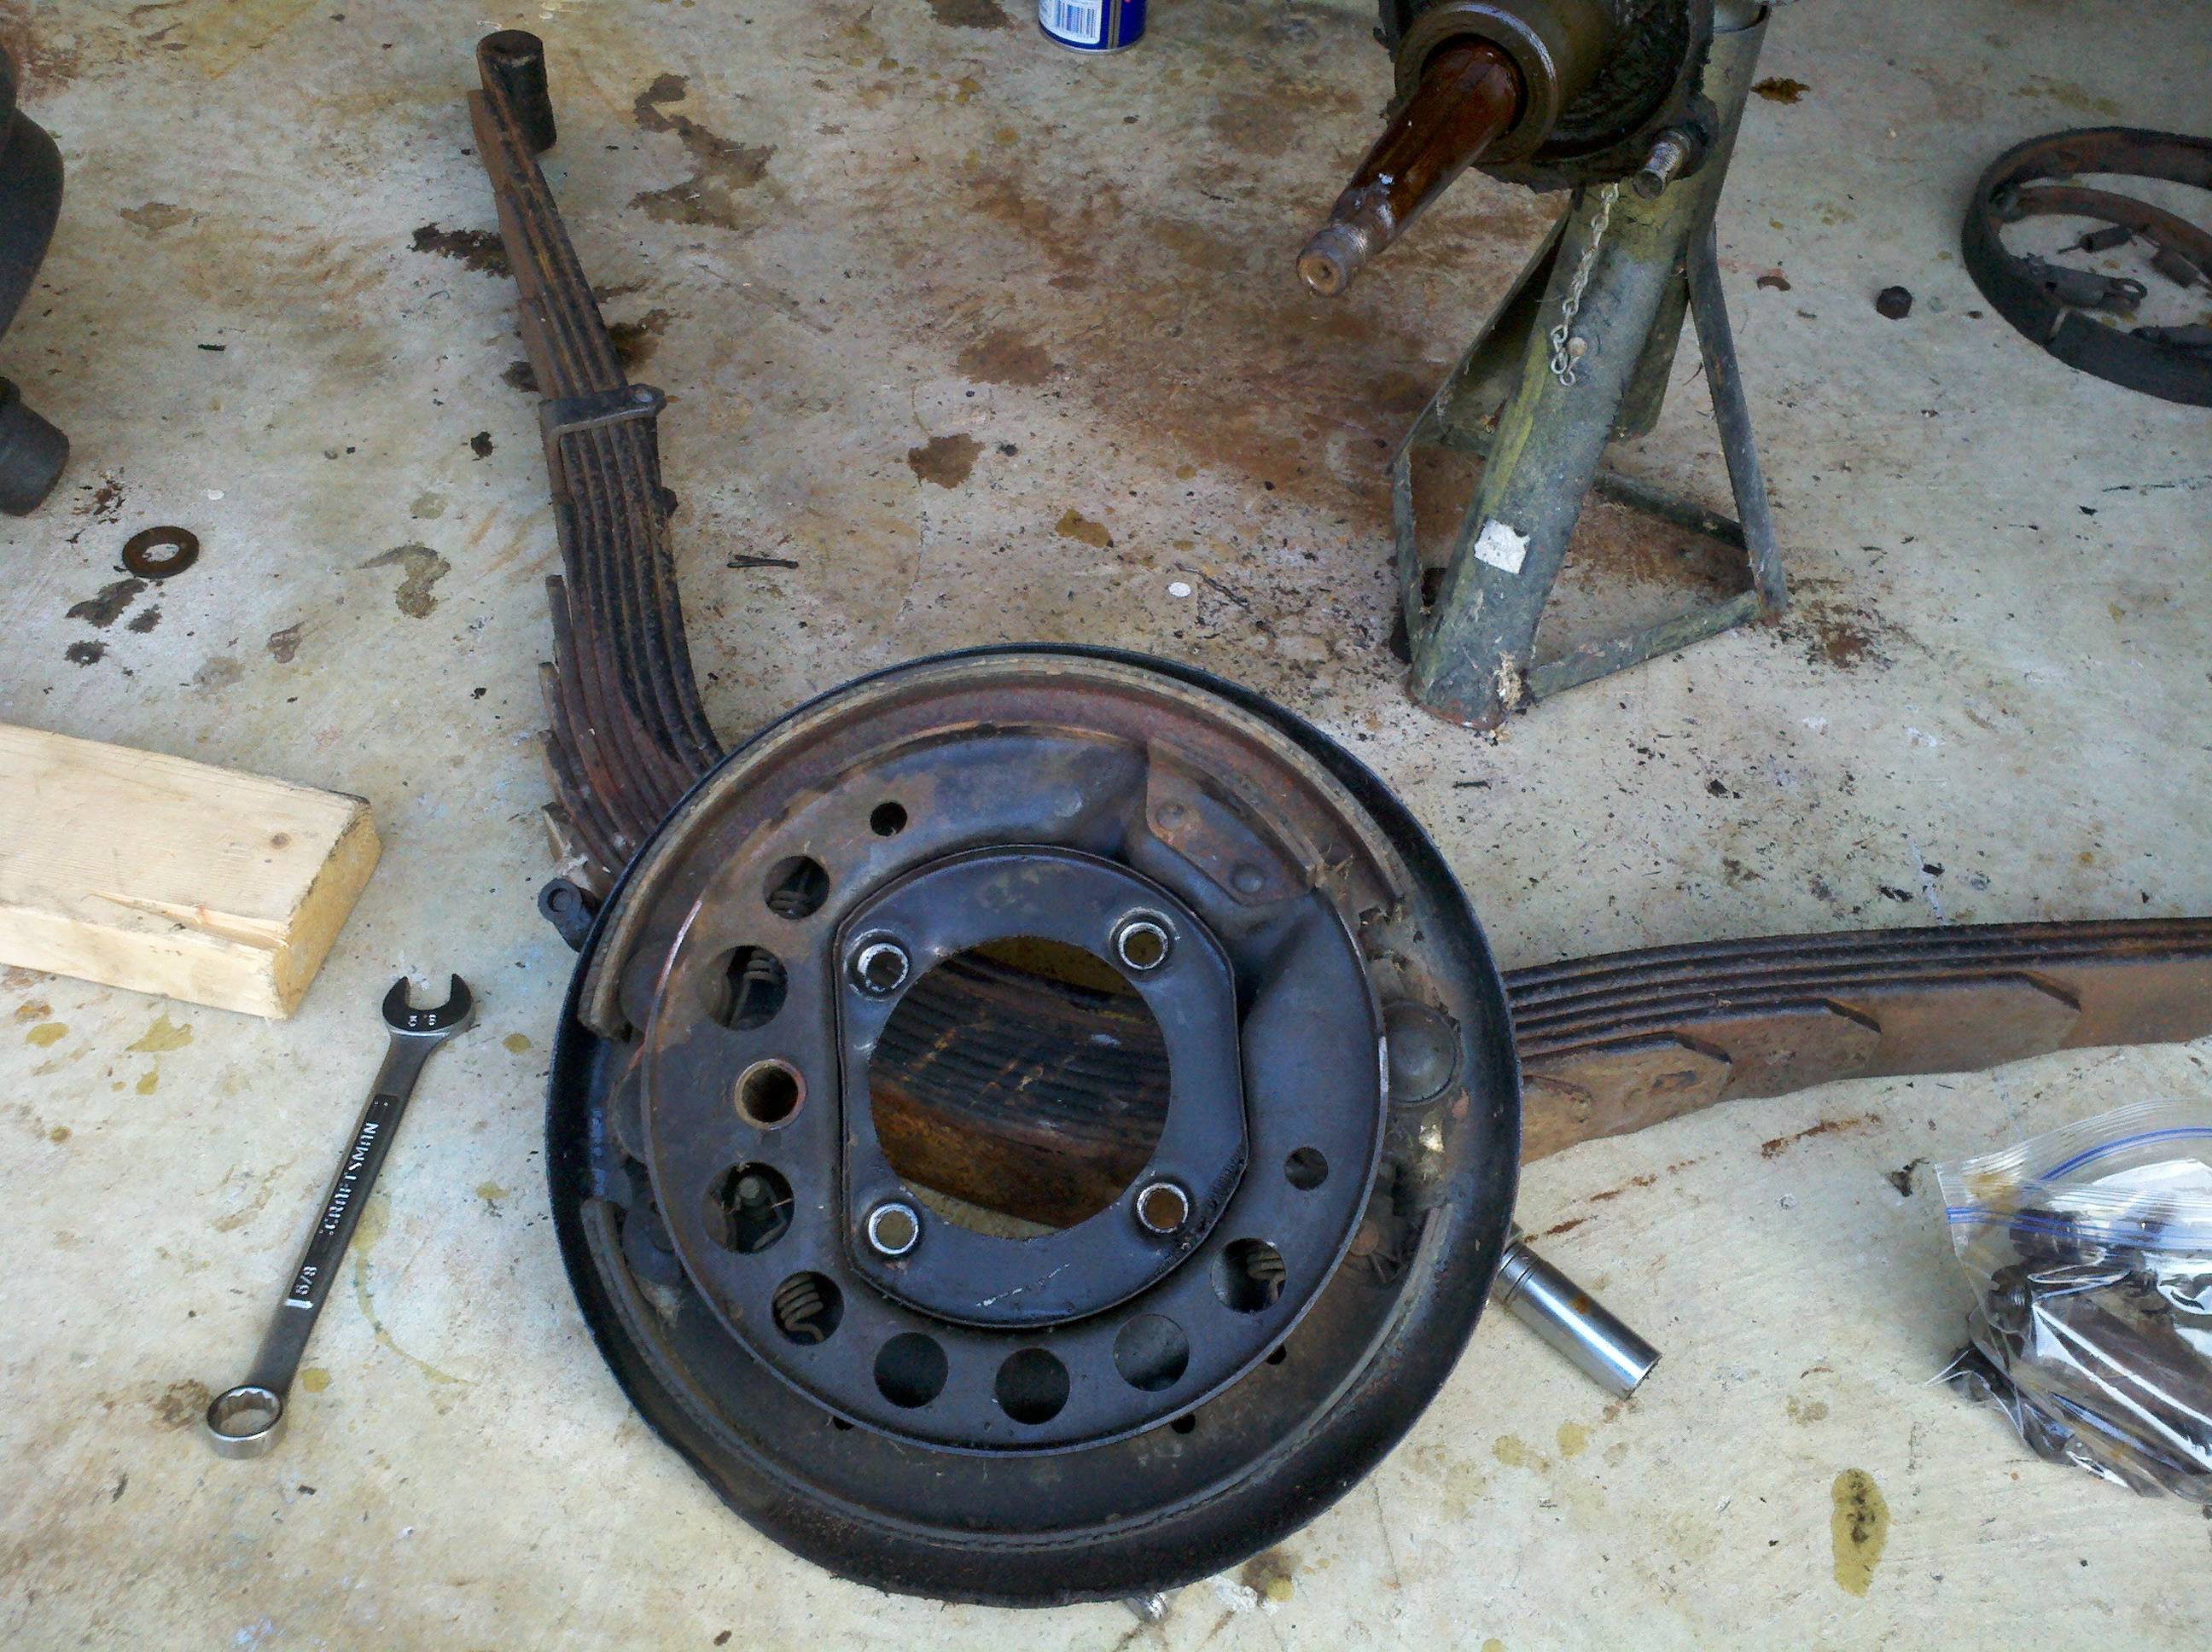
Today, I thought I'd get to work pulling the rear brakes and backing plates off the rear end. I had high hipes for making goodprogress, but it didn't turn out that way. It was a good learning experience, though... First thing, here's some pics of the things as they started out... Look closely, o the left is the breakes as they normally ride, and on the right is the parking brake actuated.
At this point, iit was pretty easy to remove the connecting link (the "C" shaped thing) from the emregency brake ring. Once the connecting link was removed, it was a simple matter to pull of the springs. Once the springs were removed, the e-brake shoe/ring fell right off.
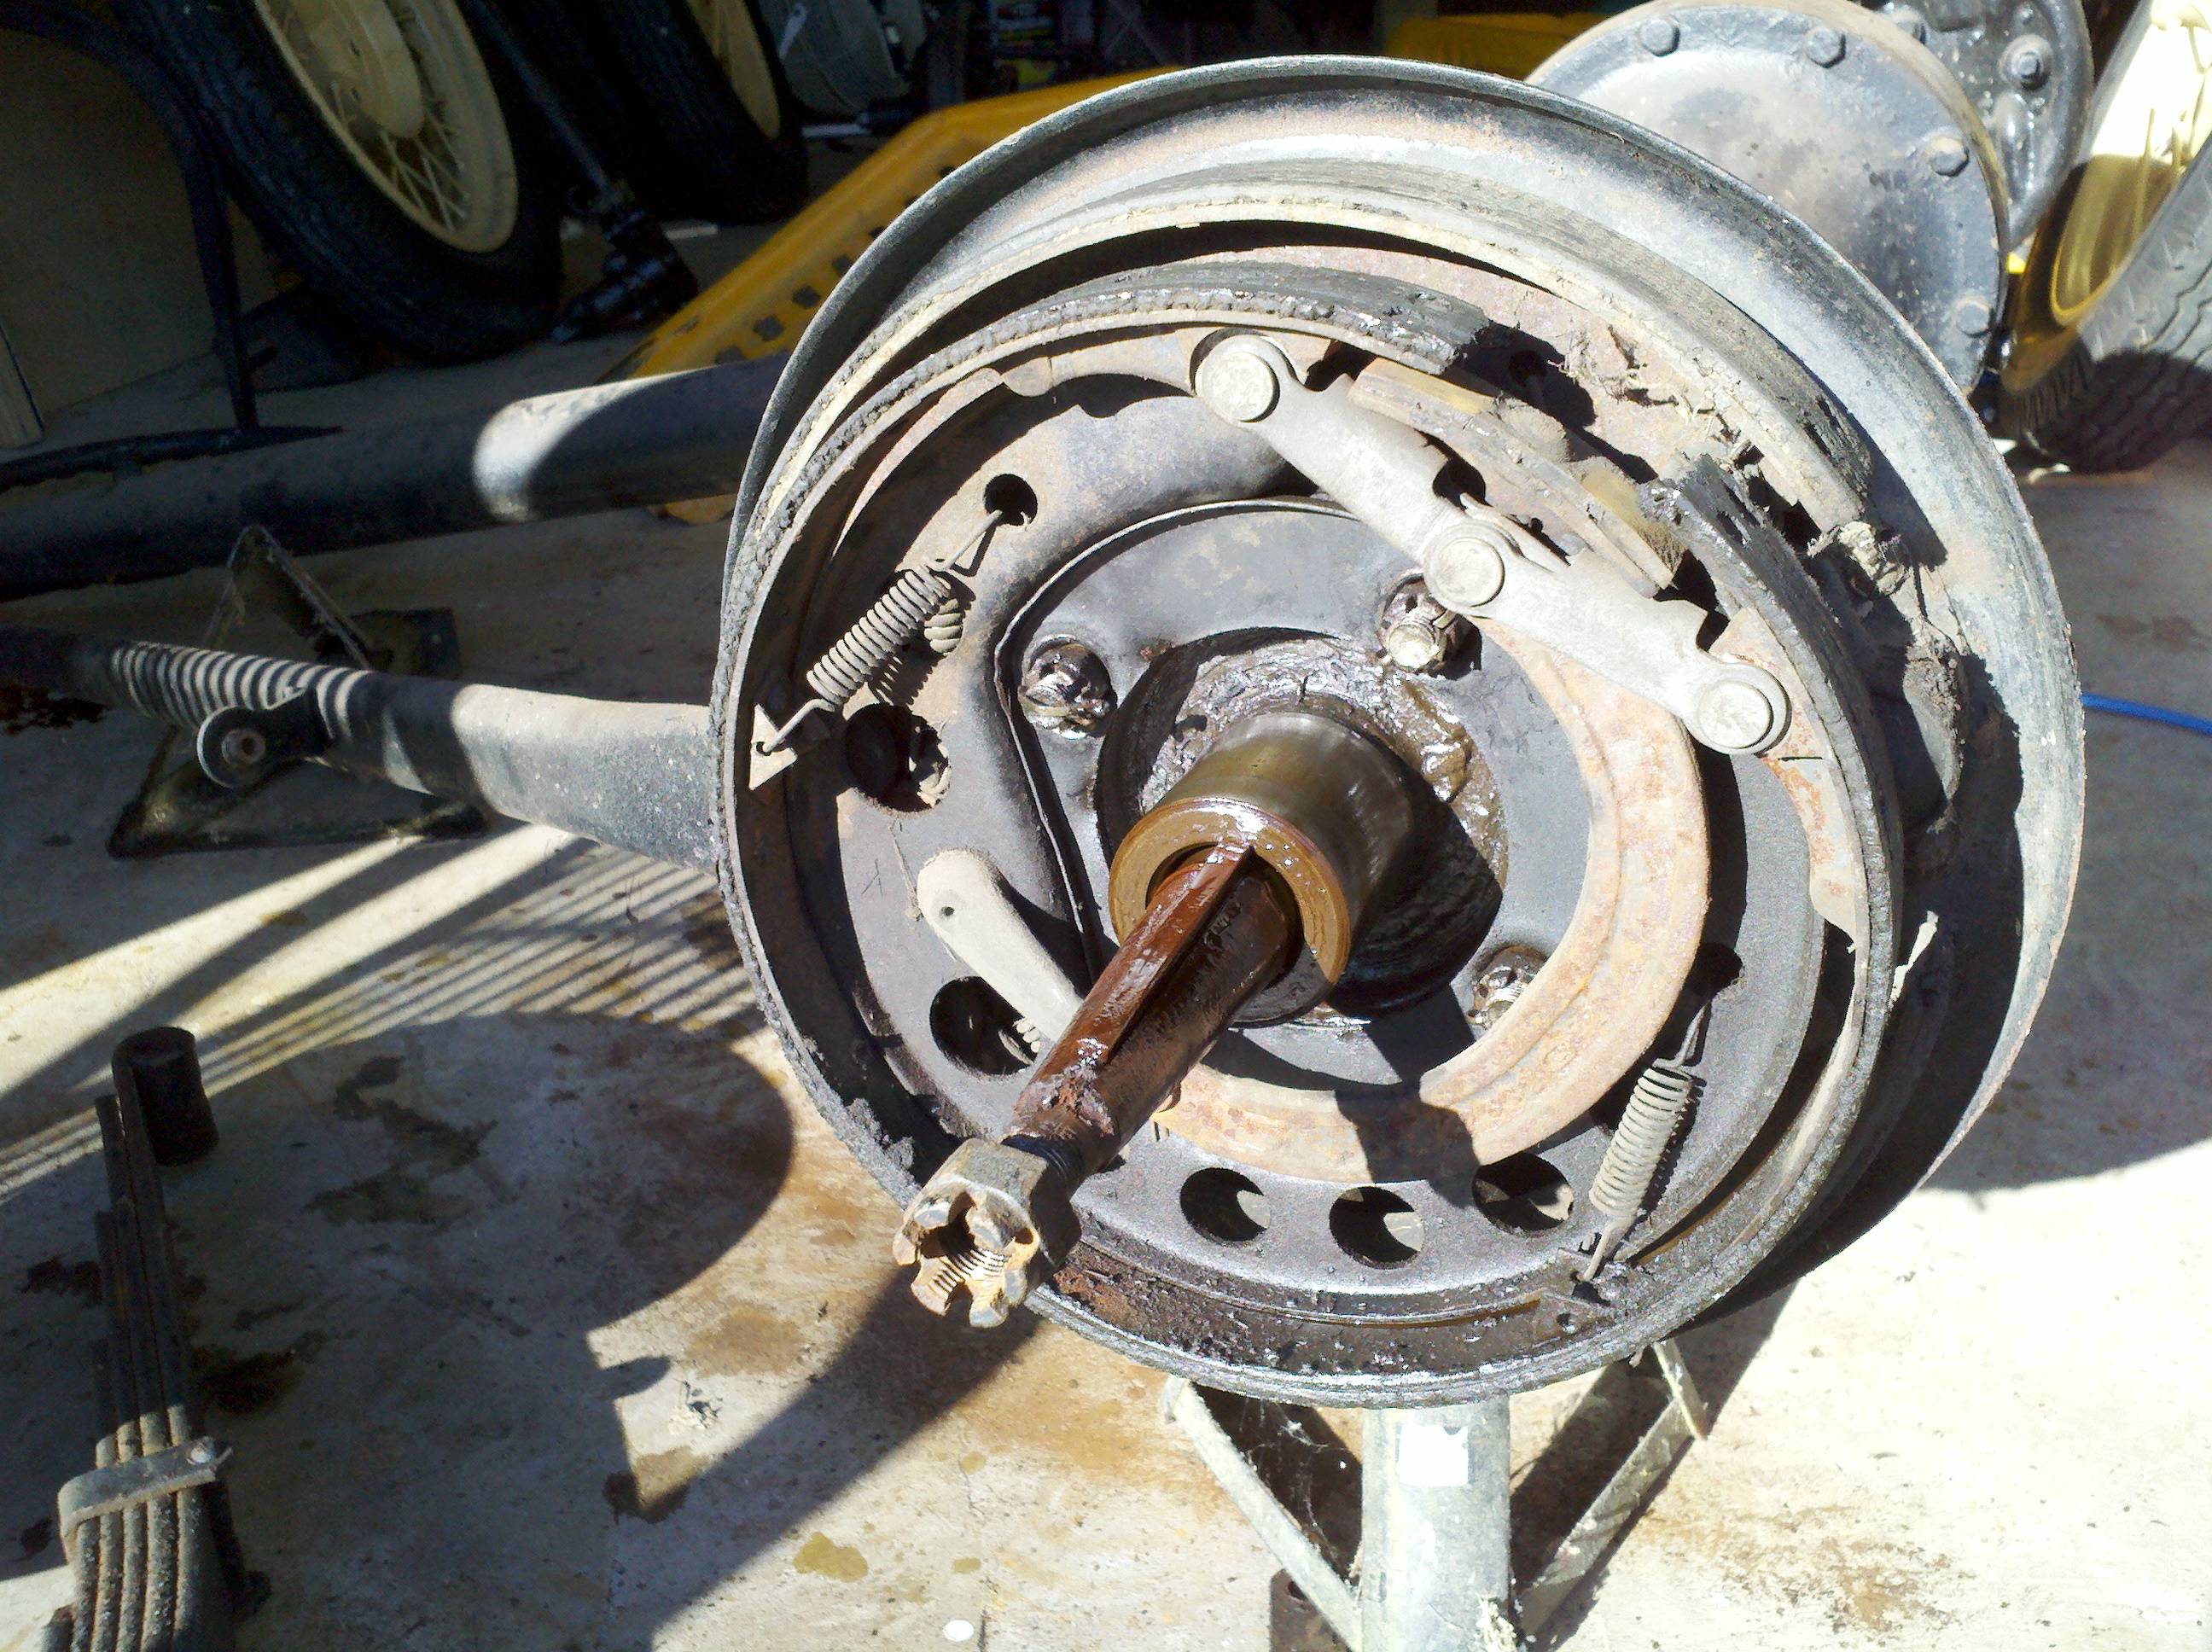
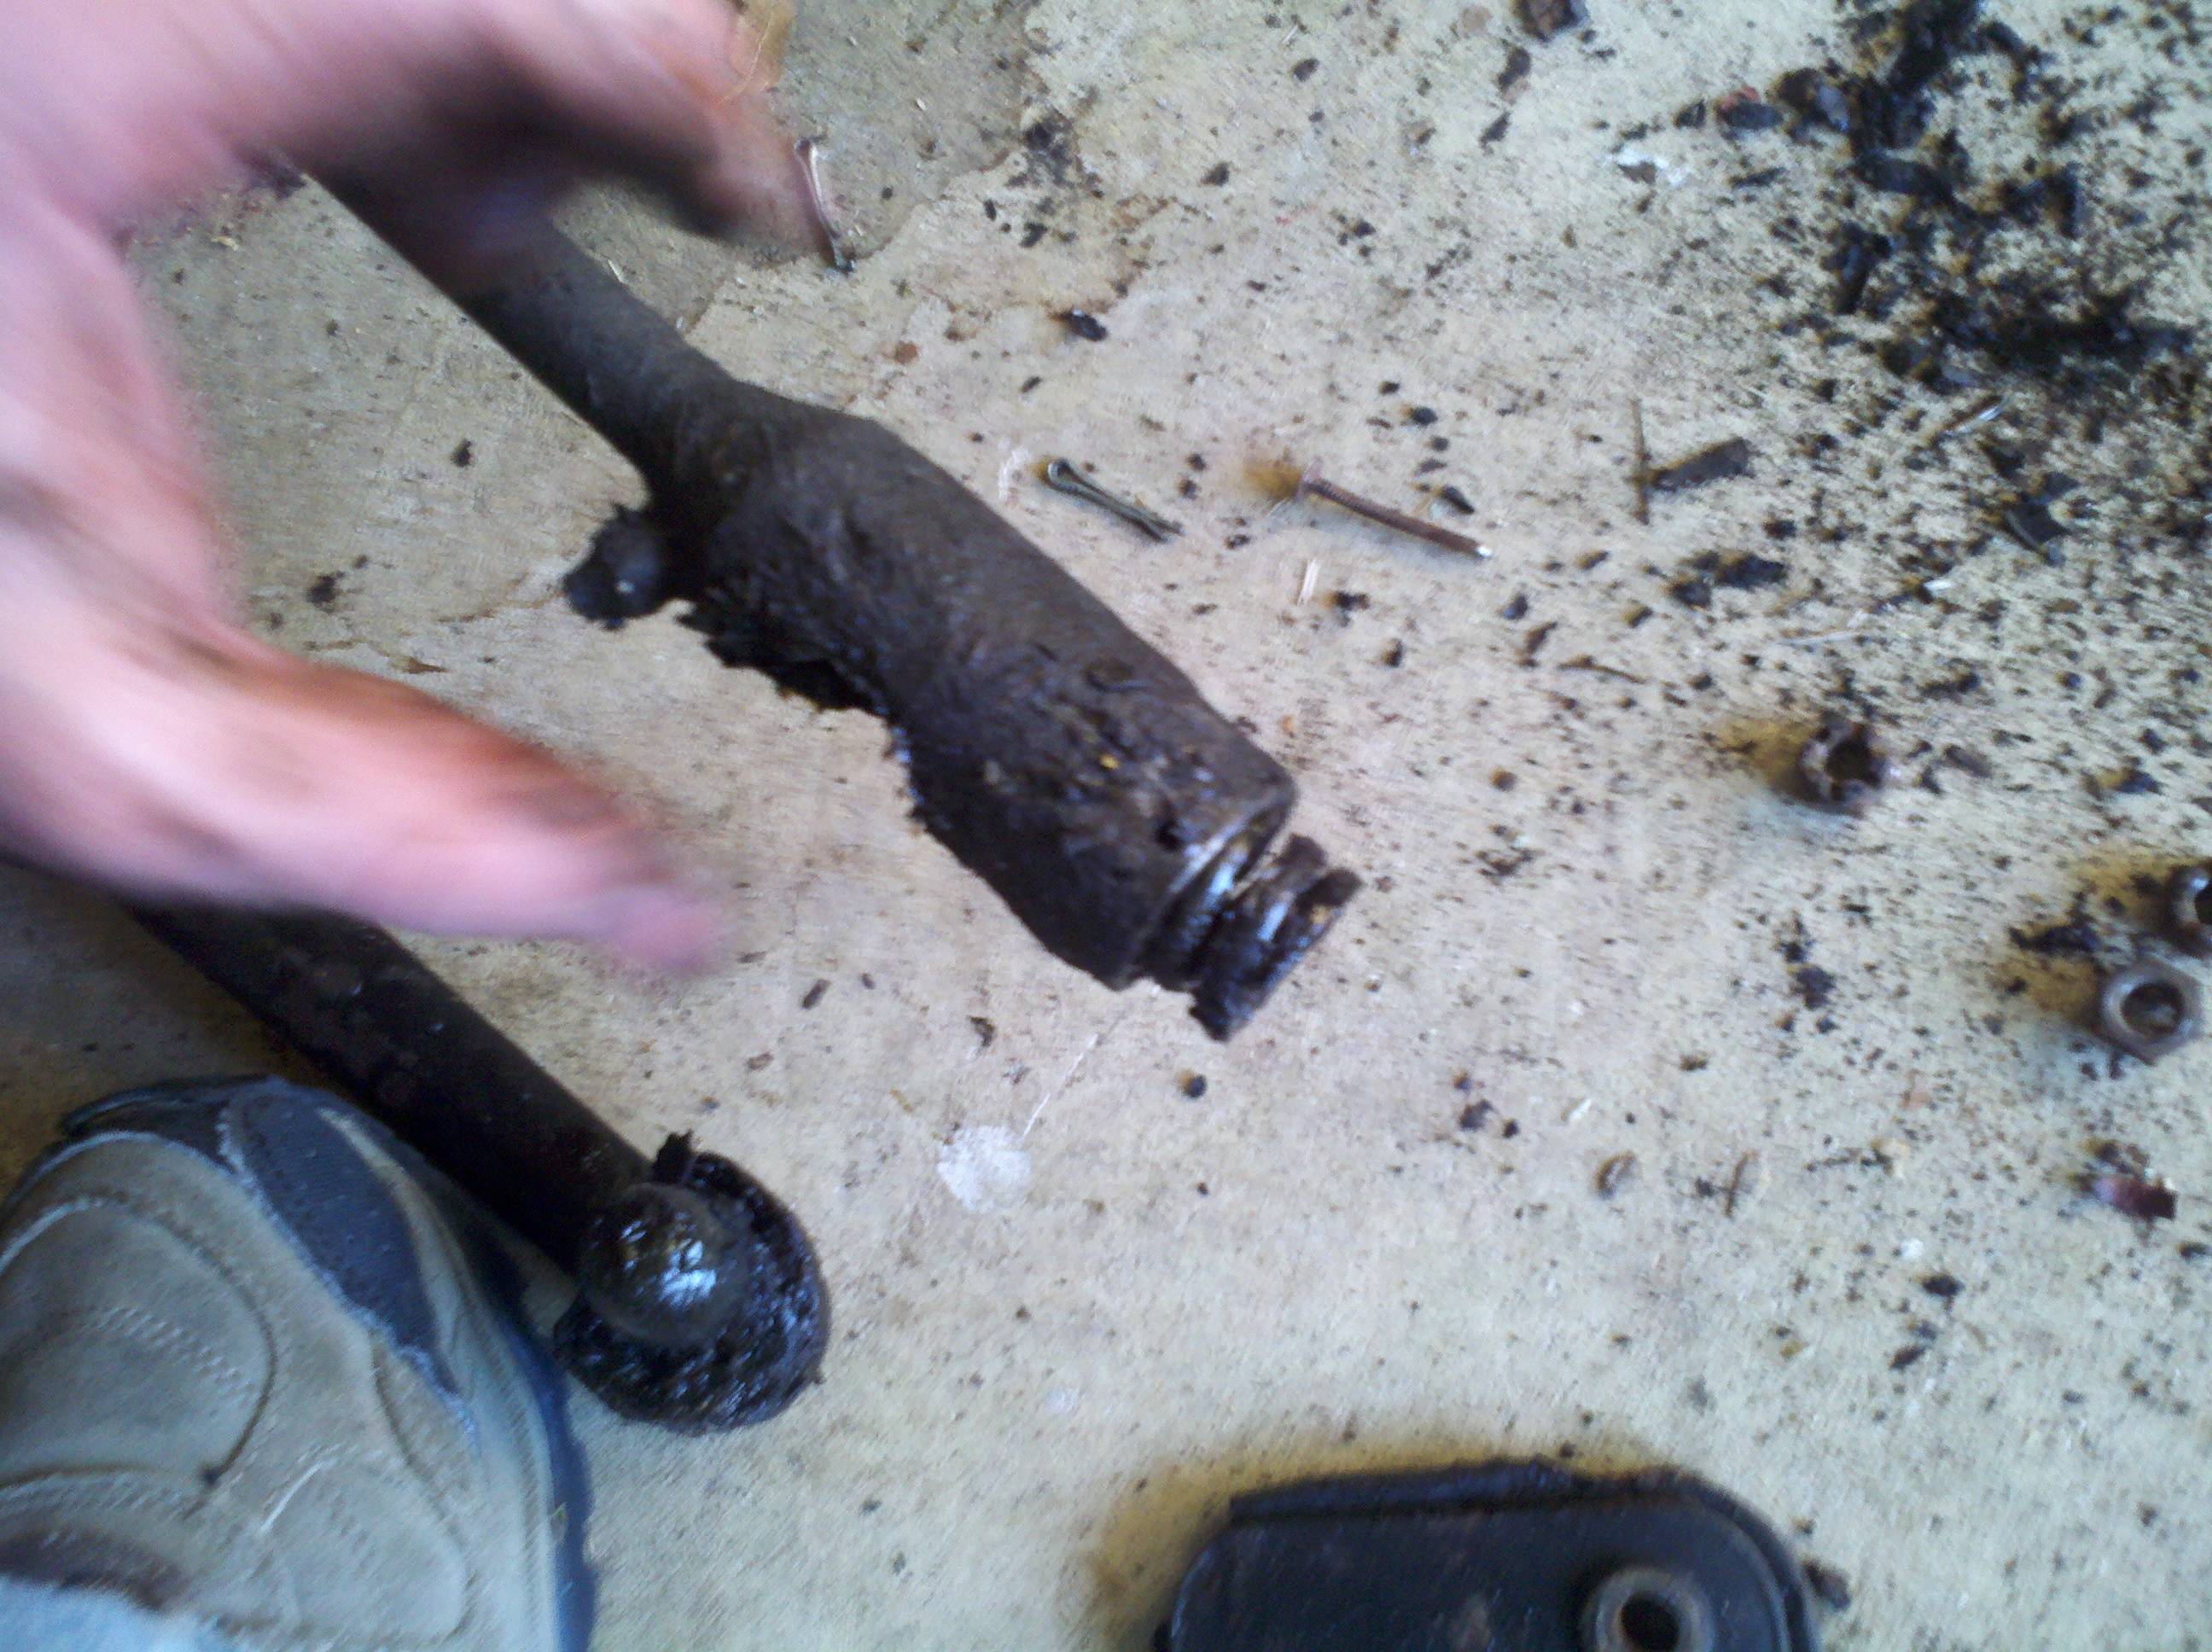
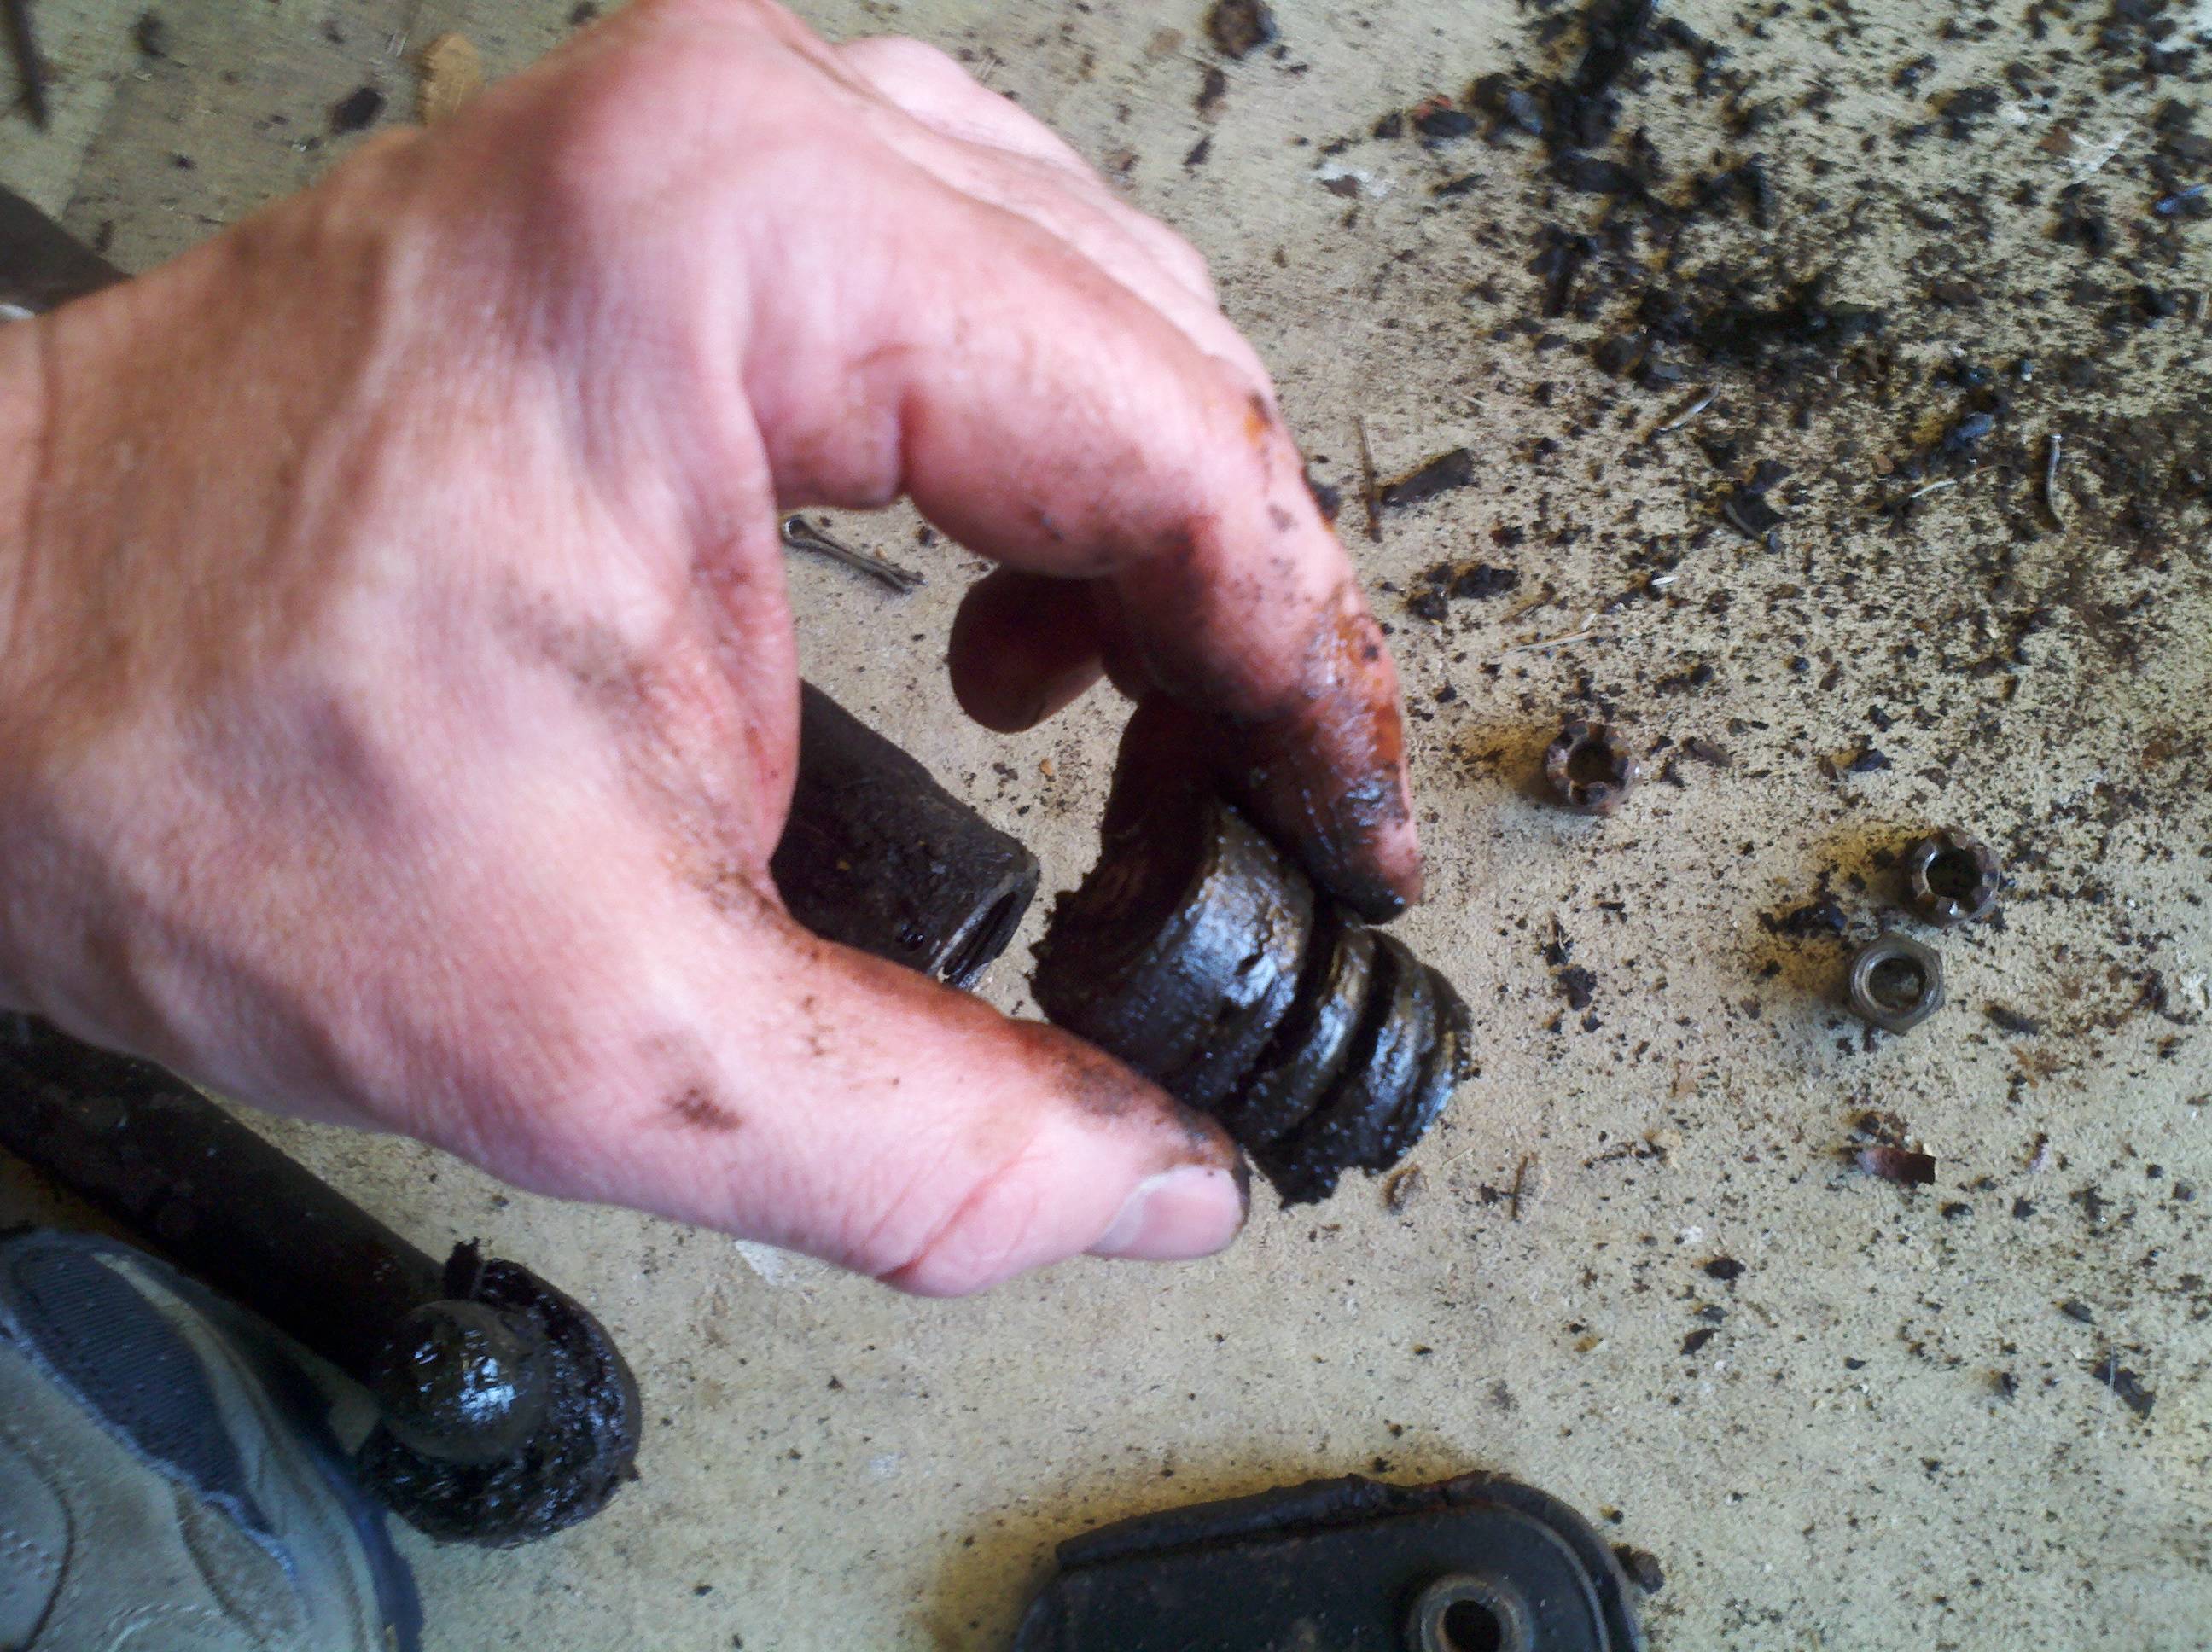
It got to be a little bit more interesting at this point... How in the world doe that linkage come out? Don't have a shop manual, so (carefully) figuring out on my own is the order of the day... On the inboard side of the backing plate, it wasn't a big deal to pull the bolt and remove the actuator rod. I was a bit surprised to find a half-moon key in there, for the rod to work against. The return spring was broken, too. A small tap of a chisel on the end of the half-moon key was enough to pop it out. Then the linkage arm slid out of its guide, and the emergency brakes were disassembled. From the driver's side. It got to be a bit more of a problem for the passenger side e-brake, though. First off, there's no brake shoe or any of the parts besides the actuator arm inside the drum over there.. Not because they're not supposed to be, though - the parts are just missing. There's someting I'll have to buy, for sure.
So that should make it all easier to come apart, right? Nope. After pulling the actuator arm loose, I discovered the bad news that the half-moon key was rusted into the actuator arm. and not just a little bit. I tried to drive it out, to no avail. Gave up on it for the night, and hosed it down with Kroil. I came back a couple different times through the rest of the week, and gave the key another few taps, and then soaked it again with either Kroil or WD-40. A couple days into this, I pulled out a propane torch and heated it up a skosh. The key still wouldn't pop out, but it seemed to help the rust soak up some more WD-40. The next day, I pulled out a bigger chisel, and gave it a couple of hefty whacks. The key popped right out, and the actuator came free. I didn't take any pictures, but the passenger-side actuator shaft looked to be in much wore shape that the driver's side. It's probably still serviceable, but I might look into replacing it.
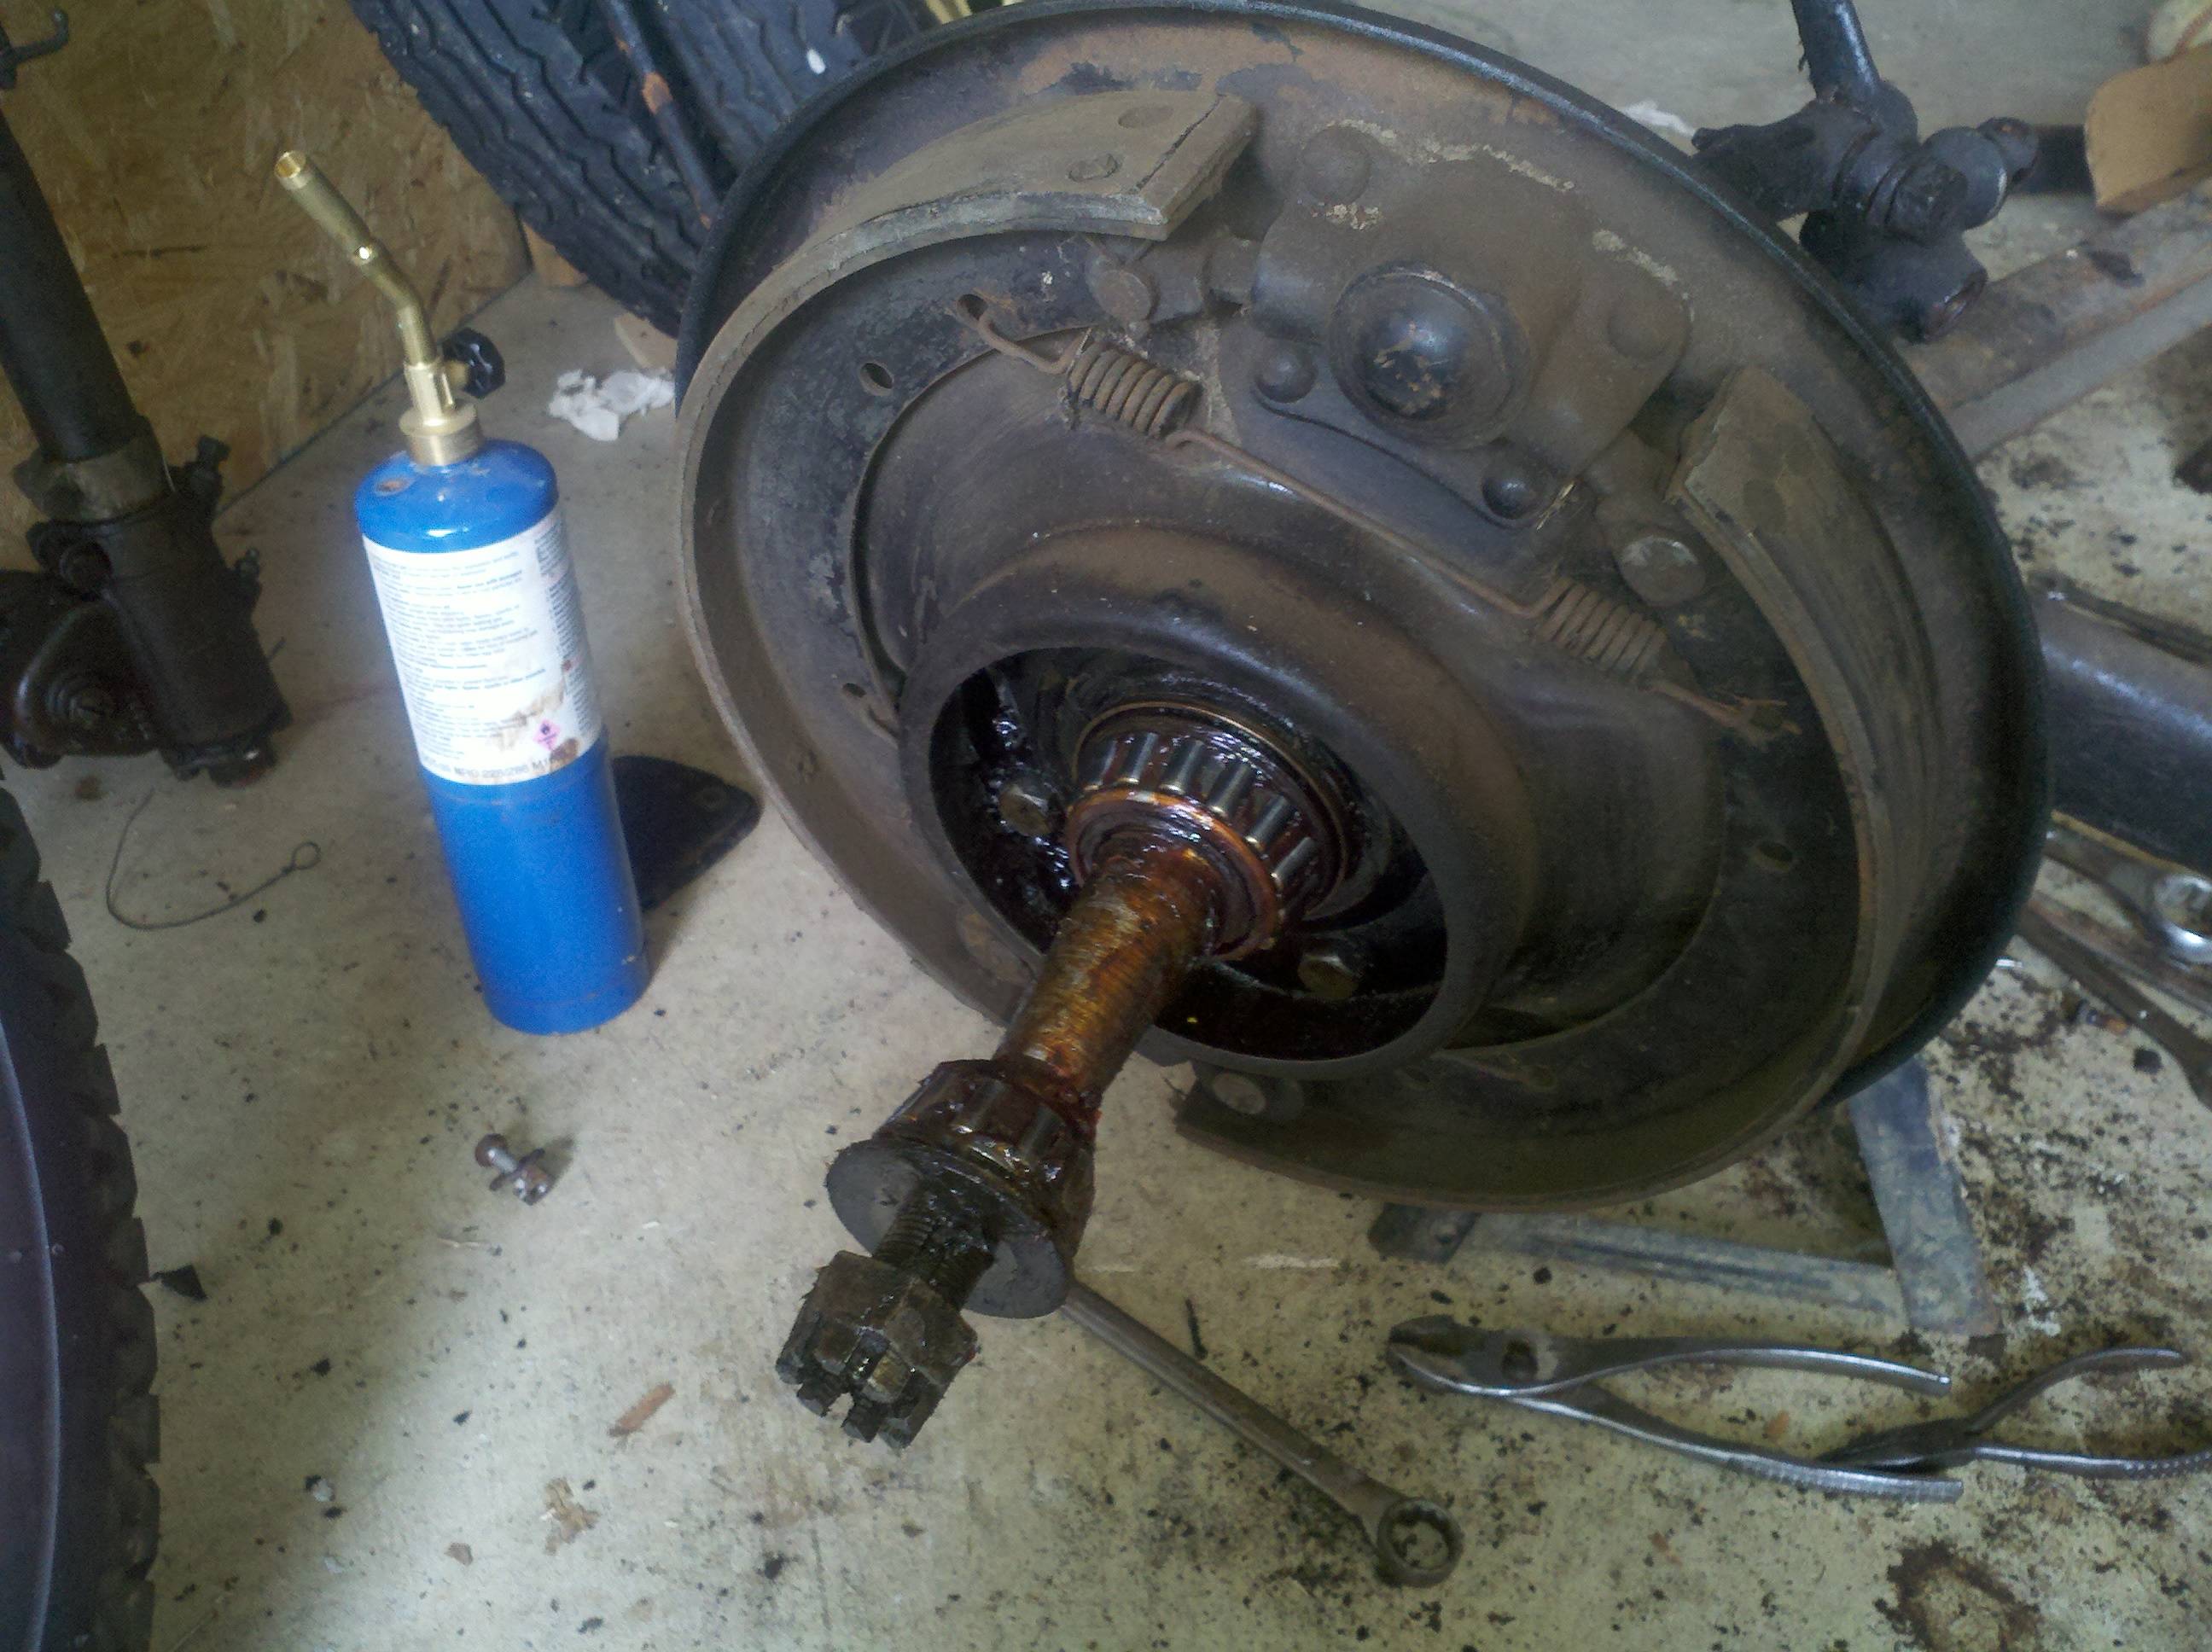
So, there we were, havin 'nother nice day in Maryland. Looked to be a good time to work on the truck! Today started with removing the backing plates from the rear end. This didn't look to be too hard, and it turns out it wasn't. There was a lesson learned, there, though - remove the radius arms first! There's four largish bolts that hold the backing plates and grease baffle onto the rear end. The hardest part of the whole deal was getting the cotter pins out of their castle nuts. In fact, I've been using an nold set of needle-nosed pliers that belonged to my dad, and darned if the tips didn't break off while I was pulling them, dagnabit! I guess I need to buy a new pair. D'oh.
Anyhoo, once the cotter pins were loose, the backing plates (with brakes attached) came off pretty quickly. Certainly no more than ten minutes per side. I learned on the driver's side that the backing plate won't come off with the radius still attached, as the actuater lever arm is in the way. Those arms, by the way, look to be pinned - that means that I'll have to take a drill or a grinder to them to get them off. Not quite willing to go there, yet, until I'm sure of the "how." I might need to get my vice set up, etc...
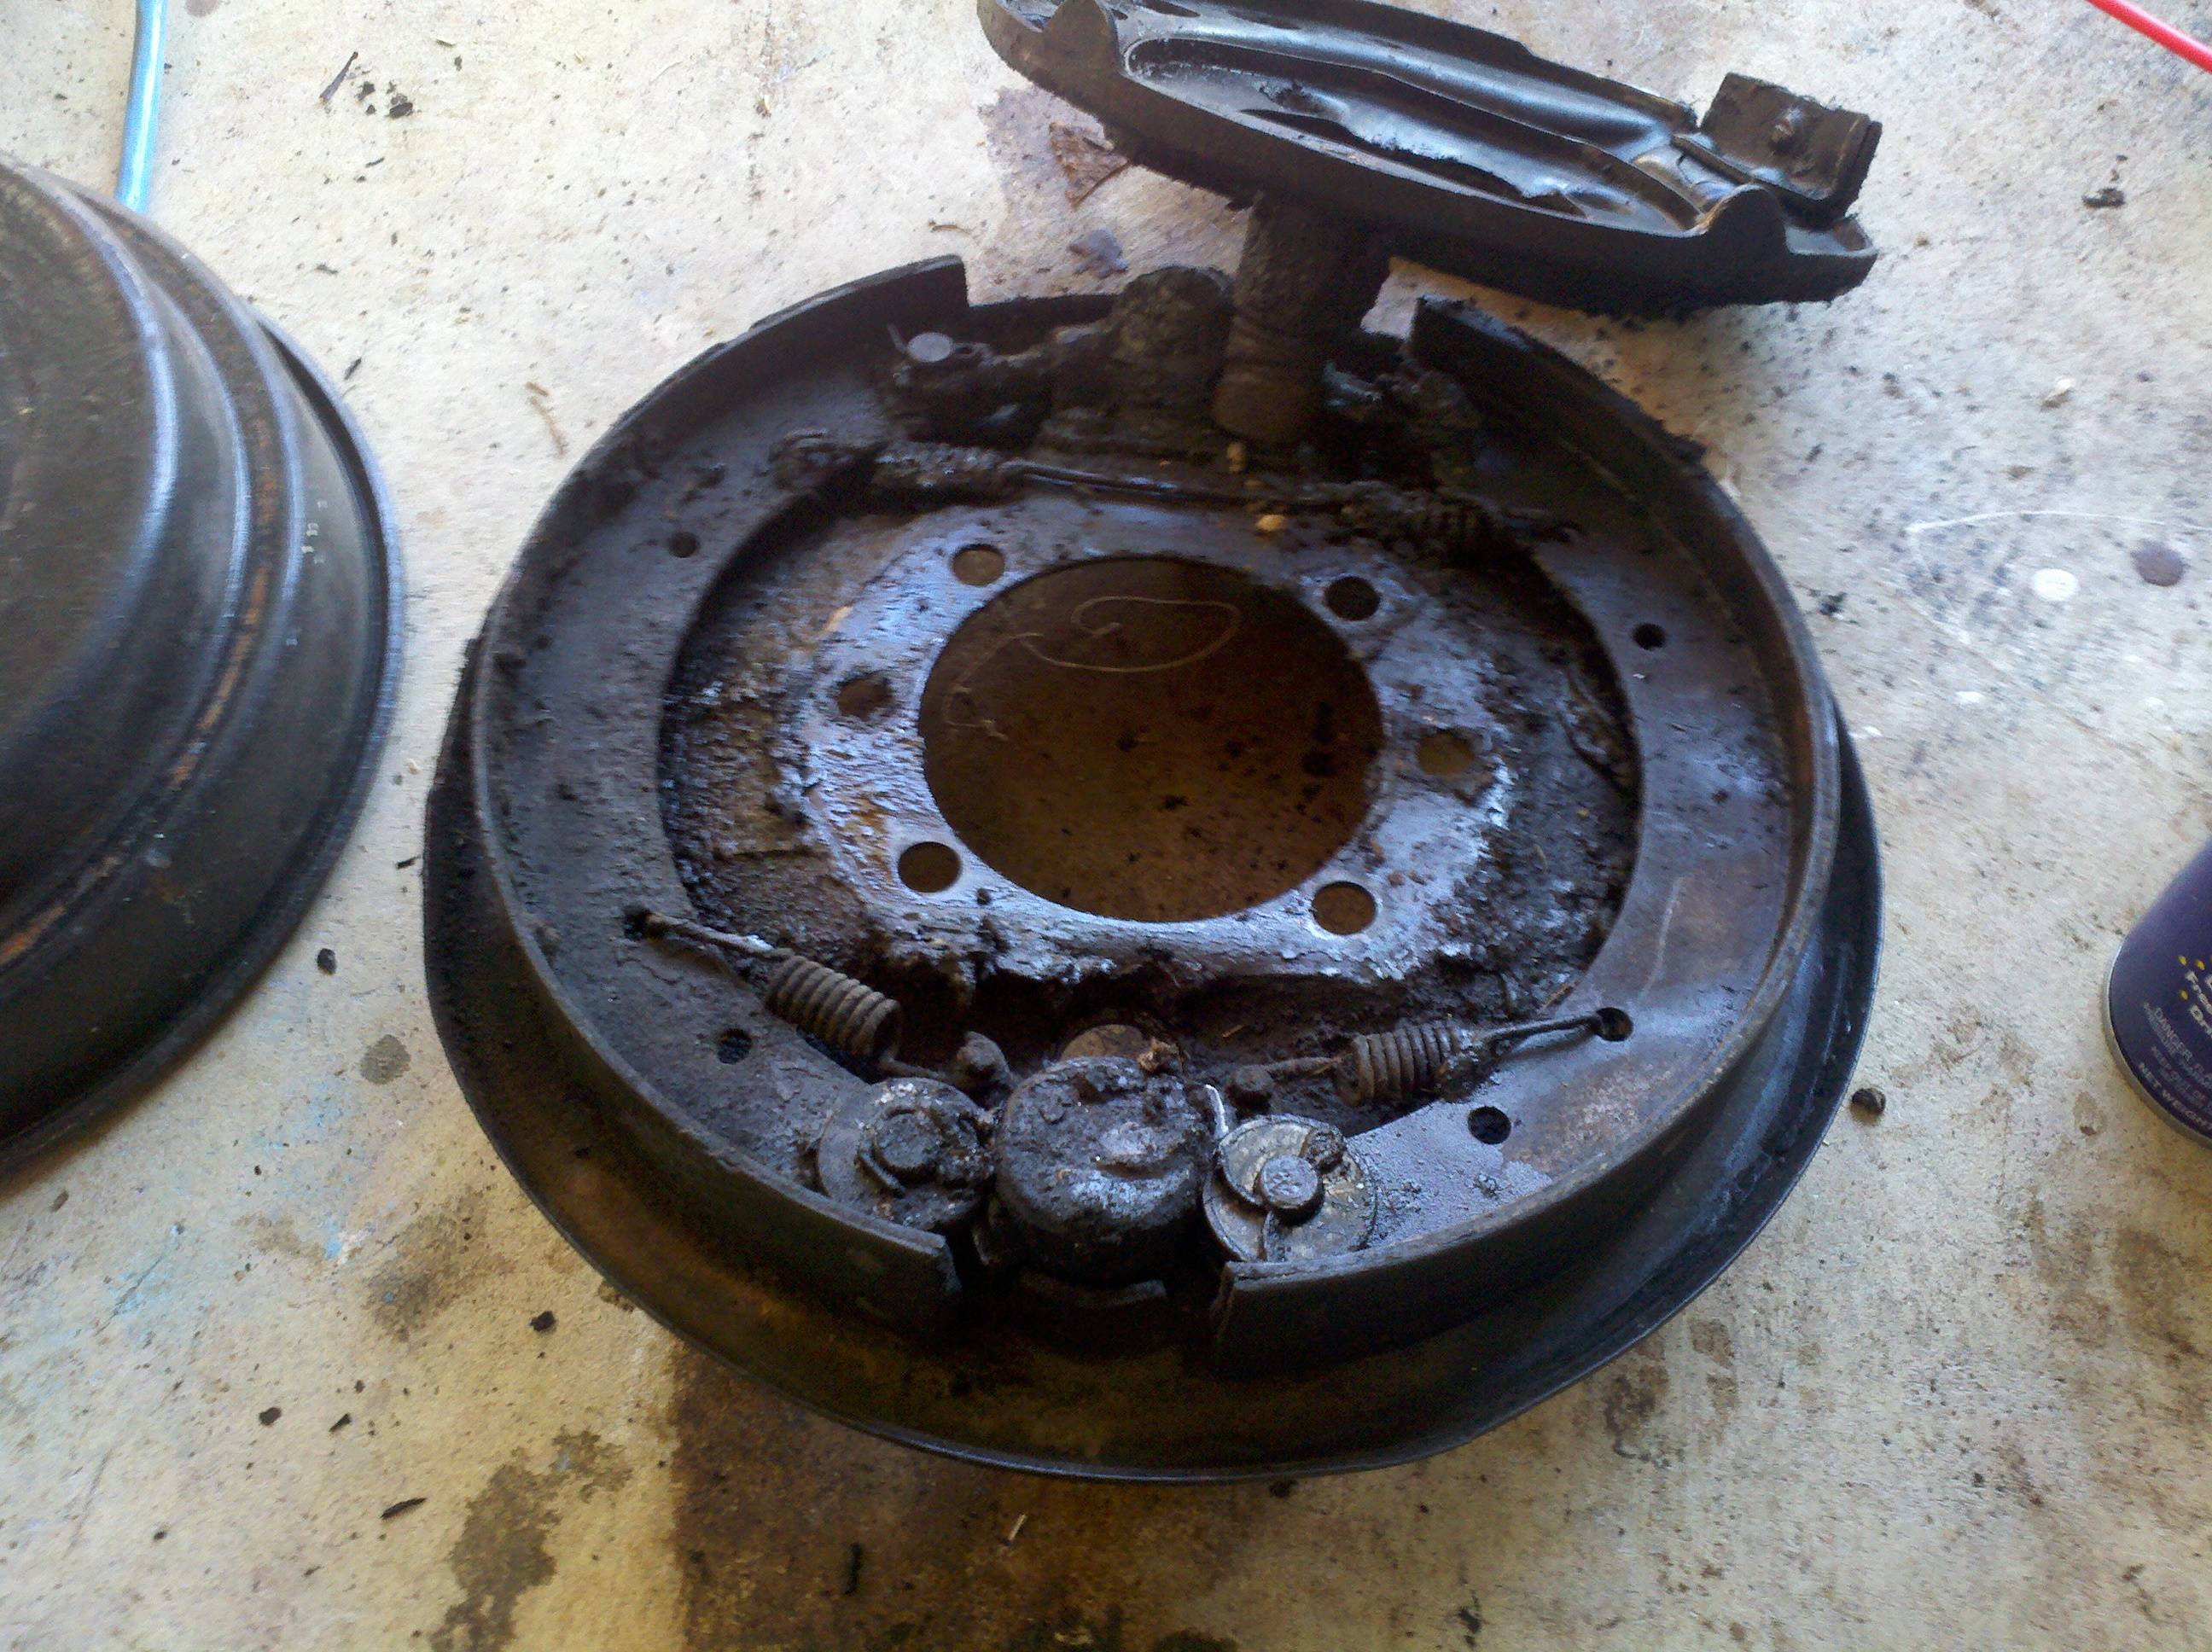
Once I got the backing plates off, I decided to start tearing down the rear brakes. I think this may have been easier to do while everything was still attached to the rear end. Hindsight being 20/20, though, I guess that's something to file away for the future.
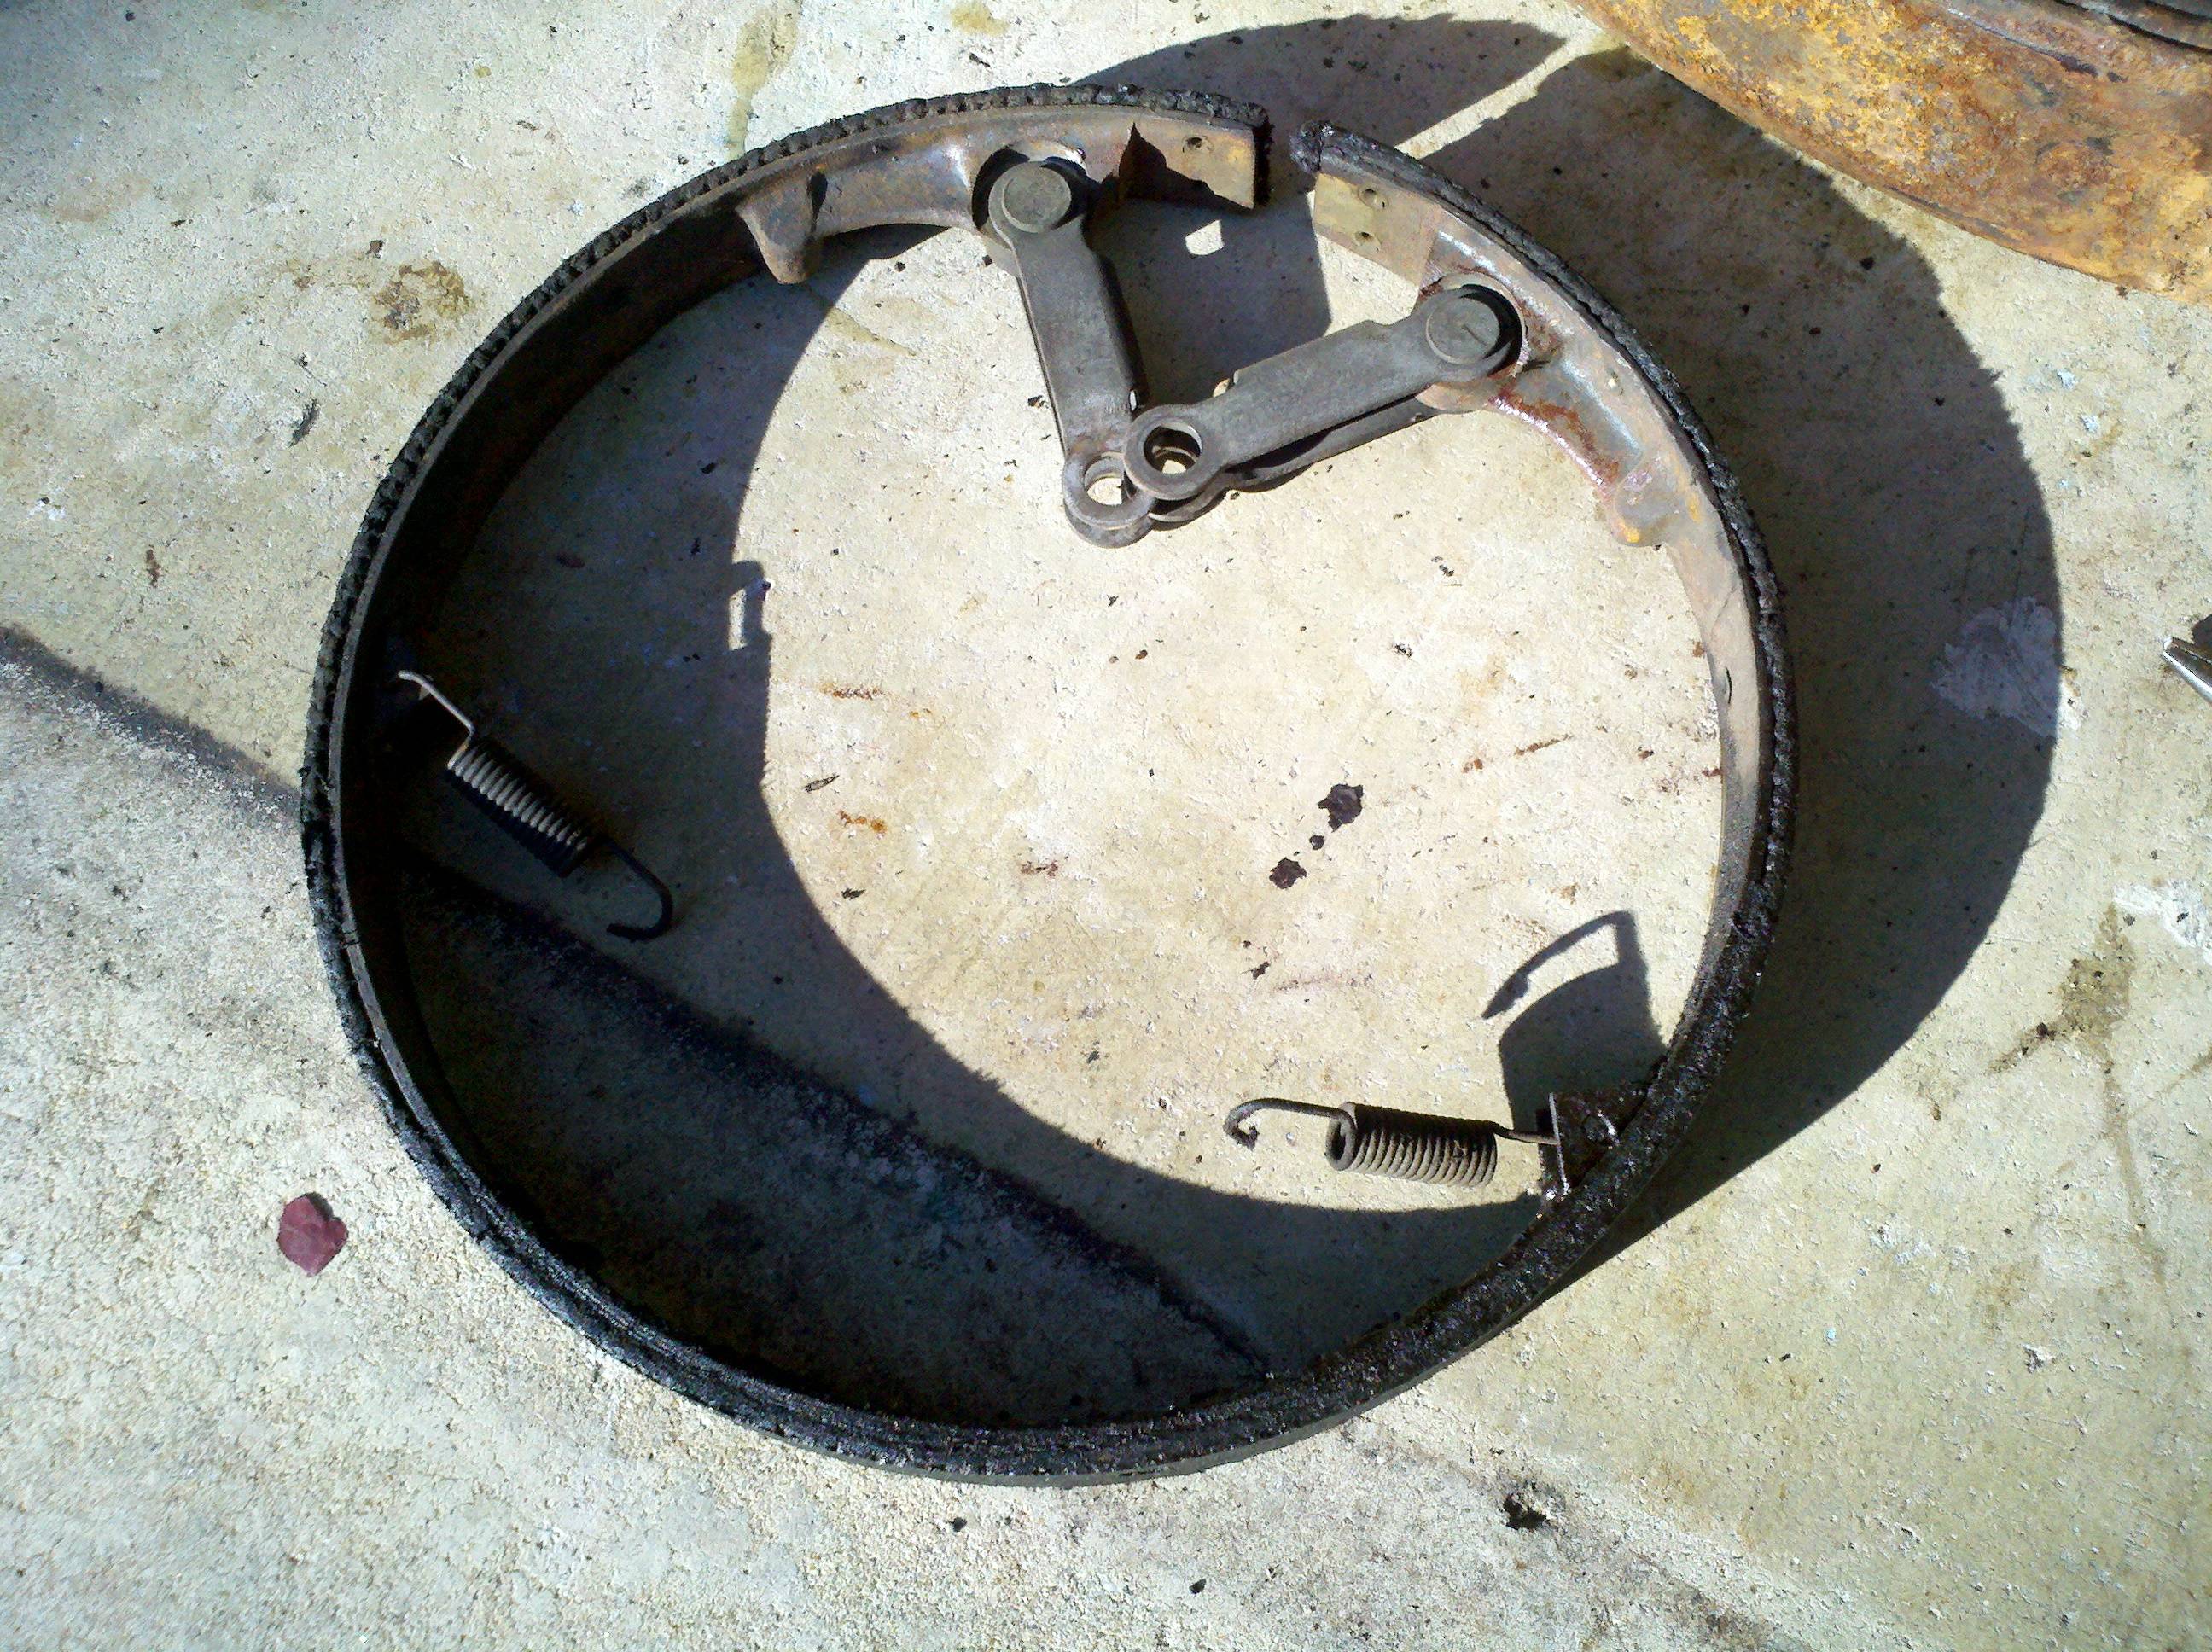
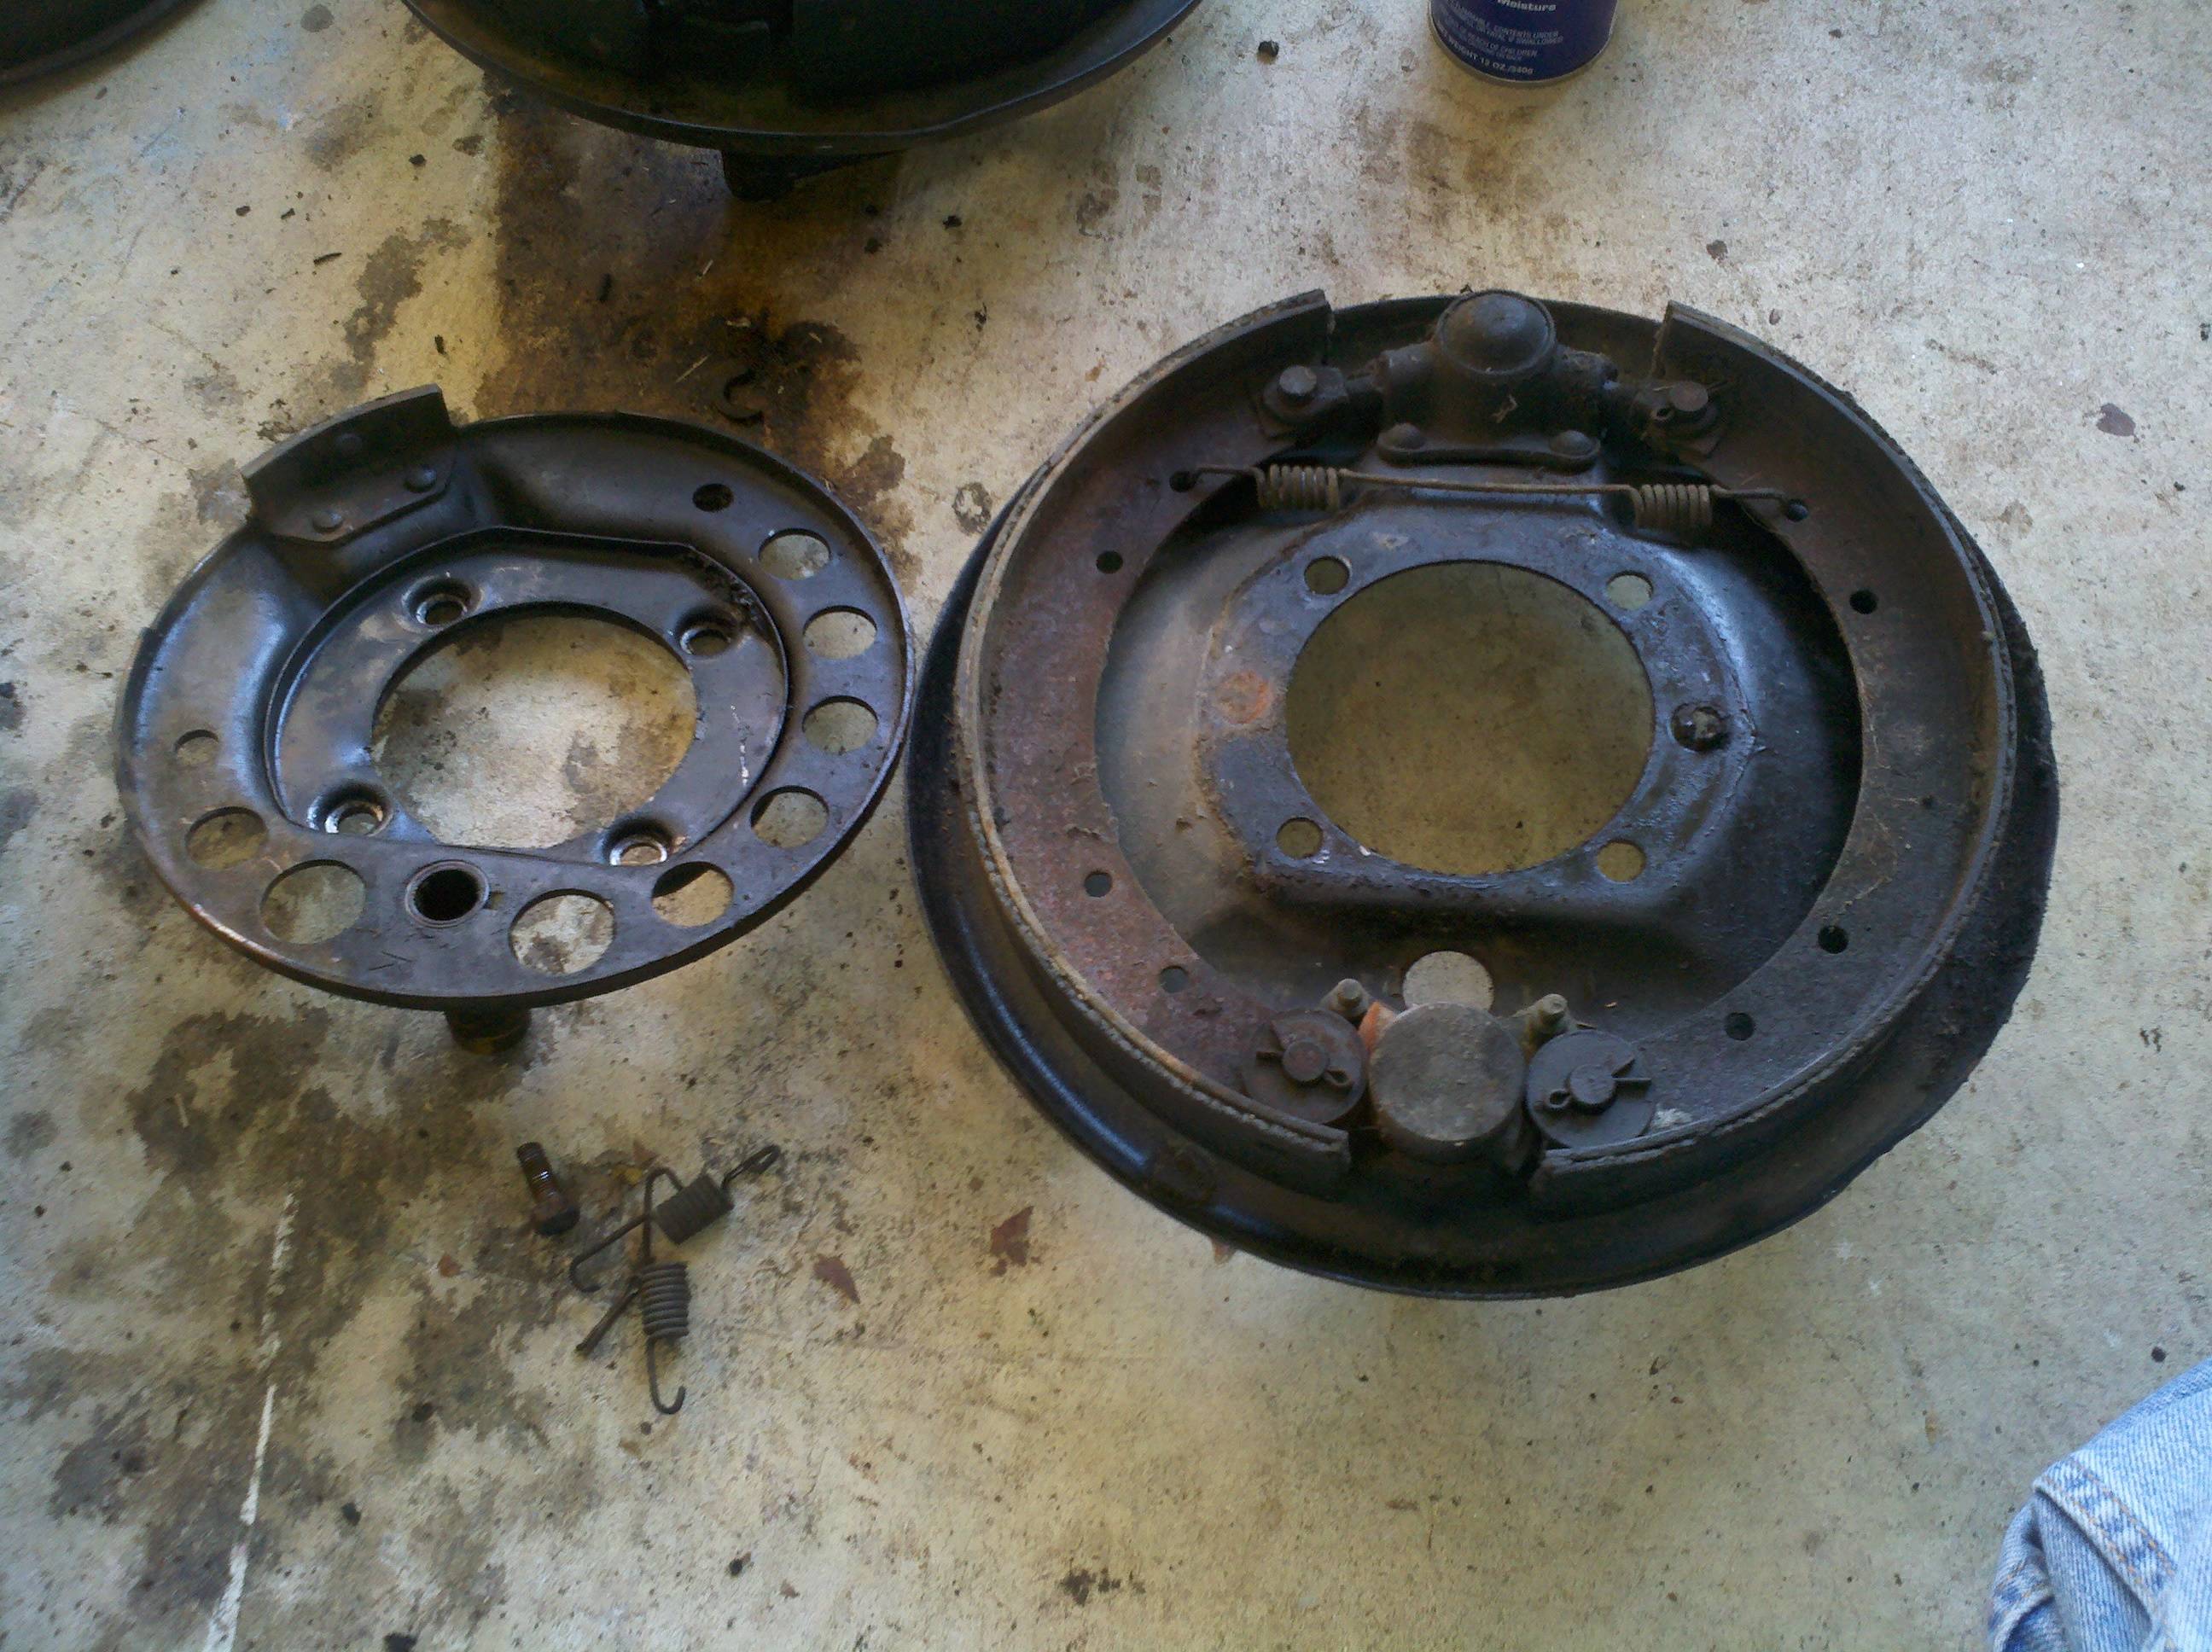
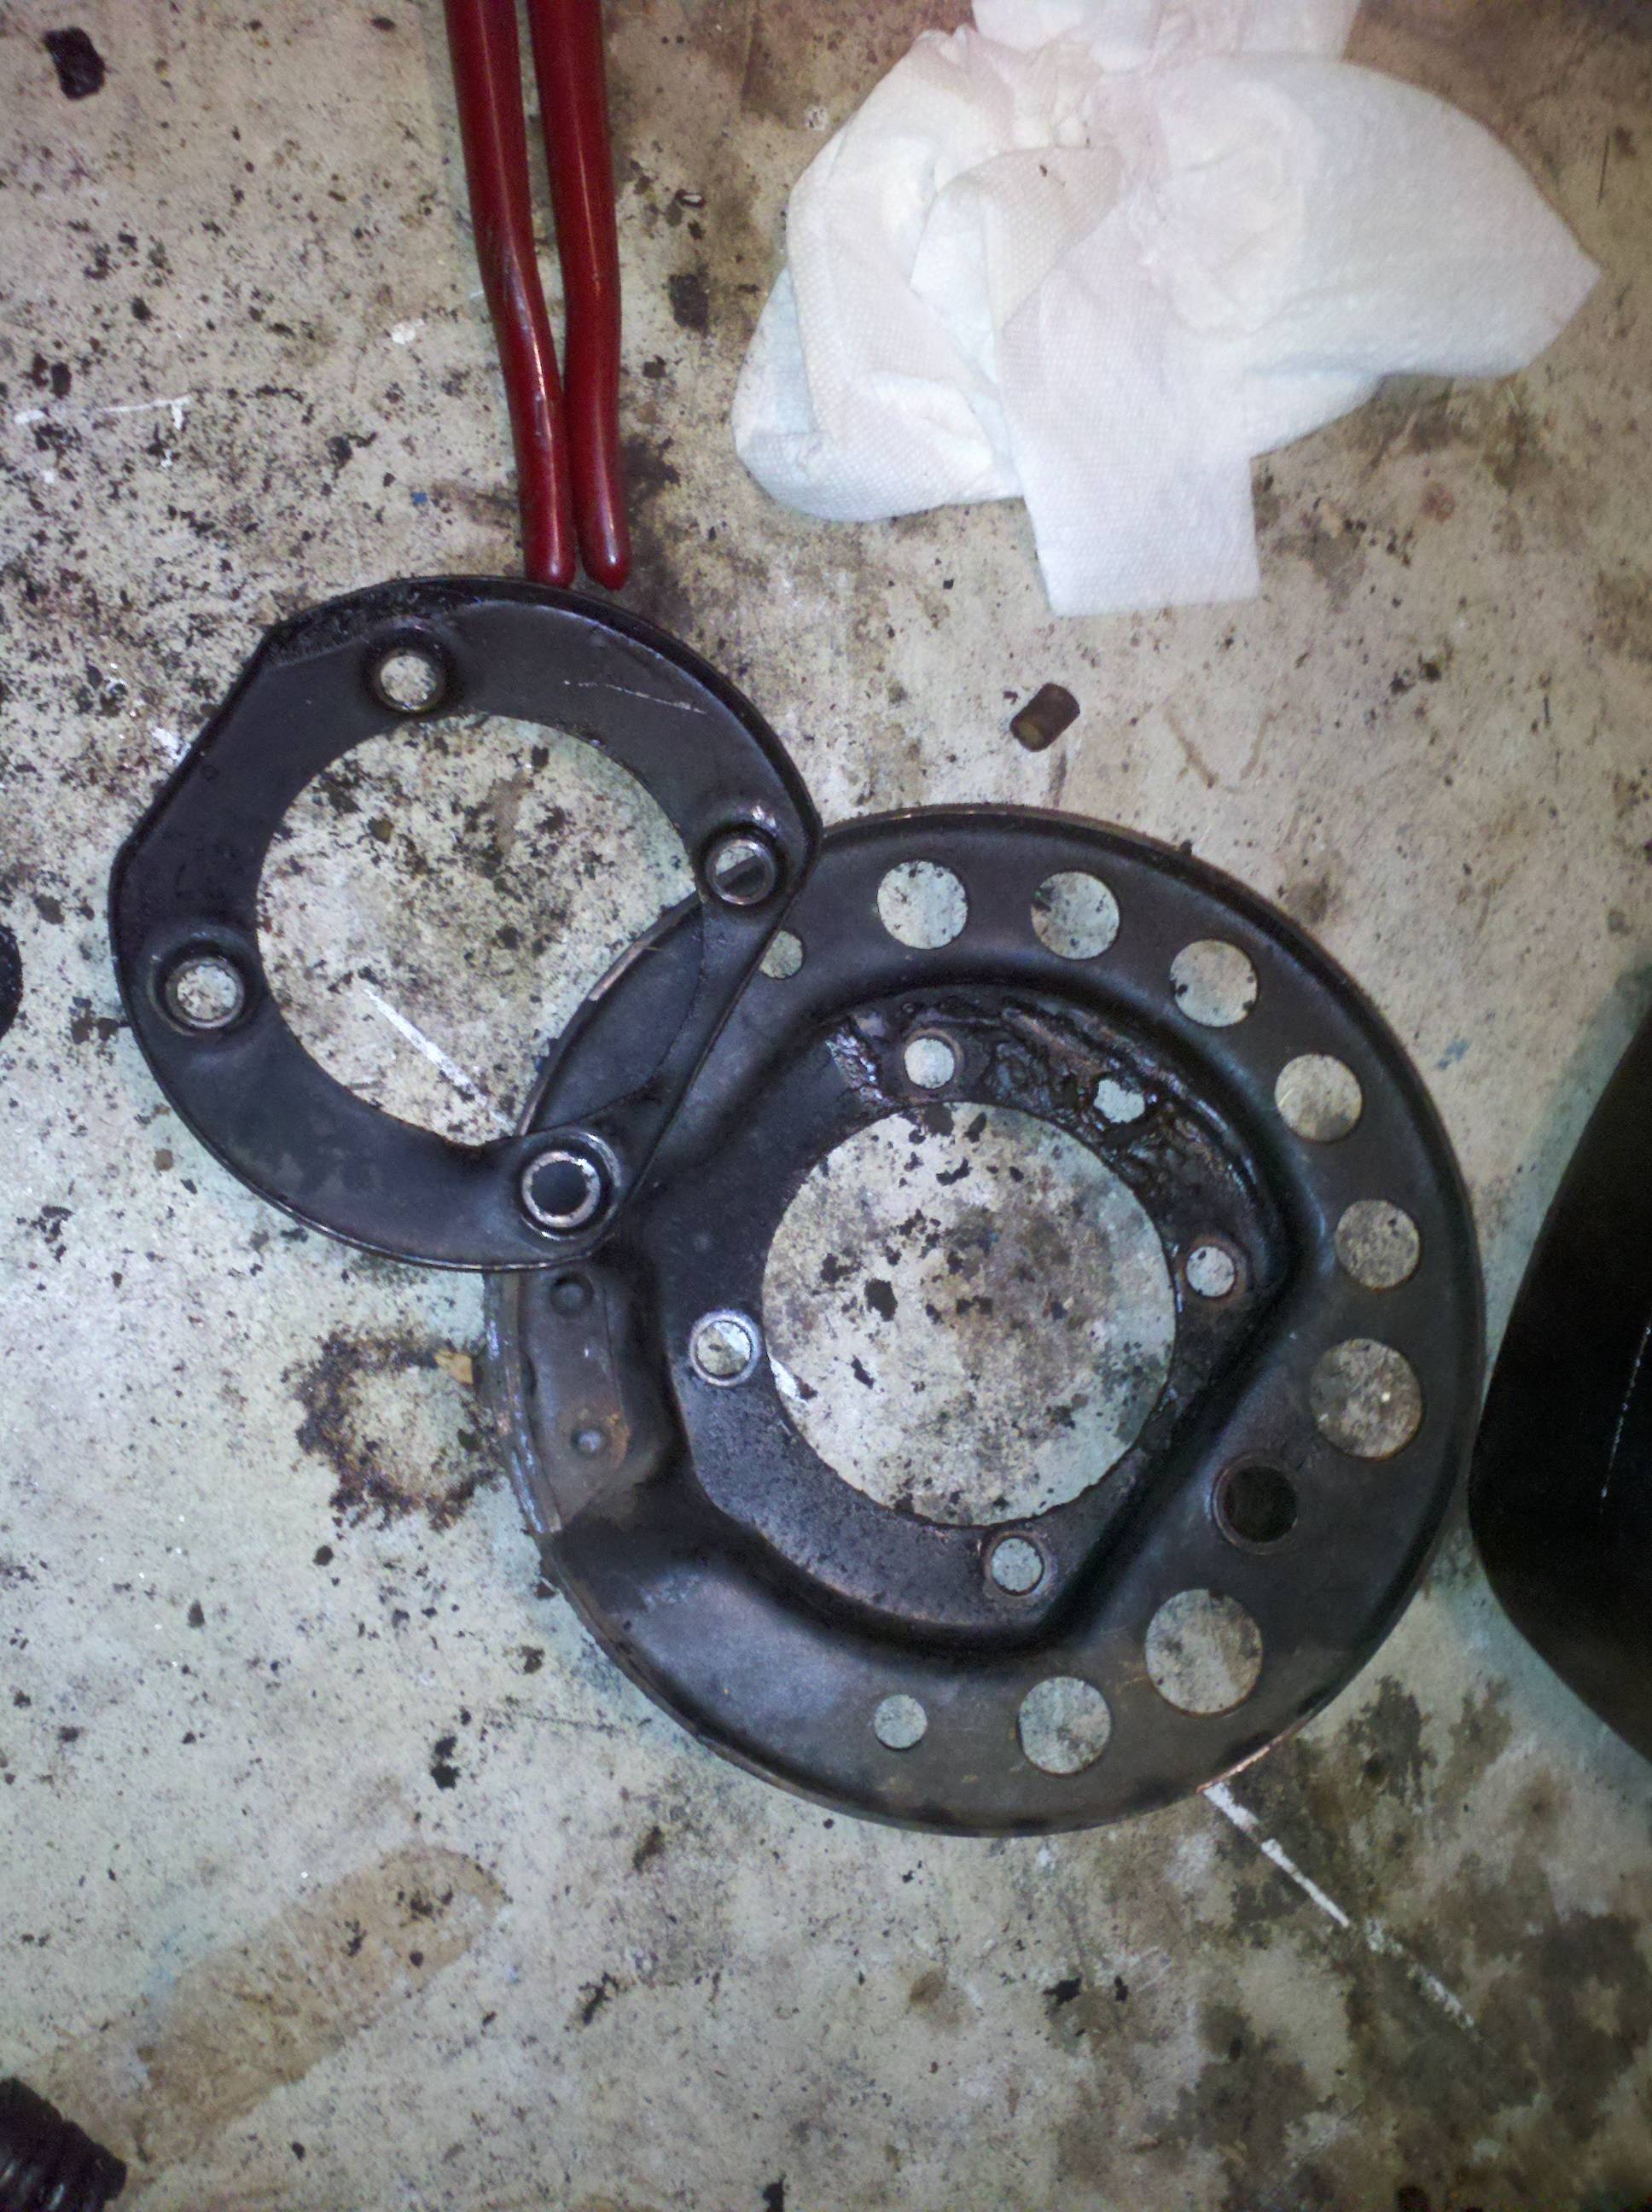
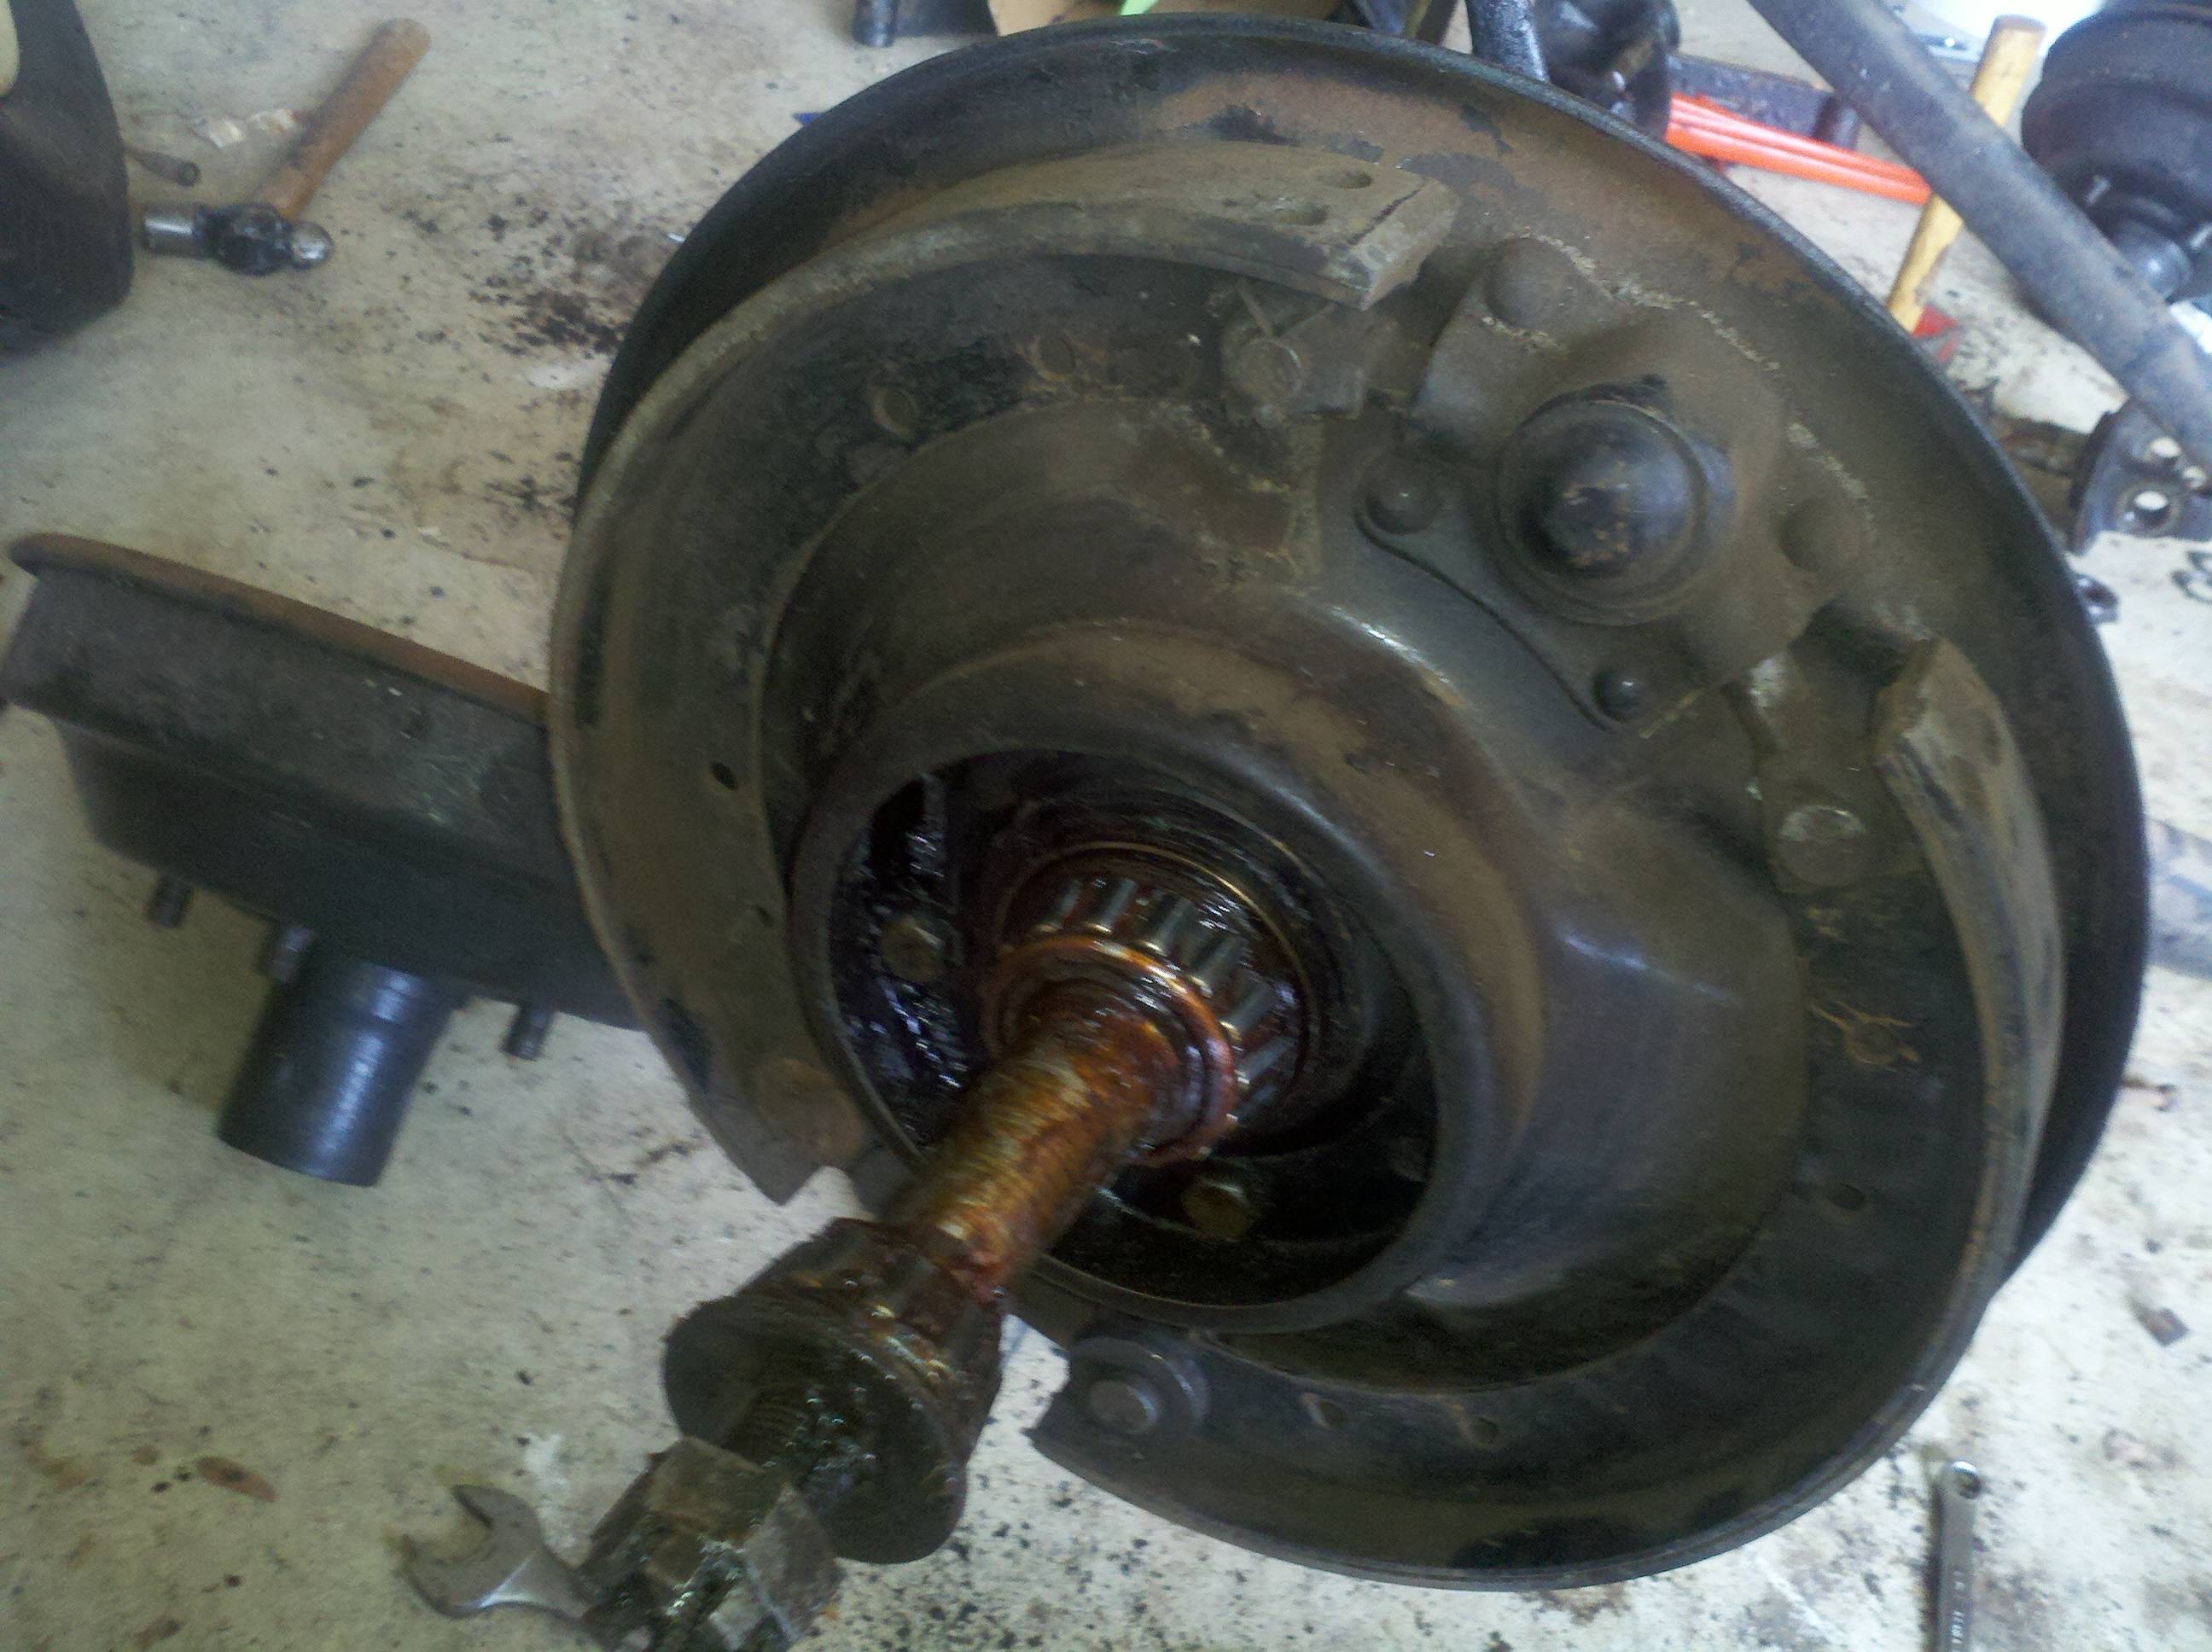
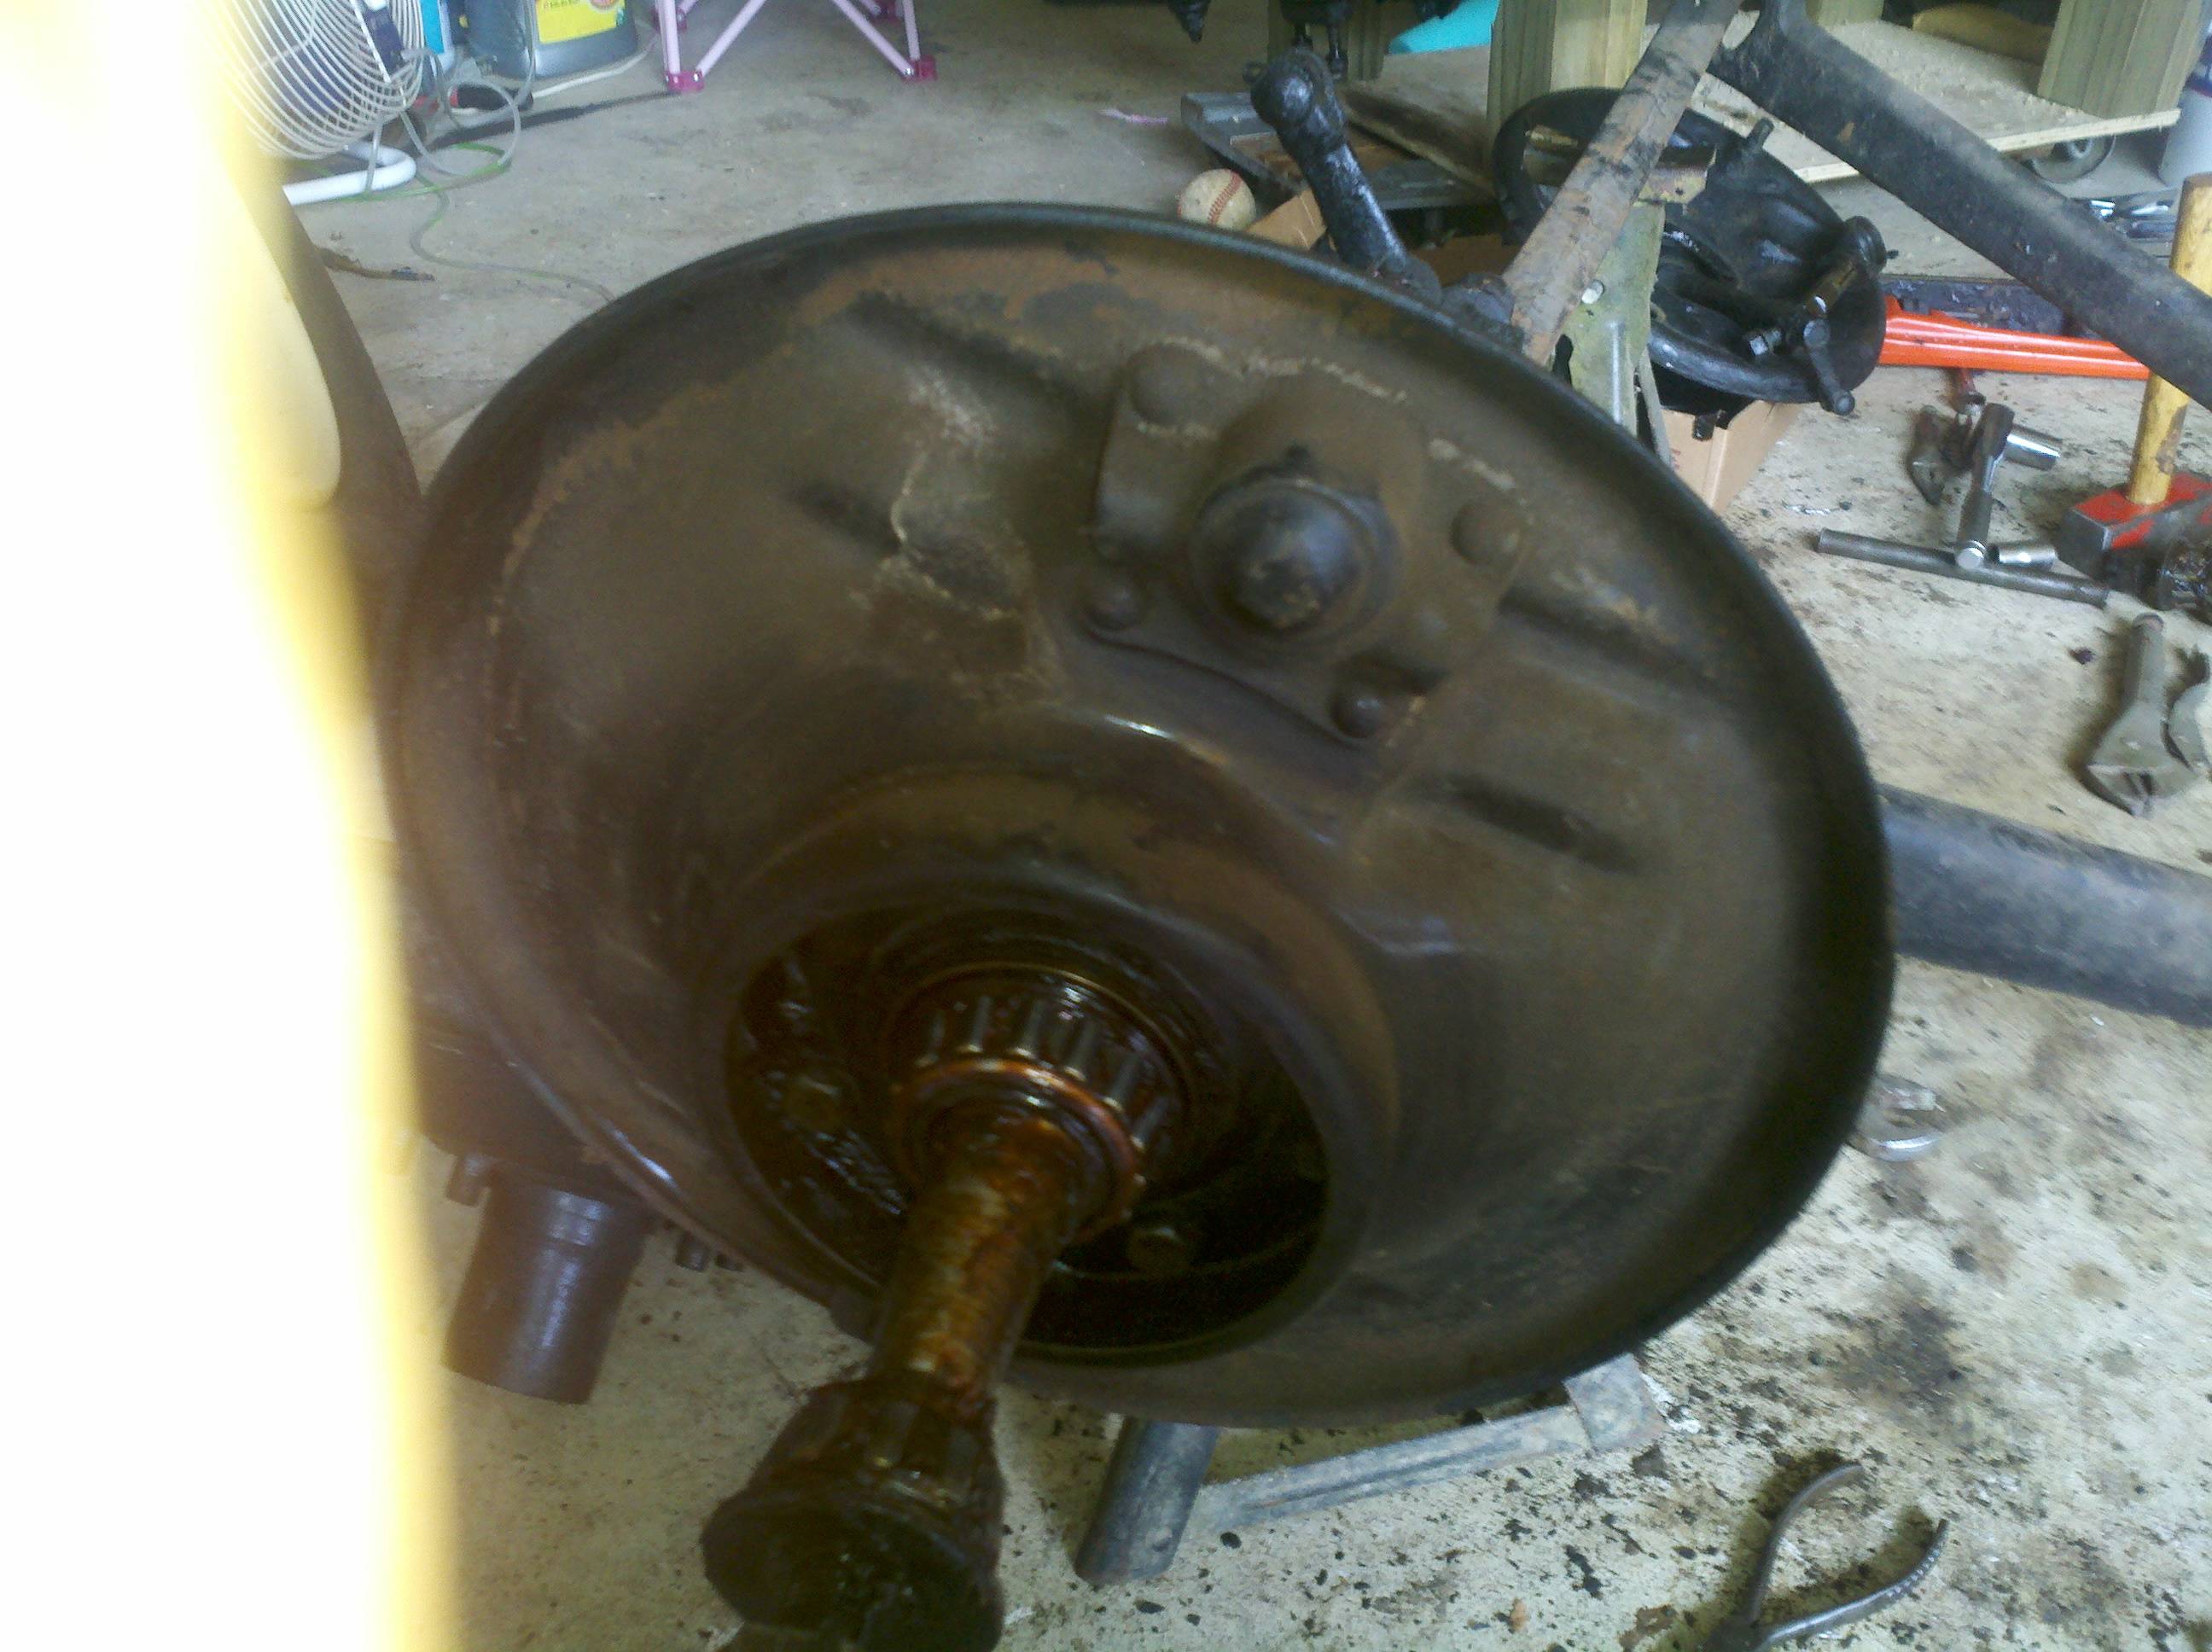
The E-brake mounting plate and grease baffle are held in place by the bolts that hold the backing plate on the rear end. Once the backing plate was removed, these two parts rotated easily about the E-brake actuator guide tube, and popped right off the rest of the assembly, leaving me with pretty easy access to the brake shoes. Notice from the pictures, that one side looked fairly clean, and the other was chock full of grease. I'm contemplating buying a solvent sink, now... It sure would make life a bit easier in cleaning some of this stuff up.
Getting the brake shoes loose was a little problematic. At this point, I'm glad I had the E-brake assembly out, as those were some really tight springs, and access to them wasn't real good. I got the shoes off and started dorking around with getting the adjustment clevises off the pads, and I just had to give up on them for the day. Talk about a pain in the rear, they just didn't want to come off...

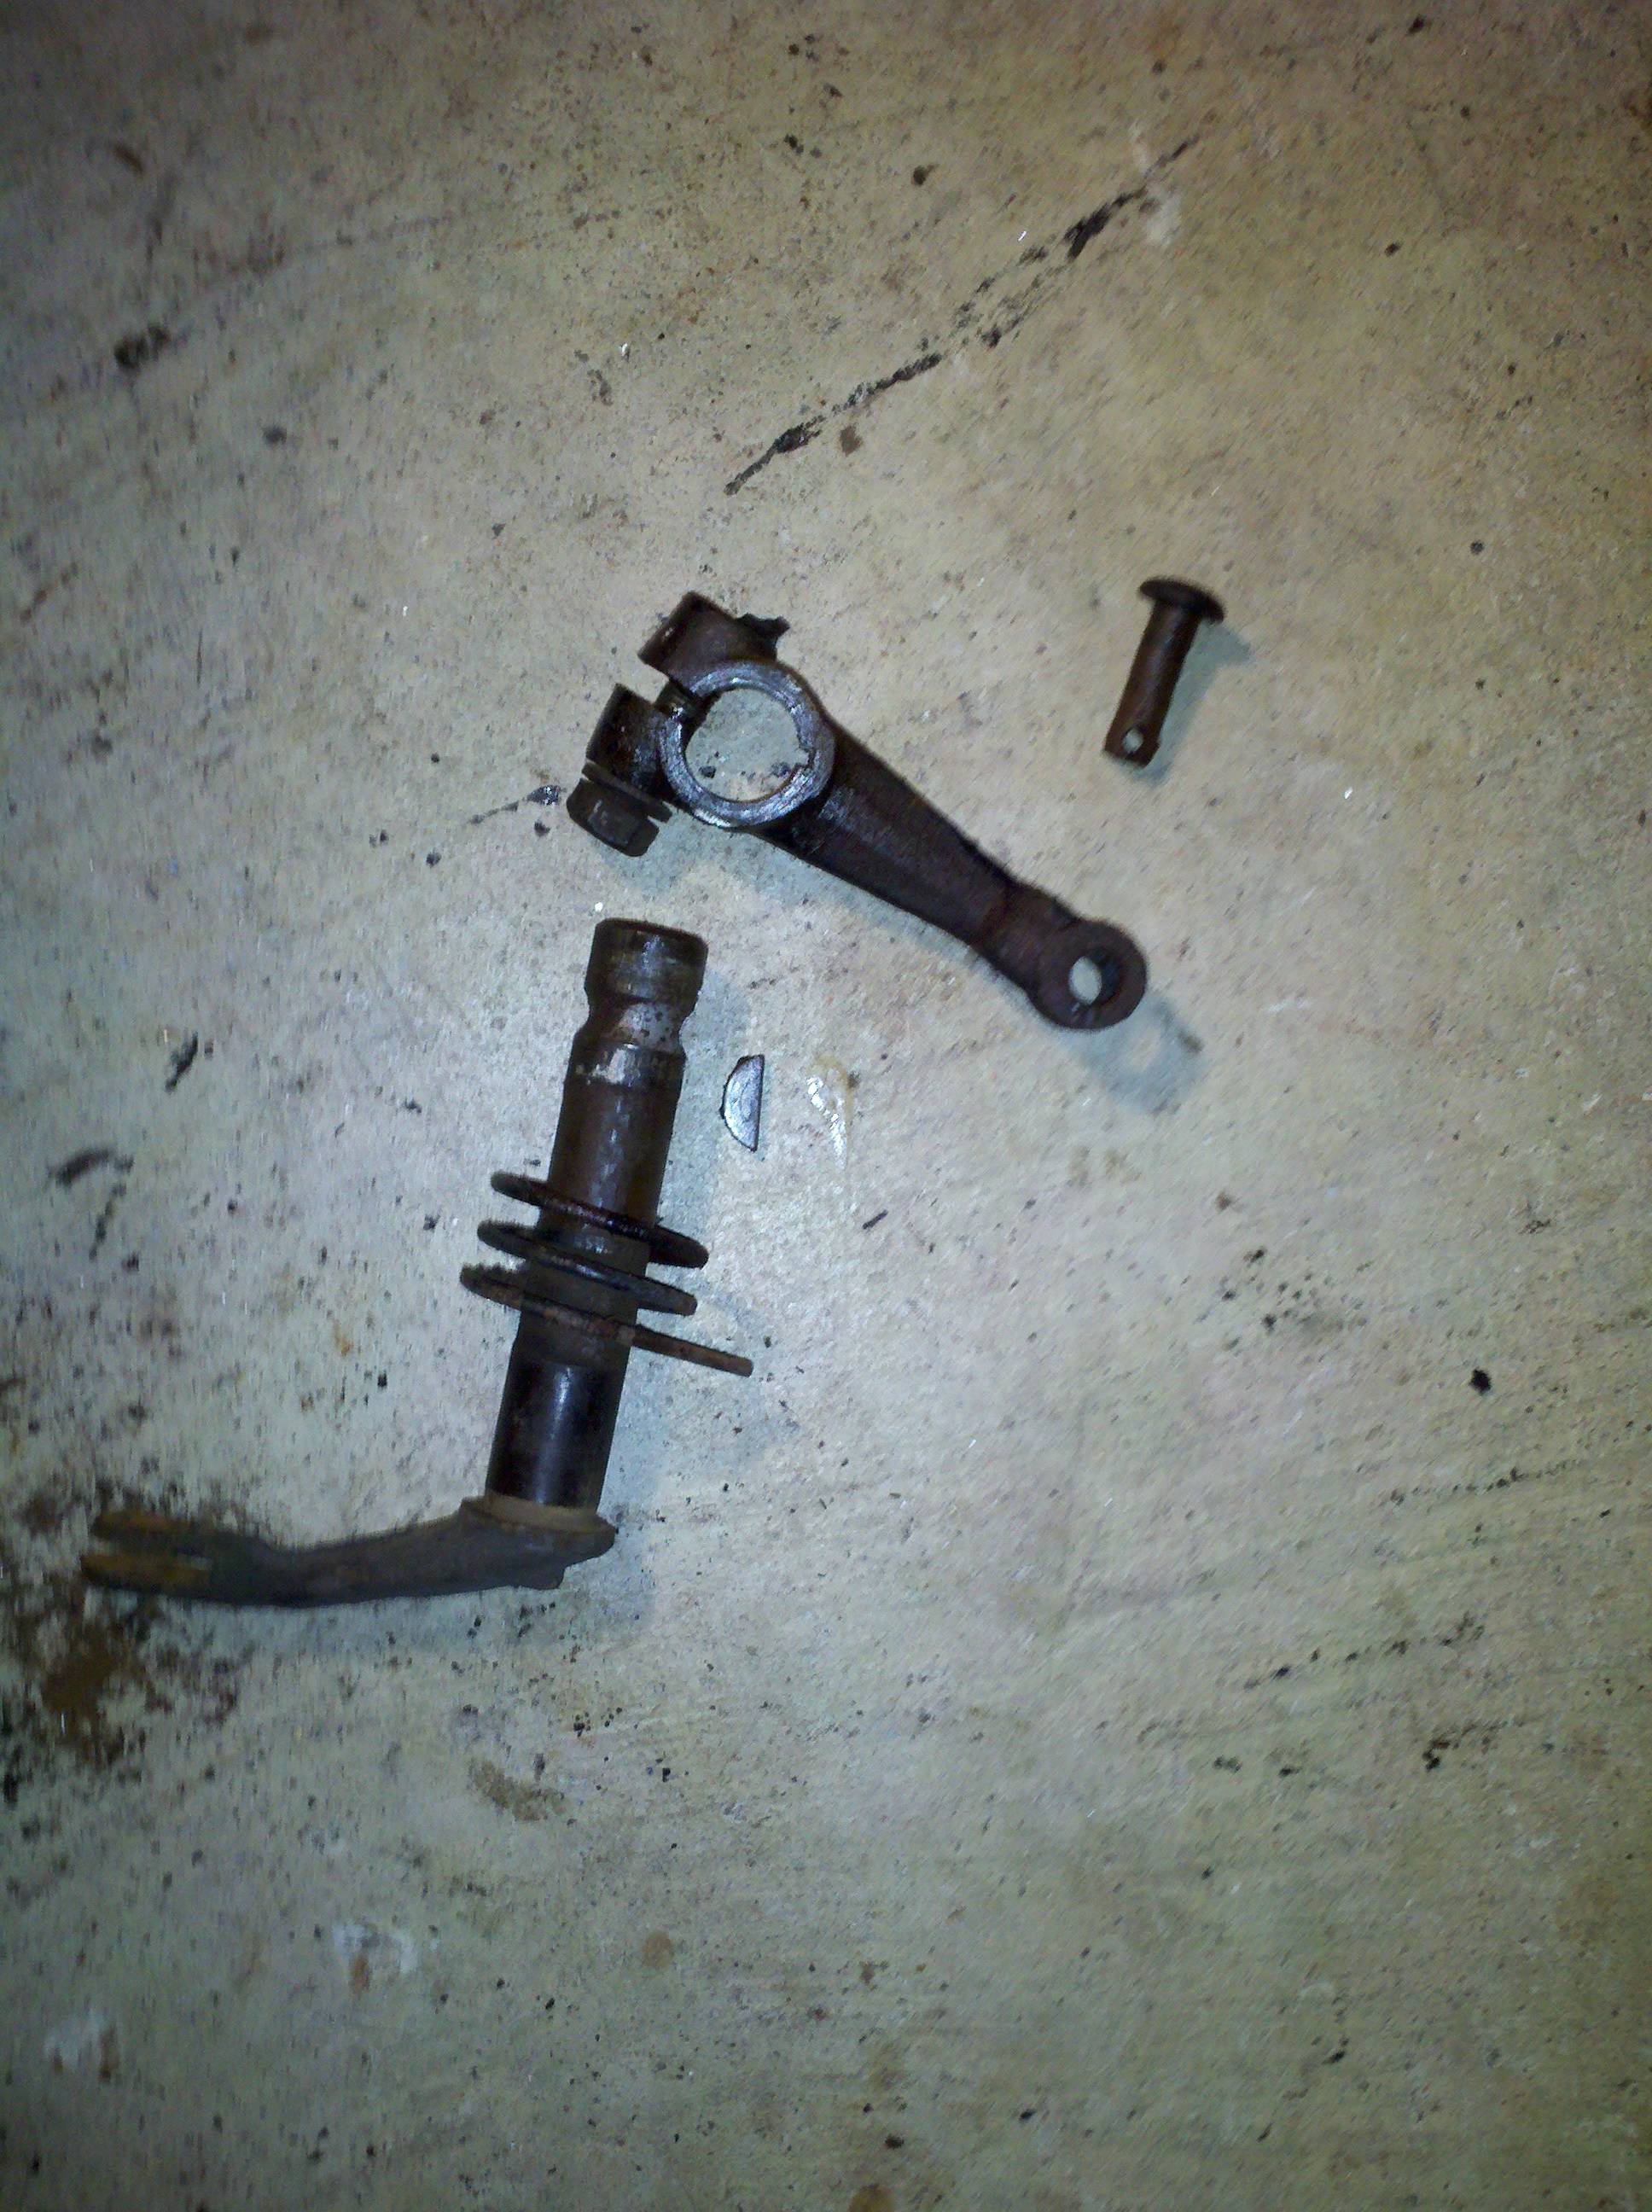
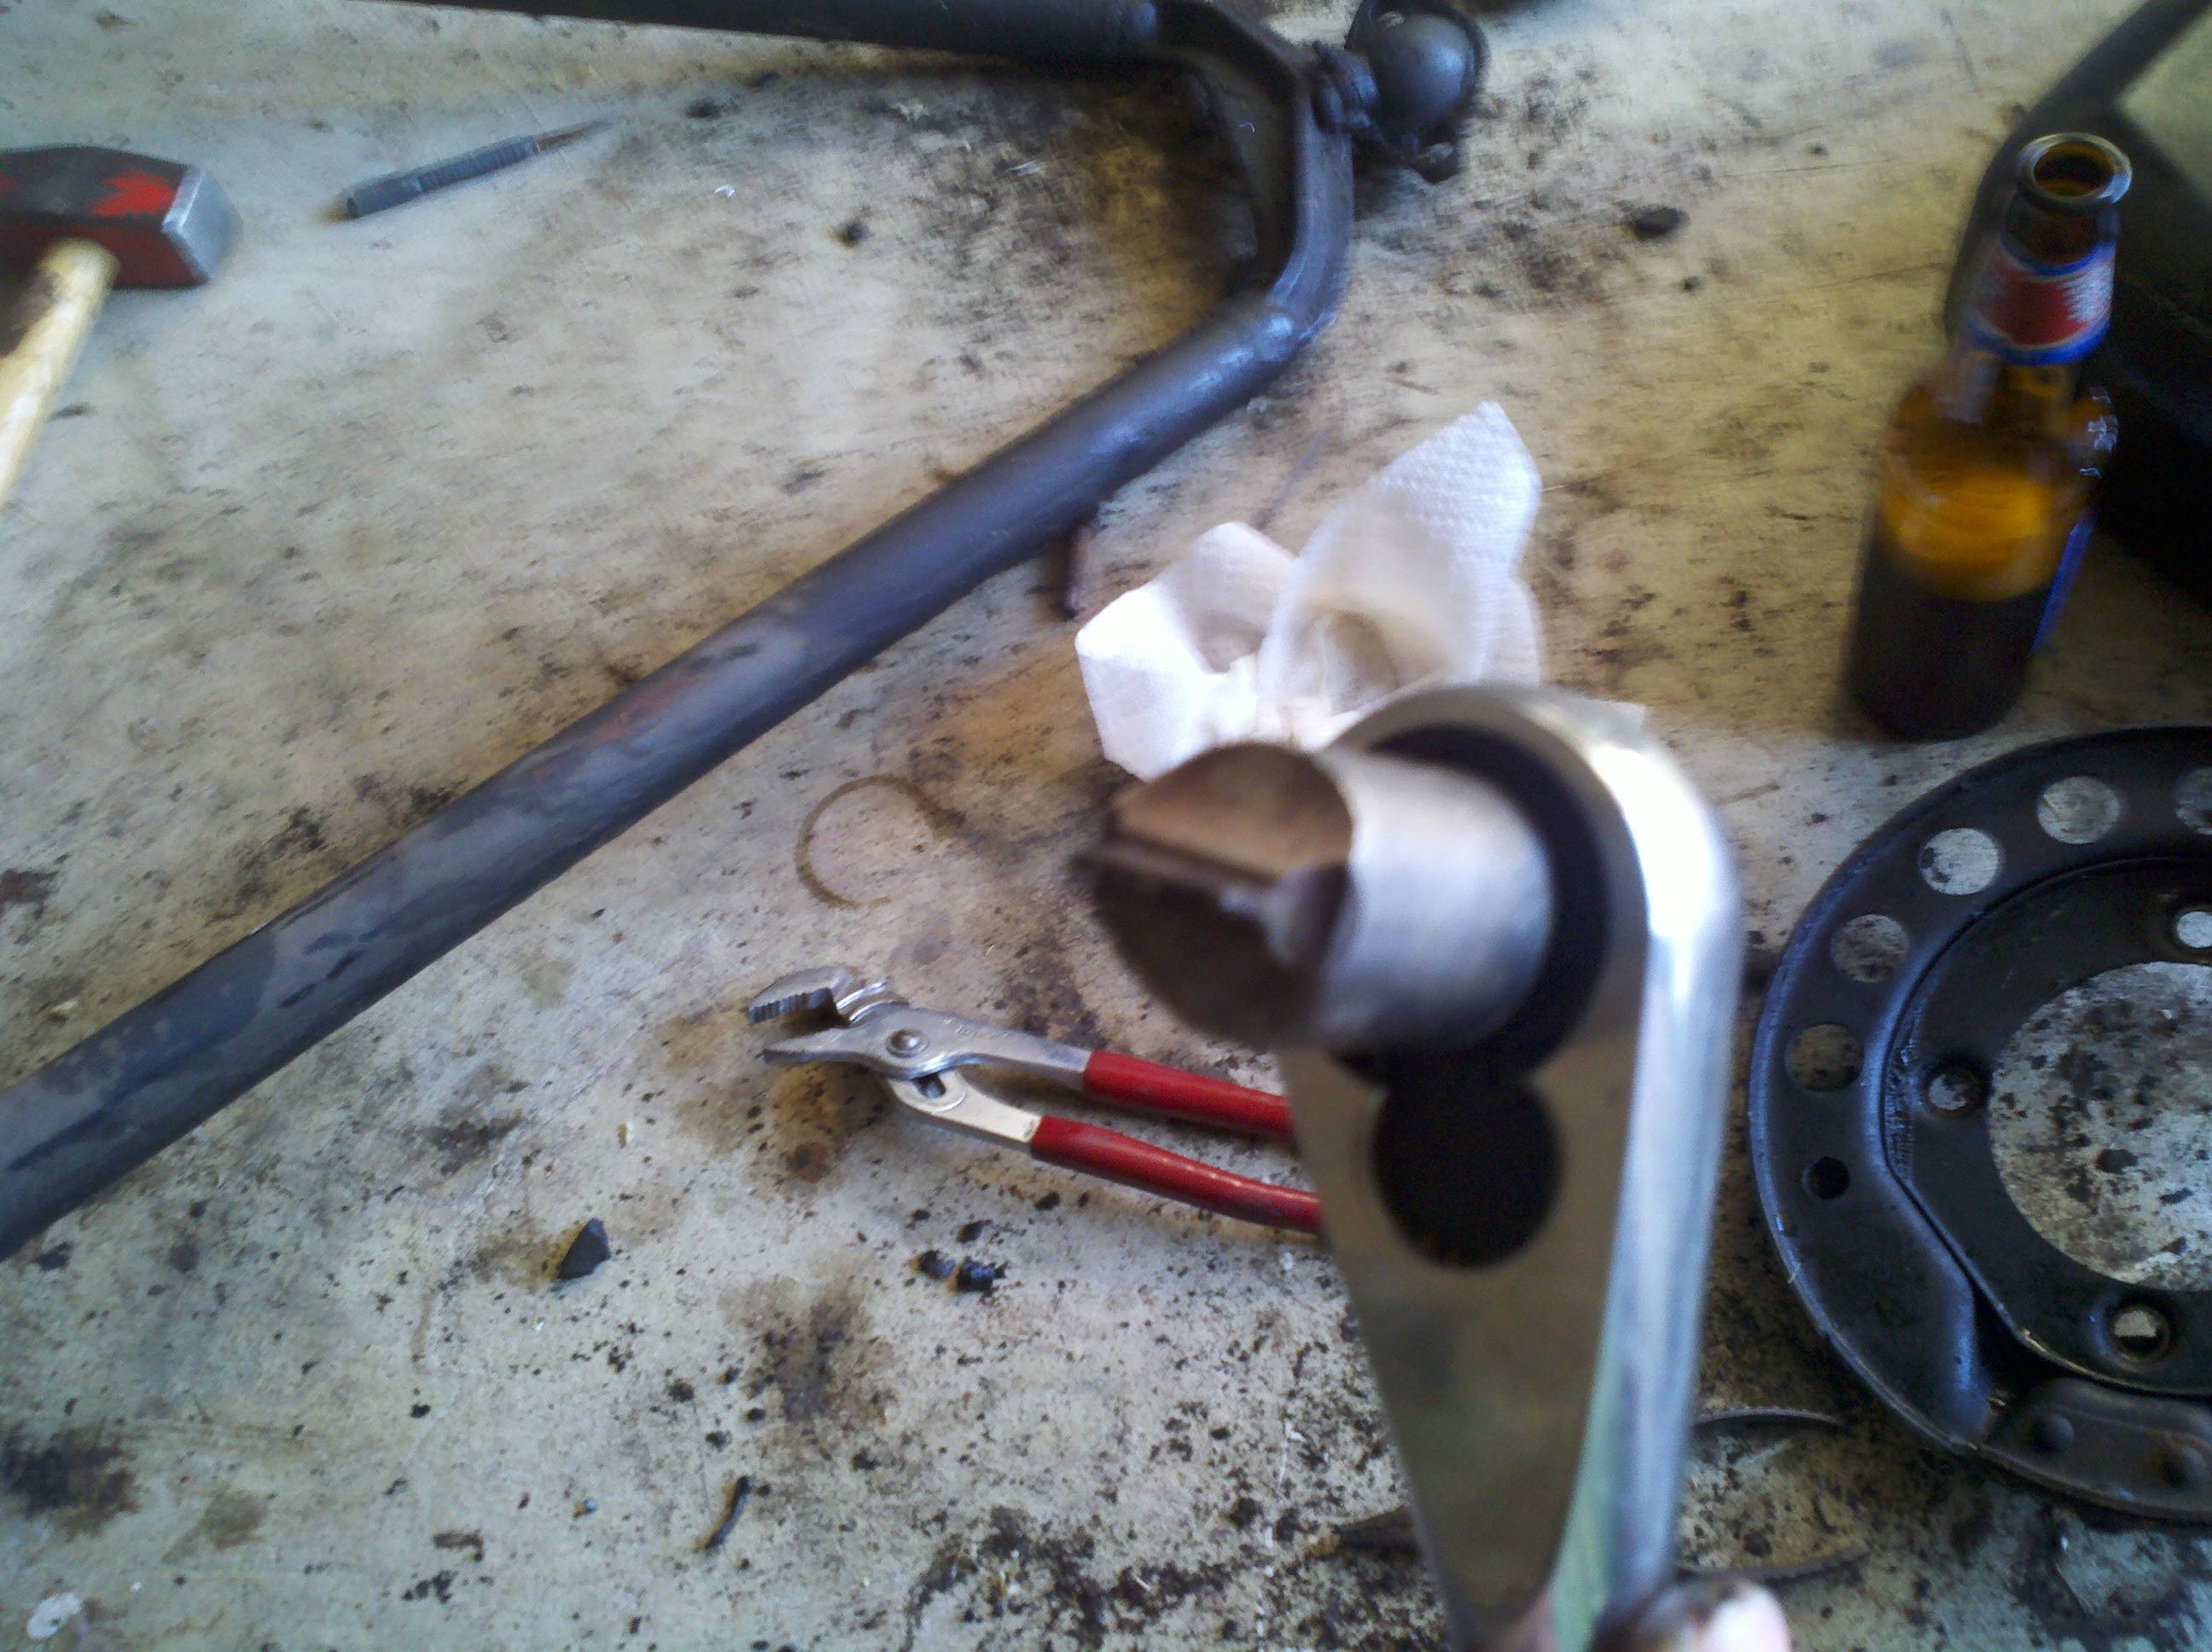
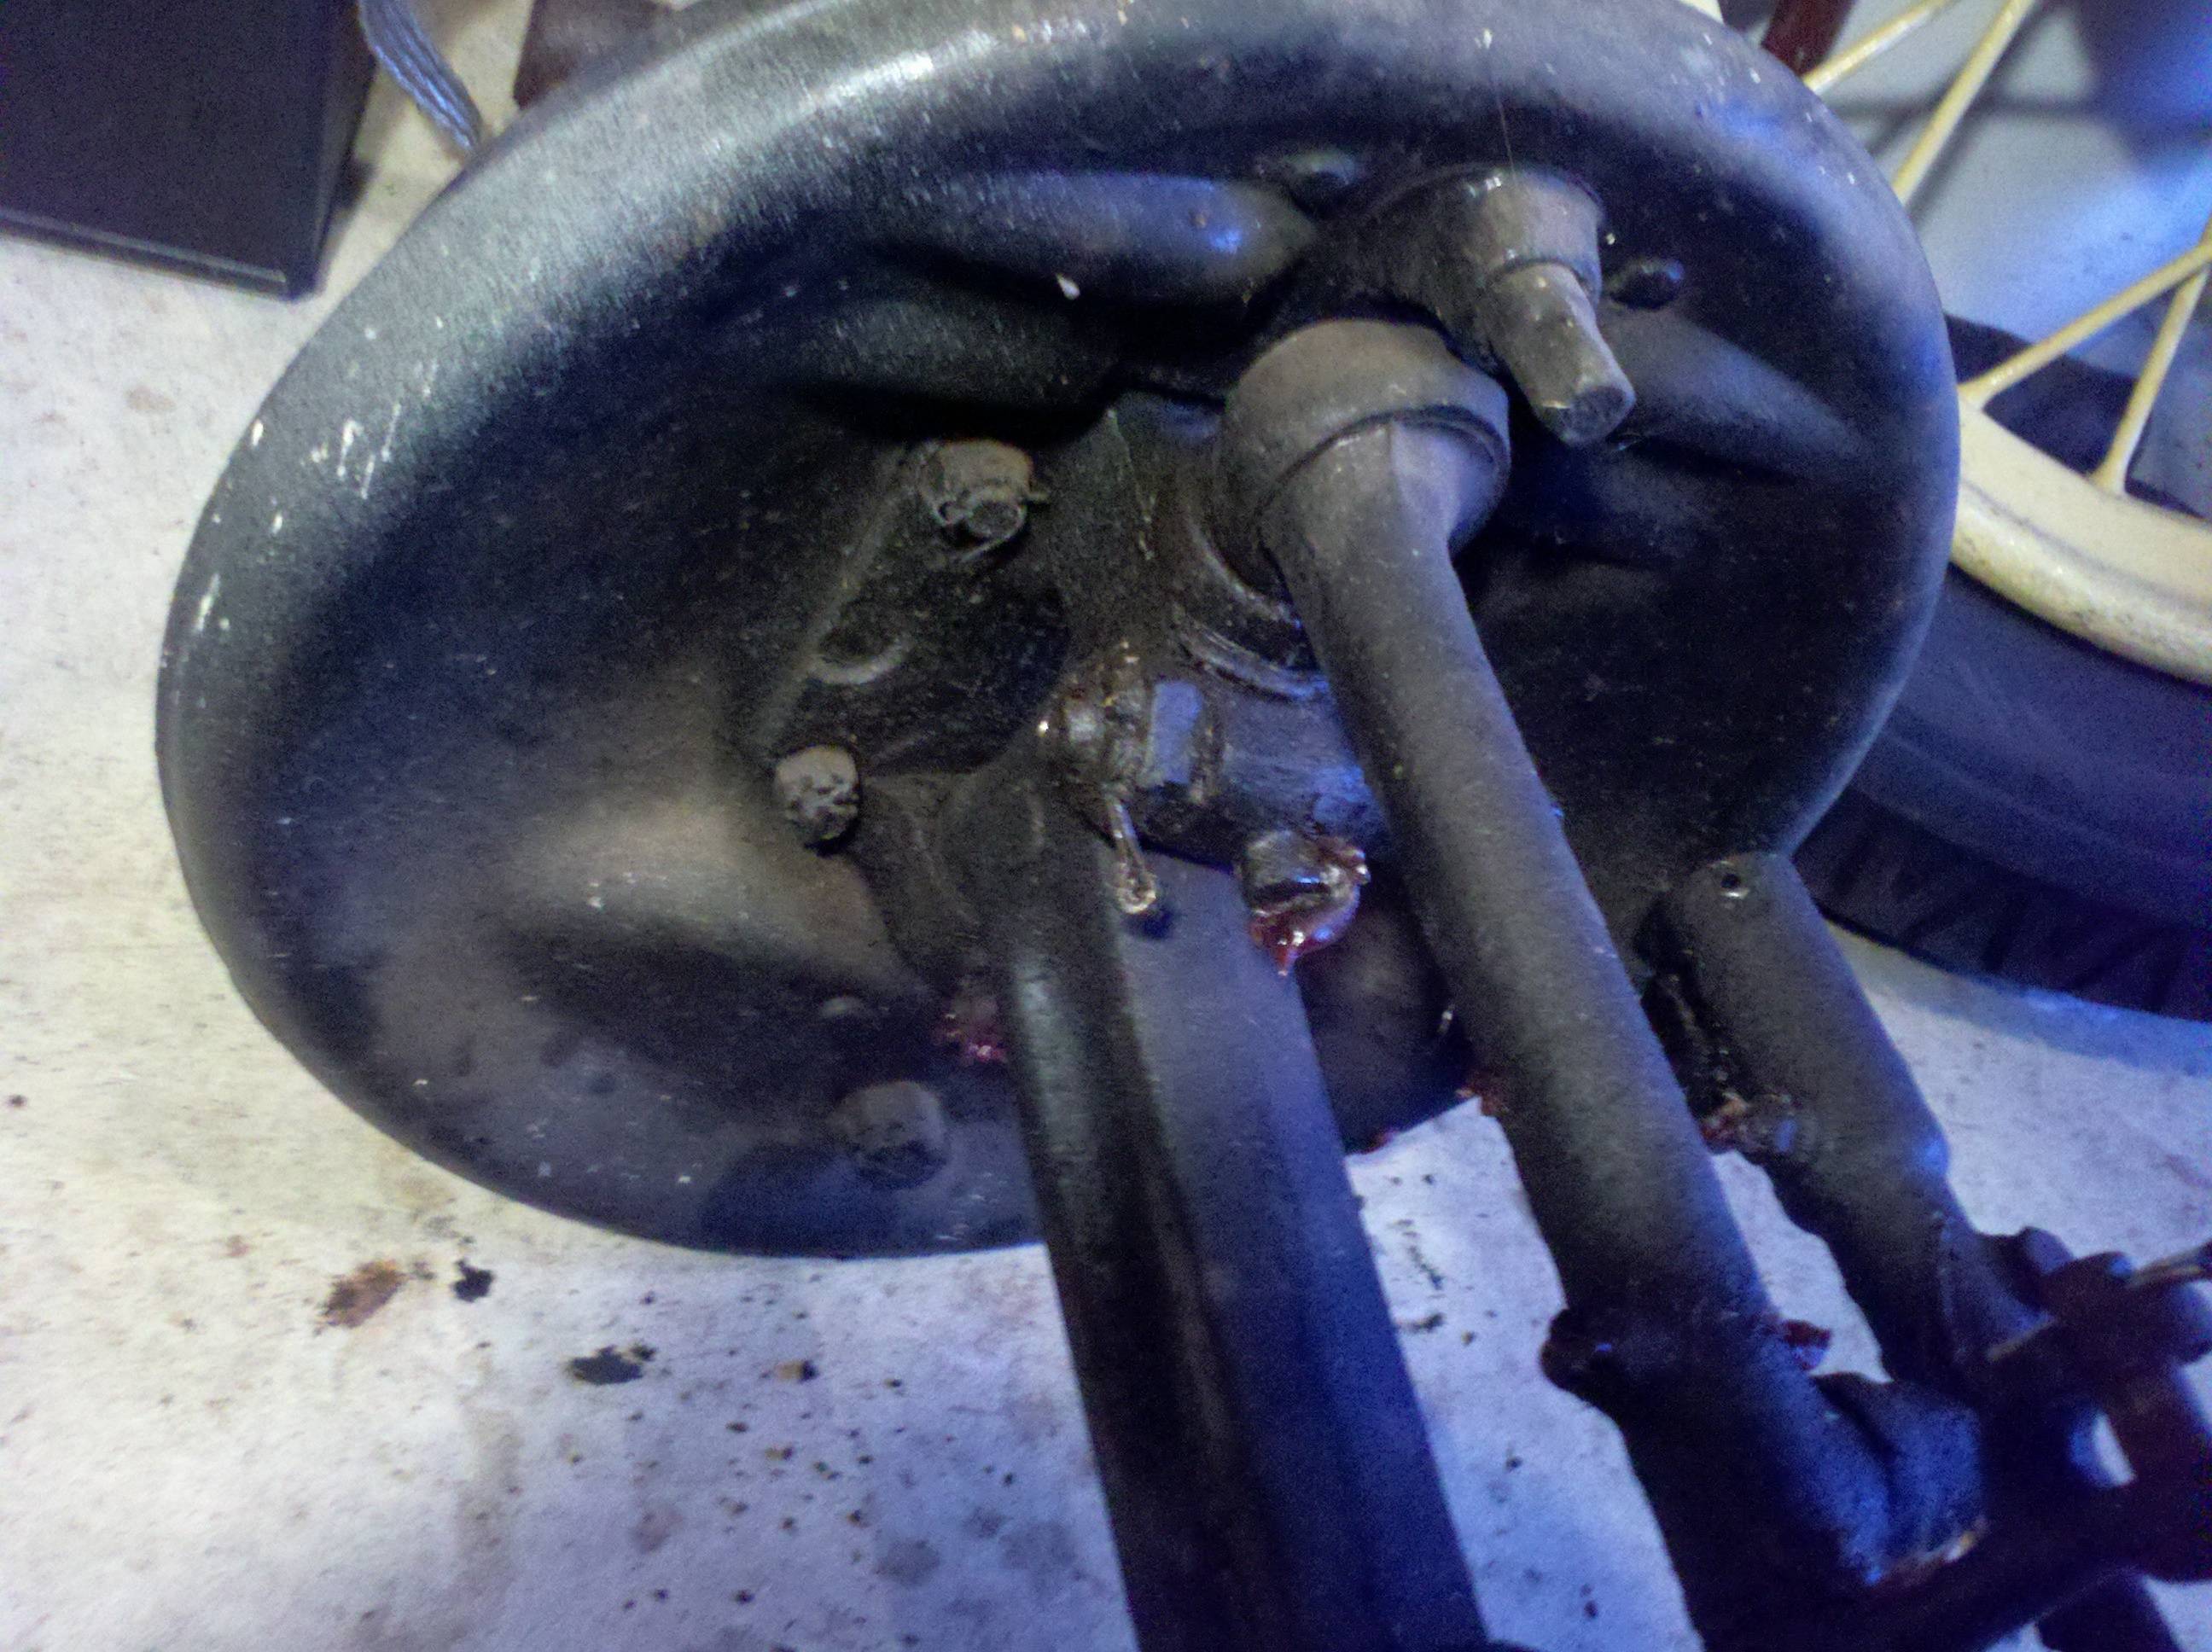
I wasn't ready to be done for the day, though.. I still wanted to pull some stuff apart, and clutter my already nearly full floor. Anything for the smell of grease - I'm finding it to be pretty addictive, lately. I decided to go ahead and start pulling the front suspension apart. The other day, I was looking at the drag link and pittman arm, trying to figure how they came apart. I figured out there was a special tool required (from looking at a parts web site), and while I was putting some tools away, lo and behold! There's something awfully similar hanging on my wall! It was, basically, a 1/2" drive screwdriver.
It's not the exact tool for the job, but it'll likely do. The drag link (the connecting rod between the pittman arm and the steeering links) has screw-in end caps that hold the innards... well, in... The innards are effectively the cup side of a ball and socket joint, much like your shoulder (assuming you're human). The pittman arm and steering links all have balls at their attachment points, and the drag link and tie rod ends have spring-loaded sockets inside.
The first order of business was to pull the cotter pin from the end of the drag link. This guy keeps the screw-in cap from backing out. Let me mention here, that it seems that most of the effort I've had to apply in getting things apart has come from removing cotter pins. There's got to be an easier way... Notice, also, that the suspension parts look to have plenty of years of grease and road muck on them... I wouldn't guess there's a whole 85 years' worth, but there's quite a bit.
So, once the cotter pin was out, I was able to use my newly-found tool to back out the end cap. Once the end cap was out, the guts came out easily. Once the guts were out, the pittman arm itself popped right out. Between the two, there's supposed to be rubber seal that's captured by a metal cup. You can see in the pictures below that there wasn't much left of the seal...
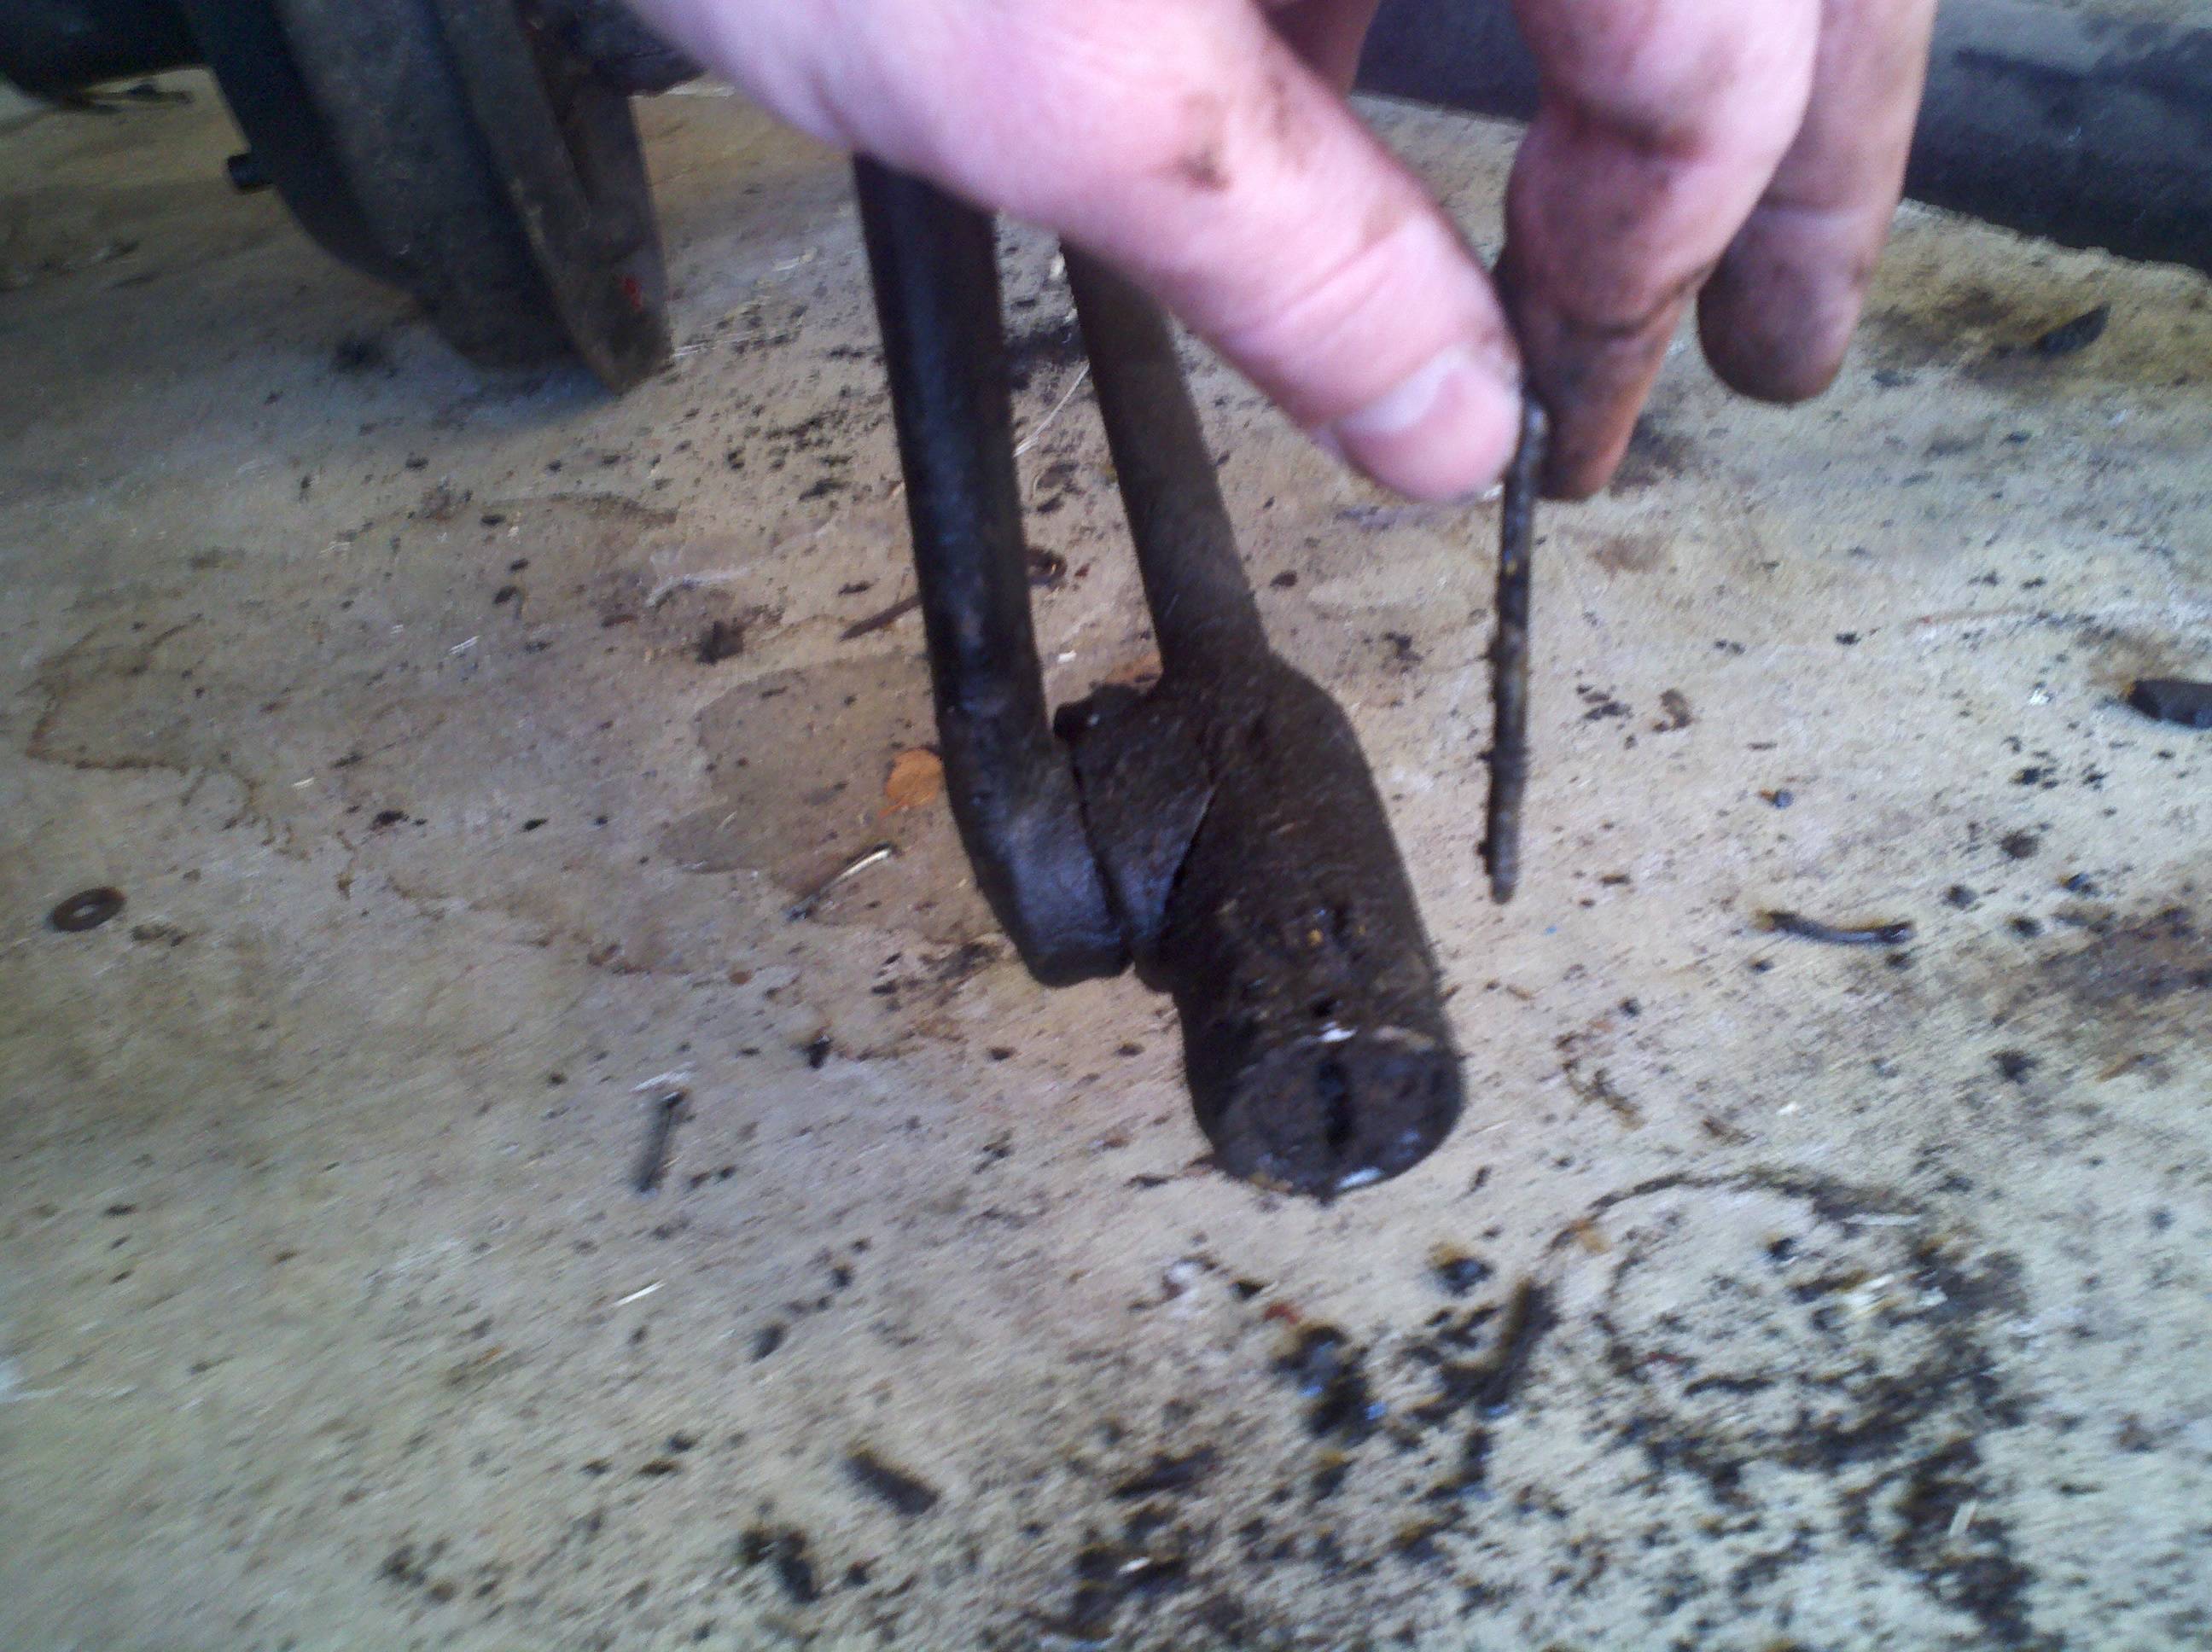
Once the pittman arm was loose, I pulled the drag link loose from the steering arm. Similar procedure, except the spring was towards the pittman end, rather than being directly under the cap. Probably an importnat pint to remember, huh?


And I think that was enough for today.
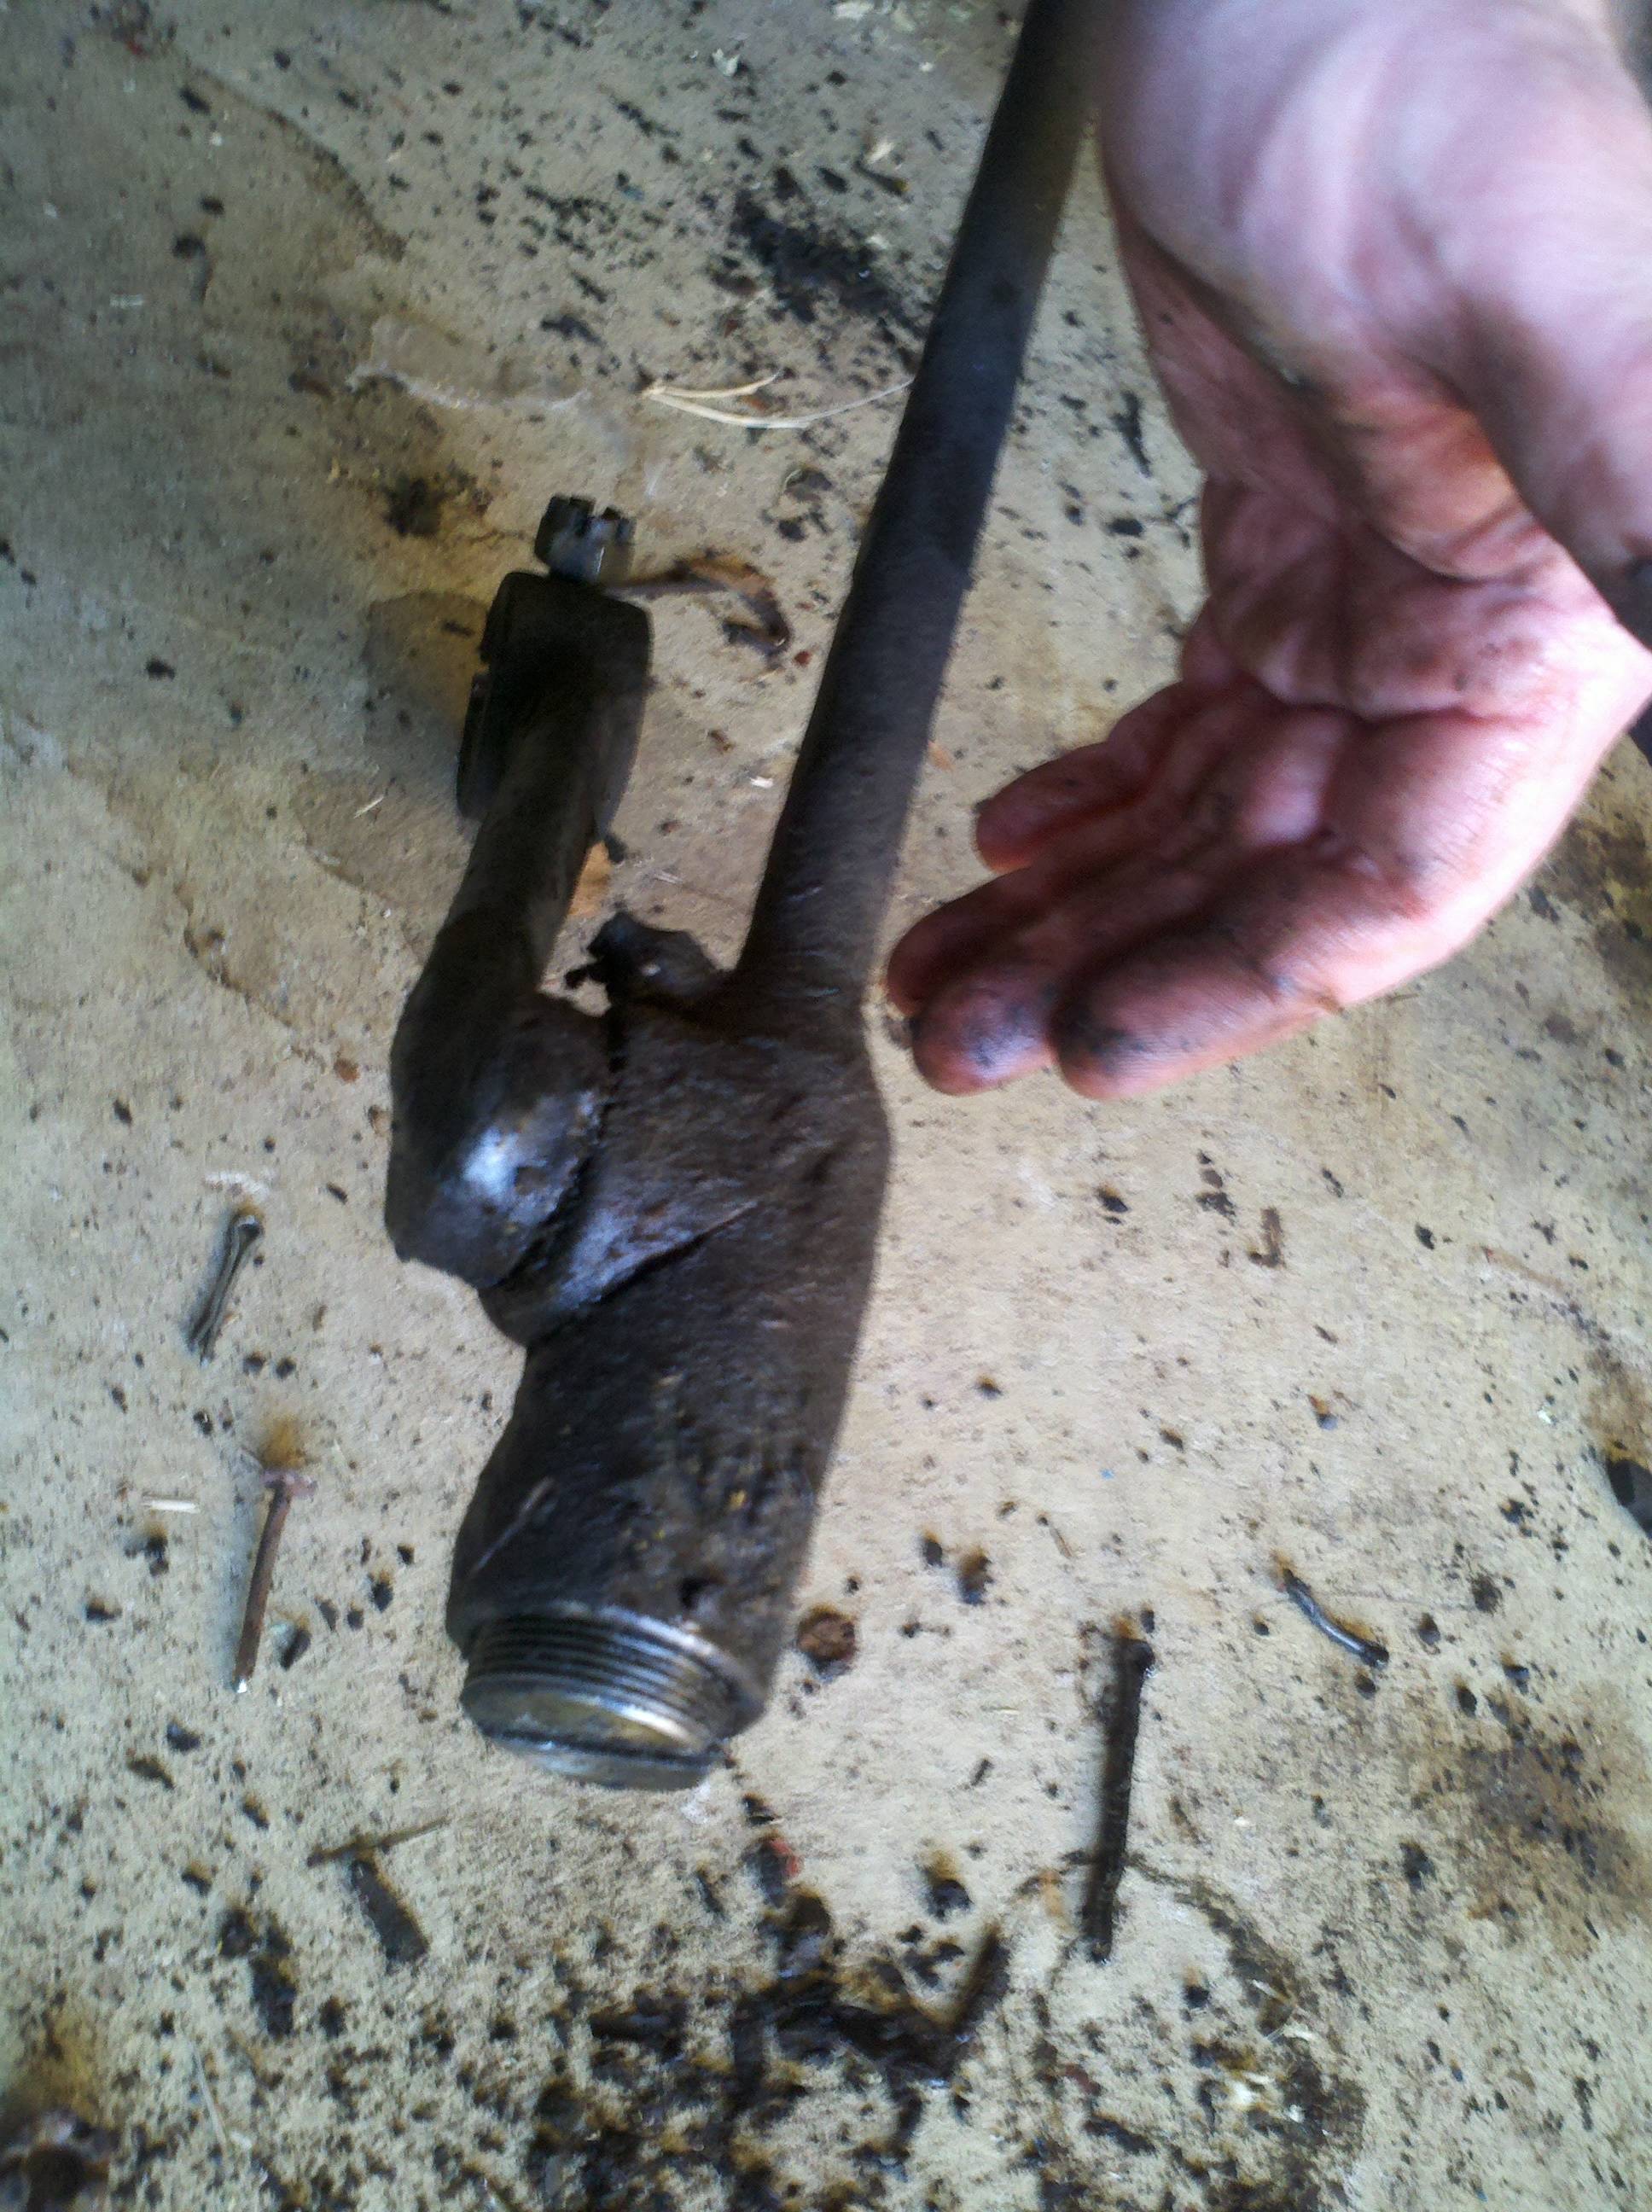
Spent my 1st bit of dollars on things for the truck today... Not including all the shed work, that is. Went online and bought a brake bushing removal/installation tool and a maintenance manual (Vol I, red cover) from Snyder's.. They helped out with today's work. instead of me having to look closely, and hum and haw over stuff before taking it down, I just looked at the book, and voila! So that's how that comes apart! Very useful for pulling the steering arms off - got it done in just about 30 minutes, and then about that same amount of time to get the tie rod off of them.
Originally, I had thunk It would just pull off the tie rod. But then I figured out that I couldn't get to the end caps (like what's on the drag link) without pulling off the backing plates. Bummer. But then I looked at the manual, and sow how easily the sterring arms come loose. Sooo... Except for the stinking cotter pins, it was pretty easy to pull the nuts off of the steering arms, and pull them out. I backed the nuts almost all the way loose, and then used my brass drift to knock the steering arms out of the ... well, not really king pins, but the hinge that attaches the axle to the spindles. Turnbuckle? I'll have to look up what it's called, I guess.
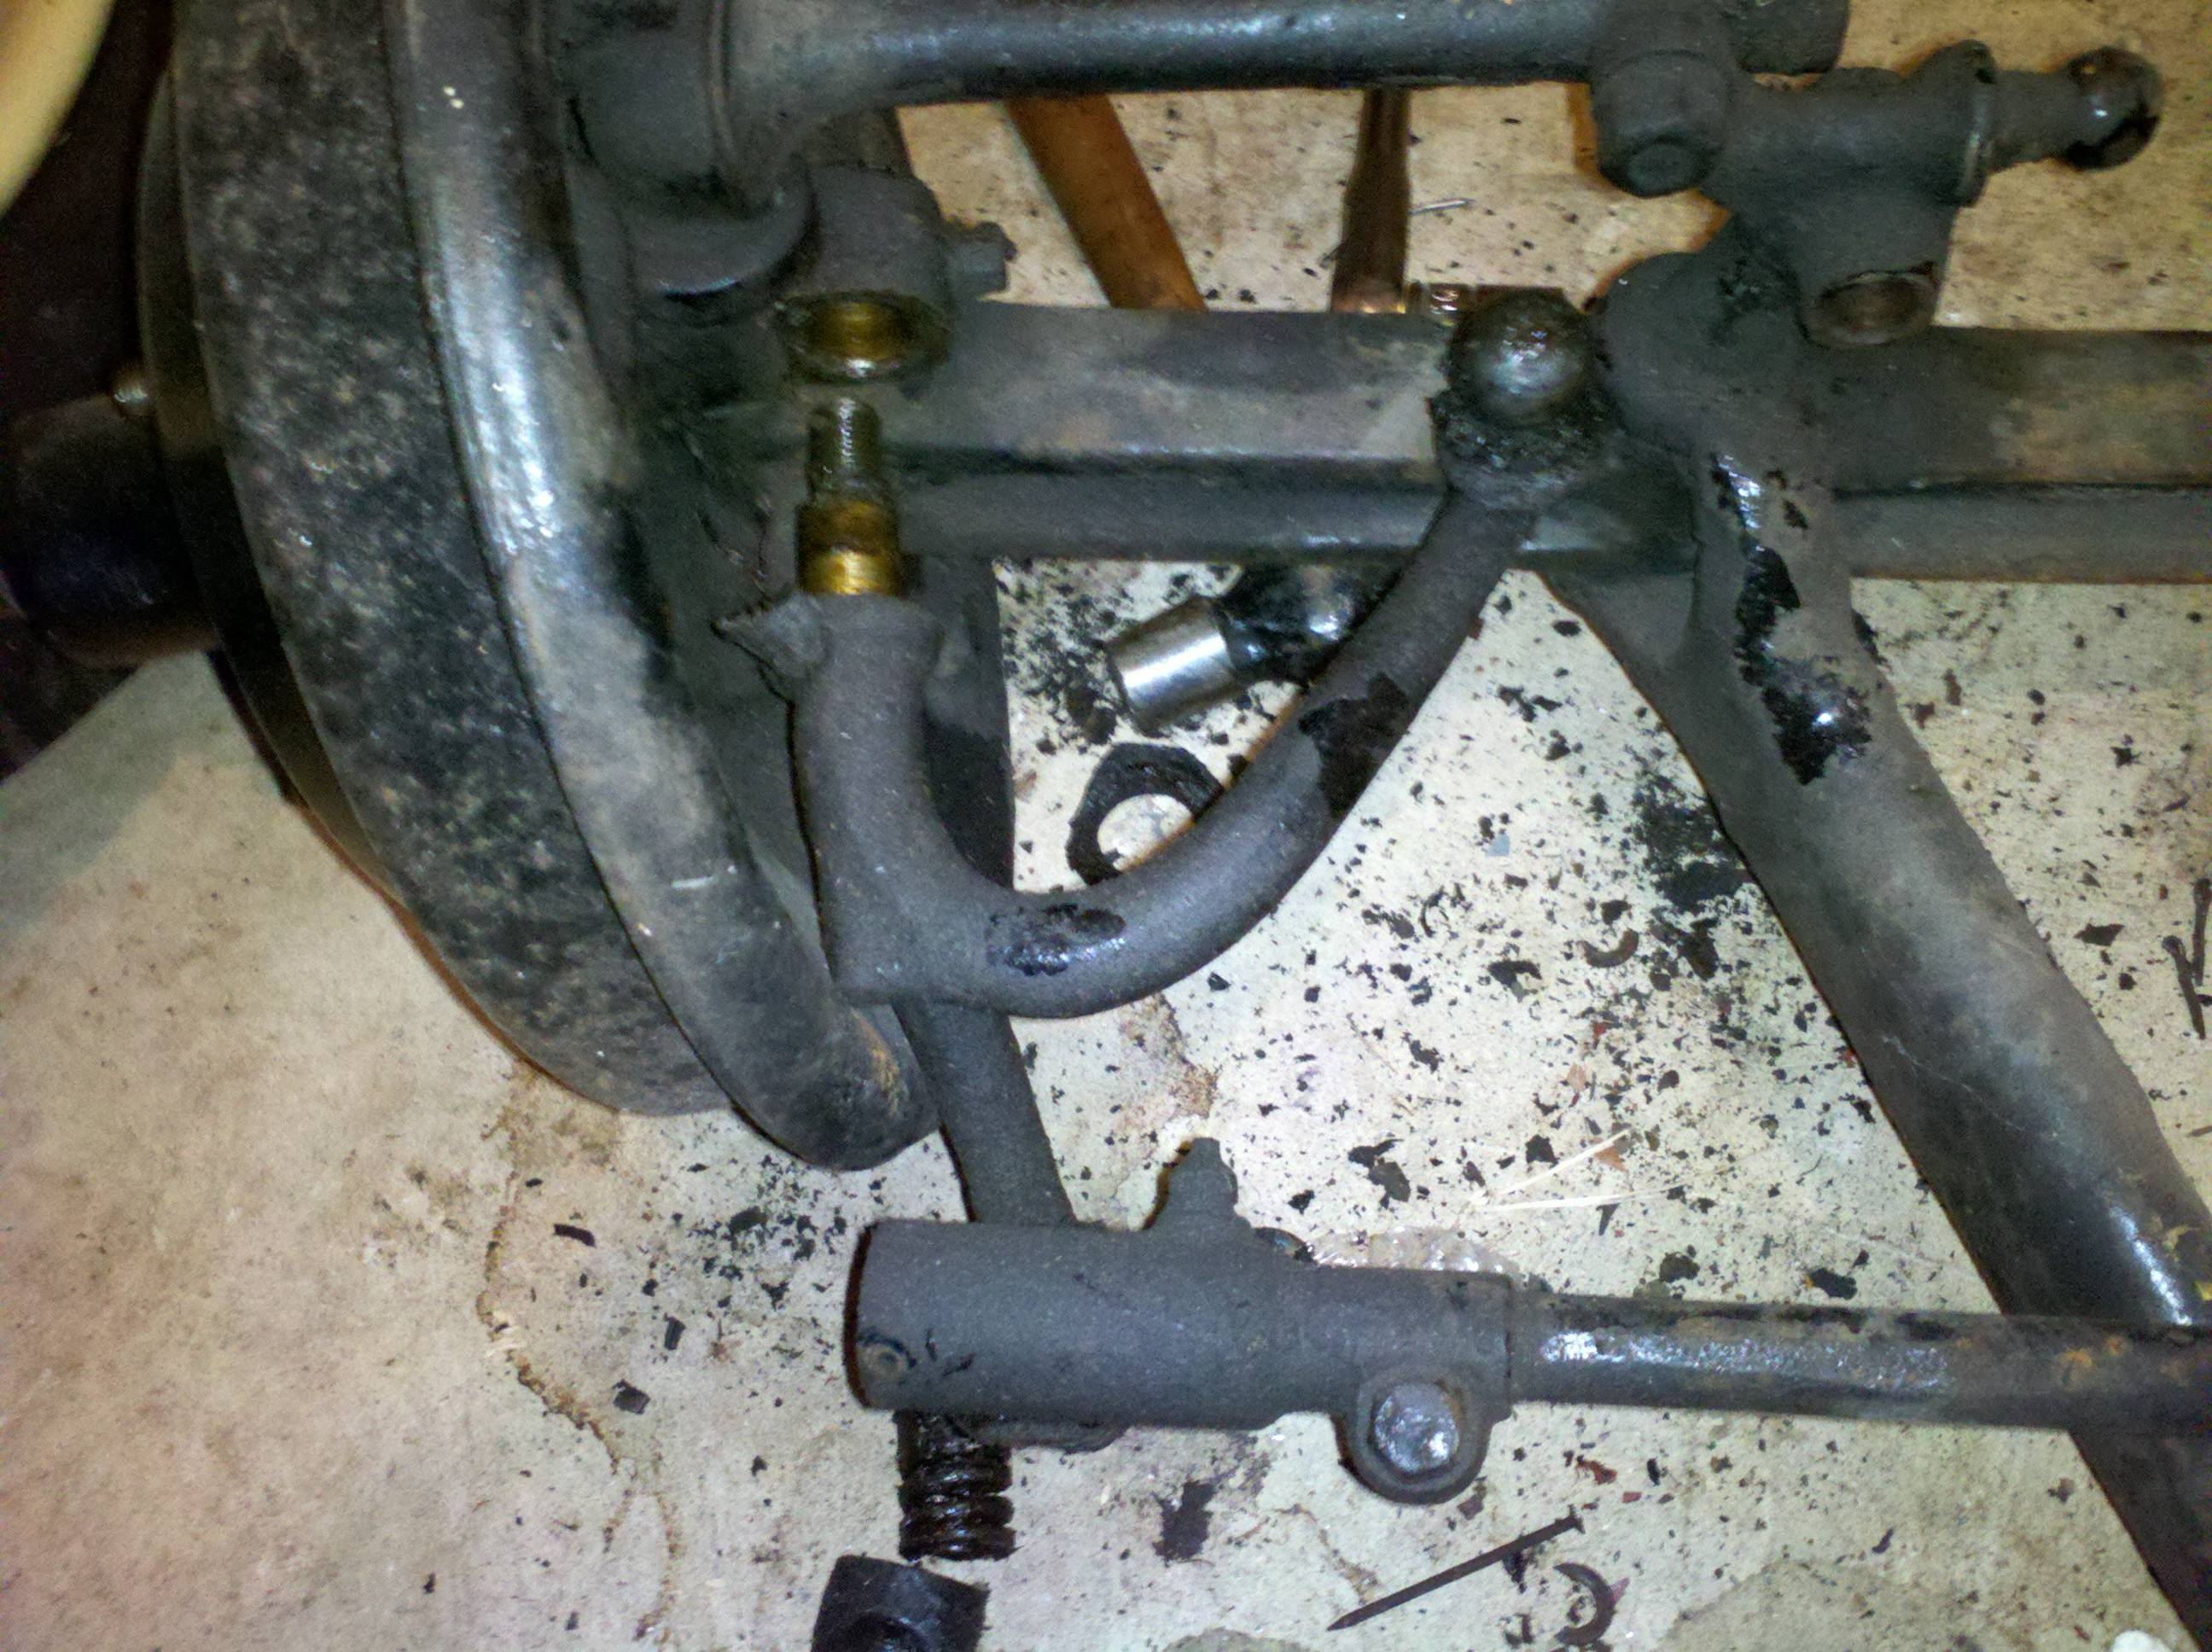
Once I had the steering arms loose, it was no problem pulling the arms off the tie rod ends. Well, almost no problem. Would you believe my fancy schmancy screwdriver tool thinkgy broke? Craptakular! I still managed to pull them off, but still. d'oh! Guess I'll have to buy a new one. For now I'm leaving the tie rod ends on the tie rod. I have this silly idea that maybe I'll leave them there, and maybe I won't have to fiddle with my alignment, later. Note, too, that the springs and cups are toward the center of the vehicle. Probably important to remember, huh?

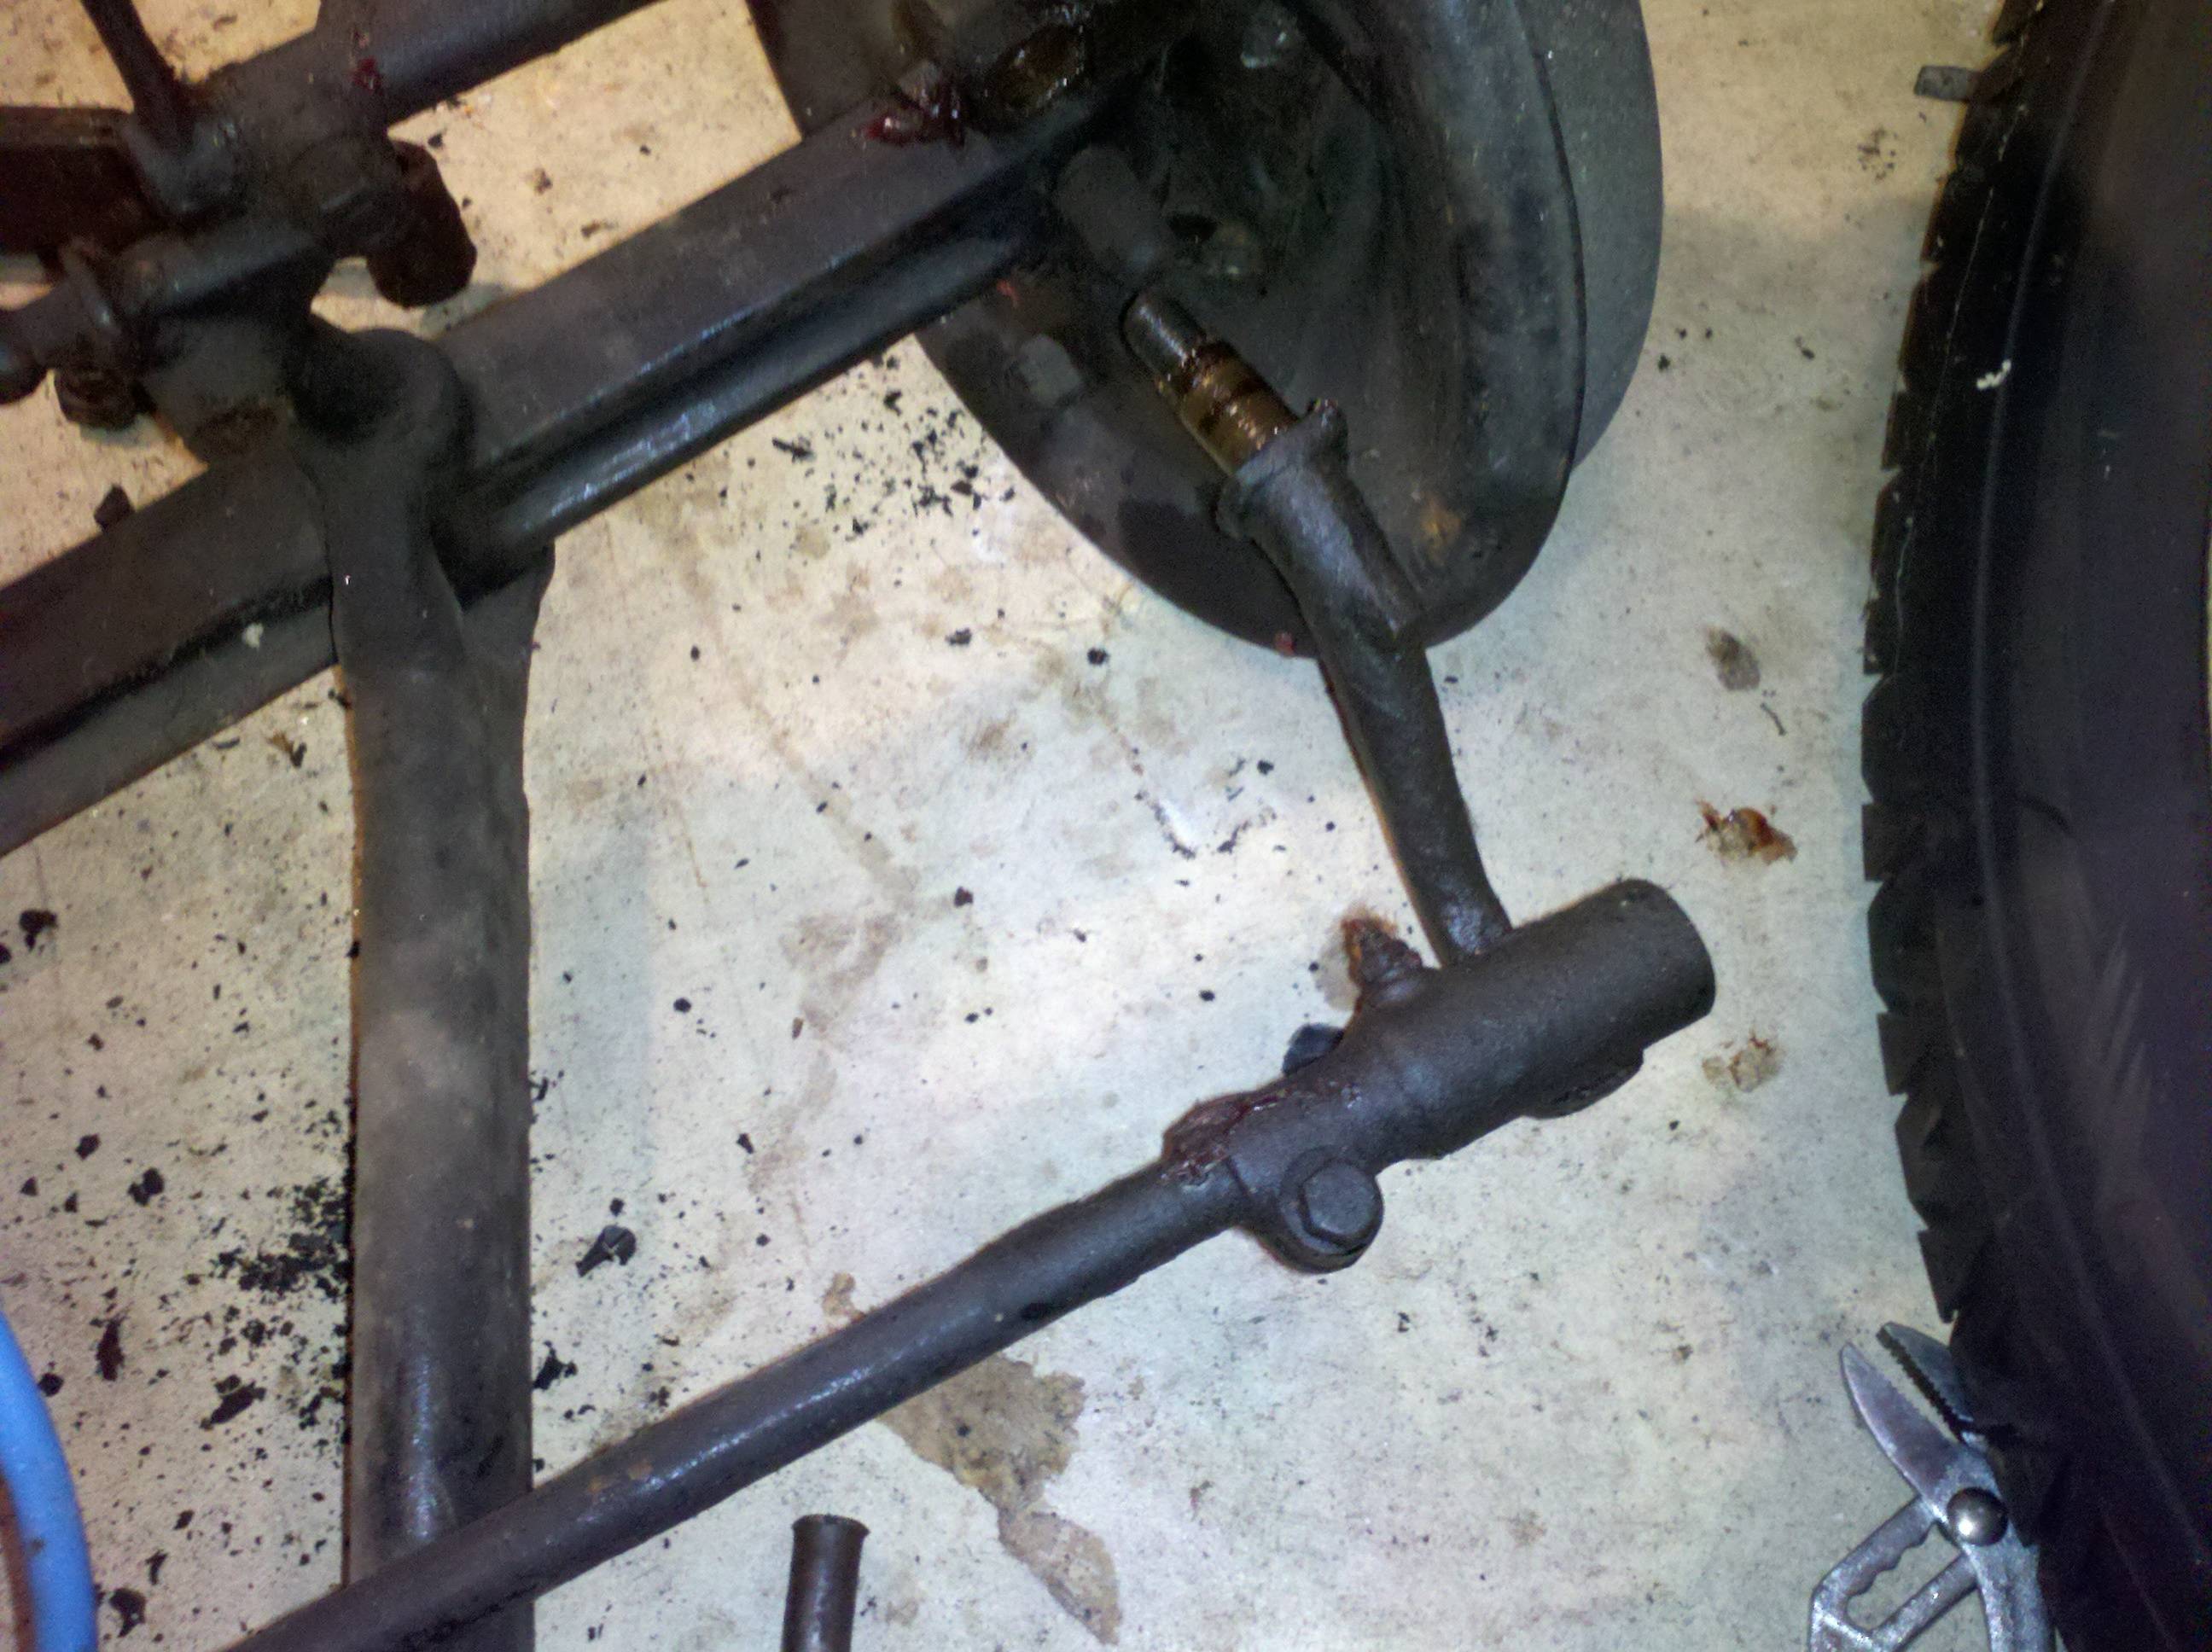
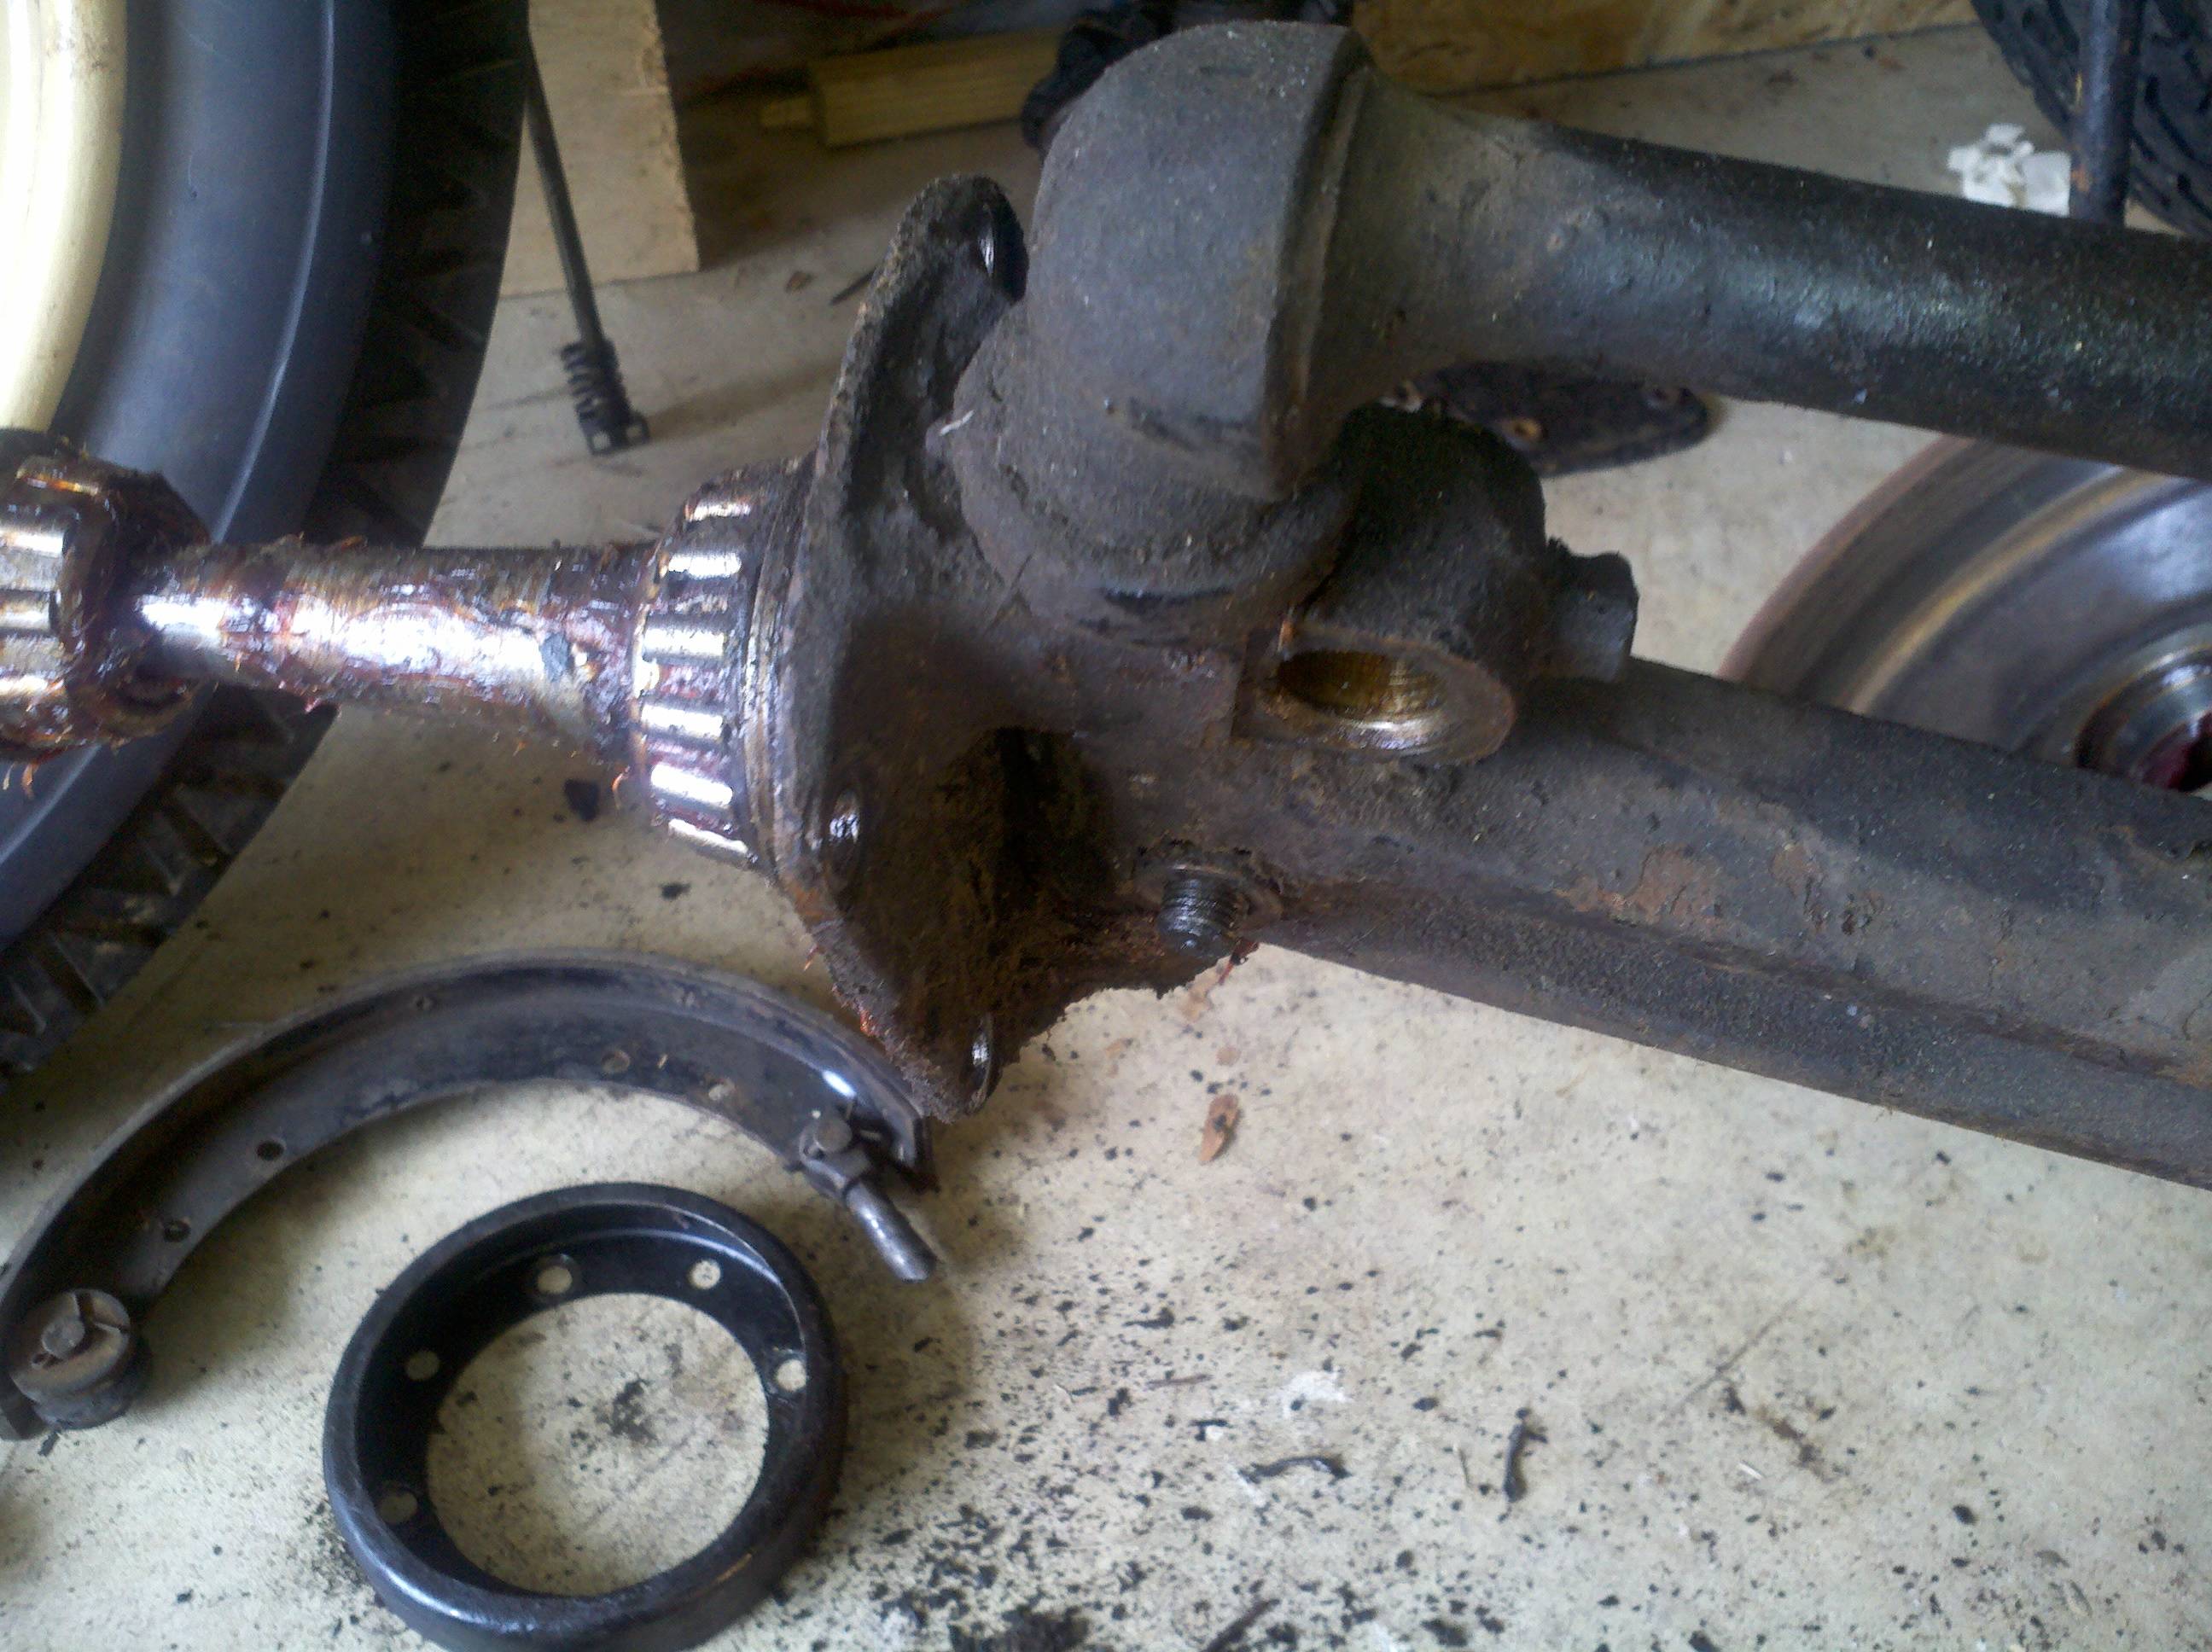
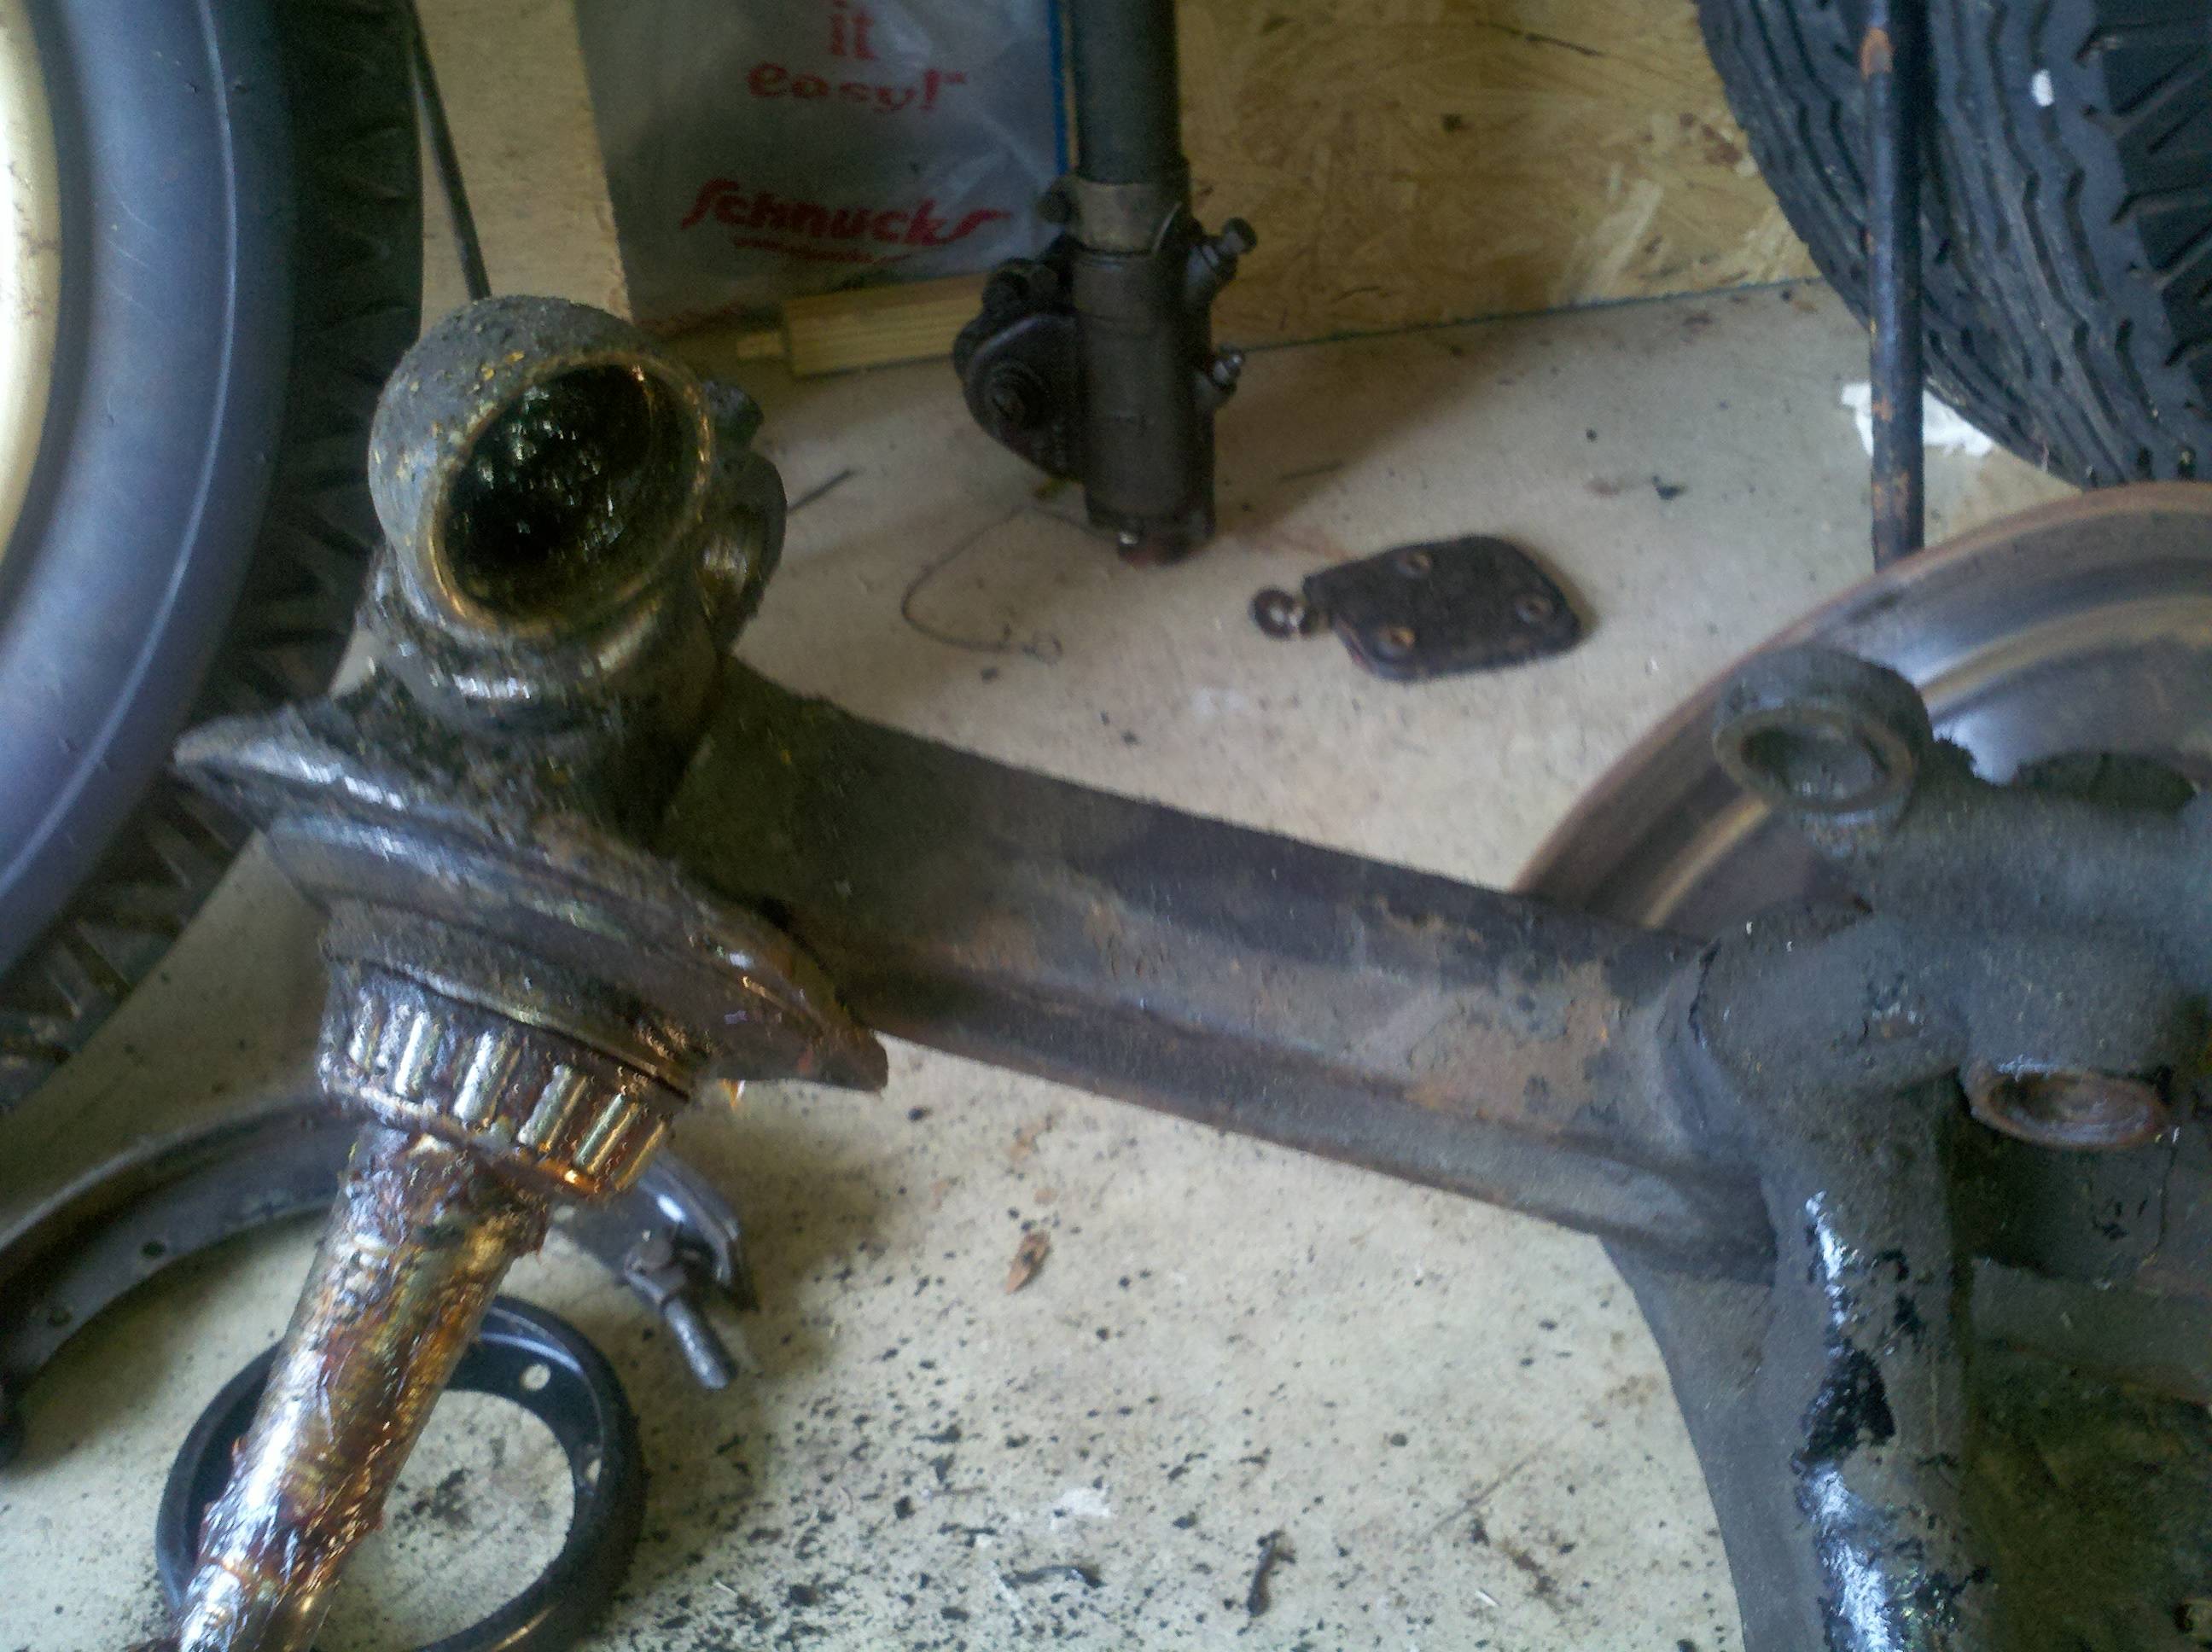
Today was a bit chilly, but I seem to be hell-bent on getting the front end taken apart. The other night, I pulled the passenger side spindle off the axle. Today, I pulled the driver's side loose, and actually did some photo documentation.
Did I mention that I bought a mecanic's manual? Yeah, made this bit of work a bit easier, I'll tell you what. I started out just wanting to pull the brake actuator rod off the thing, but I ended up pulling the whole spindle. Here's the pics from the passenger side removal. I'll give steps and a better set of pics with the driver's side, which I did later in the day.


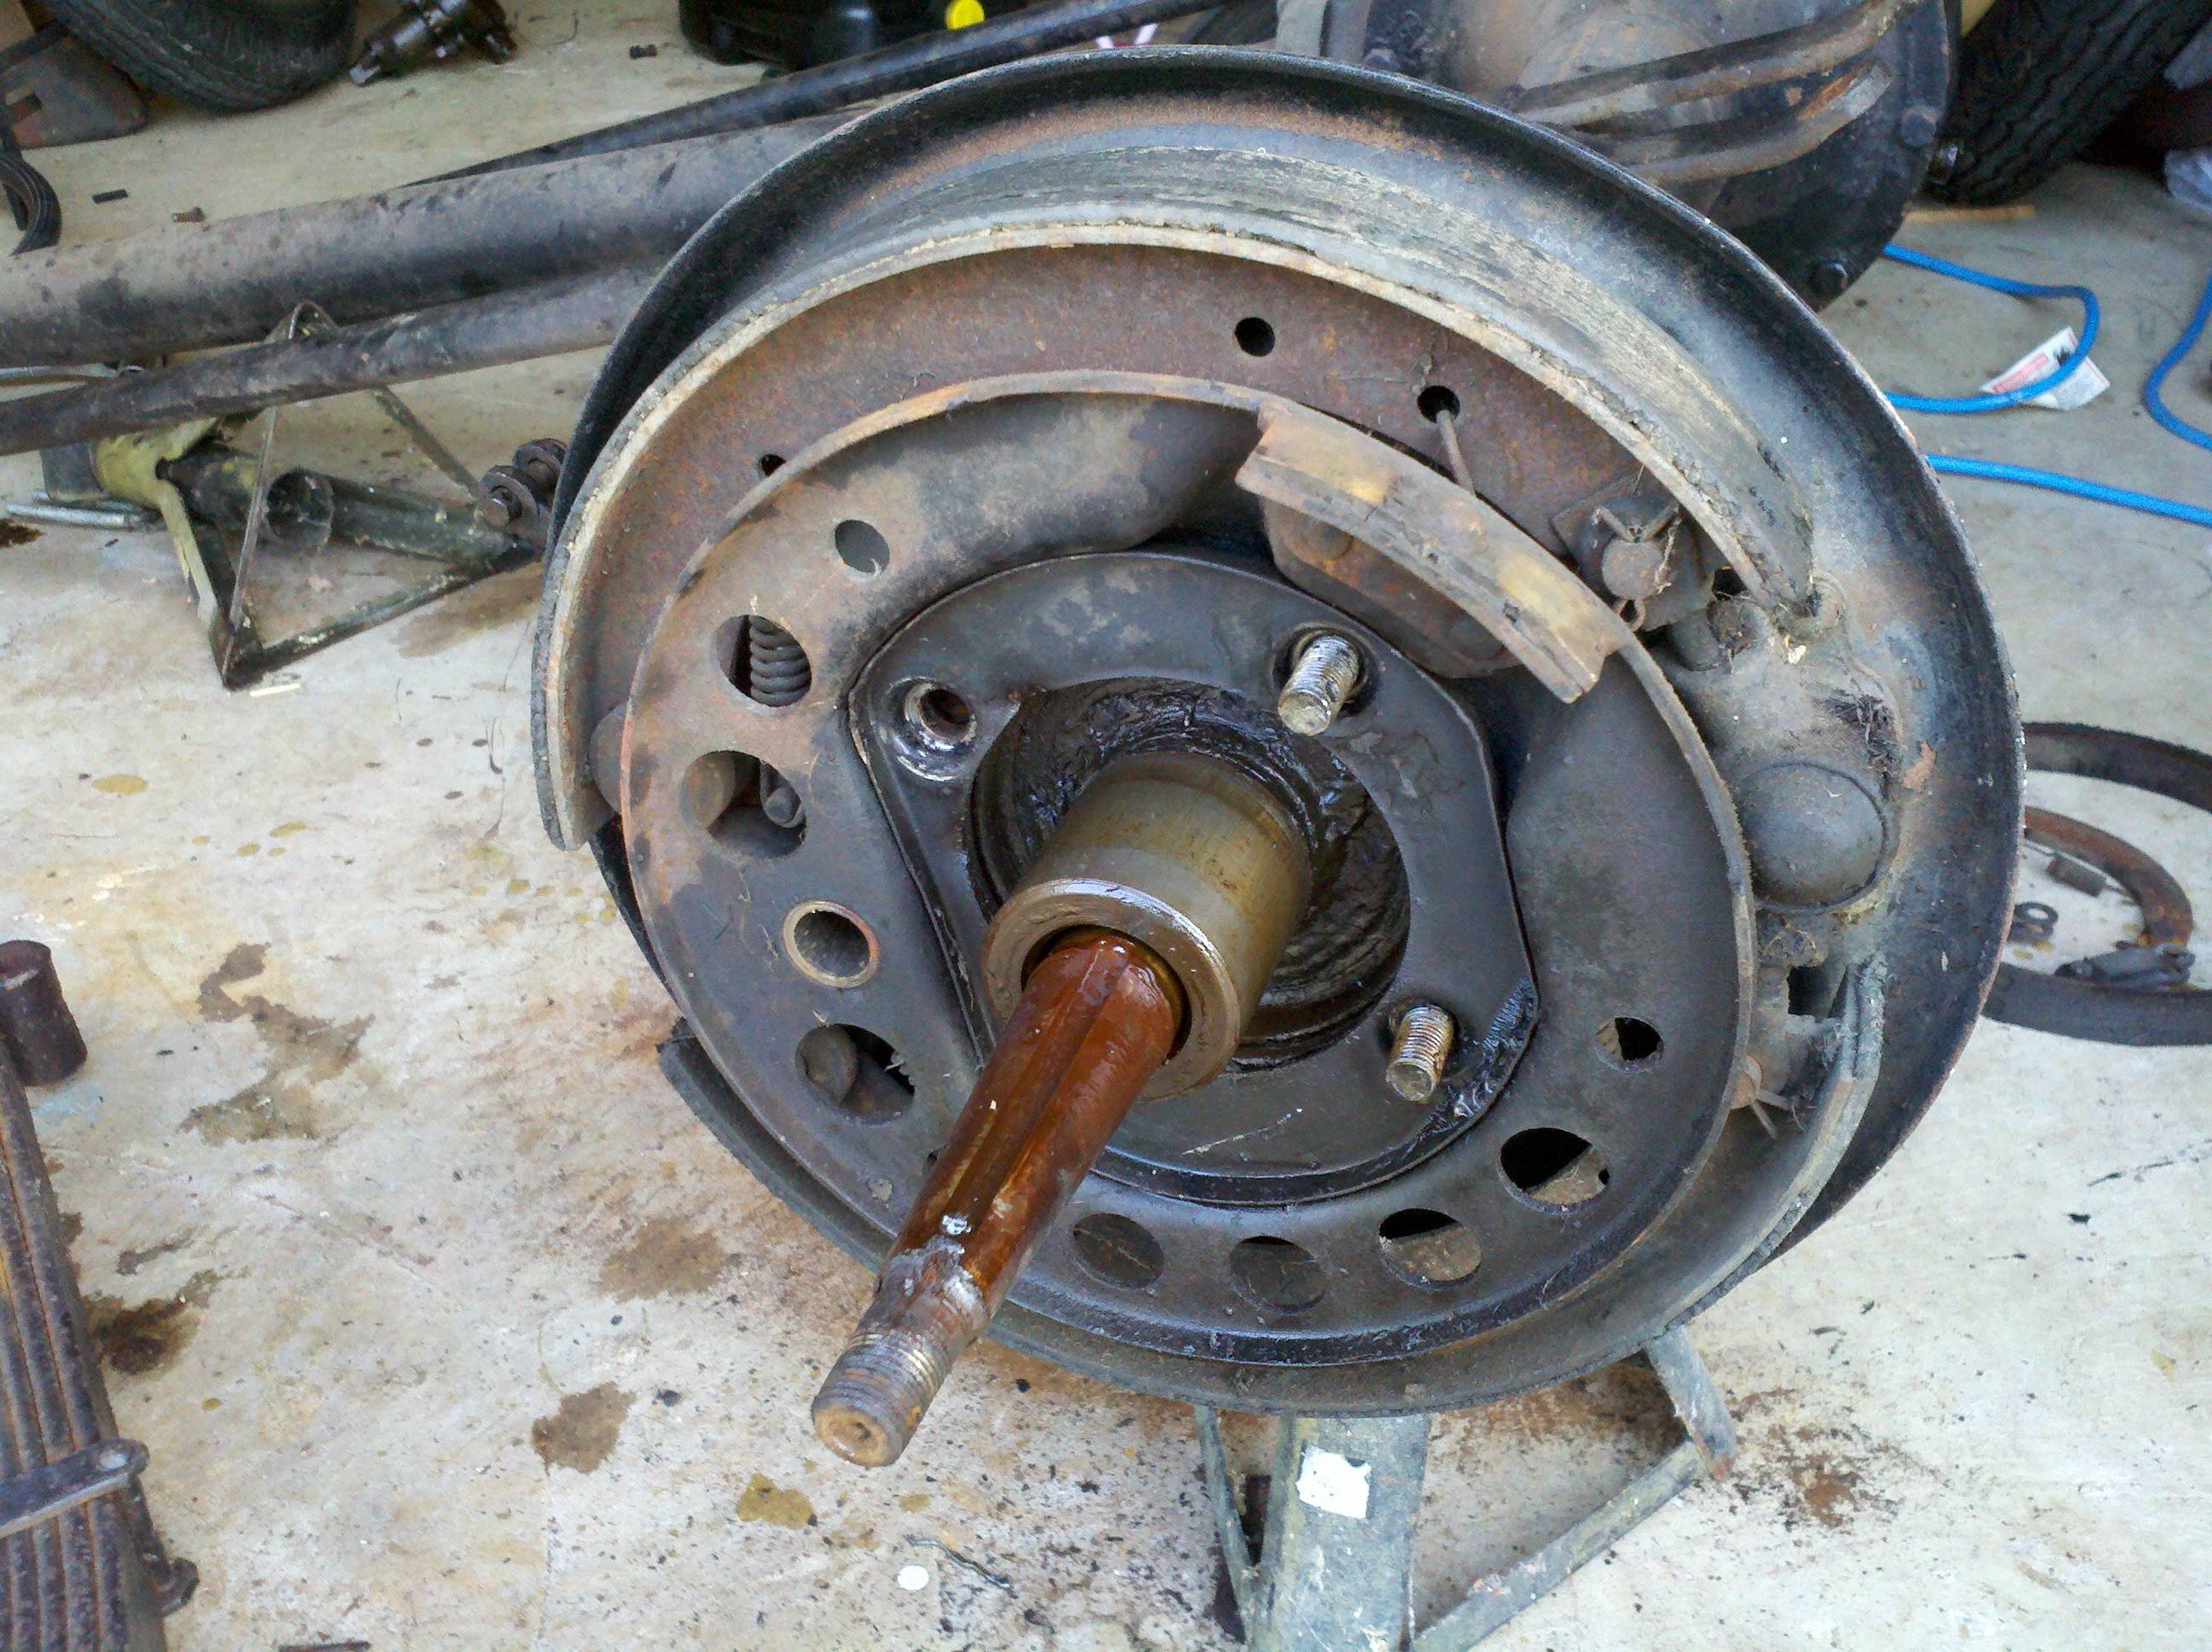
So, let's pull apart the driver's side, step by step. First, we need to remove the brakes, then the backing plate, then the operating rod, and lastly the kingpin. In a more detailed order, take the springs off the brake shoes. They're a real pain to pull off, too - I need to gets me a set of brake spring pliers. I was sure I had a set, somewhere, but I can't seem to find them. D'oh.
The next step is to go ahead and pull the shoes off. That's not a big deal, the top clevises pull right out of the adjuster at the top. Then we need to pull the operating wedge out. This is accomplished by pulling the bolt out of the backing plate (cotter pin first), and then the wedge just pulls right out.

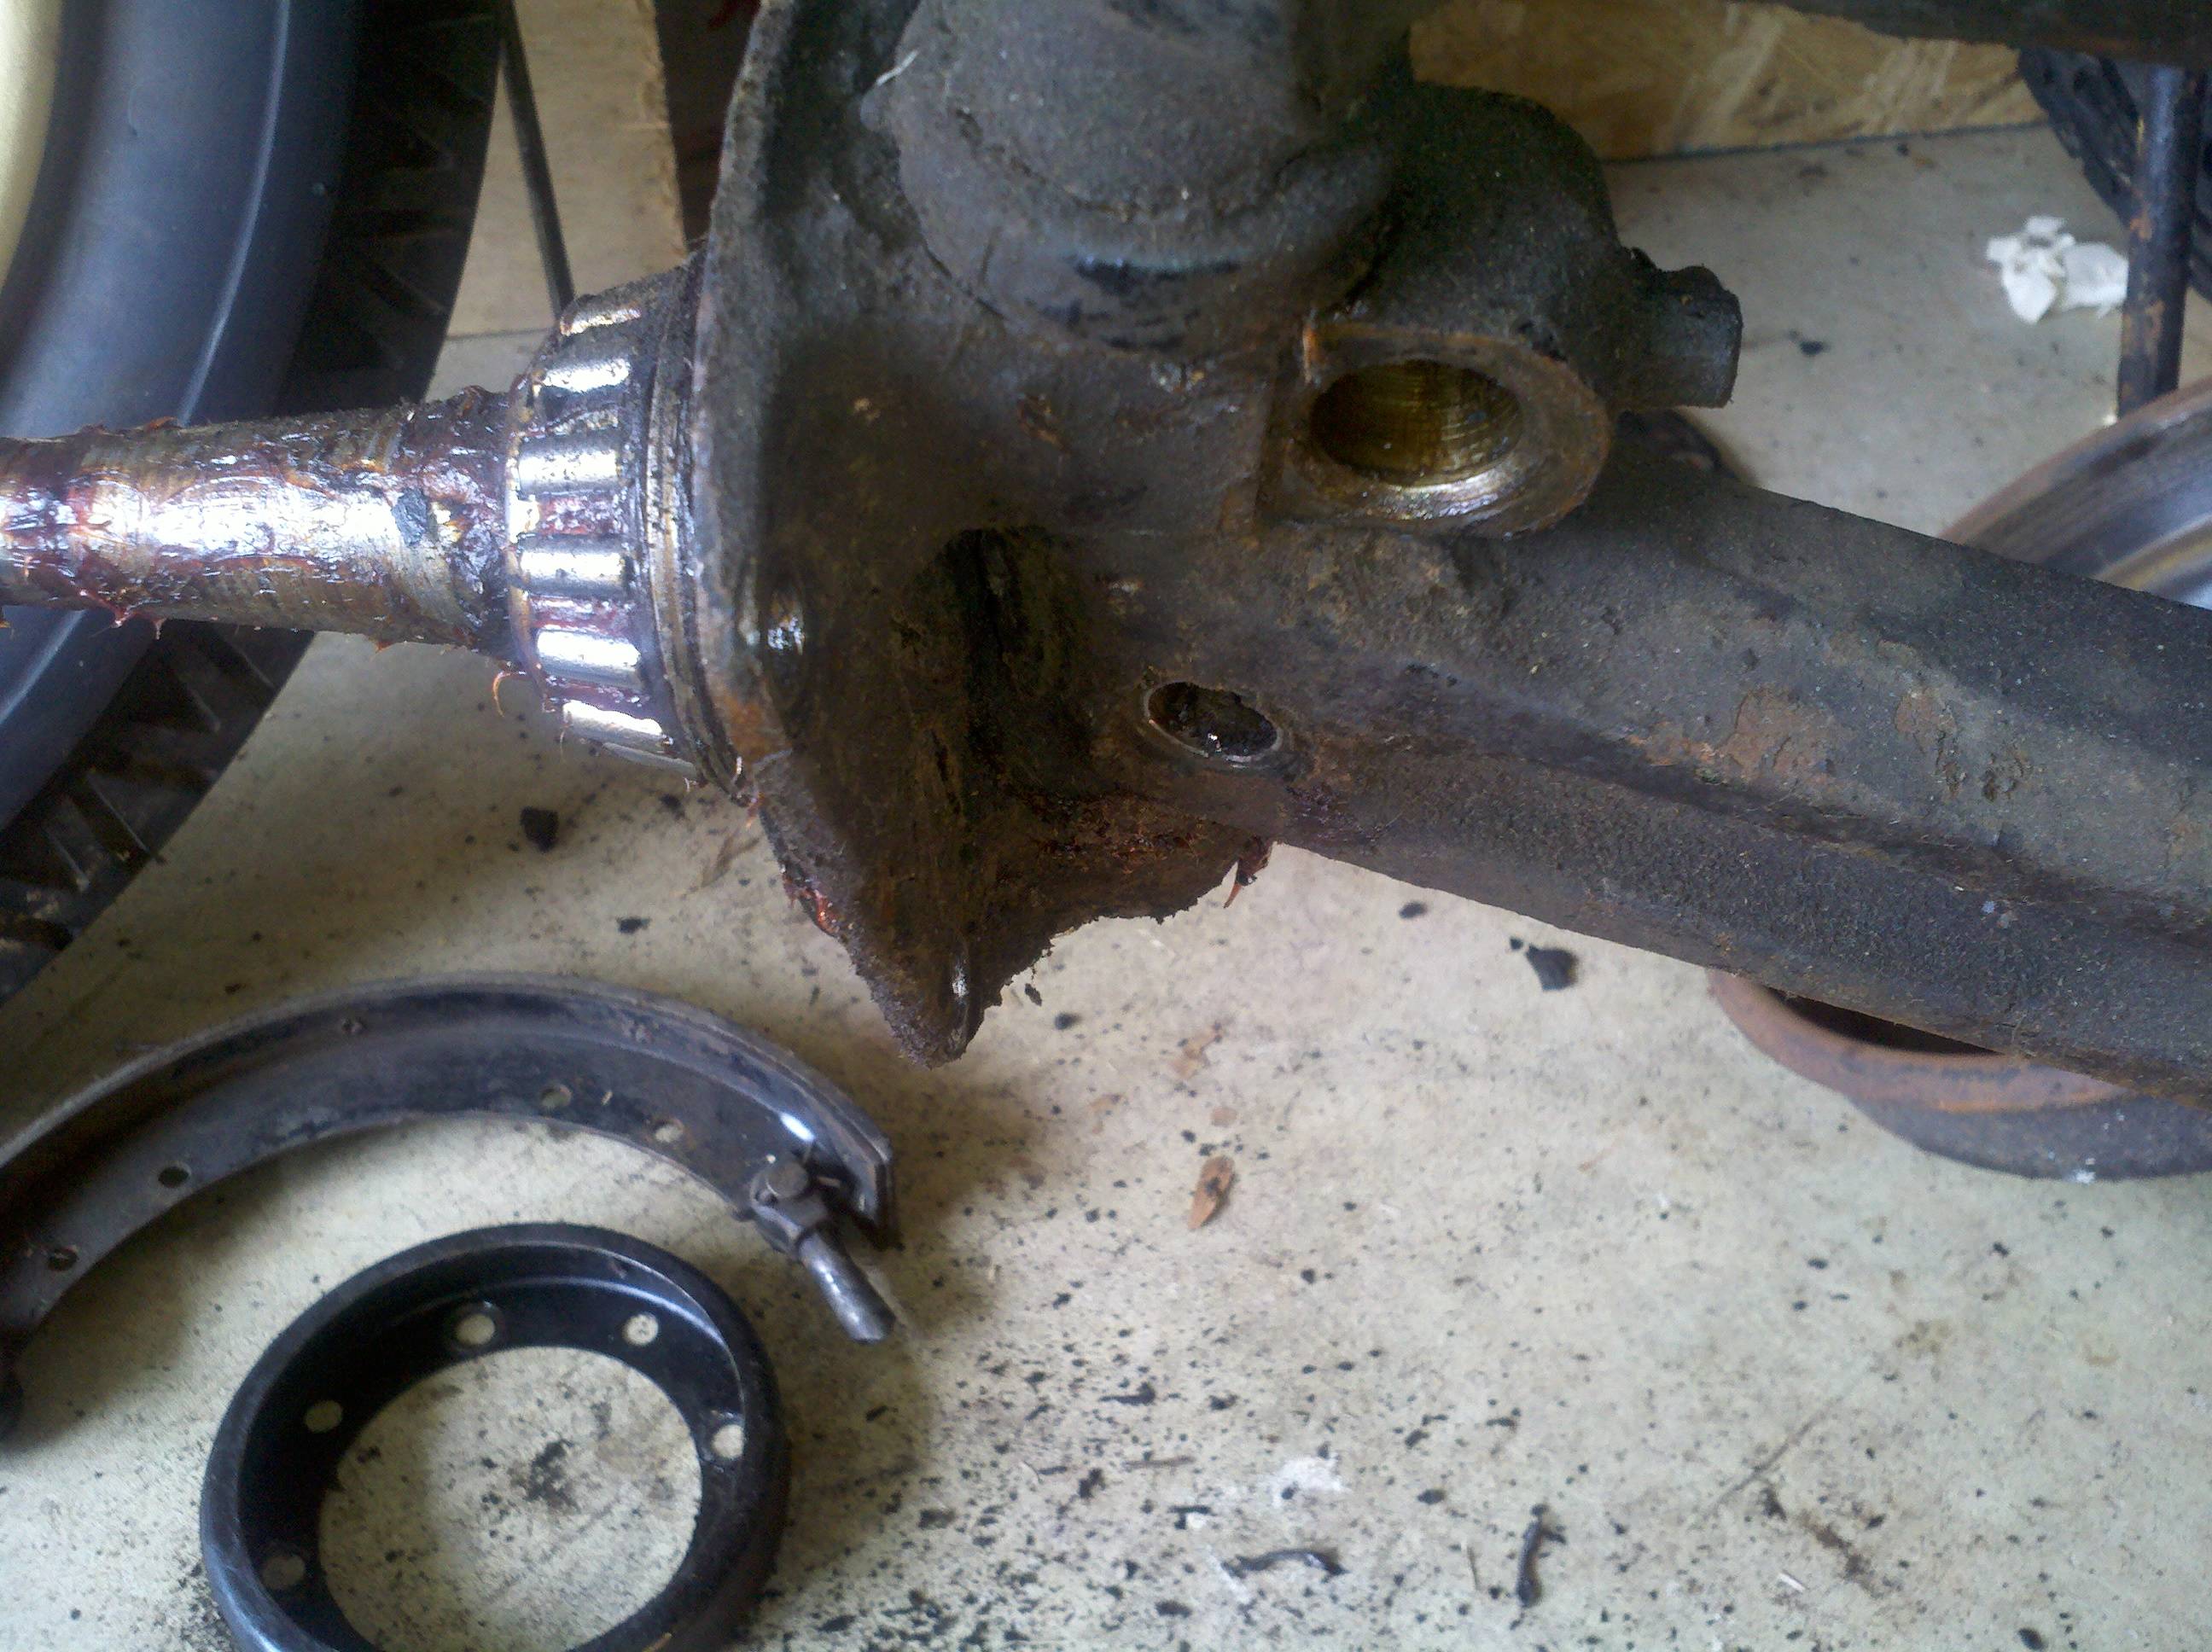
Be careful pulling the wedge - there's an actuator rod that goes through the center of the kingpin to do the actual work. I used a pair of pliers to hold the rod up out of the way while I pulled the wedge off the backing plate. Be sure to note that there may be a shim in there, too. Mine did not, but I understand it's not uncommon. Sorry, no pics of that coming out.
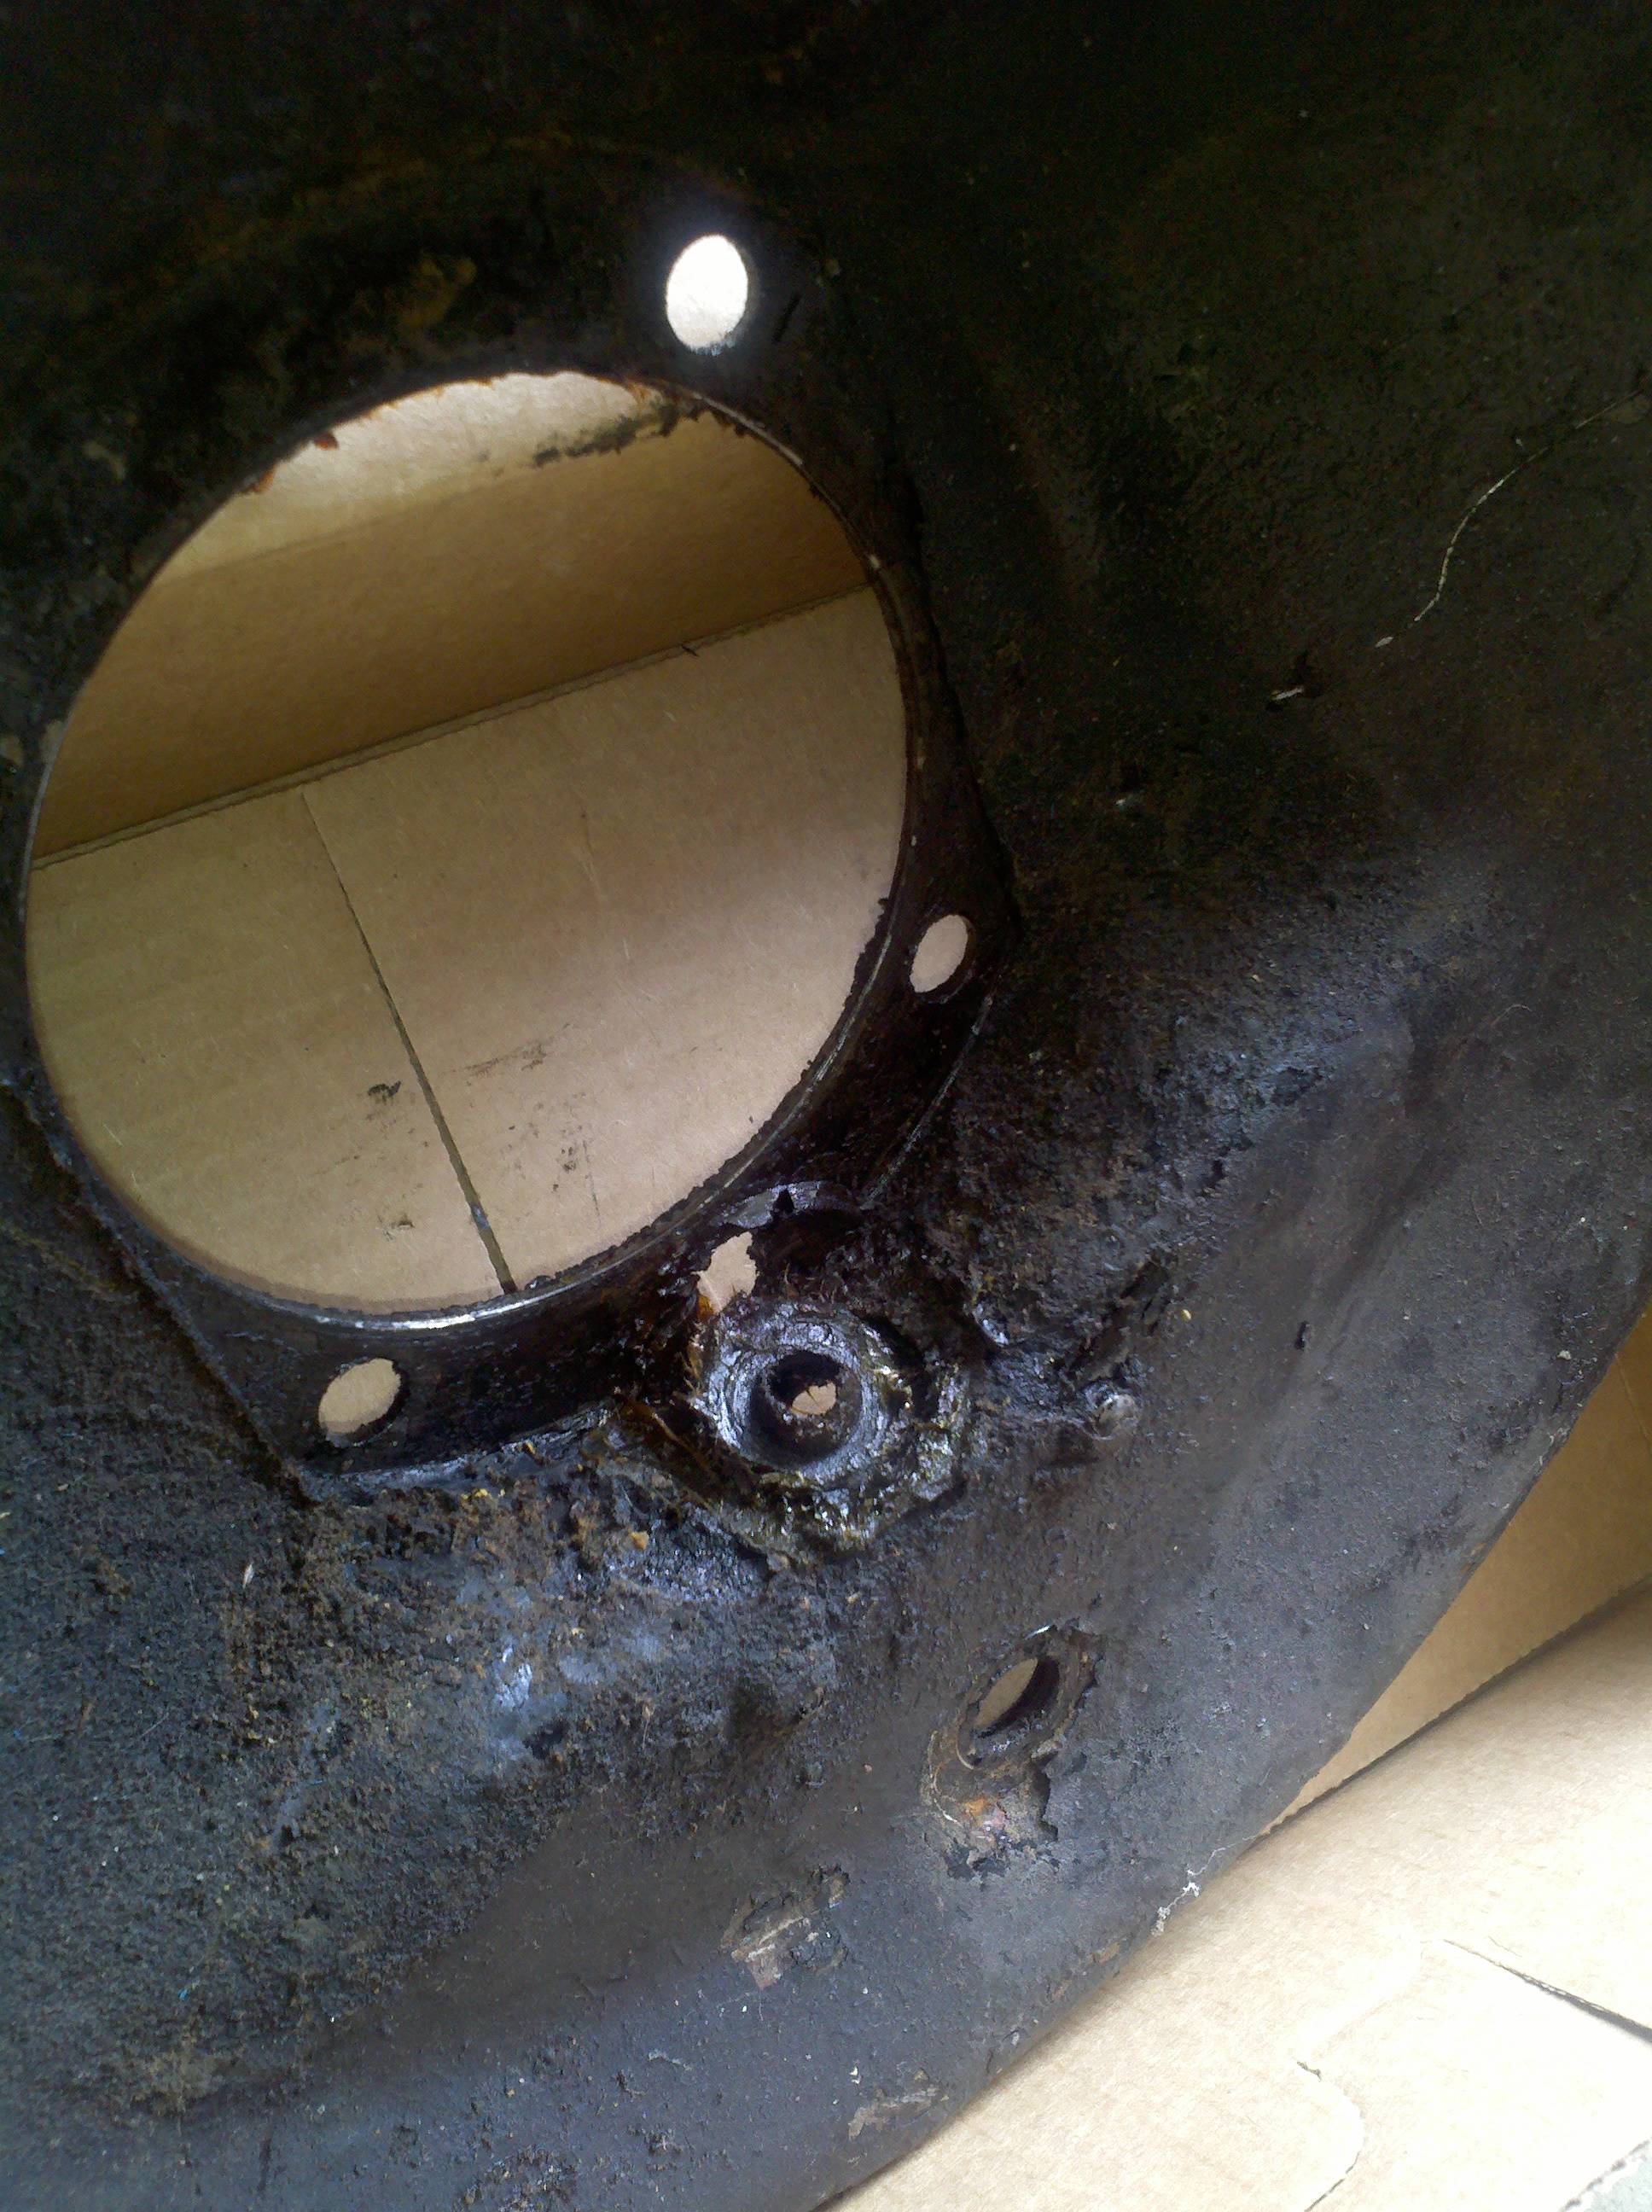
Once the wedge is out, pull the four bolts from the backing plate. *sigh* Yes, they each have a cotter pin, and they were a royal pain to remove. Once those nuts are removed, the bolts will mostly come out with the grease baffle. I needed to give my backing plate a couple whacks with a soft mallet to get it to pop loose, though. I guess there's only about 85 years of crud holding it all together, so that wasn't too surprising. Take care to note that there's a felt washr between the kingpin opening and the backing plate. This is to help keep the grease in. Note to self: Don't forget to install a new one when you put it all back together.
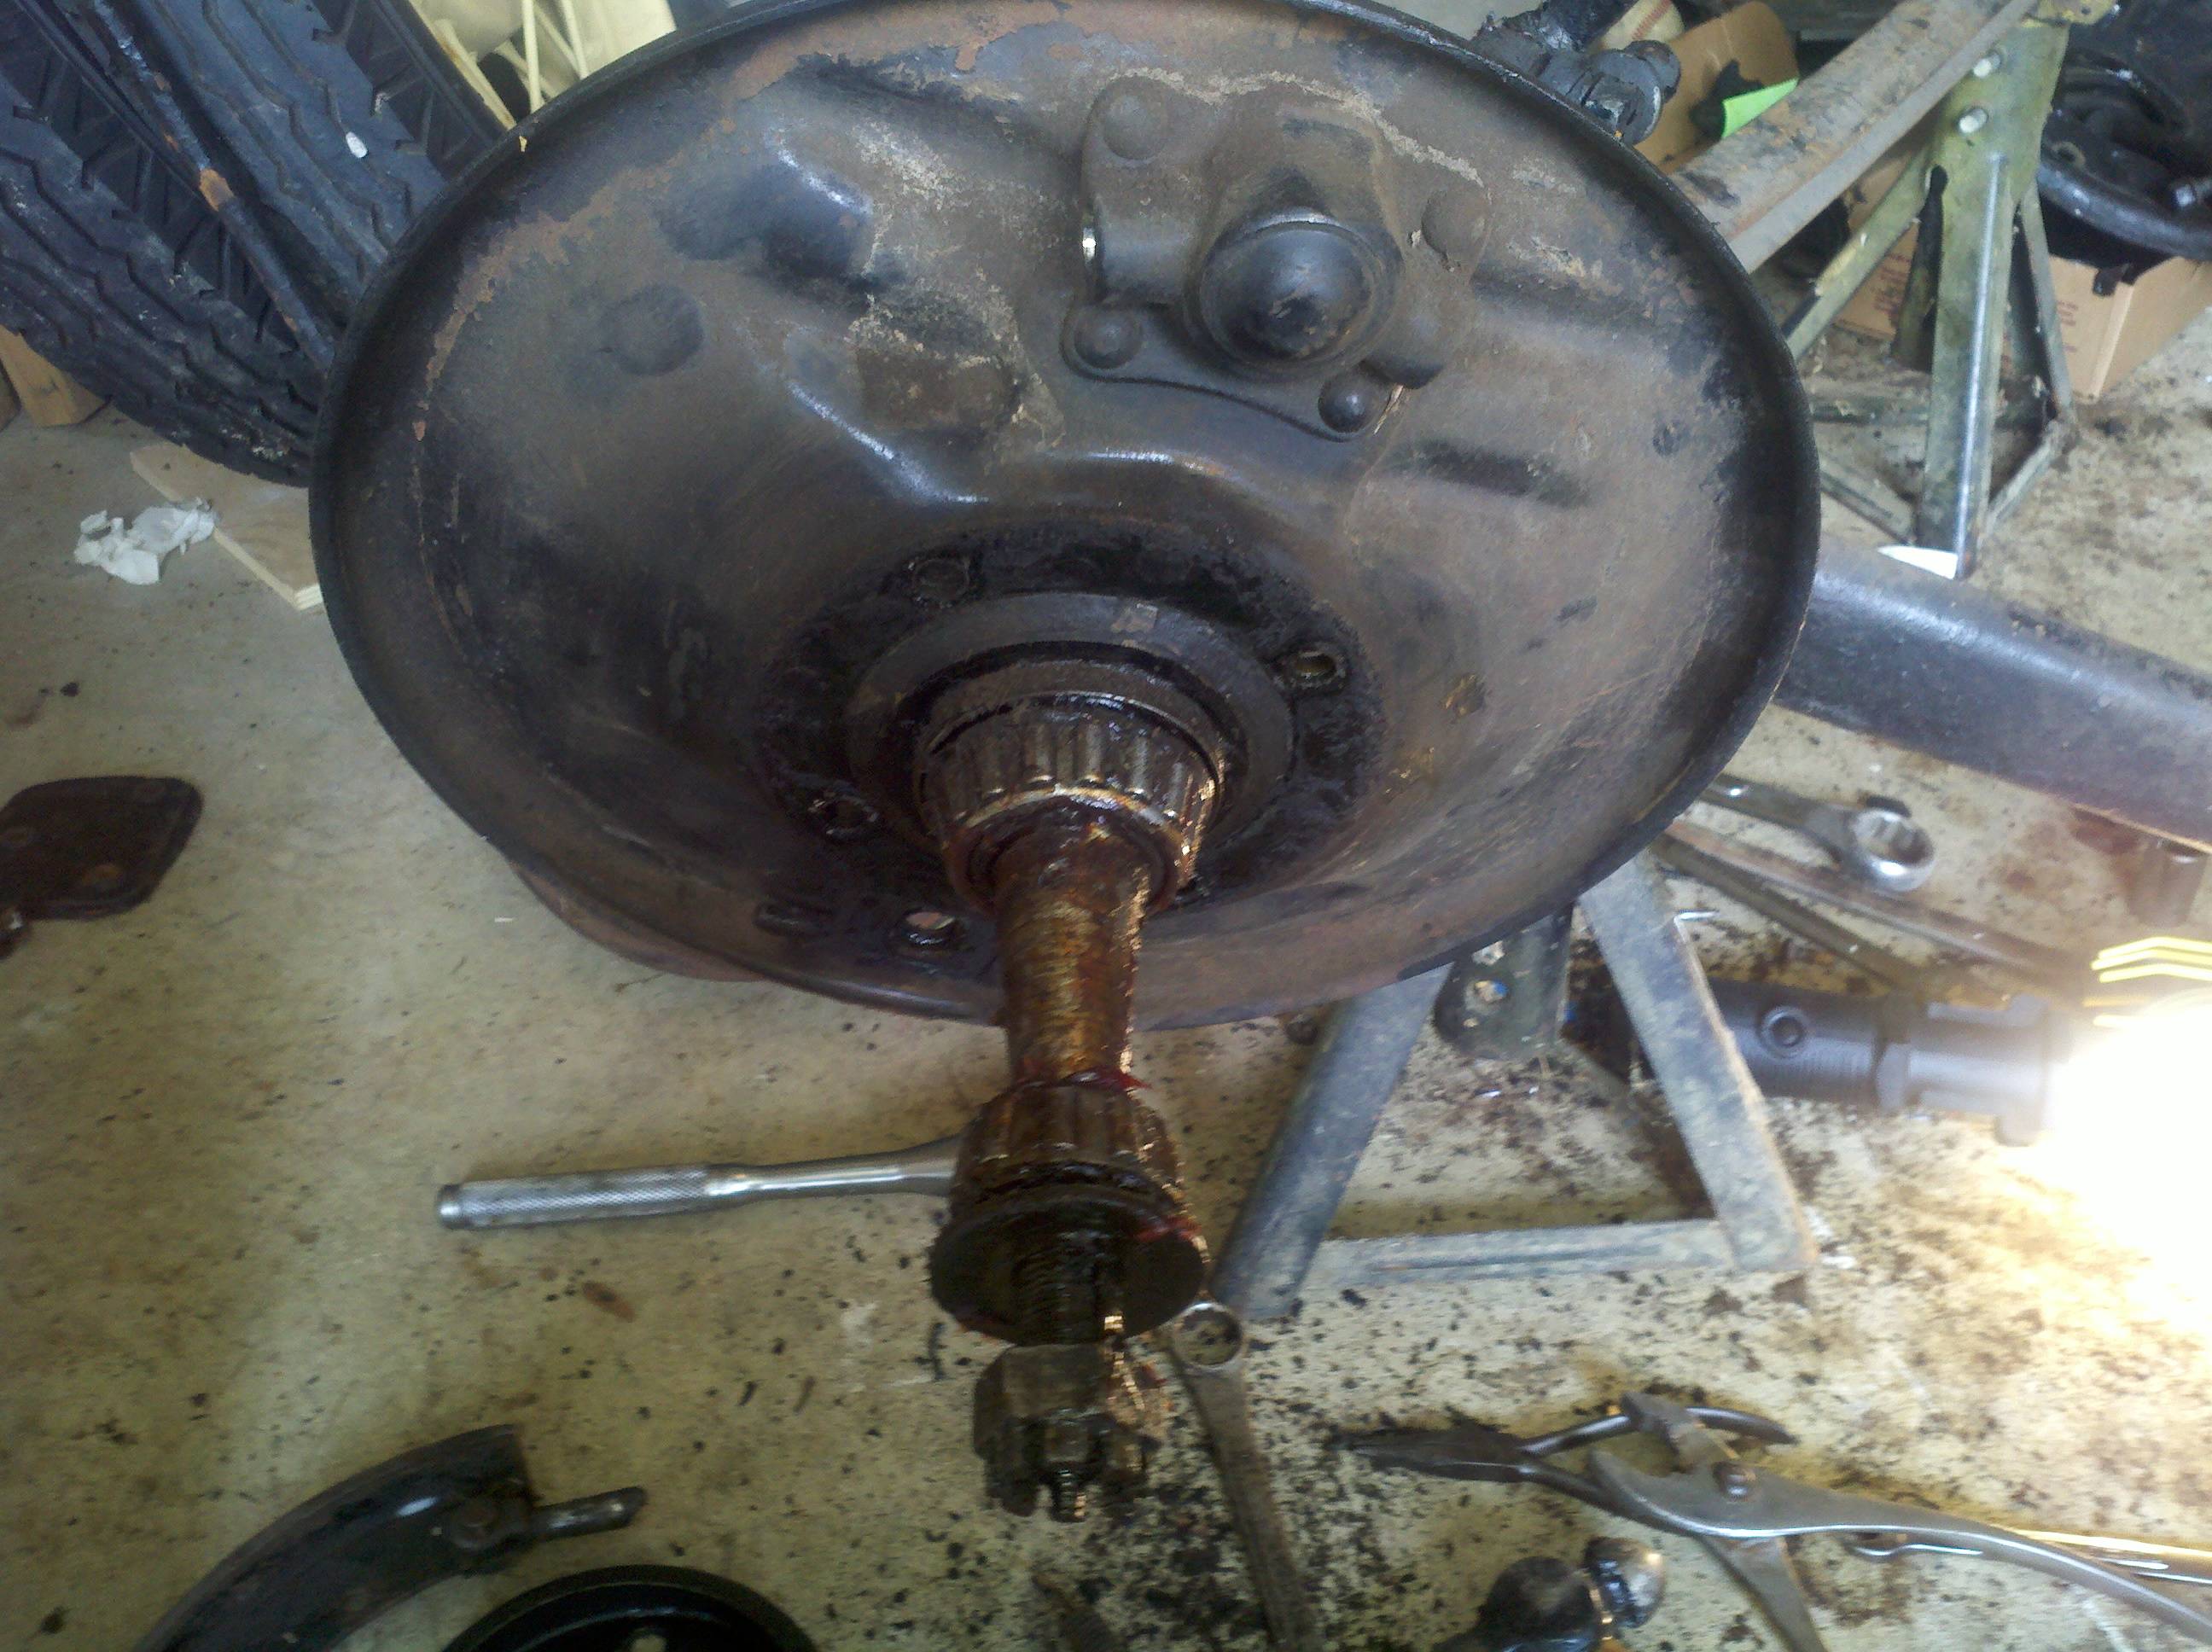
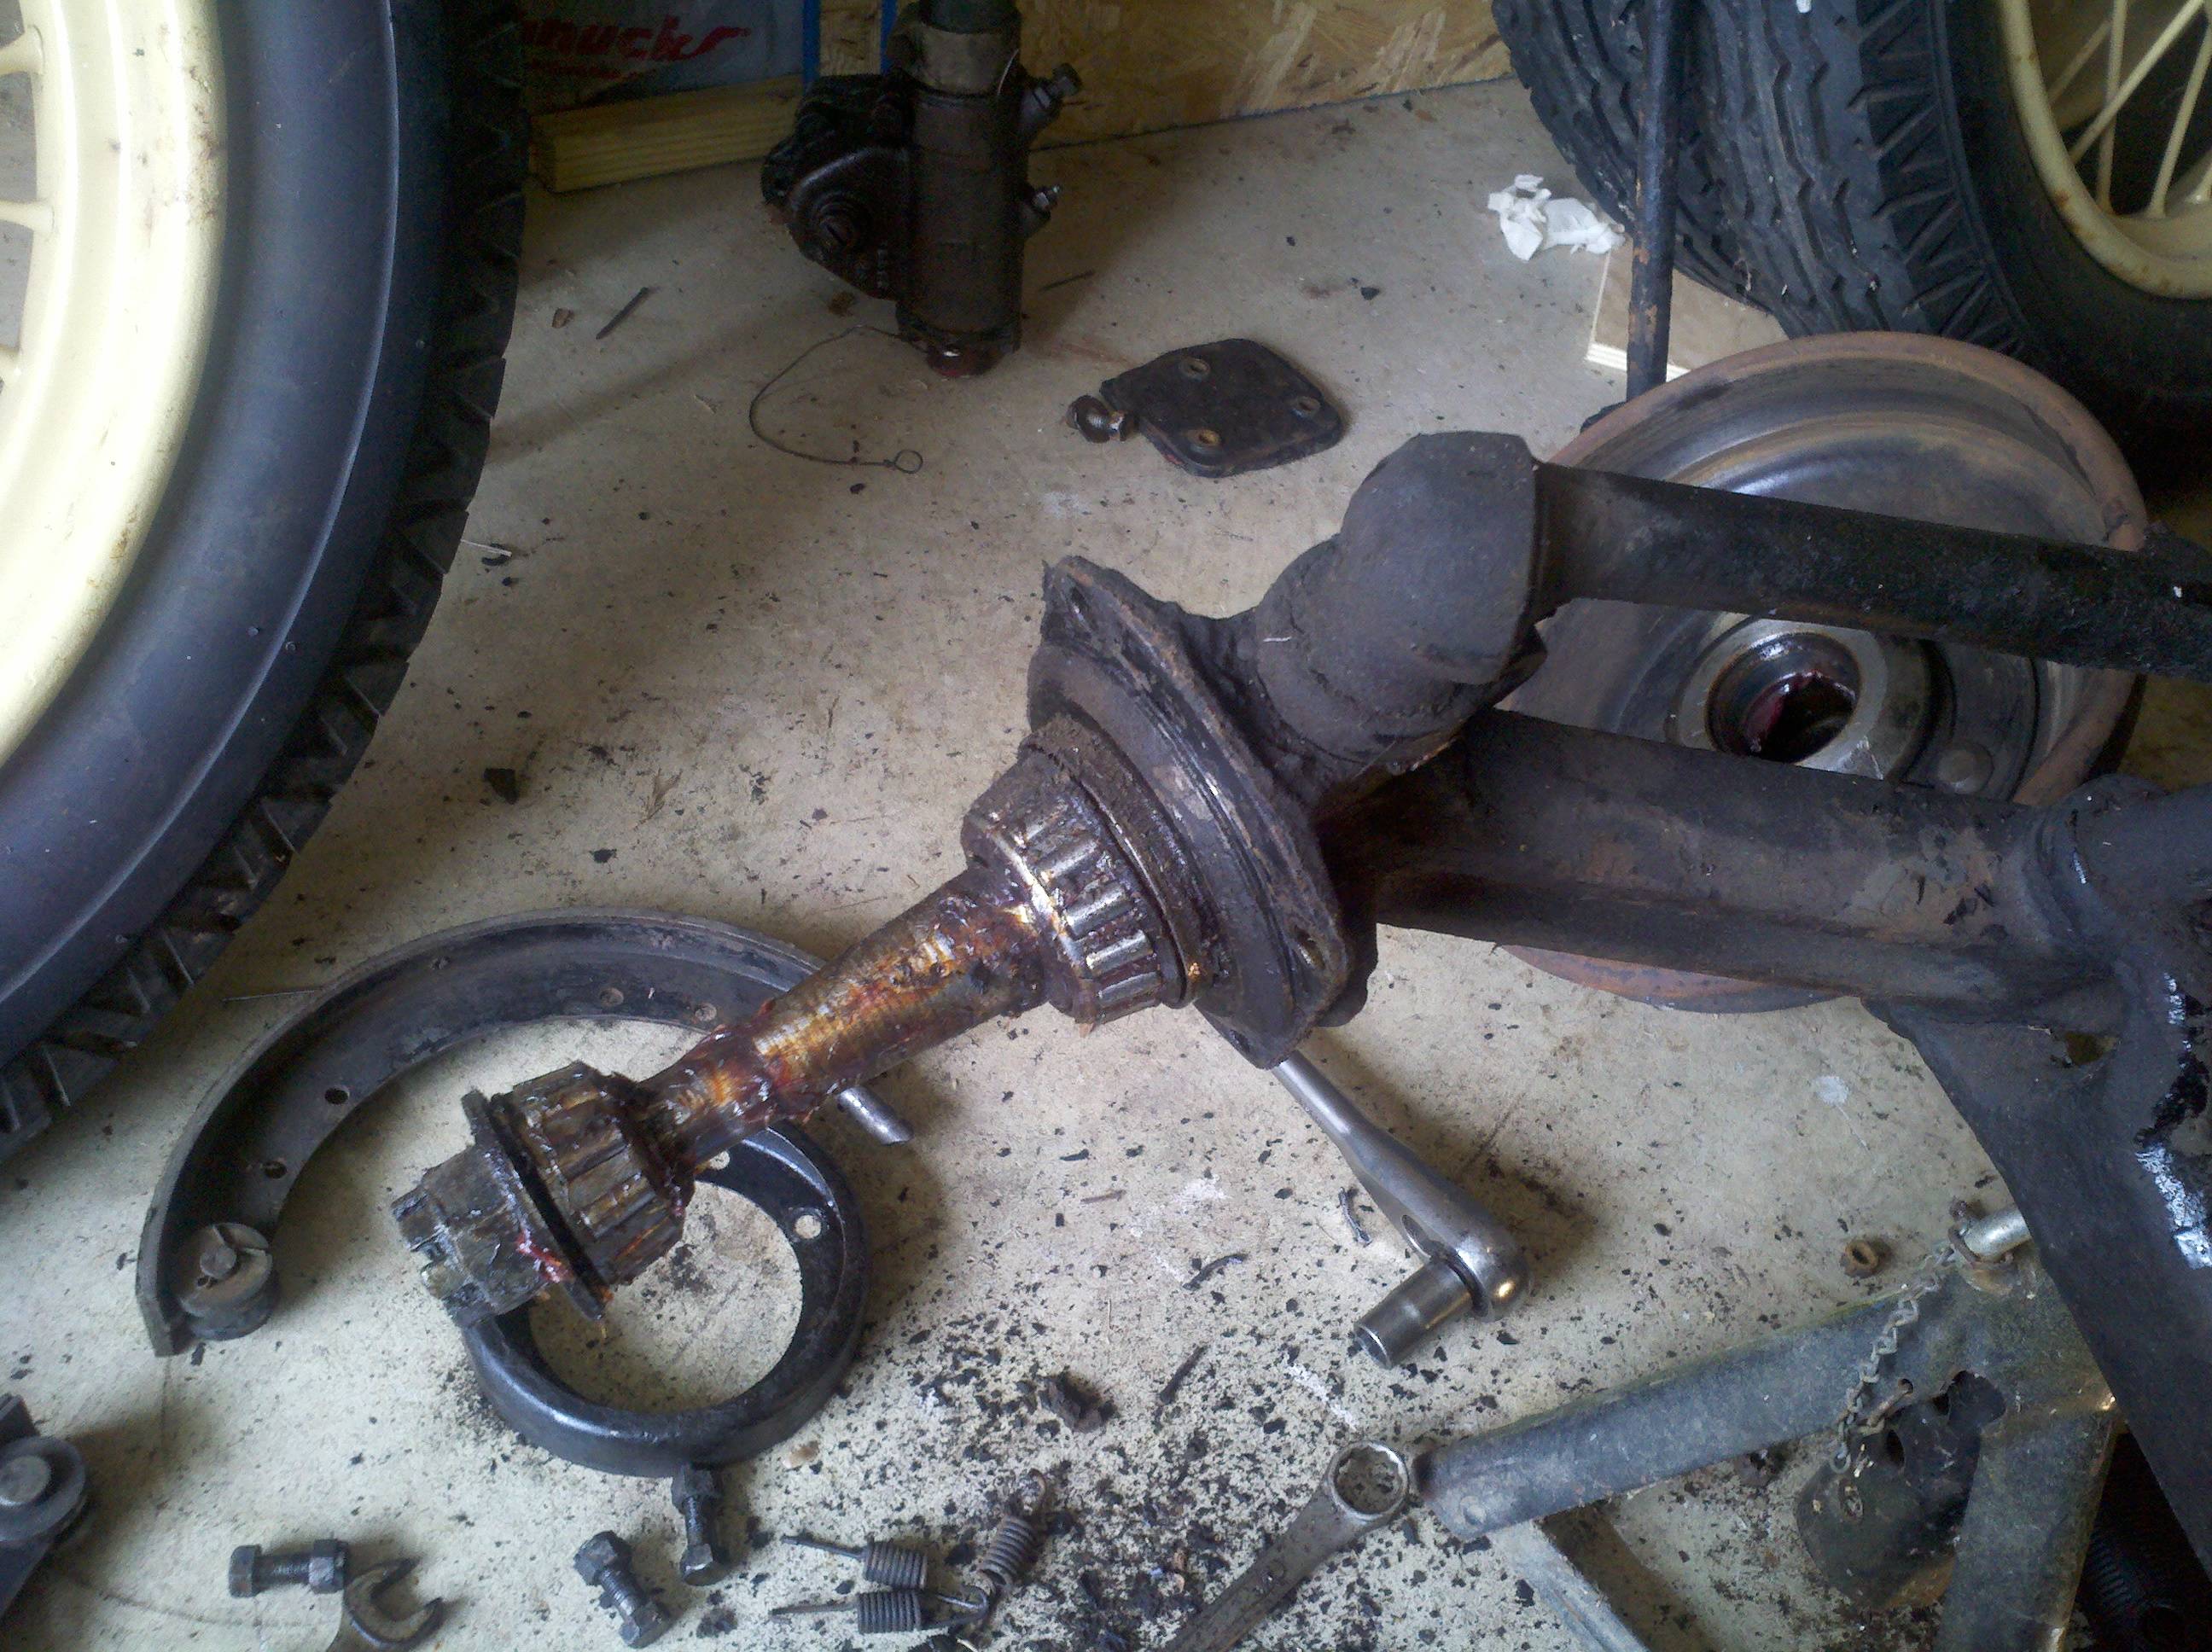
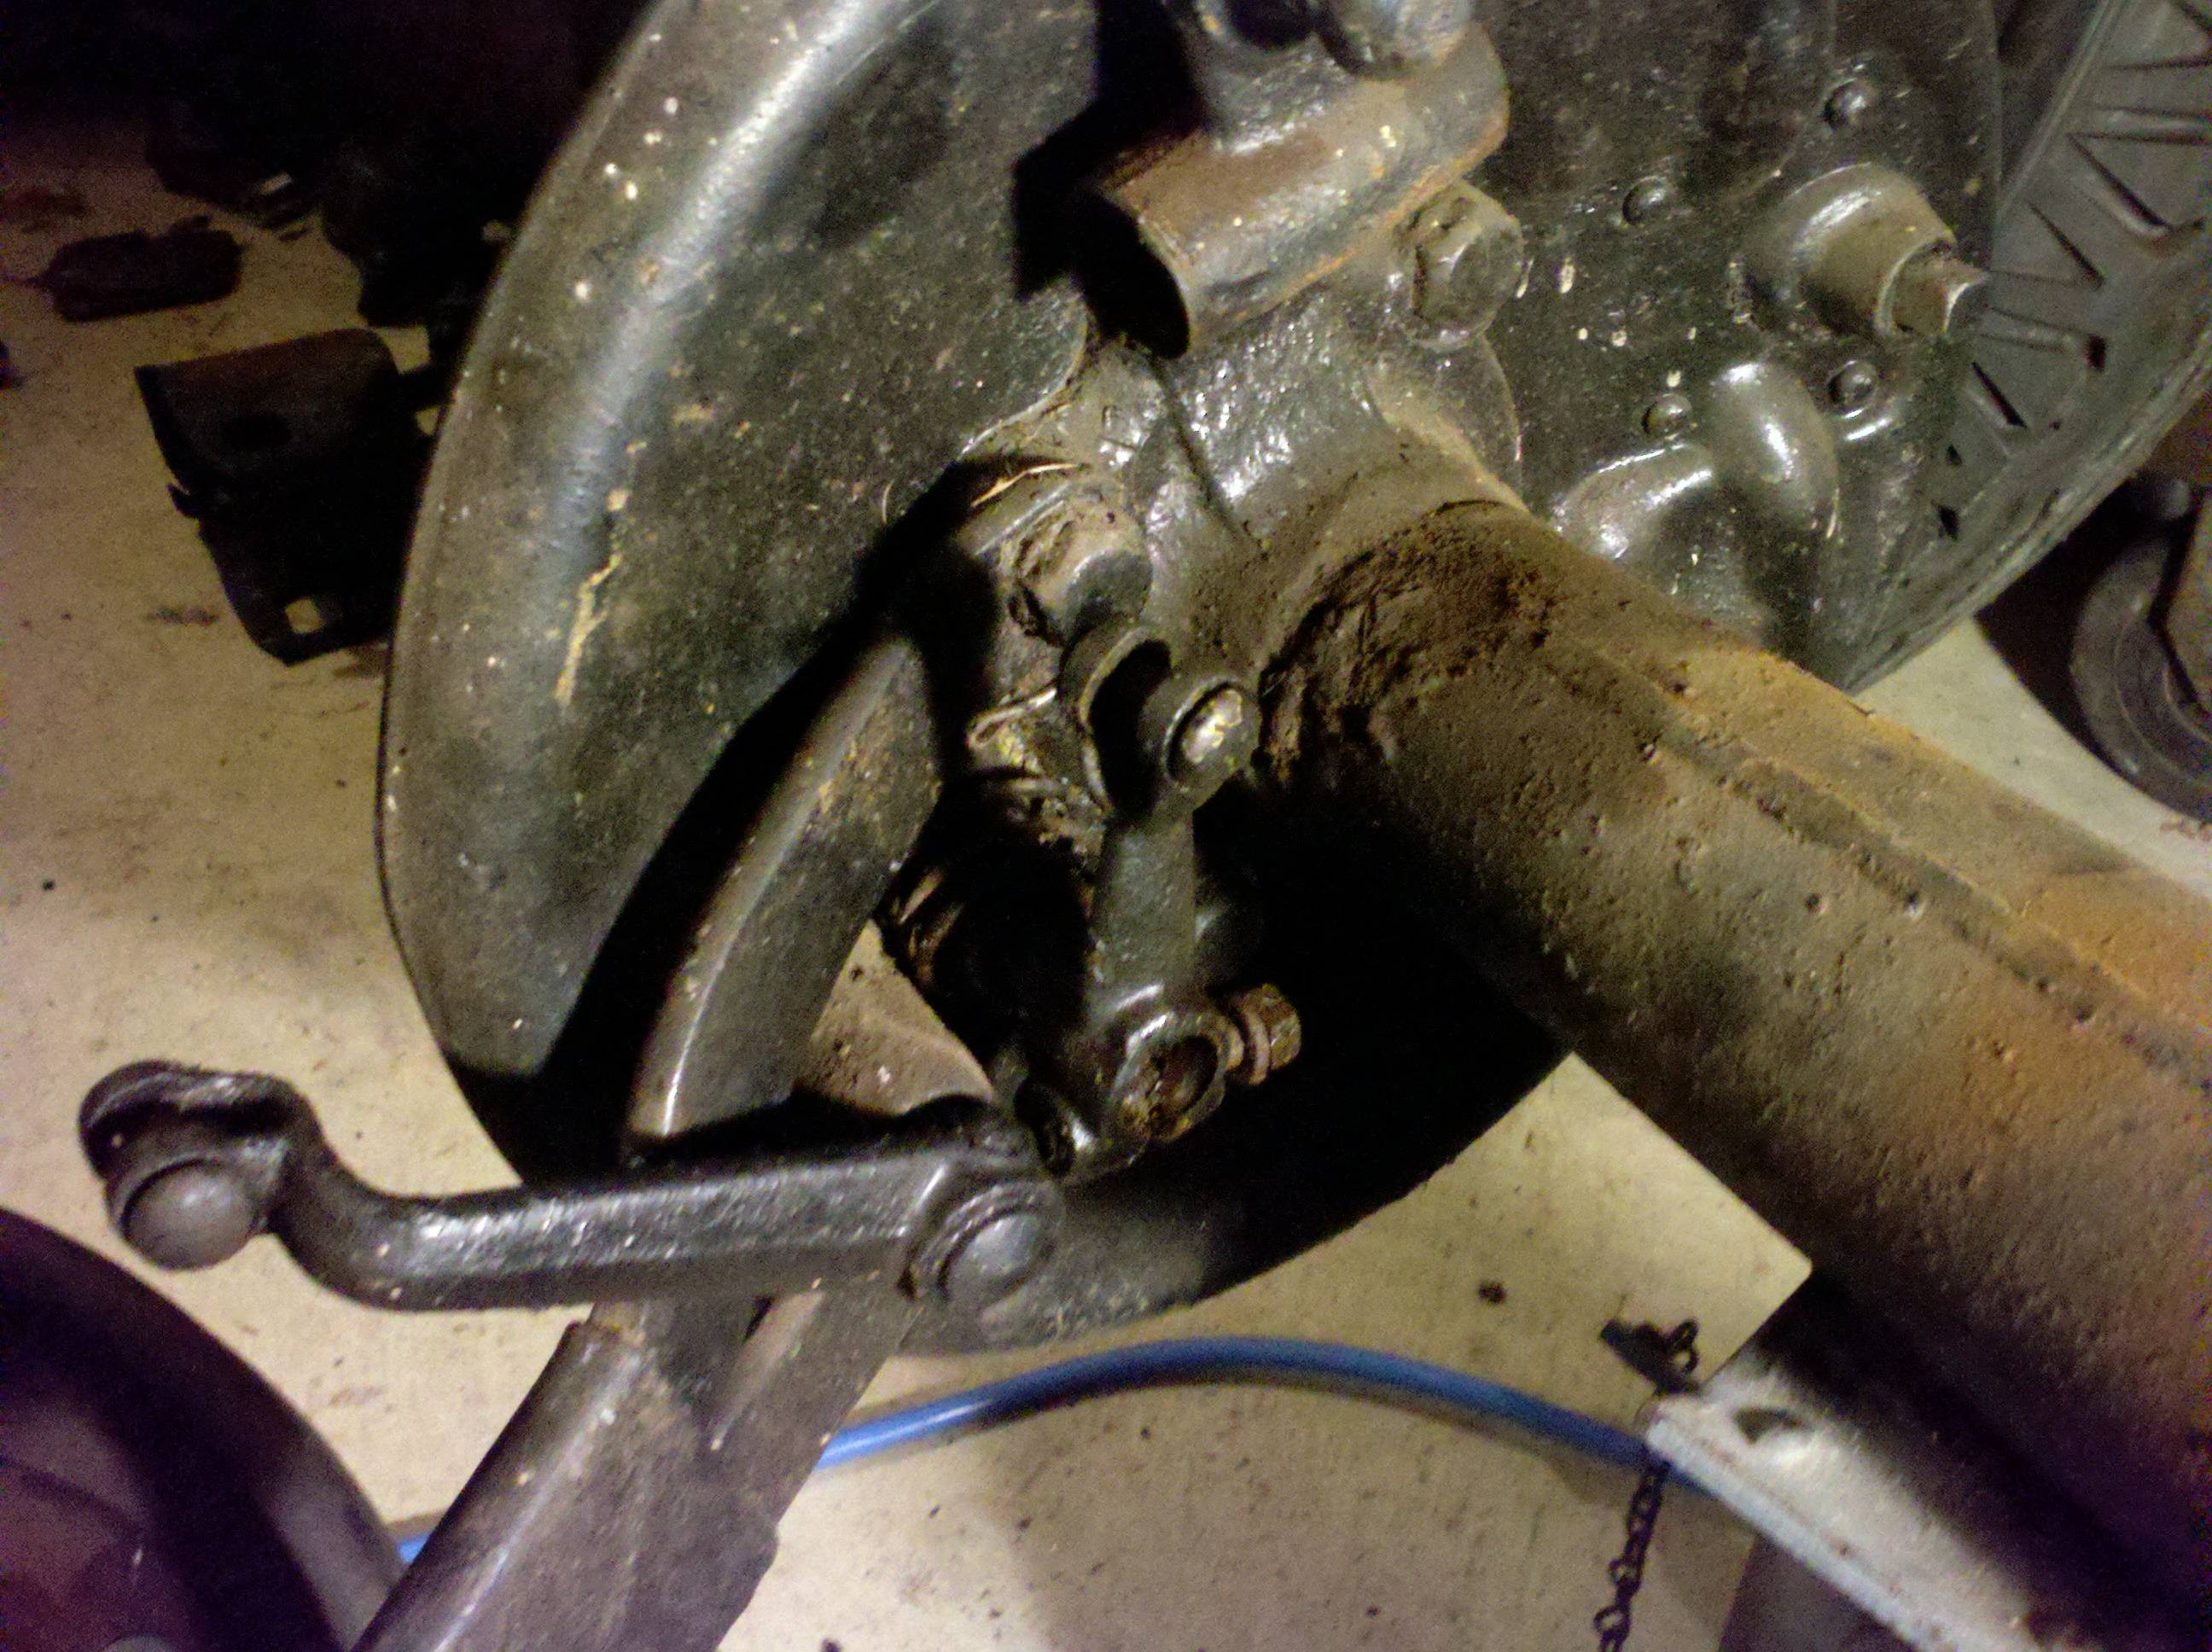
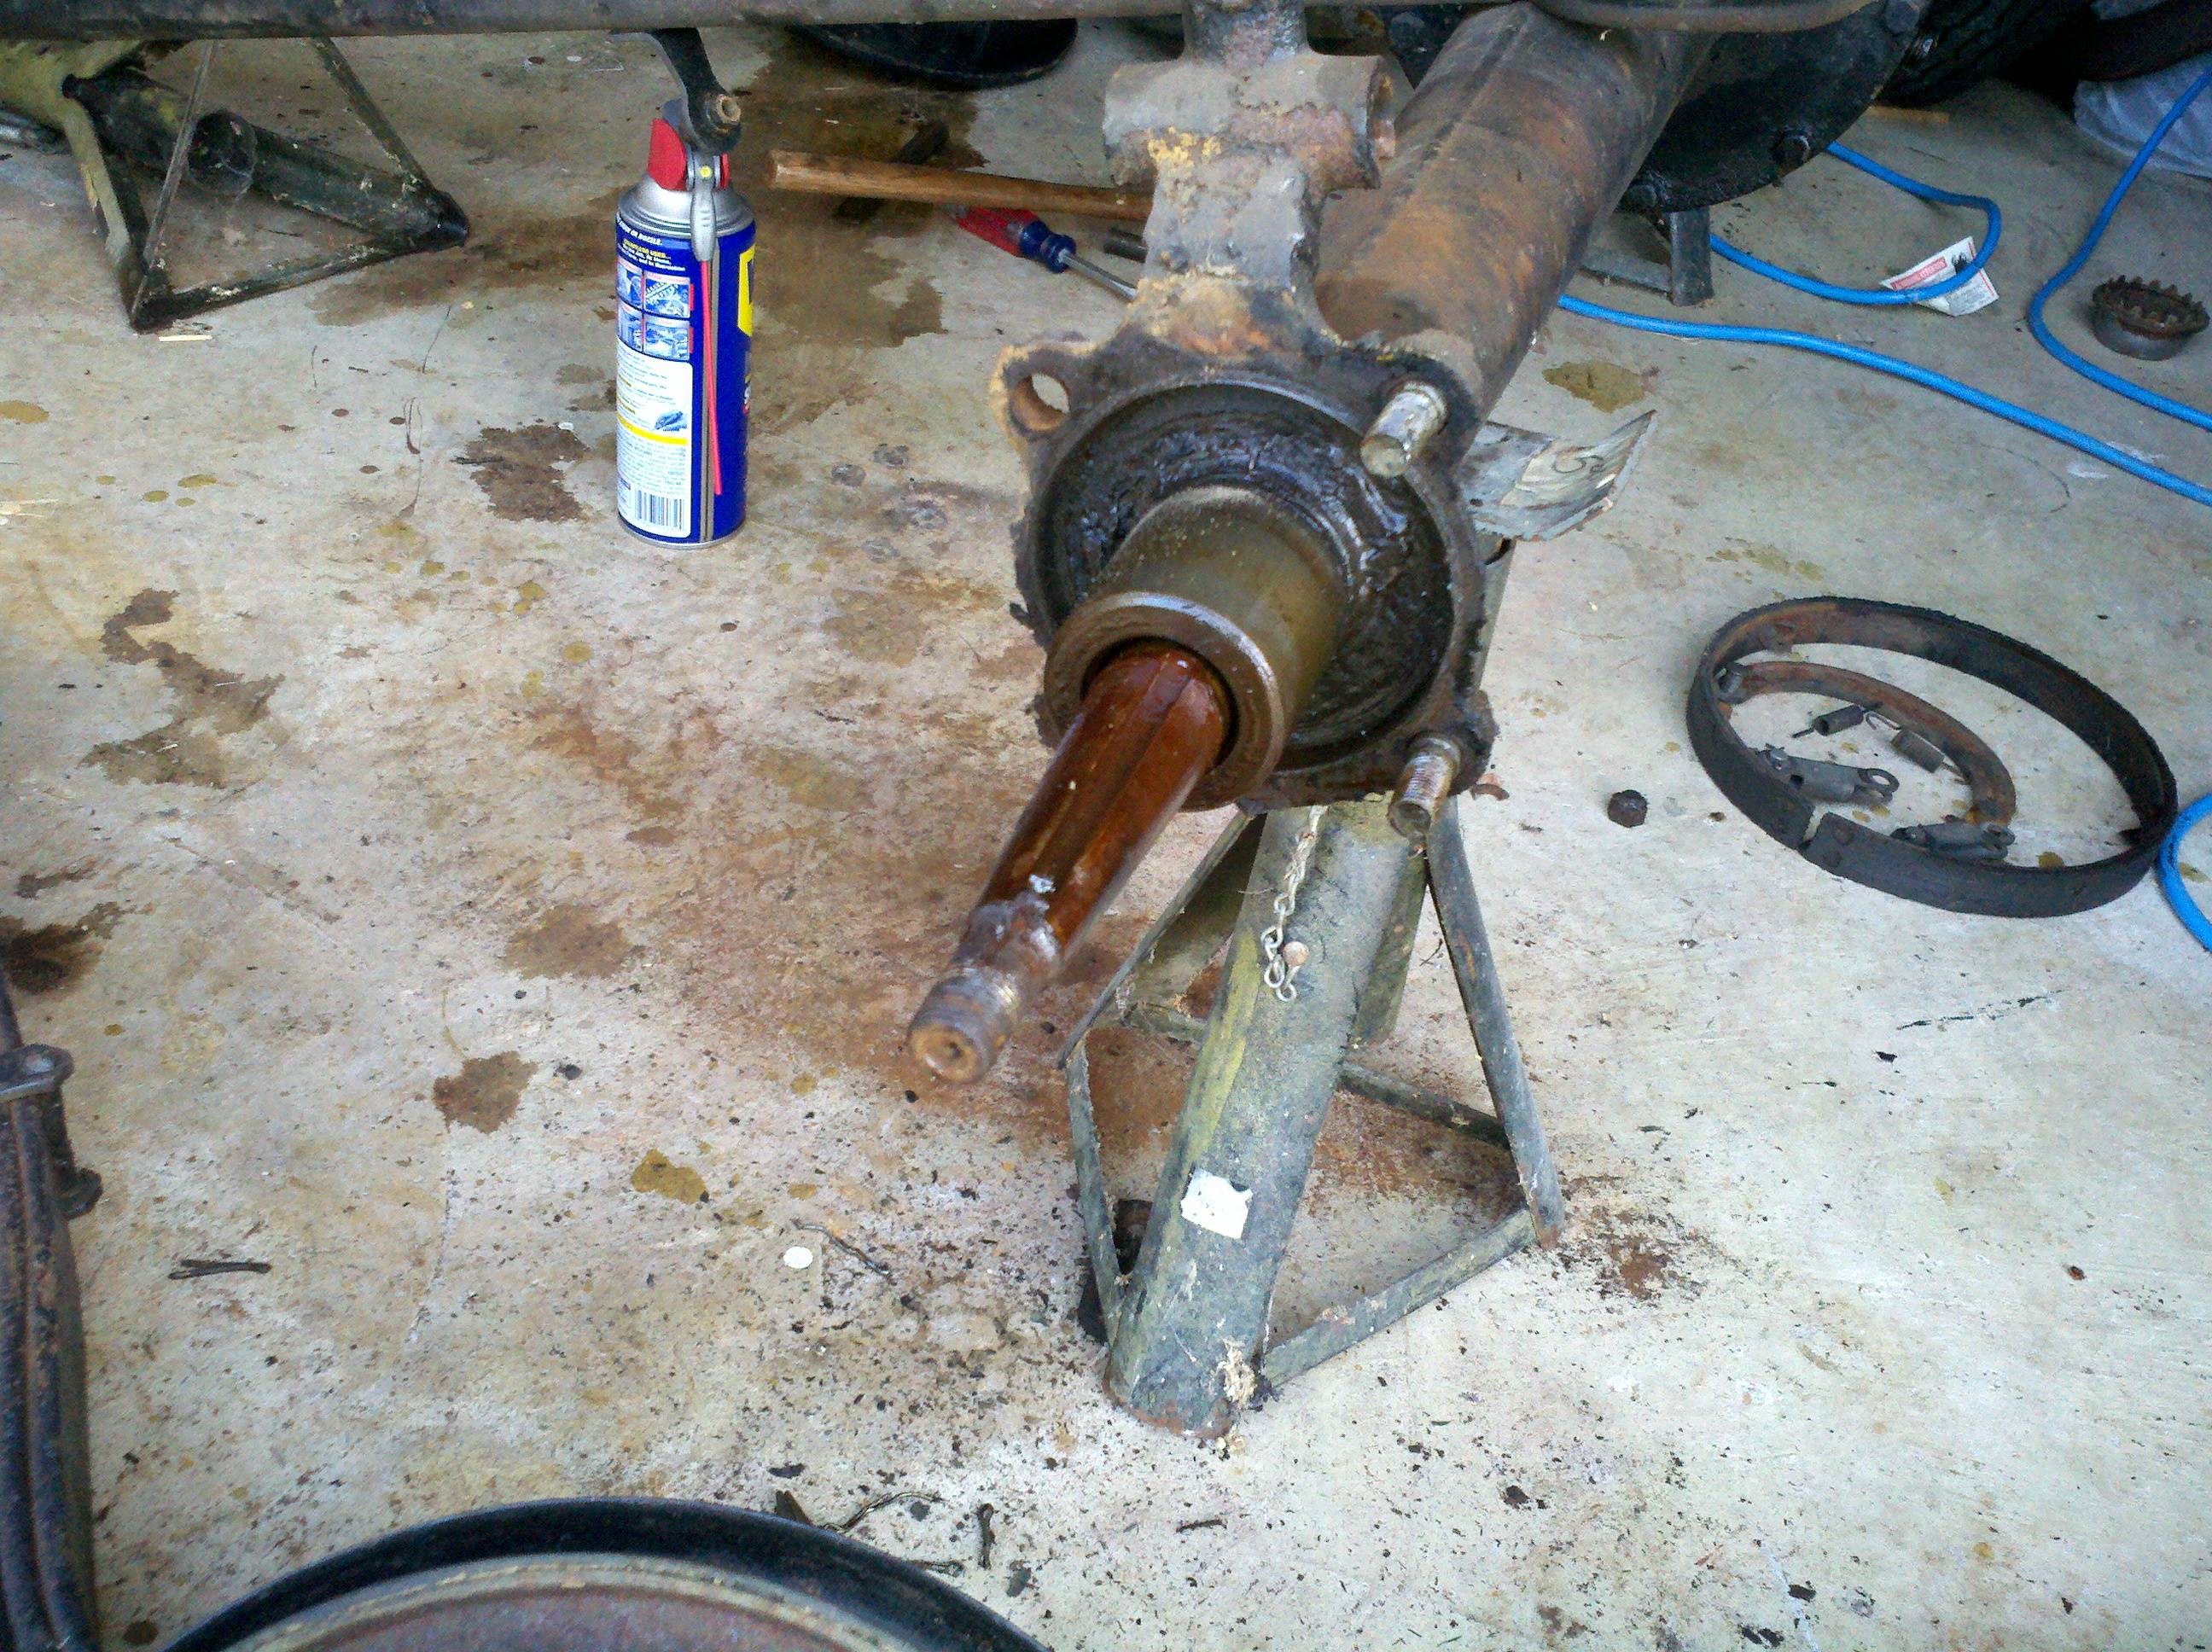
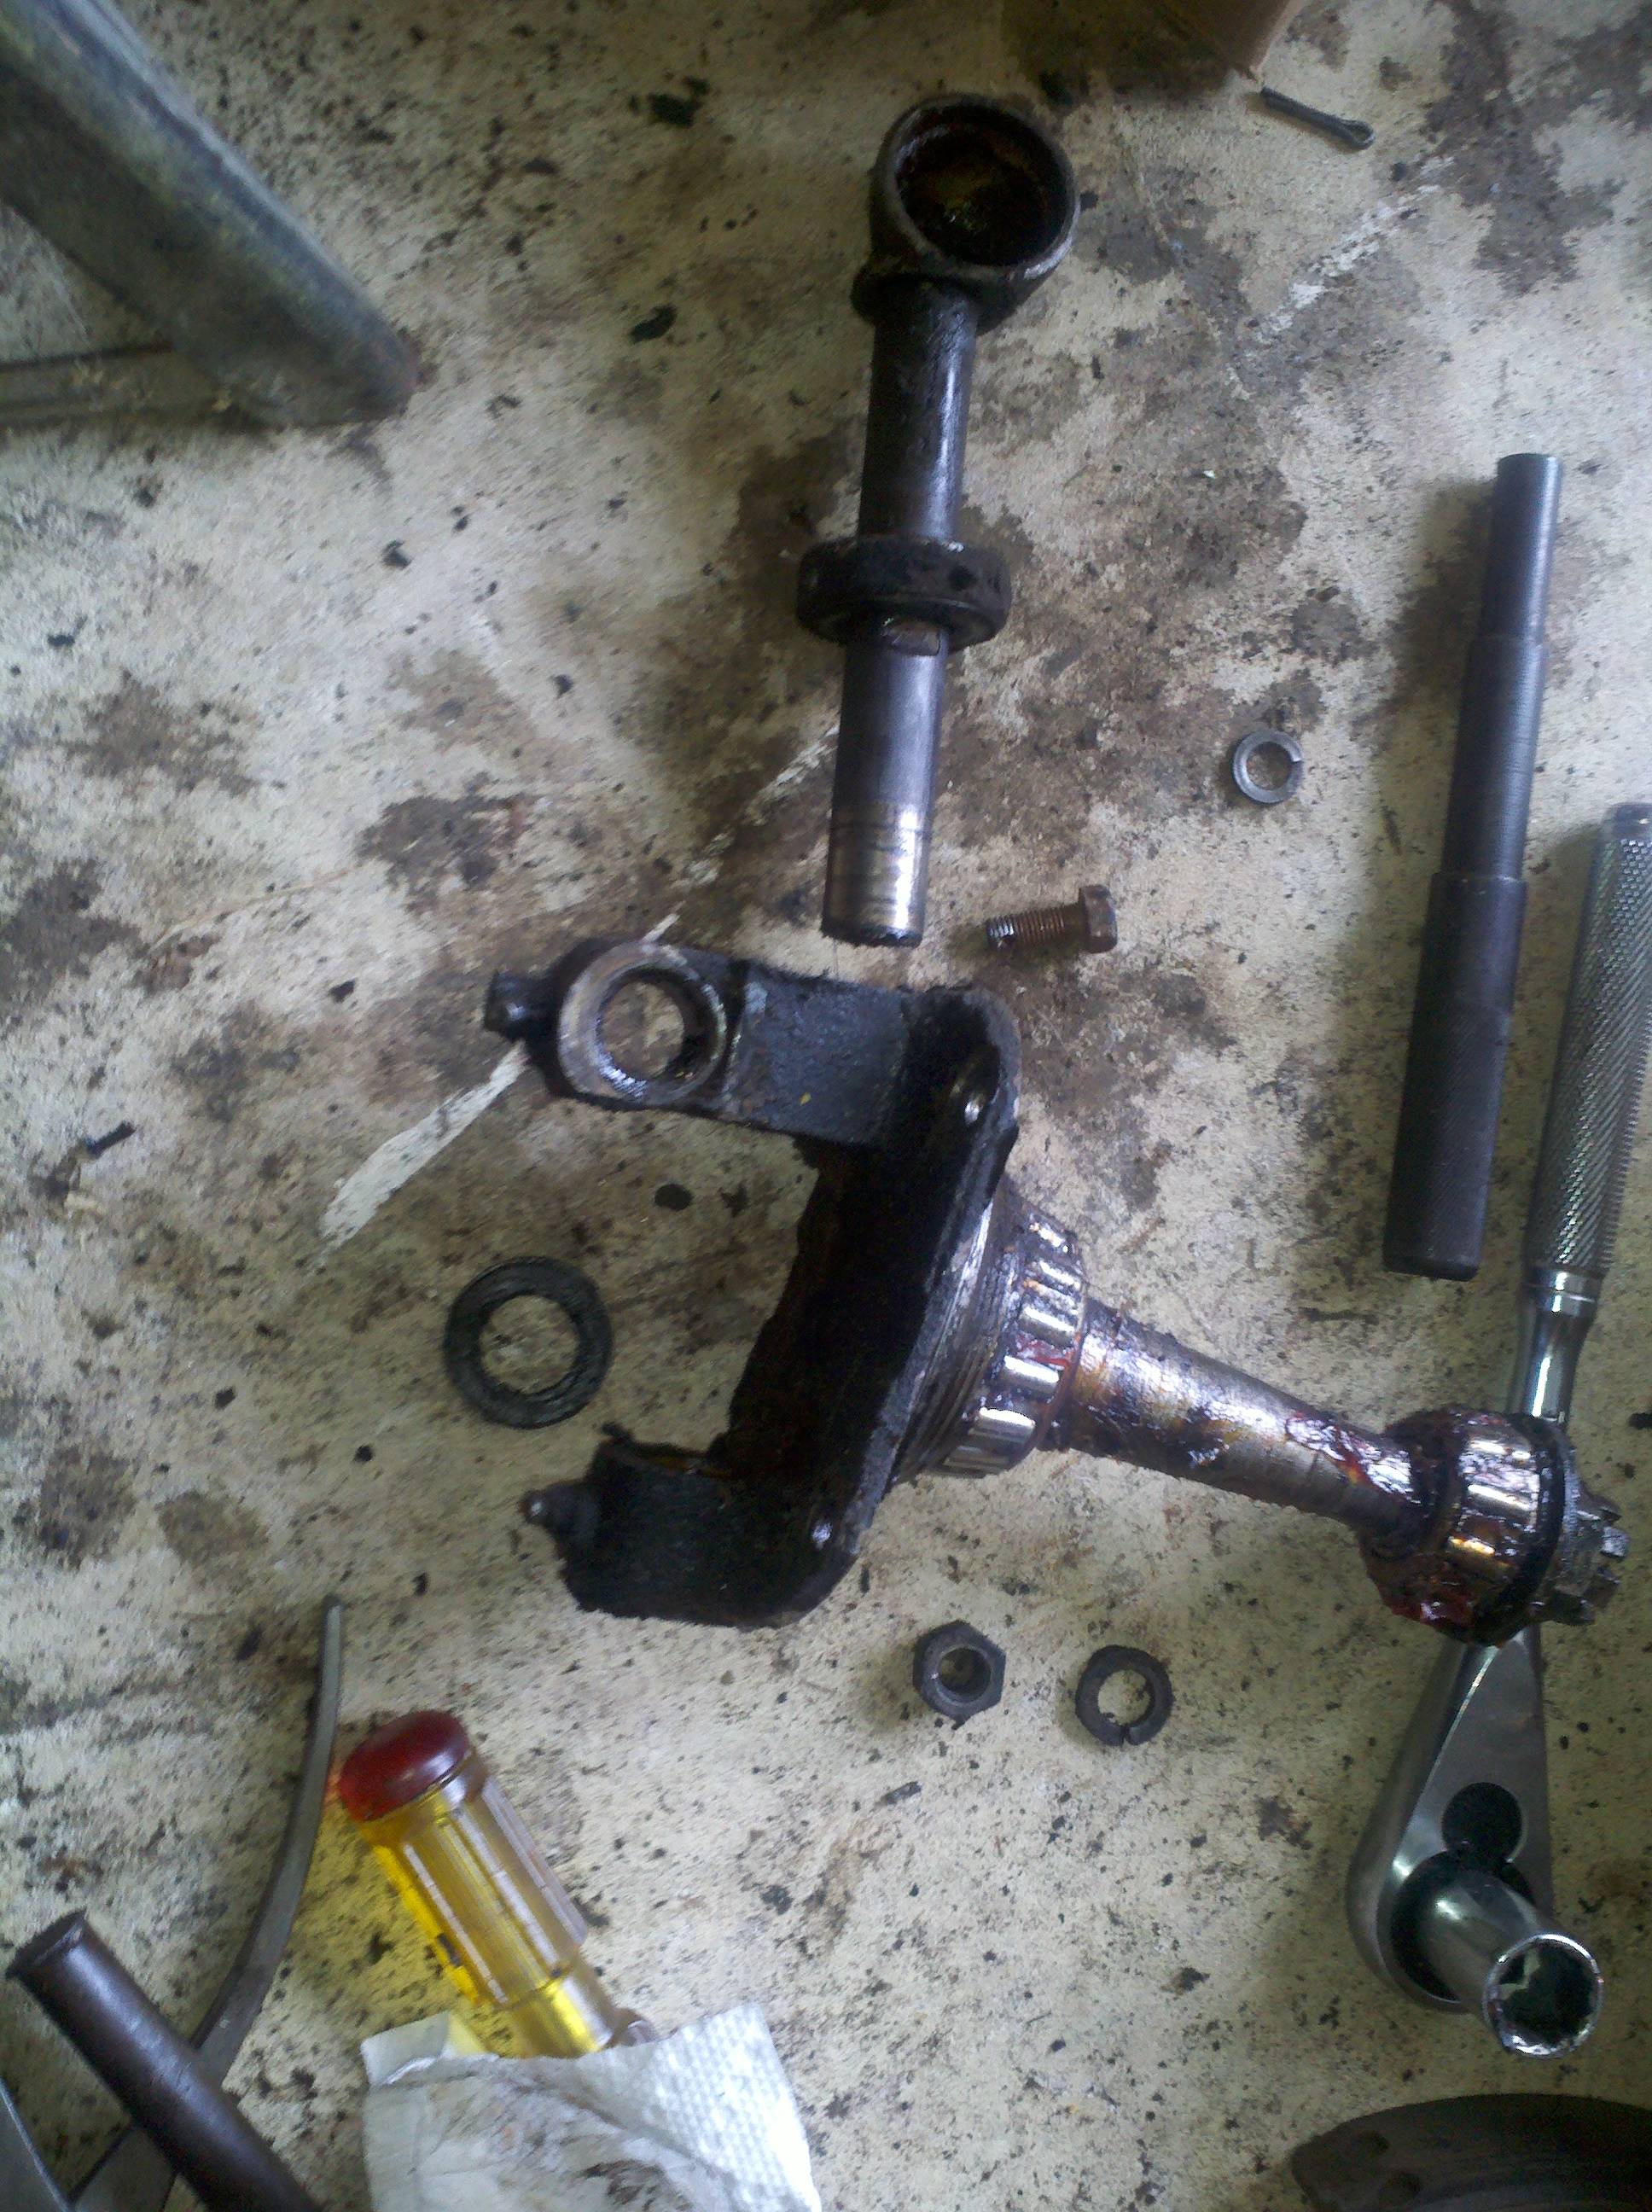
So now, it's time to pull the spindle off. THe first step to this is to loosen the kingpin nut. Only take it about half way off, and then use a few taps from a hammer and brass drift to drive the keeper pin out. Basically, the nut is used to keep the hammer/drift from buggering up the threads on the pin. Pop the nut the rest of the way off, and the keeper pin should slide right out.
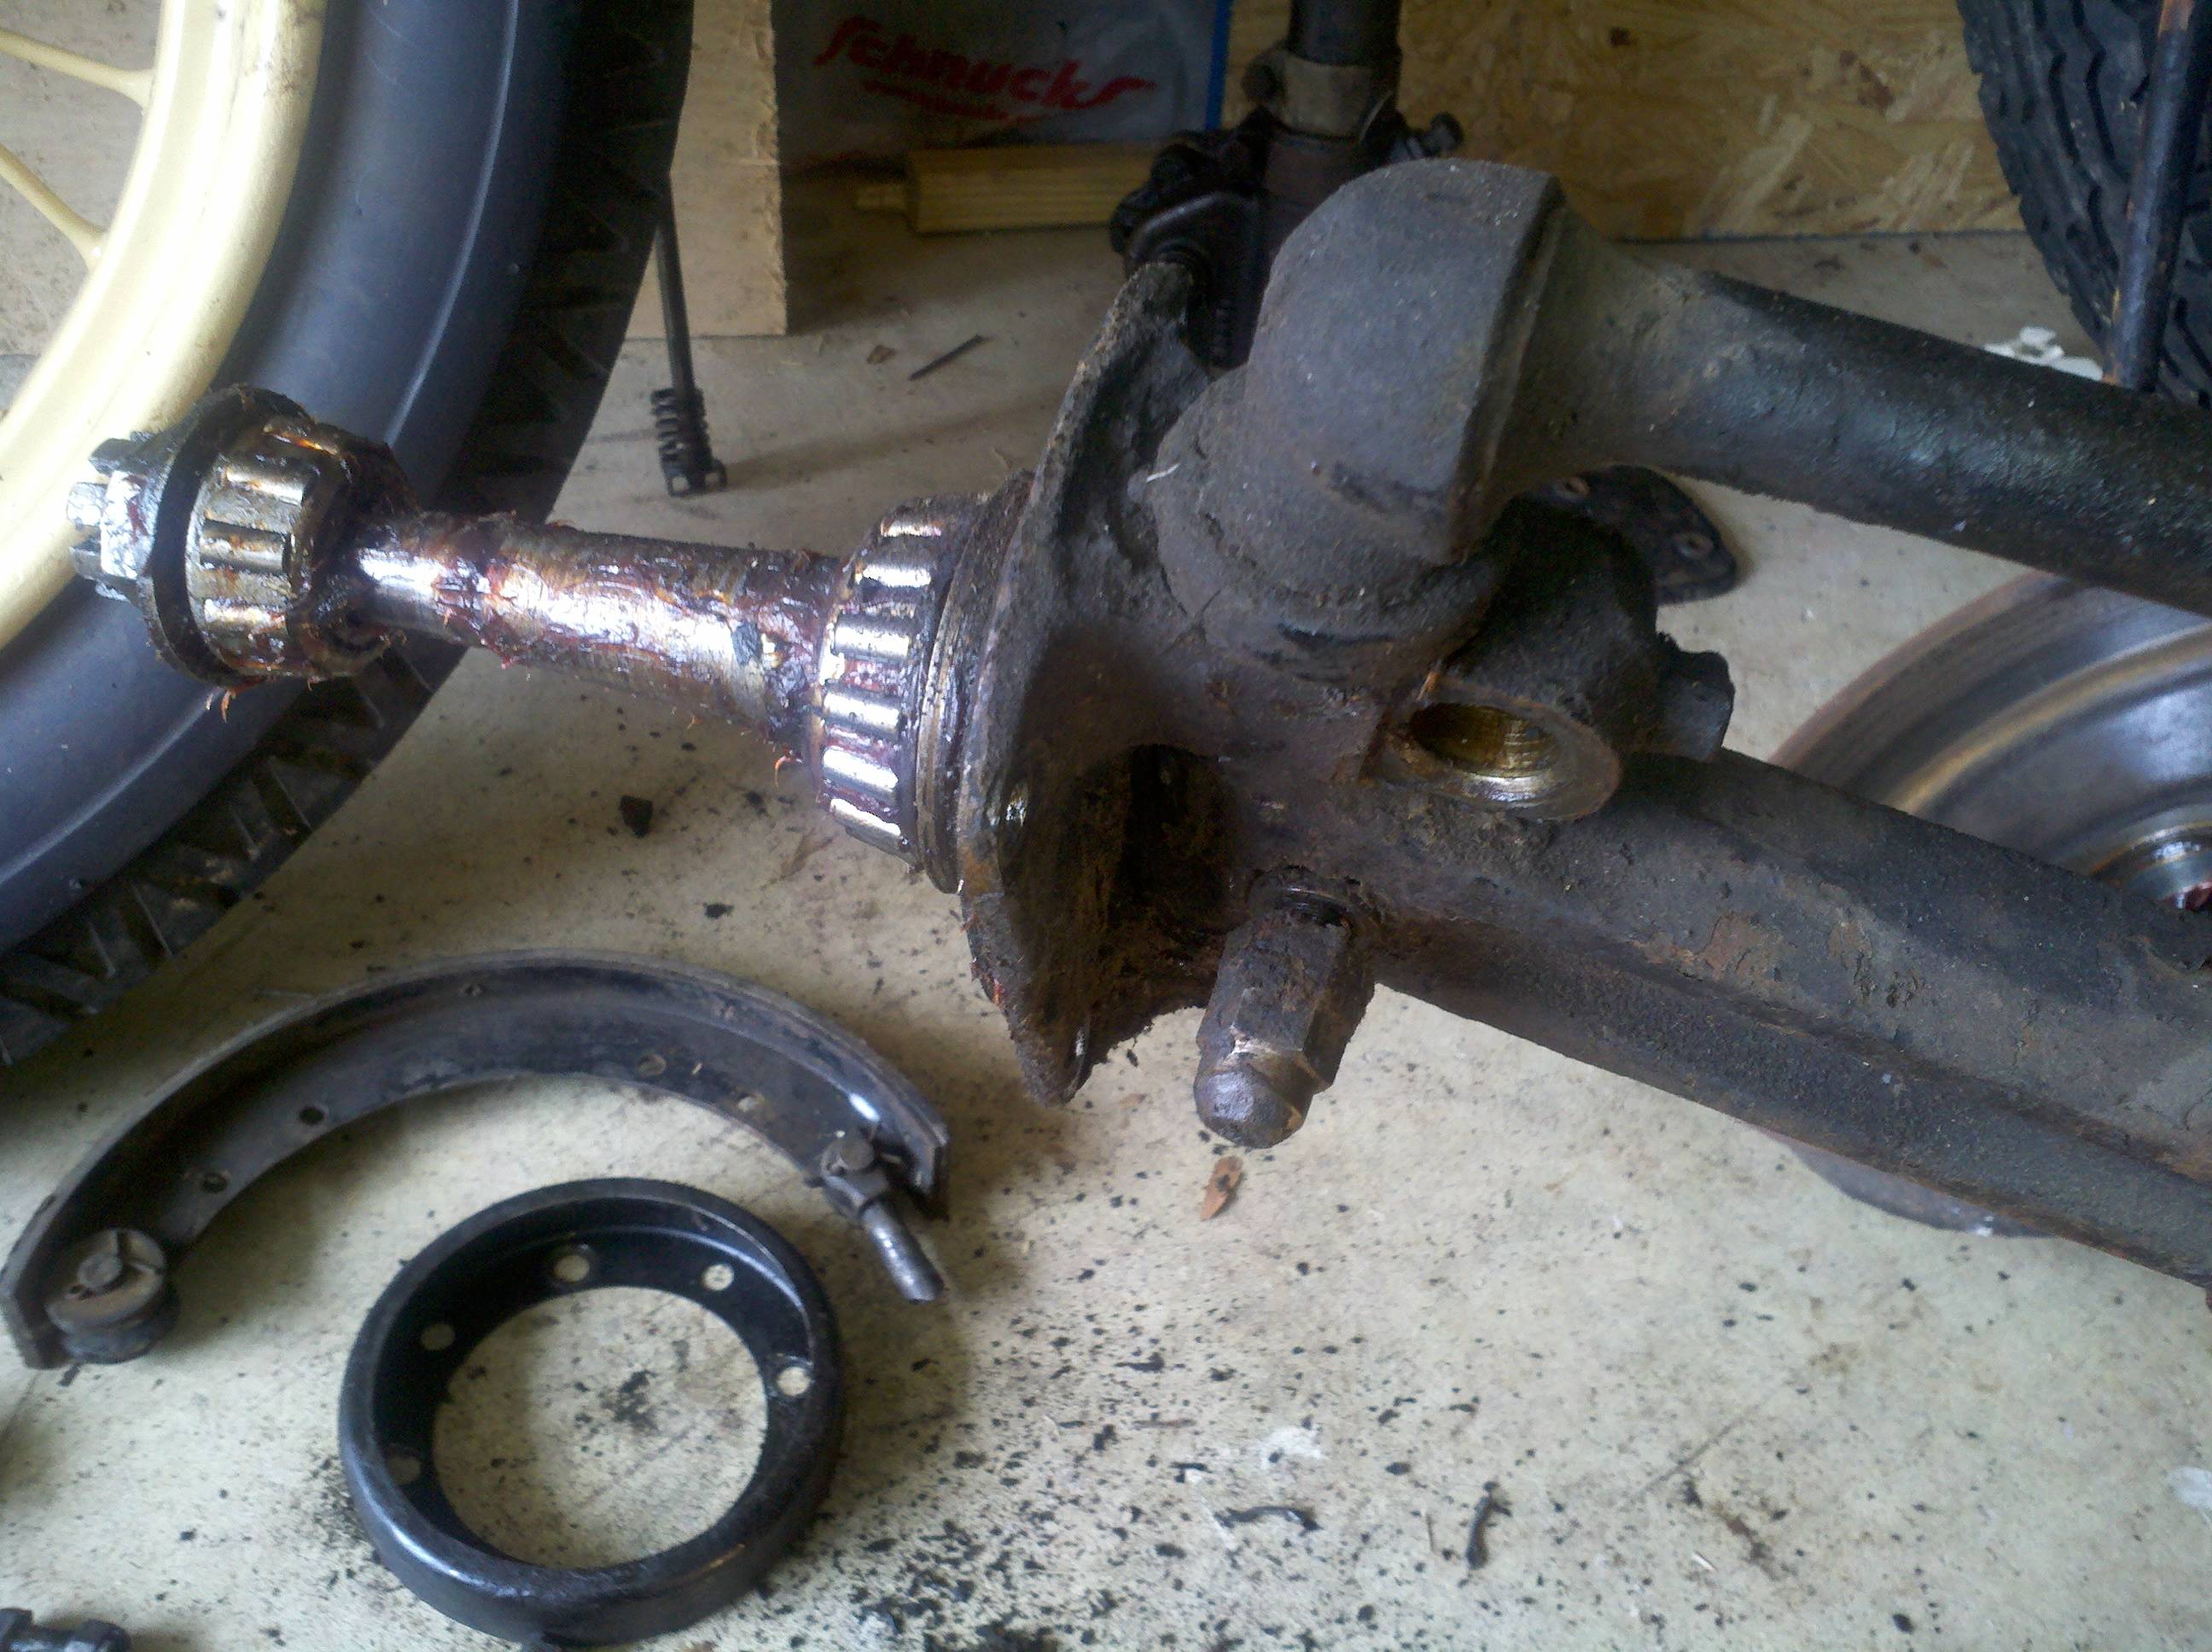
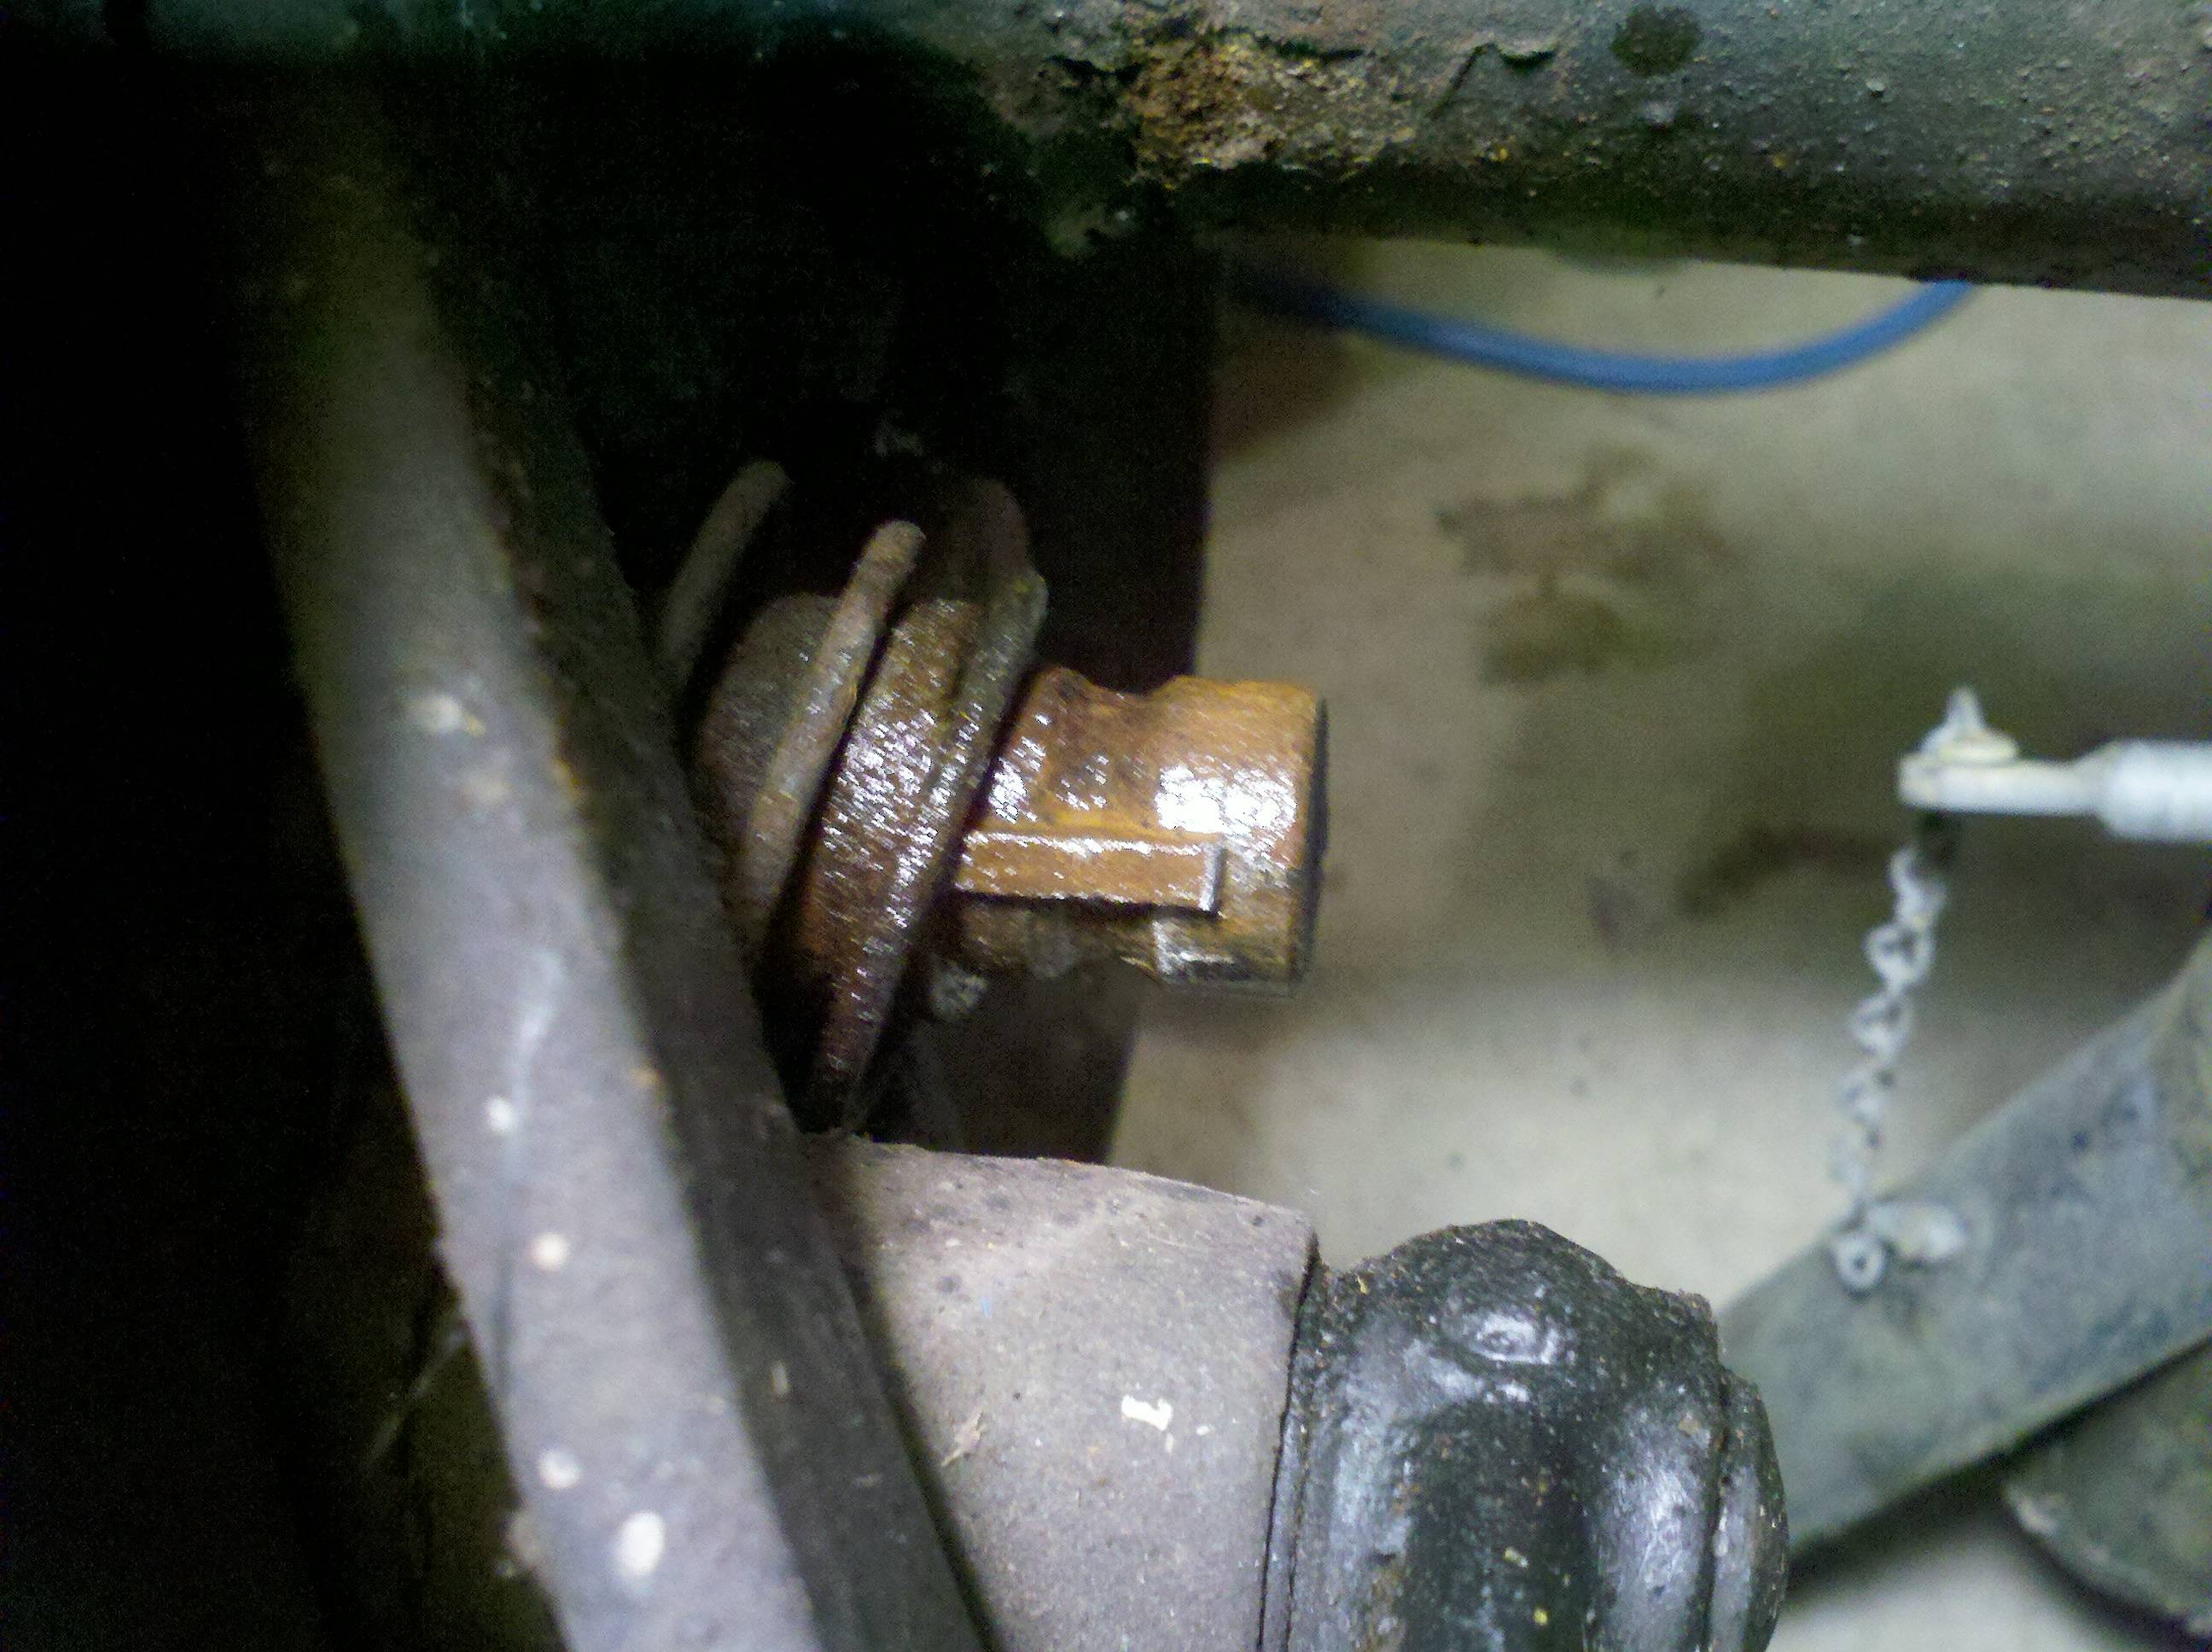
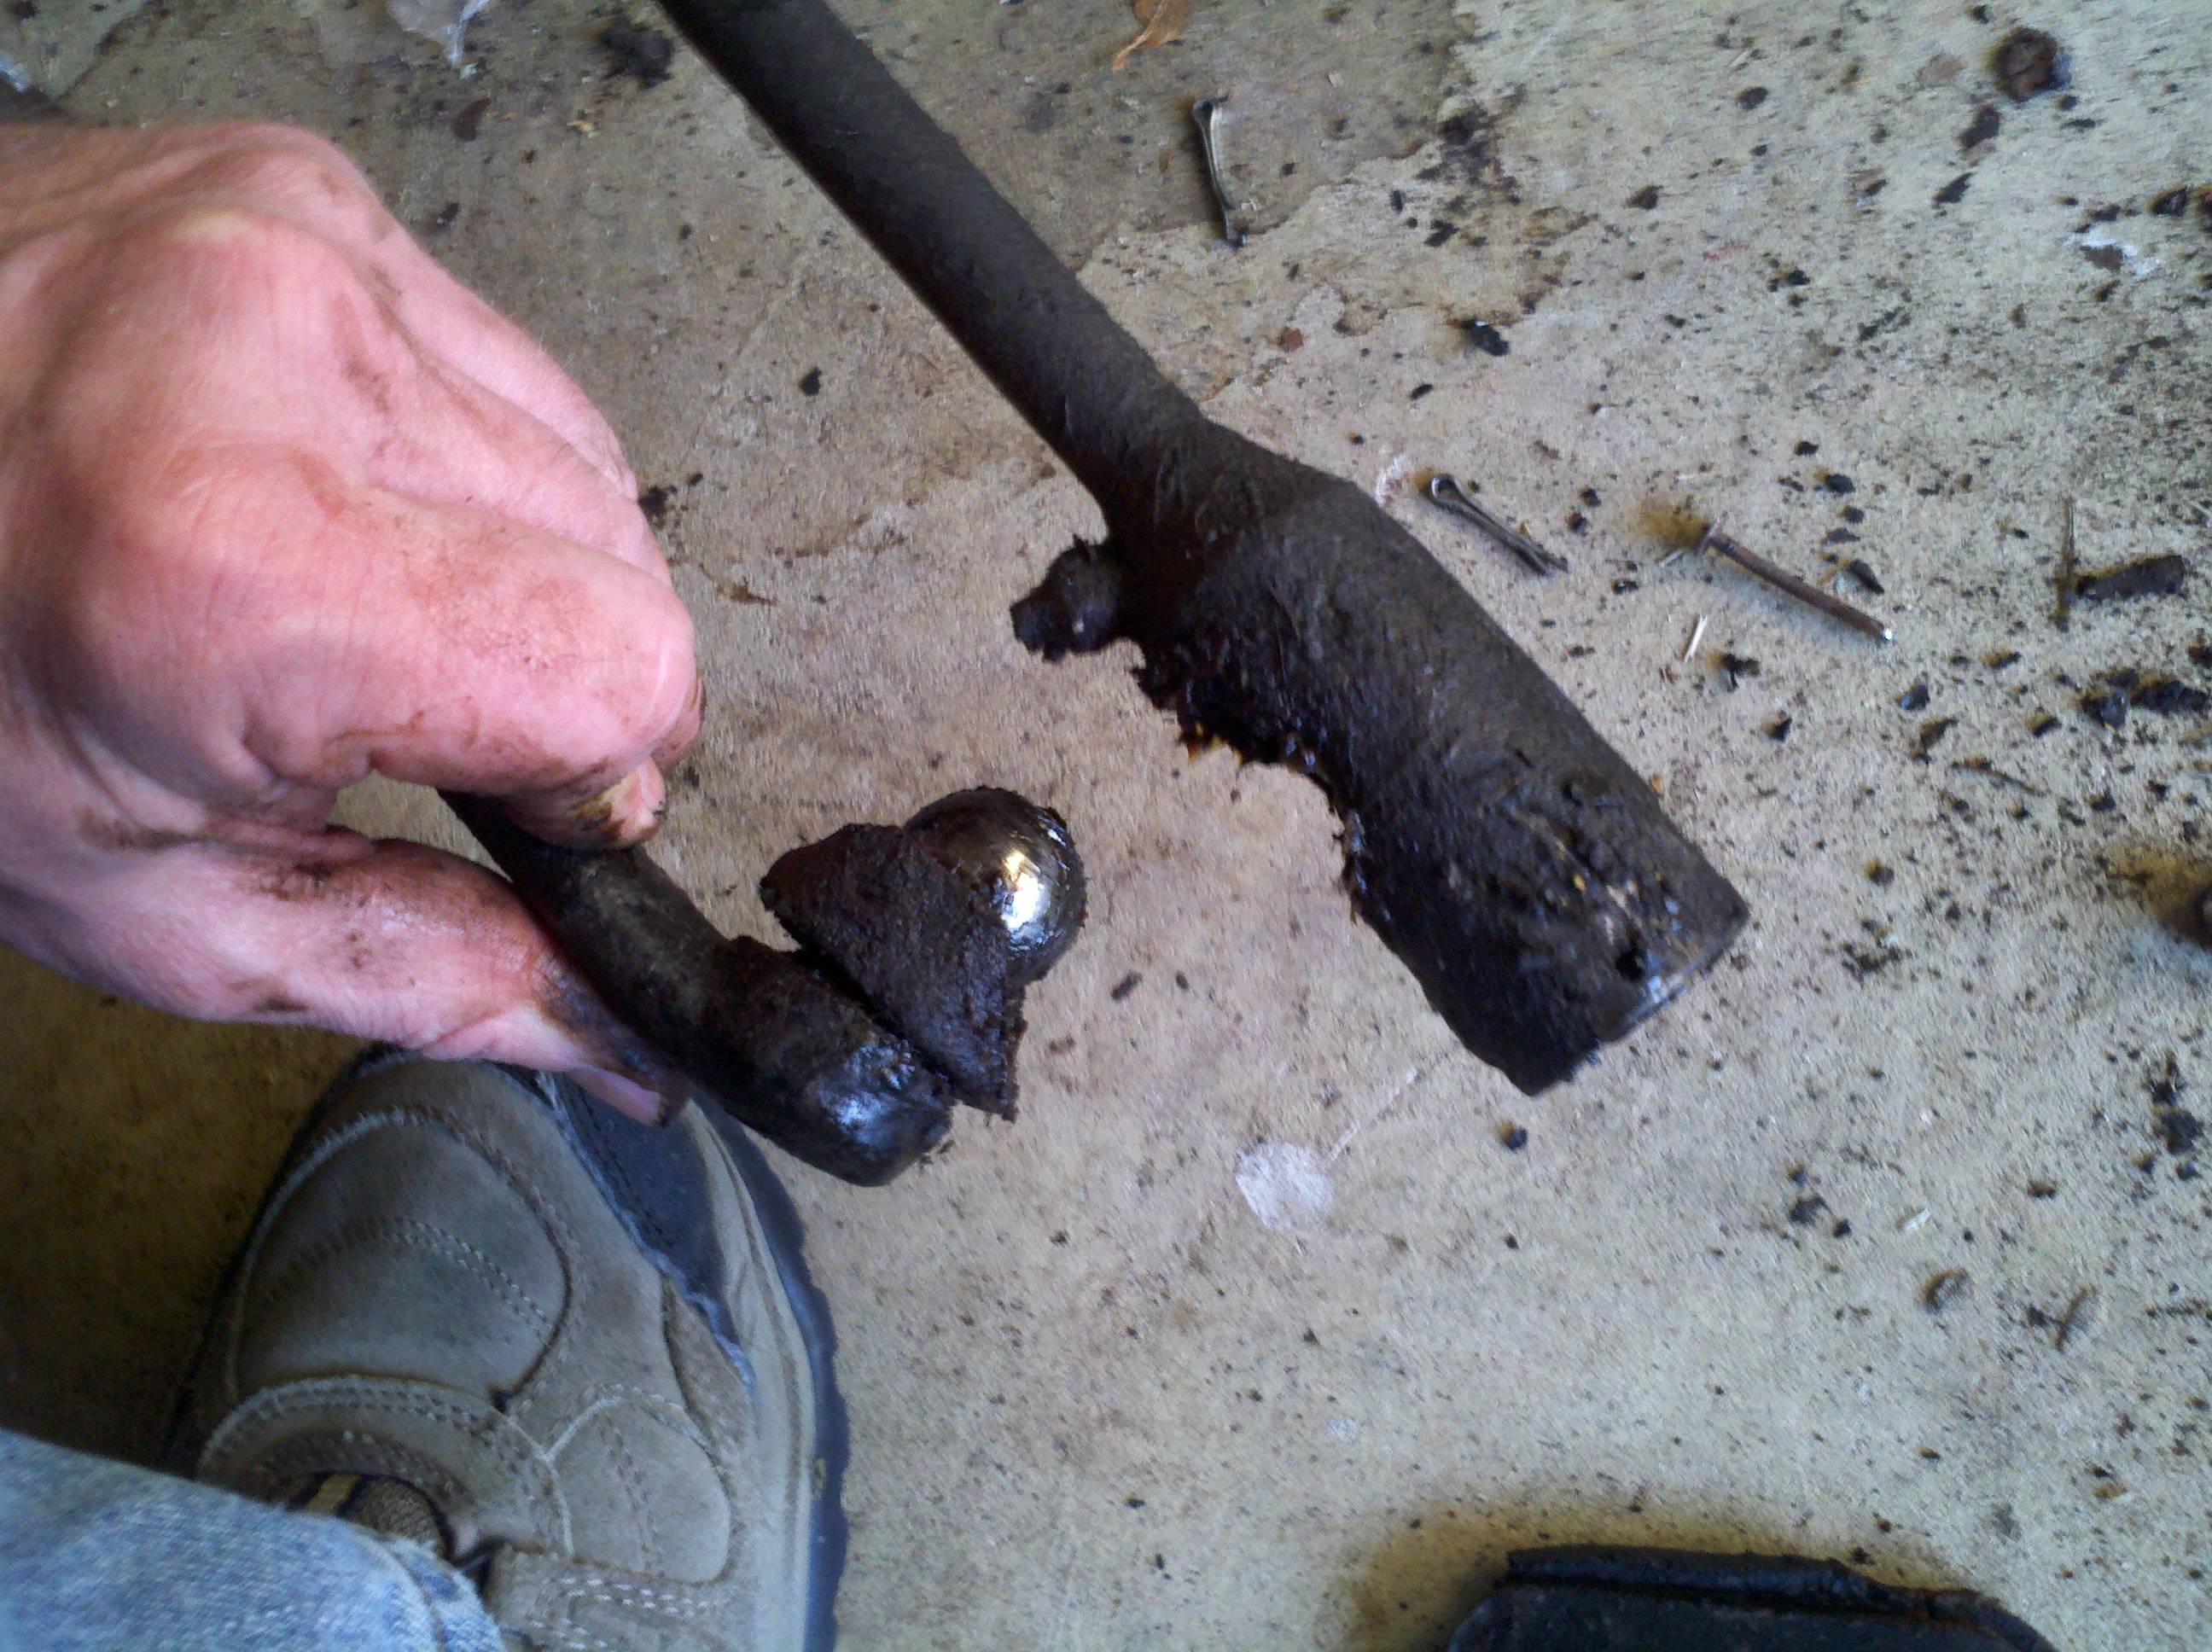
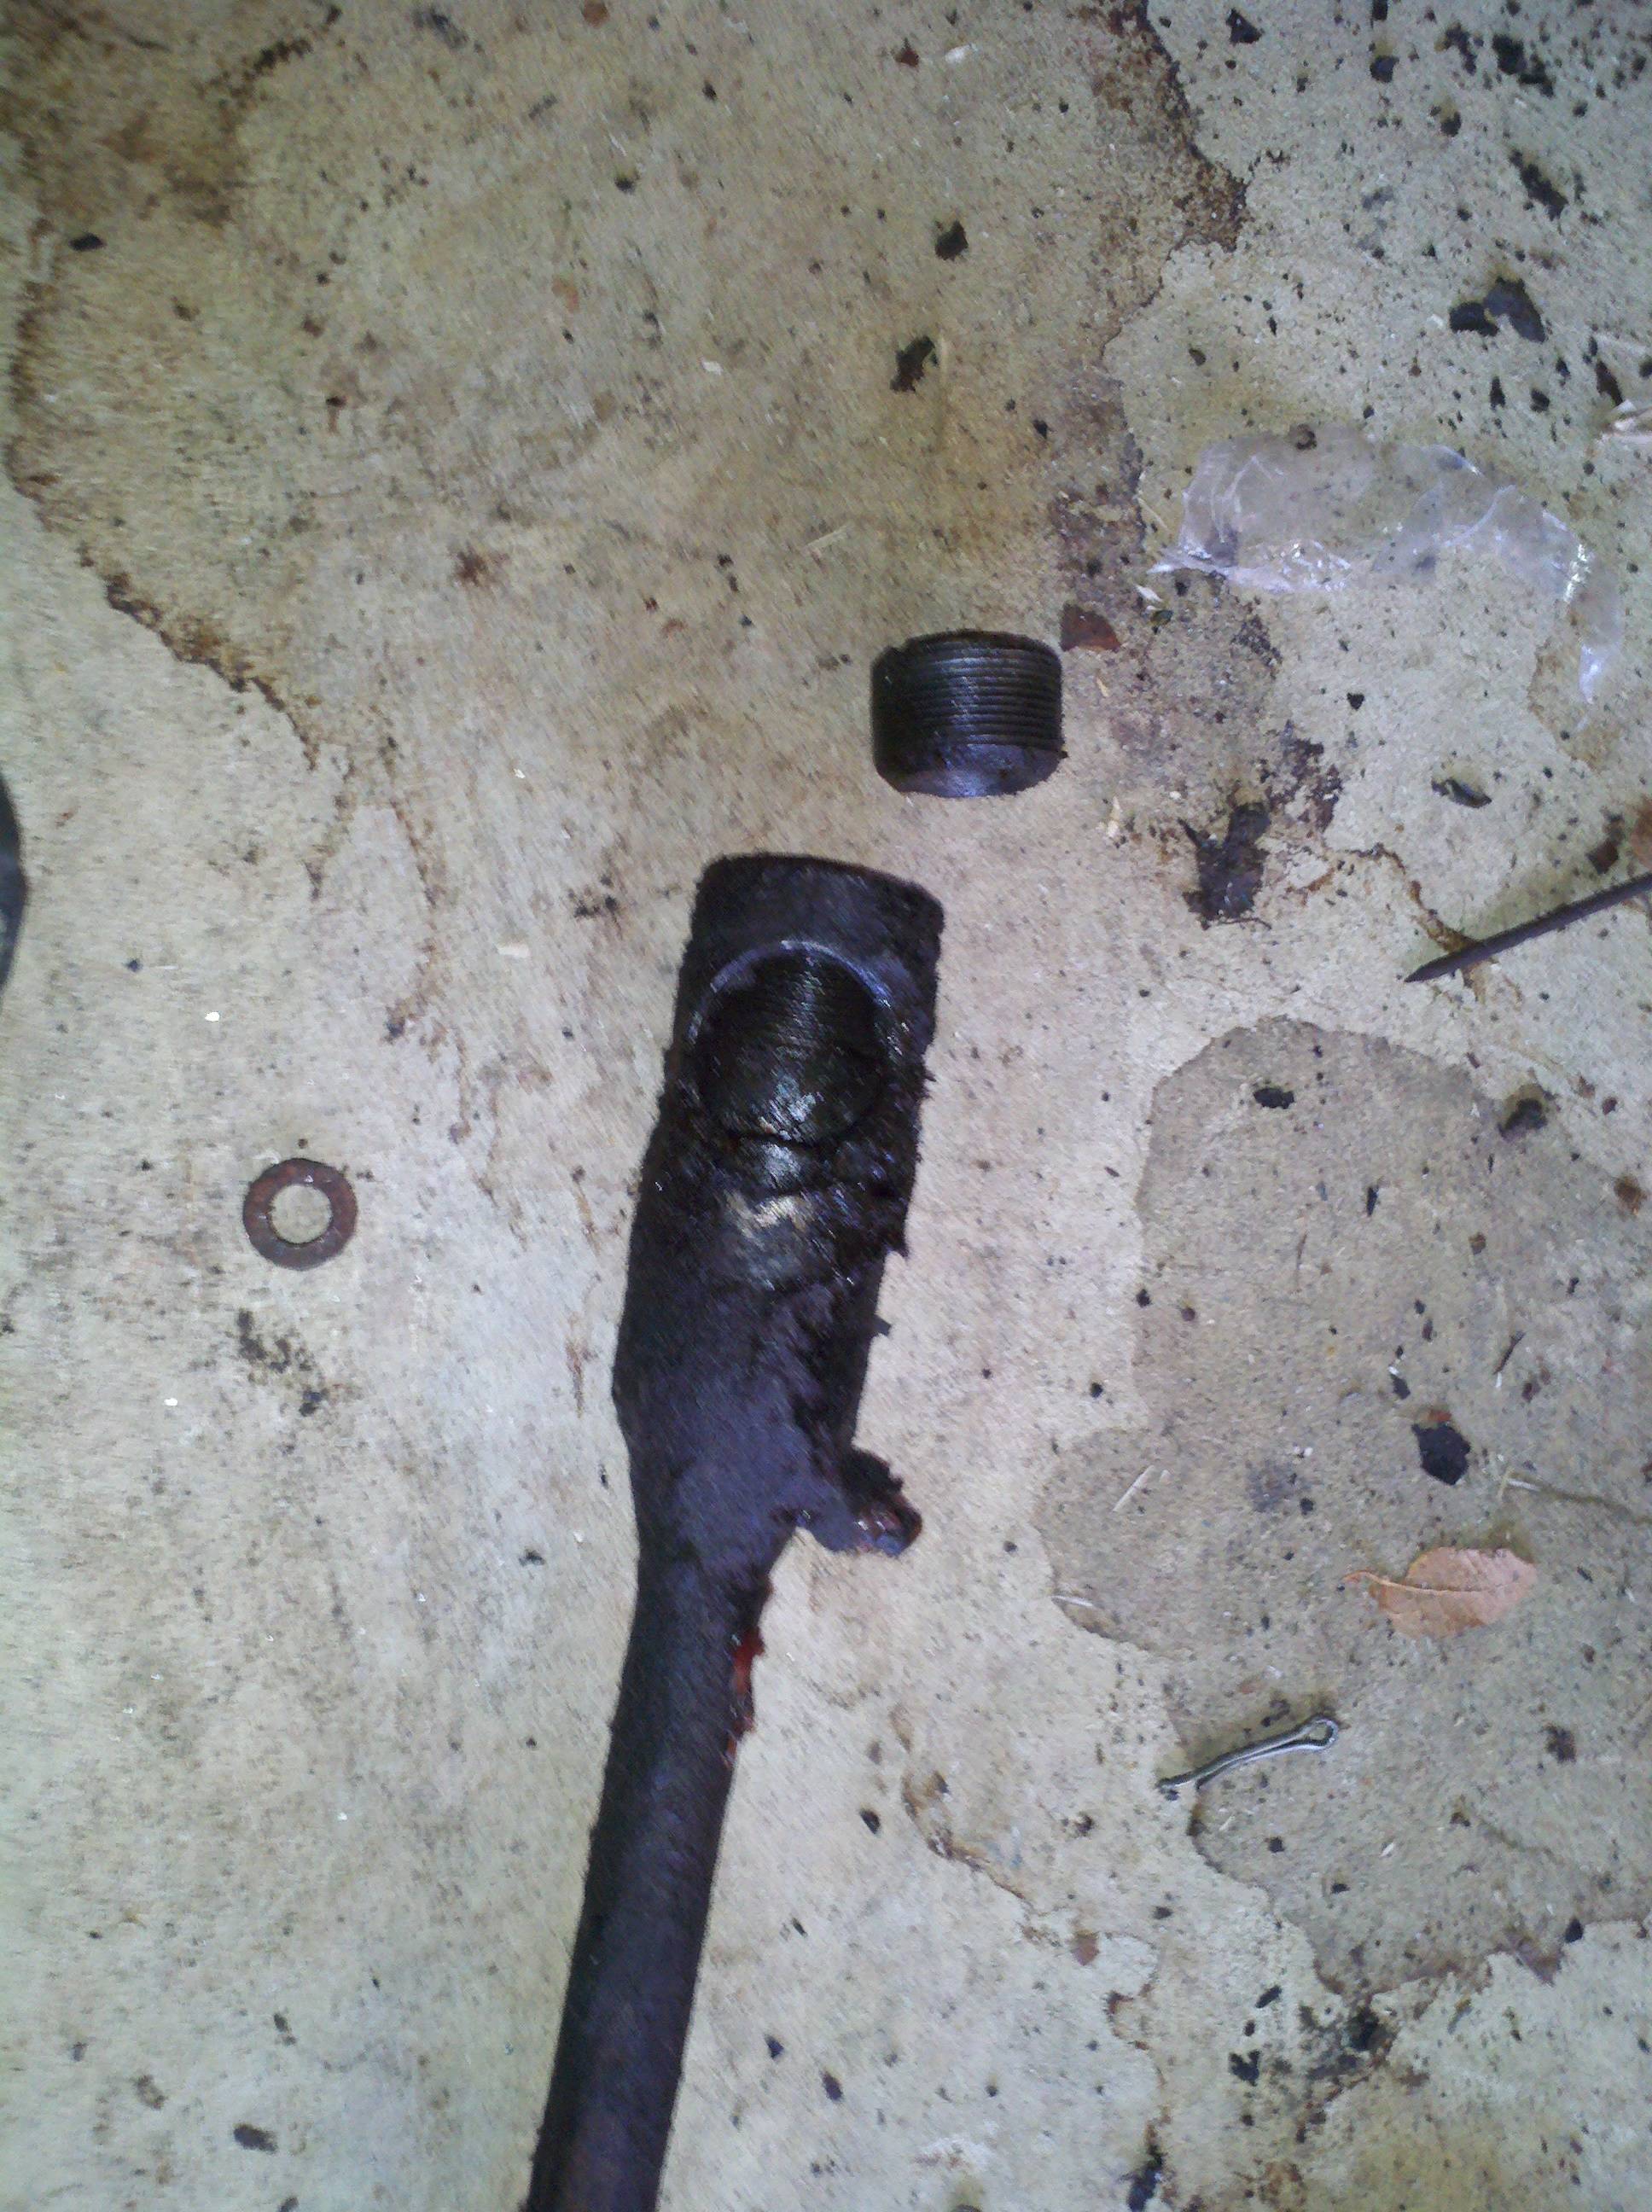
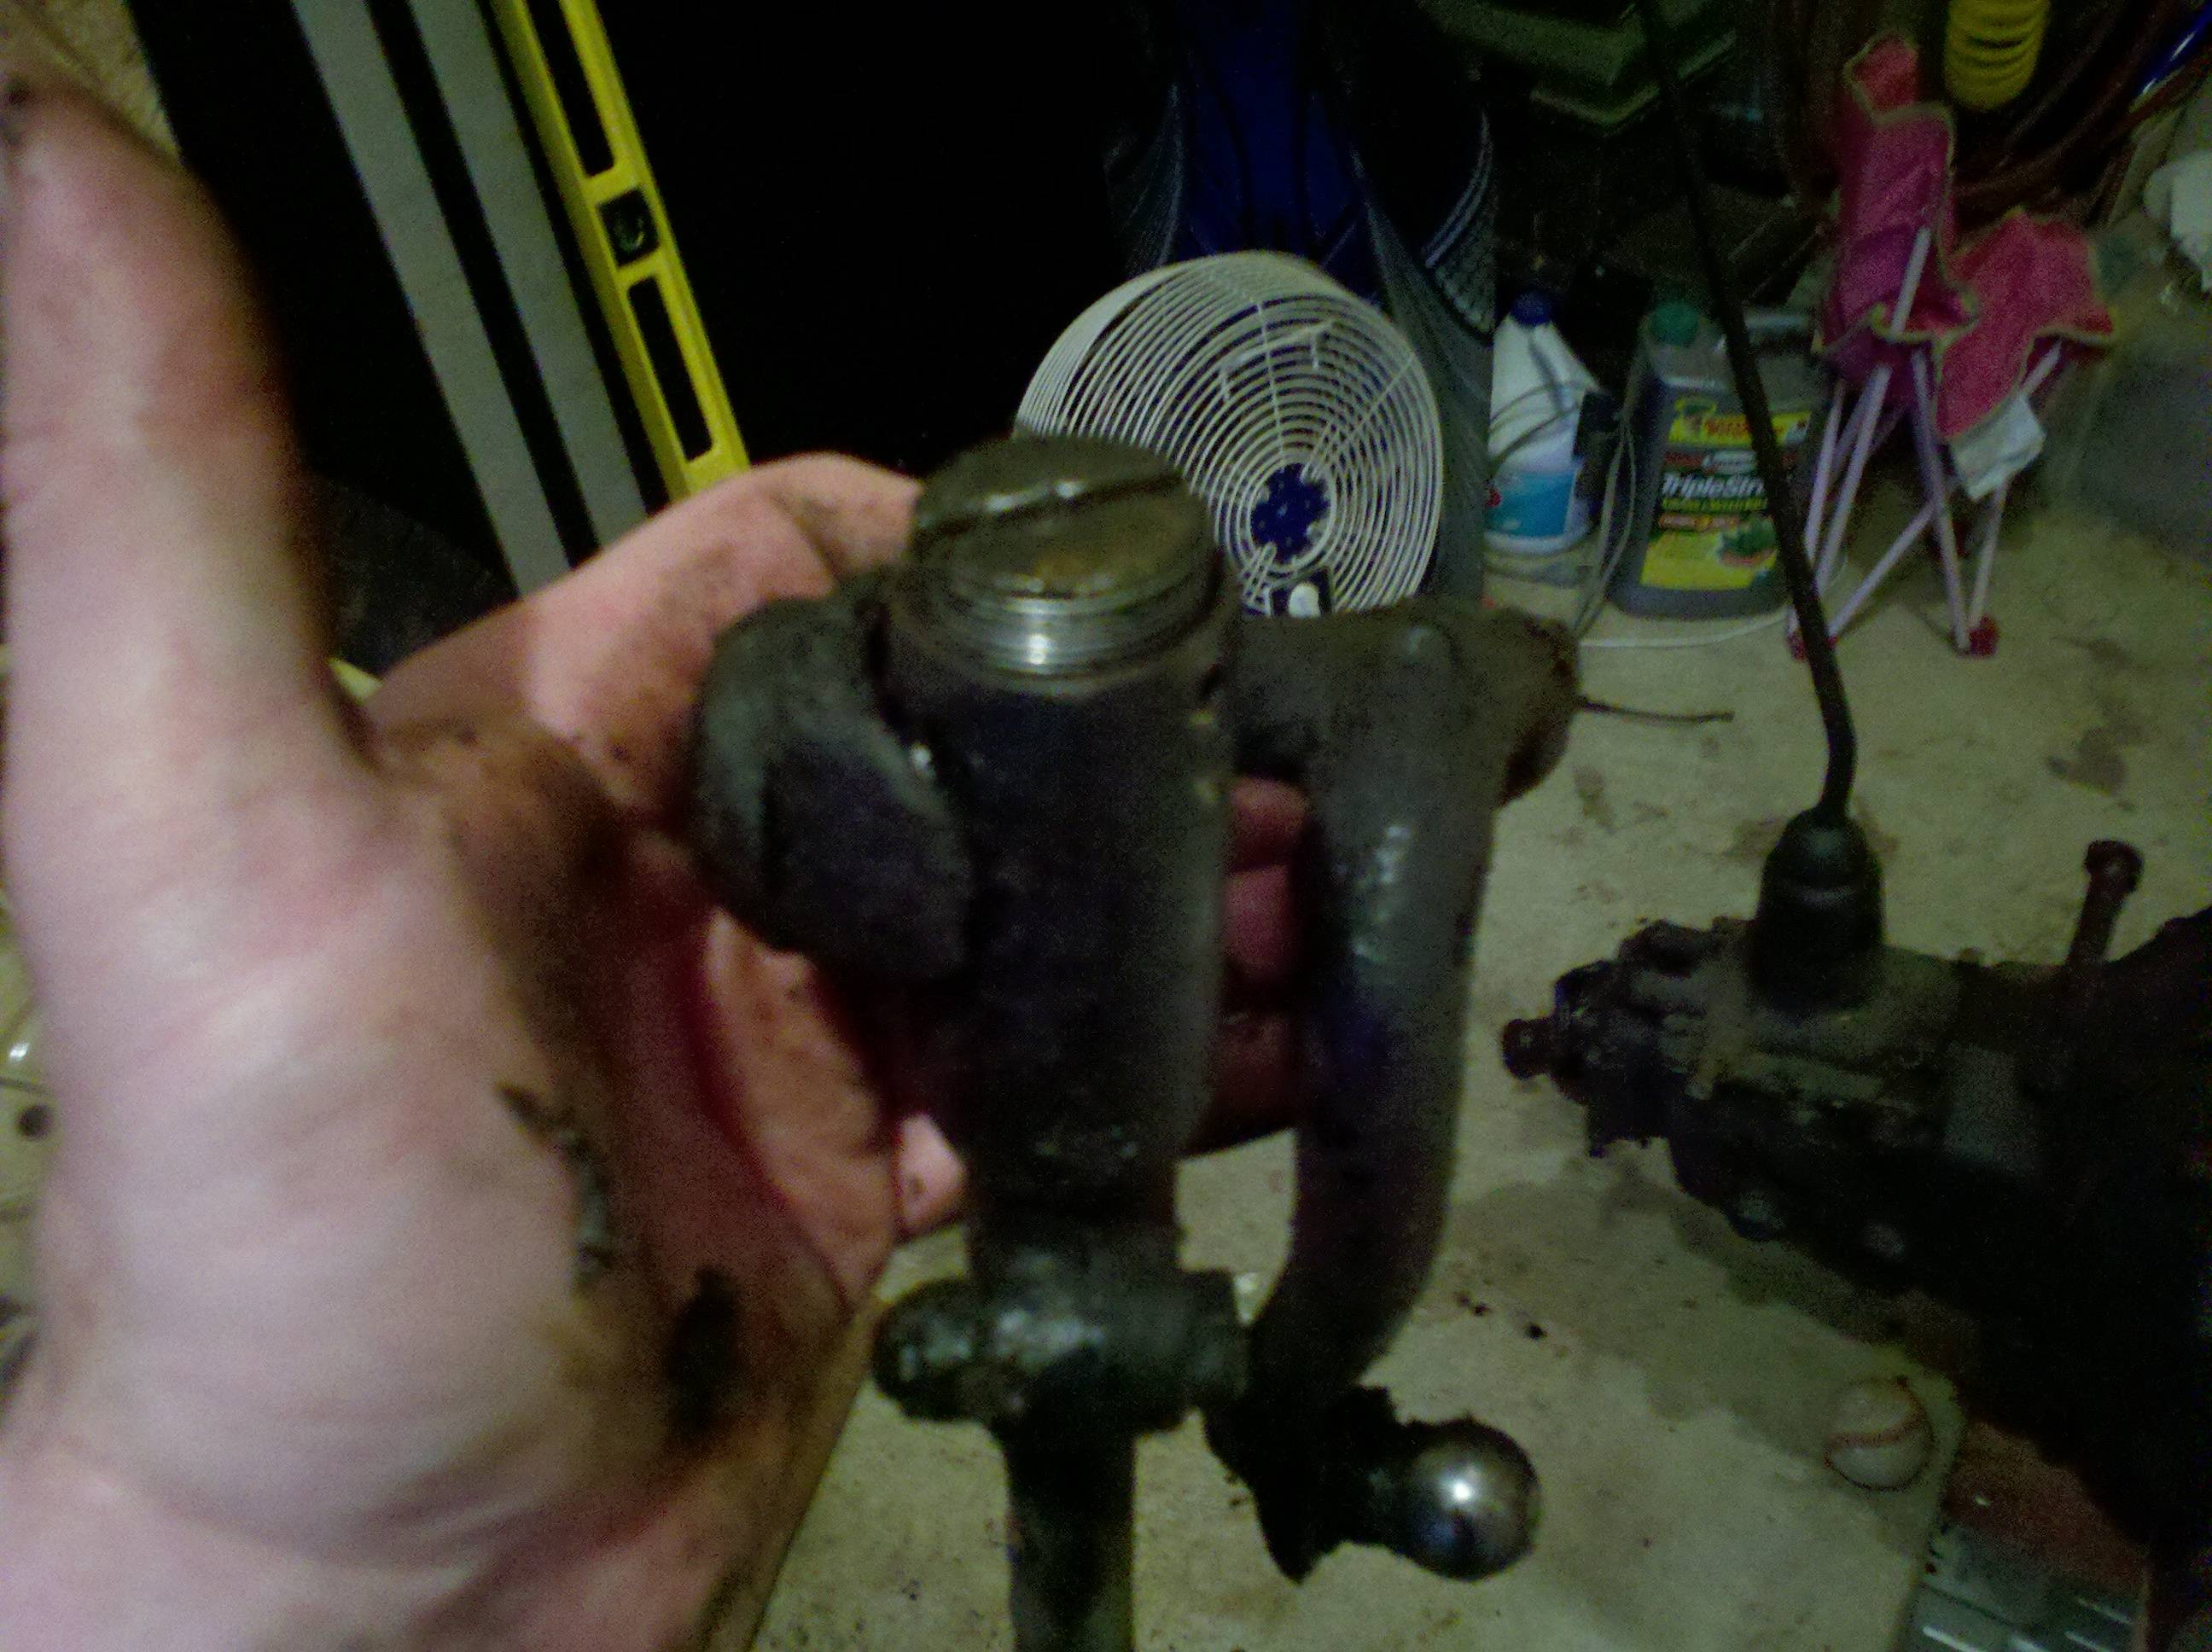
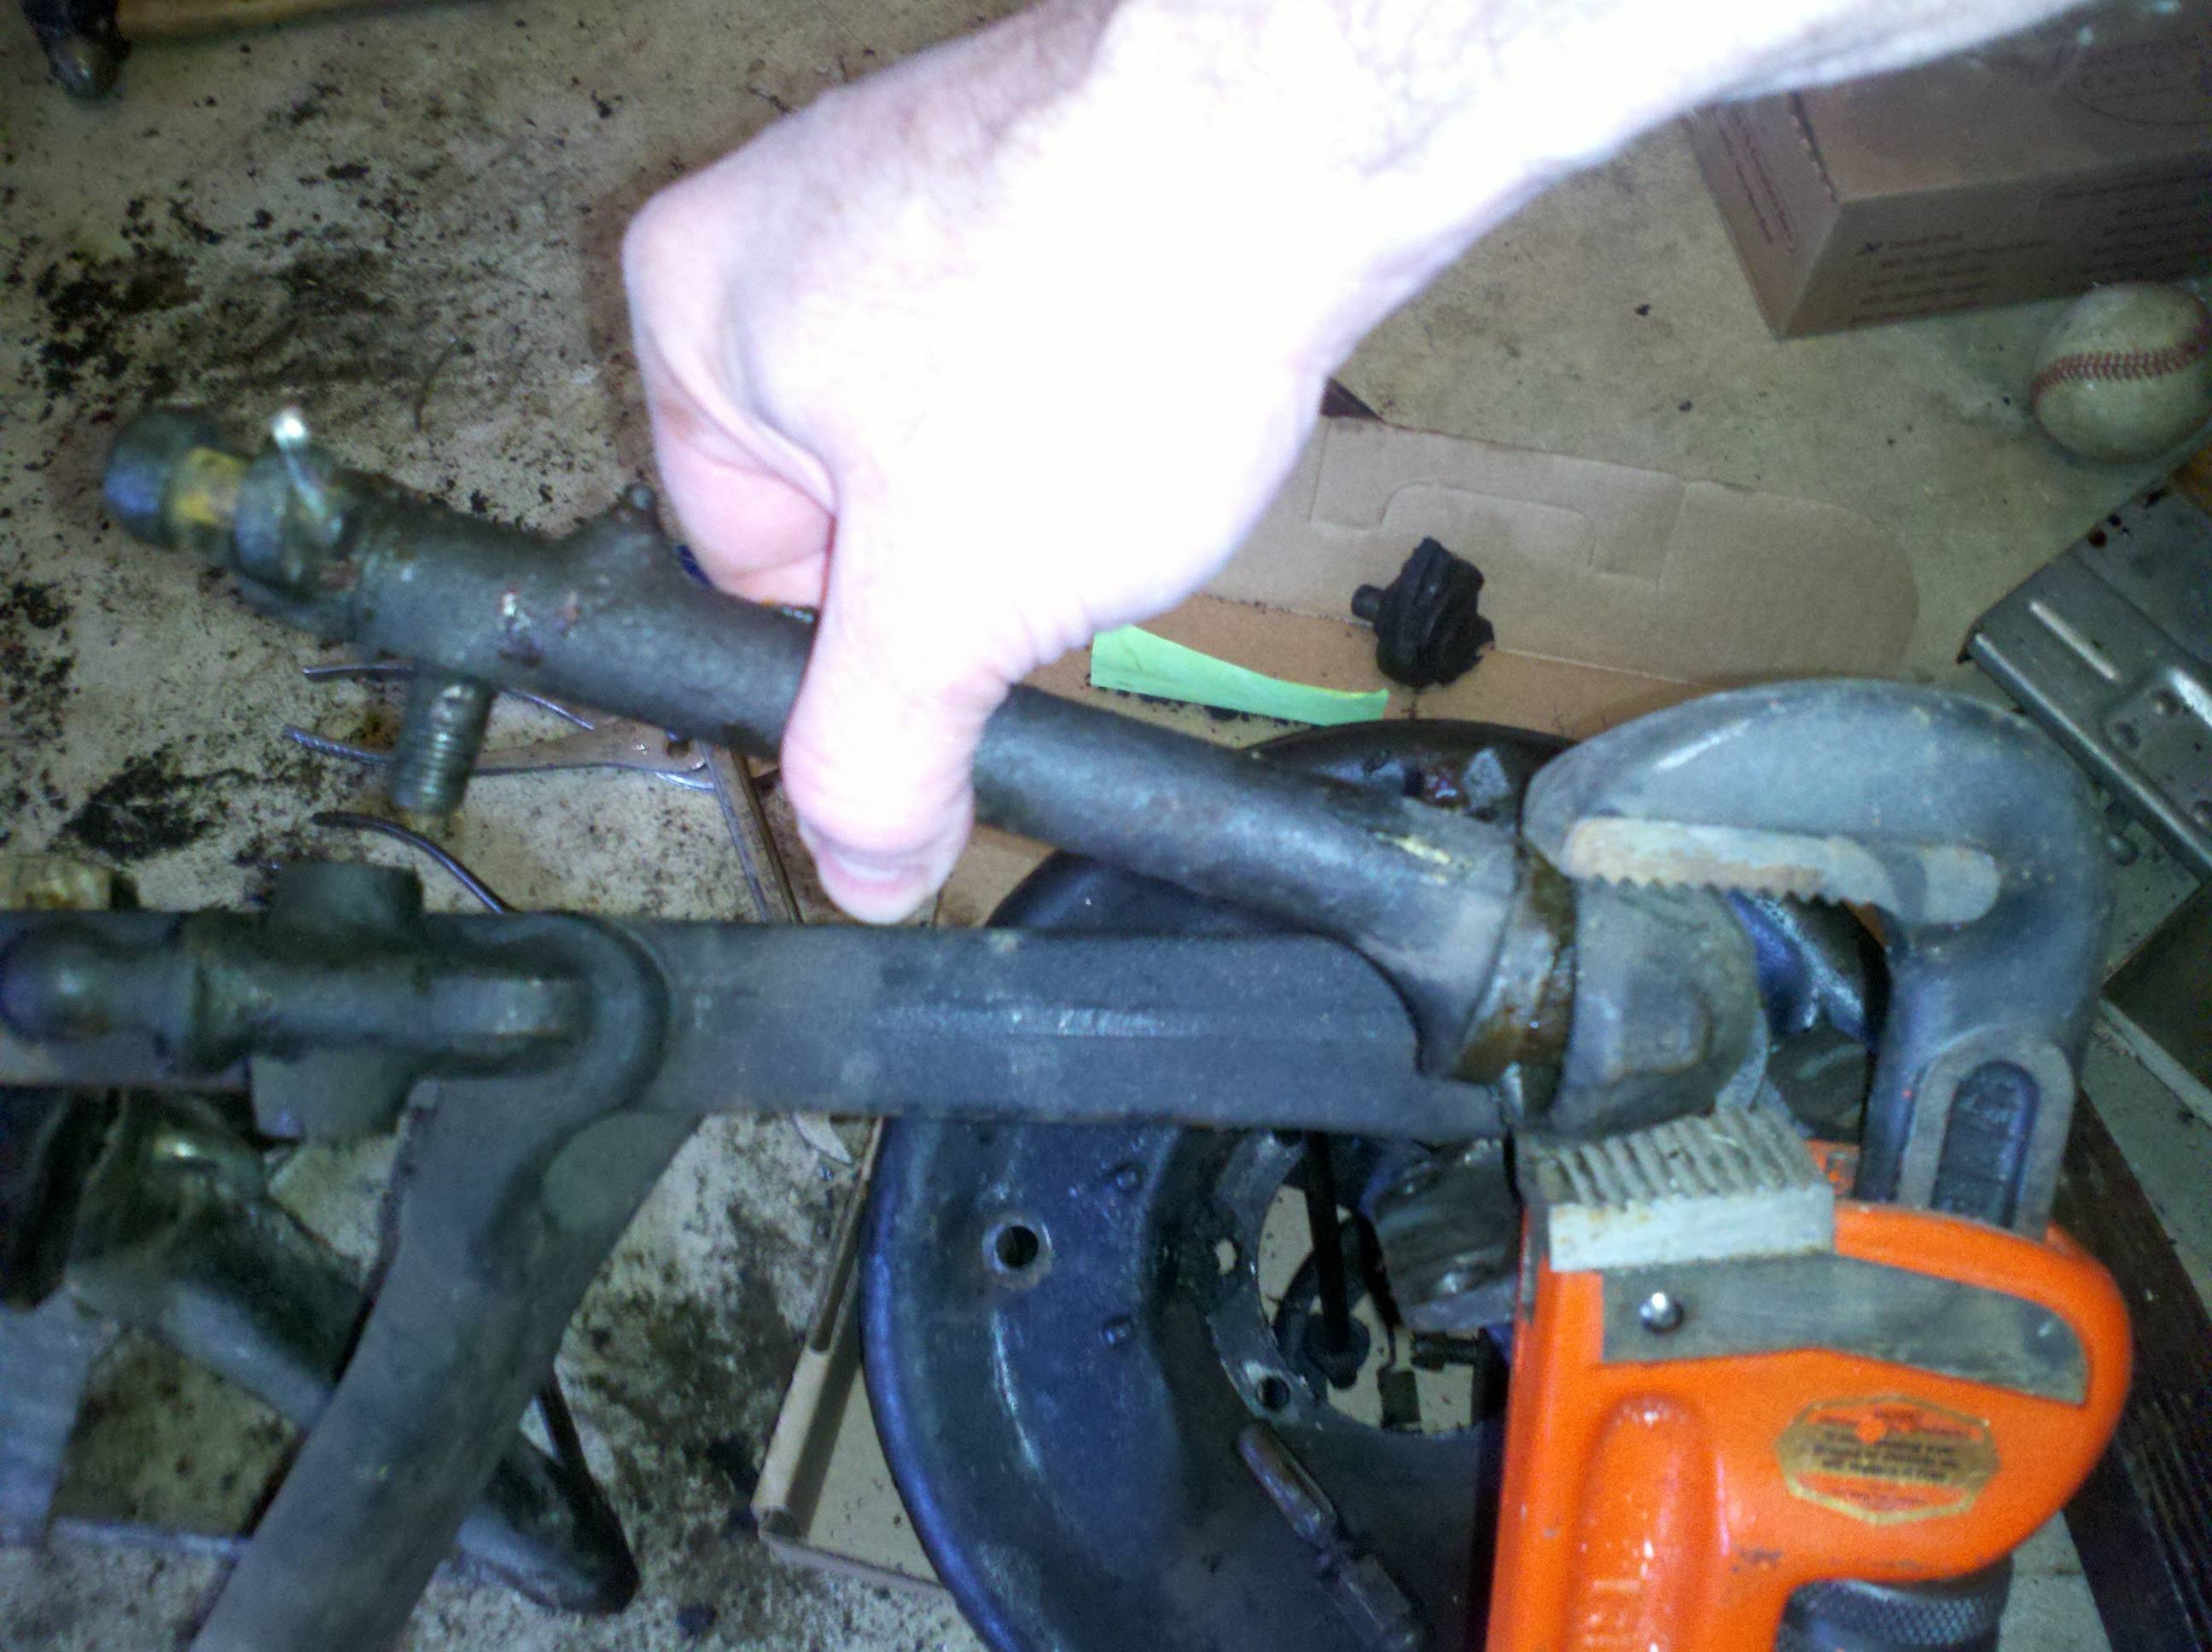
The next step is to remove the brake actuator assembly from the top of the kingpin and spring perch. Remove the nut from the actuator assembly, and then use a pipe wrench to turn the mouth of the kingpin towards the front of the vehicle (you don't have to turn it much). The actuator will pretty much fall out in your hand. In the picture below, I've actually rotated the kingpin back towards the rear of the car in an effort to get it loose. My driver's side kingpin was much tighter than the passenger side. Note that if you try to pull the actuator rod without turning the king pin, you're pretty much guaranteed to ruin the threads on the actuator guide.
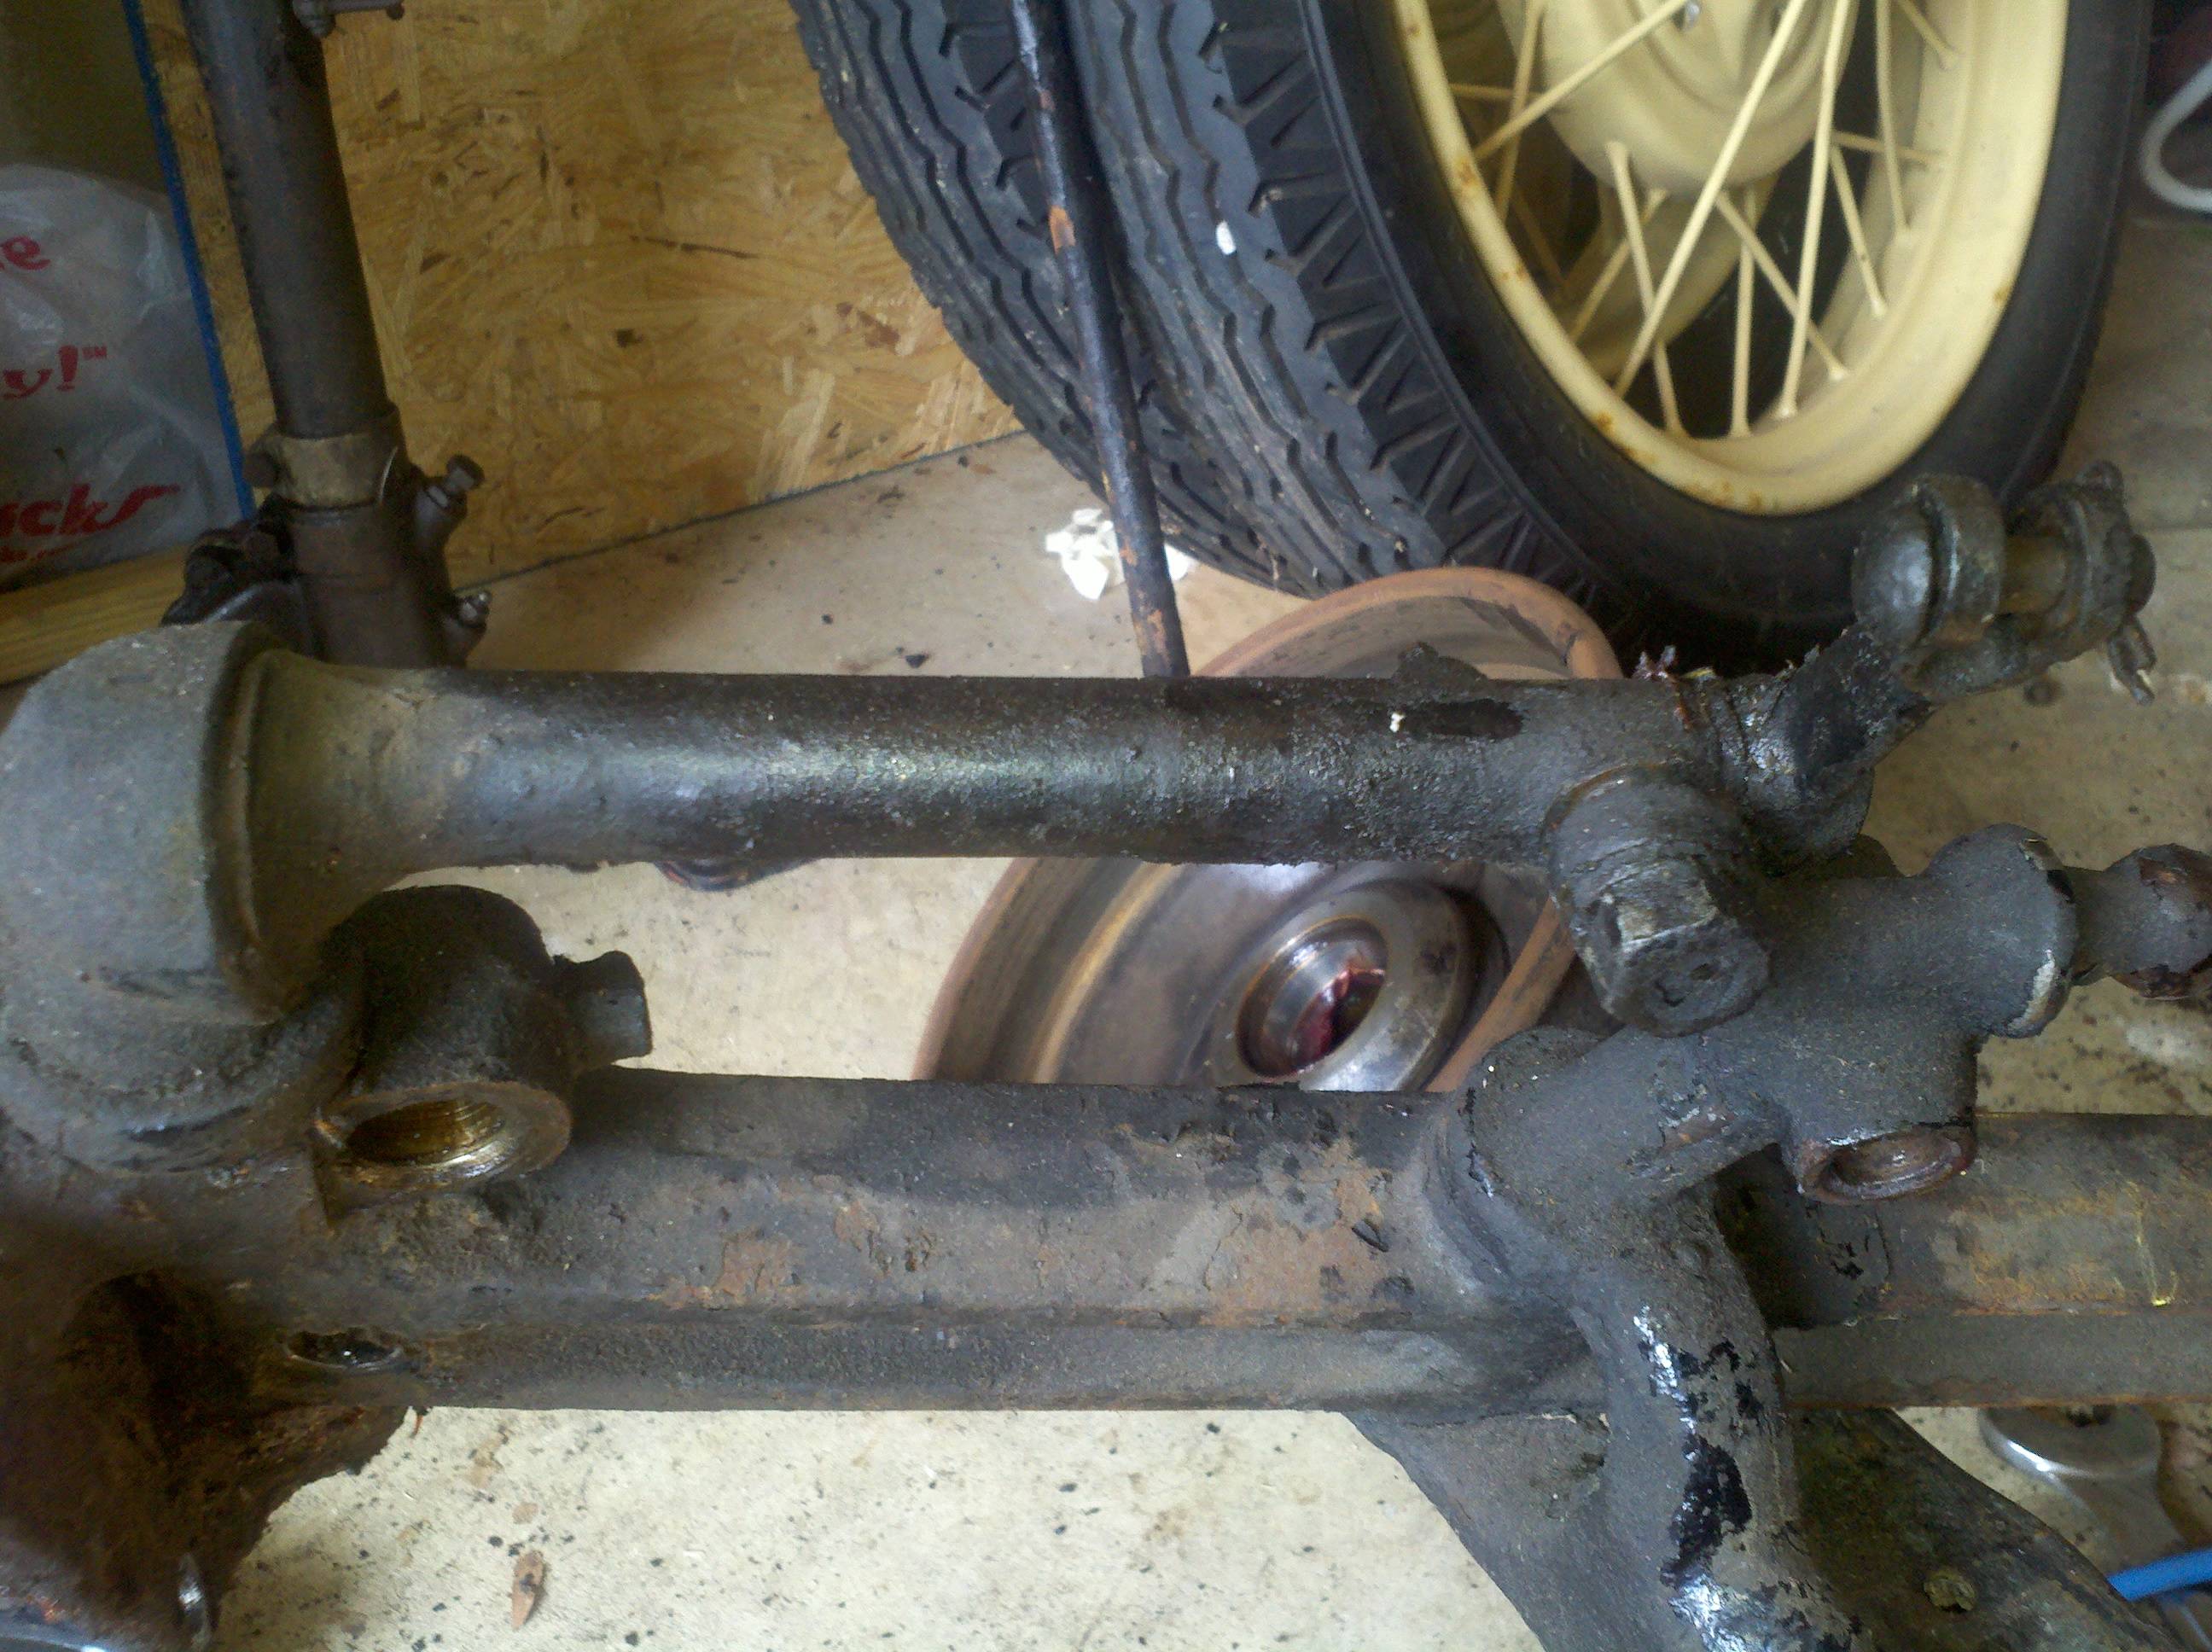
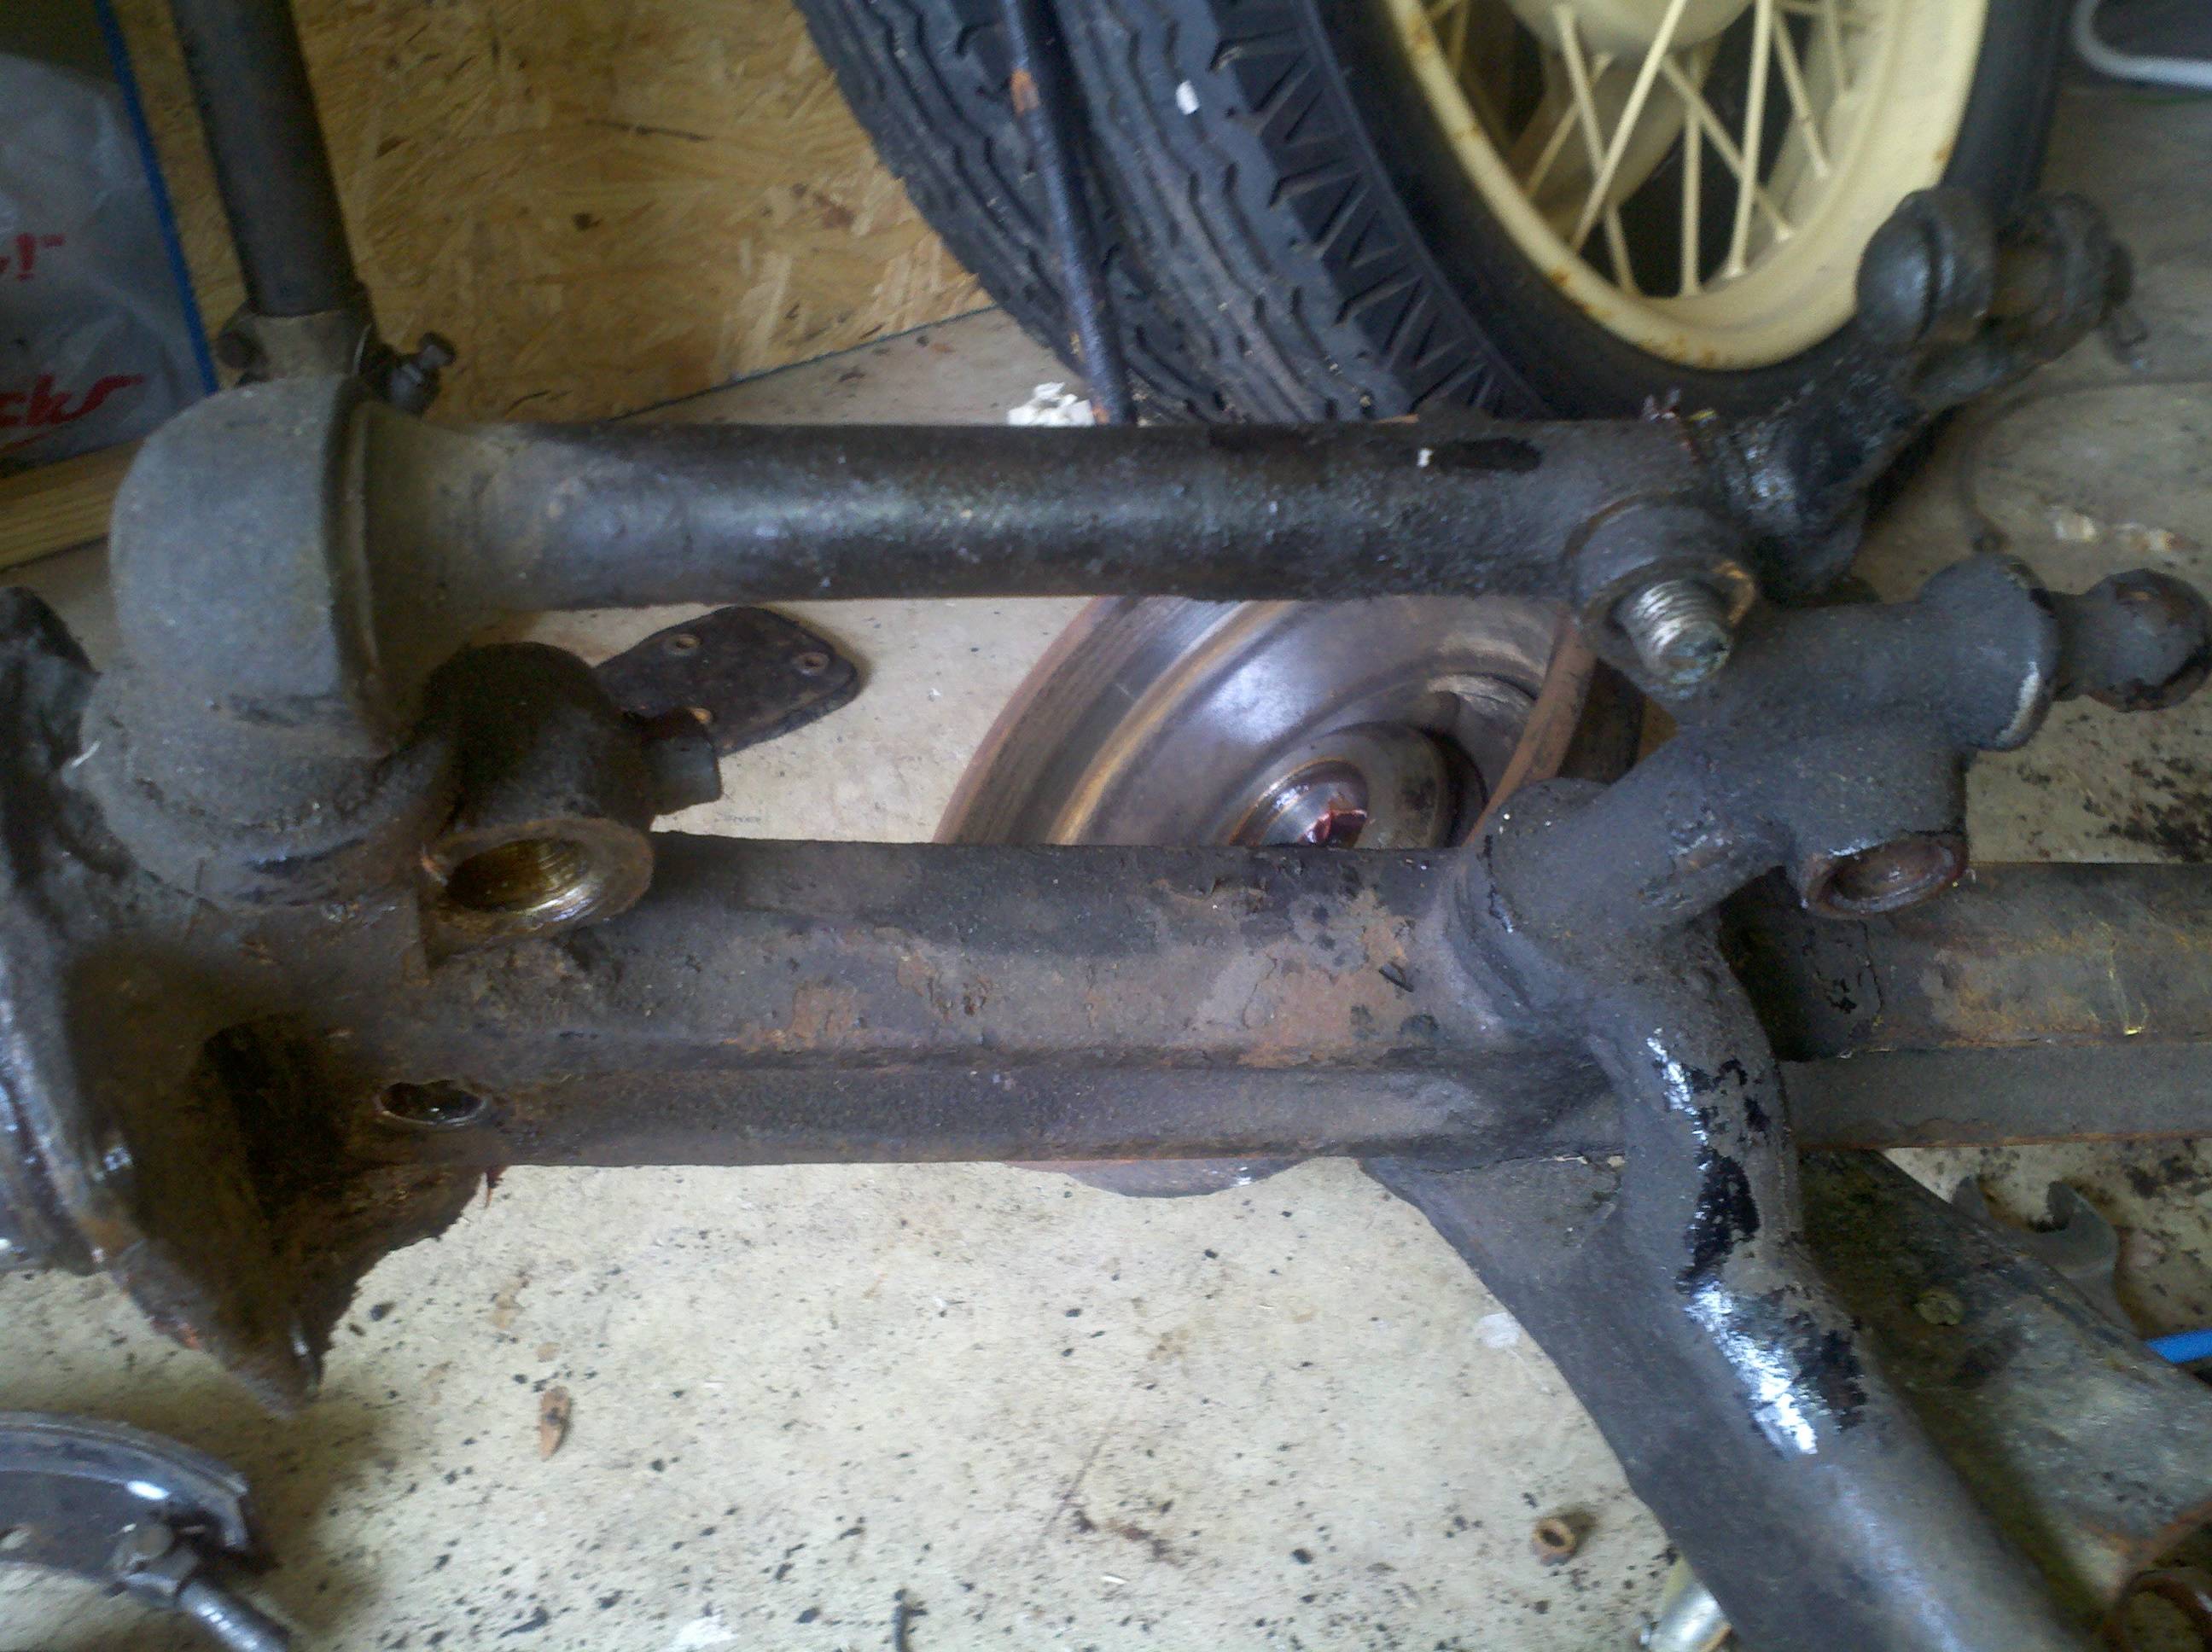
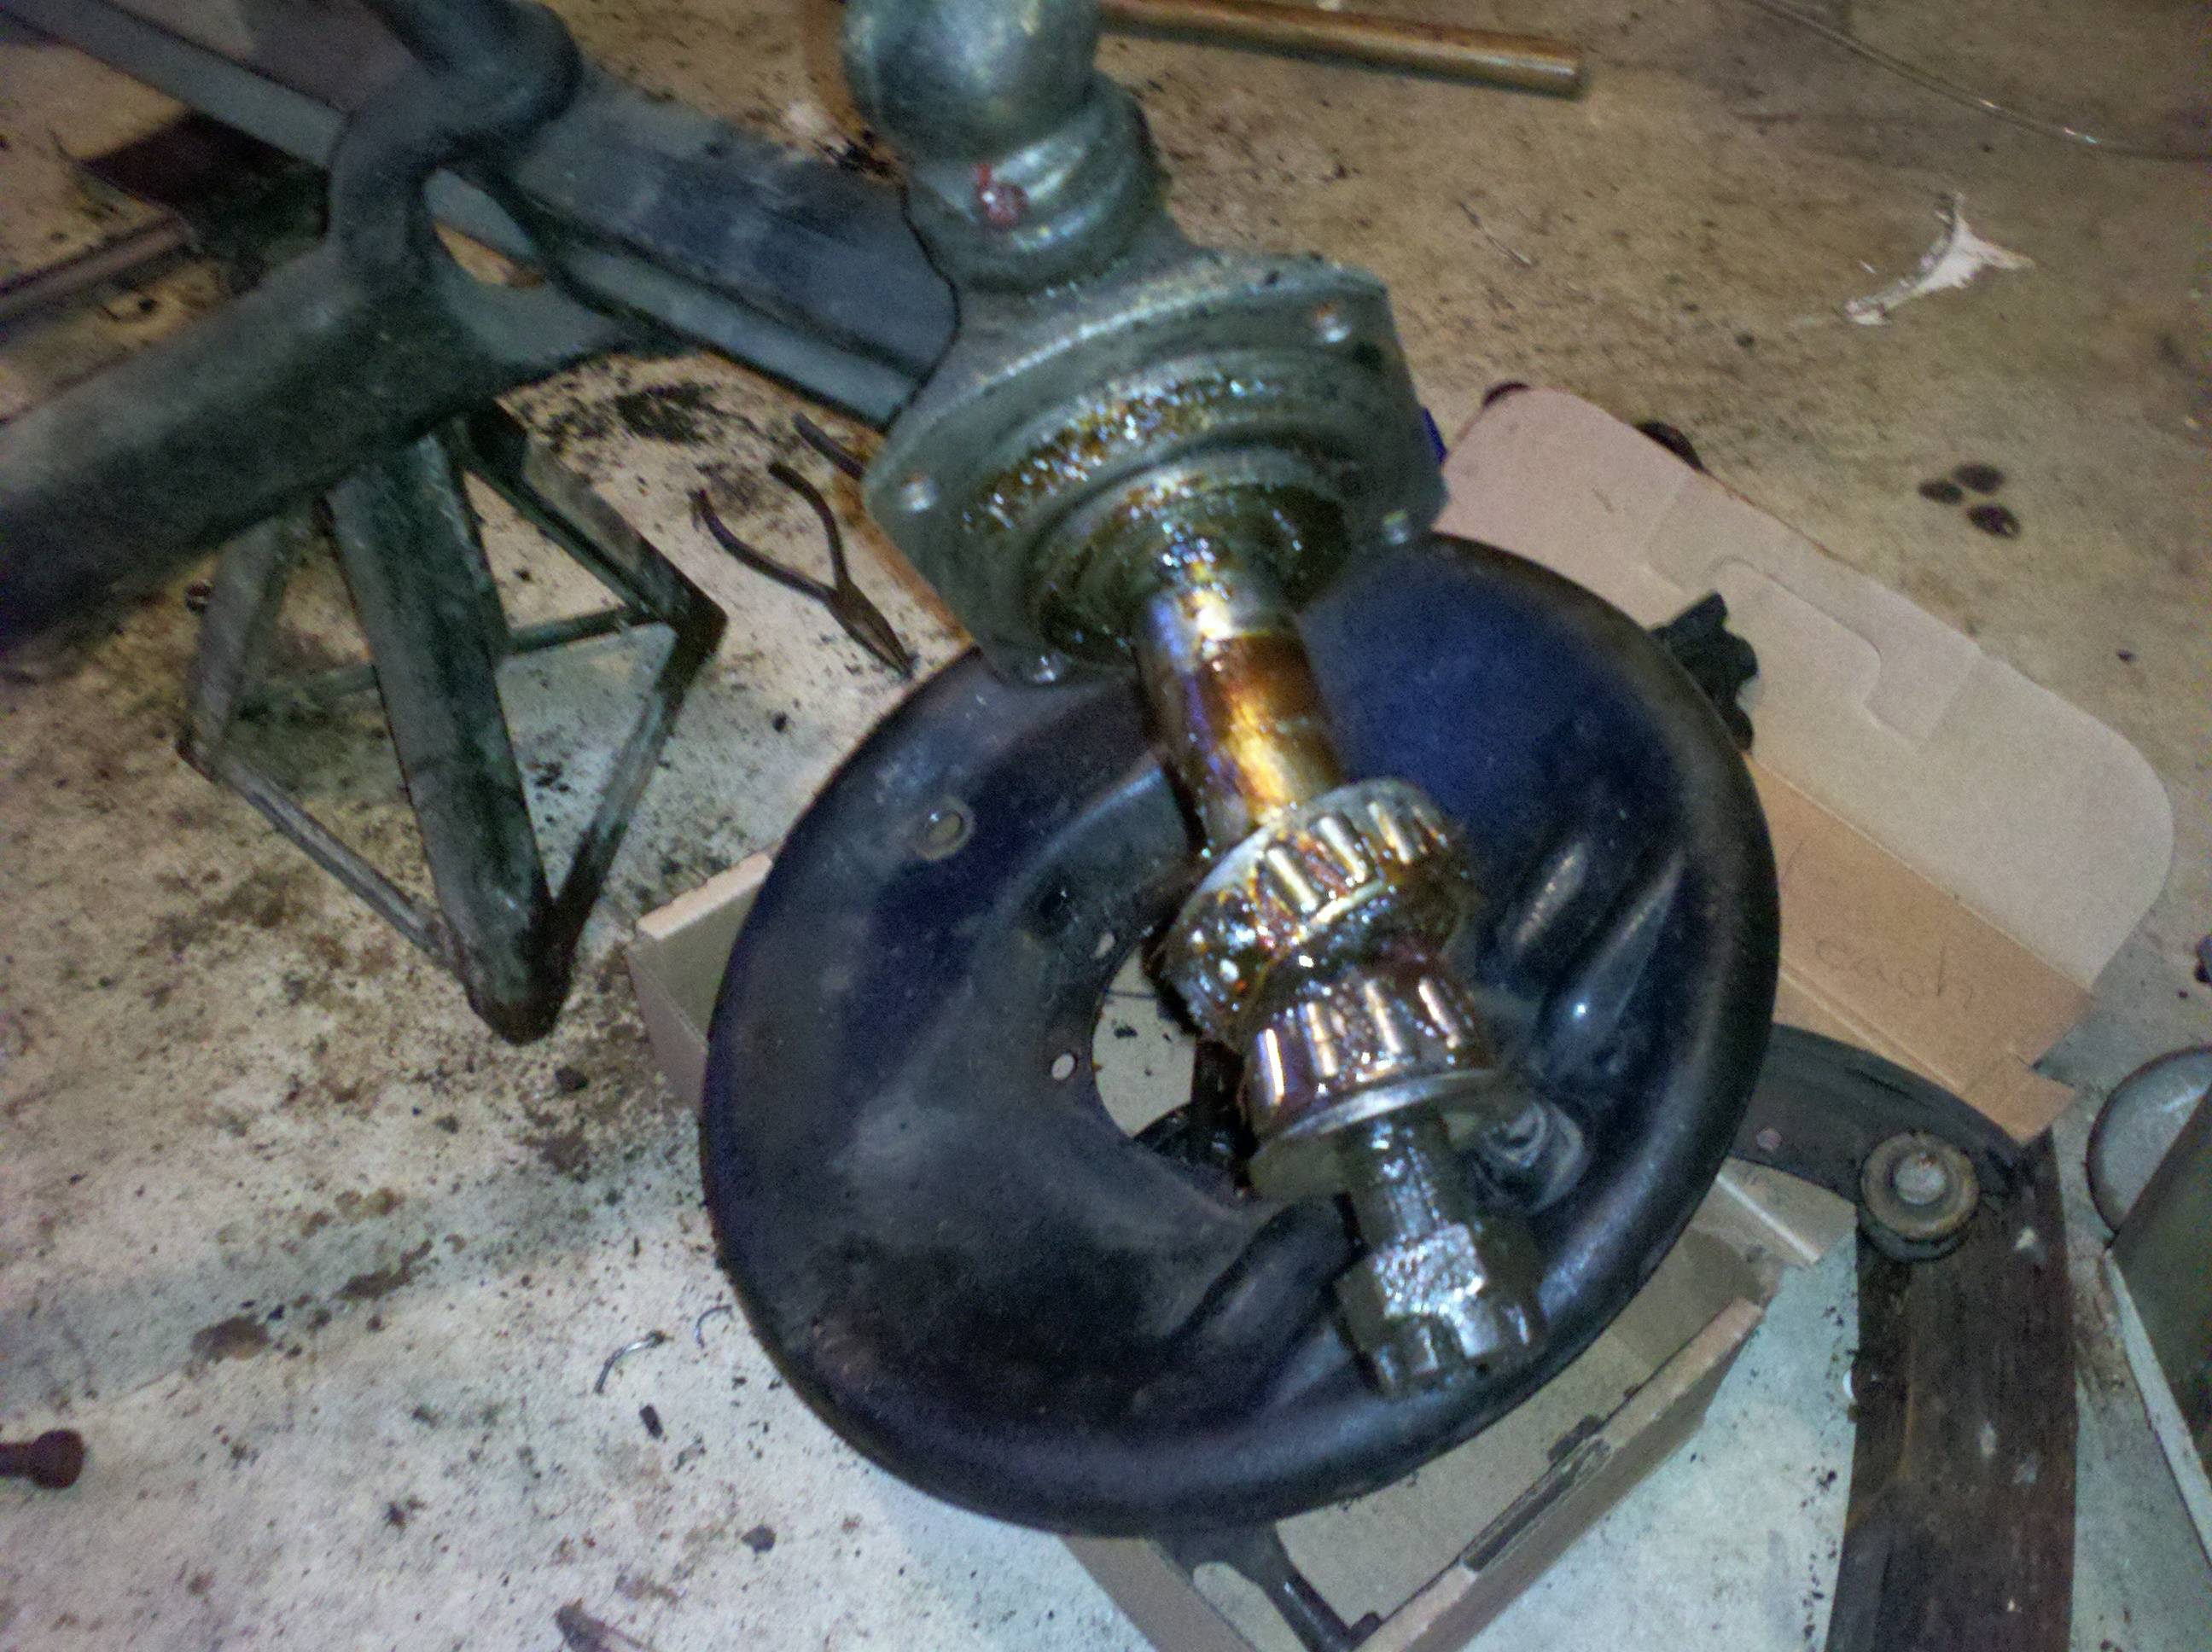
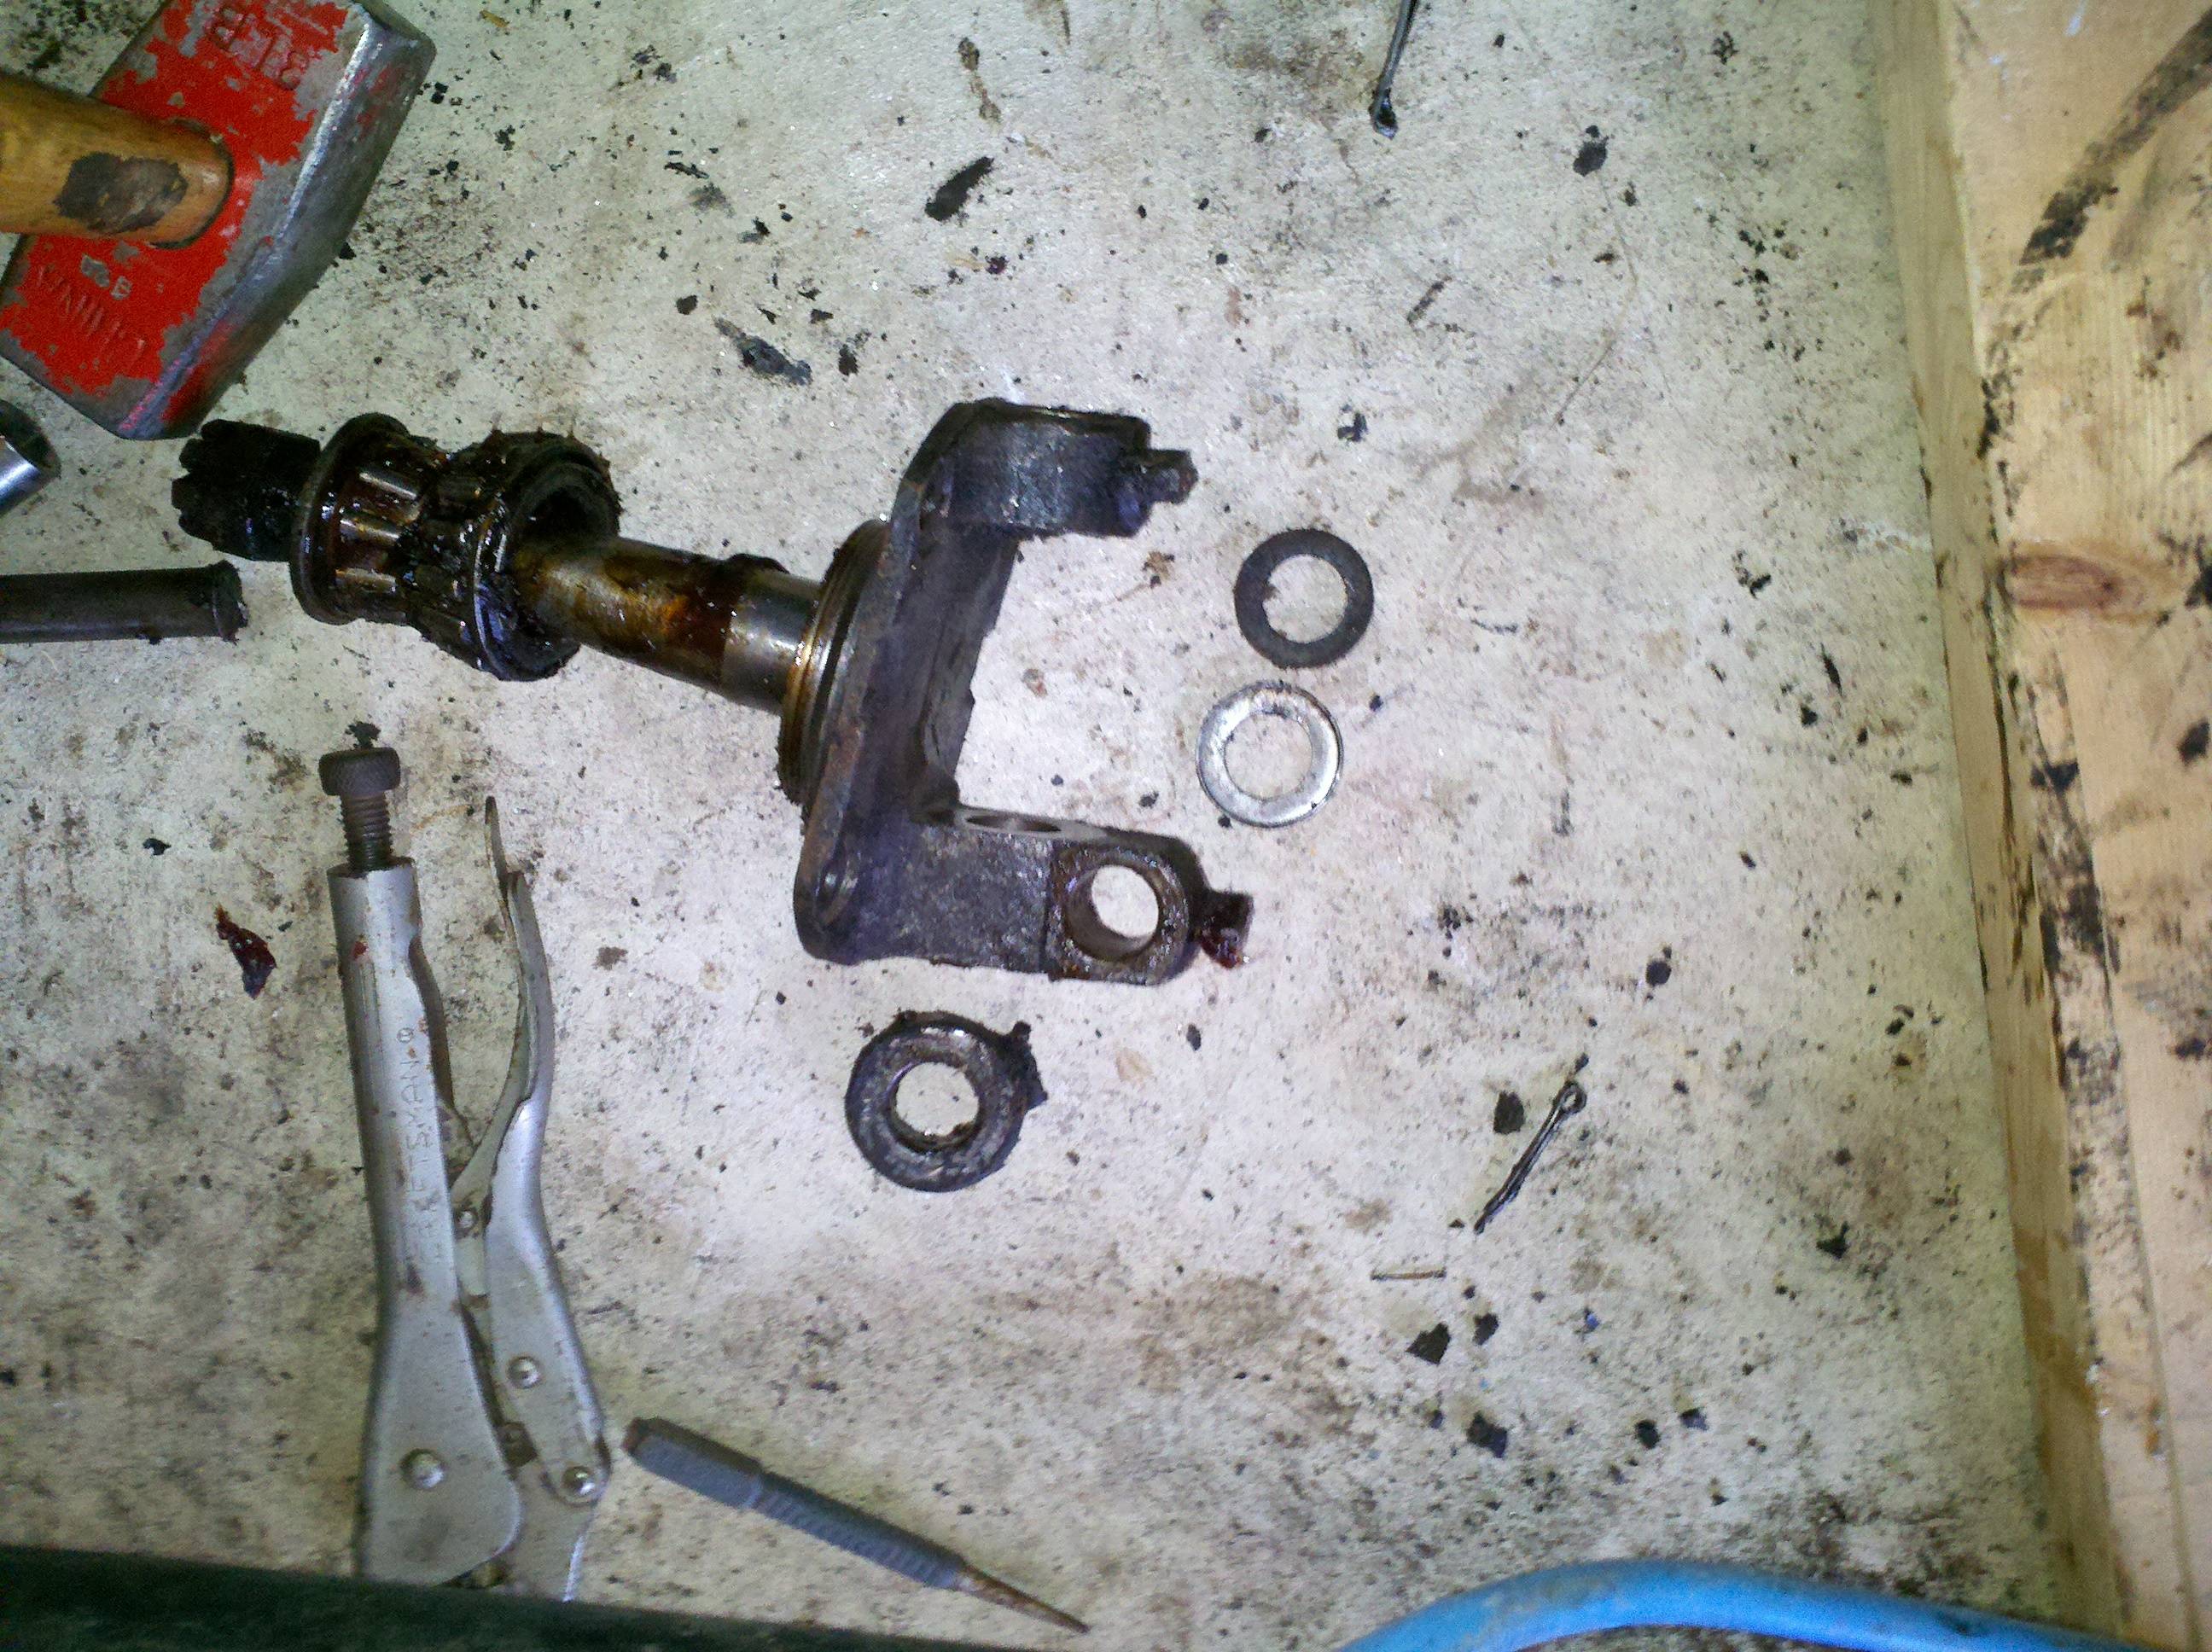
Once the actuator rod and guide are removed, the kingpin will pull straight up, and the spindle will fall off. Don't try to just yank it out, I guarantee you'll likely herniate yourself. I don't have a good way to press it out from the bottom, but by using the pipe wrench to keep turning it, 'til it finally broke free. THere's felt washers all over in there, a thrust washer, and some other stuff. Keep track of the parts and the order they go in. Putting them on in the wrong order is likely a very bad thing.
And that, my Model A loving friends, is the end of March!
Last modified on 10/09/12