
Happy New Year!
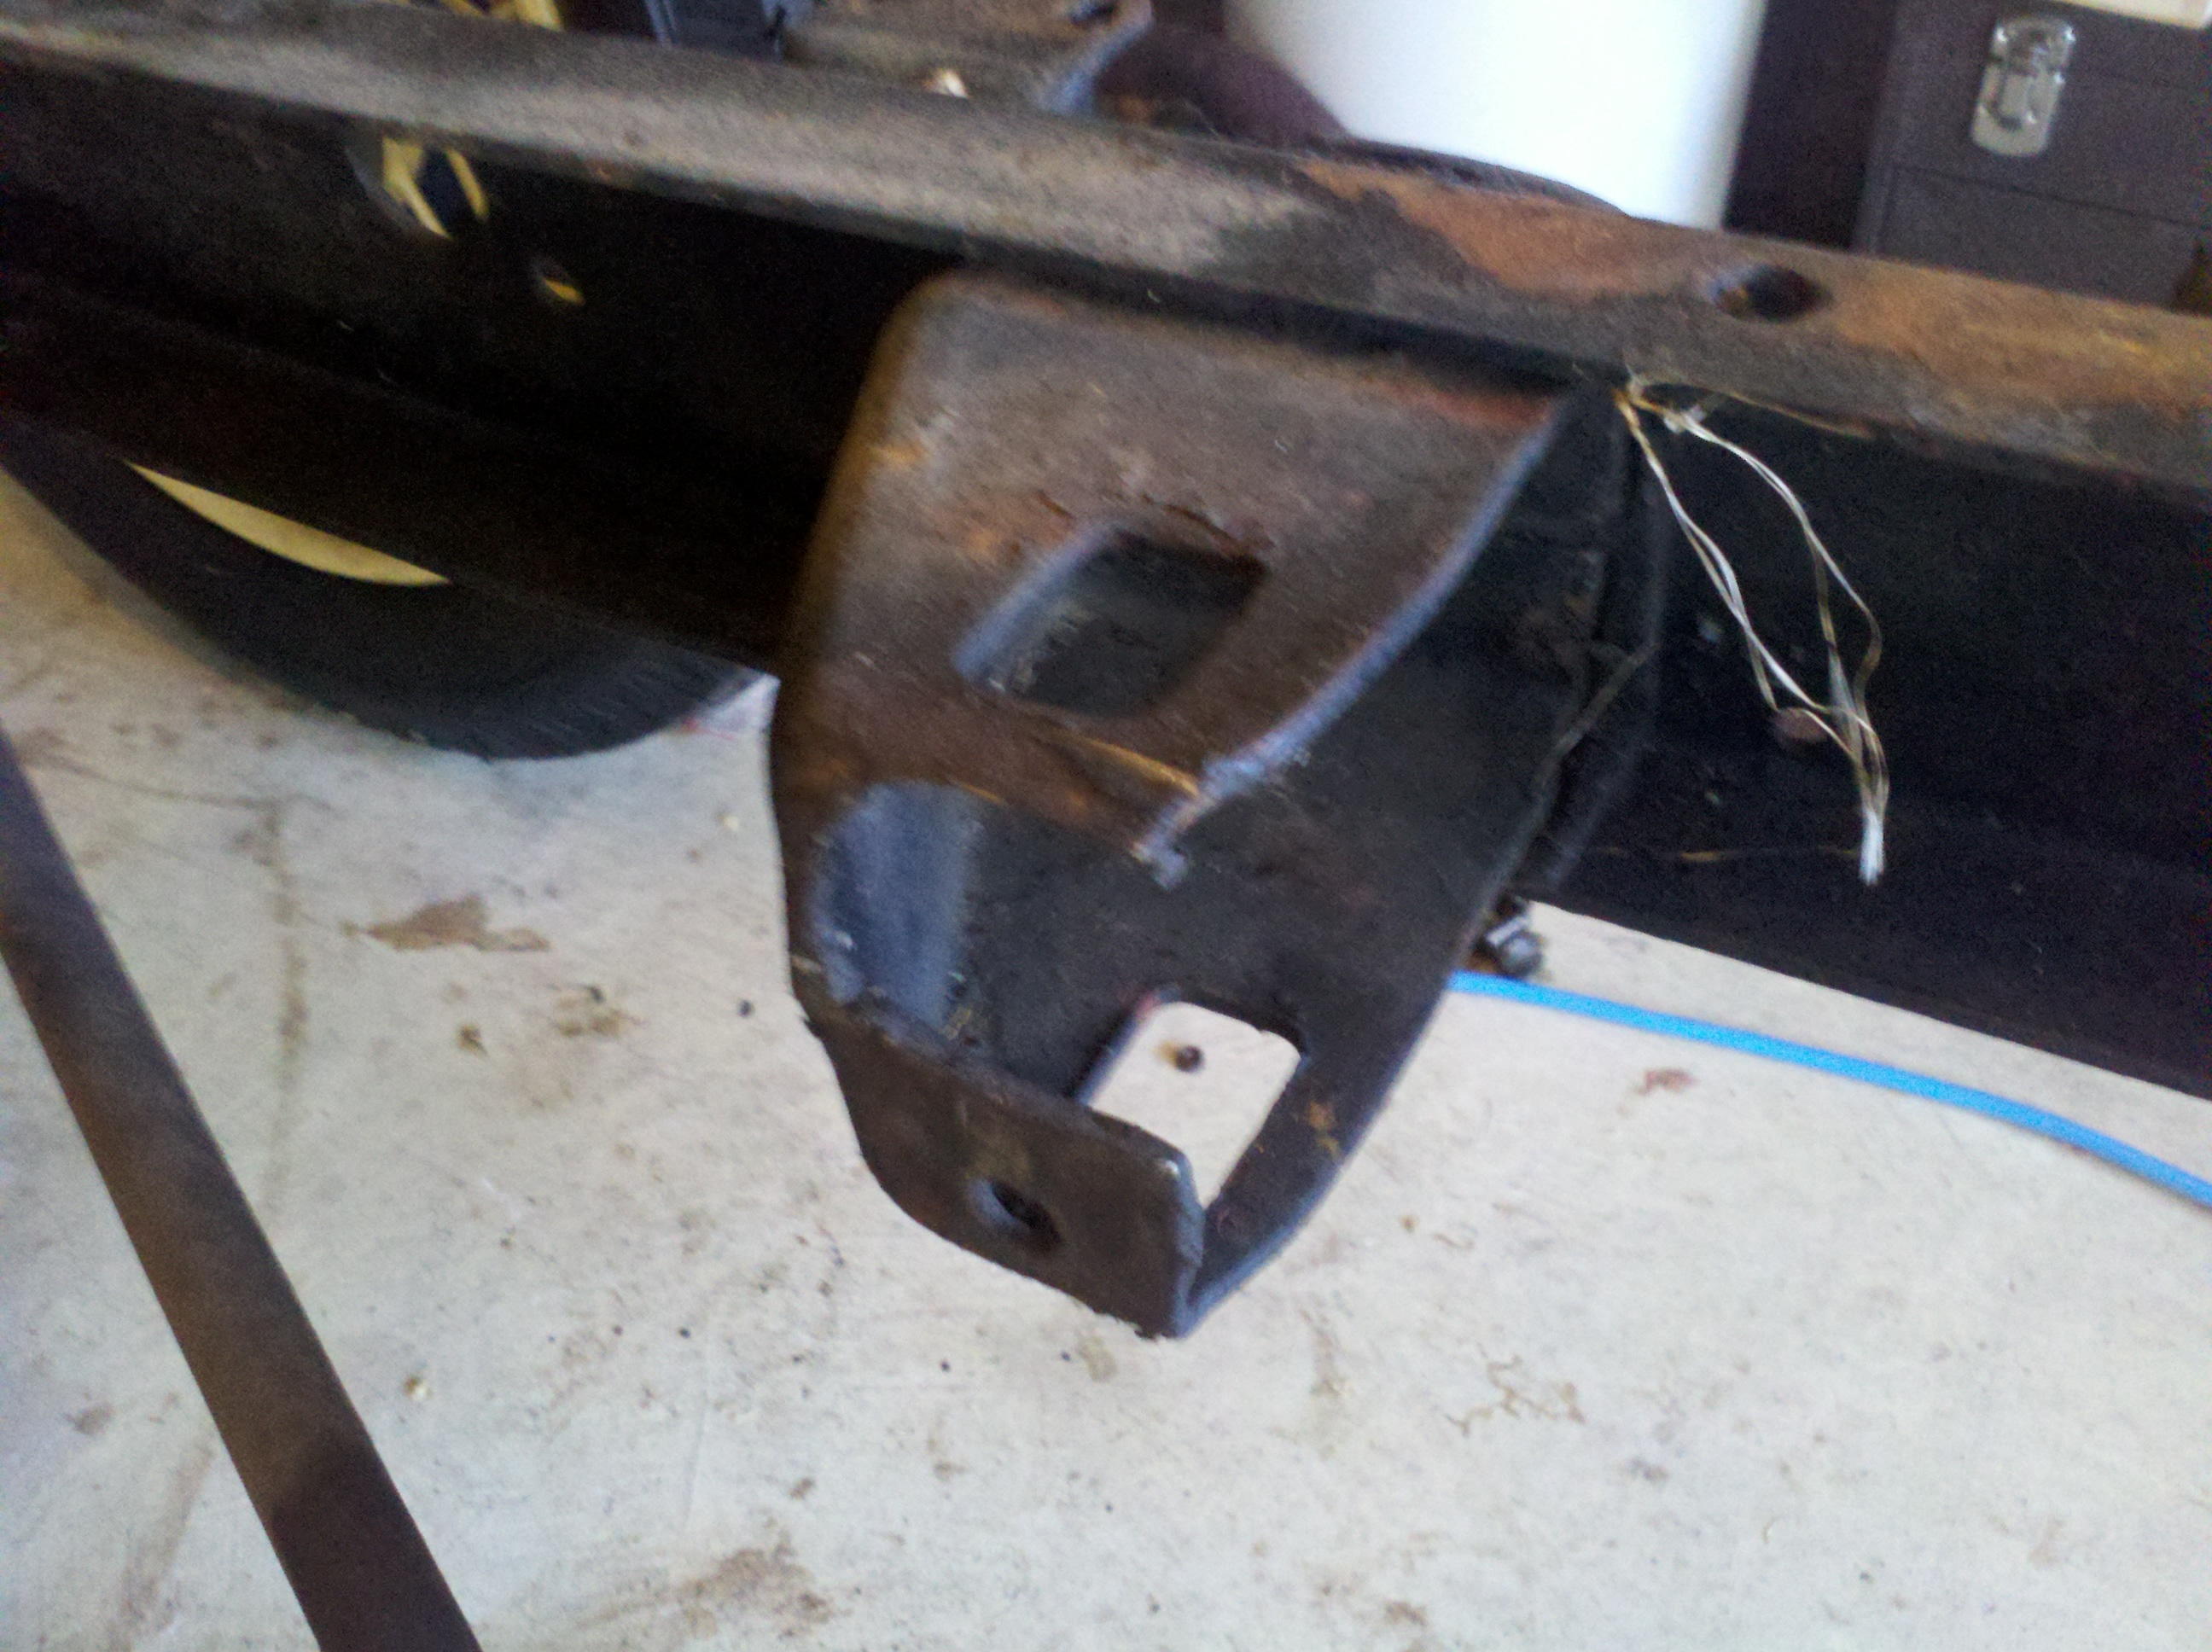
Today was 'nother nice day. Rolled the truck (well, what's left of it, anyway) out of the garage and went to work pulling the primary brake system, and the last of the brake connecting rods. I was interested to find a bracket on the passenger side that had only one bolt (one of the brake bar's) holding it in. I have no idea why it was there - there was nothing else attached to it. I took it all down, and set it aside. I don't know if I'll re-attach it when I put it all back together. Some of the bolts were a bit tough coming out, but mostly only because they were blind.
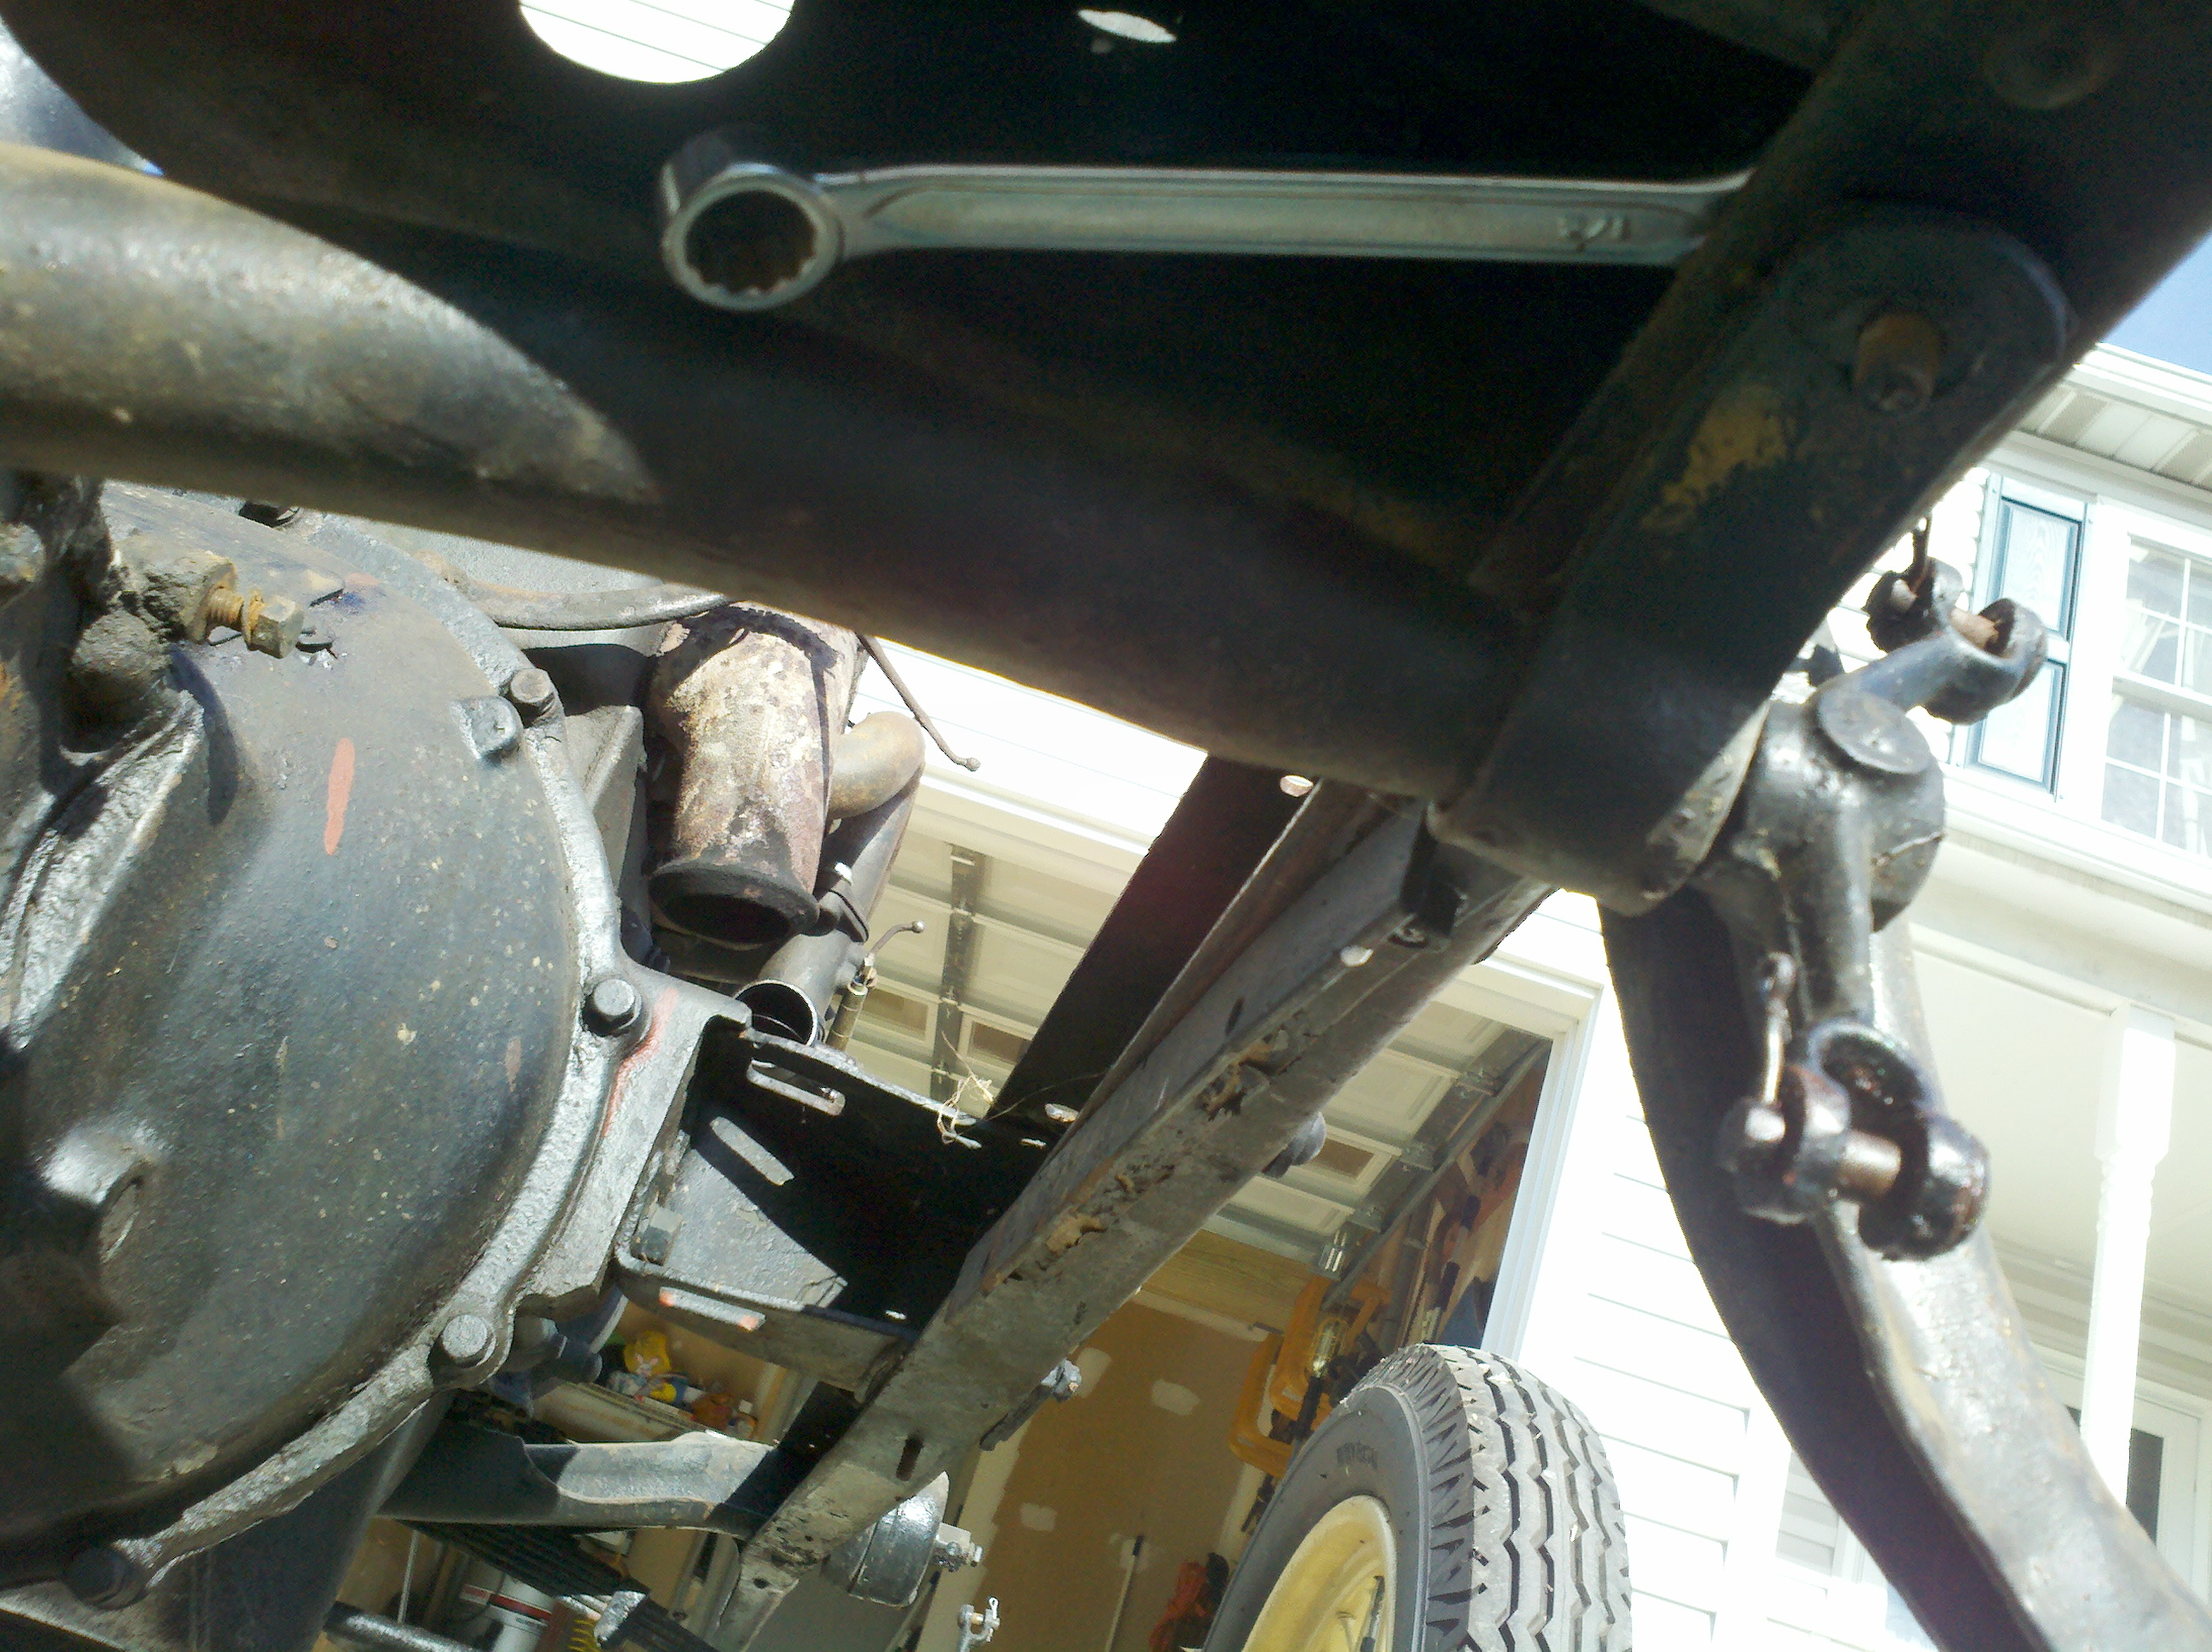
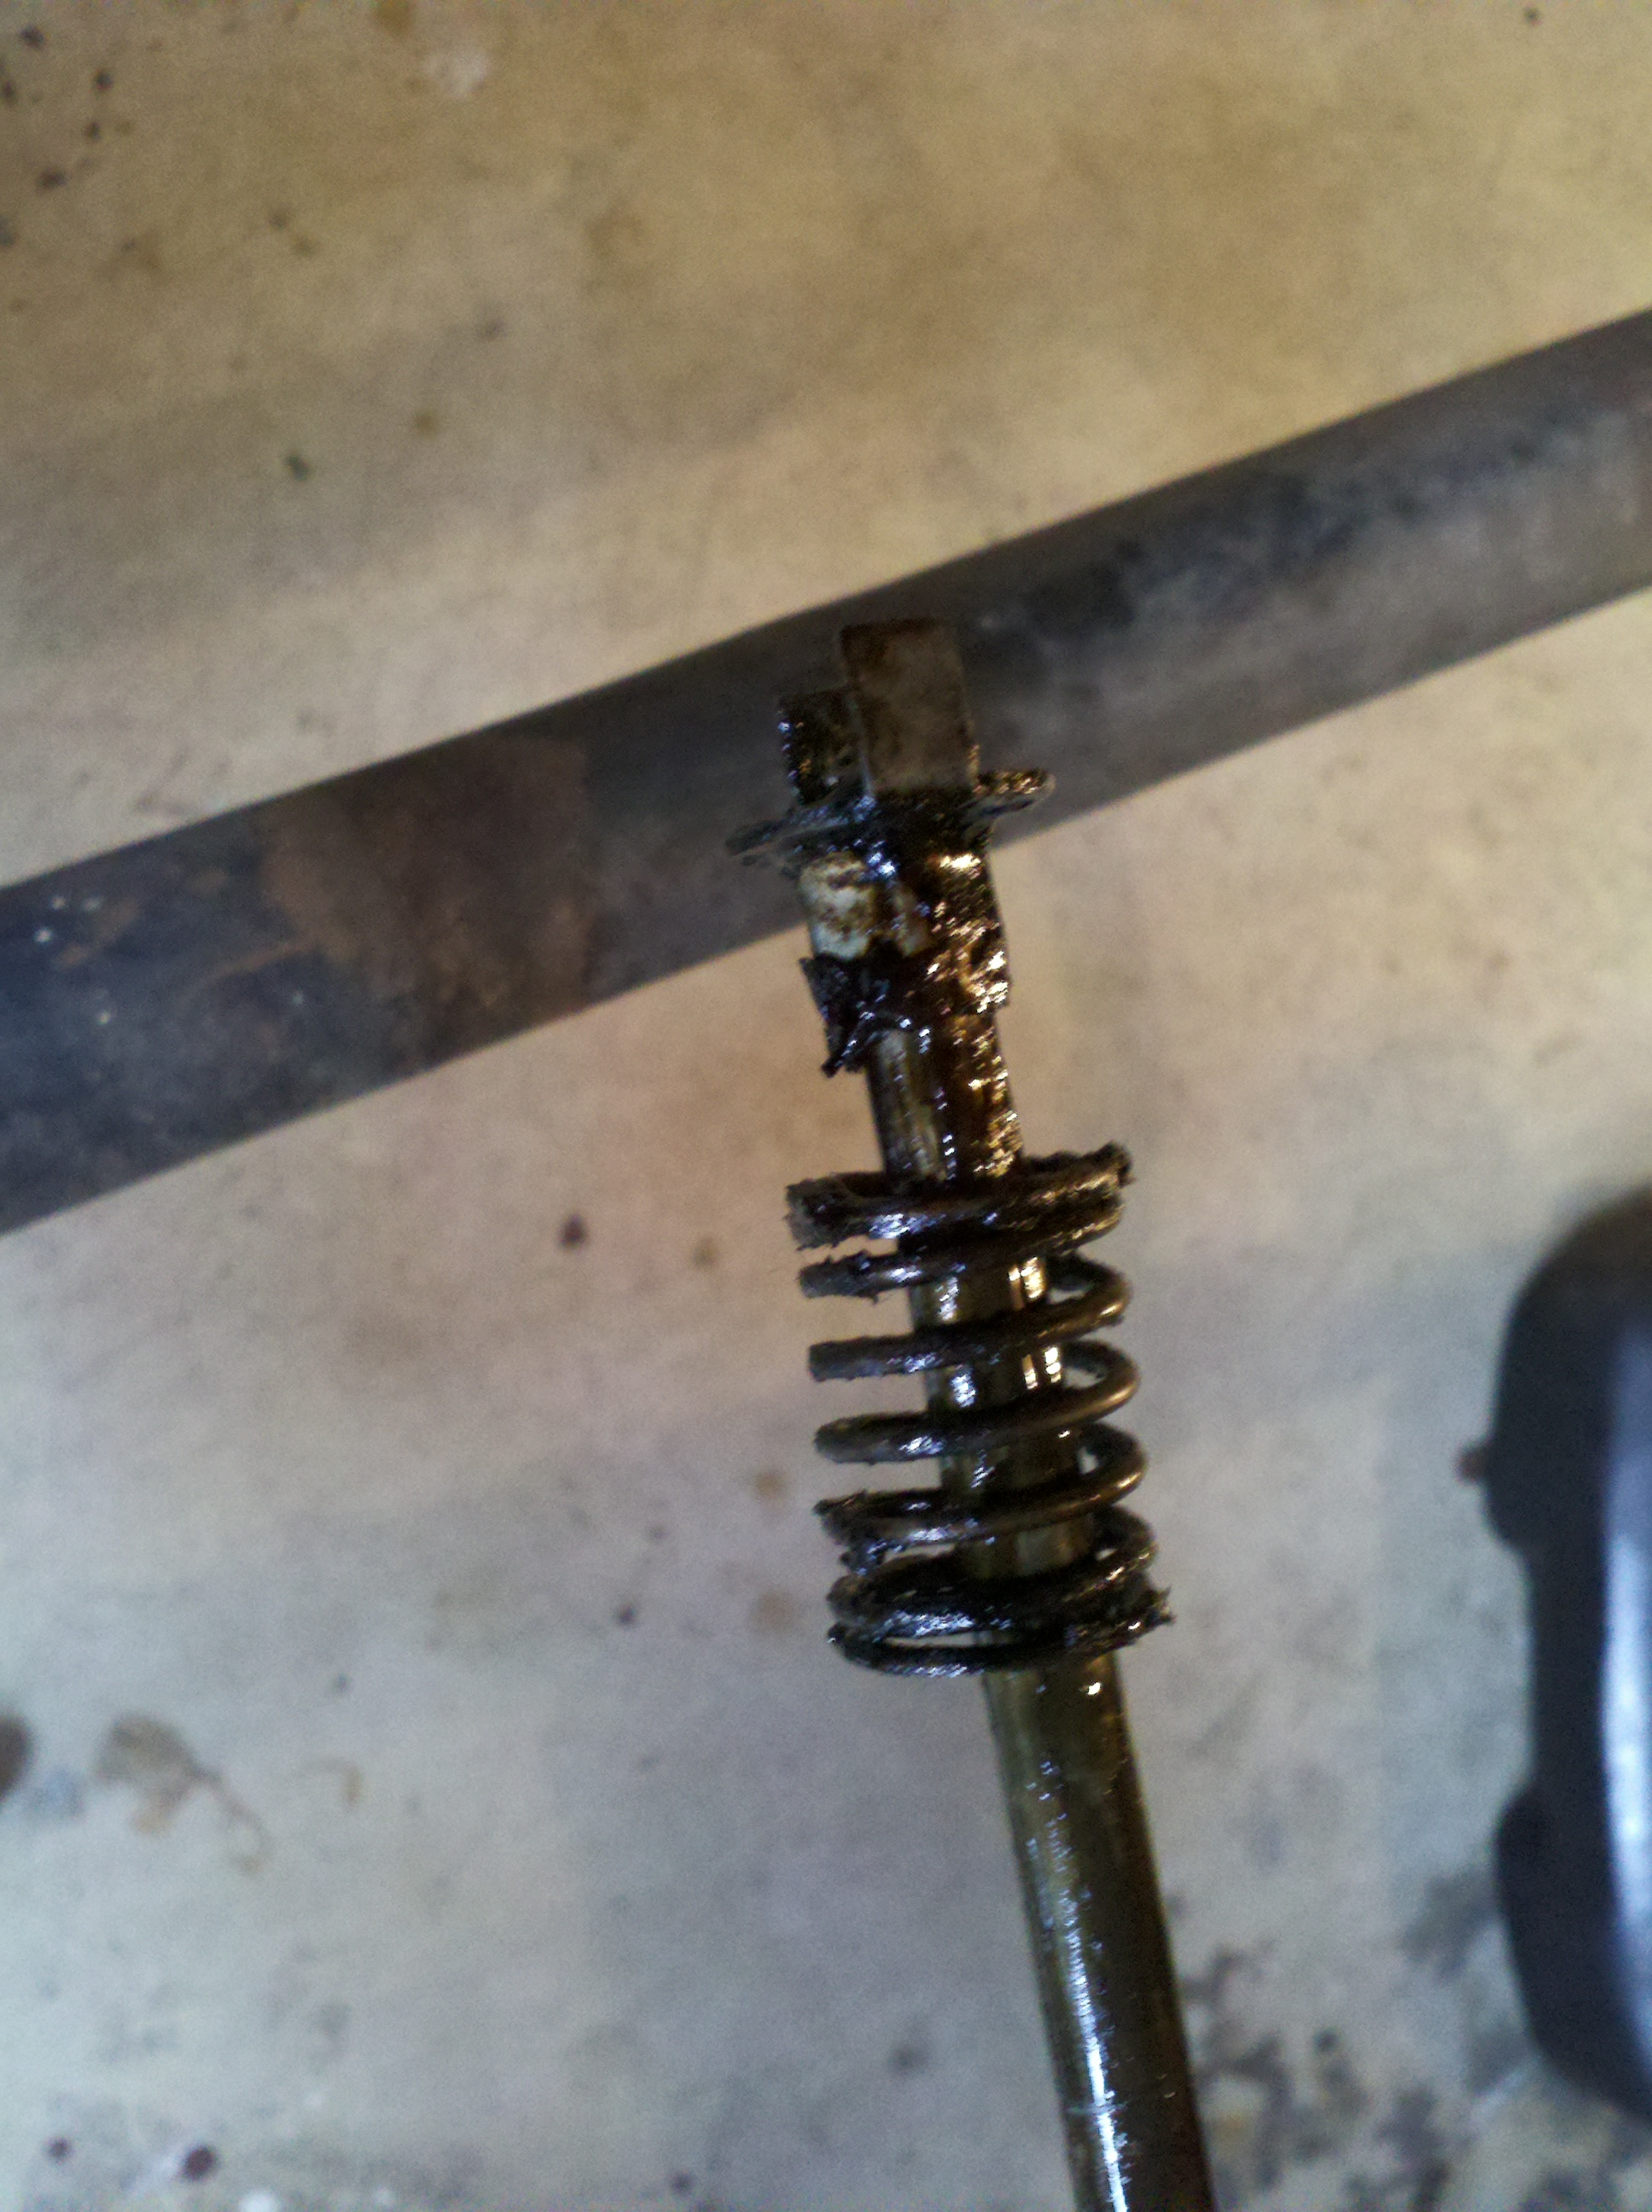
Stuff came up shortly after we got those pieces pulled, so we wheeled back into the garage. Later in the day, we had a chance to do some more, but It had become awfully chilly outside. So, we worked in the garage, and pulled the steering column, as this looked like it would make the engine pull much easier. So, the youngest daughter helped me pull cotter pins hither and yon, while I broke the pittman arm free. This had me fooled for a bit... It looks like the arm needs to be spread to come out, but in reality, the bolt that compresses it also runs through a slot in the steering shaft. You can see that in the pictures below.
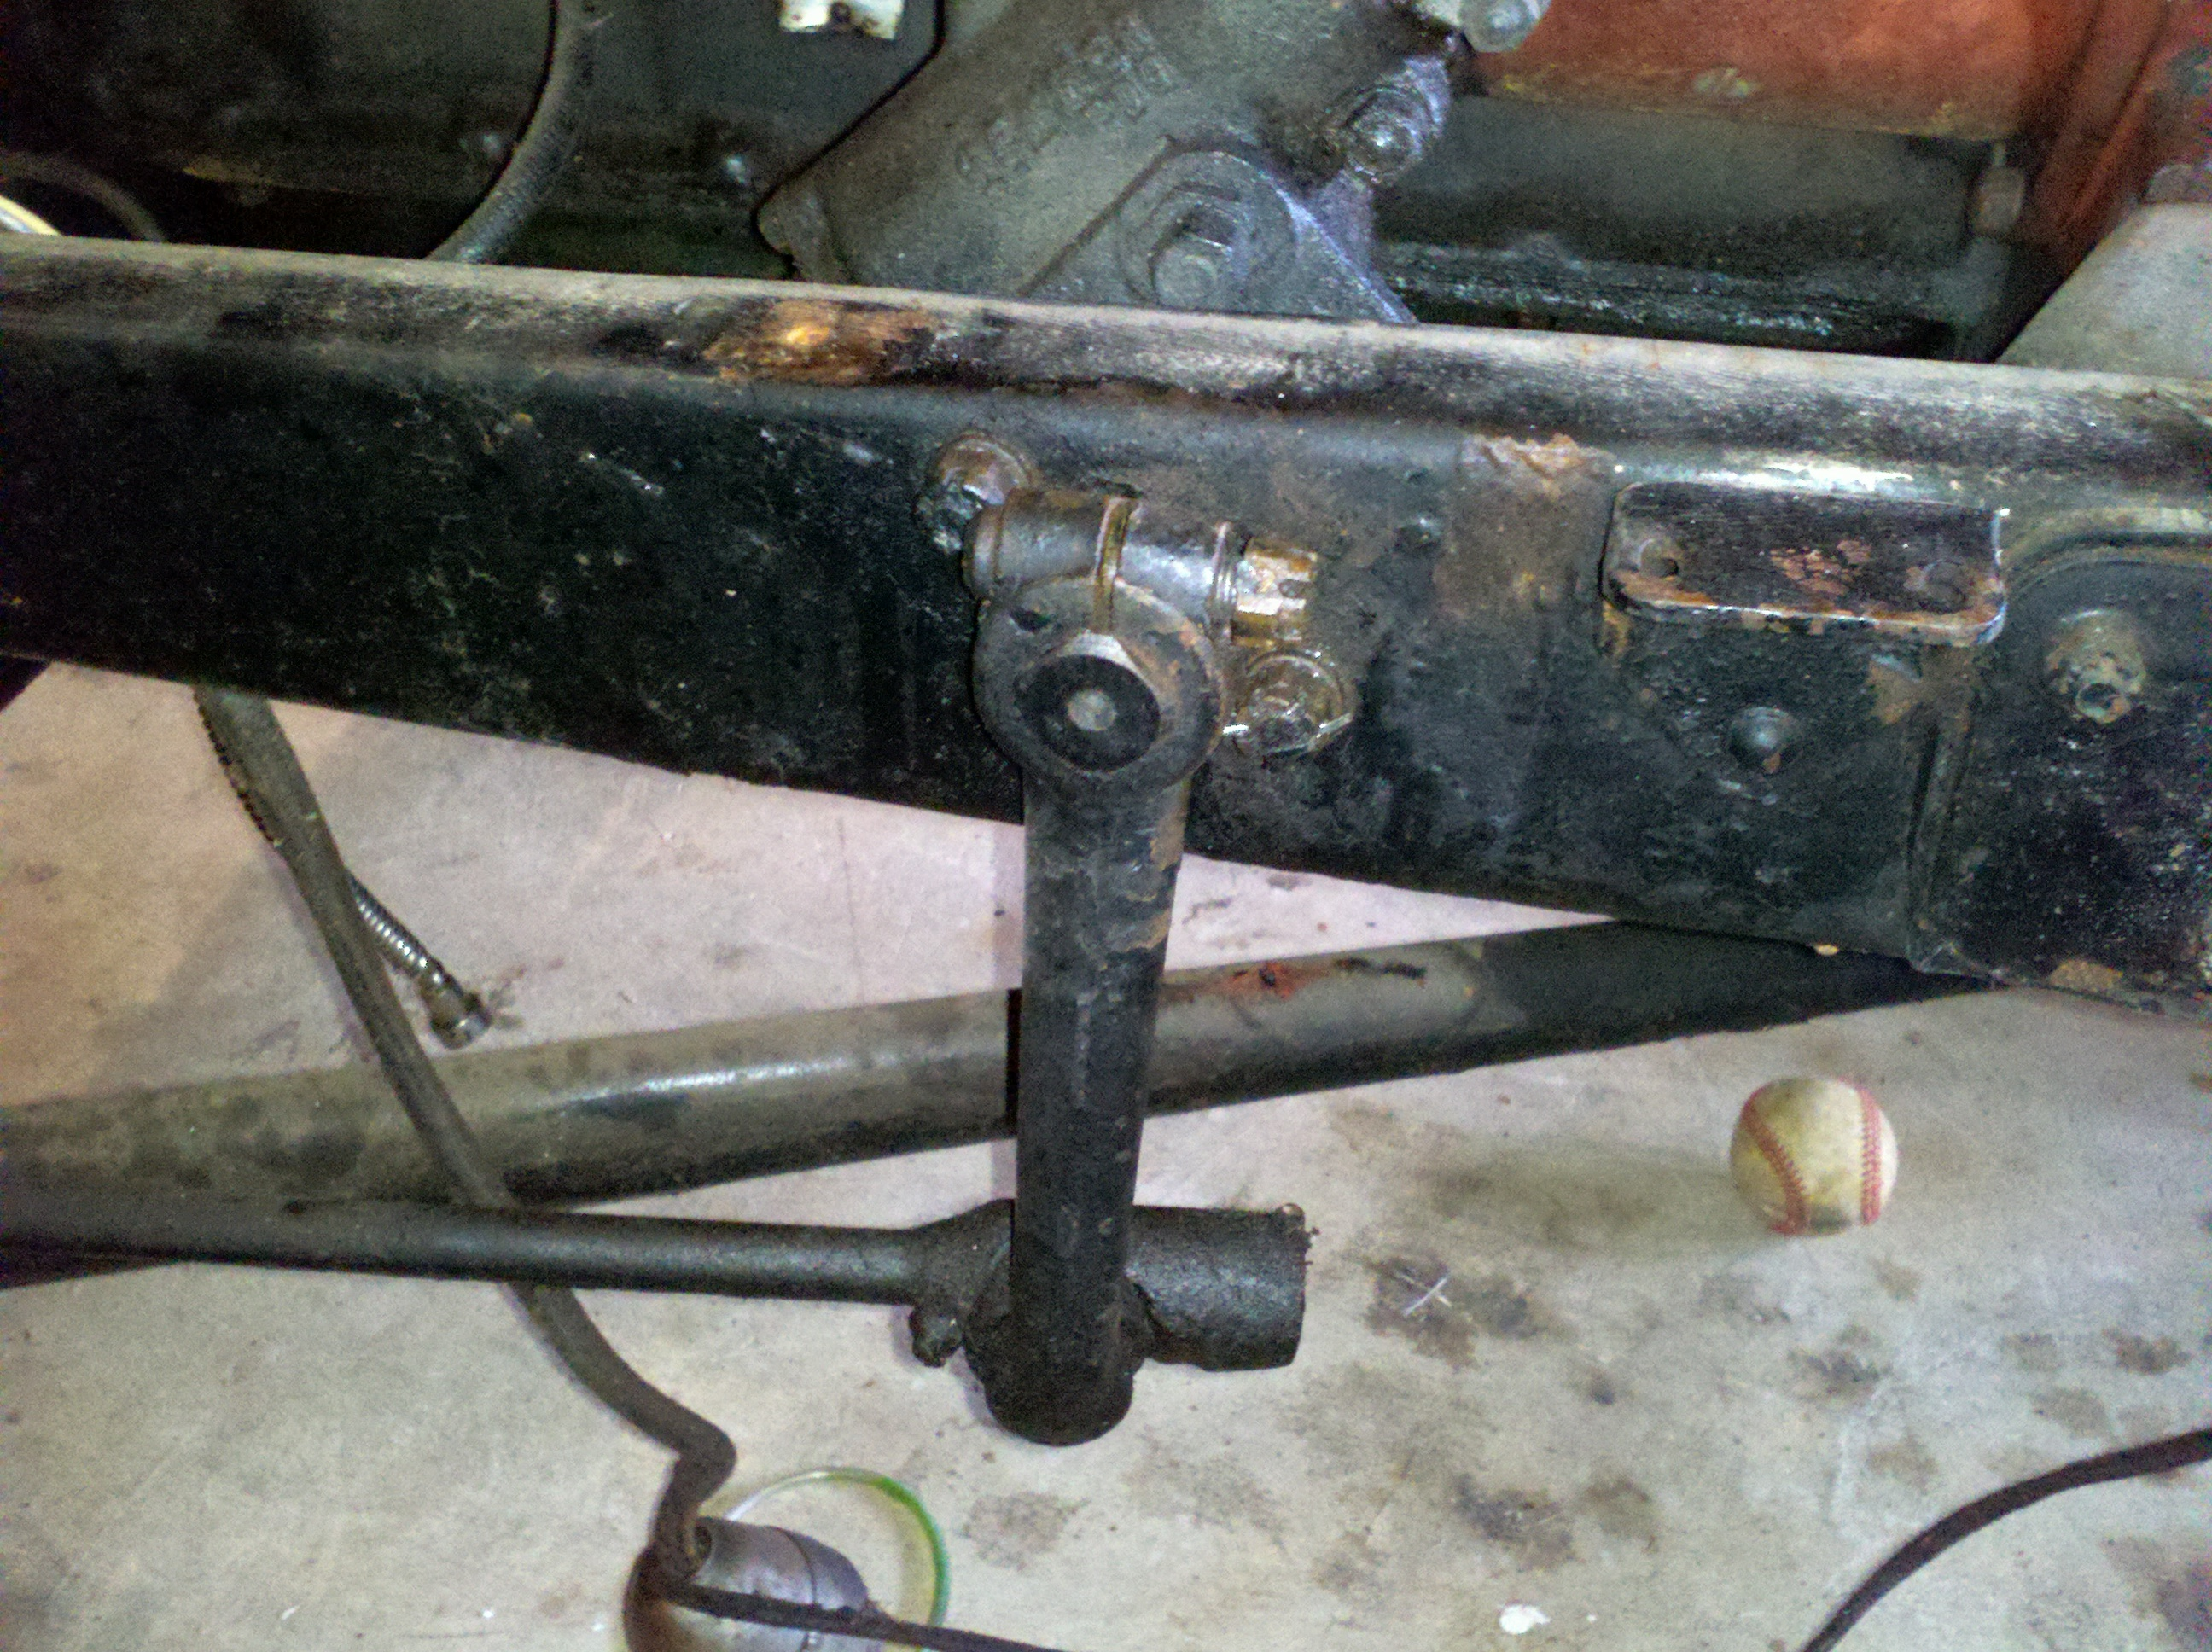
With the pittman arm off, it was simply a matter of removing the two bolts that attach the column to the frame (you can see them in the pictures above). Once the bolts were out, the column rotated neatly upwards, and popped right out.

When I got it pulled out, I went ahead and pulled the horn & turn signal switch assembly. You can see that laying across the fram in those pictures above. I also broke the wheel nut loose (I'll pull it later), and took a picture of the end, so I can maybe remember how to put it back together. (It's spring-loaded, and held i with a sort of circlip that sits recessed in a pocket)

There was still quite a bit of time 'til I needed to fix dinner, so I went ahead and pulled the u-joint cover/housing. Not a big deal there, it's two halves, held together by two bolts. The housing is then bolted to the transmission using six more bolts.
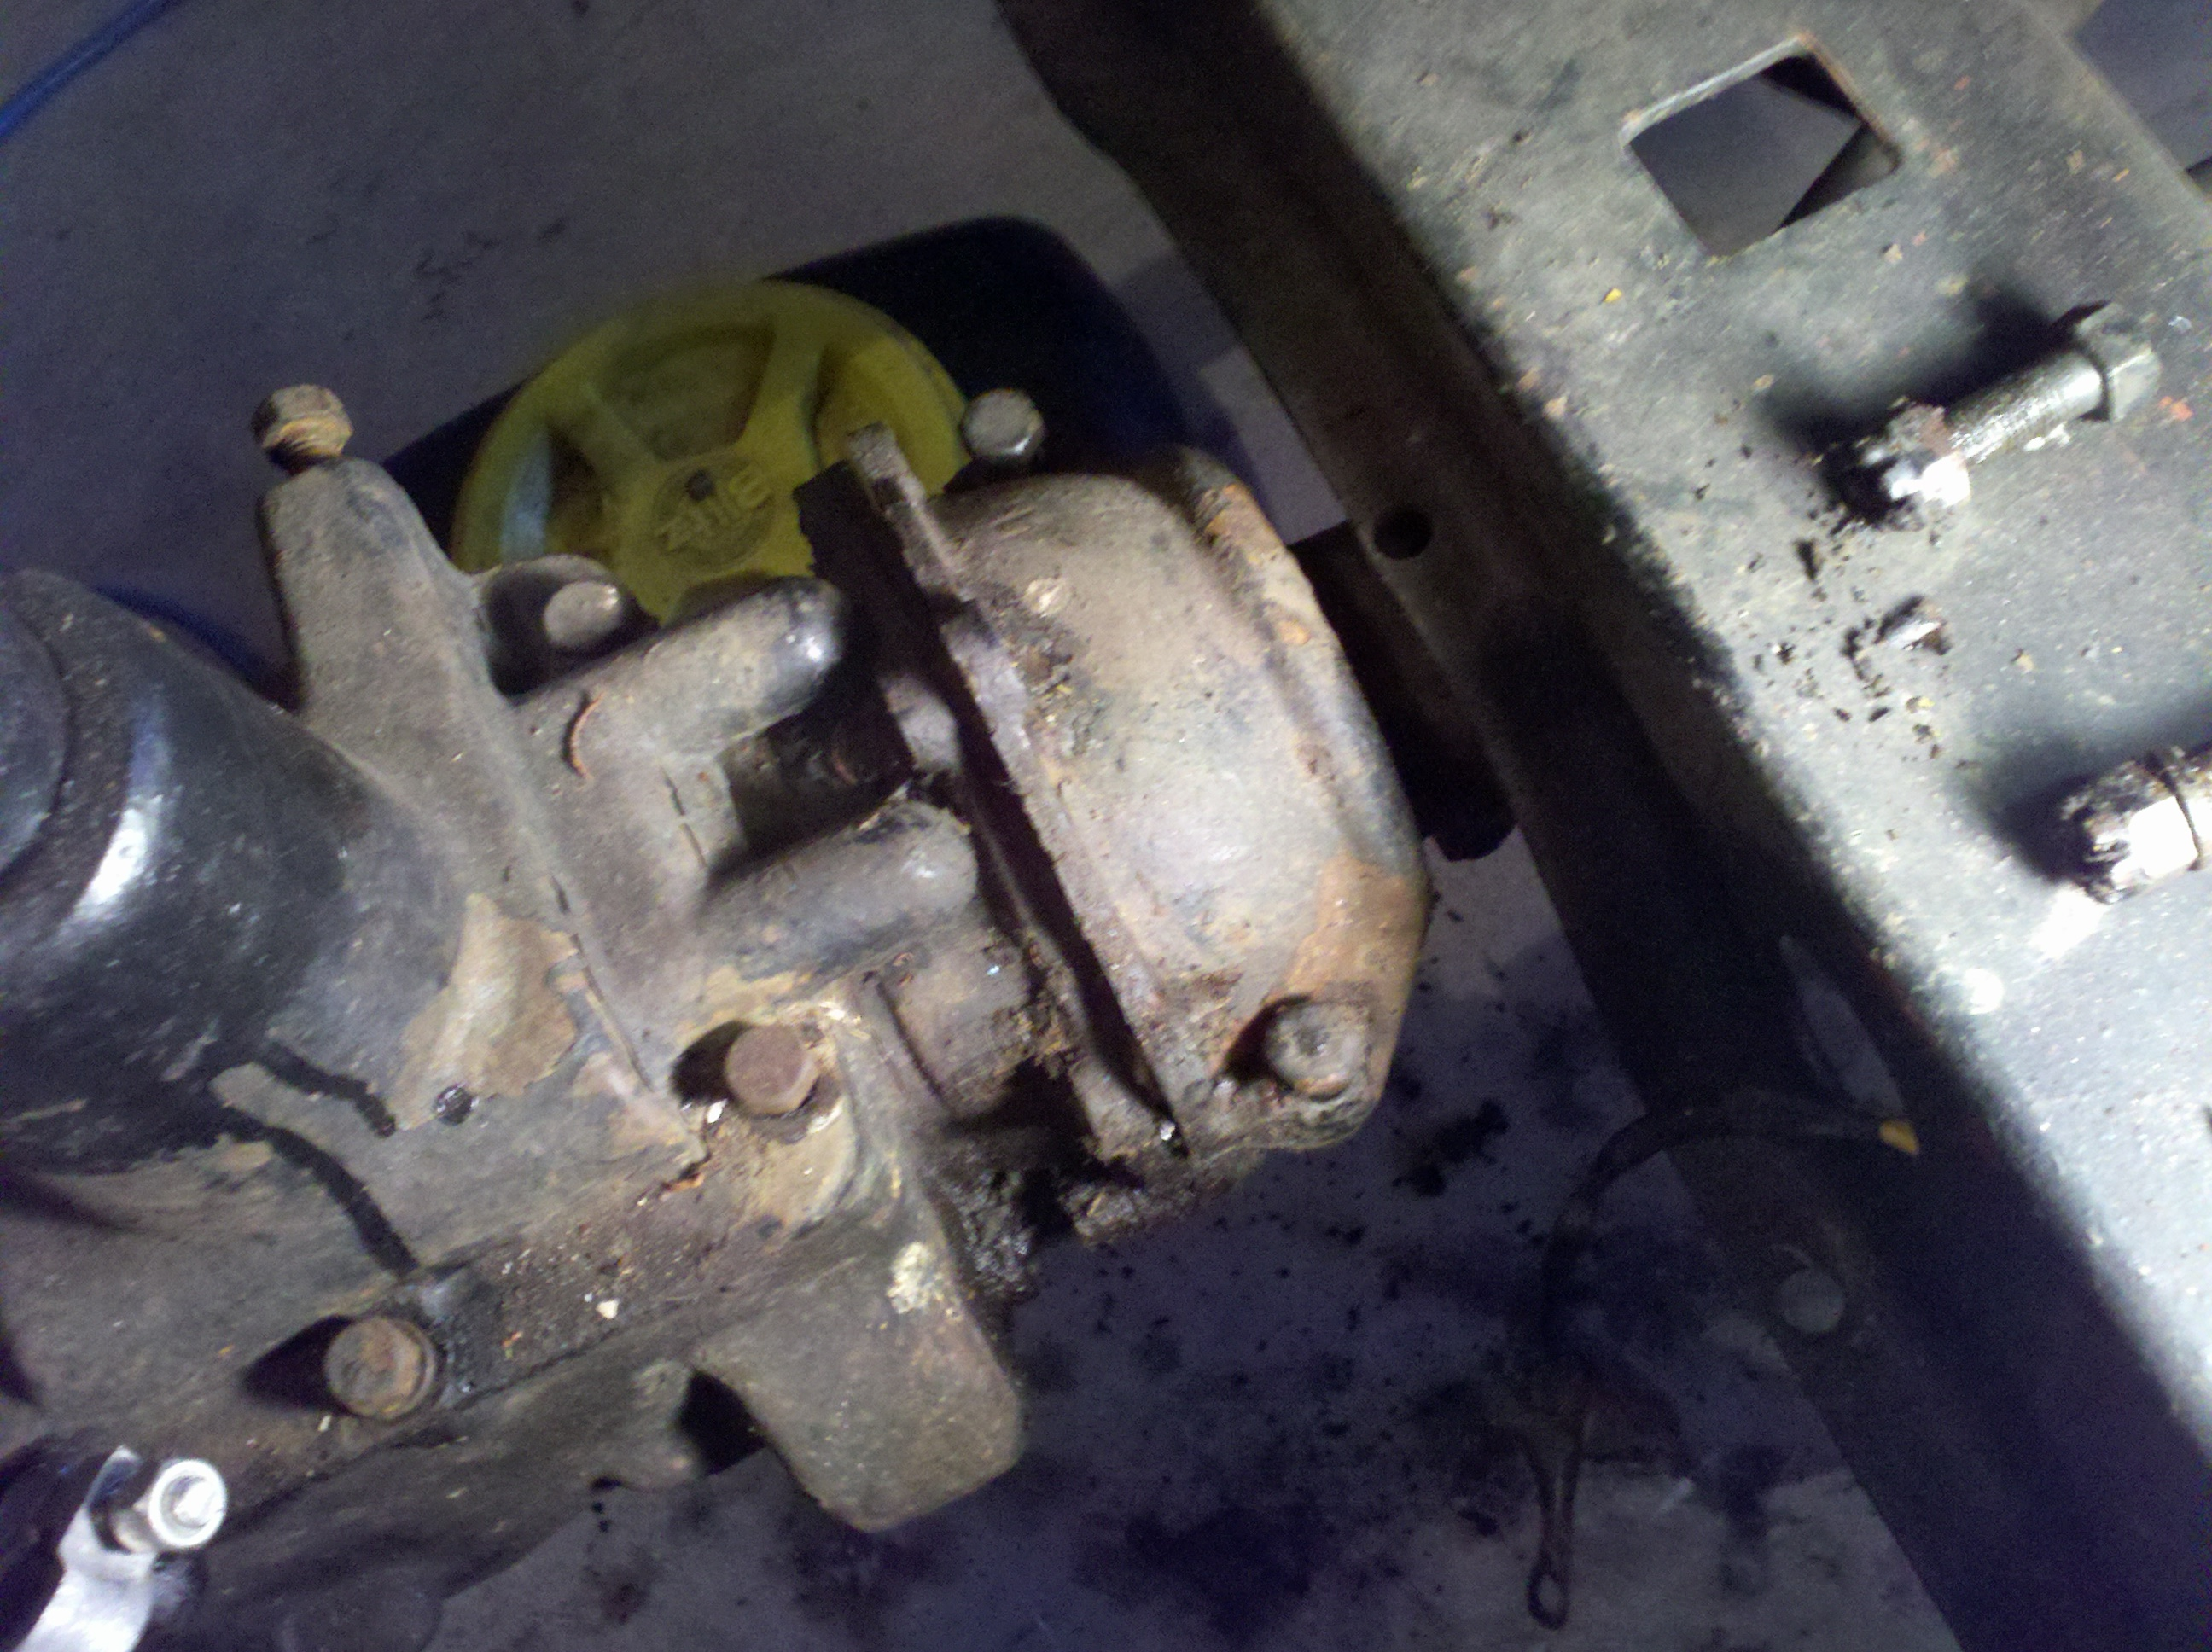
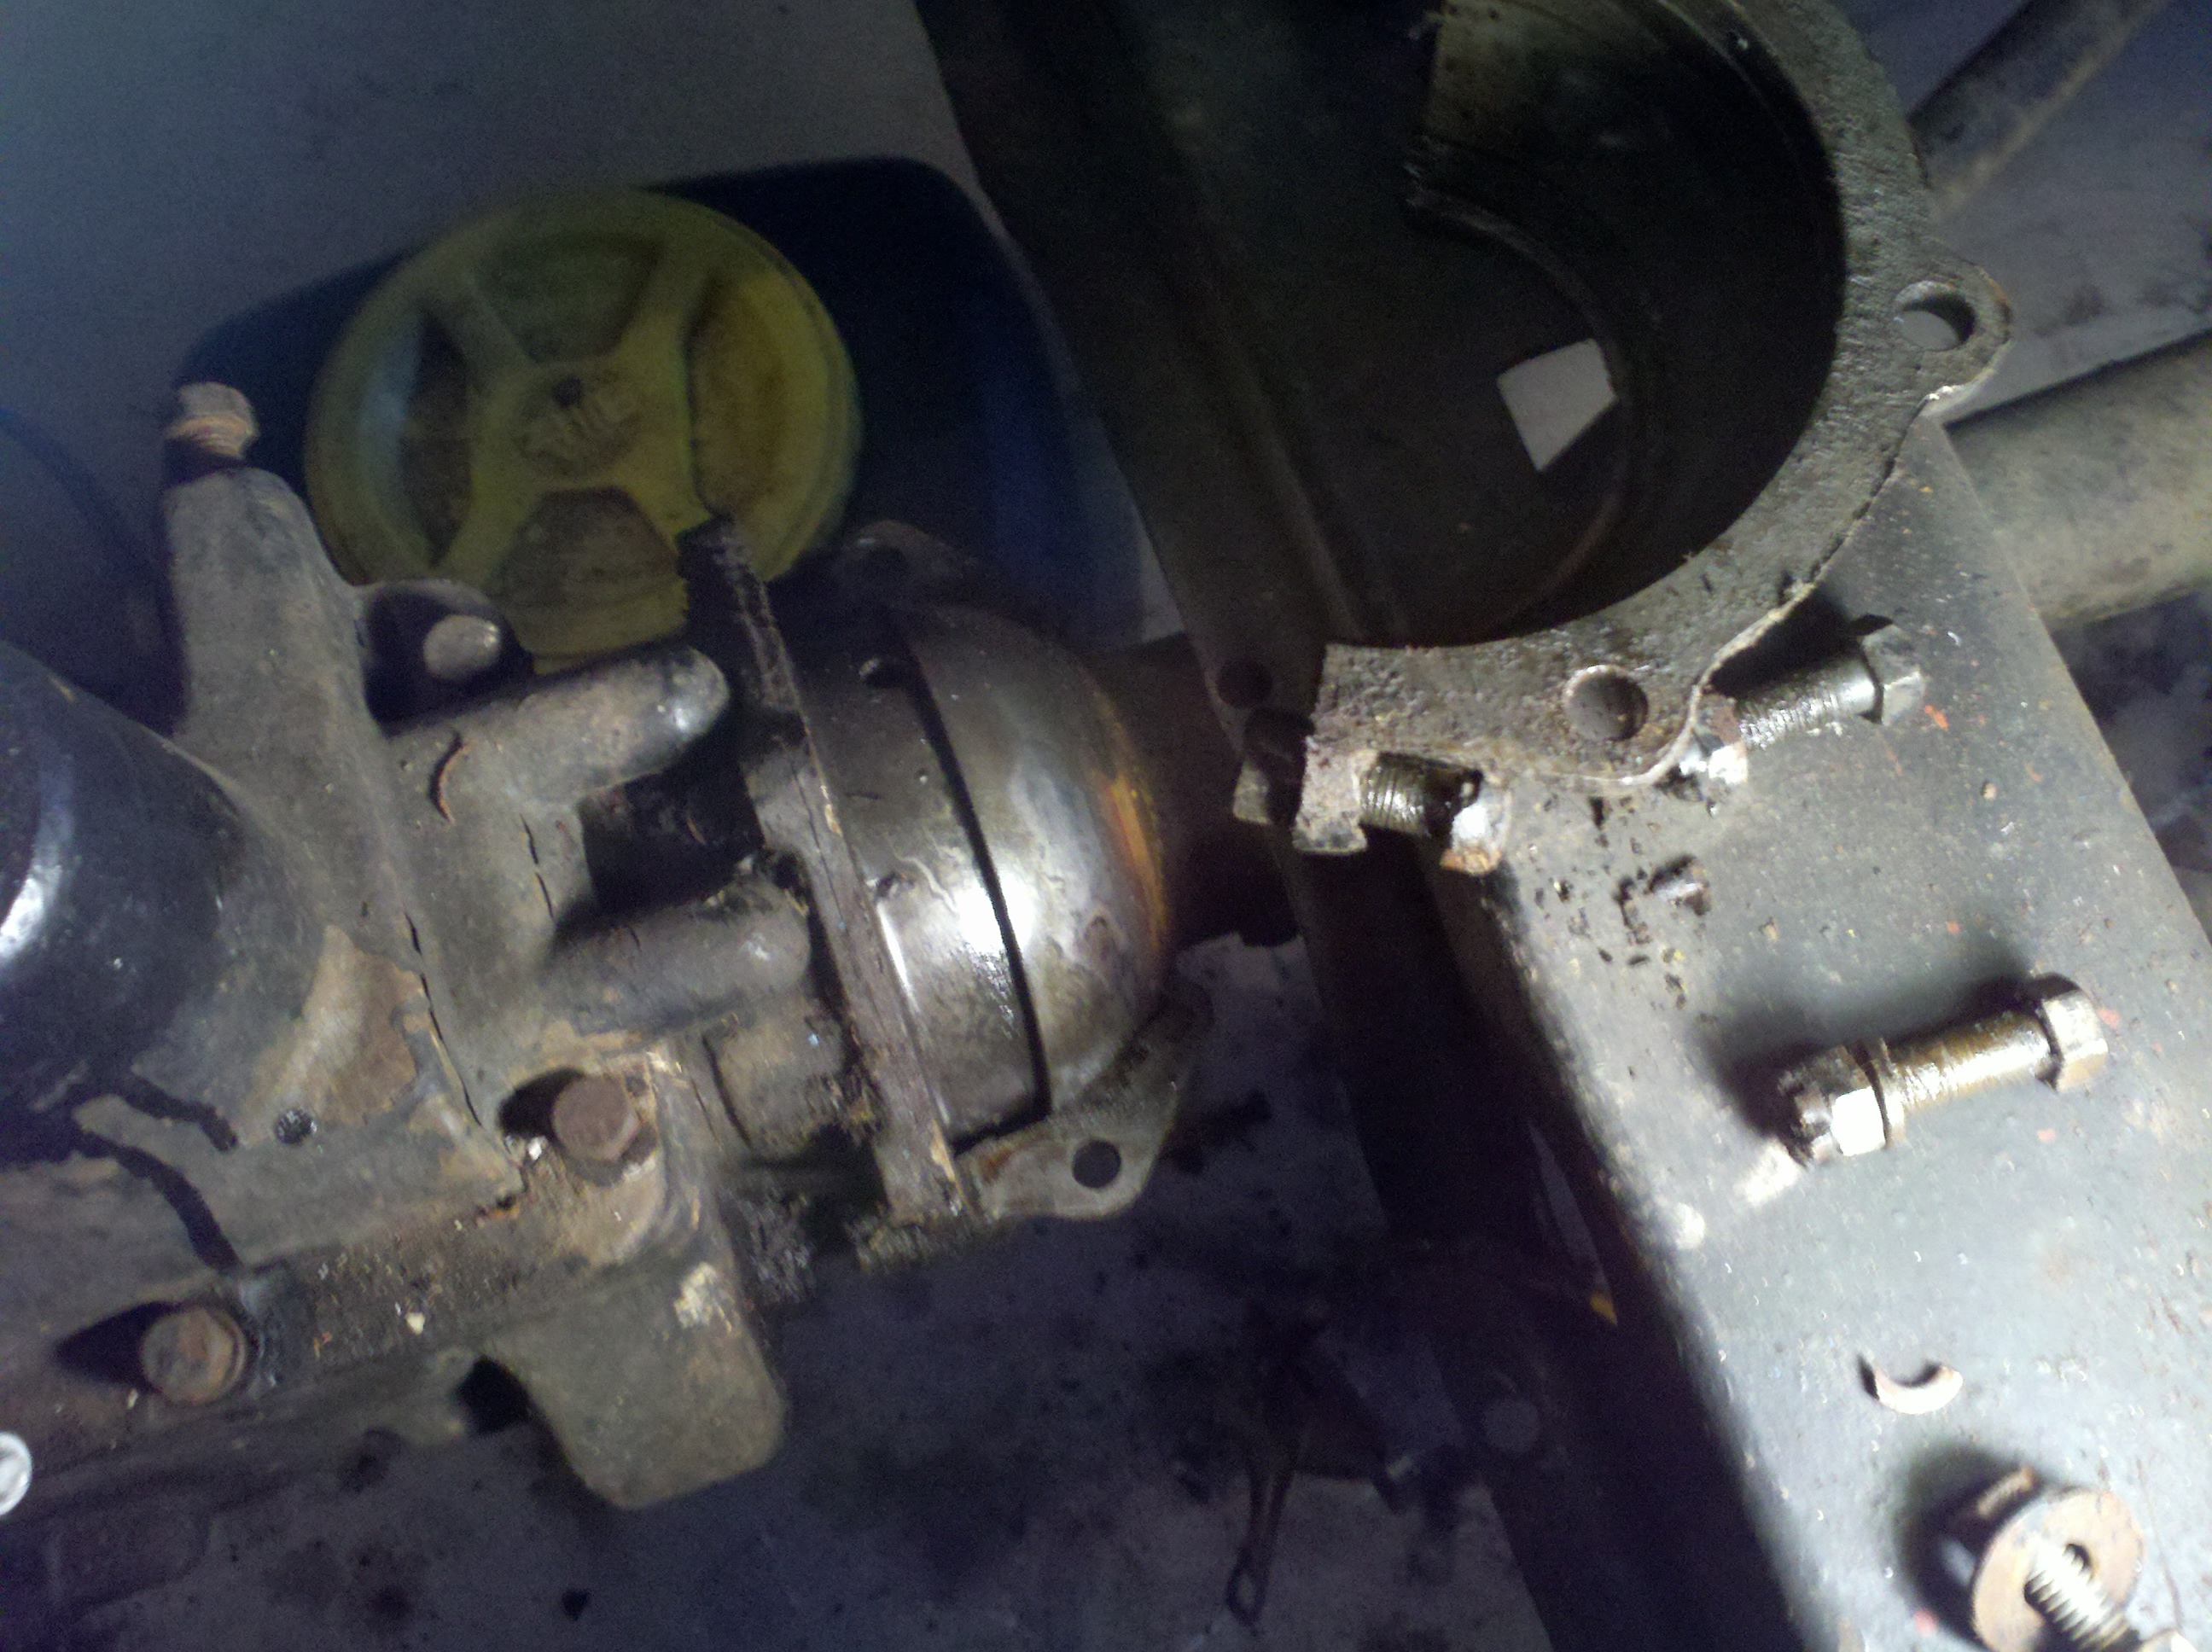
Once the housing was off, I went ahead and pulled the attachment of the front readius arms to the underside of the transmission. I kinda don't like this, as they sort of lever the front suspension, and cause it to shift. The only thing holding the suspension on, now, is the spring shackles to the frame.
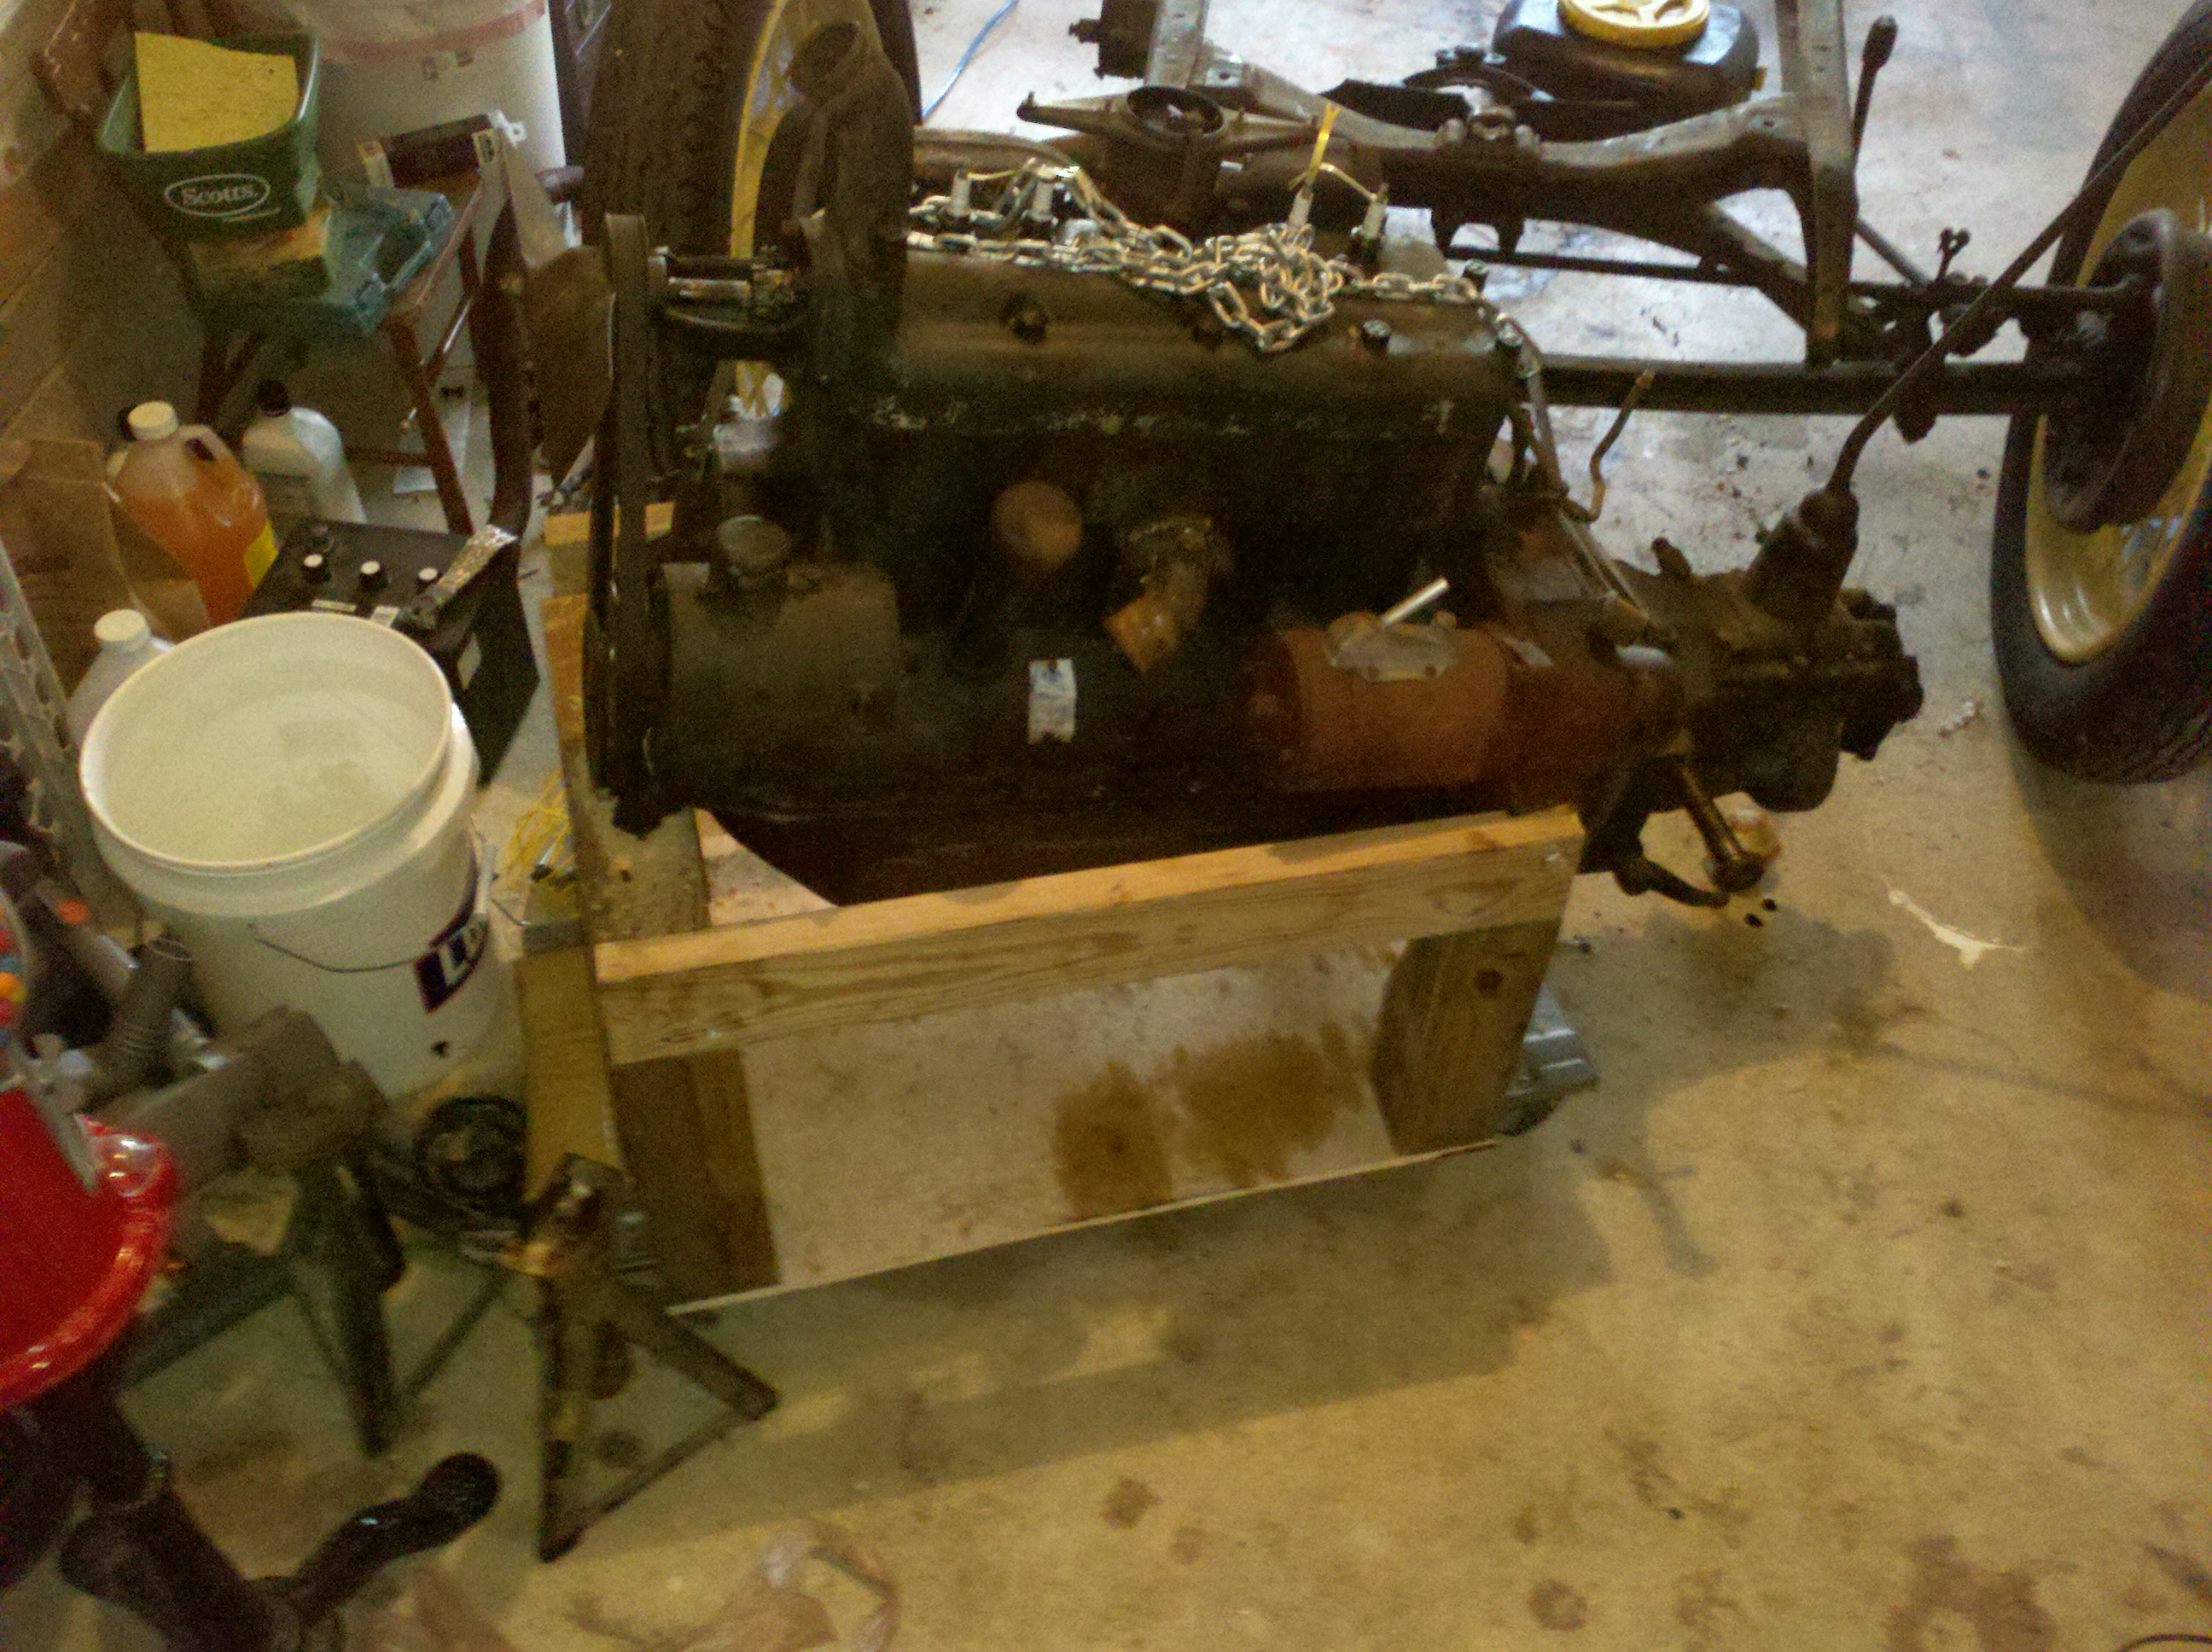
In preparation for pulling the engine, I decided to build a little engine stand. It's nothing fancy, and I'll barely be able to work on the engine with it, but it's just a few pieces of scrap wood and some nails (I was out of wood screws that were long enough). If I were to go buy all the stuff new, it probably would've set me back about $50. It's a piece of plywood, a 4x4, and a 2x4. Then some strategically-placed holes, and I had to buy a couple of bolts at the hardware store to hold the engine in.

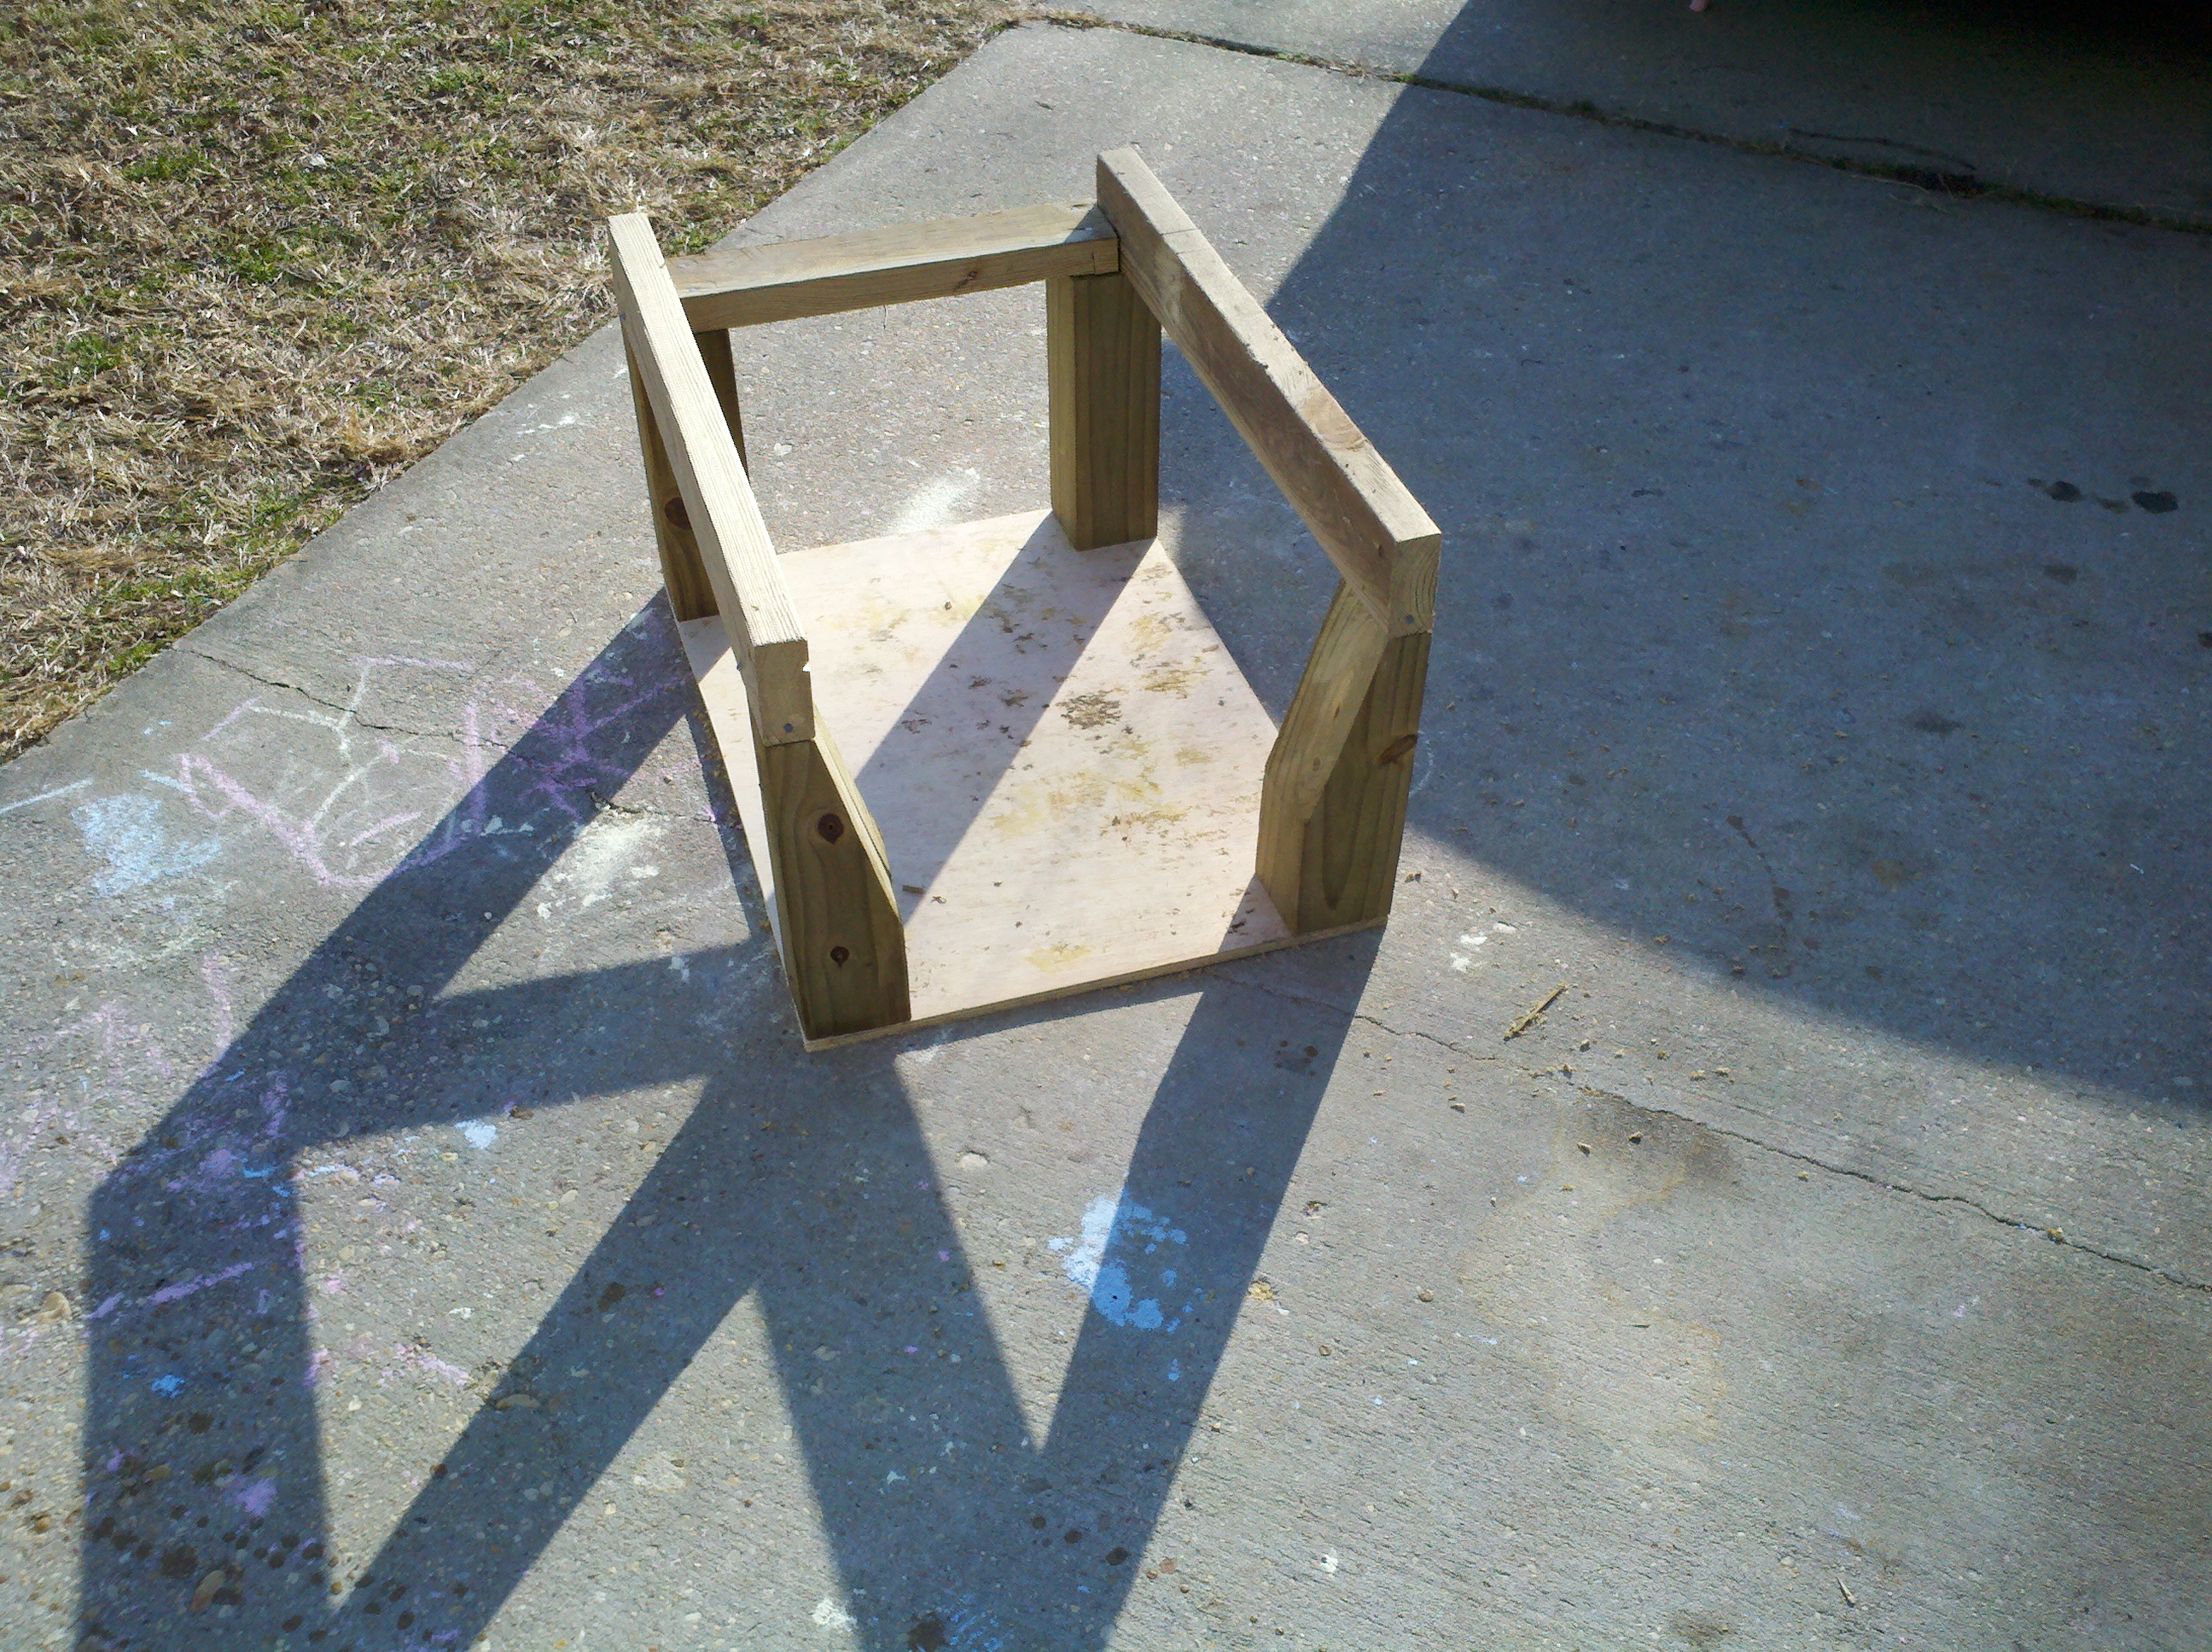
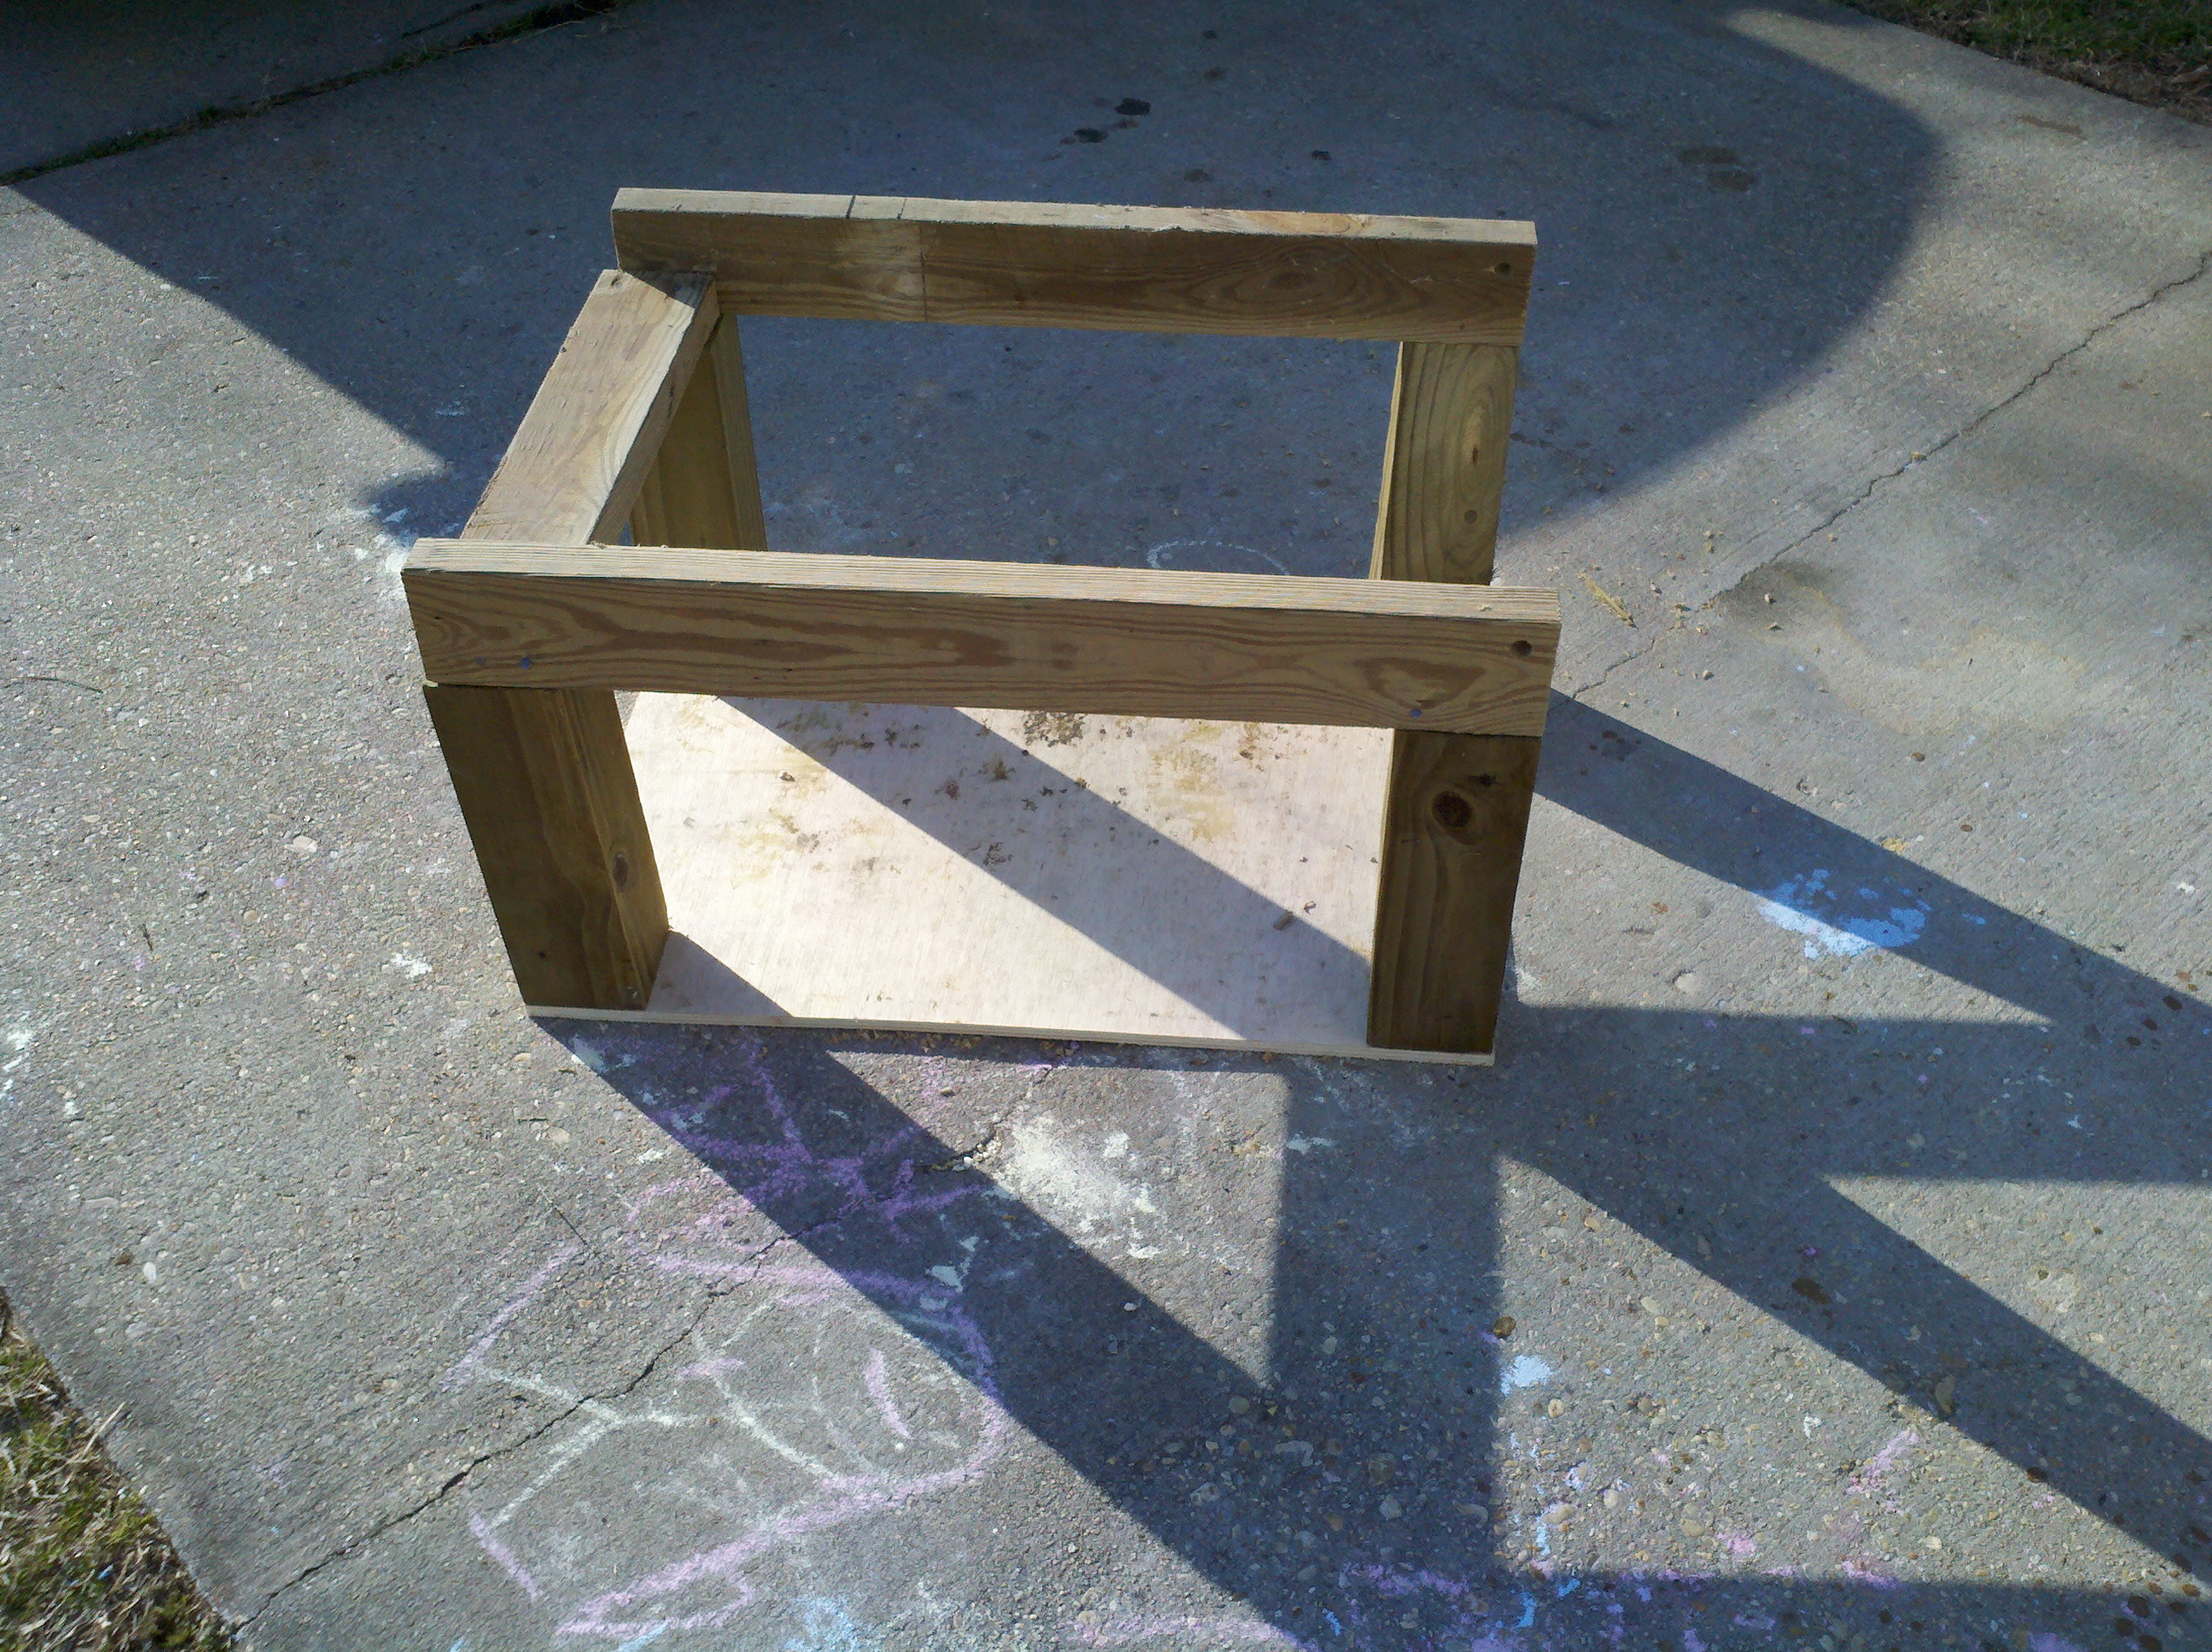
This will be a nice way to carry the block when I take it for rebuild, too...
Today, we pulled the engine and transmission. It took a bit longer than I expected, but only because I am, apparently, inept.It wasn't a big deal attaching chains. Again, we went to the local hardware store, and I picked up seven or eight feet of chain (~1,000 lb capacity), a couple of metal tie straps (1/8" thick?), and a couple of connectors. The tie straps had only four small nail holes each, so I drilled some large holes in them to support the engine. I pulled the top-center bolt on the tranny bell housing, and the top-center bolt on the timing cover. The bolts were then reinstalled through the tie straps to make nifty lift-points, very similar to the picture below...

Next steps, of course, were to pull the bolts, and then the engine. The kids wanted to help, but I made them all stand back - just in case the winch fell, chains broke, whatever. No point letting them hang out under a couple hundred pounds of dead weight, huh? Yeah, I know, I'm no fun. I think that's what they told me, anyways. We used a come-along as the hoist, and pulled tension from the chains. The bolts came out easily, and then we started lifting the engine.

The first problem came from the transimission output shaft. The silly thing was stuck in the torque tube, somehow. I tried jogging the body back and forth a bit (maybe the two pieces were bound?), but it didn't seem to help any. I set the engine back down in the mounts and went in to consult with my friend, the internet. After a few minutes, I figured out I wasn't doing anything wrong. We went back out and tried again.
Now, you smarter folks already know what my second problem was, don't you? Yeah, well... I suspected it might be a problem, but I didn't have a good way to prevent it, right then. For the rest of you folks, the mistake is that the lift hook was not positively attached to the chain. Look at that picture, above, again... What happened is that the hook I bought to go through the chain would not fit through the links. And I wanted to get that engine pulled today, so I let a hurry get in the way of better judgement. Kids, don't so this at home. So, well... It's a good thing I was being extra careful and whatnot, right?
So, we pulled the chocks from the wheels, lifted the engine, and gave it a kick. The engine popped right loose (We tied the torque tube up with safety wire beforehand), the chain slipped in the hook, and the tranny dipped towards the floor. It was hanging high enough up that there was no impact, though - thank goodness. This, of course, led to my third problem - oil from the transmission poured out from the rear end, all over the floor. D'oh!
Let me tell you 'bout that oil... It was black as a miser's heart. It smelled more like grease than oil - it wouldn't take much to convince me that it's the oil that shipped with the truck. There didn't appear to be any metal in it, and that's good. That thing's coming a part, and getting a good cleaning. Of course, that waspart of the plan, anyway, but I had recently been wondering about the necessity of doing that with the tranny. Fortunately, the oil cleaned up pretty well with some dish soap and paper towells. Once spring gets here, I'll wash it up a little better.
The final problem was getting the engine into the stand I'd built the day before. With the rear end hanging down, it made it quite the feat. It took a bit, but we got it in there. I set the stand on my creeper, so as I could move it around. When all was said and done, it worked out pretty well.
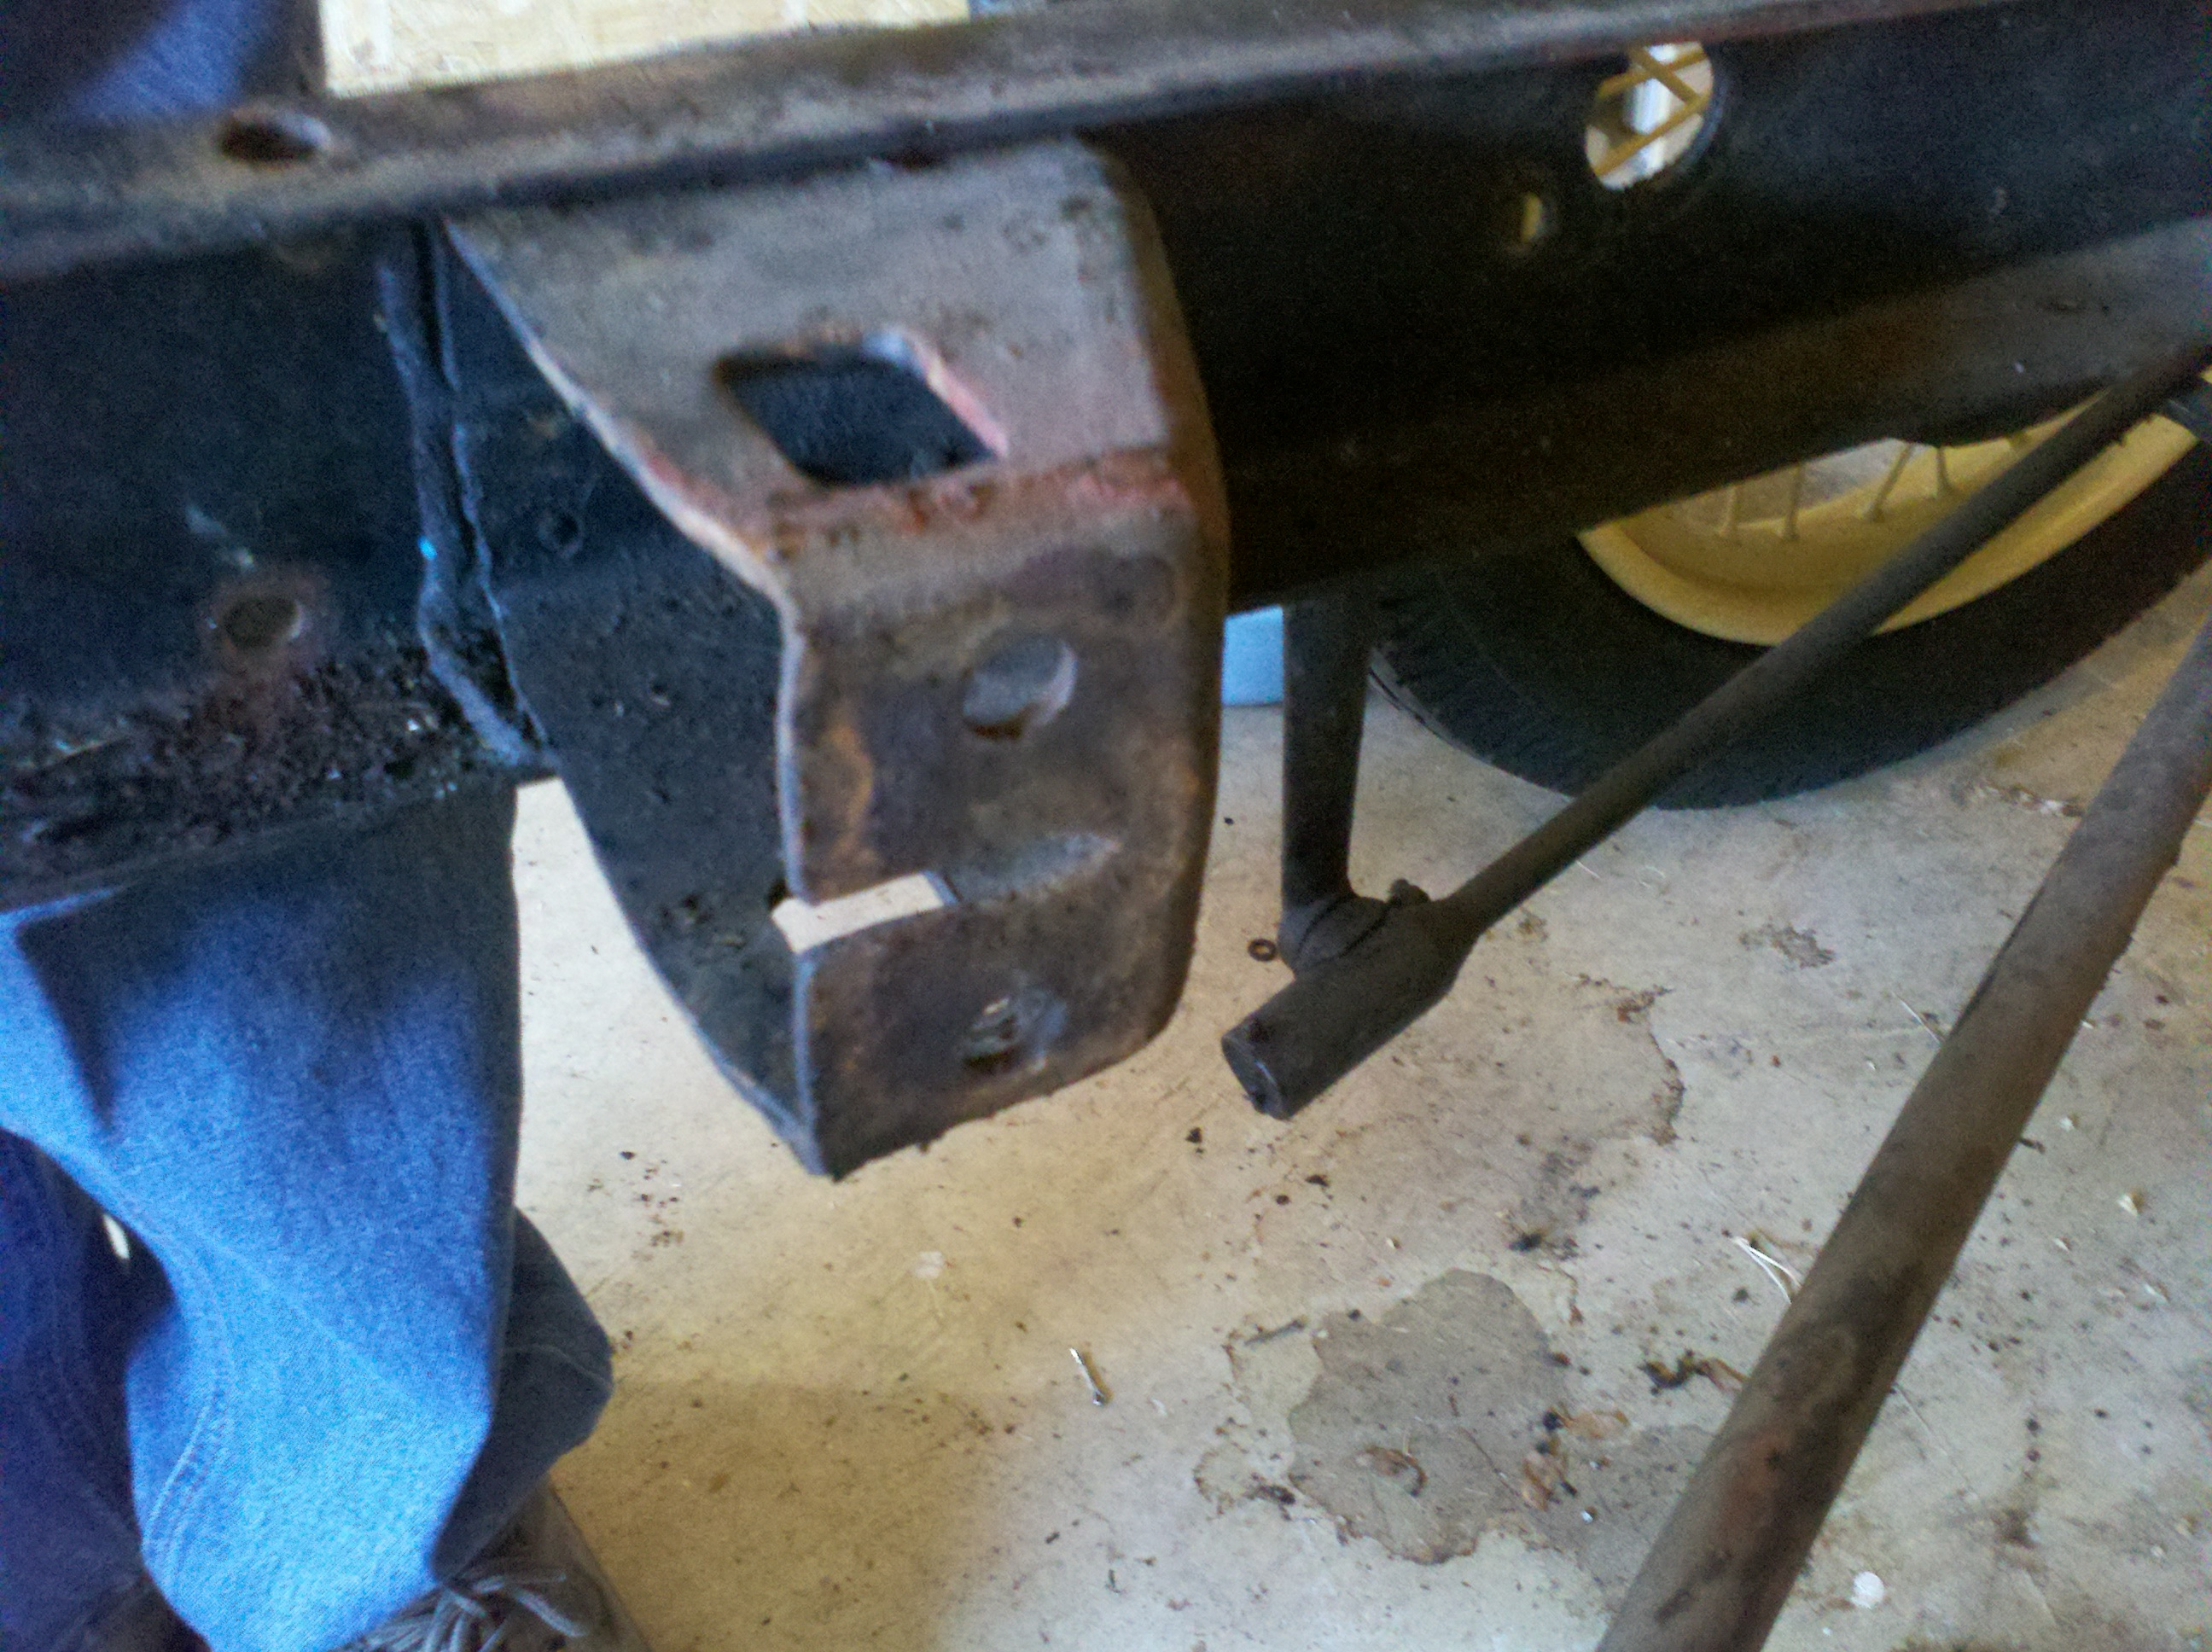
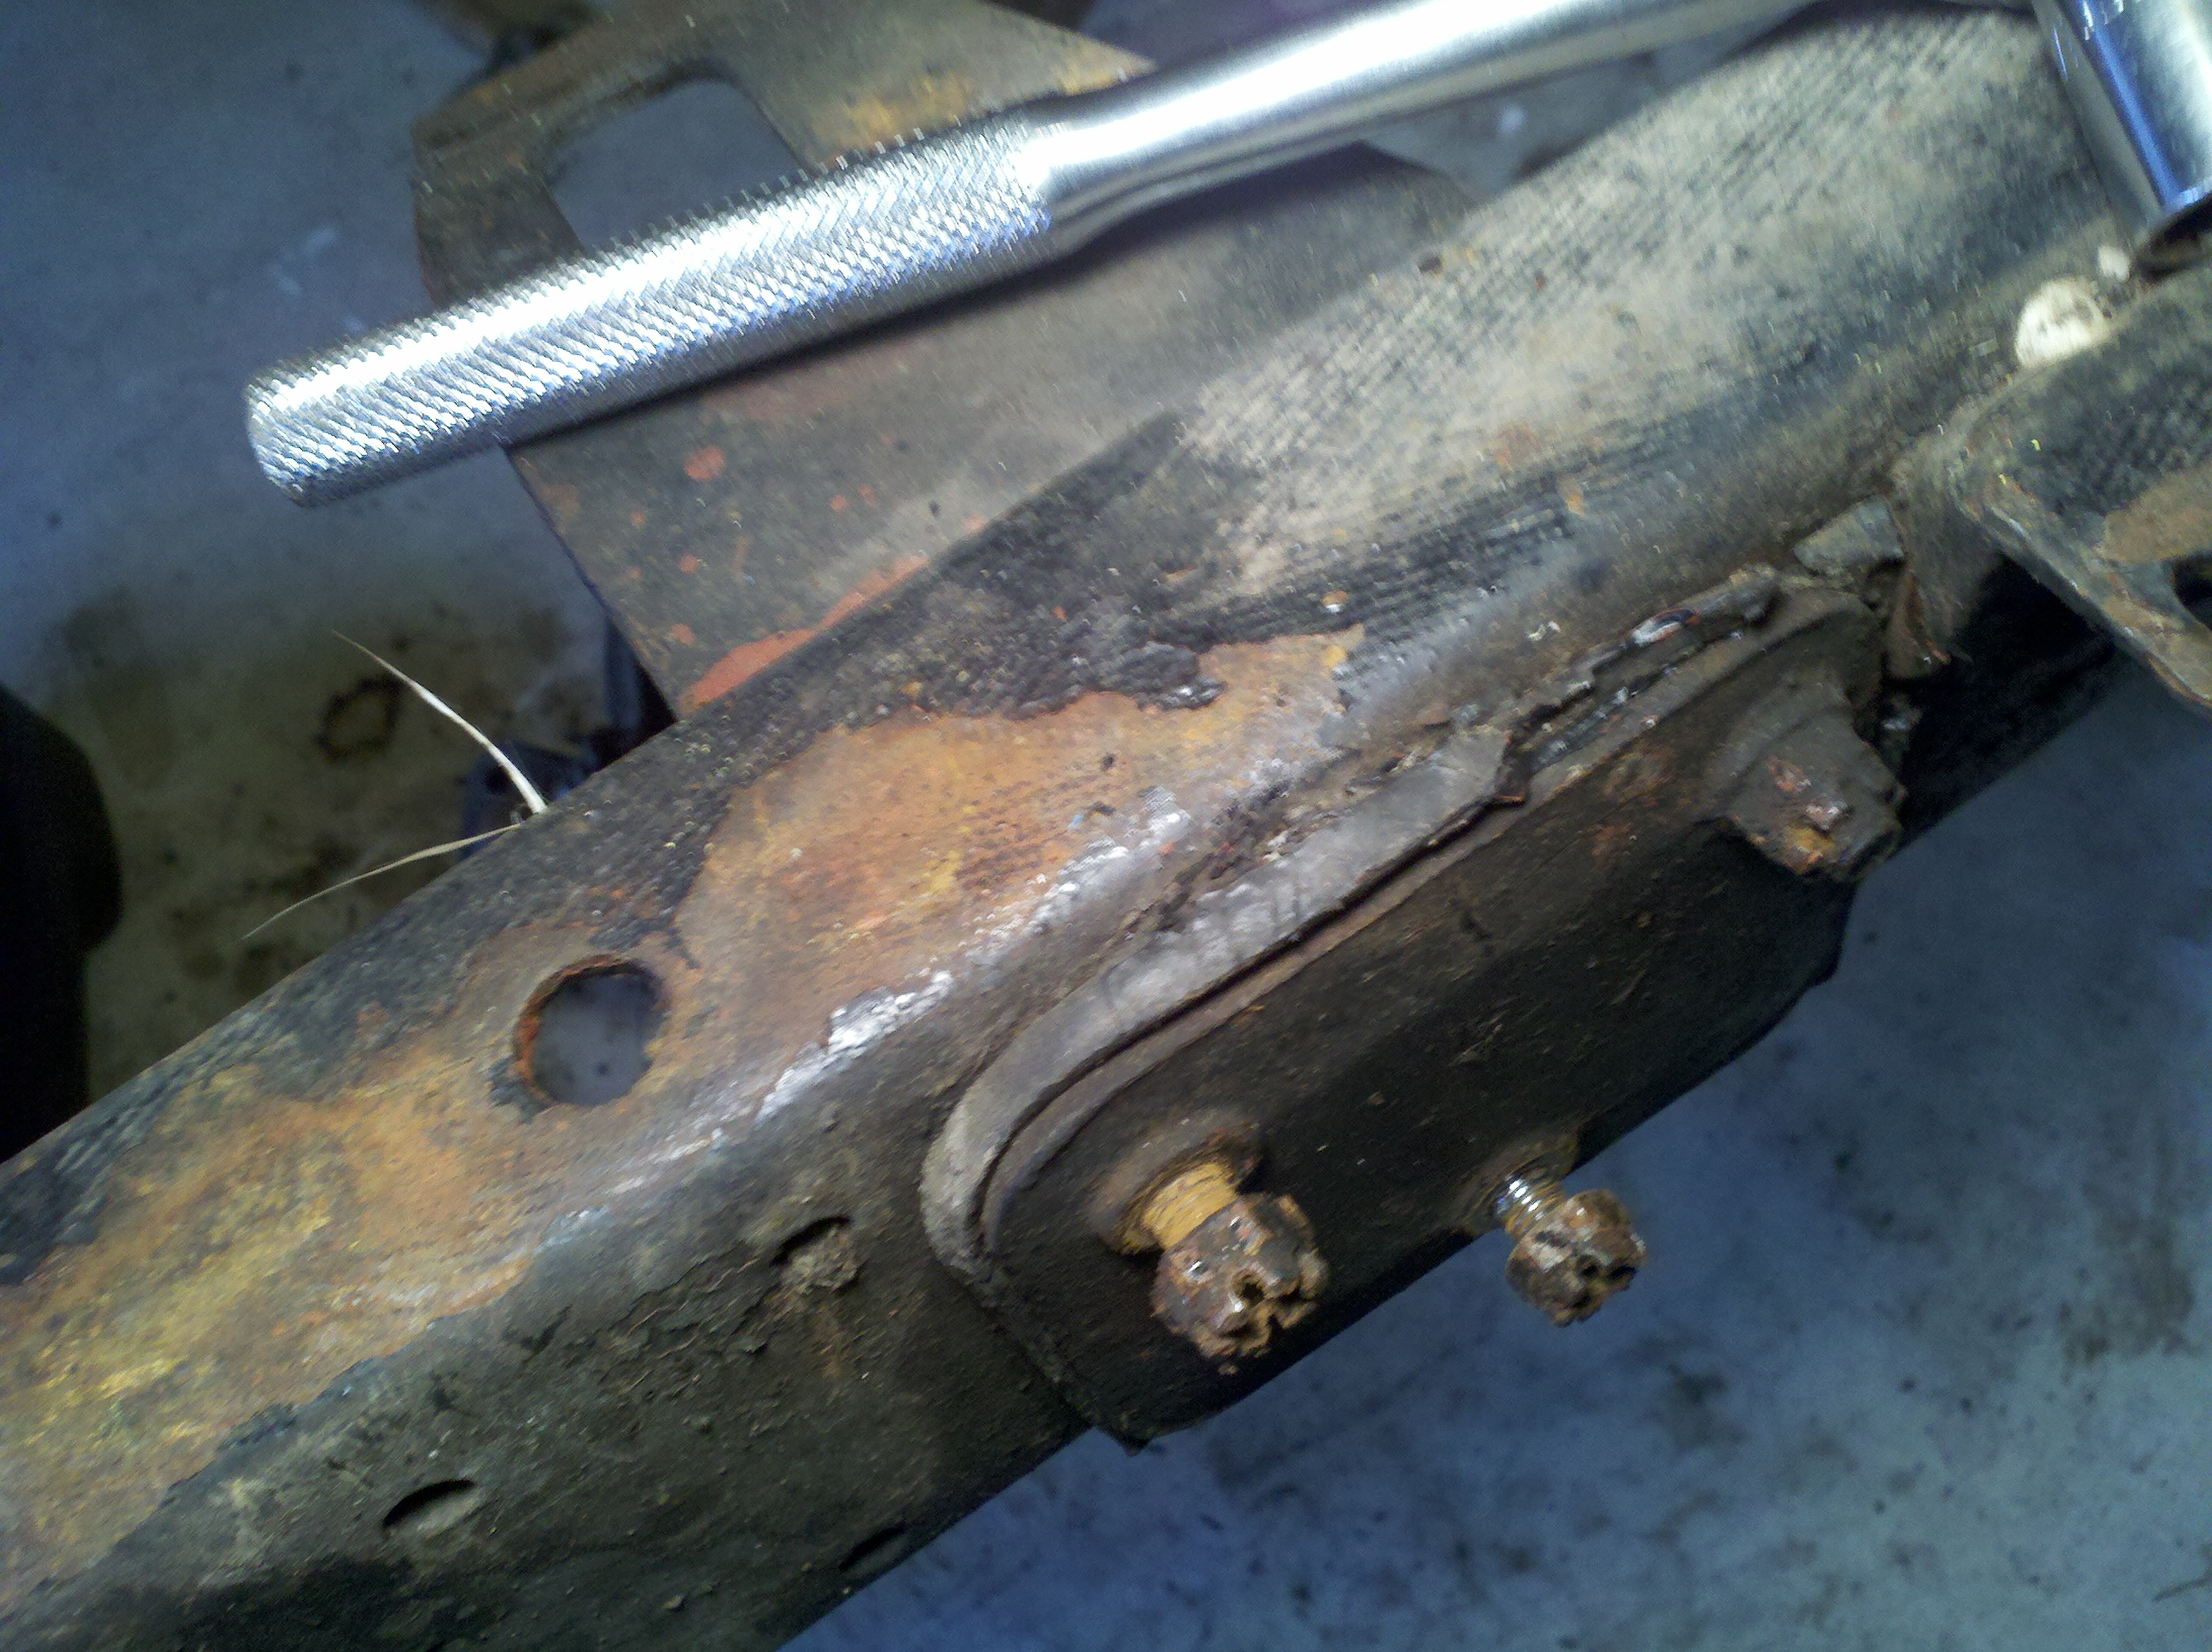
Pulled the motor mounts today. That turned out to be a little harder than I expected. Each mount has three bolts that are staked with cotter pins. No big deal, except that the pins were painted over. It took me a good couple of hours just to get the cotter pins out. Once that was done, the nuts came off pretty easily, but the mounts themselves were a real pain. The mount sits on a rubber pad inside the frame, and on the outside, there is another rubber pad and a pressure-plate, of sorts. There are also some sort of inserts that go through the frame. I had to use a hammer and drift to get the bolts out, and then I really had to work the mounts over with a mallet to get them out. Oh, yeah... I mentioned it before, I'm pretty sure - the passenger-side mount is definately broken. I'll have to buy a new one - I don't want to leave it the way it is.
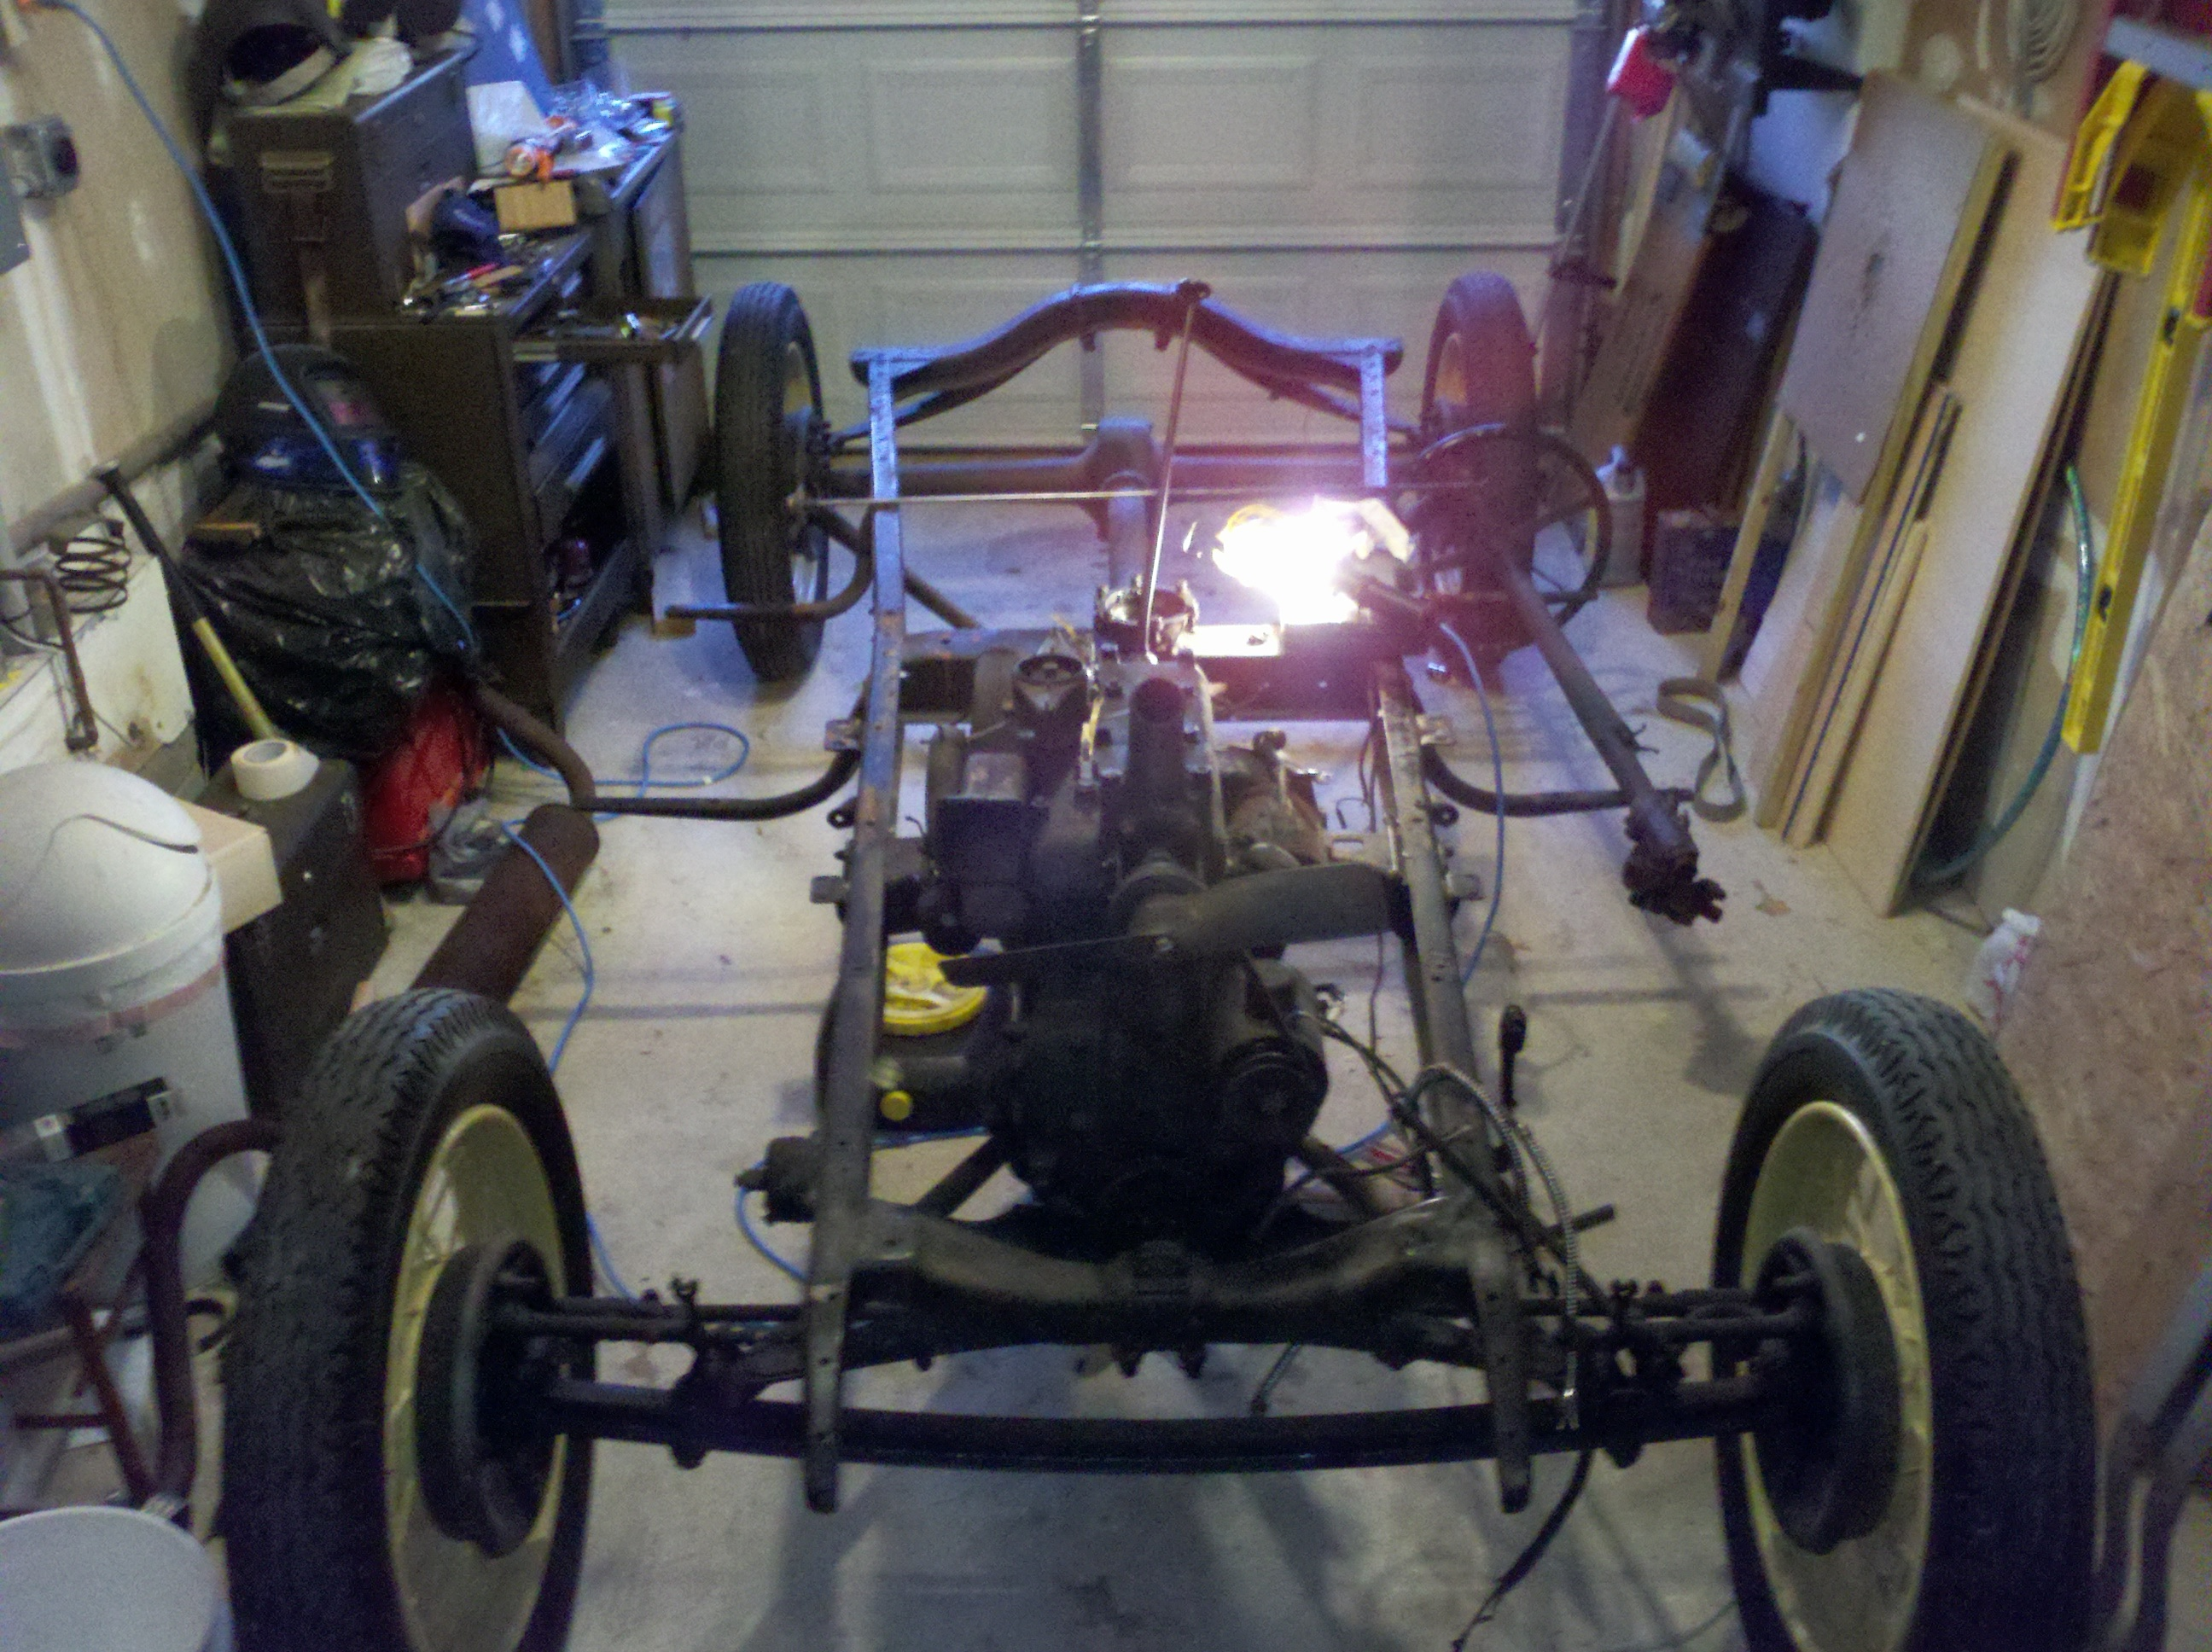
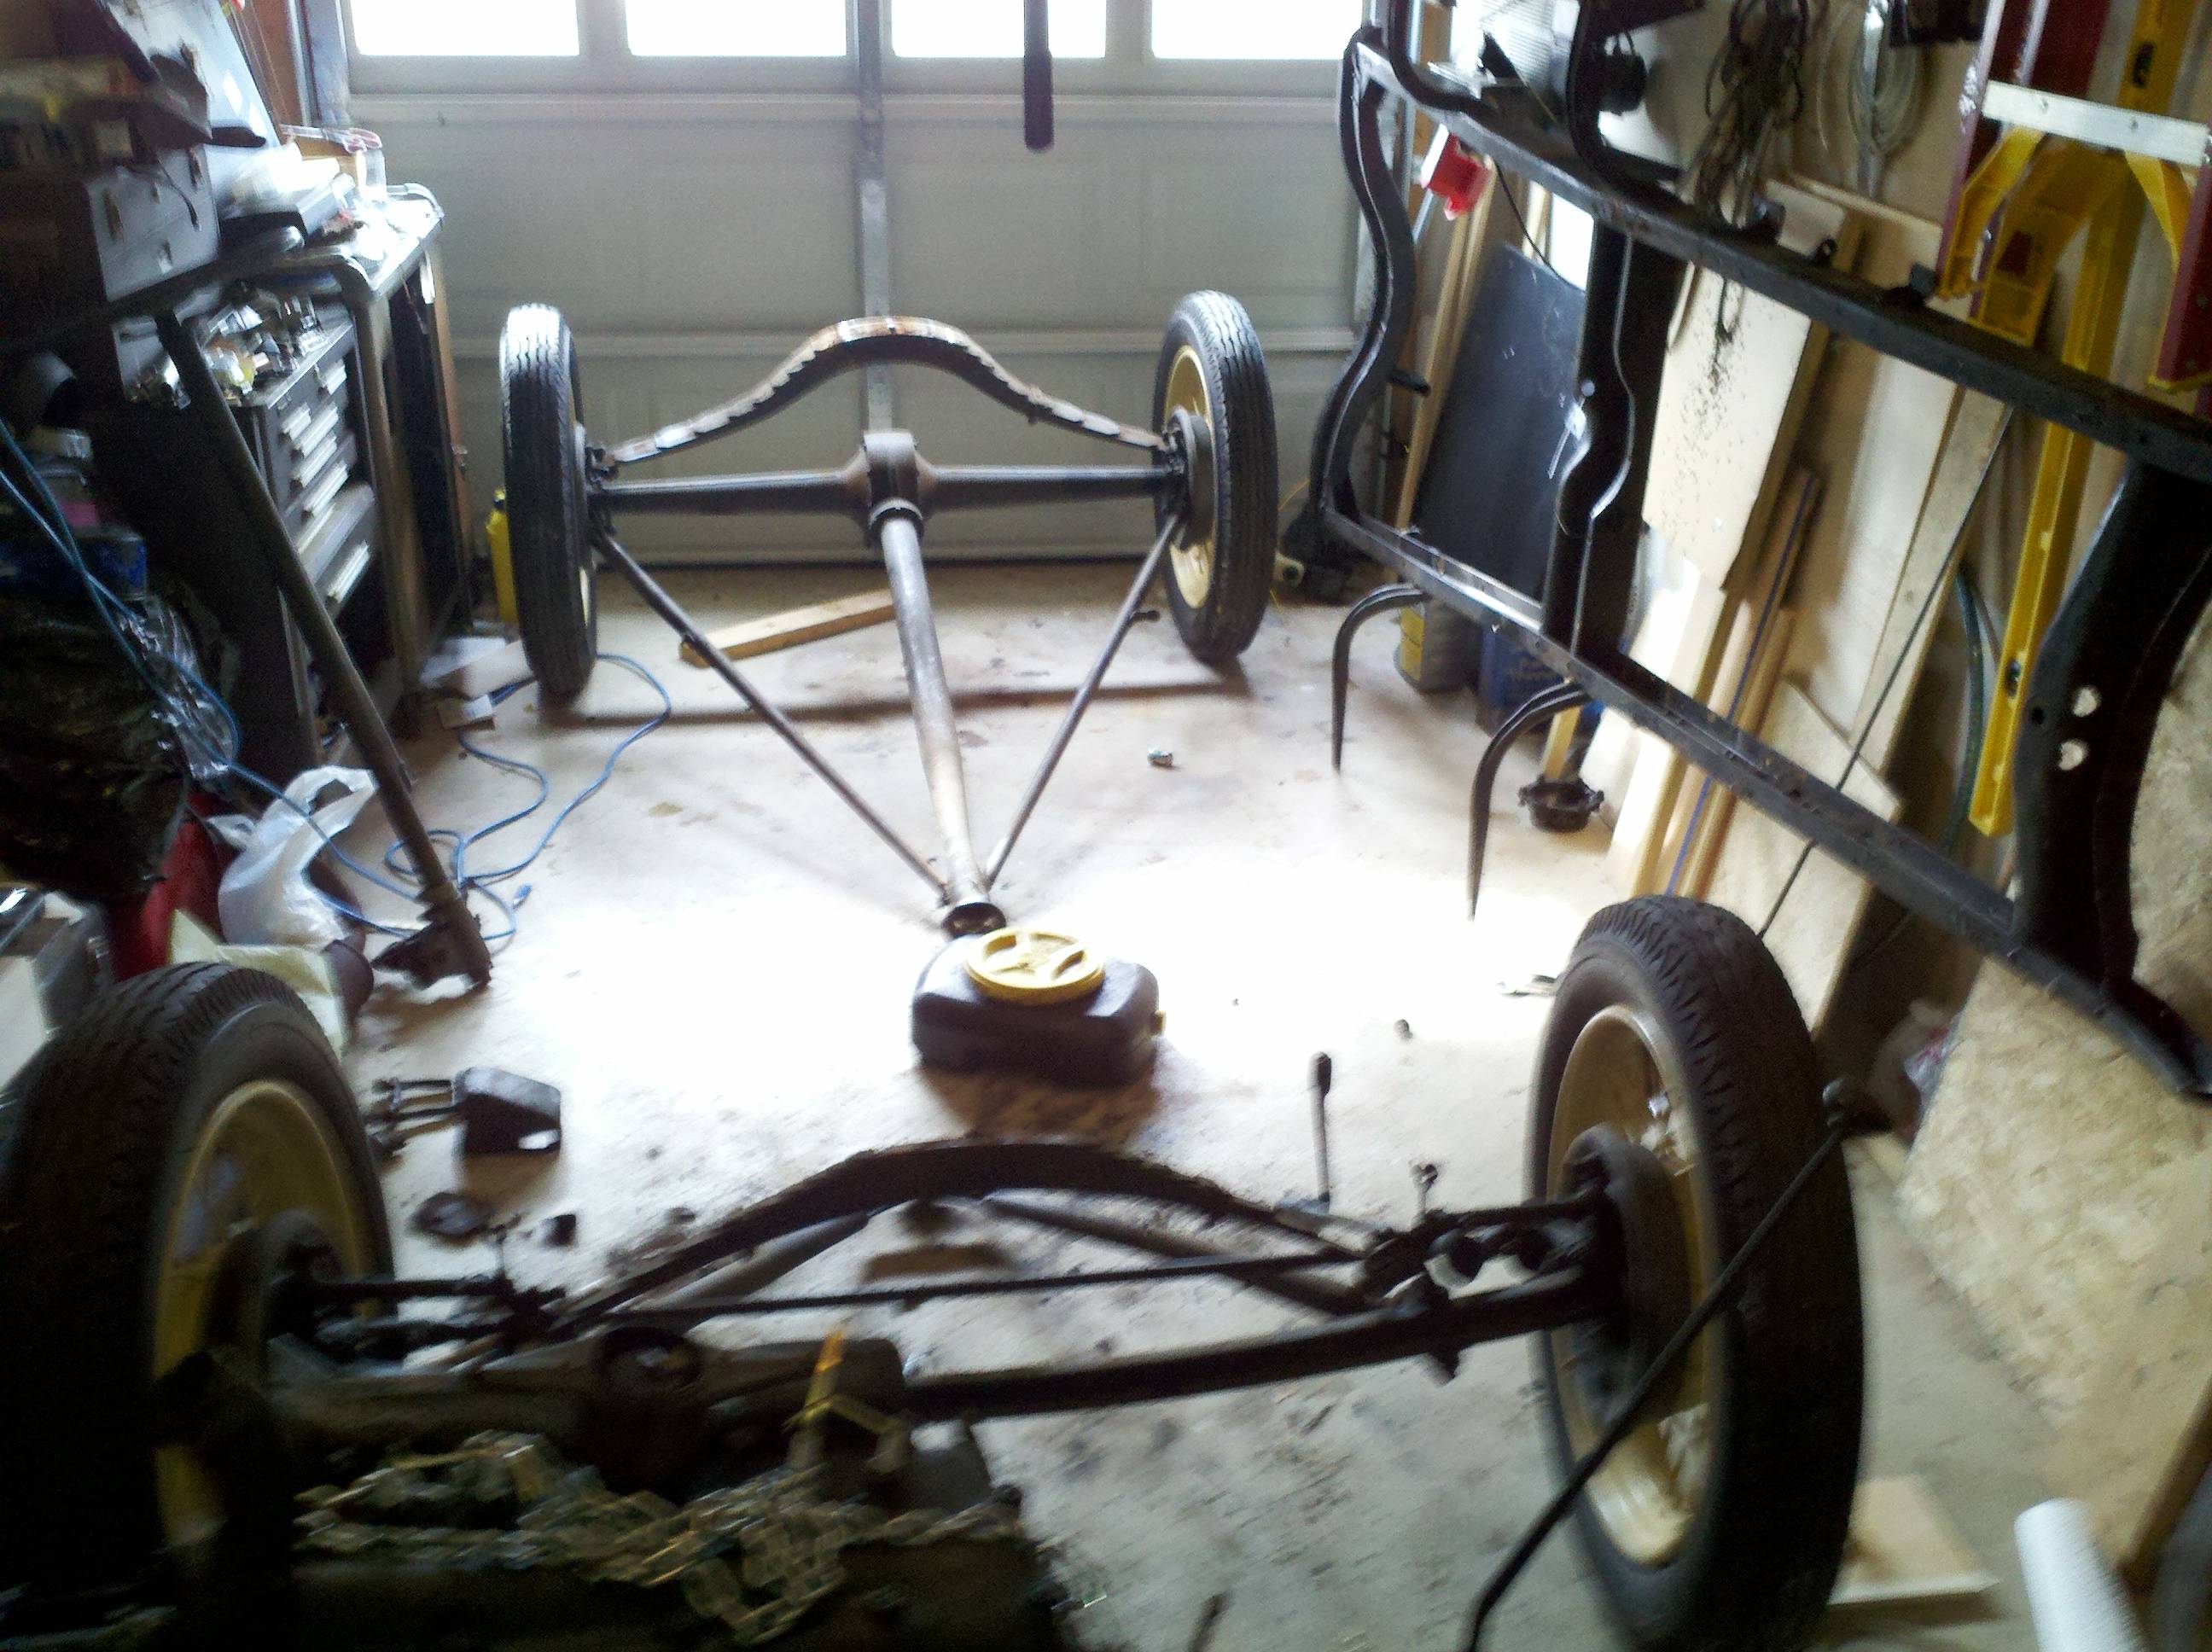
The day started out a little cold (as did I), so I really didn't think I'd get around to doing anything - and I had other projects to work on, anyhoo (not the least of which was repairing a bathroom wall - for some reason, my kids think the toilet paper roll holder is a hand grip to help them get on and off the toilet... Or so I think.)... Anyway, I got warmed up, so I pulled the frame off the suspension(s), or maybe it was the other way around. I'm not sure which. I had wanted to do this last weekend, but we had a small bout of snowand ice, and that made it impossible to open the garage door to work... Well, that's not true - I coulda done it, but I woulda gotten cold, and I'm a wimp. For serious.
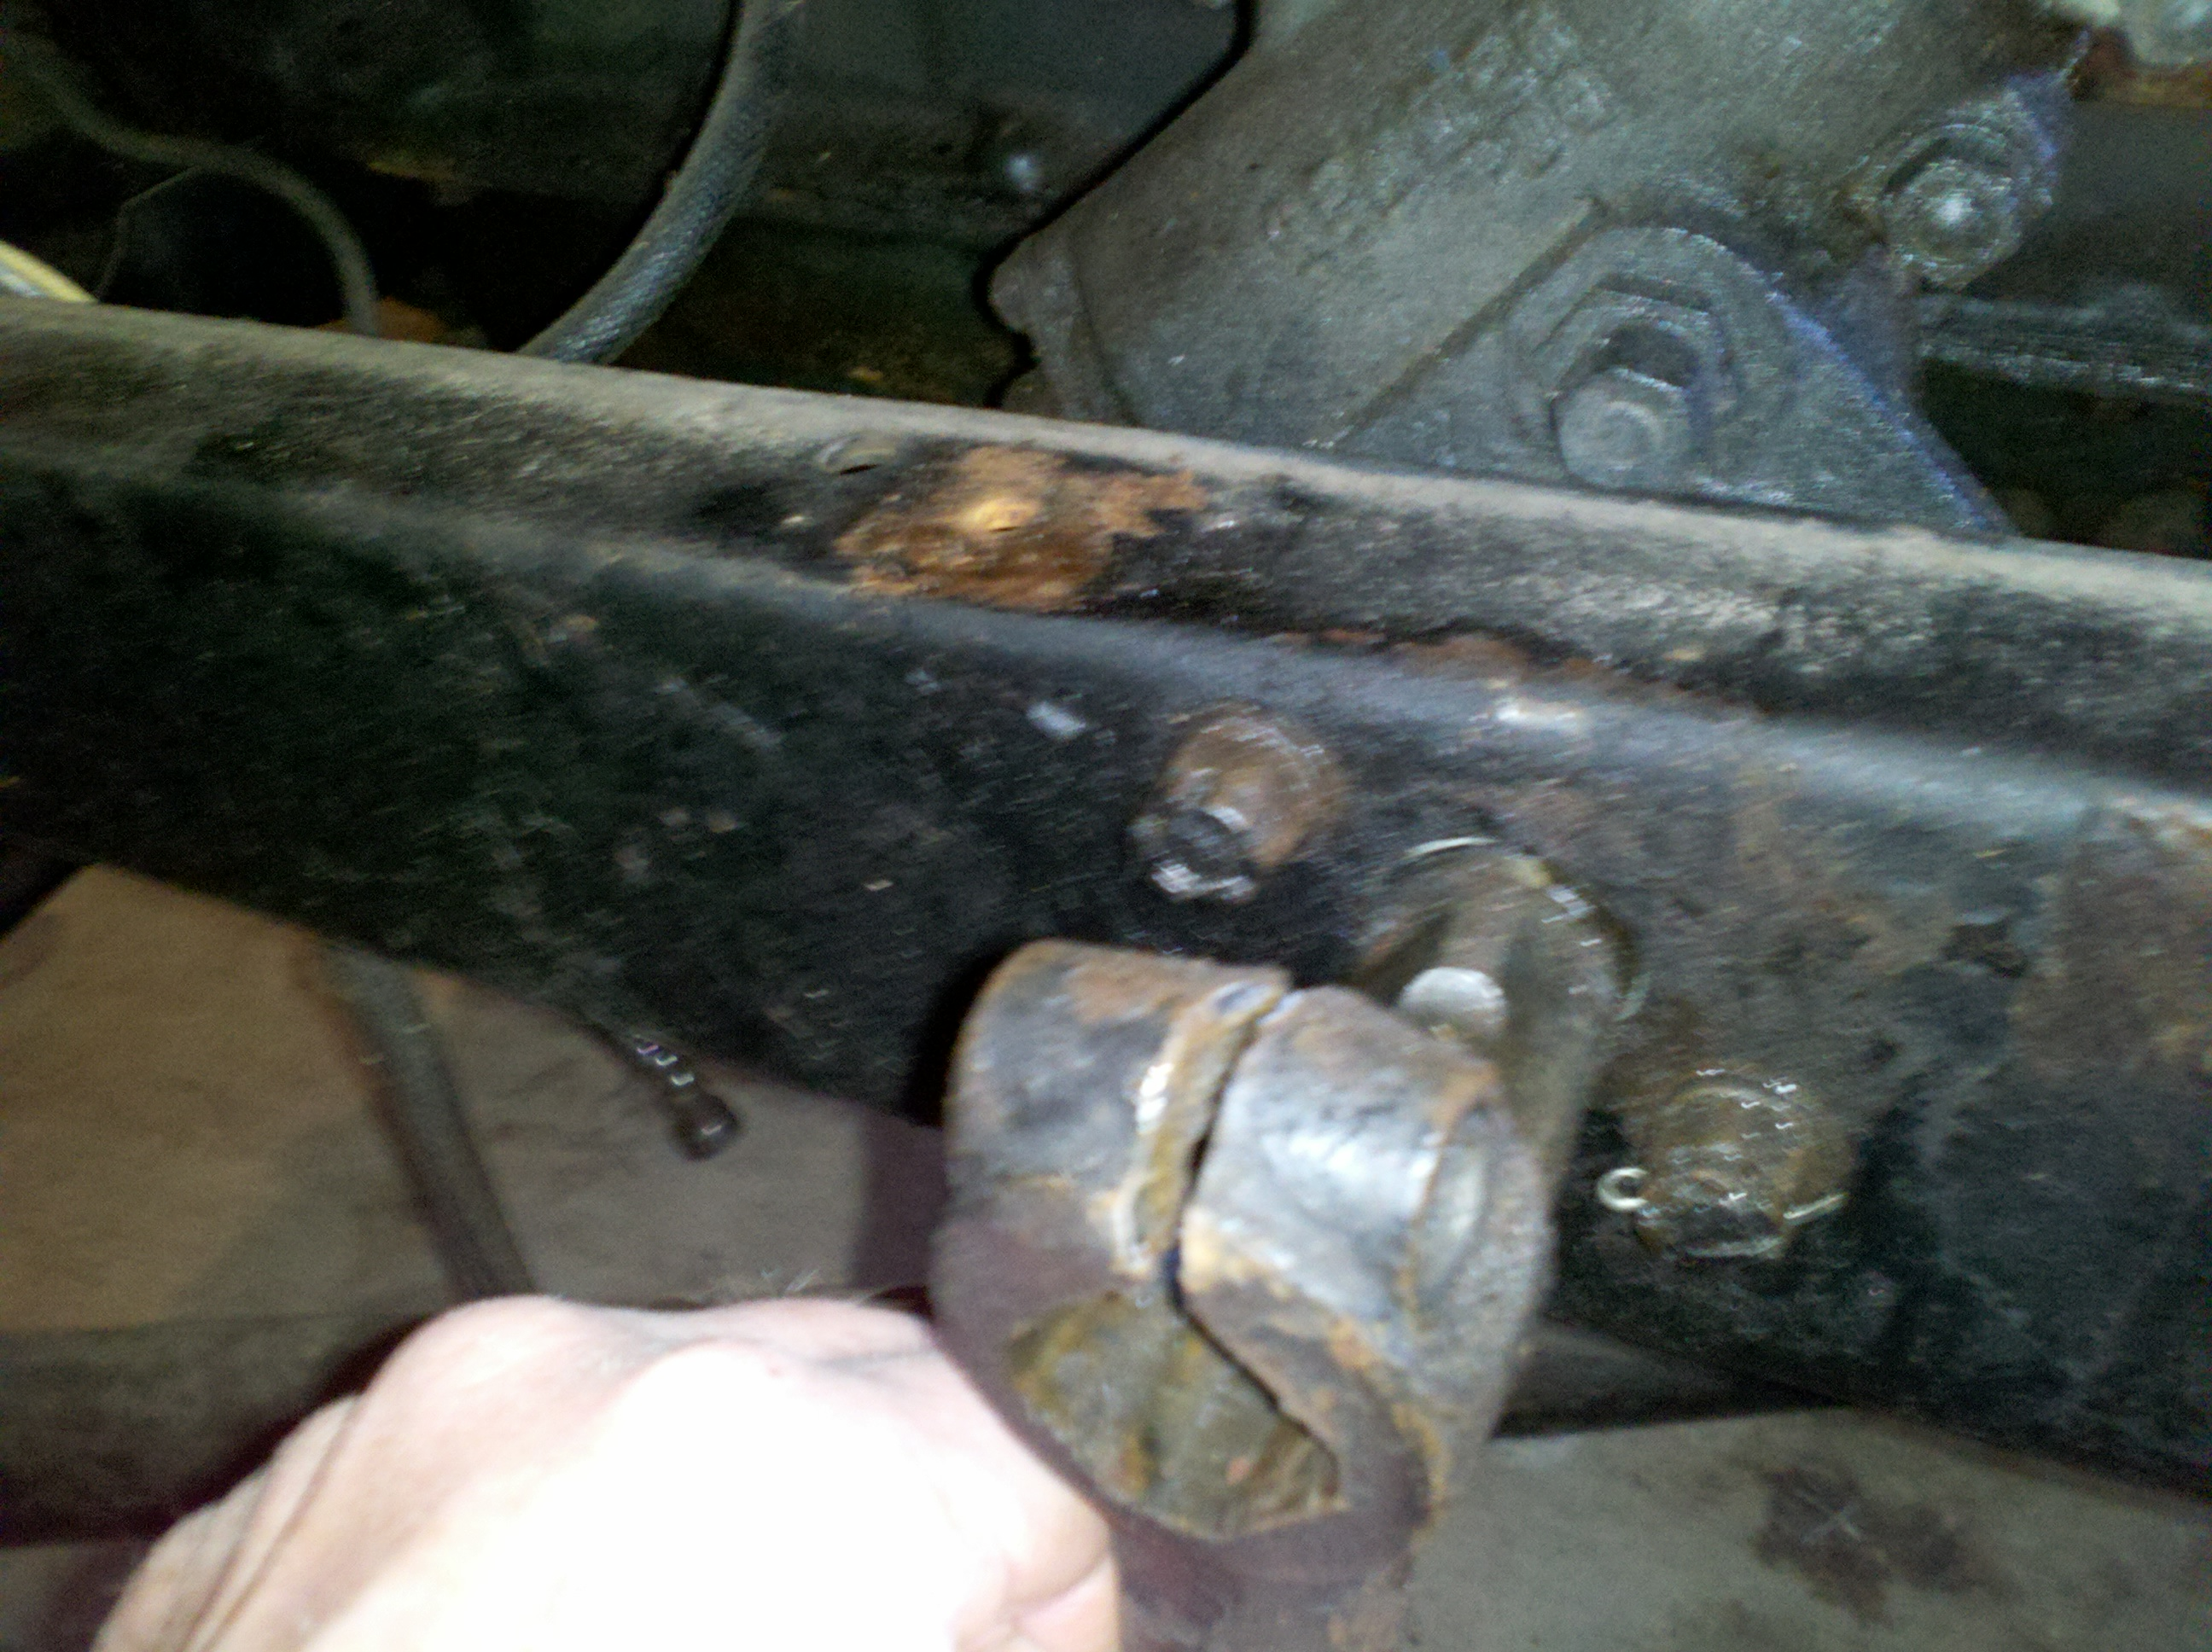
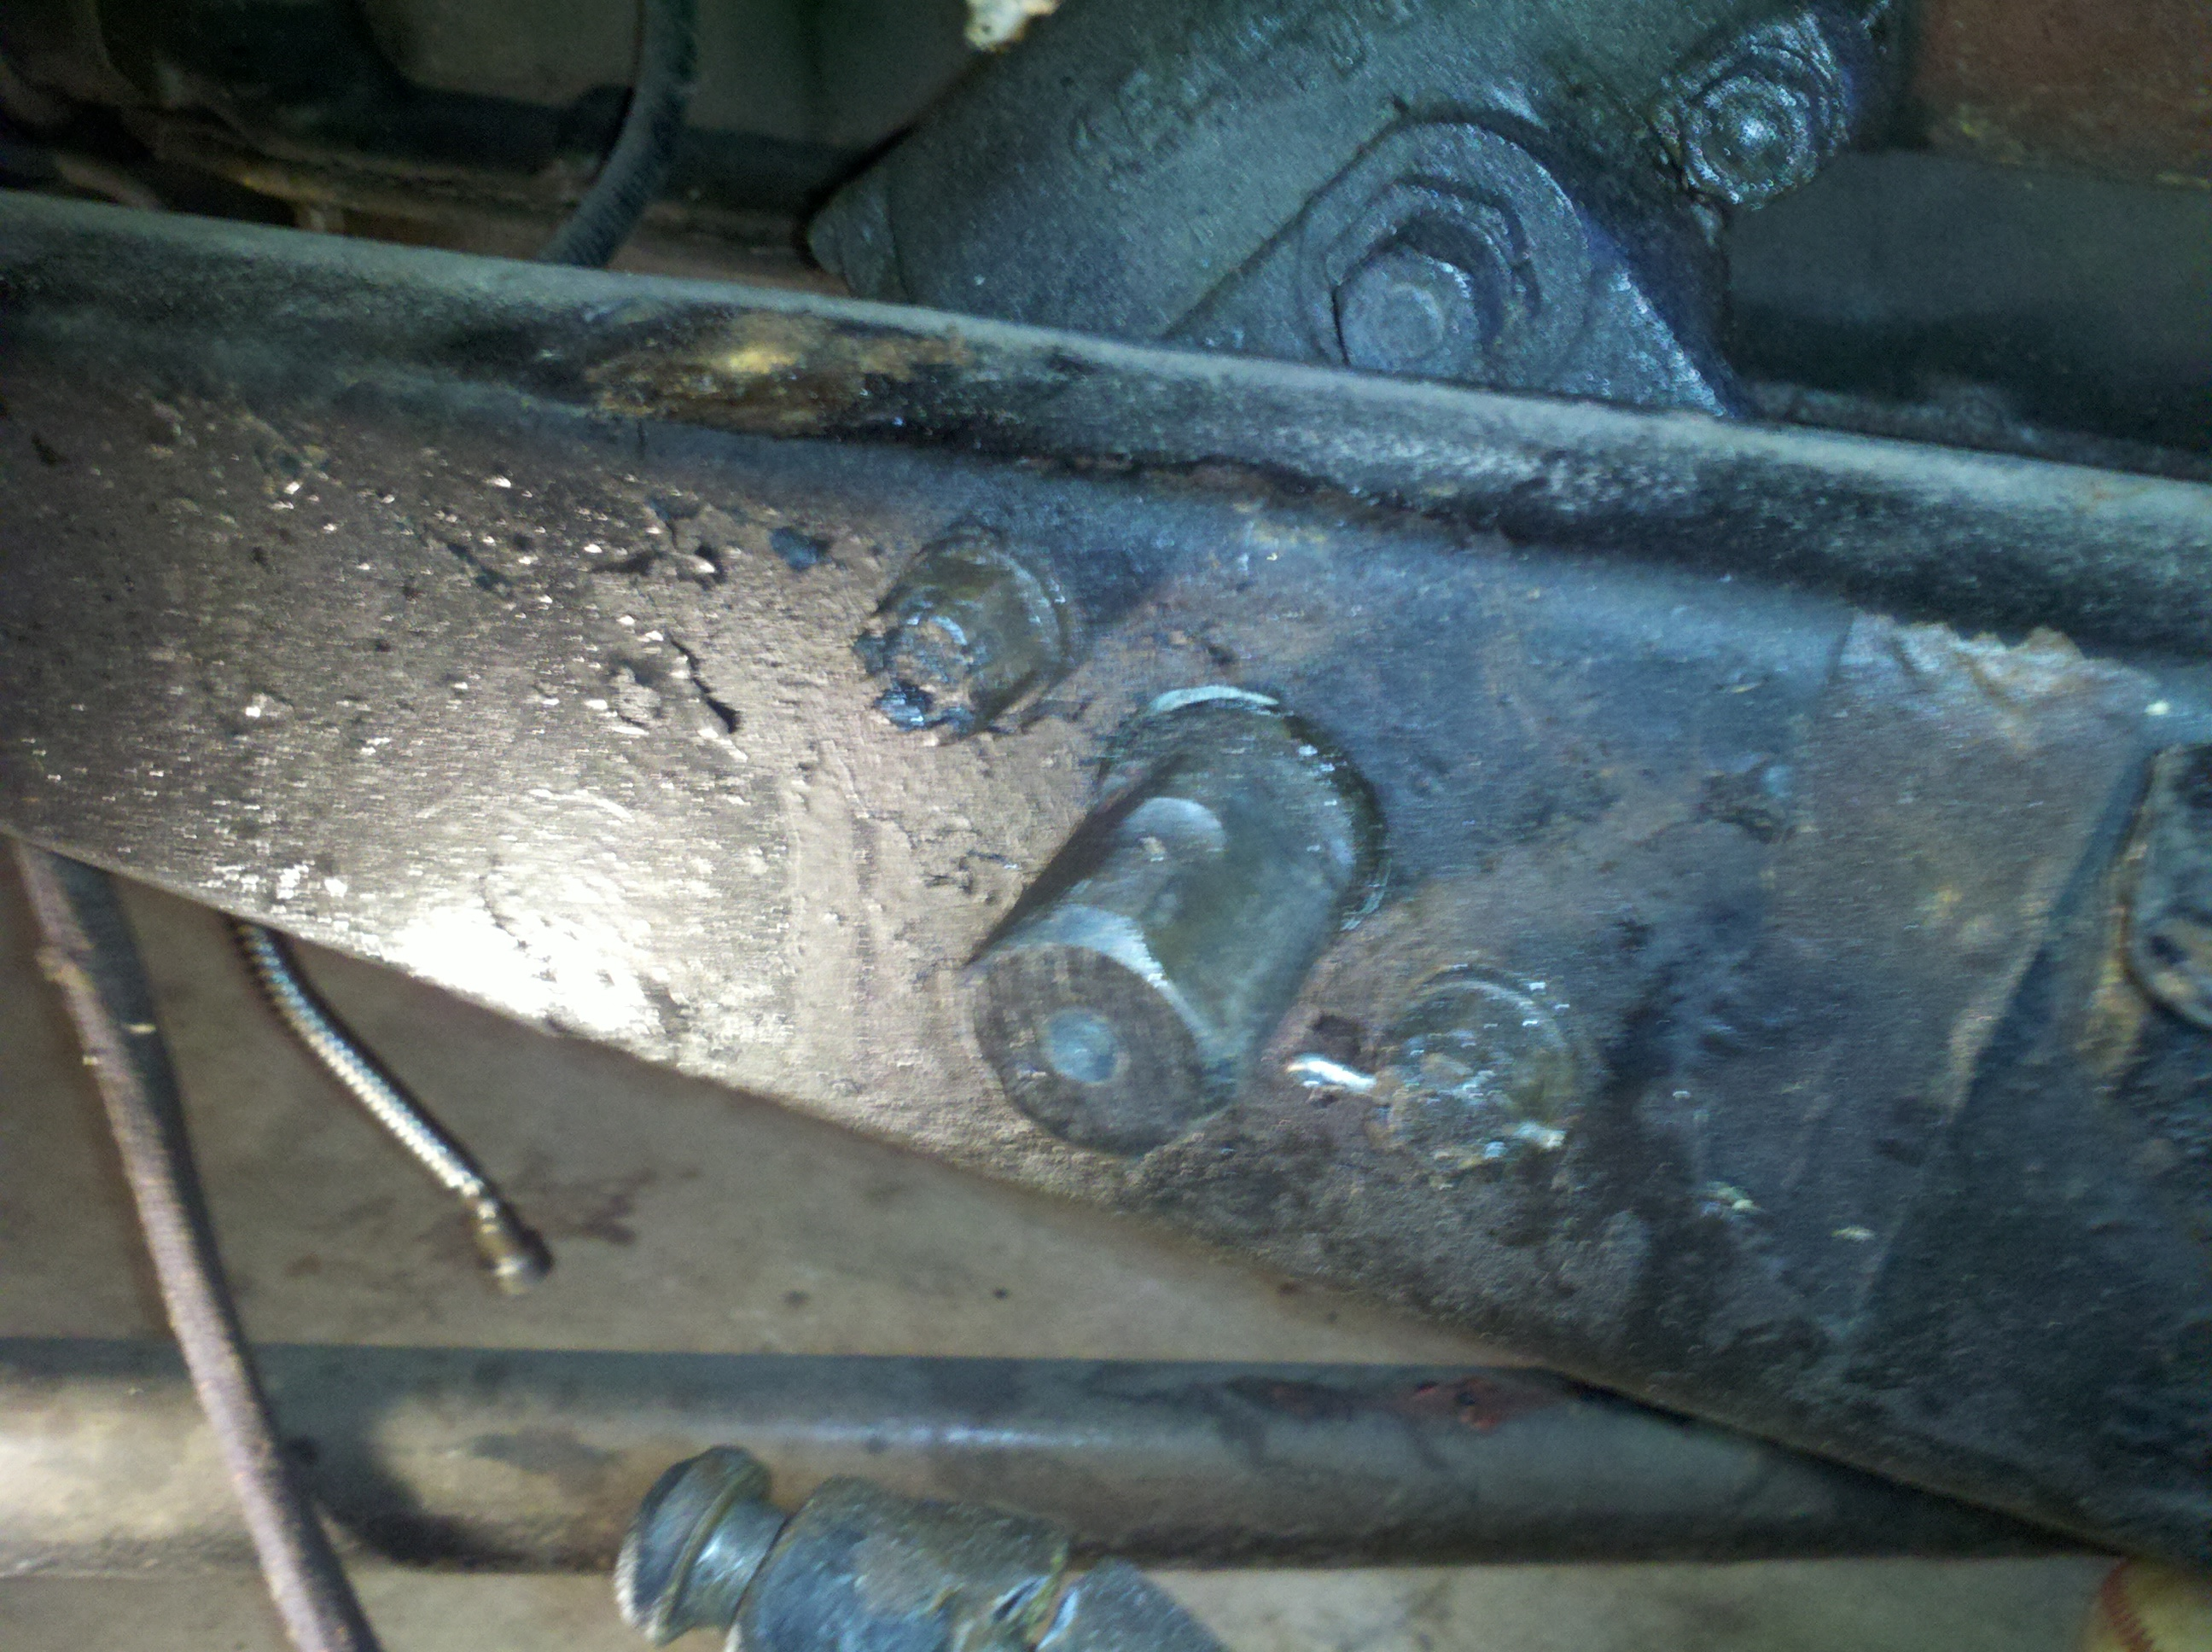
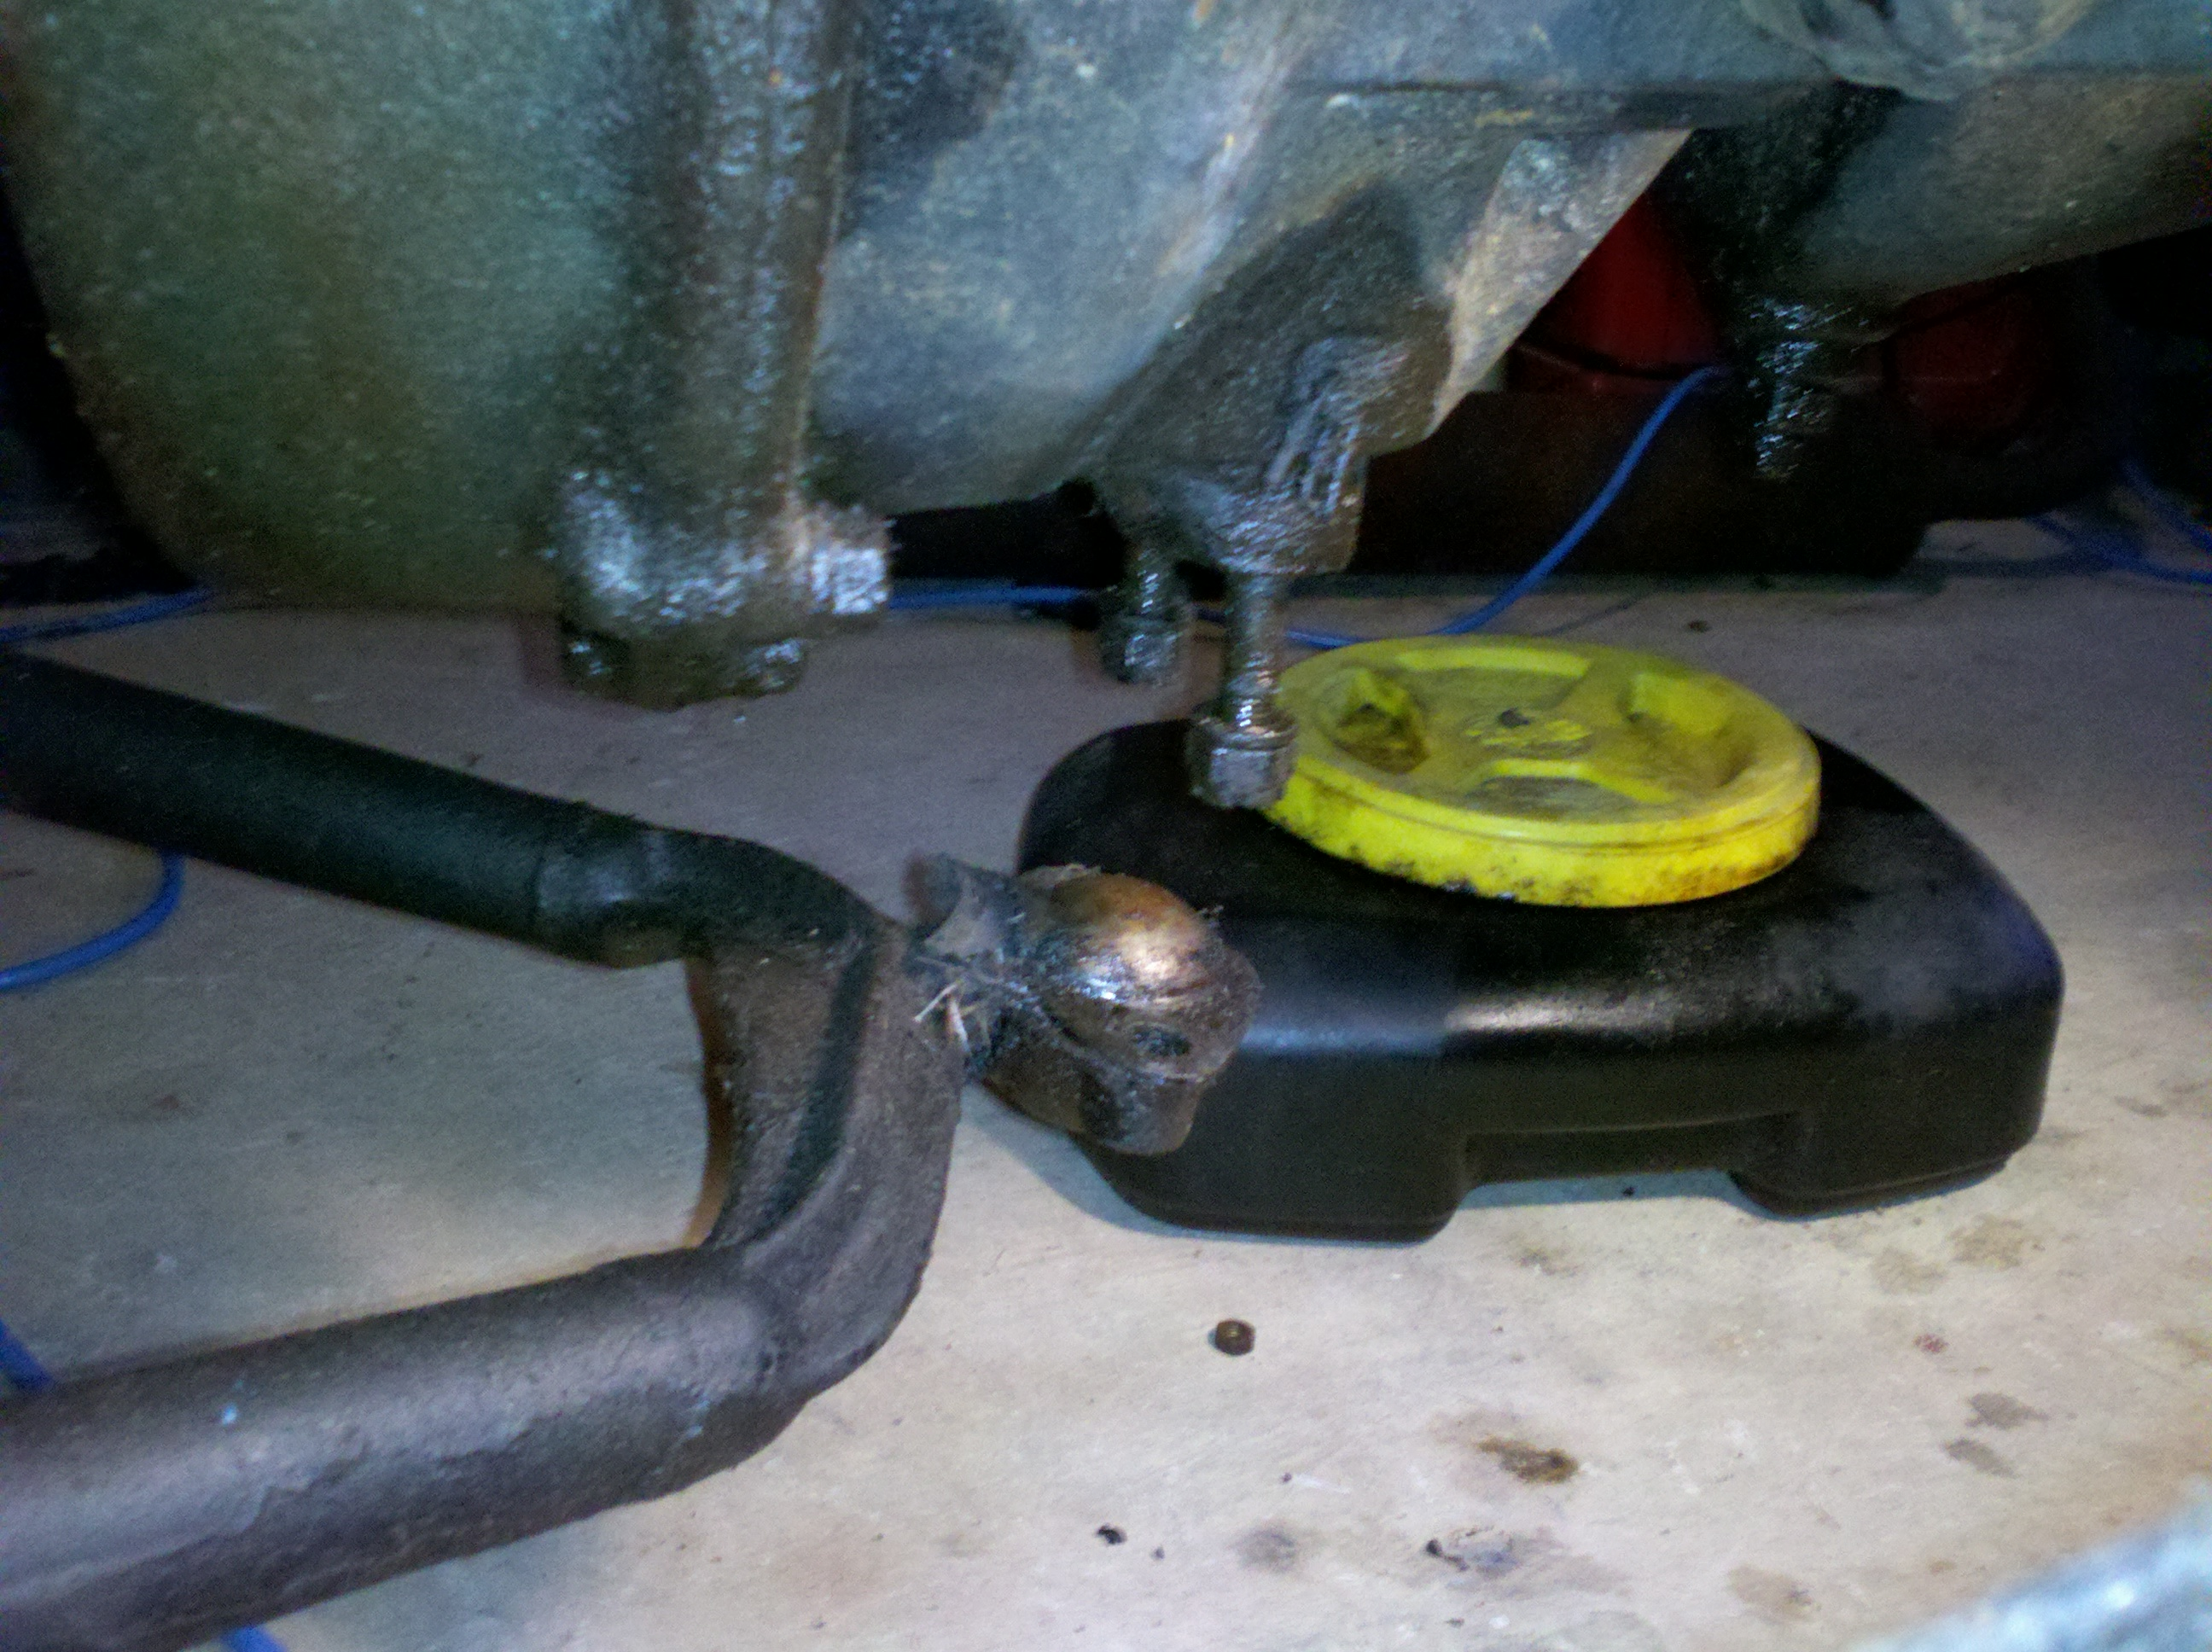
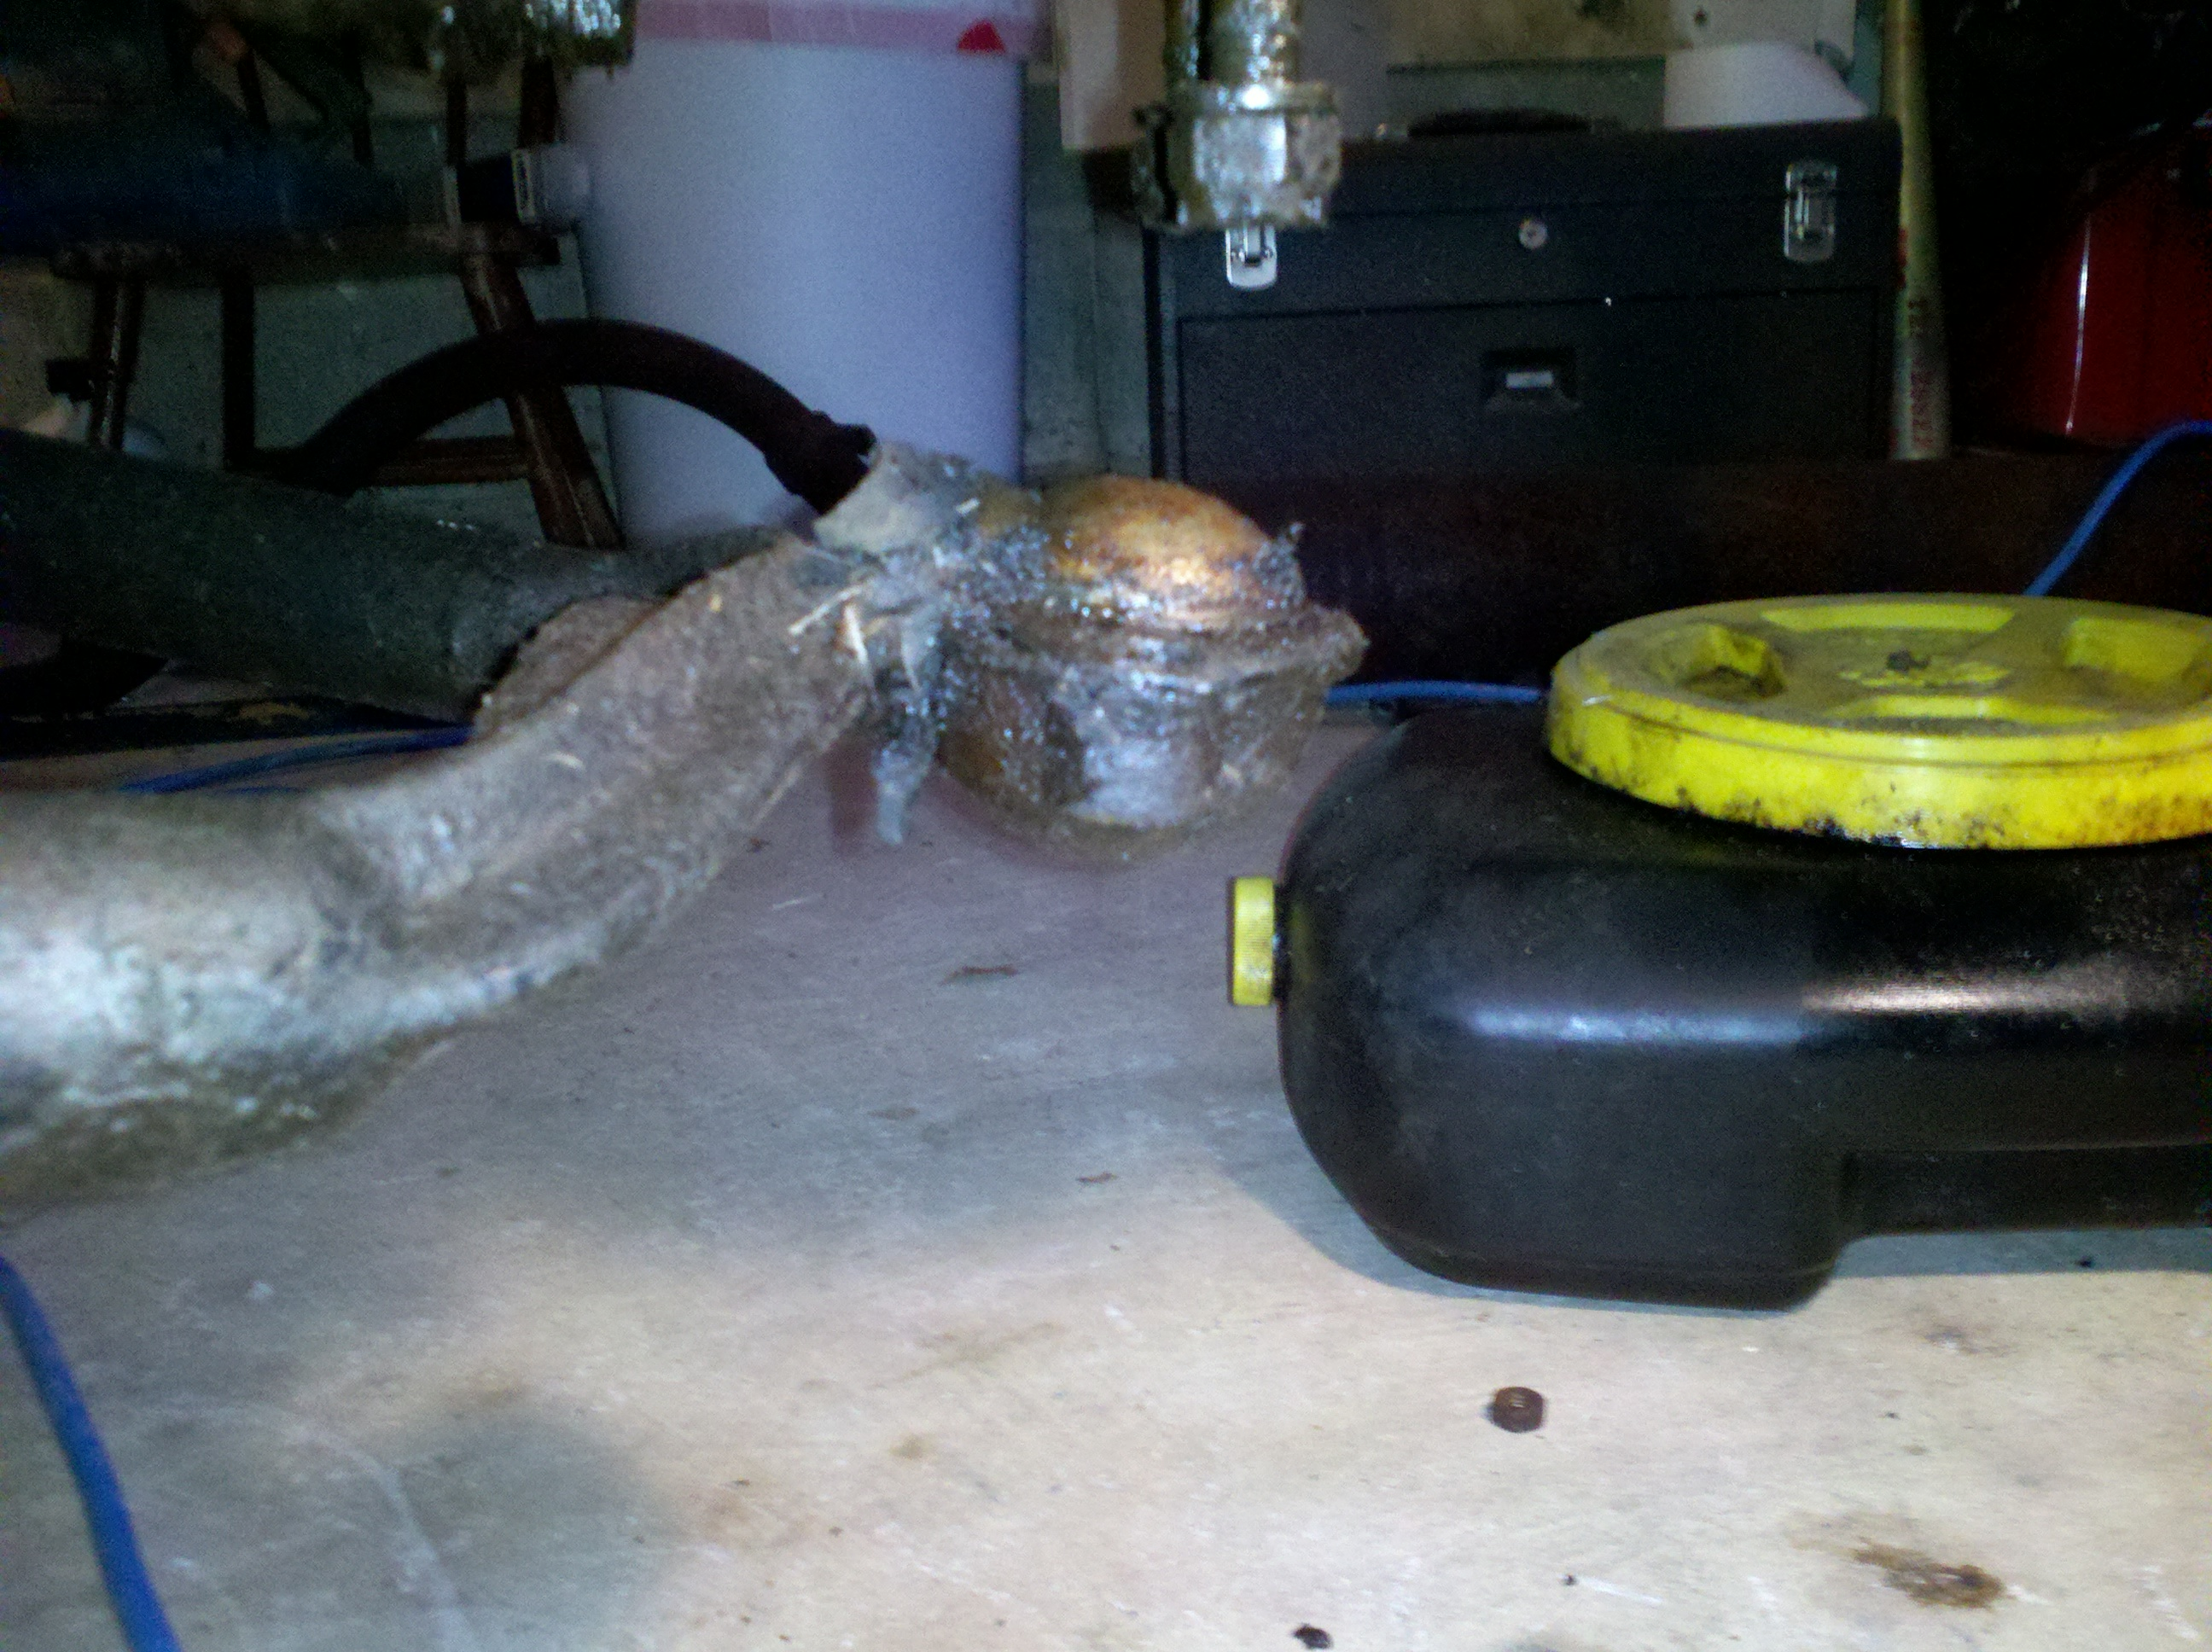
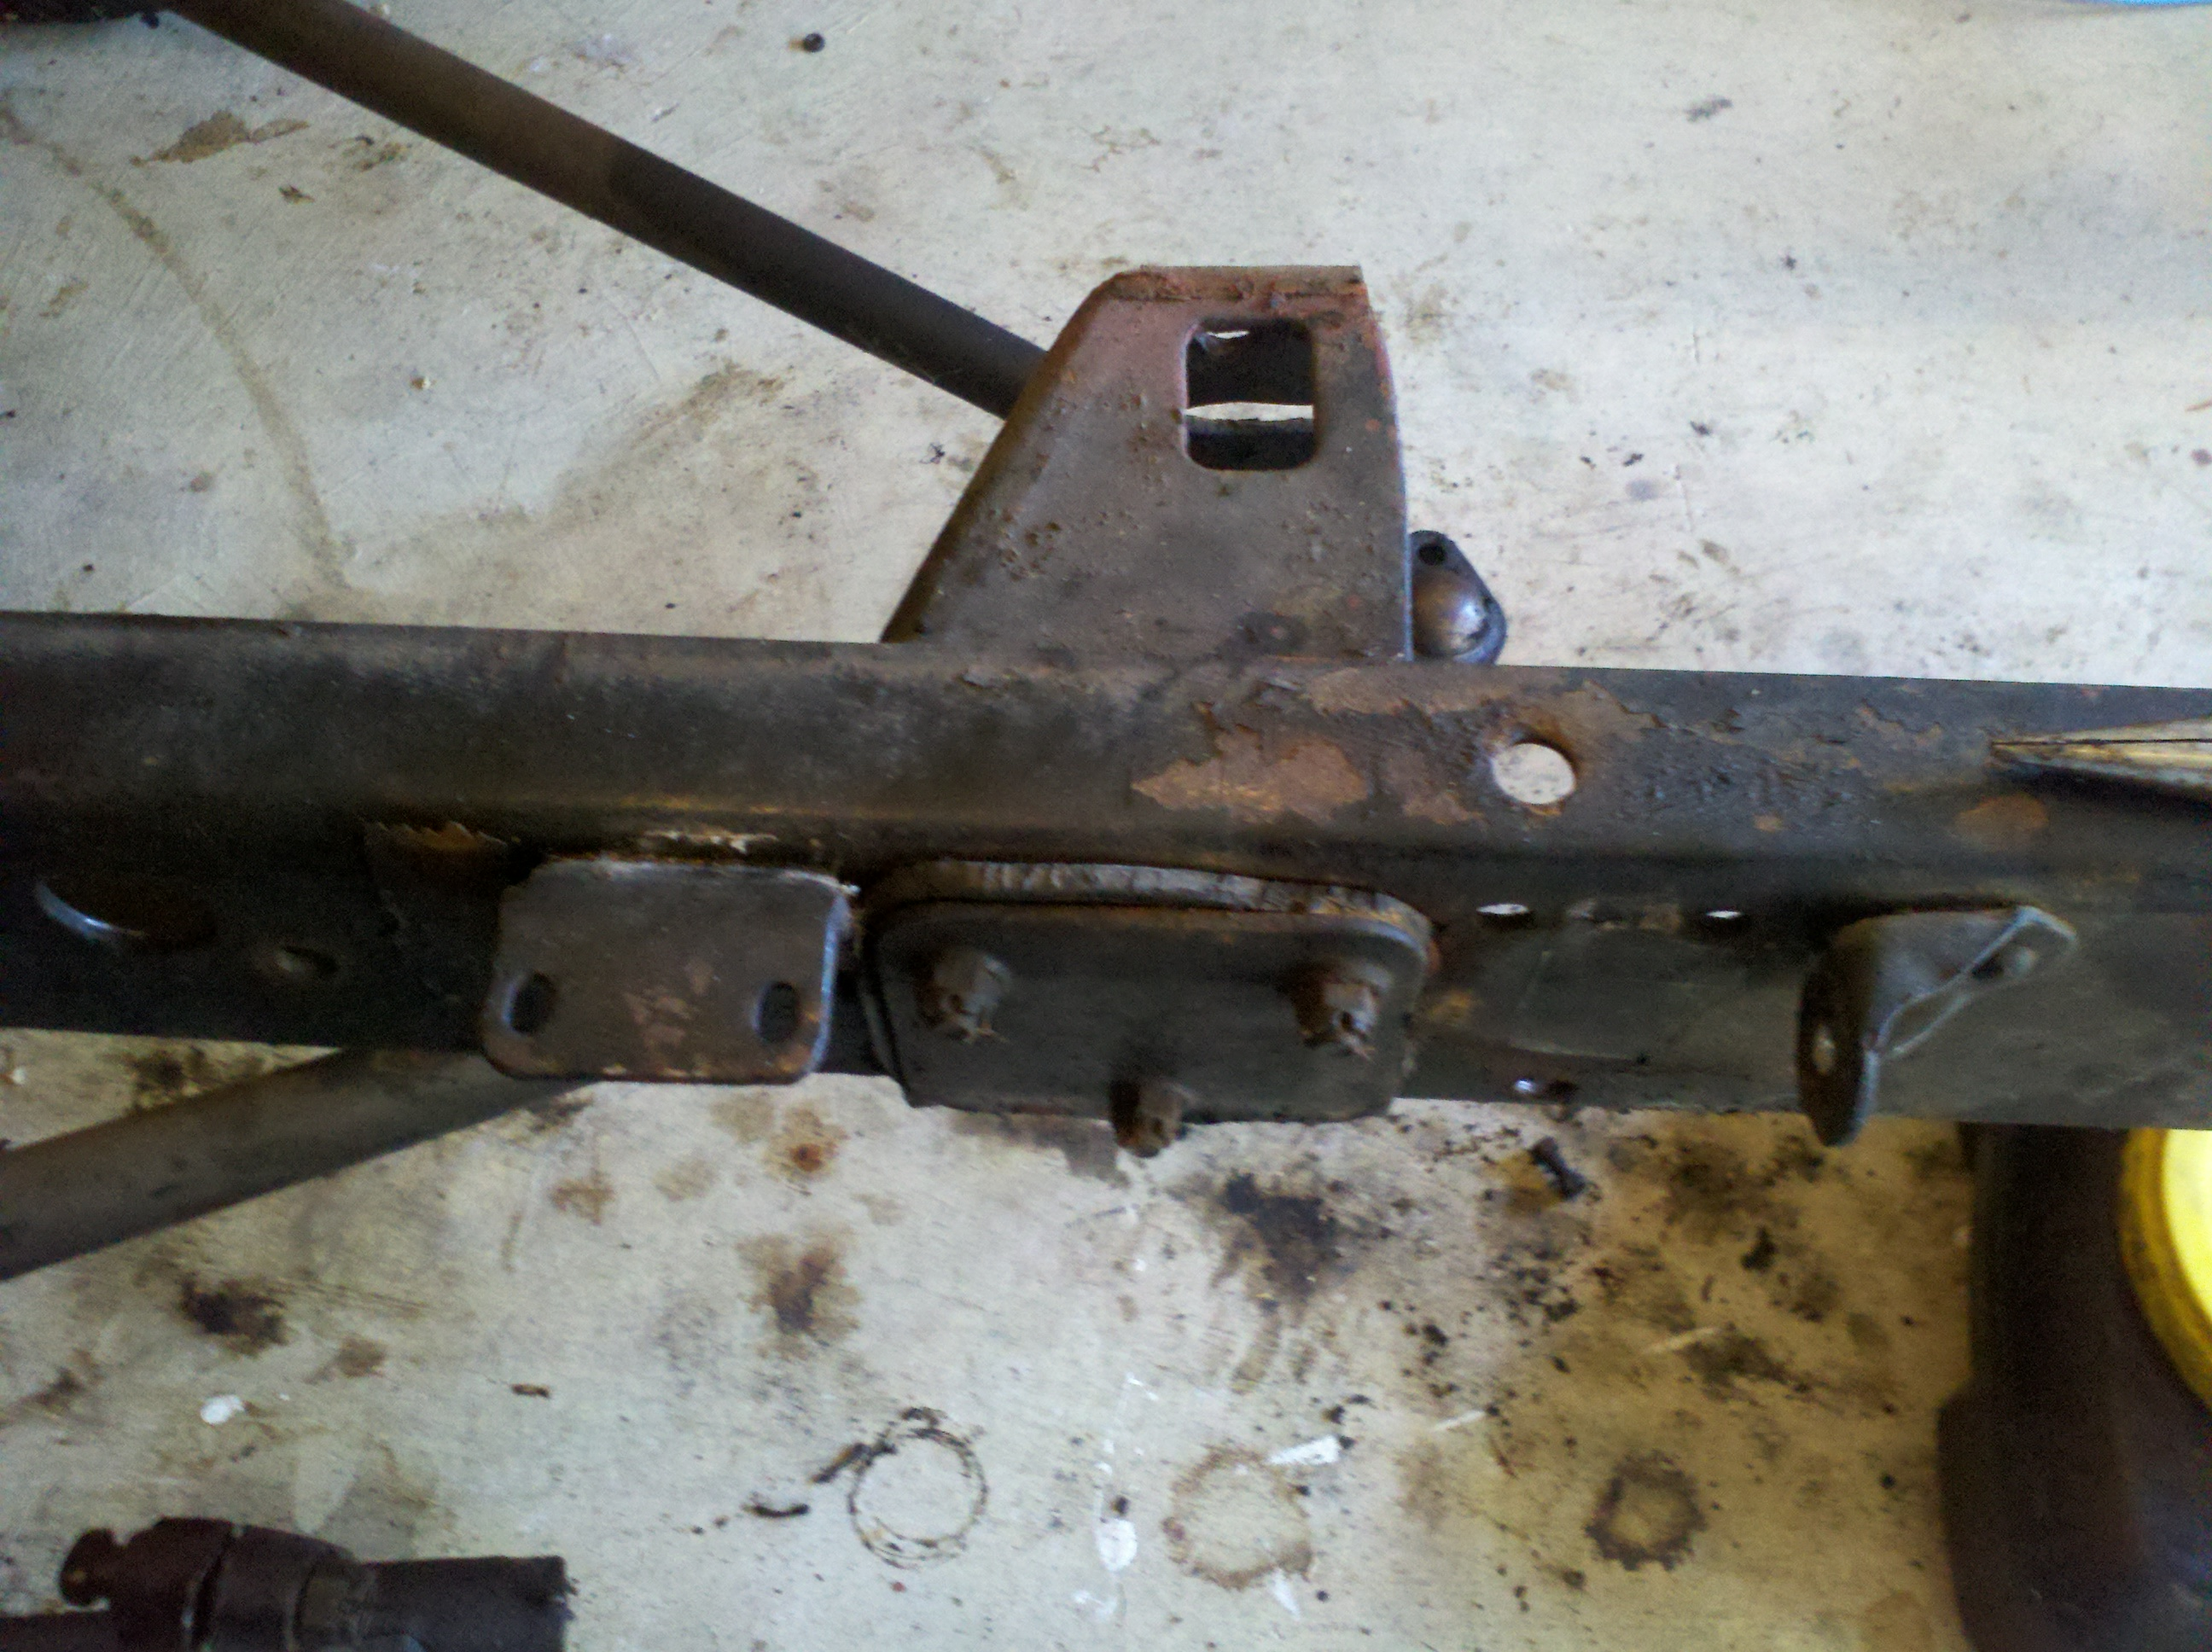
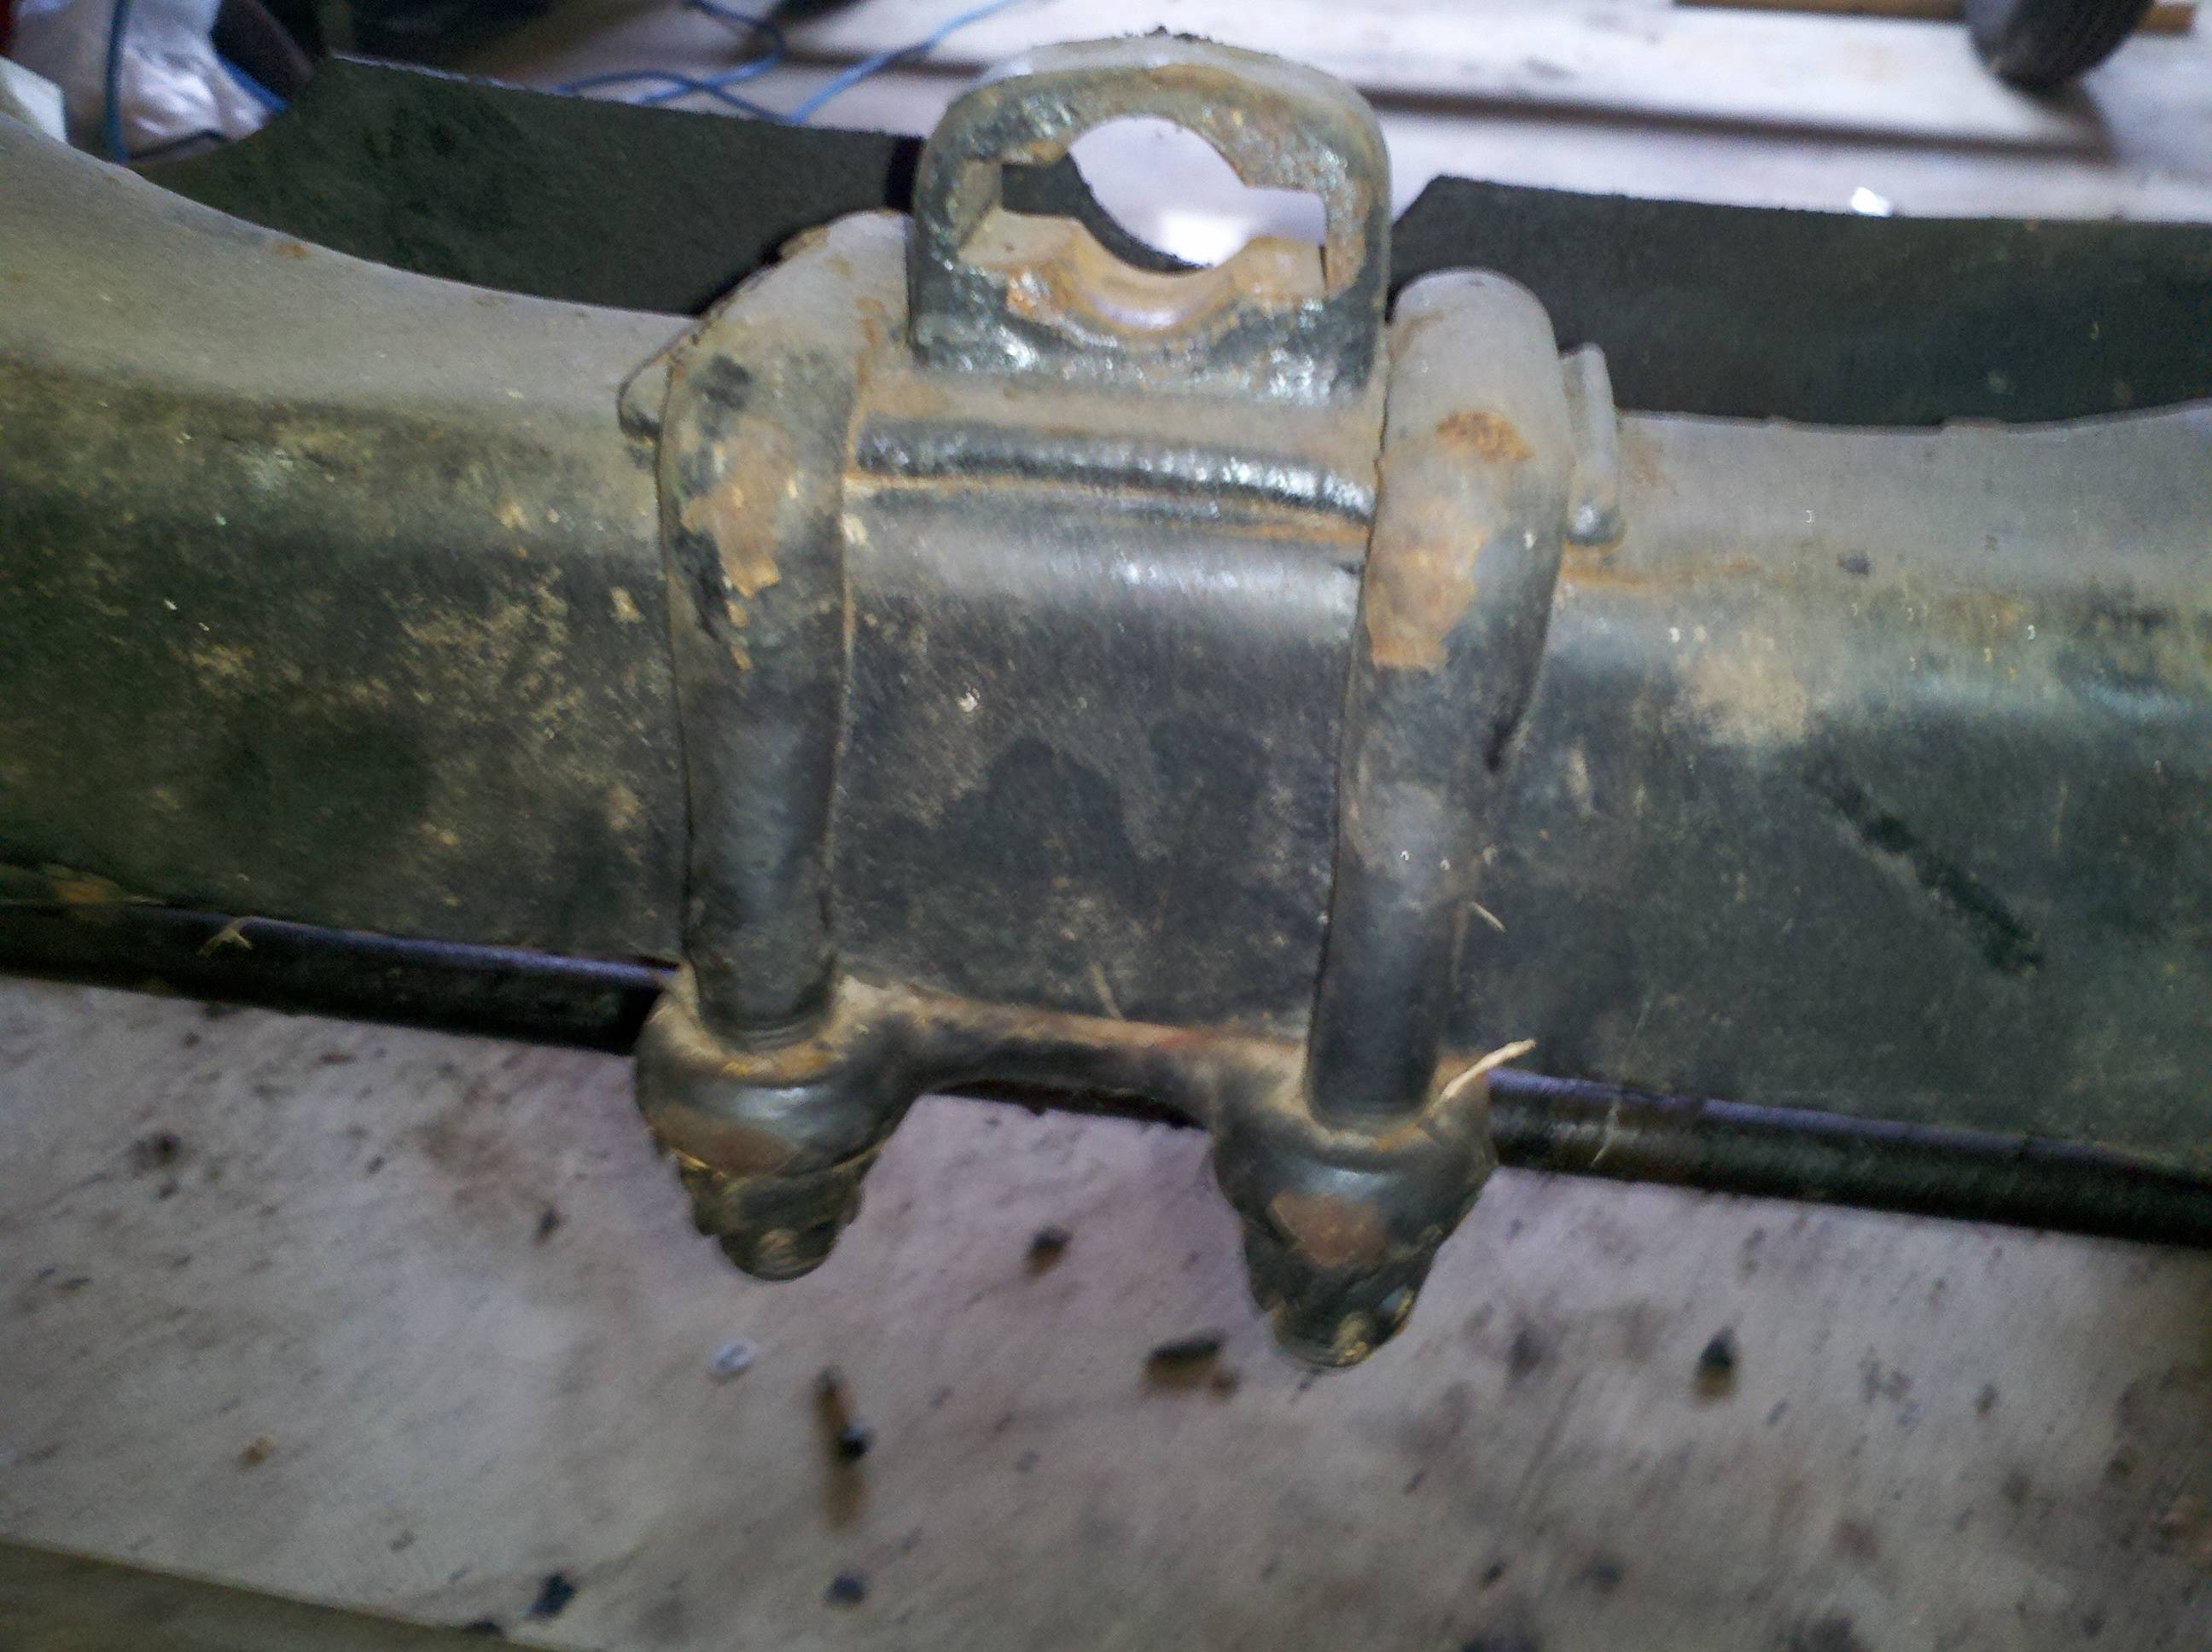
Anyway, it turned out to be no big deal. The frame is held to the front suspension via a single shackle made up of two "U" bolts and a shackle plate. The back springs are secured using two shackle plates and associated "U" bolts. Simple. Front nuts were 3/4", and the back were 7/8". The front nuts were safety-wired (incorrectly) instead of having cotter pins... Well, three of them were, anyways - looks like maybe somebody ran out of safety wire. But, I'm glad they did it incorrectly - I was able to take it all off with one cut. I'll look in to whether or not those are supposed to be pinned or wired...
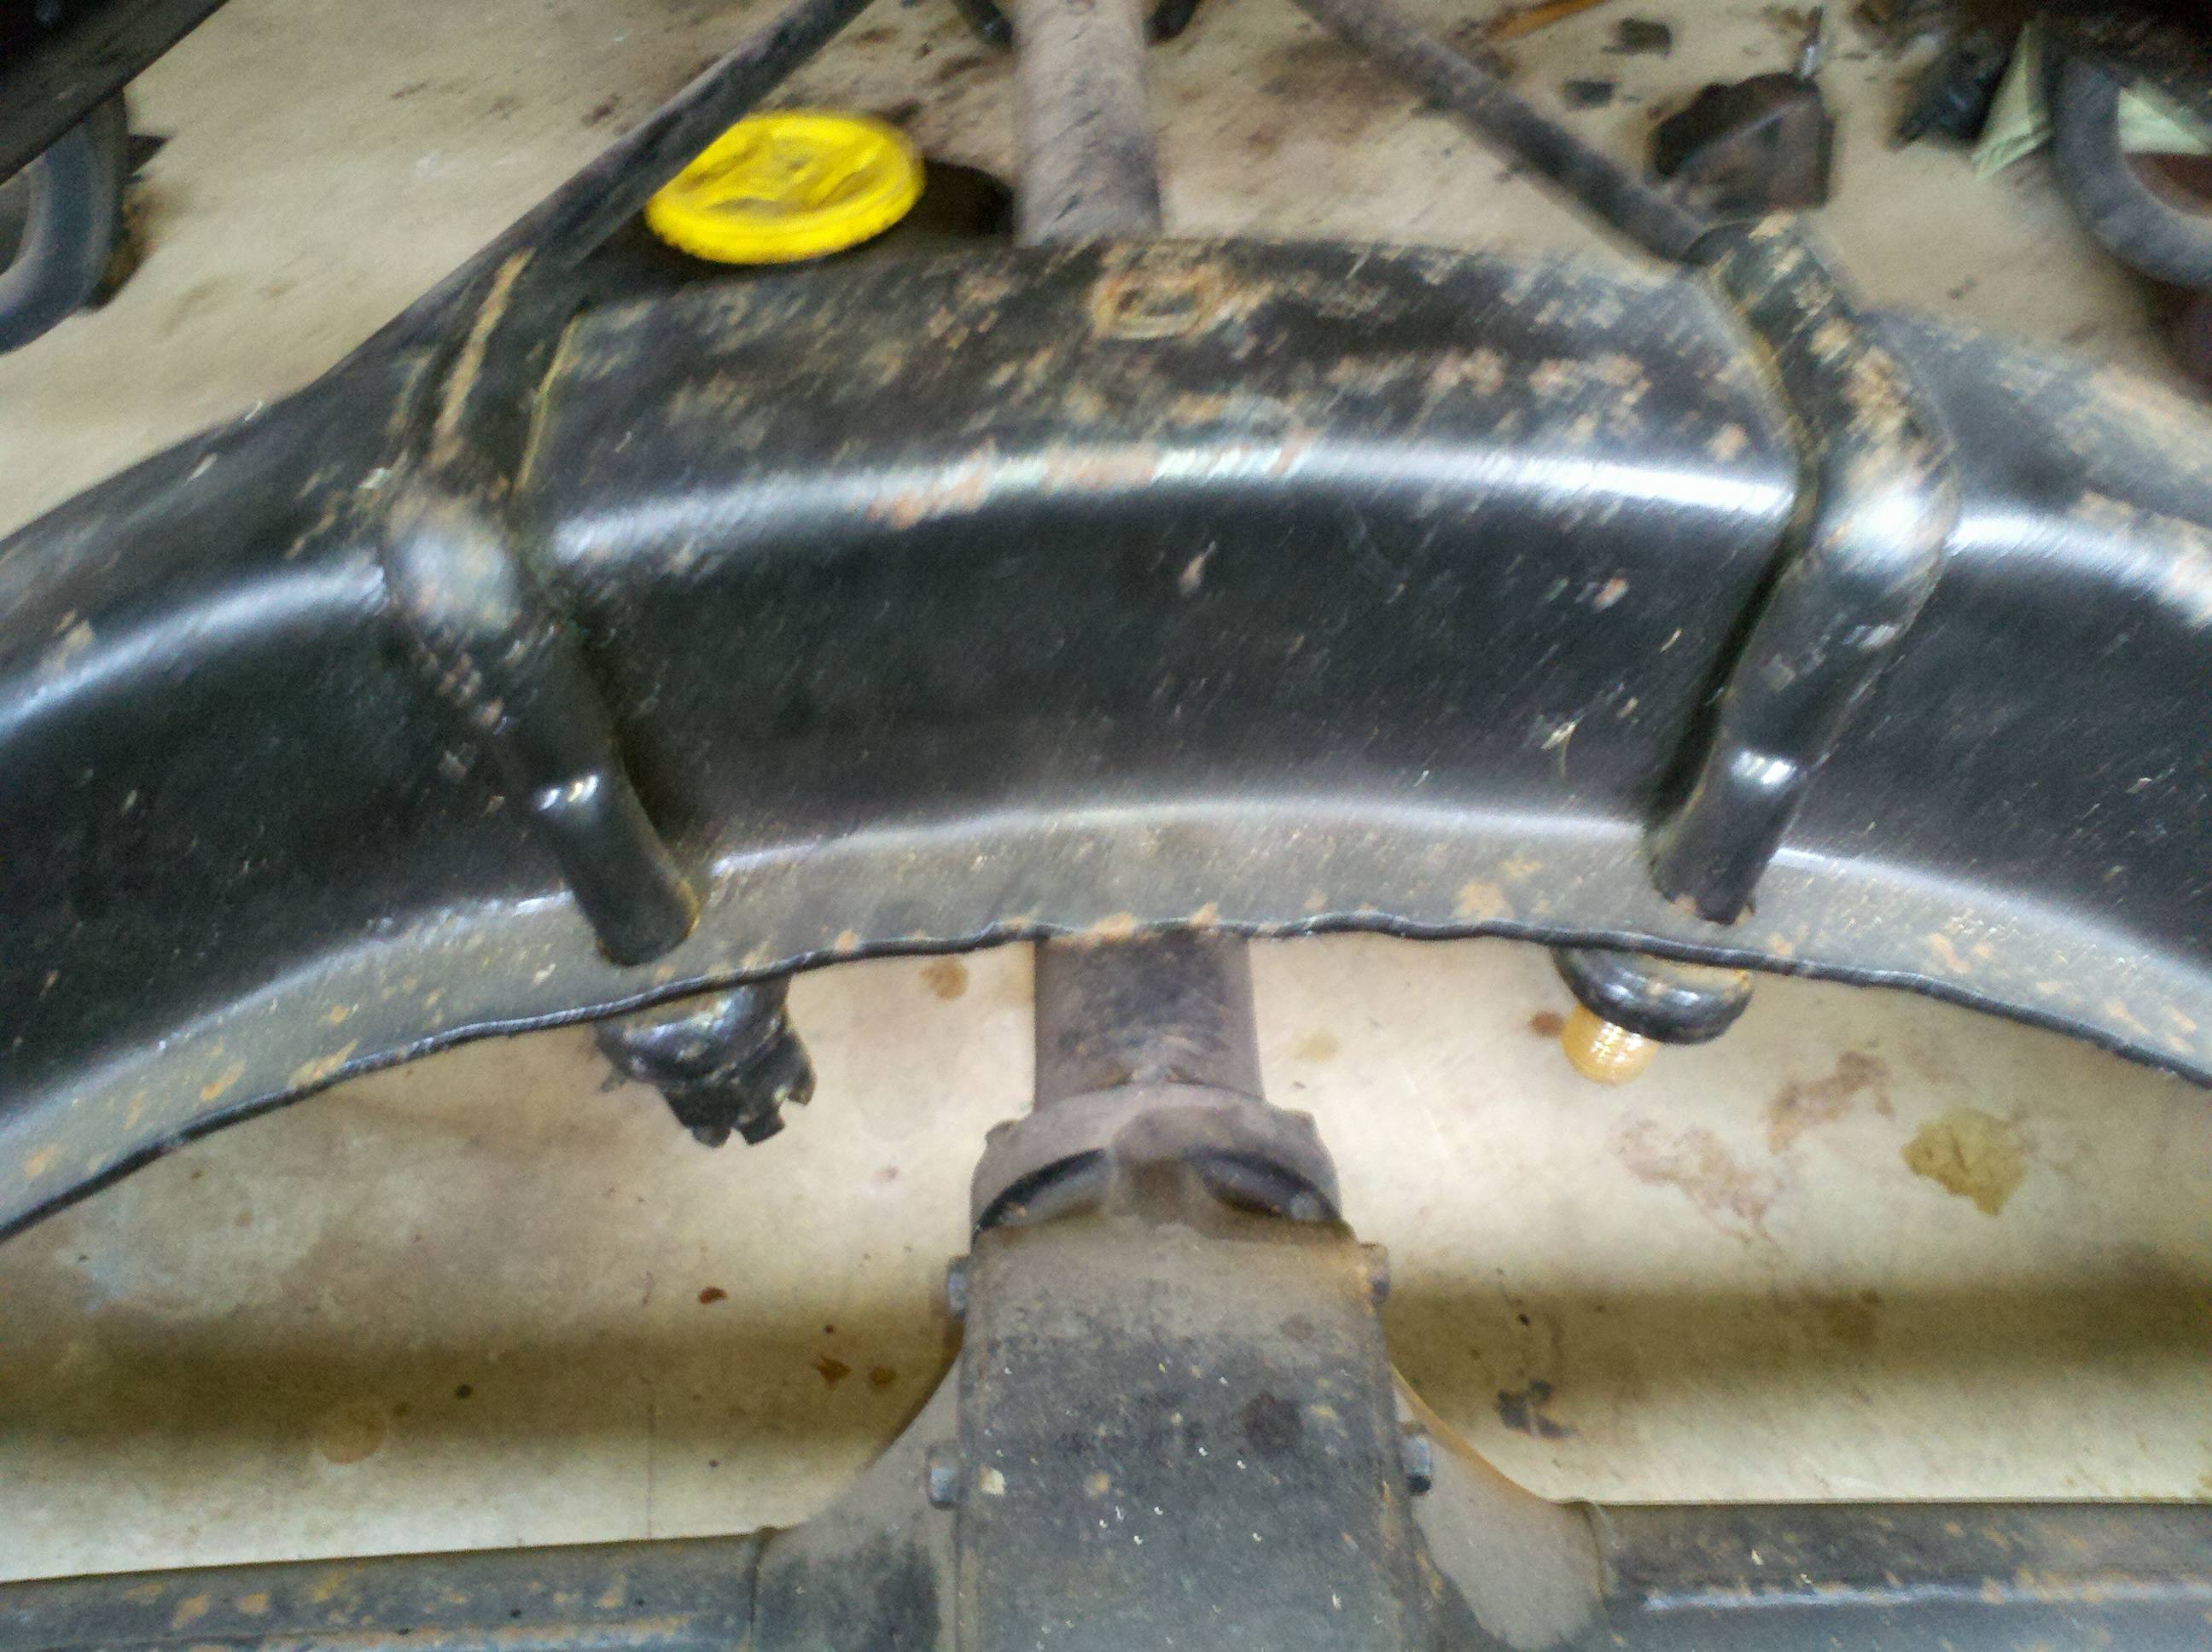
I busted my knuckles once or twice when the wrench slipped loose, but popping the bolts loose took all of... I dunno, less than a half hour for all of them. It got to be a little trickier lifting the frame off, though. Because of the way the radius armas (on the front) and torque tube (on the back) were hanging free, it caused the springs to bind in their yokes. I had to do a little dance to hold those things up while I lifted the frame free. Basically, I'd use one foot to lift up the radius arms while I heaved up on the front of the frame. Swap feet, and do it again. Took about three tries to get it to come loose. Same for the back, but it took about six tries. There's a lot of rust on top of the rear springs, but nothing that looks structural, that I can tell. I am continually amazed at what good shape this truck is in...
I was happy to find, though, that I didn't really need to use the winch or open the garage door to do the job - the frame is really light. I can basically pick it up by itself - it can't weigh more than 150 lbs, if that. I set it up on its side, leaning against the wall, supported by the runing board supports. It was a small struggle to get the fram clear of the wheels and whatnot, and I made a little more noise than I wanted, but there it is. Next steps will be to tear down the rear end and front suspension. And the wheels - I want to get the tires pulled off, too. I'll get them all stripped together, and then build them back up as a unit. The whole "rolling frame" thinkg is a definite "nice to have."
Last modified on 10/09/12