Looks like the cold weather will be here soon. It rained quite a bit the last week or so, and the temperatures dropped quite a bit. It's been down in the upper 20's/low 30's all week, and there just ain't room in the garage to do a lot of stuff. That said, though, it got up to the 50's this weekend, so it seemed as good a time as any to go ahead and pull the body loose. I messed around a bit with the screws in the door sill, and all I can say right now, is that they're stuck. Same with the screws that hold the lower door hinges to the body... I broke two impact bits, and twisted another trying to get them all loose. D'oh!
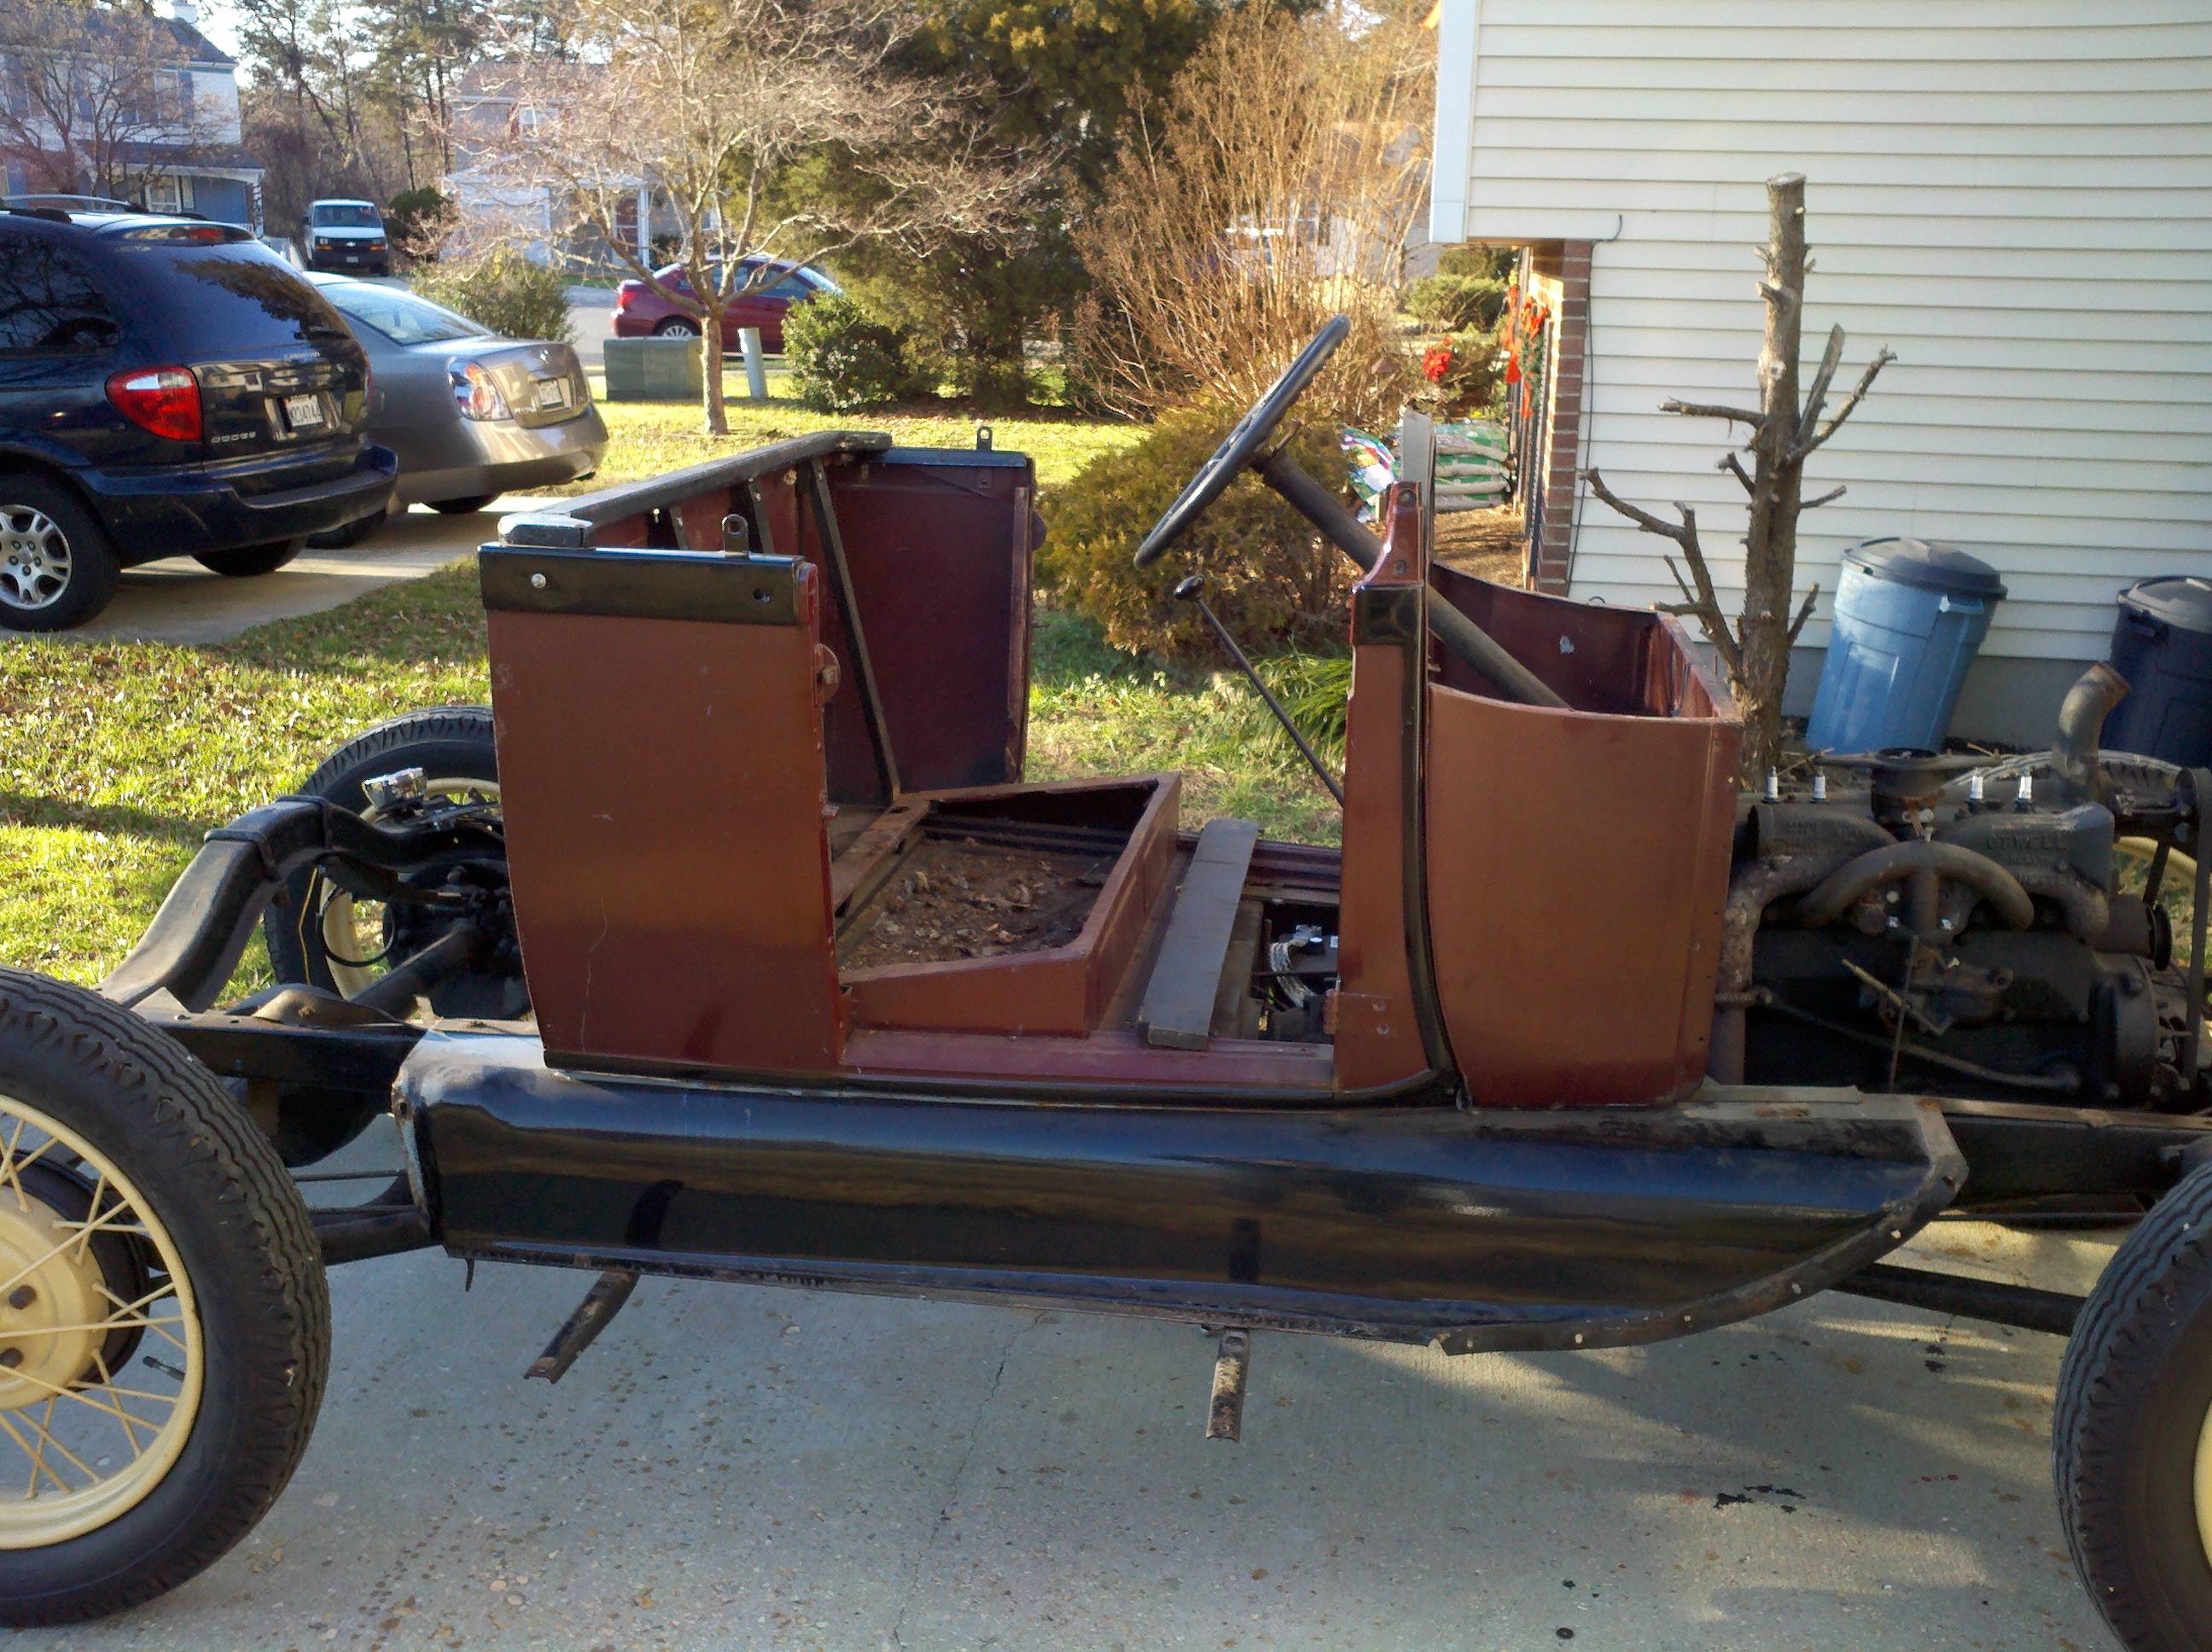
Also, it looks like the door sill screws are just shet metal screws... After I got the ody off, I figured some more about those screws, but nothing more about how to get the sill loose. I'll take a look at it later. After I got fed up with all those scews, and was standing there, contemplating life, the universe, and everything, my neighbor mosied over, and asked if it'd driven me nuts, yet. I told him no, that's what my kids were for, and I had just stepped outside to get some quiet, and that the body would soon be ready to come off. He said he wanted to go get a hair cut, and after he'd be happy to help lift it off and carry it around back to the shed. I asked if he was willing to help right away, since it was only four bolts left. He said 'yup,' so I got right on it. After all of 5 minutes, I had pulled the last 4 body mounting bolts, and we pulled it all loose.
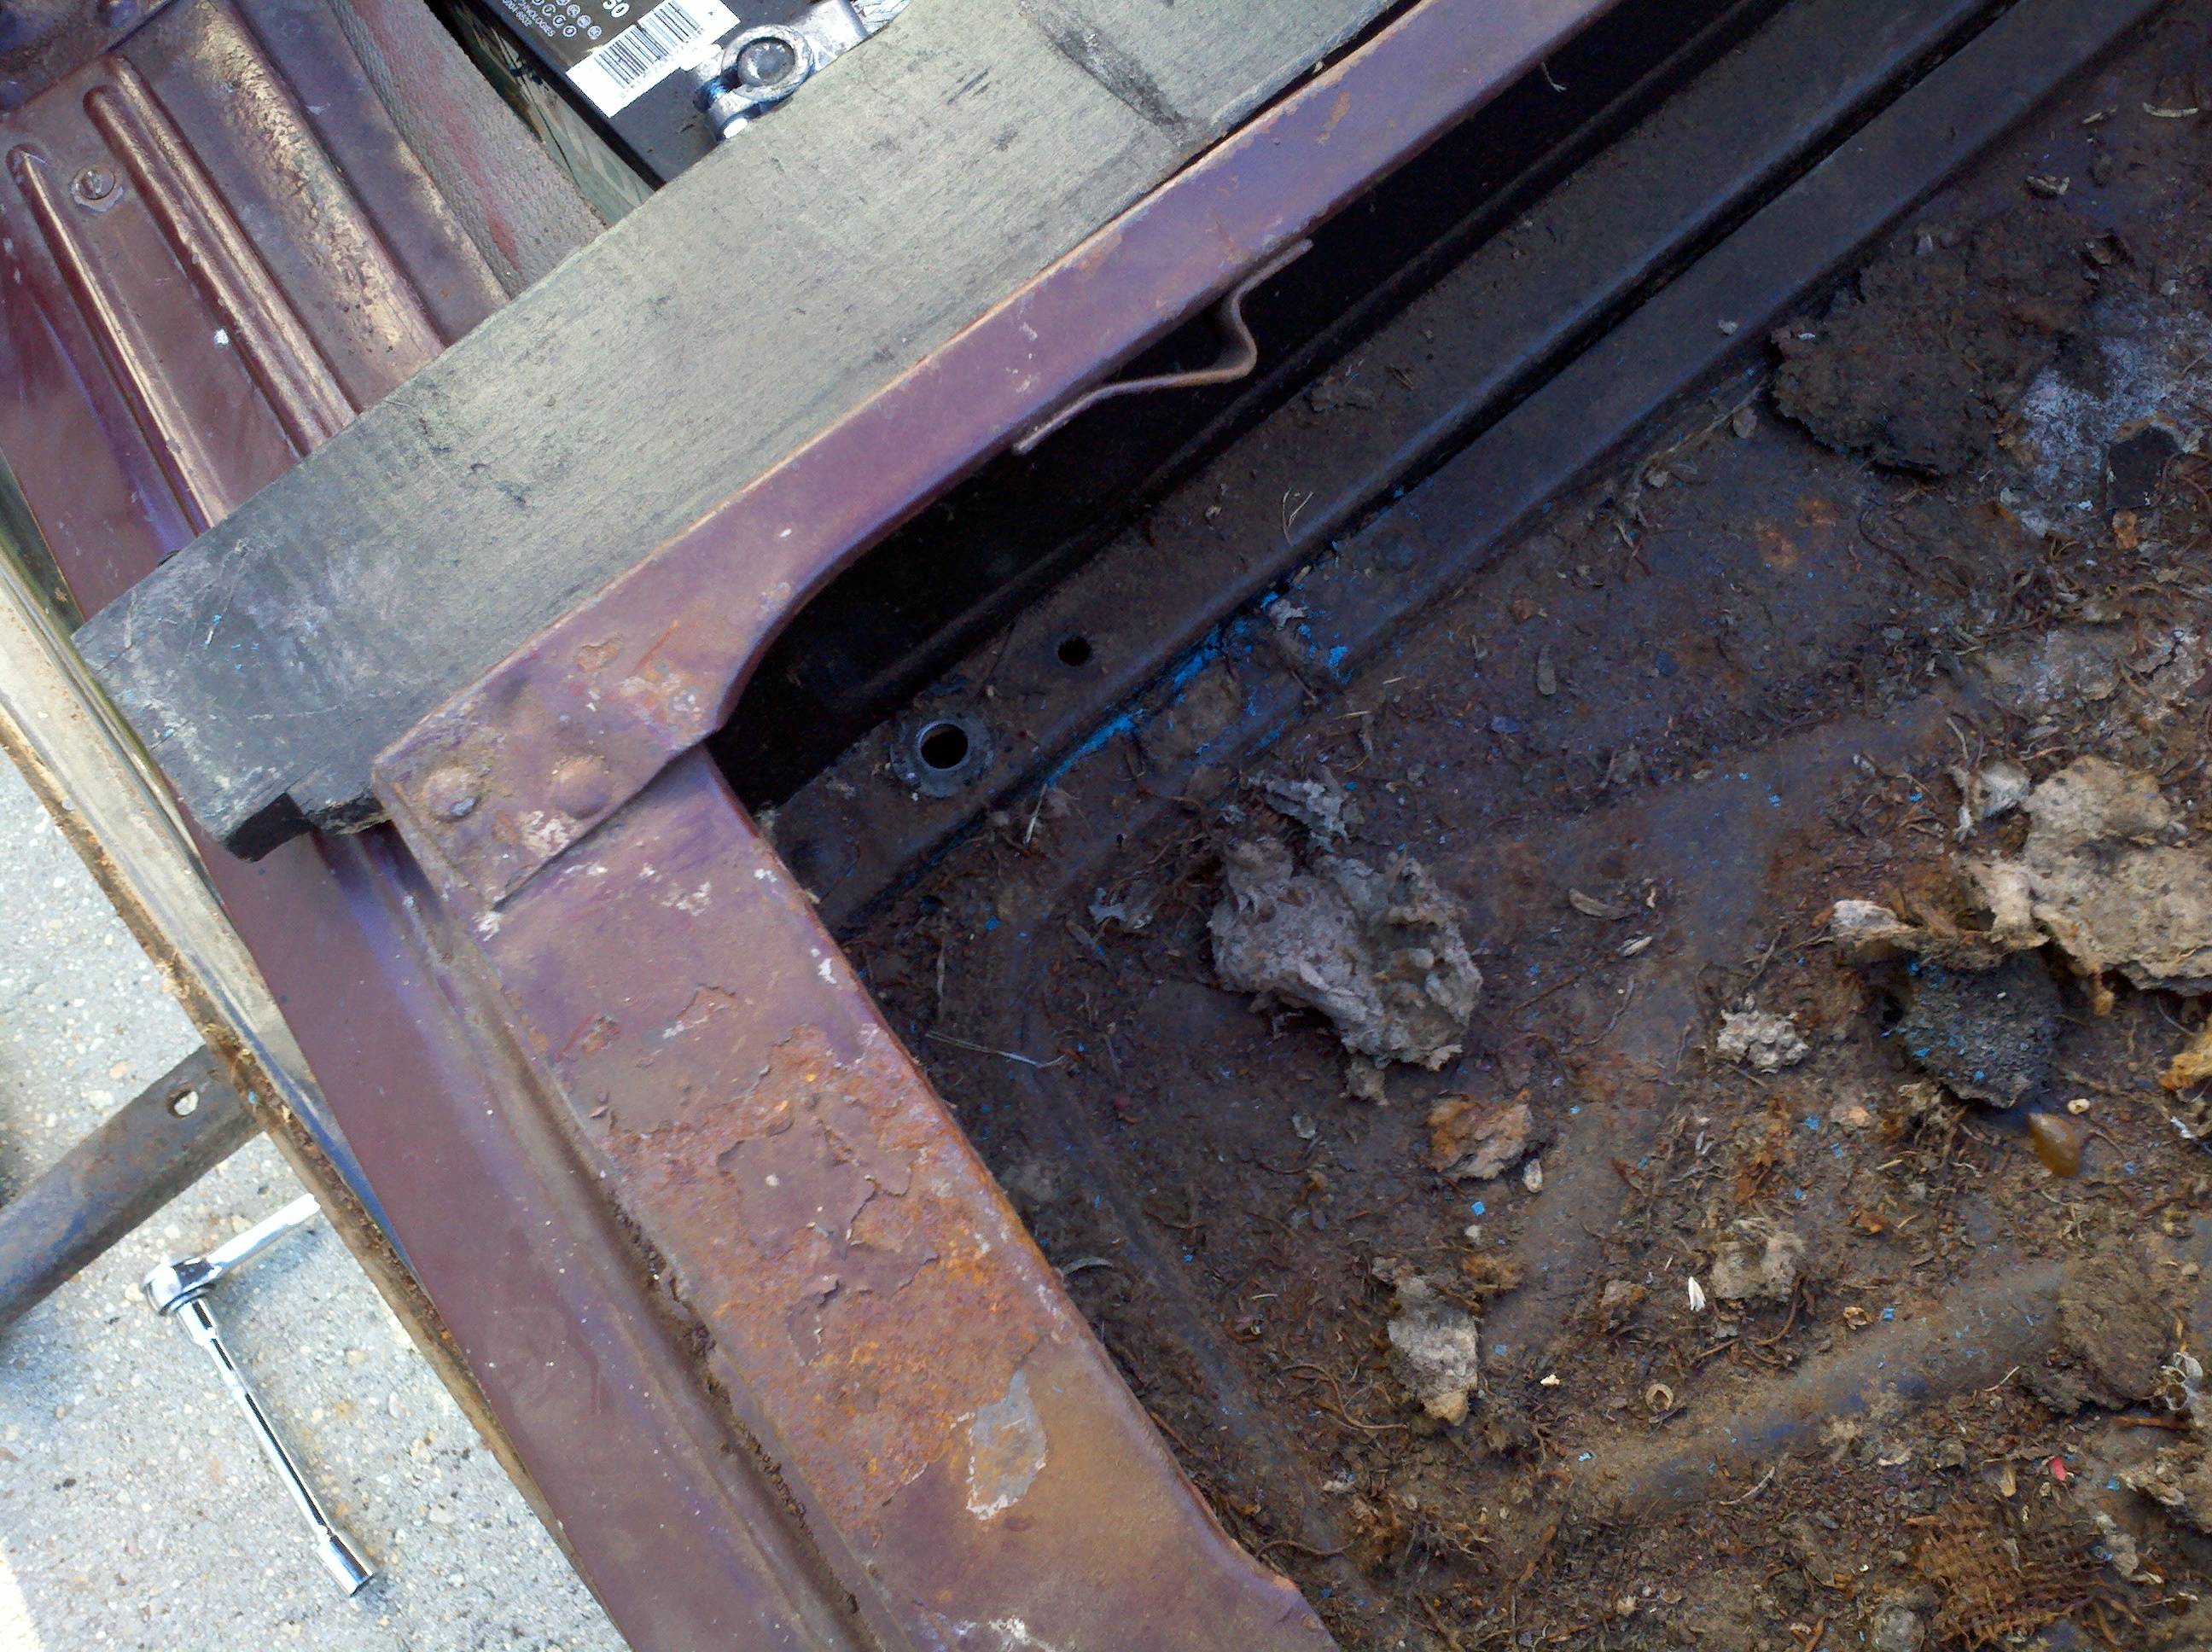
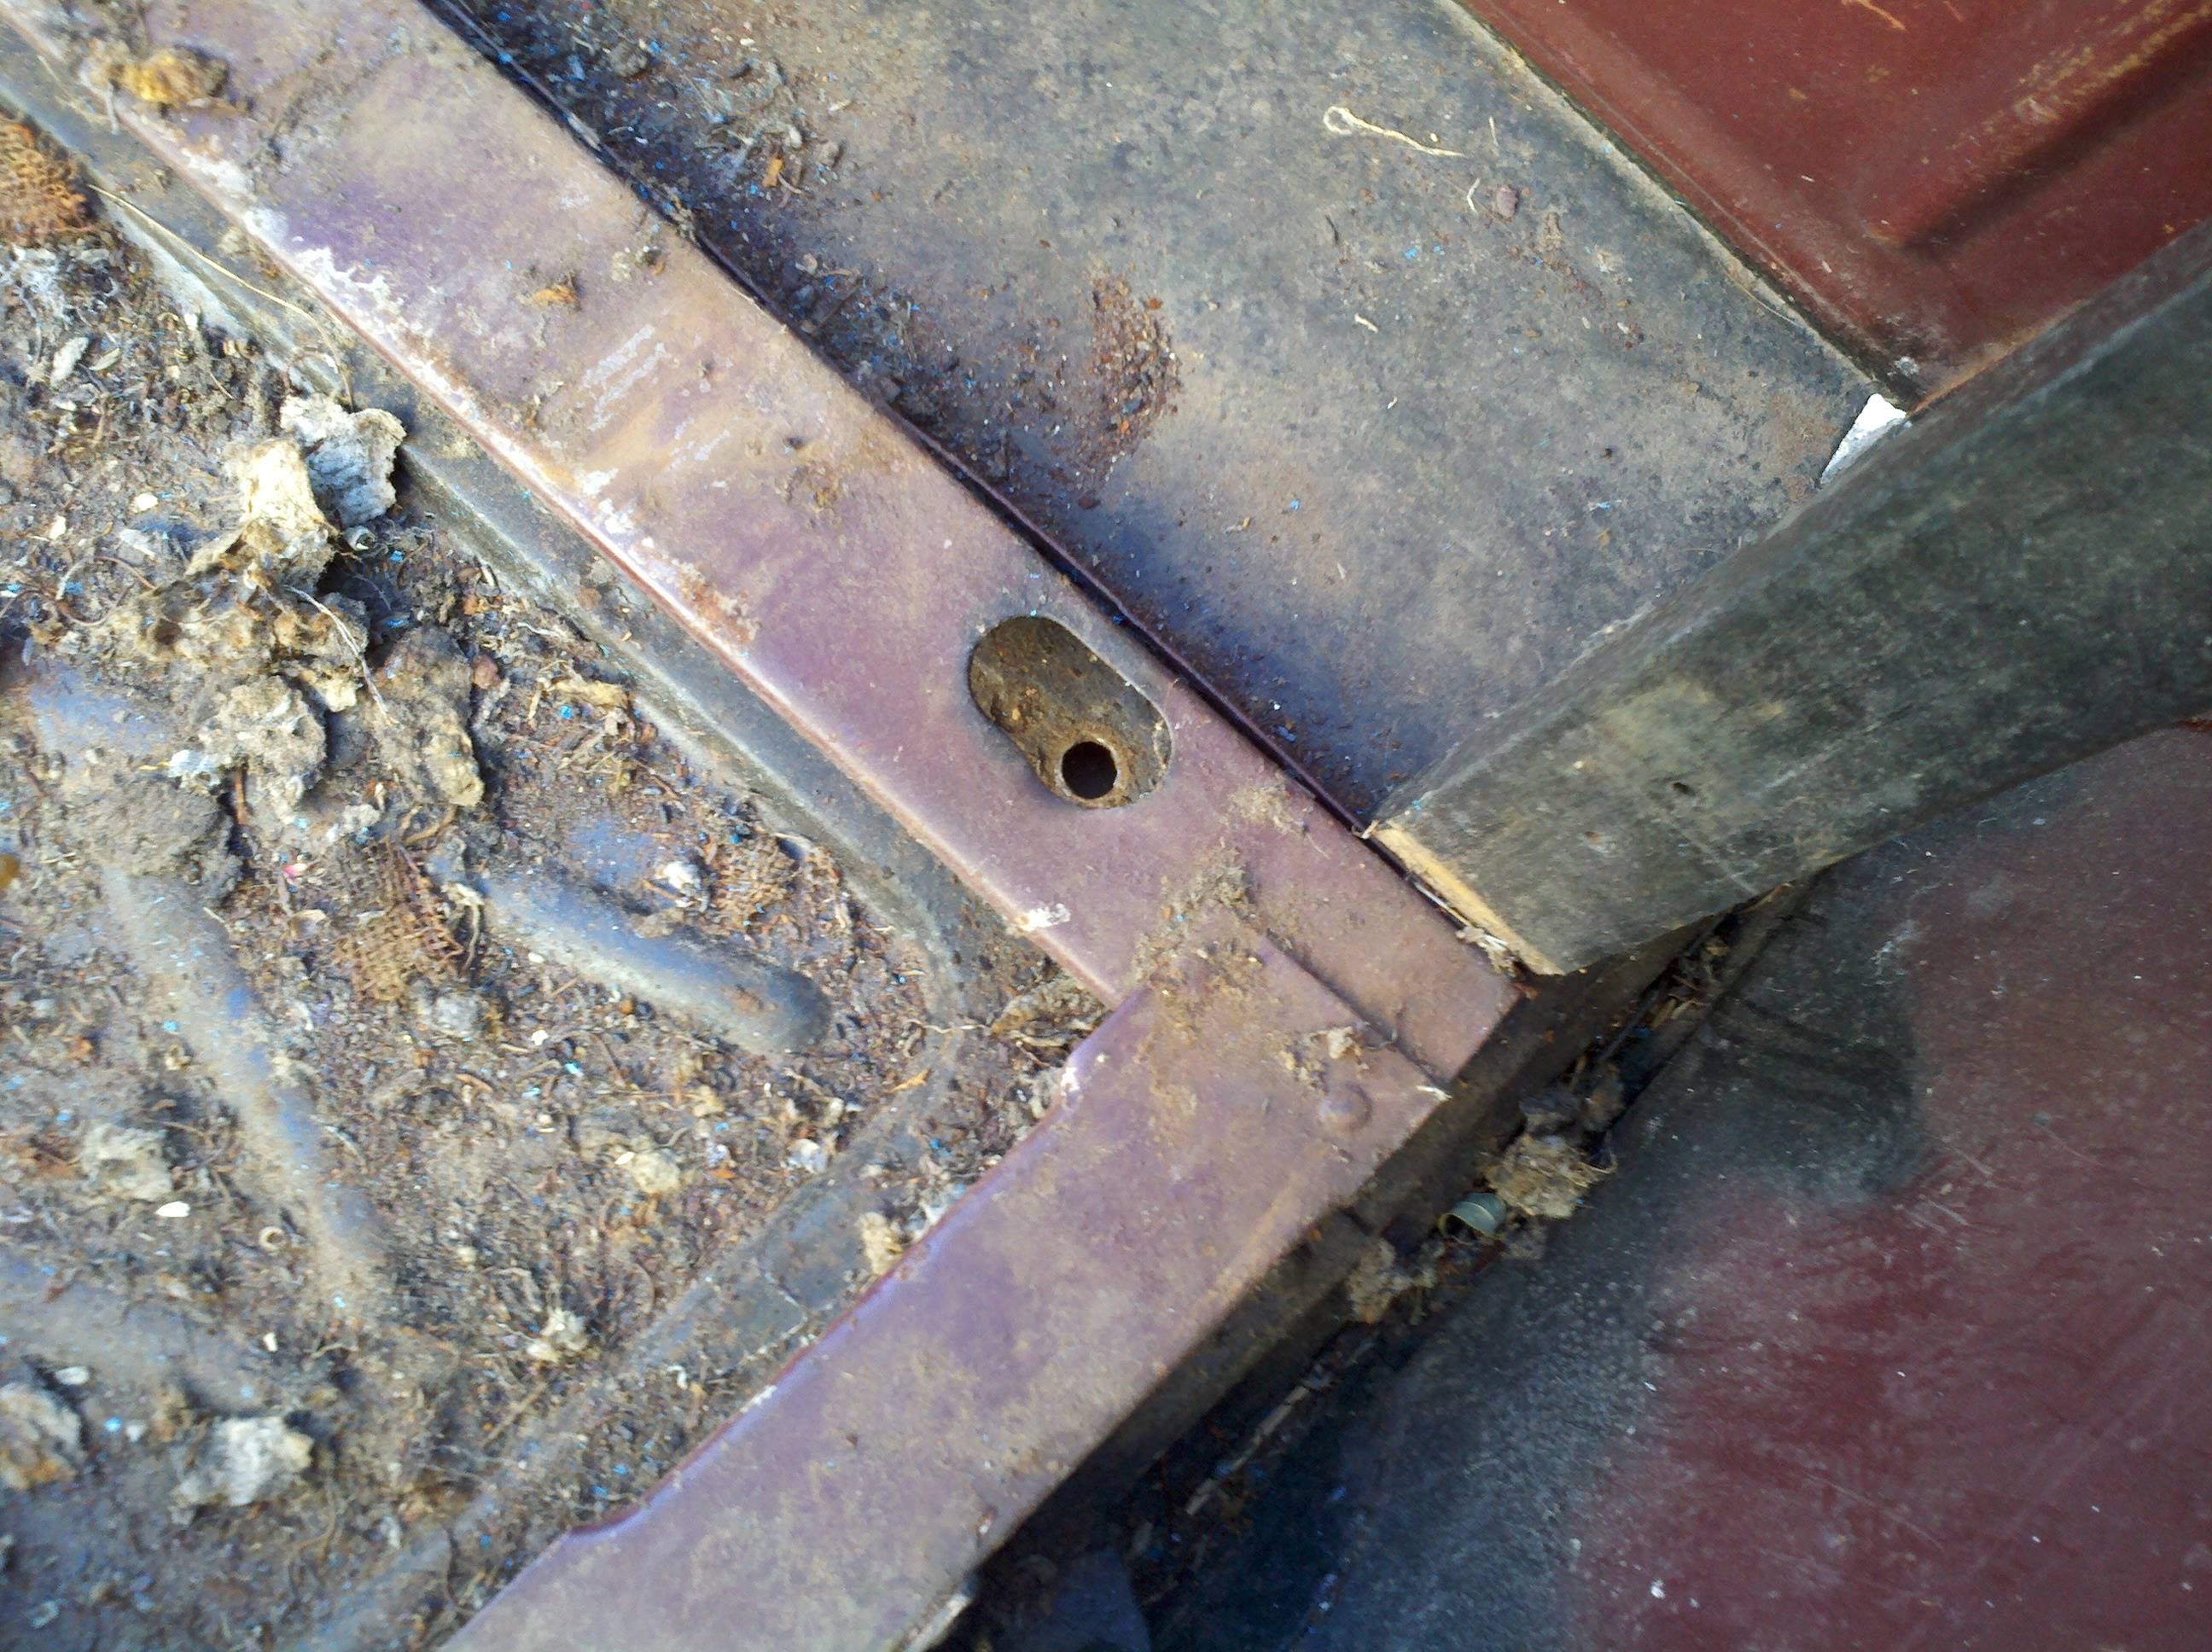
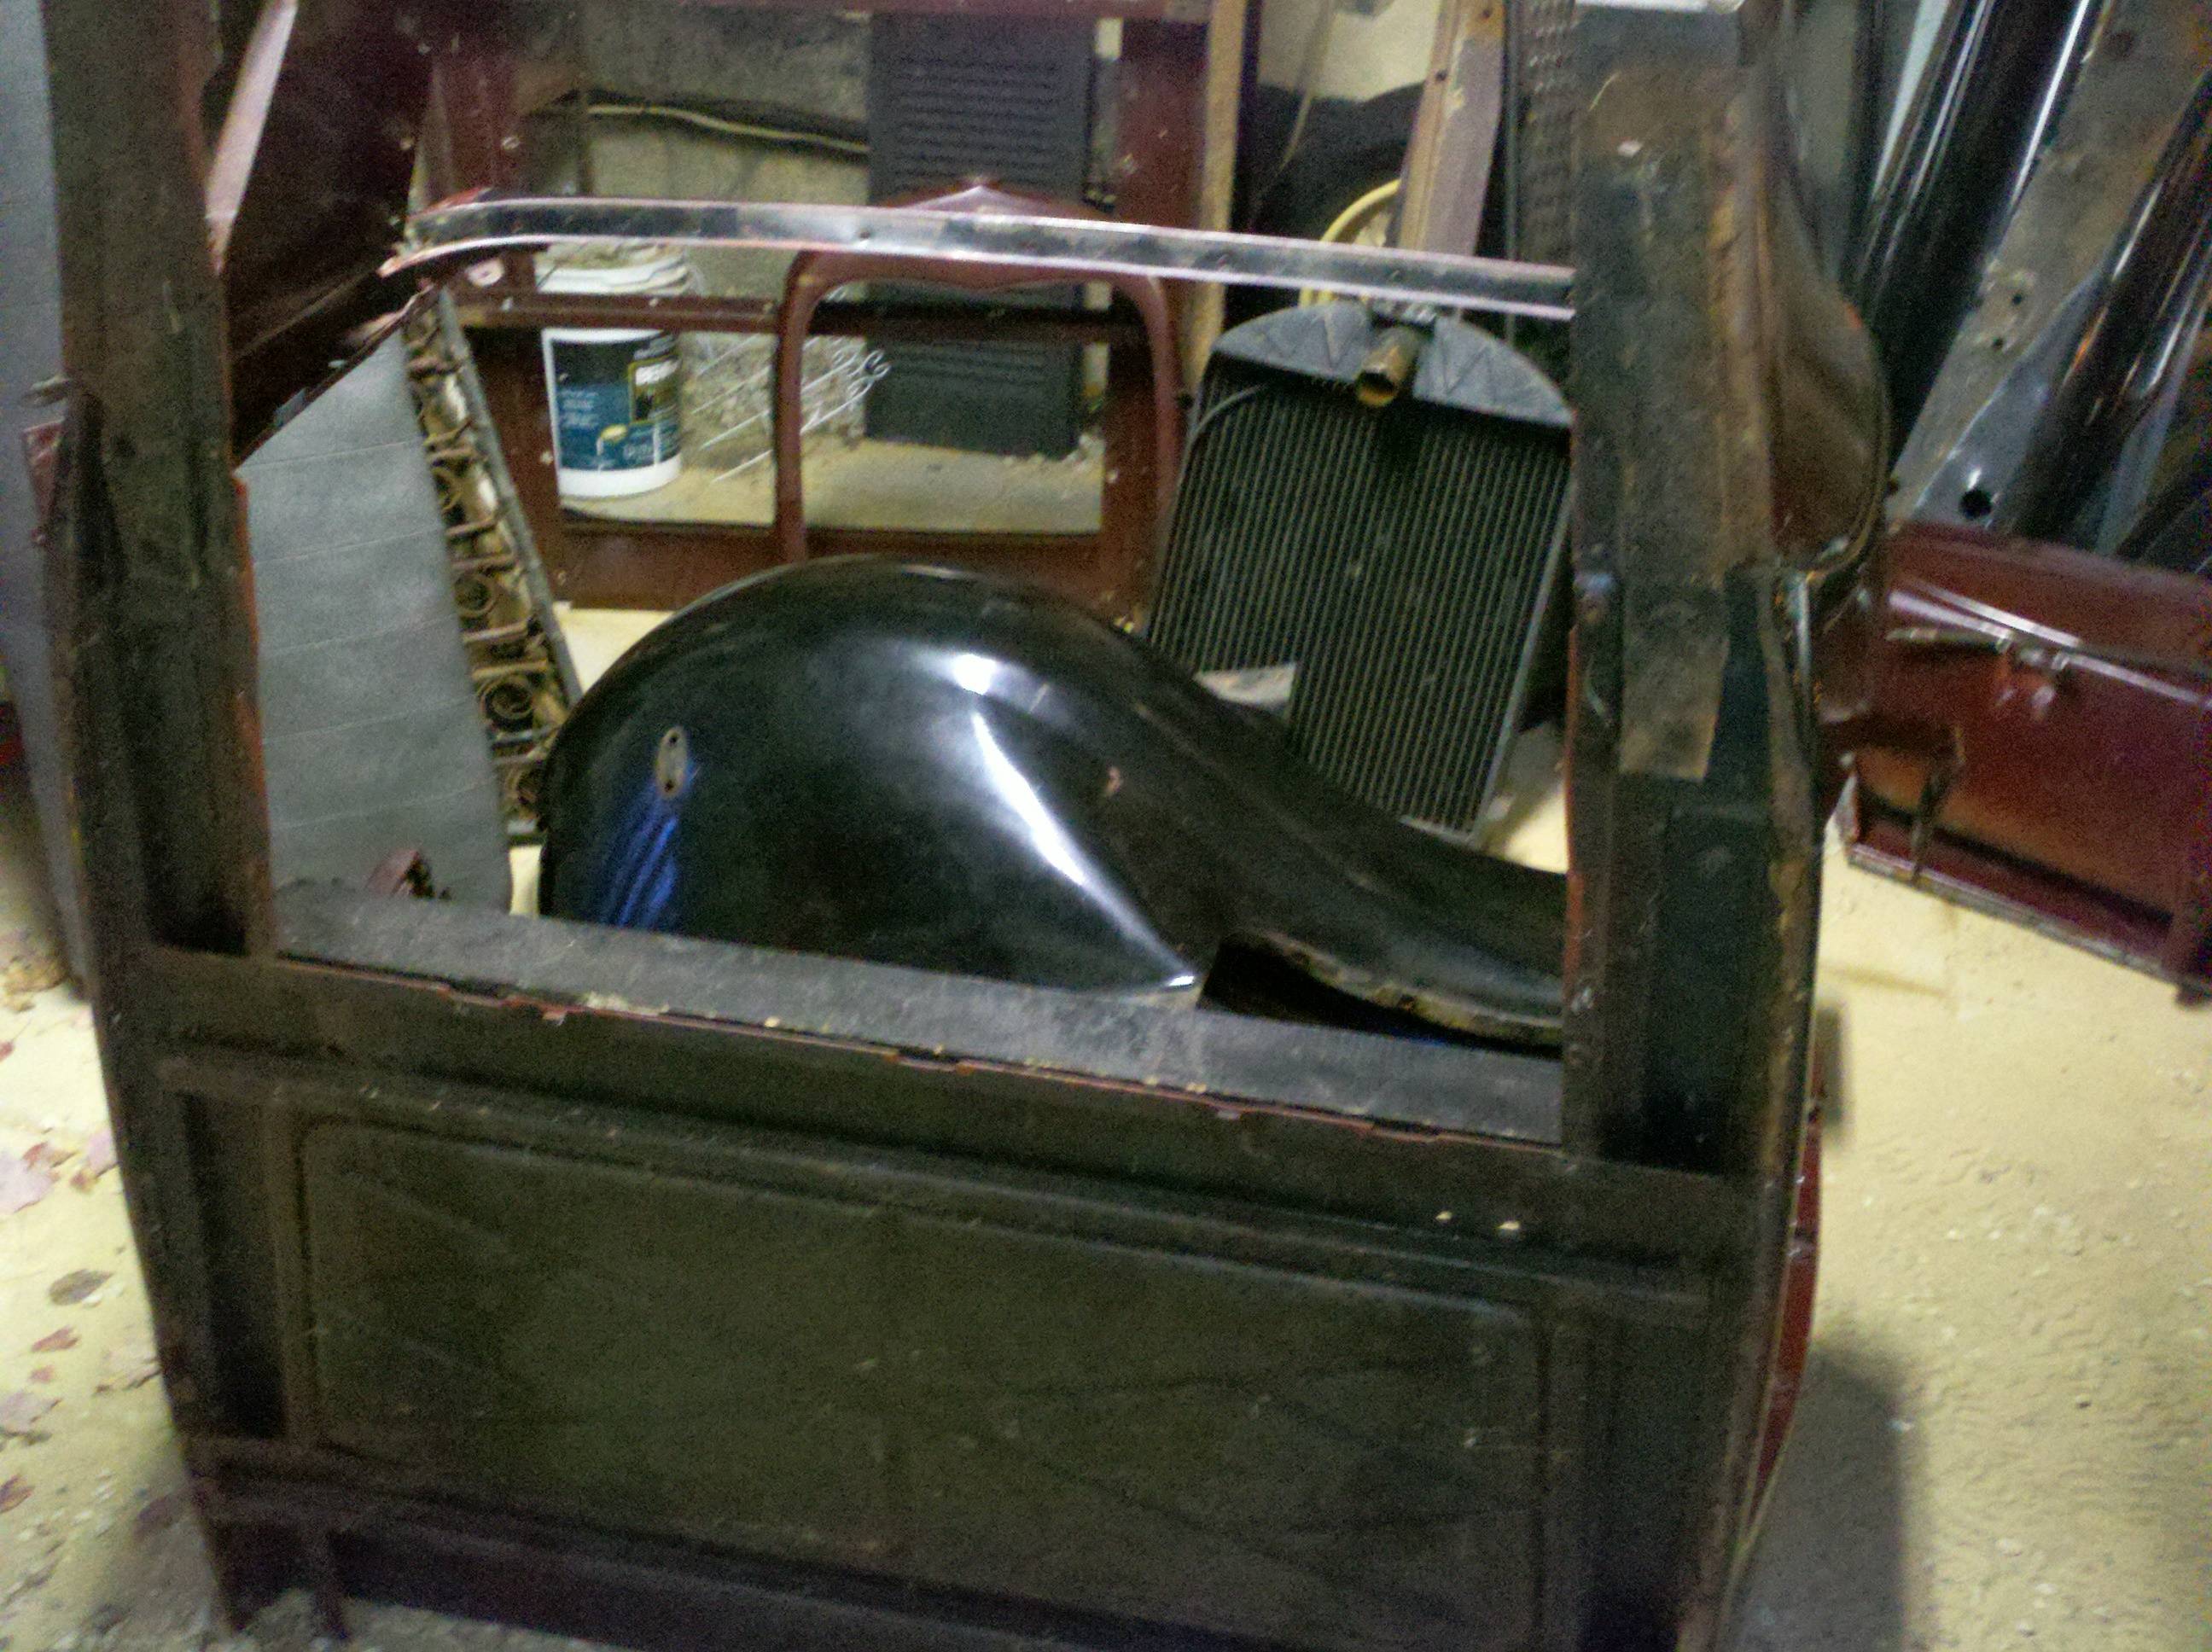
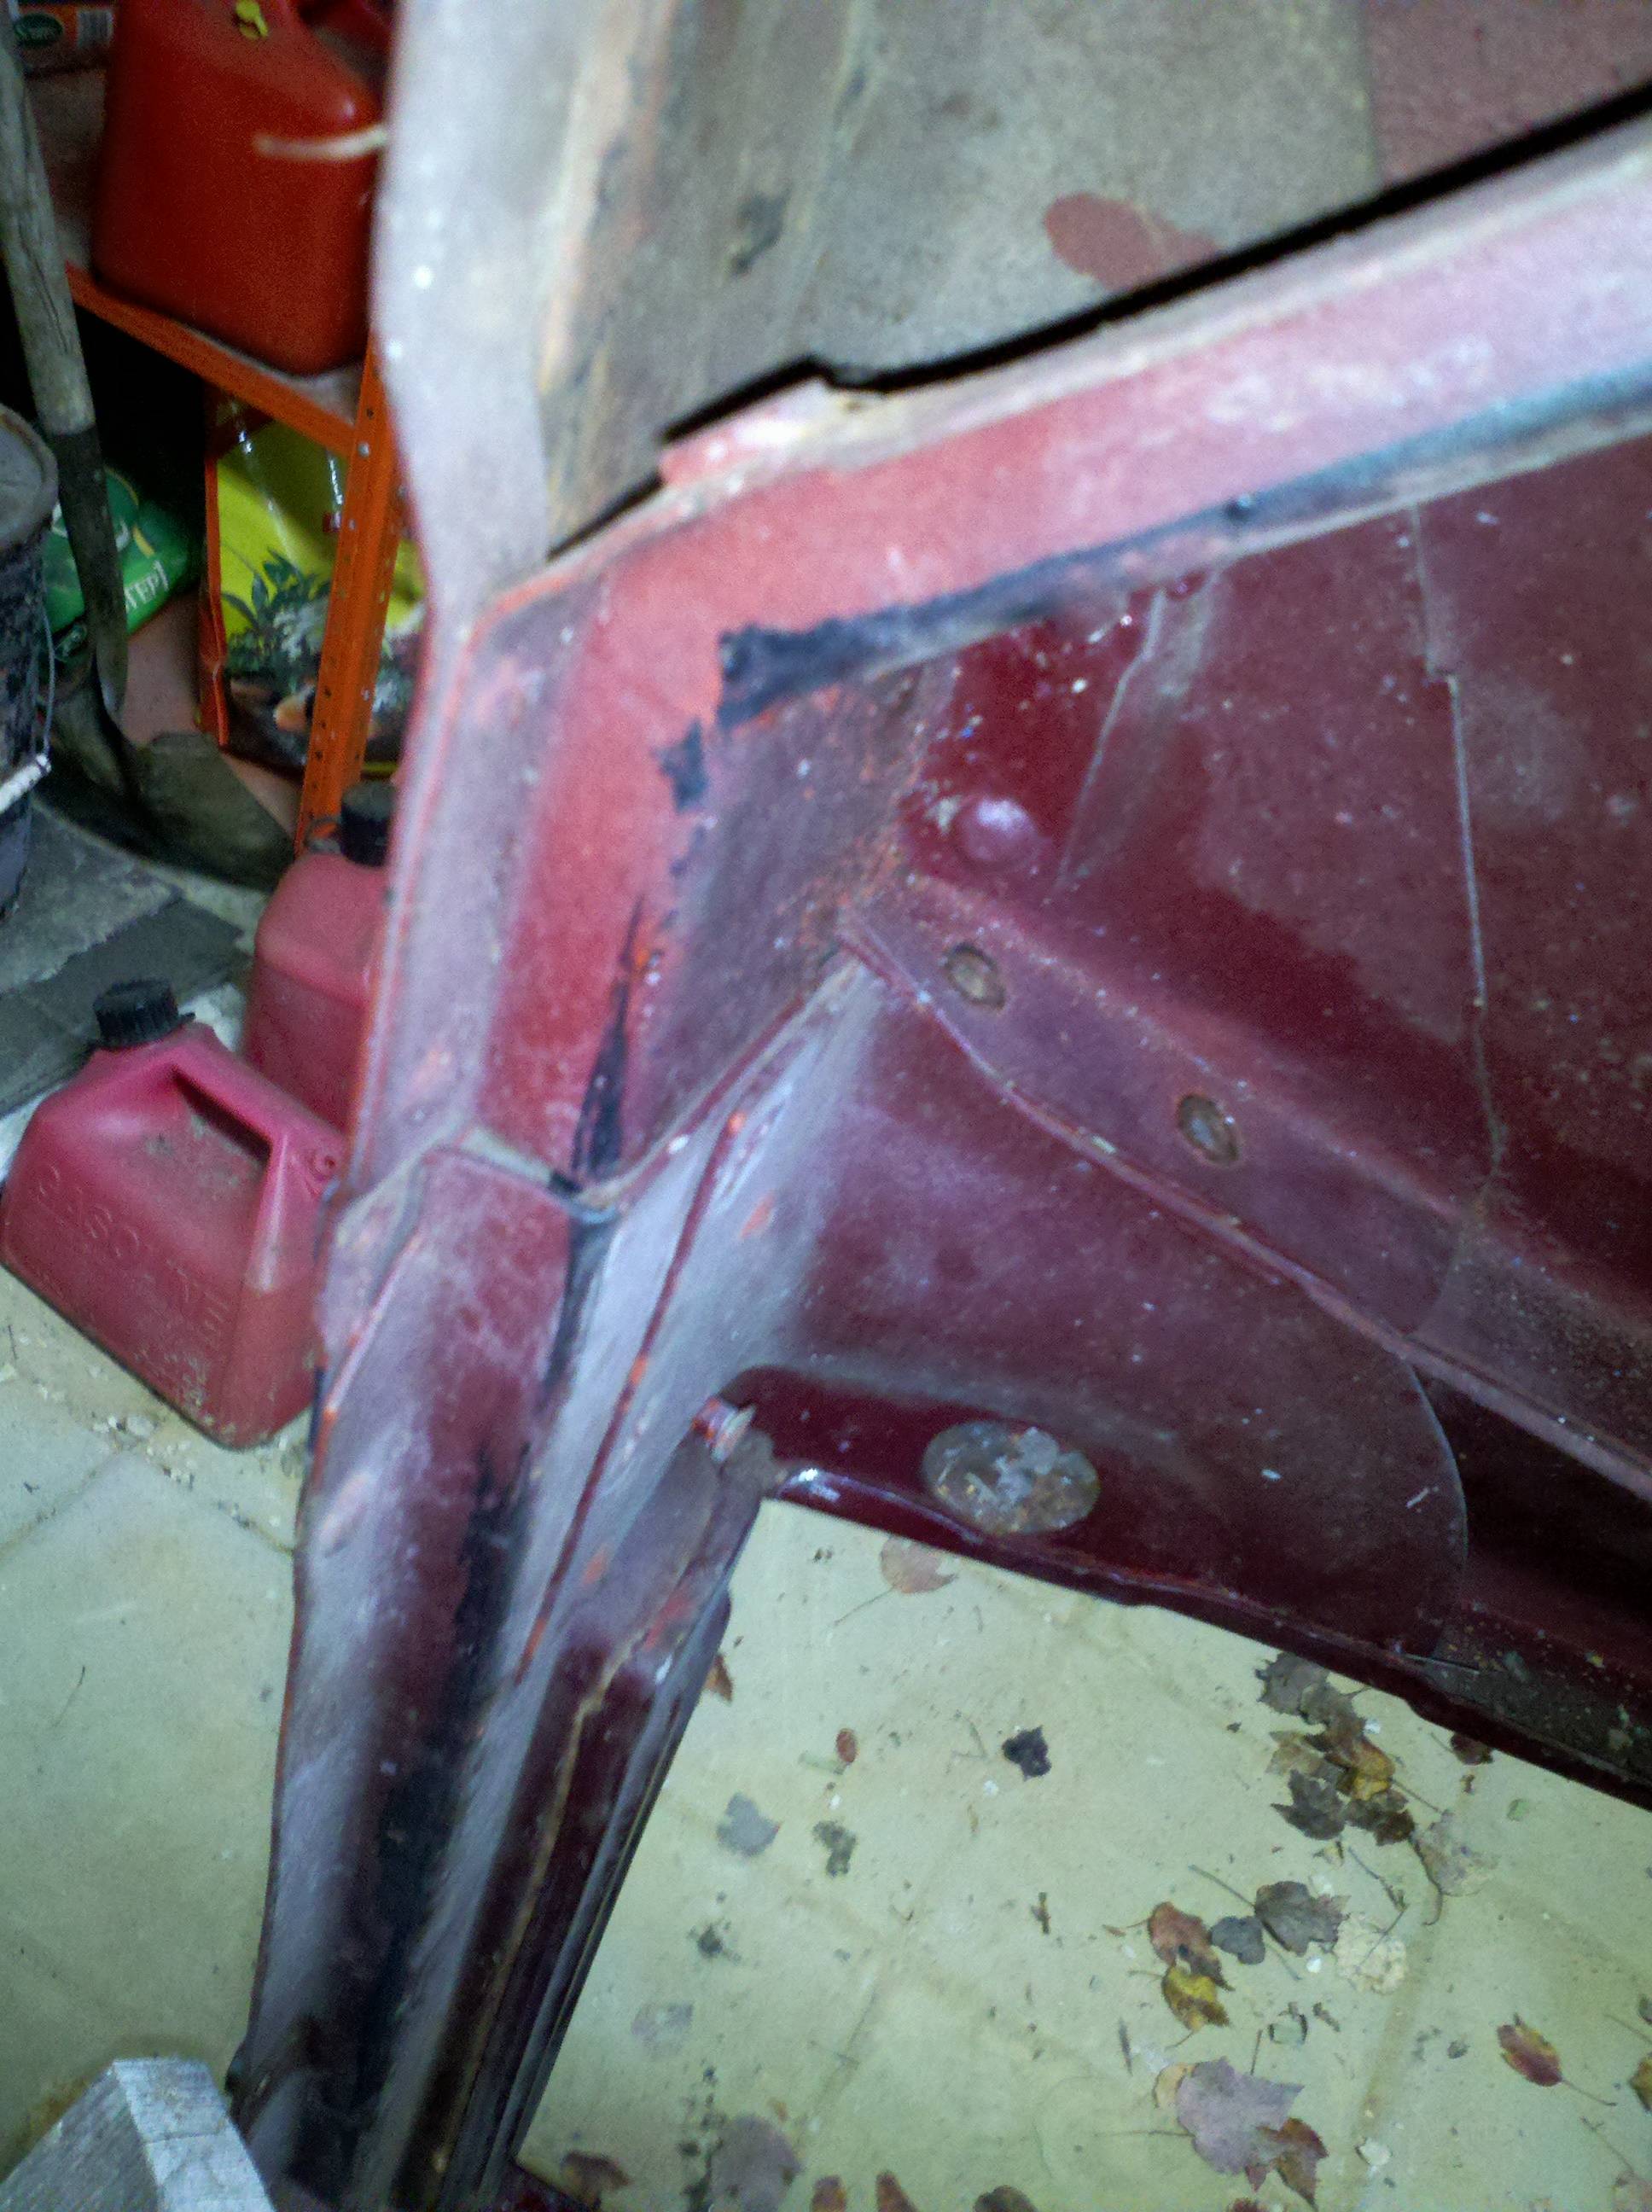
Before we lifted it off, though, I wanted to take a couple of detail pictures. I noticed that the passenger side had an extra bolt hole in the bottom, and I don't know if that's original (or maybe a drain?), or what. Pictures of the fore- and aft mounting holes are up next:


We then picked the body up off the thing, and carried it around back. Not to worry, we didn't hurt ourselves - I'm guessing the body weighed all of about 100 lbs. I took a look at the connection of the body proper (including the door pillars) to the lower cowl, and it appears to me that there's two rivets on either side that hold them together. I'm considering pulling them, so I can get in, pull out the welt, and clean up the metal in between....
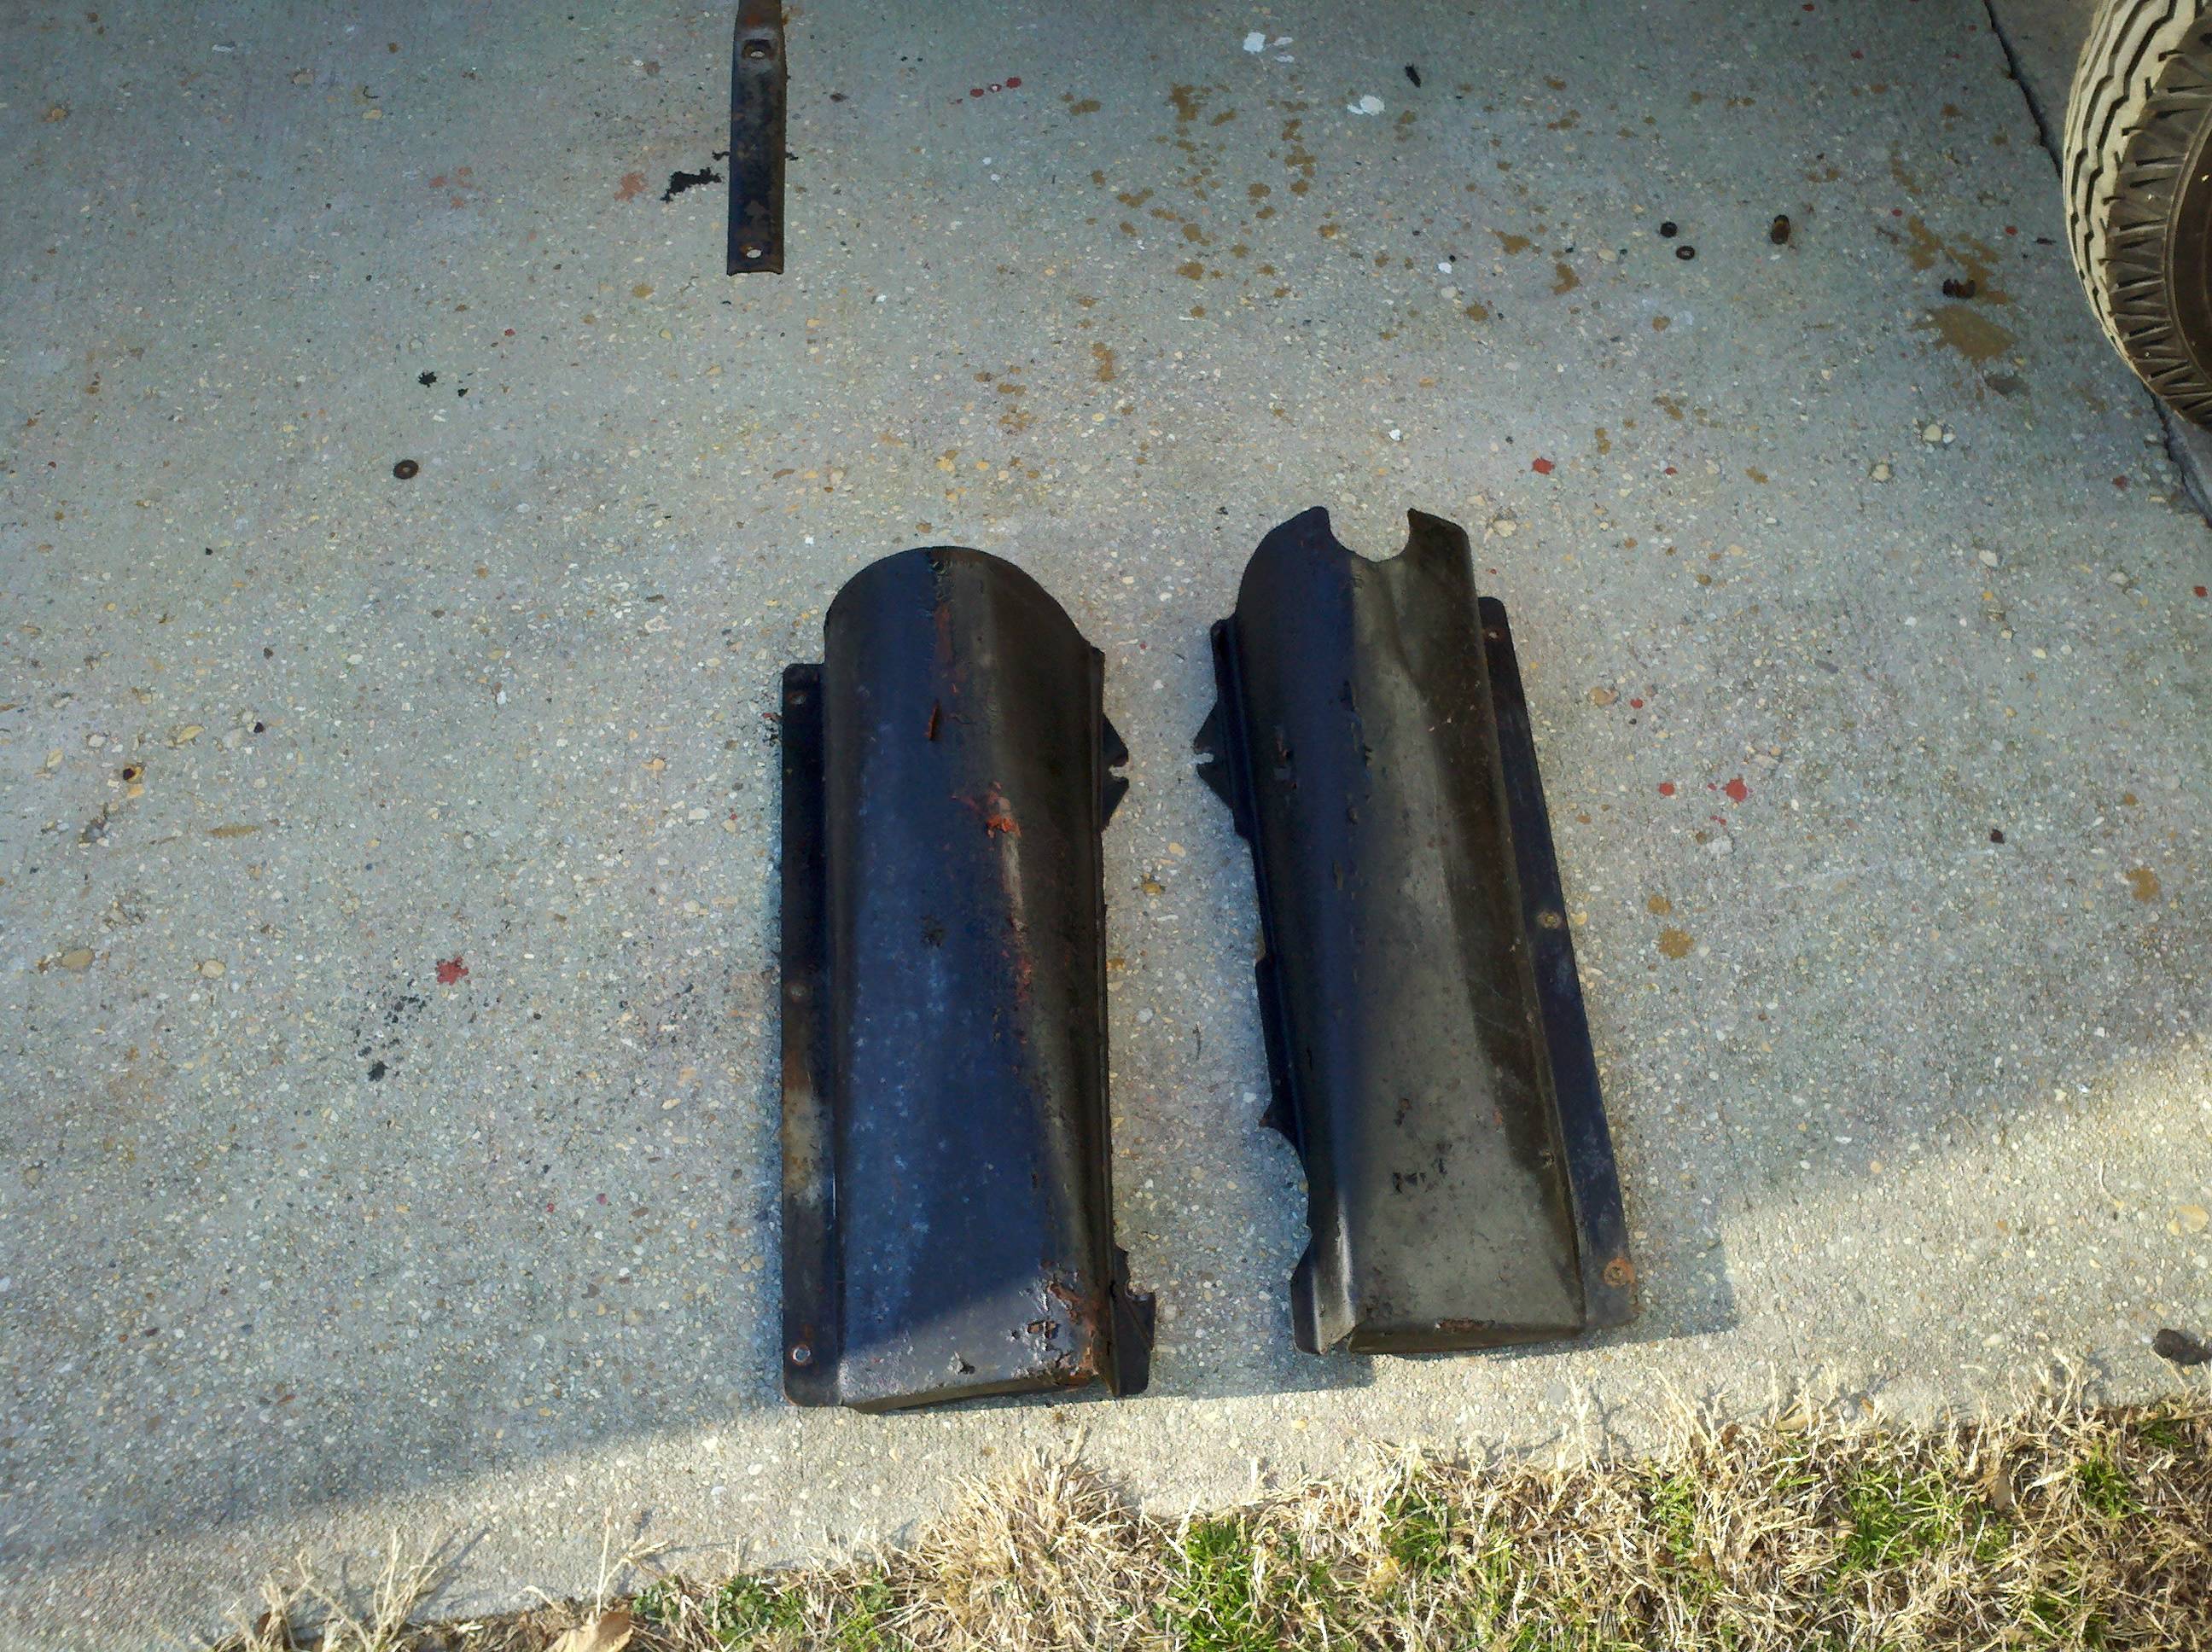
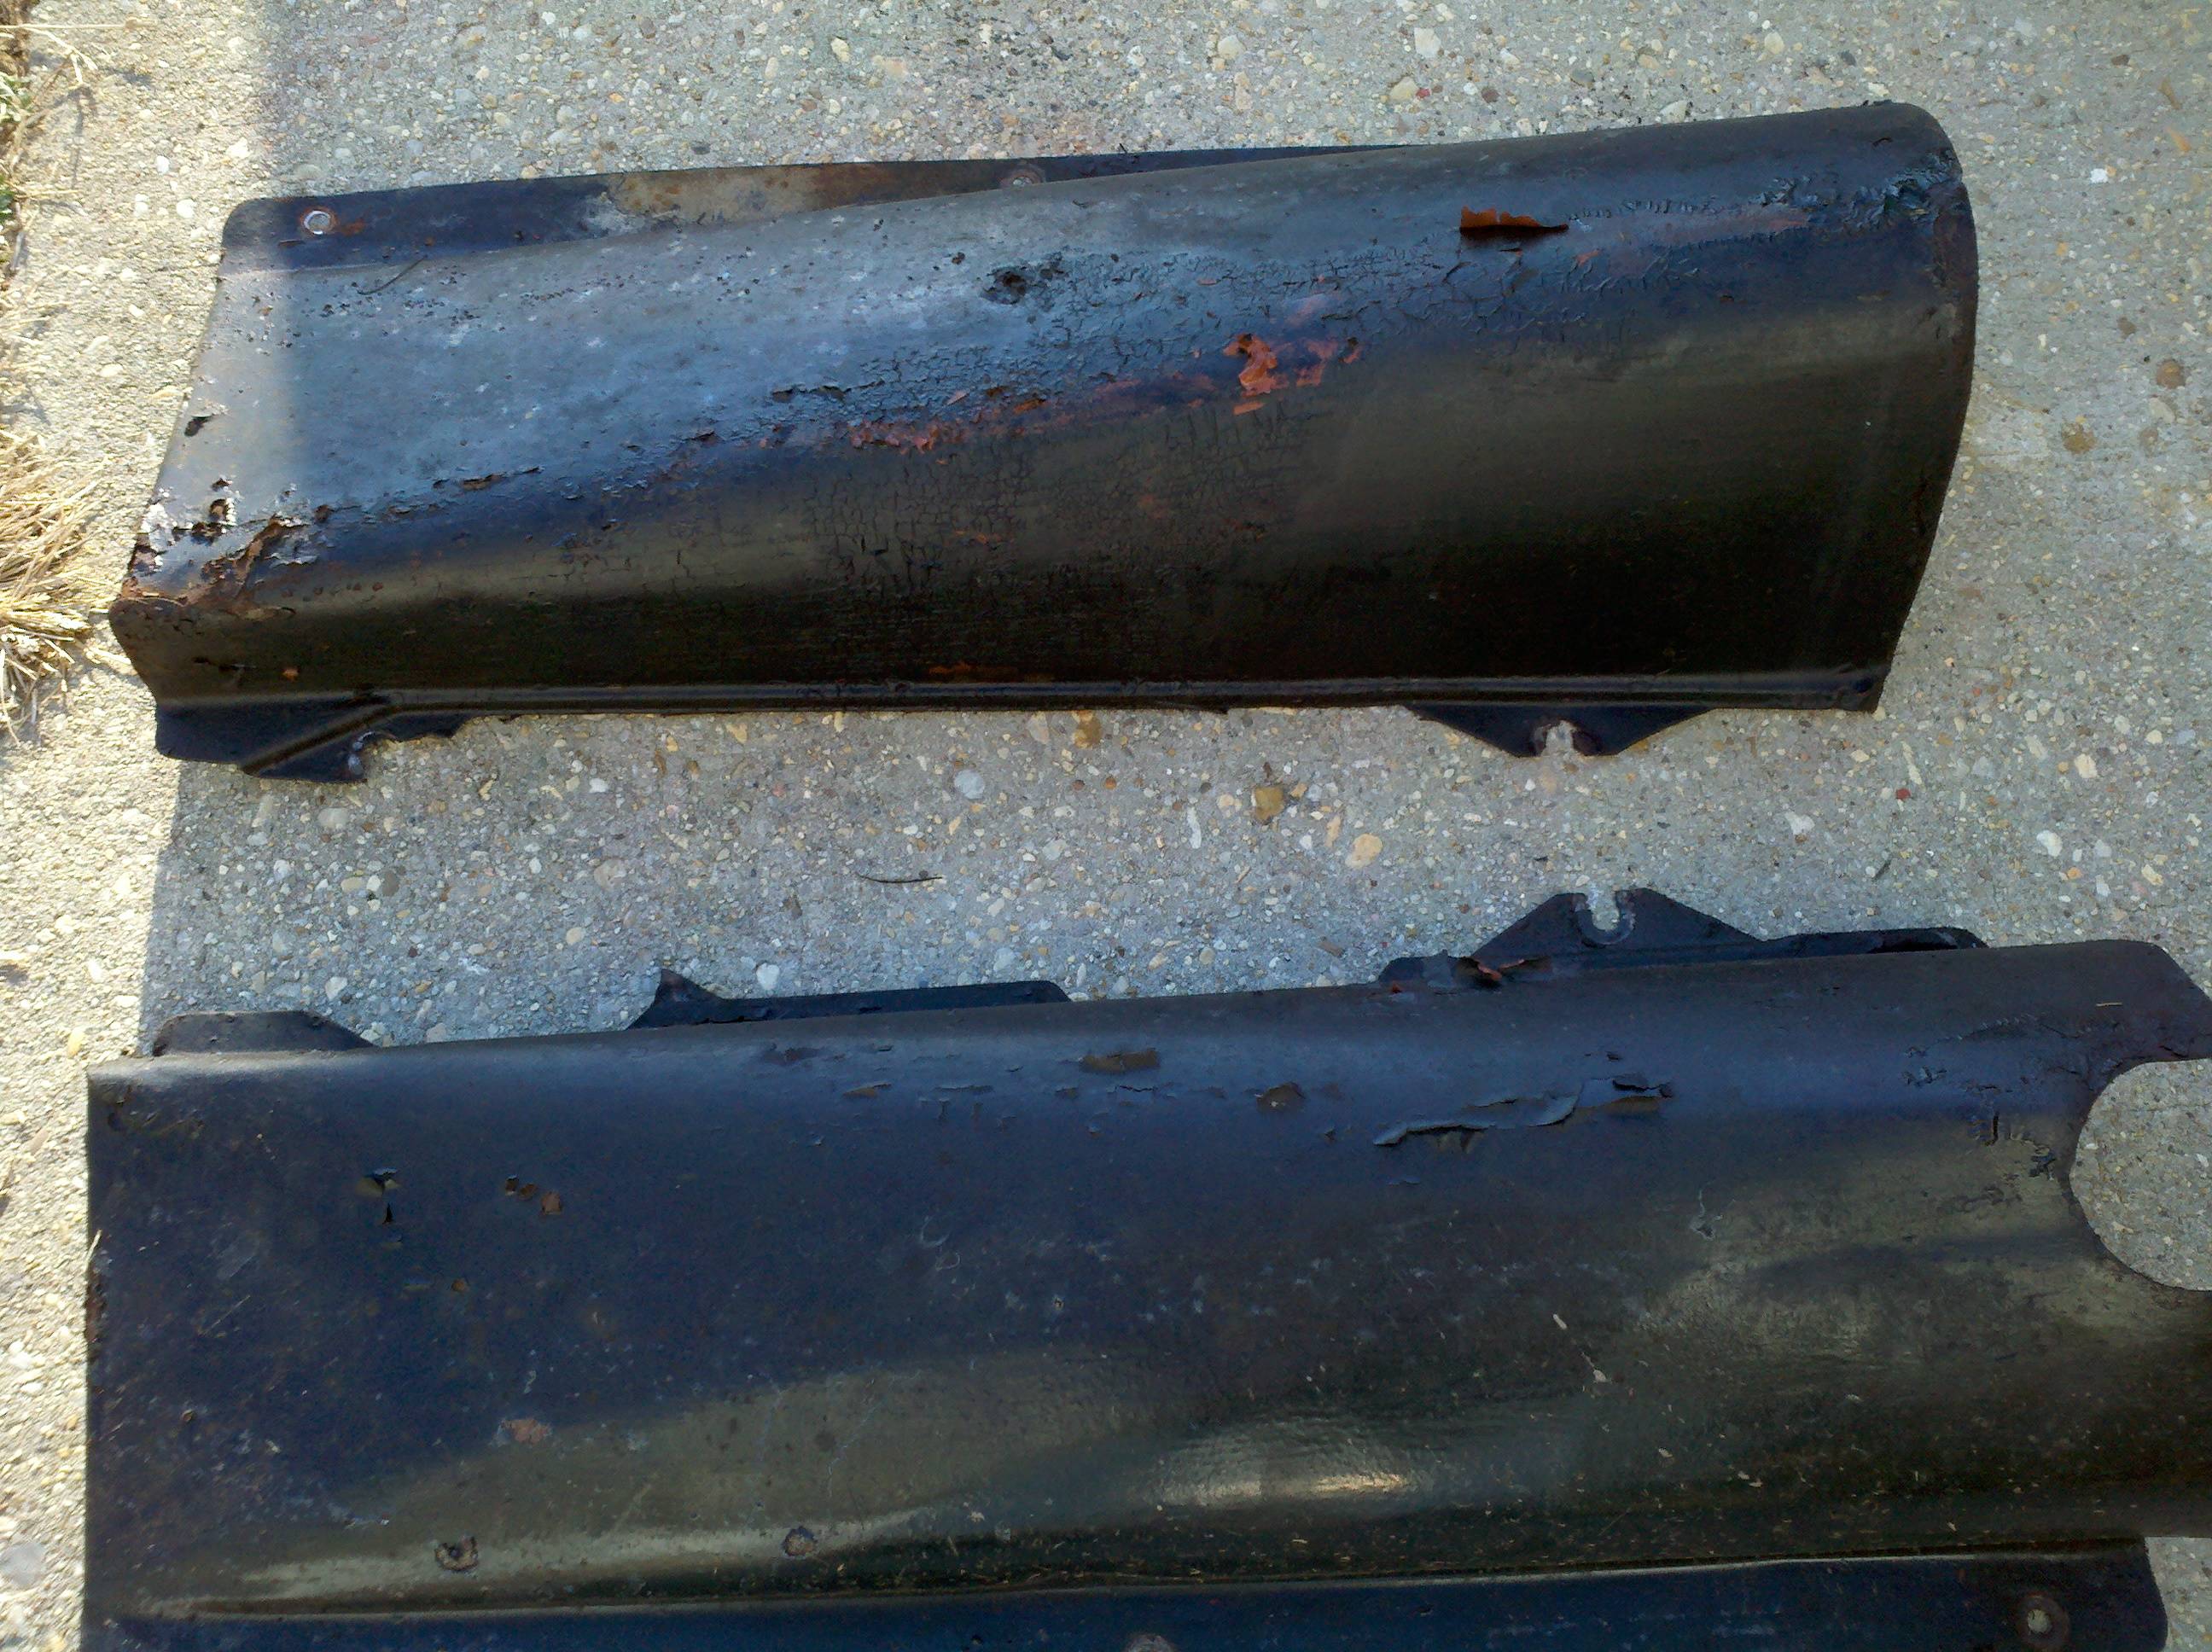
Next step was to pull the side skirts. Much to my surprise, there appeared to be nothing holding them on! It looks like the body bolts and the body itself held them in place, along with a little bit of fibrous tape put there to aid installation. They had welts both over and under, but otherwise, I just picked them up and carried them away! (I had to pull the spare tire mount from the driver's side, though, to get that one off)


And now, it was getting dark (and cold), so I put everything away, and wheeled it in to the garage for the night.
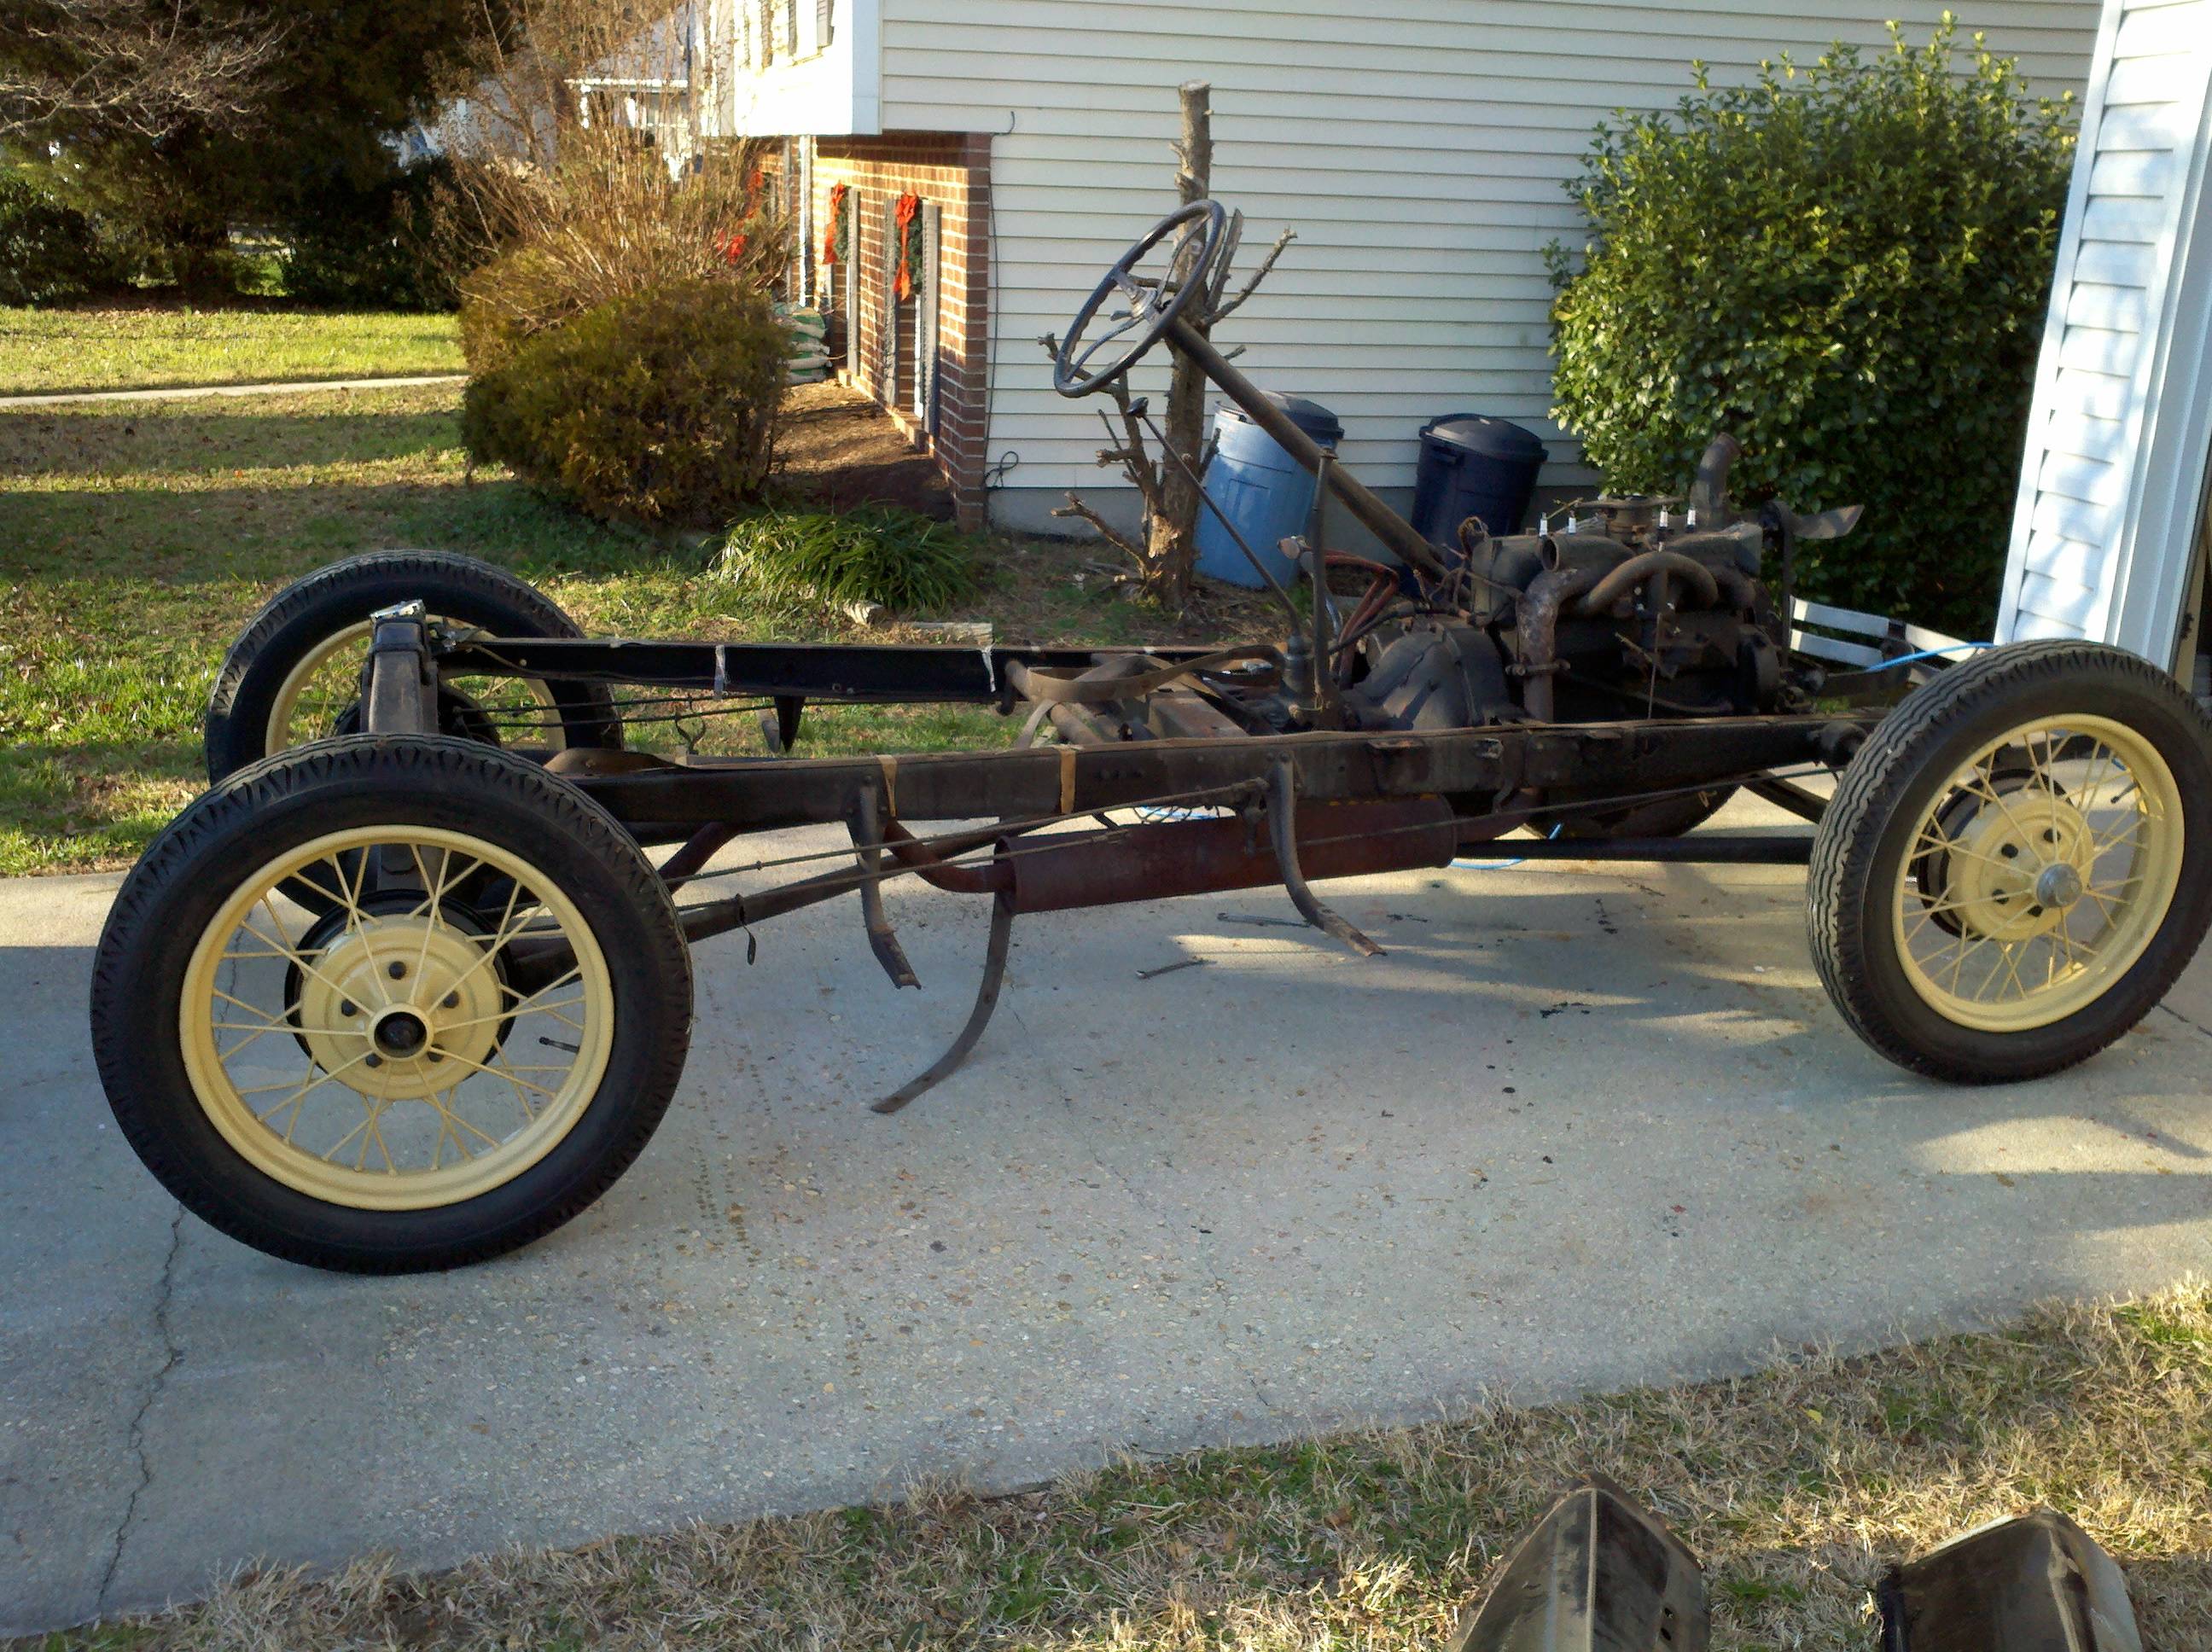
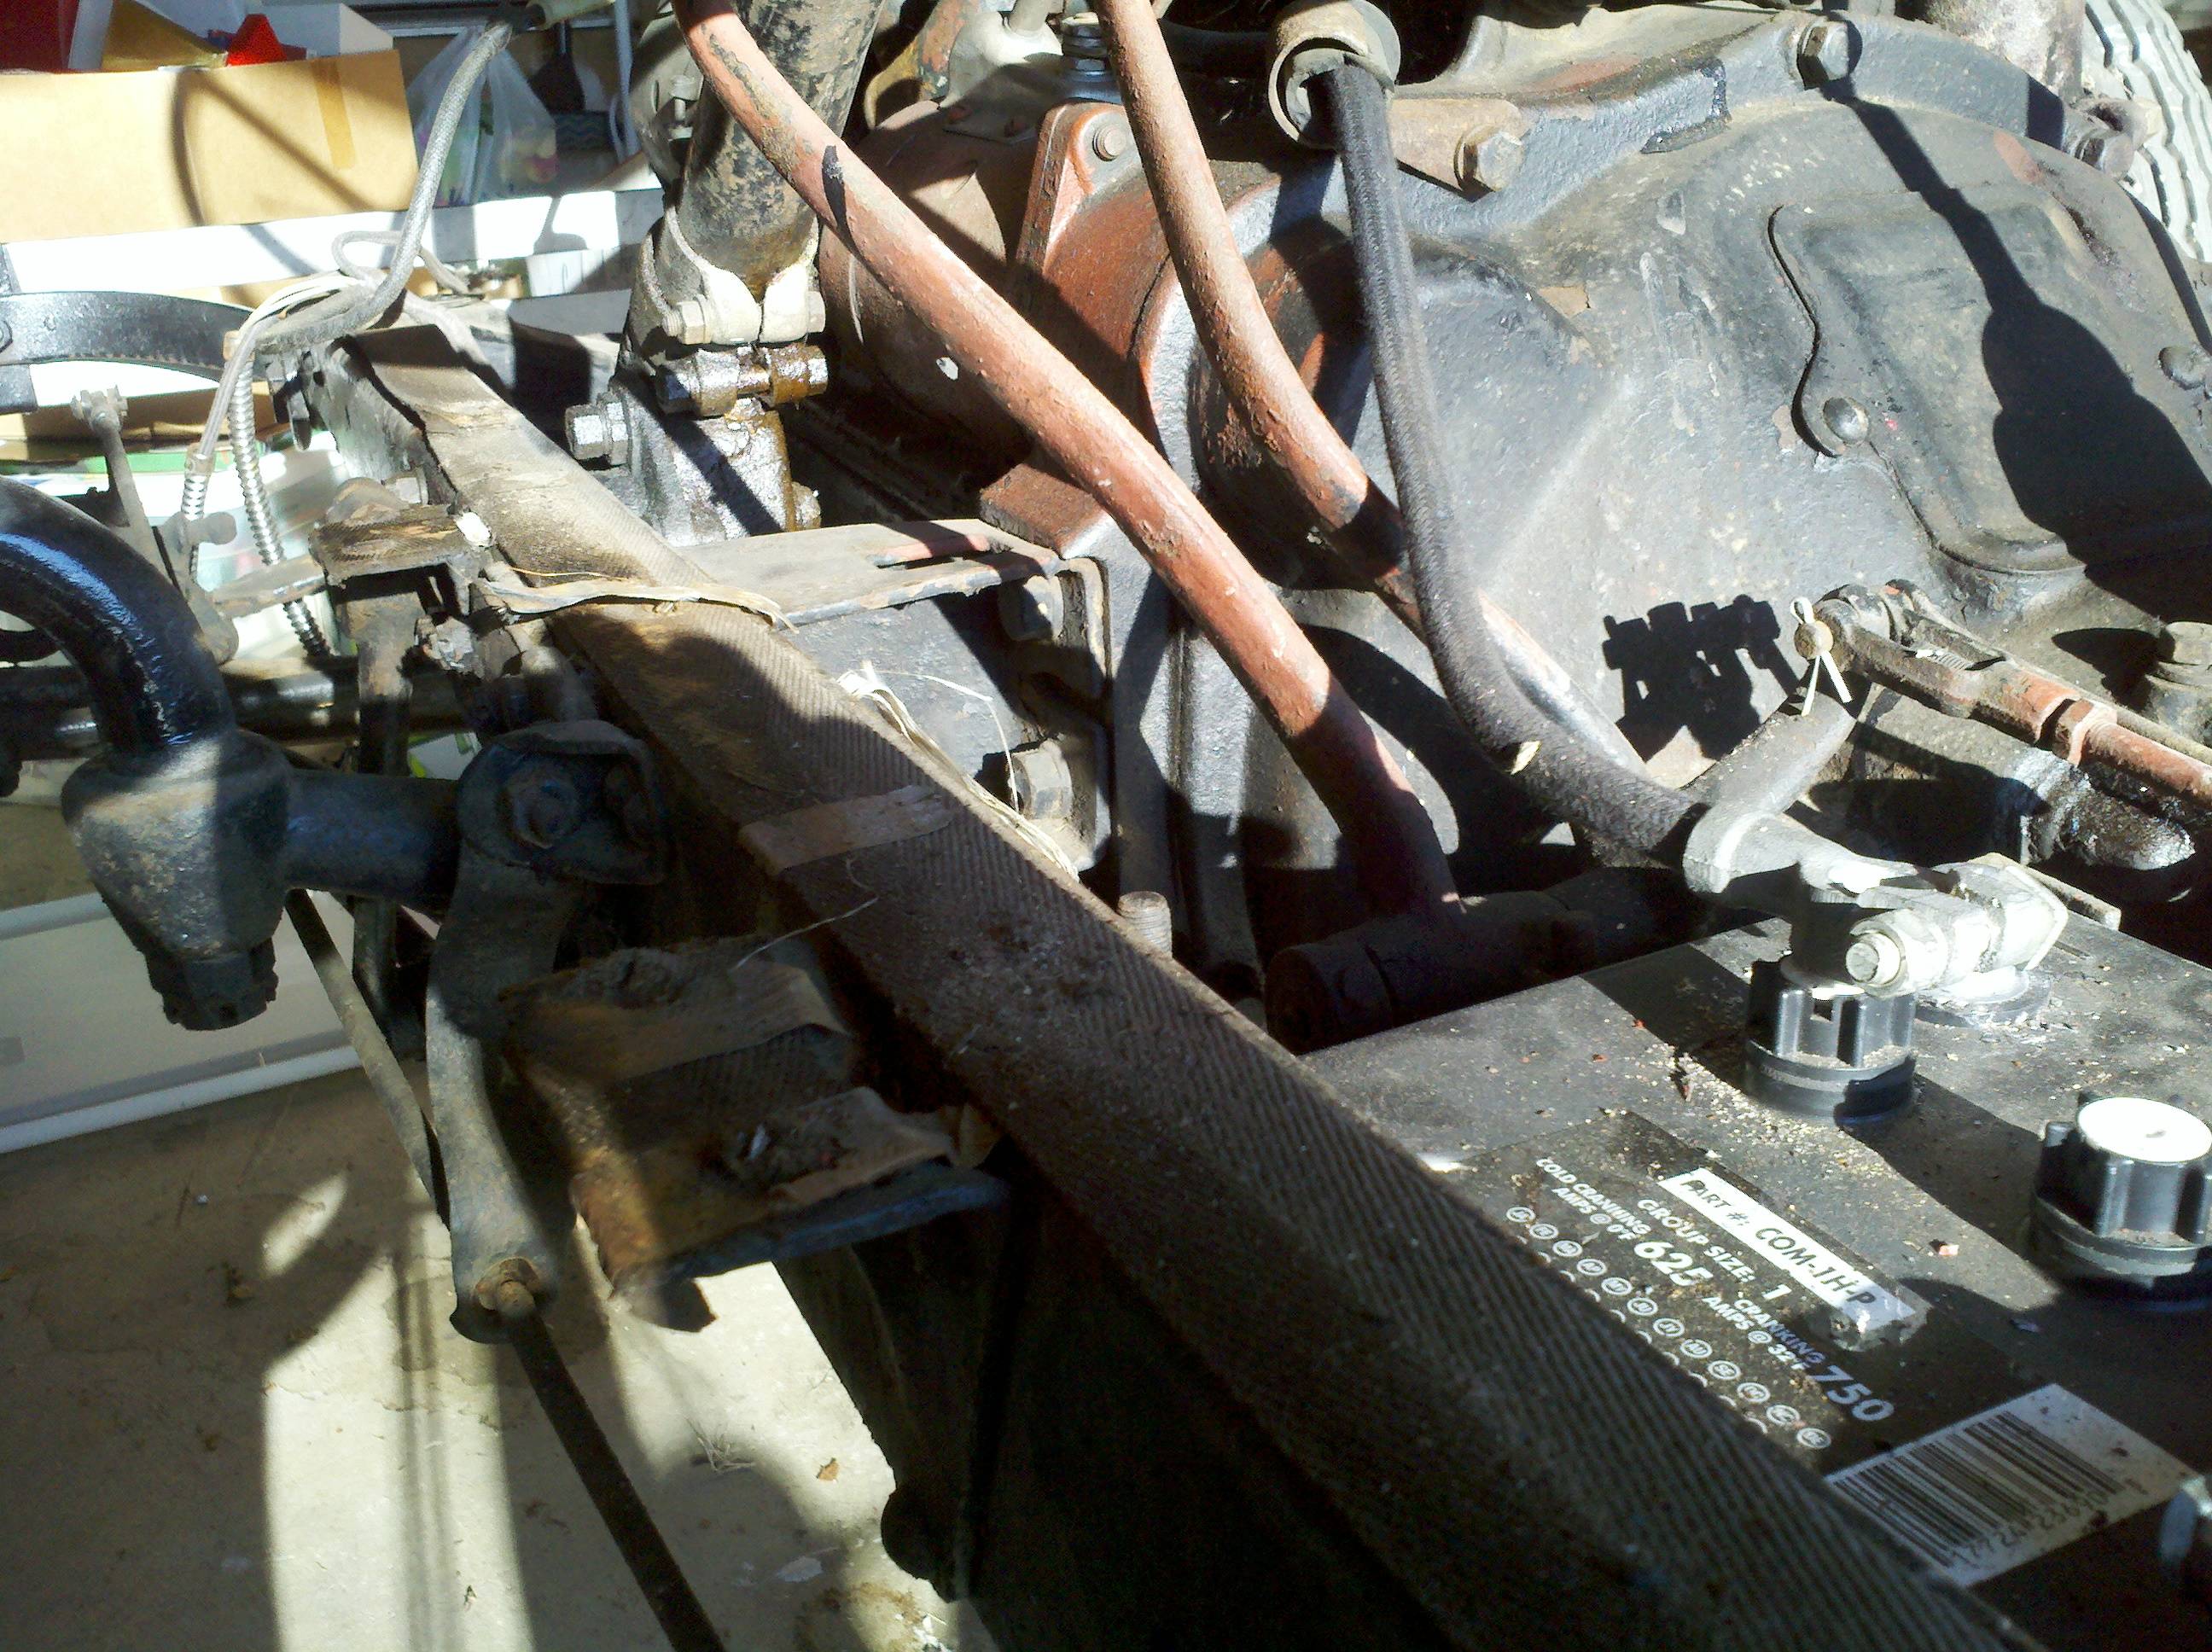
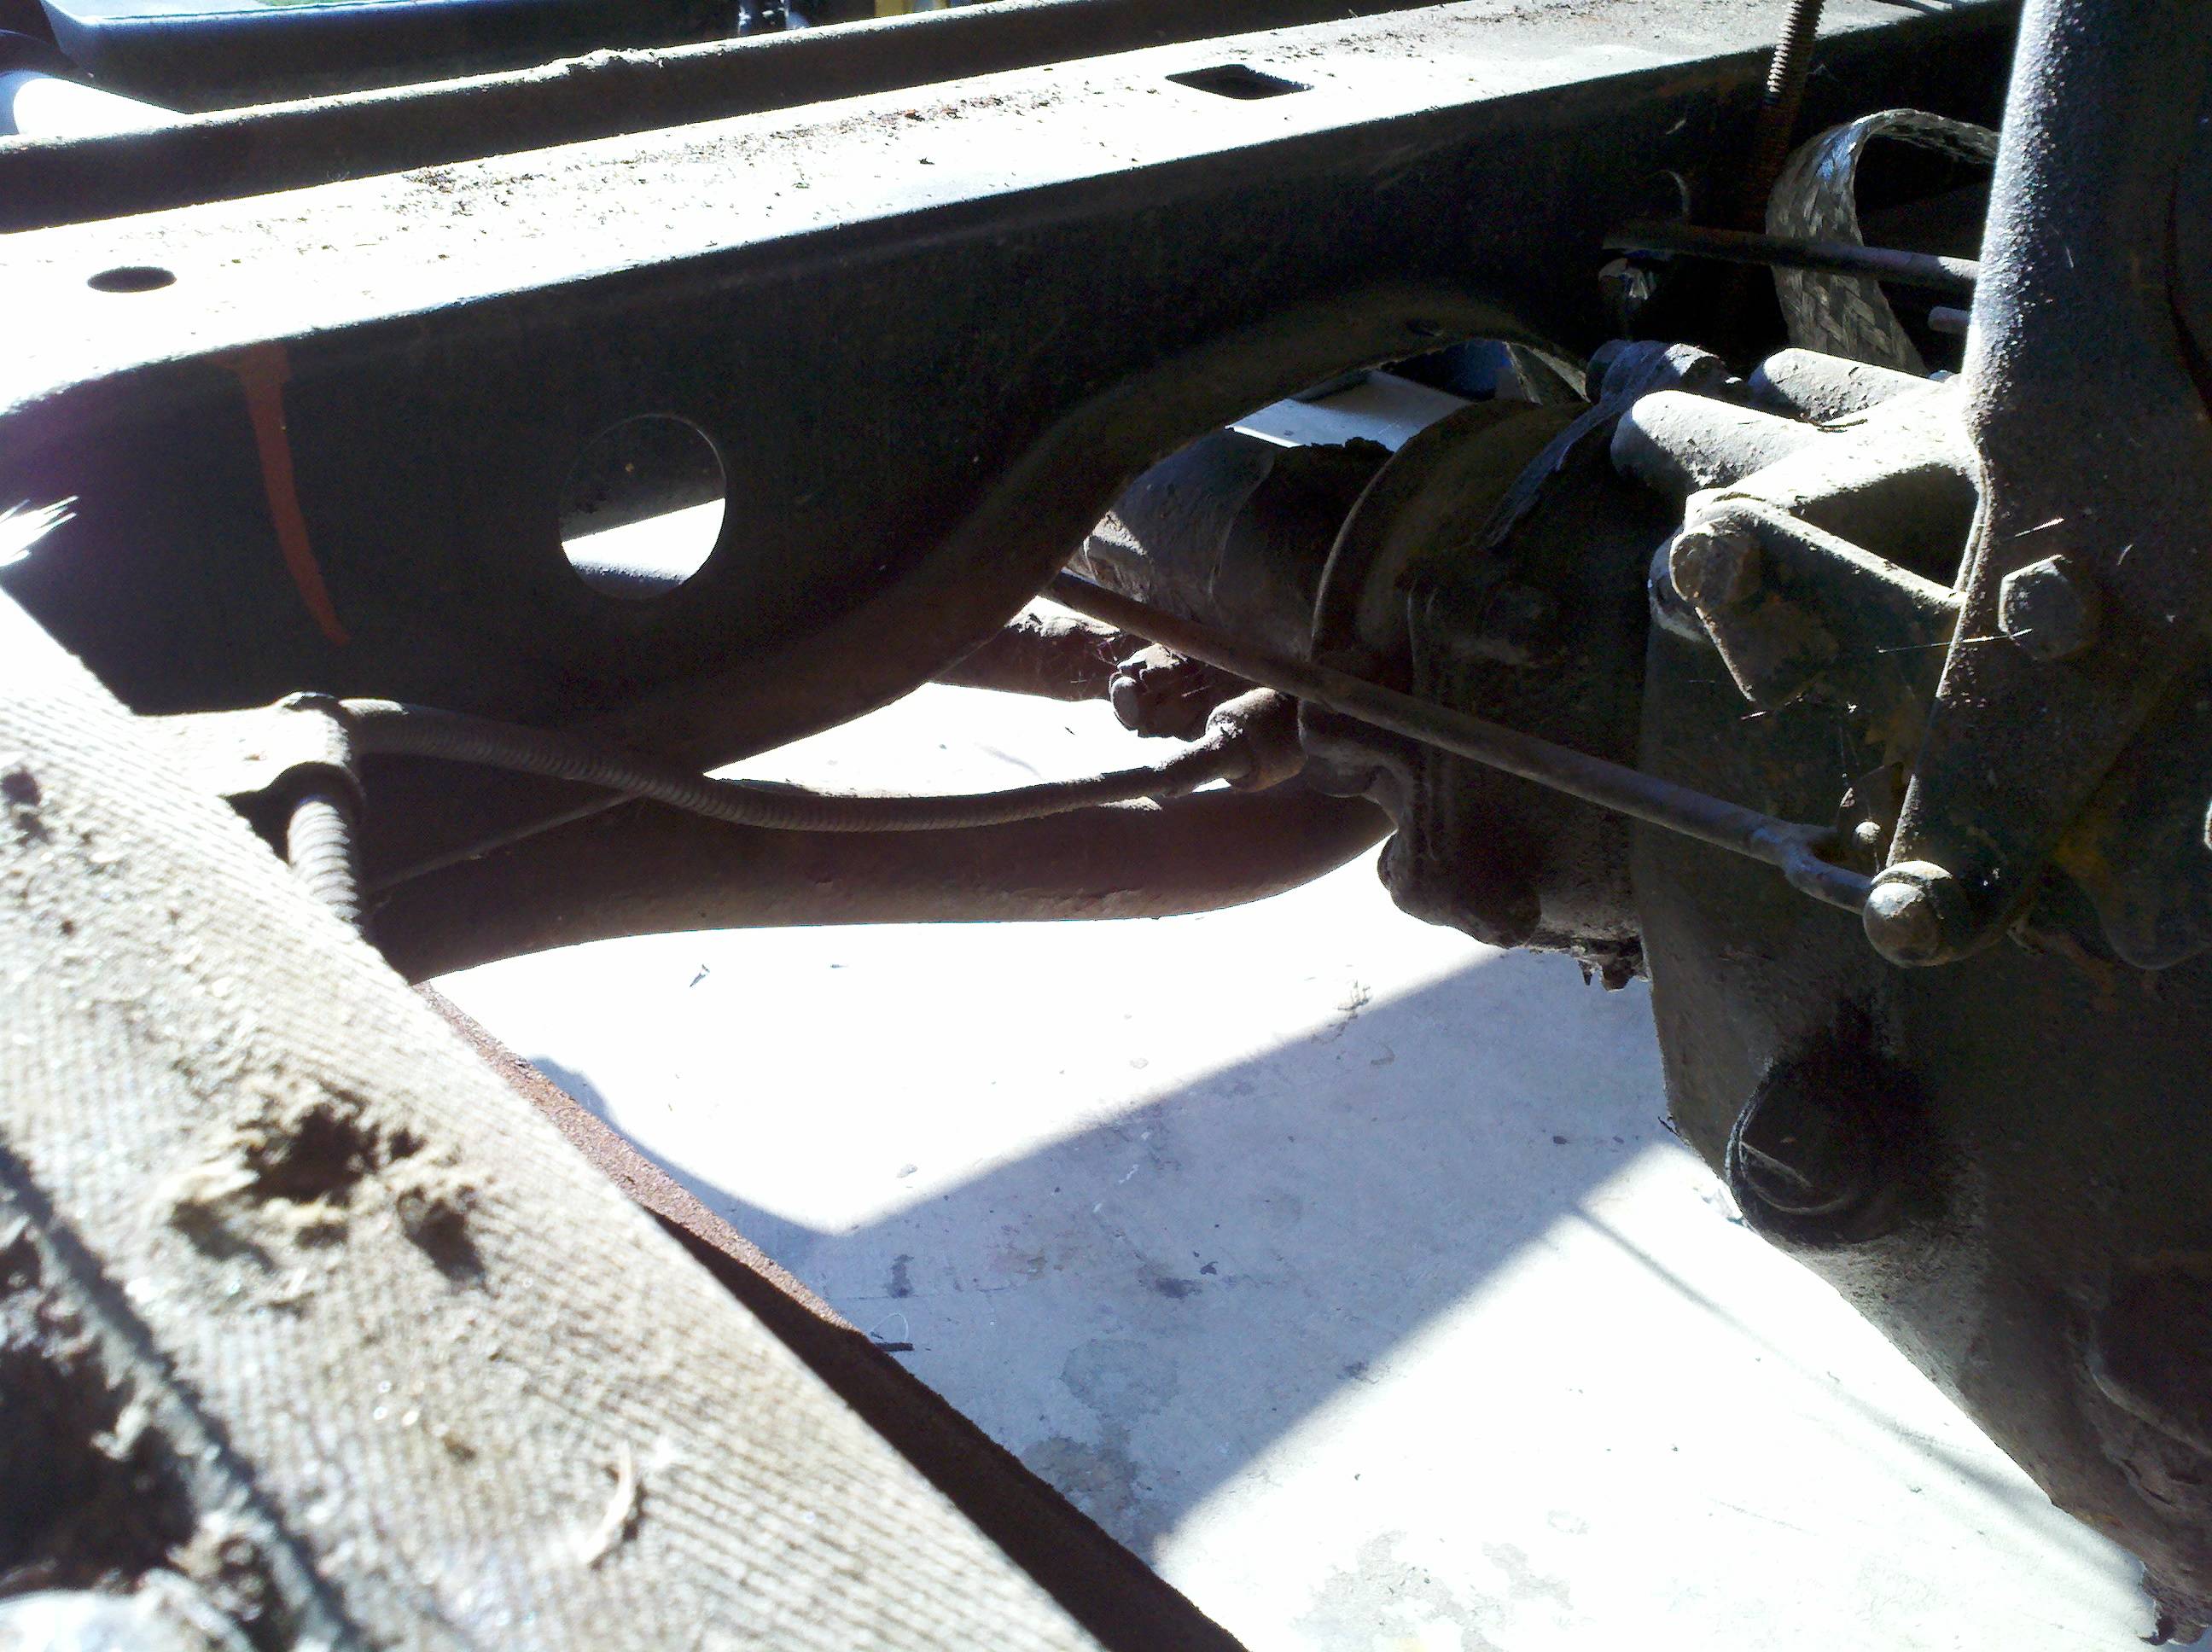
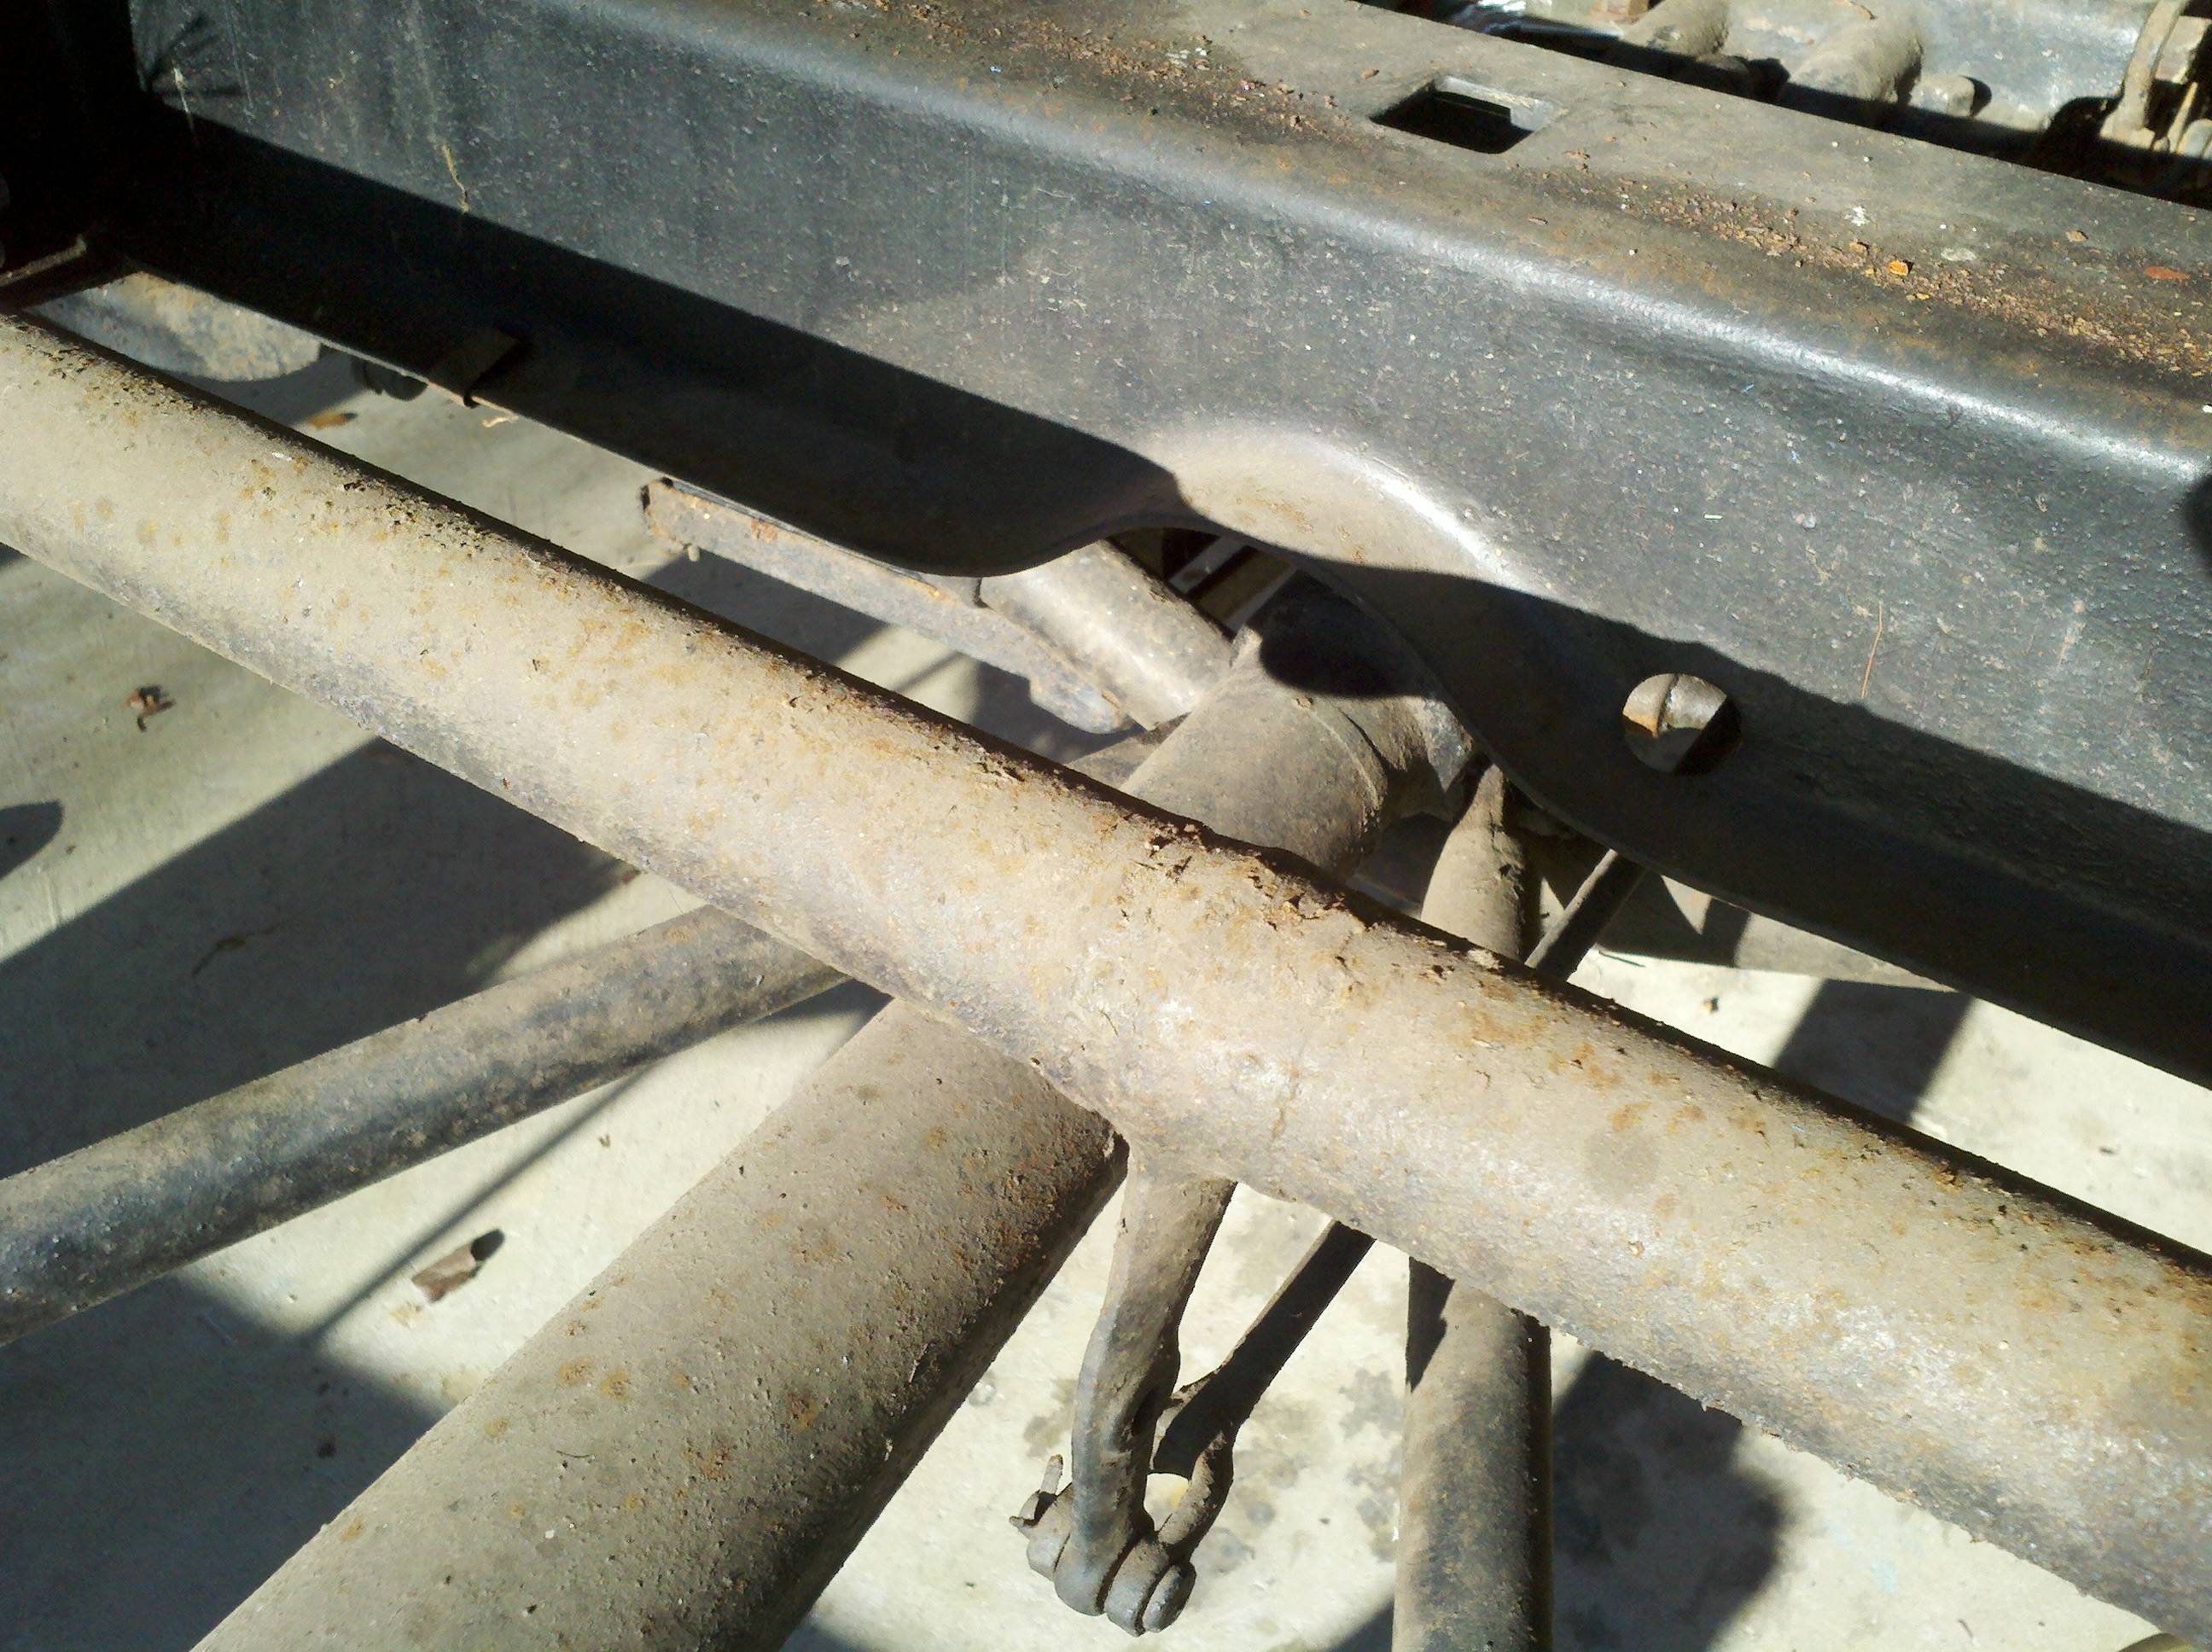
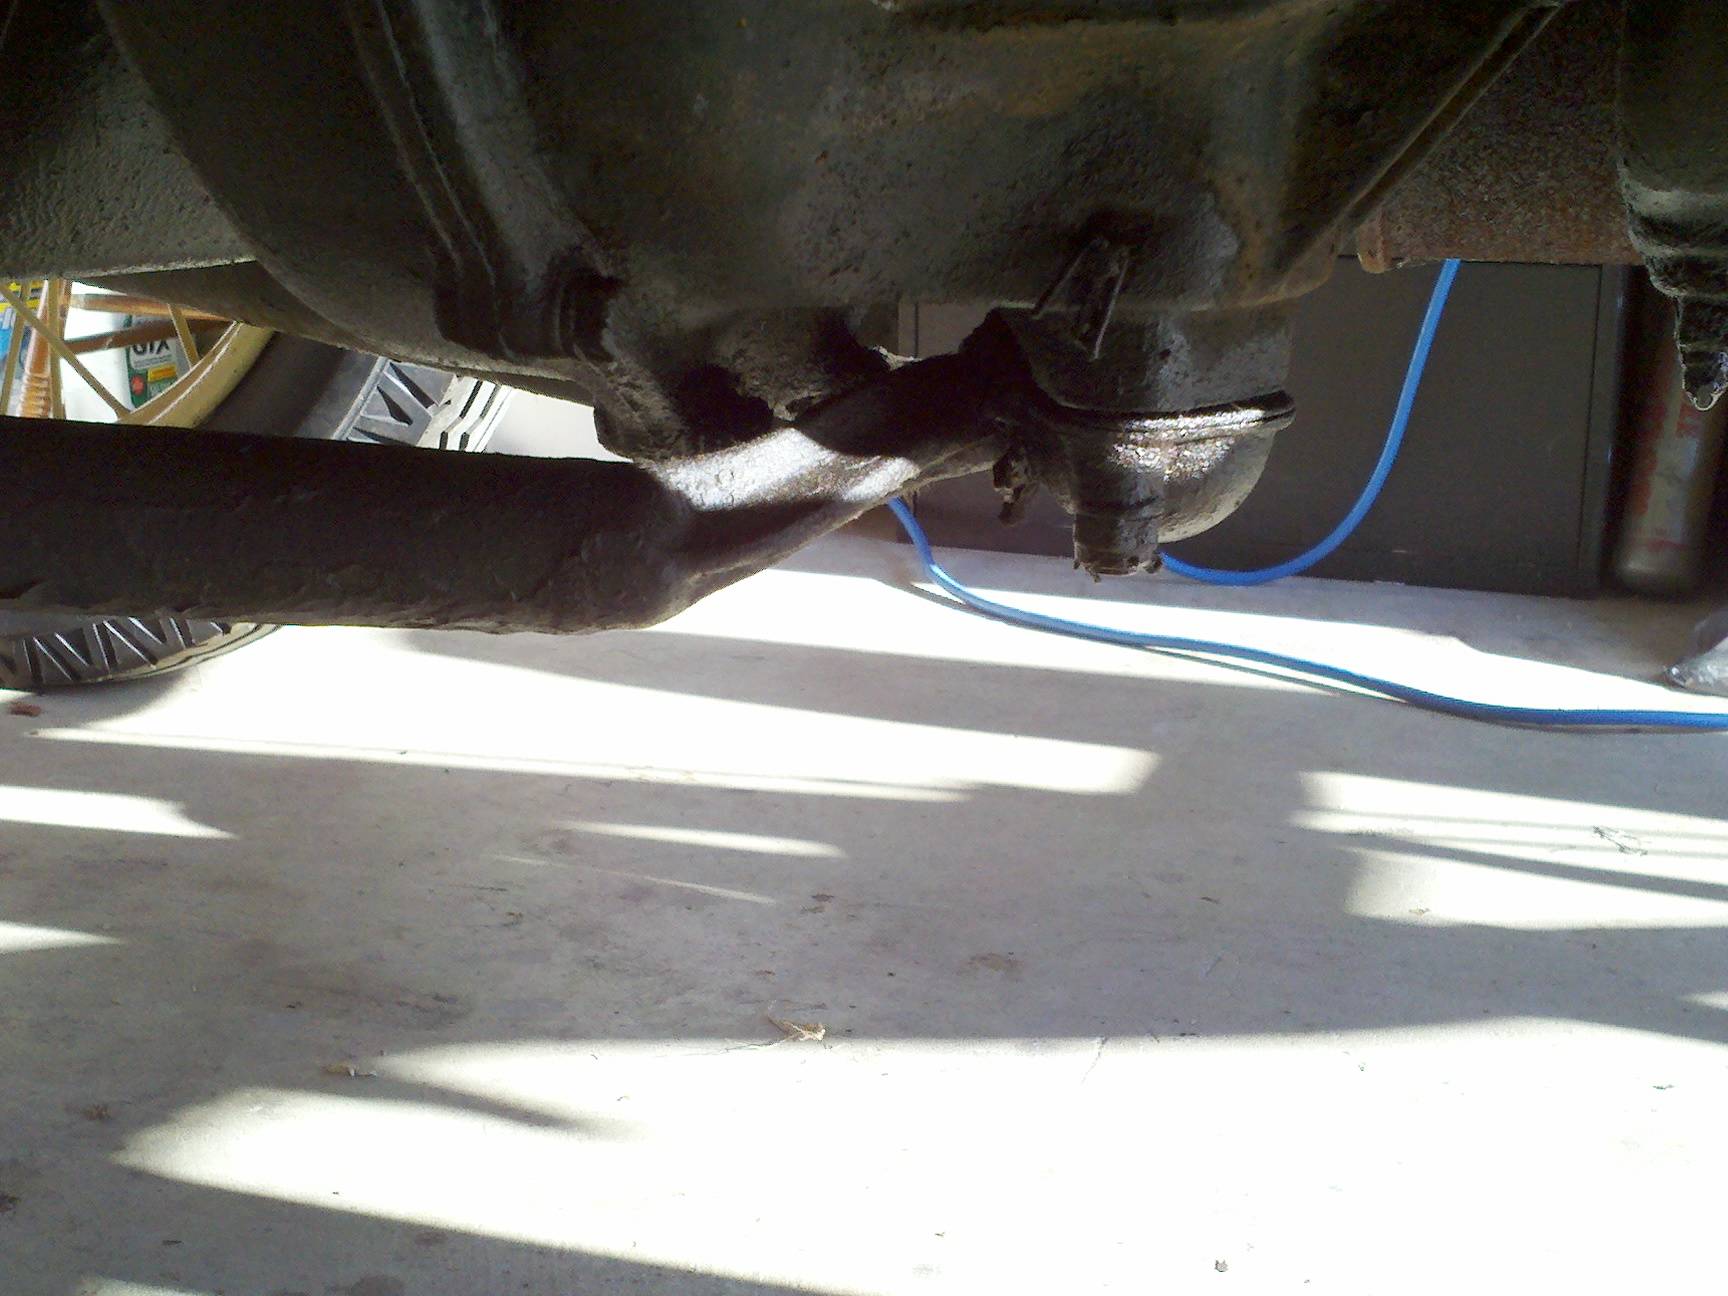
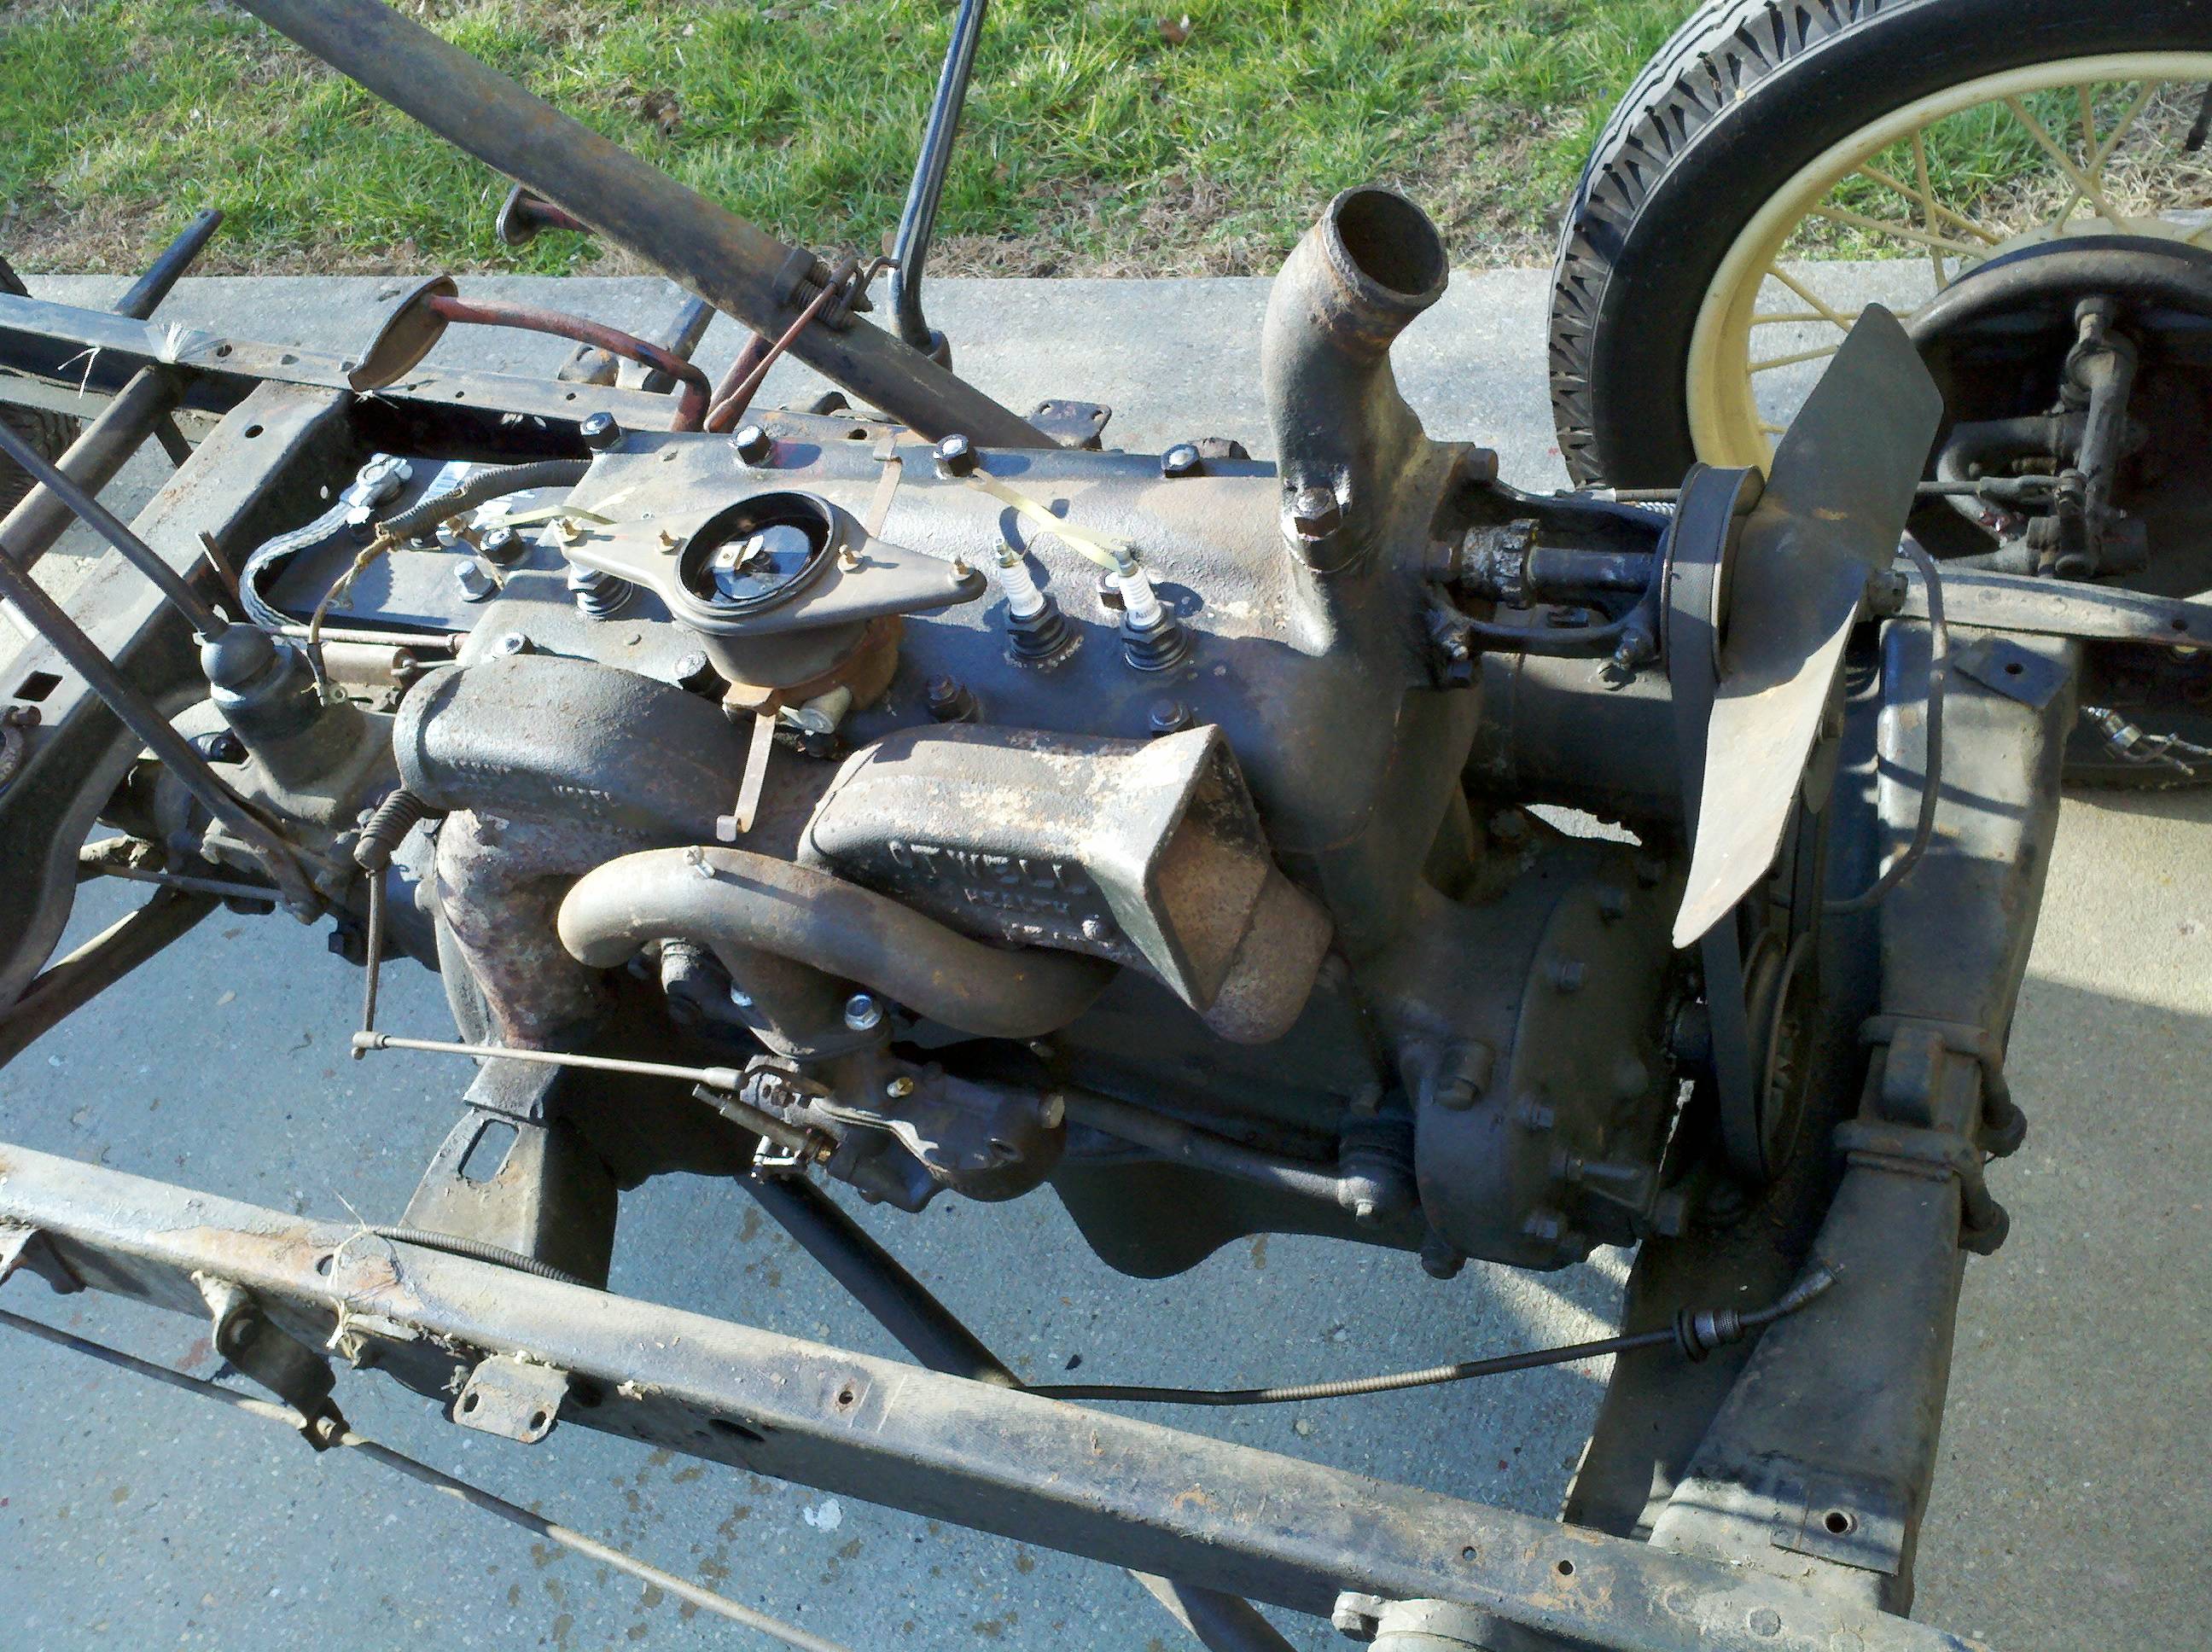
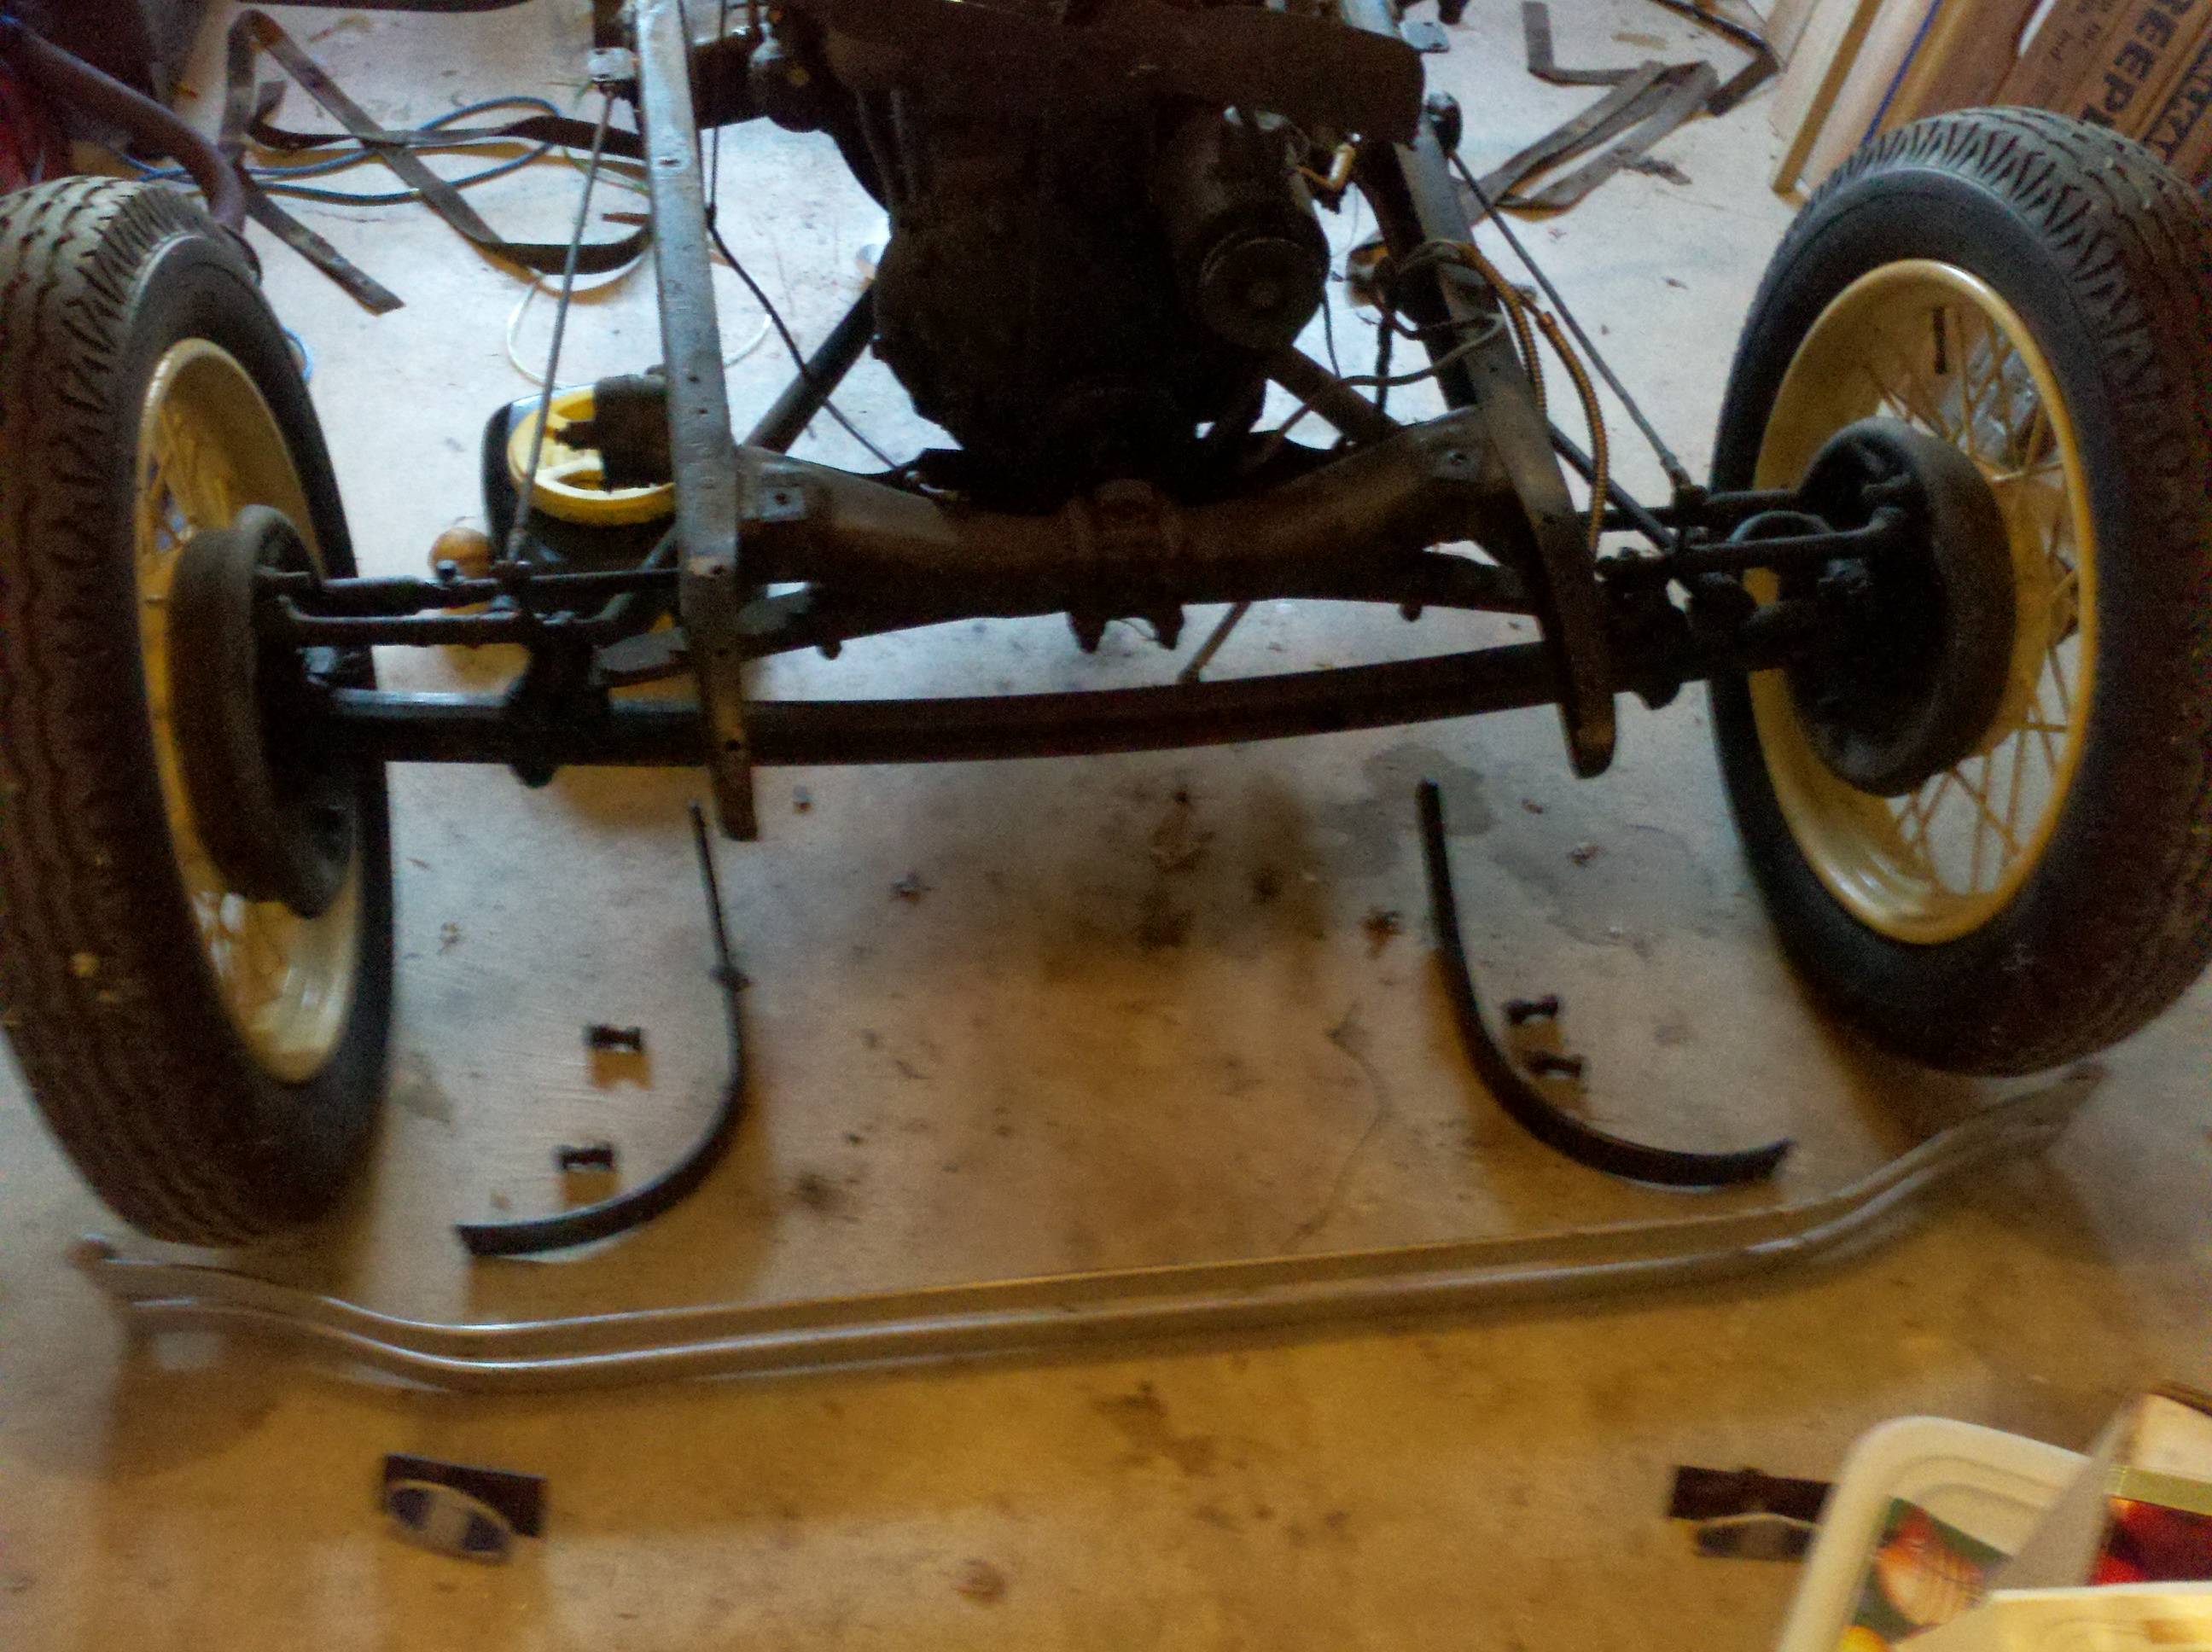
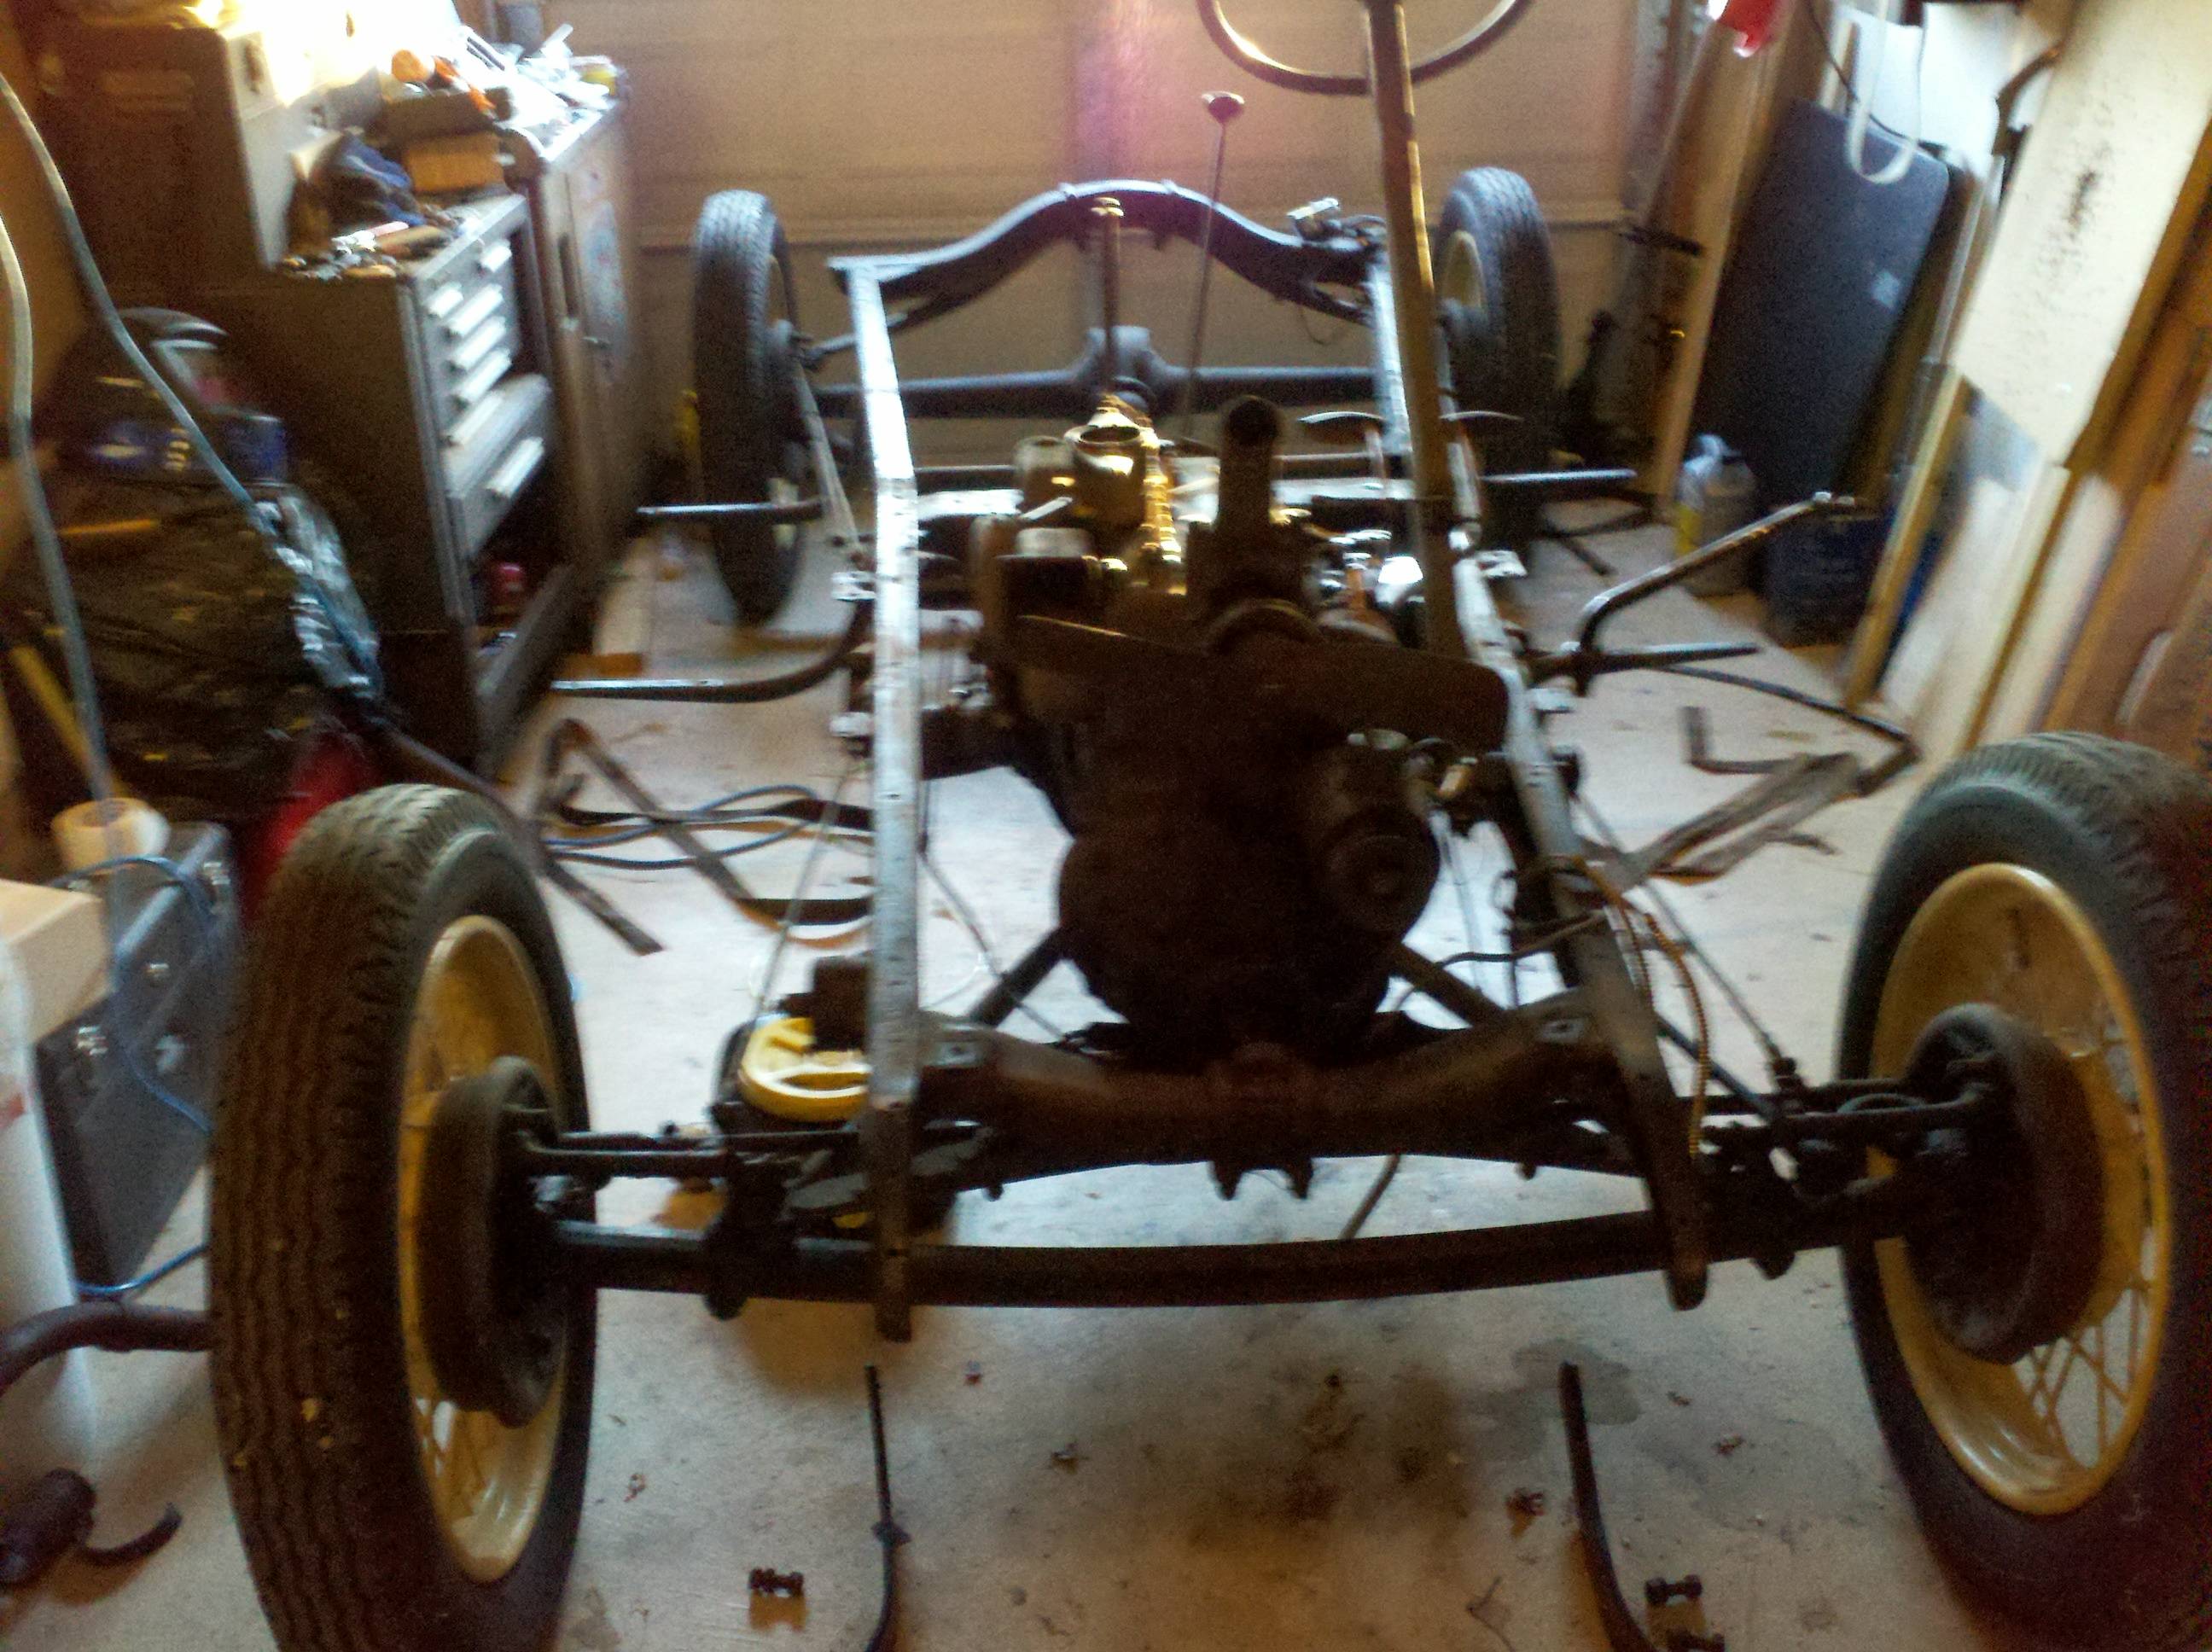
It warmed up a bit, again, this afternoon. I had to get into the garage to replace an ineertube in one of the kids' bikes. As long as I was in there, I decided to look around, and strategize. I want to get this thing all the way down to bare frame, and start the cleaning, painting, and build-up from there. So, I walked around and started squirting nuts and bolts with WD-40, and thinking about what would make sense to come off next. I think the steering column will come off just before the suspension - if only so I can get the thing in and out of the garage. That means the power train is next, I think. It looks like the engine compartment floor pan(s) is held in with just a few bots, so that's no big deel (so I think). It also looks as though the rear suspension A-Frame is connected to the torque tube, so that's interesting. The engine is also used as a fram member, and it also looks like one of the engine mounts might be broken, but I'm not absolutely sure. I also see that the running board supports are rivited on, except for the foreward driver's side, which is bolted - so I'm guessing that it was replaced, at some point. The forward suspension appears to be linked to the transmission, there, on the underside, too.
These suspension links to the engine & tranny might make it a bit more interesting pulling the drive train, but I think that's where I'm headed. Looks to me like the next steps are as follows:
Of course, I wil need to get a winch for this (or maybe use my come-along), since the engine & tranny will be heavy and awkward. We'll see, I guess. So, I think that's the plan of action (unless I get warned off), and I'll get around to it sometime in the future, providing the house doesn't burn down, or I die a tragic death... In the meantime, here's some pictures:

Took a few minutes to pull the exhaust system today. It's amazing how easy that is to do, when the body is removed... No crawling underneat, no reaching around parts, nor ust or dirt falling into your eyes or hair. Just pulled the two bolts that connect the pipe to the exhaust manifold, and then pulled the clamp that holds the system to the frame. Total time - about 10 5 minutes. I don't think I've ever done any exhaust work in such a short amount of time, before. Sorry, no pictures.
Still eyeballing next steps. I'm wondering if I should disconnect all the brake linkages before I remove the engine & tranny - expecially on the back end. I'm kind of wondering what will happen when the toque tube no longer has the support... I suppose I can get some safety wire to support it, and keep it from falling until I'm ready to pull it out...
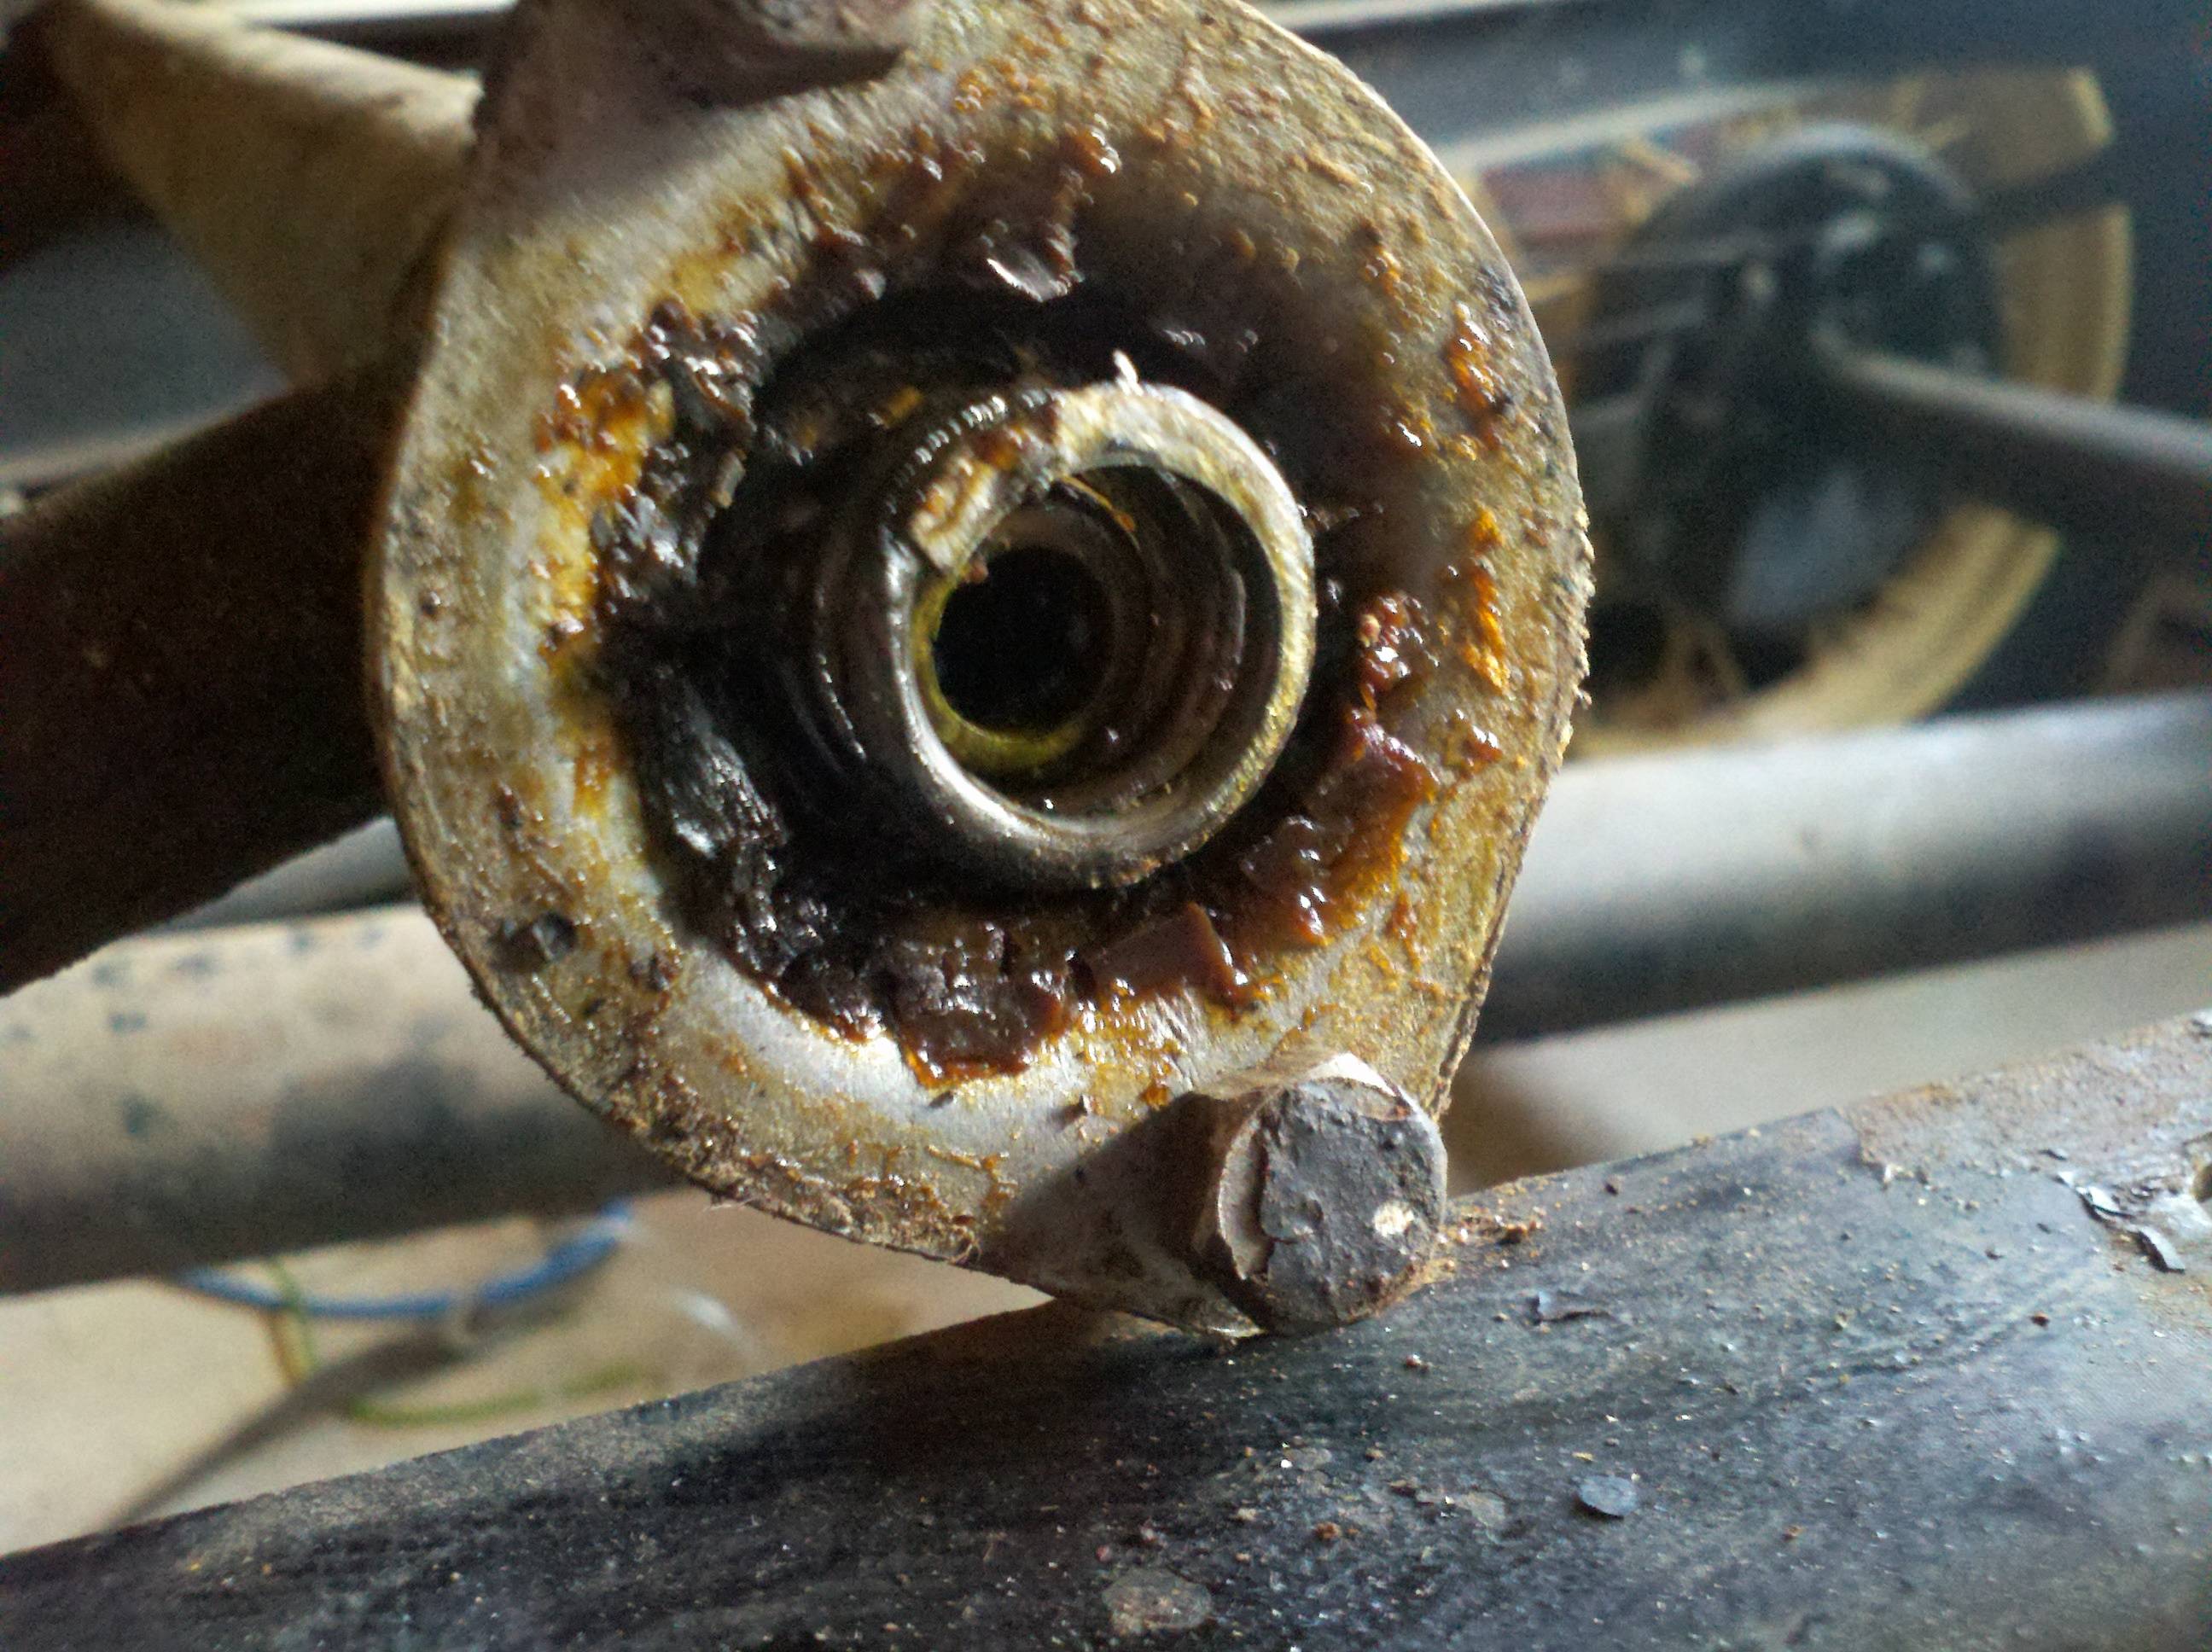
Drained the oil today. It was pretty fresh, but had some icky black streaks running out with it. No coolant that I could tell, so that's good news. I think there was nowhere near enough, though - looked like maybe only 3 quarts or so. I think it's supposed to have five...
Went to work on the body, some. walked around to the shed & eyeballed the cab a bit. Turns out I was wrong - there's only two rivets holding the lower cowl (?) to the cab proper (at the pillars). I think I will drill these out and replace them with carriage bolts when the time comes - that'll let me get that welt out and replace it, as well as clean up any cancer that might be getting a start in there...
While I was at it, I decided to go ahead and pull some wood out of the lower cowl, too. You can see it in the following pics - it was a real bitch to get out, too - I had to drift it out with about fifty whacks from a largish rubber mallet. Hope I can get them back in when the time comes!
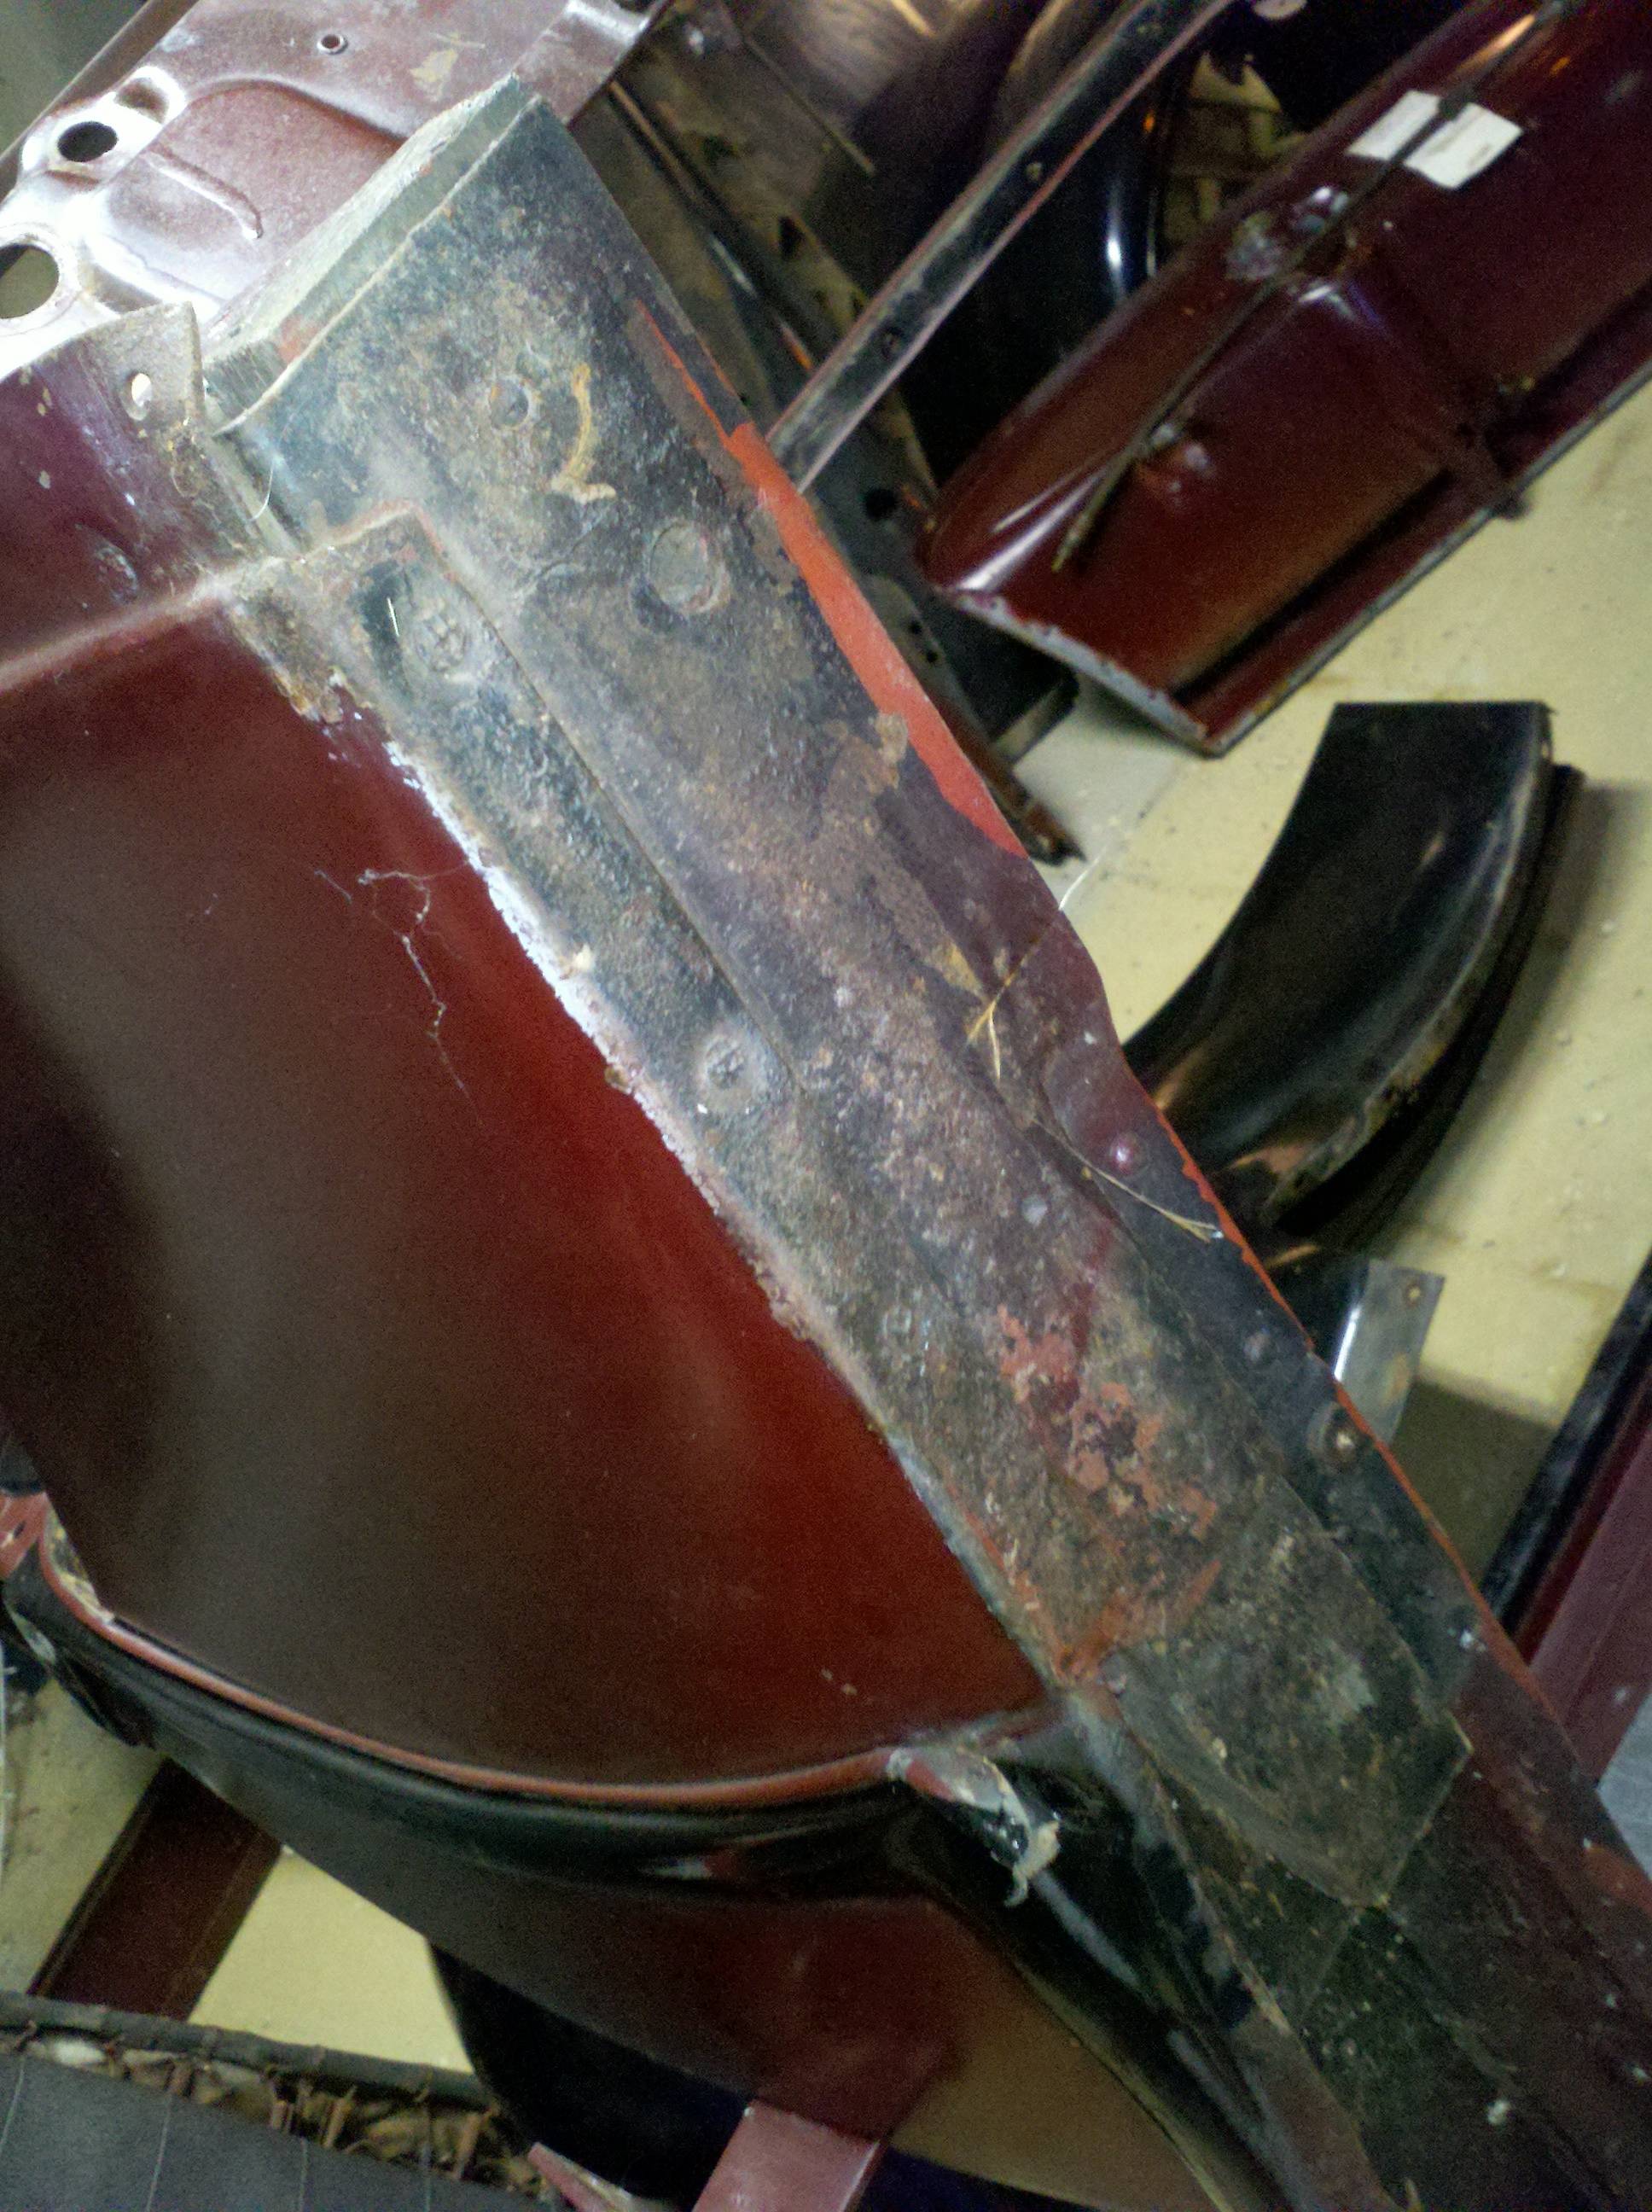
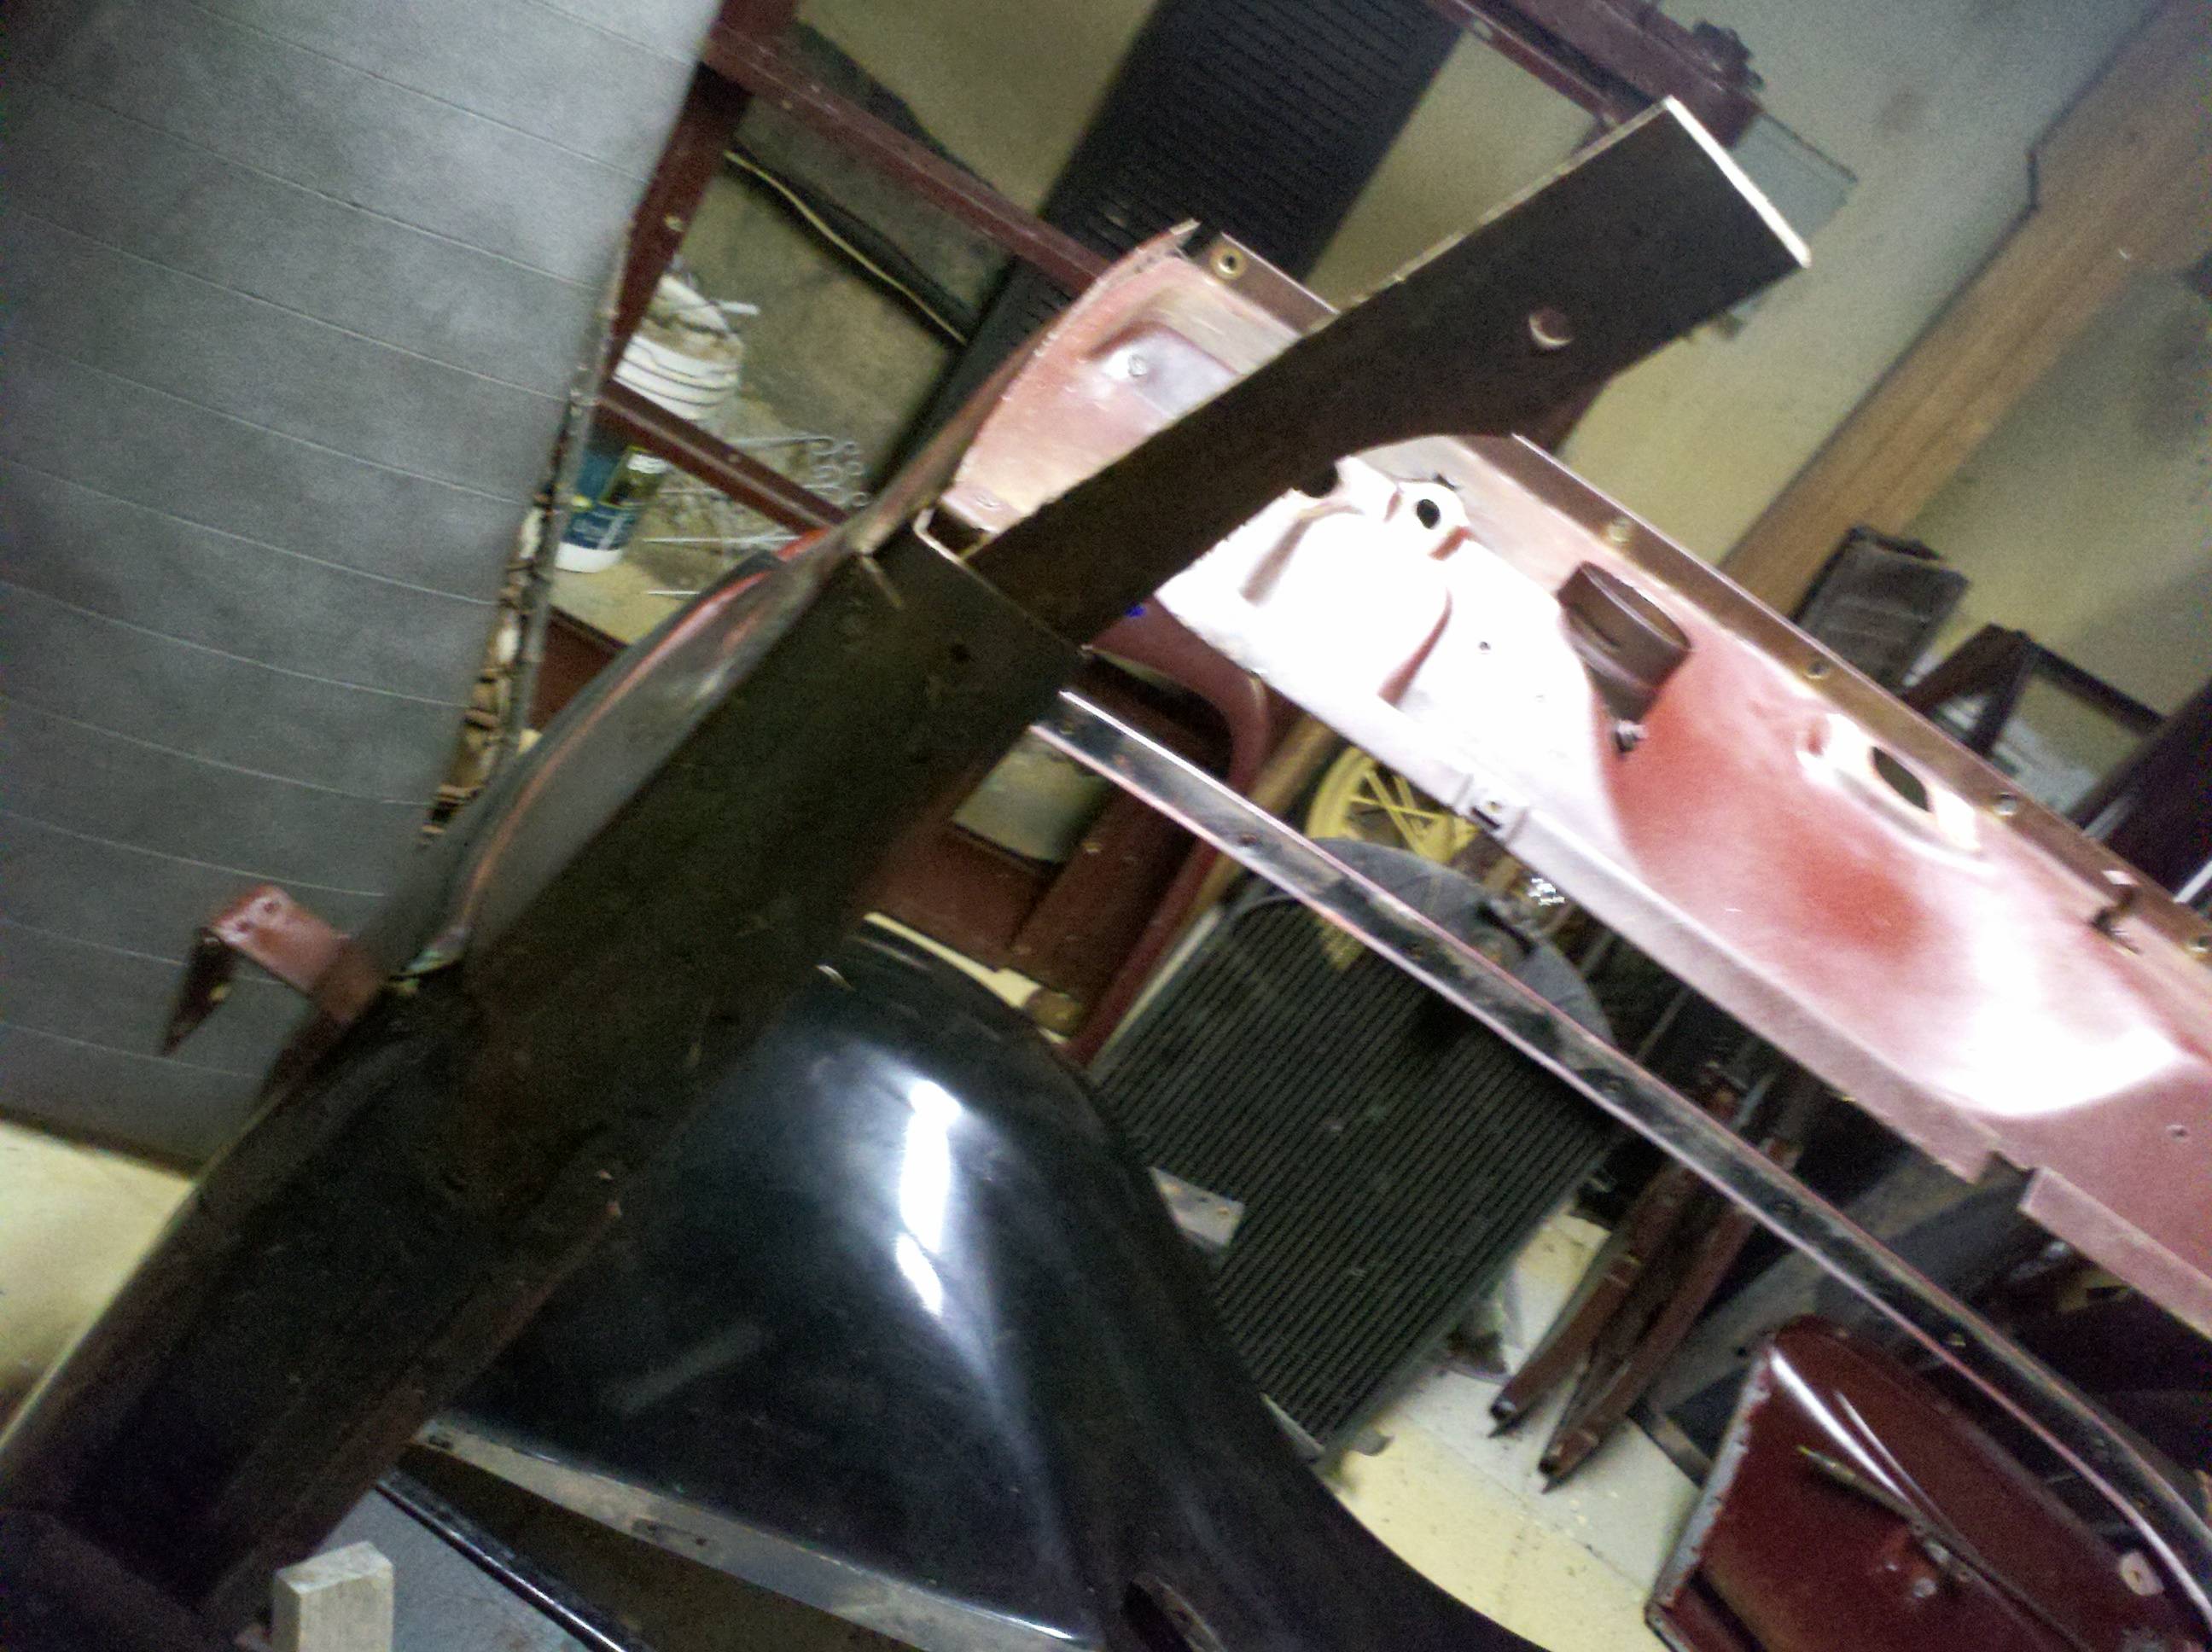
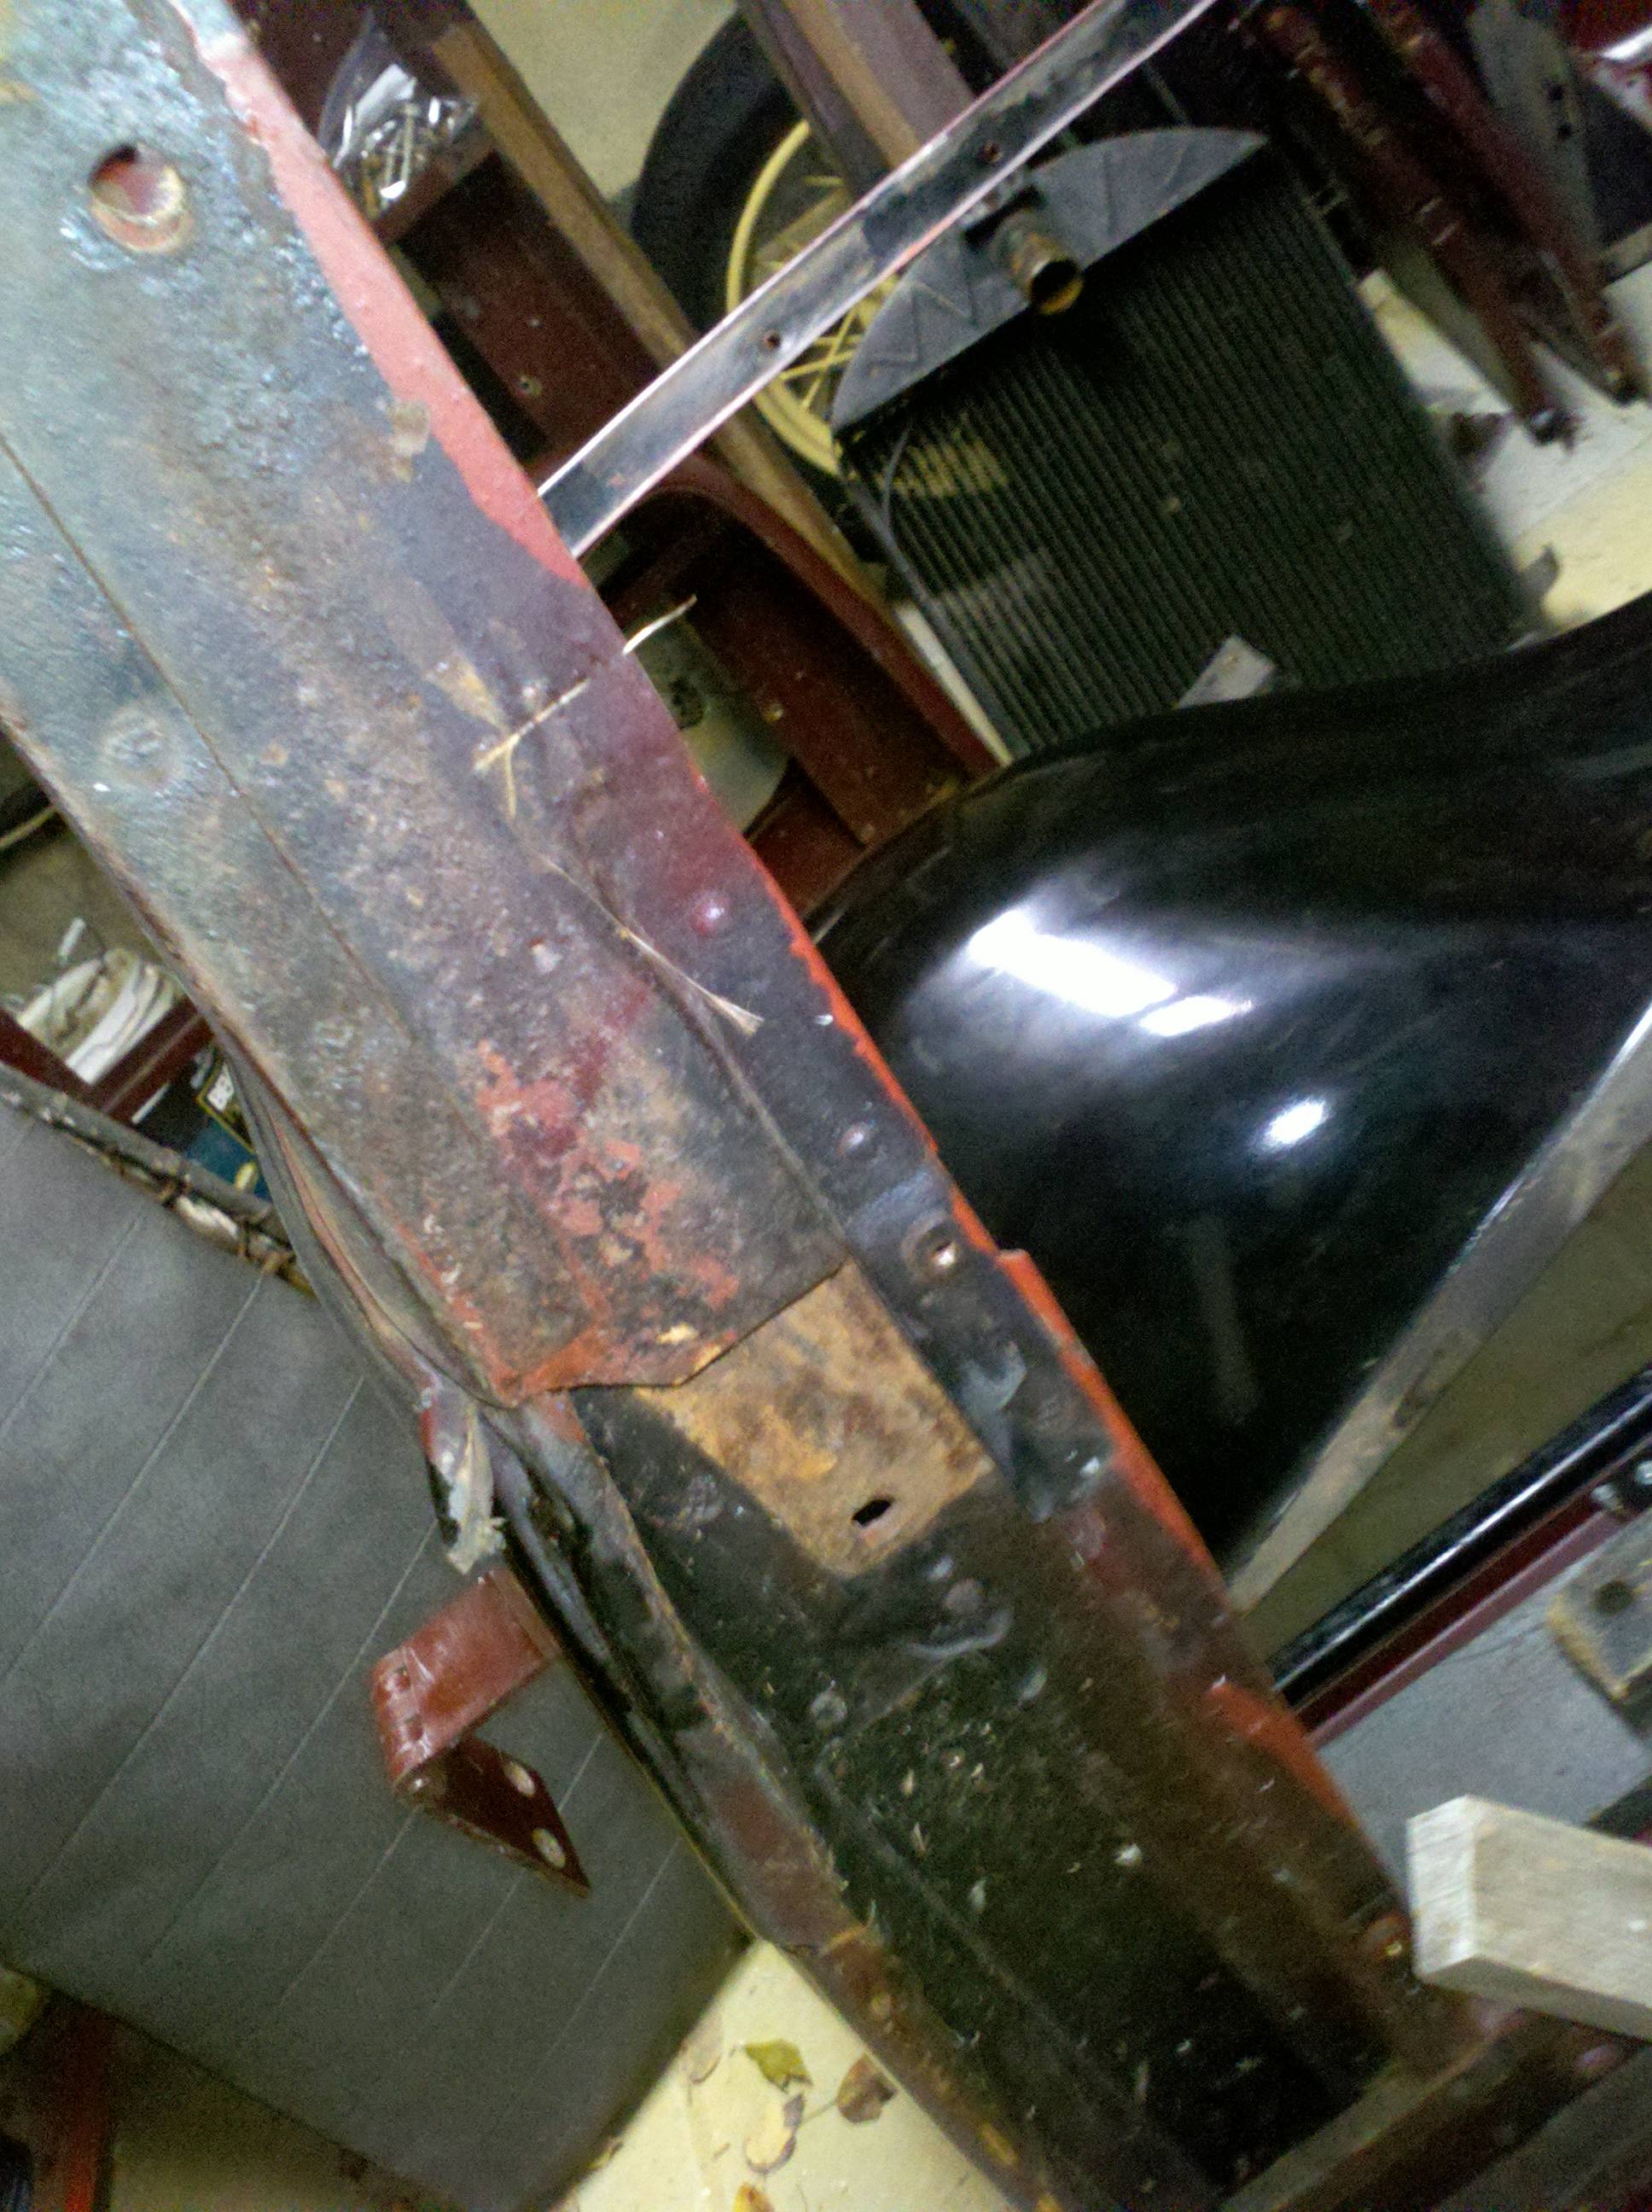
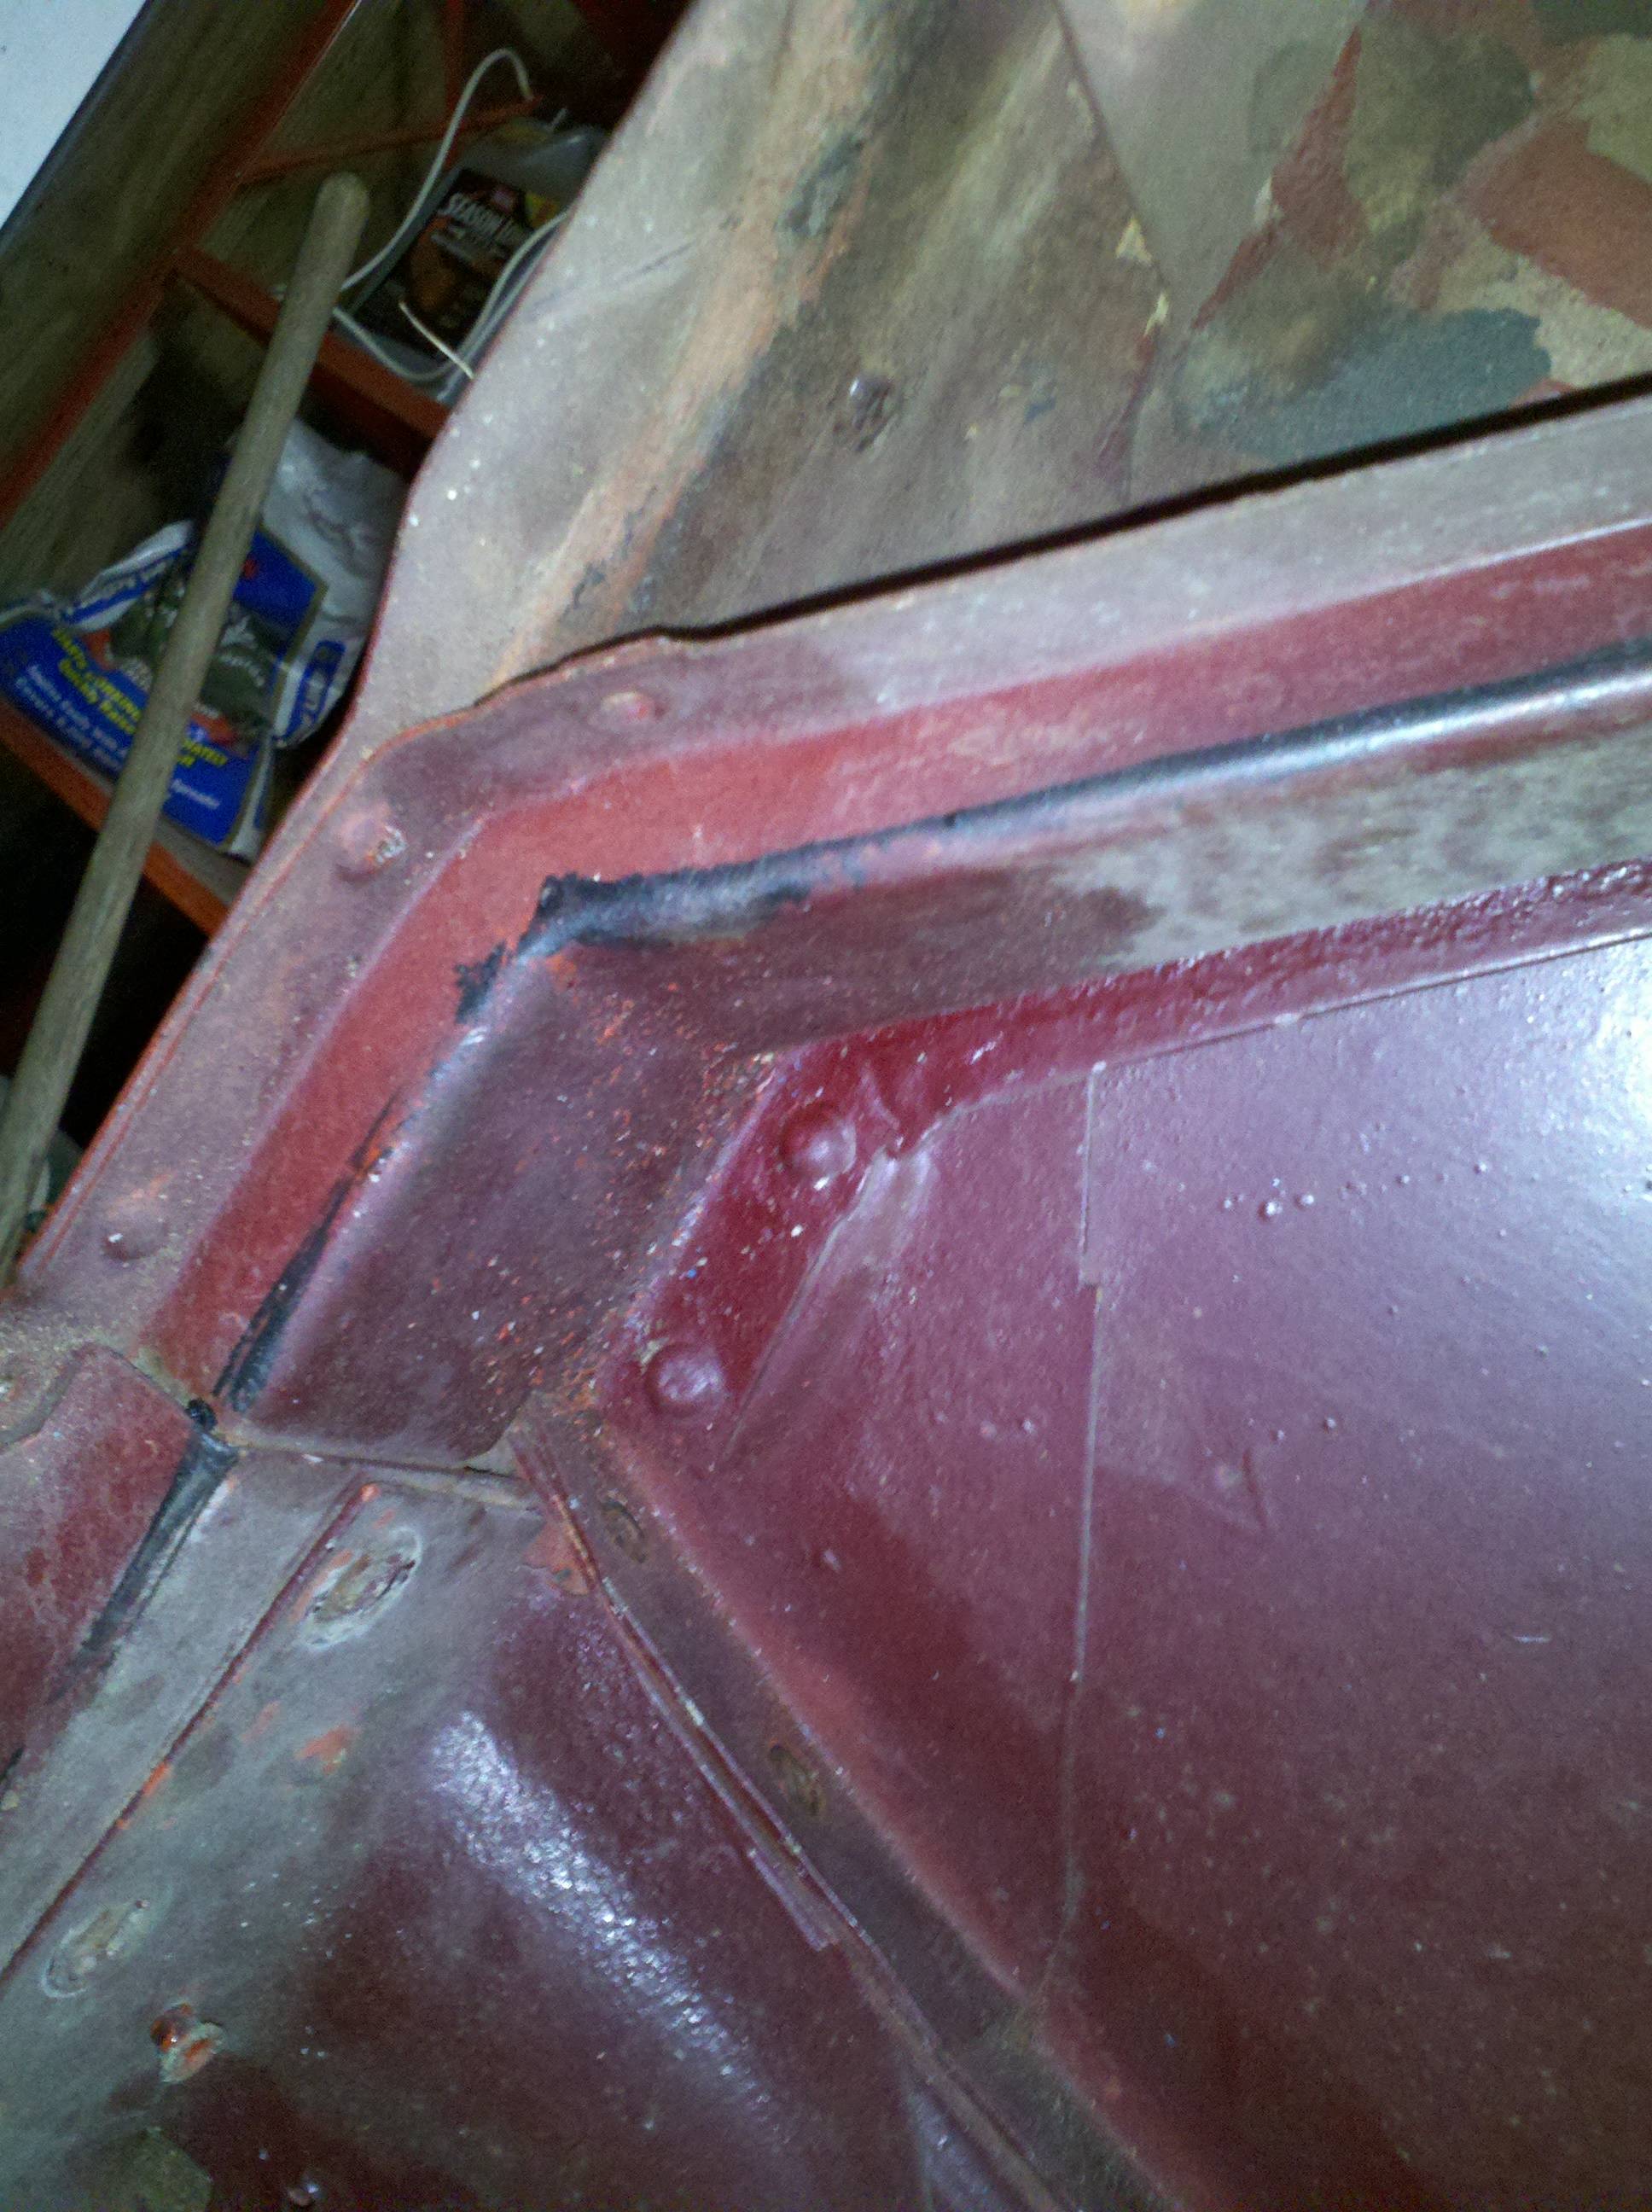

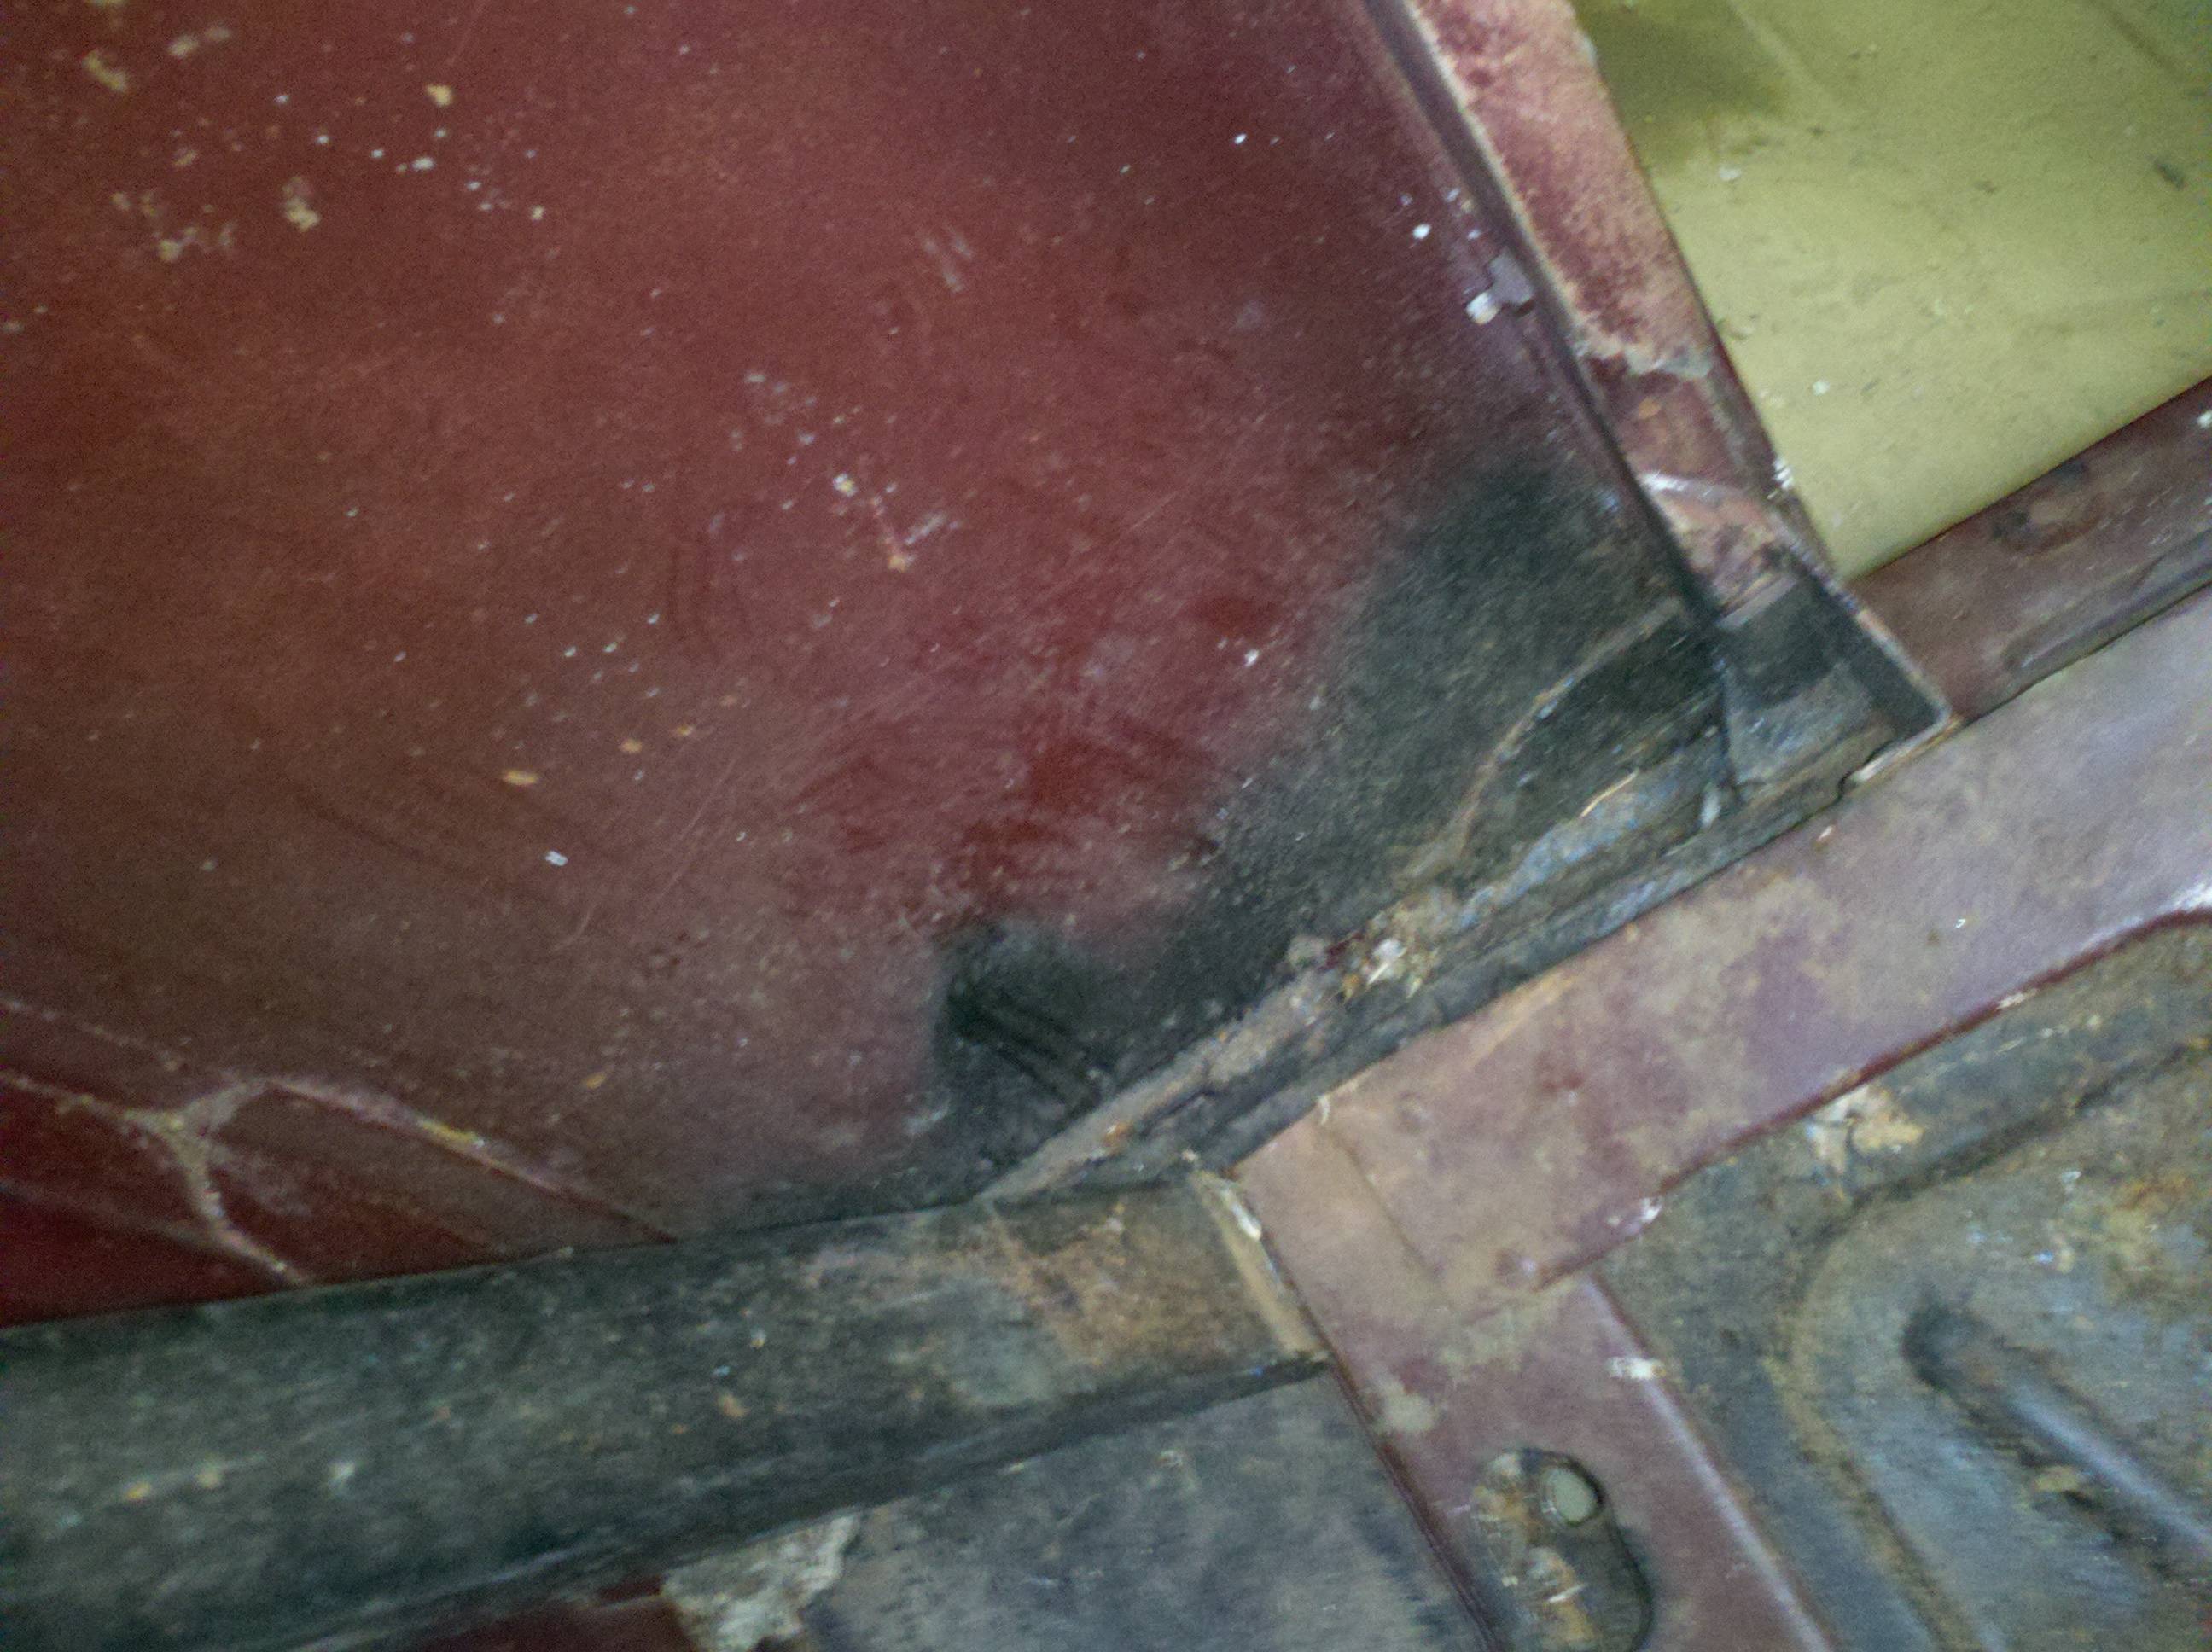
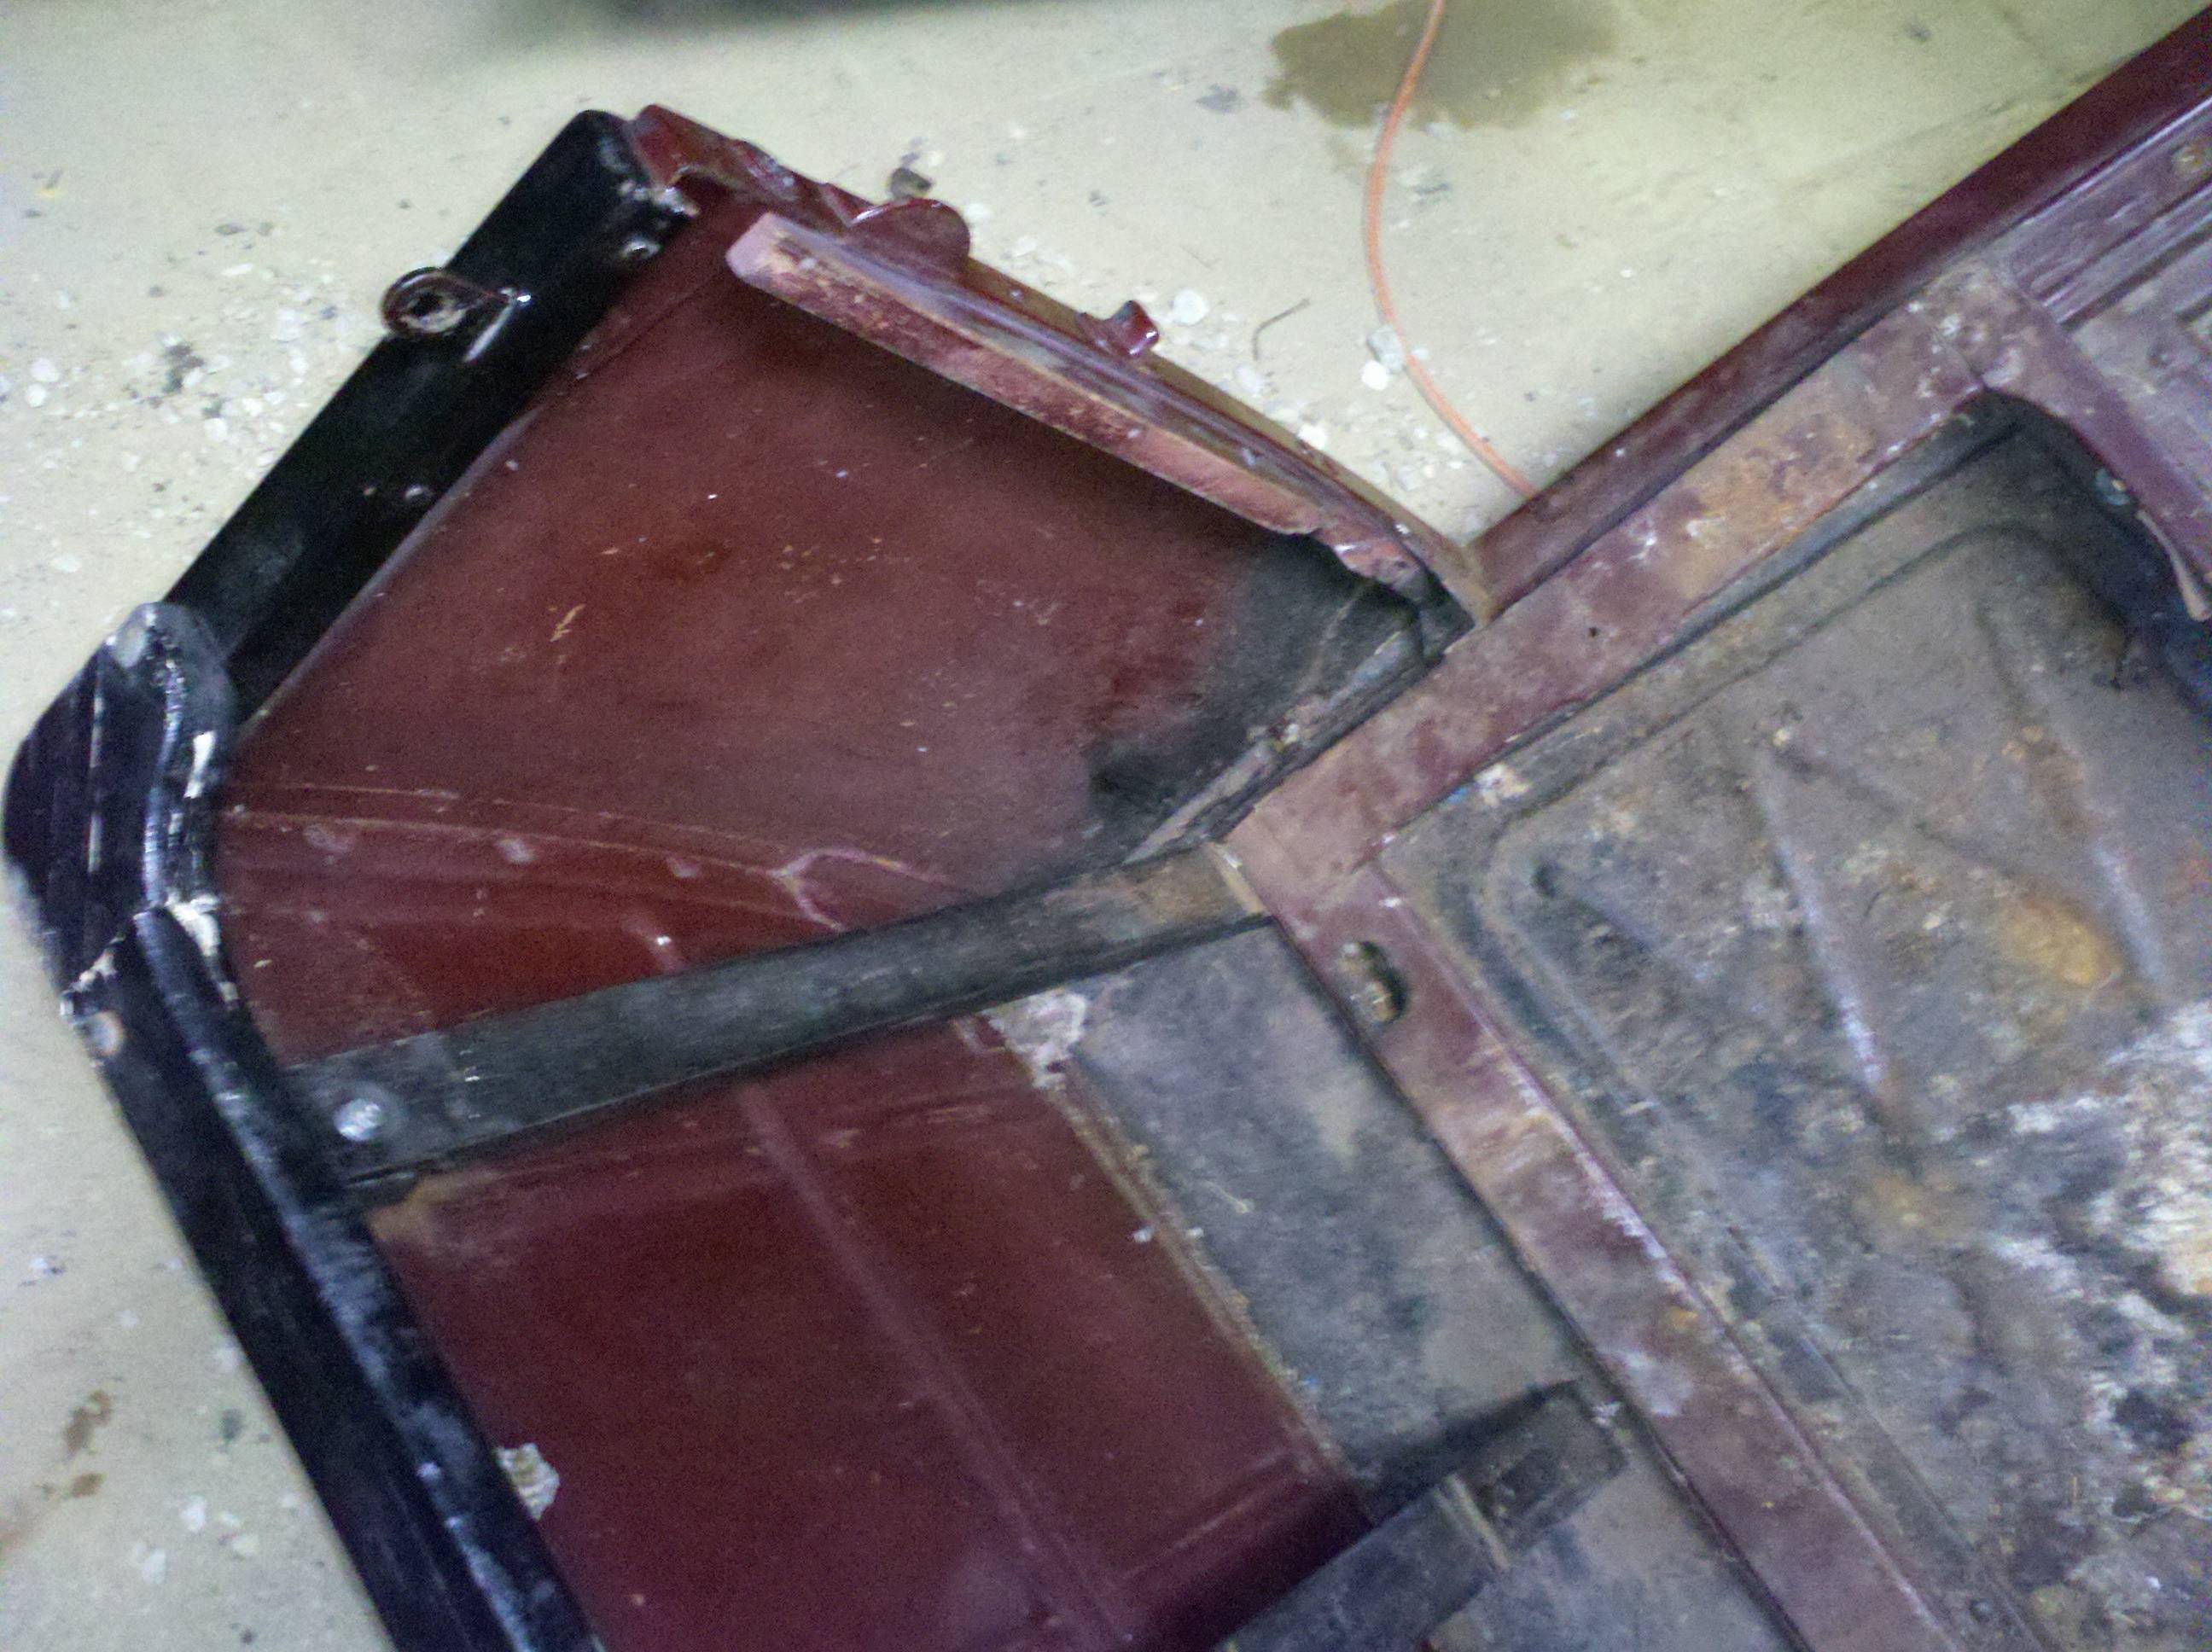
I also went ahead and pulled the screws from the door sills in the floor of the cab. This may have been a mistake - I haven't been able to figure them out, yet. So, I think they're called sills. There's four sheet metal screws in each, holding them down. But when I look from the underside, it seemt they wrap around part of the cab subframe - which isn't a big deal, but I can't tell where they end and the cab body begins. Quite the quandry. I'd like to get them out, so I clean up under them, but I can't figure the rest of how they come out. See the pics below - it looks like the driver's side (at least) cab sheet metal was replaced at some point. If you look down towards the floor, there, you can see the little "arc" of metal that looks like the remnants of work done with a cutting torch. I don't mind that at all, but I'm wondering if the sills were welded to that new sheet metal, too? Maybe I should just hit it with a sanding block, there where I think the joints are, and see what I find. I guess the worst case is that I get some new screws, and forget about it...
Merry Christmas Eve!
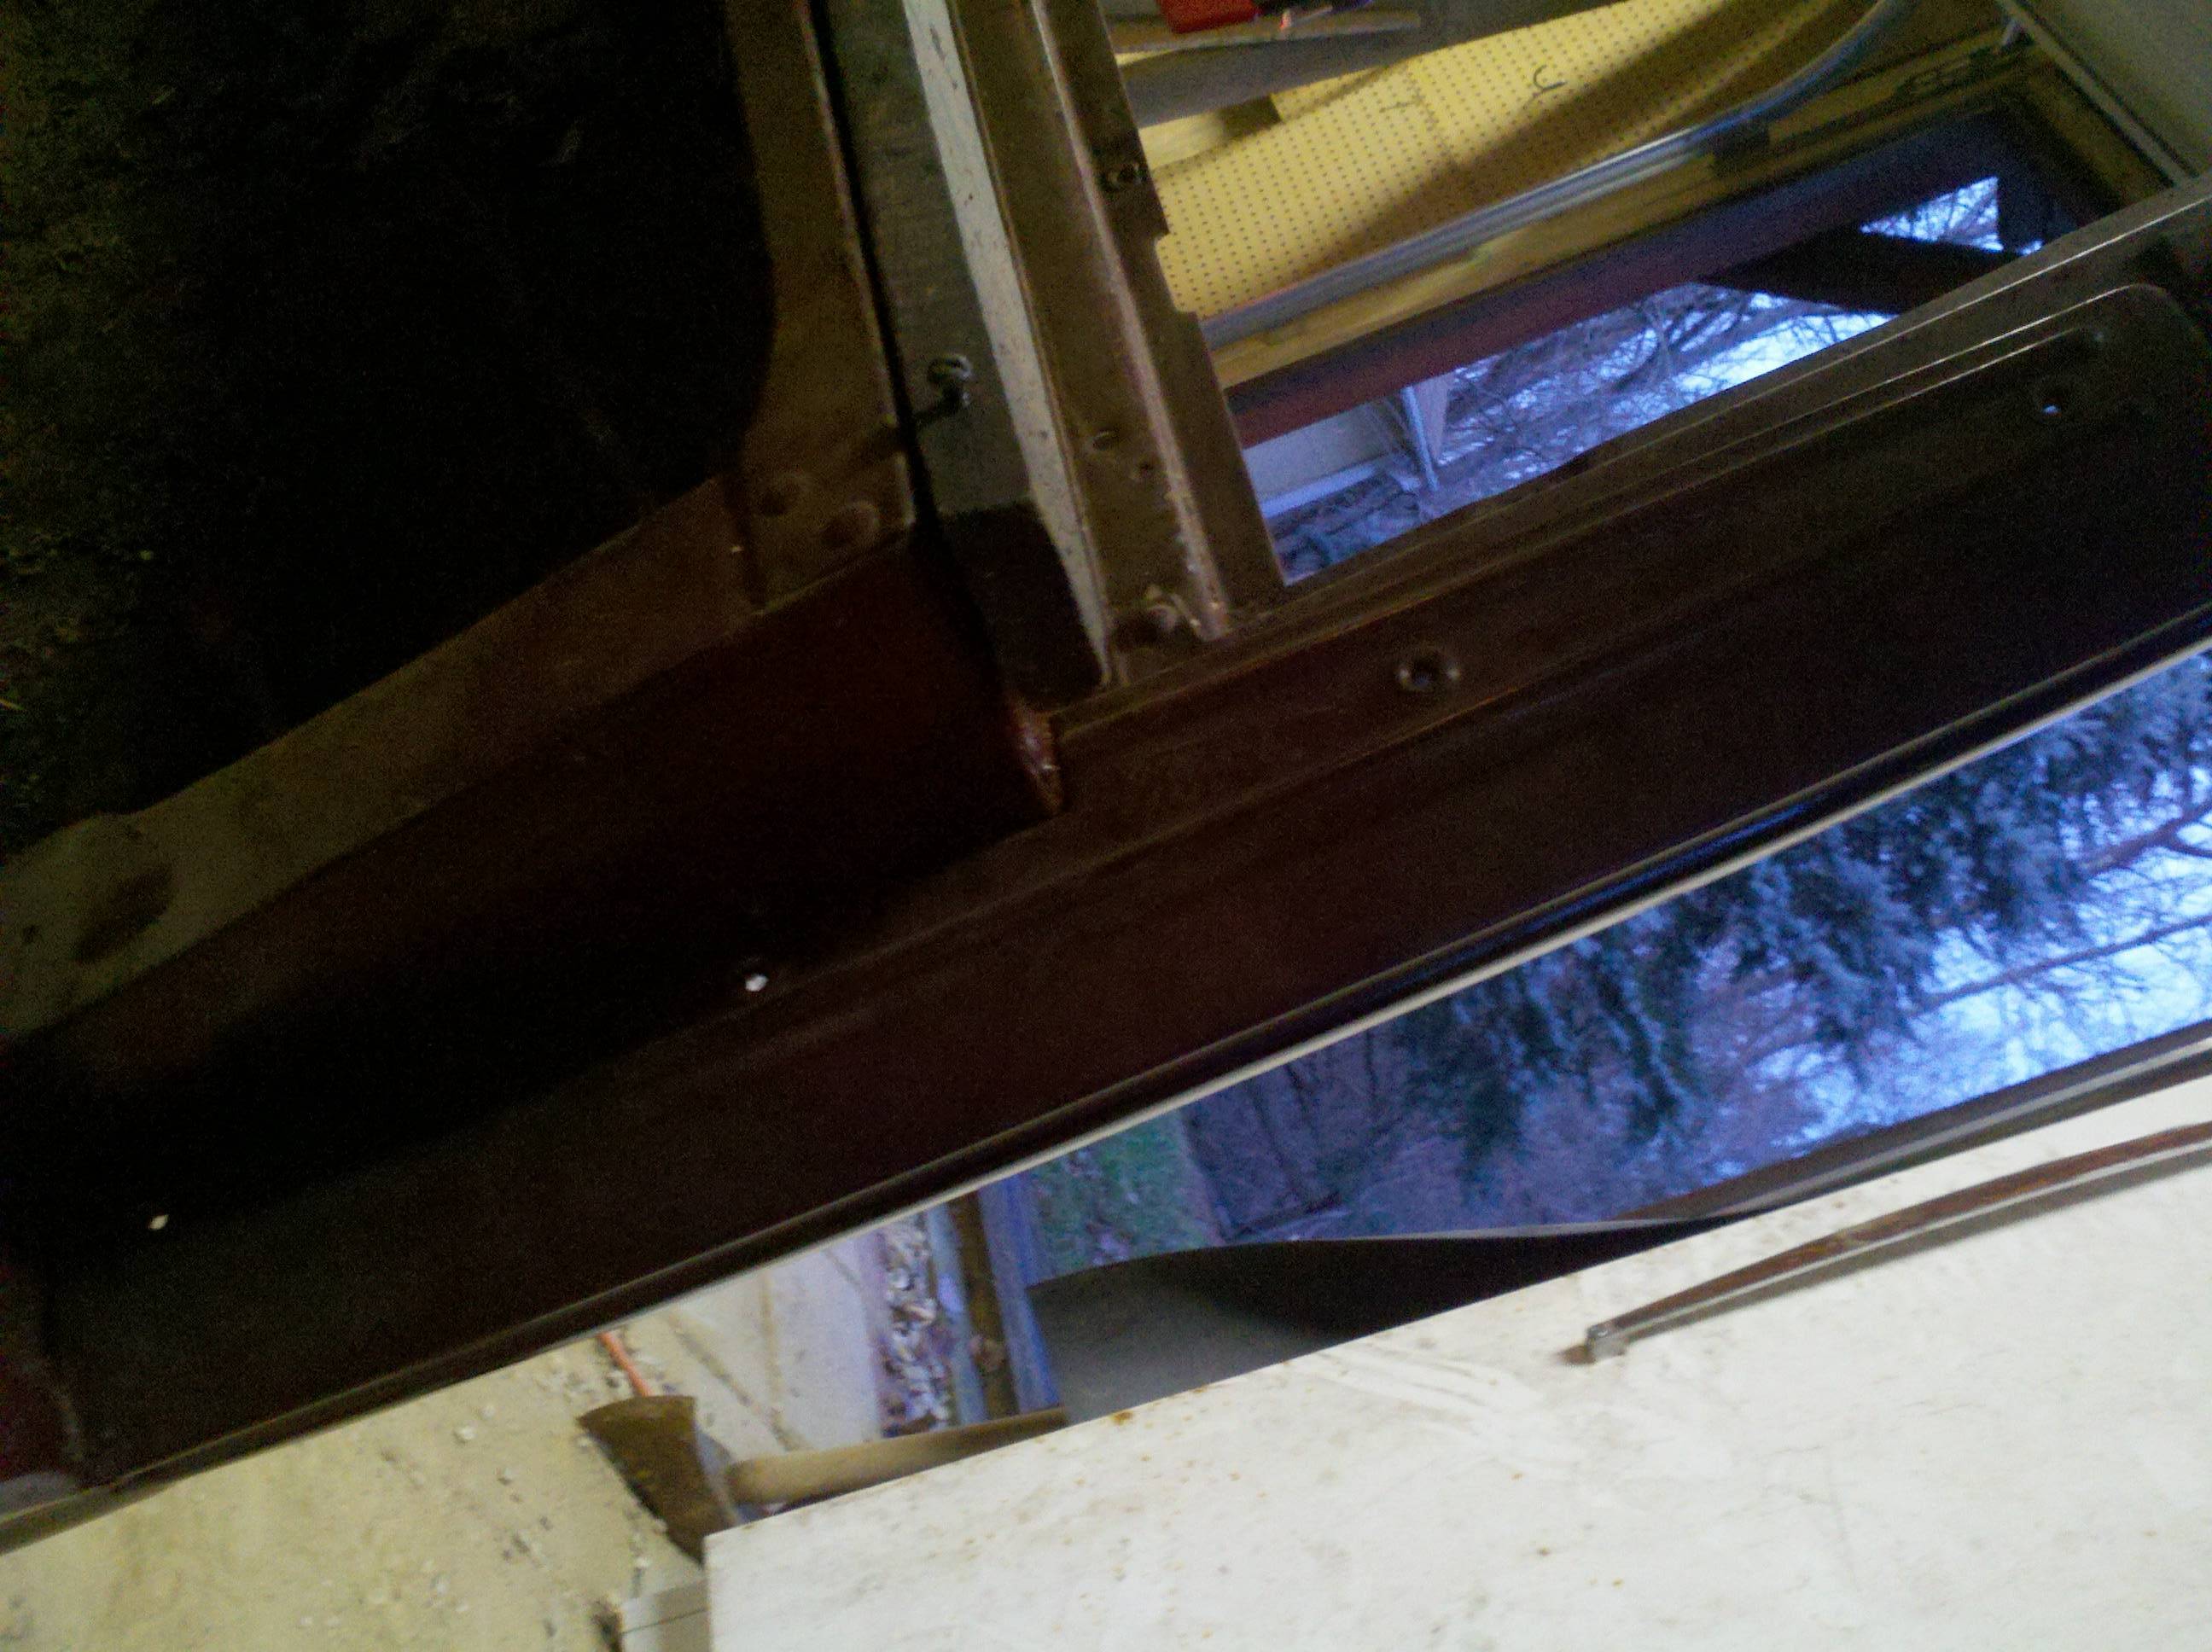
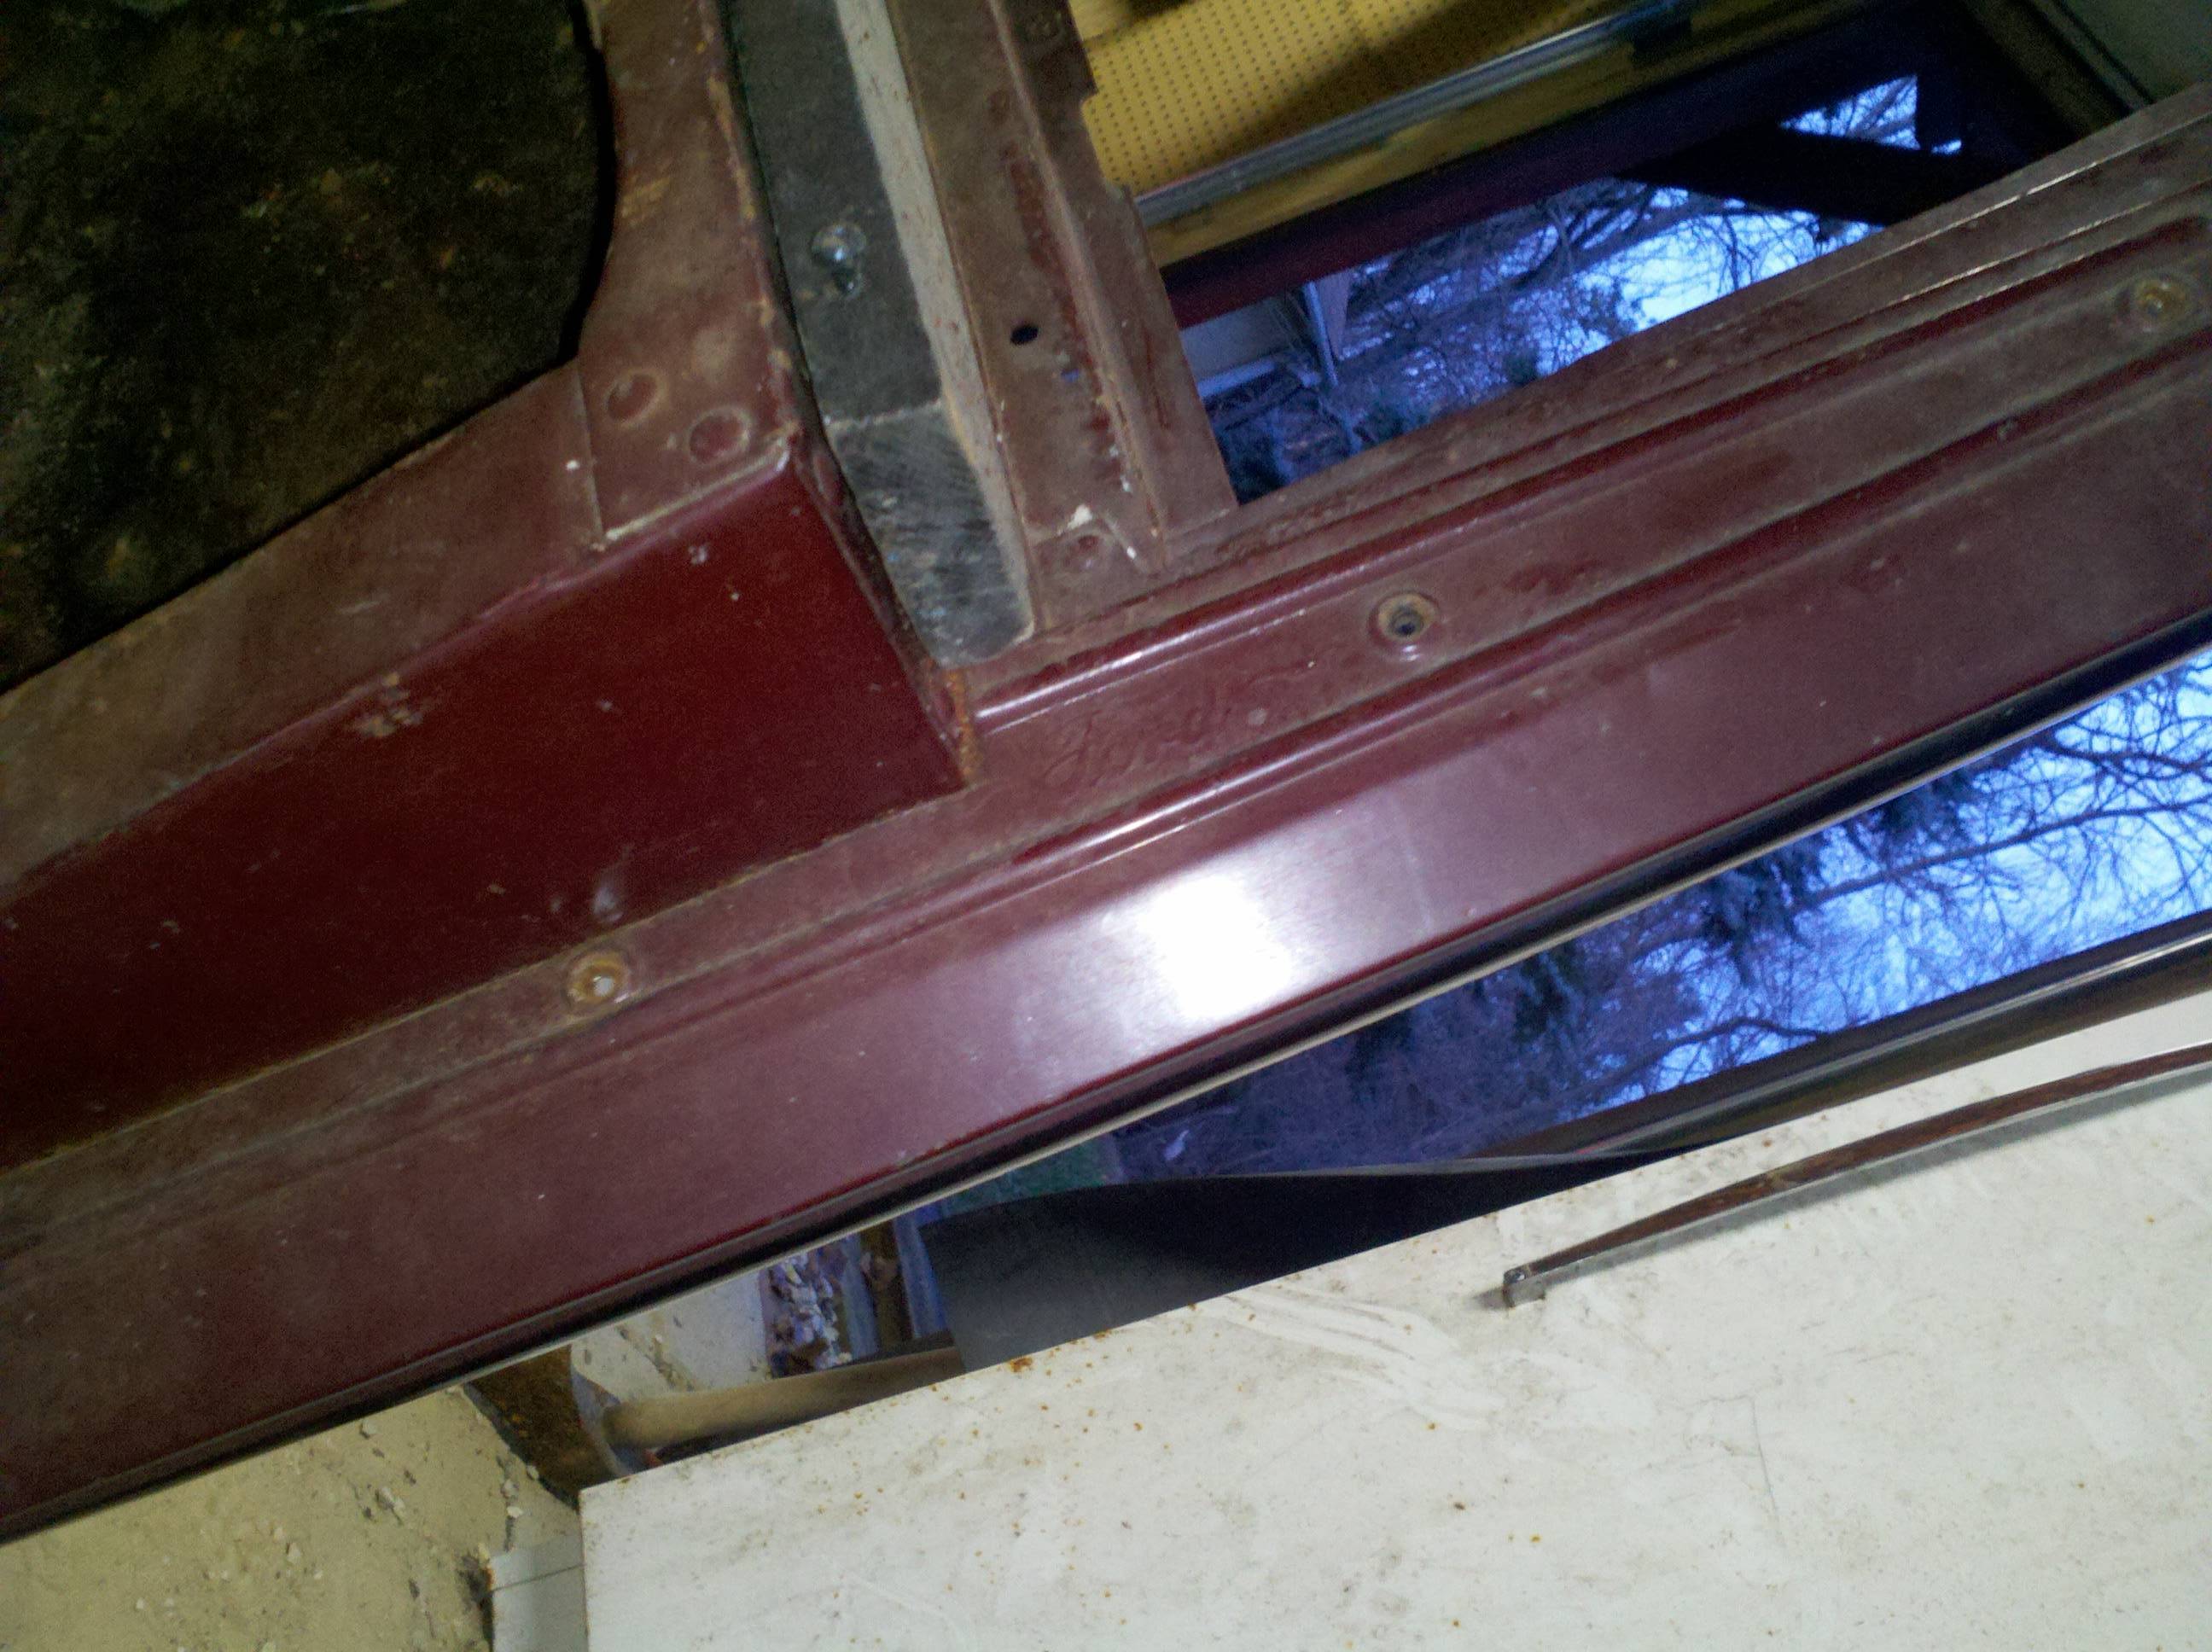
It's been a weird Winter, thus far, that's for sure. Had the day off from work, but it was pretty chilly for most of it. There was about an hour or so, though, where the temperatures got up to about 55 or 60 (that's farenheit...) I pushed the truck out into the drive and pulled the engine pans. Nothin' to it - four screws on each side, two of which are oil pan screws that just needed to be loosened a tiny bit.
On closer inspection, it looks like whoever did this did it similarly to my plan. I can see redish brown under the peeling paint on the bottoms of them. I'm planning on stripping, and then applying something similar to POR-15 (Eastwood's version of it), and then painting over that with chassis black... Not sure both steps are necessary, or if the one can be directly painted over by the other - I'll have to look in to all that.
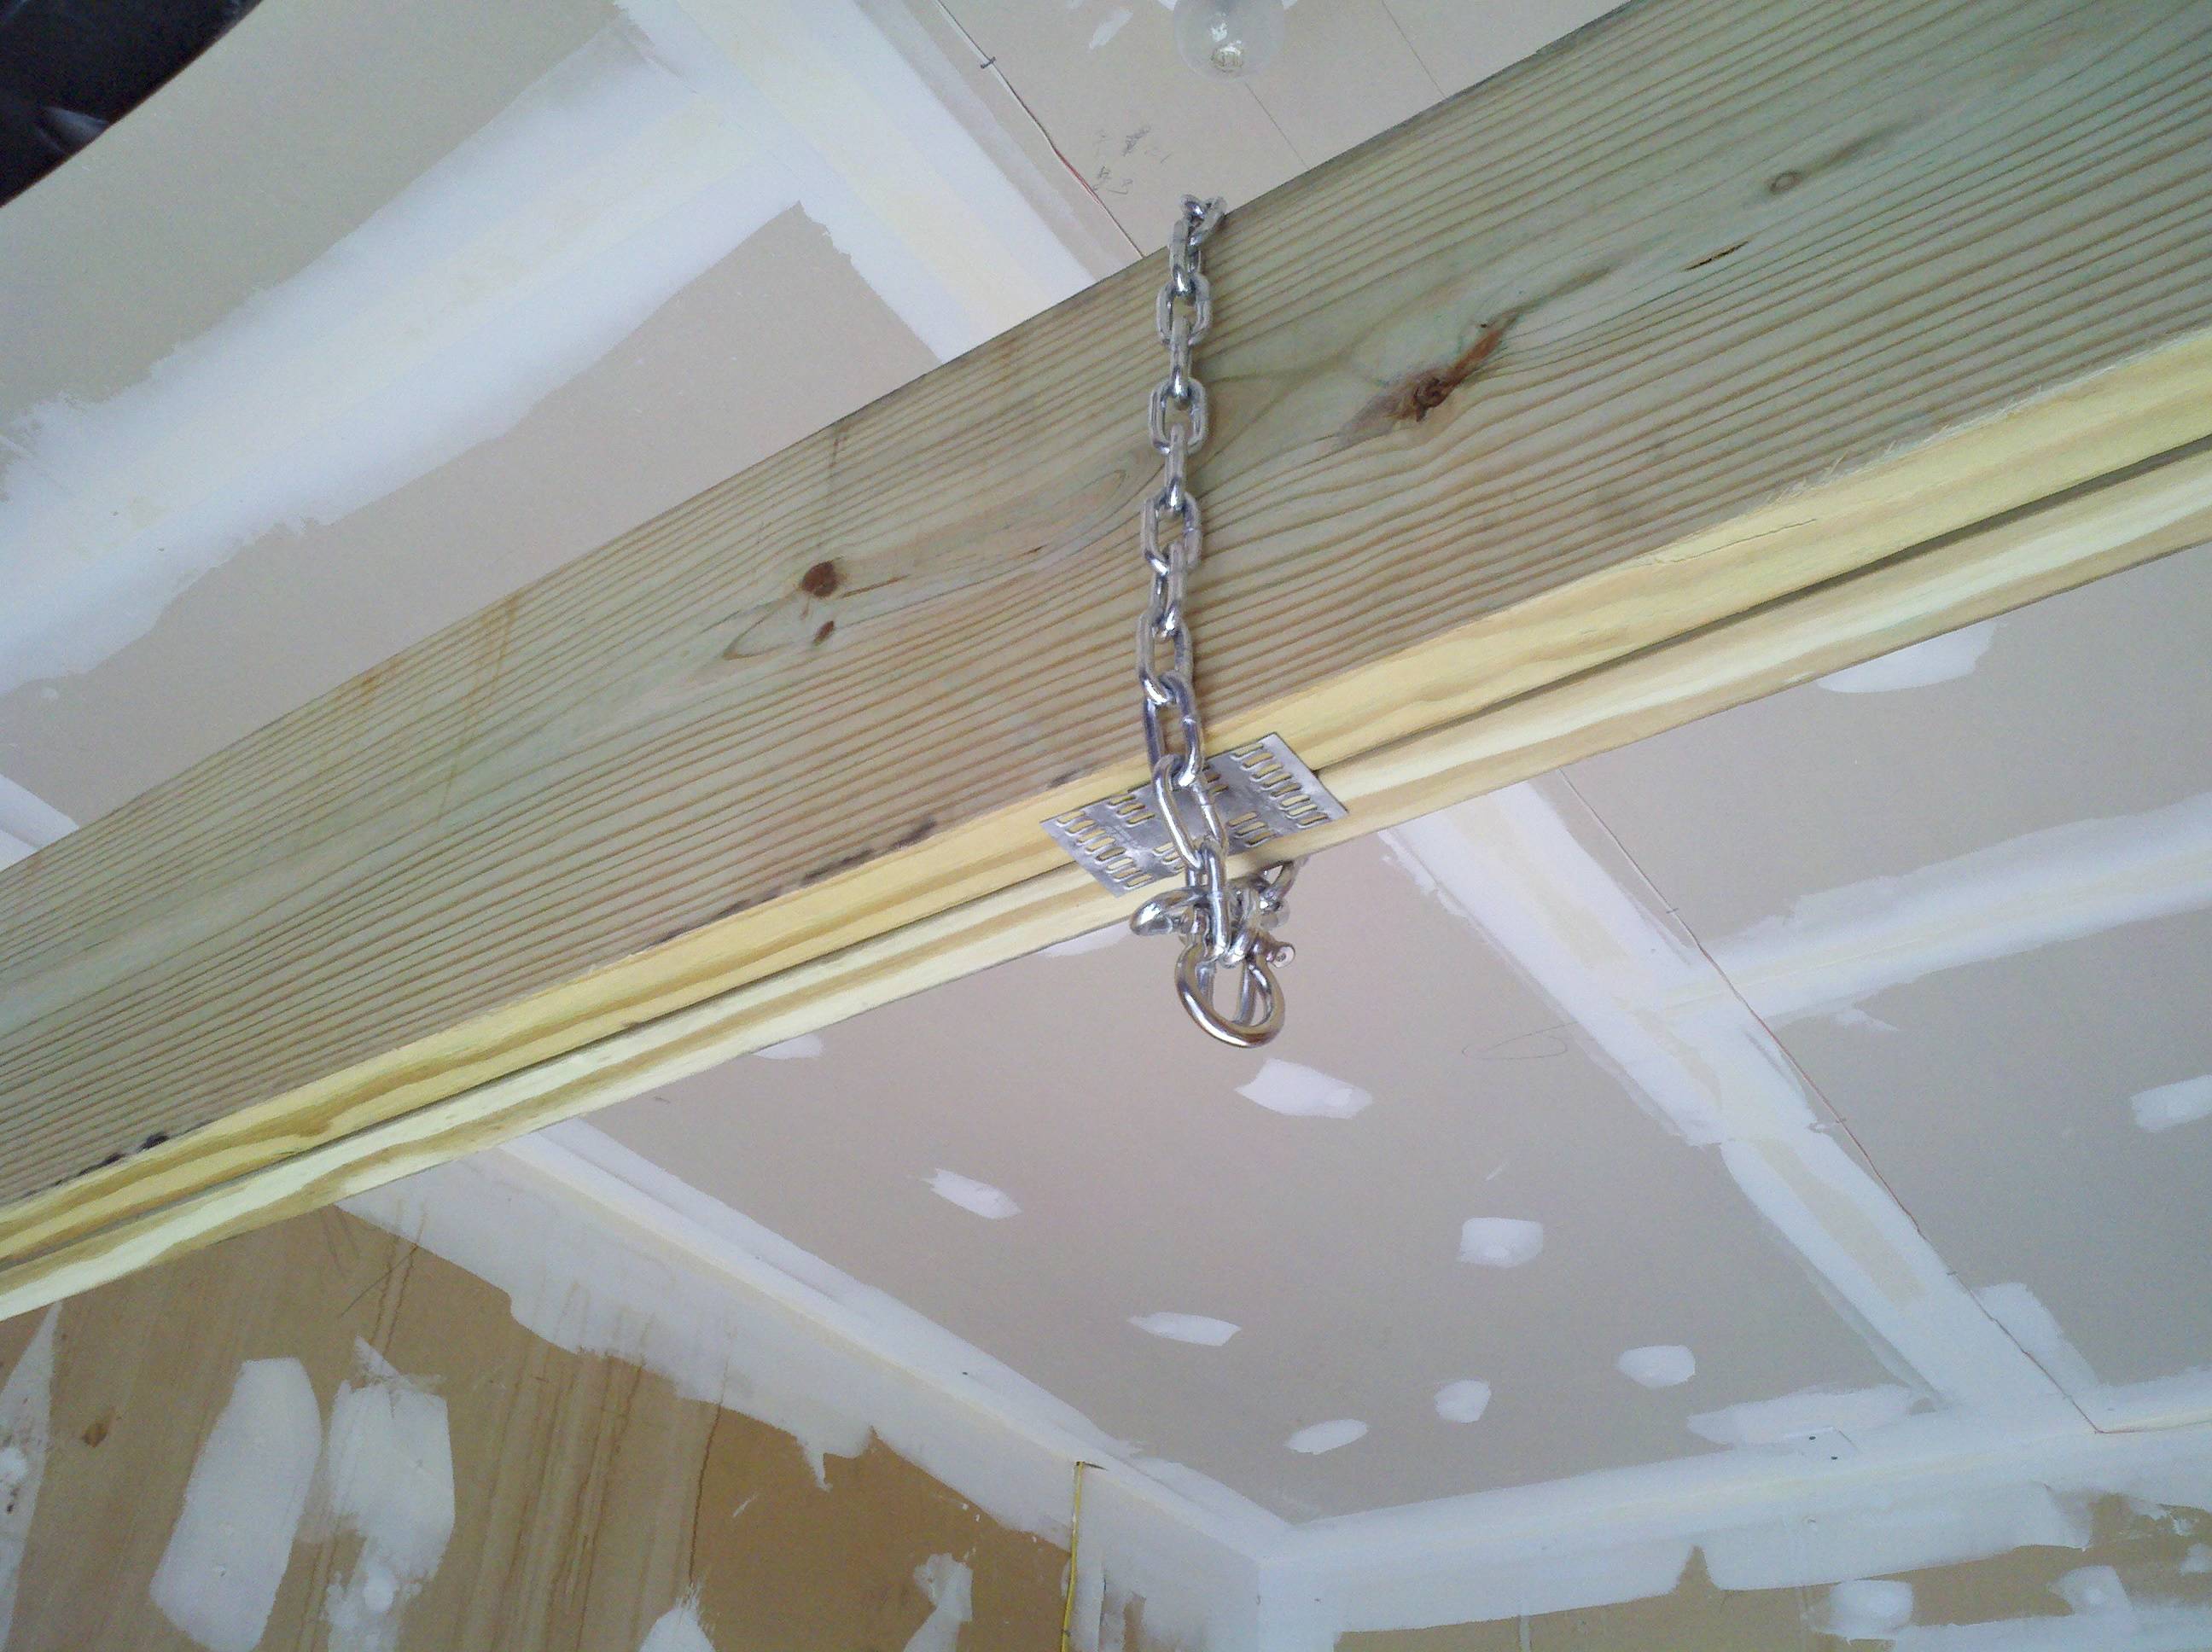
I also hung a chain on my winch beams. I'm almost ready to pull an engine, I think. Just a bunch of minor stuff to do to get ready. The chain will carry over 1,000 lbs...
Merry Day after Christmas! I hope Santa treated you all well. I love my family, but sometimes I just need a few minutes away, you know? Especially after all the excitement. So today, I pulled off the front bumper. Not a big deal, but it got me a few minutes of quiet. It'll help ensure that the truck can be rolled far enough forward to get the engine under the beam.
Wow, it surely is getting close to the new year. I'm happy about that, too, because this year it means two four-day weekends in a row! I've been sleeping in ('til 7 or 8), lounging around, playing on the computer, and other equally horrid things... I think I need to win the lottery - anybody know how?
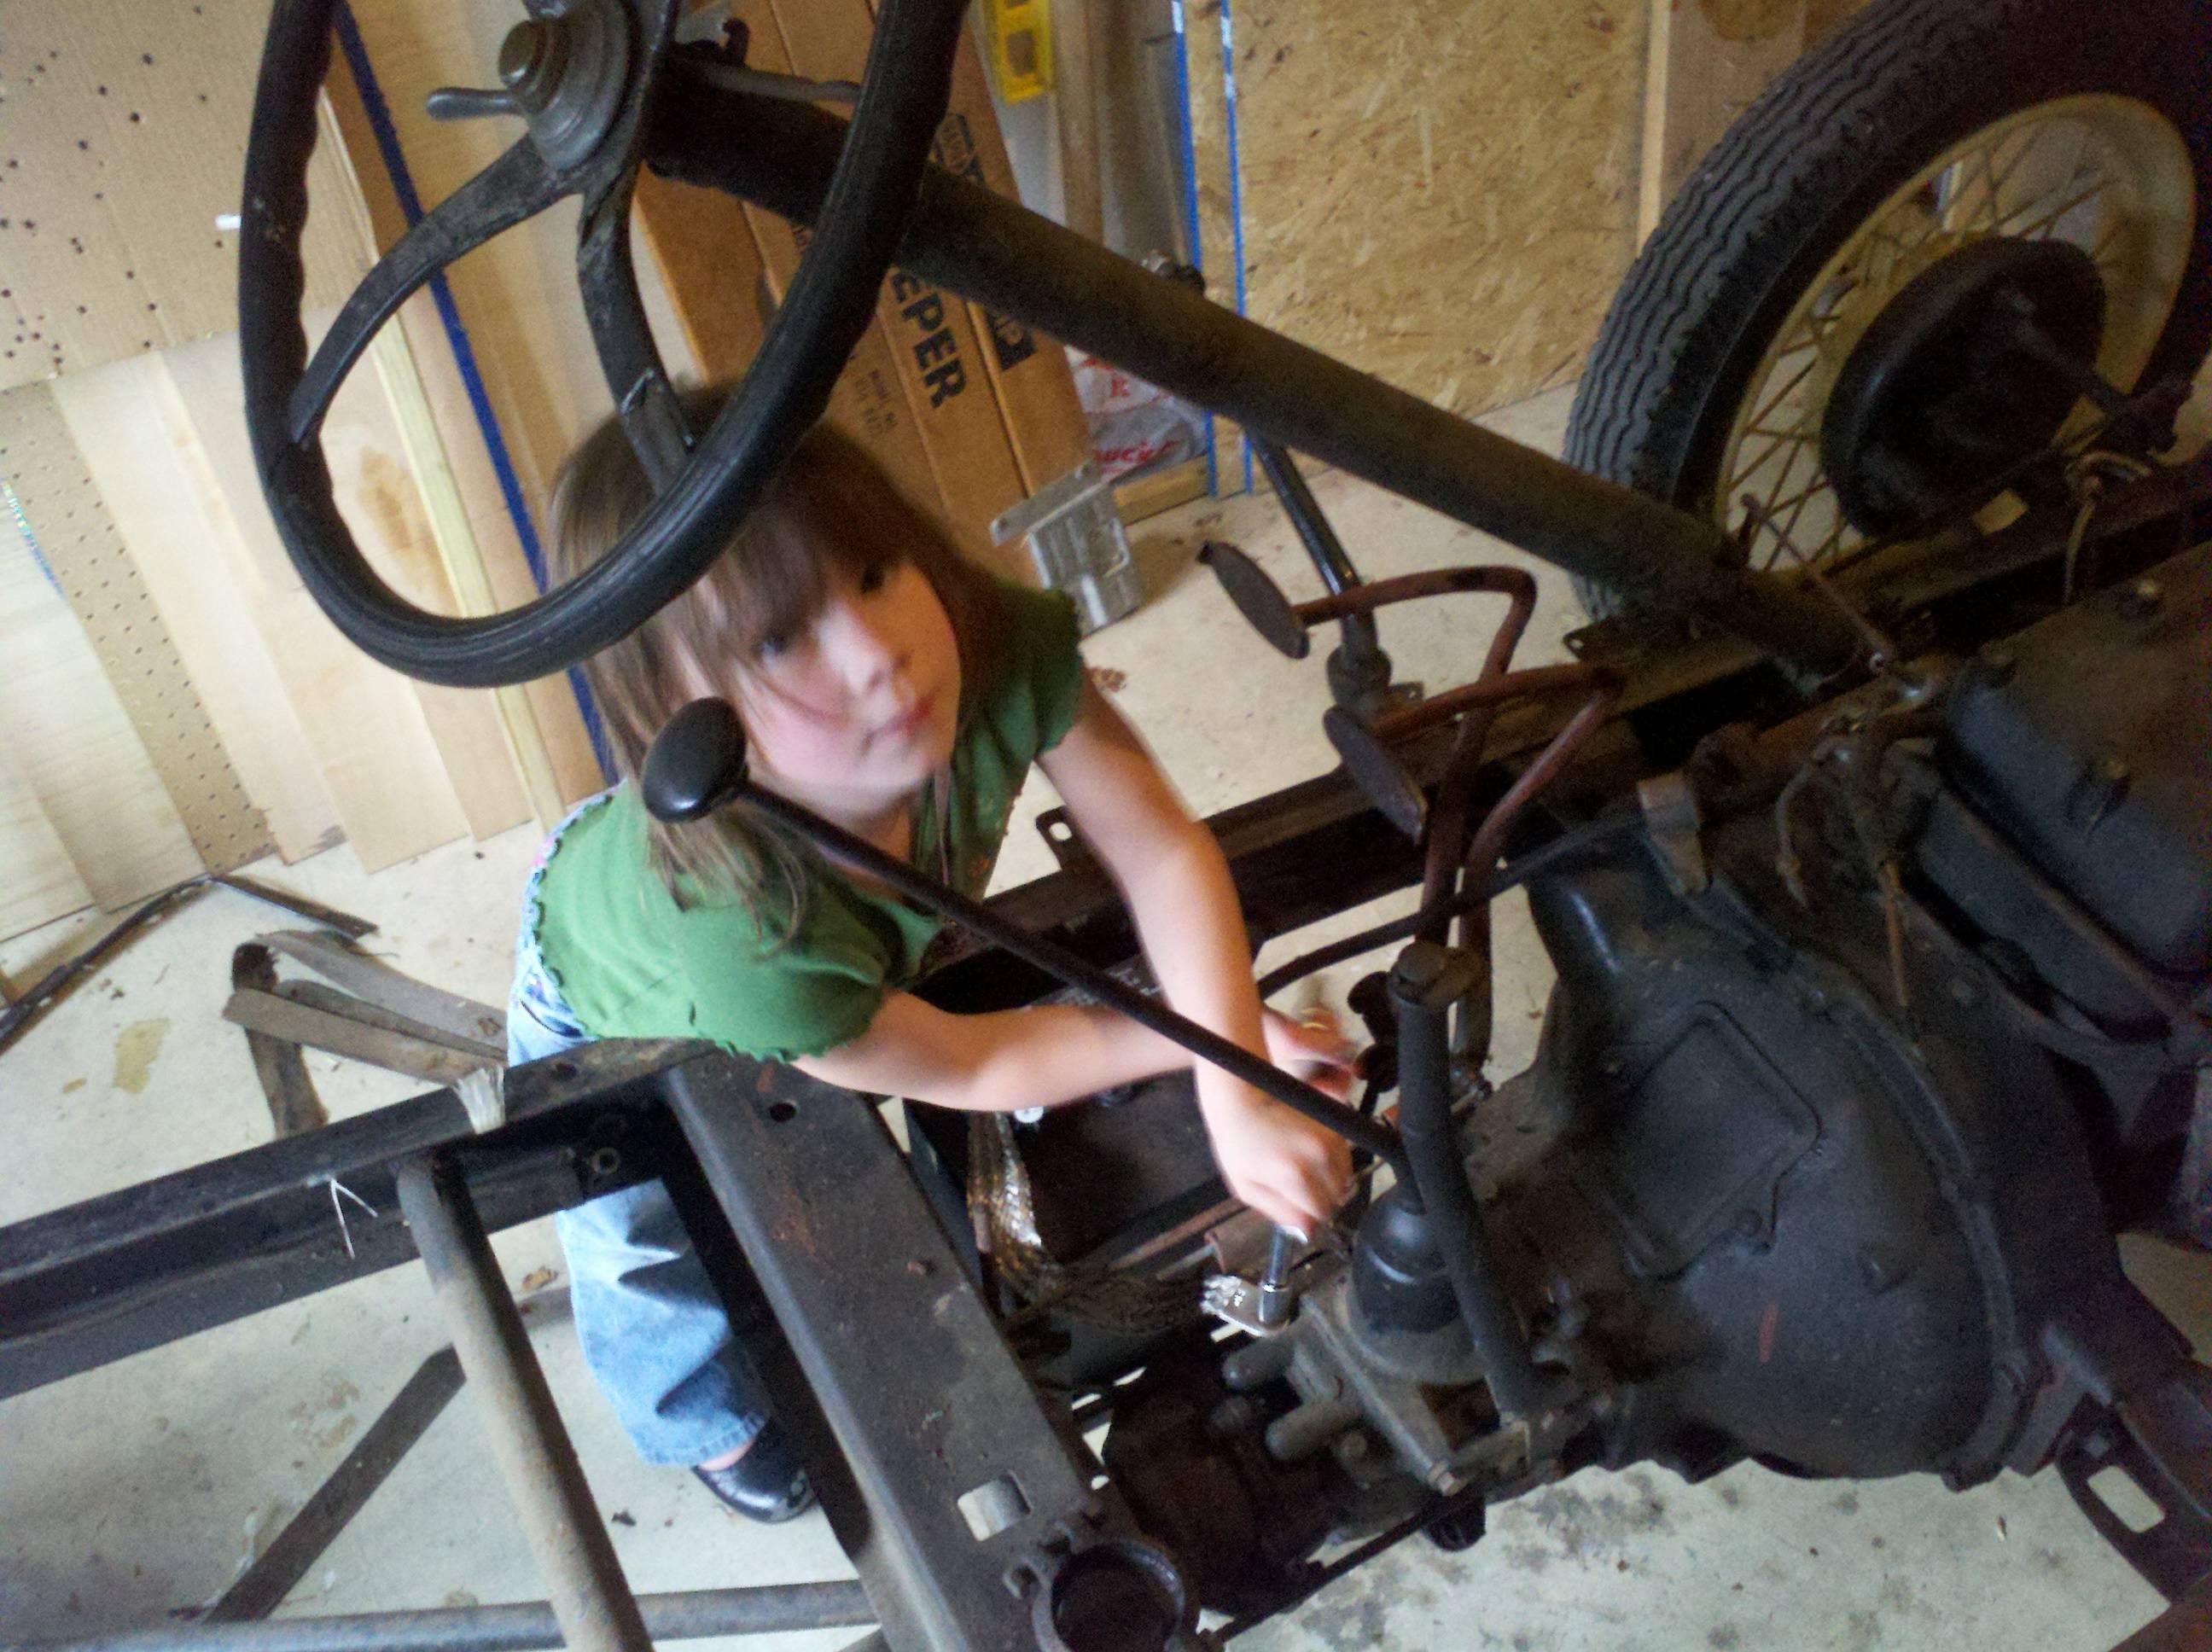
I popped out into the garage today. It was too cold out to roll the truck out, so I was just eyeballing things a bit, when my youngest daughter came out and asked if she could help me take the truck apart some more. Heck, who am I to say "no" to that?
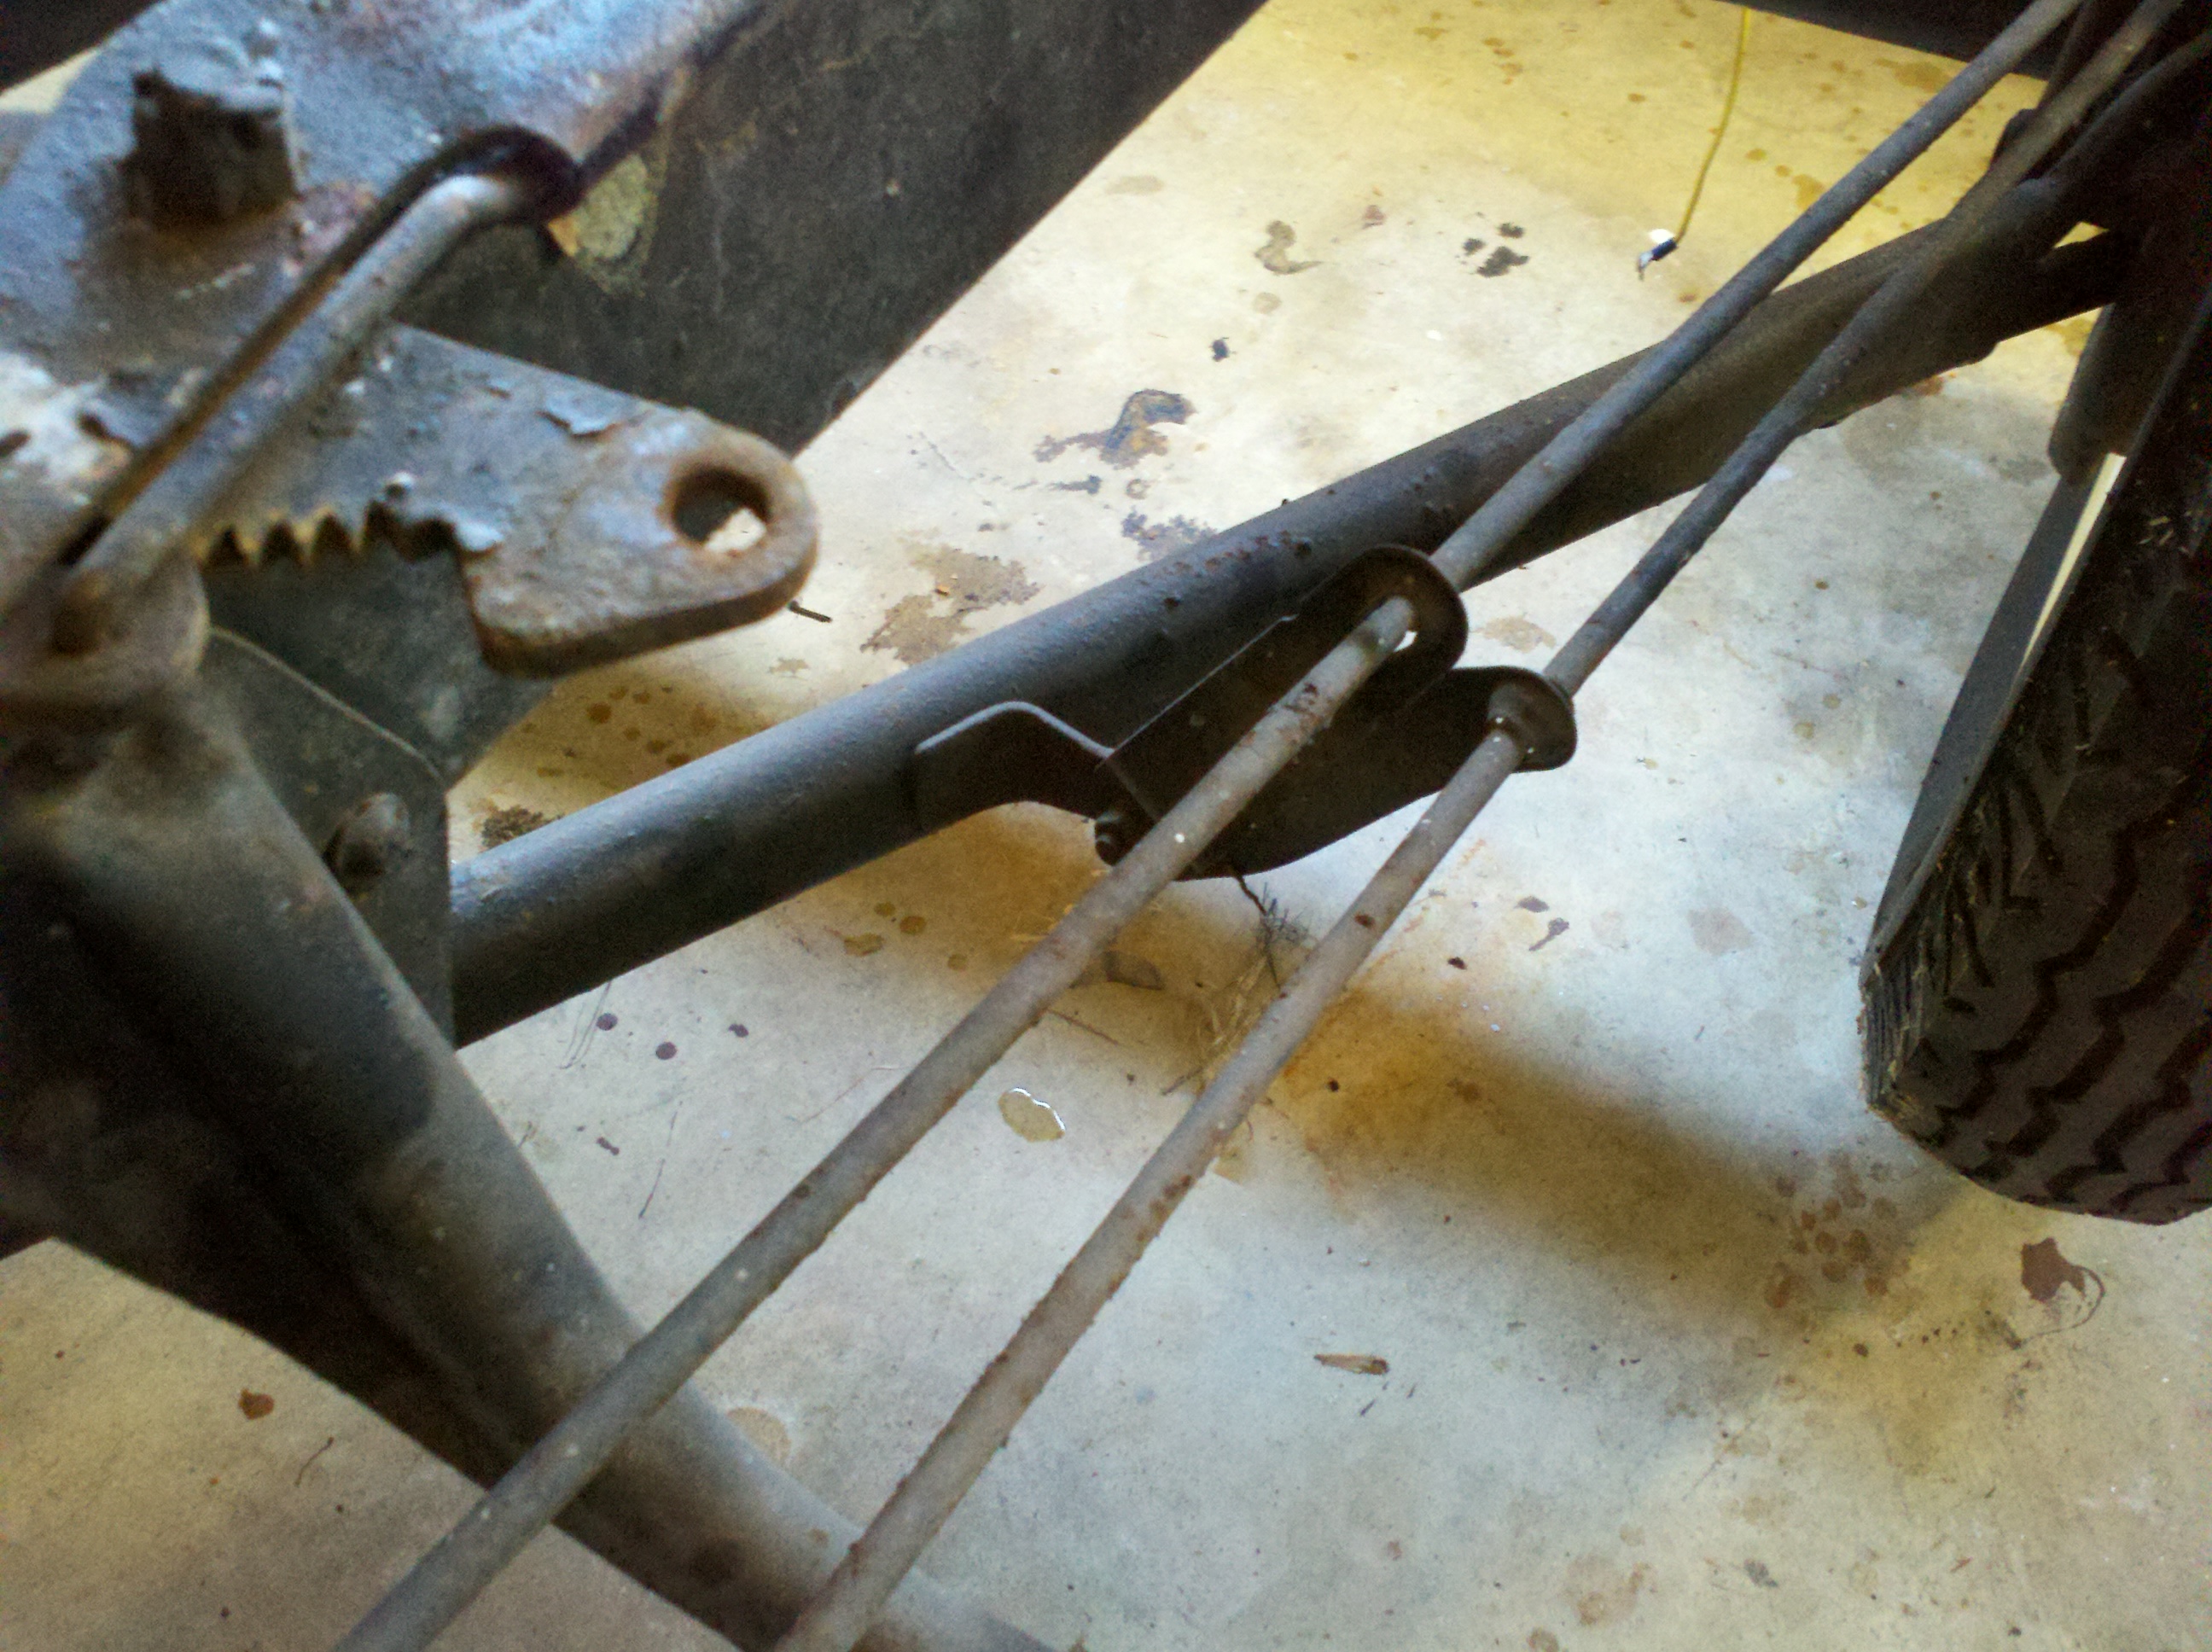
We started by pulling the battery cables from the ground (on the transmission) and the starter, and then continued on pulling the brake switch. From there, we pulled the brake and clutch pedals. My daughter was happy to pull a few of the bolts almost all by herself, and she really enjoyed pulling cotter pins from the brake linkage. After that, she pulled the emergency brake handle while I pulled the connector bar for it. See the pics below:

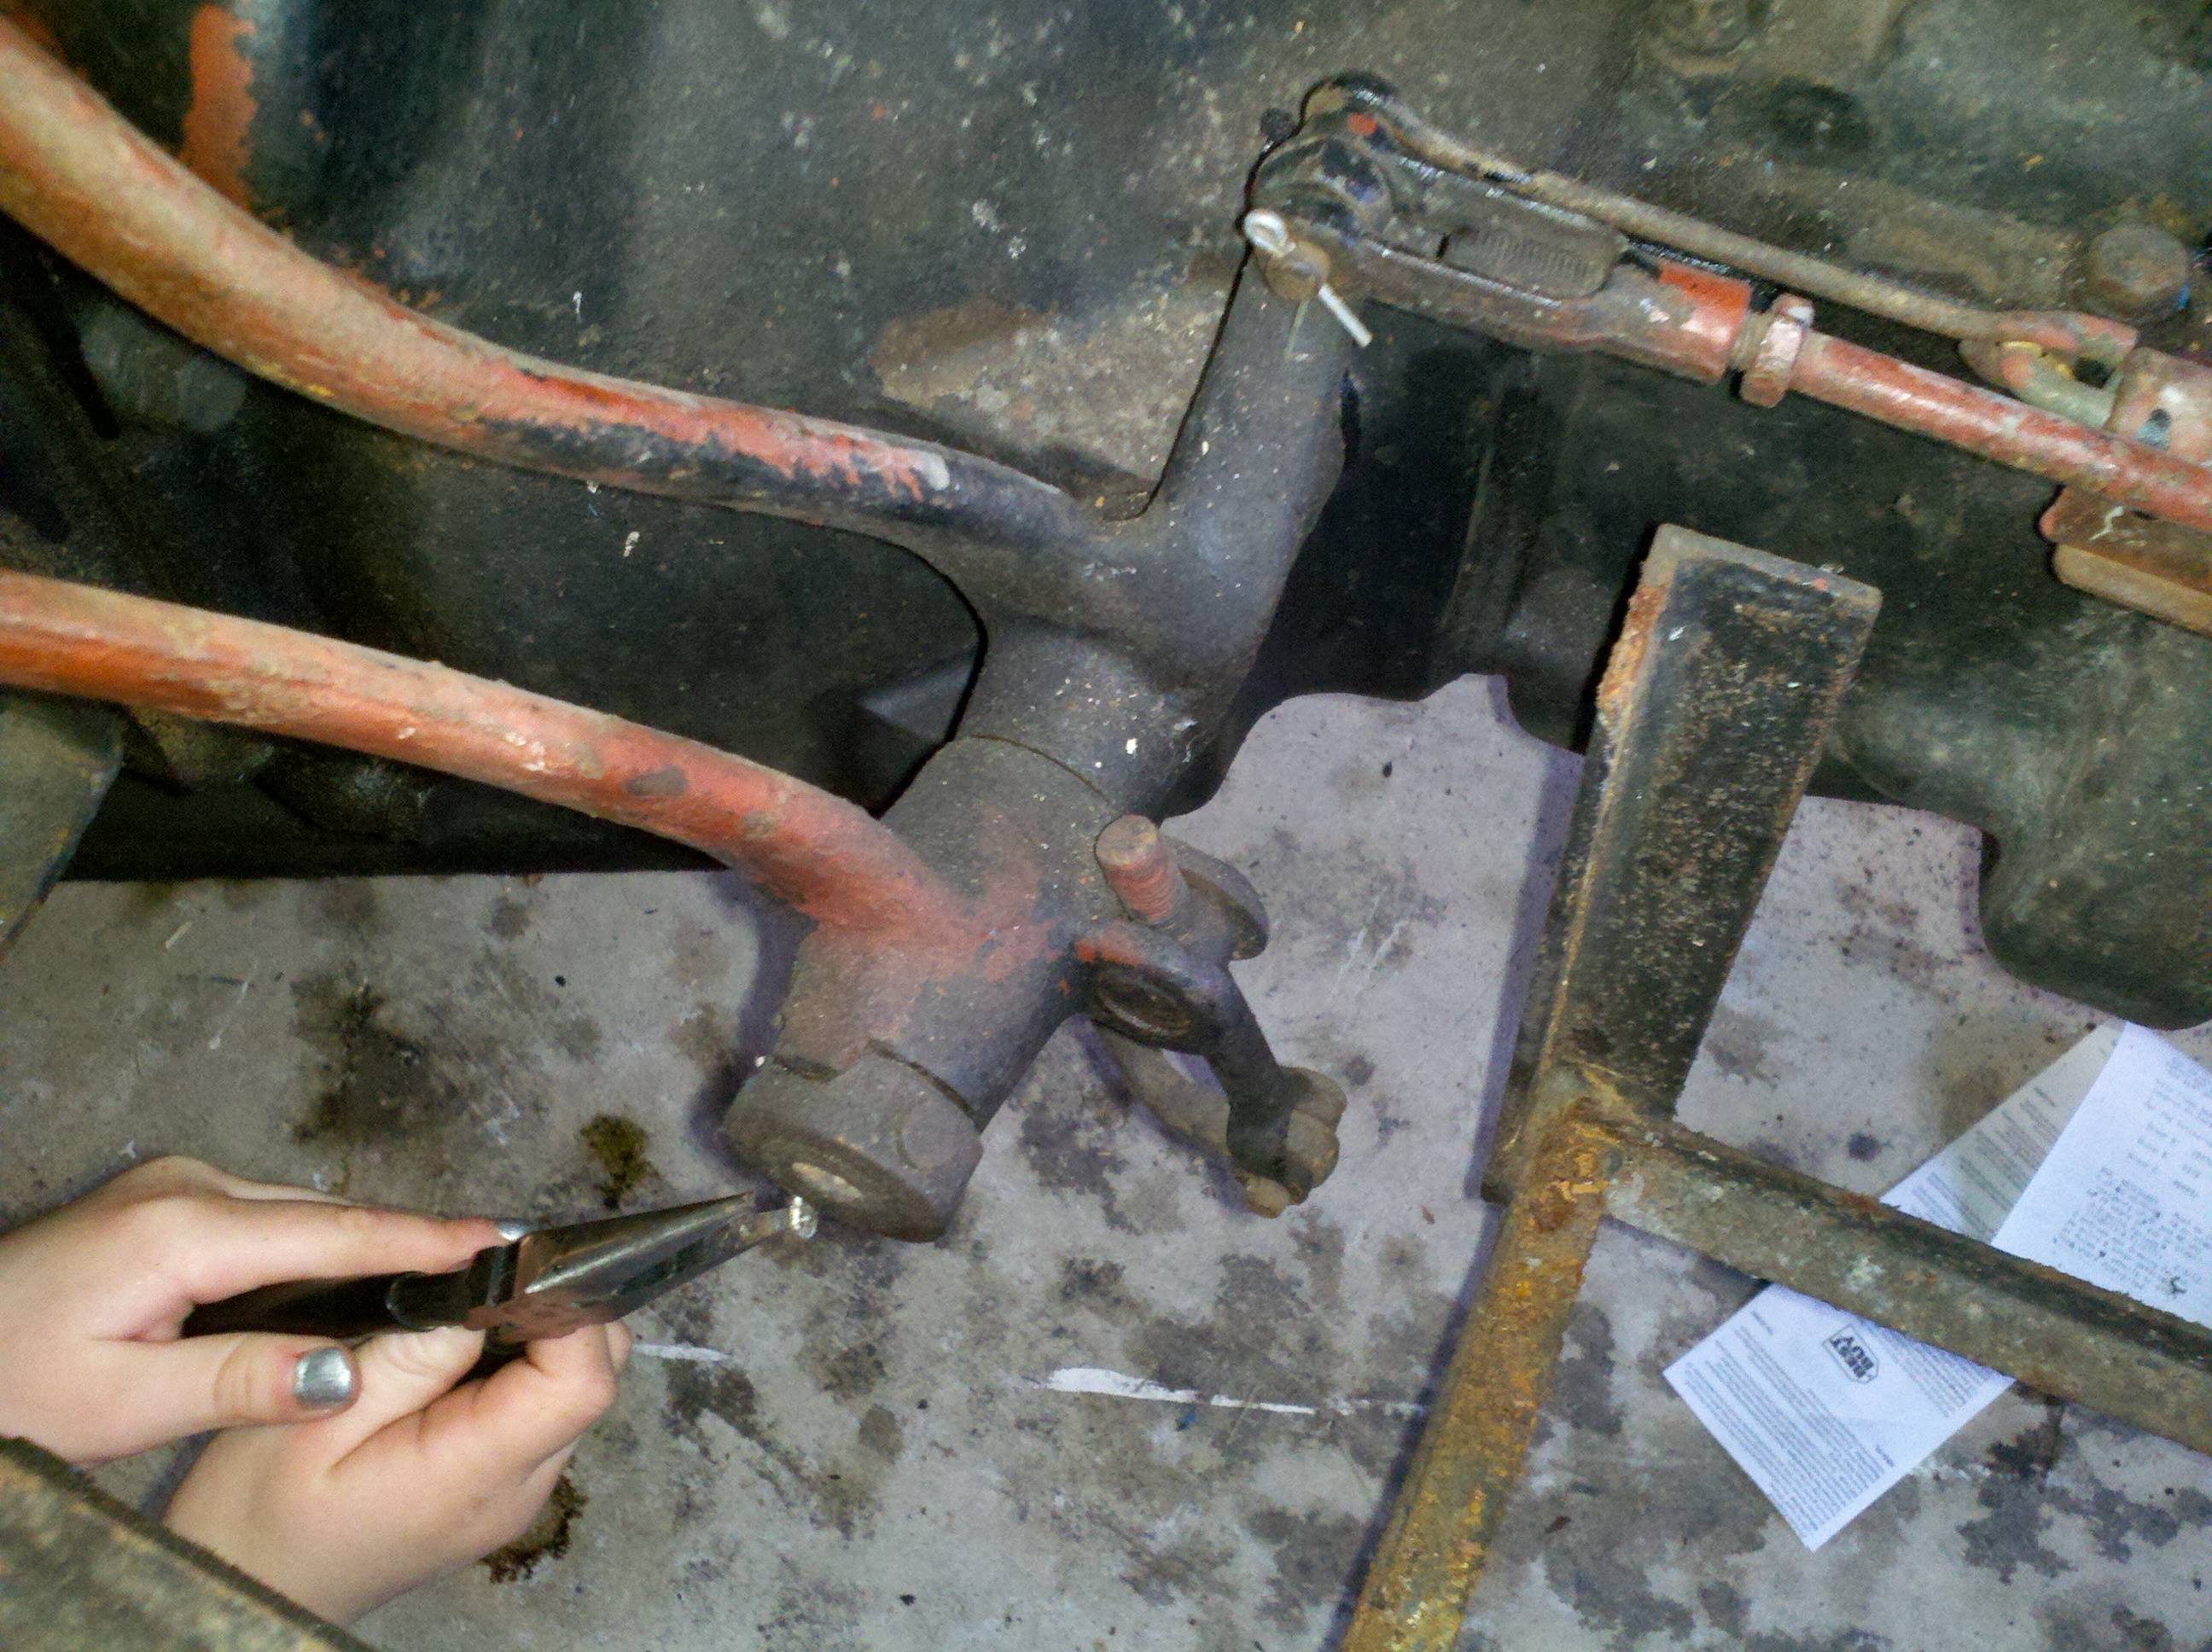
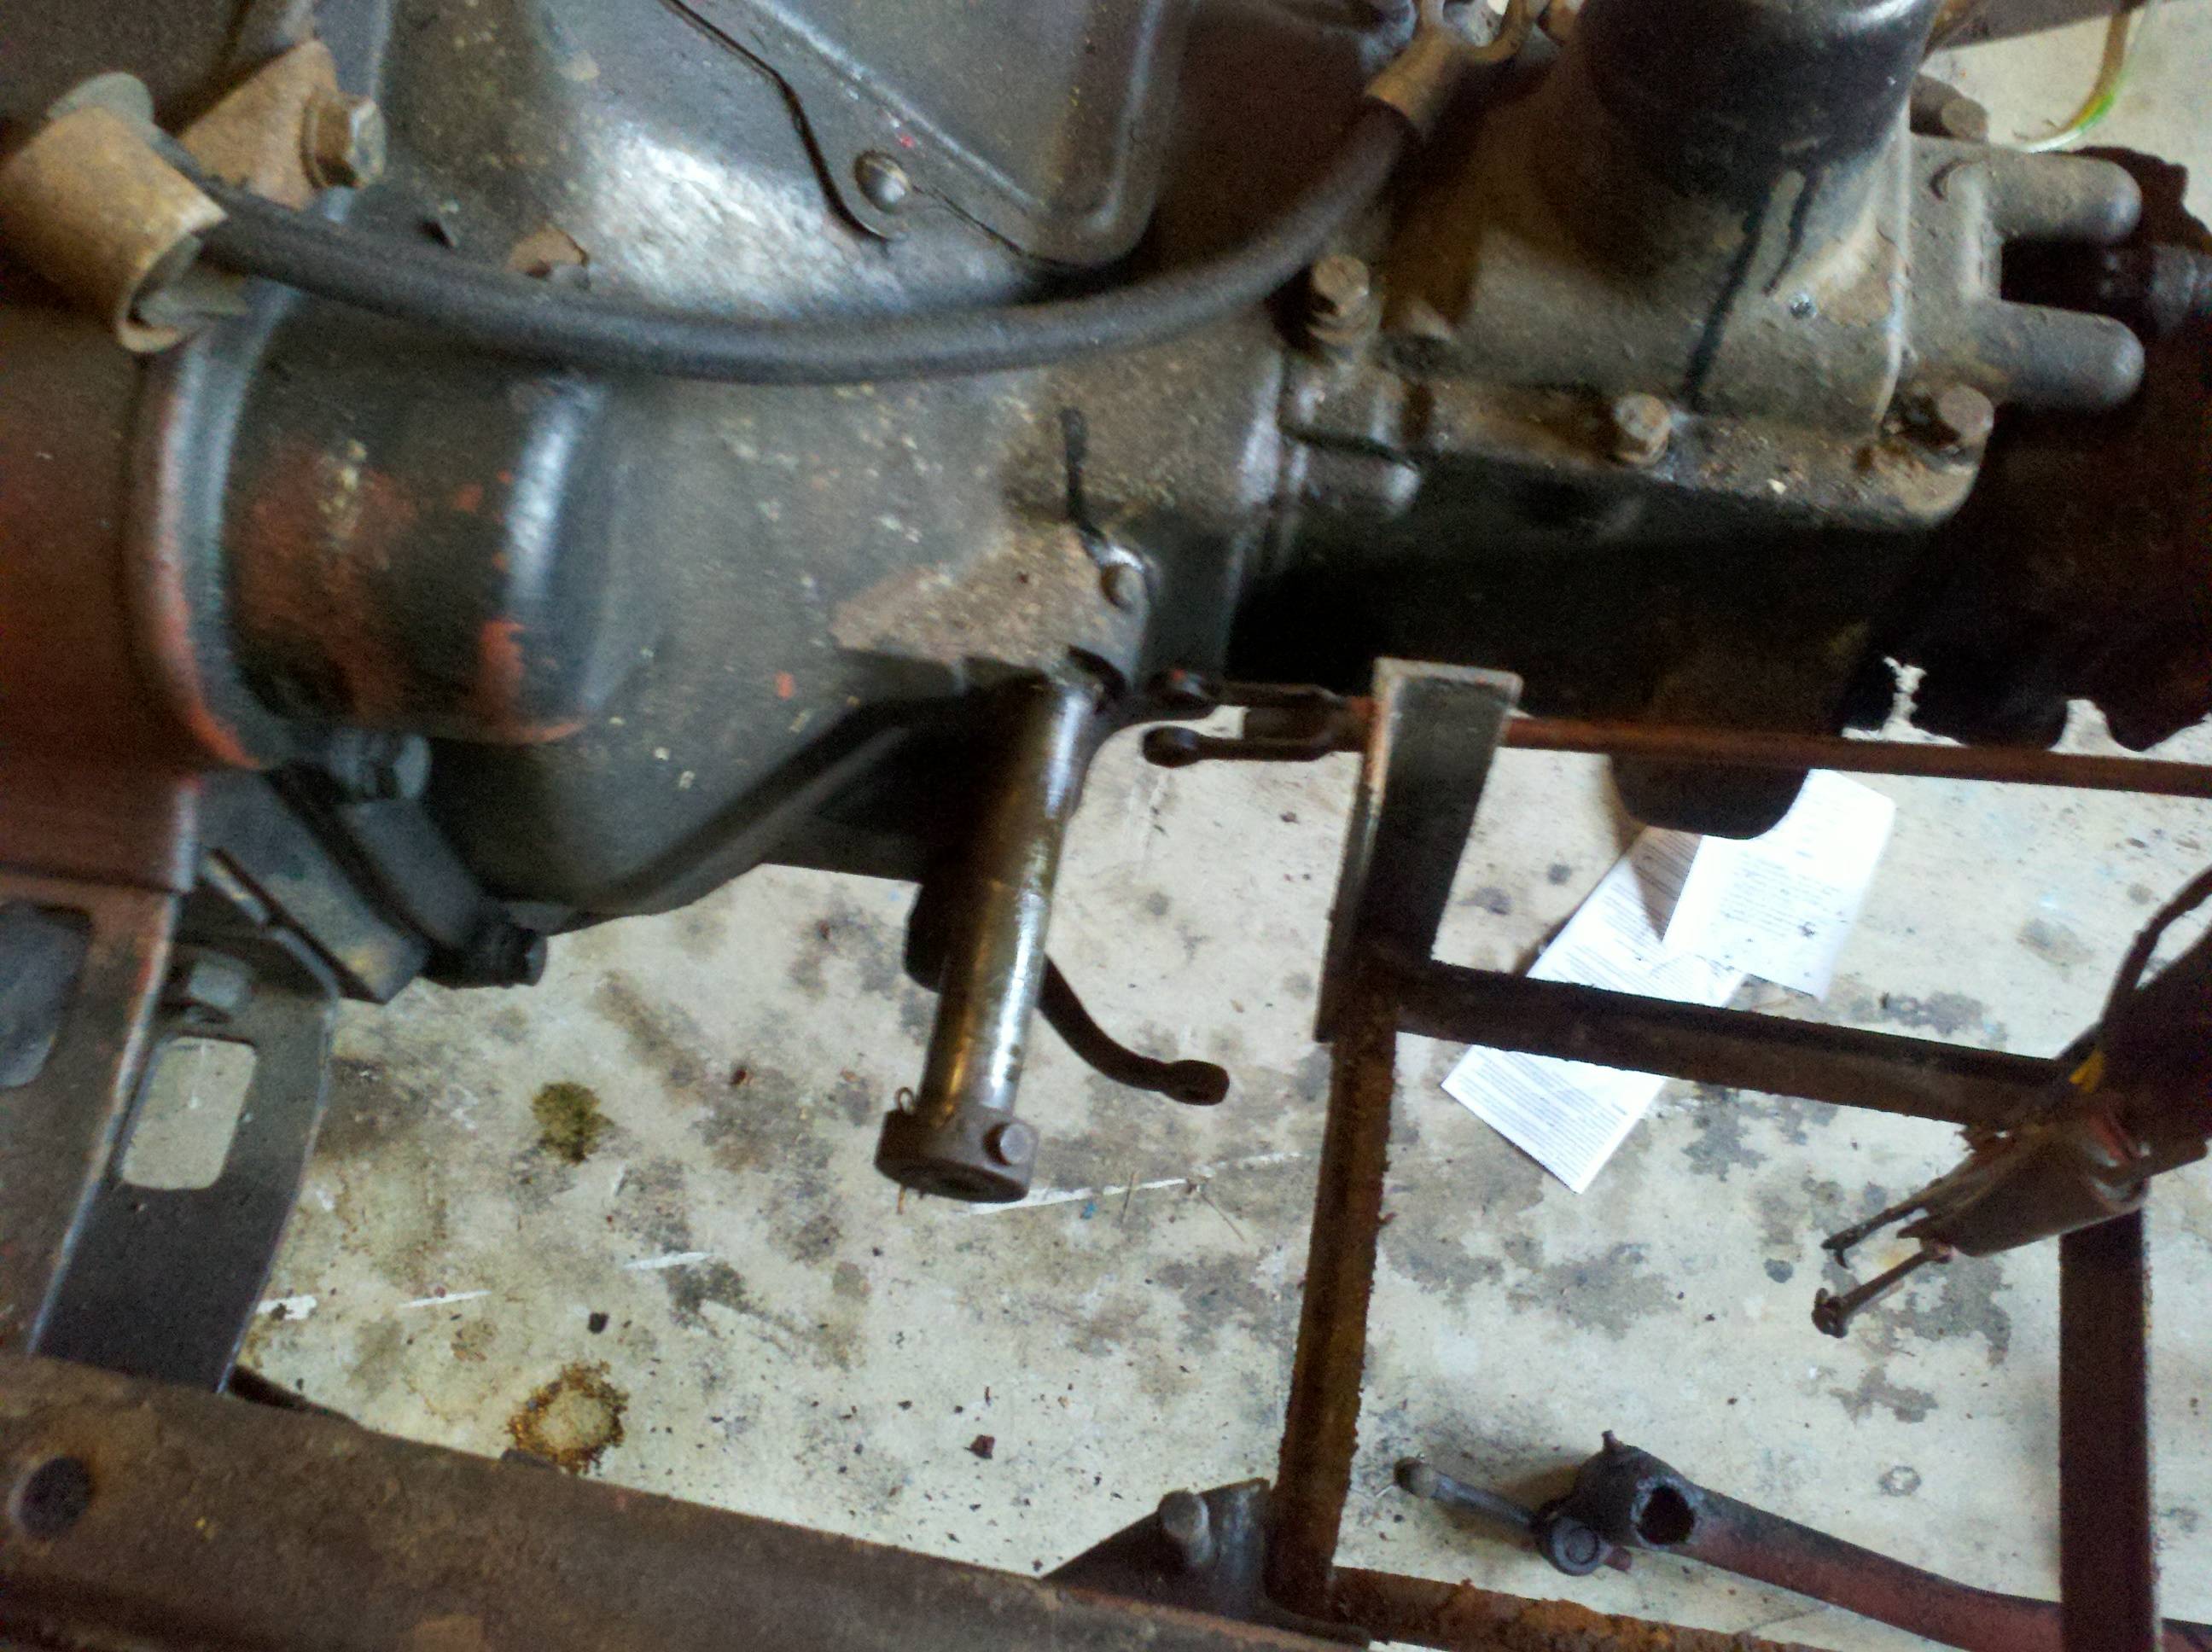
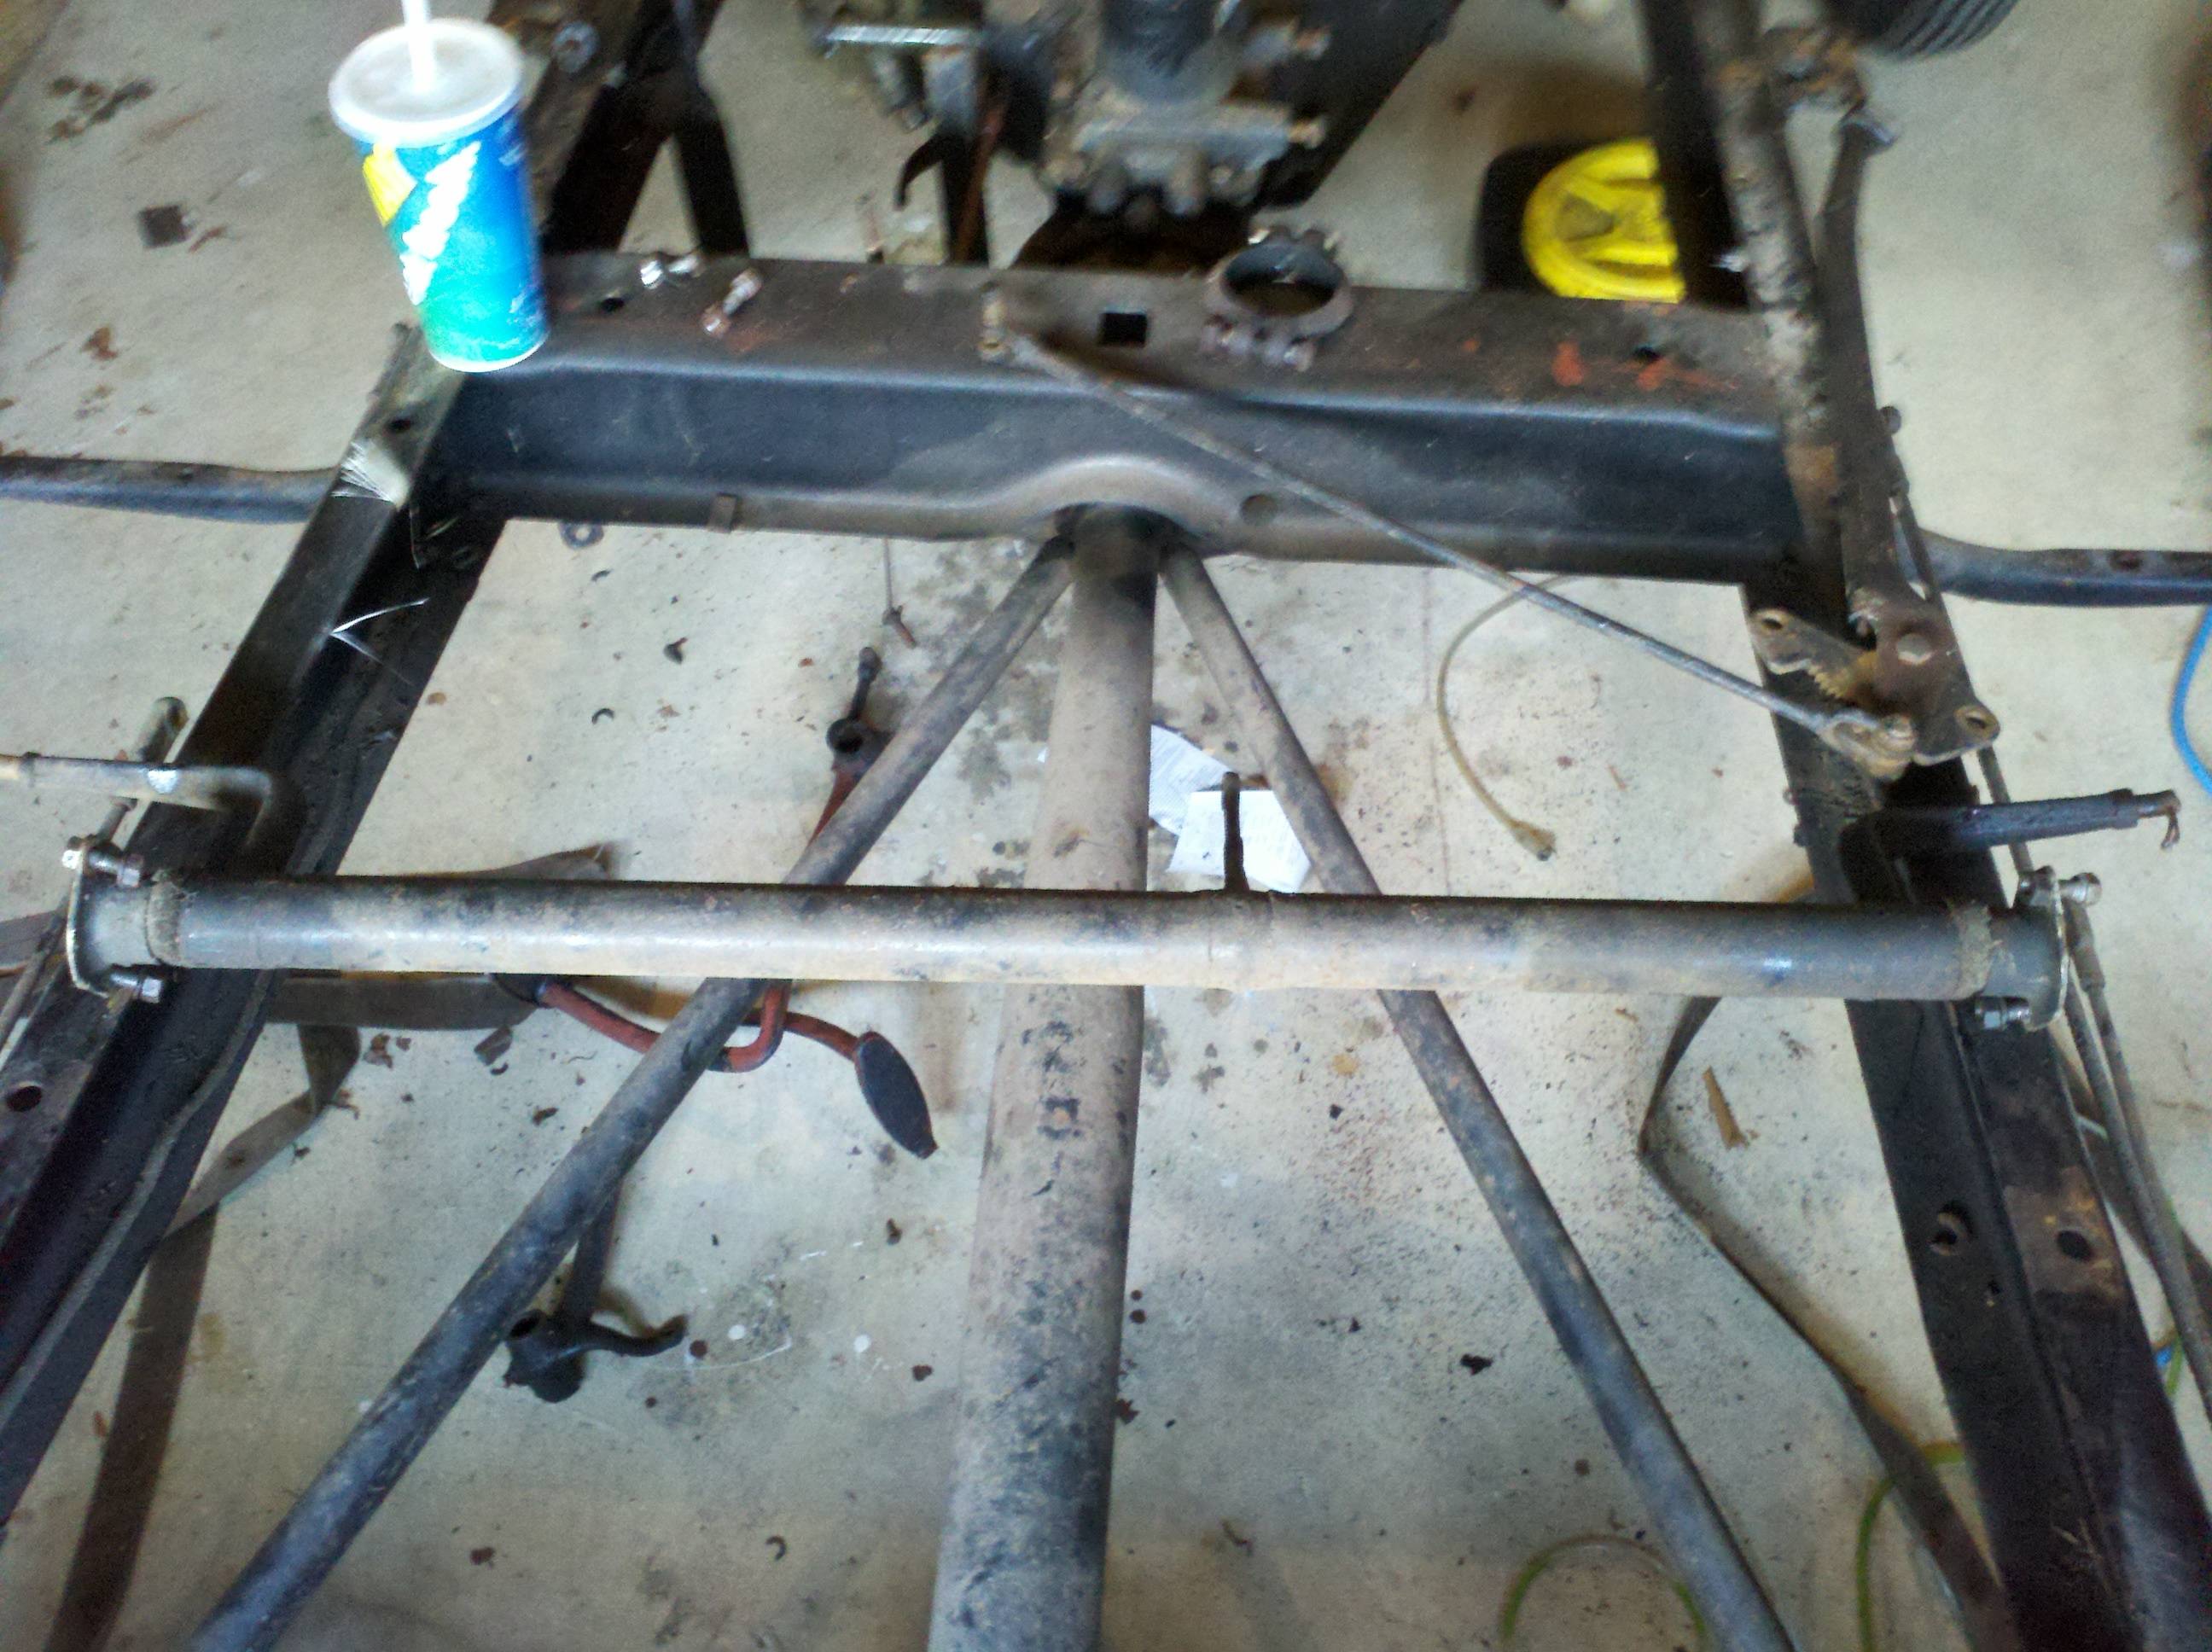
I oppped out into the garage again. Not sure how long I was out there, but I didn't do a lot. I popped a few of the brake linkages loose, and shot some WD-40 on others so I could get them loose later. I pulled the spare tire mount off (started it yesterday, but didn't finish). Then I took some pictures of the linkages so I can hopefully put it all back together someday.

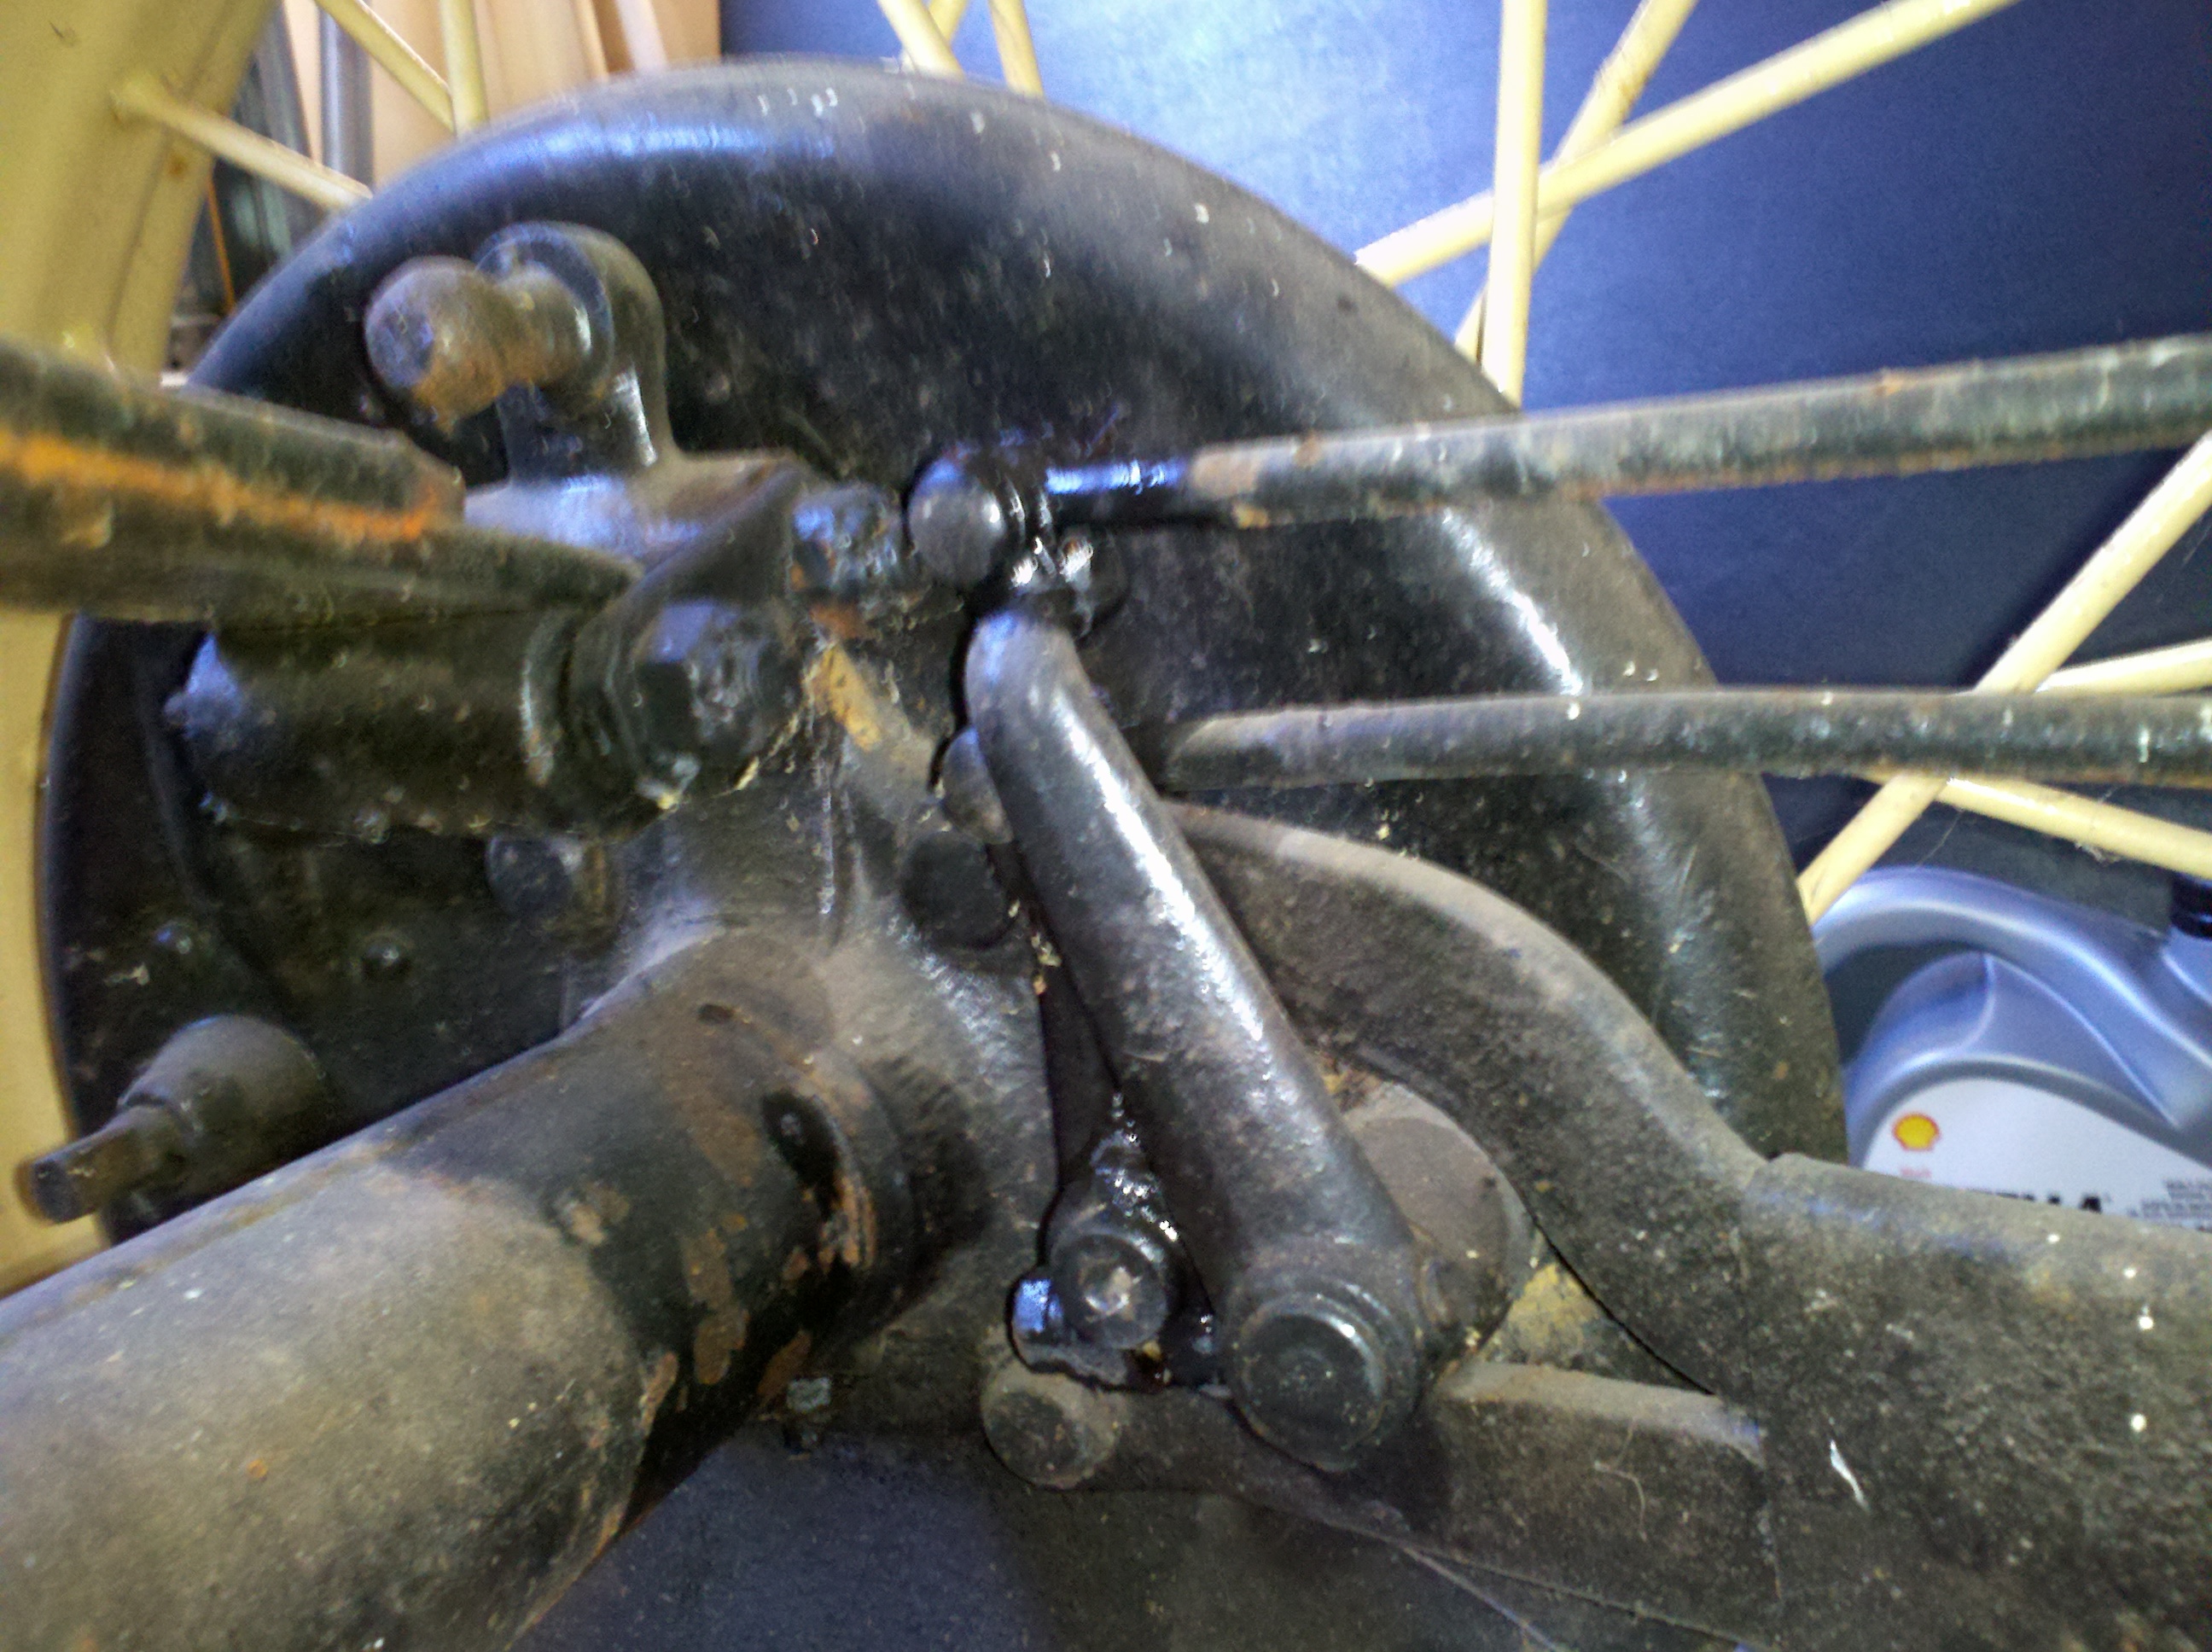
Holee cow! What a nice morning! The youngest daughter and I went out this morning and pulled most of the brake rods off the truck. A couple of them are pretty bent up, so I'm thinking about maybe replacing them. We'll see, I guess. No pictures, just a quick update.
HAPPY NEW YEAR!
Last modified on 06/24/12