
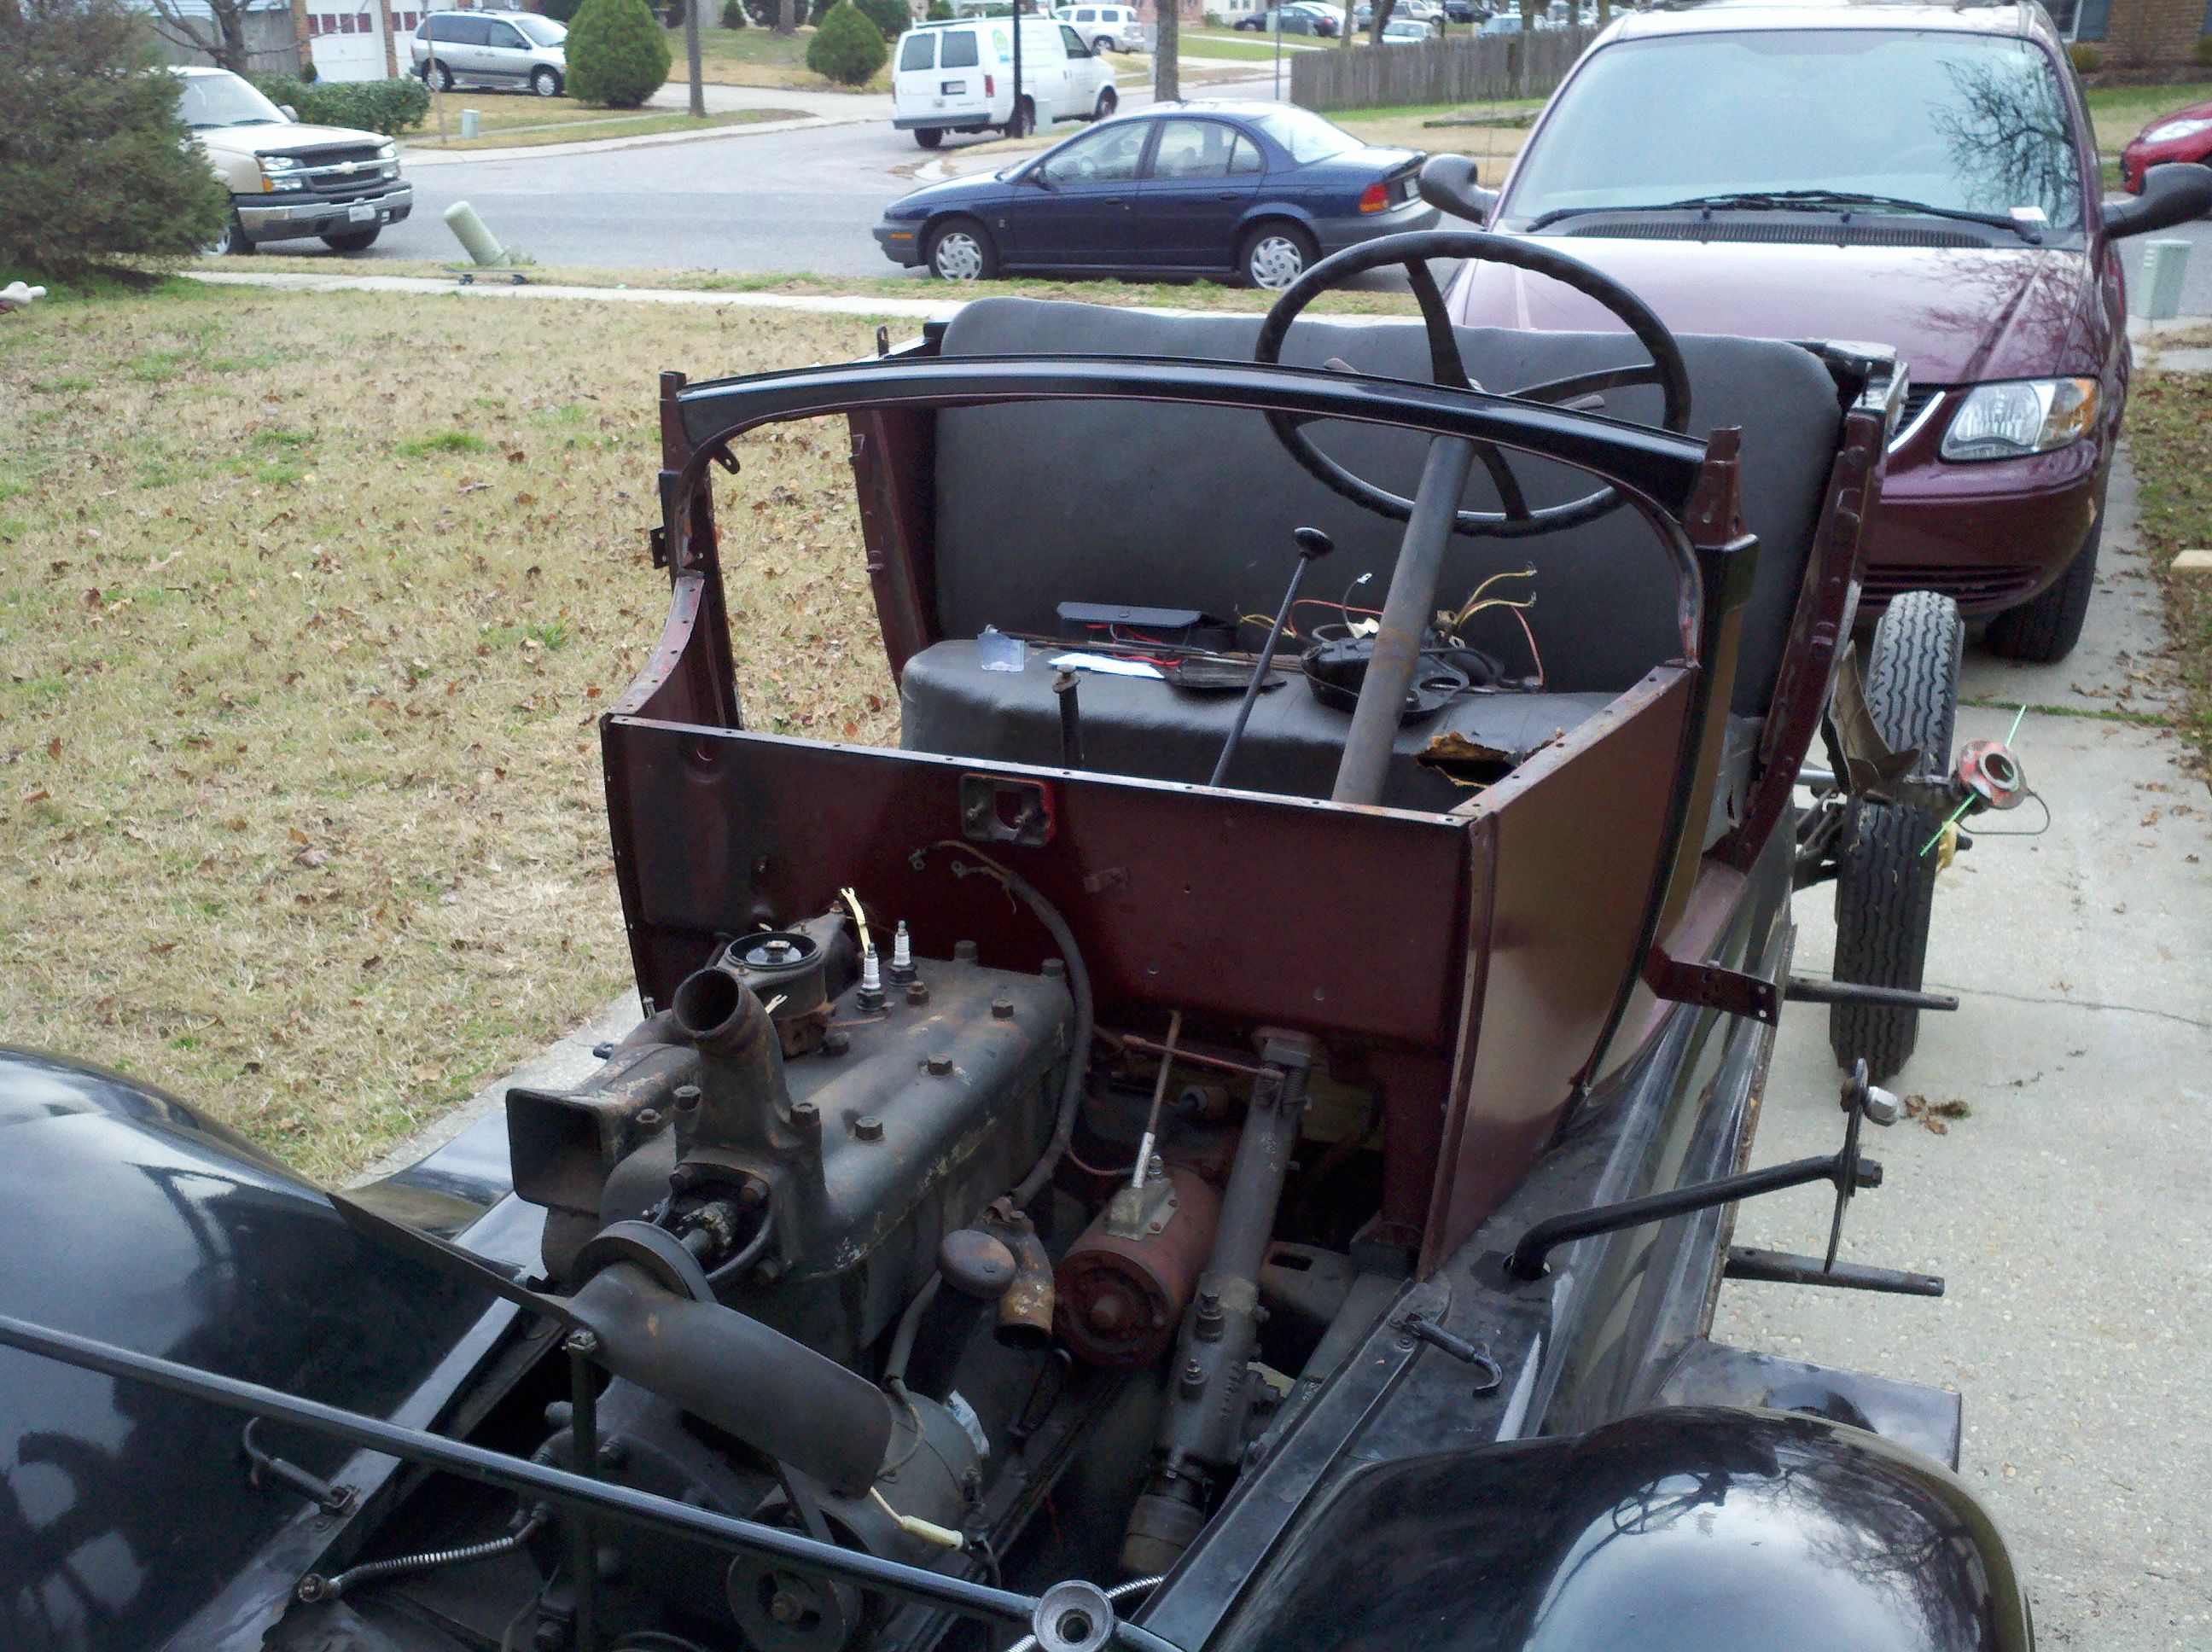
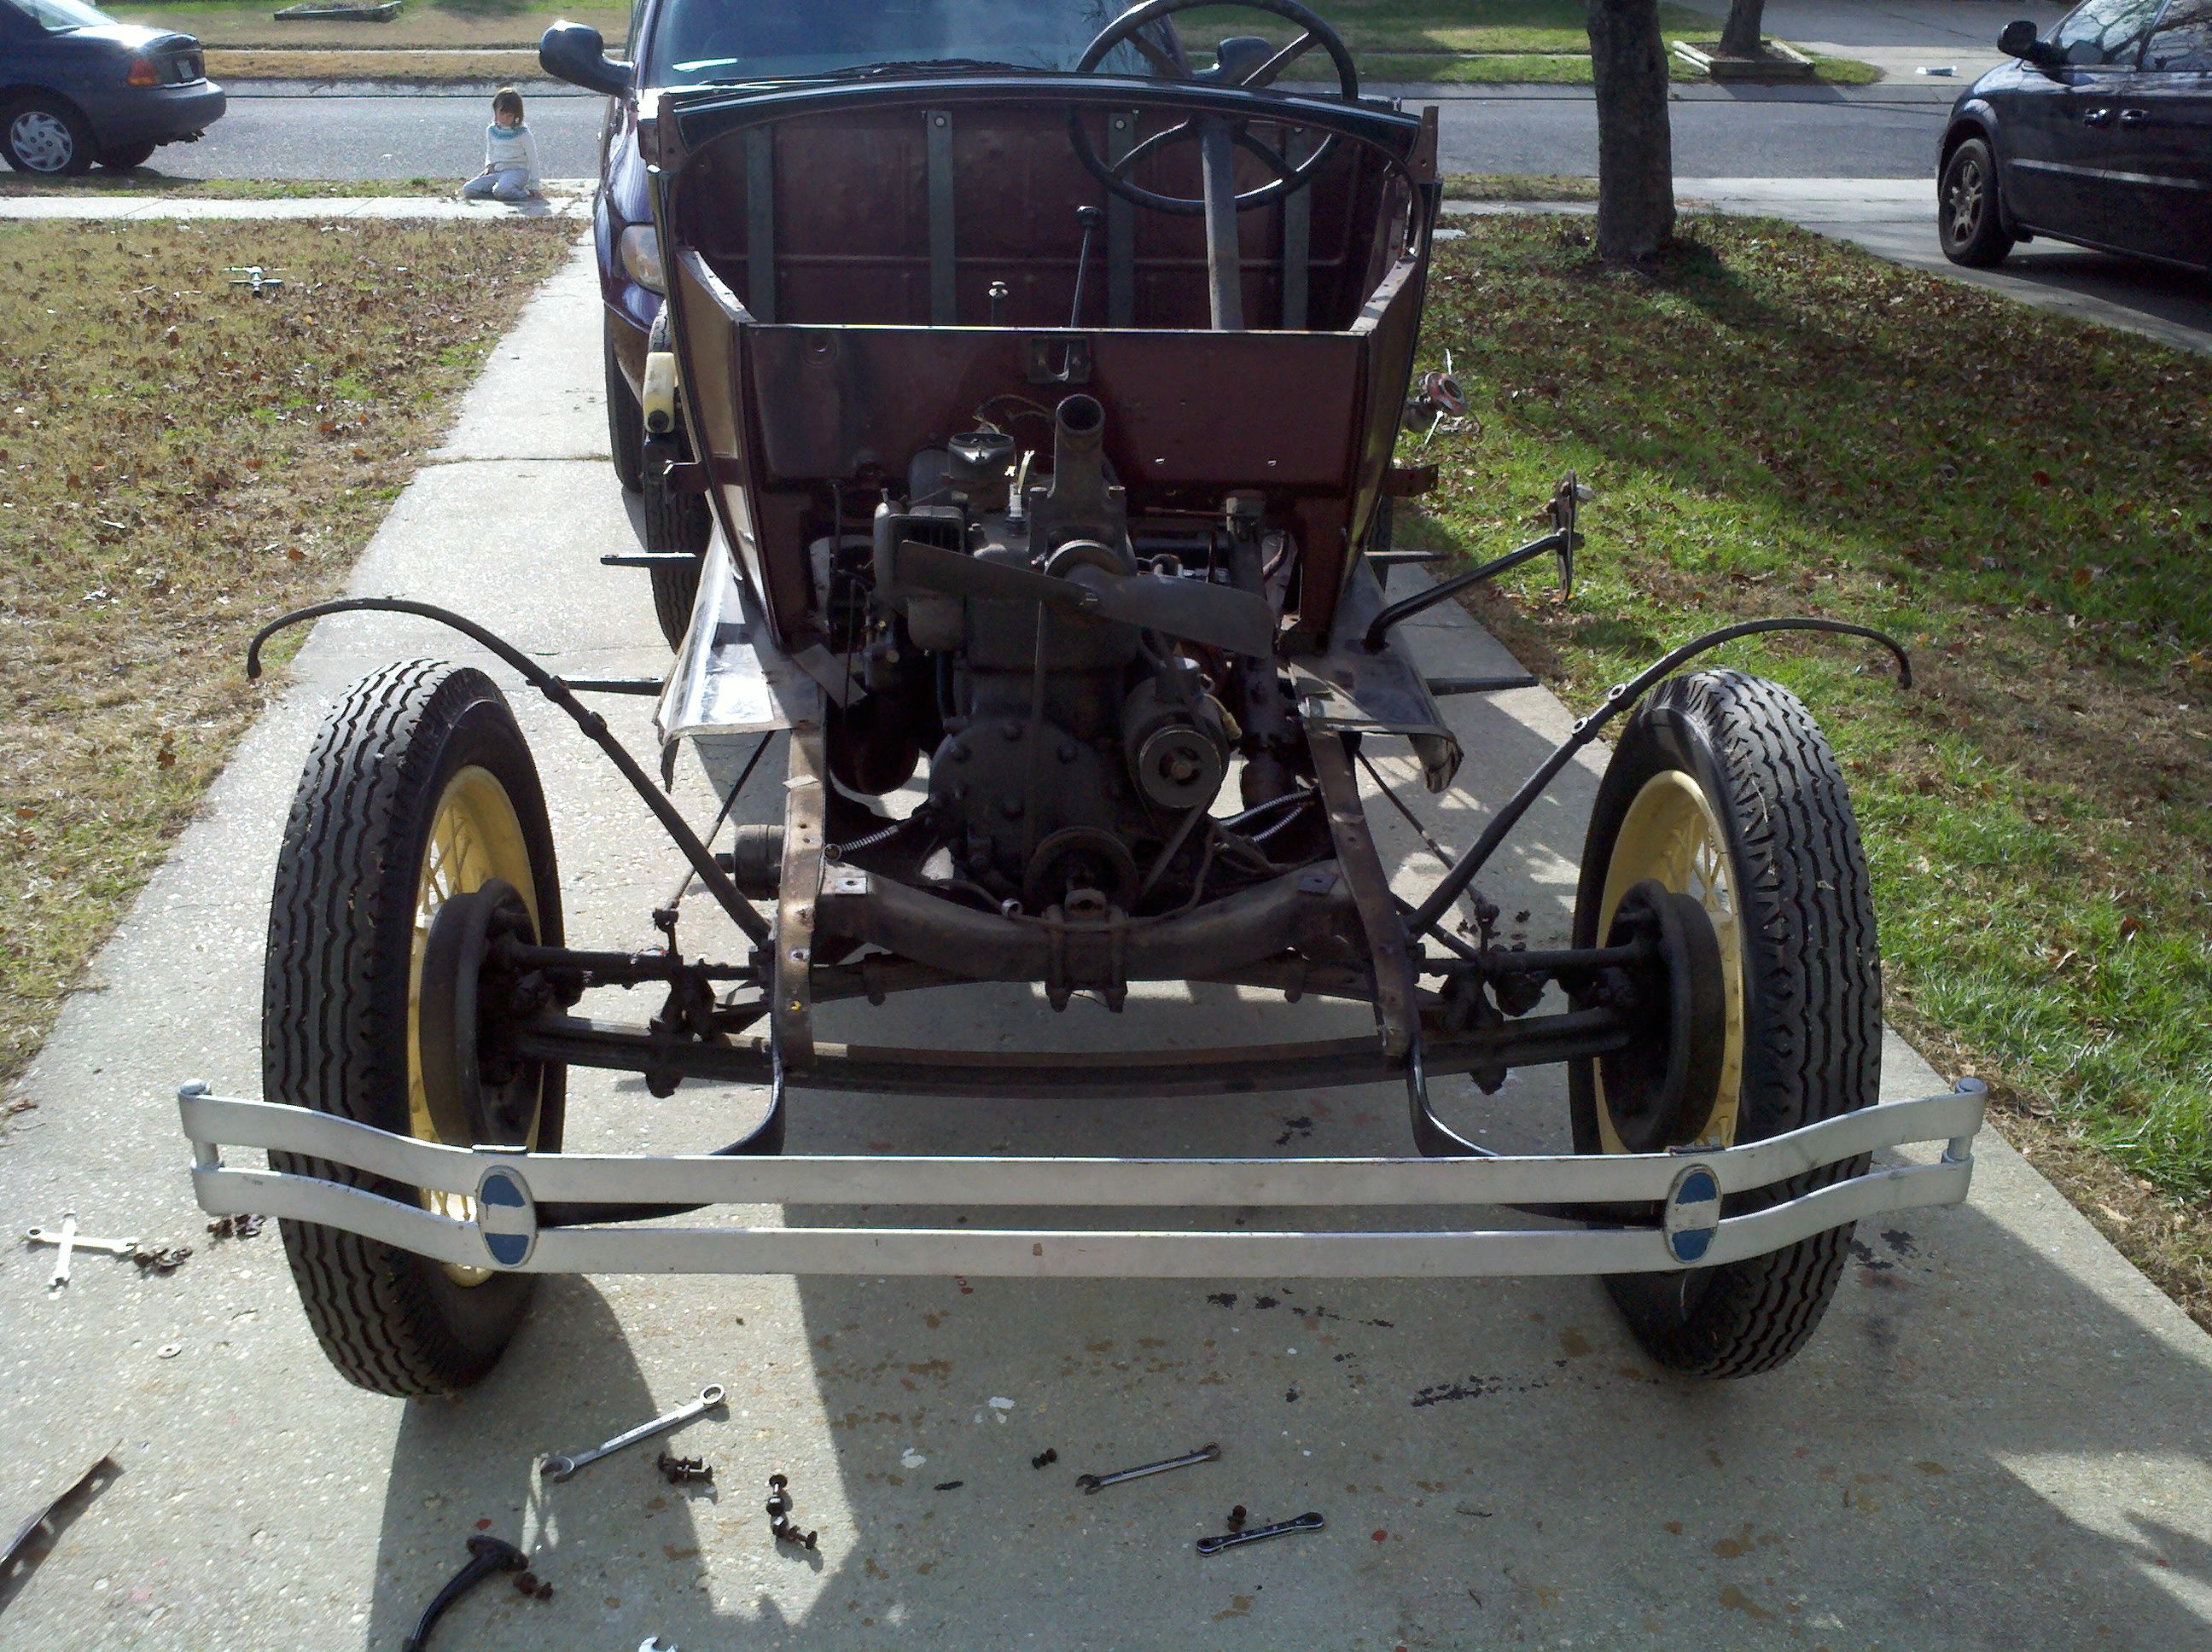
Got my winch beam installed! Now I'm ready to pull the heavy stuff off the truck... Like, you know, the engine and the body...
Pulled off the windshield and the "dash plate" (dunno what it's really called, but there ya go...) This didn't take very long, although I did have to give the posts a bit of a whack to get them to come loose after I pulled their bolts. It looks to me like the windshield's been set in its frame with silicon RTV, of some sort. I don't think that's the way it was originally done, but I don't know for sure. I'll have to be careful pulling the glass out for when I want to strip the frame...


Drained the coolant from the beast, in preparaatino of the radiator (and shroud) removal. Looking at the coolant, it's apparent to me that the head gasket is most likely blown. I drained the coolant into a brand new, white, 5-gallon bucket - through a piece of tygon hose (no crud from the engine pan). The coolant had a brown tinge to it. It sat overnight, and when I disposed of the coolant, I had this residue (see picture below) left over... Yuk. I am really hoping it's just a gasket (or maybe rings), and not a cracked head or block...

We hemmed and hawed for a bit about which piece should be pulled next. The choice is between the radiator and the gas tank. It's not much of a thought experiment, though - the radiator is attatched to the gas tank via the support rods. So, radiator it is, right? And we drained the radiator earlier this week (the 12th, right?), so now it was time to pull the radiator.
First step is to figure out how the darned thing is attached, right? Well, I can tell you I probably could've spent a little more time looking and thinking about it. My three girls helped out, the youngest just watching, the oldest holding the light, and the middle one helped with tools. Actually, they all helped with tools, but that was sort of the way it broke down.
I stared at the thing for a while - the support rods were "no brainers," and so were the radiator hoses. So, the first thing I did was pull the rubber hoses. Man, they might've been original! Those were some of the hardest pieces of rubber hose I think I've ever come across. They weren't horribly cracked, but there were a few. And they were pretty darned hard to break loose and they pretty much wouldn't bend at all. They were a lot harder to take off than I thunk they would be.
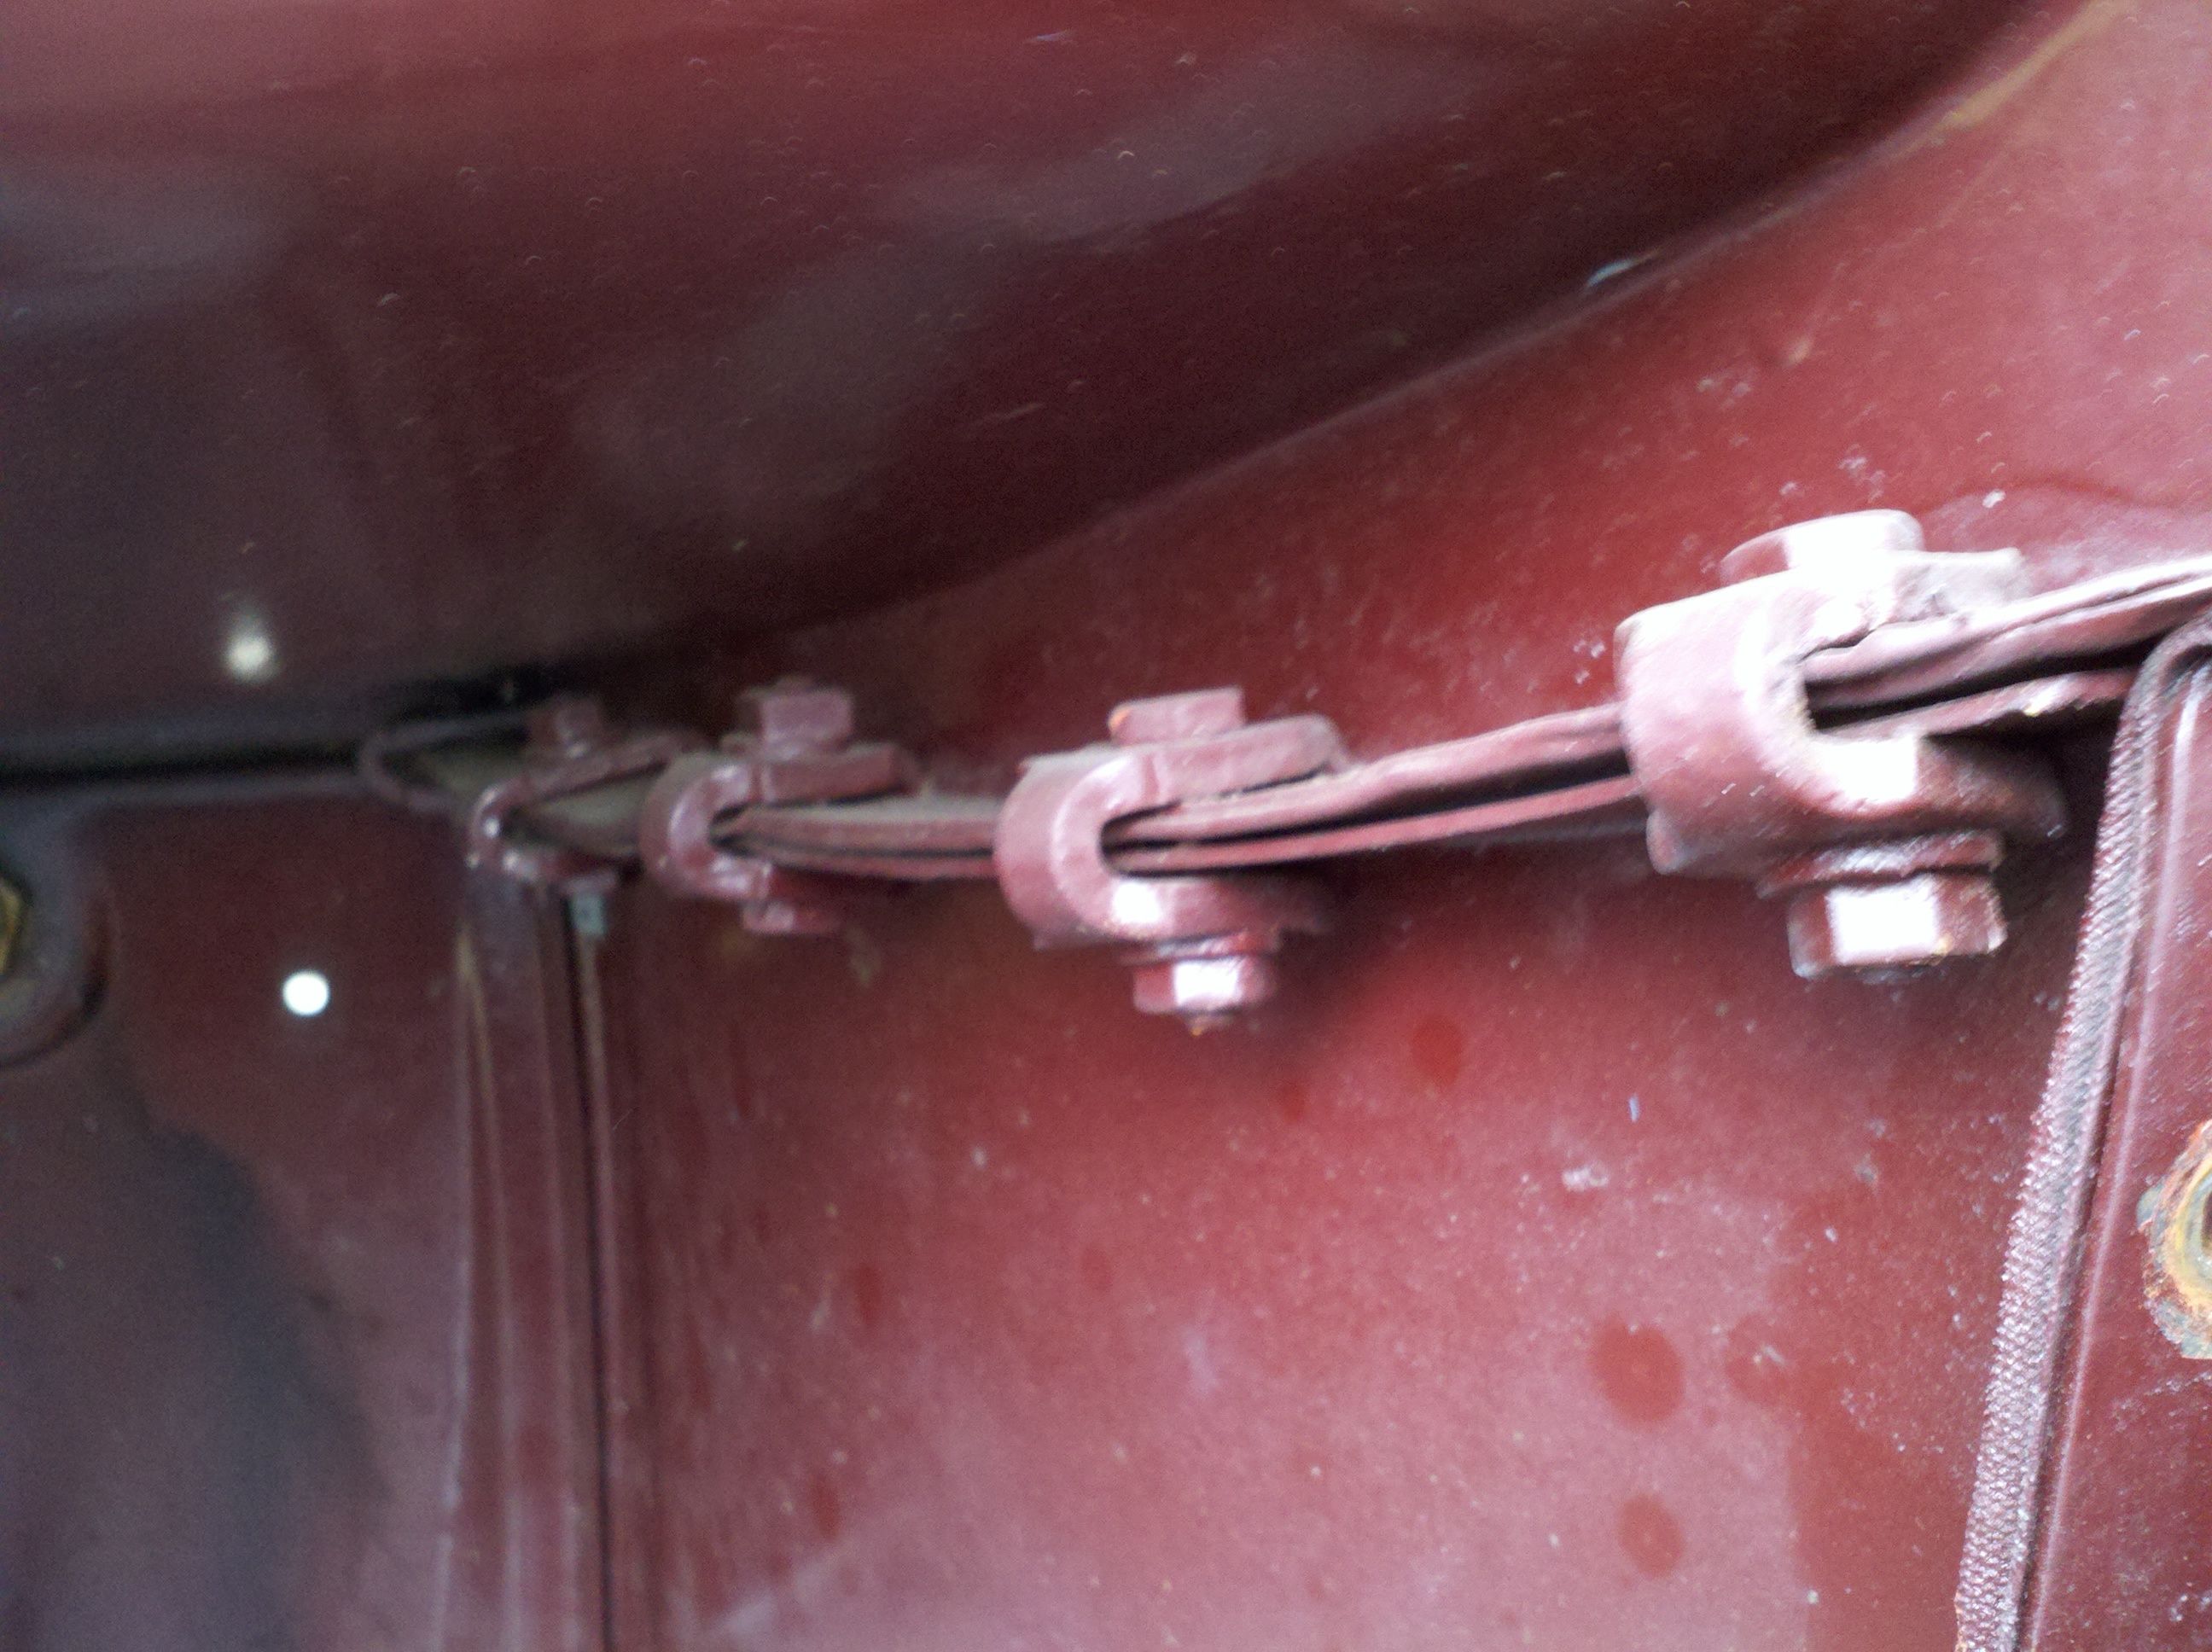
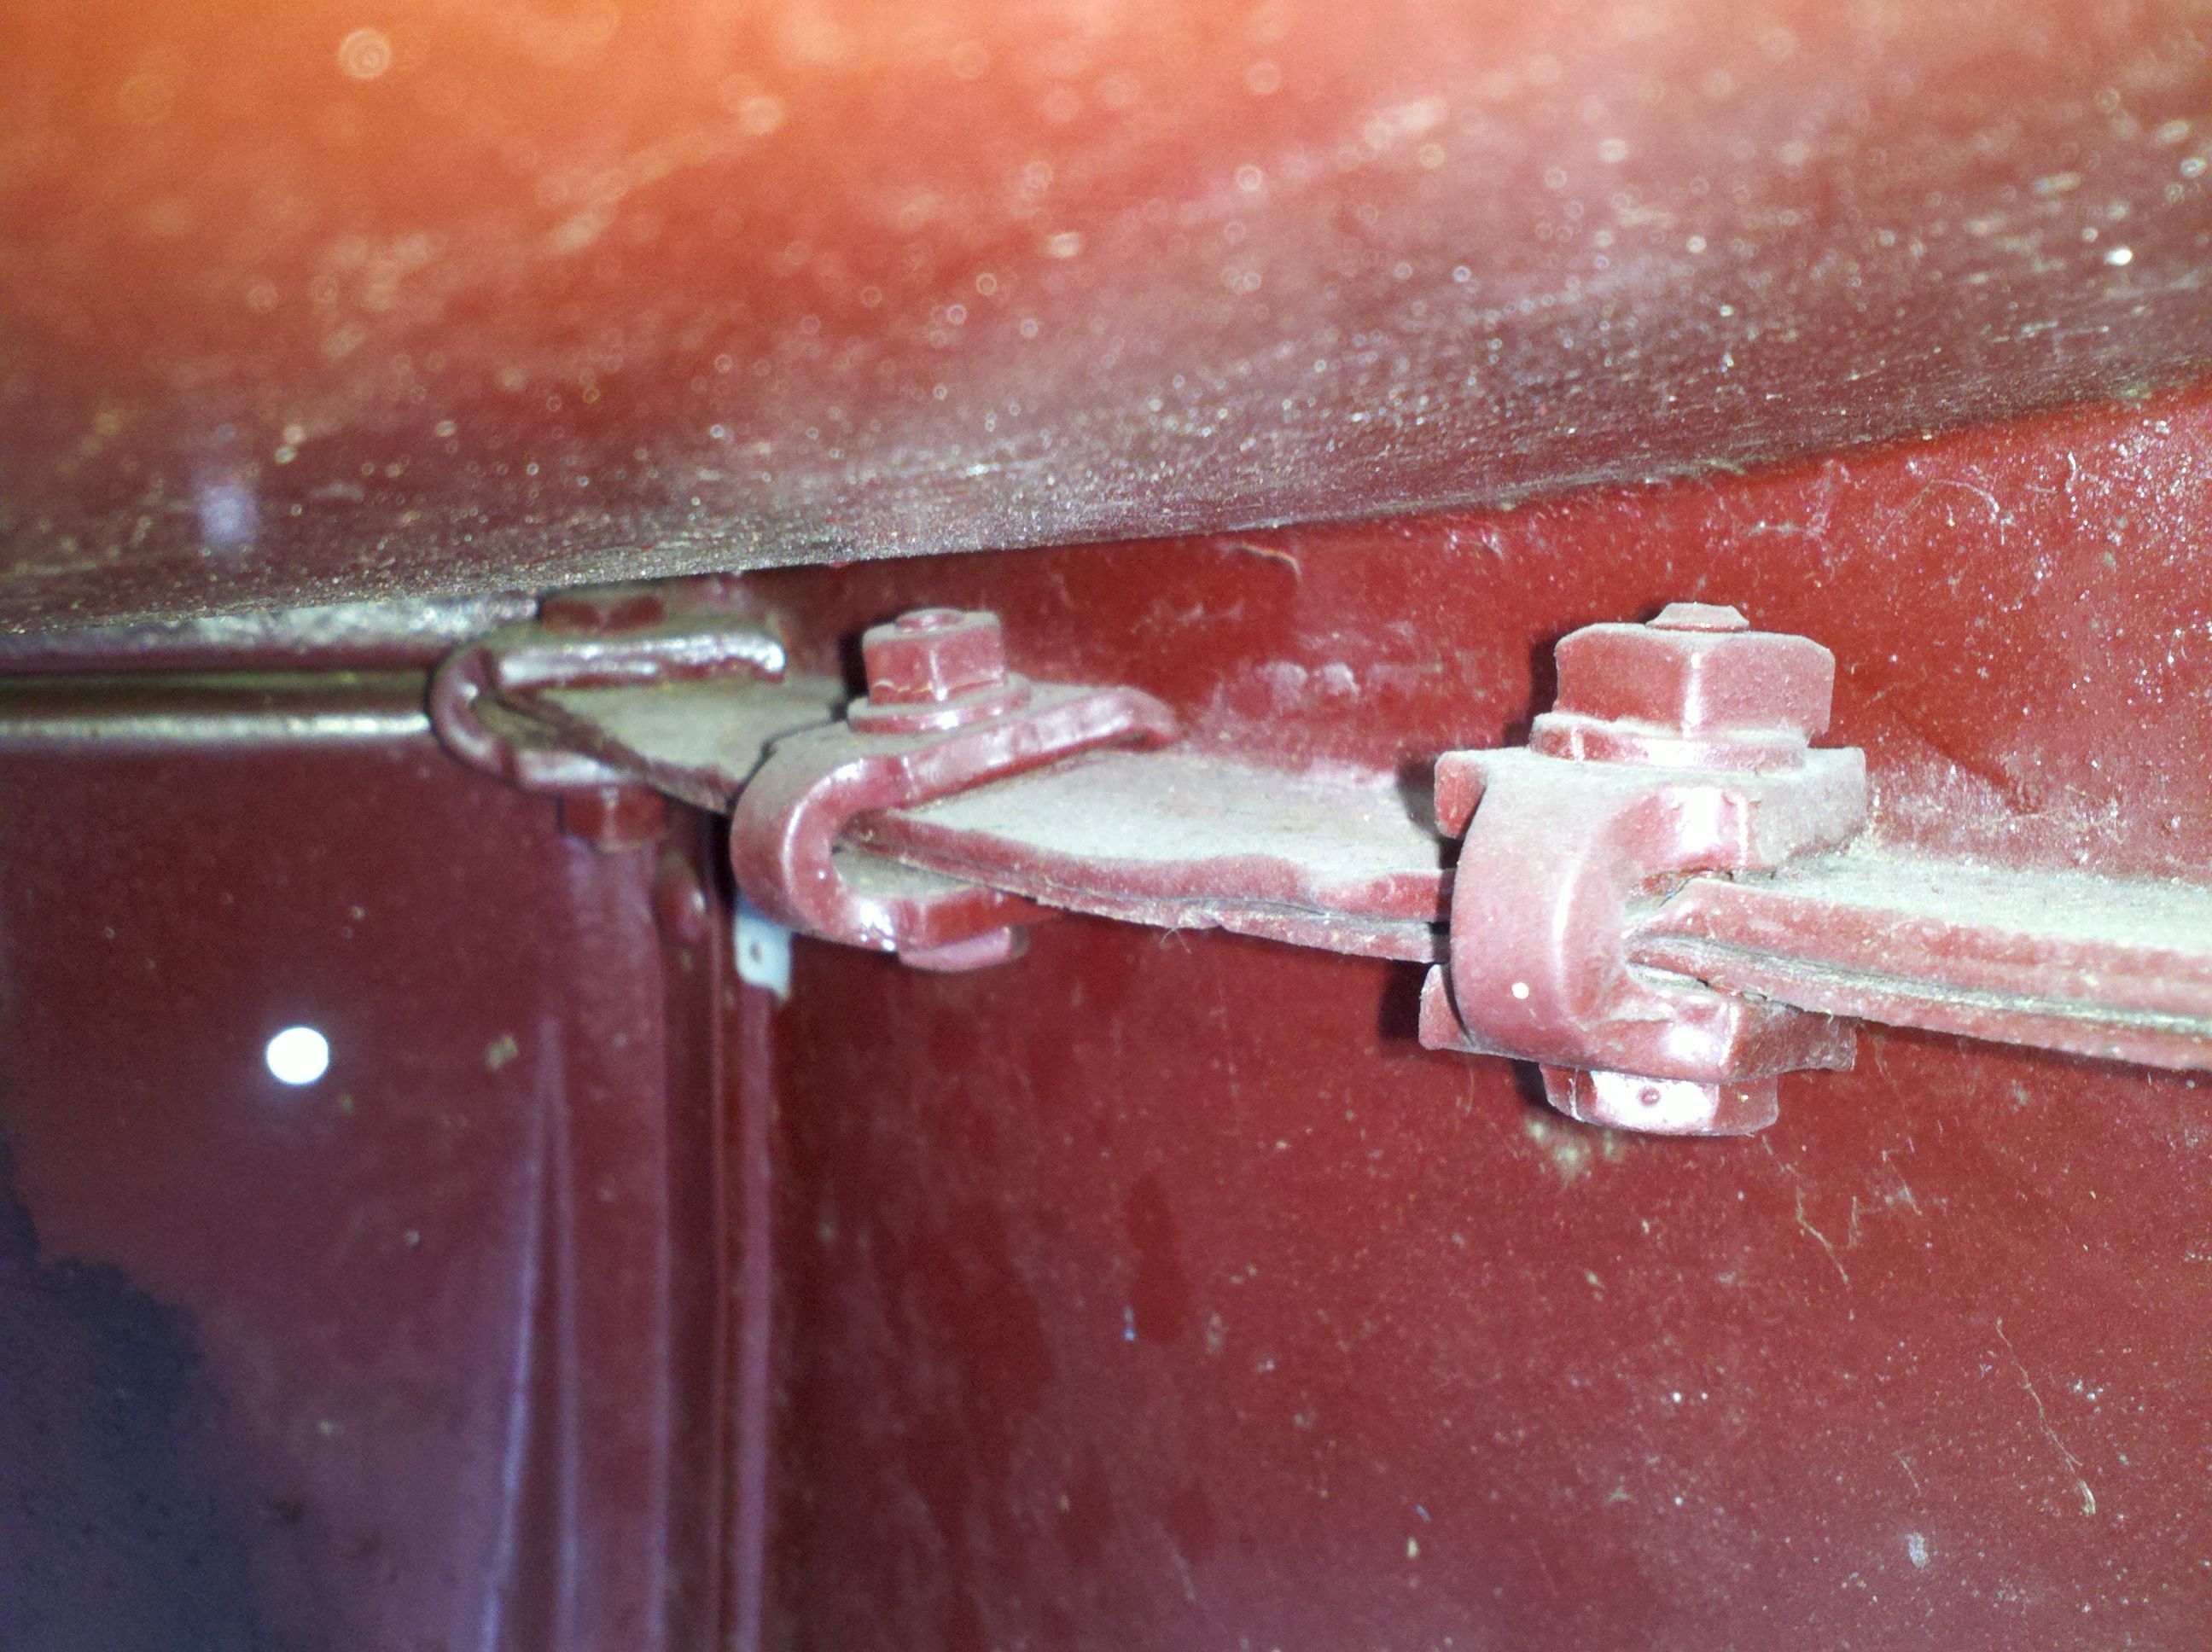
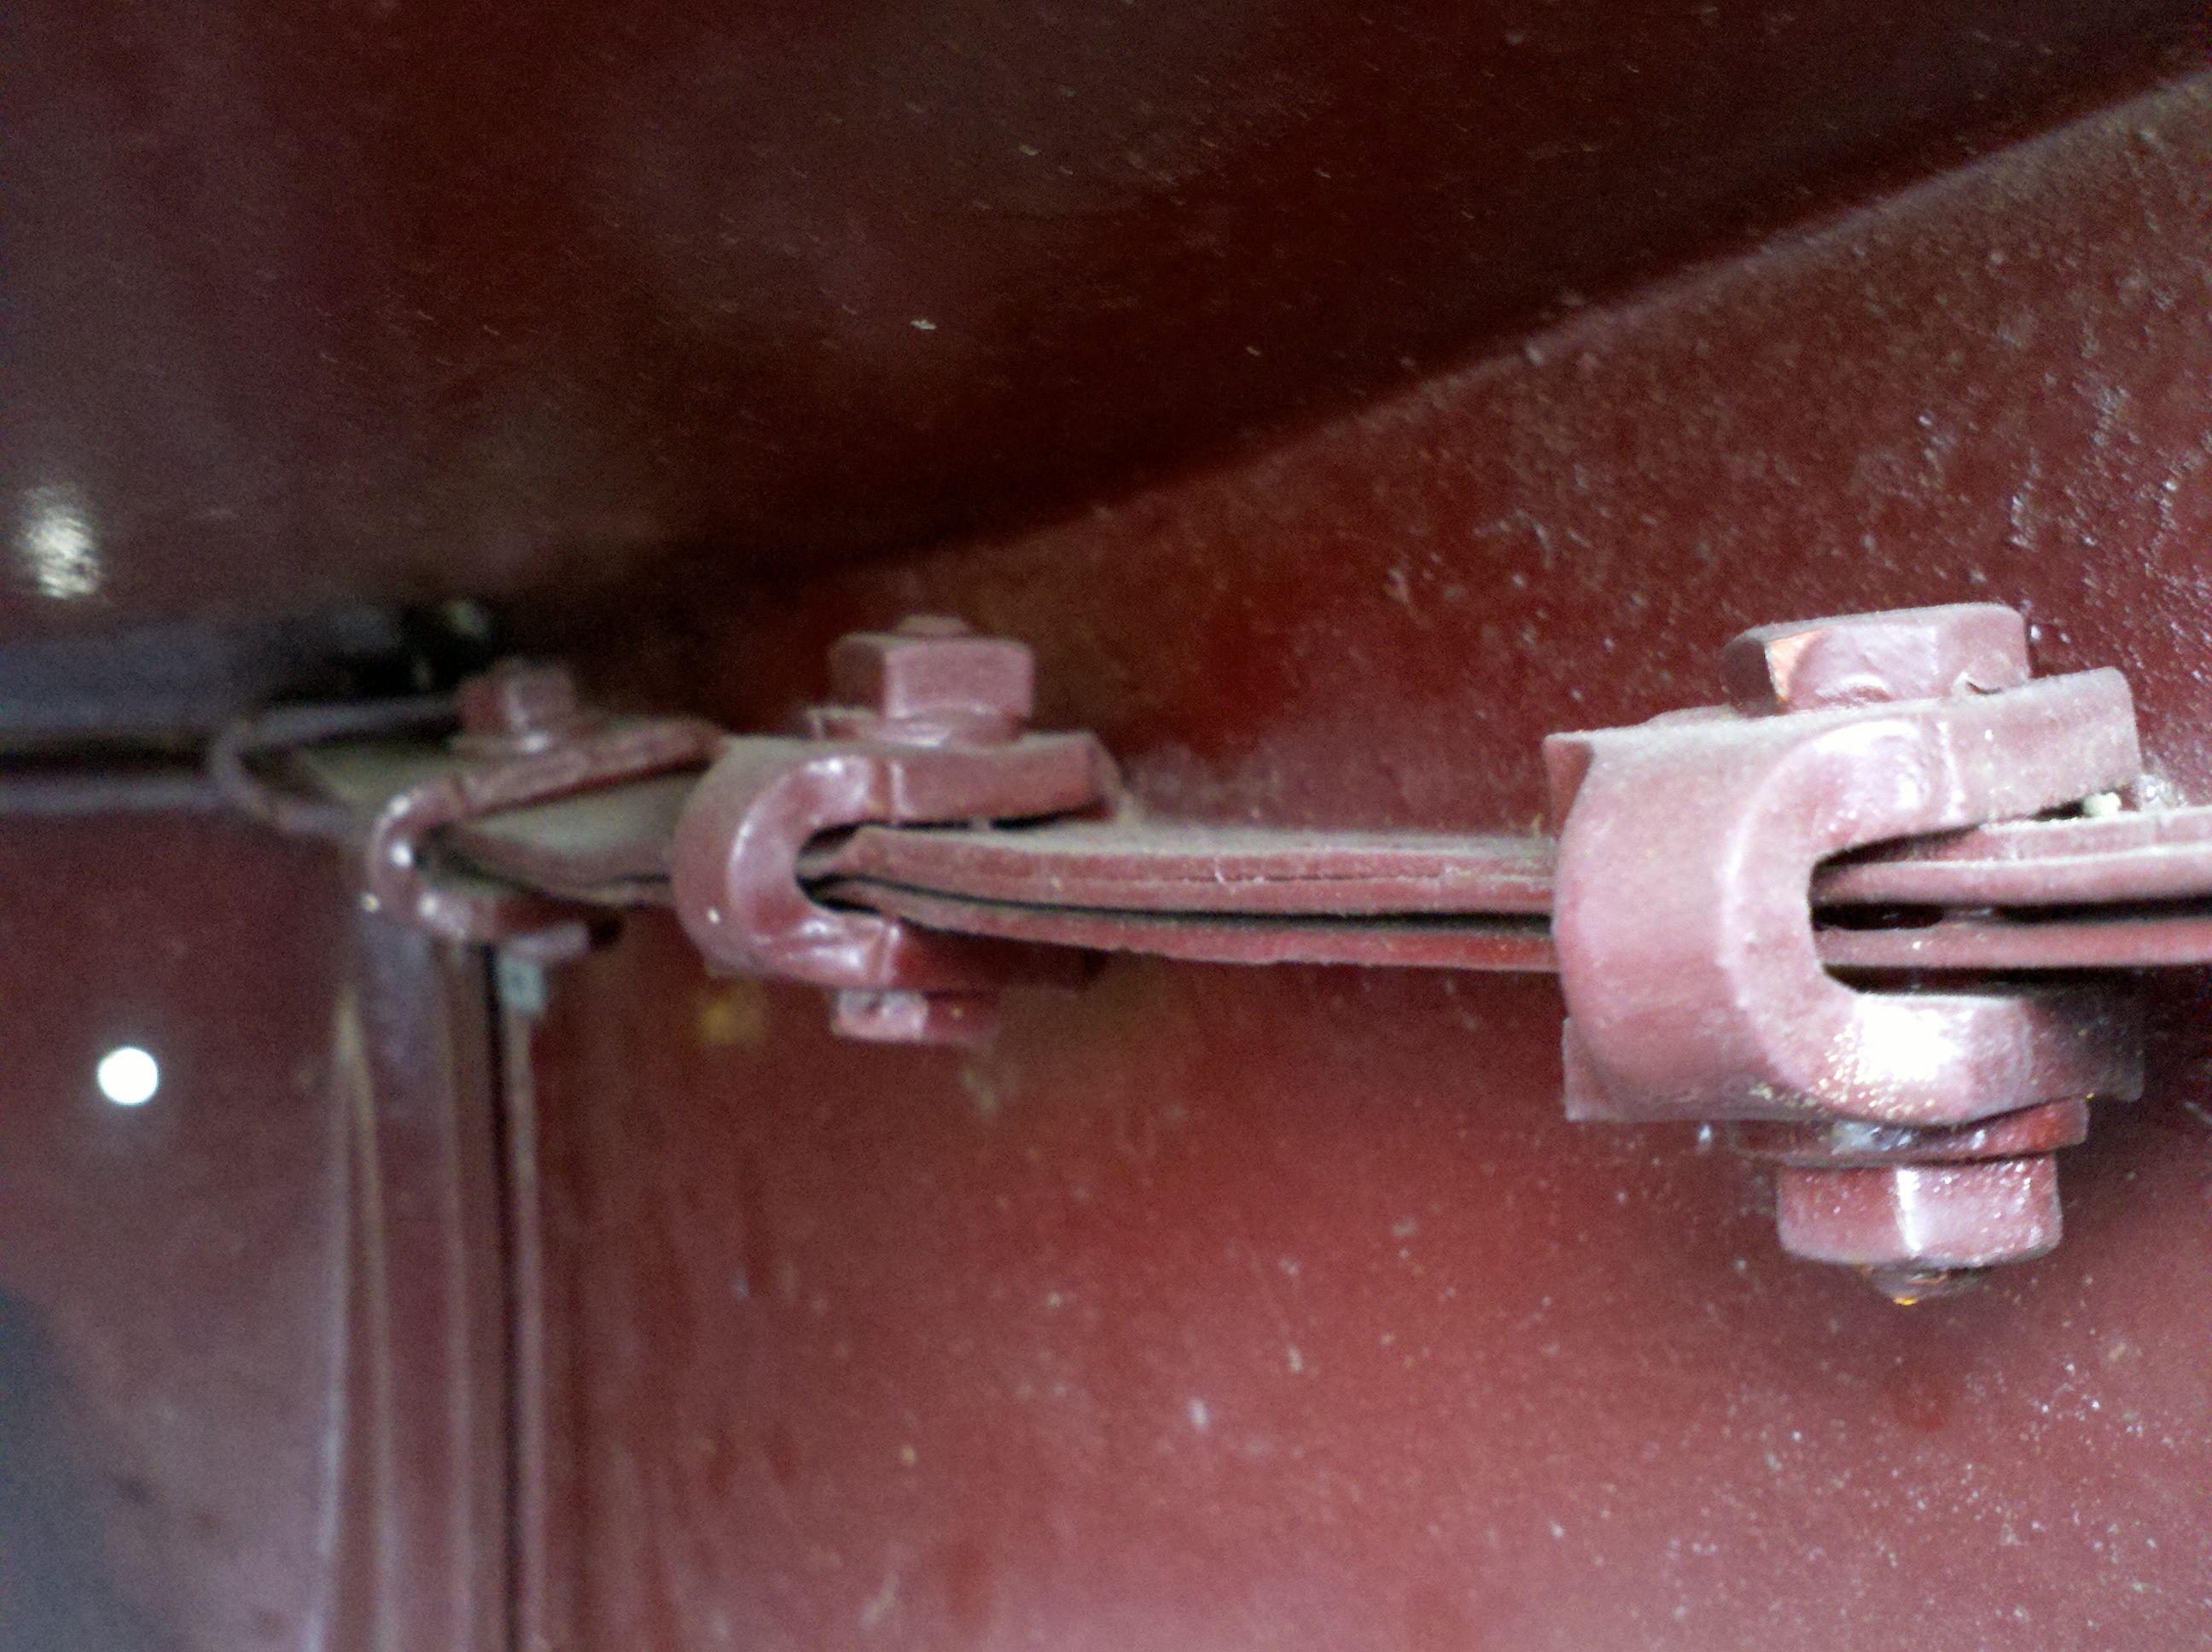
After I got the hoses off, I slid under the truck to take a look. Have I ever mentioned how nice it is to be able to slide a creeper under the truck and not have to jack it up any? Yeah, it's a bit tight, but how awesome is that? Anyway, I took a look around and found two stainless(?) bolts that were in the right place to be what was holdin the thing down. A quck check showed them to be 9/16, but they were over the top of the front leaves, so they were gonna be real hard to pull. I got out from under the truck and took another look. After some digging, I found the nuts down on the side of the radiator. The bolt had springs on it up to castle nuts with cotter pins. See the view below?

Now, here's where I coulda been a lot smarter... I didn't realize at this point that I could have taken the radiator cover off of the radiator while it was all still installed. D'oh! So, let me tell you what, pulling the cotter pins out of that bolt was a real pain, working through that tight space. I managed to do it, and run the nuts off the bolts without scratching the paint, though!
Once the bolts were out, I started looking real close at how to pull the radiator. It became quickly apparent that the shroud had to pull off to the front, and the radiator needed to pull off towards the rear. D'oh! (I seem to be saying that a lot, lately...) So, I pulled the shroud screws (which were not installed correctly) - I can't figure, yet if there's sometihng bent in there. I need to take a closer look, because it looked like the mount points didn't mate up correctly.
Anyway, once the nuts and screws were pulled, it wasn;t "nouttin but a thang" to pop the shroud loose. The bottom pulled slightly forward, and then it took only a small effort to lift it over the fill port. After that was off, the radiator pushed slightly rearward (driver's side first, to clear the outlet), and it came right off. Once the radiator was out of the way, it wasn't a problem looking down the upflow spout. It looks pretty nasty in there - no doubt, this engine will get torn all the way down, and cleaned all the way out.


I had some spare time tonight, so I decided to do some work on the truck. It was pretty cold out, so I kept the garage door shut, and looked for something relatively simple and pain-free to do, since it would rapidly be getting late. Time for the doors and hinges to come off!
I had previously sprayed the nuts with WD-40, so I thunk this wouldn't be too bad. Problem is, those counter-sunk screws are a real pain to get out, especially with the paint sort of sealing them in. I was (barely) able to get a wrench on the nuts, though, so it was all good. Pulling the doors off the hinges was only a twenty minute job, and only because I had so much help from the kids. Really, though, they did help - they brought me tools as I needed them (they're learning!), and they helped me hold the doors up as I pulled the last screws.
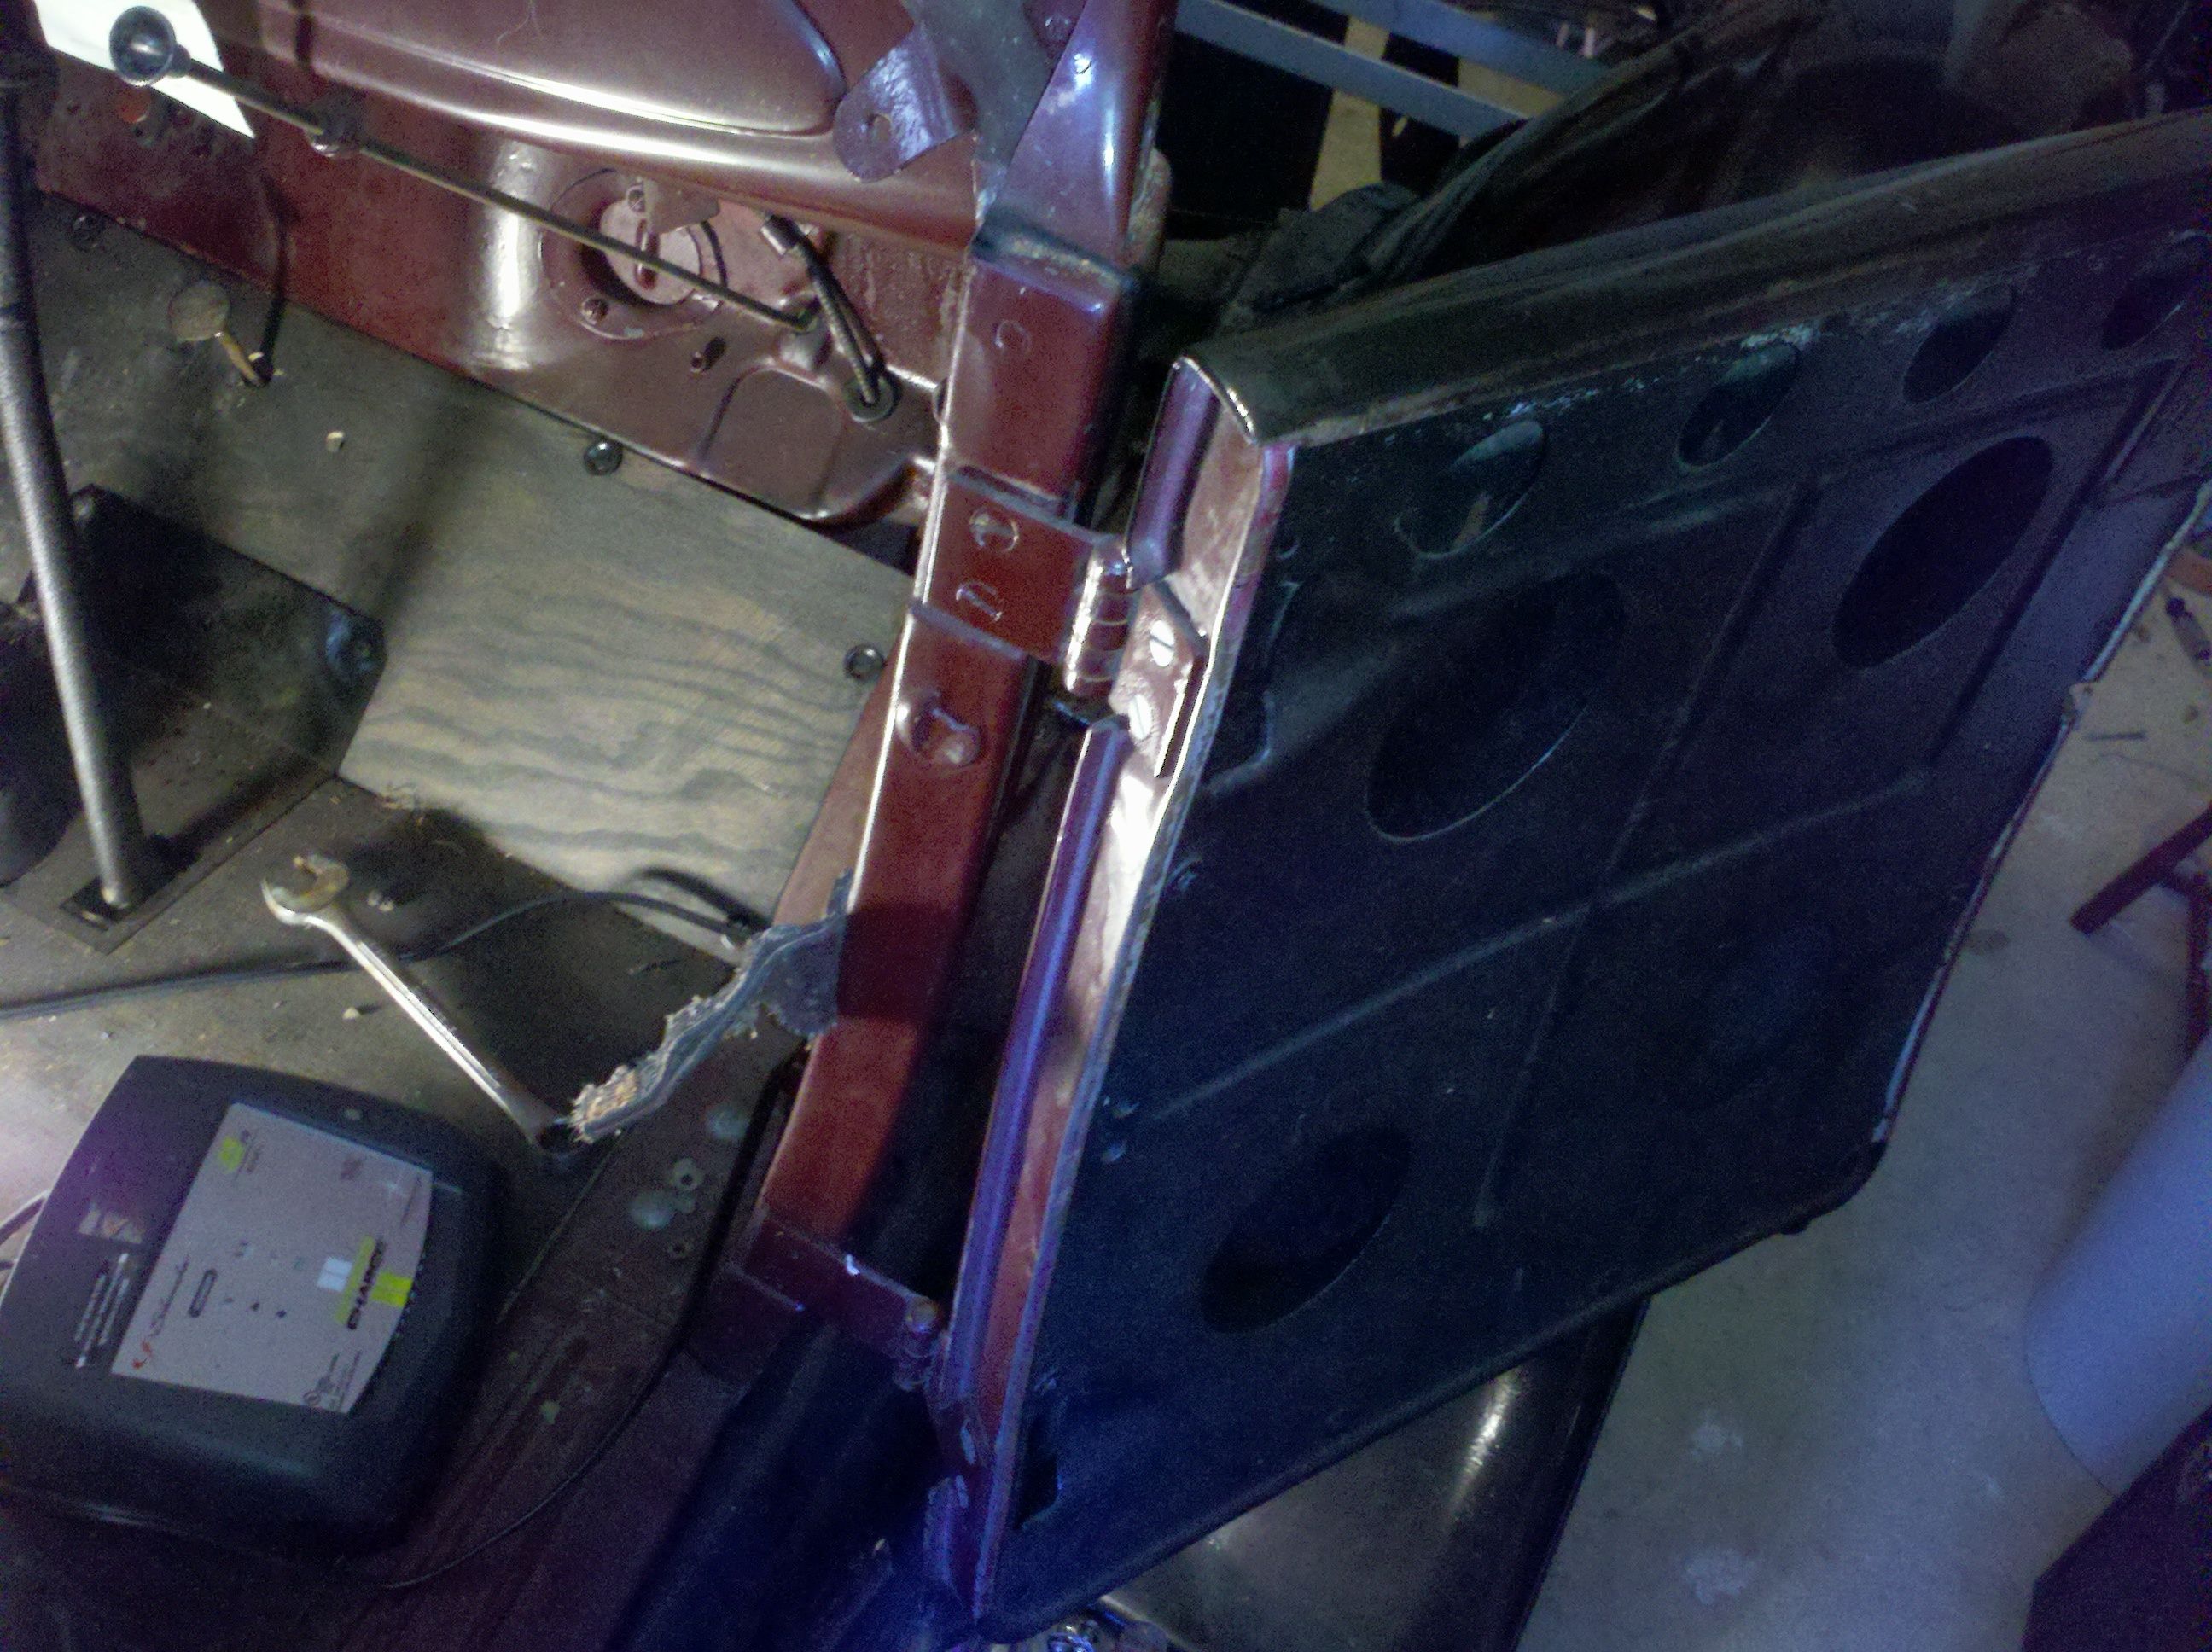
As I was pulling the doors, I noticed that the lower driver's hinge is bent. Looks like it got overextended once. Dunno if I'll buy a new one, or just straighten this one out. I think I'll try straightening it, first, and see how that works out.
After we got the doors off, it was time to pull the hinges. Unfortunately, I couldn't get in to the nuts on the back side of the columns, and the screws were too tight for me to get started. This will have to hold off 'til another day.

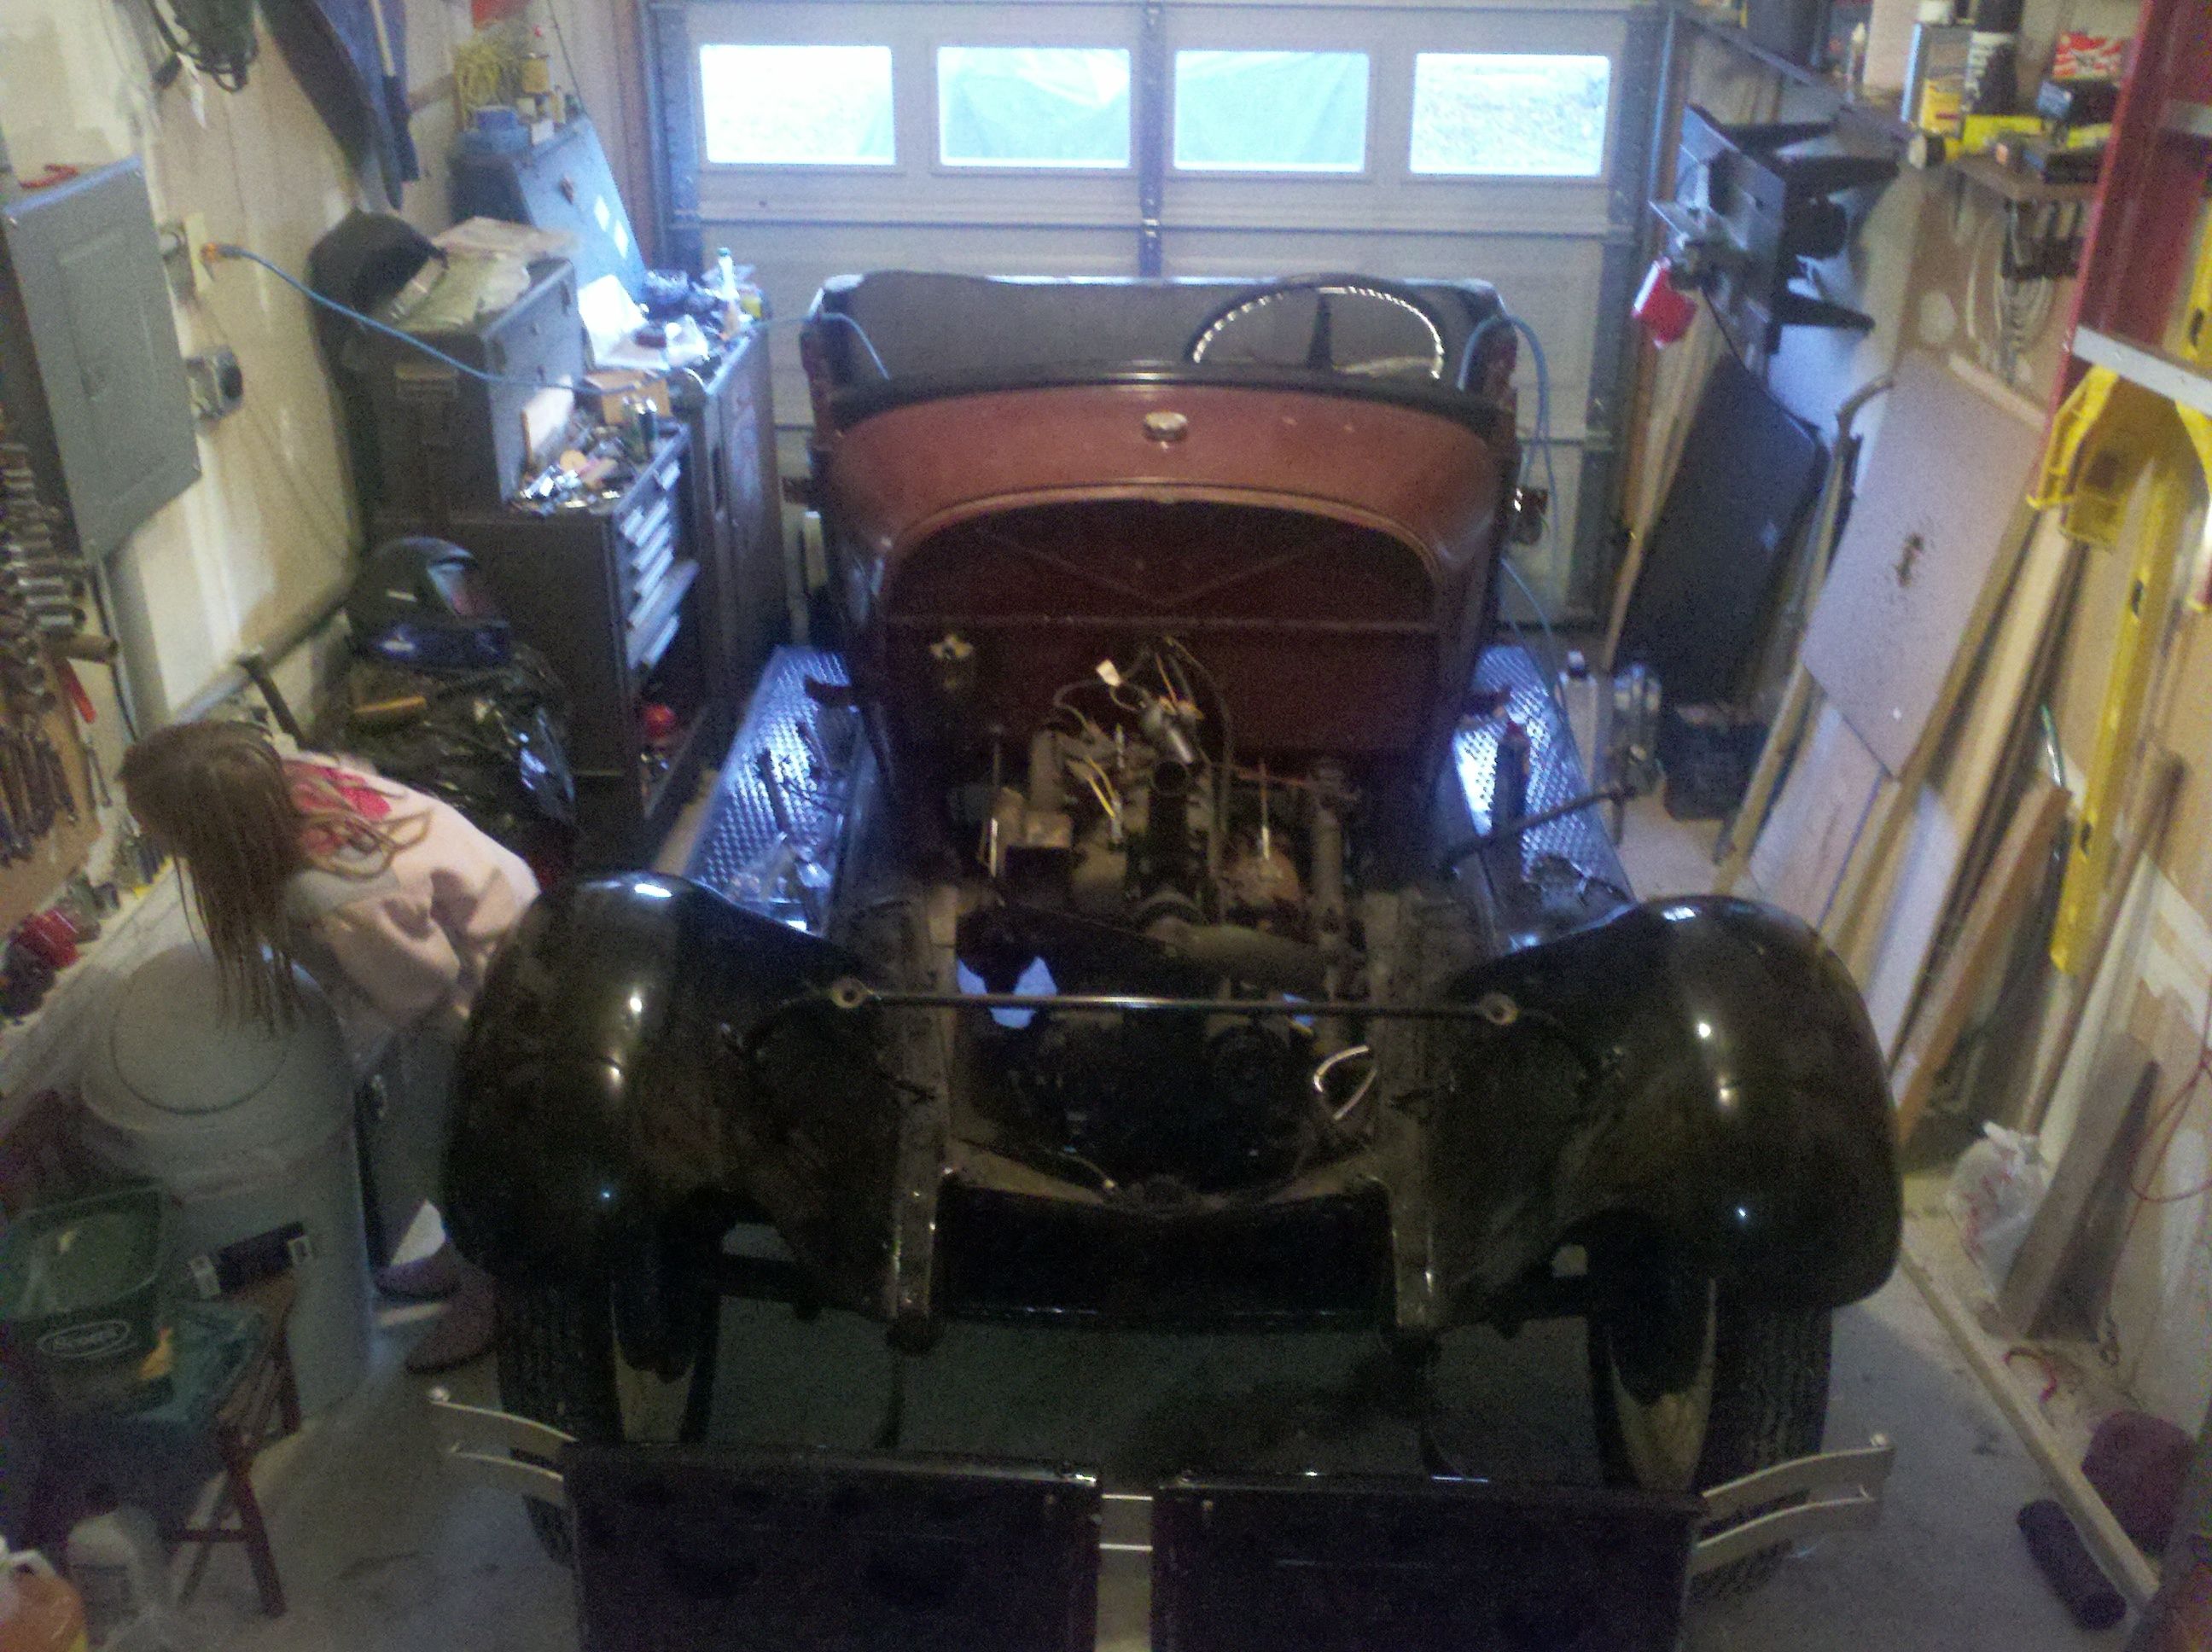
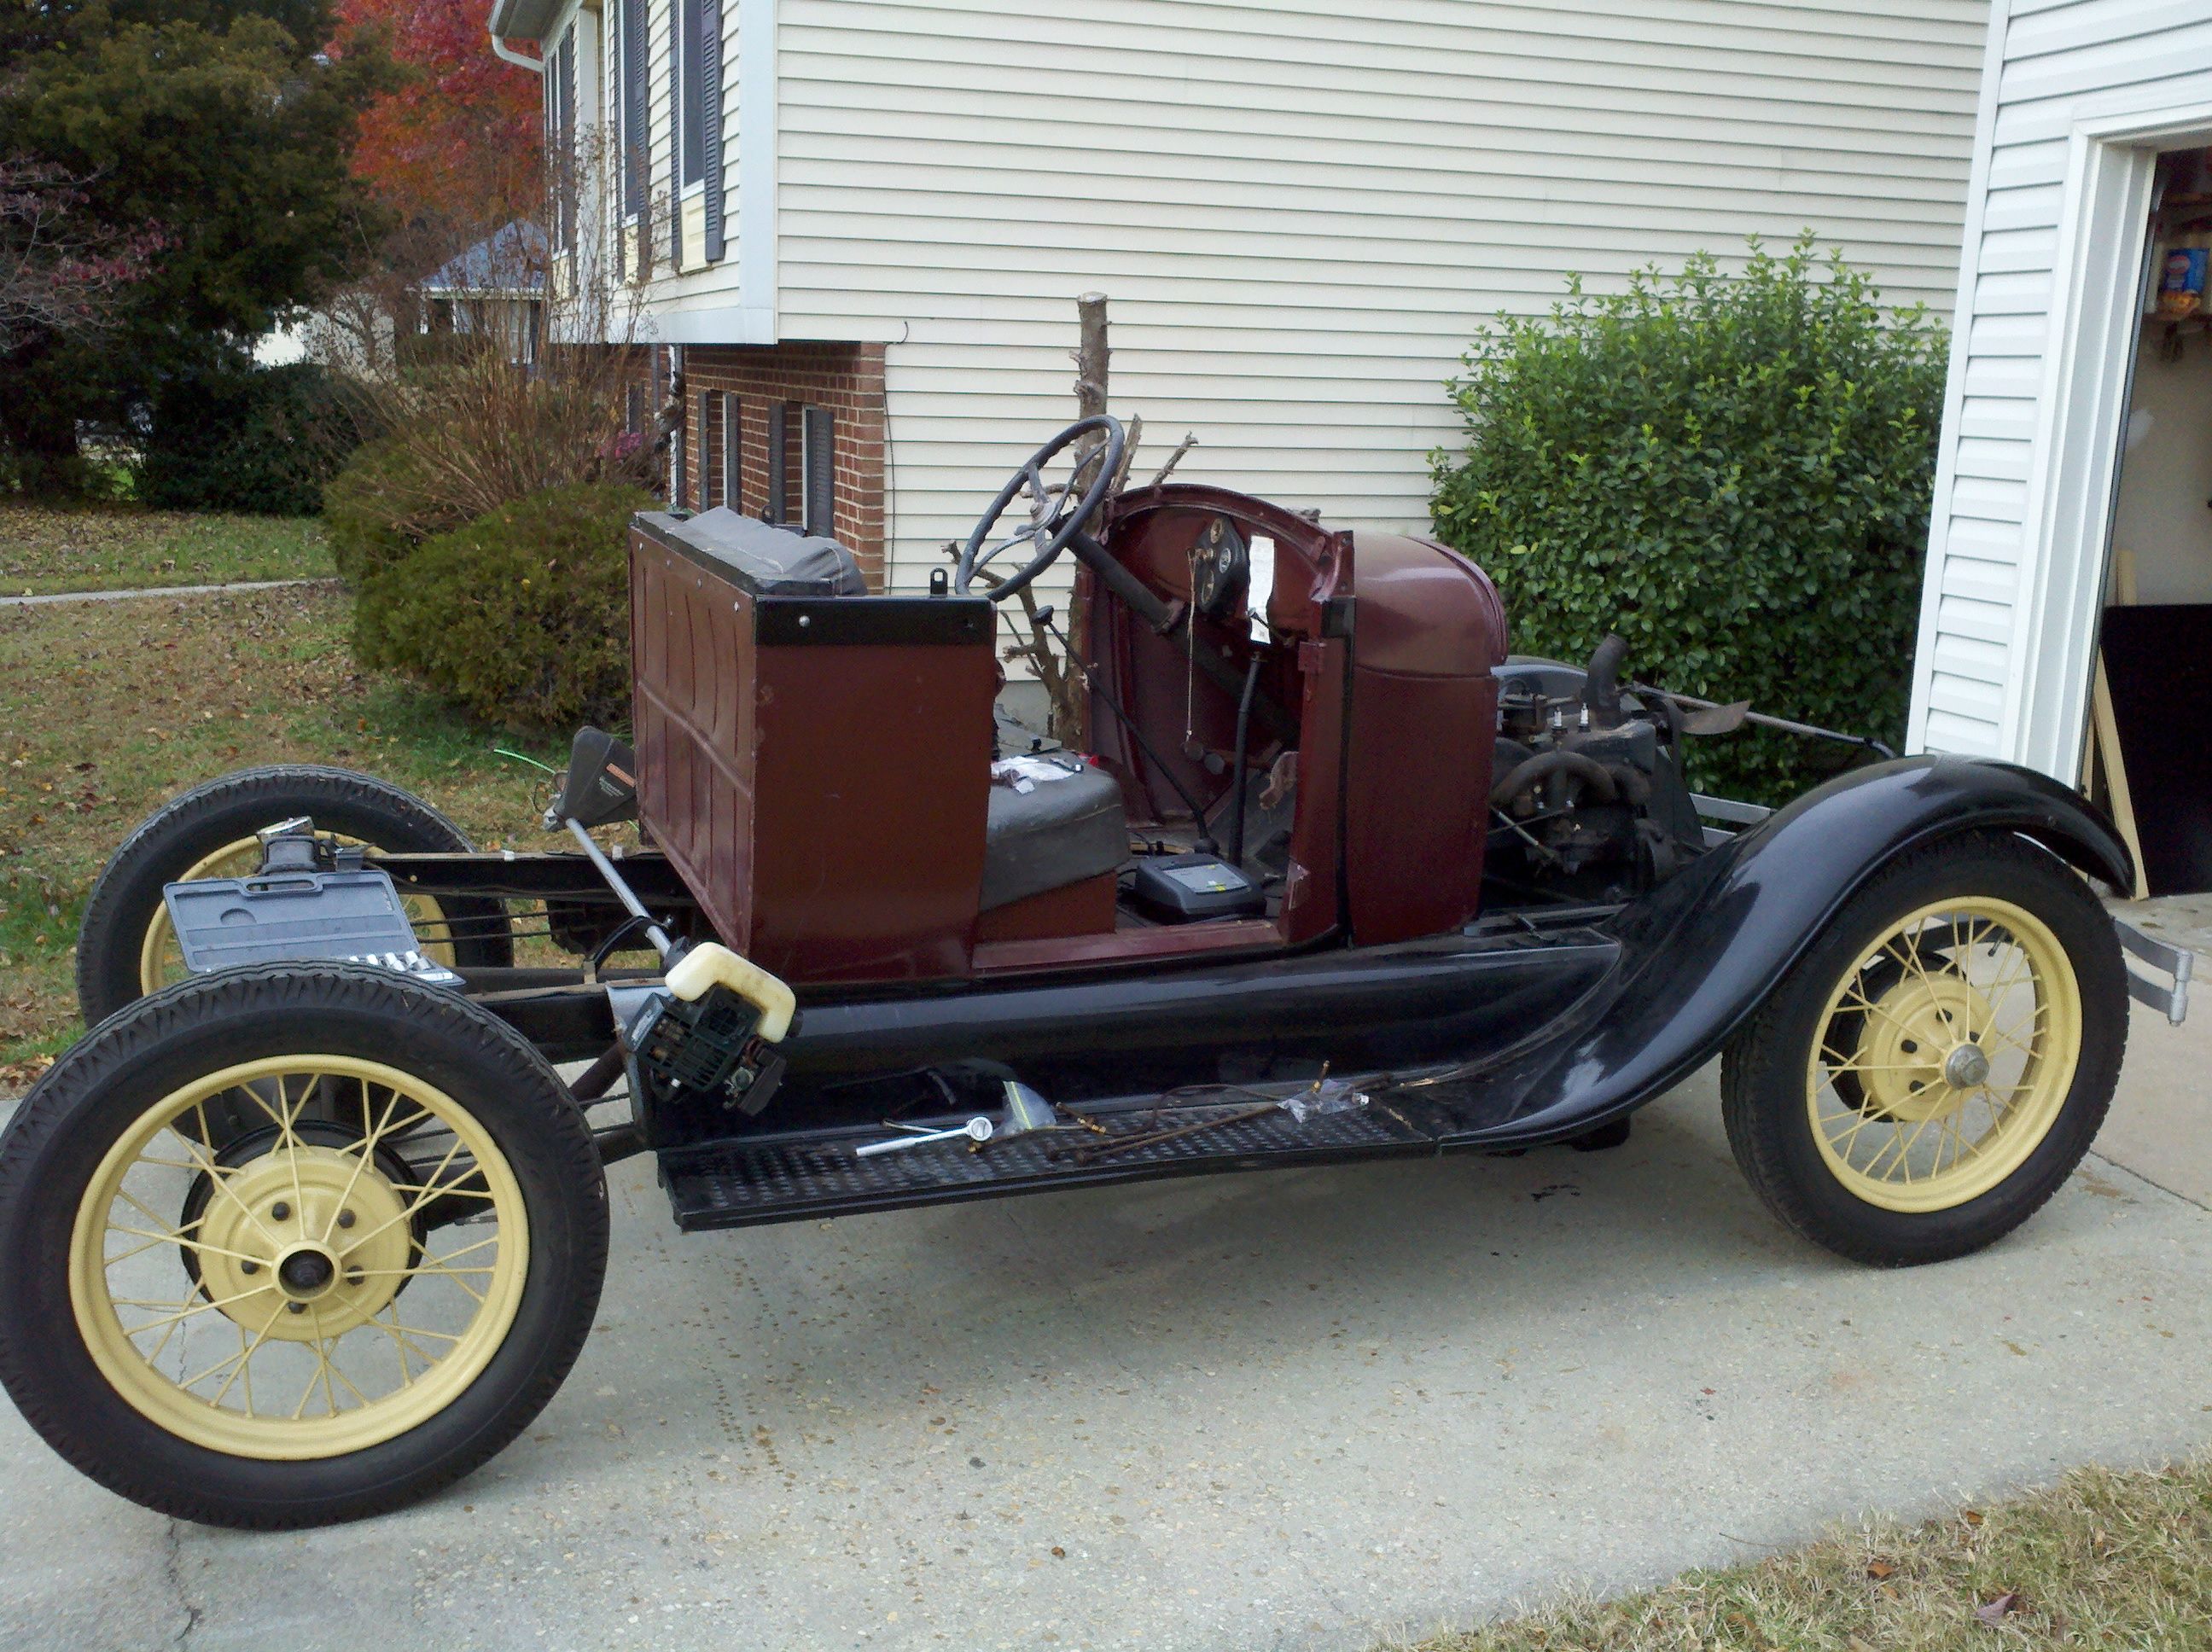
There was no way that we were gonna let a beautiful day, like today, pass us by. The sun was out, and the day was in the mid 60's. We pushed the truck out of the garage, and started in with the thought that we would pull the hinges, and maybe the gas tank, too. Well, the day didn't go quite the way we planned, but we still got some stuff done.
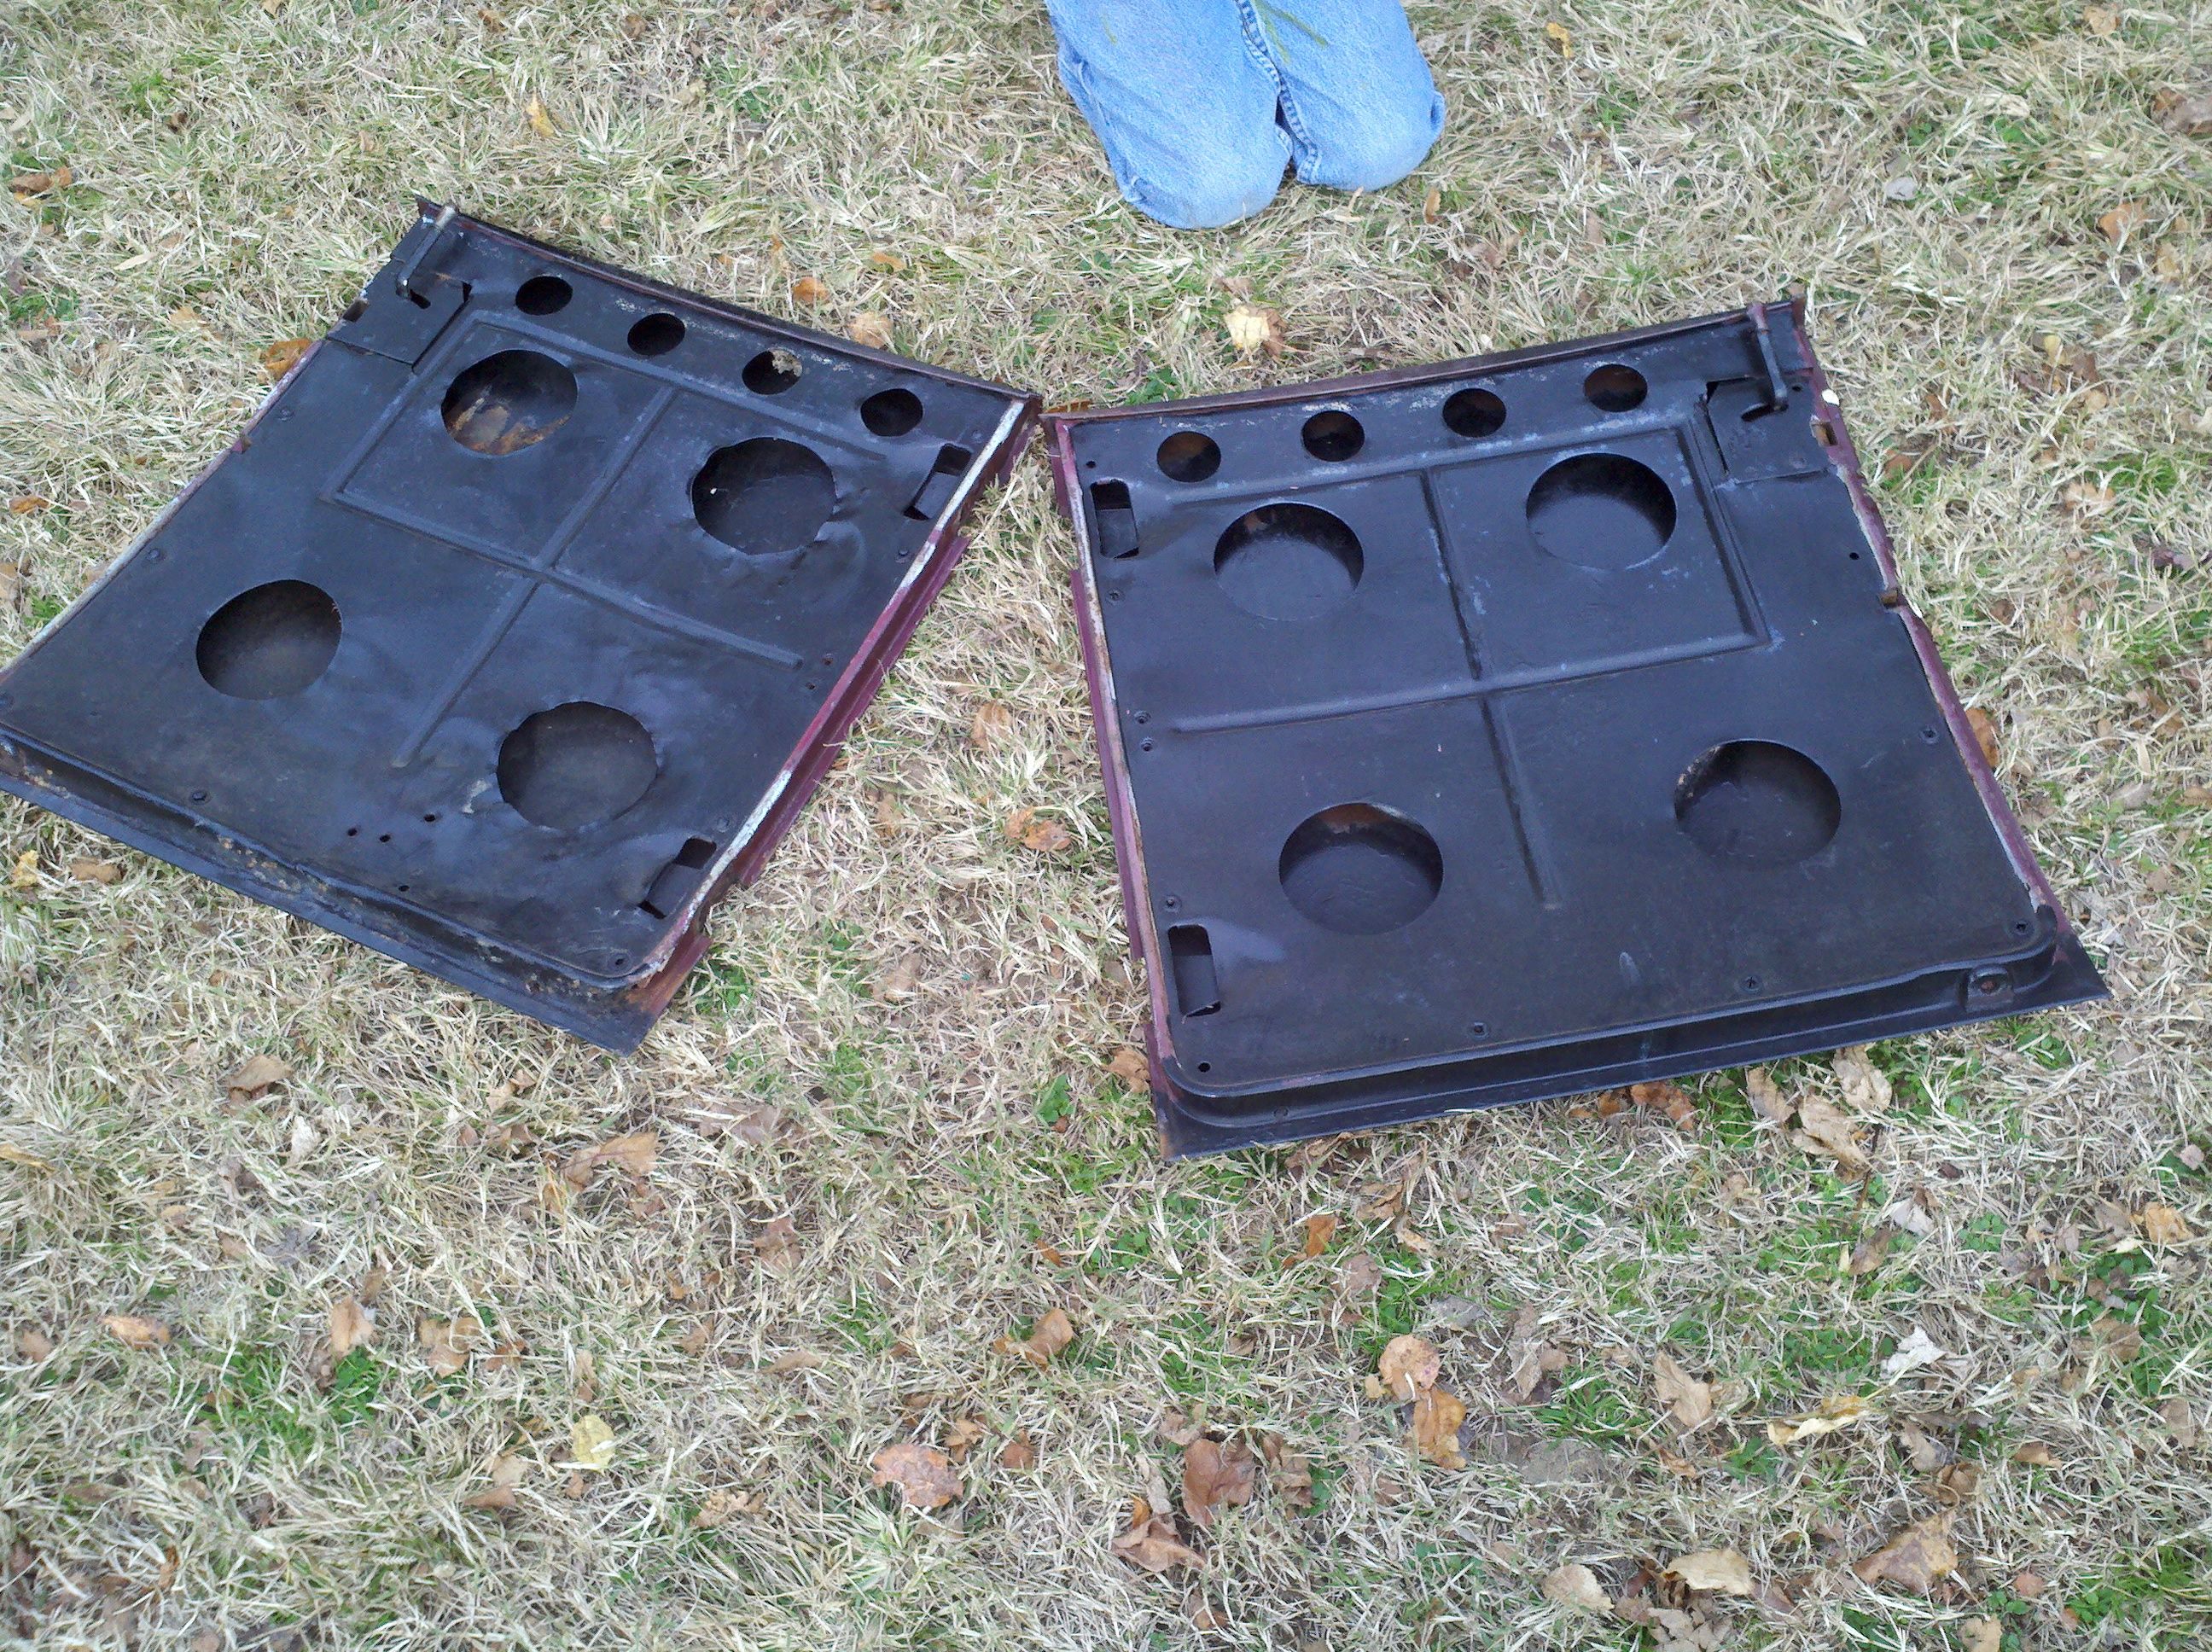
After I pulled the truck & doors outside, I took a closer look at them - the doors, that is. I've been wondering all this time, just what in the heck the stuff in there is, and how it got in there. I still have no idea. Looks almost like a piece of asbestos, or maybe a hunk of fiberboard. Best I can tell, it was inside the door during manufacture - I can't figure how else it might've gotten in there. Looks to me like it's maybe to get rid of rattles? Anyone have a clue? I've not been able to find any literature on it, nor anything on the internet, thus far. It'll make it impossible for me to get all the rust out, I think. I certainly can't dip the door...

In preparation of pulling the tank, I got in and pulled the fuel lines from the engine and firewall. I see that I've had a slight fuel leak on the inside of the firewall - something that'll have to be fixed later. The kids wanted to help with this part, but I didn't want them getting gasoline all over their hands, so they had to be disappointed bystanders for a short while.
We then started pulling hinge bolts from the door posts. We were able to pull the bottom ones fairly easy - I ran the screwdriver, while one or the other of the kids held a wrench on the nuts. The top hinges, though - we didn't get those off - I couldn't get a wrench on them, and I didn't want to strip the heads. We'll figure that out another day.
We then went to work on the sill bolts. Same drill, I'd let the kids hold the bolts 'til they were too sloppy, and then I'd take over. As long as we're talking nuts & bolts, I have some observations....
I found all that to be interesting. Whatever. We got the sill bolts all out, all the bolts that connect the door post to the forward body panels, and then went under the car to pull the two large carriage bolts (on each side) that go through the door posts, and in to the frame. The two on the driver's side were so loose, that I didn't need a wrench to loosen them - I just ran them right off with my fingers. D'oh!
I had thunk that removing all those bolts would allow the sill and door posts (all one piece, riveted together) to come out. Then I noticed to rivets in the body on each side, holding the door posts down. D'oh! I went ahead and started pulling the instrument cluster loose, in preparation for the eventual removal of the tank. We didn't pull the bolts & clamps that hold the tank to the front or side panels, though - that'll wait until I do some research on just how the tank is supposed to come out.
Since we already had the creeper out, though, we went underneath the truck to pull the running boards. There was a fair amount of dirt in the mounting channels, especially on the driver's side. We also found n old wasp's nest on the passenger side. This brings the count to 4 wasp nests (one was a mud dauber's) that we've found in this truck. I guess it sat for a while... Anyway, the running boards came off pretty easily, although I did twist off one or two bolts in the process. I notice the boards are symmetric - that is, it looks like either board can go on either side. We'll see, later, I guess.
After we got the running boards off, I started looking for other "easy" pulls. I looked at the engine cover latches. They seemed easy enough, but I could not find where all the nuts were. I found several of them, but they were at arm's reach, so will take a second set of hands to pull, I think. But most of the kids had decided to go play elsewhere at this point, and I was out of helpers. I looked around some more, and figured out the cover at the front would come off easily, and that would give access to quite a few more bolts.

I guess that's it for today. We did some more minor stuff, put our stuff away, and then went in to clean up and cook dinner. I did some internet research later, and it seems that if I pop the rest of the bolts, finish removing the wiring & speedo cable, and pop loose the choke control and steering wheel, then the fuel tank shoud sort of rotate out by lifting the forward edge. We'll see, I guess.
We spent the last few days down in the Virginia Beach area - it ws Thanksgiving (of course), and last year, my Brother-in-law was foolish enough to offer to host it this year. Between me & my kids, I'm pretty sure we learned him a lesson 'bout the foolishness of his ways. Really, I admit it - the kids and I are down-right annoying. Especially when we're tgether. It's me constantly nagging them to stop misbehaving - evenwhenthey're likely not doing so bad. Sorry, I guess I'm just a jerk. Let me tell you about my brother-in-law, though. From now on, I'll just call him my brother. Because, I feel really fortunate to know this guy, and I'm happy to call him that. He's a darned good guy, and I can't think of many other people to have your back, if you know what I mean...
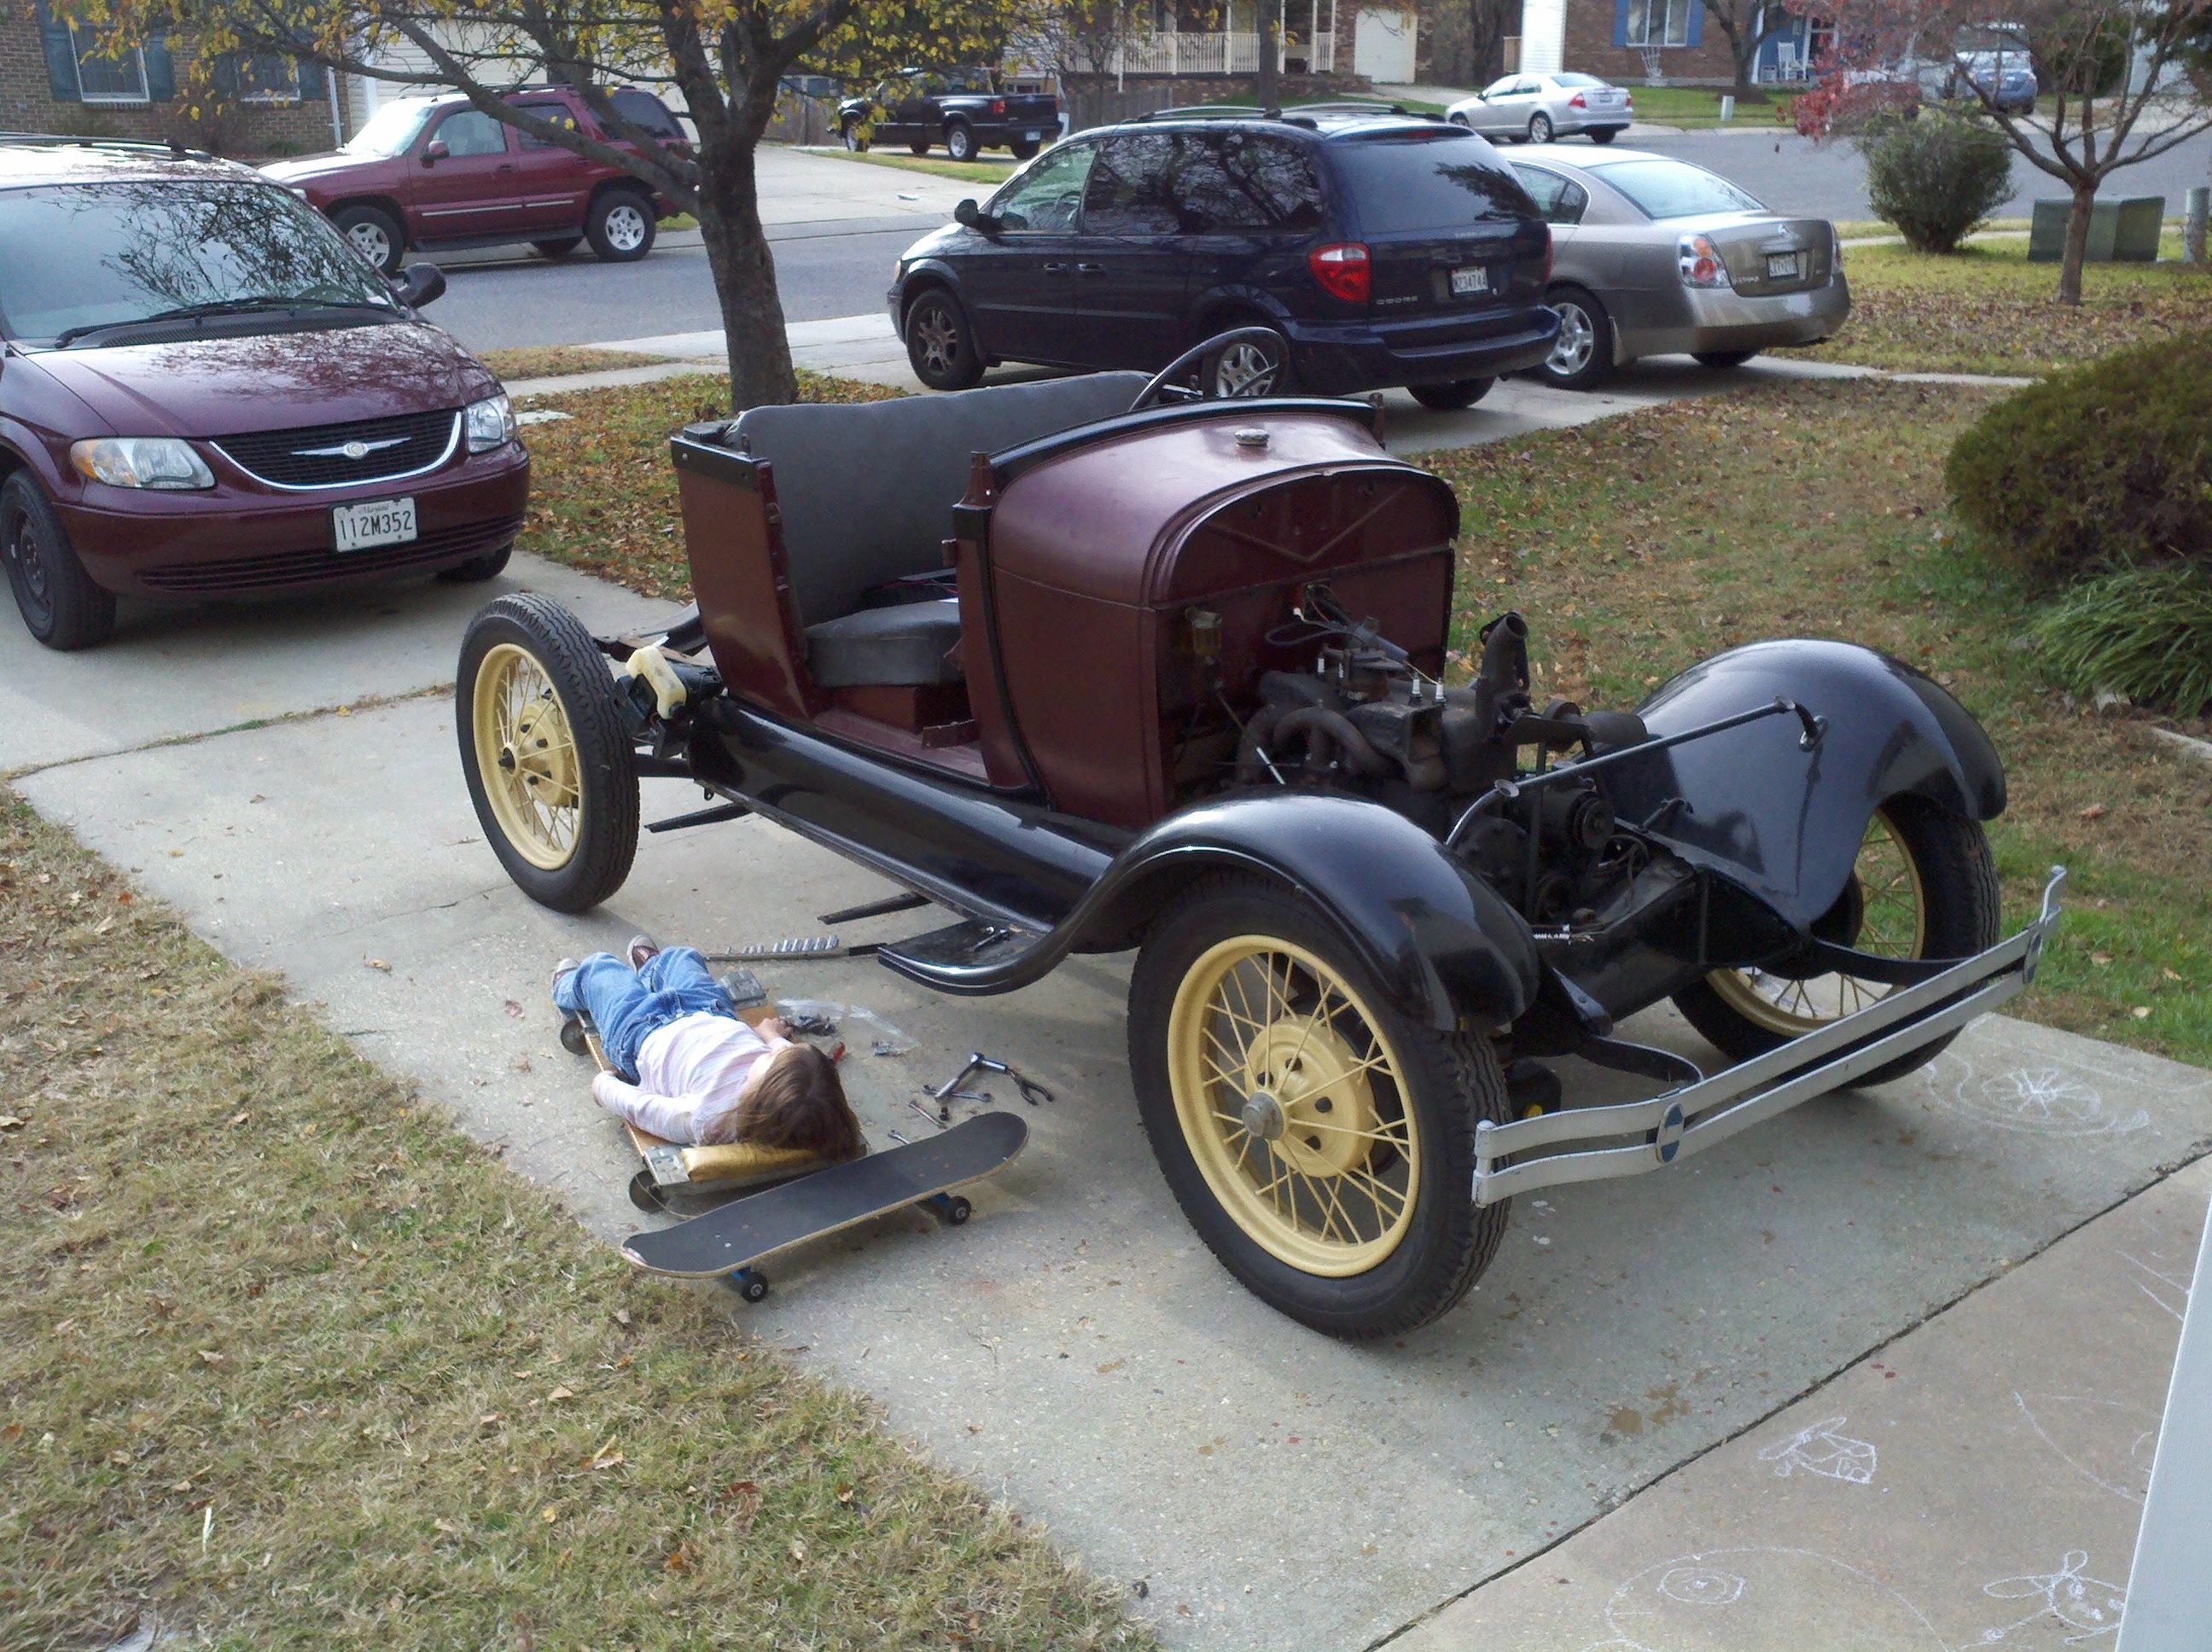
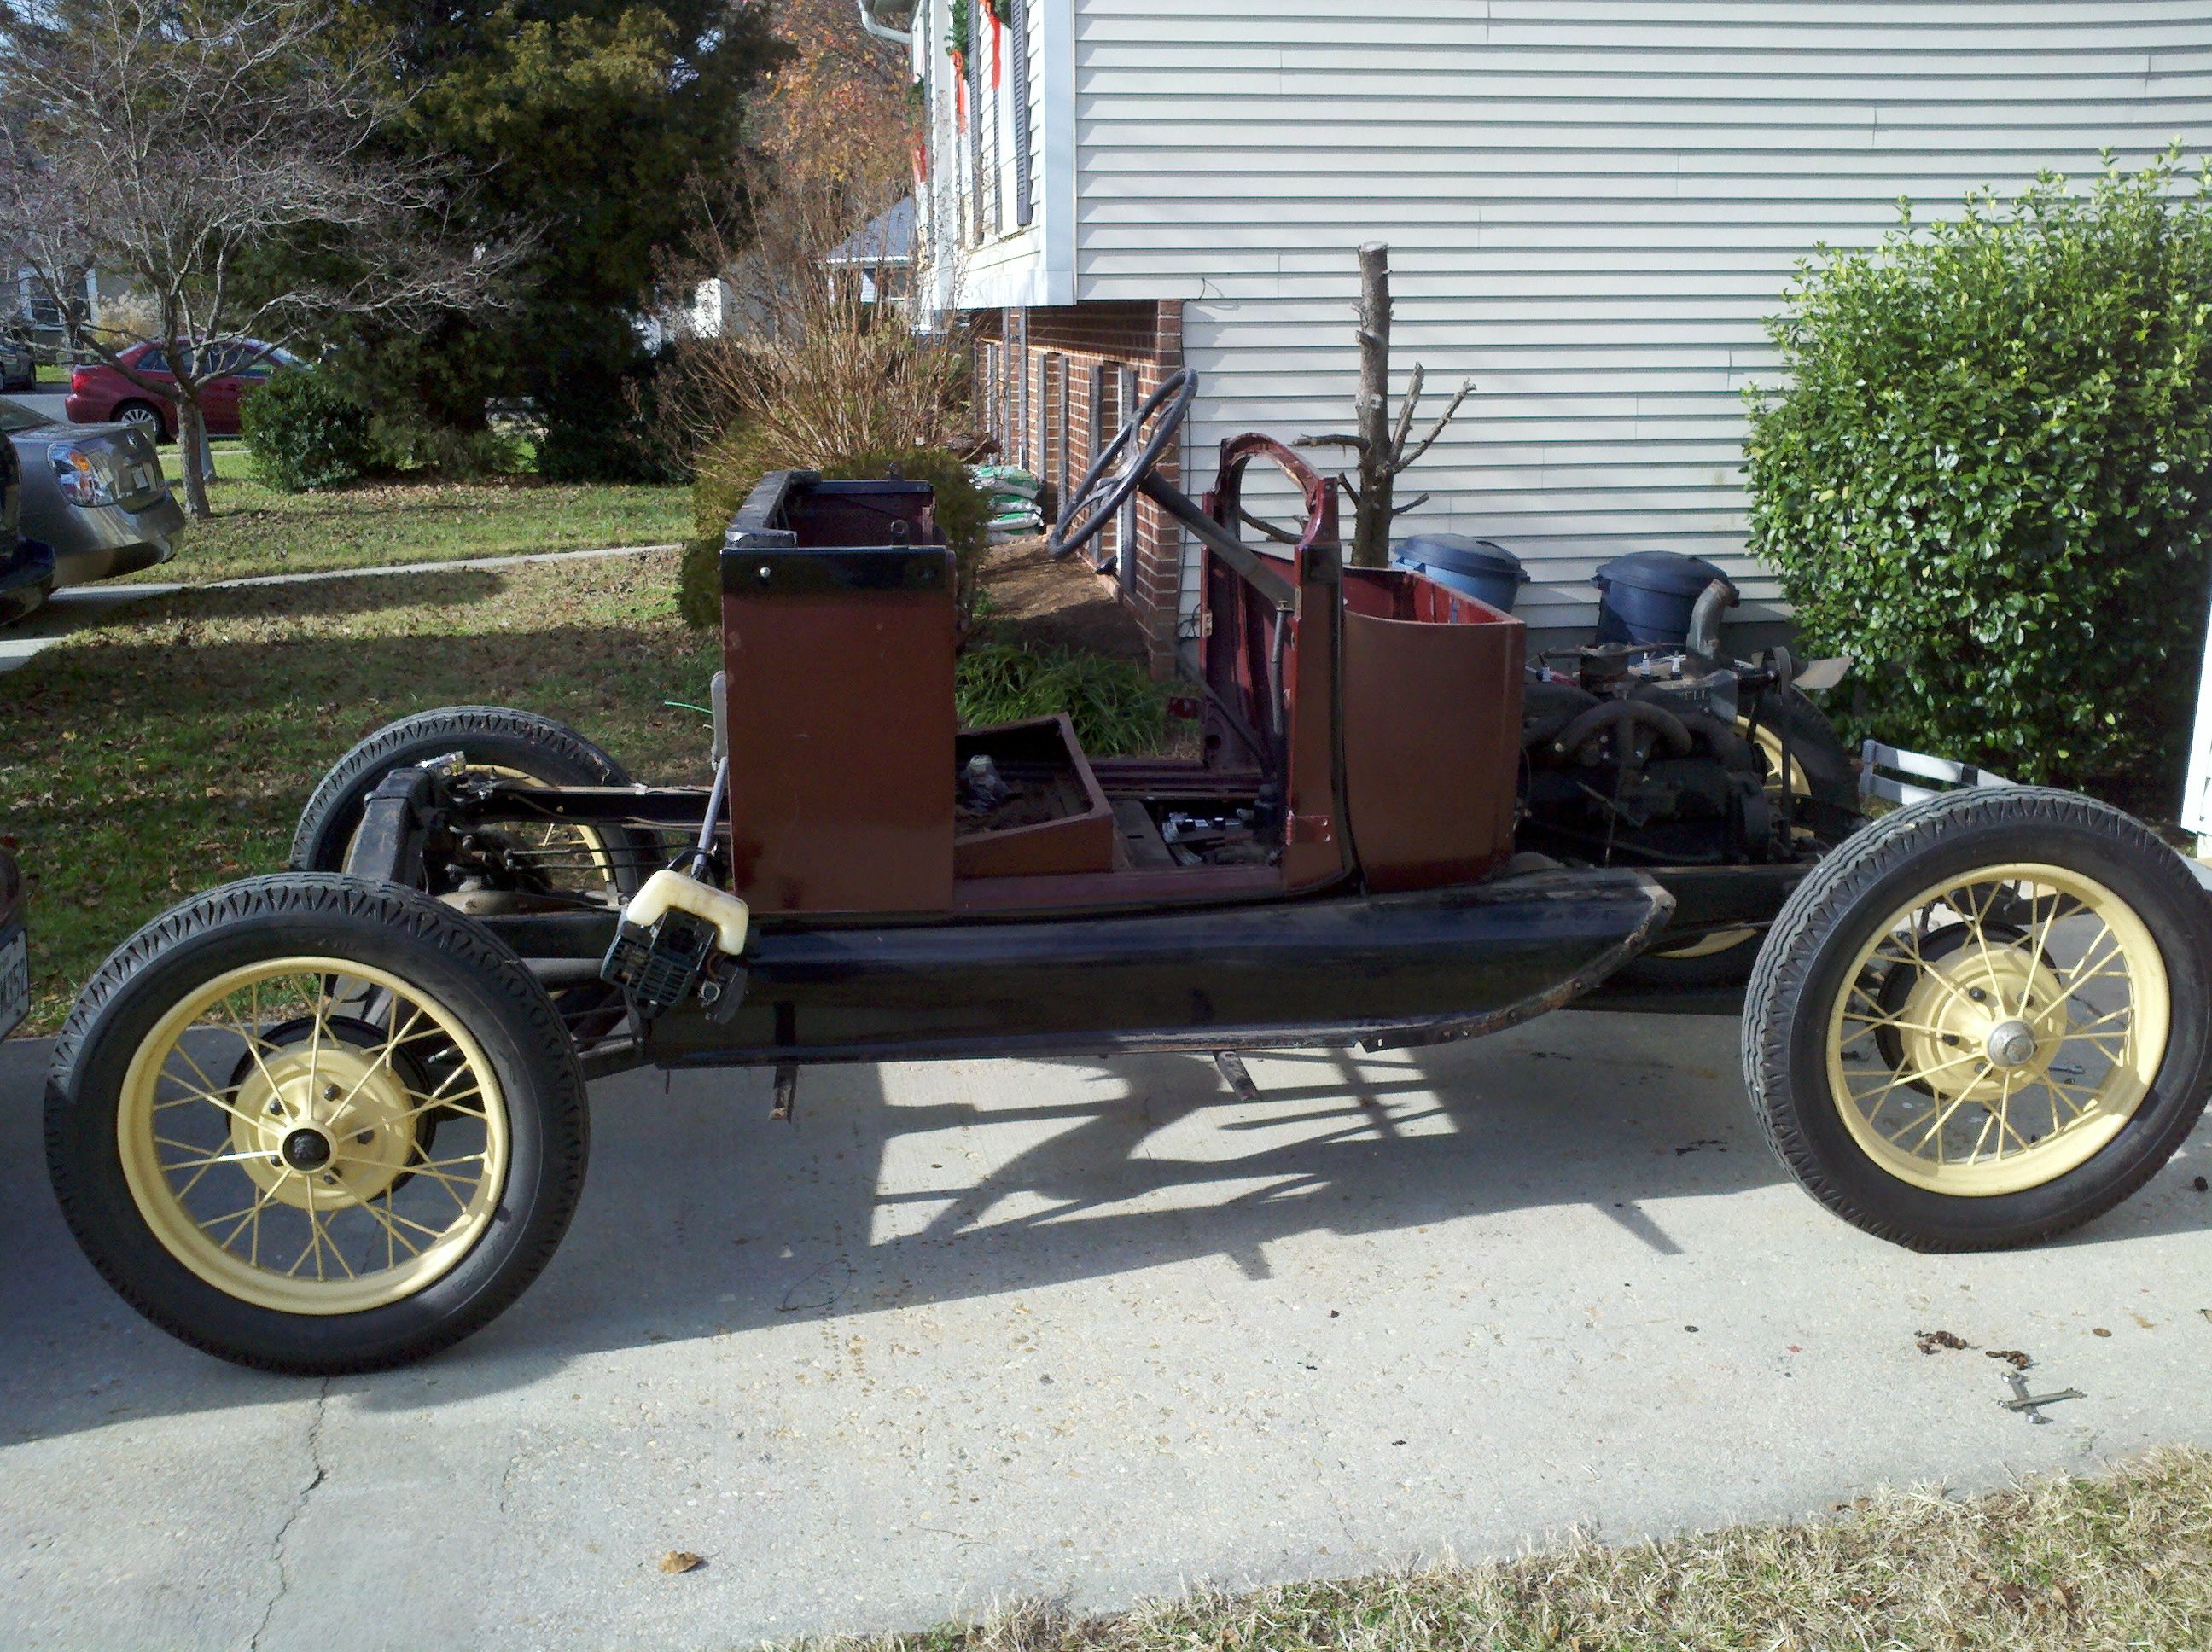
Anyway - we drove back home in the moring (it's about 4 hours drive, on a good day, which it rarely is) so the missus could get some sleep before heading off to work (she works a weekend night shift). The day was beautiful, and I needed to do some minor suspension work on our mini van. I finished that up in short order, and the day was so nice, and the kids were wanting to help some, so I rolled the truck out of the garage, and we went to work.
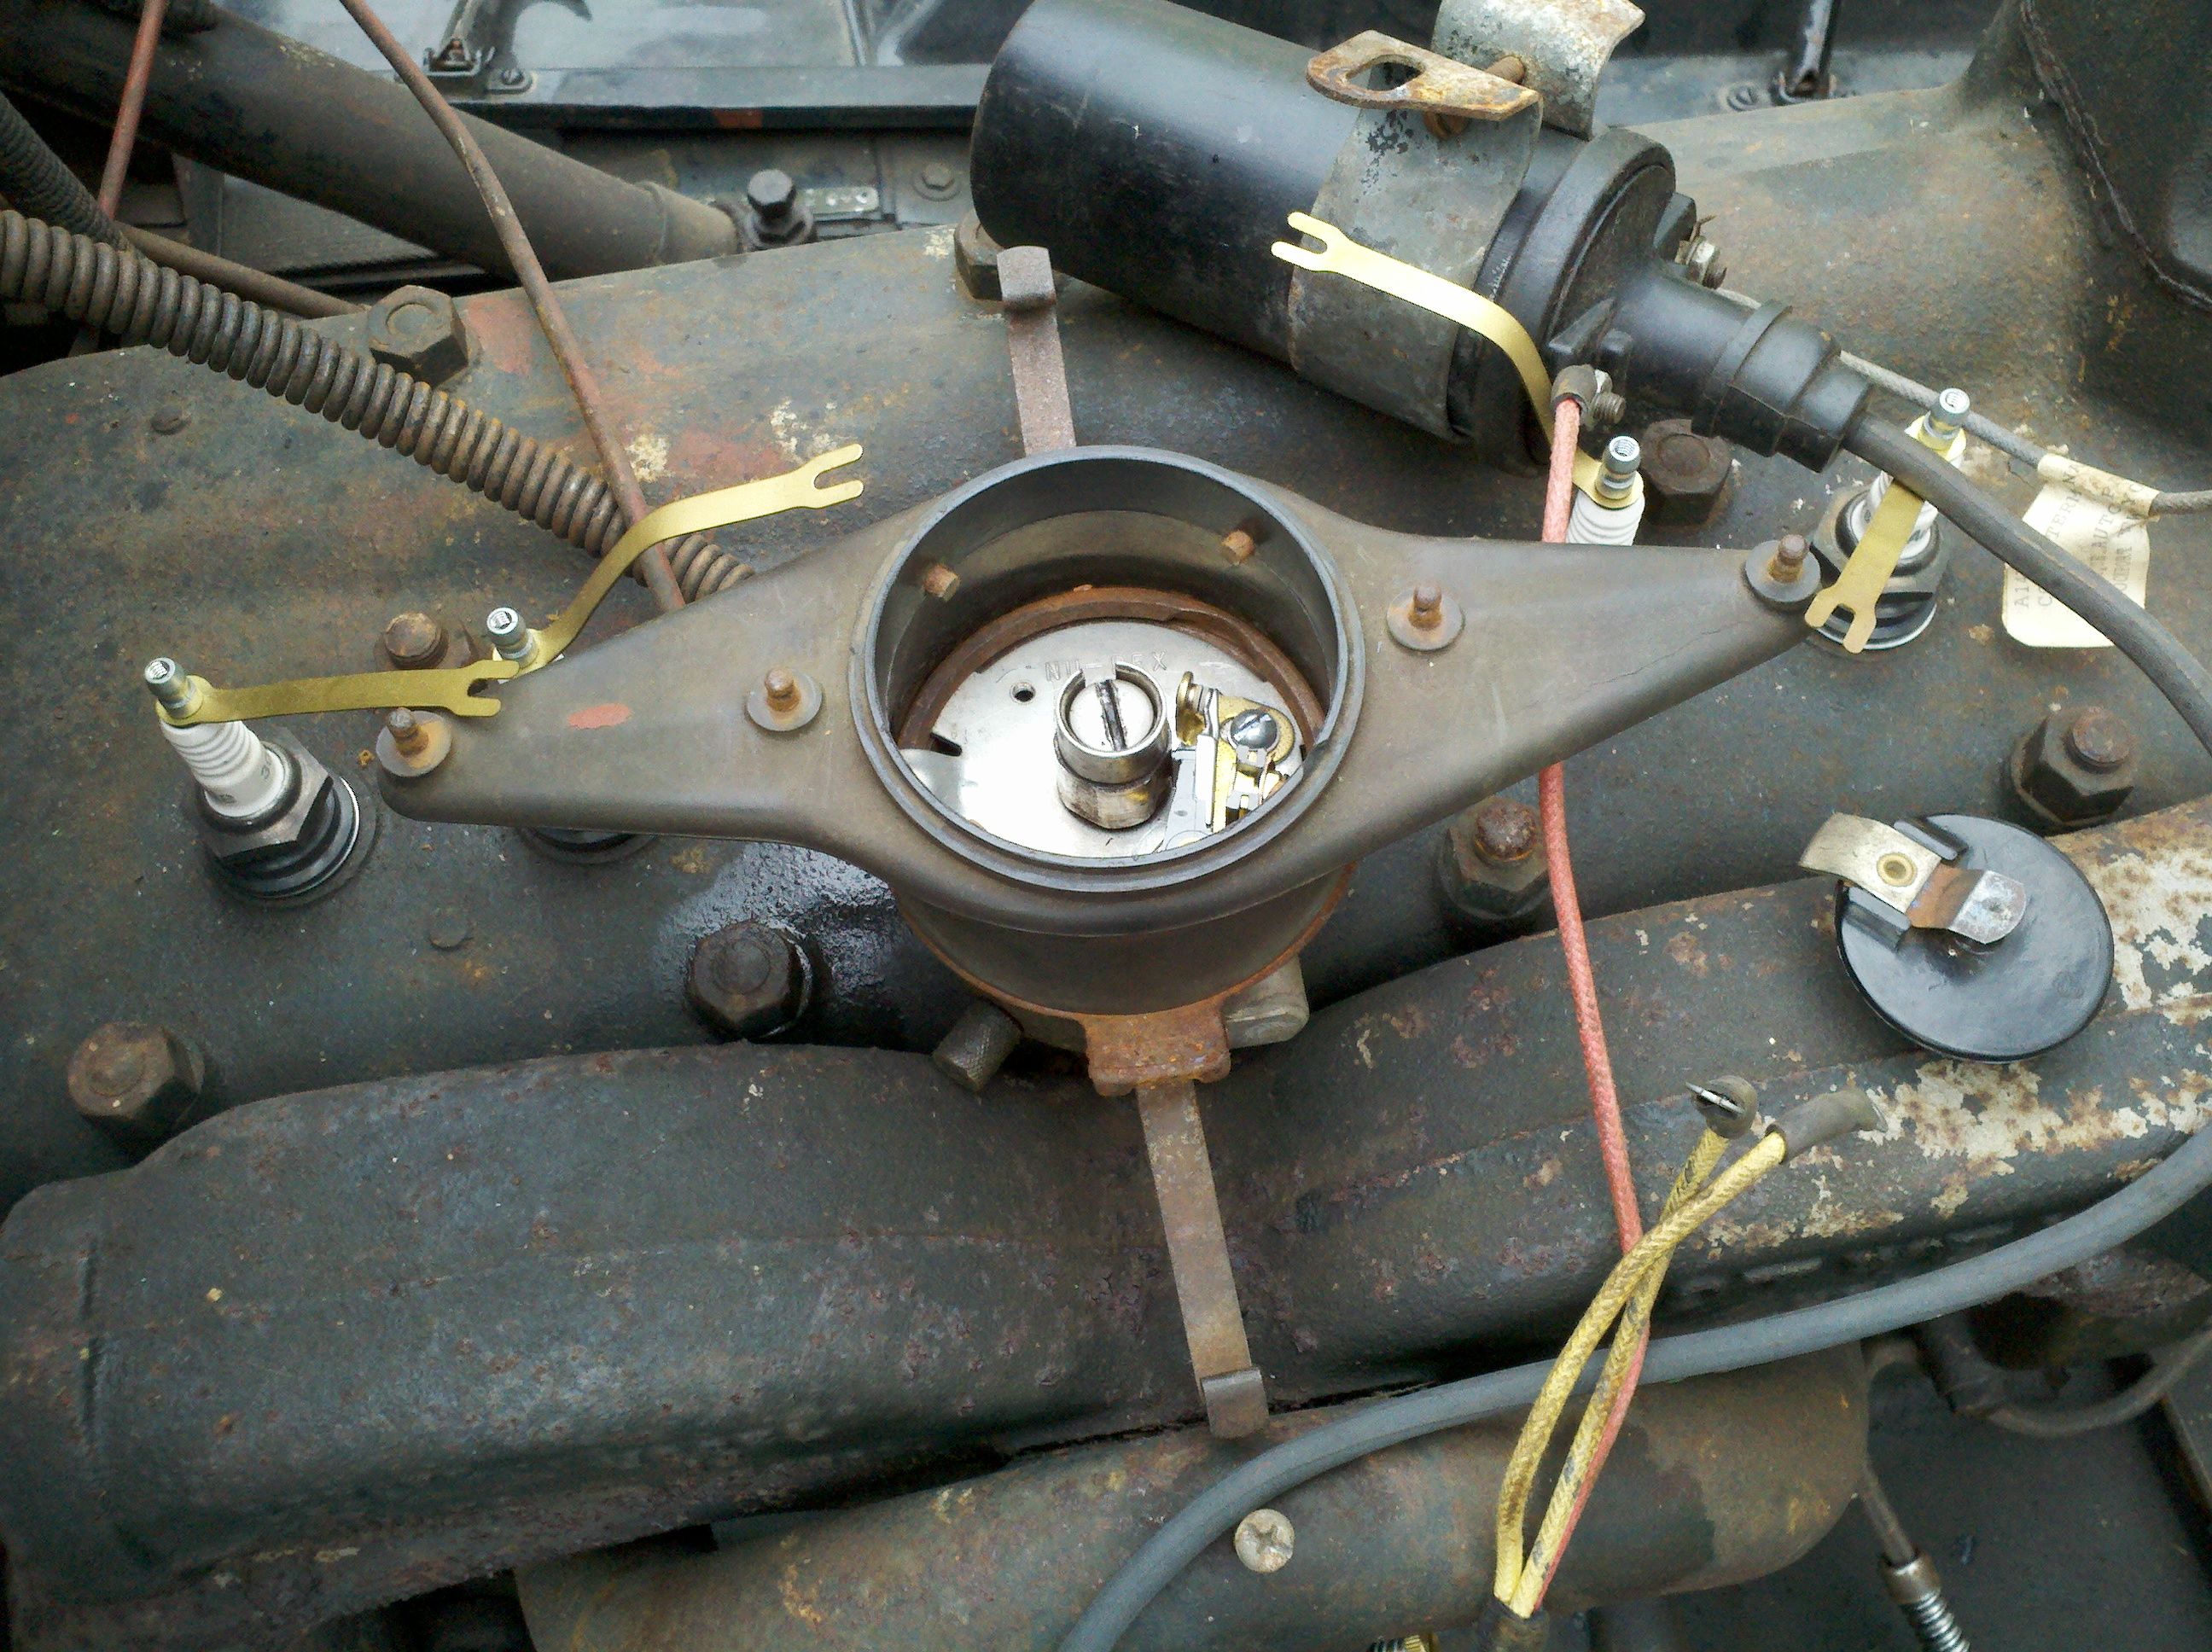
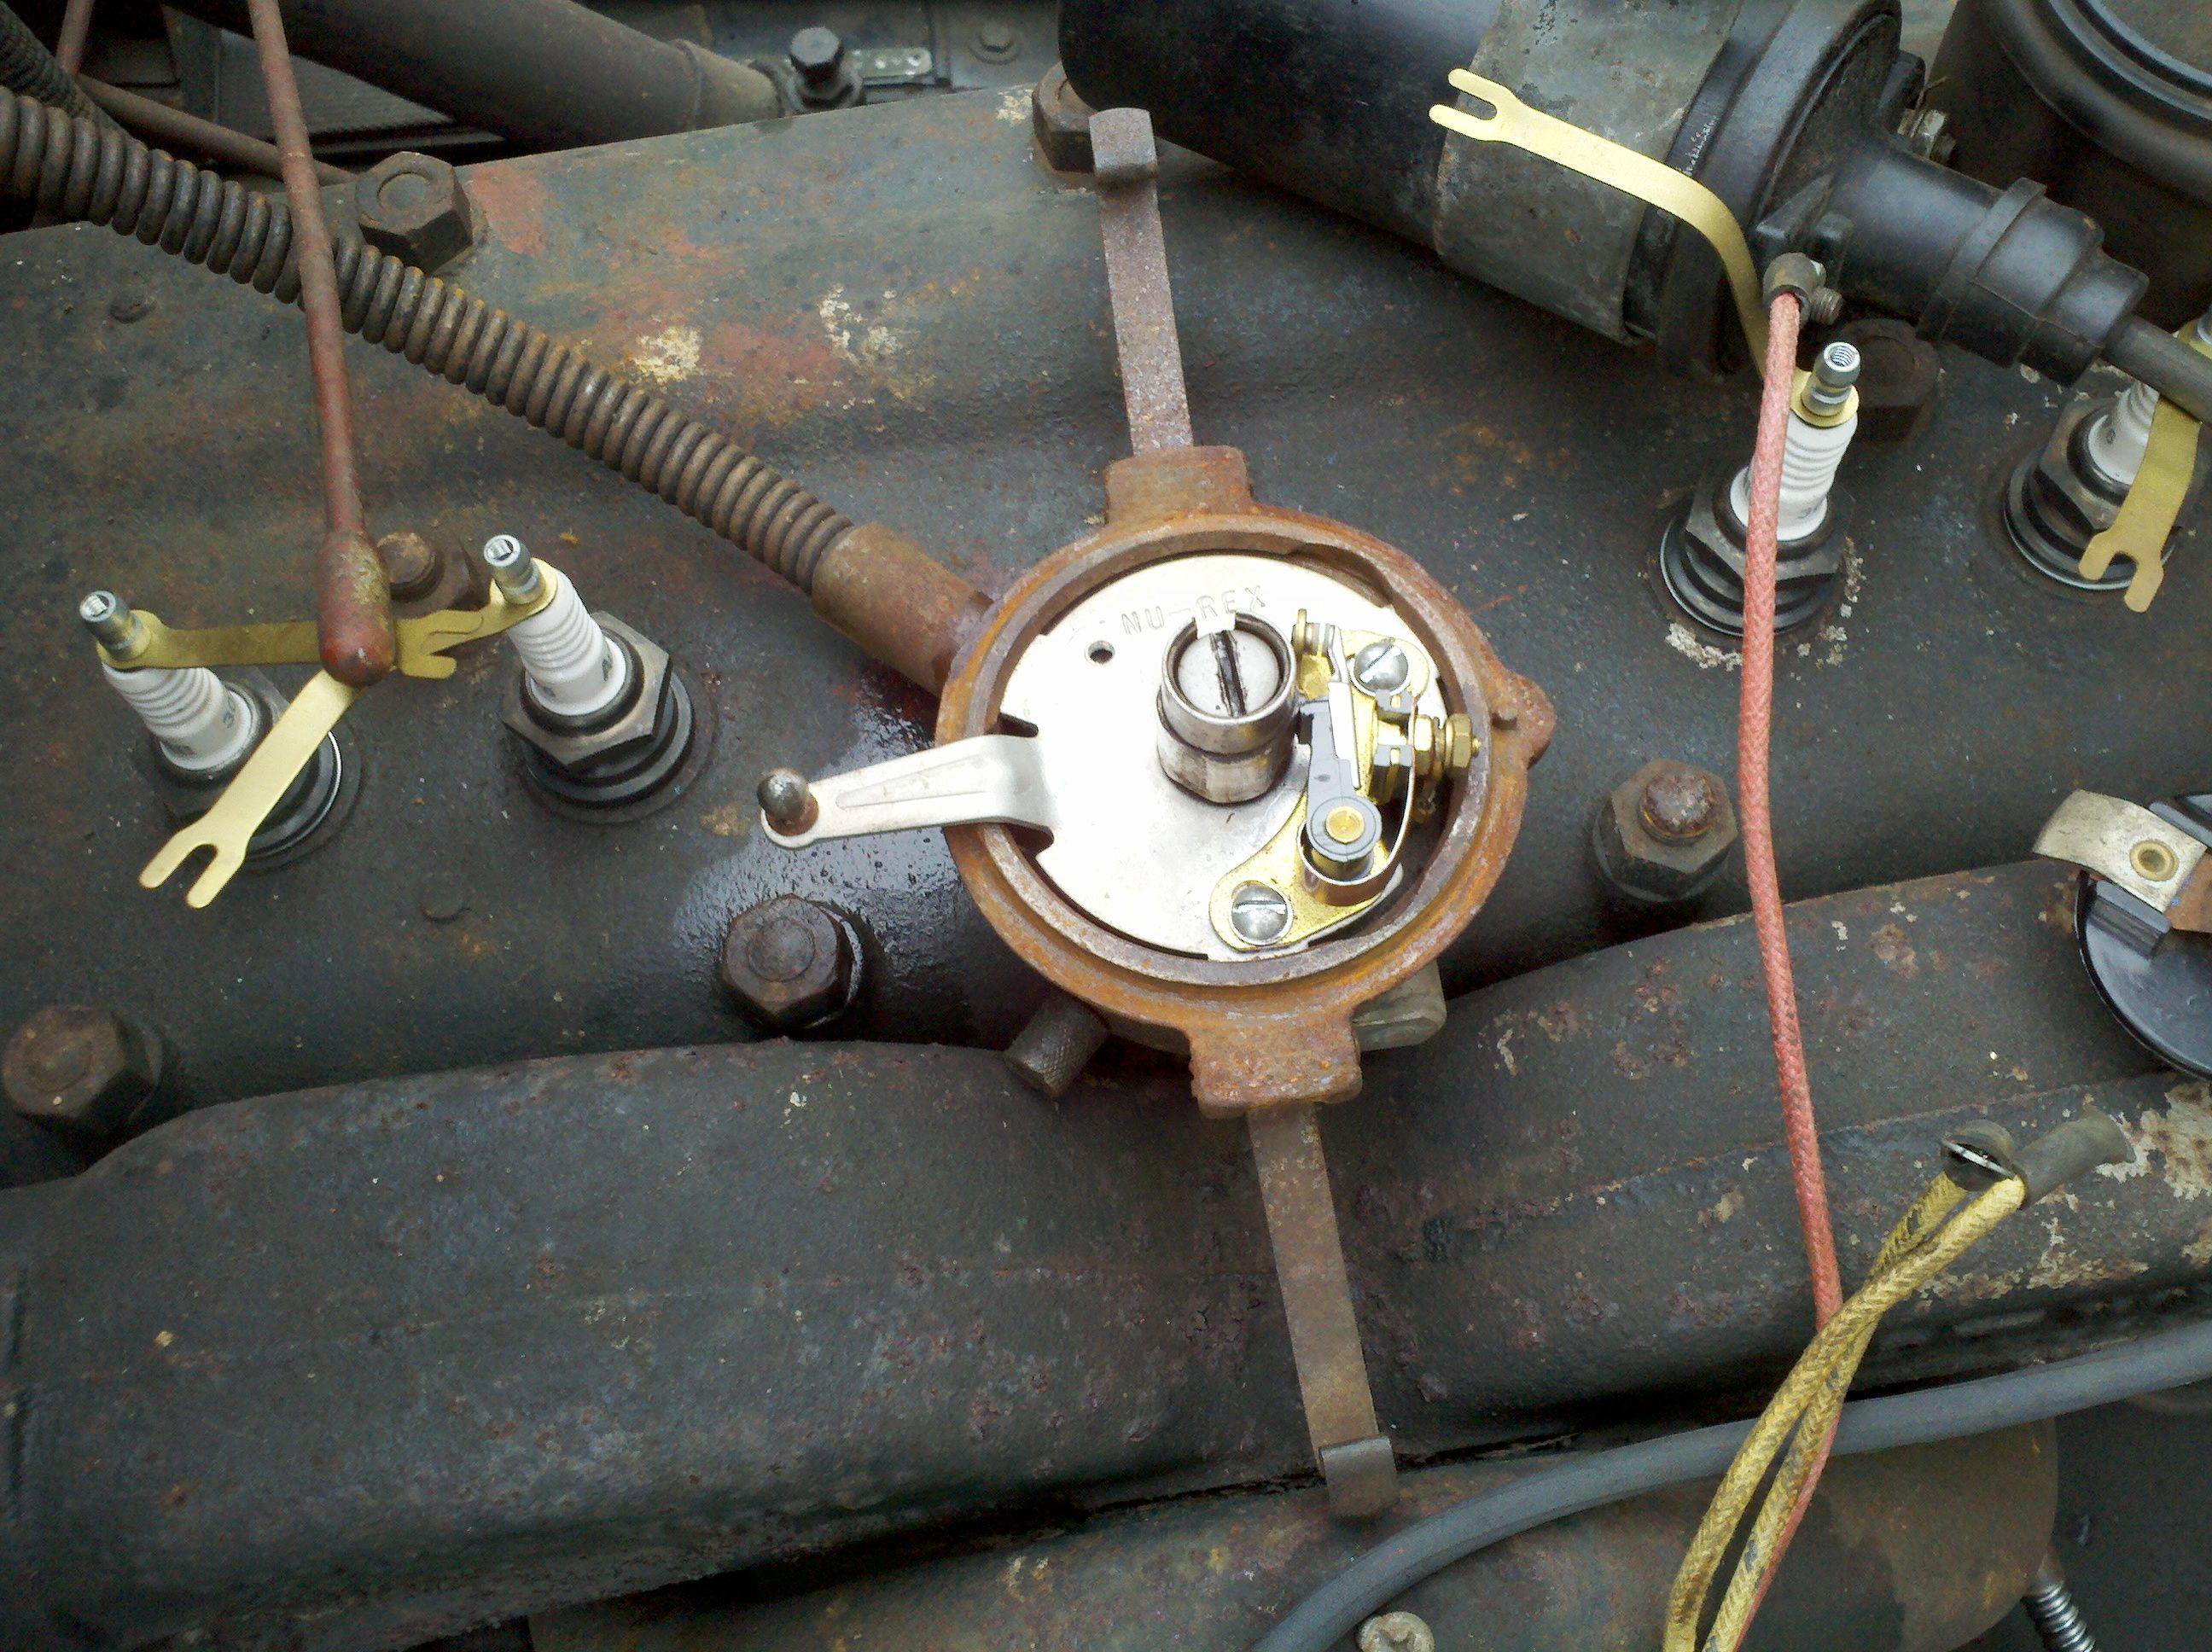
Today, we were gonna pull the fuel tank the rest of the way off. I had done some research online last weekend, and found that the tank should rotate out from under the sill. First, though, was the matter of removing all the stuff that was in the way. The kids brought me screwdrivers, and I pulled the instrument cluster the rest of the way off (I had just left it hanging, last time). The few wires on the back side of the cluster were pretty easy to remove, thanks to thumb screws on the back of the ammeter. It got tricky on the other end, though, as the ignition switch is attached to an armored cable that connects, n the other end, directly to the distributor. I looked it over, and I thought the distributor needed to be torn down to remove the cable. It turns ot I was wrong about that, but the distributor teardown is now documented, so I know how to do it next time. See the pics below. I also put up a video of how the breaker plate comes out in the videos section.
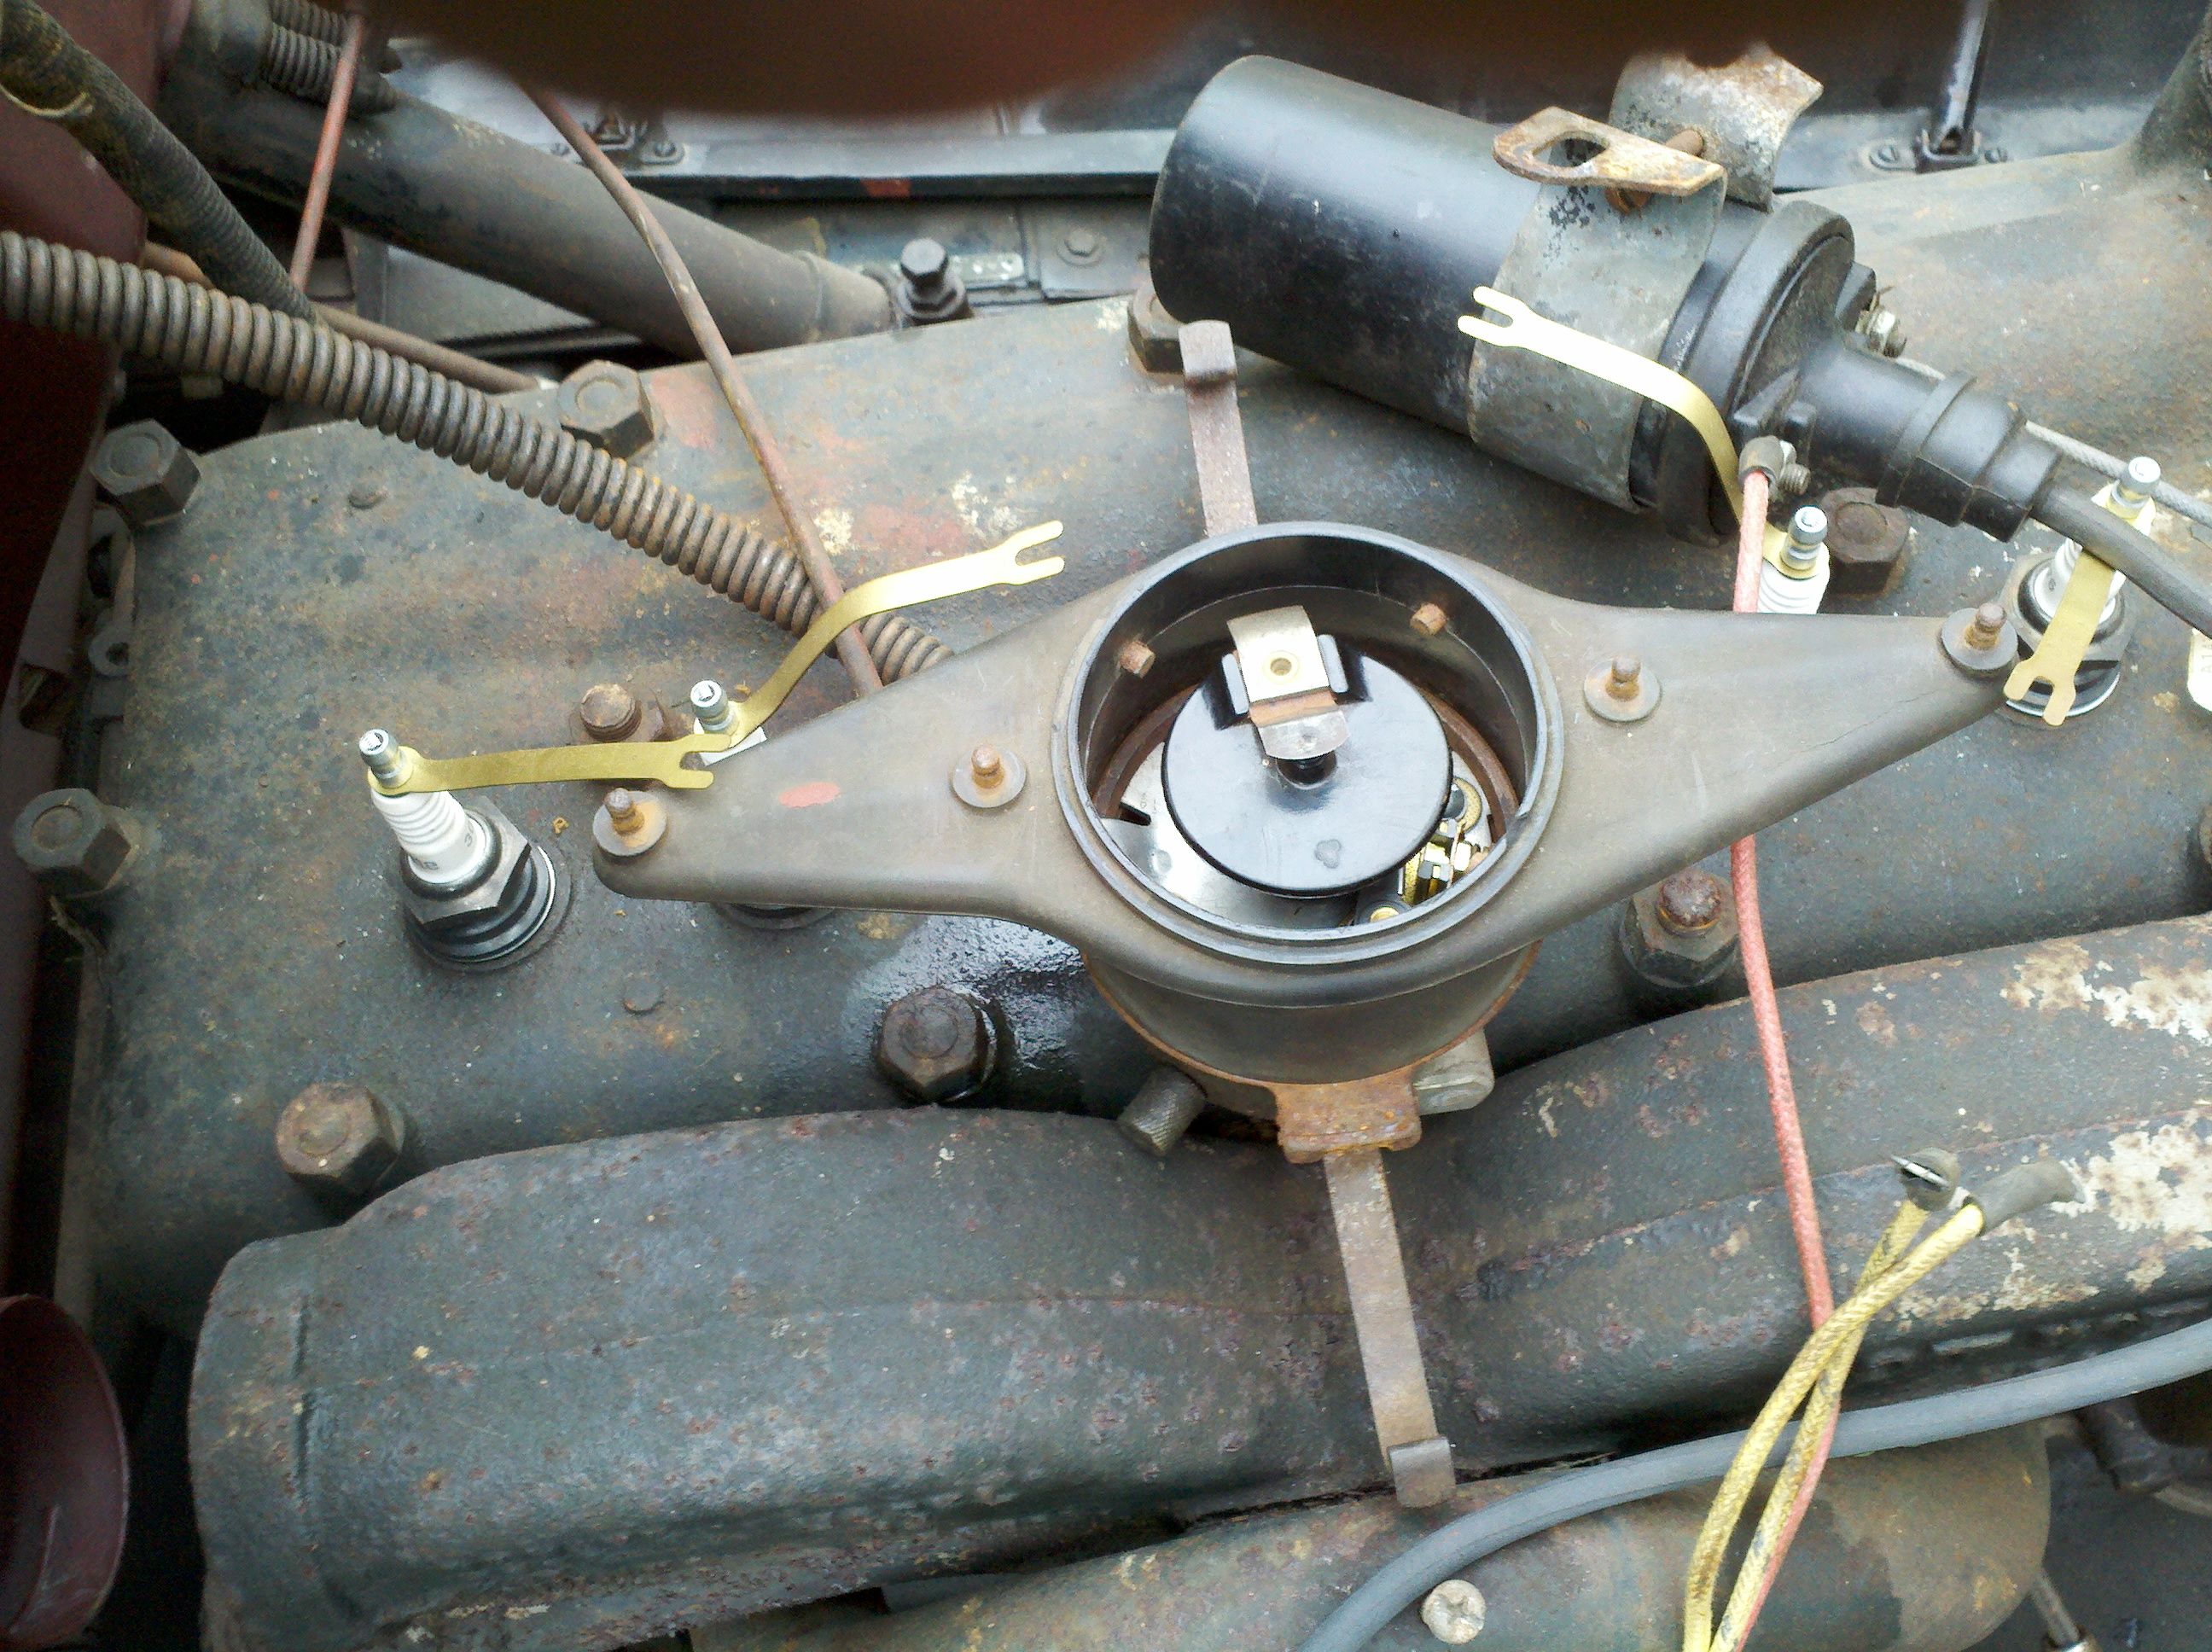

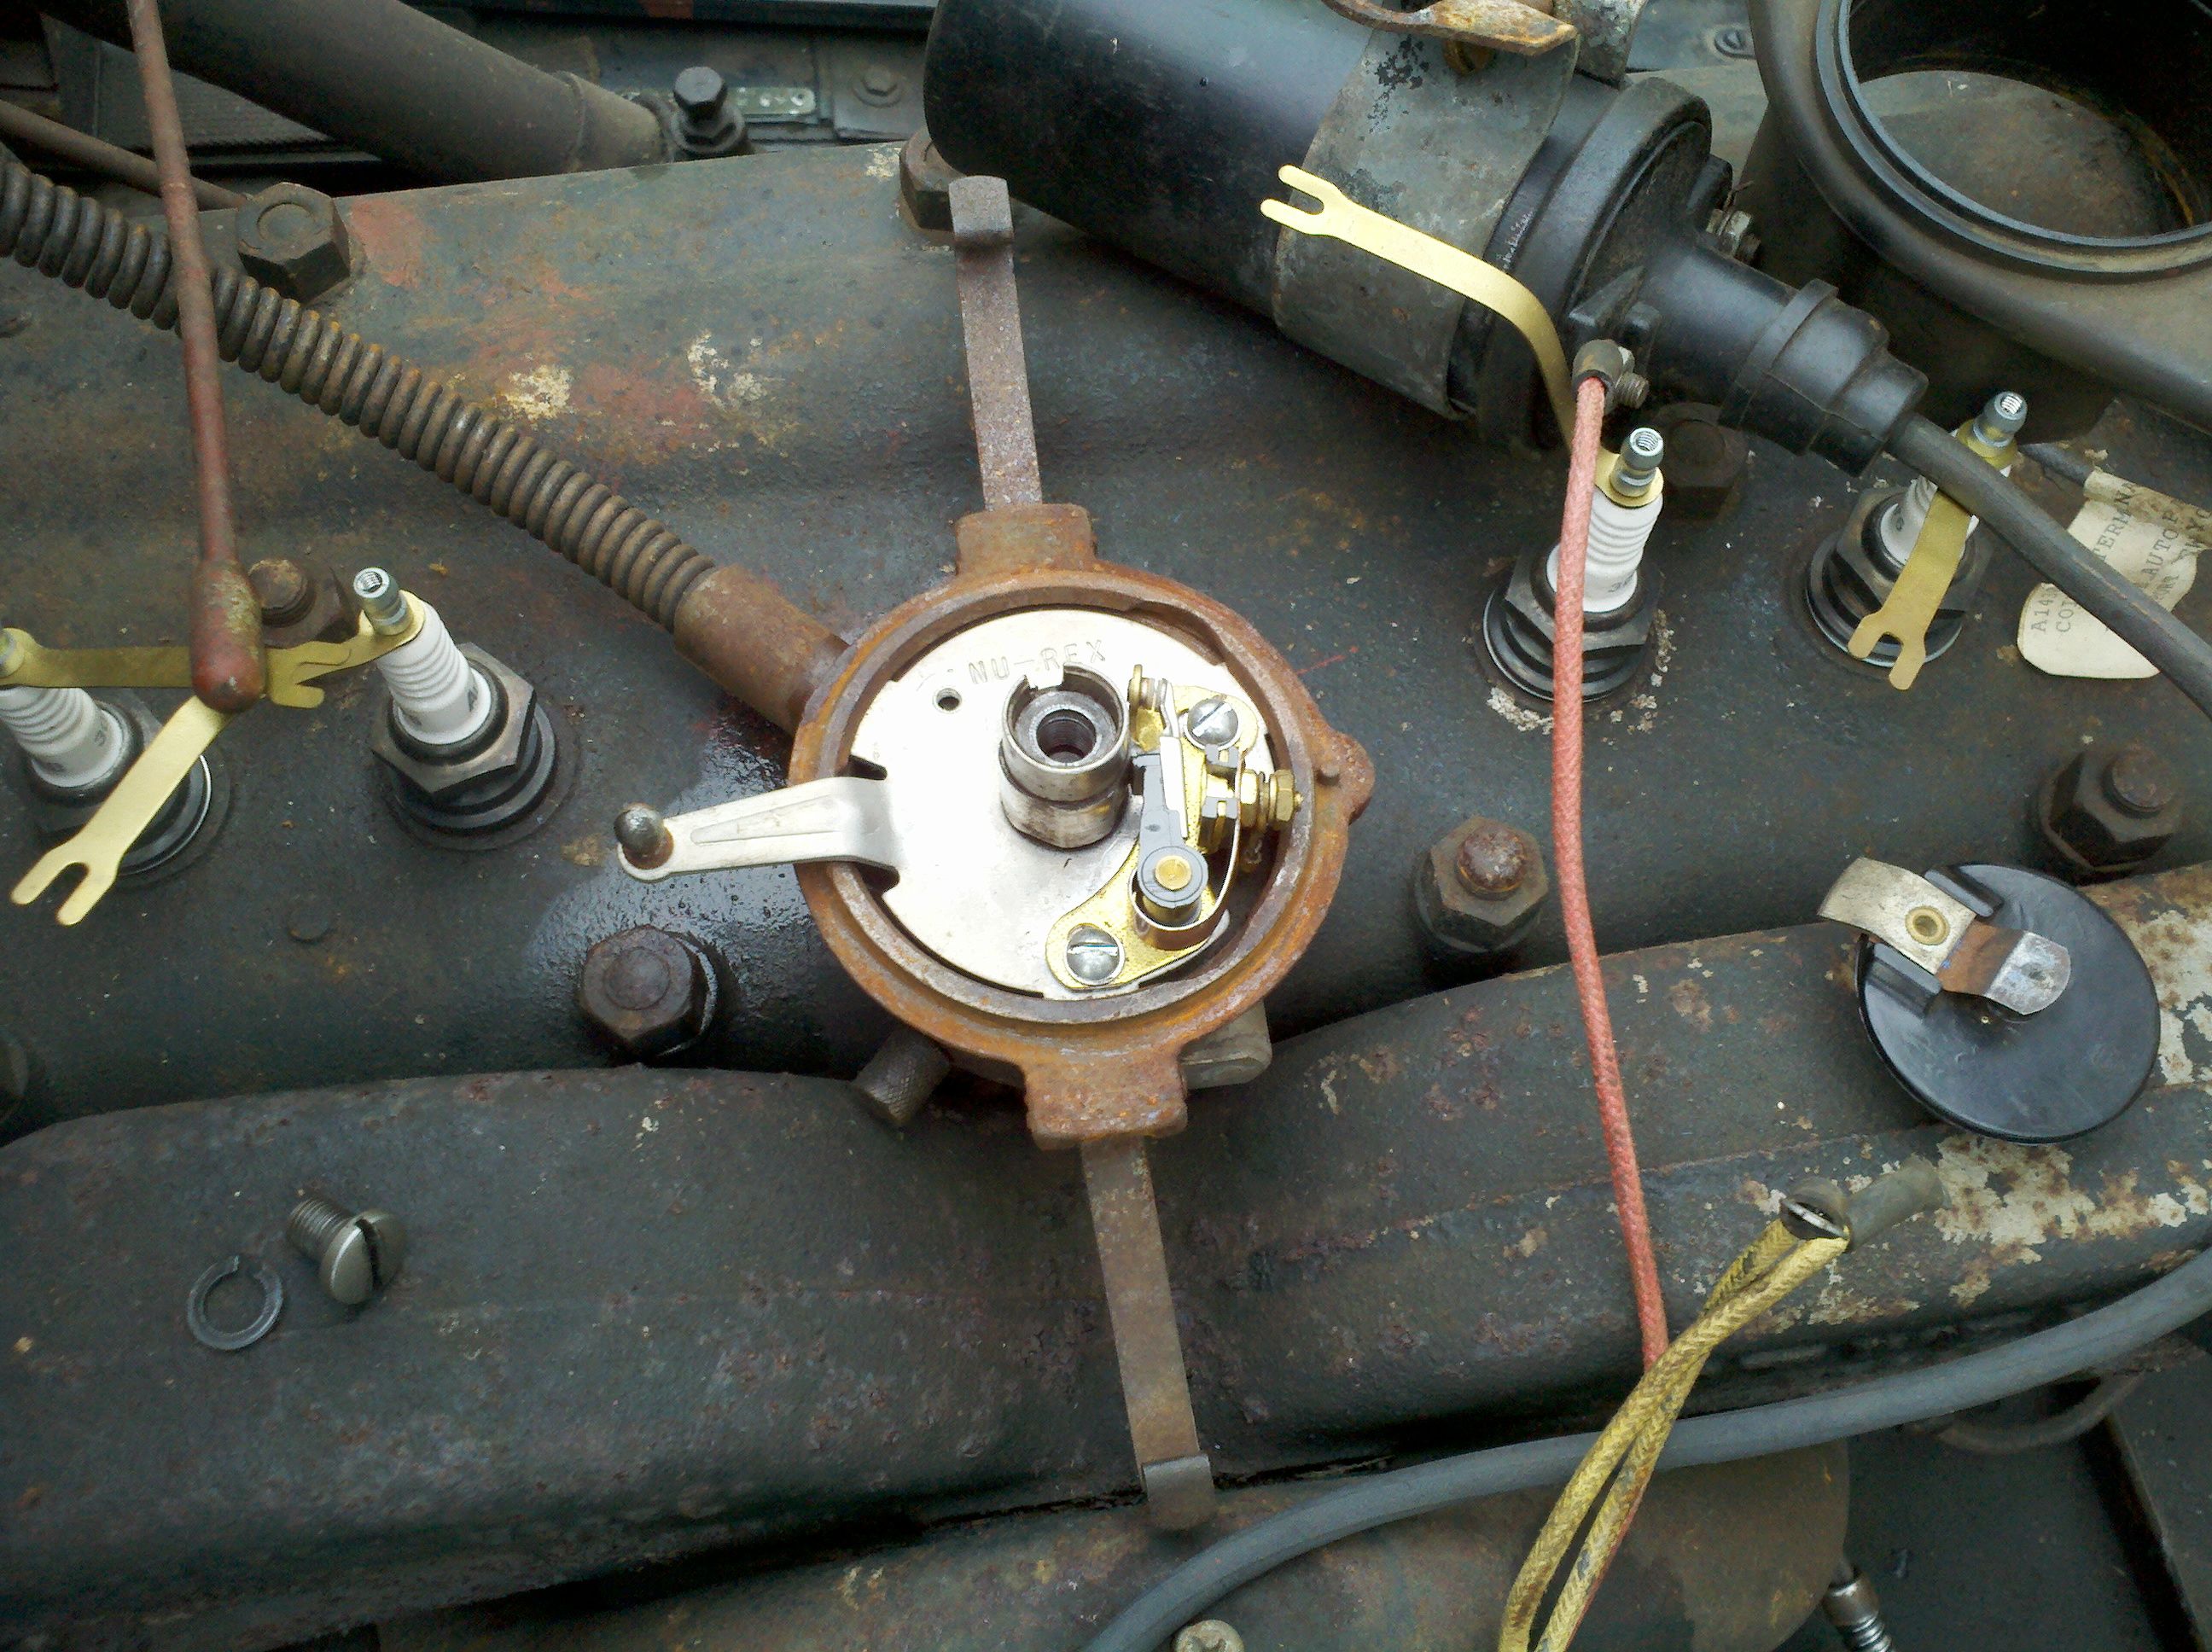
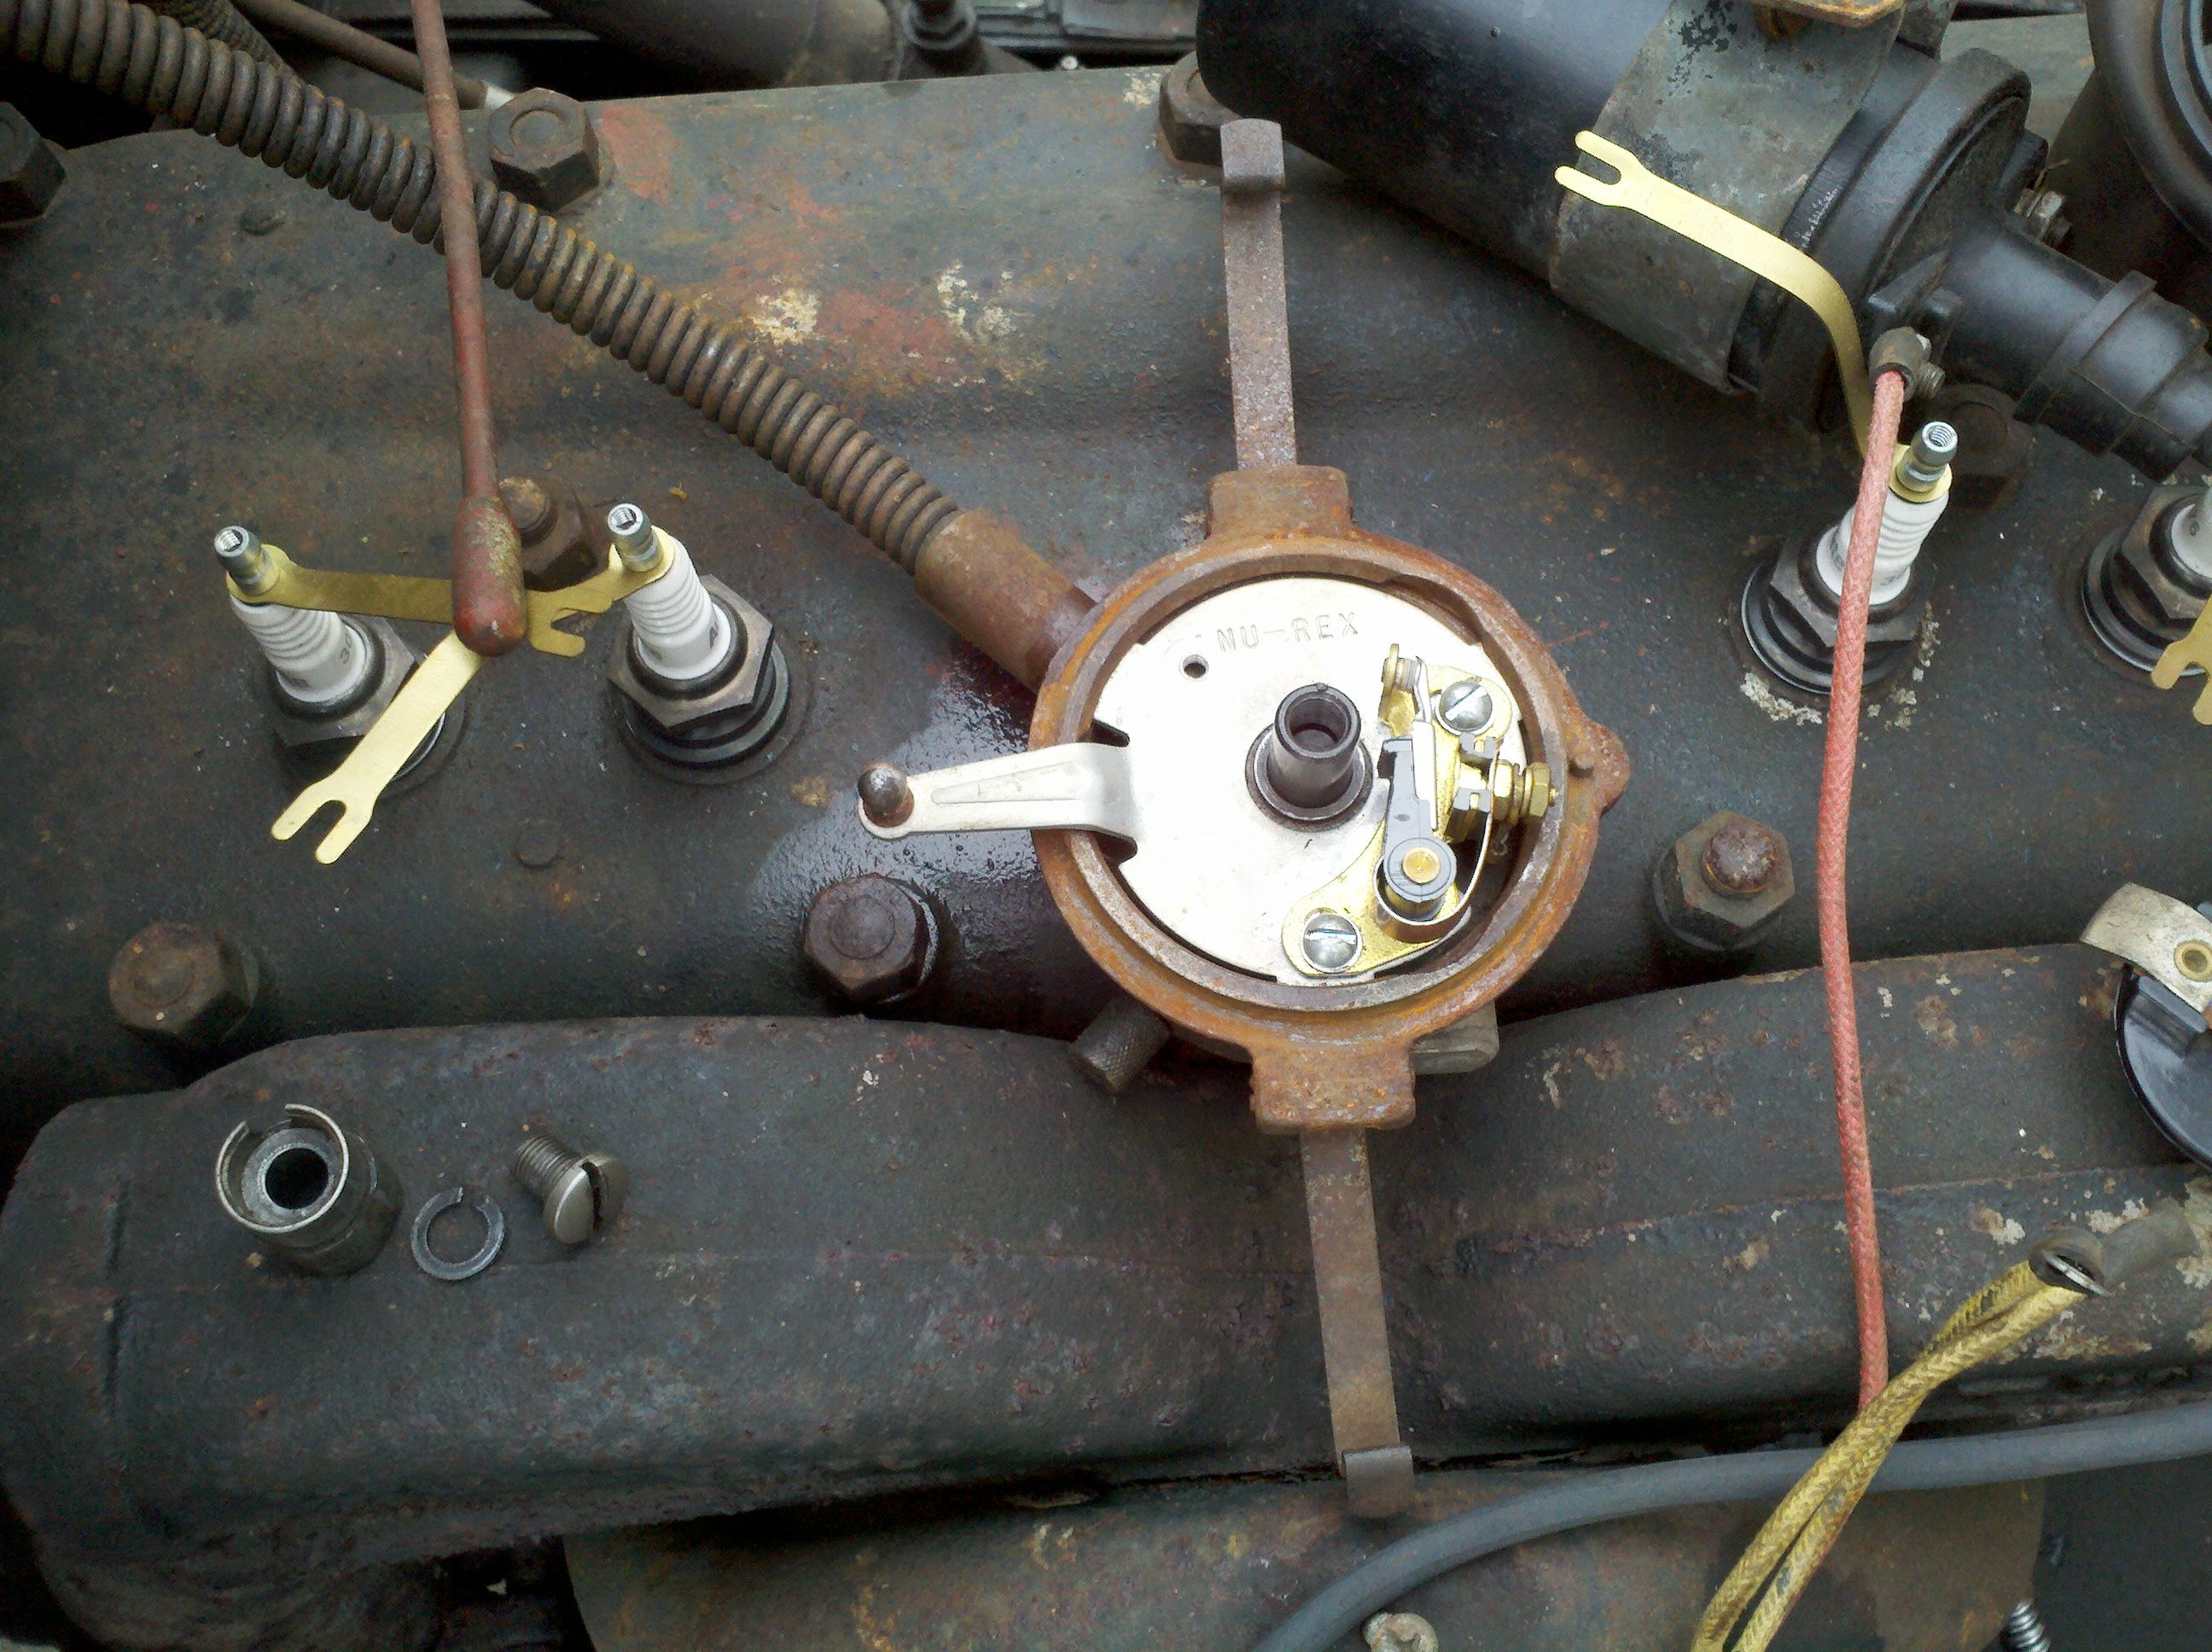
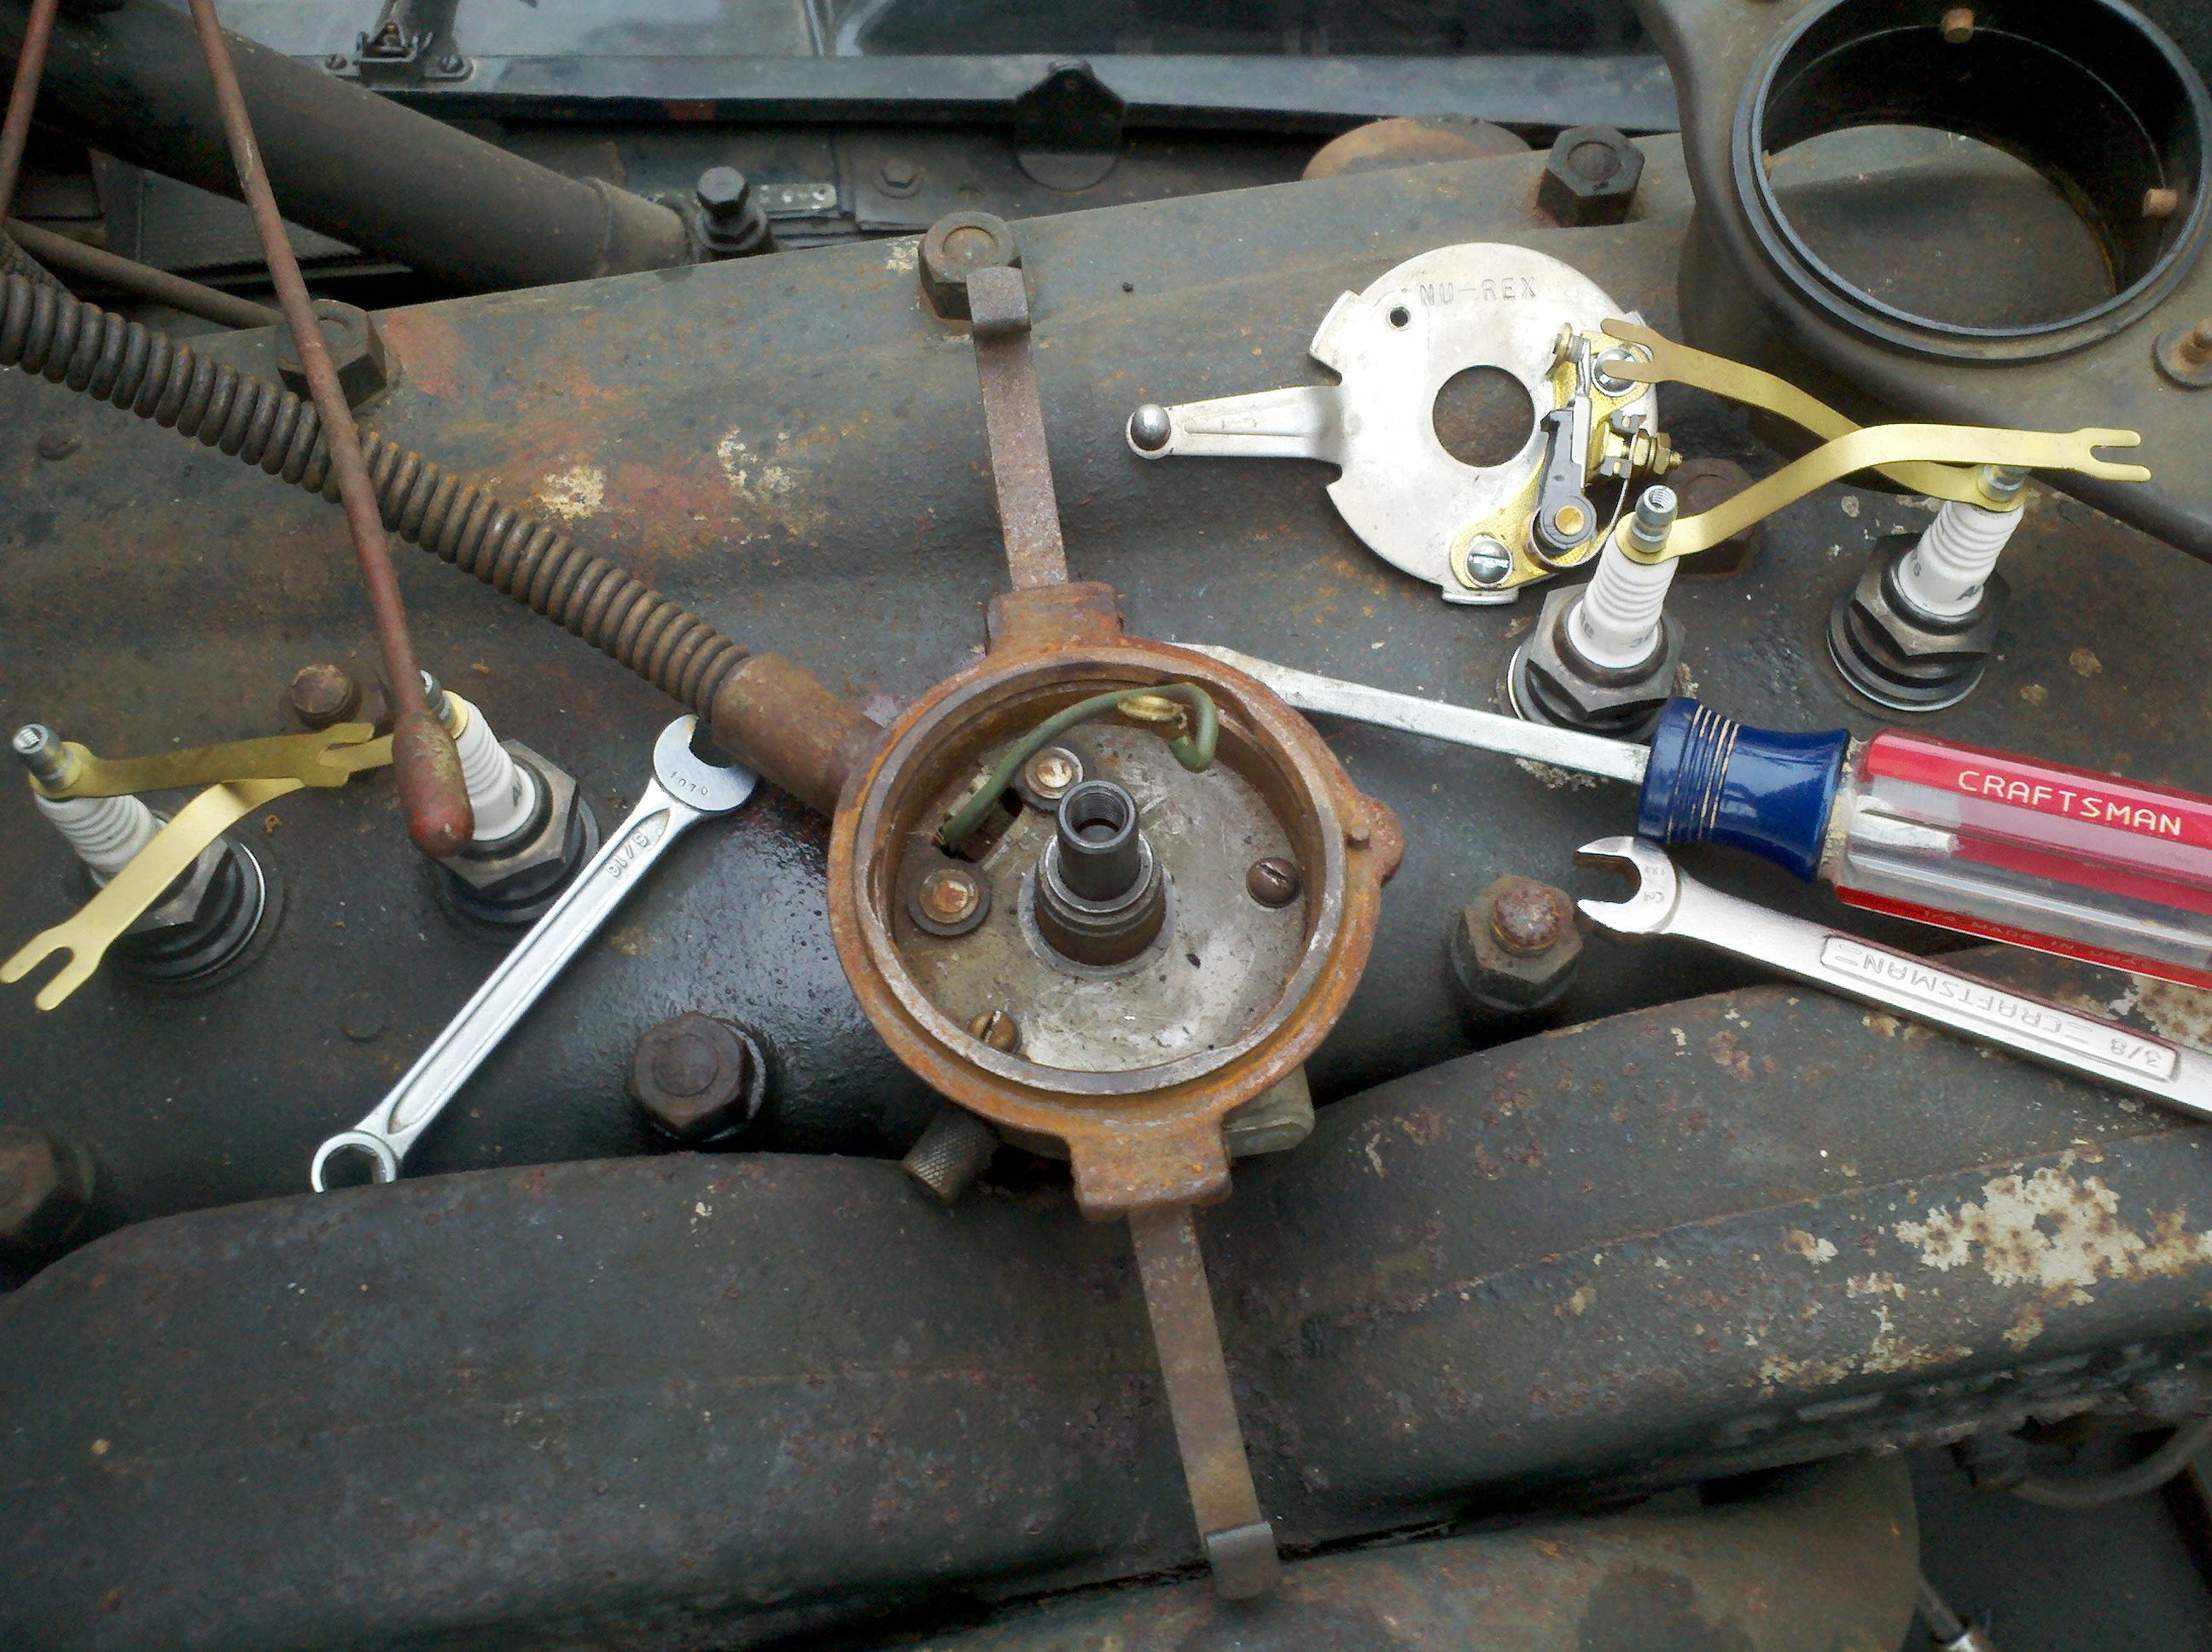
After I got the distributor torn down this far, I decided to take a risk and unscrew the armored cable from the side. Turns out, that's all I needed to do to get the thing out. Oh, well.
I then disconnected wiring from the electrical junction box, and took some pictures so I could hopefully remember how to put it together, later (and maybe draw a schematic).

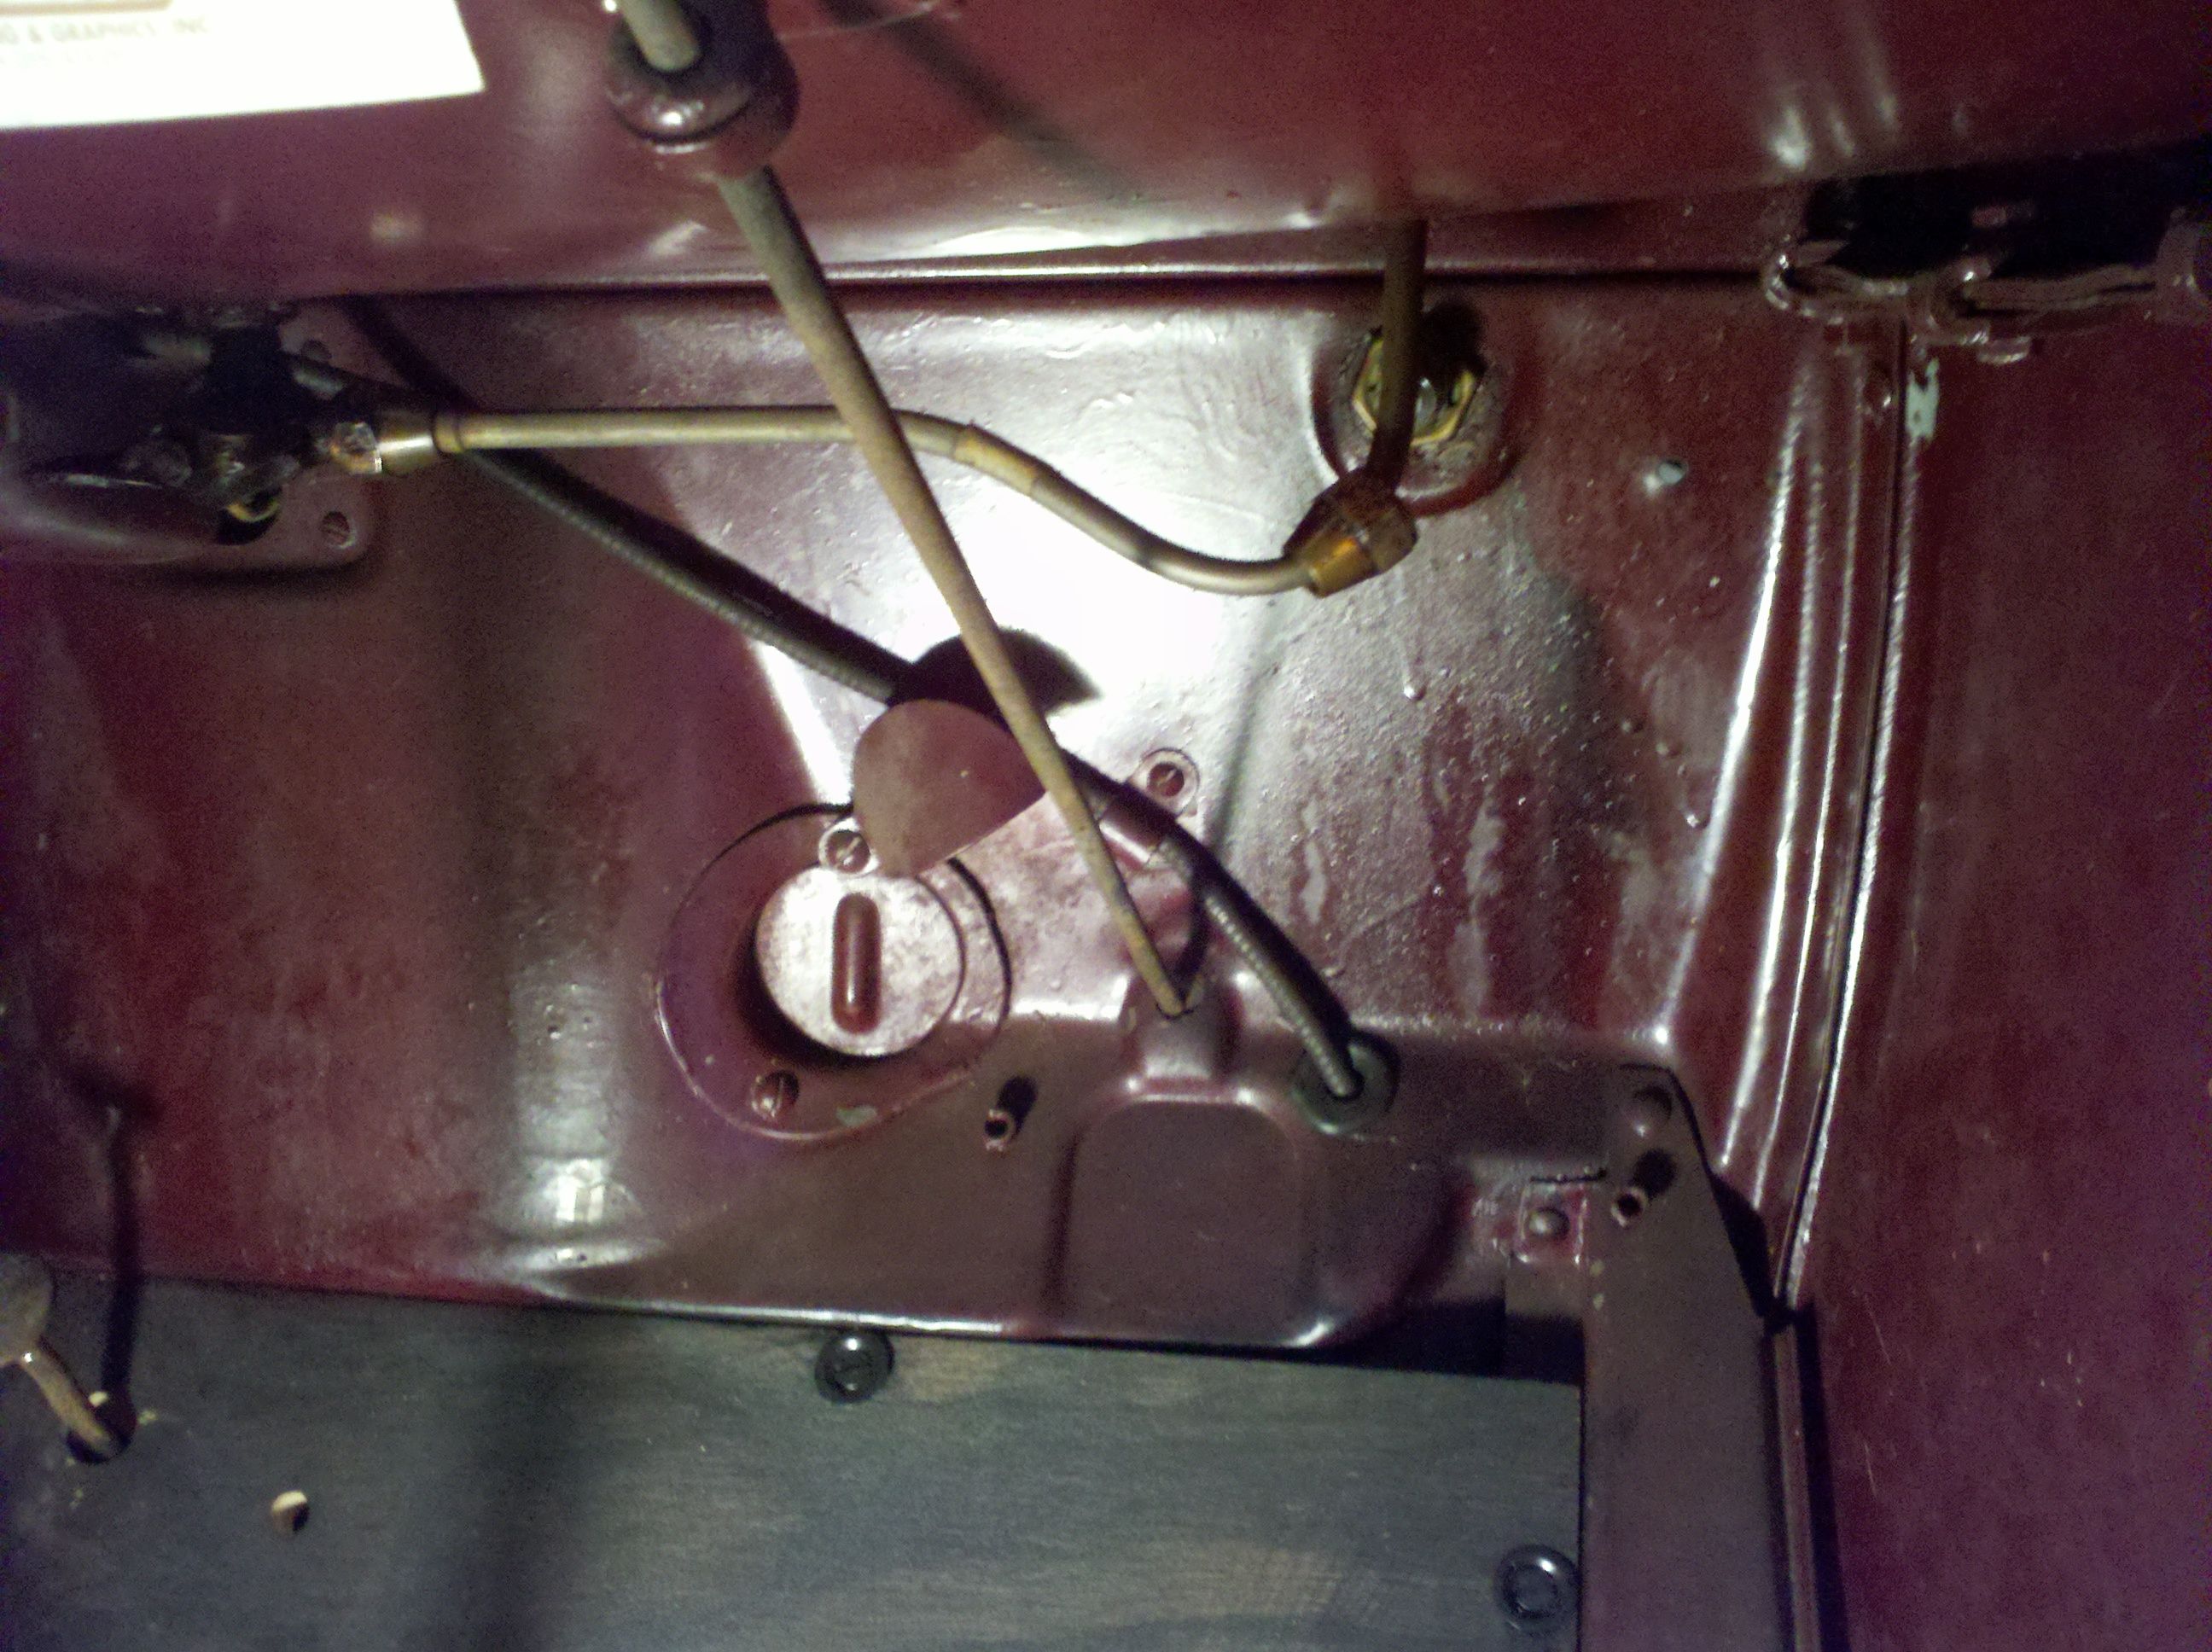
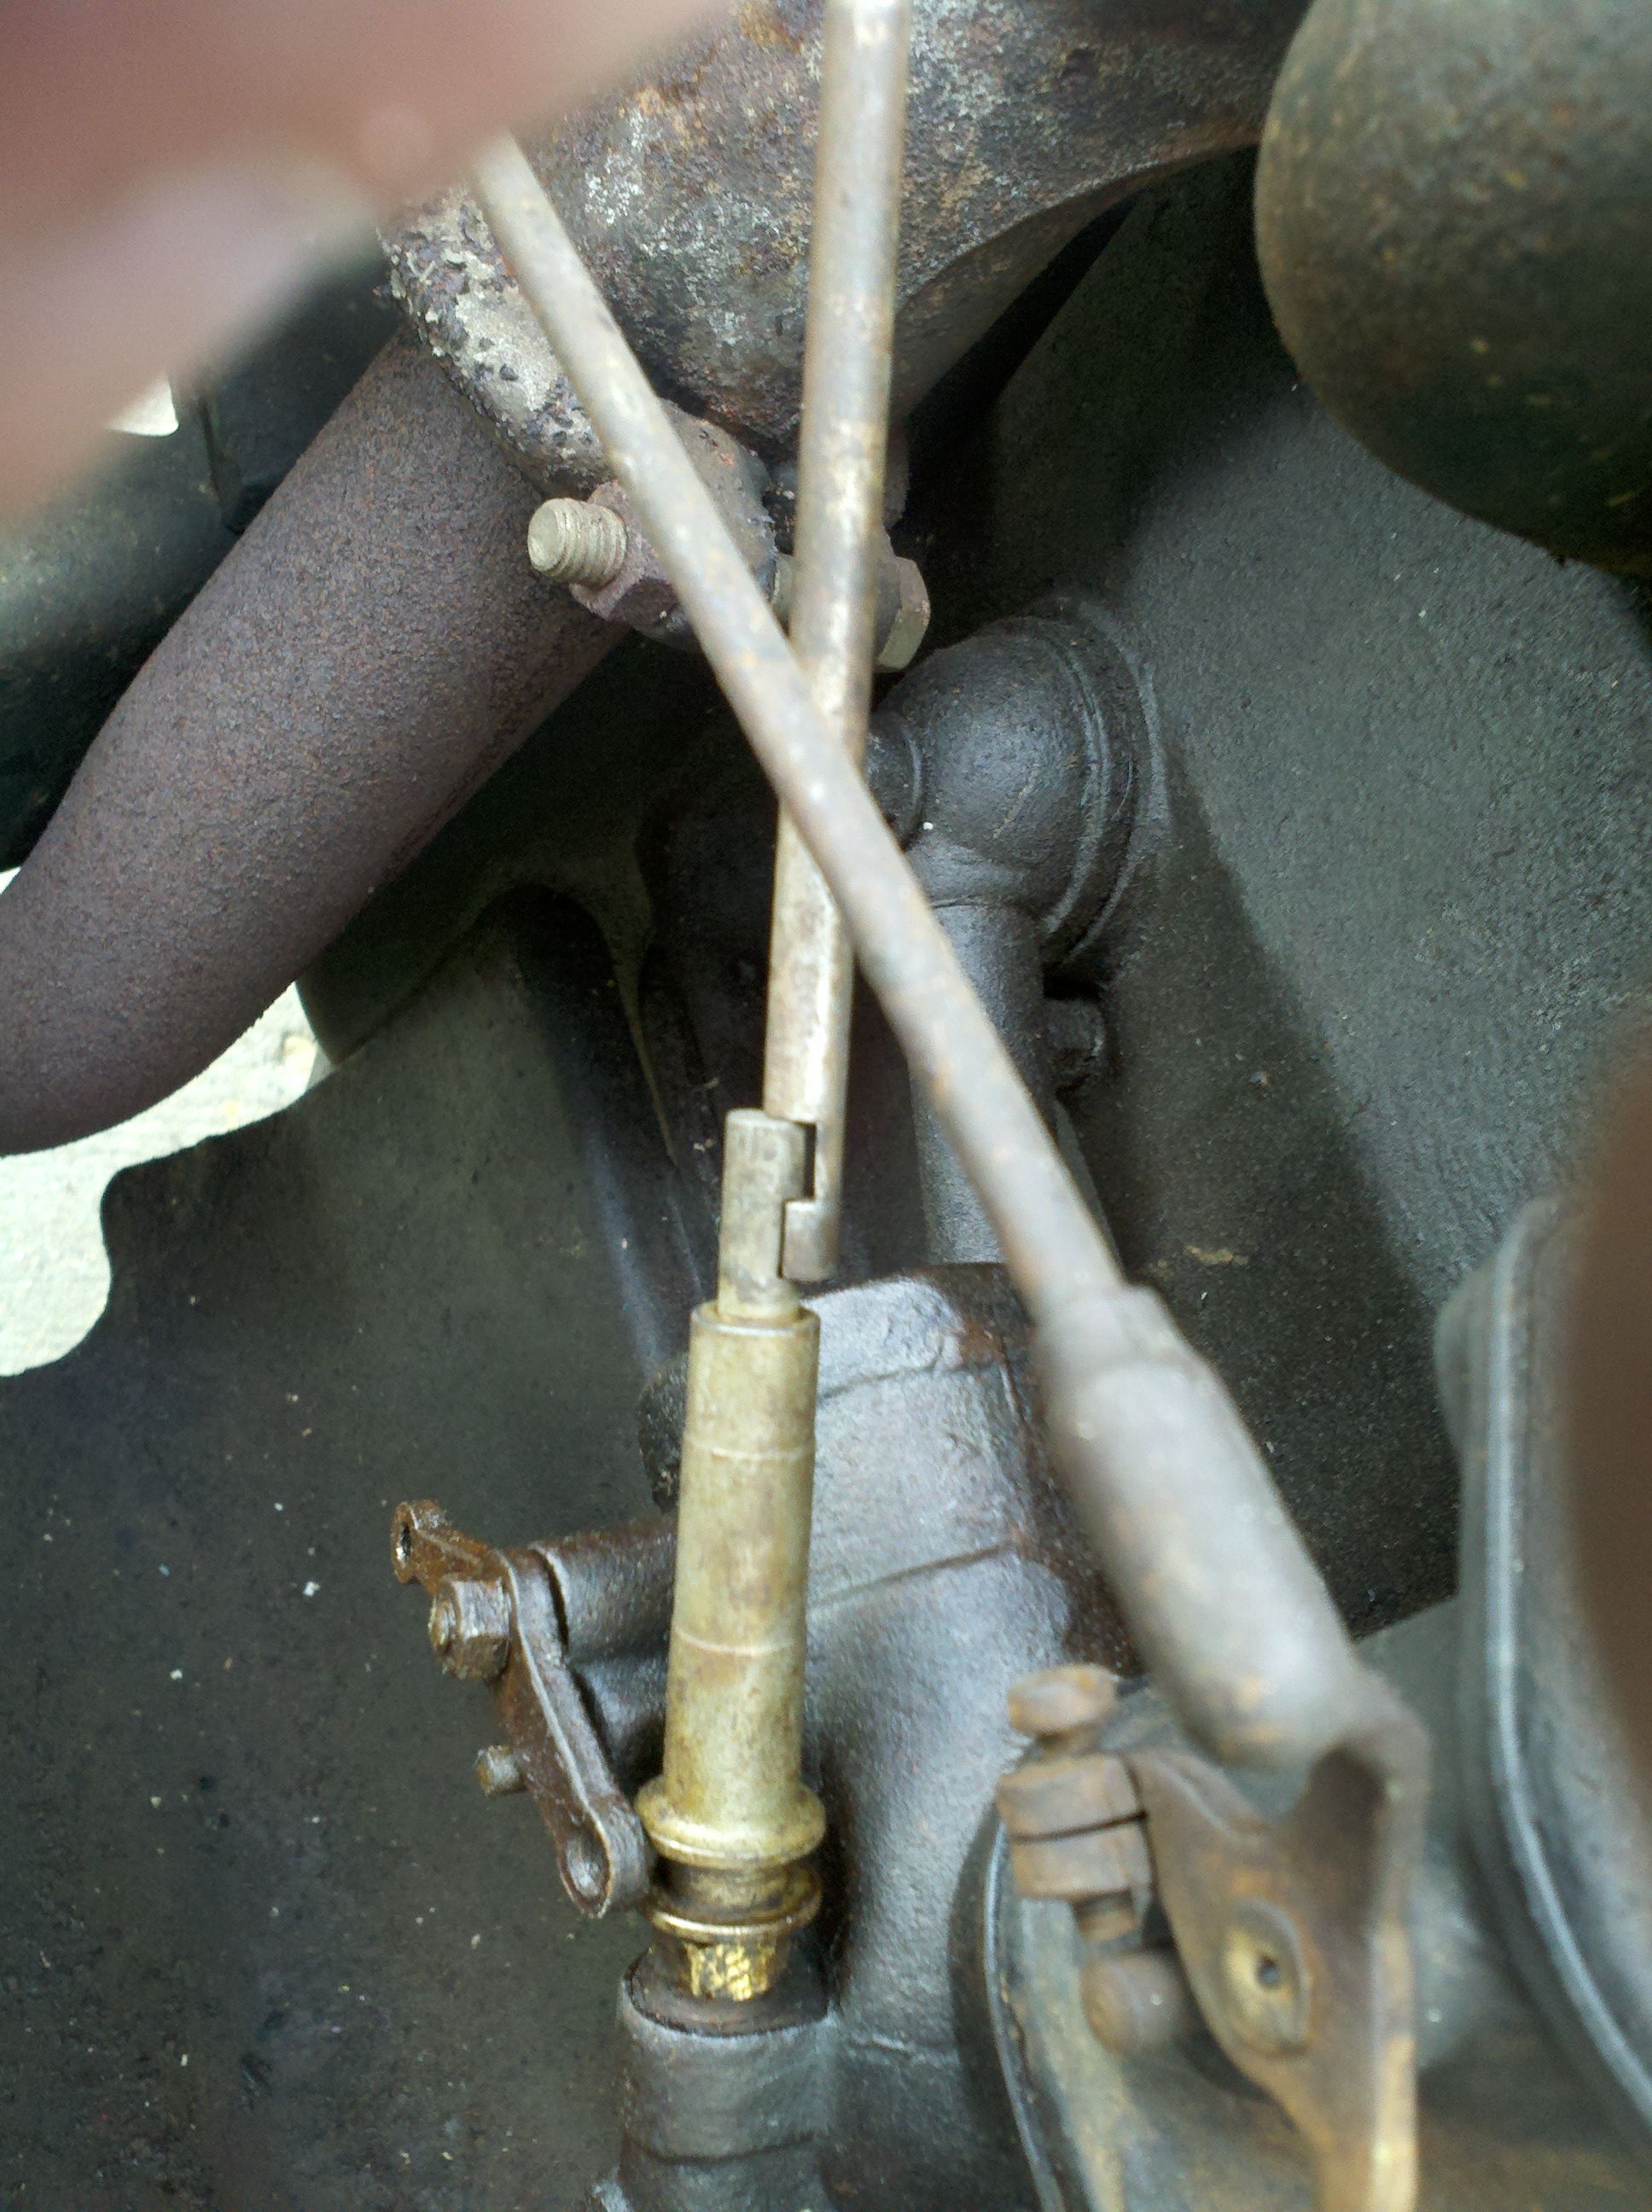
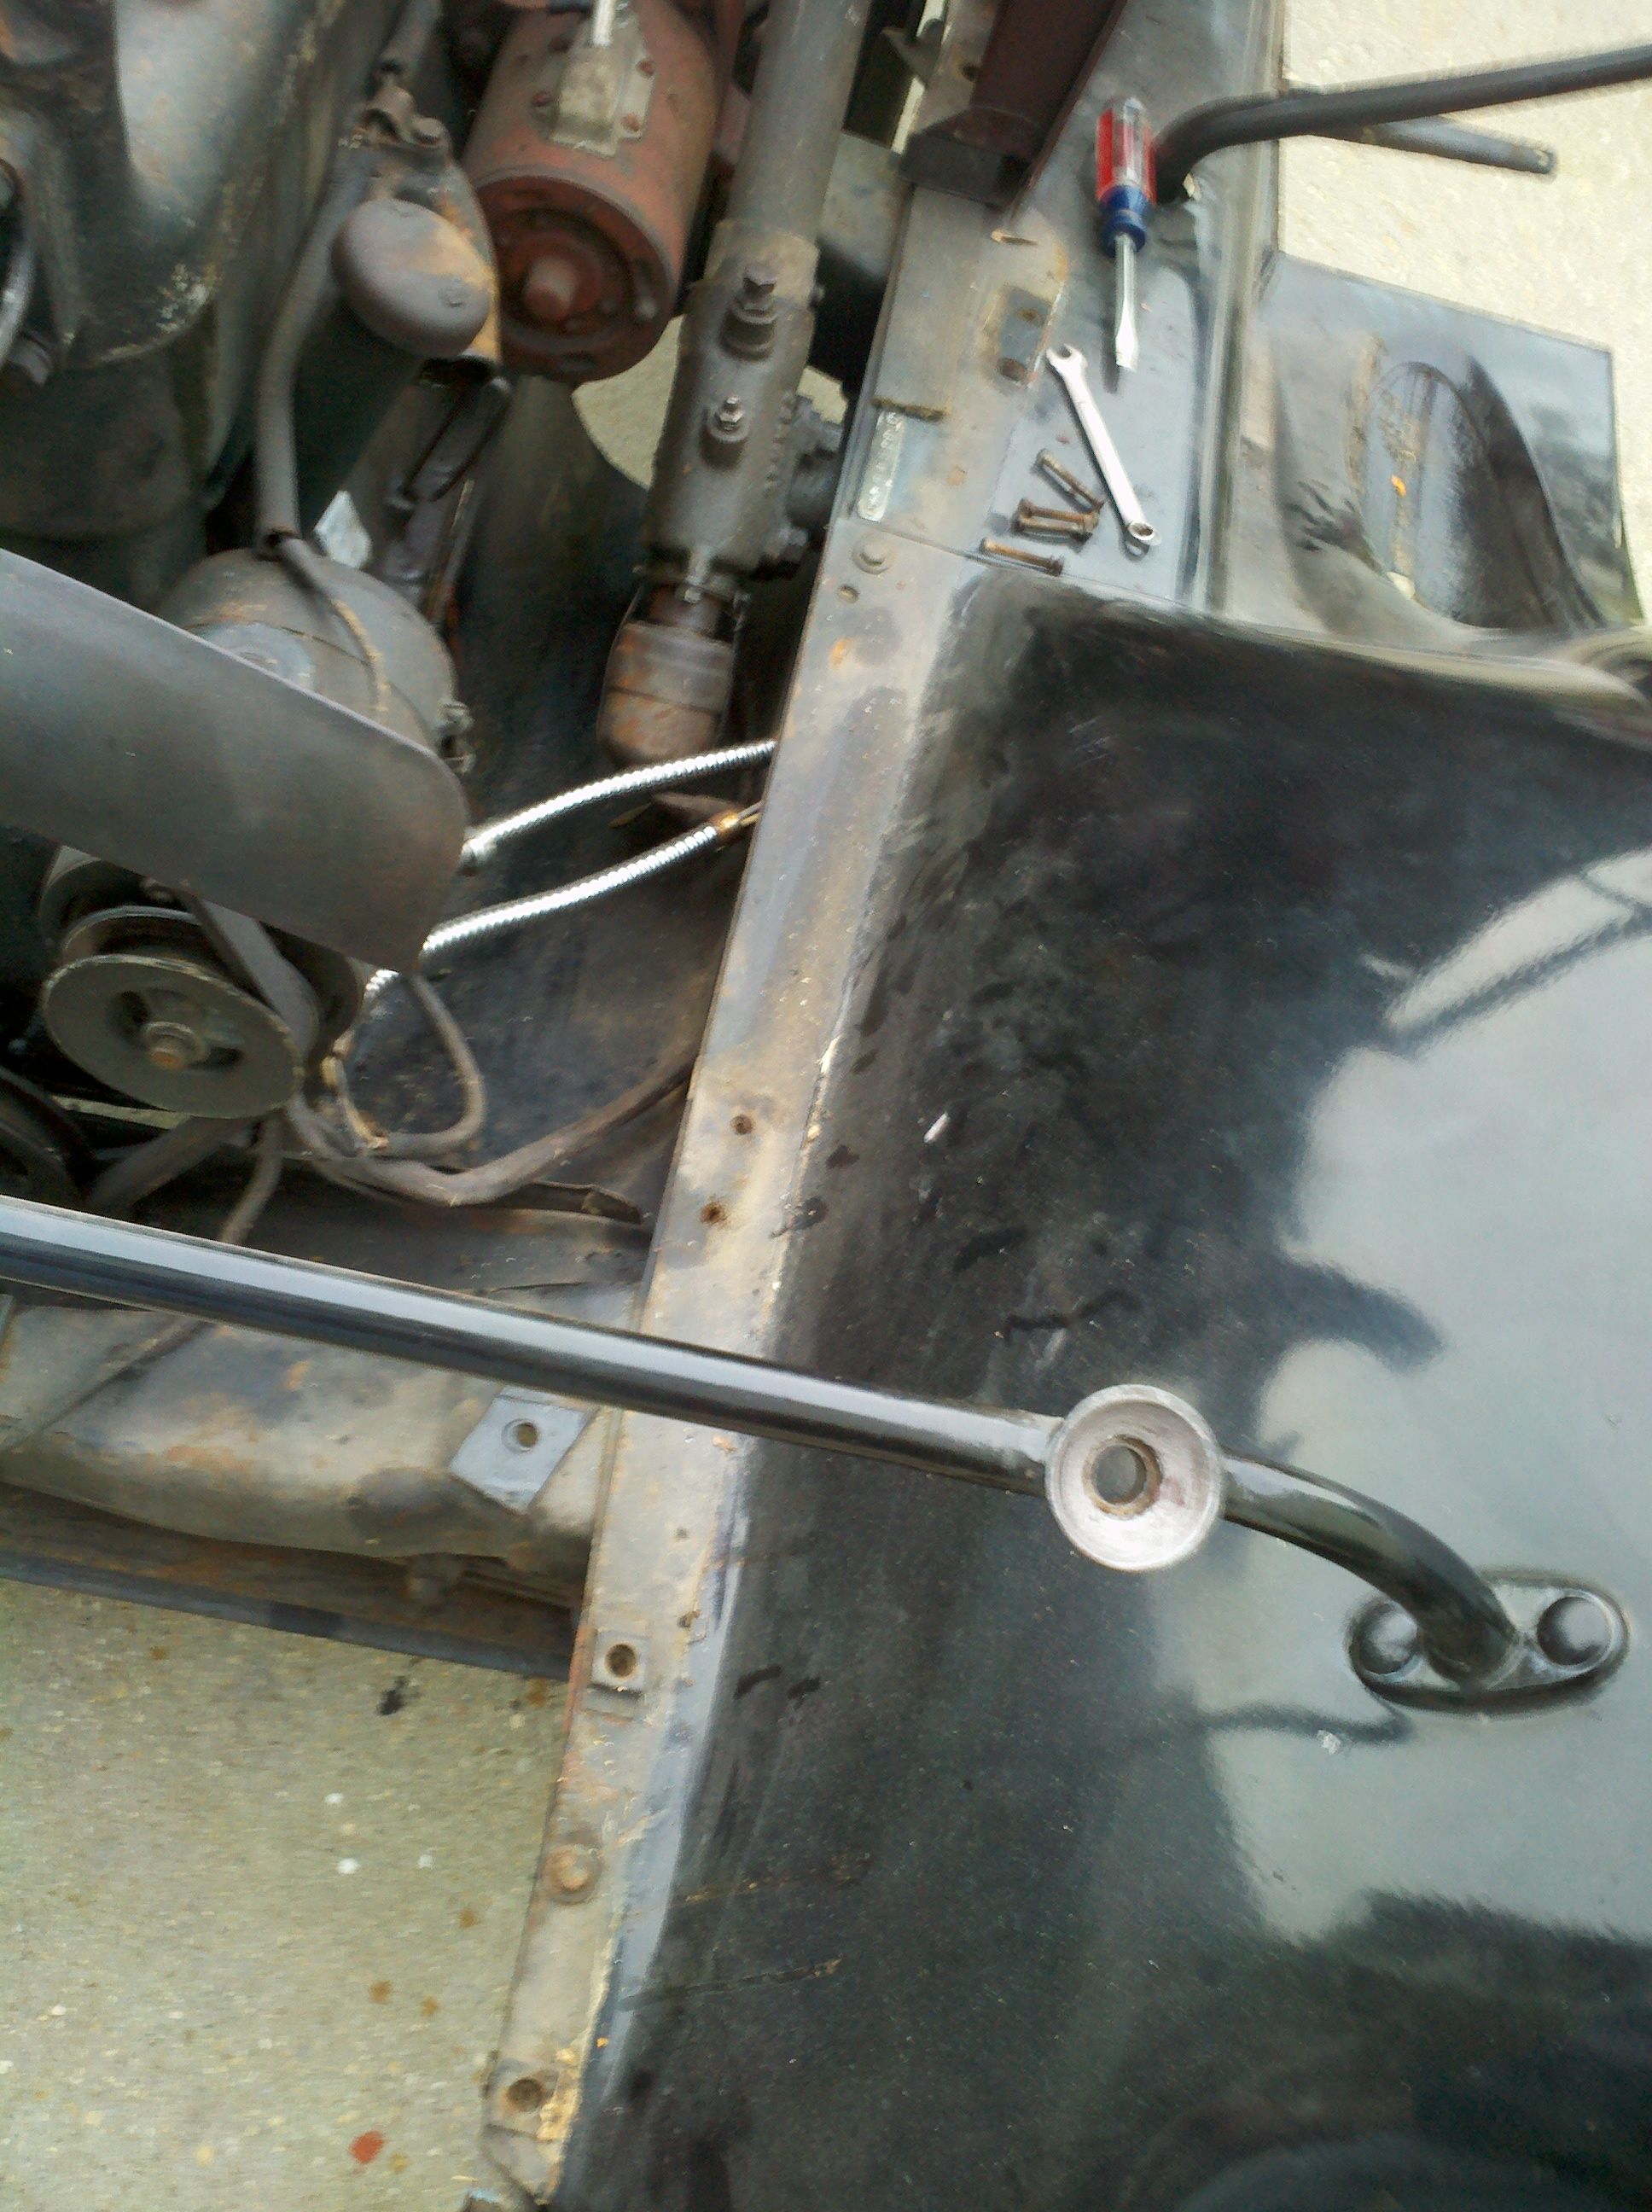
The wiring pulled right out at this point. We pulled the speedometer cable bracket on the firewall loose, and then pulled the speedo cable out. Next step, we pulled the steering wheel mount bracket loose, as well as the carburator control rod (that controls choke and fuel mixture. Below is the picture of how it mates at the carburator.
Then it was time to start pulling the remaining bolts (and clamps) that held the fuel tank down. Several of the bolts in the engine compartment sheared off. Looks like I'll be replacing a them.
Once those were off, I got one of my helpers to video the actual tank removal, since it took me some digging to find out how to do it. Maybe this will help someone else.
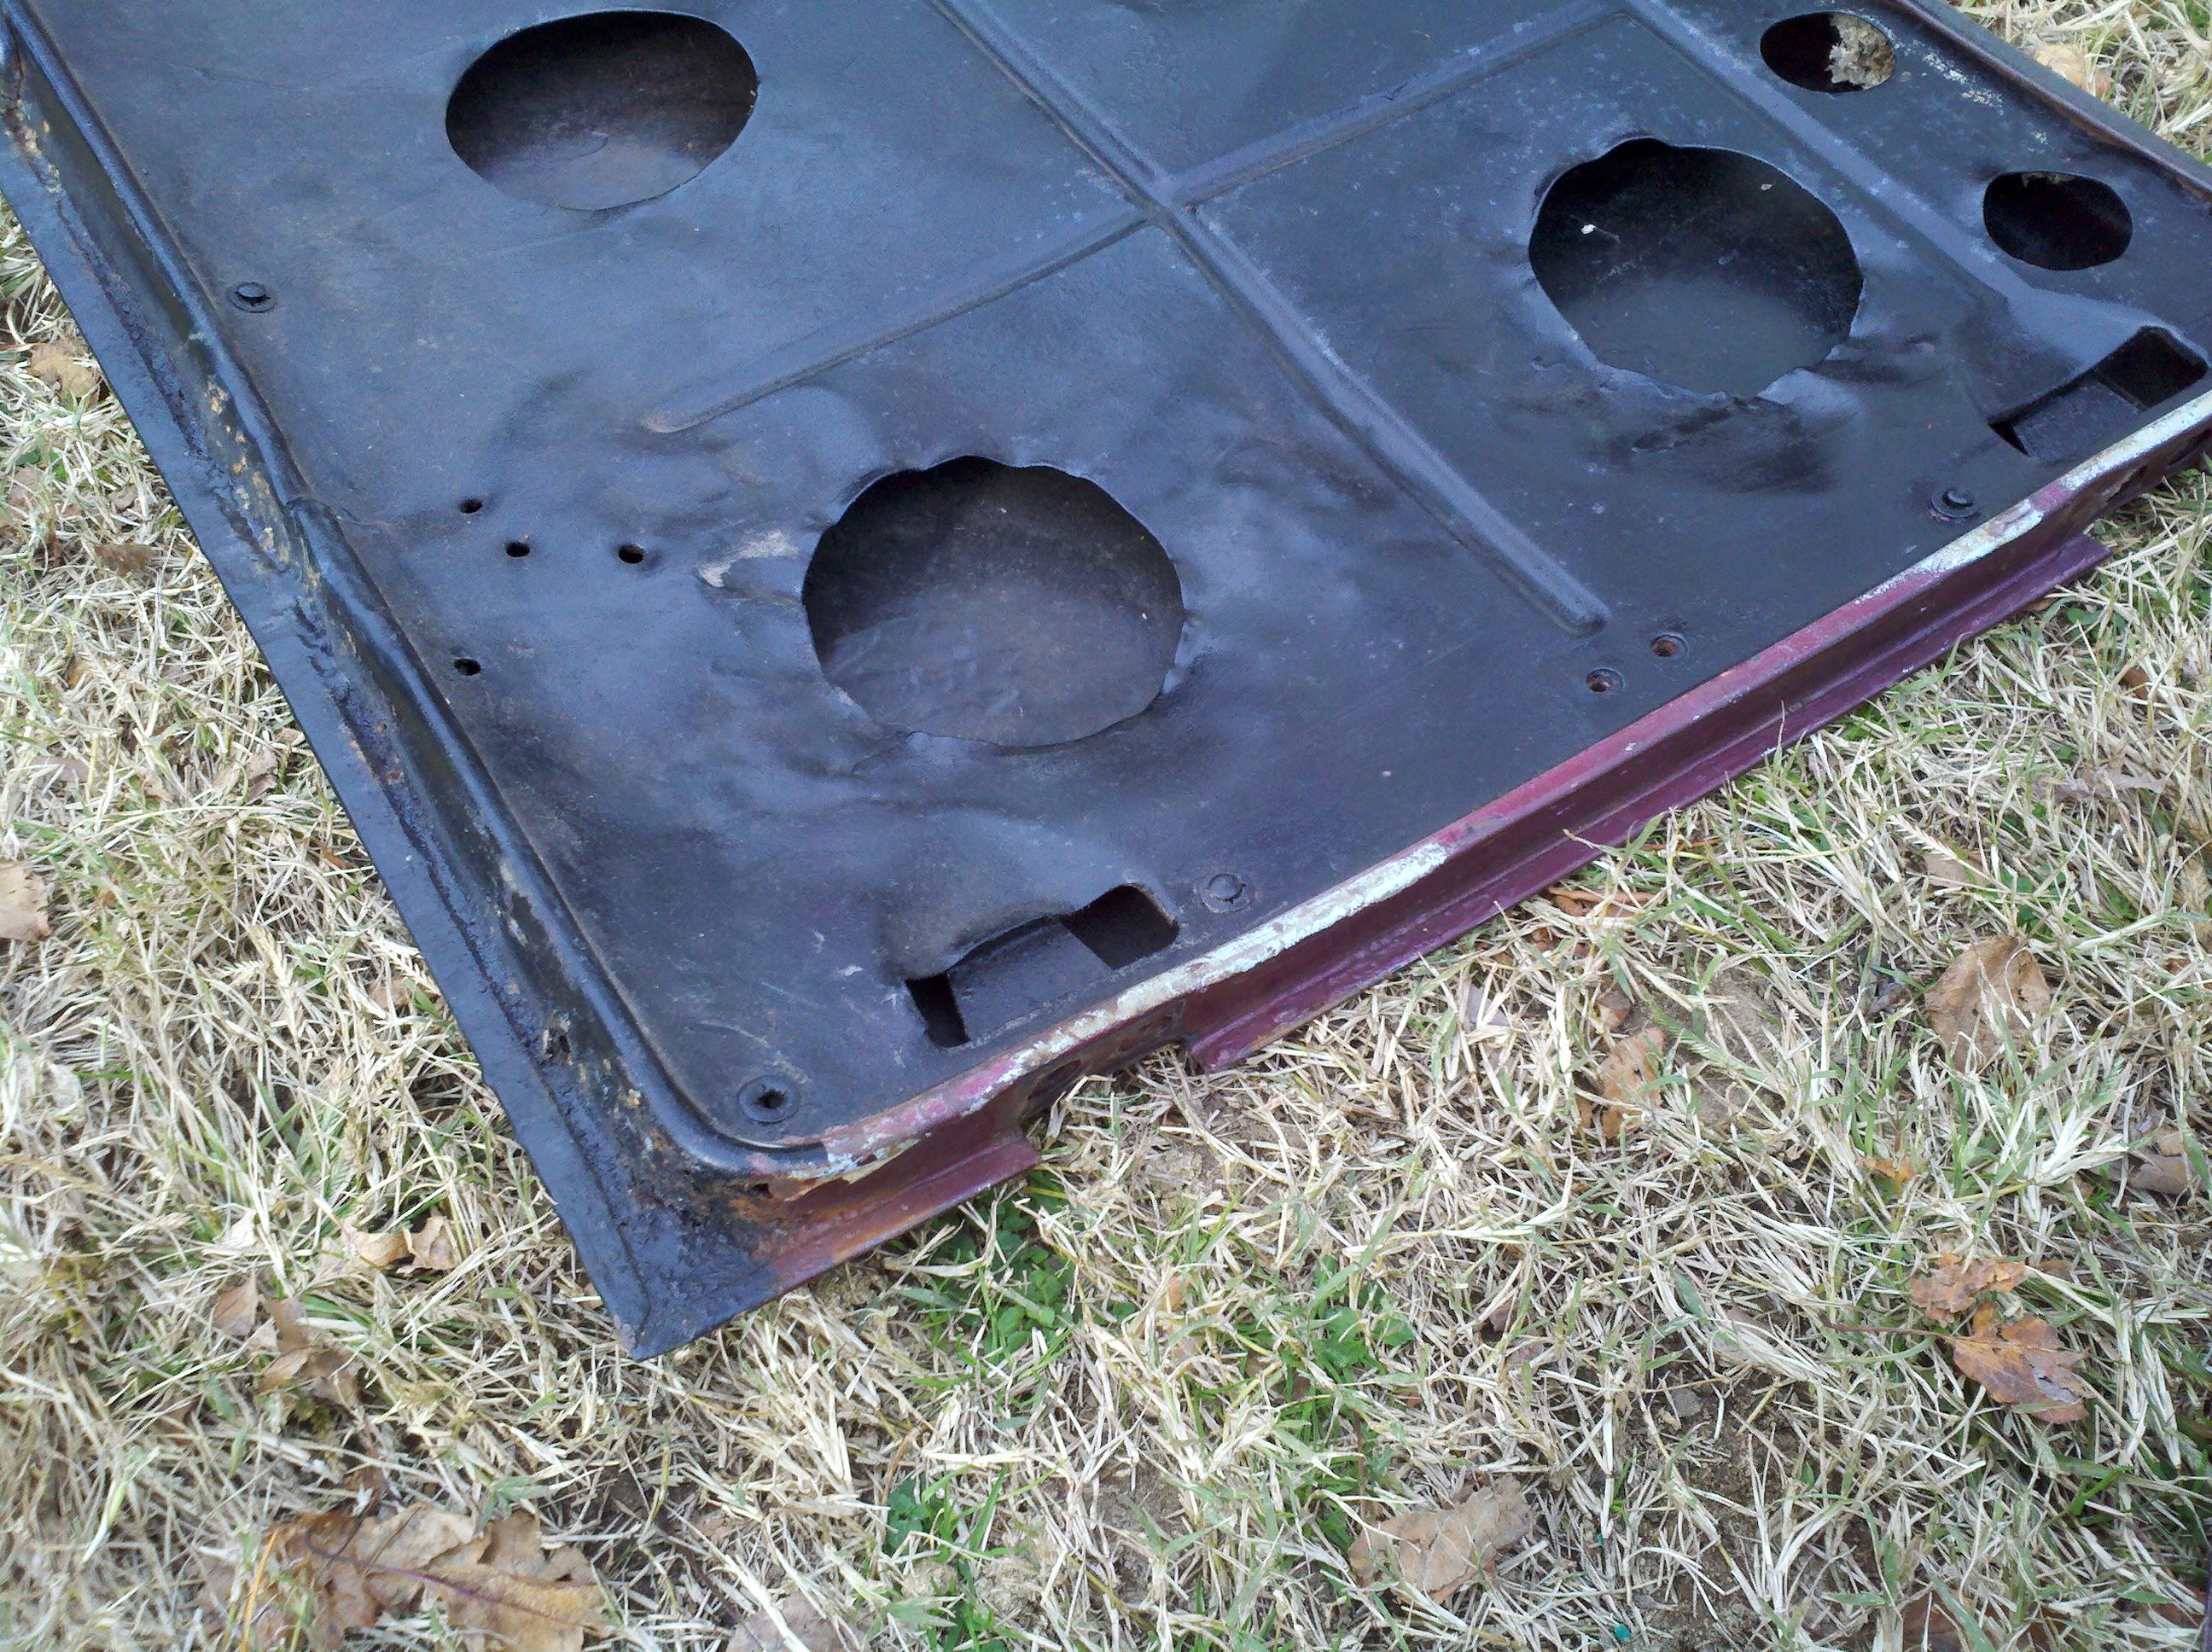
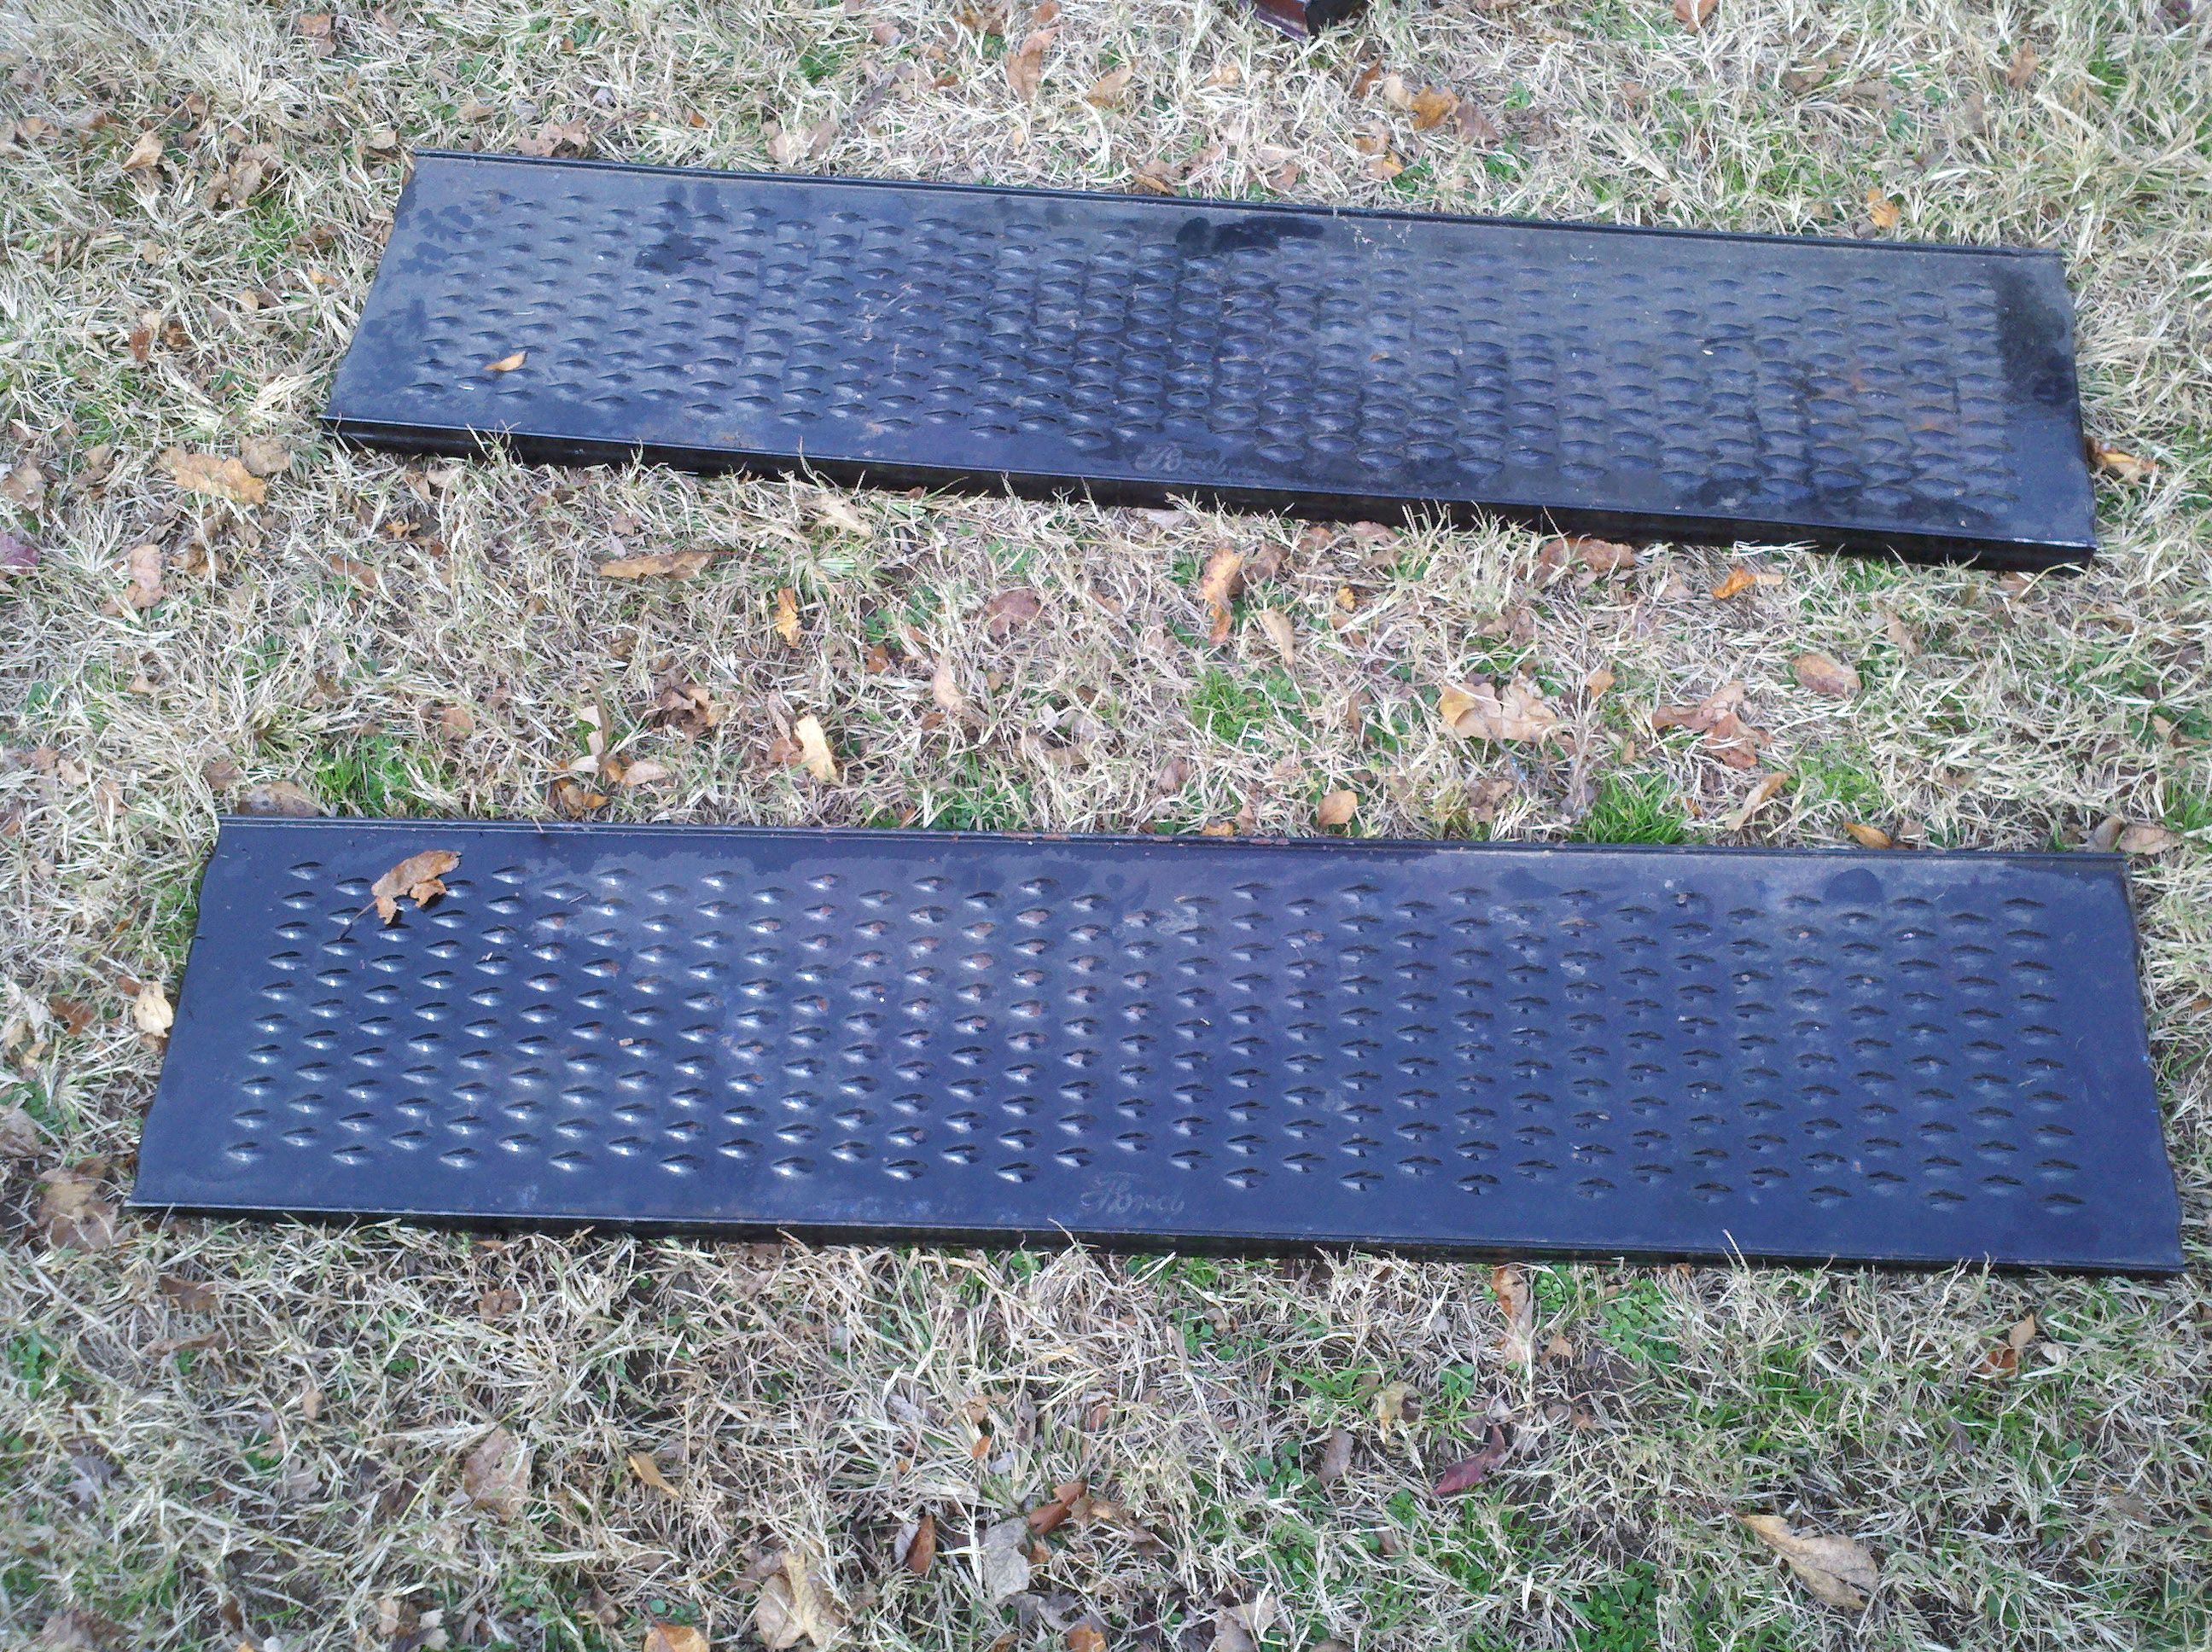
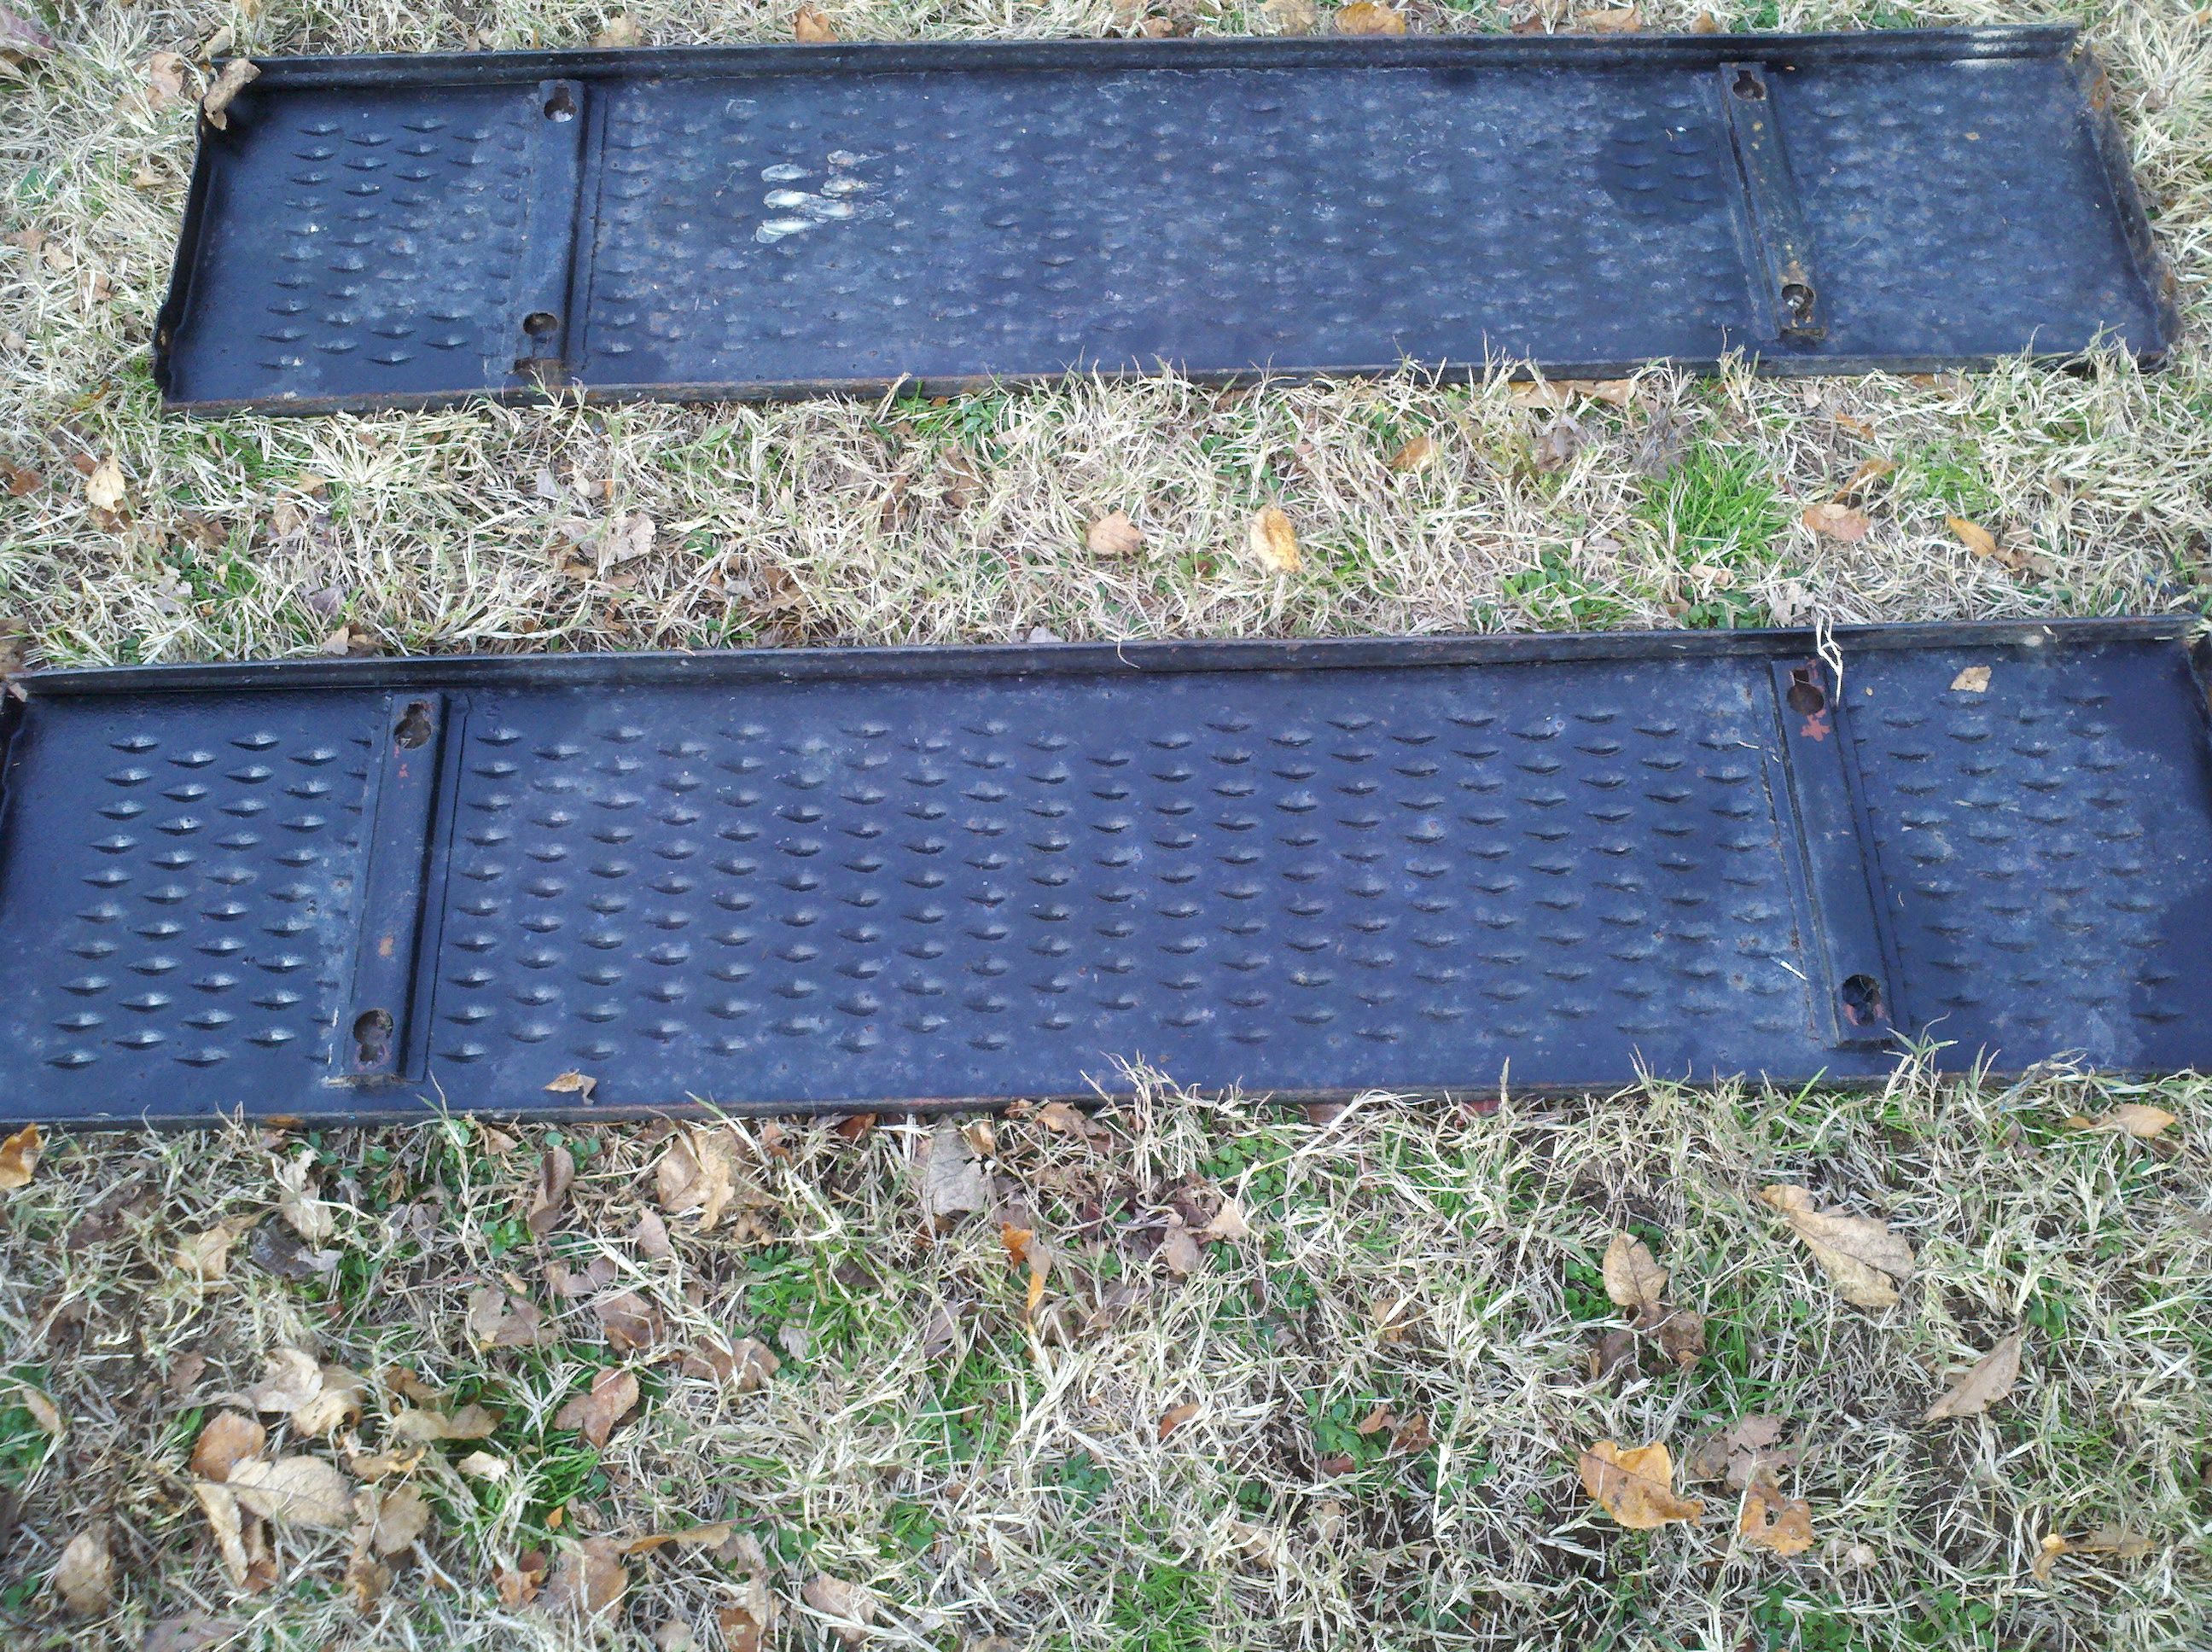
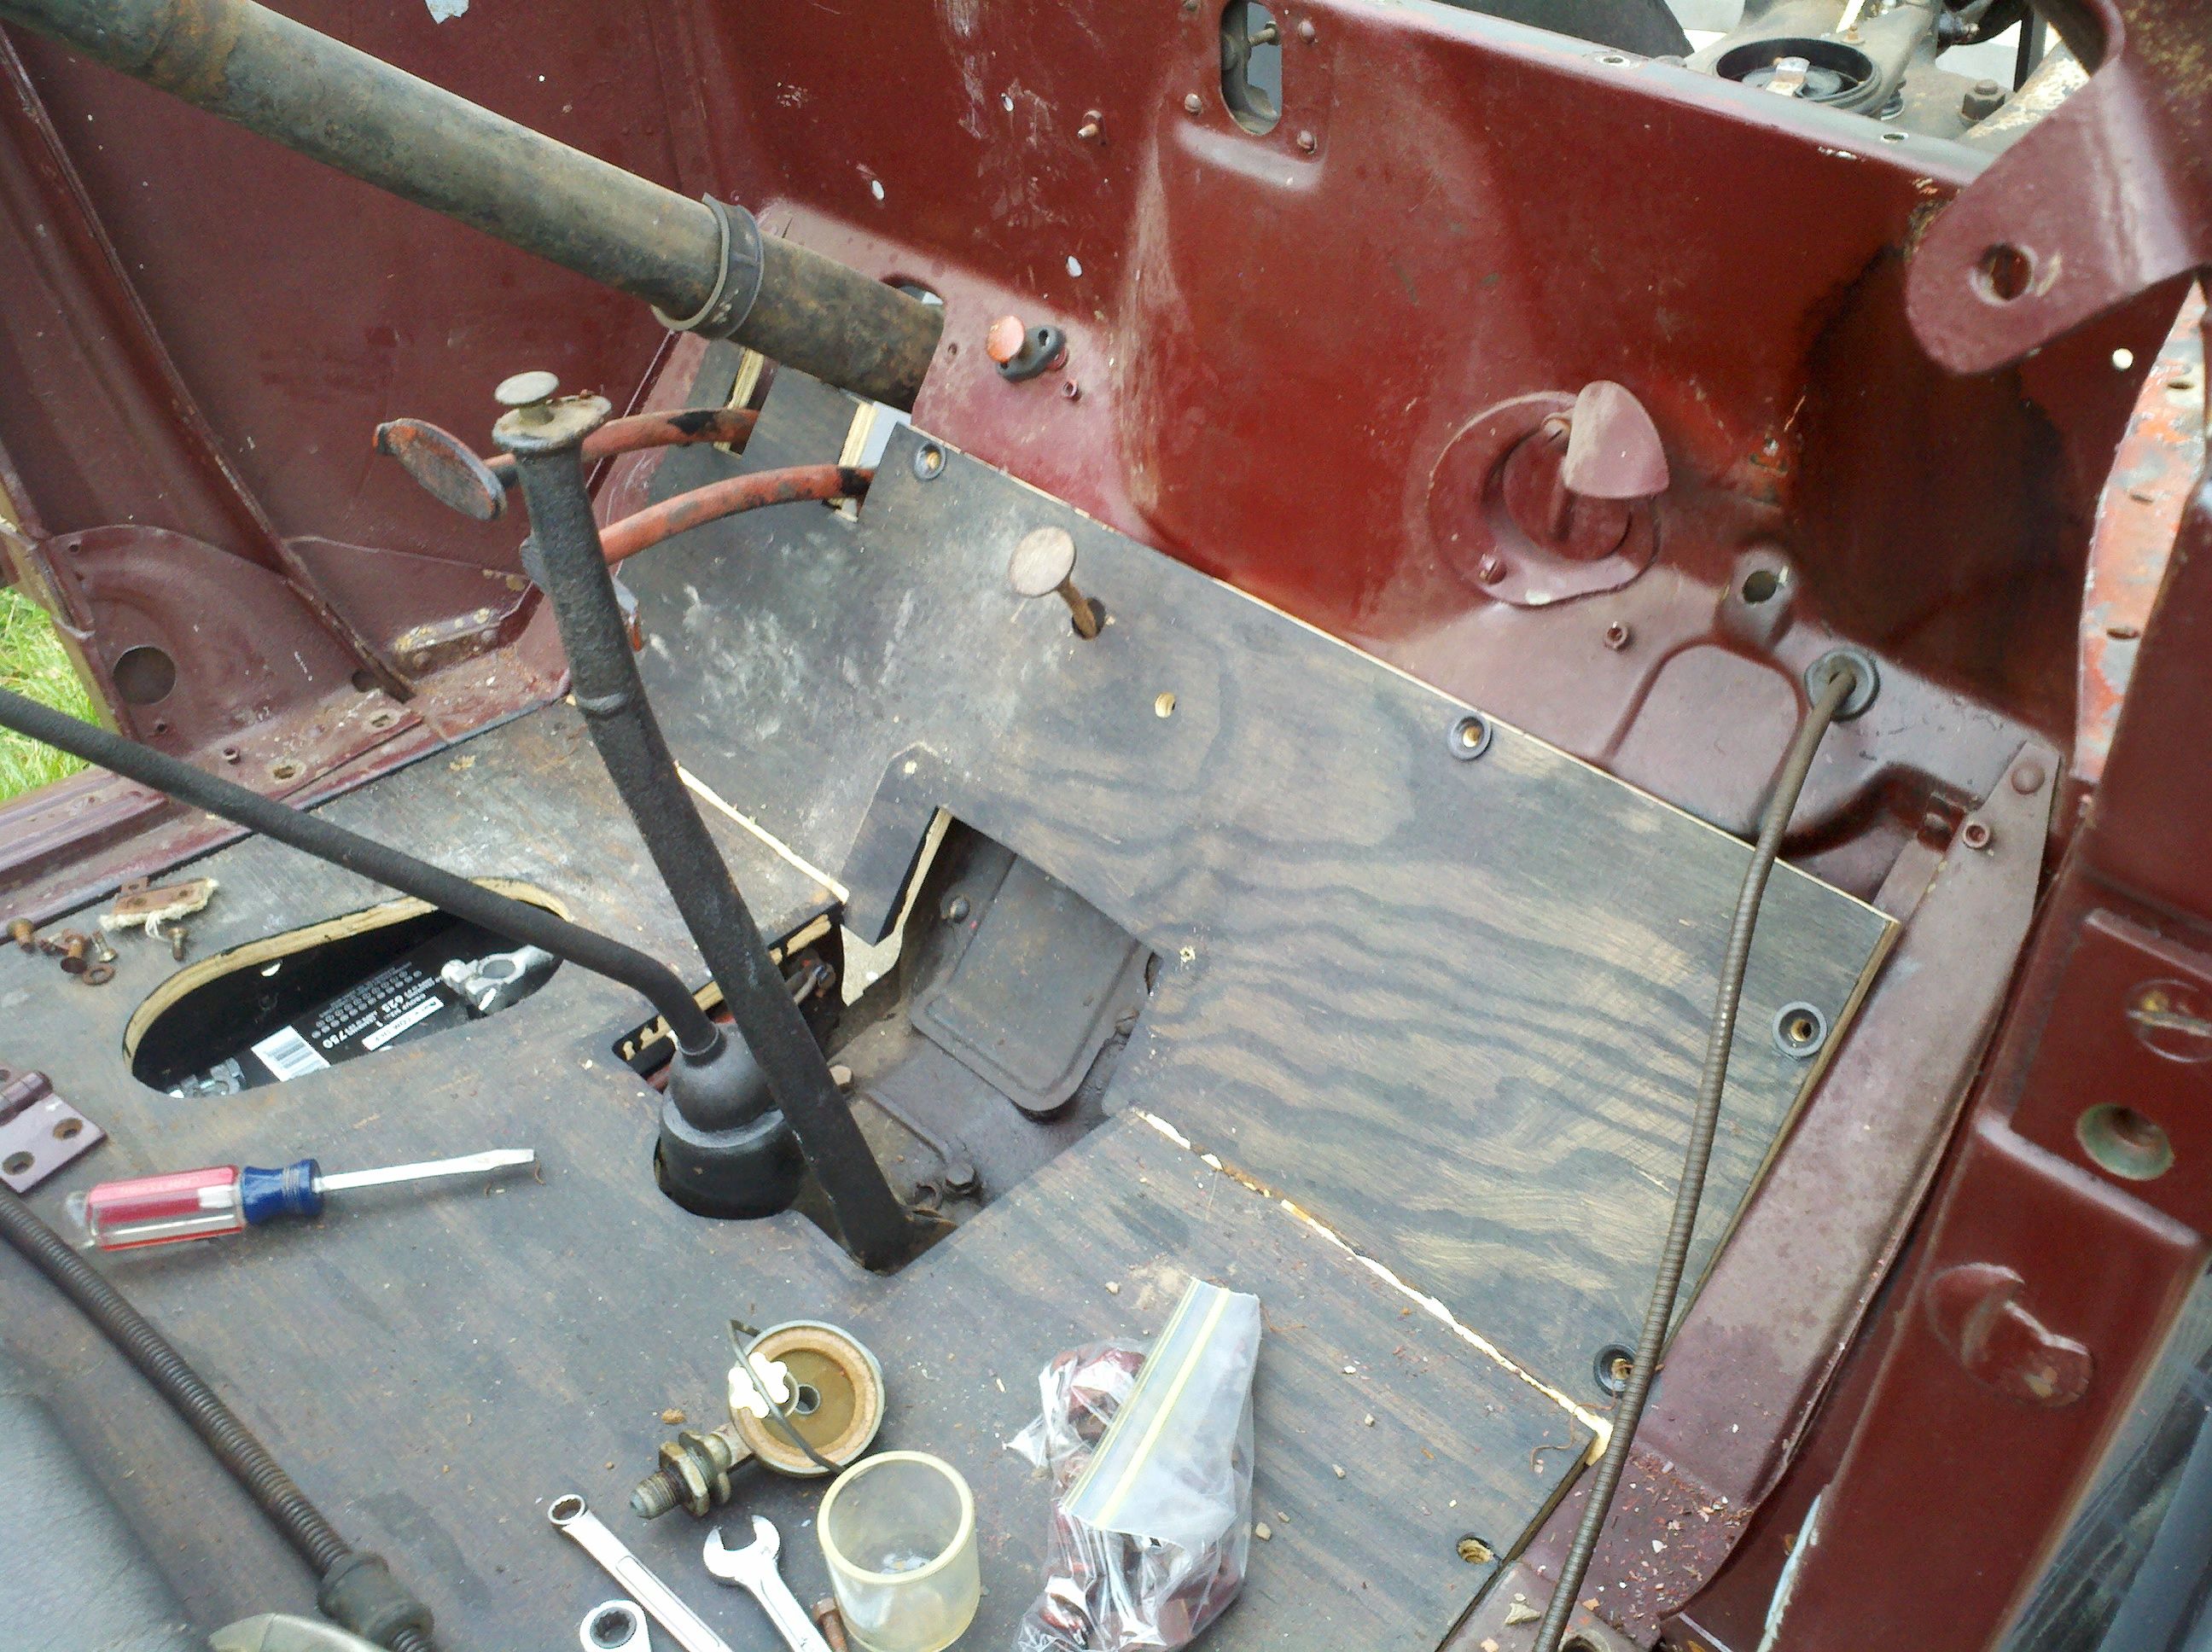
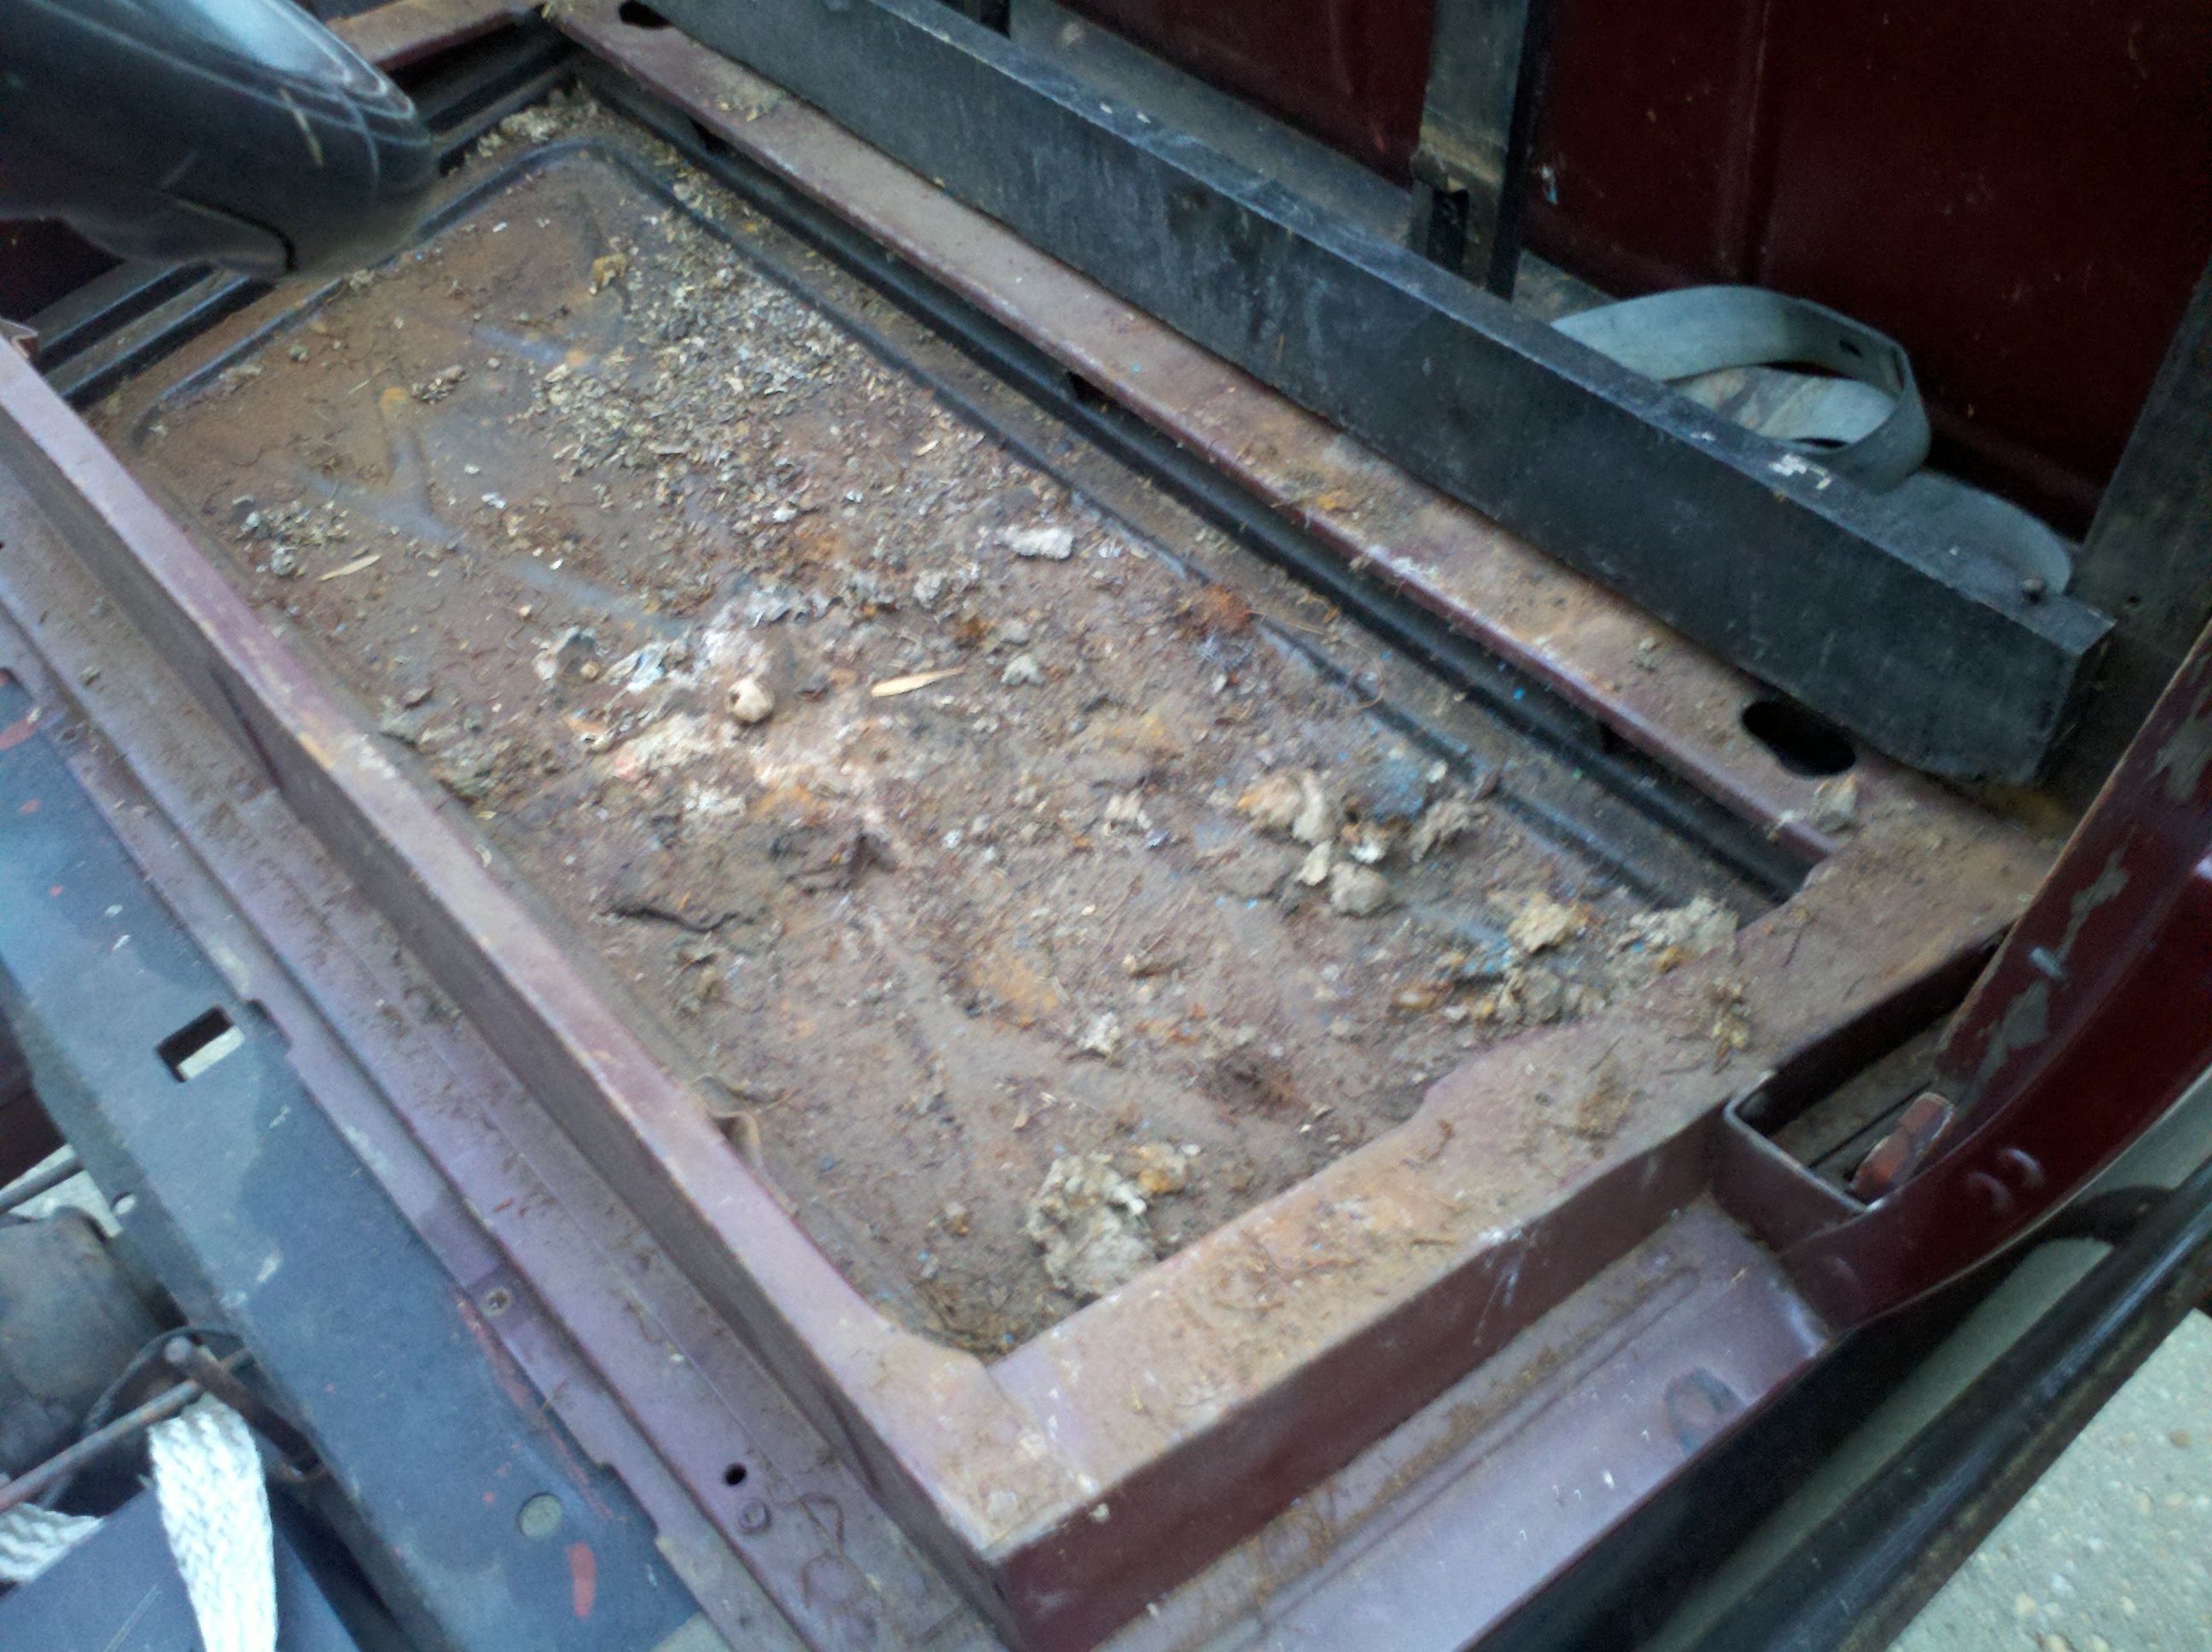
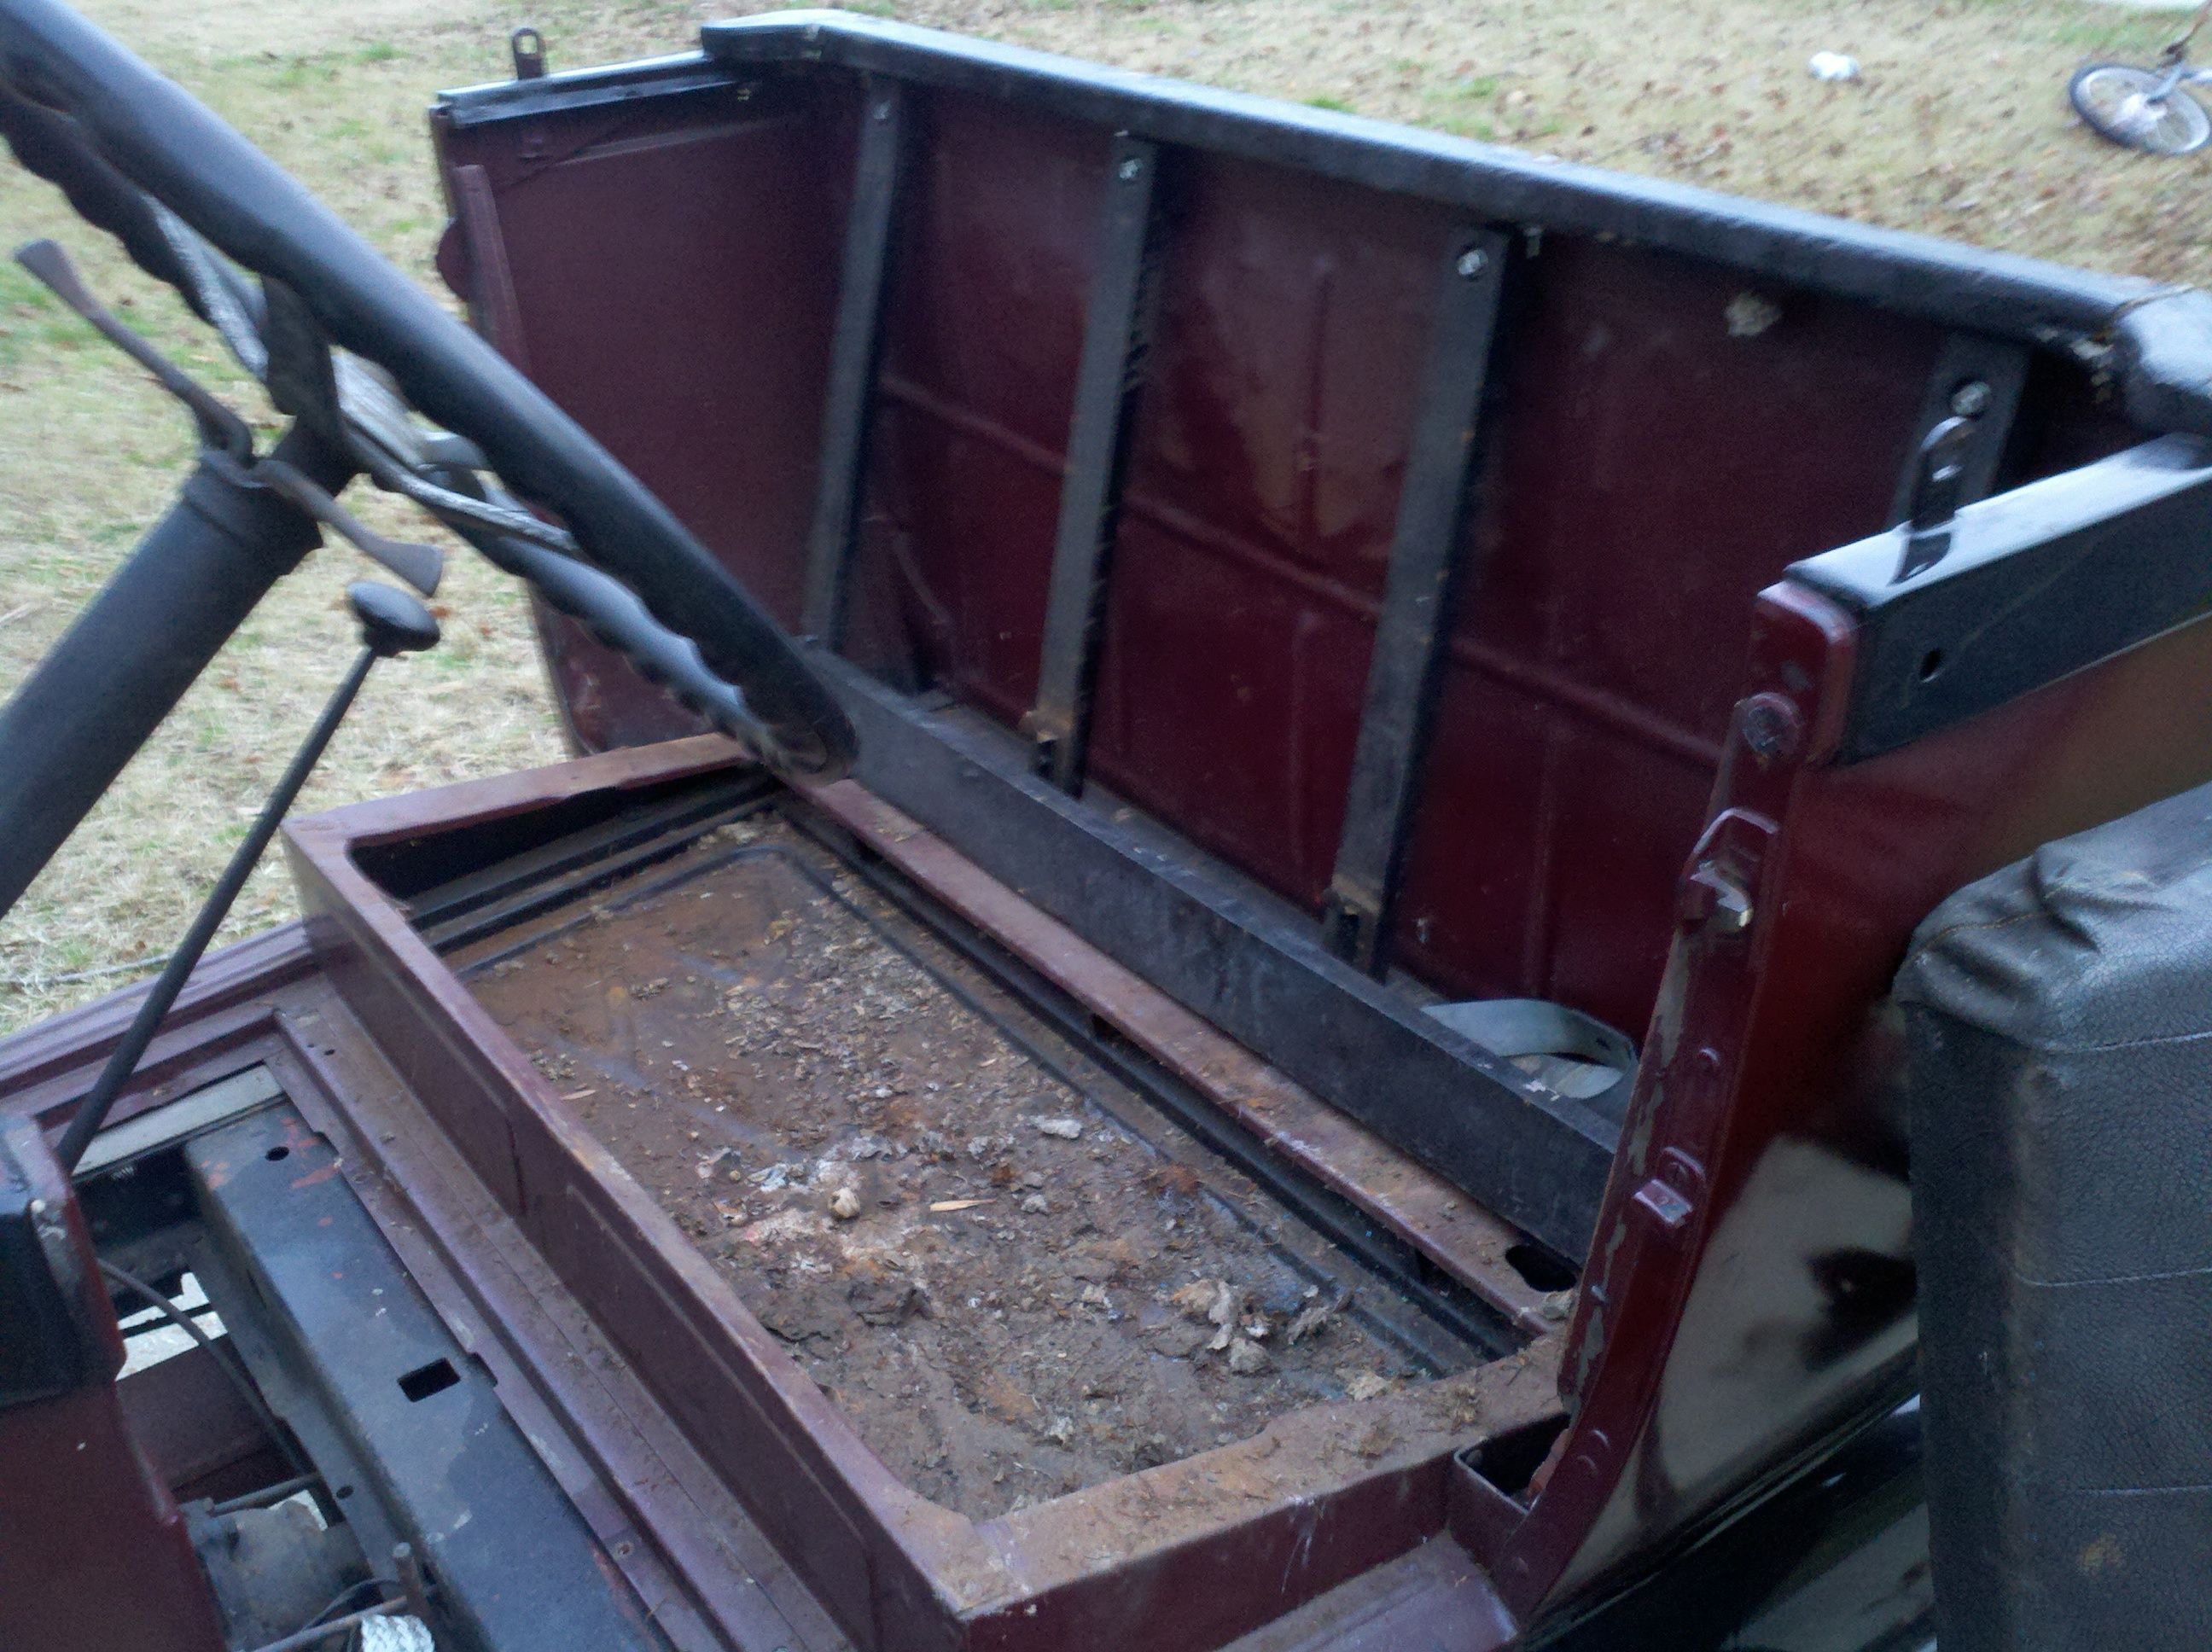
Once the tank was pulled, I went to work on pulling the floorboards. That wasn't a big deal - it was pretty easy, actually. It was basically four easy steps... Pull the center access plate, pull the screws, remove the gas button, pull the boards. Just like the pictures show. Total time was... Maybe fifteen minutes?
It was getting close to dinner time, so it was time to finish up. Pulling the seat was an easy last-thing-to-do for the day, so I popped it right out. The back was only resting on the bottom - no attachments at all. Dunno if that's the way it's supposed to be, or not - I'll have to look in to that. The bottom had some hangars to keep it from sliding around, but that was it. From the pics, you can tell someting was living in there at one time. I'll strip the cover, dip it, and coat it in POR-15 (or similar) before I have it reapholstered.
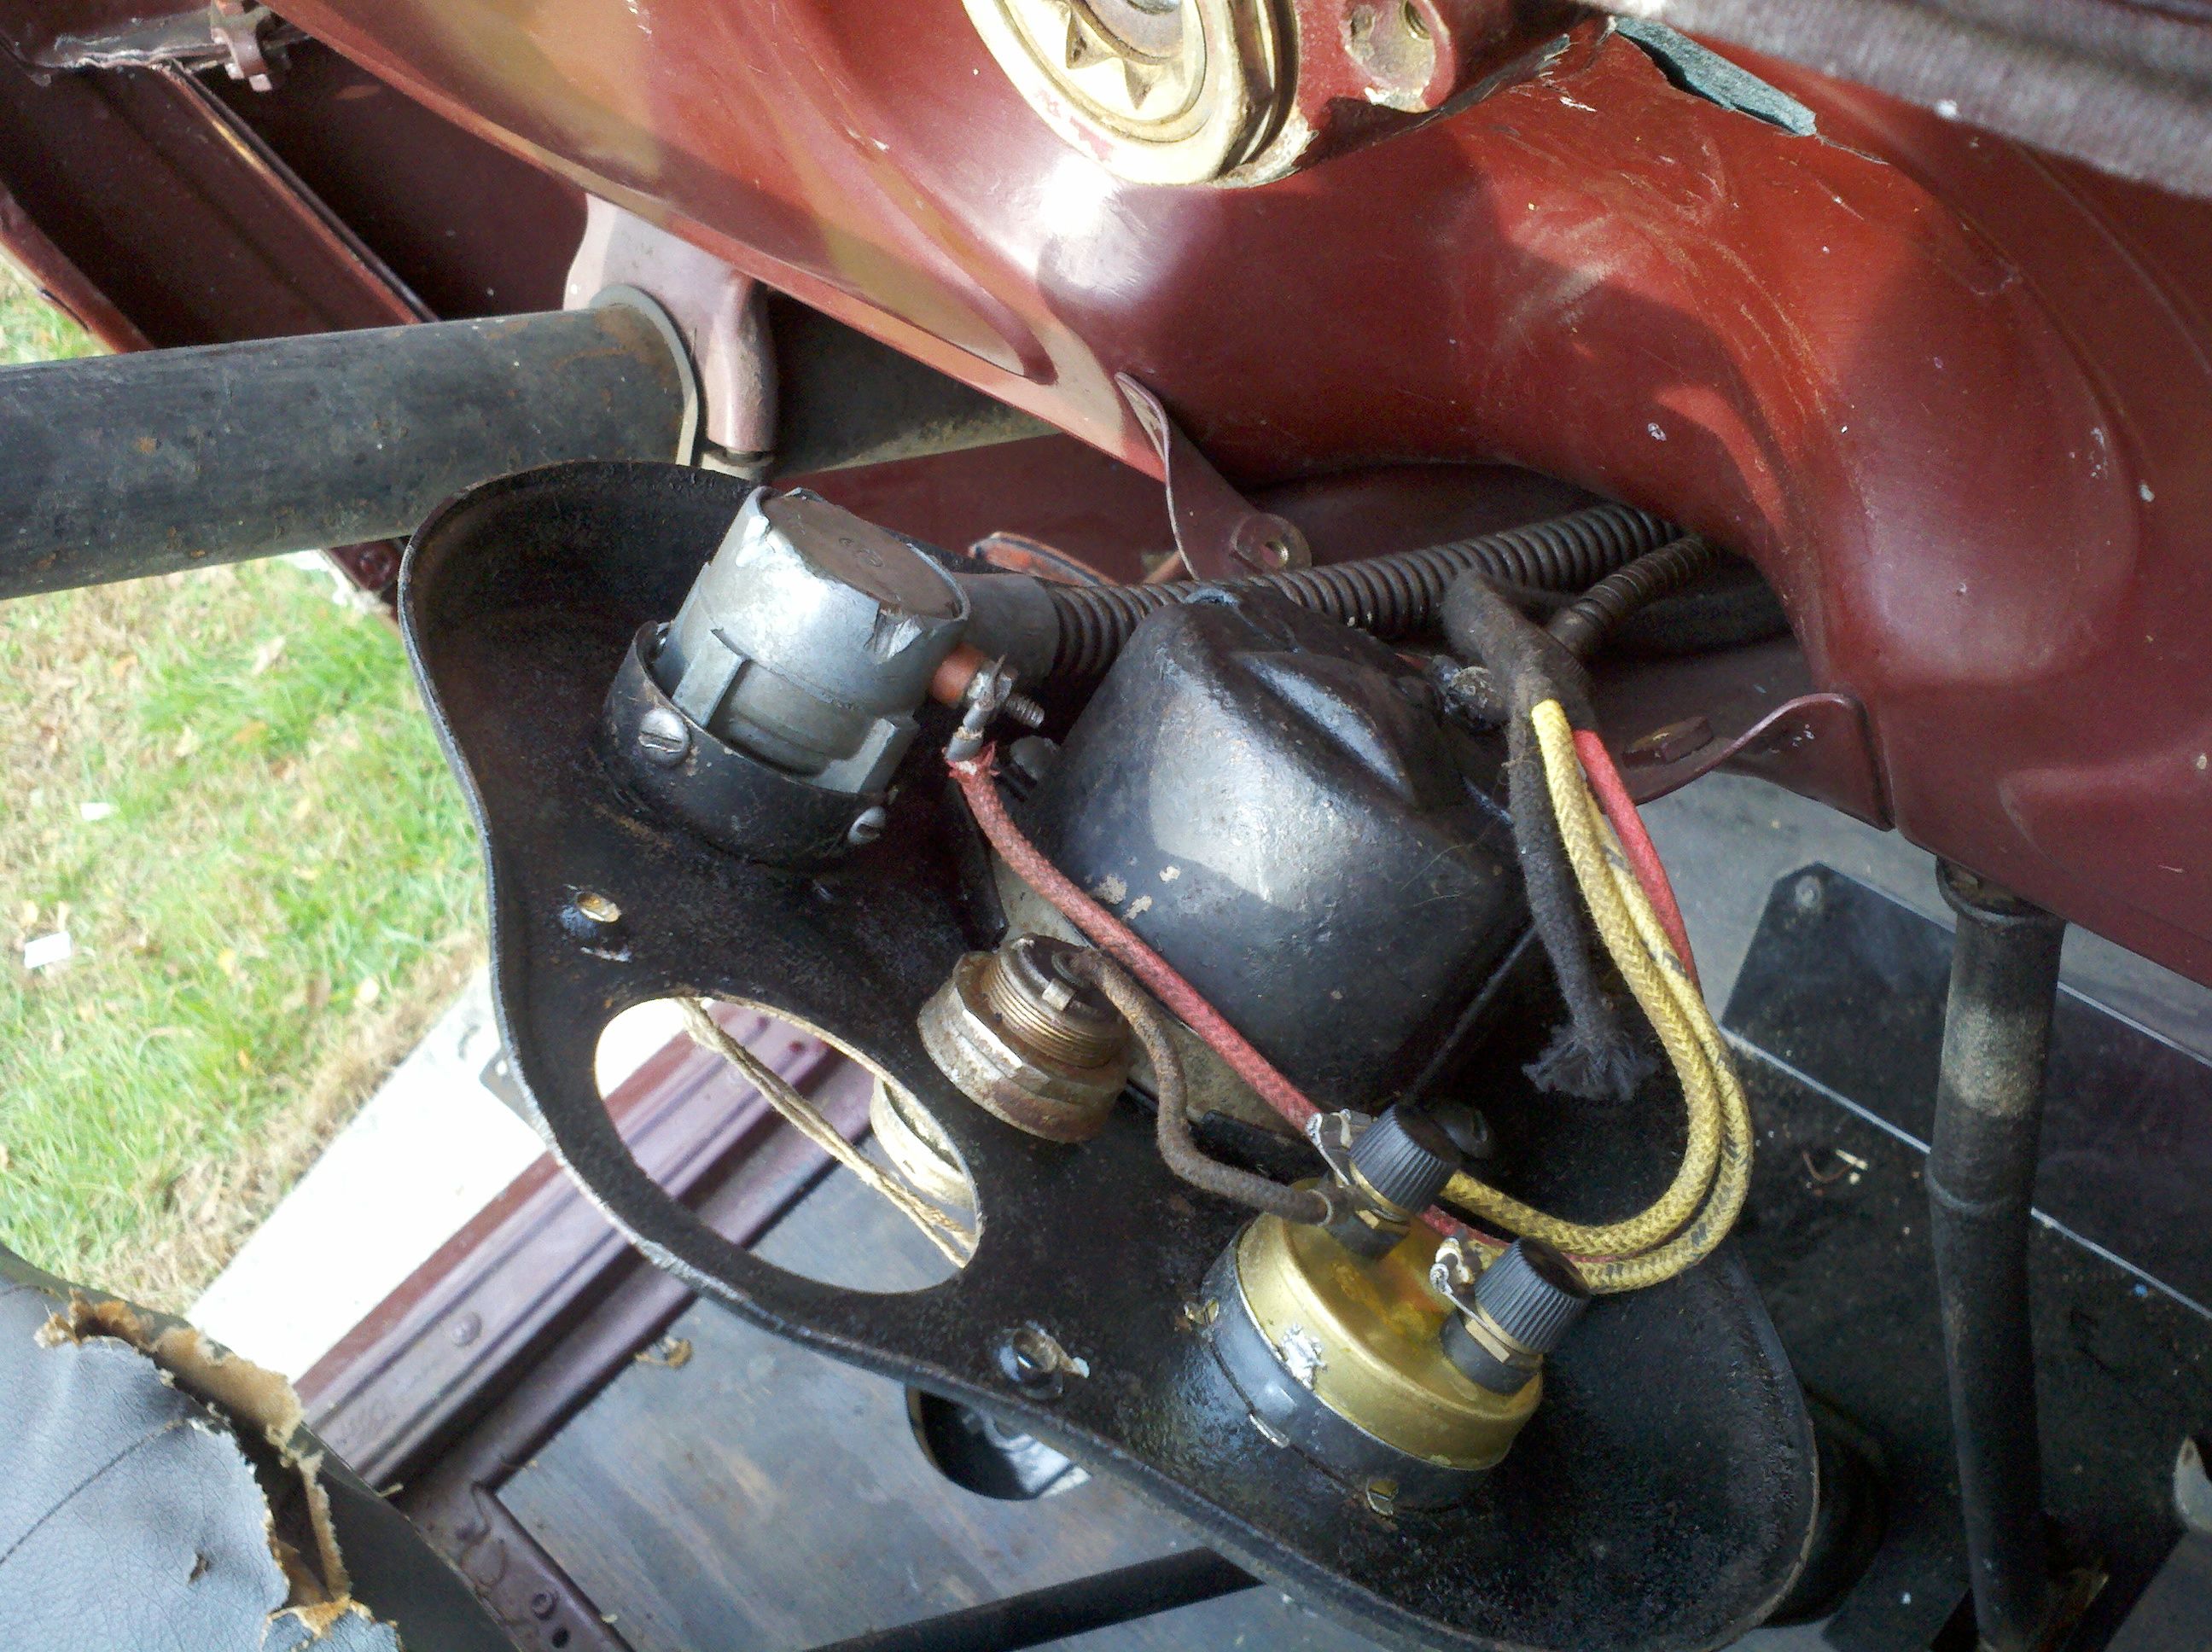
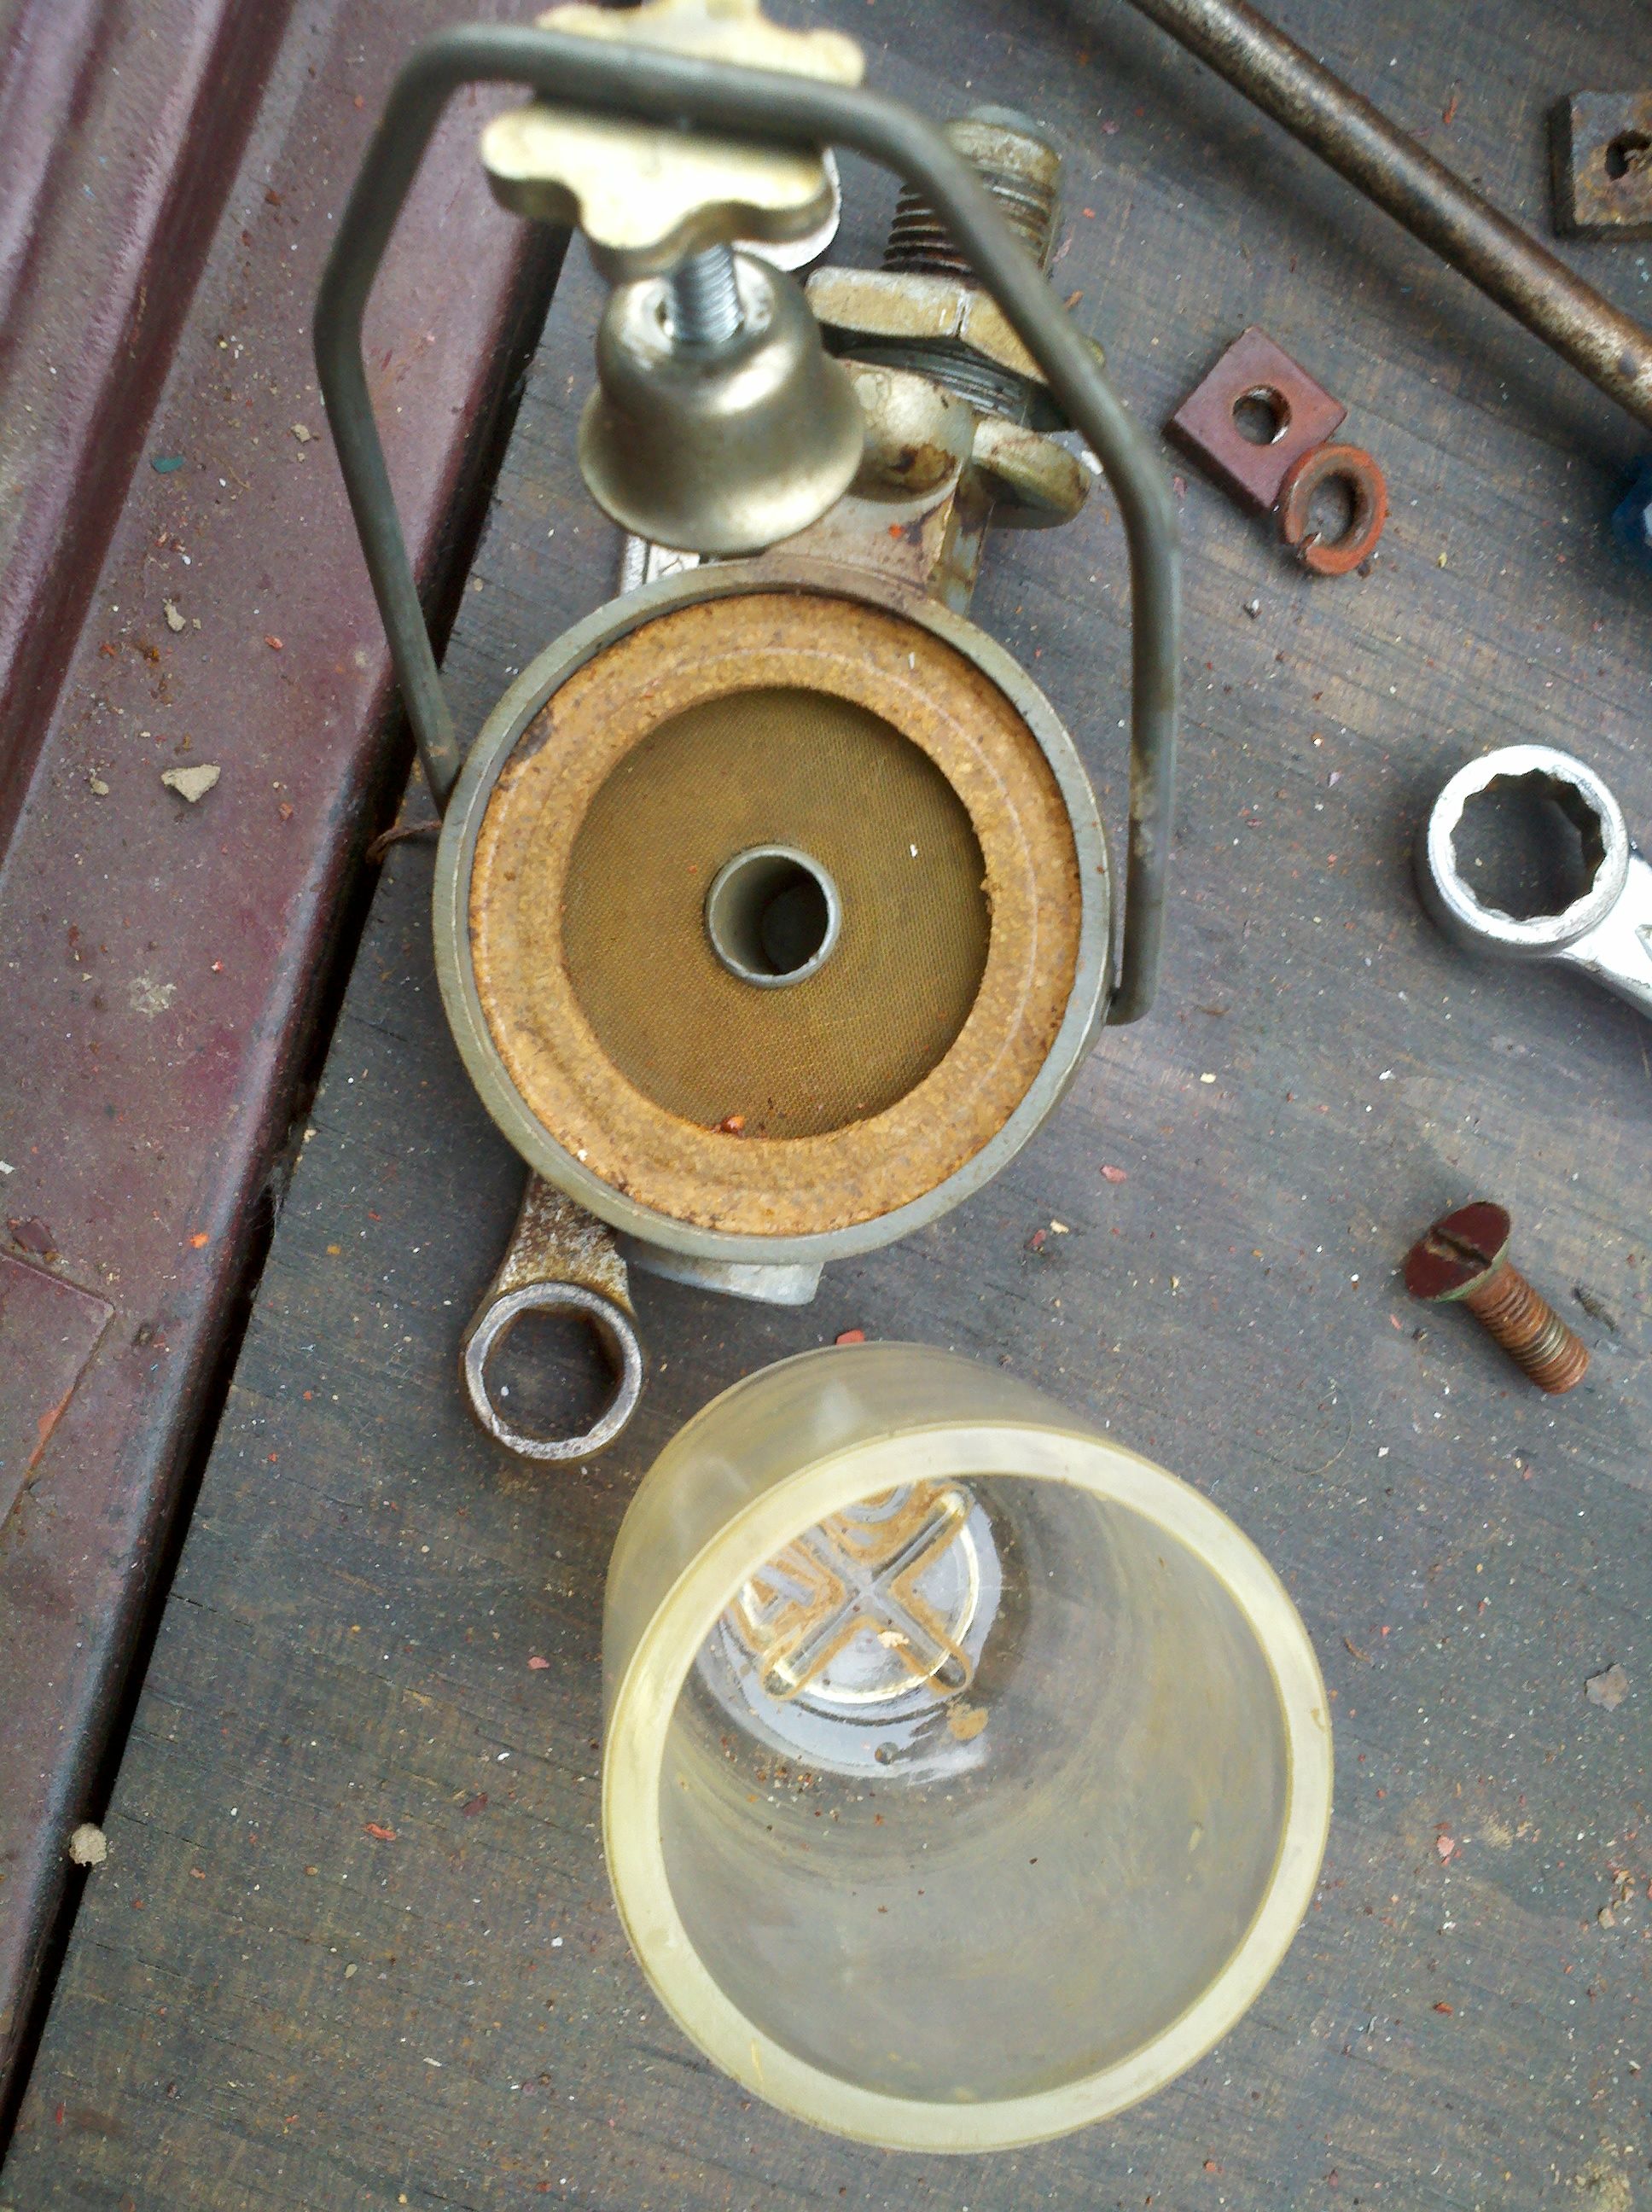
Wow, another beautiful day in November! There can't be many more days like this, this year! My oldest daughter begged me to let her help tear the truck down some more, and who was I to say "no?" We started out by pulling the sediment bowl from the firewall. I had never realized that these things had a screen in them, basically making them a giant fuel filter. Cool!


Once the hood shelves were removed, it wasn't a problem to pull the front fenders. First step was to remove the fender brace/Headlight mounting bracket. Then my daughter and I got up underneath, and pulled the bolts that attached the fenders to the support bracket. Then we went along and removed all the bolts from the underside, and the few remaining topside bolts. About half of the bolts just twisted off. Those that didn't, I broke loose, and let her take off the rest of the way. Did I mention I've been thinking that I'll be replacing every bolt on this thing? The oldest was watching when one of the bolts snapped, and I smacked her right 'tween the runnin' lights. D'oh! I managed to pull back, and only got her with my wrist, so it wasn't too bad. And I think she got a bit of rust in her eye, at one point. I guess she's learning some things! (like wear safety glasses, and stay back from idiots doing st00pid stuff)
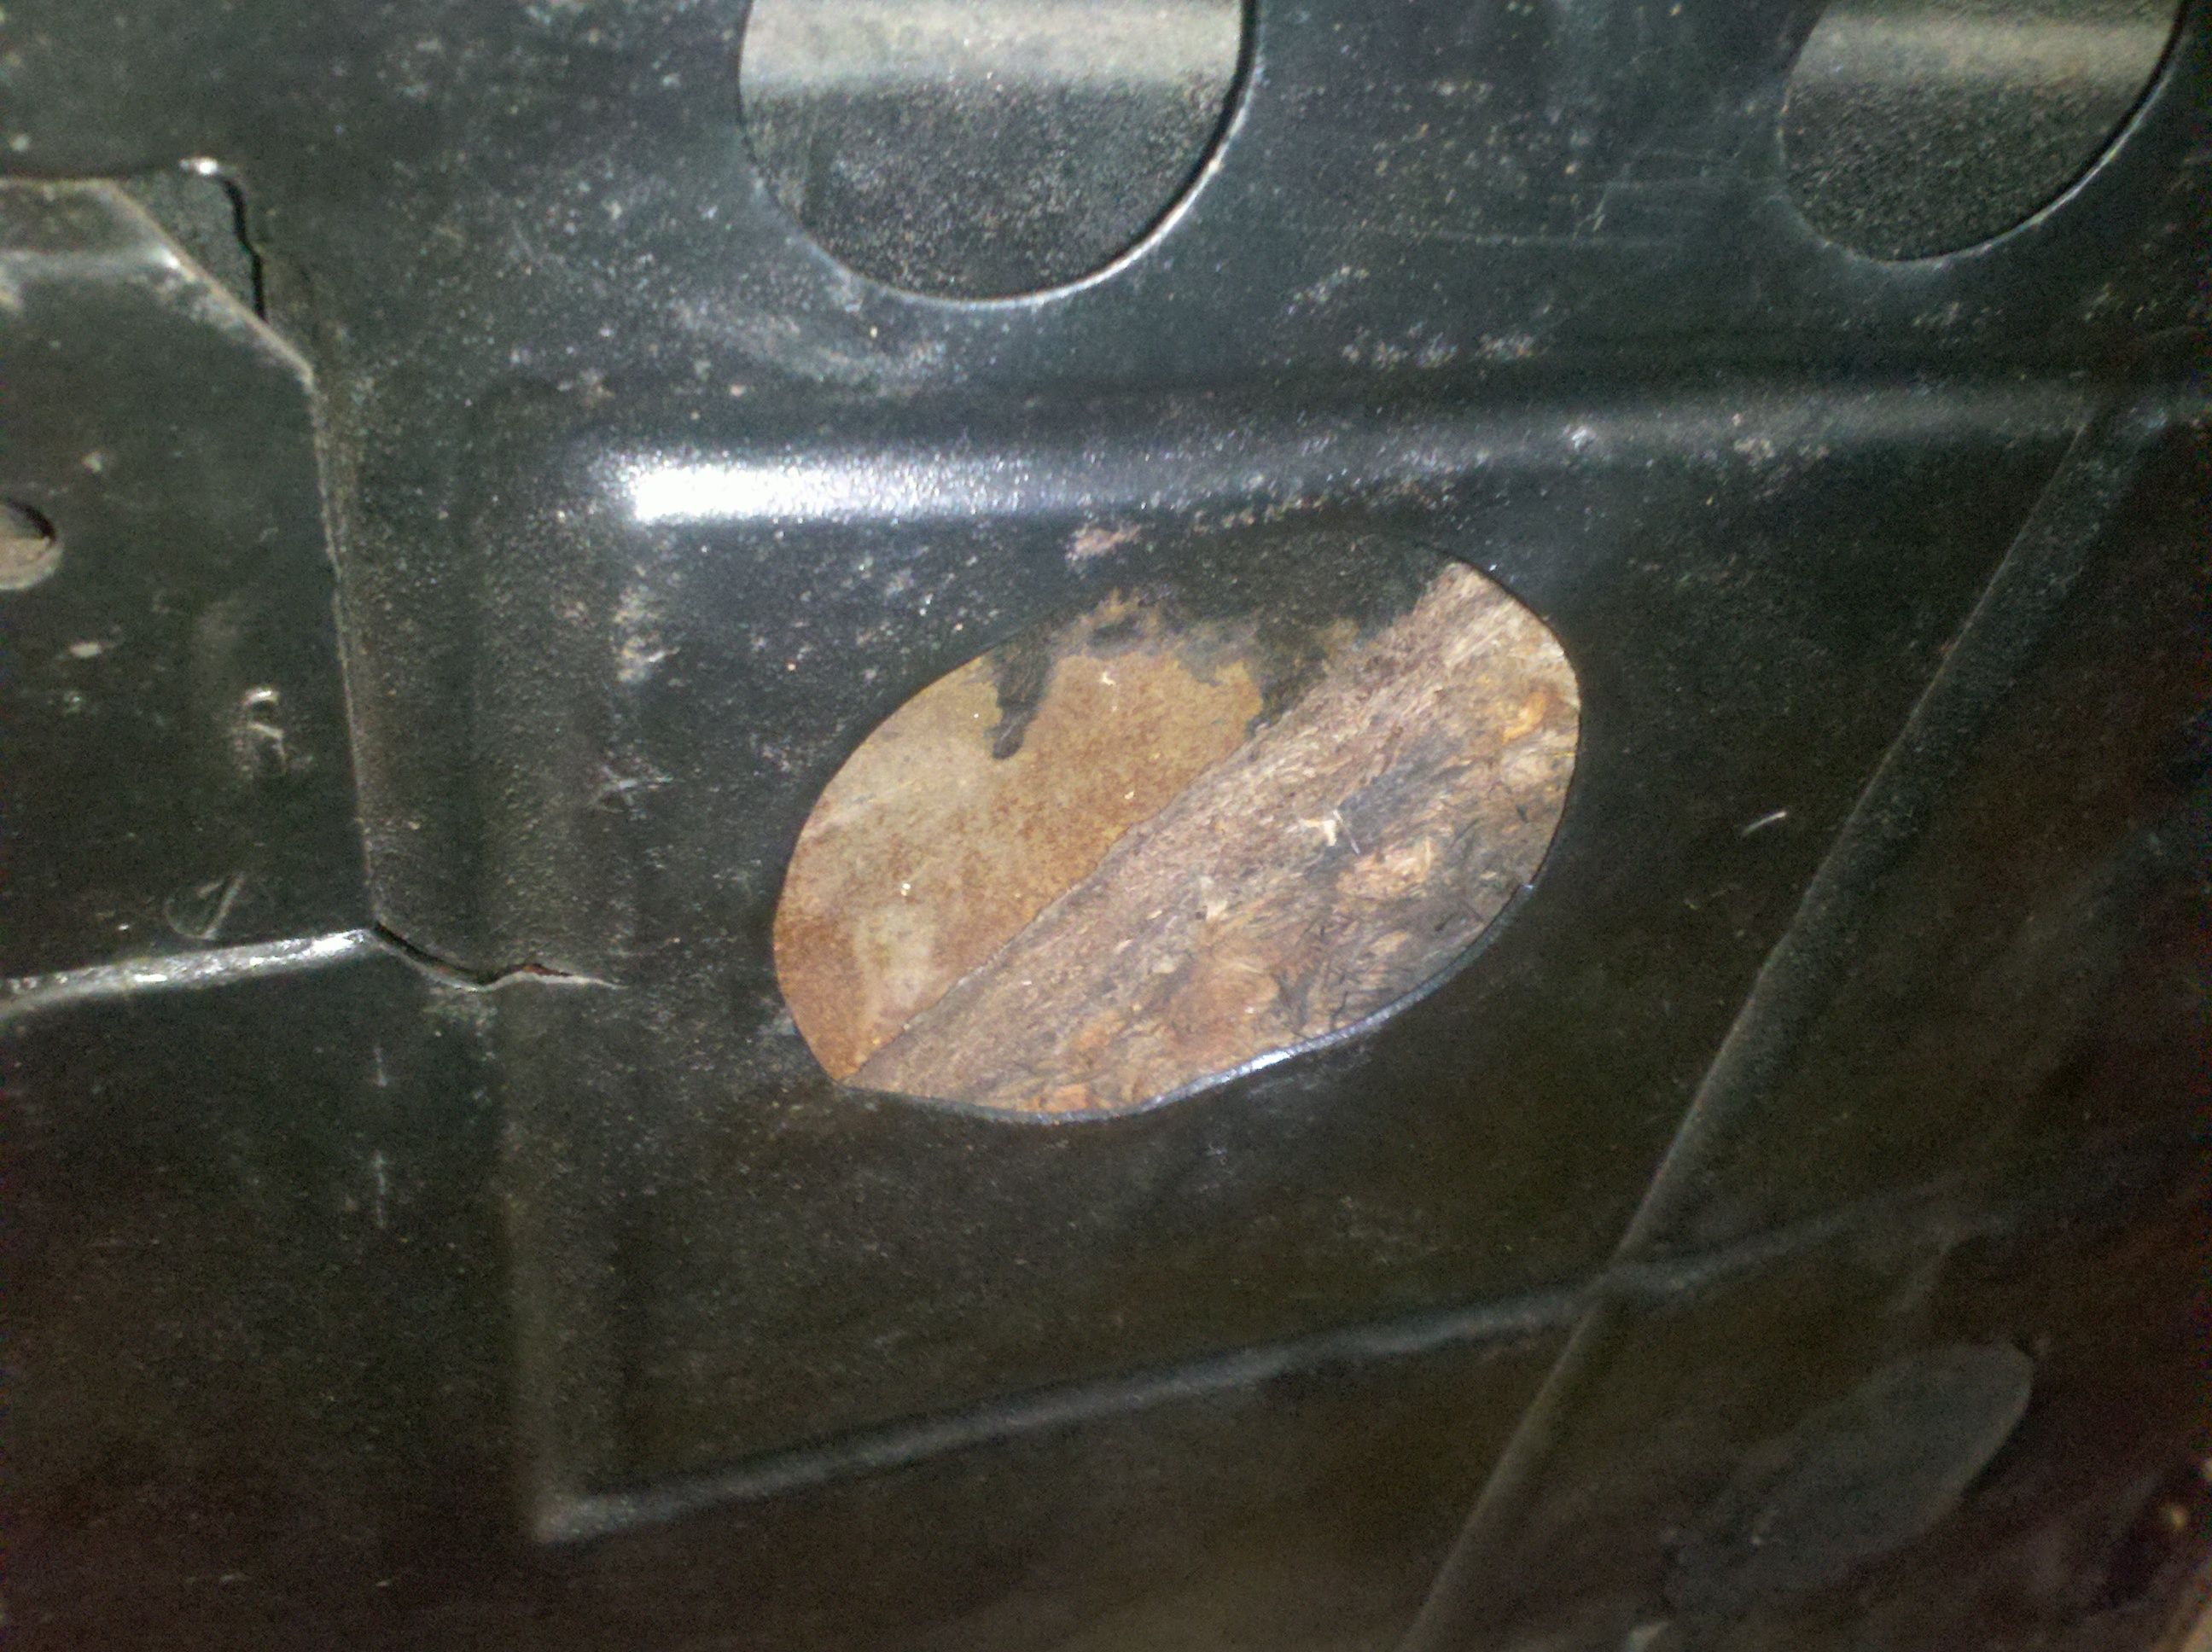
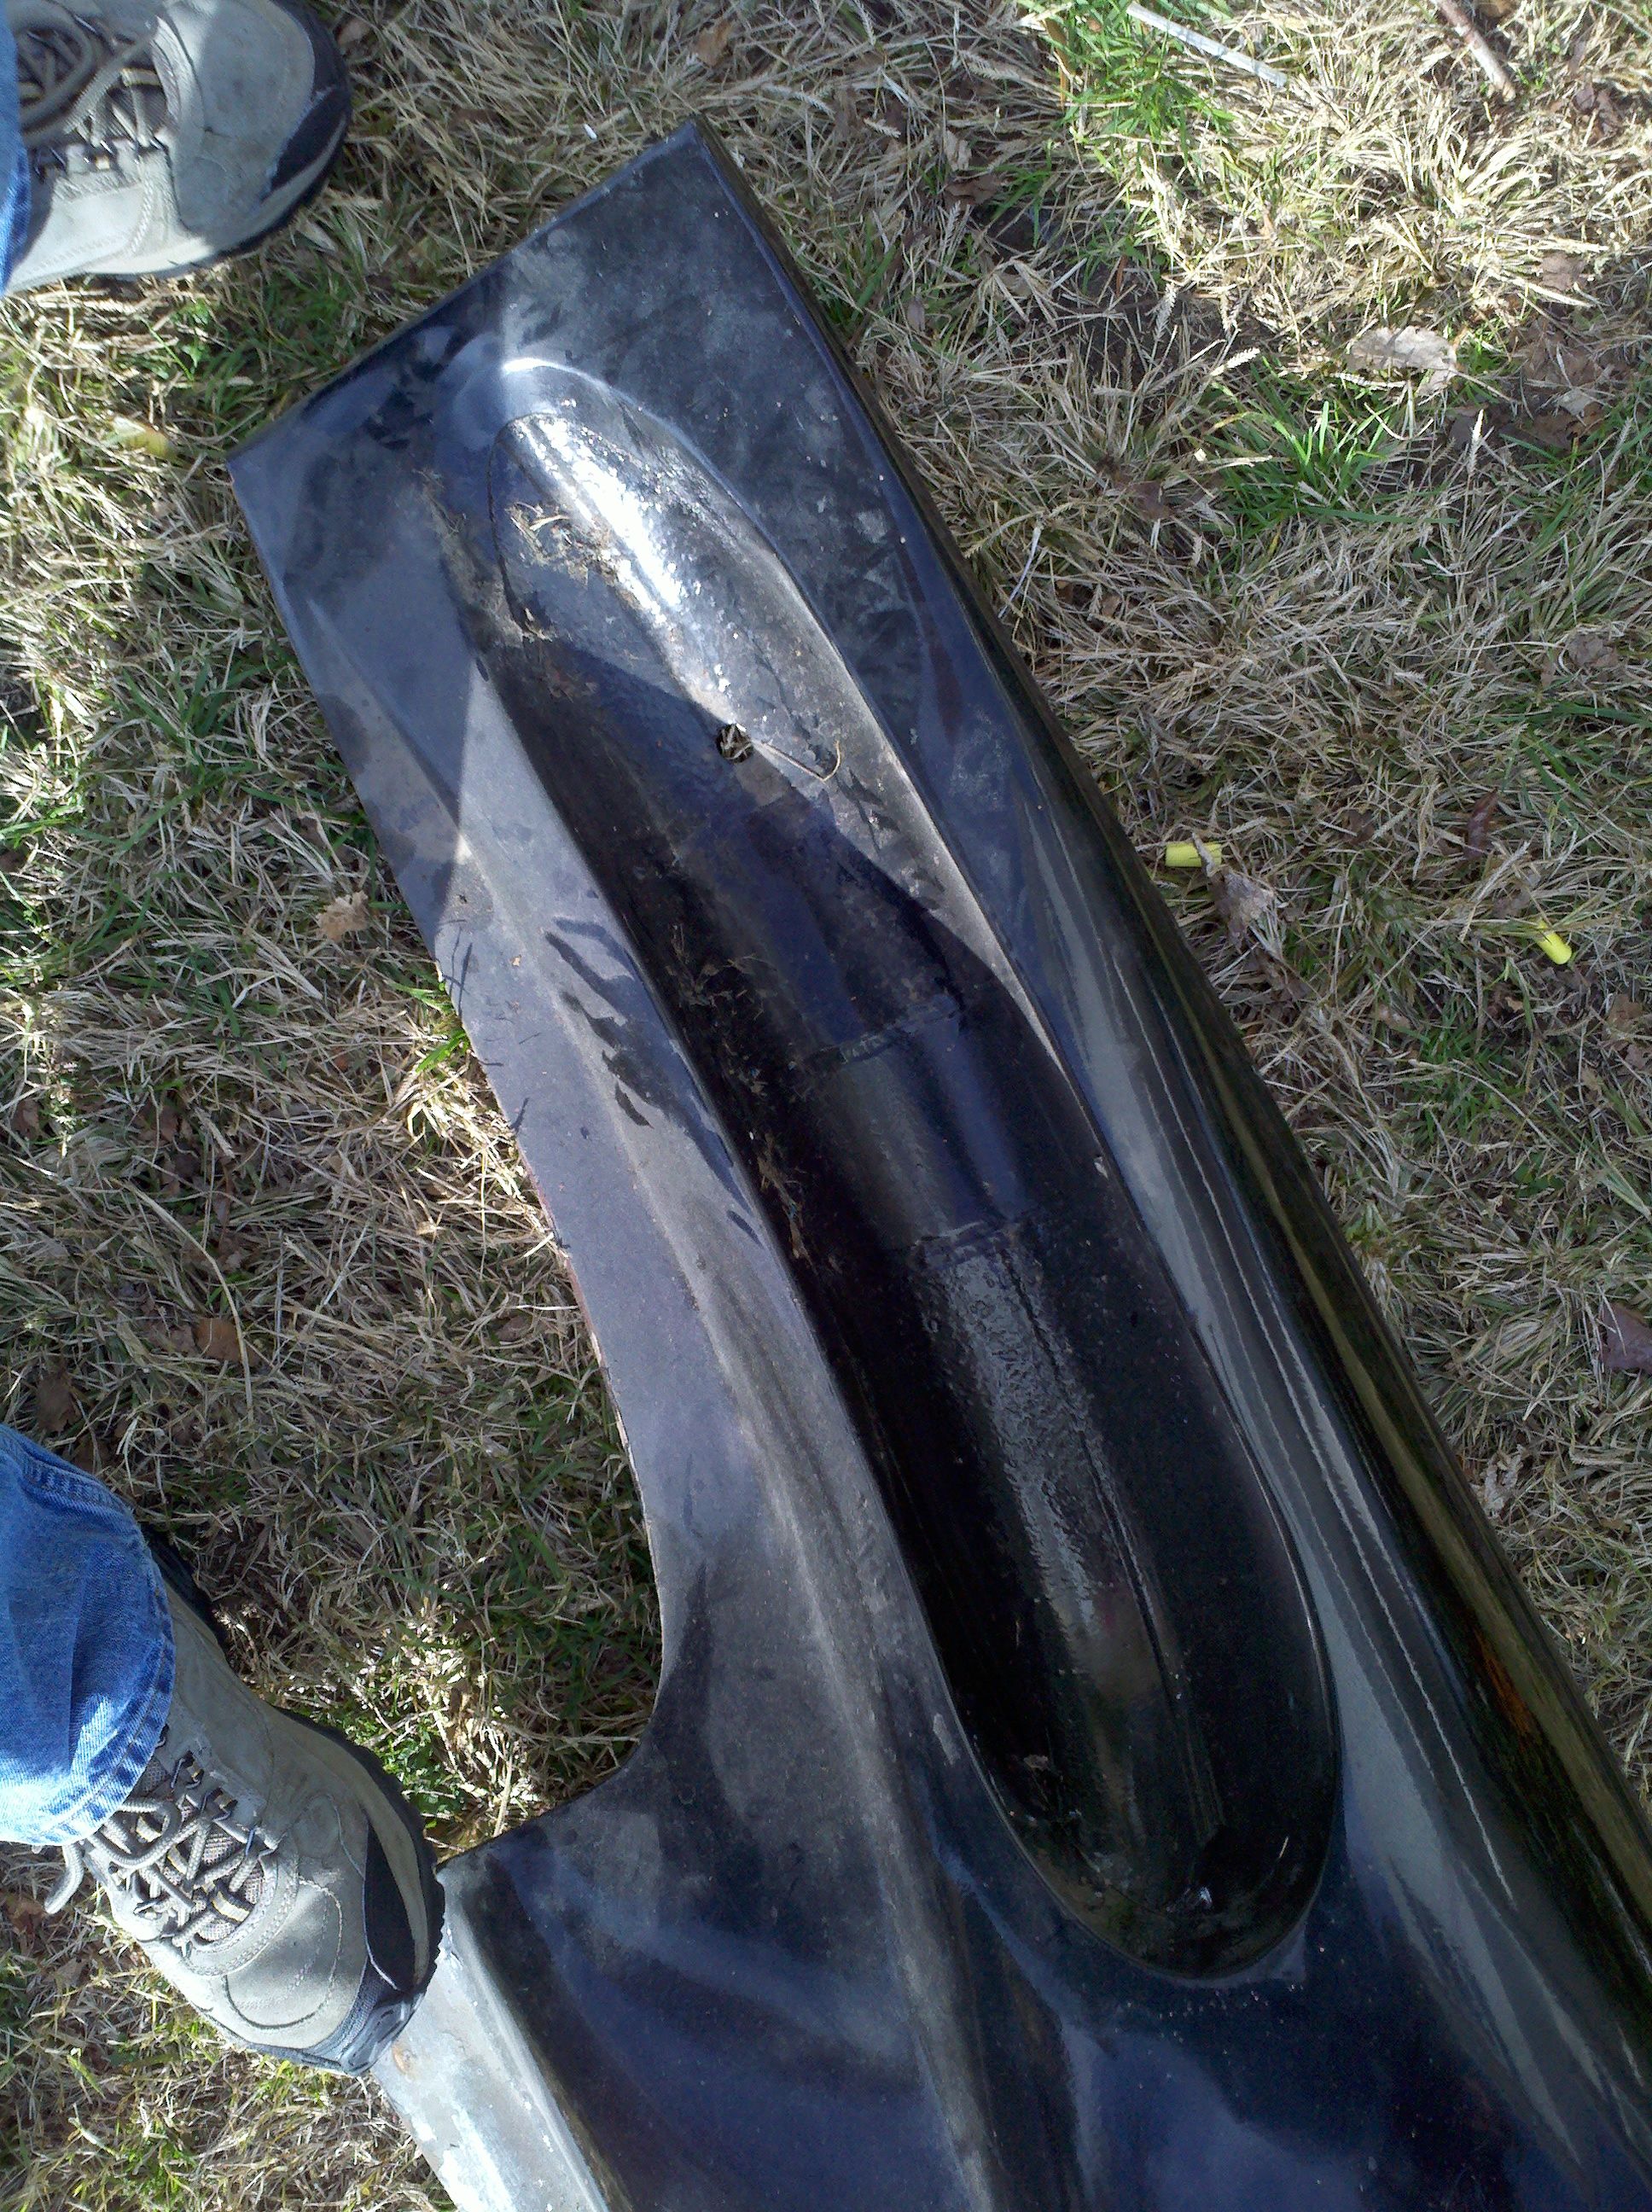
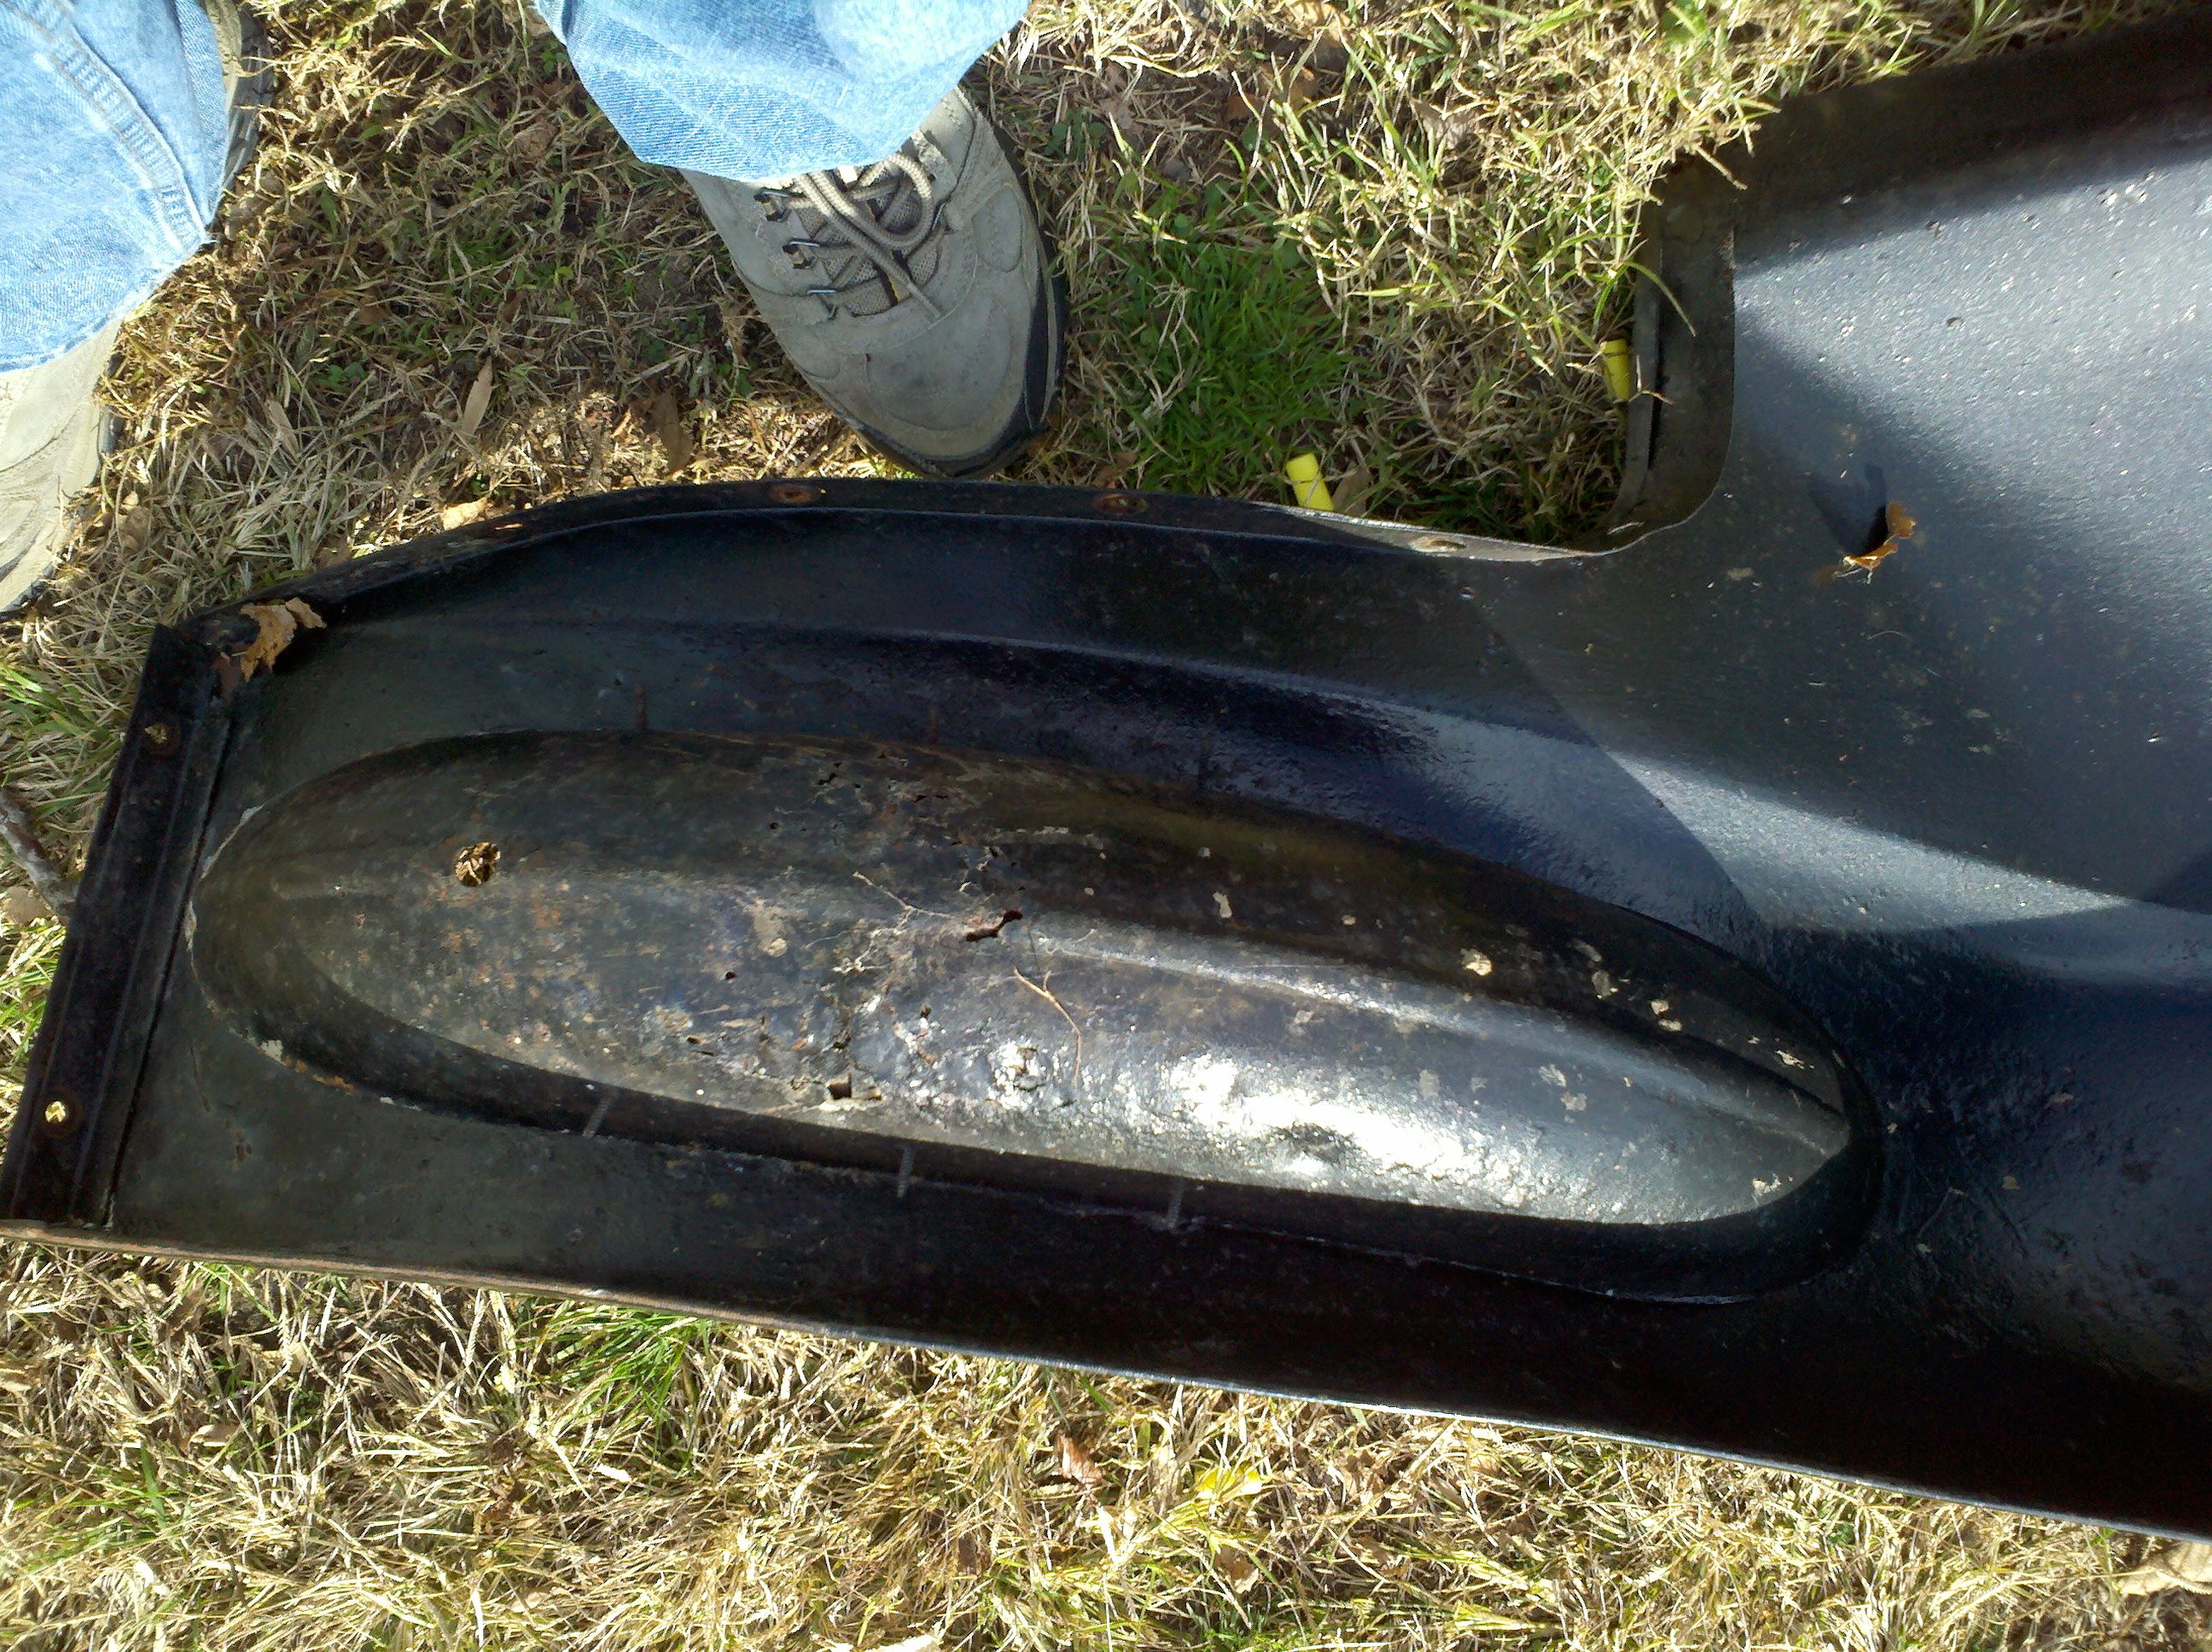
I've been doing some looking at the driver's side front fender. This one has a well in it for the spare tire. I've been eyeballing it ever since I got the truck - it looks funny. It looks even funnier, now that I've pulled it from the truck. It looks like the well was pretty badly rotted, and then some patchwork was done. What I can't figure, for sure, is if an insert was dropped in, new metal welded in, or if it was maybe 'glassed. It looks pretty flat on the top side, but from the uderside, I can see where there's six screws going through the metal...
Last modified on 06/24/12