Did some more work on the shed - it is now, hopefully, waterproofed.
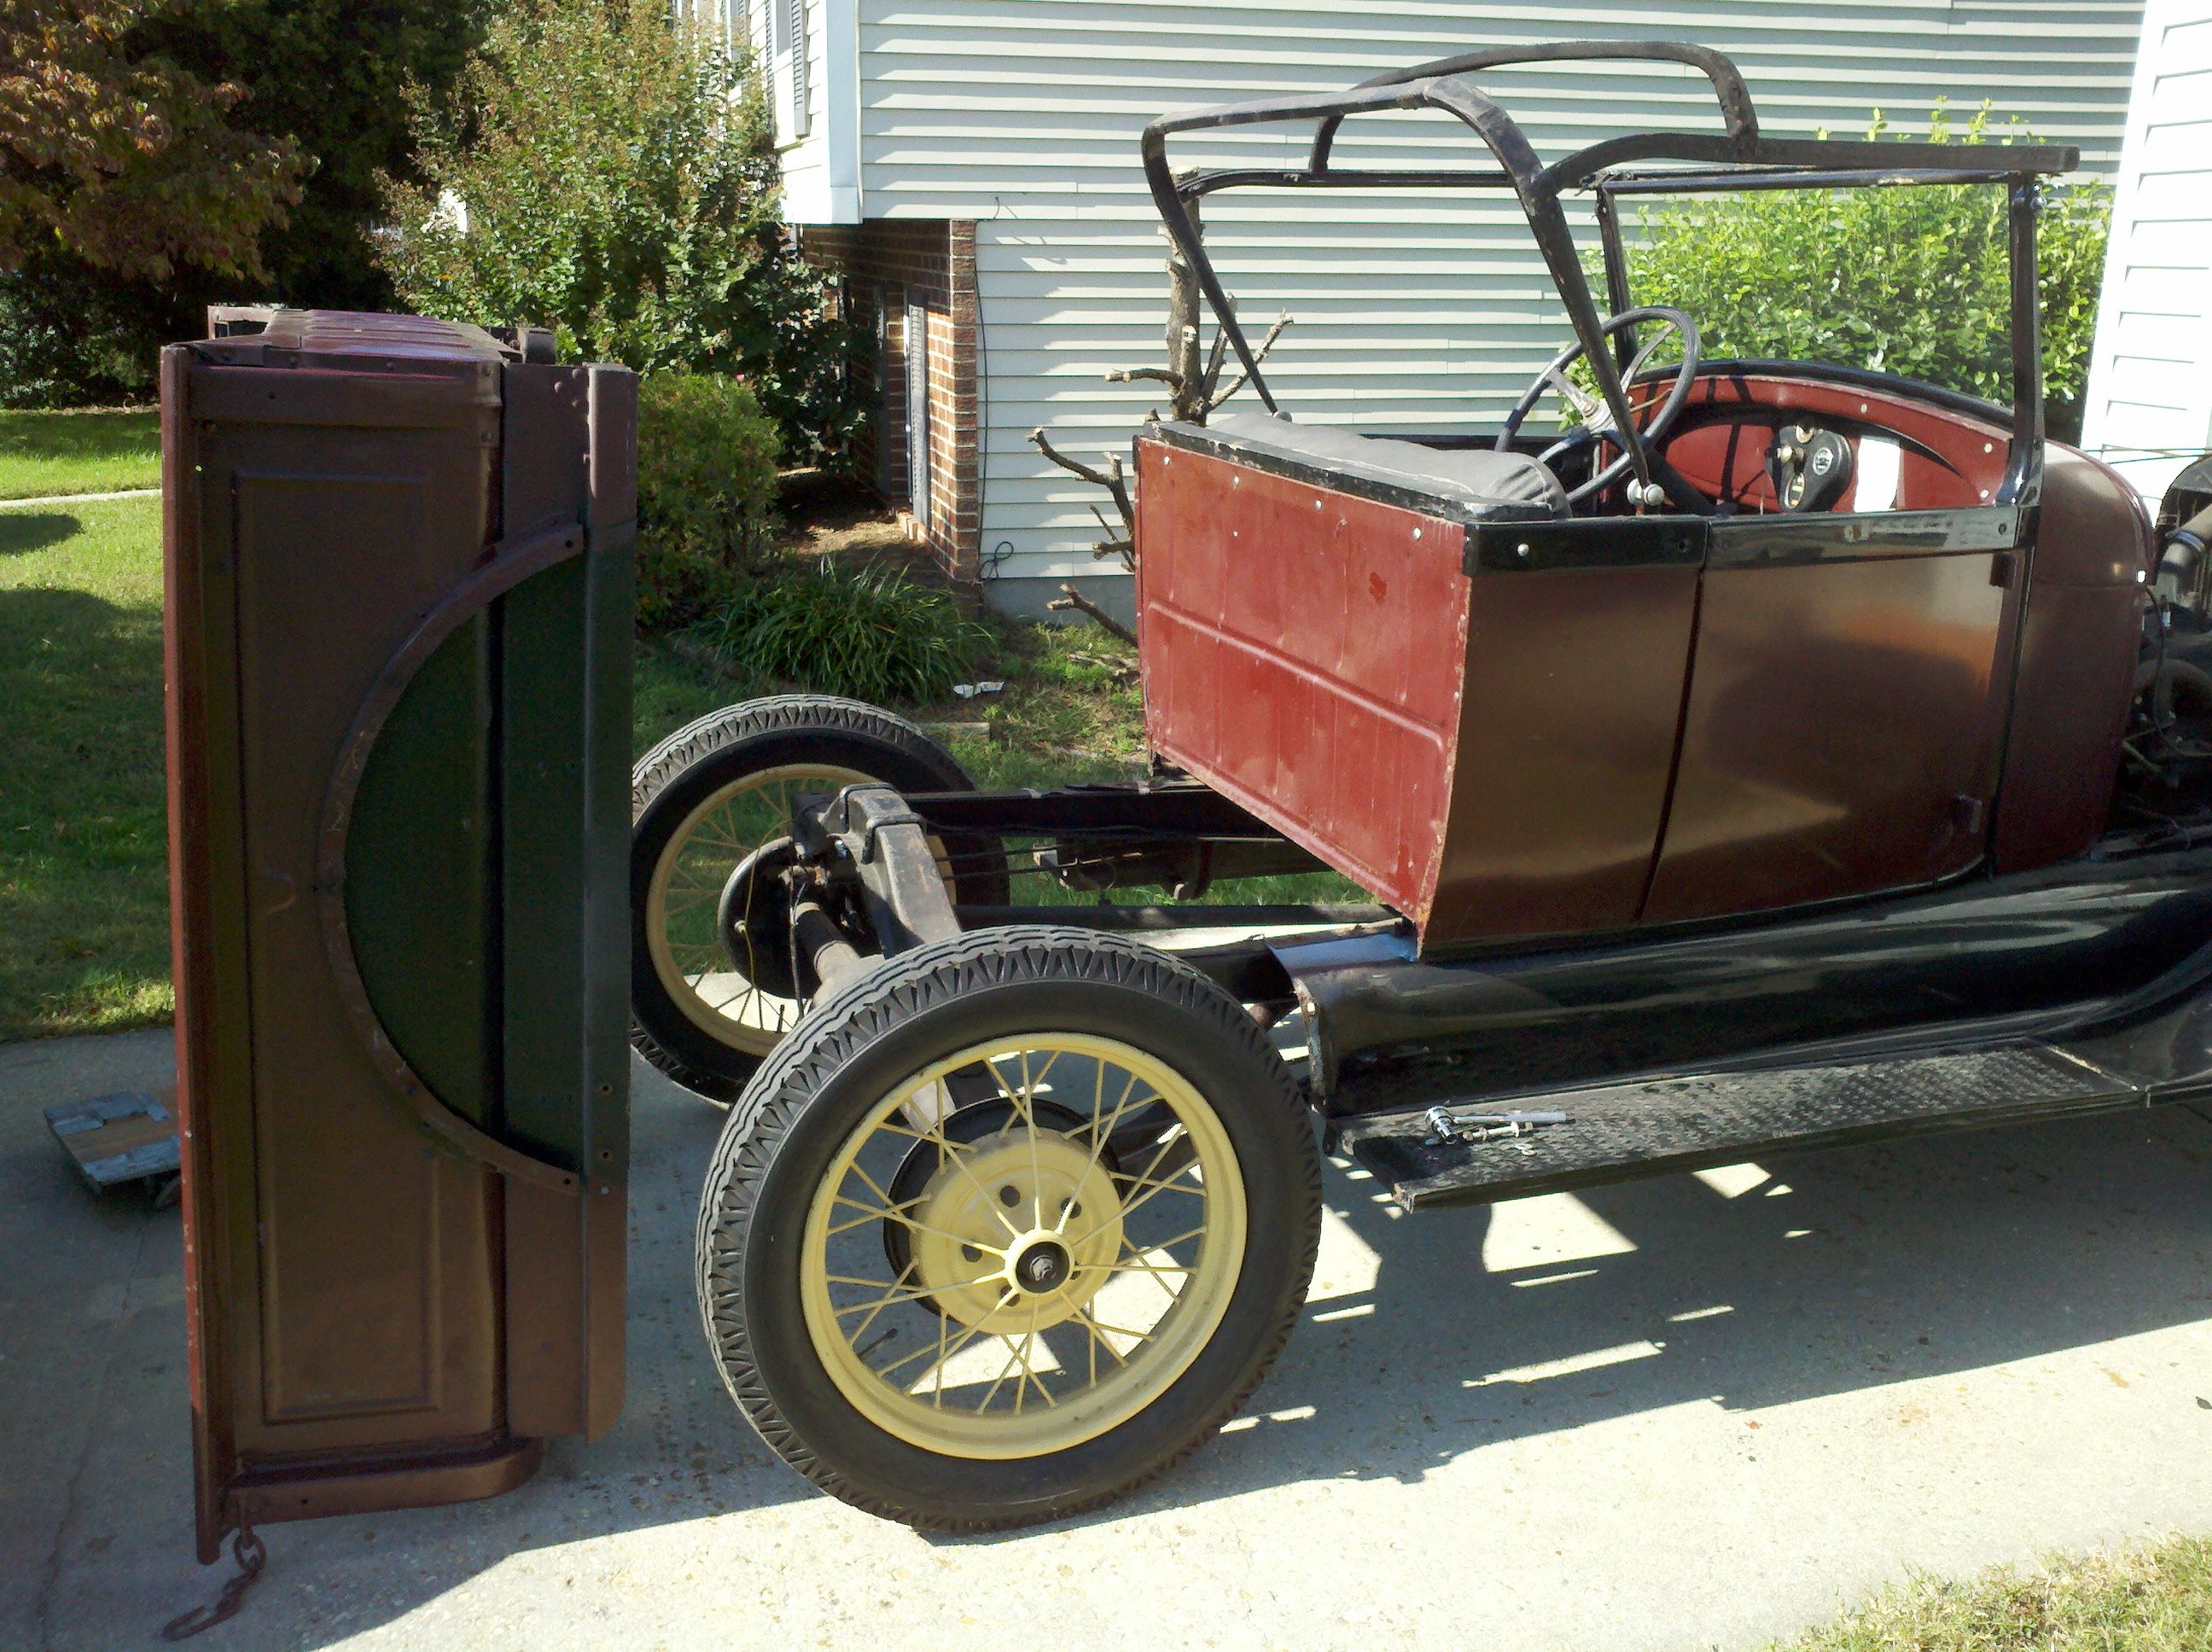
Pulled the truck out - I thought I would go ahead and pull the bed off the back. I talked previously about how the bed is smoehow not mounted correctly - the spring yoke is obviously higher than it should be, with respect to the floor of the bed. It looks kind of like the wooden floor was put in the bed before the bed was installed in the truck, because the bed is a little loose, now that I've pulled the floor out.

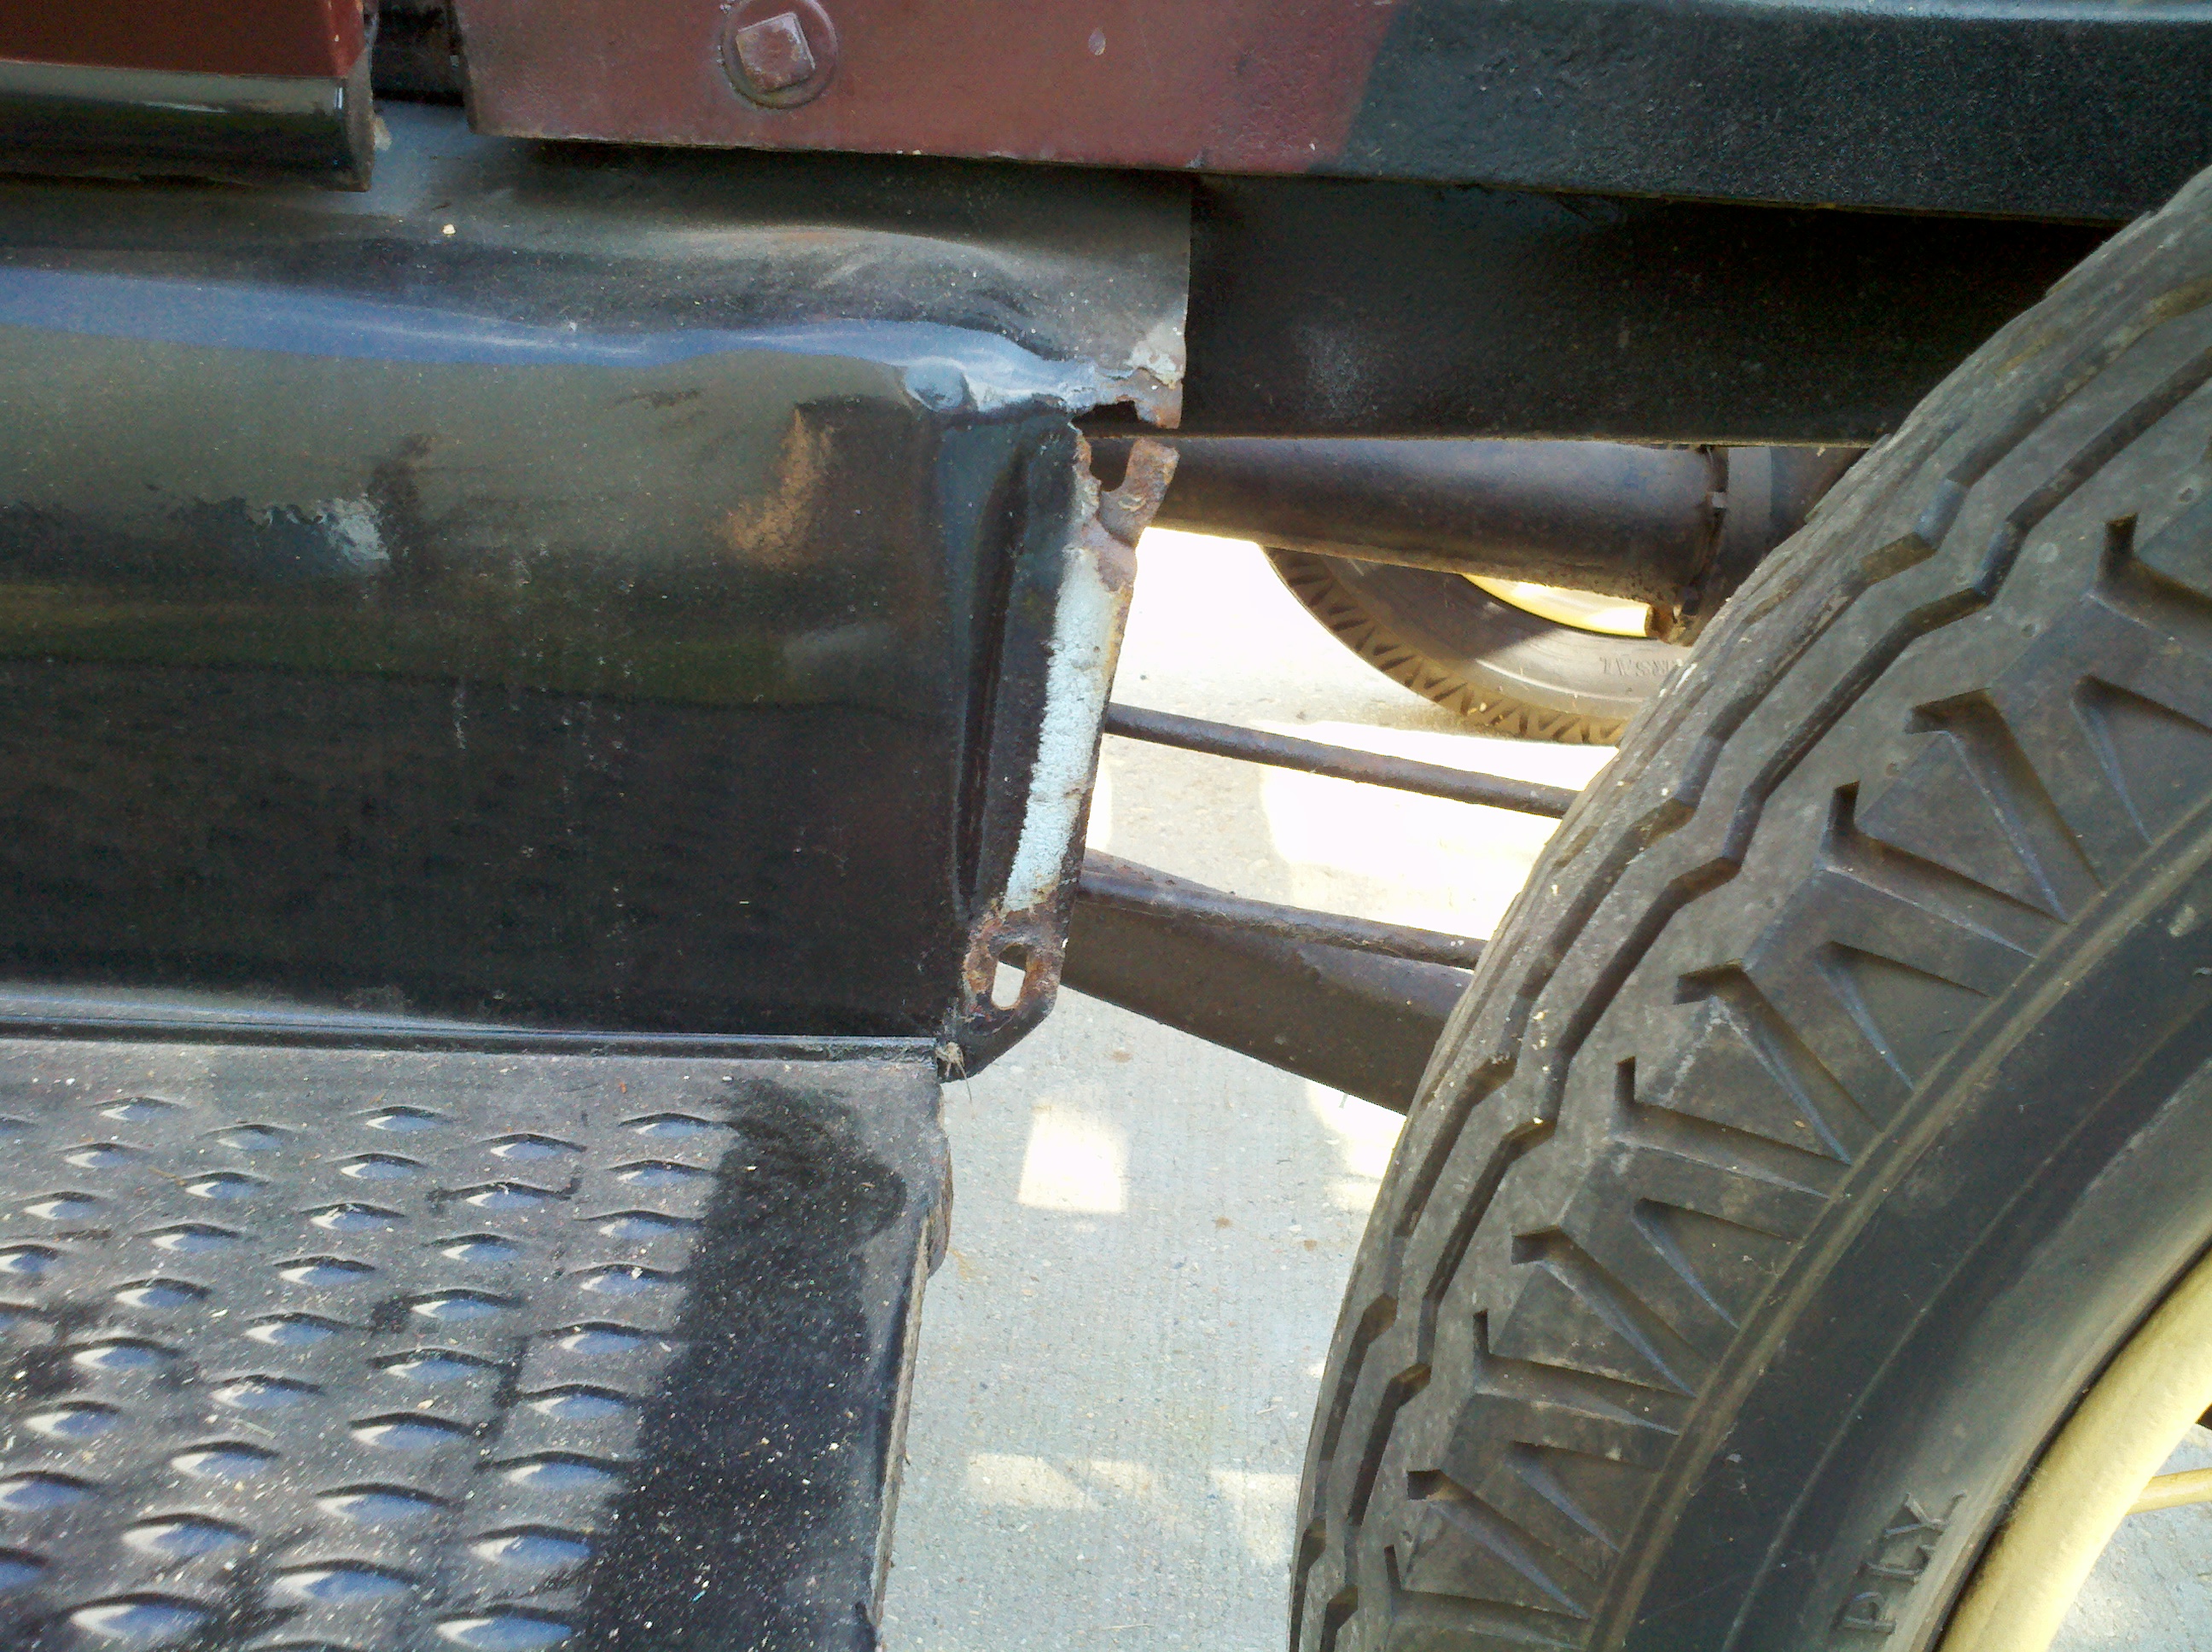
It is apparent, however, that for the bed to come off, the back fenders will also have to come off. This is interesting to me, as I thought the running boards and fenders were factory installed as a part of the chassis before the bed and body. I guess that could still be true, just that they all needed bolted together after the fact. Notice in the picture below, that the fender brackets are missing - I guess I'll have to buy a few of those. They're missing off of both rear fenders, but I can't recall if they're missing off the front, too...
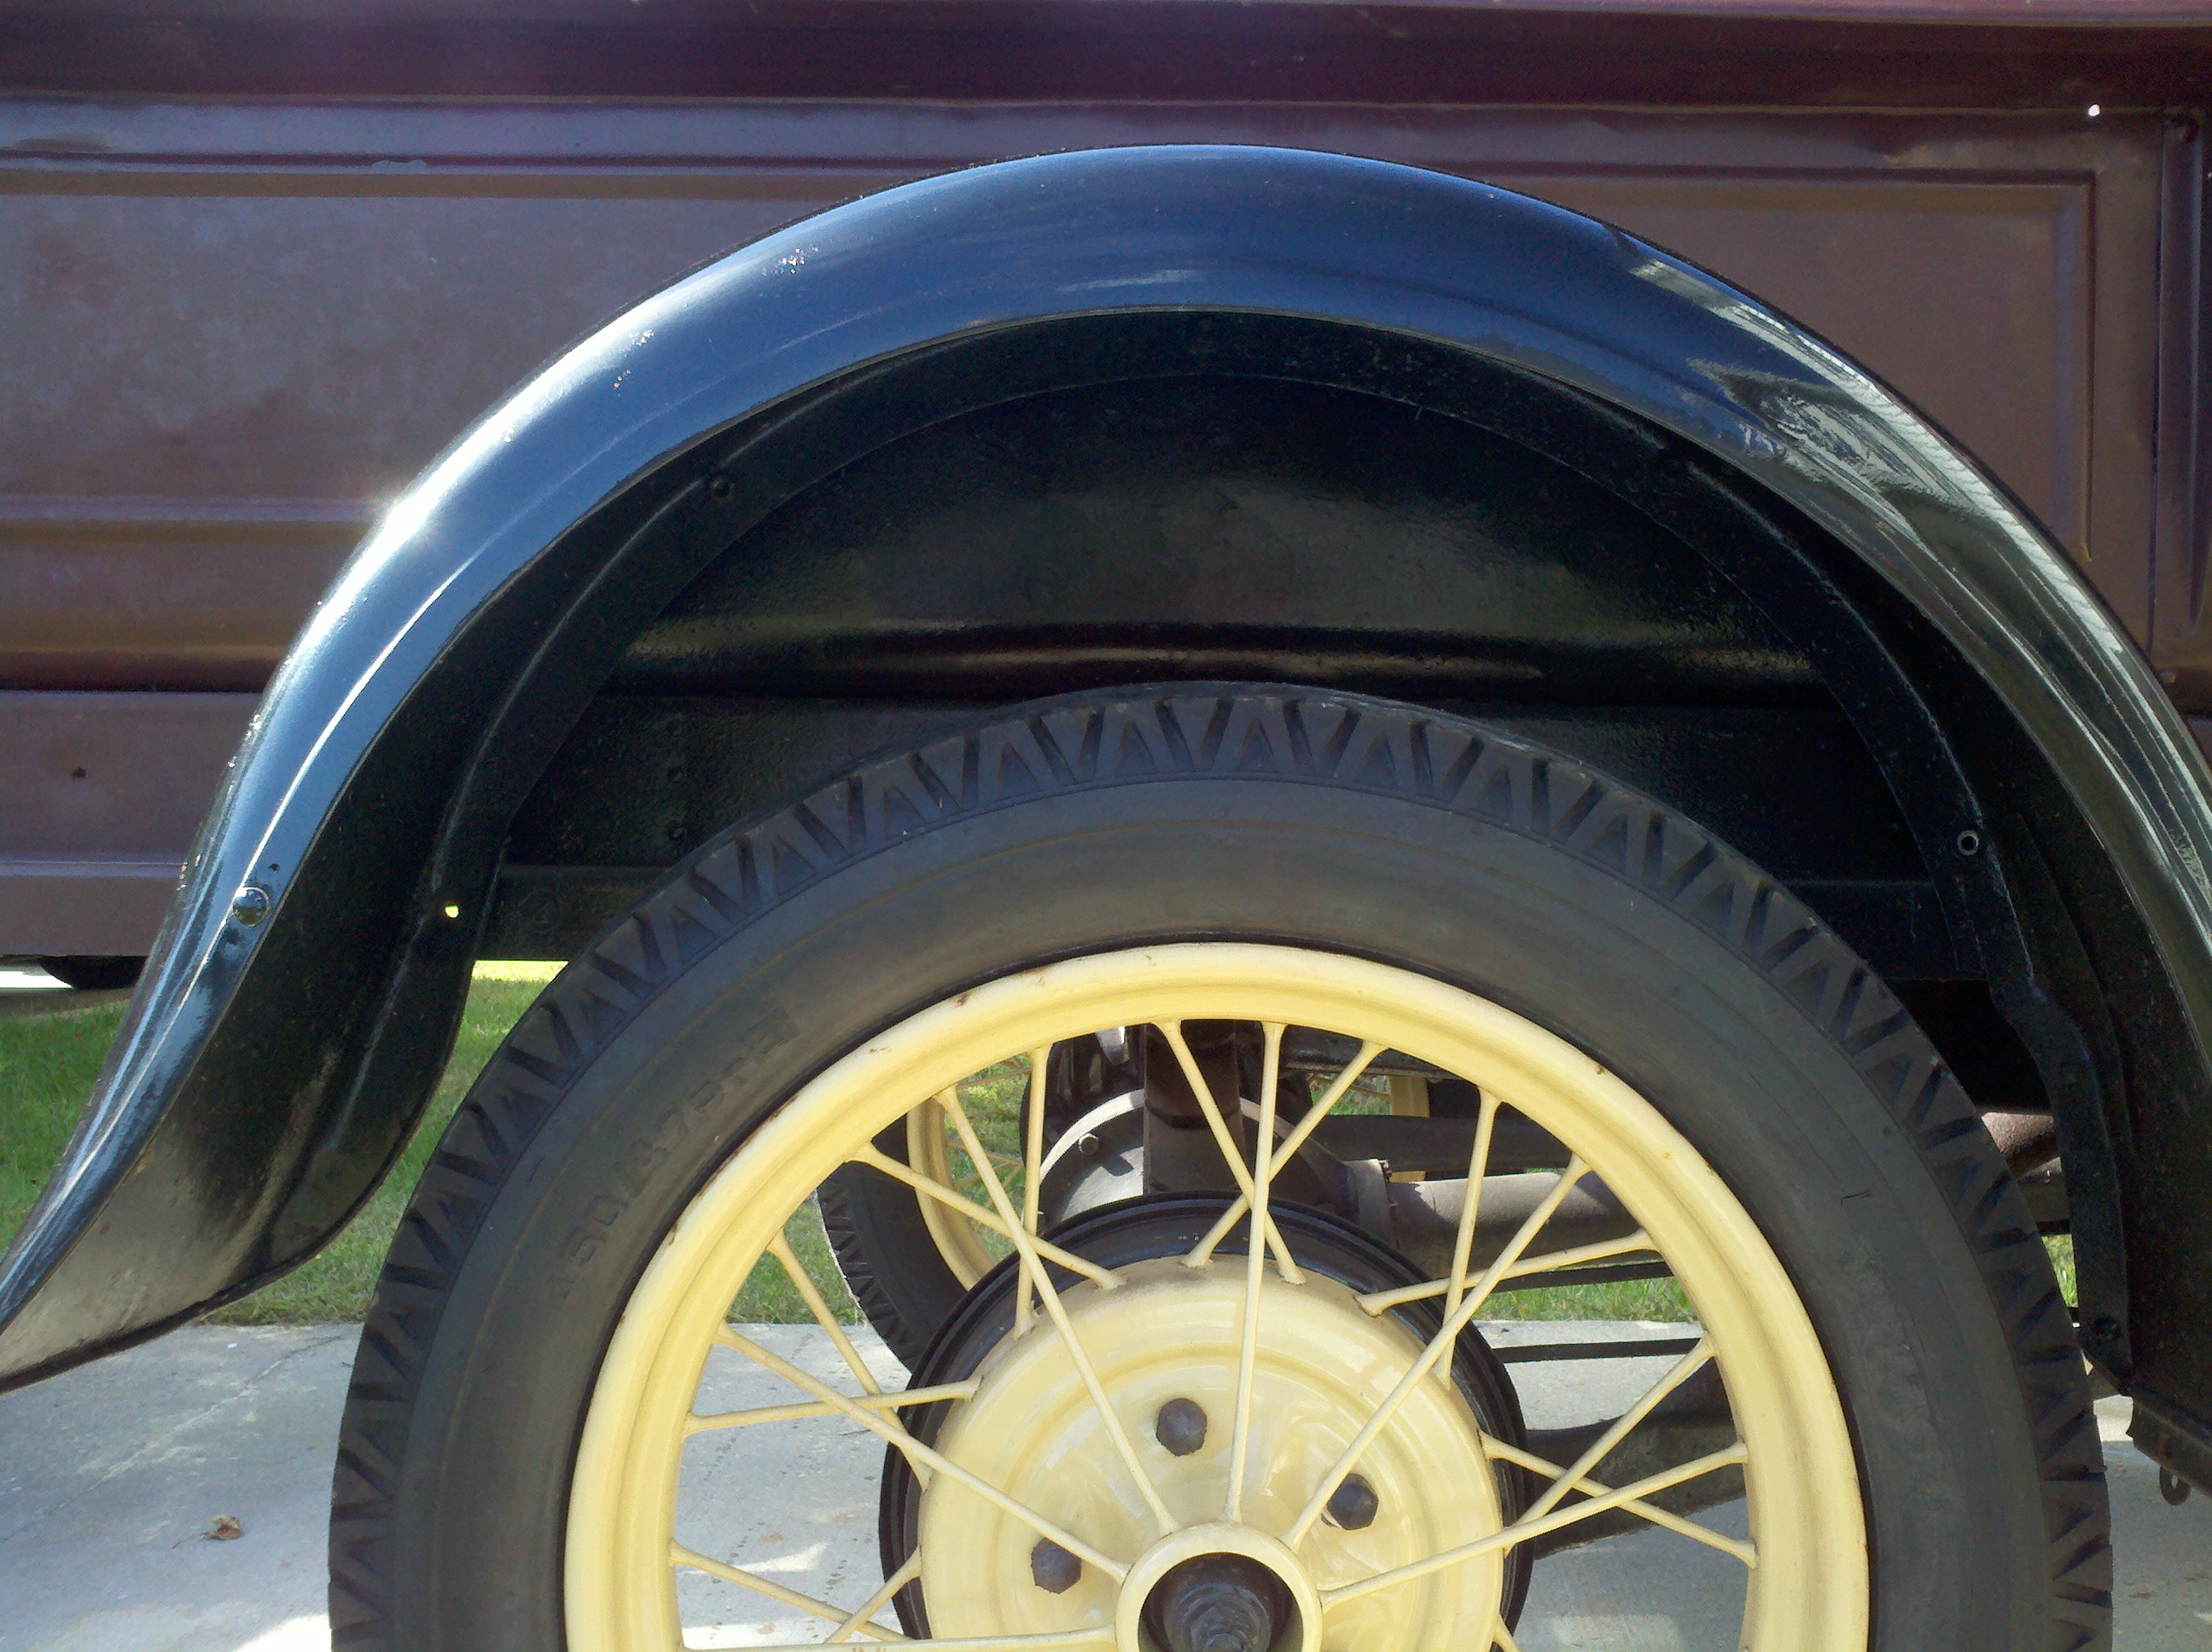
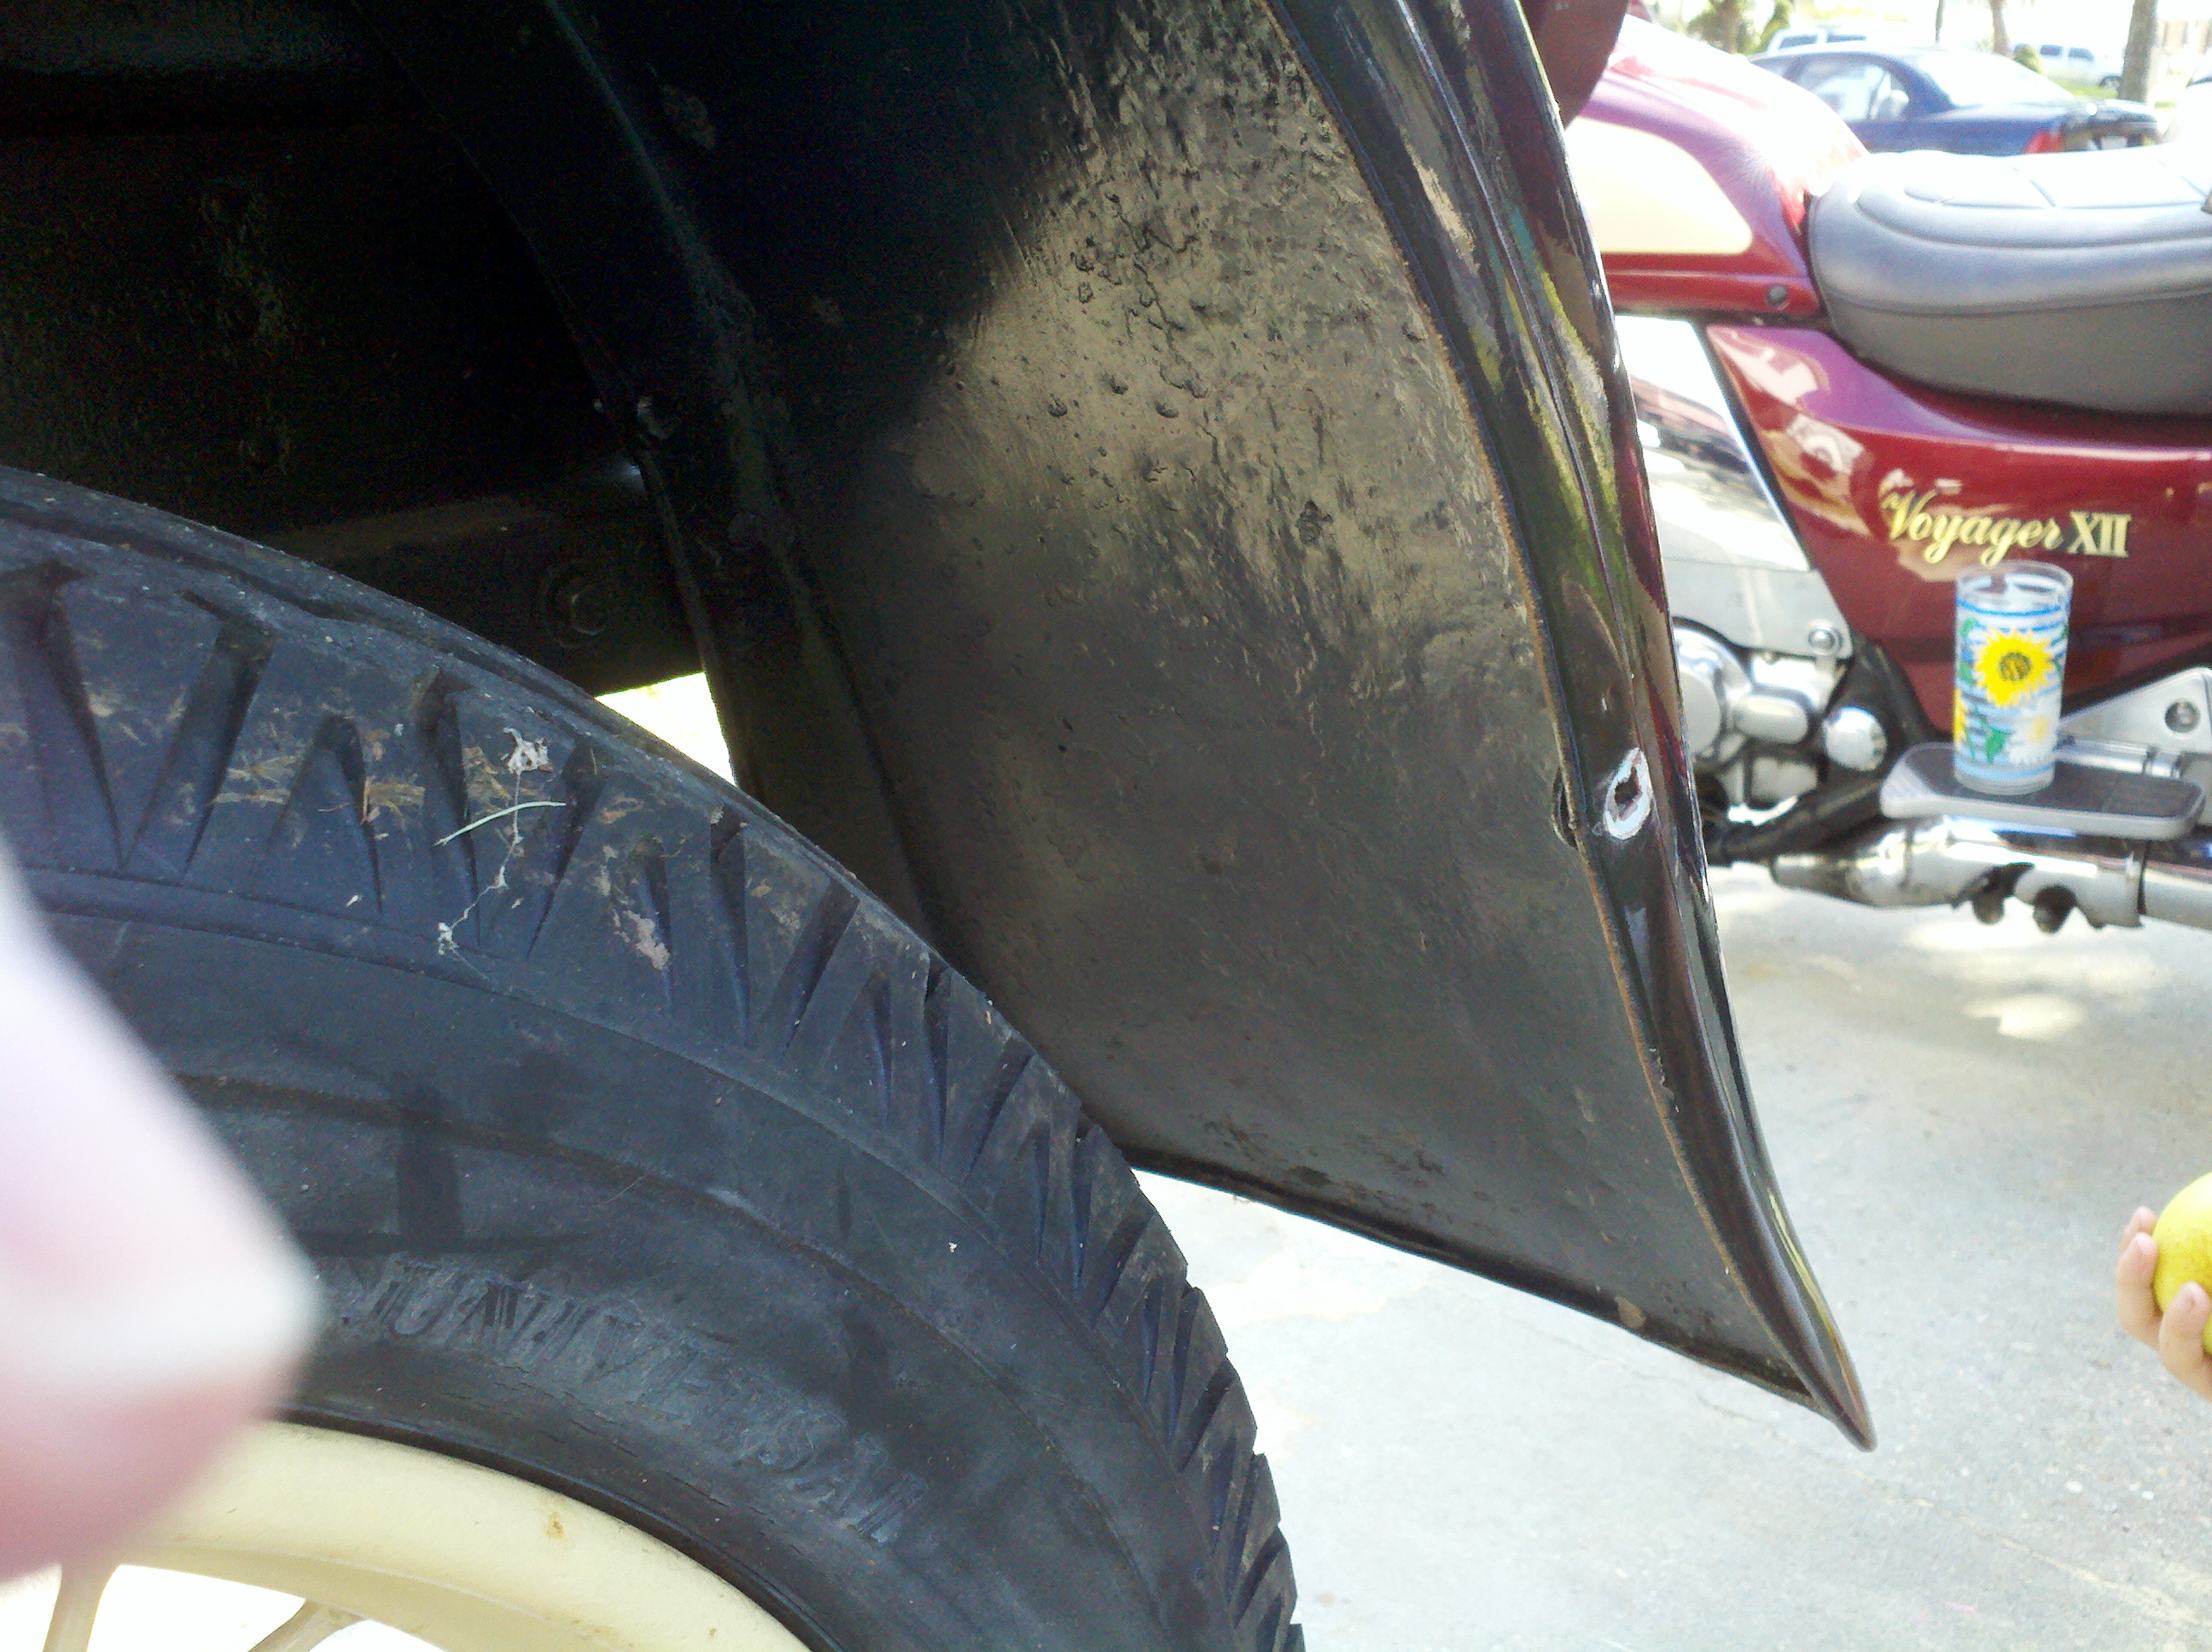
The last time I messed around with the truck, I sprayed WD-40 all over the bolts that attach the fenders to the bed, and also all the bolts I could see that attach the bed to the frame. This was a good strategy on my part, as here it is, a month or two later, and they all came off pretty easily. The kids wanted to help, and they actually got to! My big girls were able to go get me tools off my wall - combination and crescent wrenches. The little ones helped me by holding the combo wrenches on nuts while I ran the wratchet on the bolts. Everyone walked away happy with how much they got to help. Successful mission, all around.
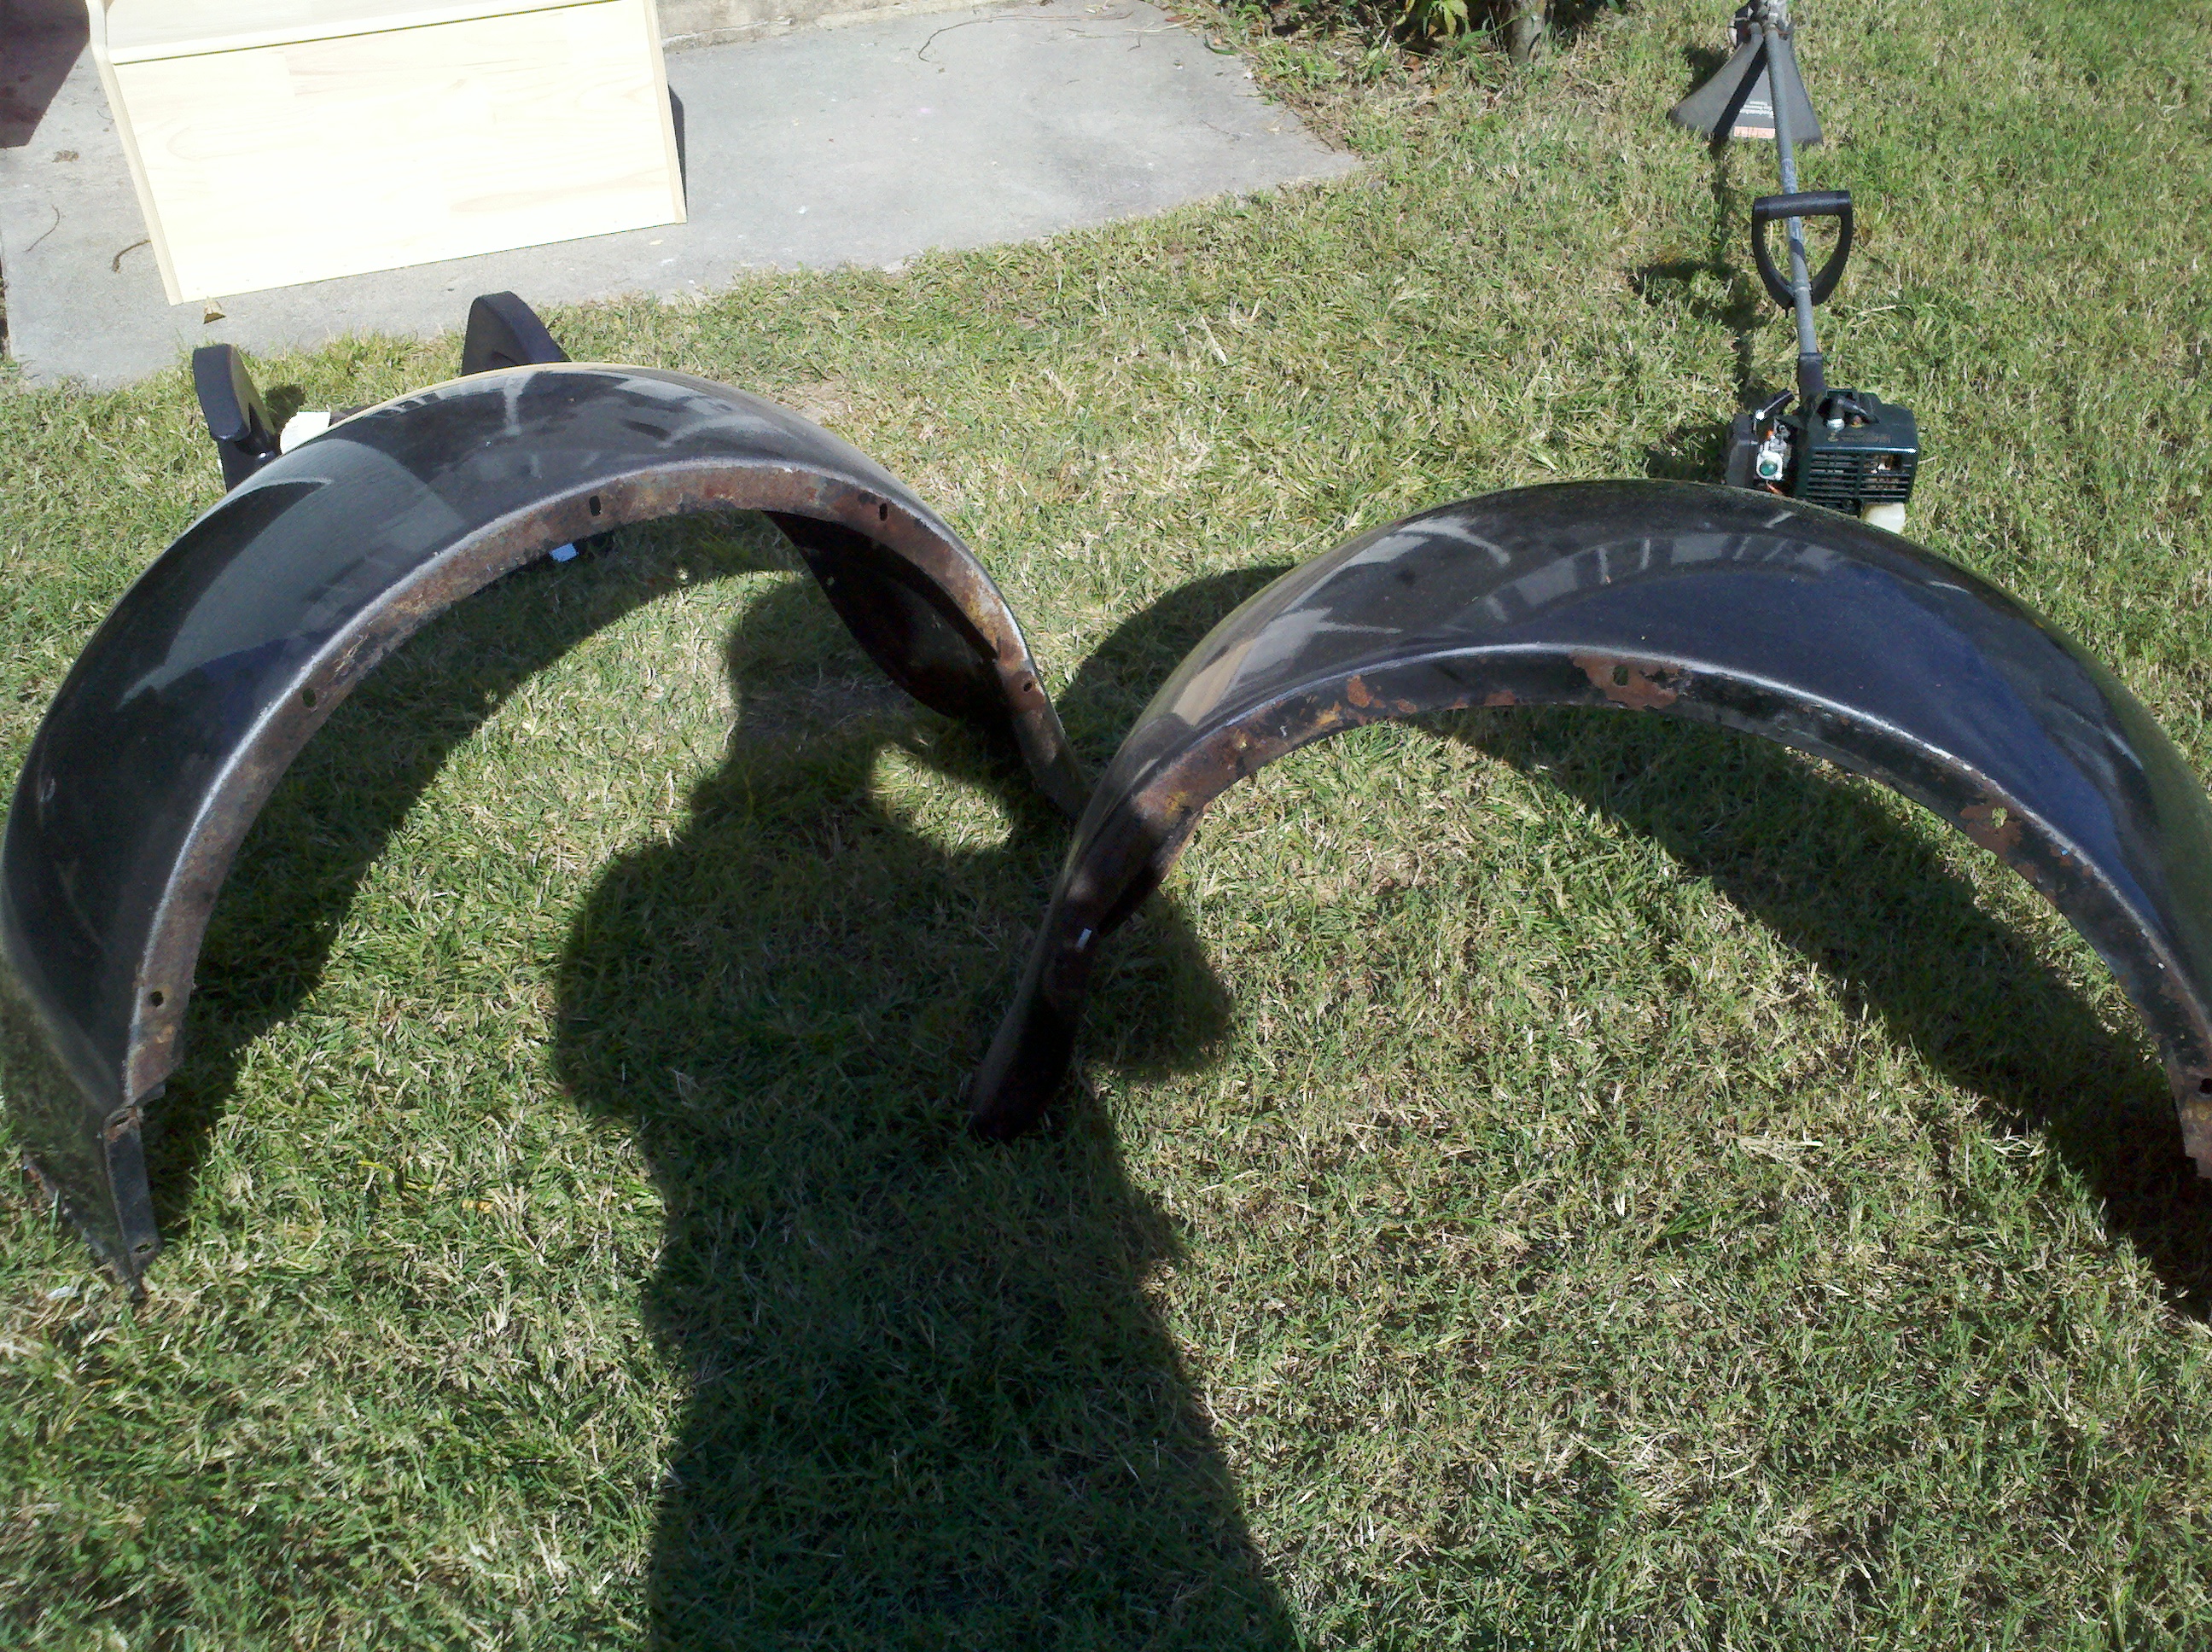
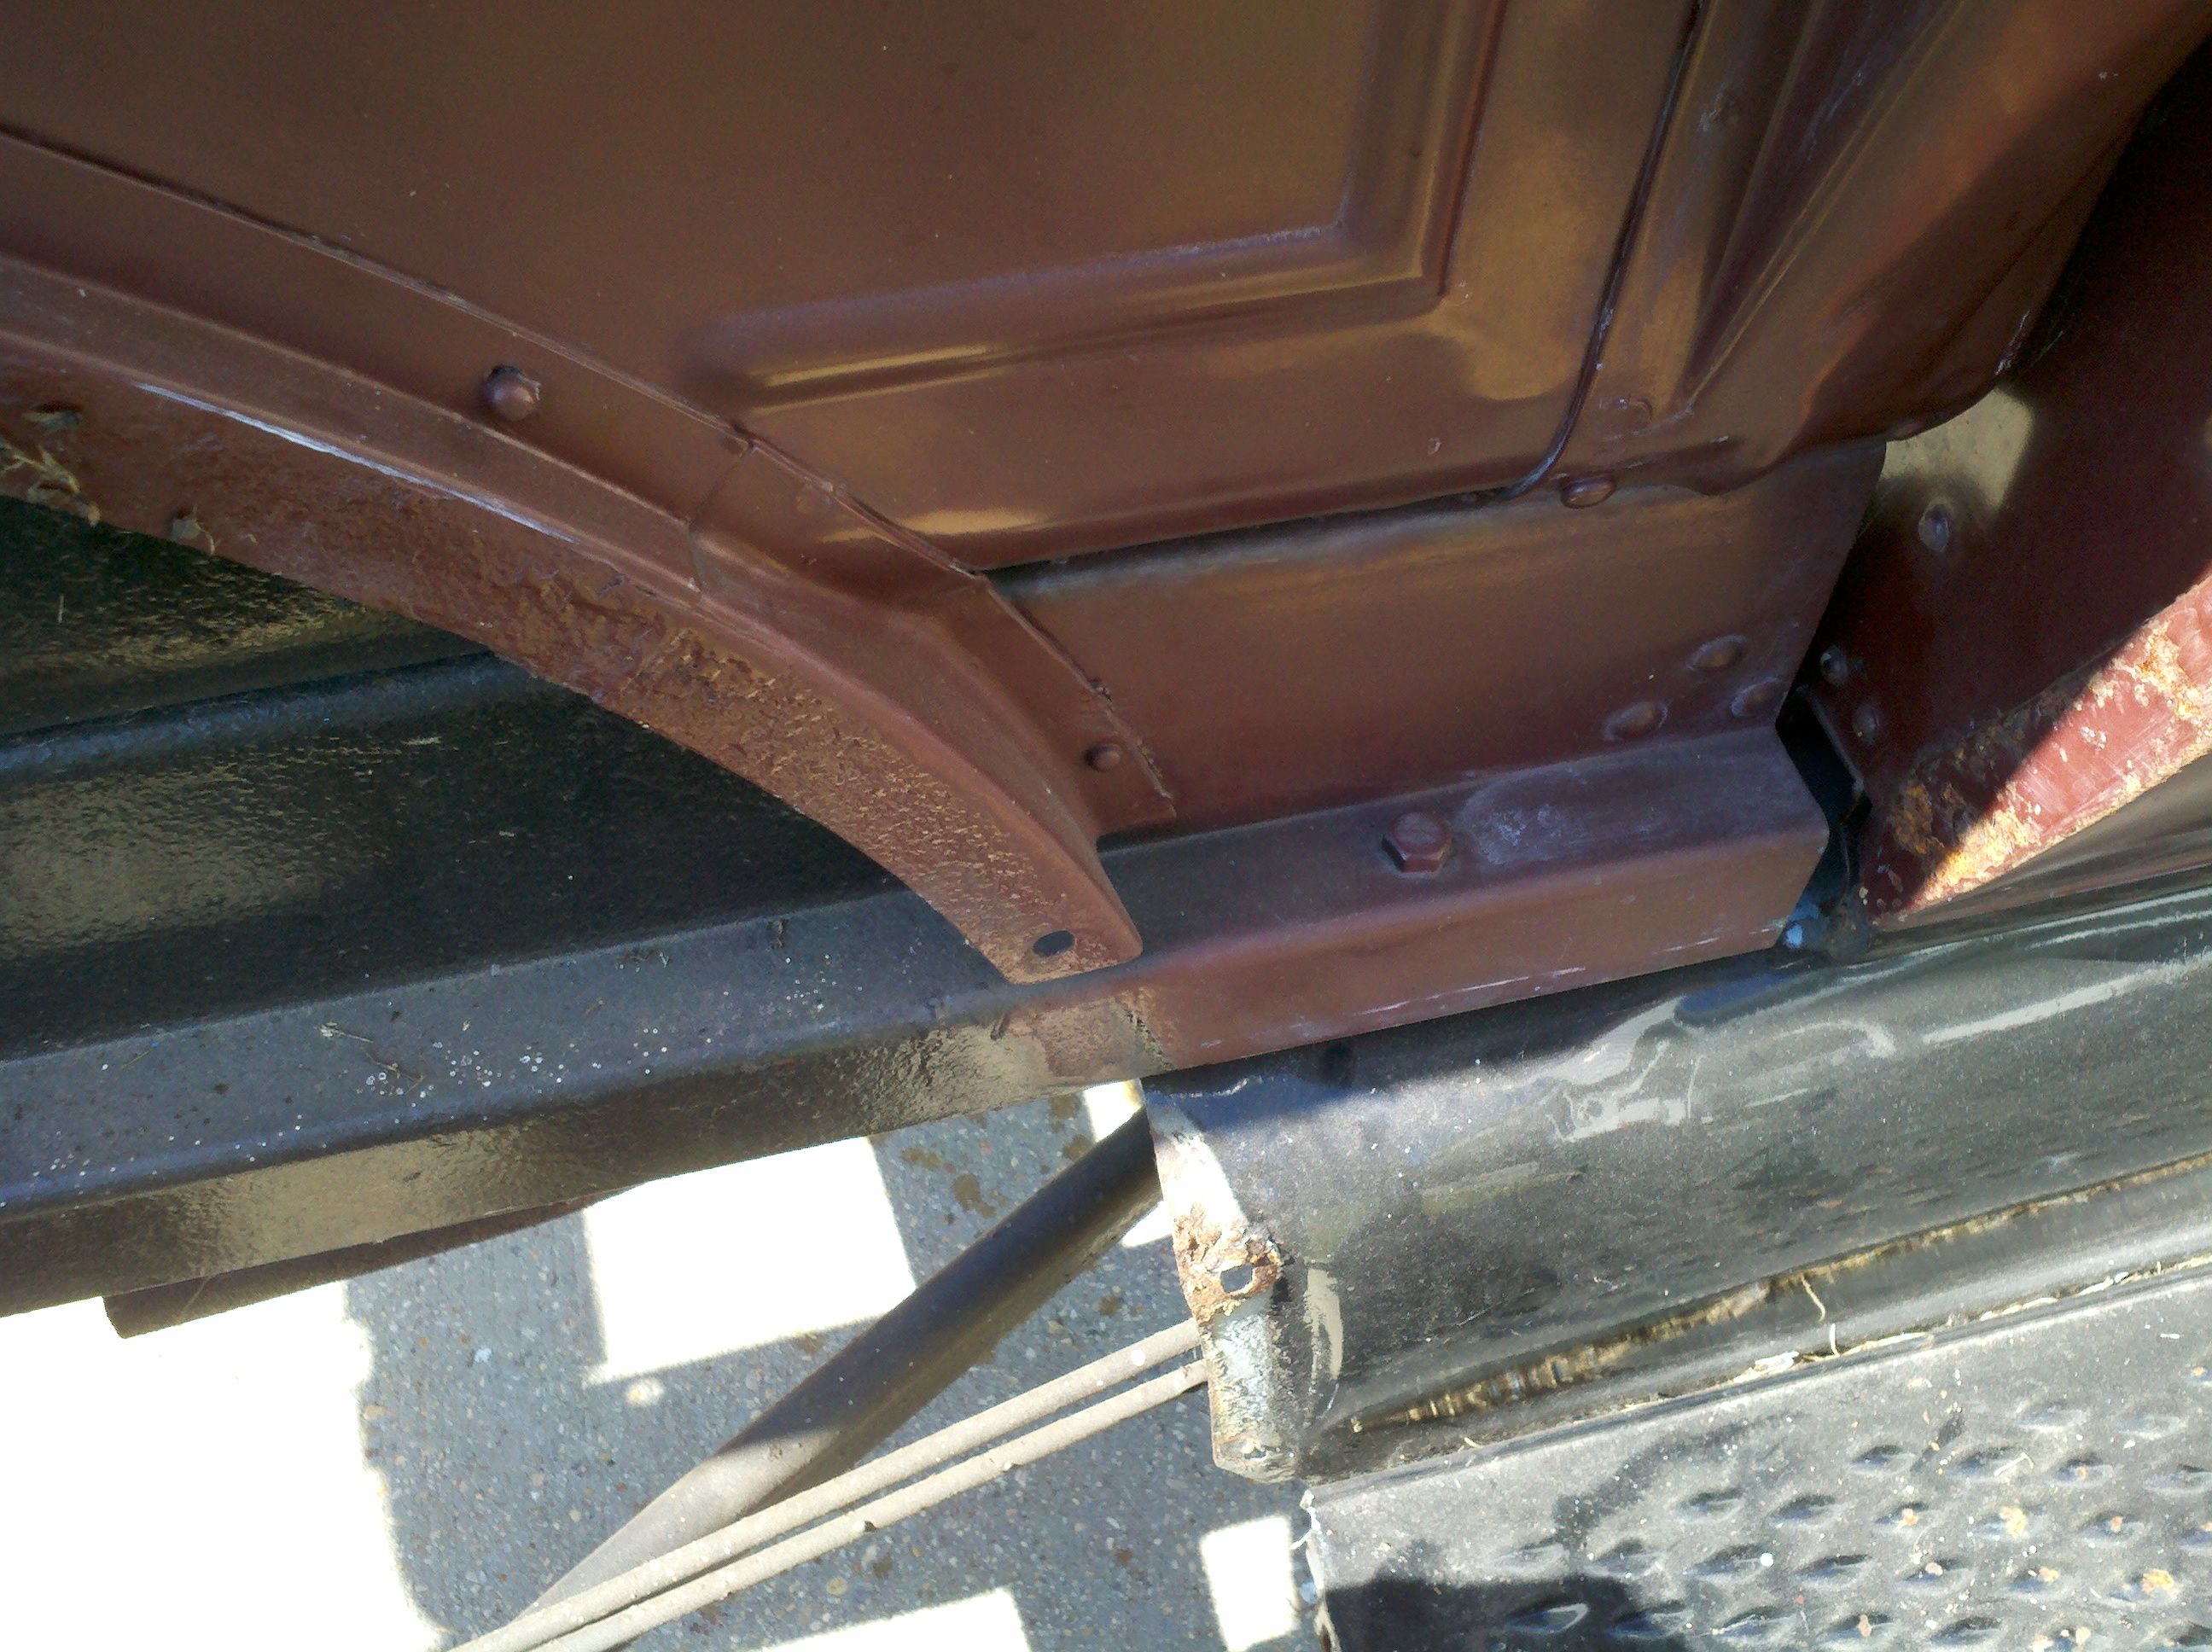
So, the fender bolts came off without a hitch. I noticed, however, that whoever had the car before and did a "partial restore." really didn't. The fenders look like they were just spray- painted black. See the heavy rust, there, where I took the bolts out from the running board?
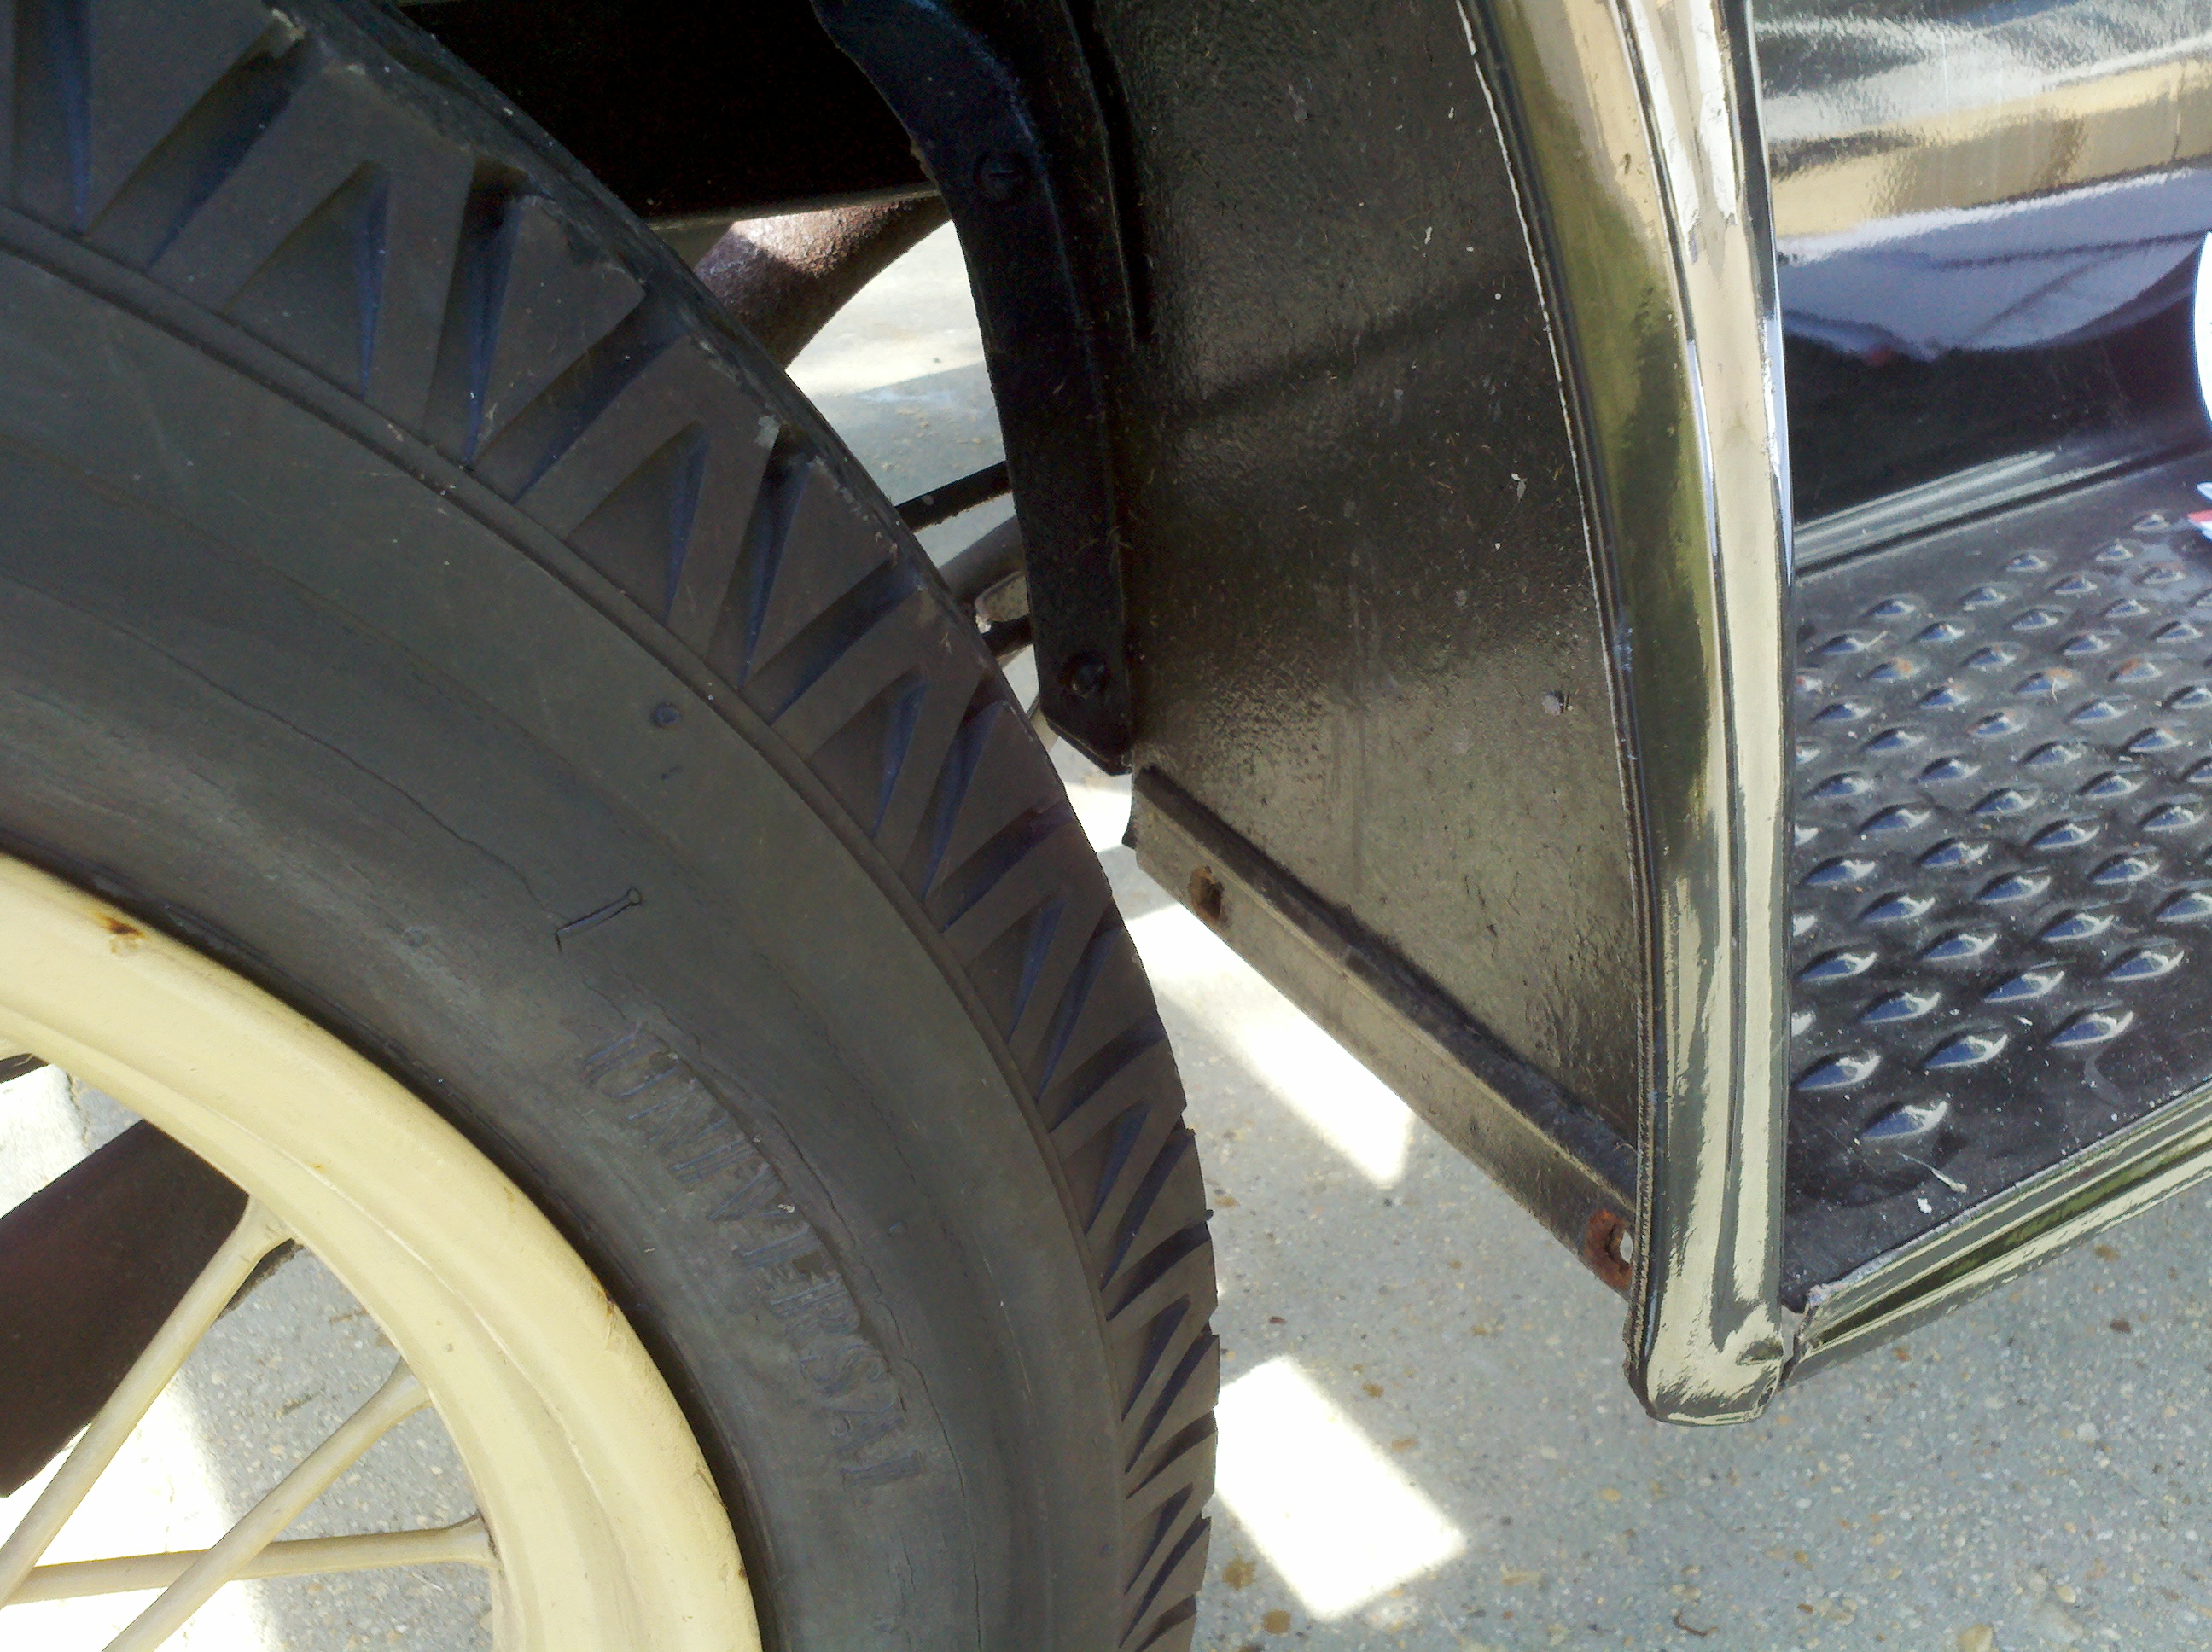

As you can see from the rightmost photo, above, it looks like a paint job was applied right over the top of some rust in places. Or, maybe the rust was removed, but the pits not filled. Yep, it's looking more and more like a whole-body dip is in the future for this old truck. On a complete tangent, though - is this a boy or a girl? Seriously. Were it a car, I'd call it a girl right off the bat, but not to be completely sexist, it's a work truck. It's seen its share of abuse. So maybe it's an old boy? I dunno. I welcome comments.
Back on topic, though, we went ahead and pulled the left fender off. See the rusted/torn metal, there, on the back of the running board? Looks like I've got some welding in my future. I might just use my stick welder to fill it in, and then drill the holes back where they belong. I'm thinking of doing that up on the bed frame, too, to get rid of the extra holes they put in when they installed the new bed.
On a side note, I notice all the bolts in this thing are carriage bolts. They are, no doubt, replacements. They are mostly shiney and new - apparently stainless steel. I need to think about what I will replace everything with. I'm wondering if carriage bolts are what was originally used. It makes a certain amount of sense, as it certainly makes (dis-)assembly easier. I'll have to look in to that. Also, on the fenders, I noticed that the threaded studs point outwards from the bed. Not what I expected. It feels a bit like these are also carriage bolts, but they sure are stuck, if that's what they are. More research in order. Sure looks nekkid with the fenders off, don't she?
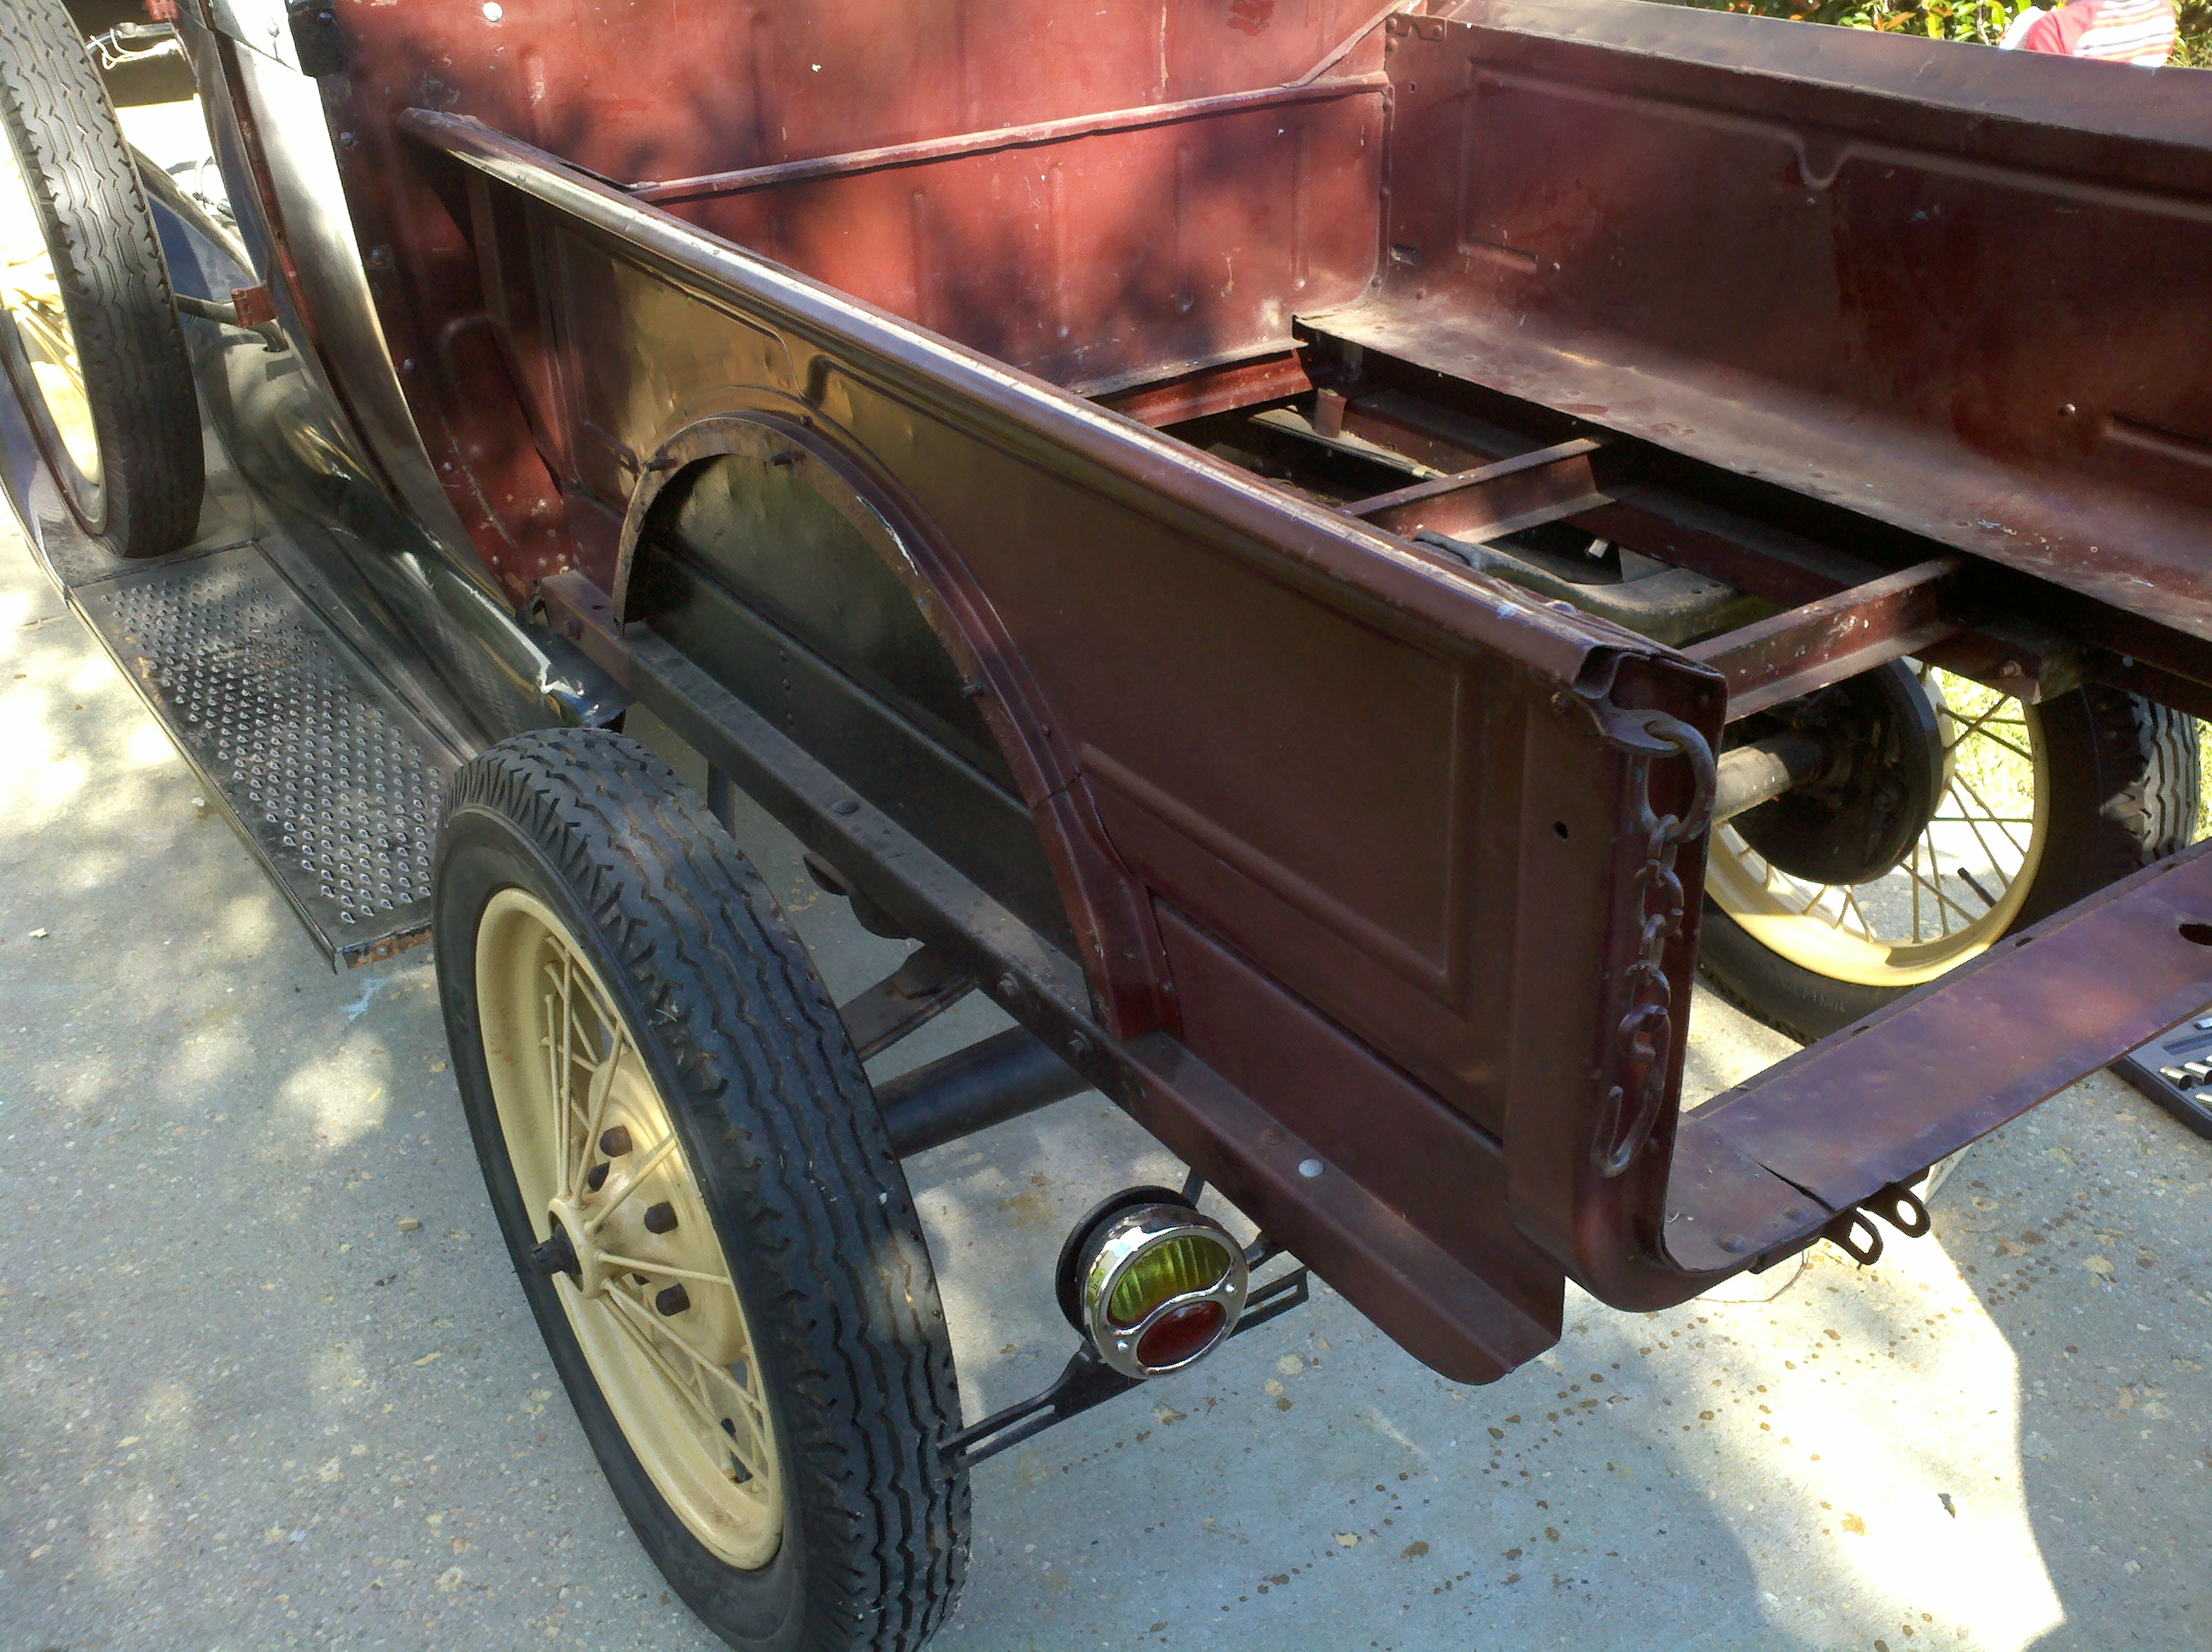
We then started pulling some of the bolts that hold the bed down to the frame. Actually, they mostly hold the bed to a piece of wood, which is then mounted to the frame. i didn't get as far along as I'd hoped, as it was getting late, and it was about time to start fixing dinner. I also noticed that there were "extra" bolt holes driled in places, with the bolts mounted different on one side, than on the other (for instance, a vertical bolt on the right had a horizontal bolt in the same position on the left). More stuff to look in to. And maybe some more holes to be filled with a stick welder in the near future...

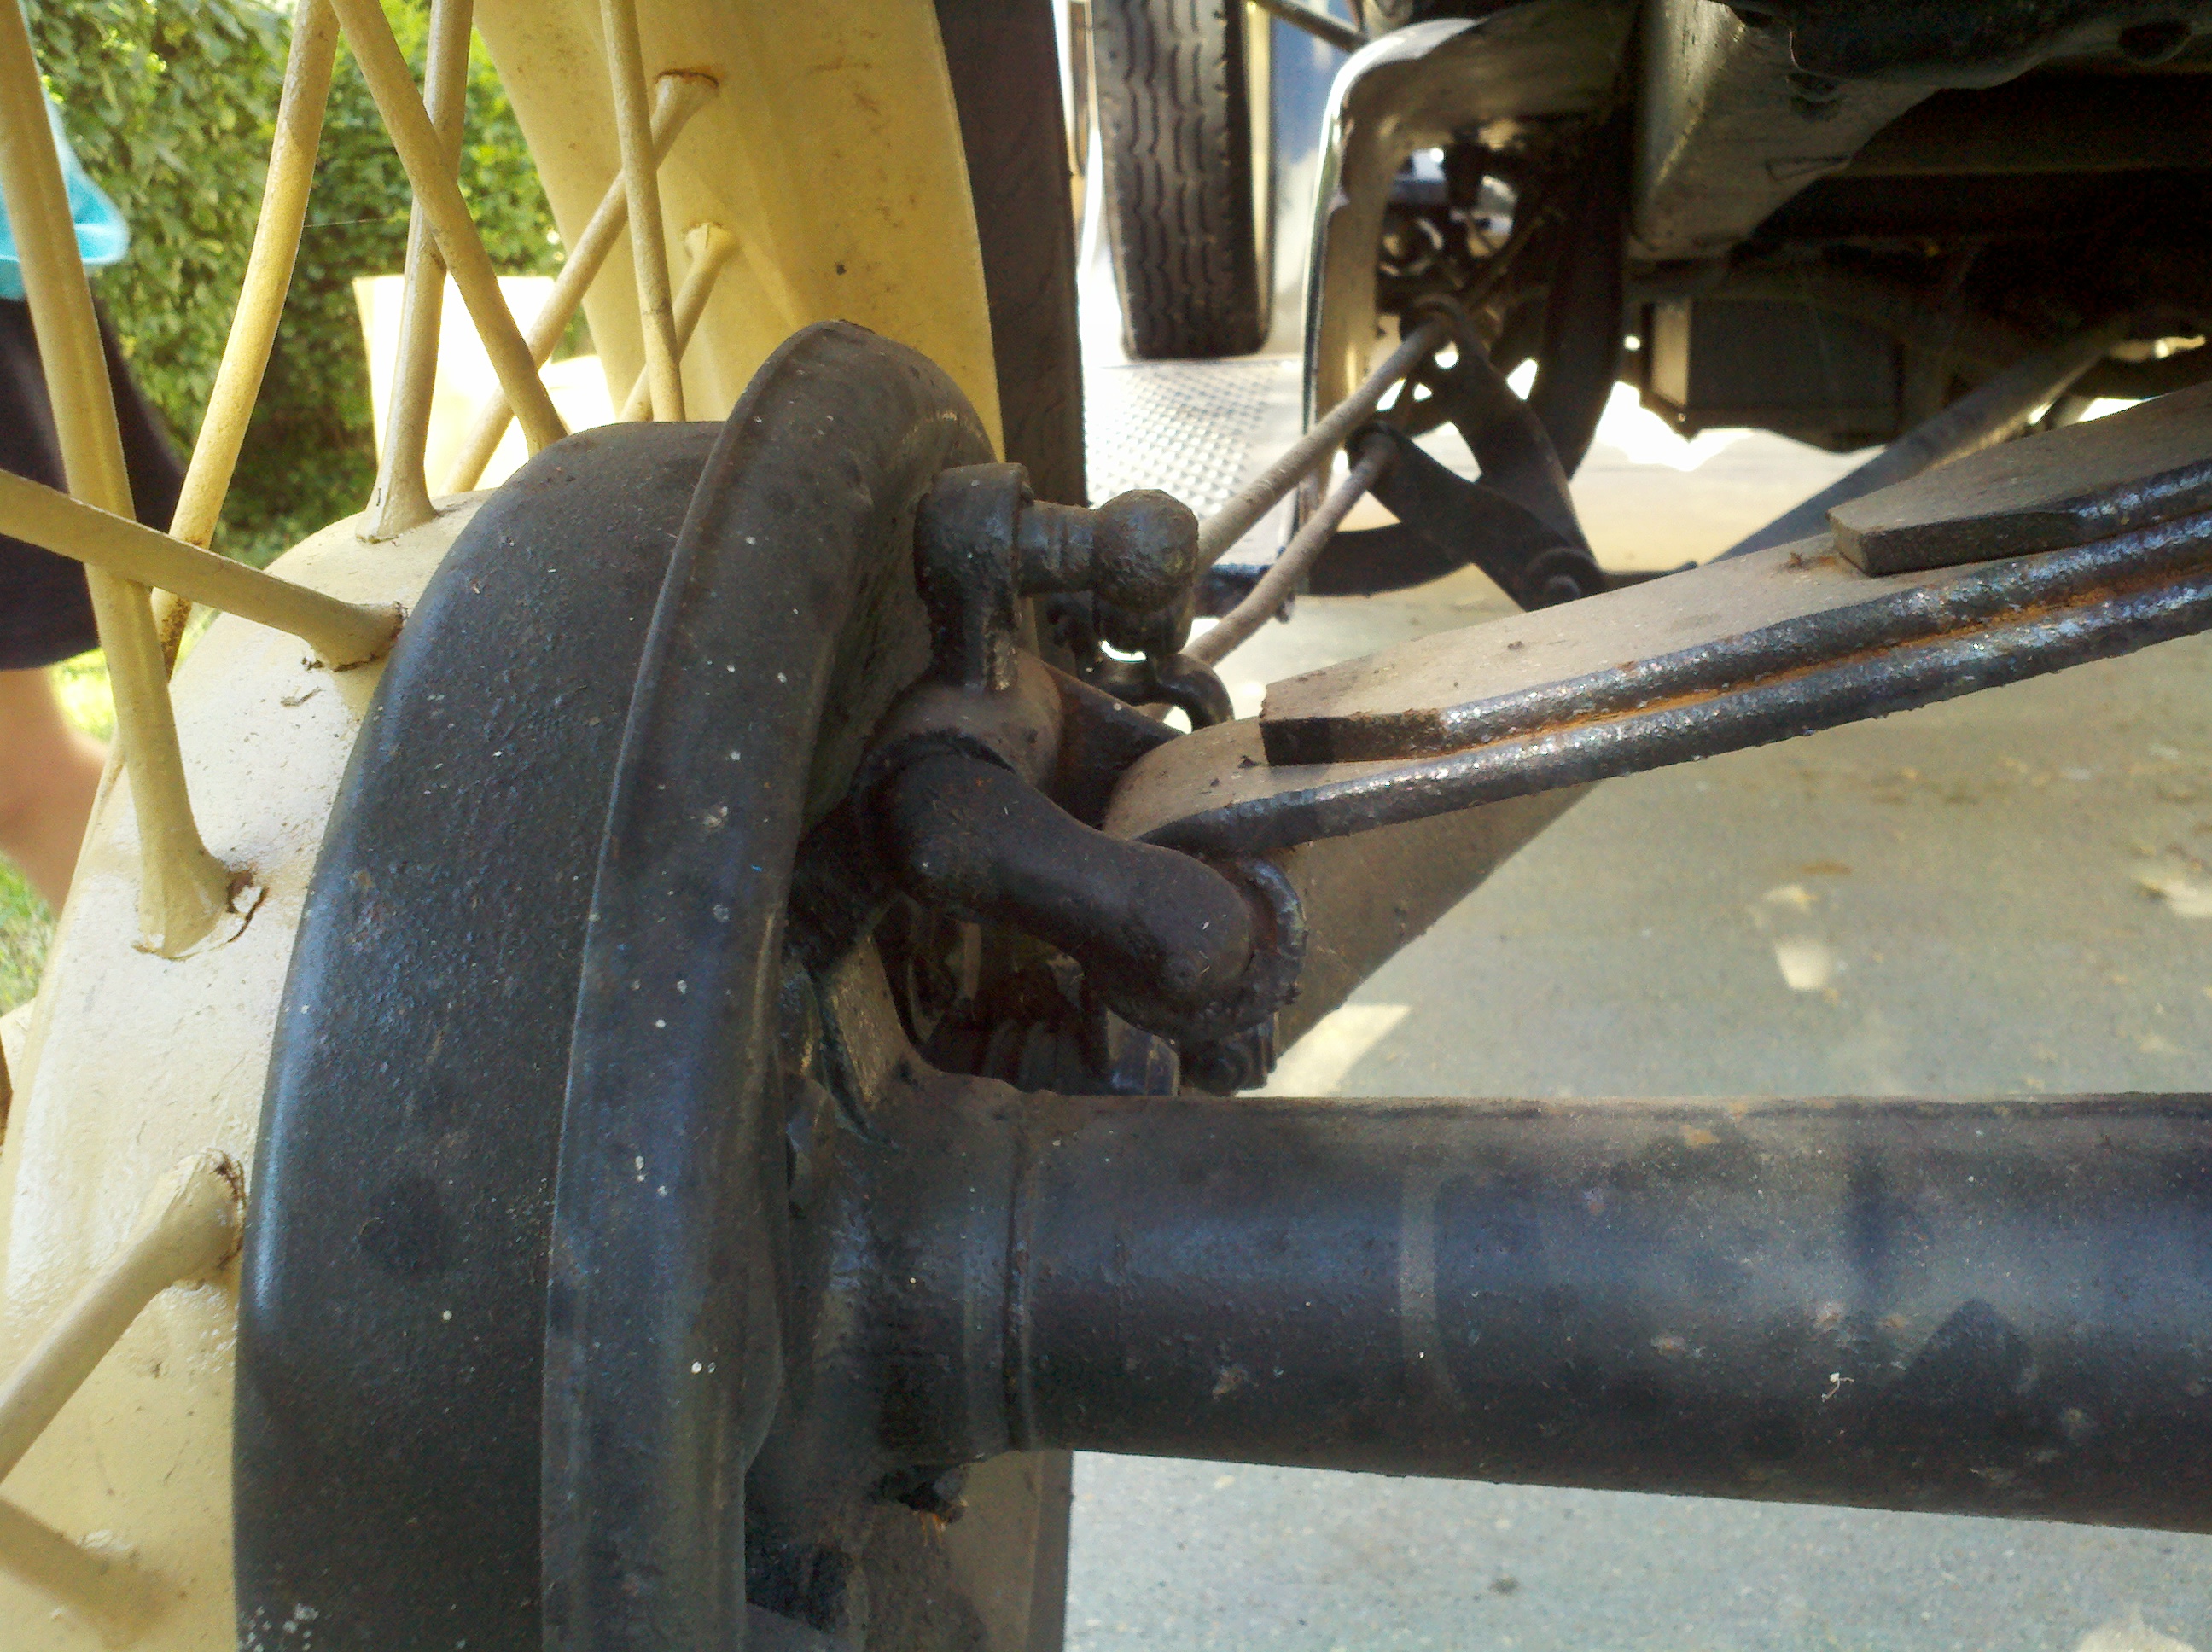
We got a few of the bolts out. Some were rusted pretty badly, but the previous liberal application of WD-40 did the trick well enough. But like I said, I didn't get finished. While I was out, I took a picture of the wheel hub and braking system. It's next, just for interest.
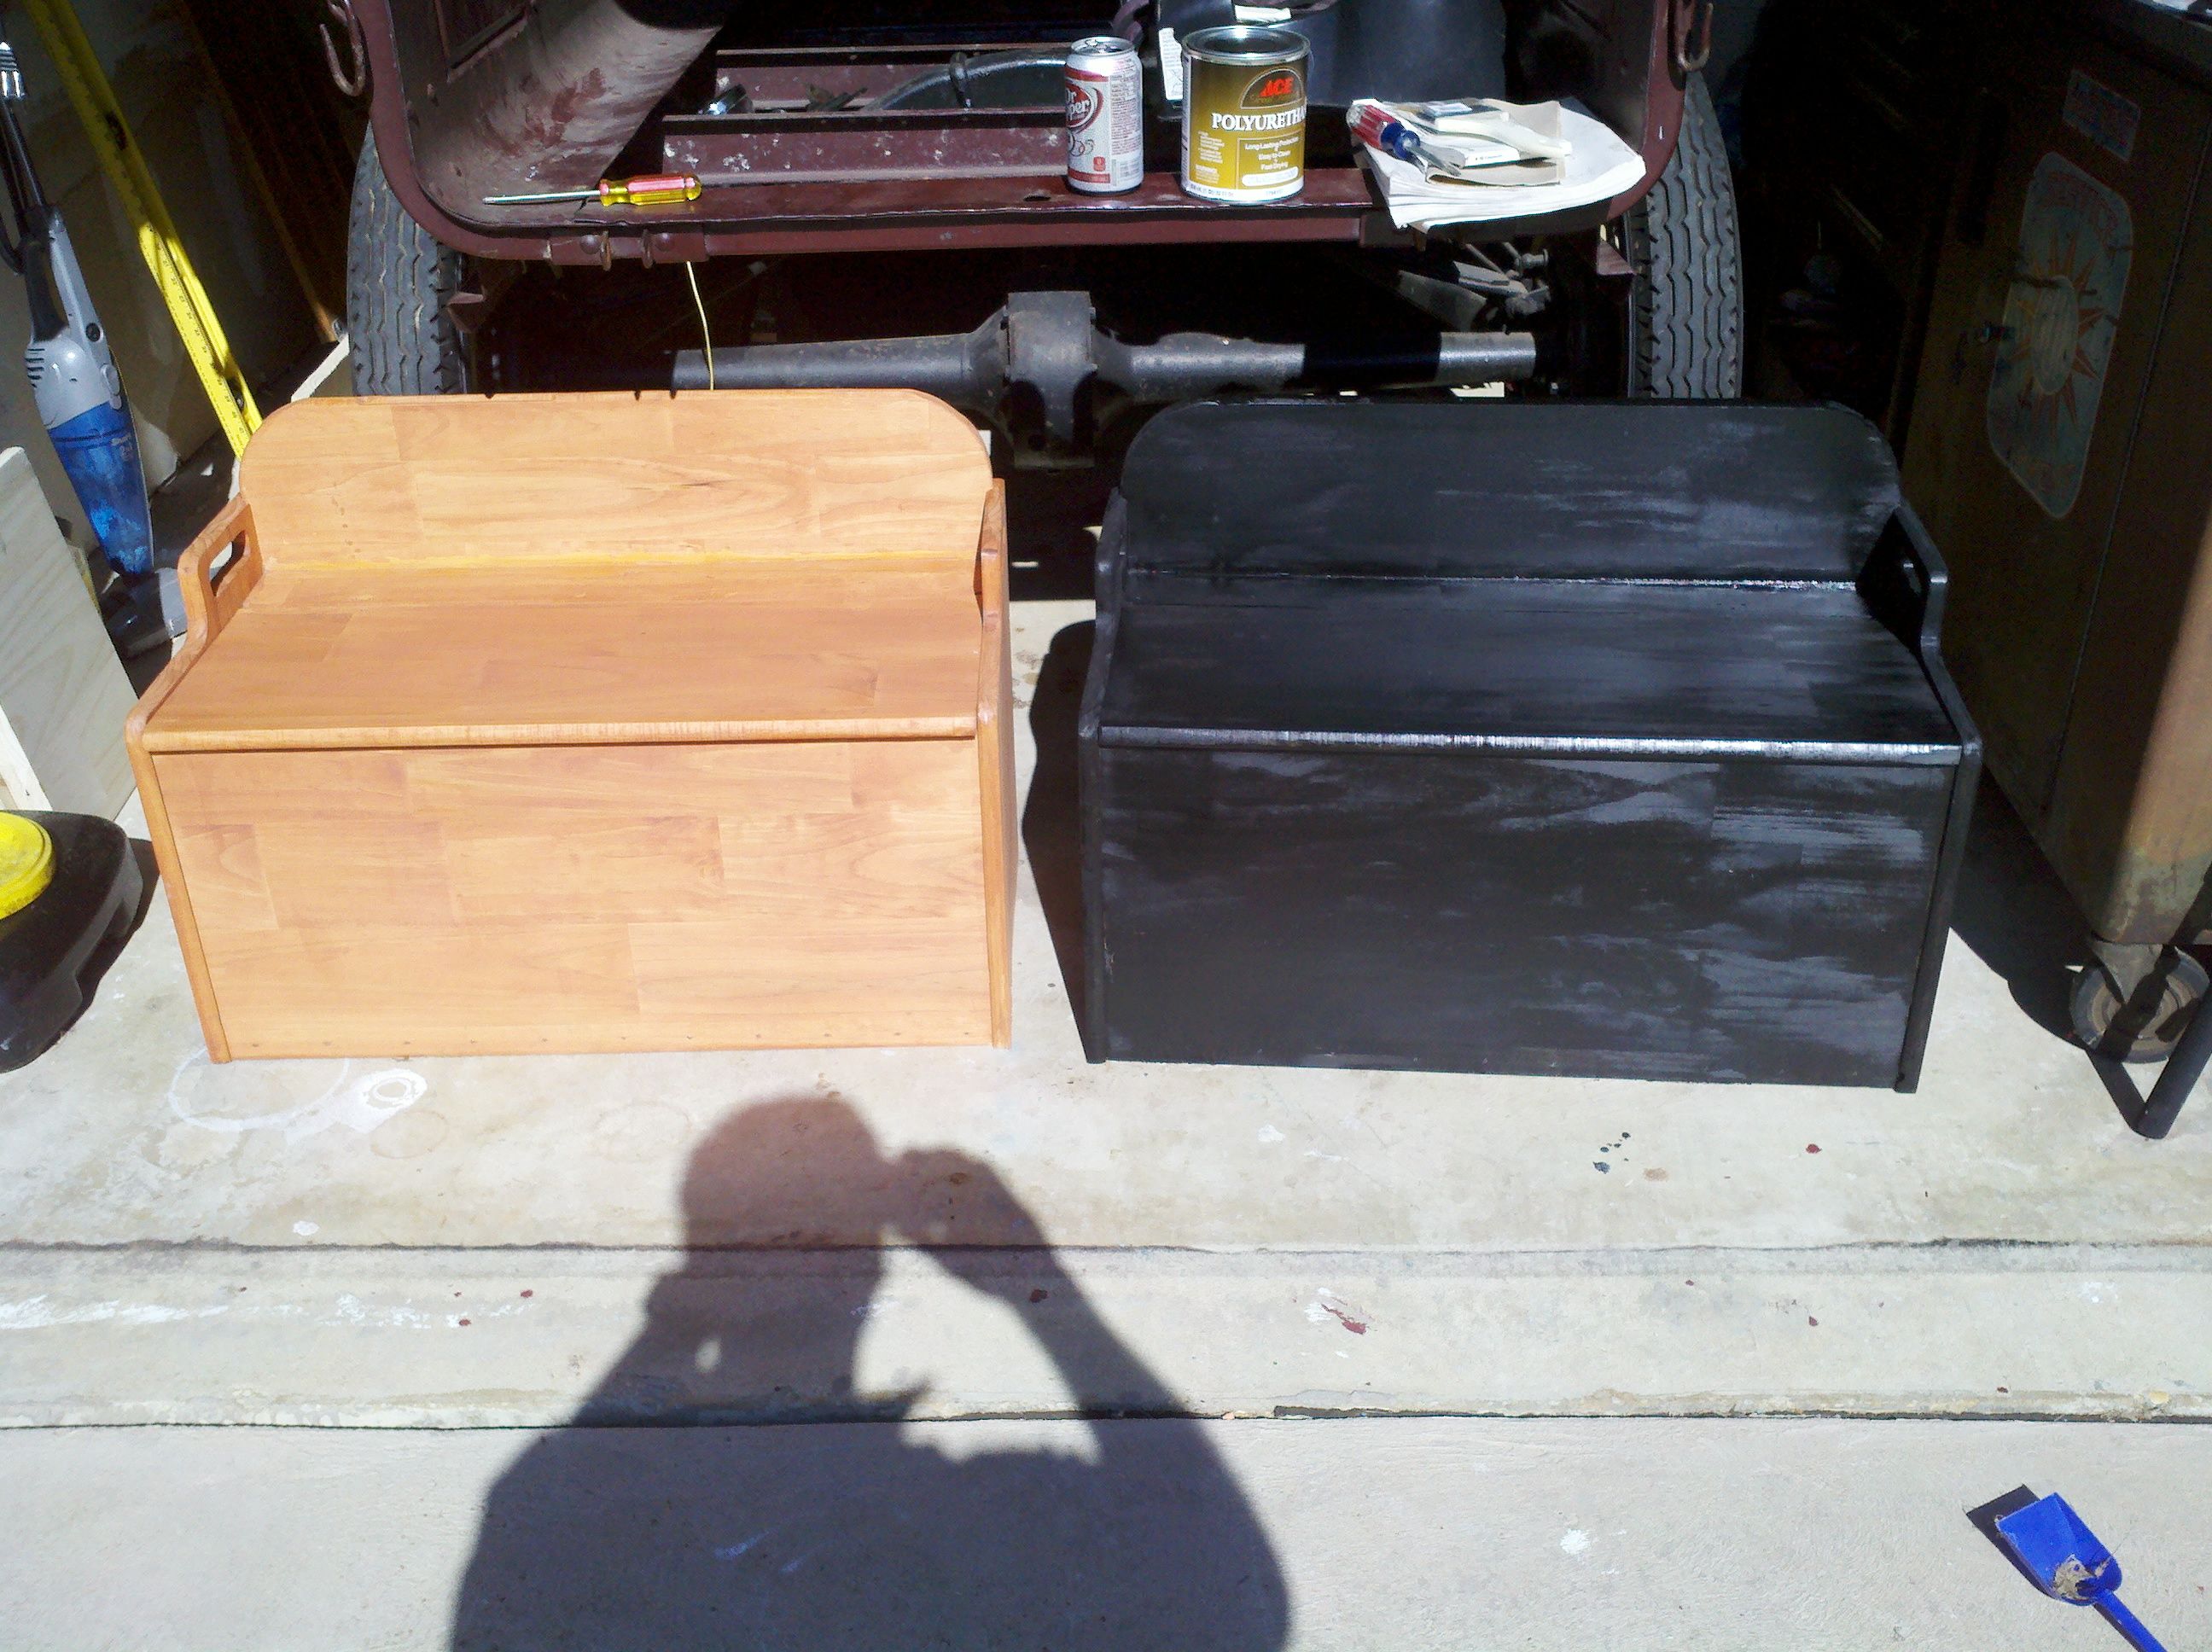
The missus was away for the weekend, the weather was beautiful, so part of the "to do" list was to do some work on the truck, right? Well, first off, I had to clear out some work area, as I had been using the bed as a really expensive work bench to build some toy boxes for my younger kids...
When the kids and I removed the fenders, we had removed a couple of the bolts holding in the bed, but didn't quite finish it up. Today, the kids were too busy doing "kid things" to help, much, but it was only a few more bolts, so no biggie. I got out my creeper, and got ready to go under the bed to pull bolts. I had a real quick epiphany, though - without the floor, I could reach most of the bolts just by standnig between the support members. Duh. Most of the bolts were carriage bolts, but this bad boy was in there, and I'm sure he was original:
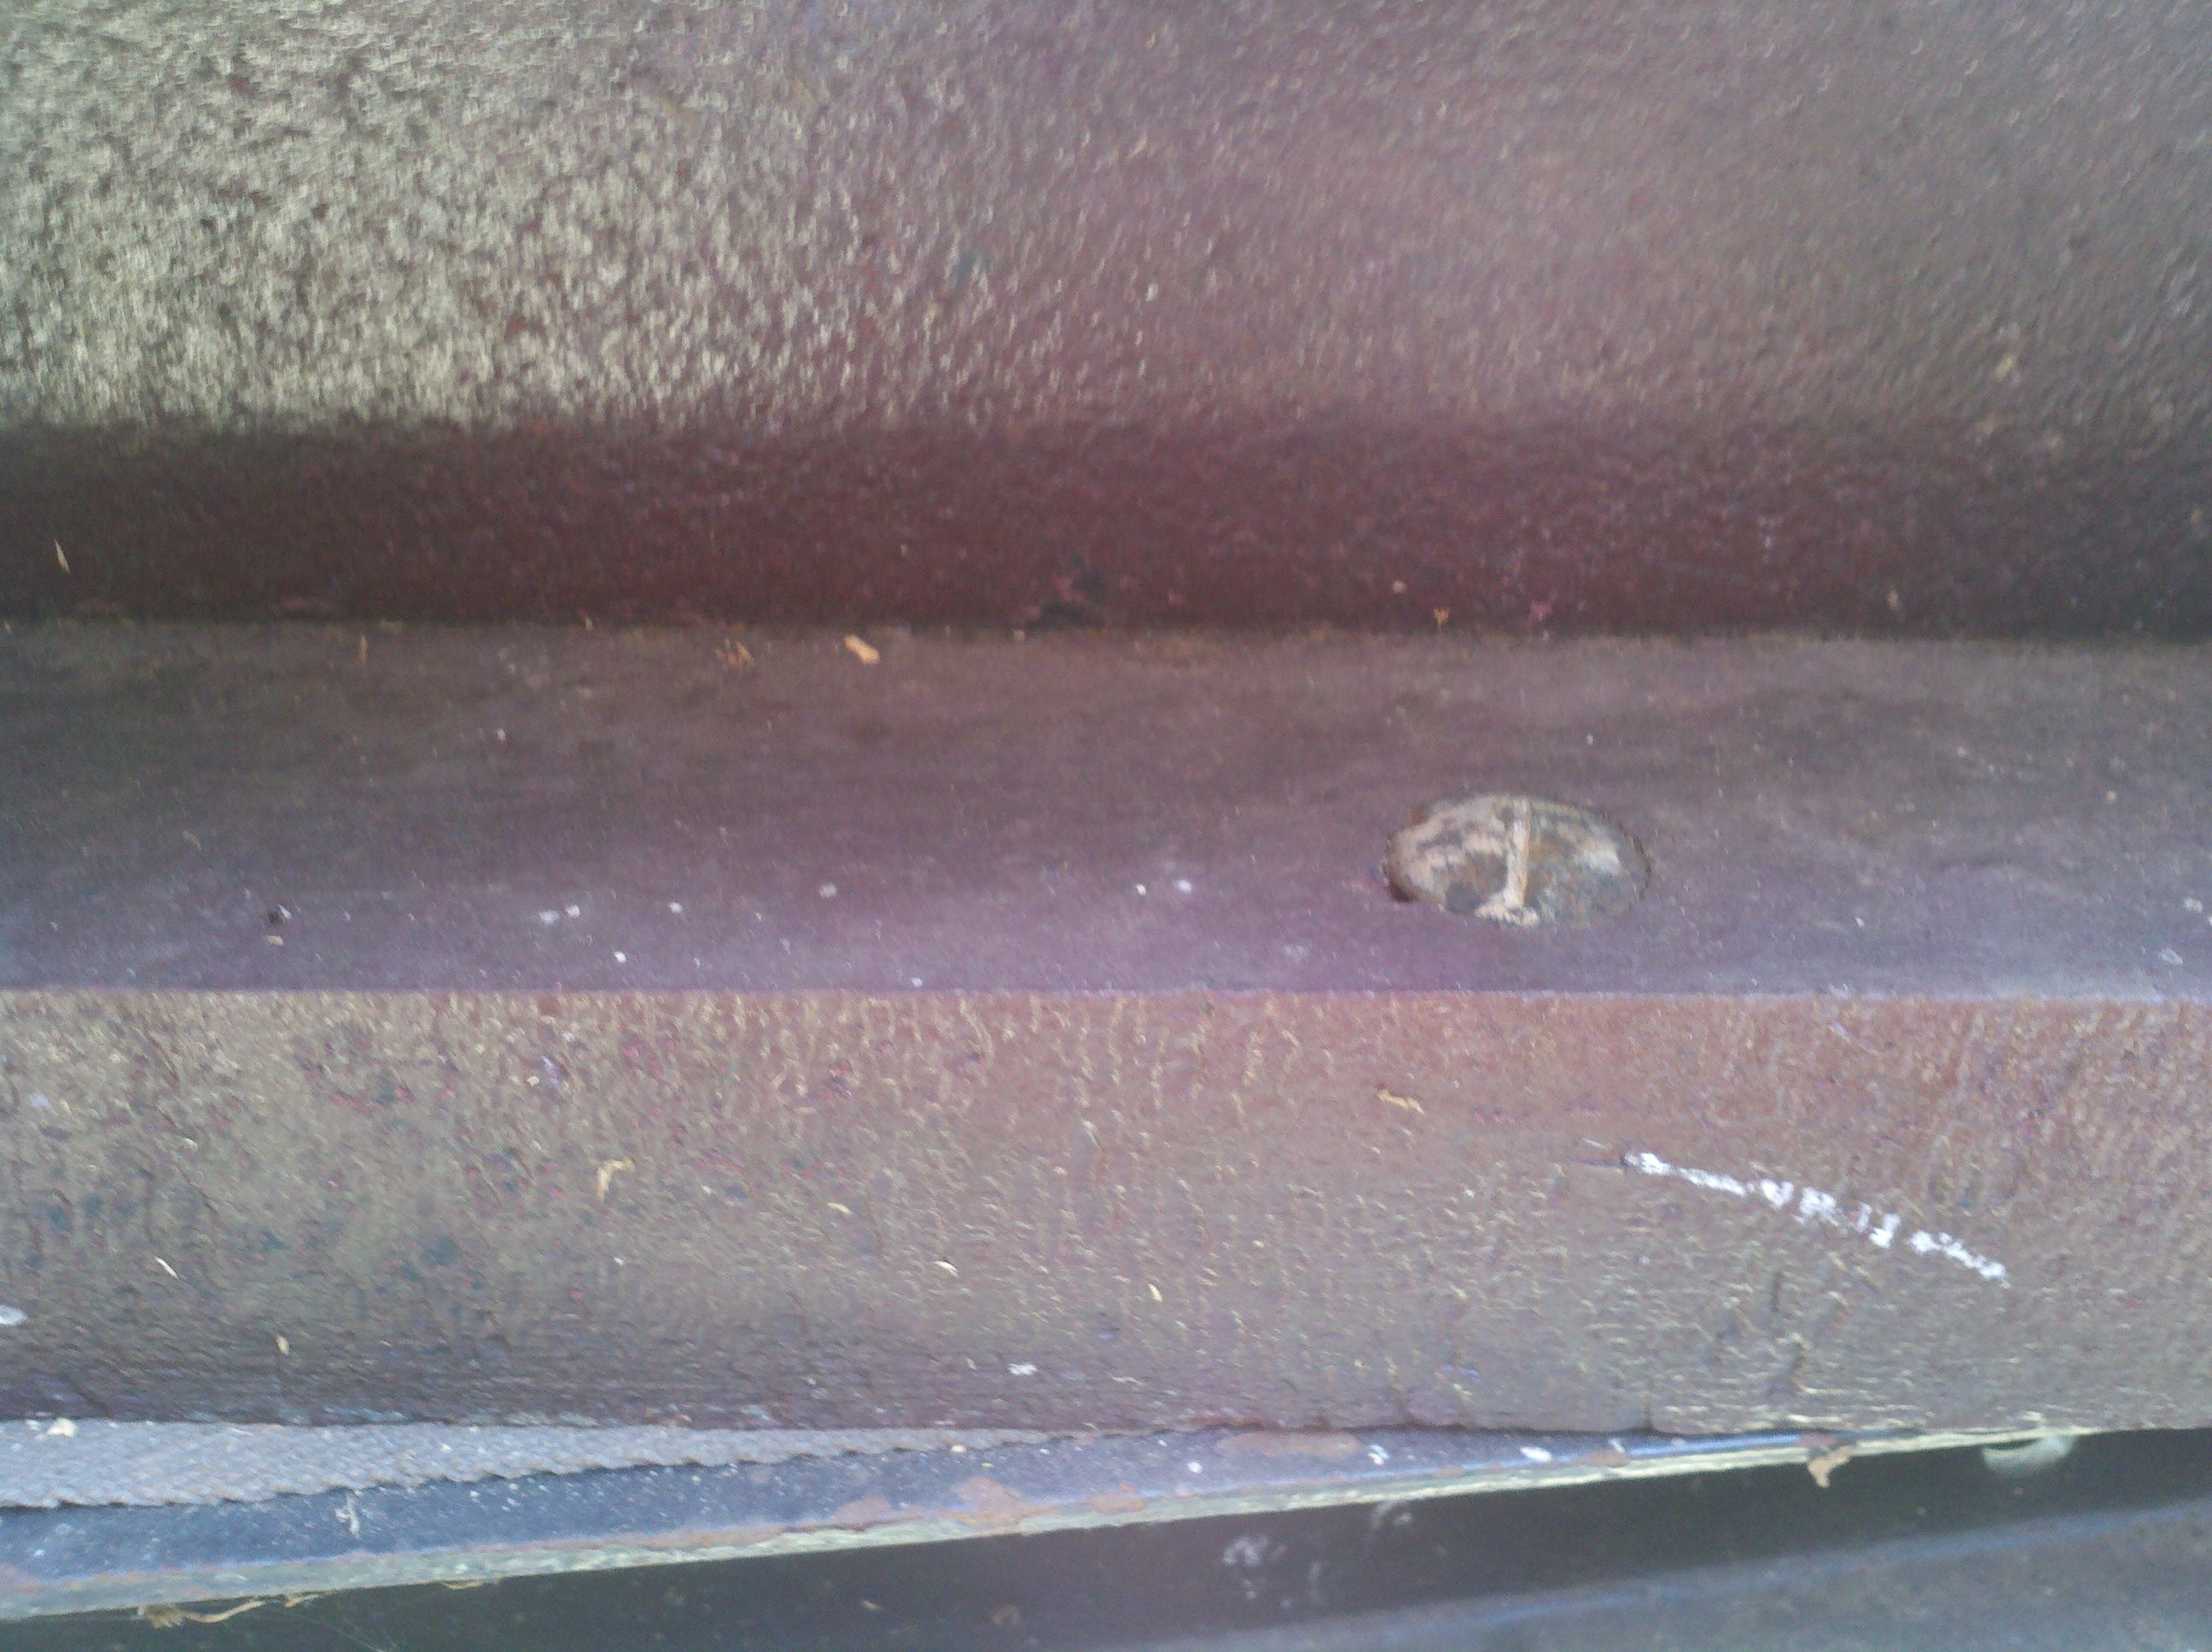
Now, this was pretty straight forward - not rocket science at all. However, as I stared at it some more, I quickly came to the realization that someone had gotten lazy. See, on the left side, it looks like they forgot to put in a bolt before dropping in the bed, and decided to just drill a new hole from the side. You can see it in the pictures below - I guess this is a spot for me to fill in with my stick welder, and then grind flat.

It turns out that the bed is held on with only six (?) bolts. There's a few other bolts that bind the sleepers (actually called "sills") to the bed. You can see from the pictures that the "welts" (the anti-squeak cloth) are fairly new... The bed came off without a hitch, the only problem was that it was a bit back-heavy, and wanted to tip and fall as soon as I pulled the last bolt. I was able to hold it down, though, and lower it gently. One other discovery was a broken sub rail bracket... You can see it, below, too. Dunno if I'll weld it up or replace it. That brings up a good question, though.. Maybe I should pull all the rivets before I dip it, to ensure no acid stays between the panels? If I do that, though, I have to buy a full set of rivets, and I think a rivet gun (I don't think I've got one of those)... And each rivet is a very noisy two-person operation. Things to think on...
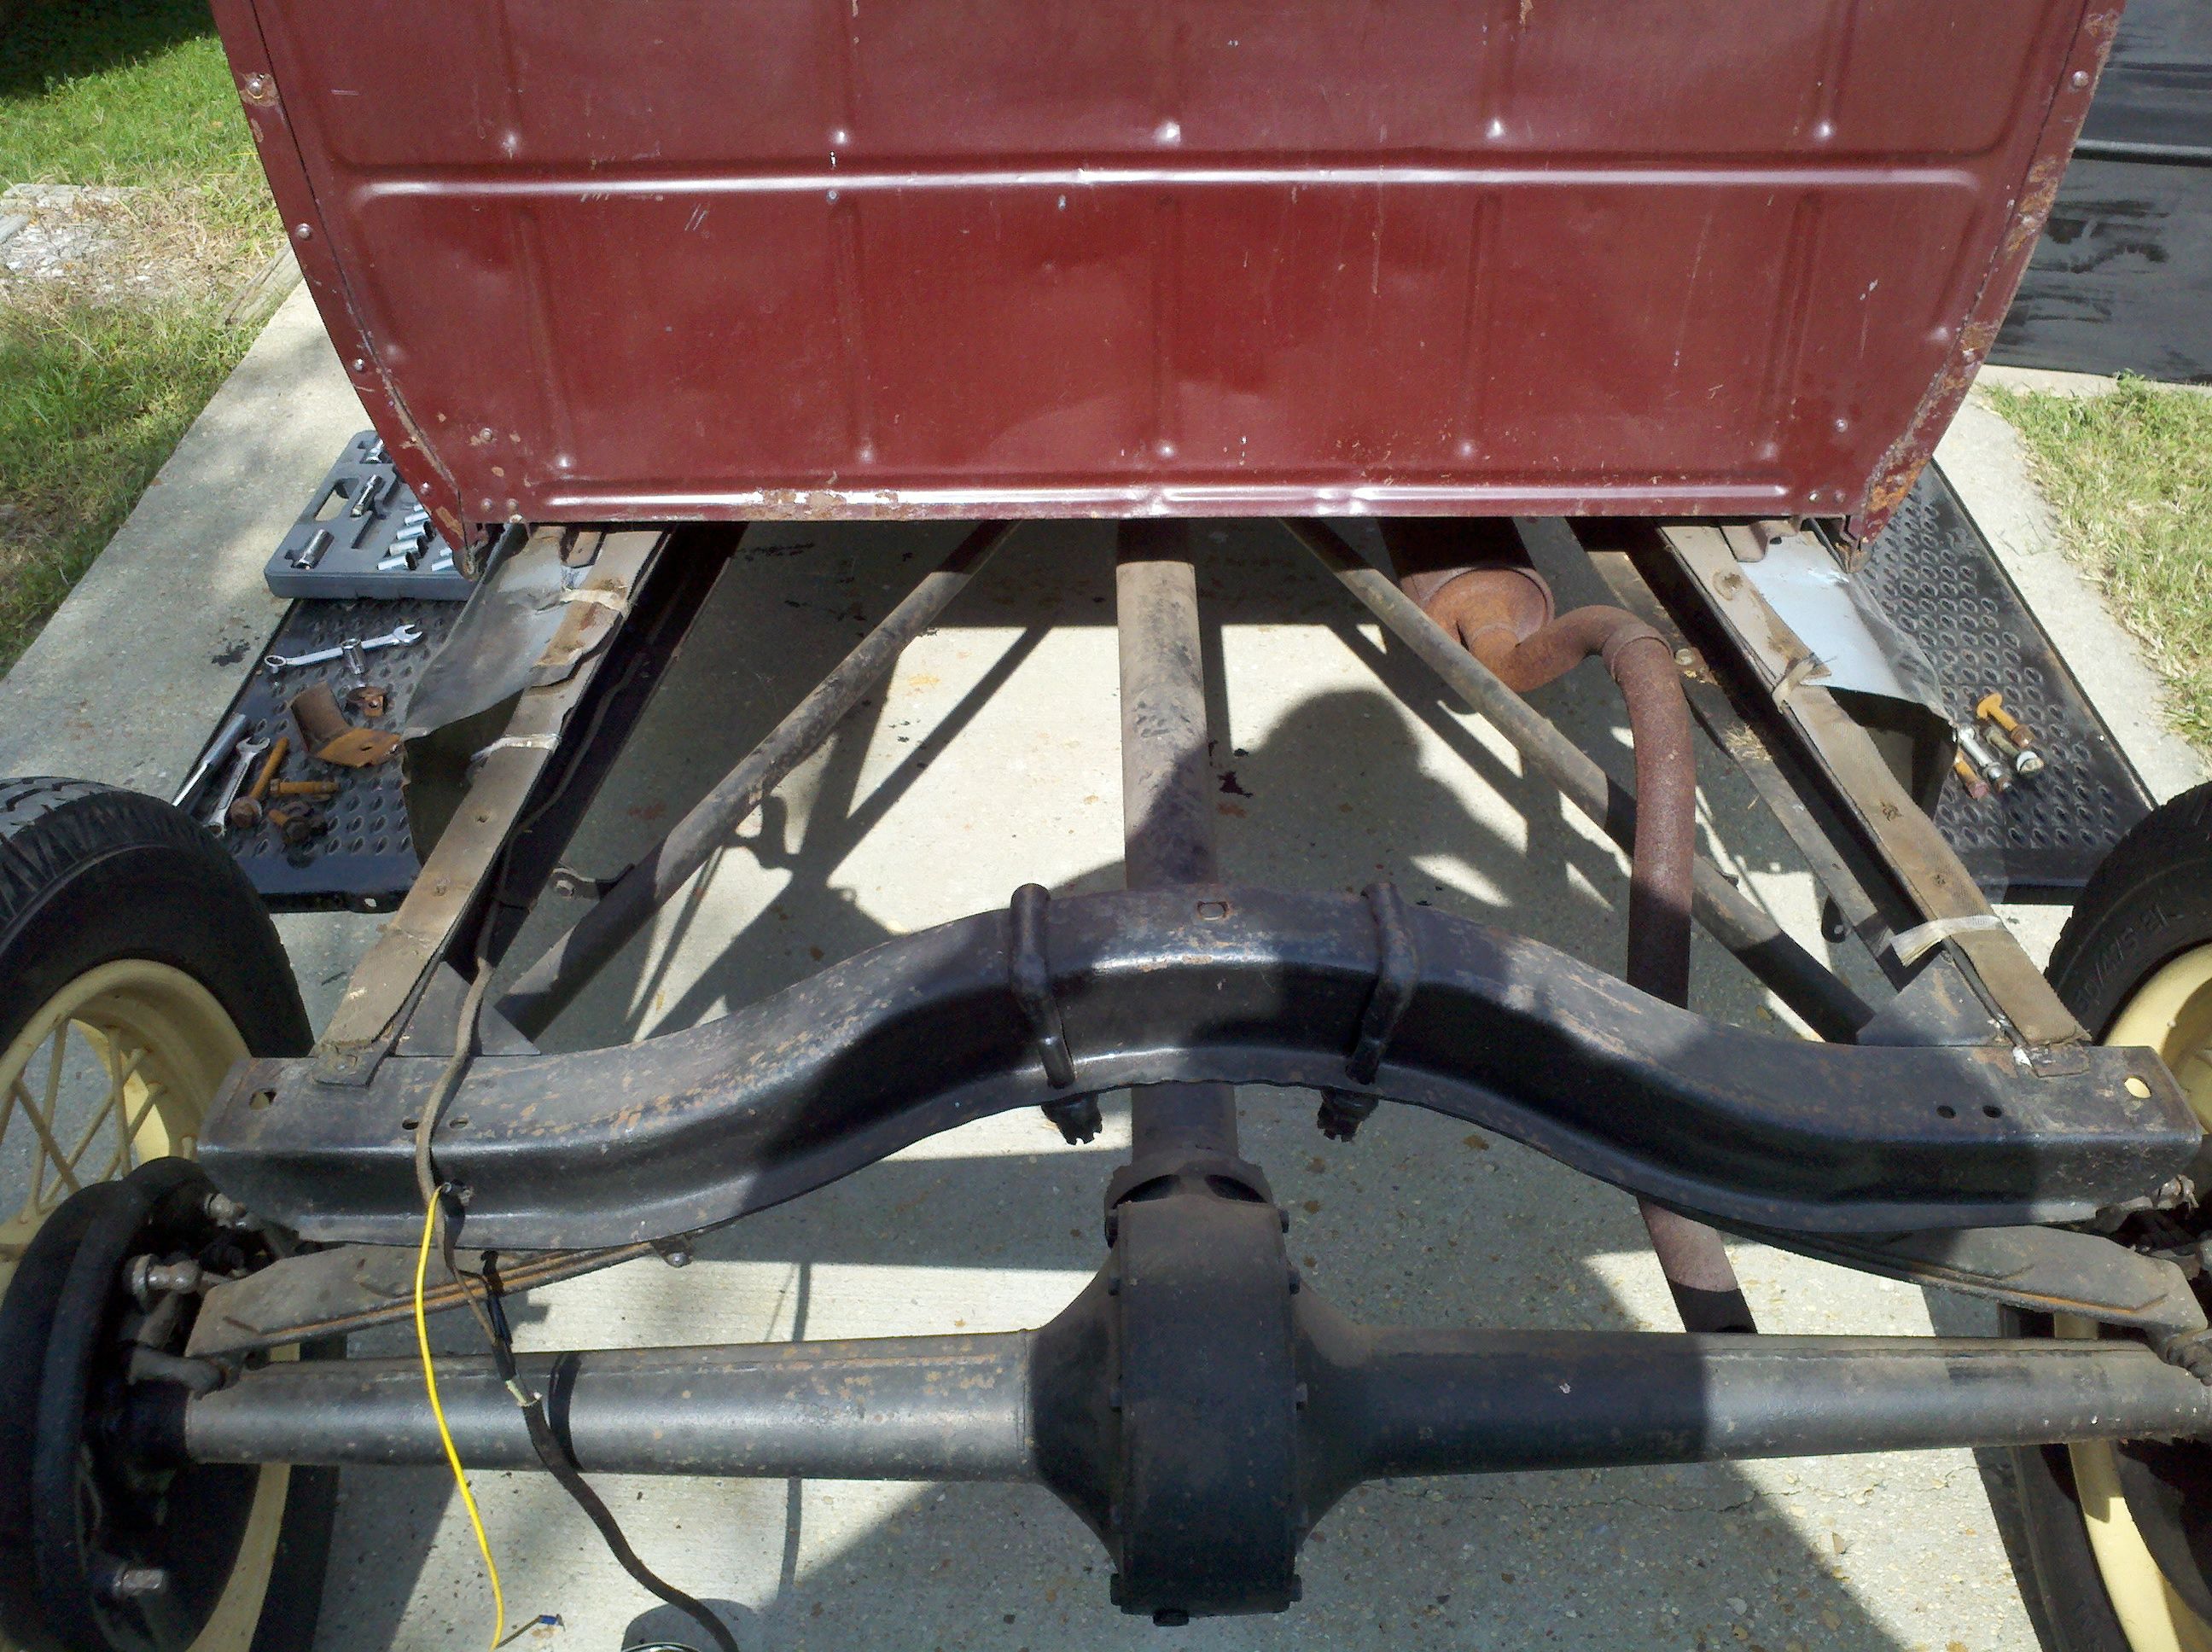
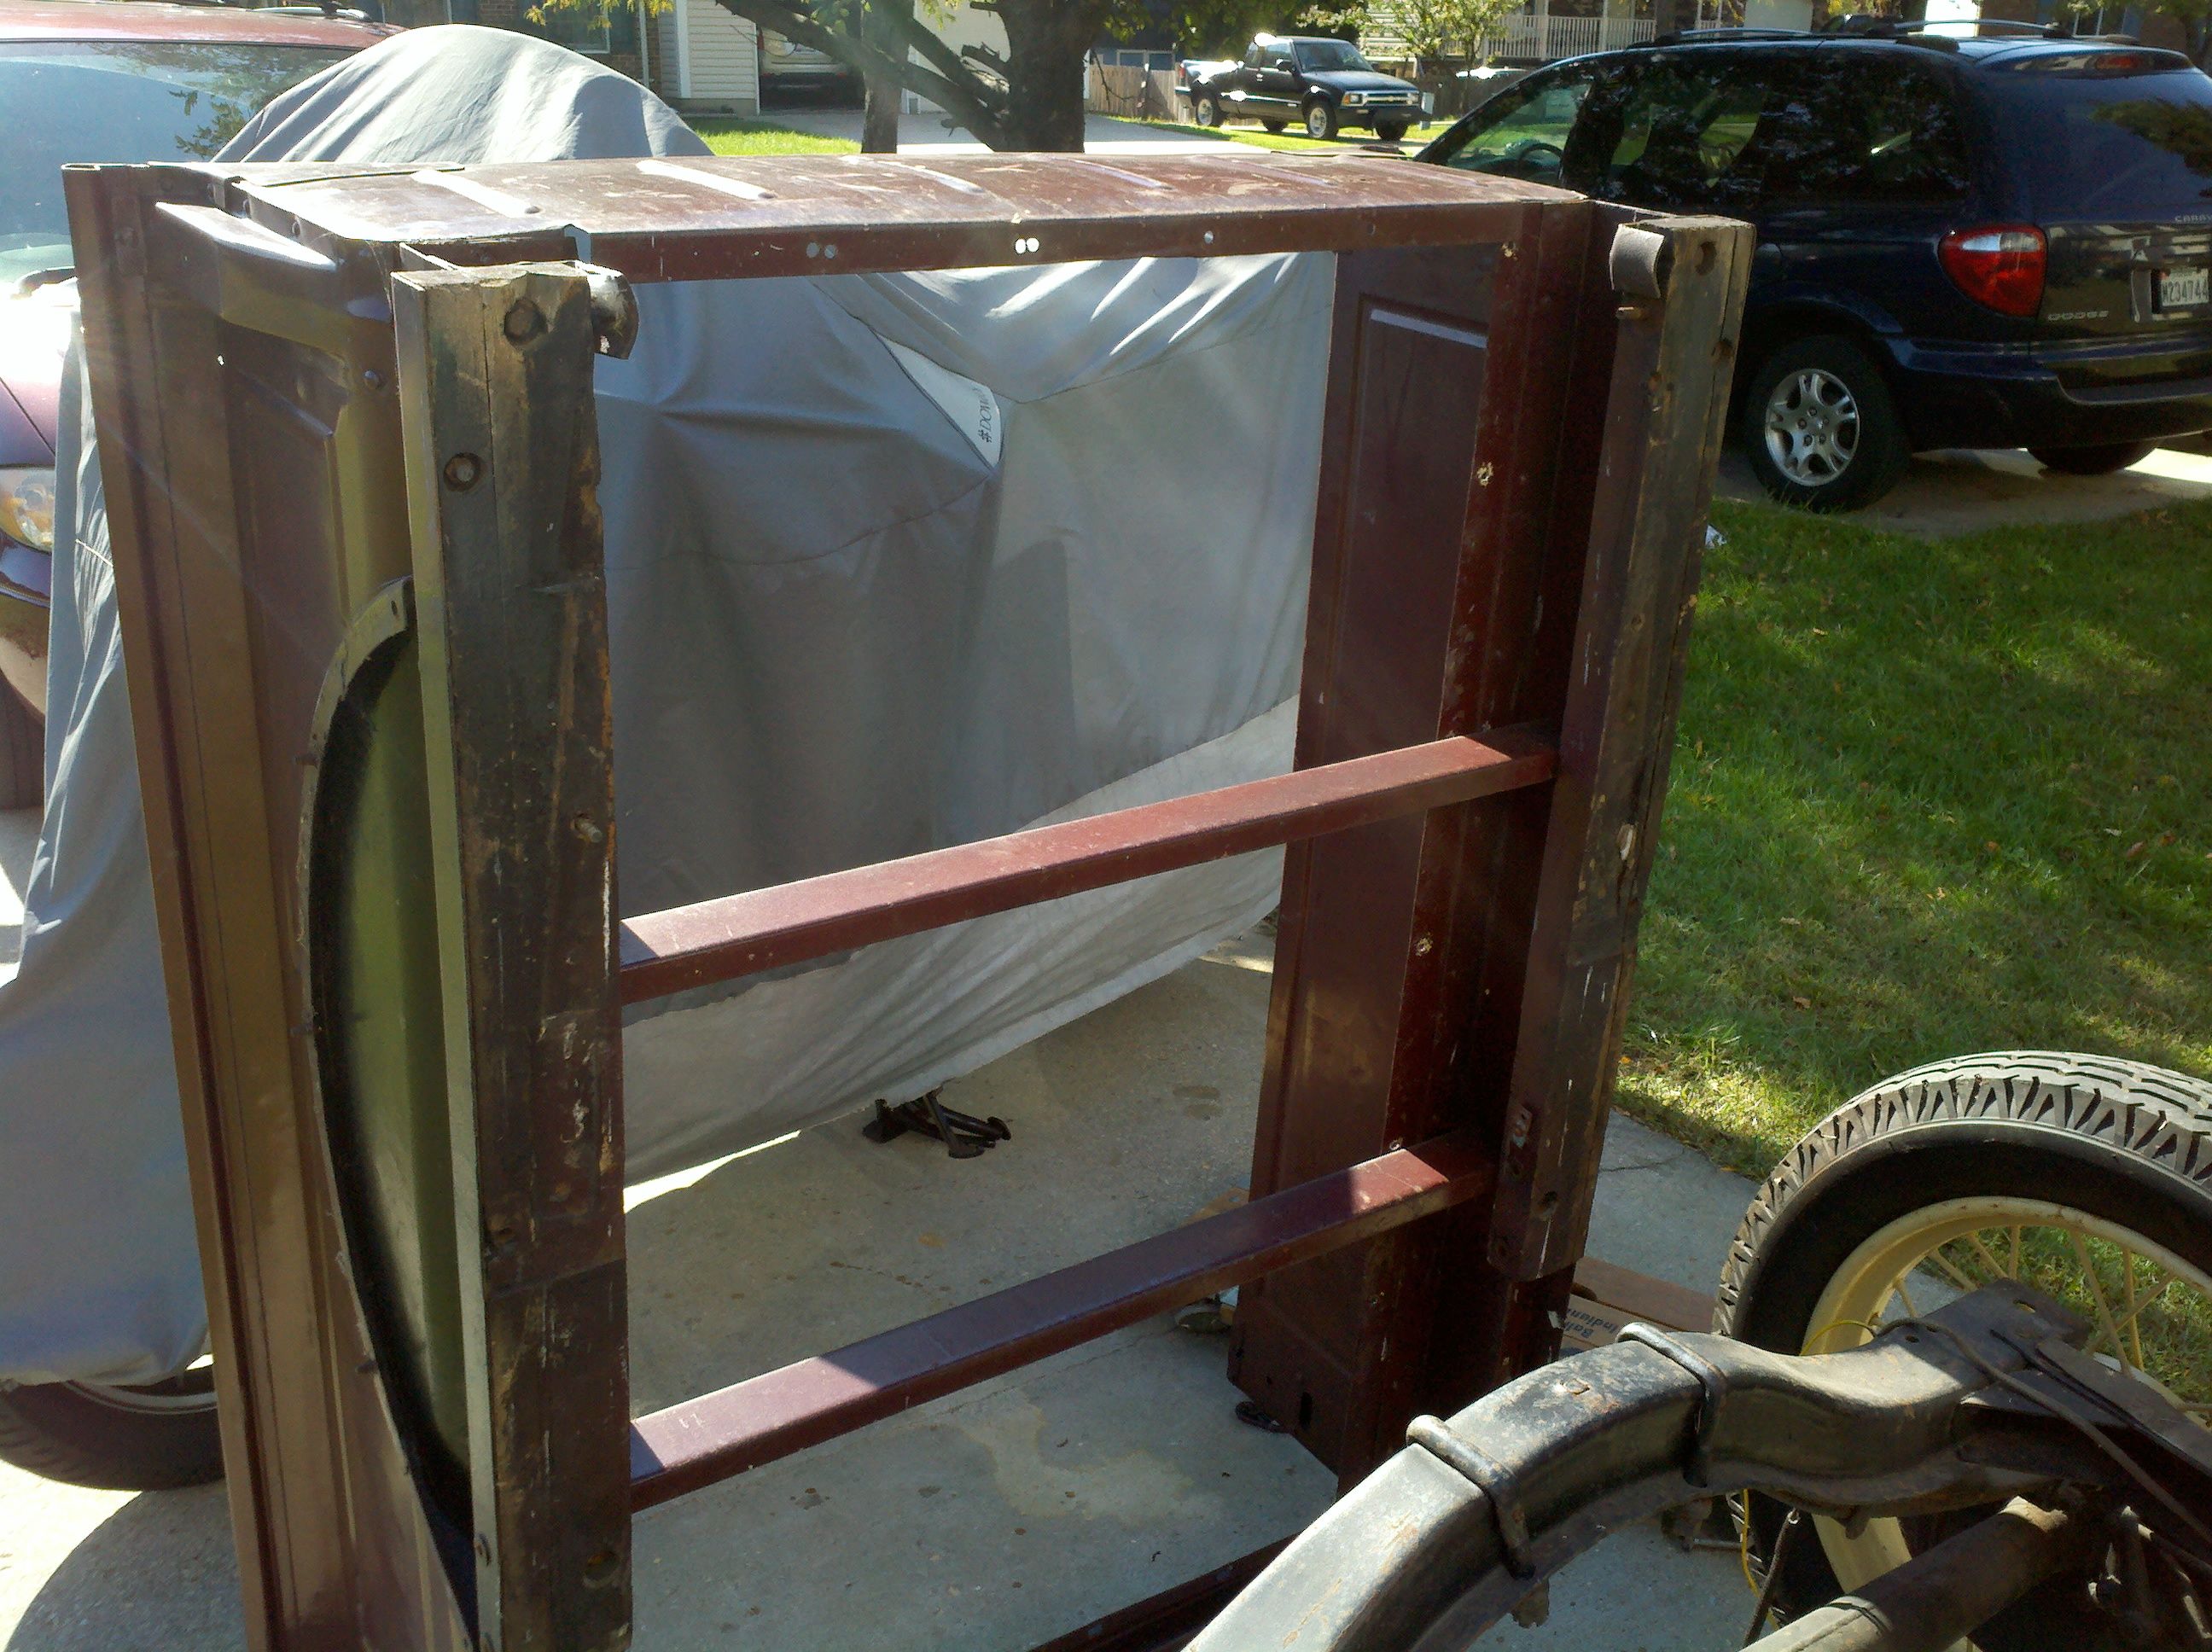
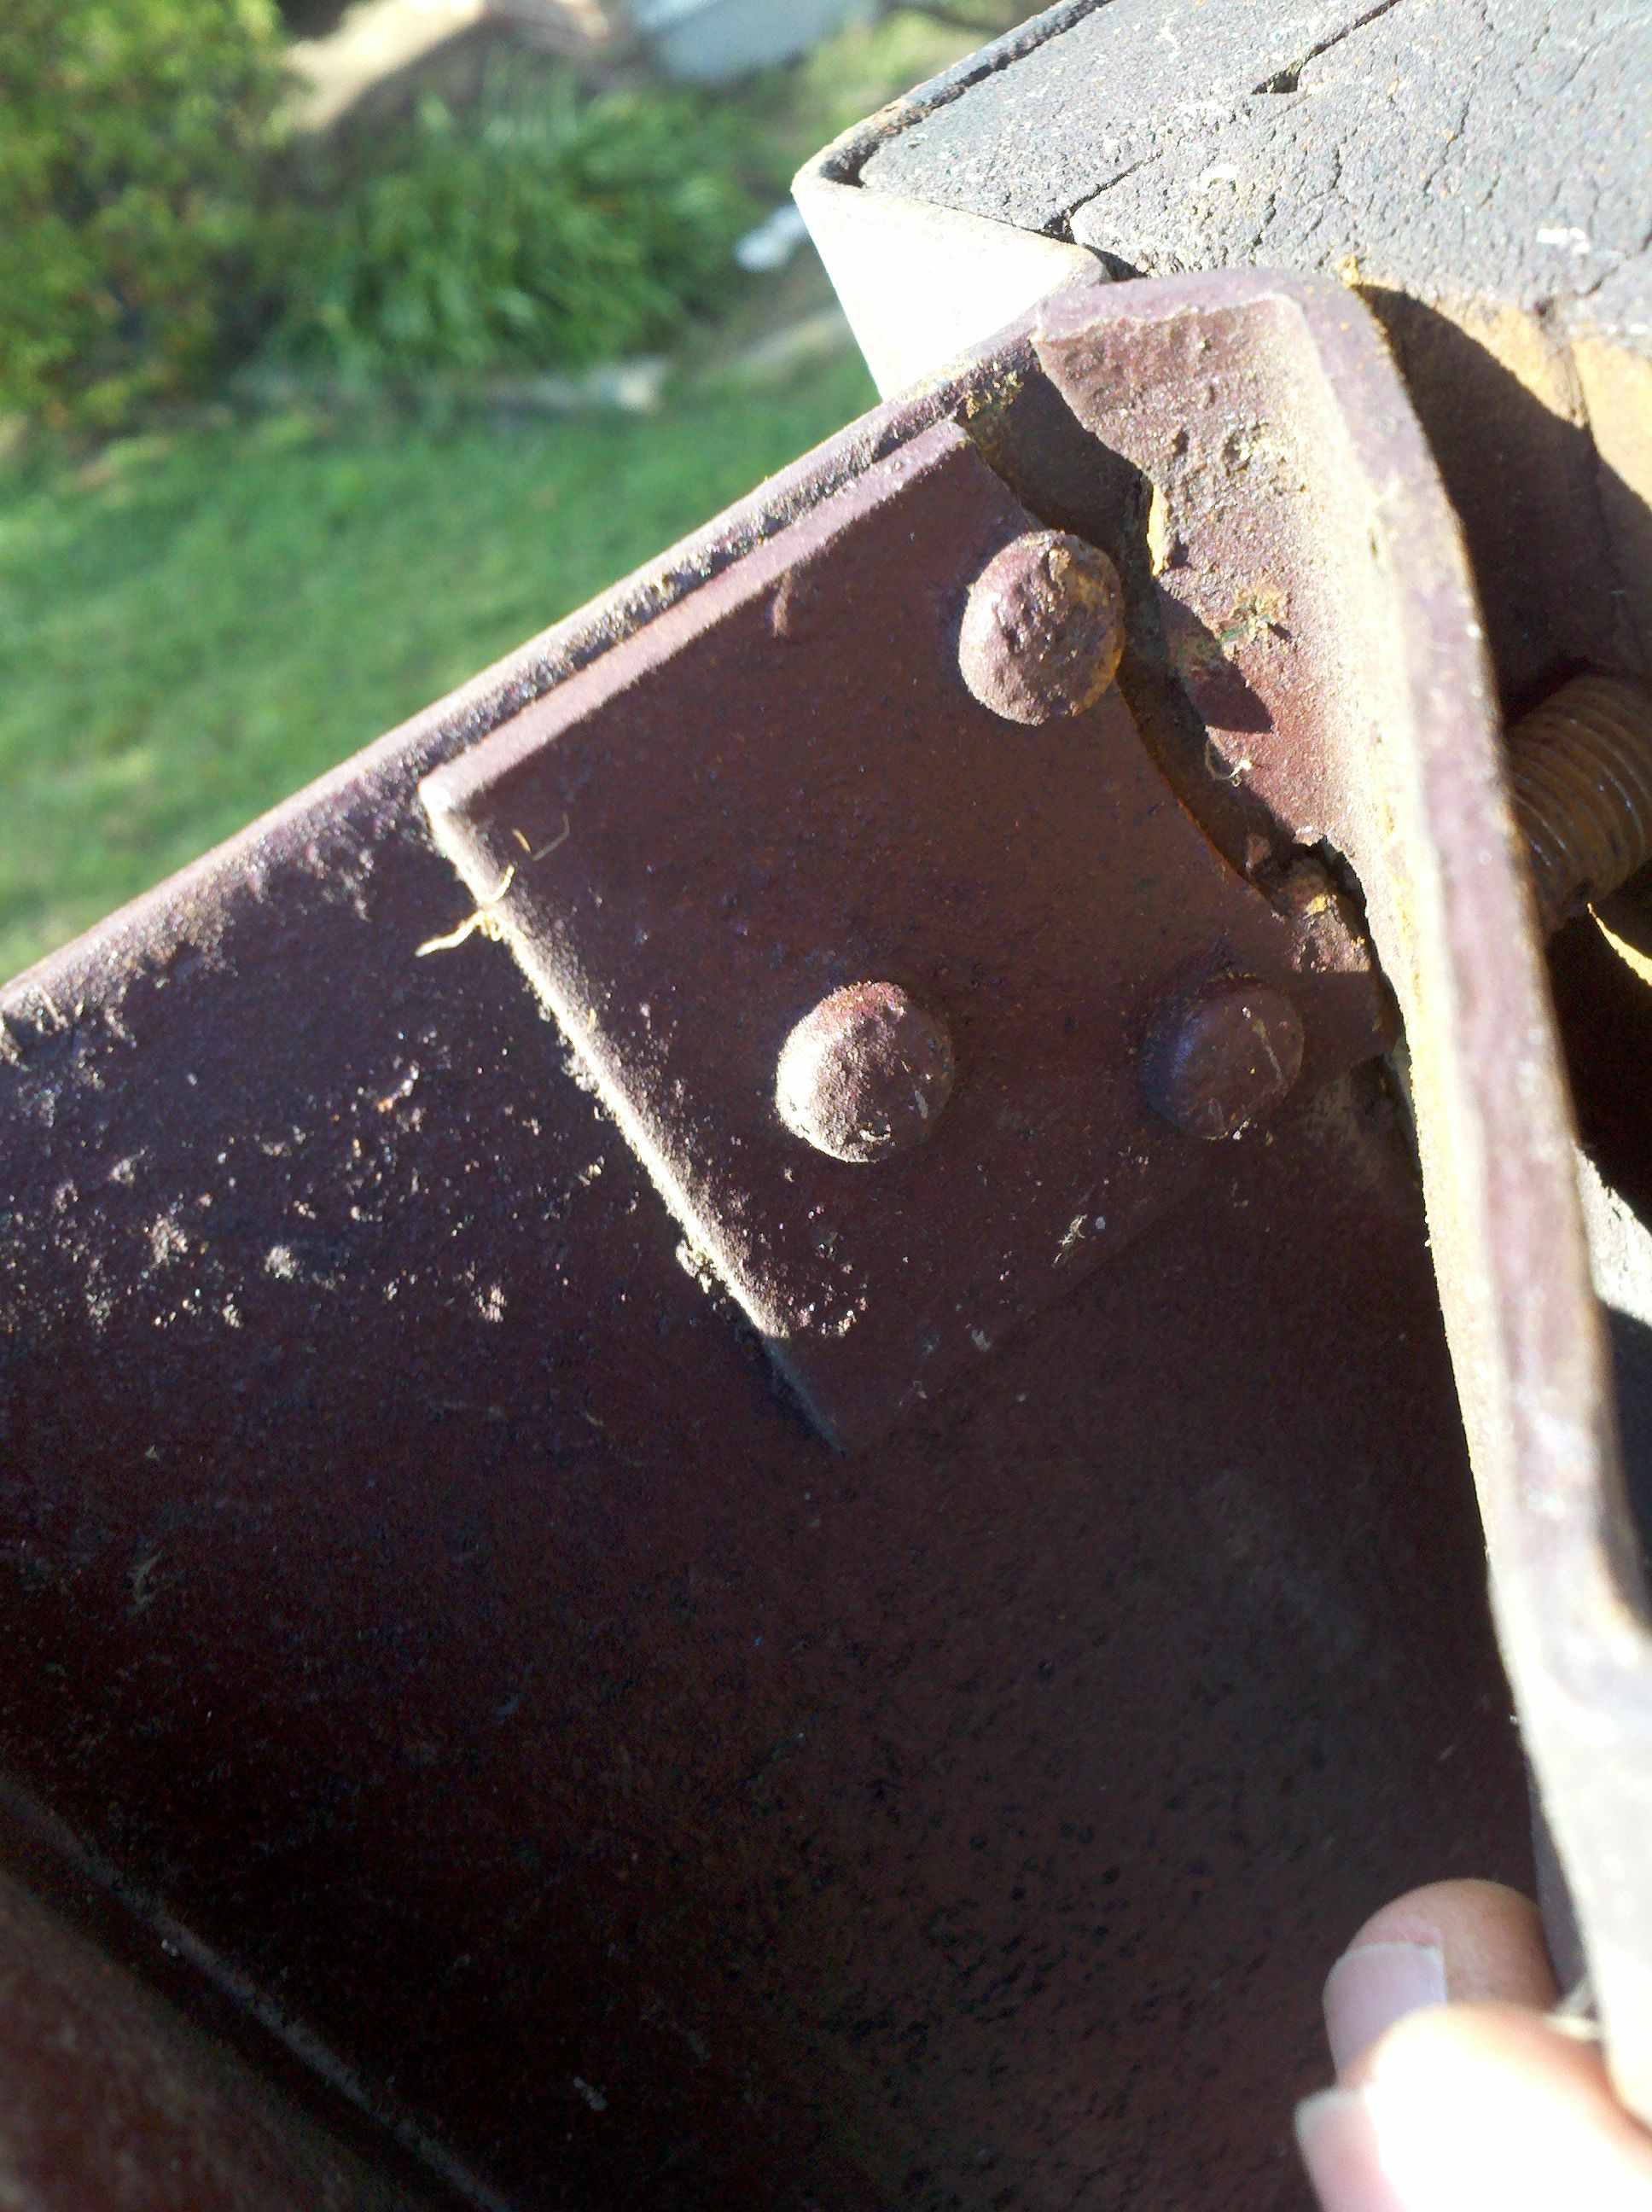
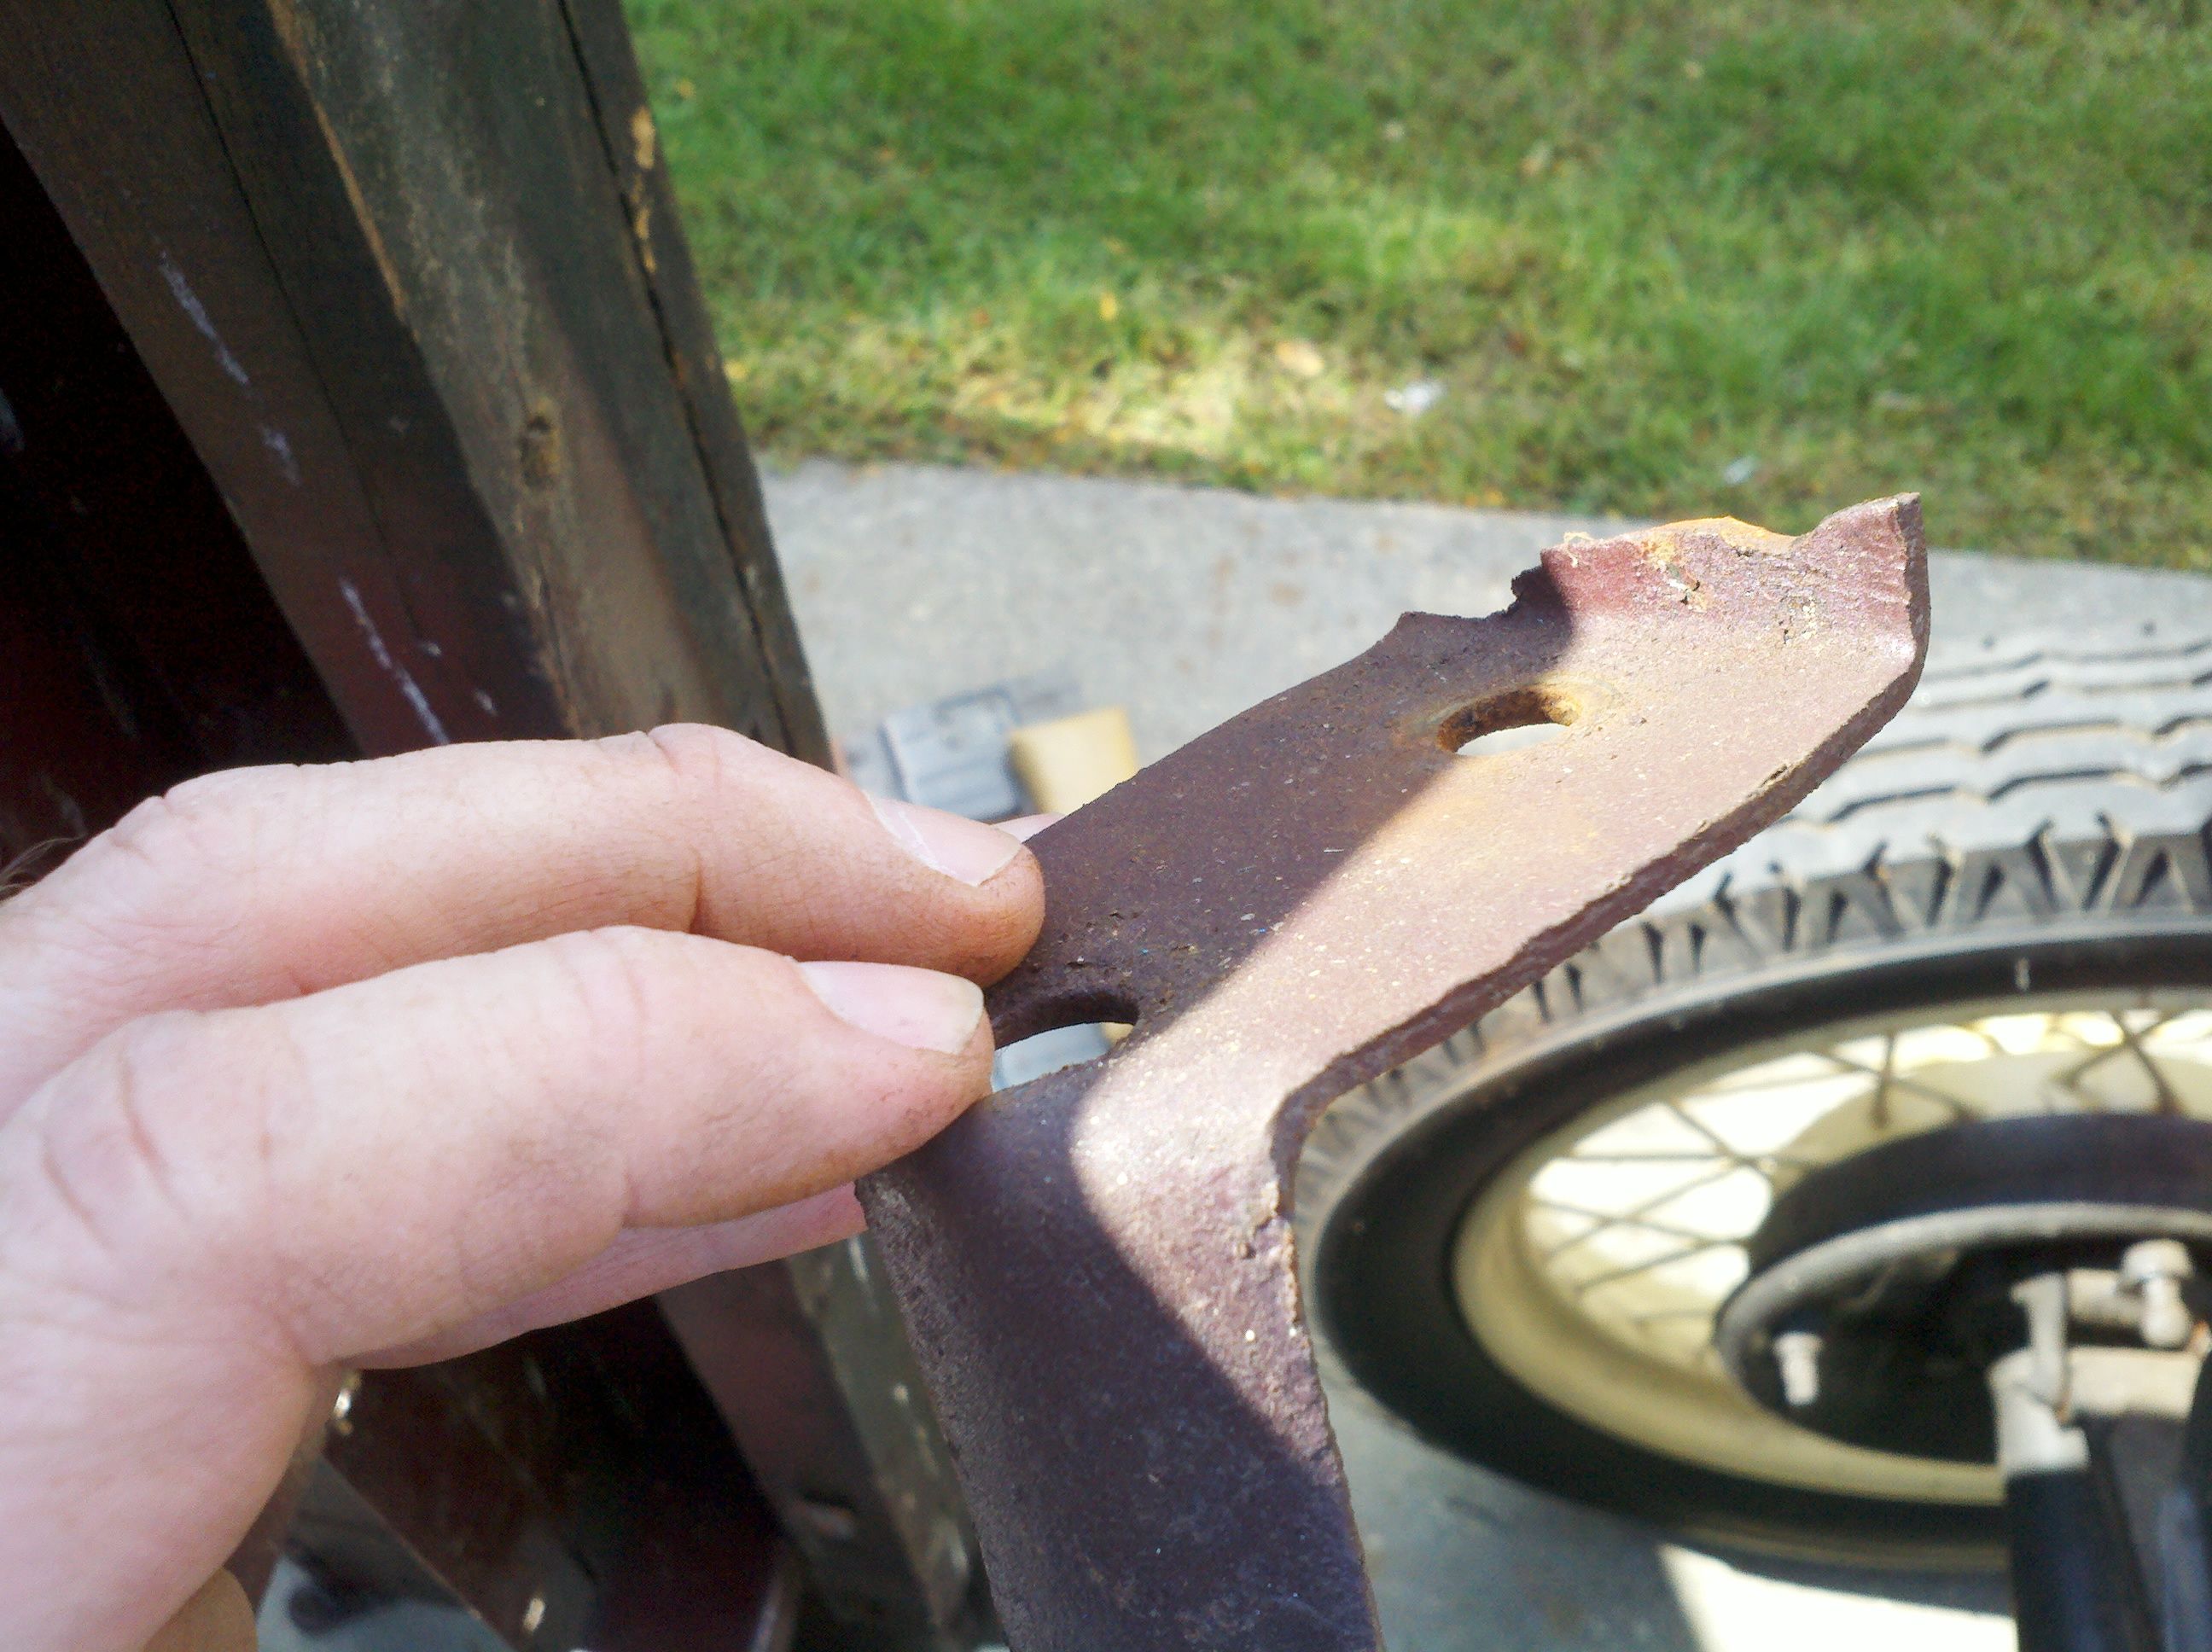
After I got it off, my older girls helped me carry the bed around back to the shed. They were game, and it wasn't a problem - it don't weigh that much - maybe 100 lbs or so. I probably should have filled in the extra holes with my stick welder, but I don't know which ones are original, and which ones are new. That includes the ones in the bed rails. When the previous owner did his "restoration," he drilled new holes to mount the bed floor, since they didn't line up quite right. Bummer. That's gonna be a lot of work for me, later. In those pictures above, you can see the double holes in some places. That said, I've figured some stuff out.
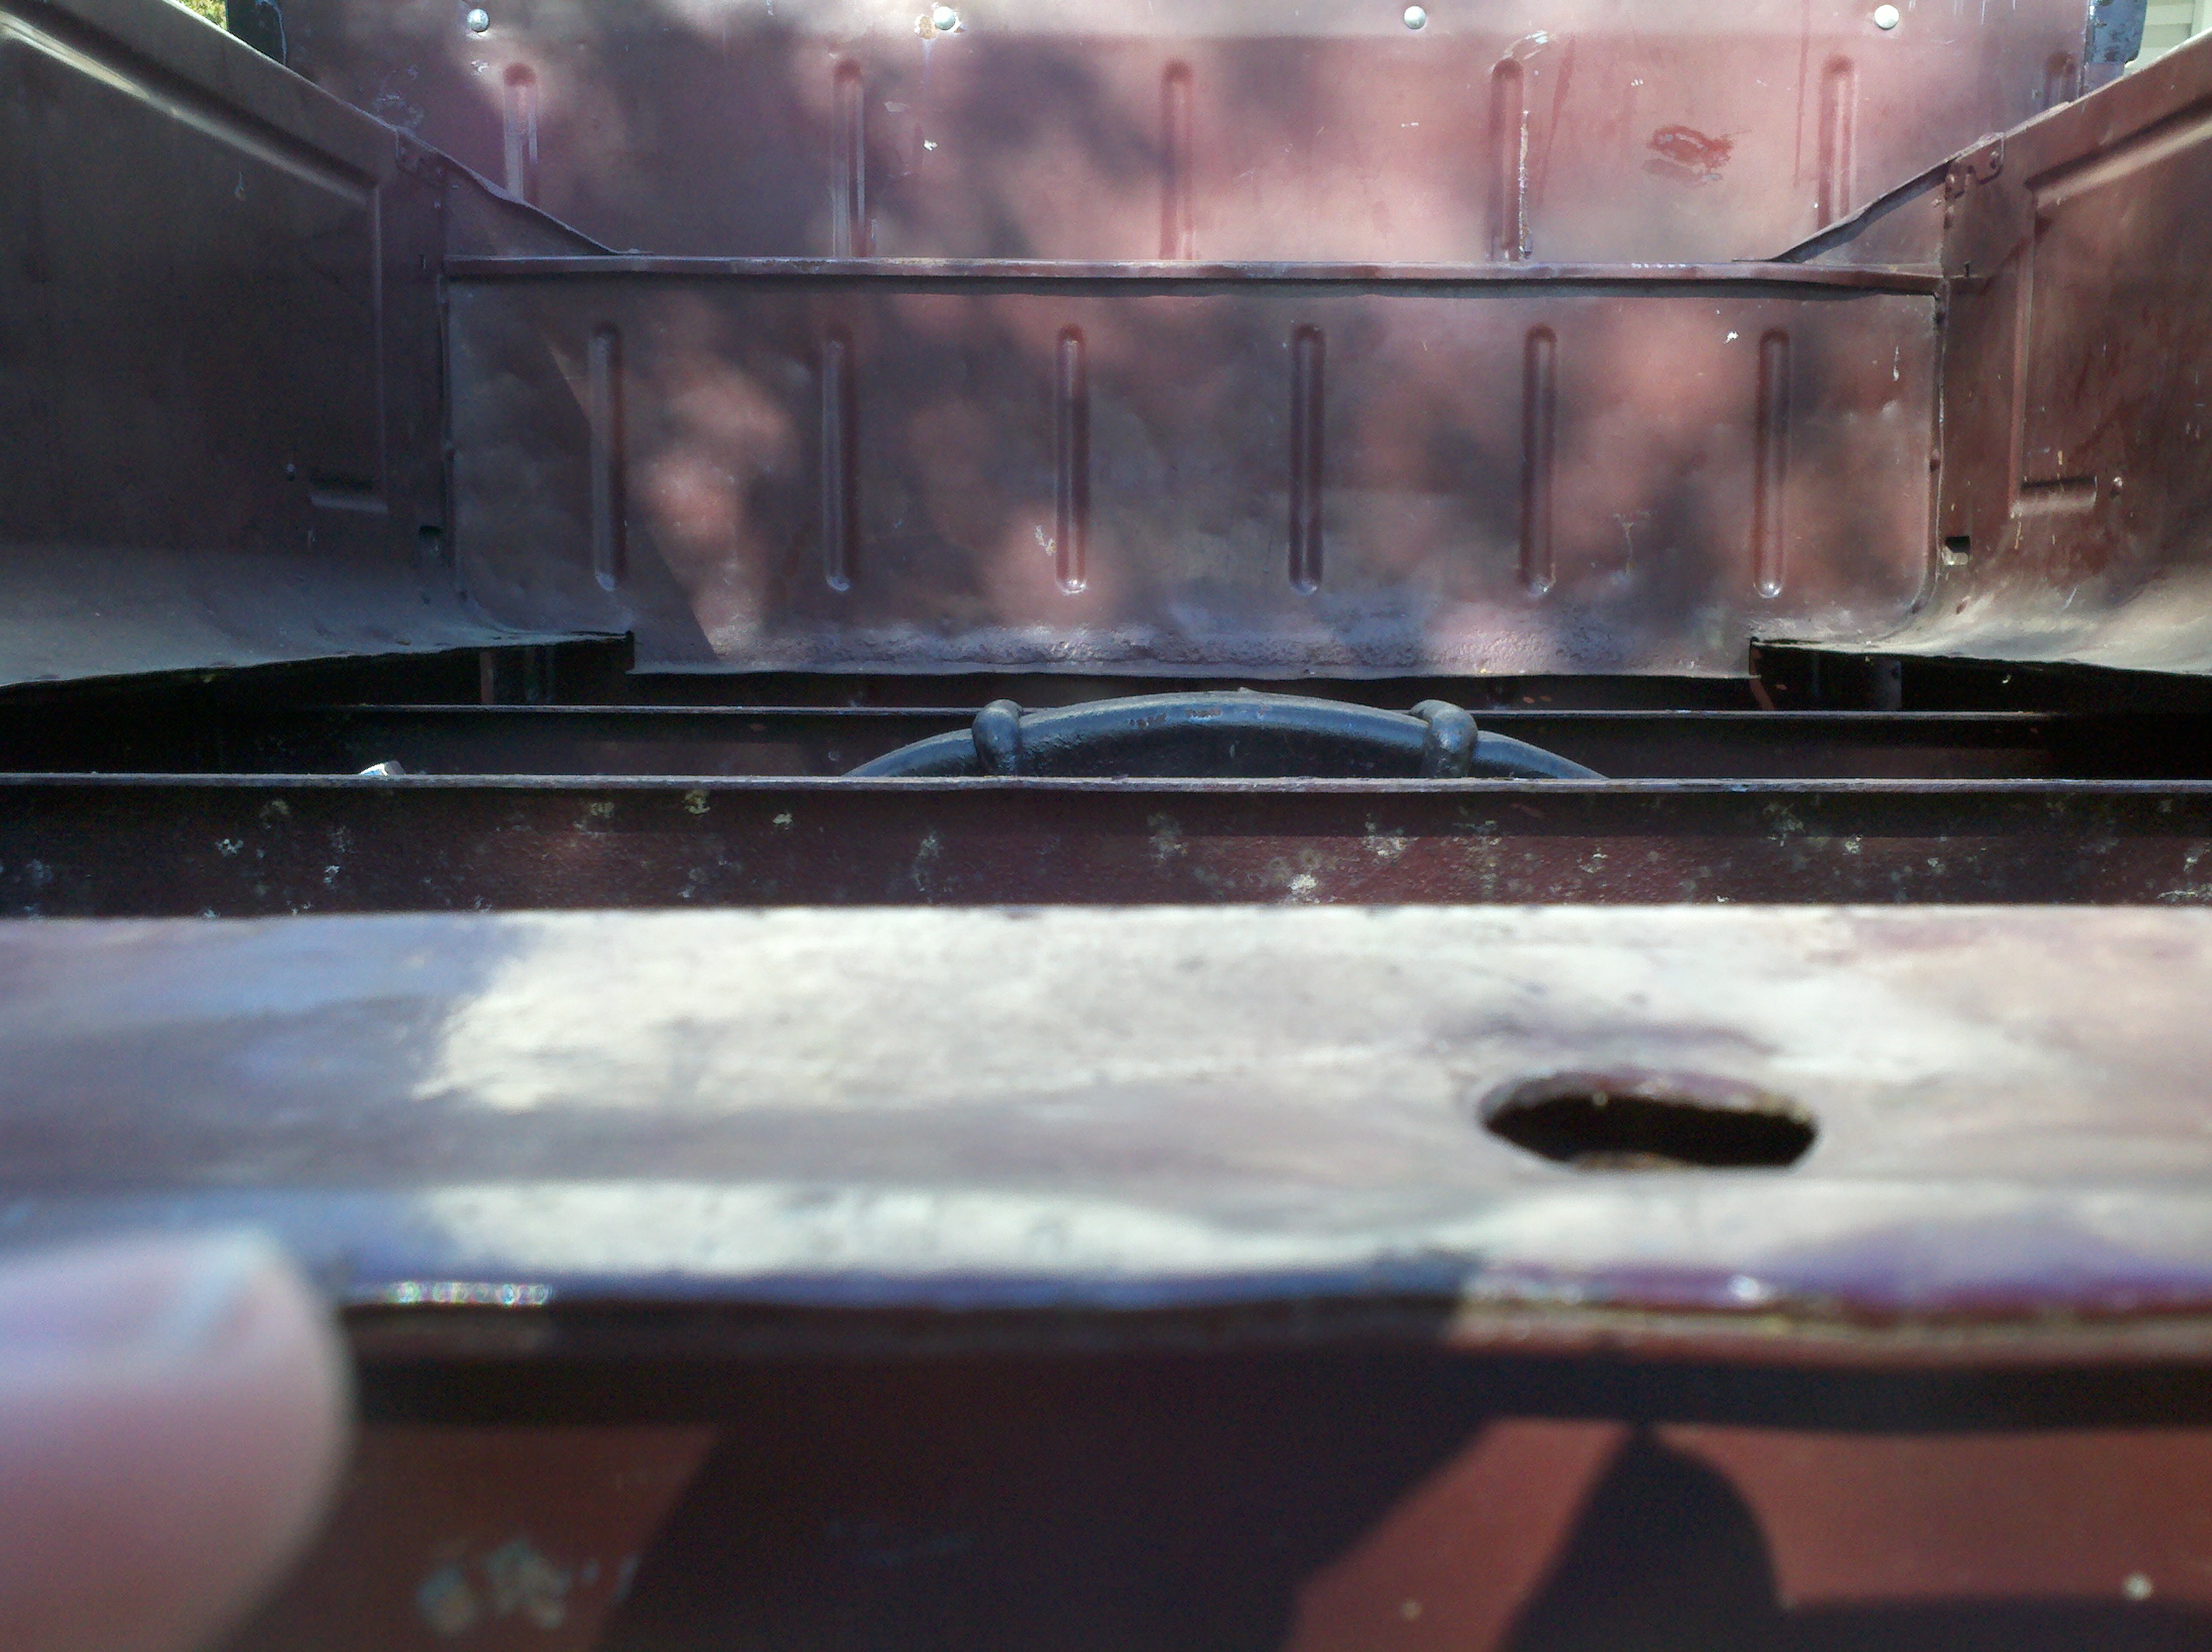
I talked earlier (a couple of times, I think) about how the spring yoke sits to high. It don't. The previous owner put in the wrong style of bed floor. A fully-wooden bed is for a truck that's been modified. An unmodified truck actually has a steel plate in the middle, right over that yoke. I'm guessing so it'll all fit correctly? Anyhoo, below is a picture of what it looks like. I guess I'll be buying one sometime in the future, along with a new bed floor.

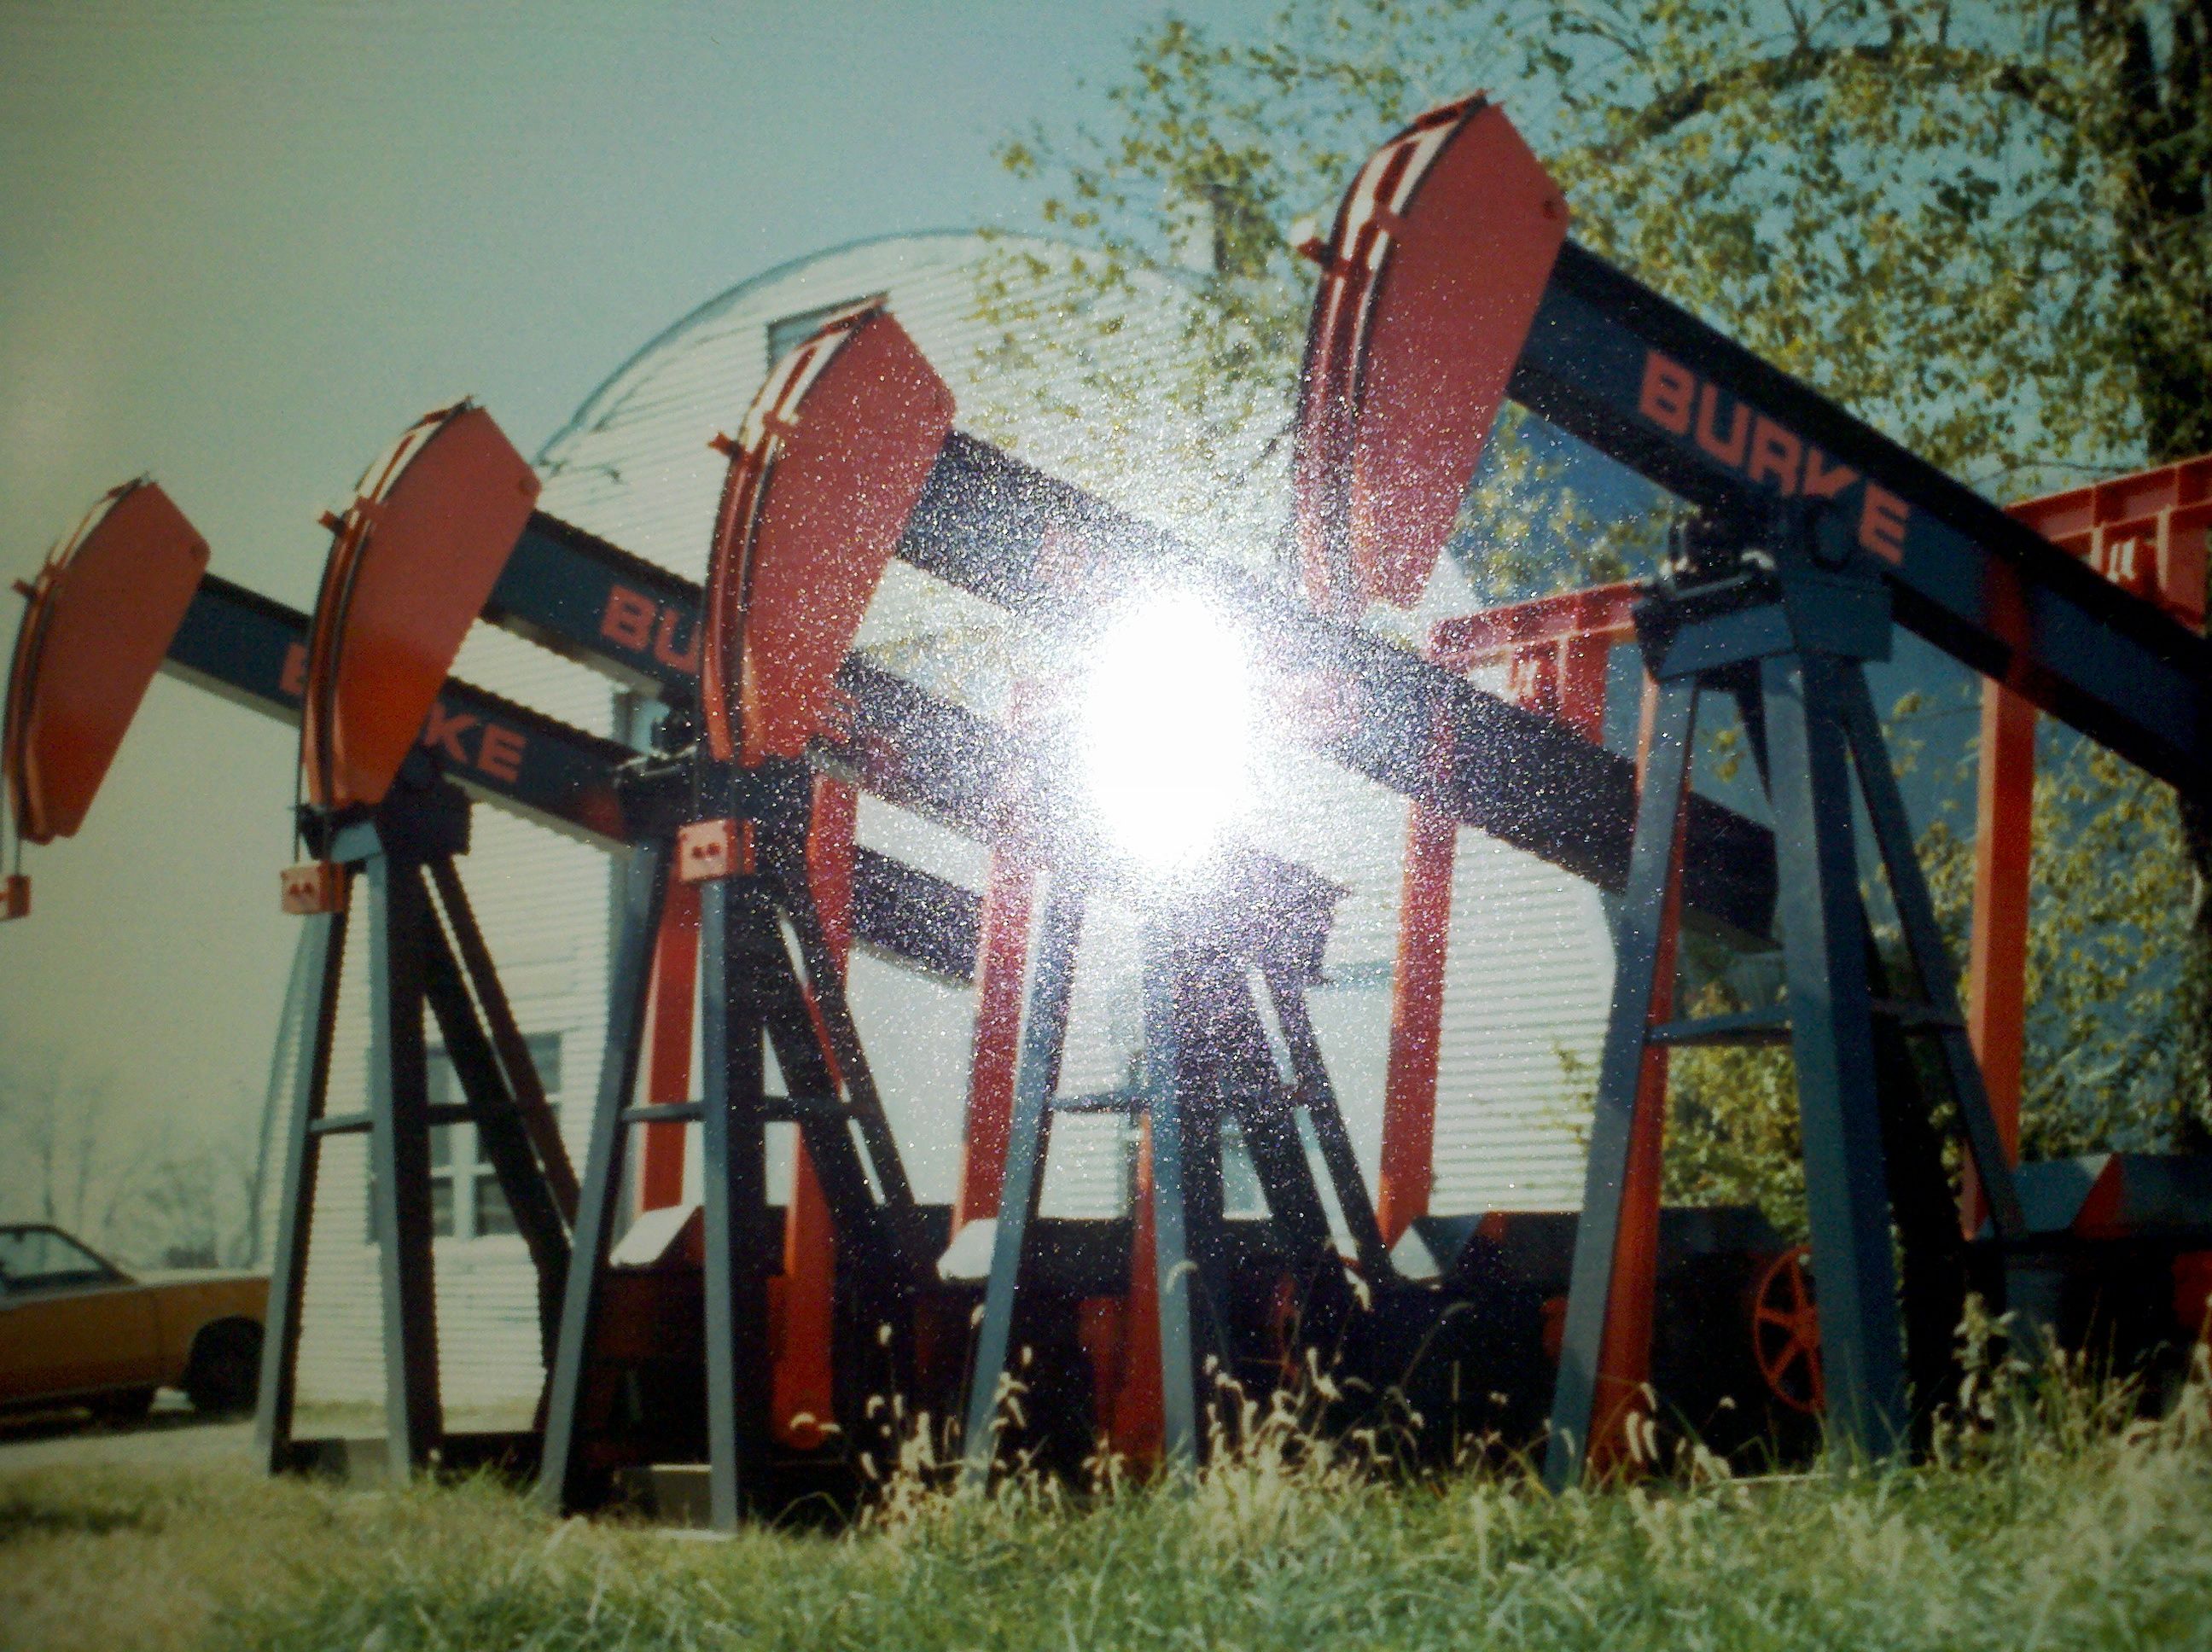
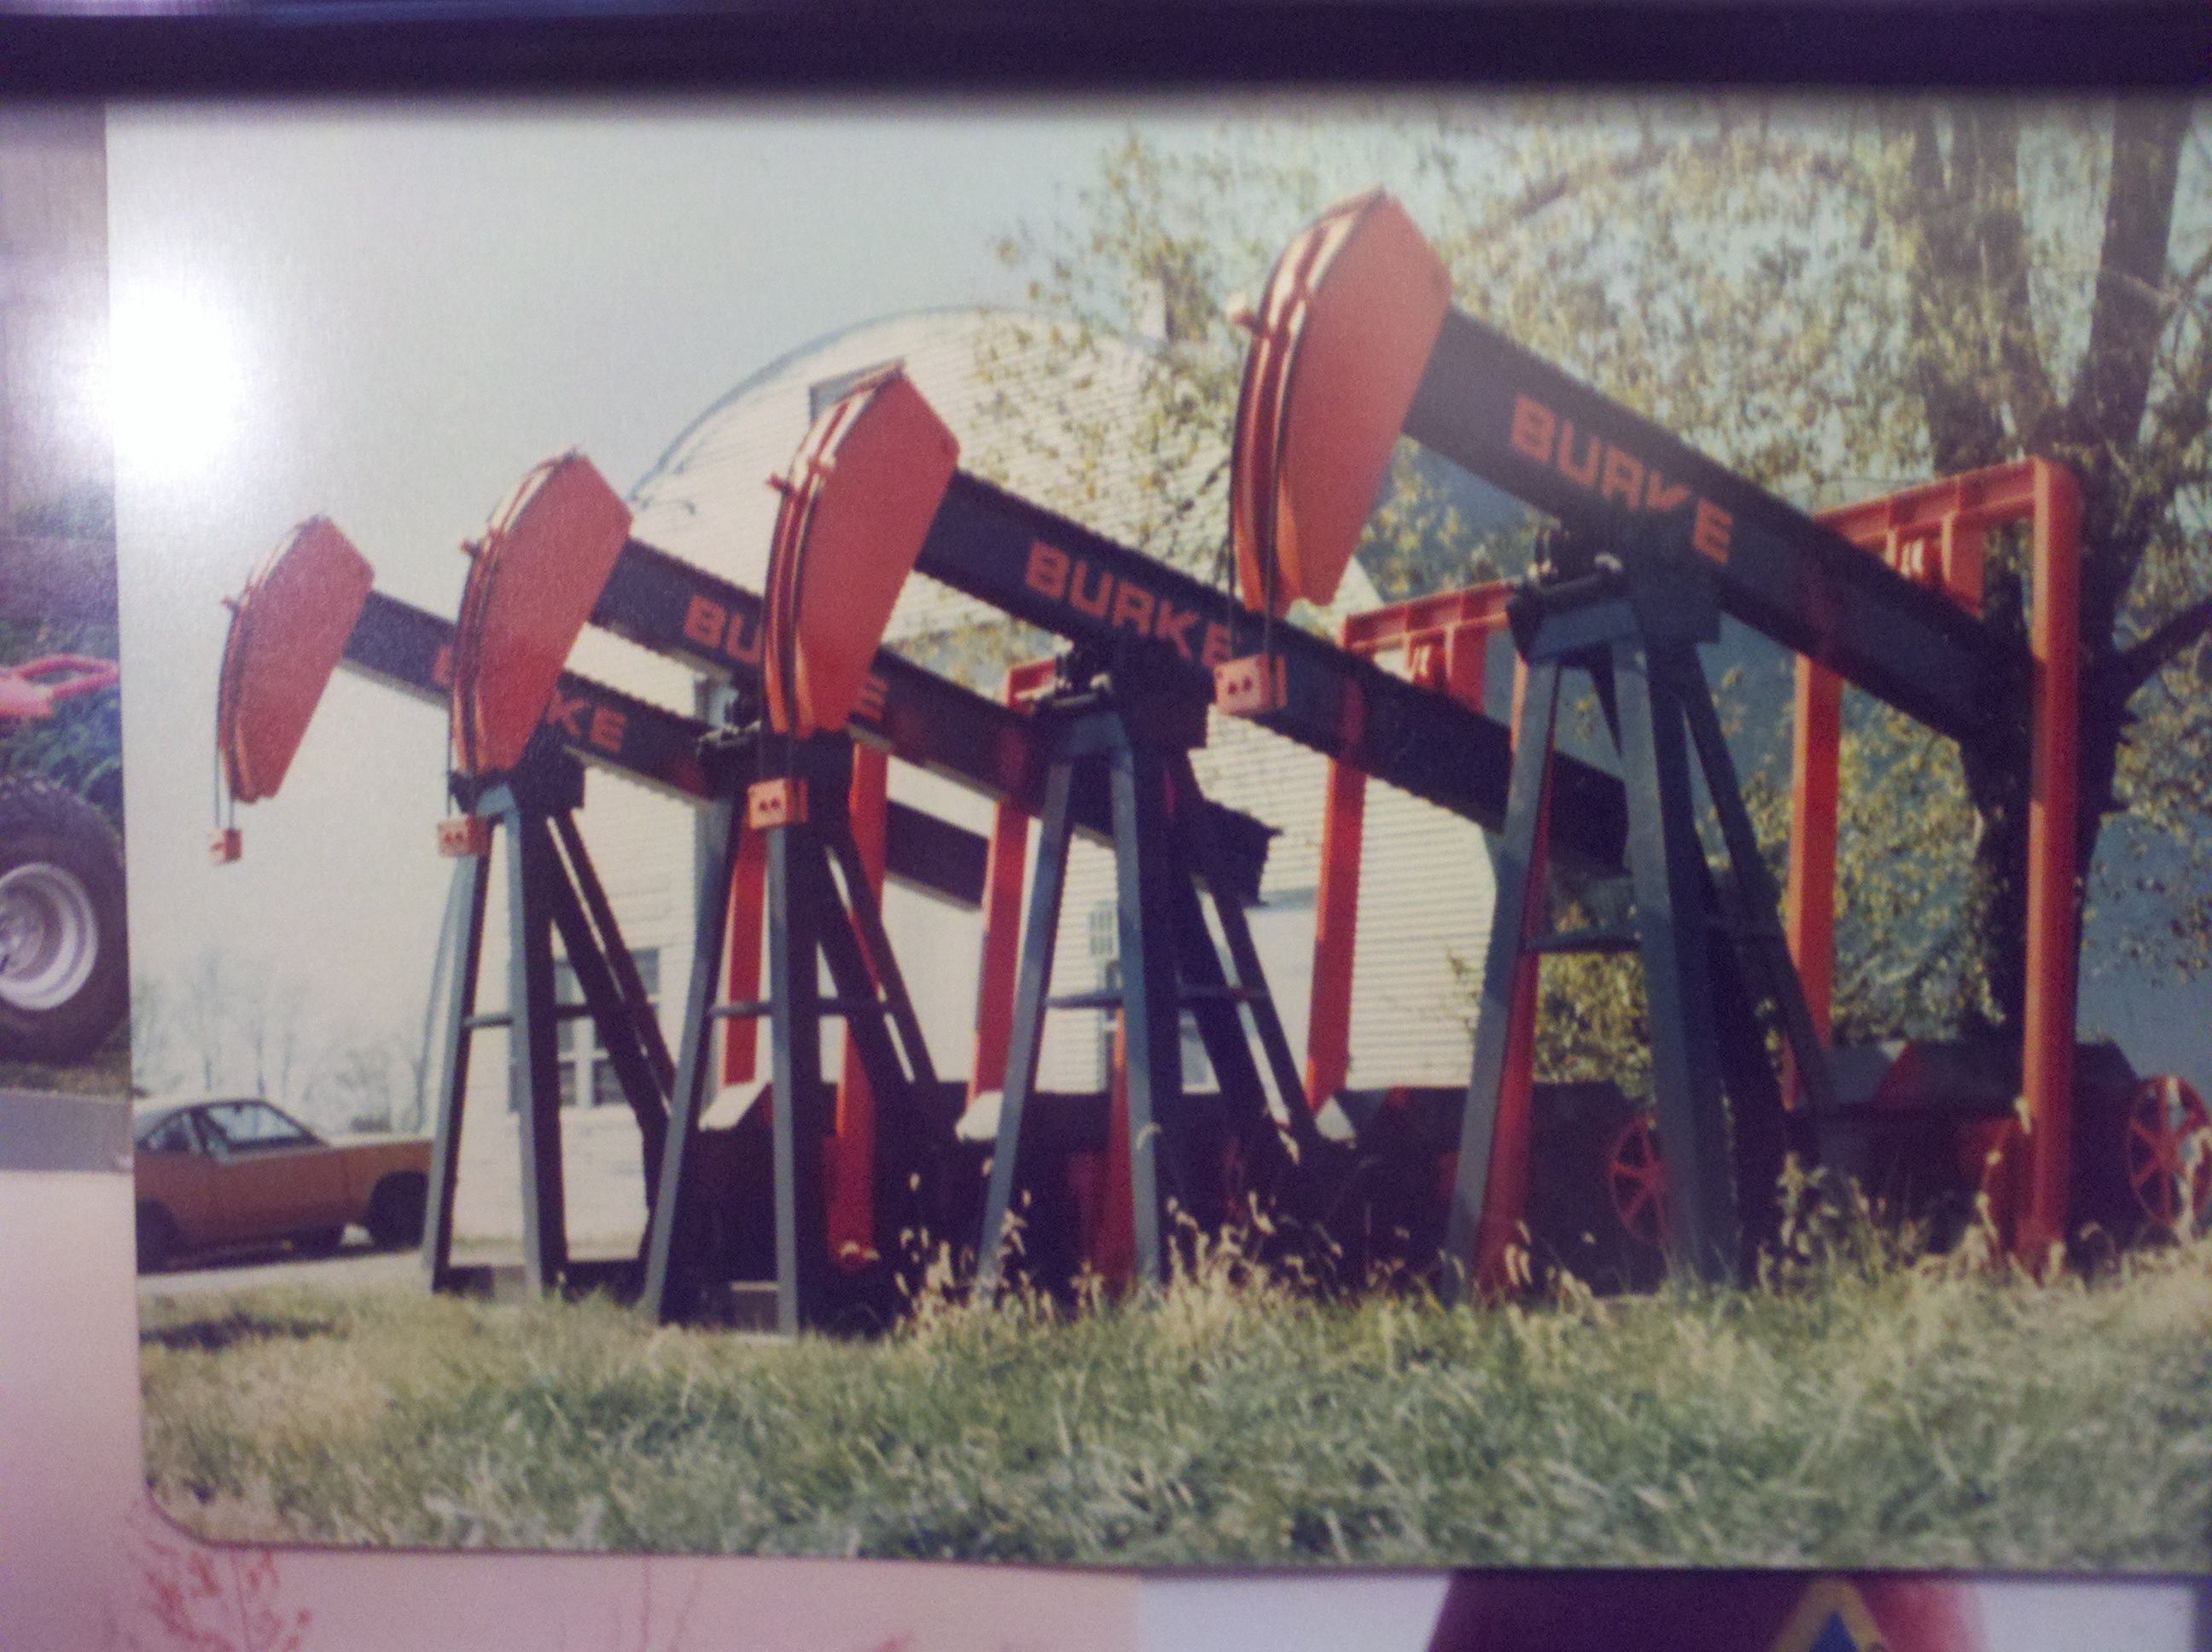
I also found some pictures of the pumping units my family used to make. A little better than the one I put up earlier. These give a (slightly) better idea of the color scheme I'm gonna use on this thing. The frames are not black (although that's what they look like in the pictures) - they're a very dark brown
Last modified on 12/18/11