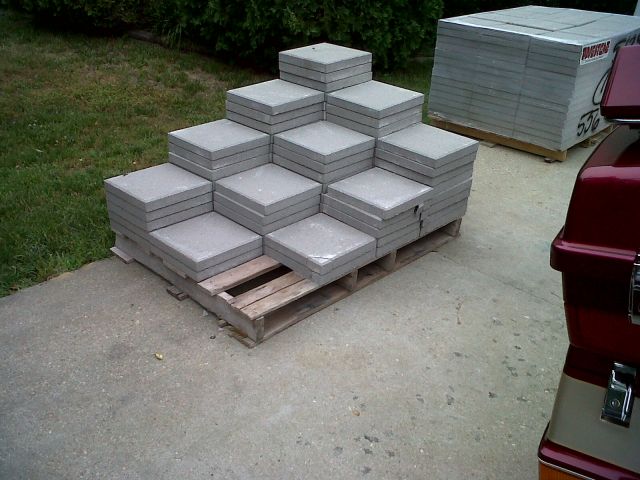
The paving stones arrived today. Not going to be able to get the truck out of the garage until I get all these stones out of the way. Guess I've got work to do...

Tried to start the beast, and the battery was dead as a fart...
Went to Wal*Mart and bought a smart charger. Claims it can charge 6 & 12V batteries. Plugged it in & got it working.
Battery's charged, but failed to get it to start. After the fact, I realized I had forgotton to turn the gas back on... D'oh!
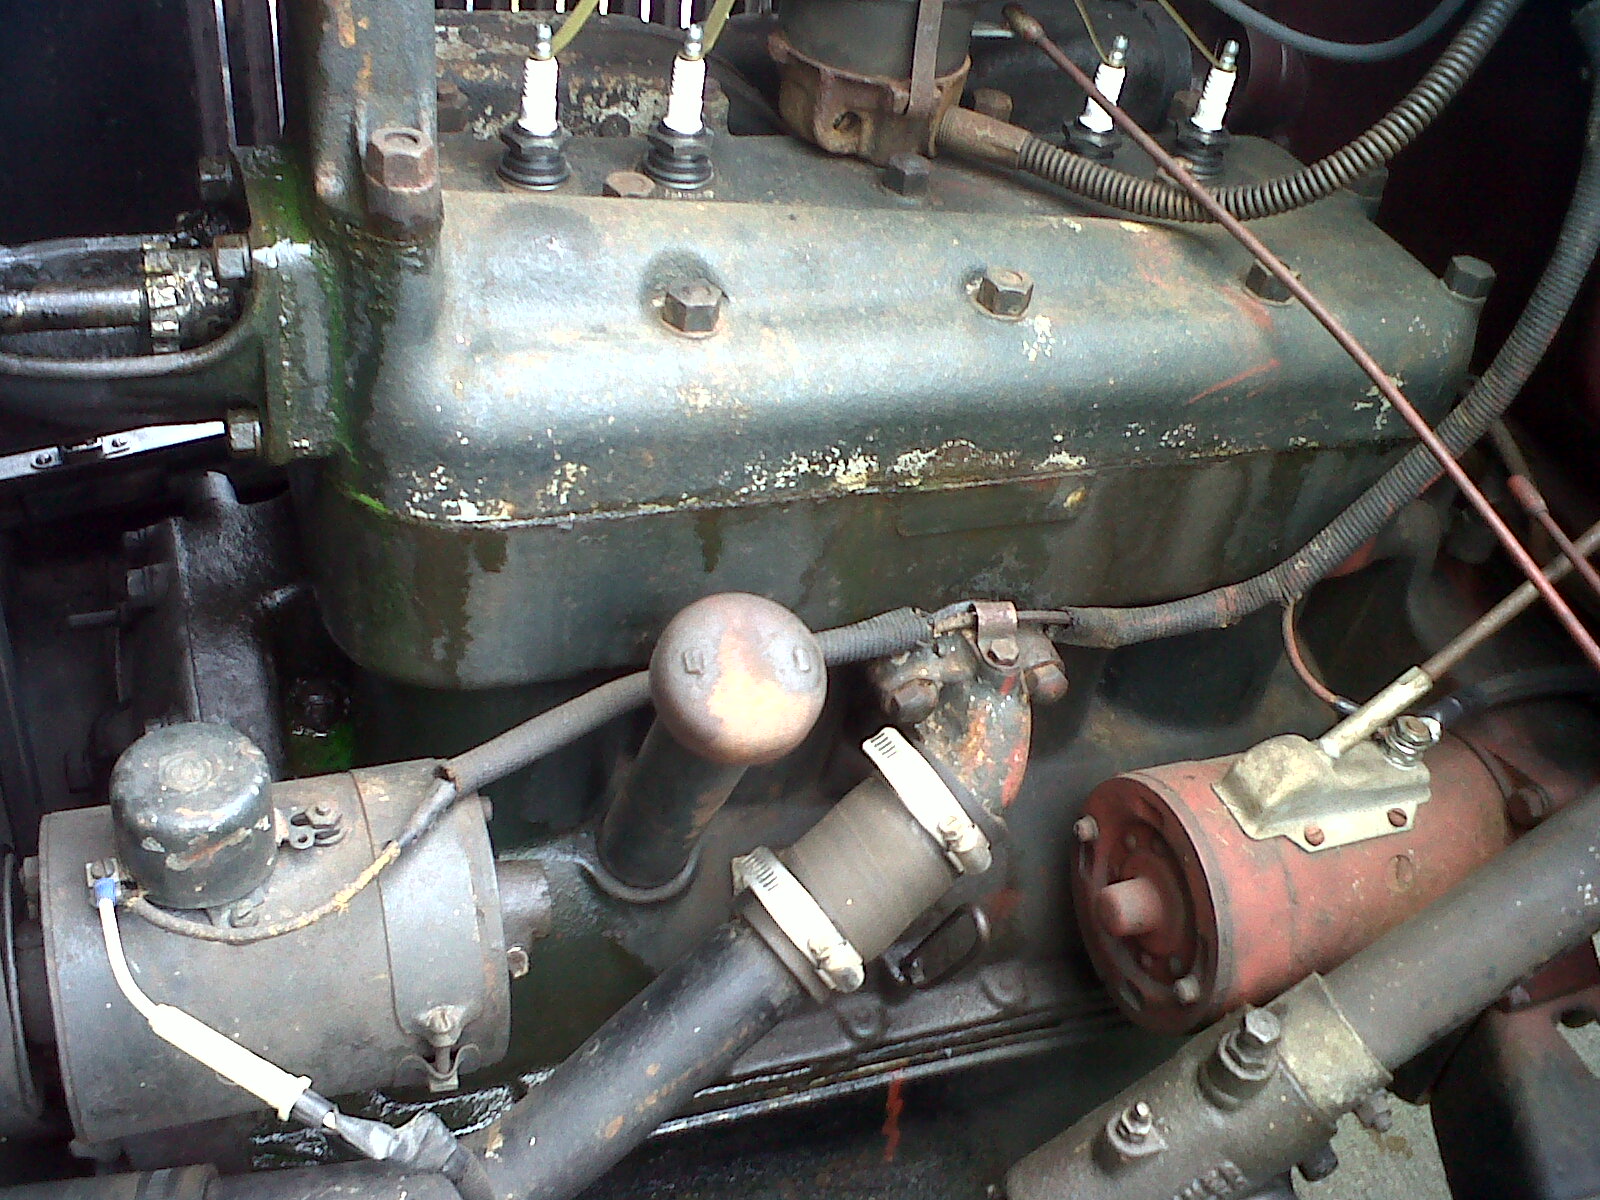
Tried to start it. Battery is dead again. WTH? Did a search for similar problems. Turns out there's a relay on top of the generator (note: this is a DC Permanent Magnet Generator, not an alternator with a field coil, like we see on modern cars..). When the switch is turned on, this relay is supposed to energize. When you turn the key off, of course, it's supposed to open back up. This is the charging relay. If it sticks closed, you are essentially trying to turn the generstor into a motor by discharging the battery through it.
Checked this out. Eyup. The ammeter shows more than 20A discharge. Popped the lid off the relay & broke the contacts loose. Ammeter read close to zero. I will make a video of this later for others. Looks like I need to get an emery board out to file the contacts. I see there's some folks that have replaced these with some other beast. Frankly, I think I could replace it with a big-honkin' power FET (I am an Electrical Engineer, after all) for cheap.
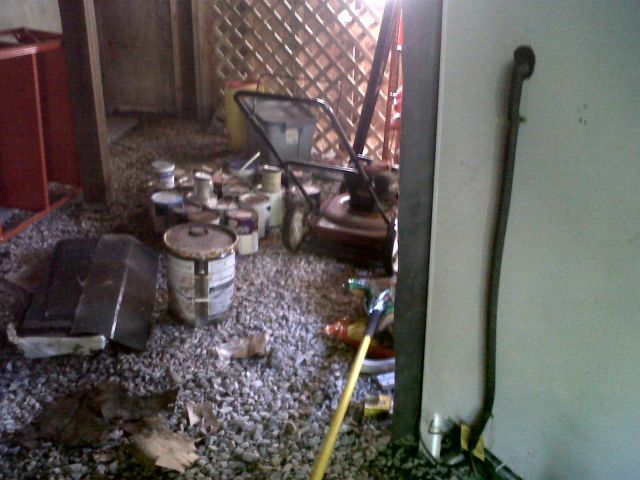
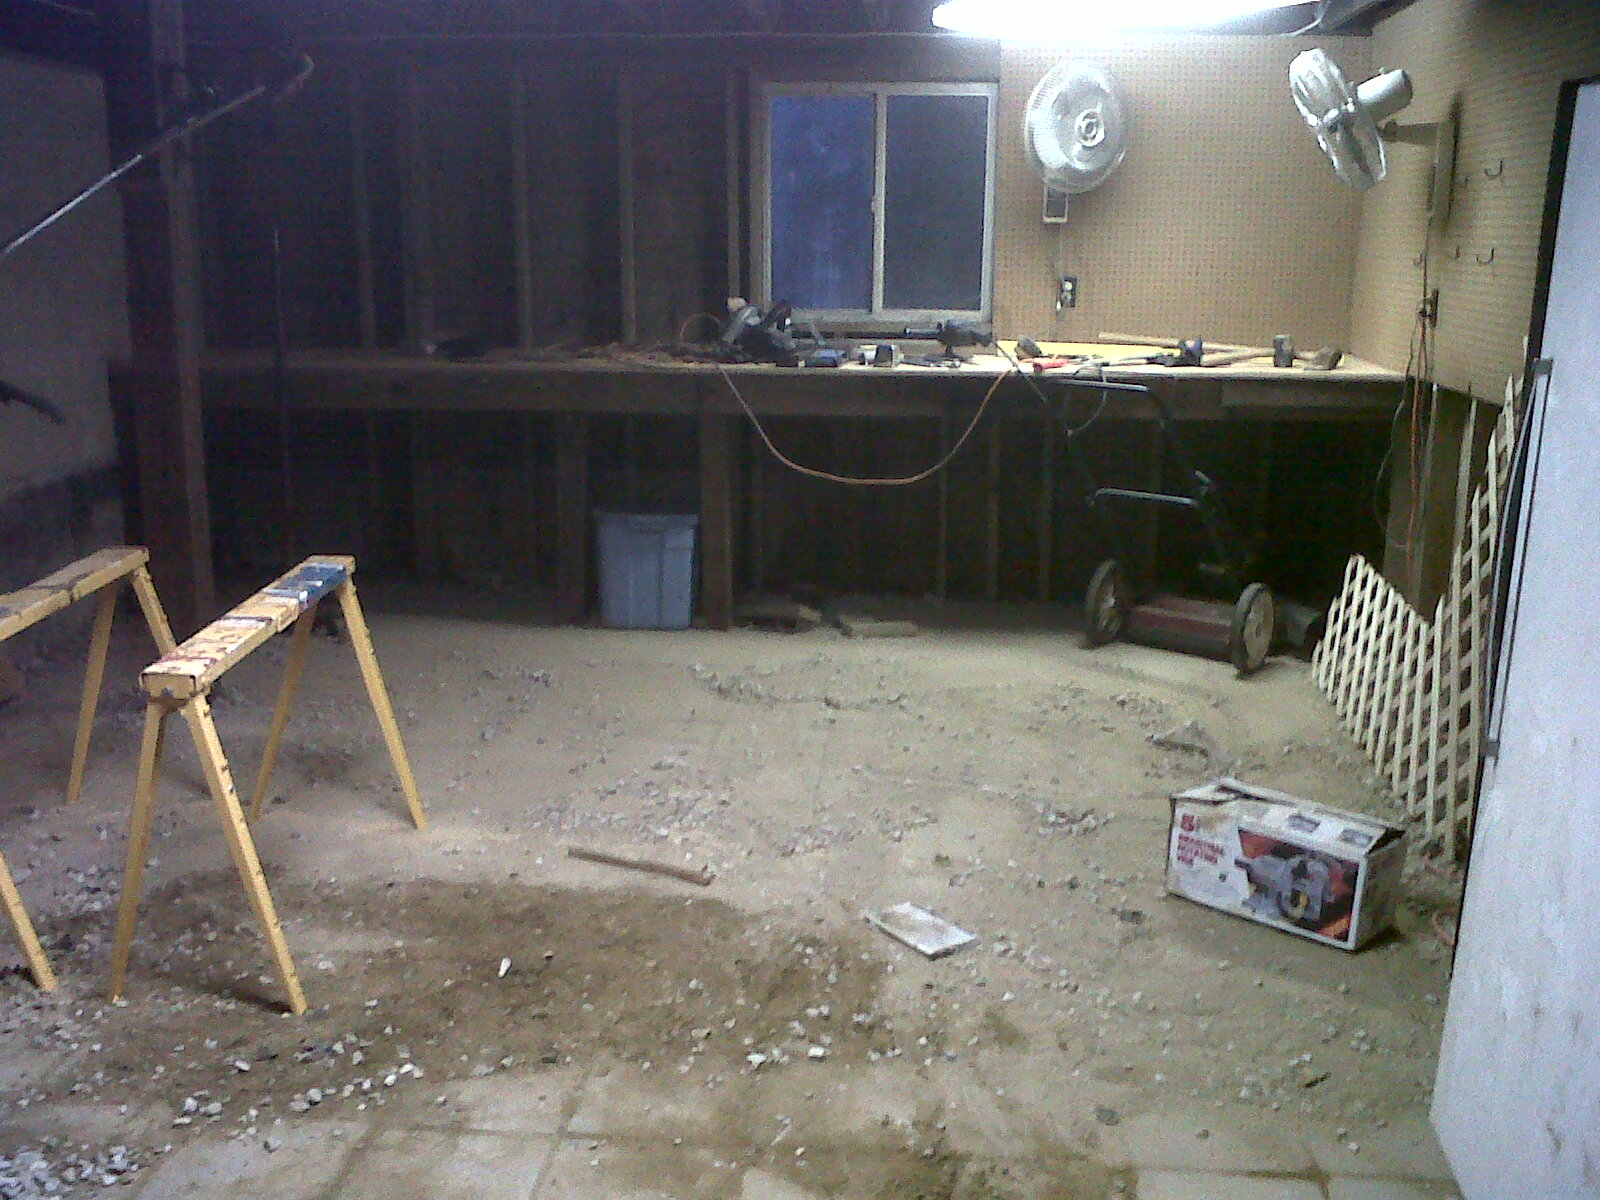
Finally finished the shed. Here's a "before" & "after" set of pics.
Fired it up and let it idle for about five minutes or so. It died. Checked the petcock. Made sure it was on. Poured in a half gallon of gas (it's damned near empty). Fired it back up. Got it running again. Told the kids to hop in. We drove it around the block, and they were ecstatic.
The beast basically ran like hell, though. I let it warm up plenty. Beginning to suspect that whole "rebuilt engine" doubt from earlier. Or, maybe it really is rebuilt, and the timing is dorked up from the distributer rebuild. I'll have to look in to that, at some point.
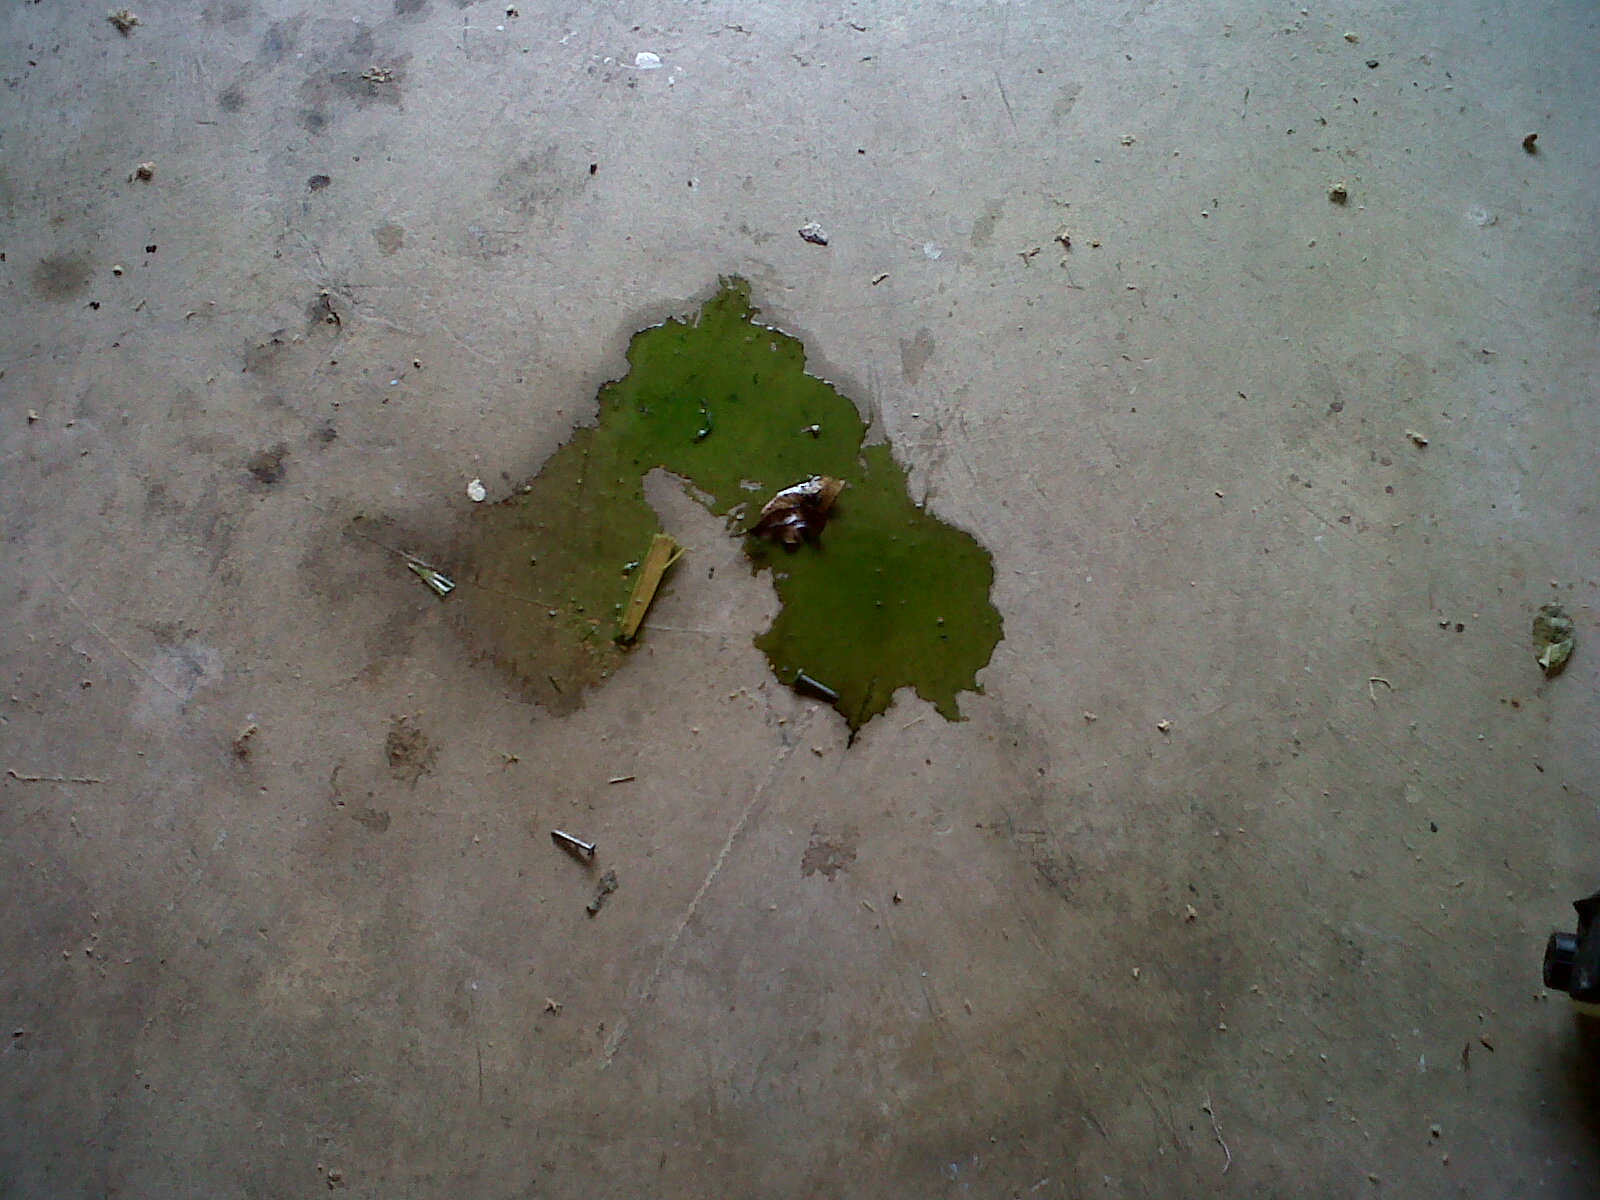 Needed to get to the ladder, so I could finish
painting the porch (yes, it's been a busy 2 weeks...) Found a
puddle of anti-freeze under the truck, ACK!!
Popped open the doghouse, and quickly identified the culprit as the top radiator hose, where it is clamped to the up-spout on the head. A little more looking, though, and I can see that there also appears to be coolant leaking from the head gasket (although it is possible it ran along the gasket before dripping, especially if it was being blown by the fan...). So much for that rebuild, looks like the kids and I will have some mechanical work to do, at some point...
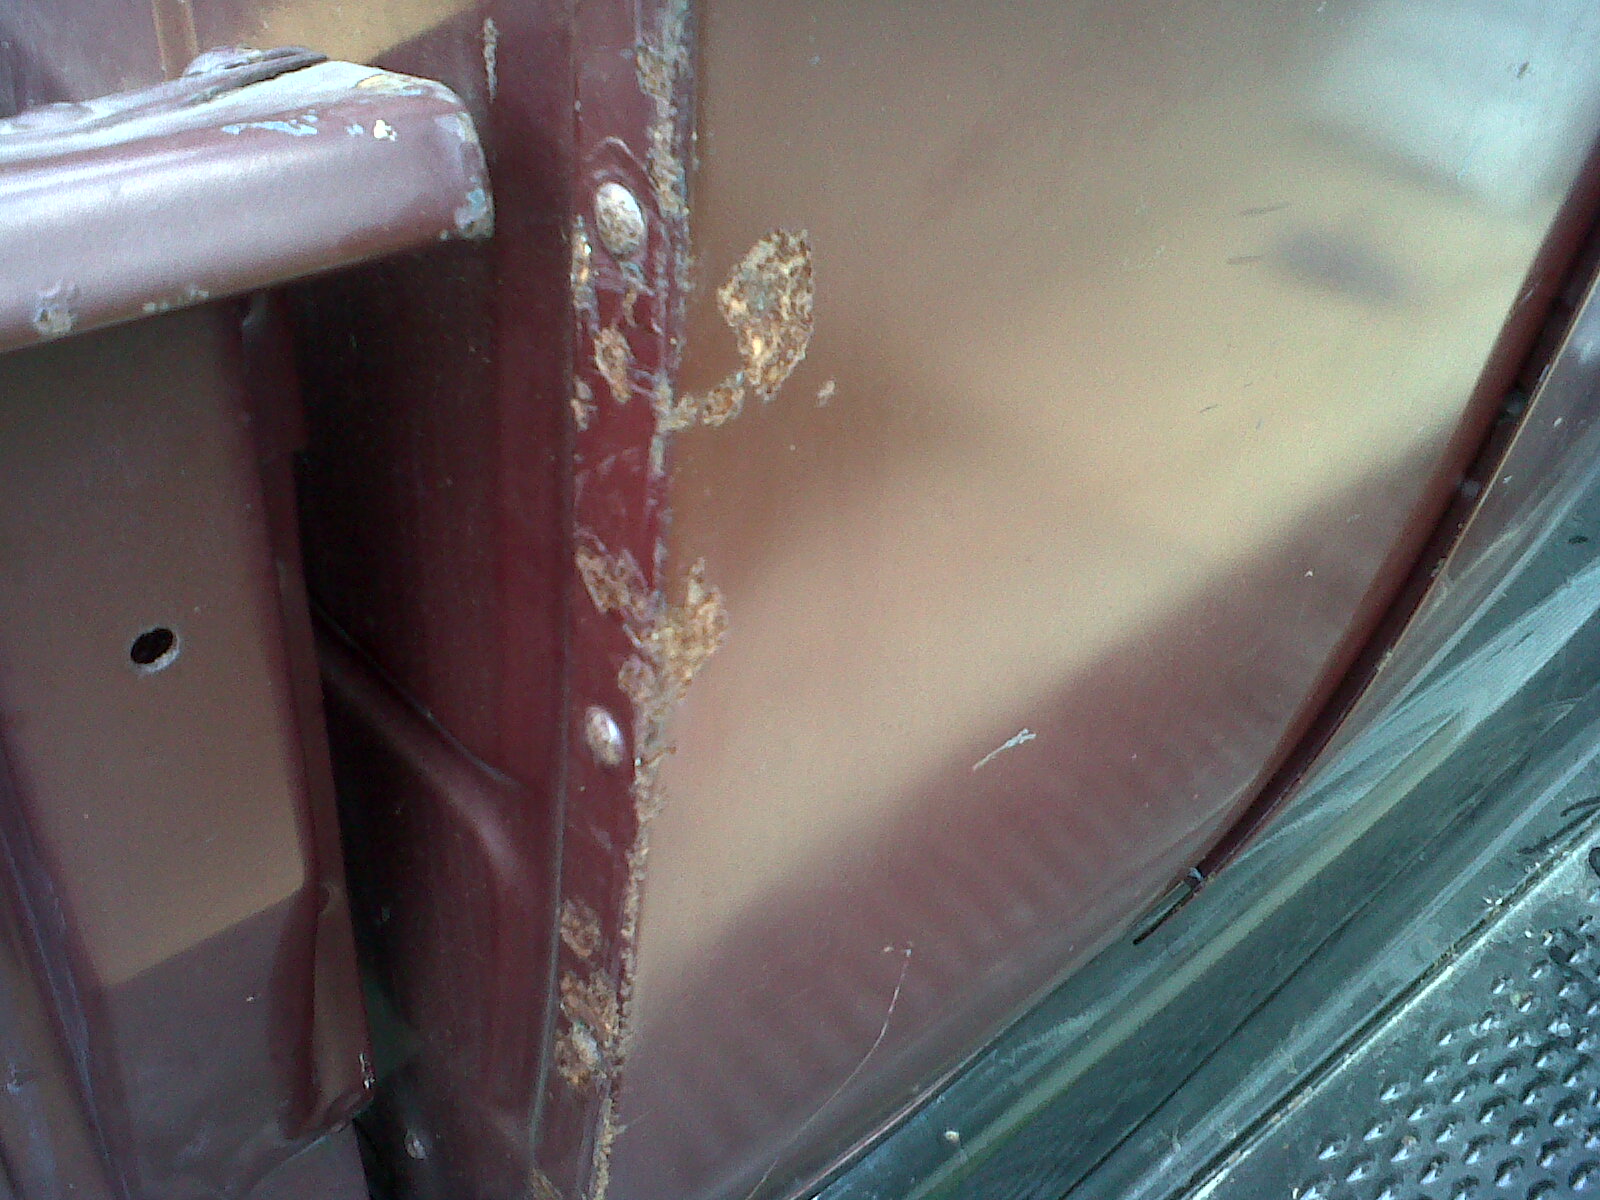
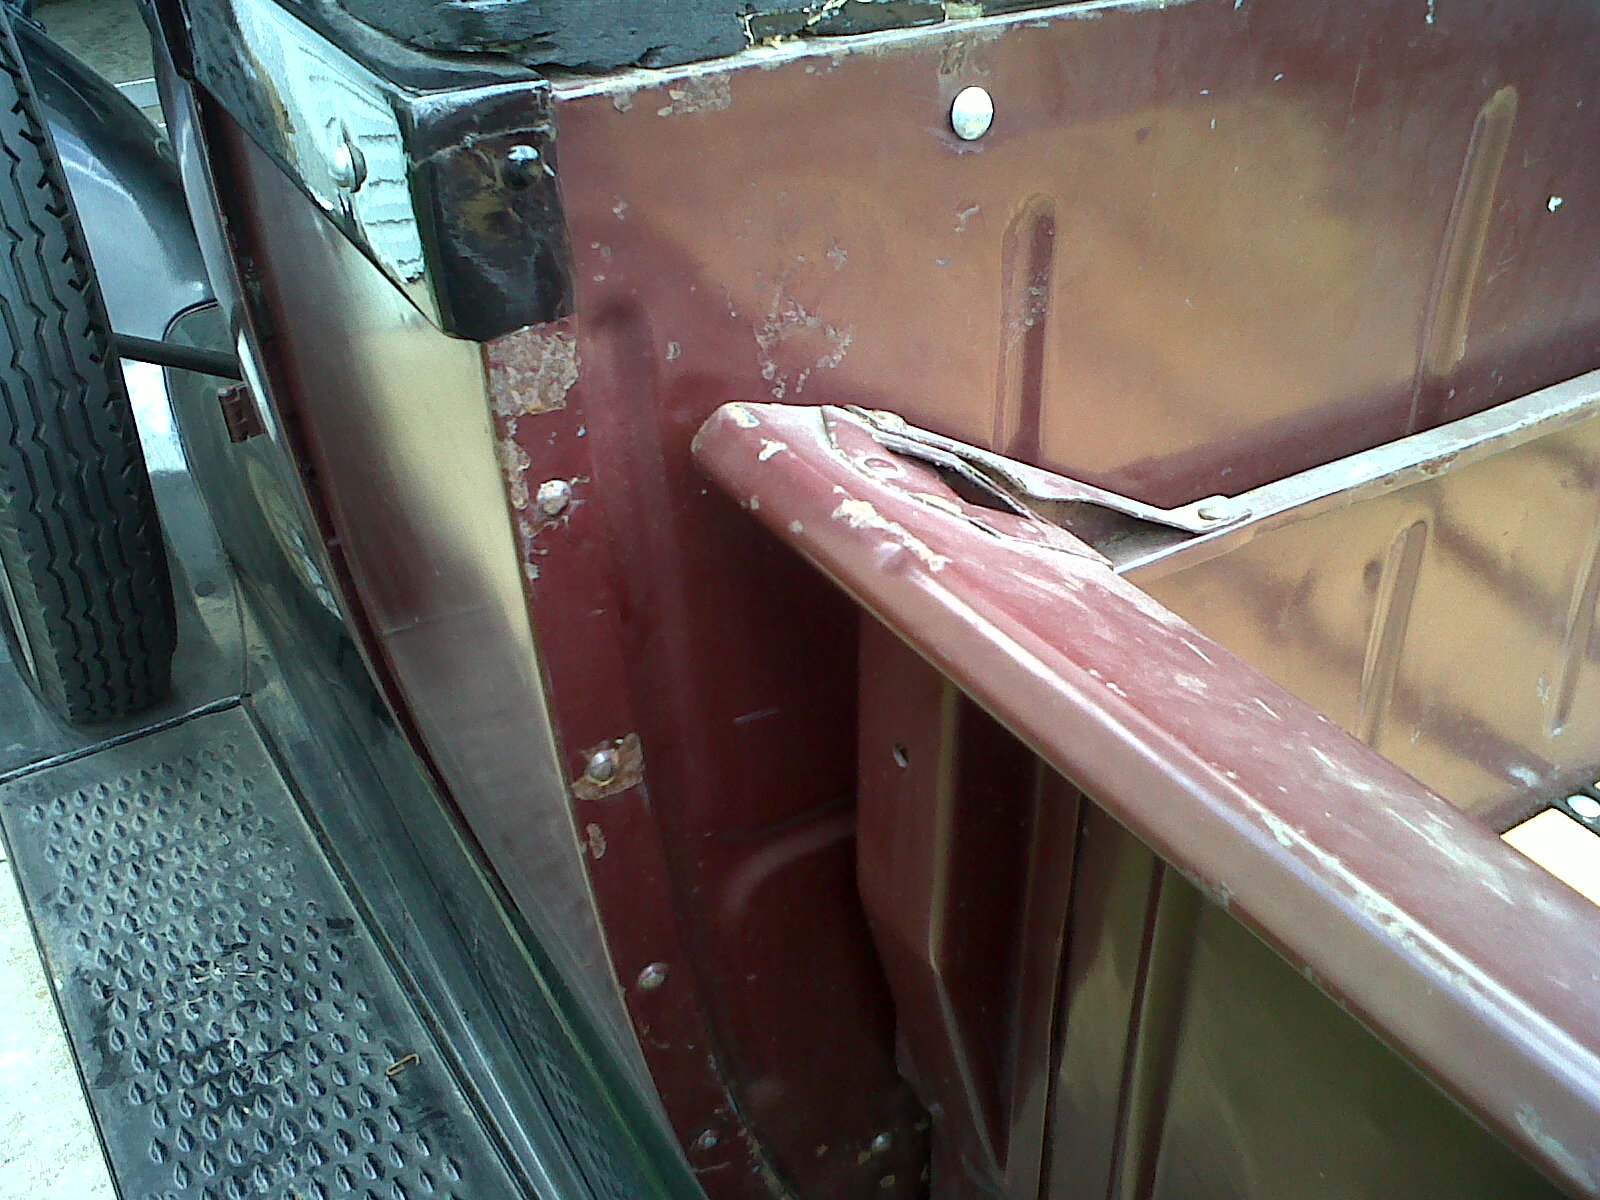
The current plan (for what it's worth) is to do a complete frame-off. I want to pull all the metal off as far as possible, and strip the body entirely. I want to clean off the frame & re-paint it. Same goes with the chassis, engine, etc. "Why?" you ask? Well, these images show why. Rust. It's not bad, paint is peeling in places - I believe the story about being mostly garage-kept, but this stuff is cancer, and if we don't get rid of all of it, it'll just come back and eat at the bones. I also see places where it looks like this paint job was put on right over a bunch of pitting, and who knows what's under there?
Pulled it out and started it again. Took a couple of videos. Uploaded the videos to my YouTube account, for all to see.
Engine runs like hell. It occurs to me that is sound a bit like it's knocking, and I'm not talking ignition, here. I'm dreading the thought that I might have to have the crank, mains, and connecting rods repaired. *ugh* I wonder if there's a way to install modern bearings?
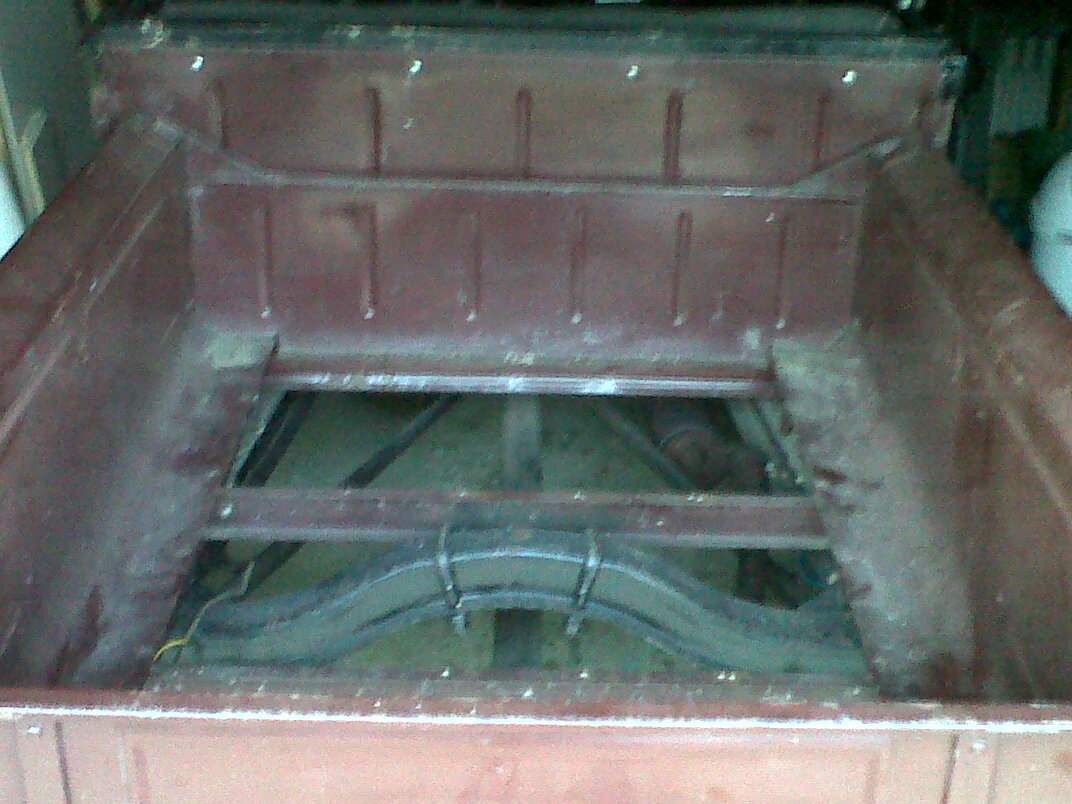
Pulled the floor from the bed. The wood had been recently replaced, as well as the metal straps that tie it all together. Looks to me like they pulled the whole bed, installed the wood, and then installed the bed. The center board was compressed against the top of the leaf springs, leading me to believe that some spacer material might've been forgot. I guess I'll find out soon enough.
While I was underneath, popping loose bolts, I realize that several of the major bolts that hold the bed on to the frame are loose. Glad I didn't try to take it on a long, fast trip somewhere. (yeah, fast... I know, I know...)
Never did I think that pulling the two bolts that attach the tail gate to the bed would be so much effort. Holy cow, I've not had that much problem with a Cotter pin in years.
...
But then, I guess it's been years since I've messed around with anything that has Cotter pins.
So, the tail gate is held on with two largish bolts that also act as the hinge. These things are unthreaded most of their length, have a carriage bolt head, and a hole drilled through to take the Cotter pin. A "castle nut" completes the parts list, and that's all there is to it. Easy, right?
The current coat of pain was put on after the installation of the nuts and cotter pins, but that was no big deal. The cotter pins easily broke free of the paint so I could straighten them out.
The first pin came out with little effort - it took all of five minutes to straighten the pin and yank it out with a pair of needle-nosed pliers. The second pin, though...
Well, it was... over-inserted, until the loop end was mashed down into the hole. It took me a broken scribe, a nail, and a small project hammer to get the loop lifted up enough that I could try to grasp it with the needle-noses. Then, in all the yanking, straining, and mild profanities, the loop broke in half.
D'oh.
I was prepared to drill it out at this point, but I decided to give it a shot of WD-40, and see if I could pull the pin out from the bottom. That worked fine. Total time spent a stinking Cotter pin - about an hour. Too bad I didn't get smart earlier, I guess, but that's where I was.
So, here's a pic with the tail gate off:
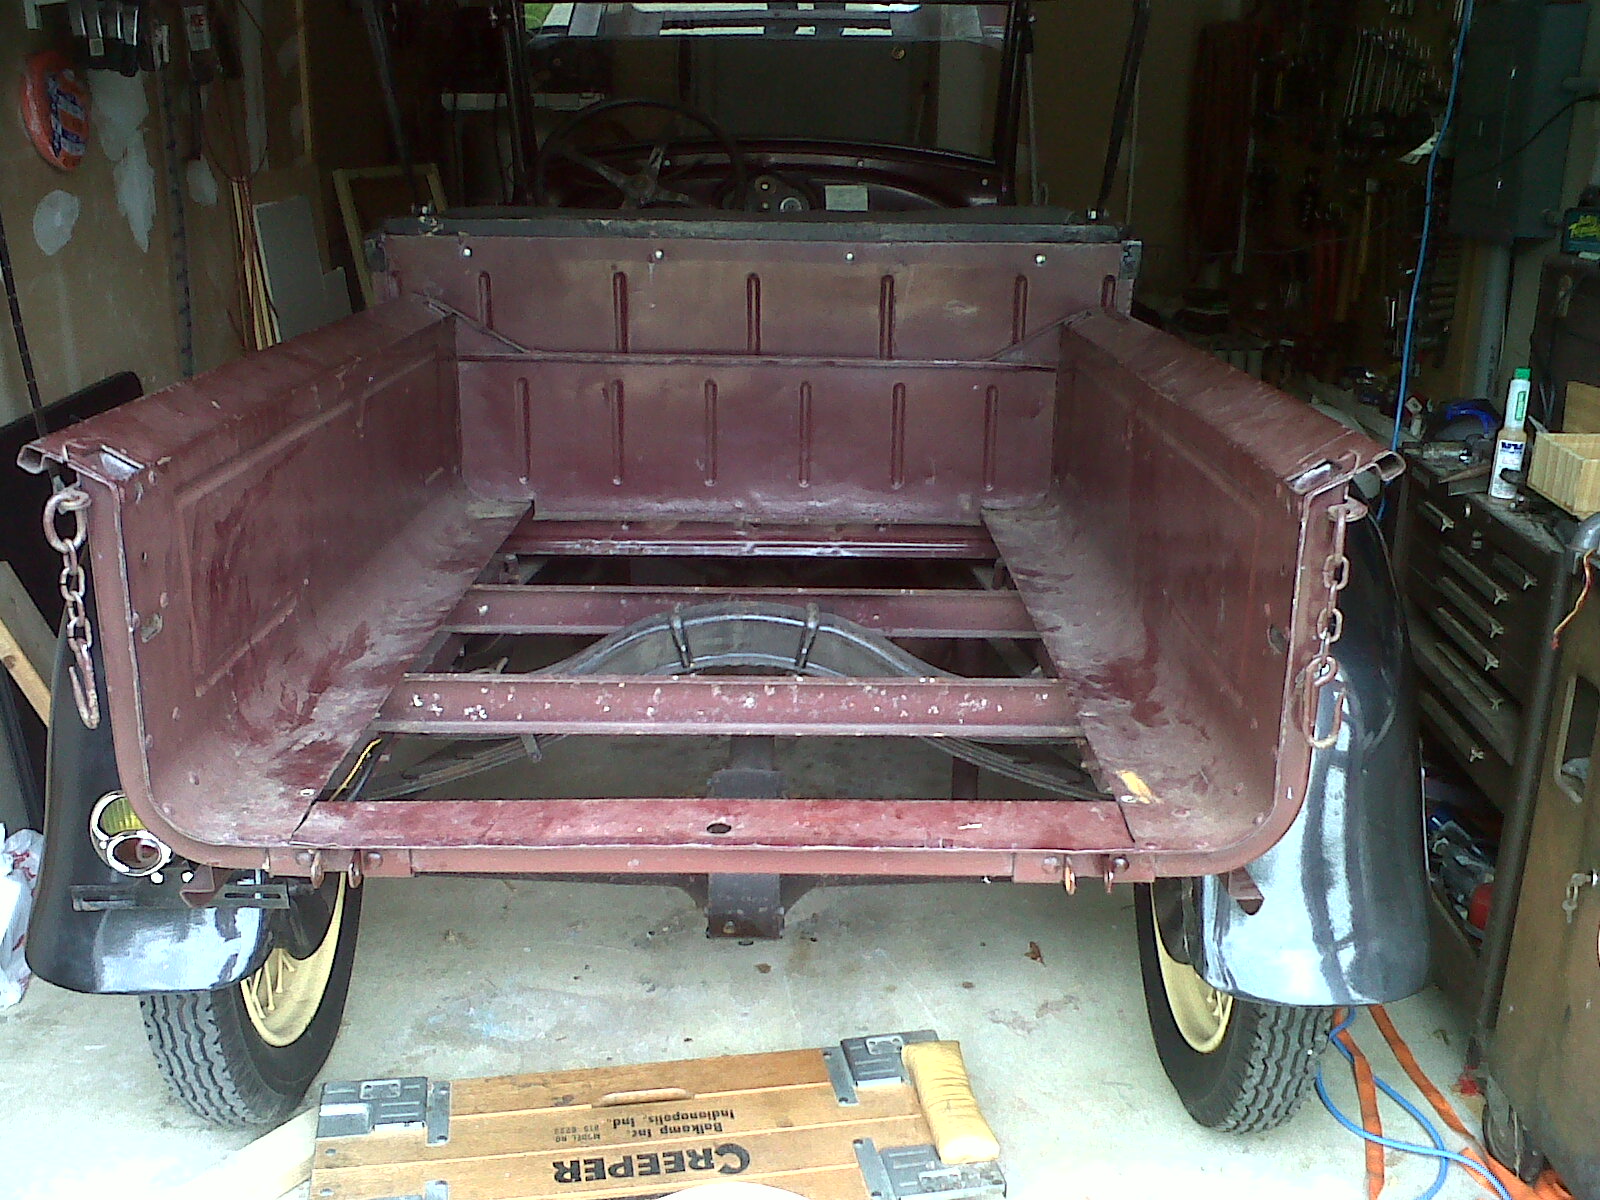
And here's some close-ups of various parts of the bed. At the "entrance," you can see that the metal is beat up a little, and one of the spot welds is broken... Which I find interesting, I didn't know there were any spot welds on this guy - I thought it was all bolts and rivets, and maybe some stick welds, where appropriate...
The sides of the bed floor are pretty beat up. I didn't notice it so much when the wood was in, but now that it's out, I can see the bends in the metal. With the wood and all the carriage bolts in, it seemed pretty smooth, but looking at it now, I'm thinking that I might try to straighten it out, some...
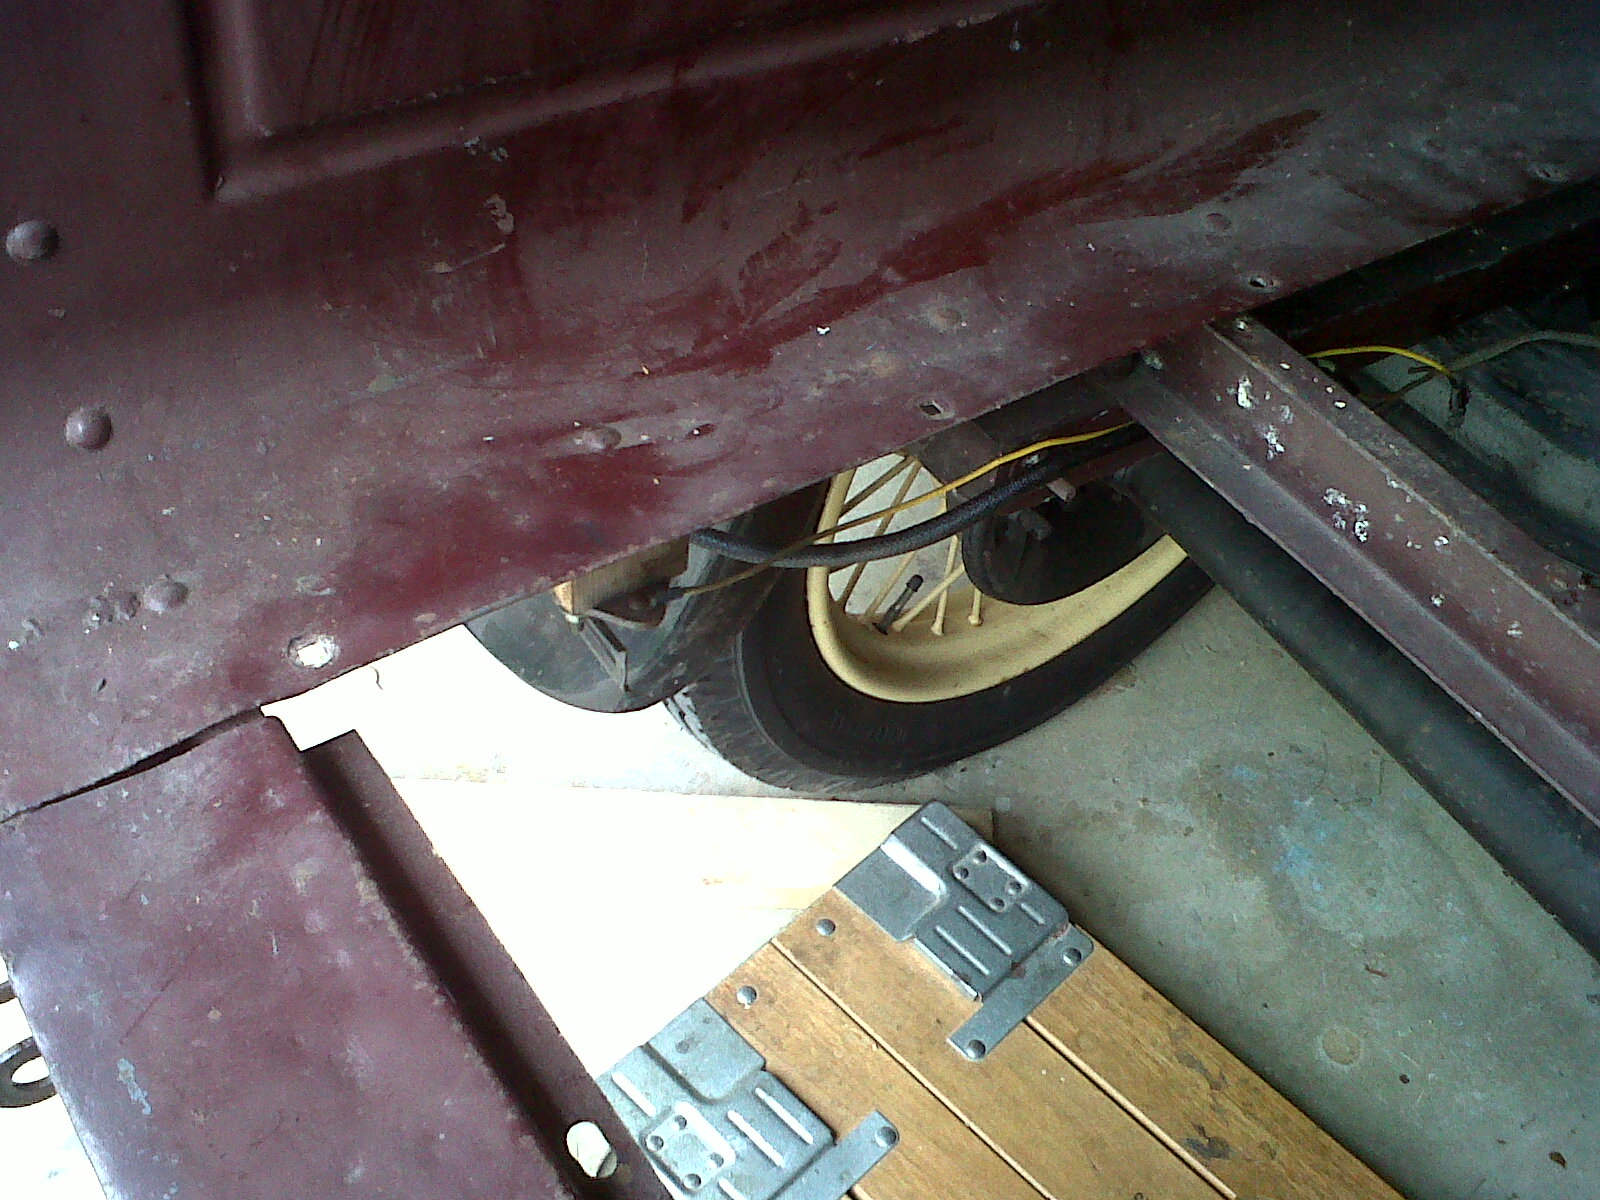
It also doesn't take very good eyesight to see that this coat of paint was put over the top of some pitted metal. I am hoping that they got all the rust out beforehand (like, with some phosphoric acid), but I won't hold my breath. When I strip the bed, I will pay extra attention to this area, and make sure I remove all the corrosion and fill in the pits.
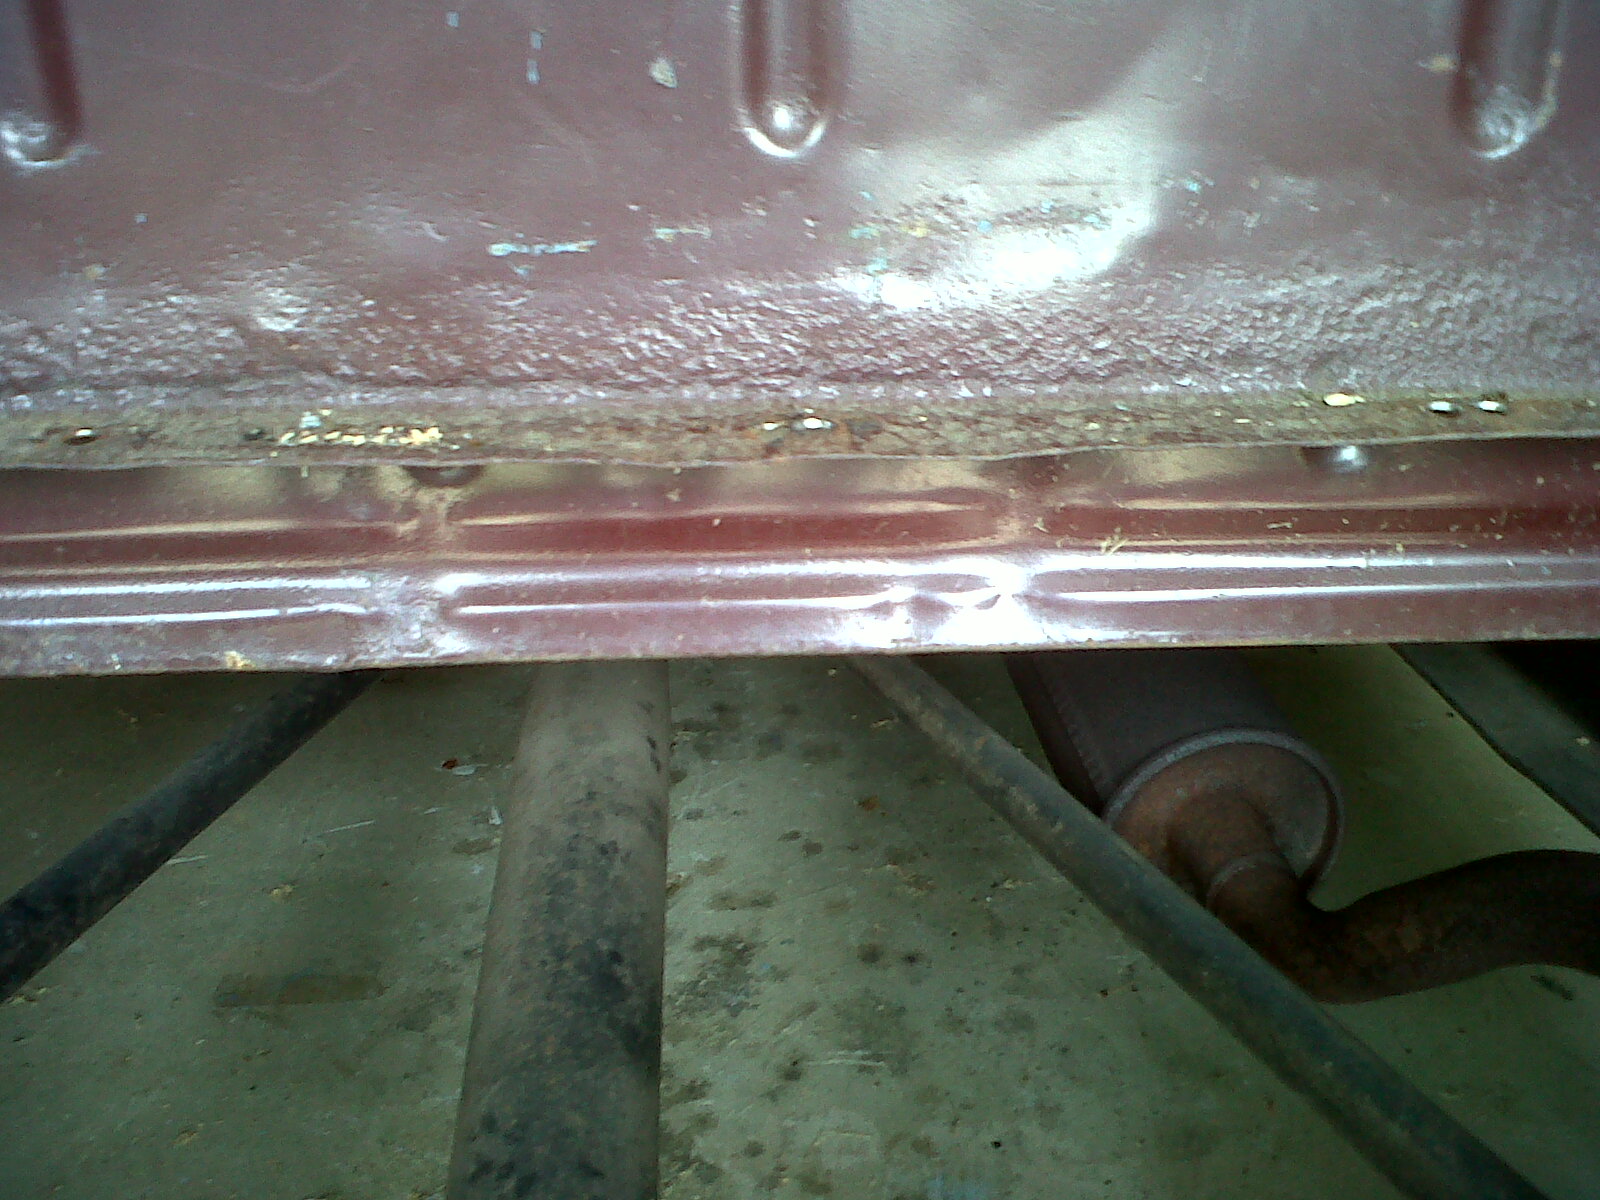
And then there's the channel stock they used to build the bed's frame. I can look down through this hole (for a hitch?), and see corrosion down inside. There ain't no way I can get that out, unless I drill out the welds, pull the metal, and sand it all down. Because of things like that, I'm seriously considering putting the body through a "dip tank" whenever I'm about ready to paint.
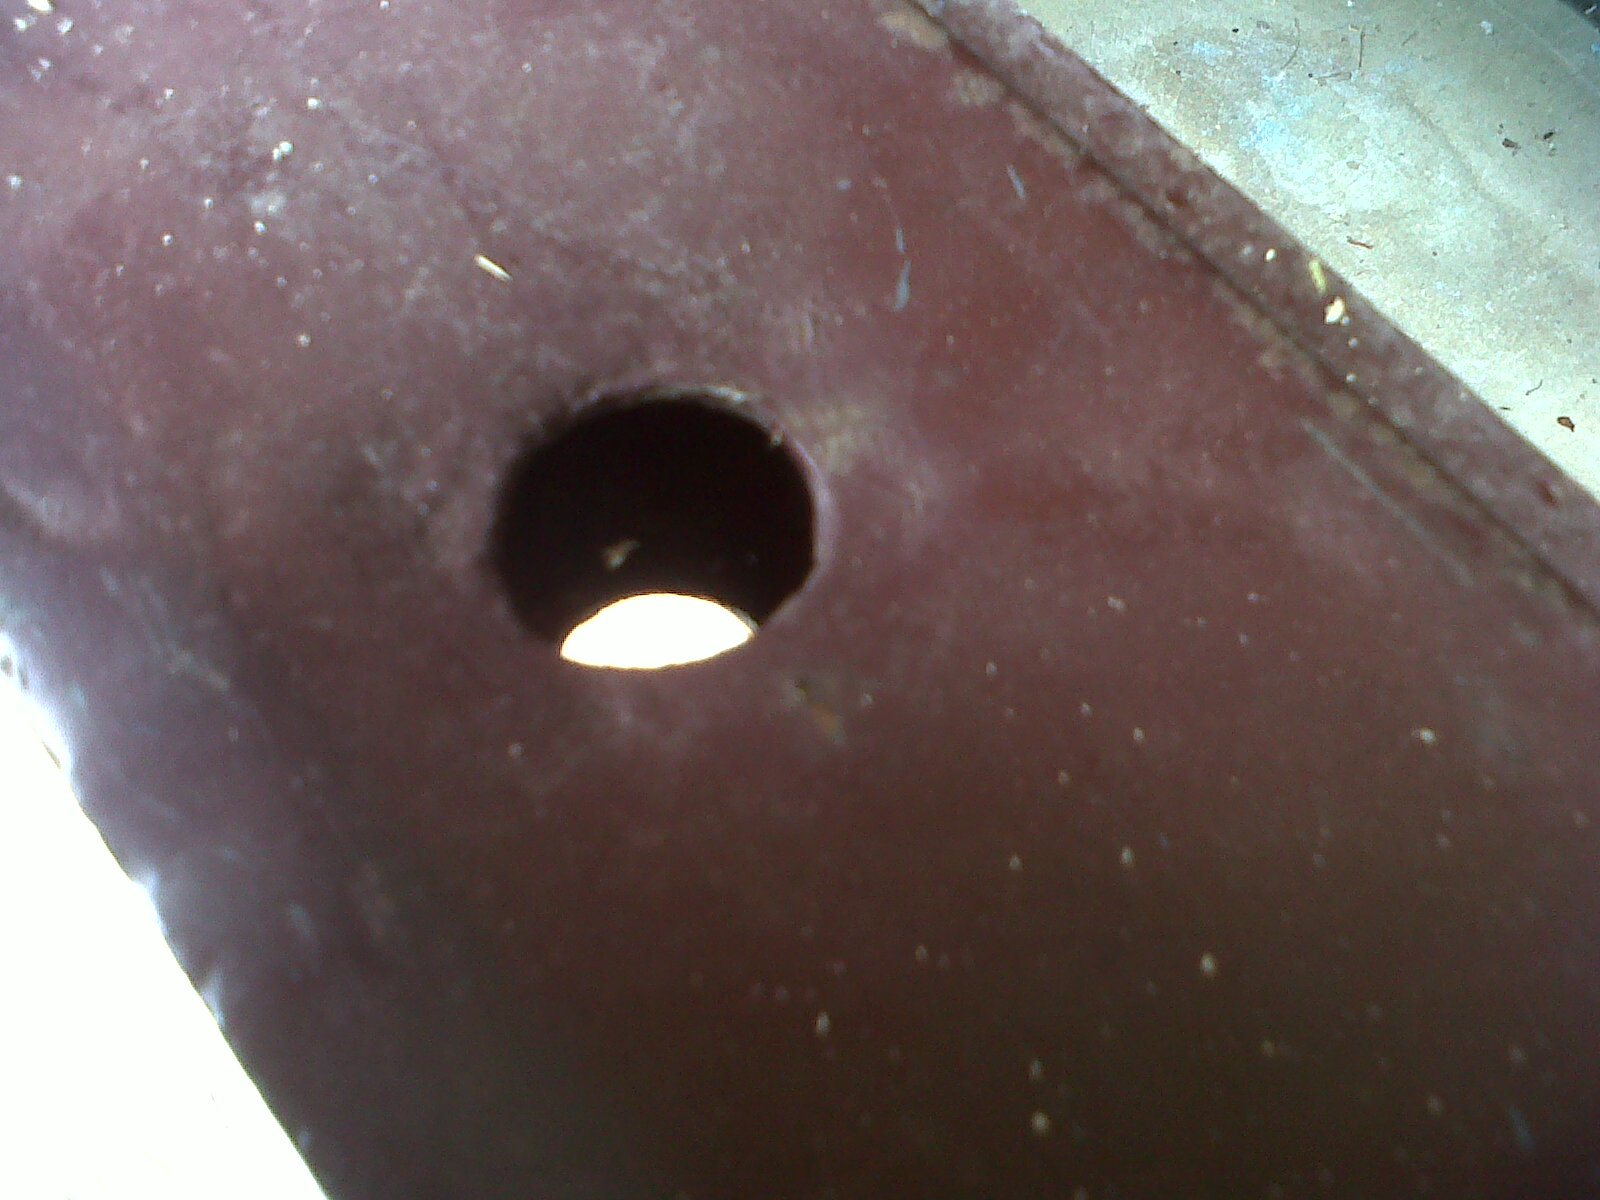
Speaking of dipping, I hear this outfit can do it. They're pretty close - I'd have to borrow a trailer, but that's not a big deal.
Dipping has some up sides & down sides, and I'm not considering it lightly... Of course, it can reach all those places that I can't, and it's certainly a helluva lot faster (and easier) than hand-sanding the thing. On the other hand, though, I worry about left-over acid deposits in there that might make the new paint/primer bubble off... And, at this point, I have absolutely no idea of the cost.
Last modified on 12/18/11